StevenGuthmiller
-
Posts
15,071 -
Joined
-
Last visited
Content Type
Profiles
Forums
Events
Gallery
Everything posted by StevenGuthmiller
-
Very nicely done! And a very period correct color! Steve
-
I like it! It just screams "nostalgia". The kind of Mustang that your mother would have drove. A very refreshing alternative from the usual Boss 302s and Shelby GT500s. Steve
-
 Do you have specific information on this? I kind of find it hard to believe that Round 2 would waste the time doing a newly tooled promo body for a '63 Nova wagon unless it was just a restoration of the original mold. It seems counter productive to me to put a entirely new body on a basically 3 piece interior and slab chassis. If they have no misgivings with going as far as to create an entirely new body, why wouldn't they go a little further and retool the interior and then use existing tooling from another kit to offer an engine and chassis for a full detail model right off of the bat? Just seems a little odd to me. Steve
 -
I have to agree. At this point, I'm afraid that newly tooled cars from the 50s are becoming a thing of the past. I wouldn't look for many in the foreseeable future. Steve
-
I believe that the white tape is more flexible and apparently designed for curves. I can't comment on how well it works as I've never used it, but being a Tamiya product, I'm confident that it is as good as the regular tape. The standard tape looks just like that, but it's yellow. Steve
-
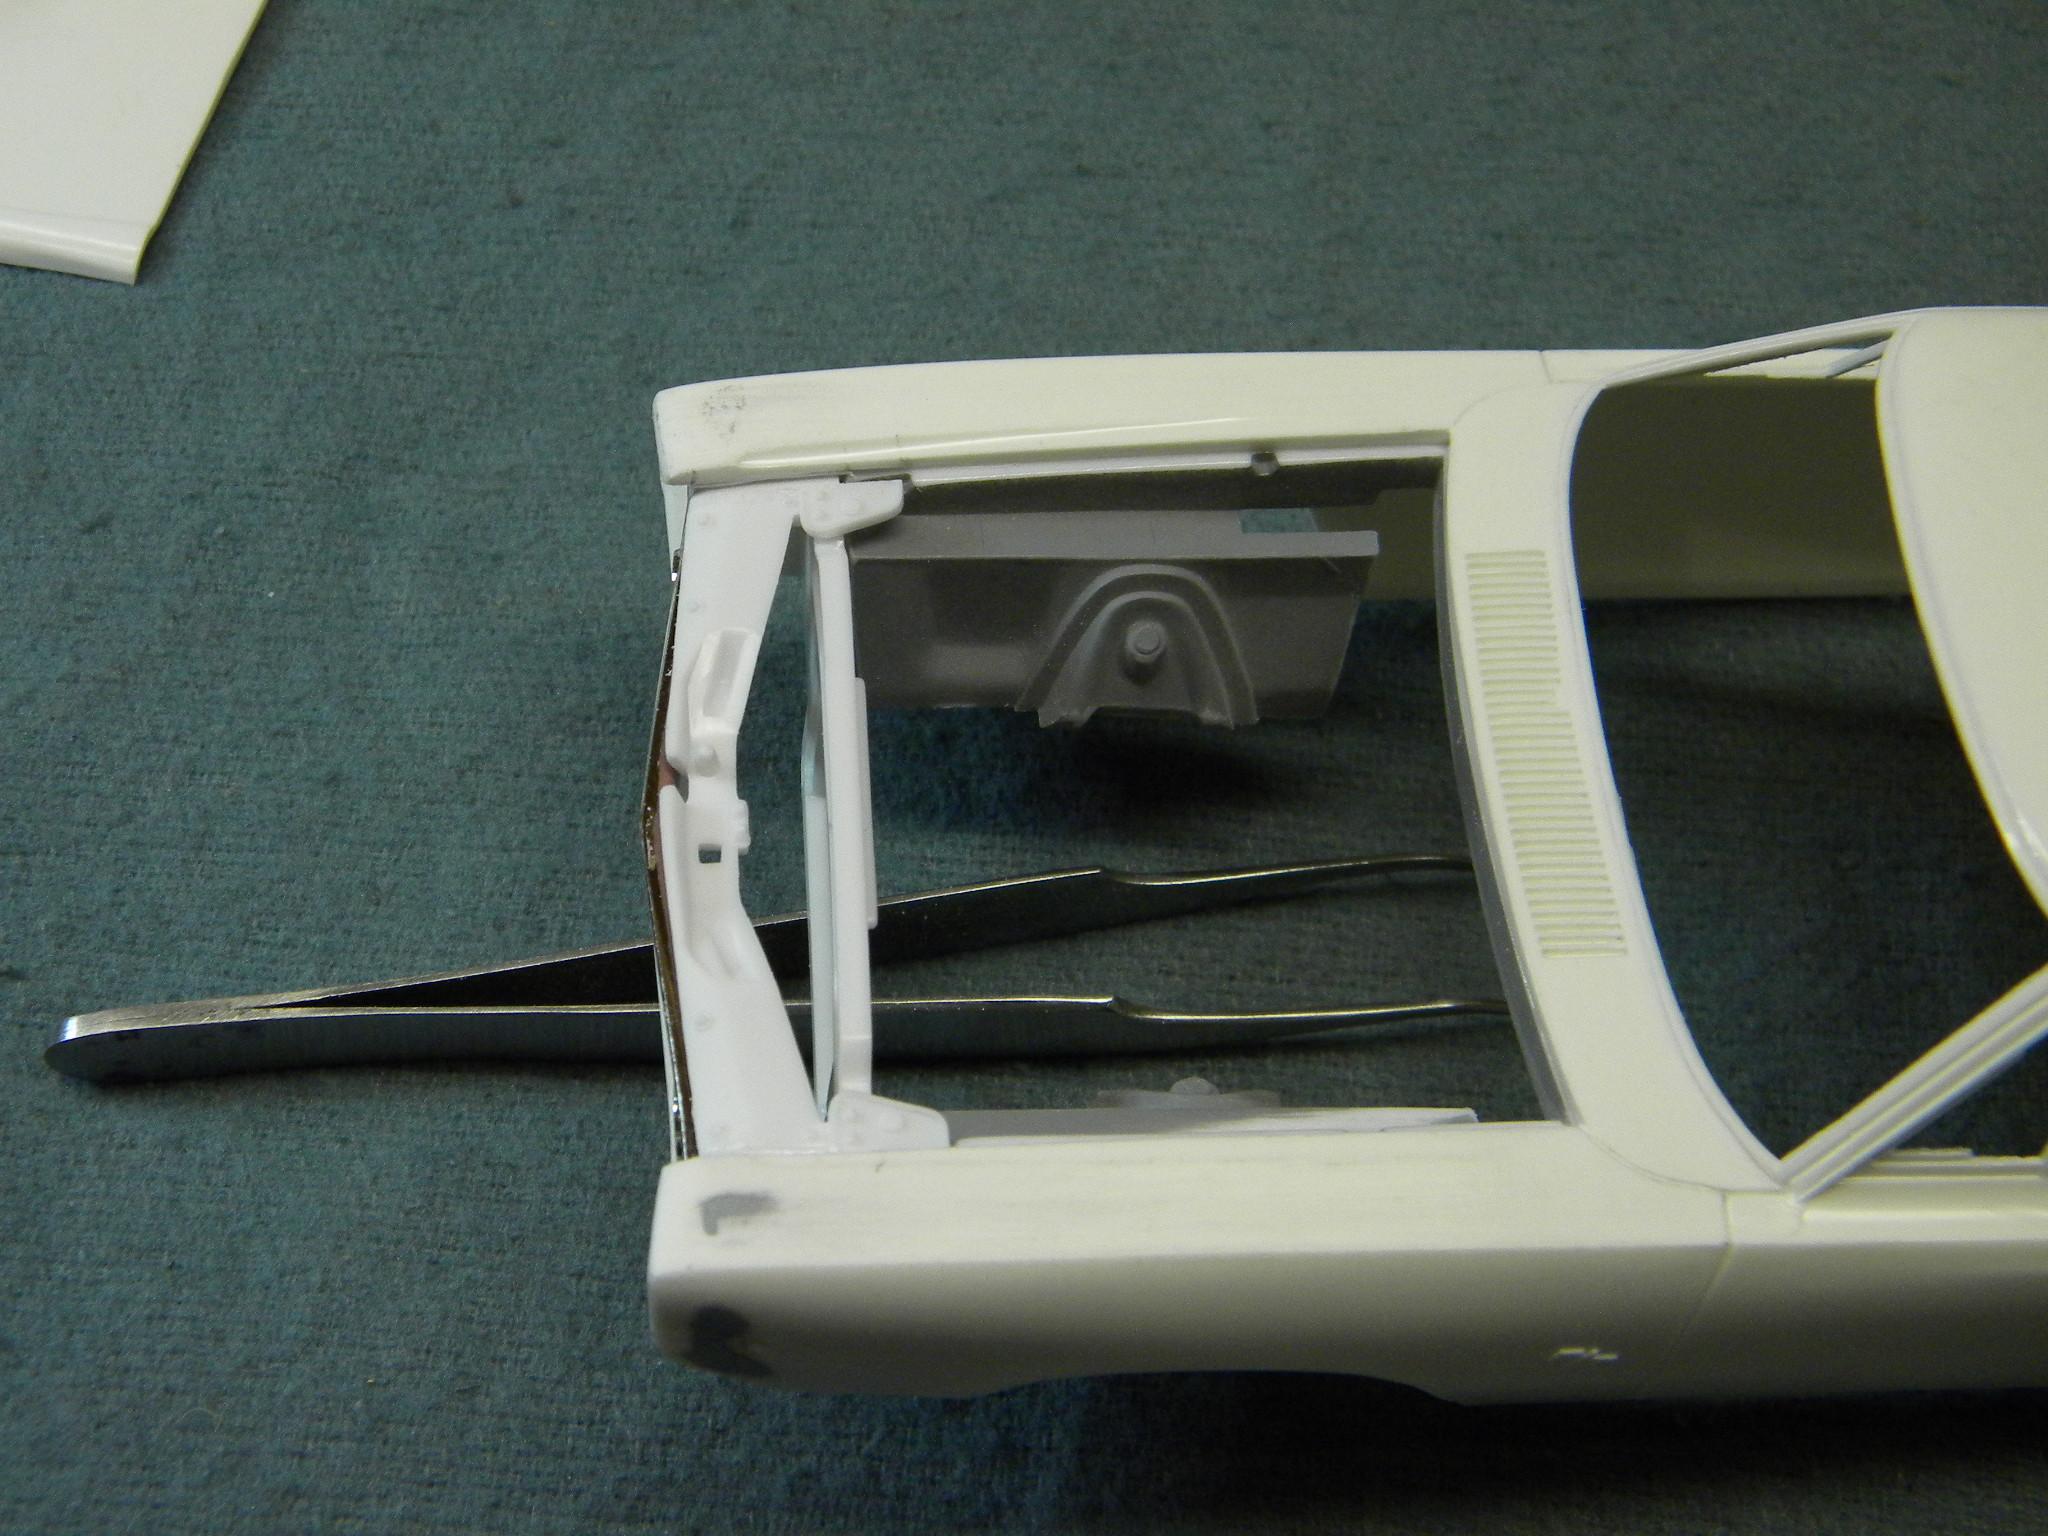
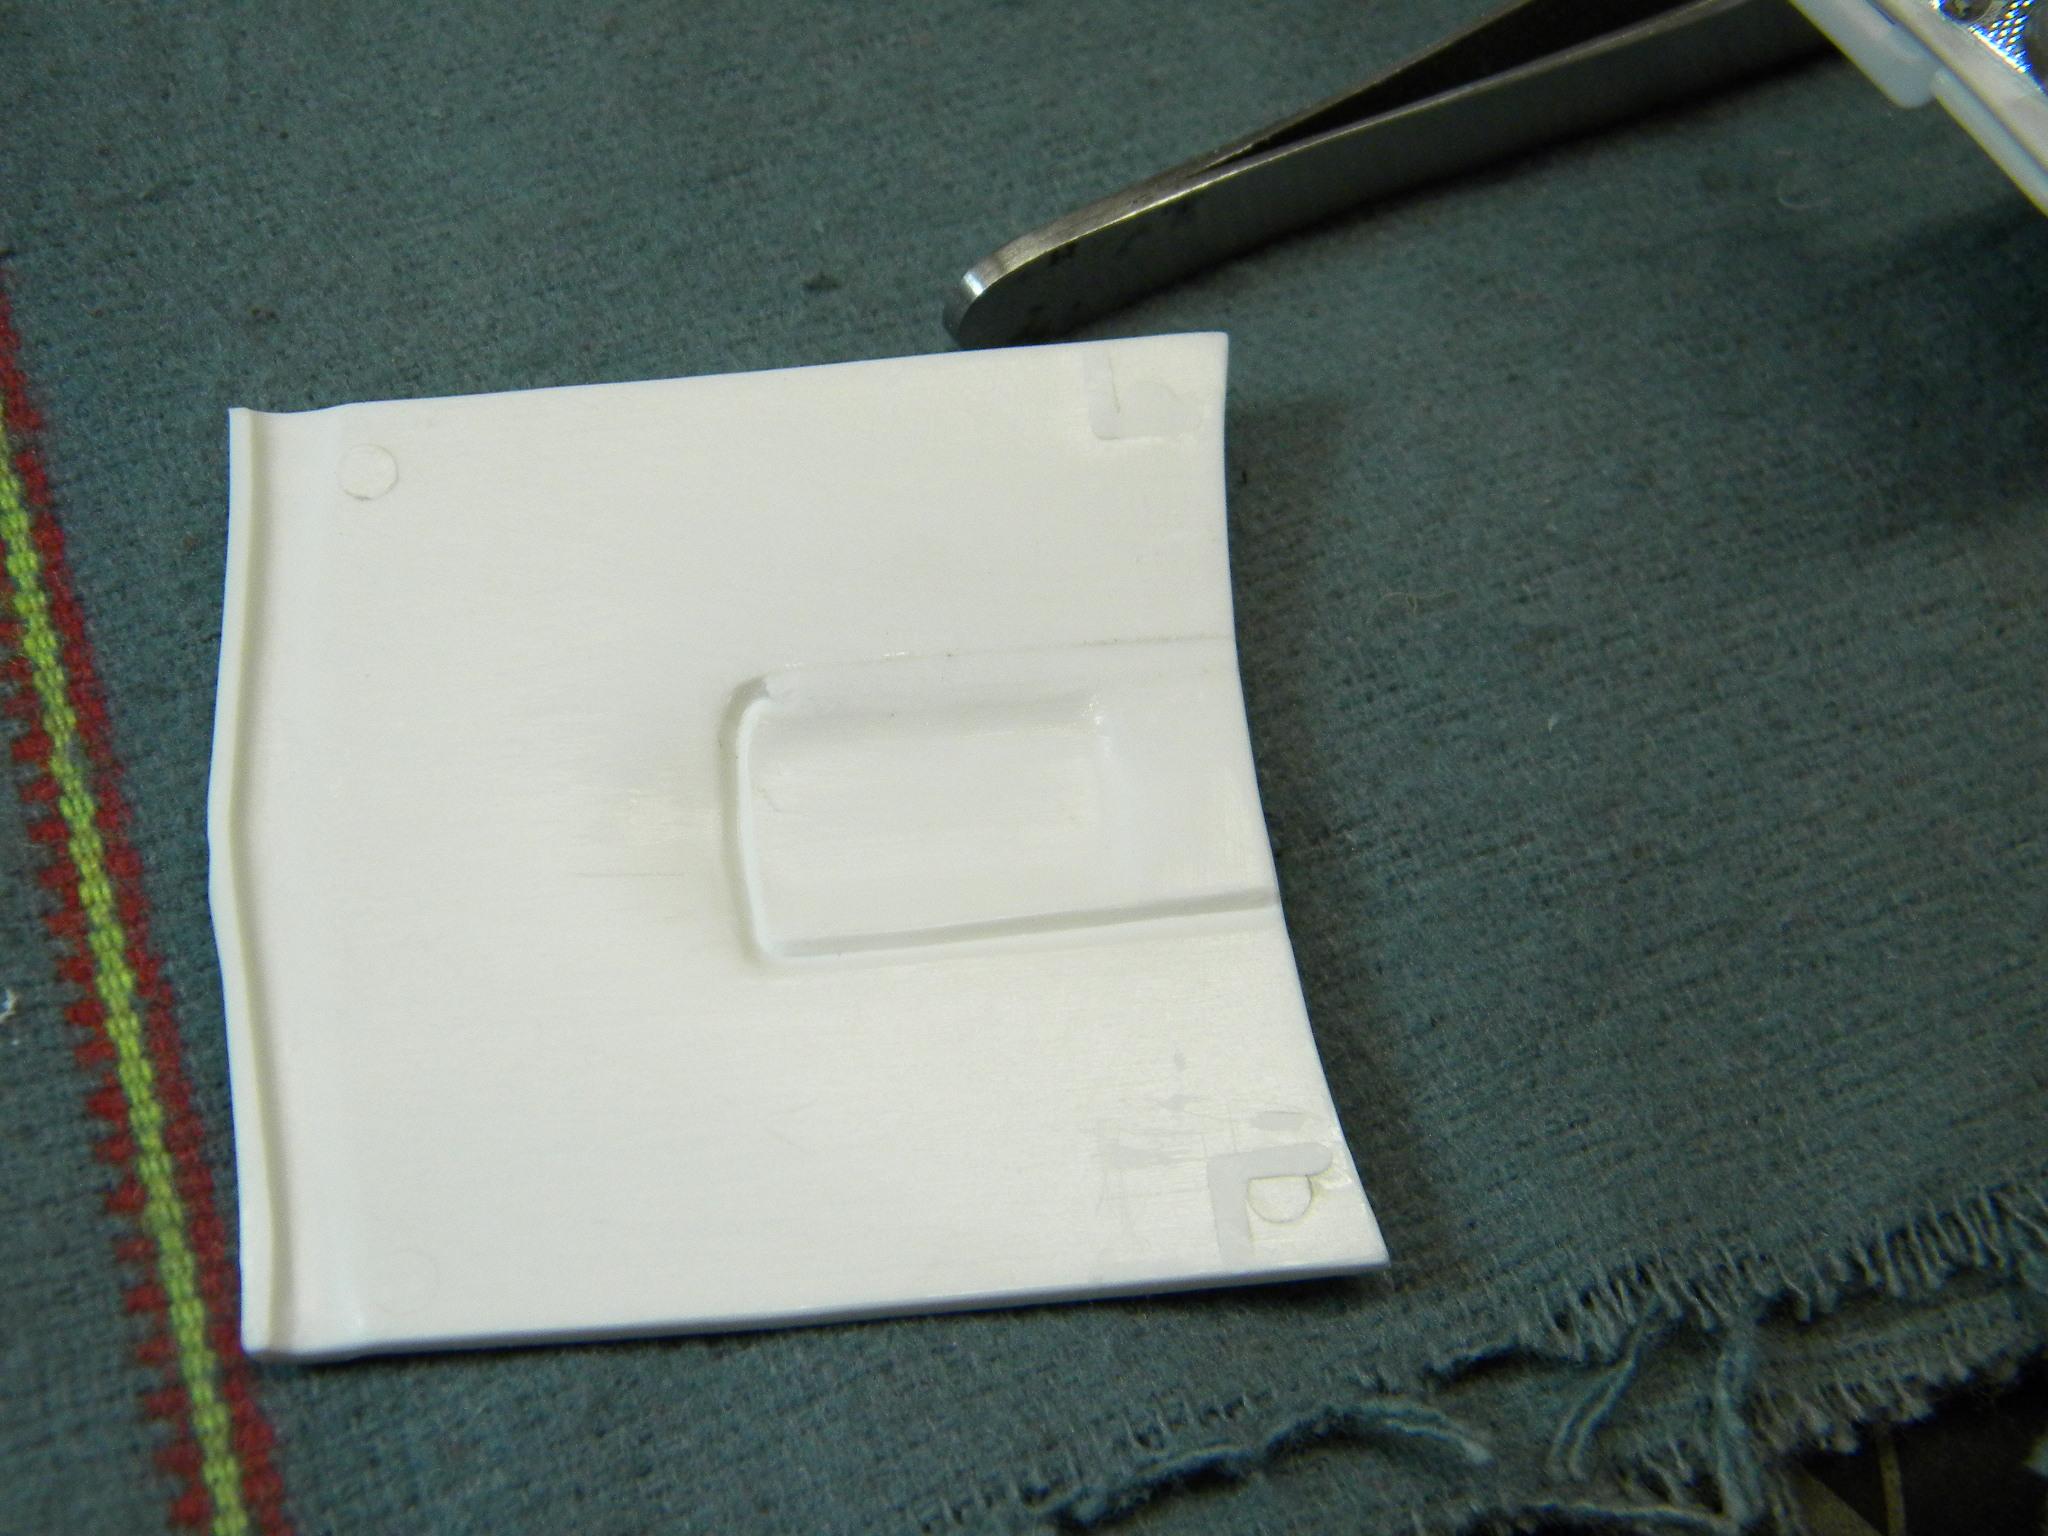
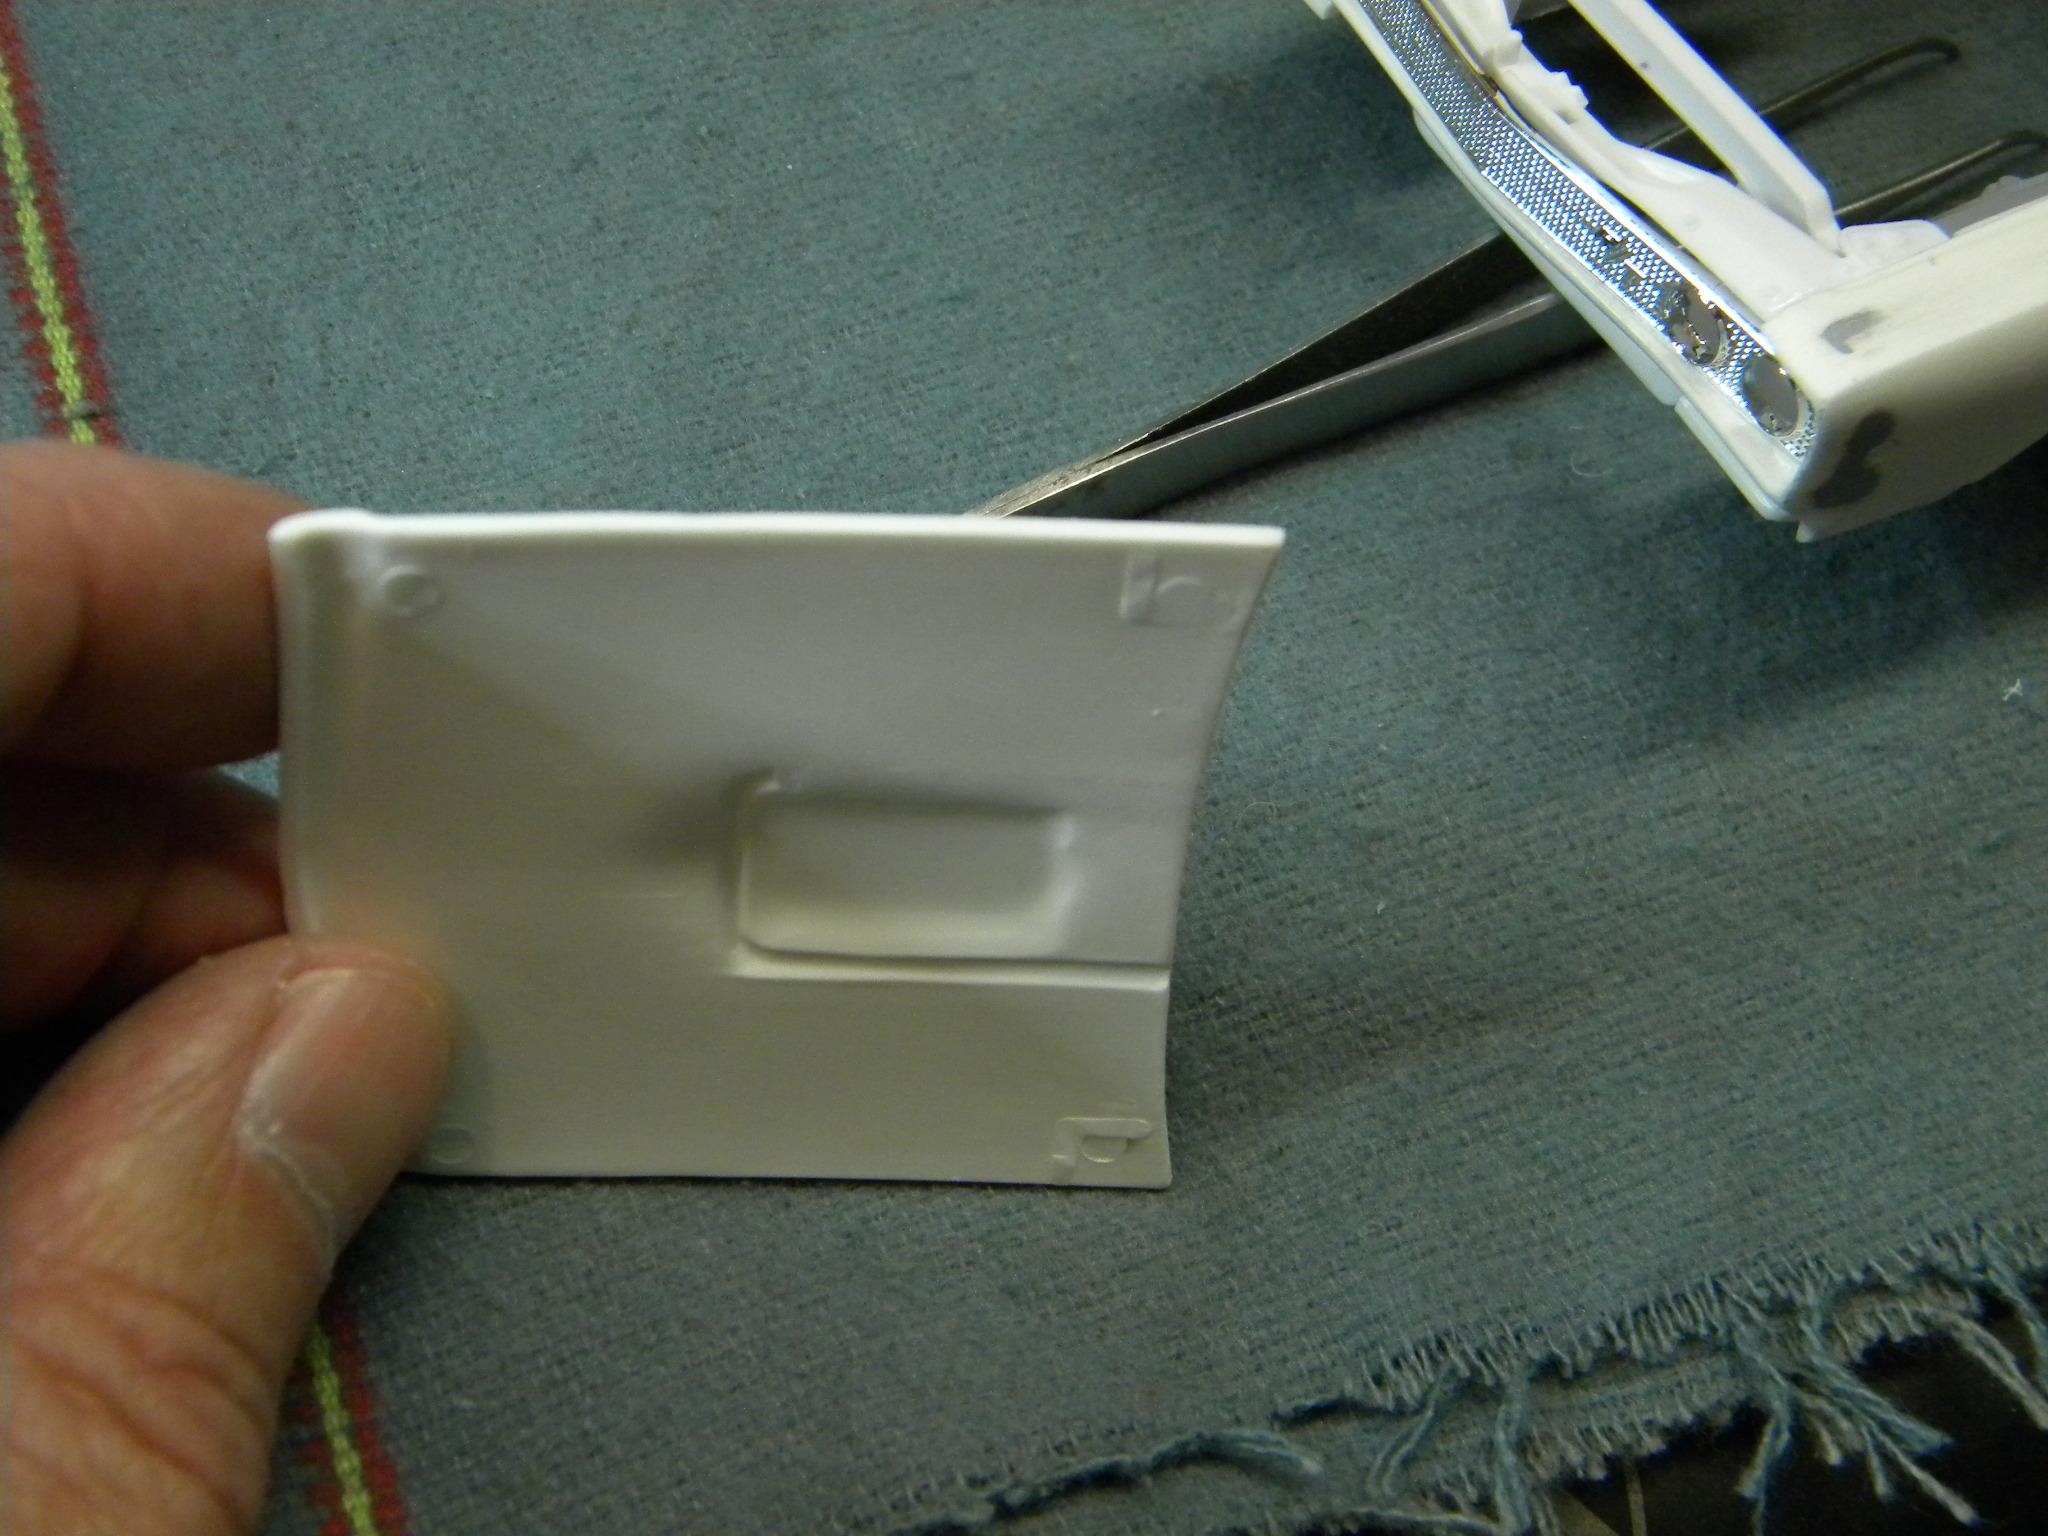
Thank you guys! Still working on some engineering to get the Revell Charger parts to fit the Coronet. Been spending some time modifying engine compartment parts to fit. It was much more finicky than it might appear, but I'm getting there. Thought that I would show how I was filling the blower cutout grooves on the underside of the hood as well. Just a matter of finding plastic pieces that fit into the grooves, gluing them in place, and then grinding them down. Steve

-
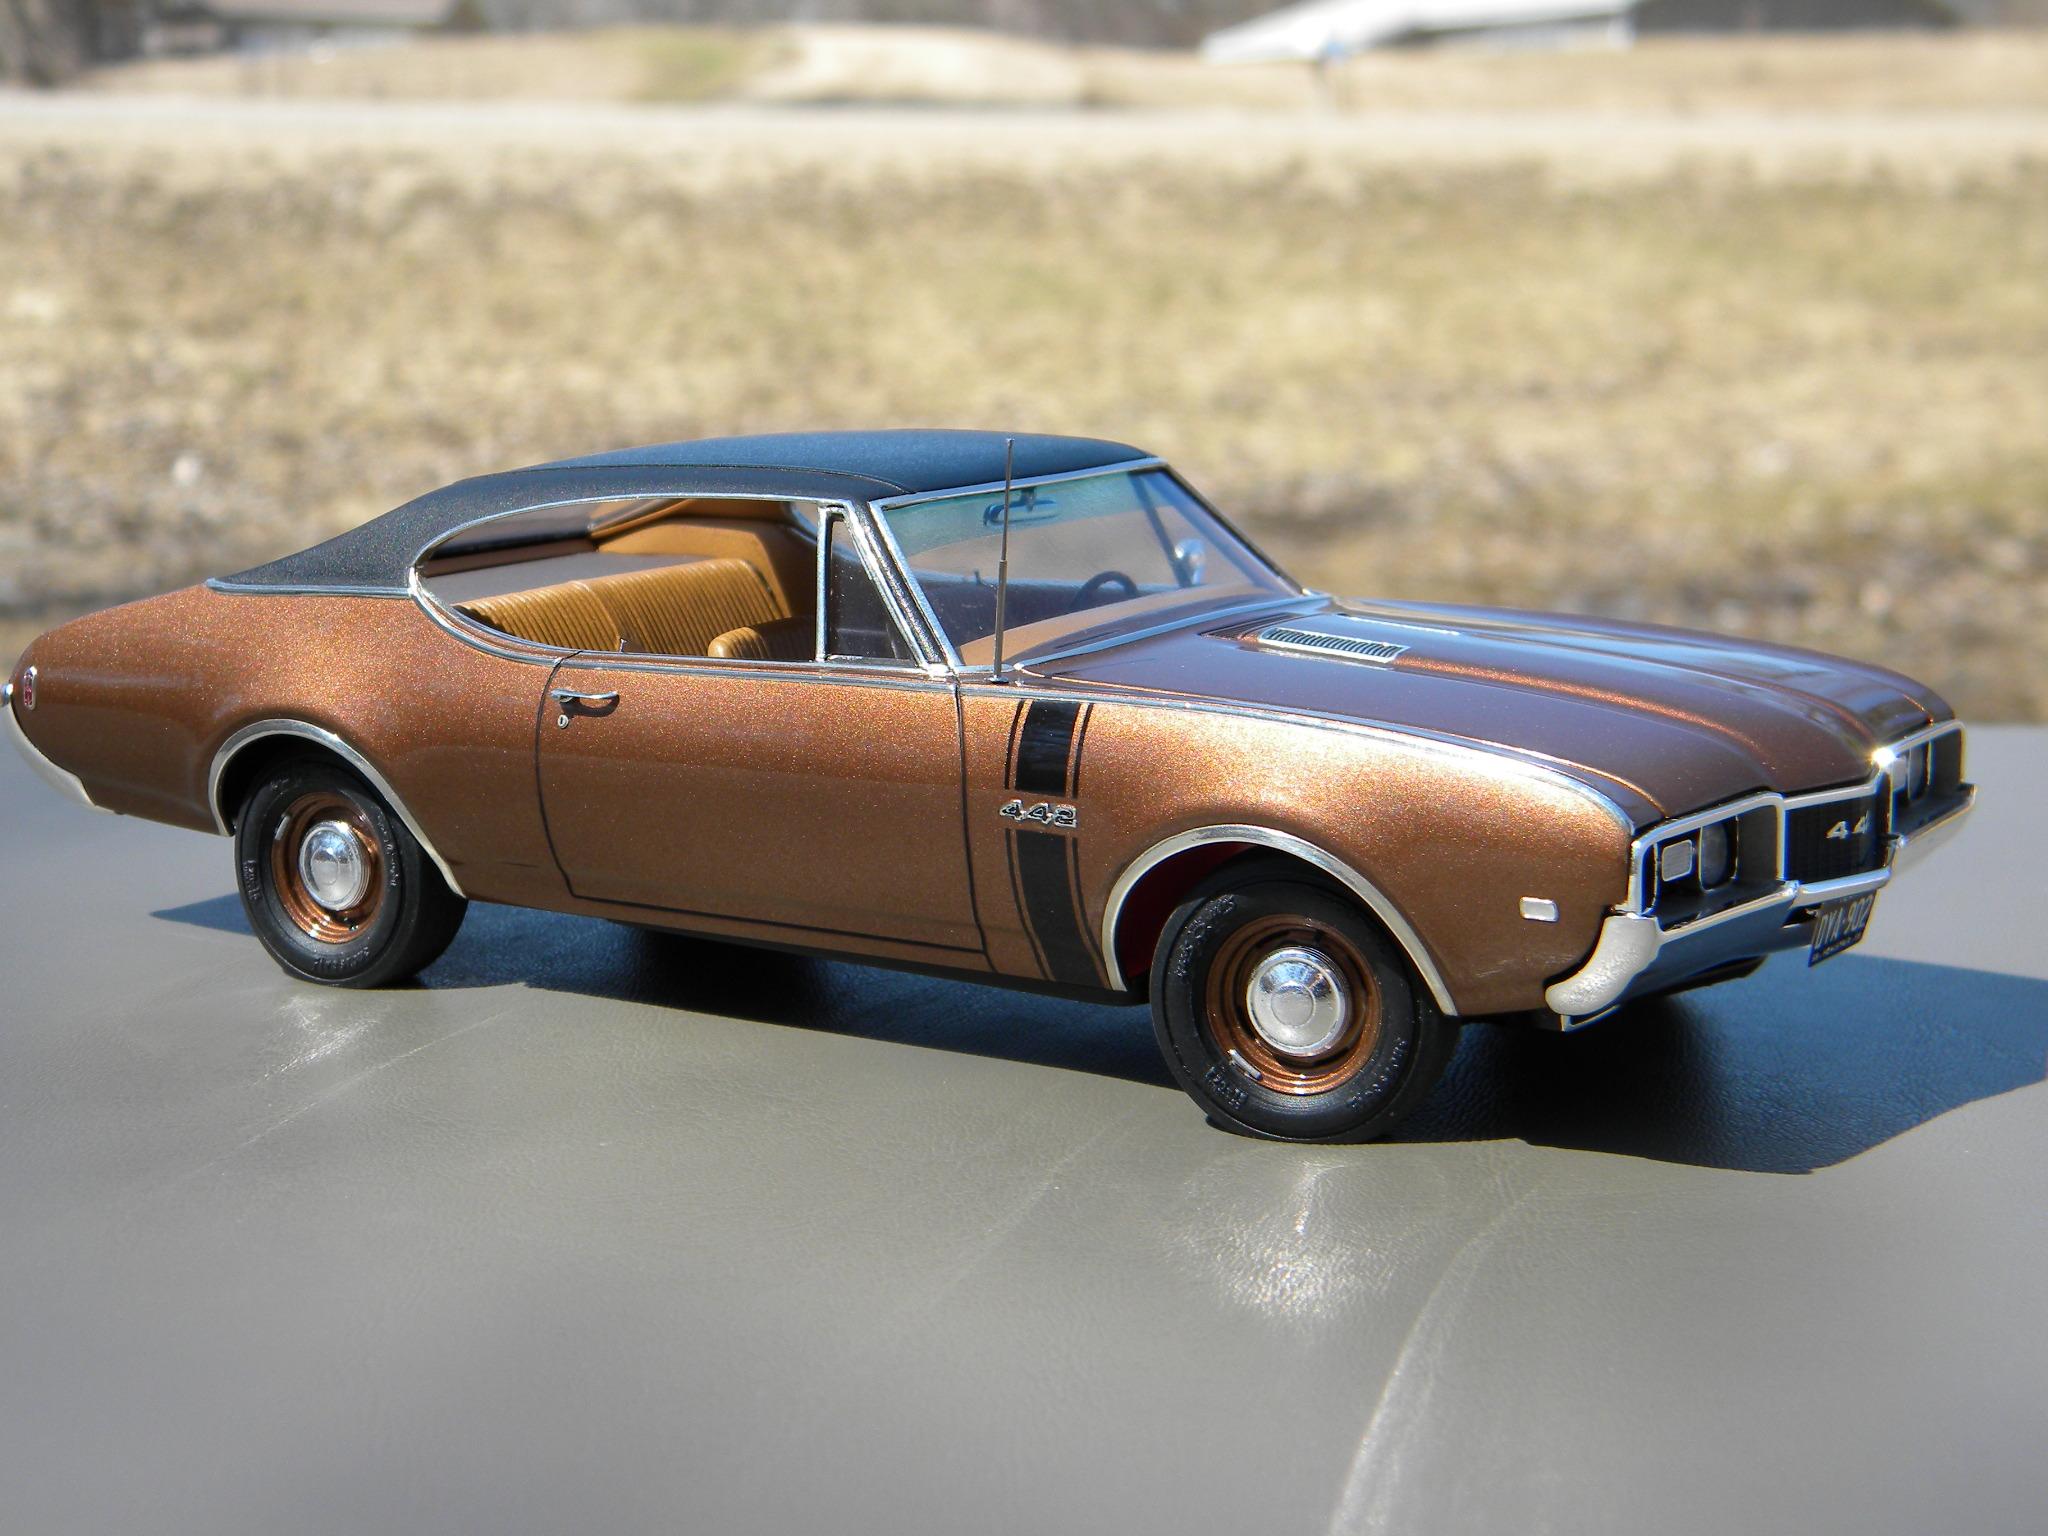
There are other tapes available if Tamiya is difficult for you to find. Most automotive paint stores carry various tapes that are as good or better than Tamiya if you happen to have a store nearby. I always make sure that I have plenty of Tamiya tape in my shop. It's fantastic stuff for all sorts of applications. By the way, the dog dish caps on the 442 are resin pieces from "Missing Link". Steve
-
Scale Auto Web Site
StevenGuthmiller replied to Chuckyg1's topic in General Automotive Talk (Trucks and Cars)
Wow! I saw that! That was a real doozy wasn't it. I guess he is taking advantage of the fact that the SA forum will be gone in a few days and decided to get in a couple of real barn burners on the way out. He forgot to take into account that many of us spend time on several different boards. Steve -
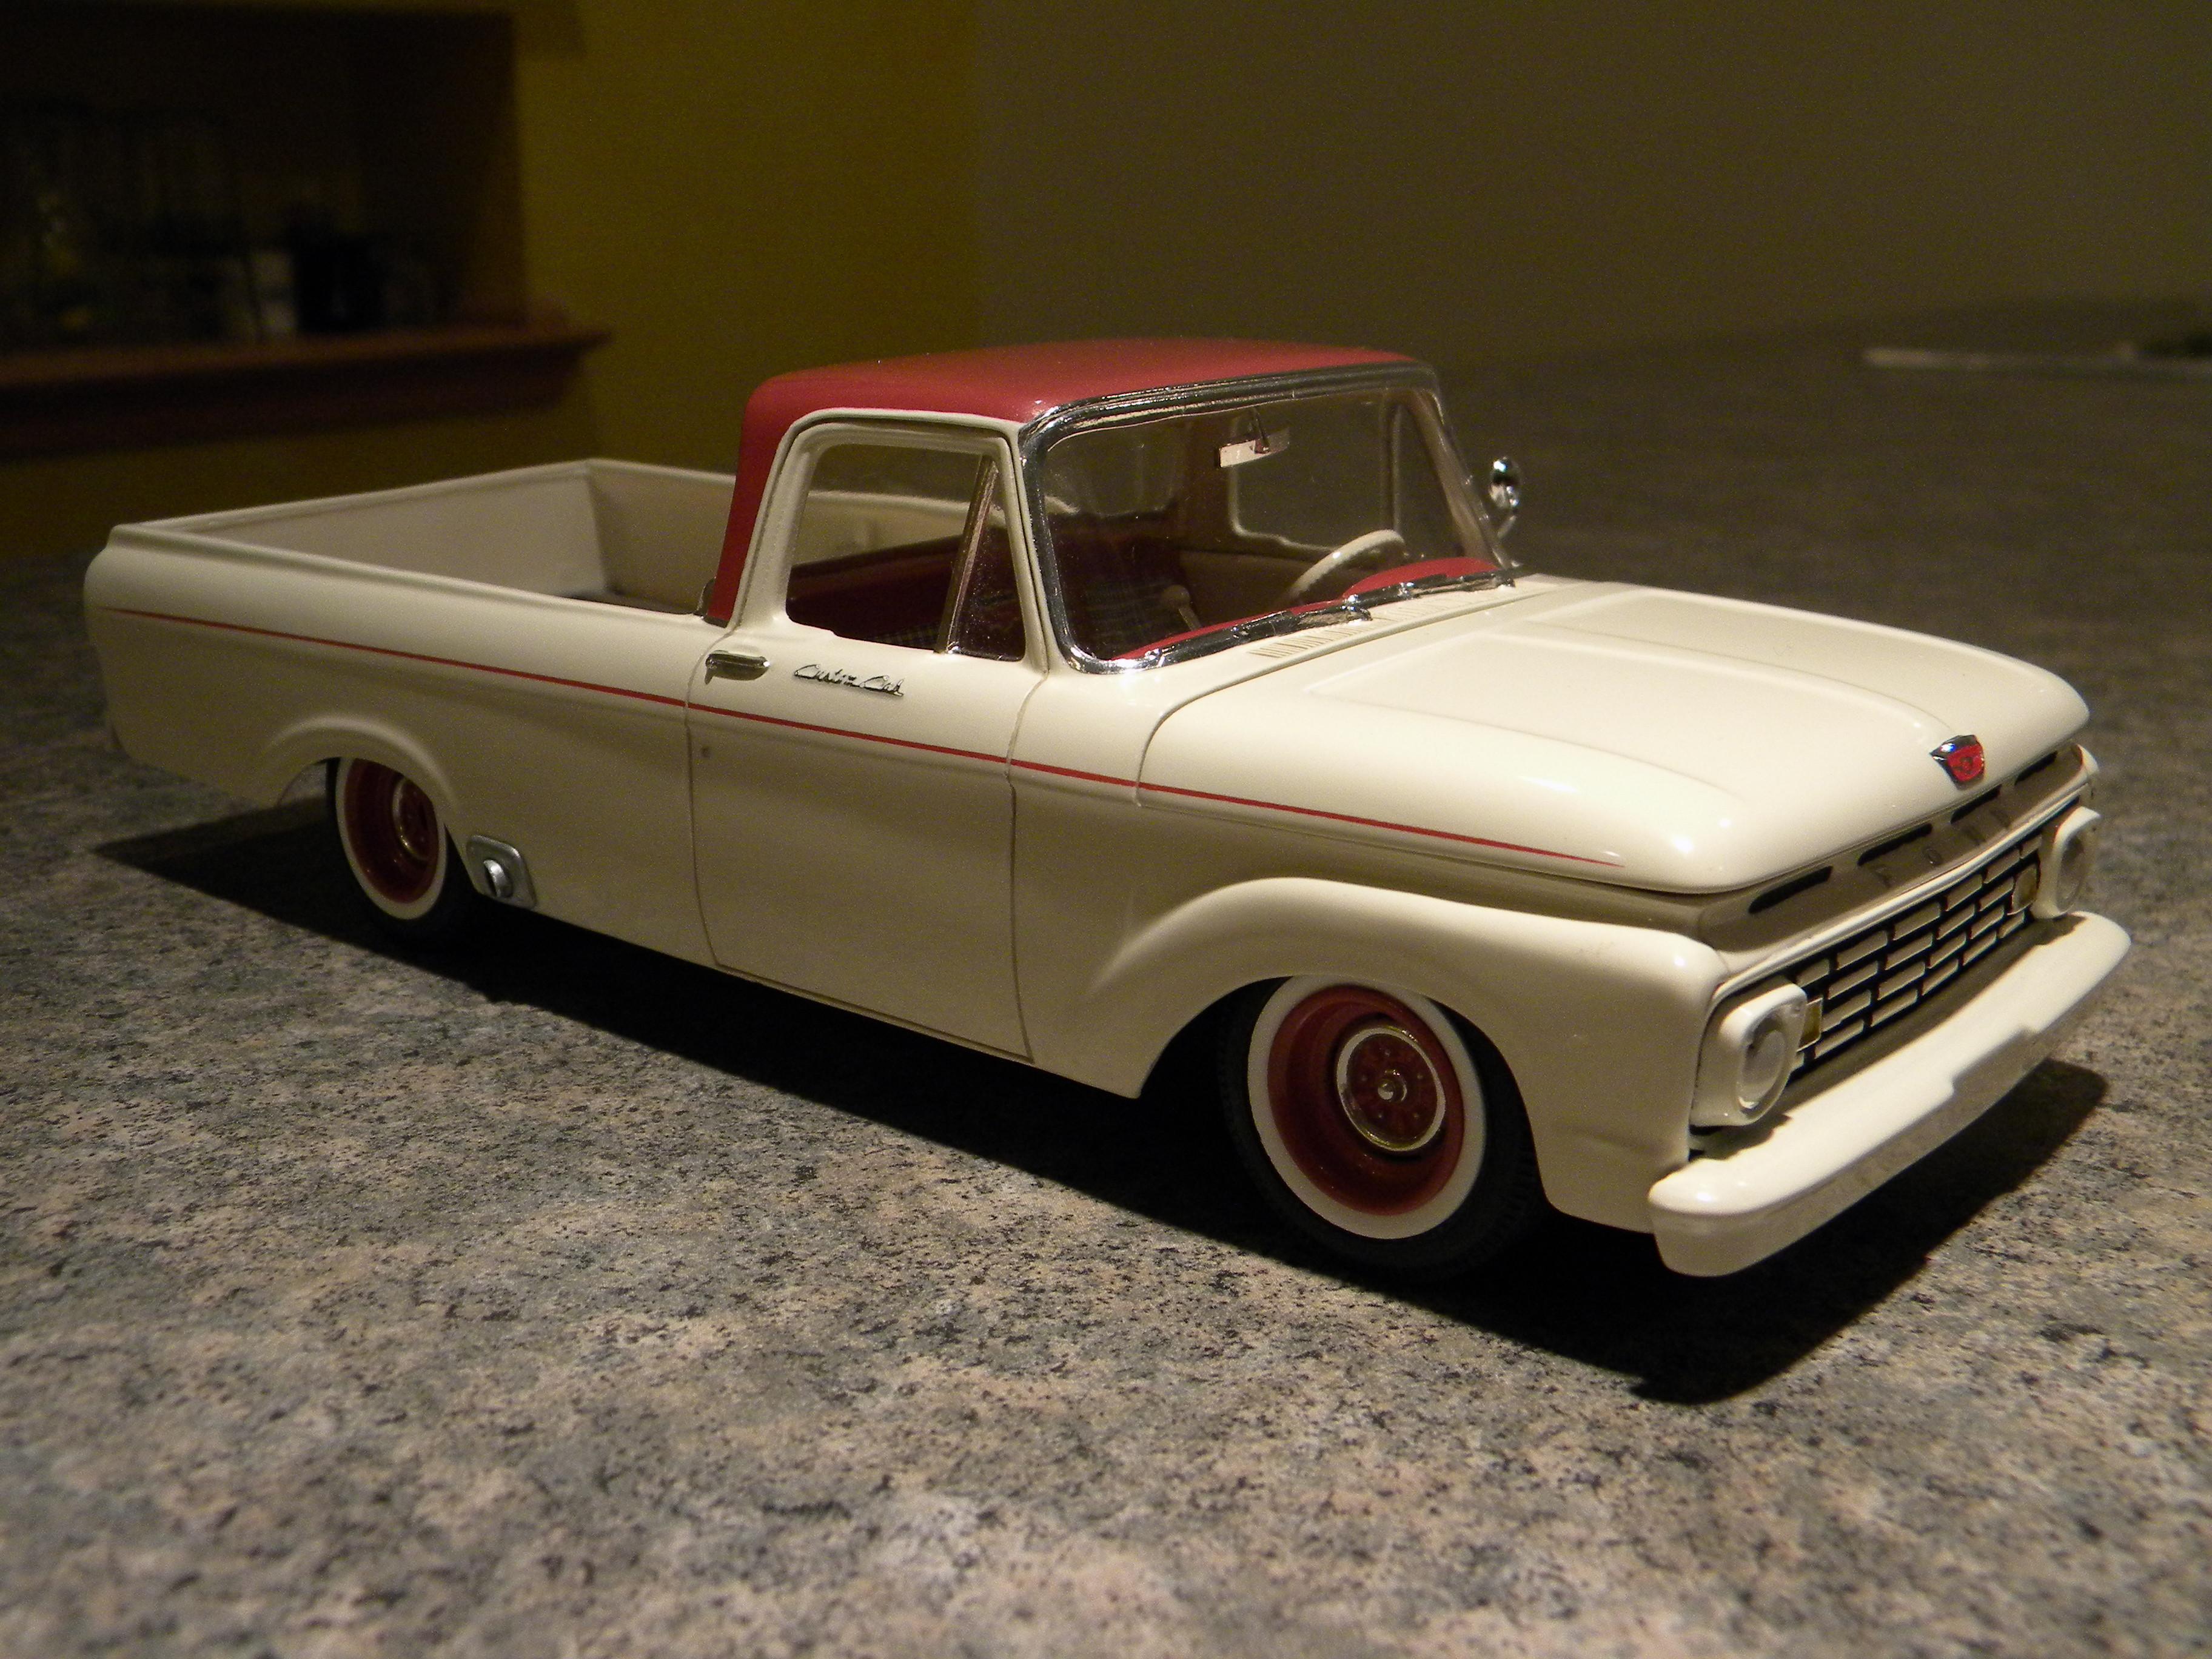
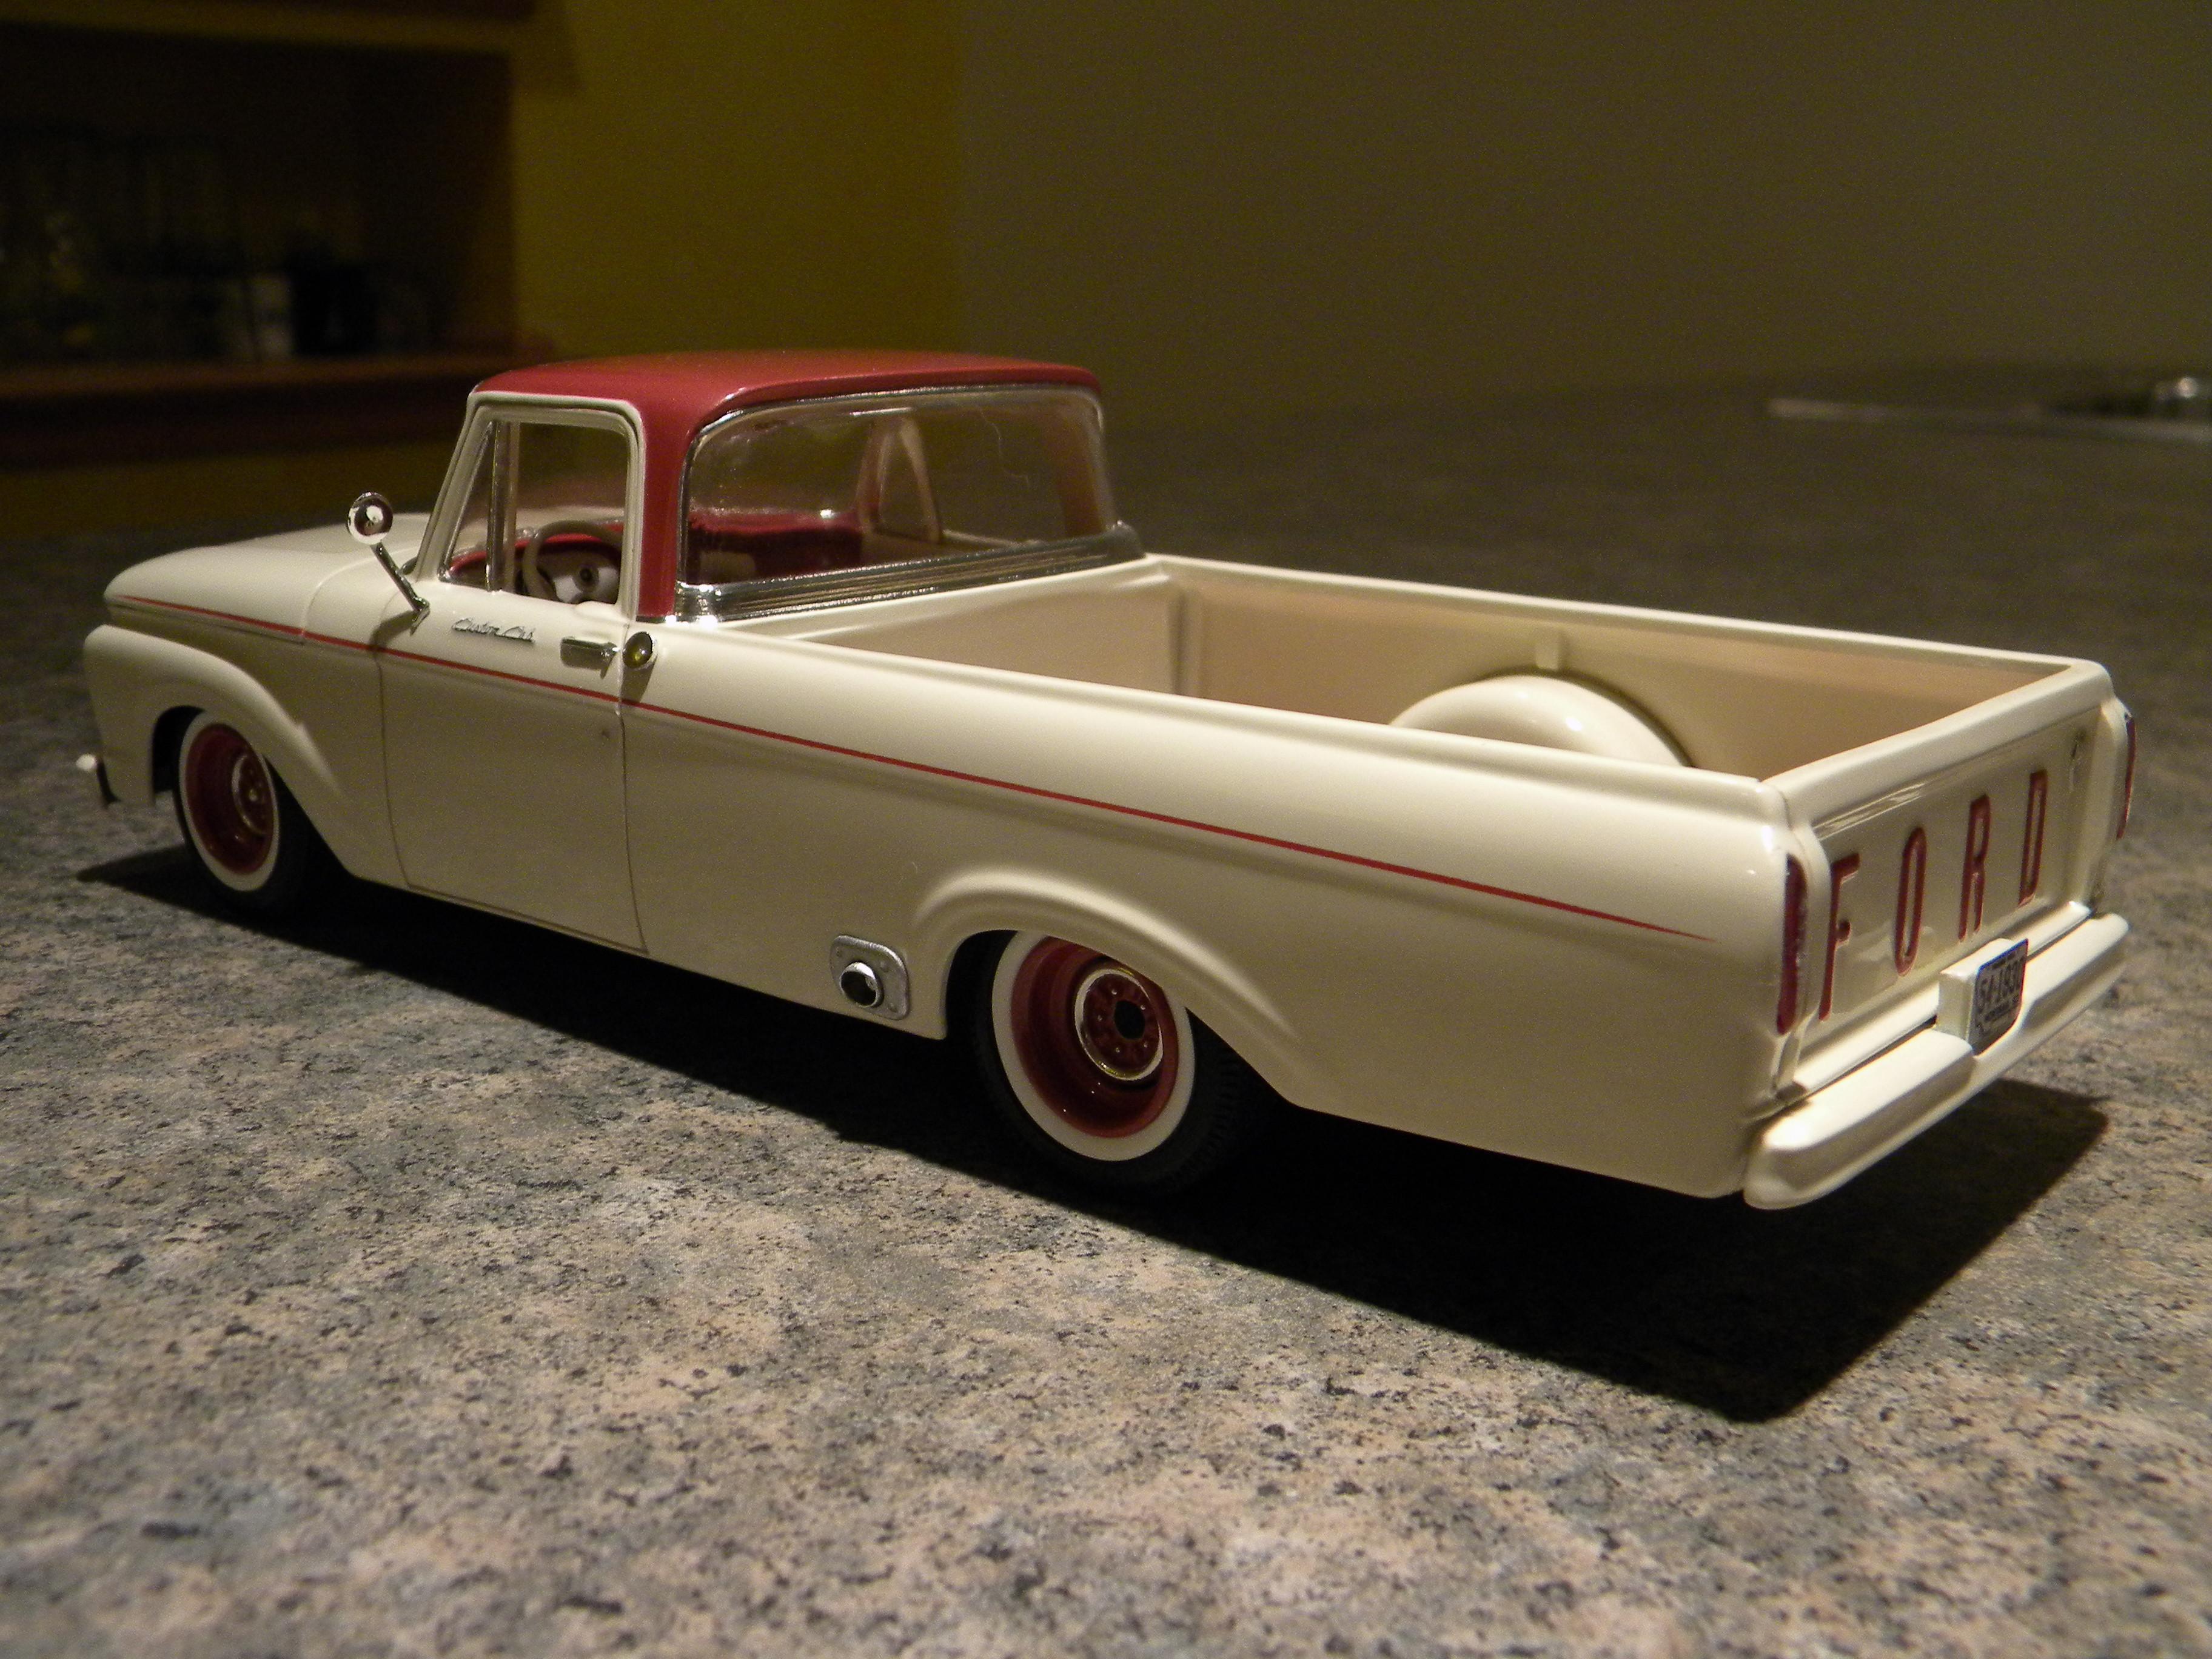
You could try masking and spray painting the stripes. It's really not as difficult as you might think. As long as you have some good masking tape, like Tamiya or equivalent, it's not too terribly hard to do some pretty thin stripes. I painted the pin stripe on this '63 Ford pickup with an air brush. I also sprayed the stripes on my '68 Olds 442, this time with a rattle can. It's really pretty easy to do with good tape and very light coats of paint. I plan on spraying the bumble bee stripes on my current '68 Coronet R/T project as well With the decals you're pretty much at the mercy of the current shape of the stripes. With masking tape and paint, you can follow the contours of the body as you wish. The tape will bend as needed if you cut thin strips. Steve
-
You bet your sweet backside I'd buy at least a couple of them! But alas, I would be very surprised if any of the kit manufacturers would take a chance on a kit like this. I would say that we're much more likely to get several more Camaros or Mustangs before something like this would ever materialize. Steve
-
Scale Auto Web Site
StevenGuthmiller replied to Chuckyg1's topic in General Automotive Talk (Trucks and Cars)
Wow! I apparently didn't spend much time over there when he was around. Did this guy wear a pair of S's shaped like lightening bolts on his lapel, or what? It's kind of funny because I occasionally would read opinions from members on the SA site about how they left the MCM site because they didn't like the contentiousness that took place here. At least we're not moderated by skin heads! Steve -
Scale Auto Web Site
StevenGuthmiller replied to Chuckyg1's topic in General Automotive Talk (Trucks and Cars)
For the past year or so at least, it was a complete reversal on the SA forum. It was pretty much the wild wild west. You could virtually do or say anything you wanted. There was basically no moderation to speak of, and occasionally, it was apparent. Steve -
In what year did that take place? I think the Thunderbird styling really began to hit a downward slide in 1967. Personally, I prefer the '71 to the '67-'69. Steve
-
Yup, they're just getting worse again. Steve
-
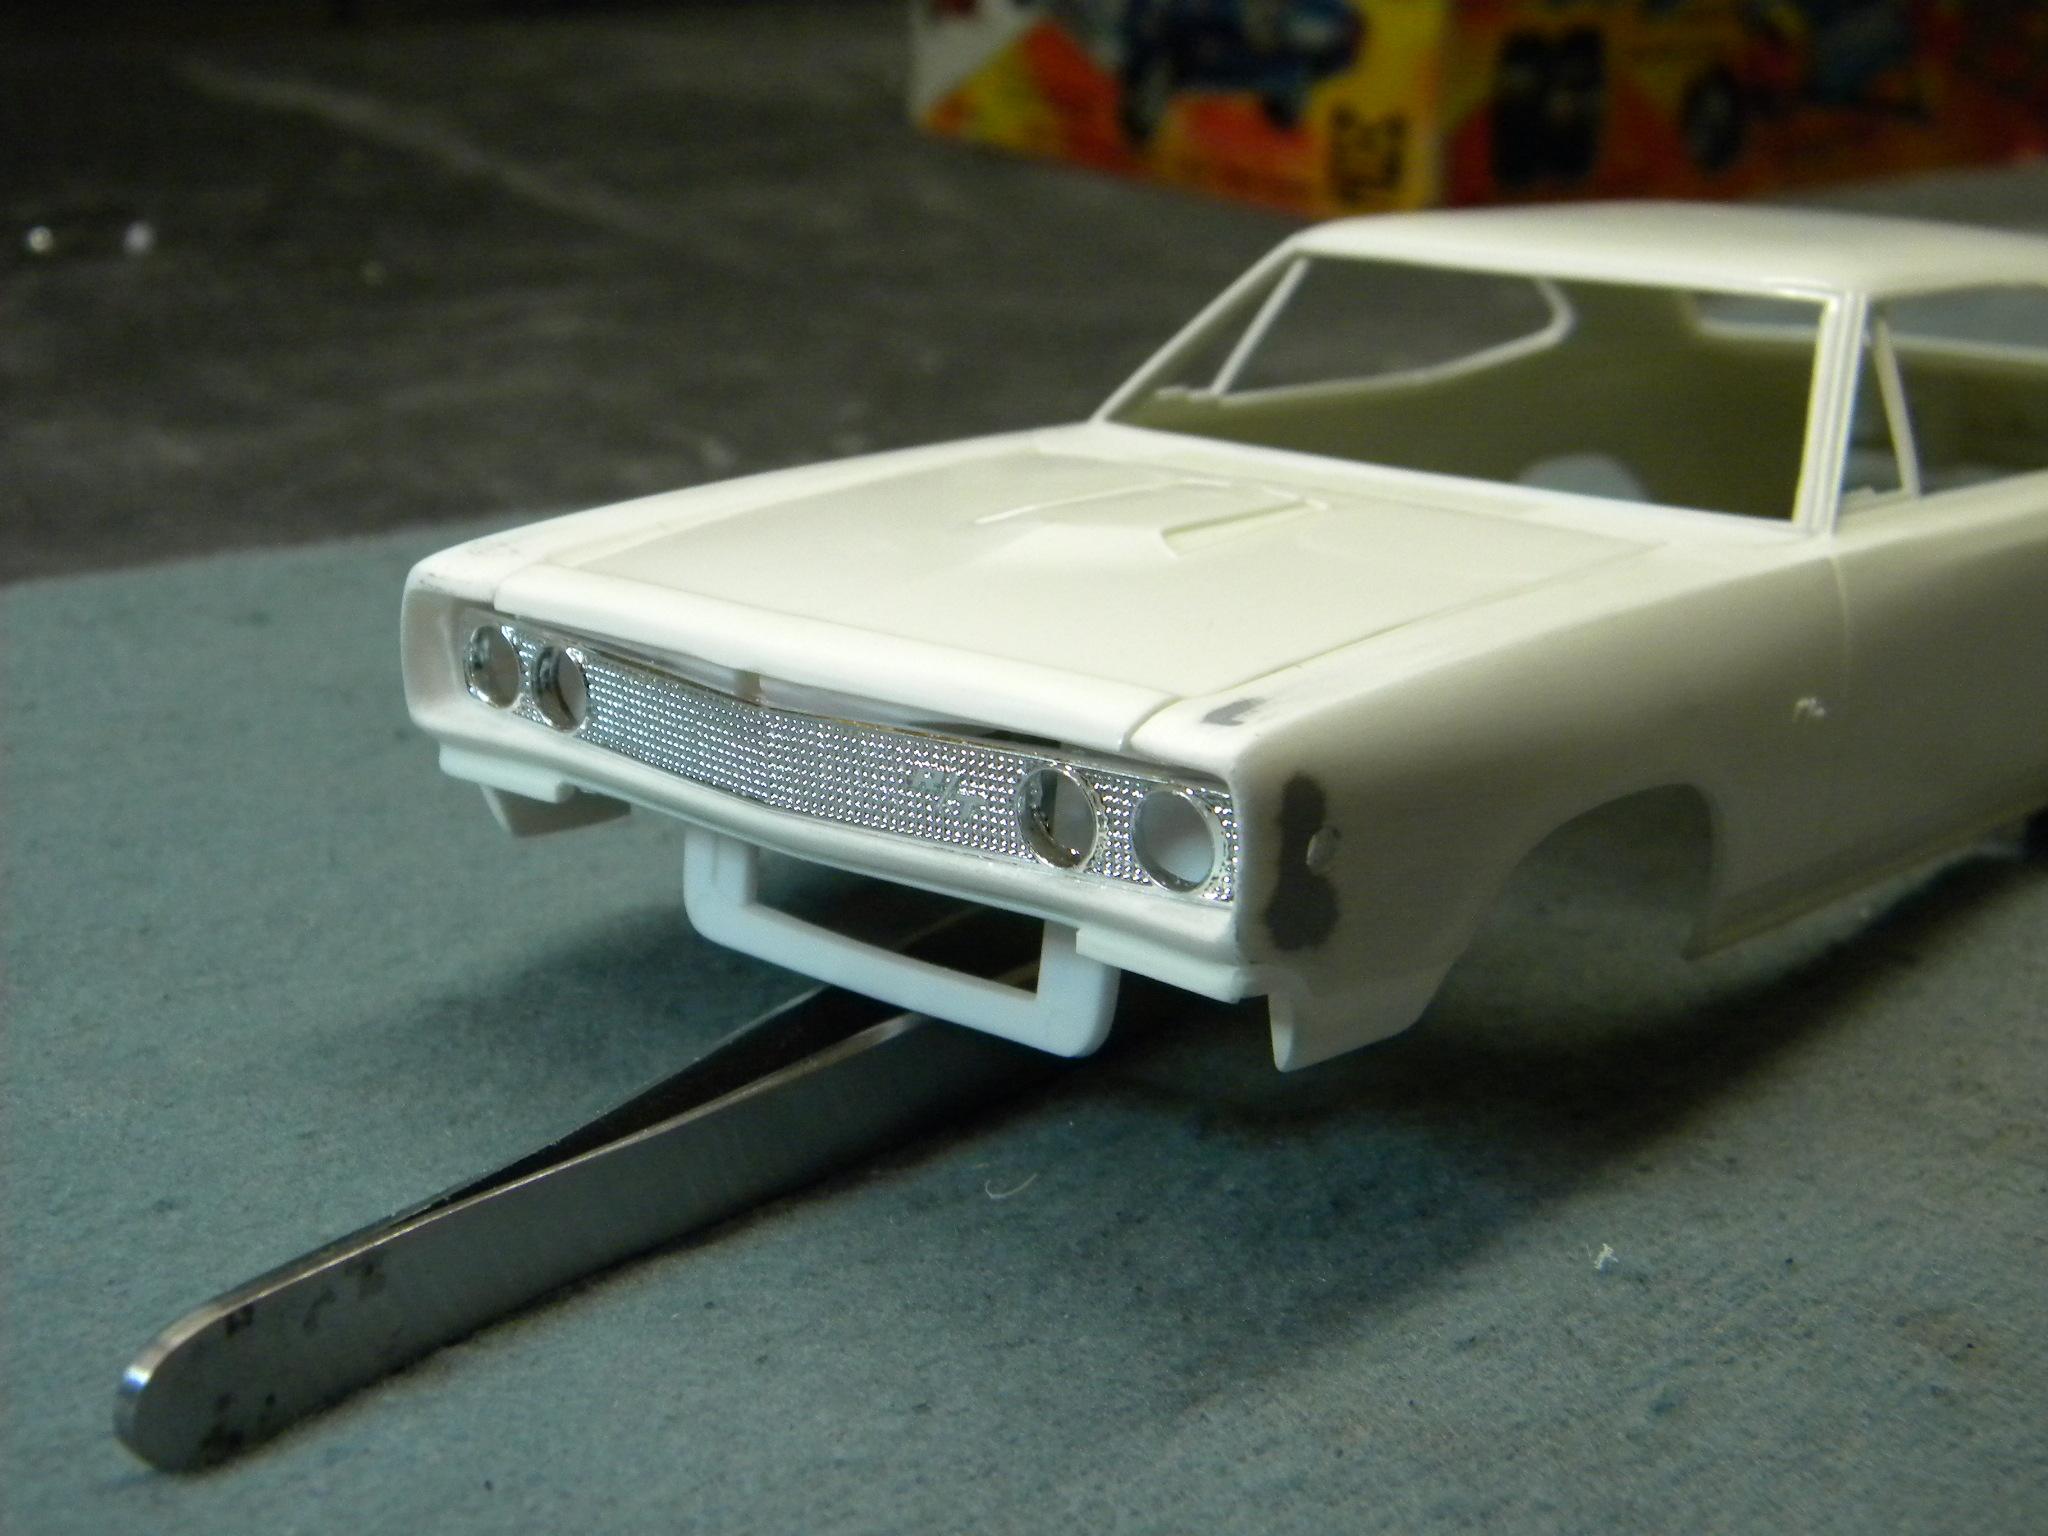
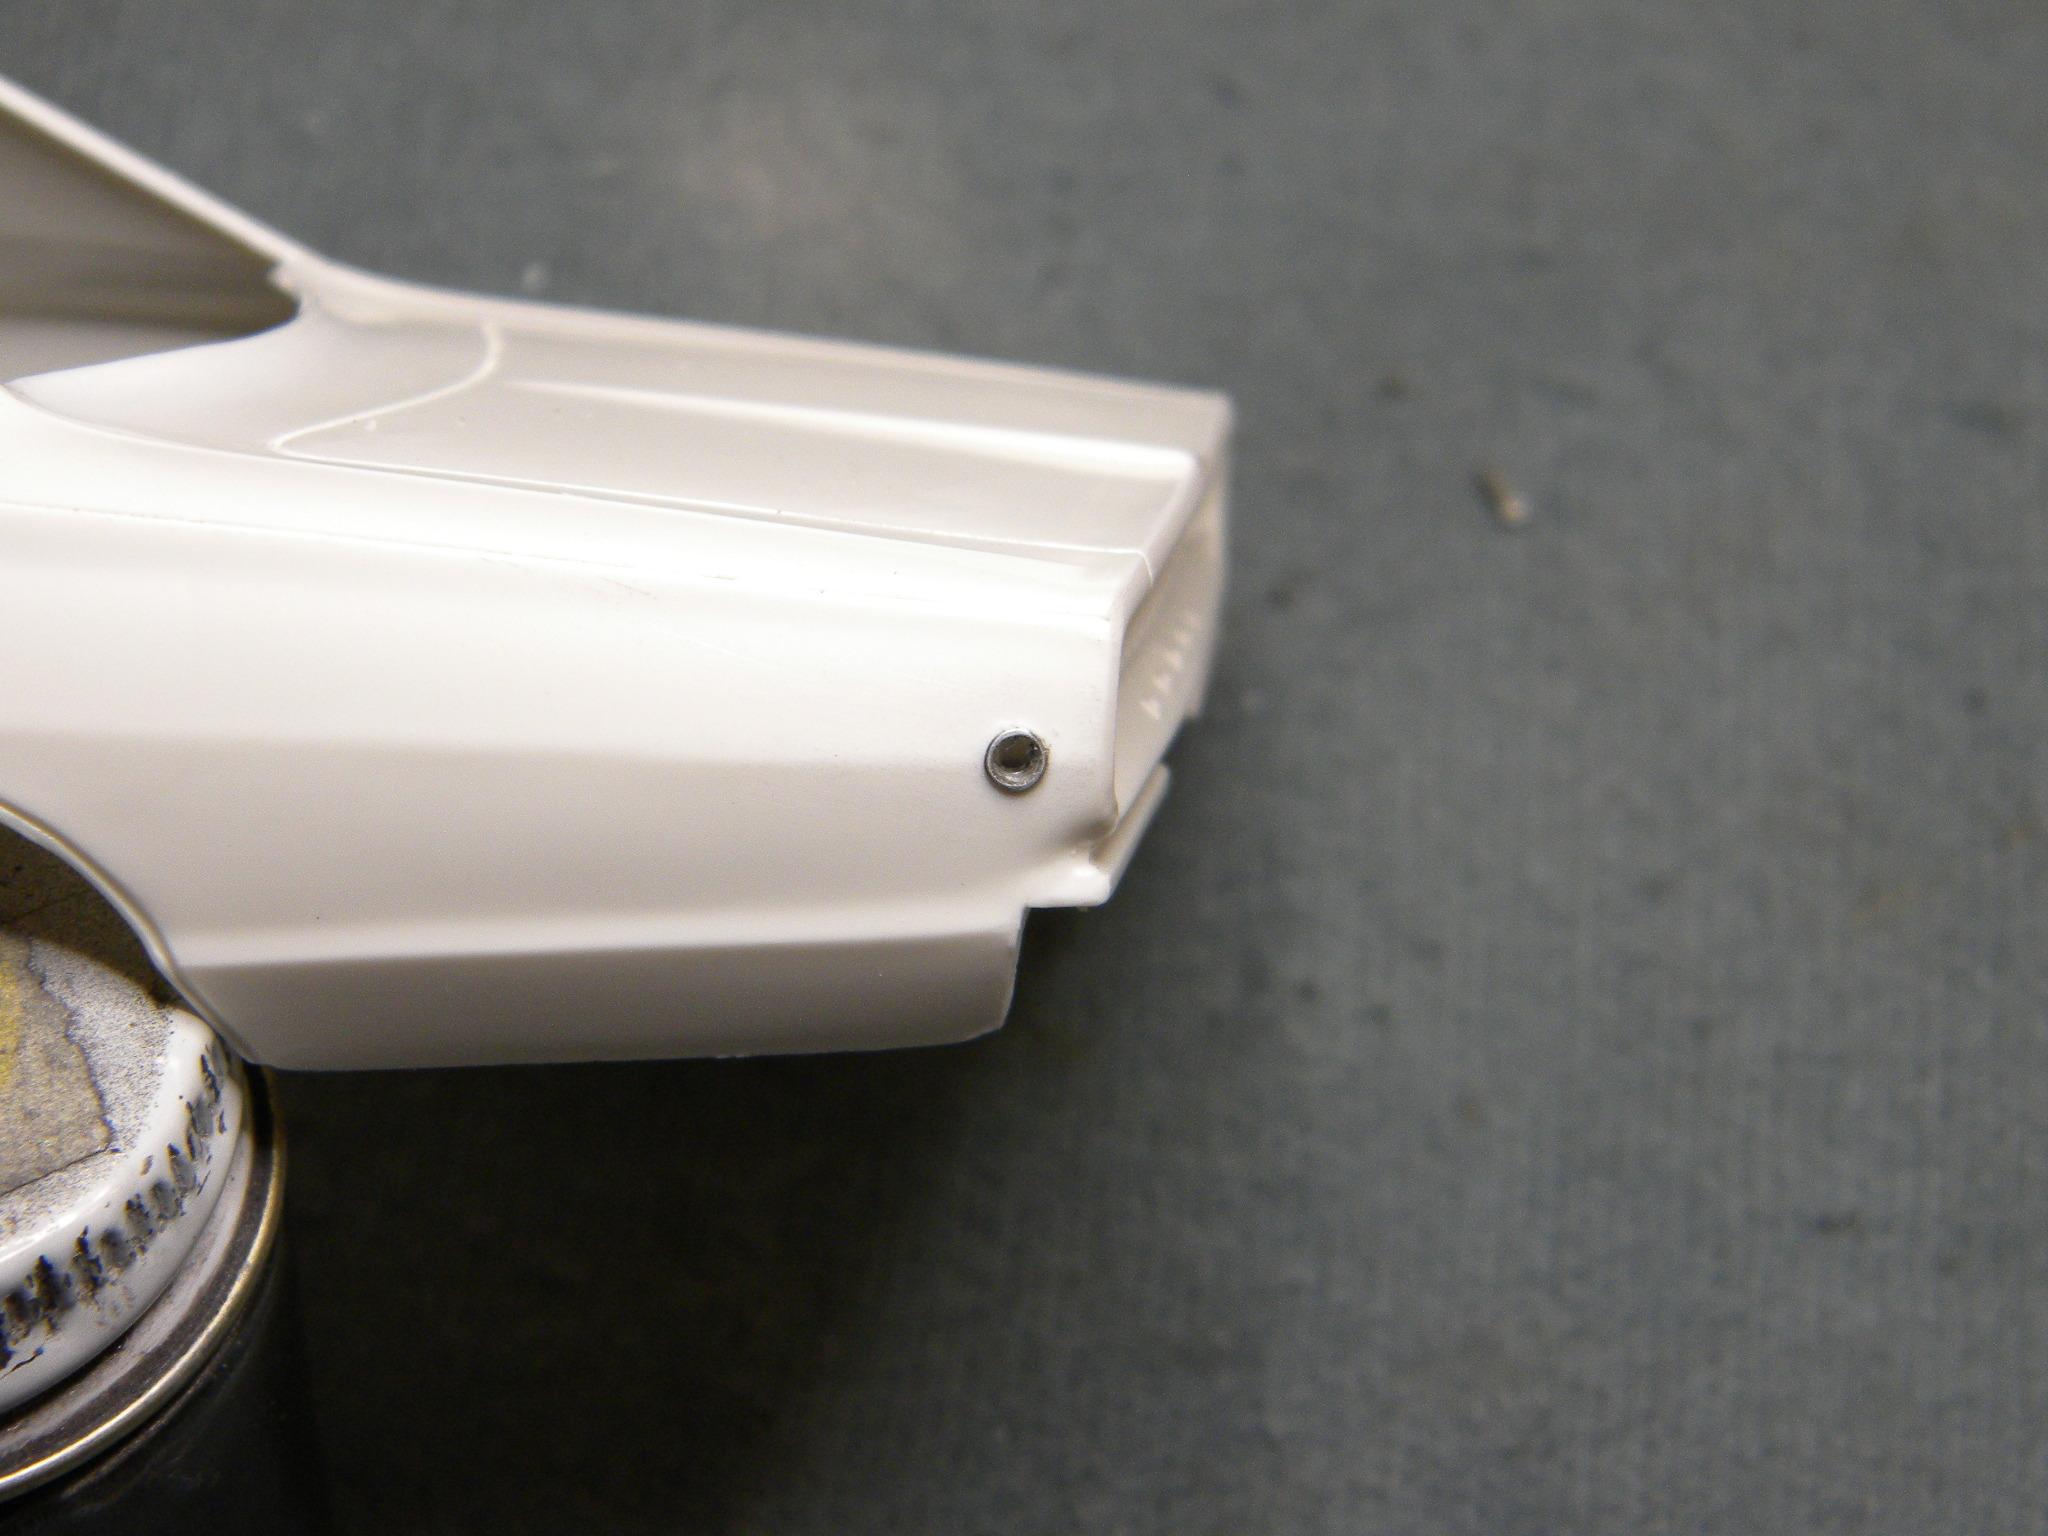
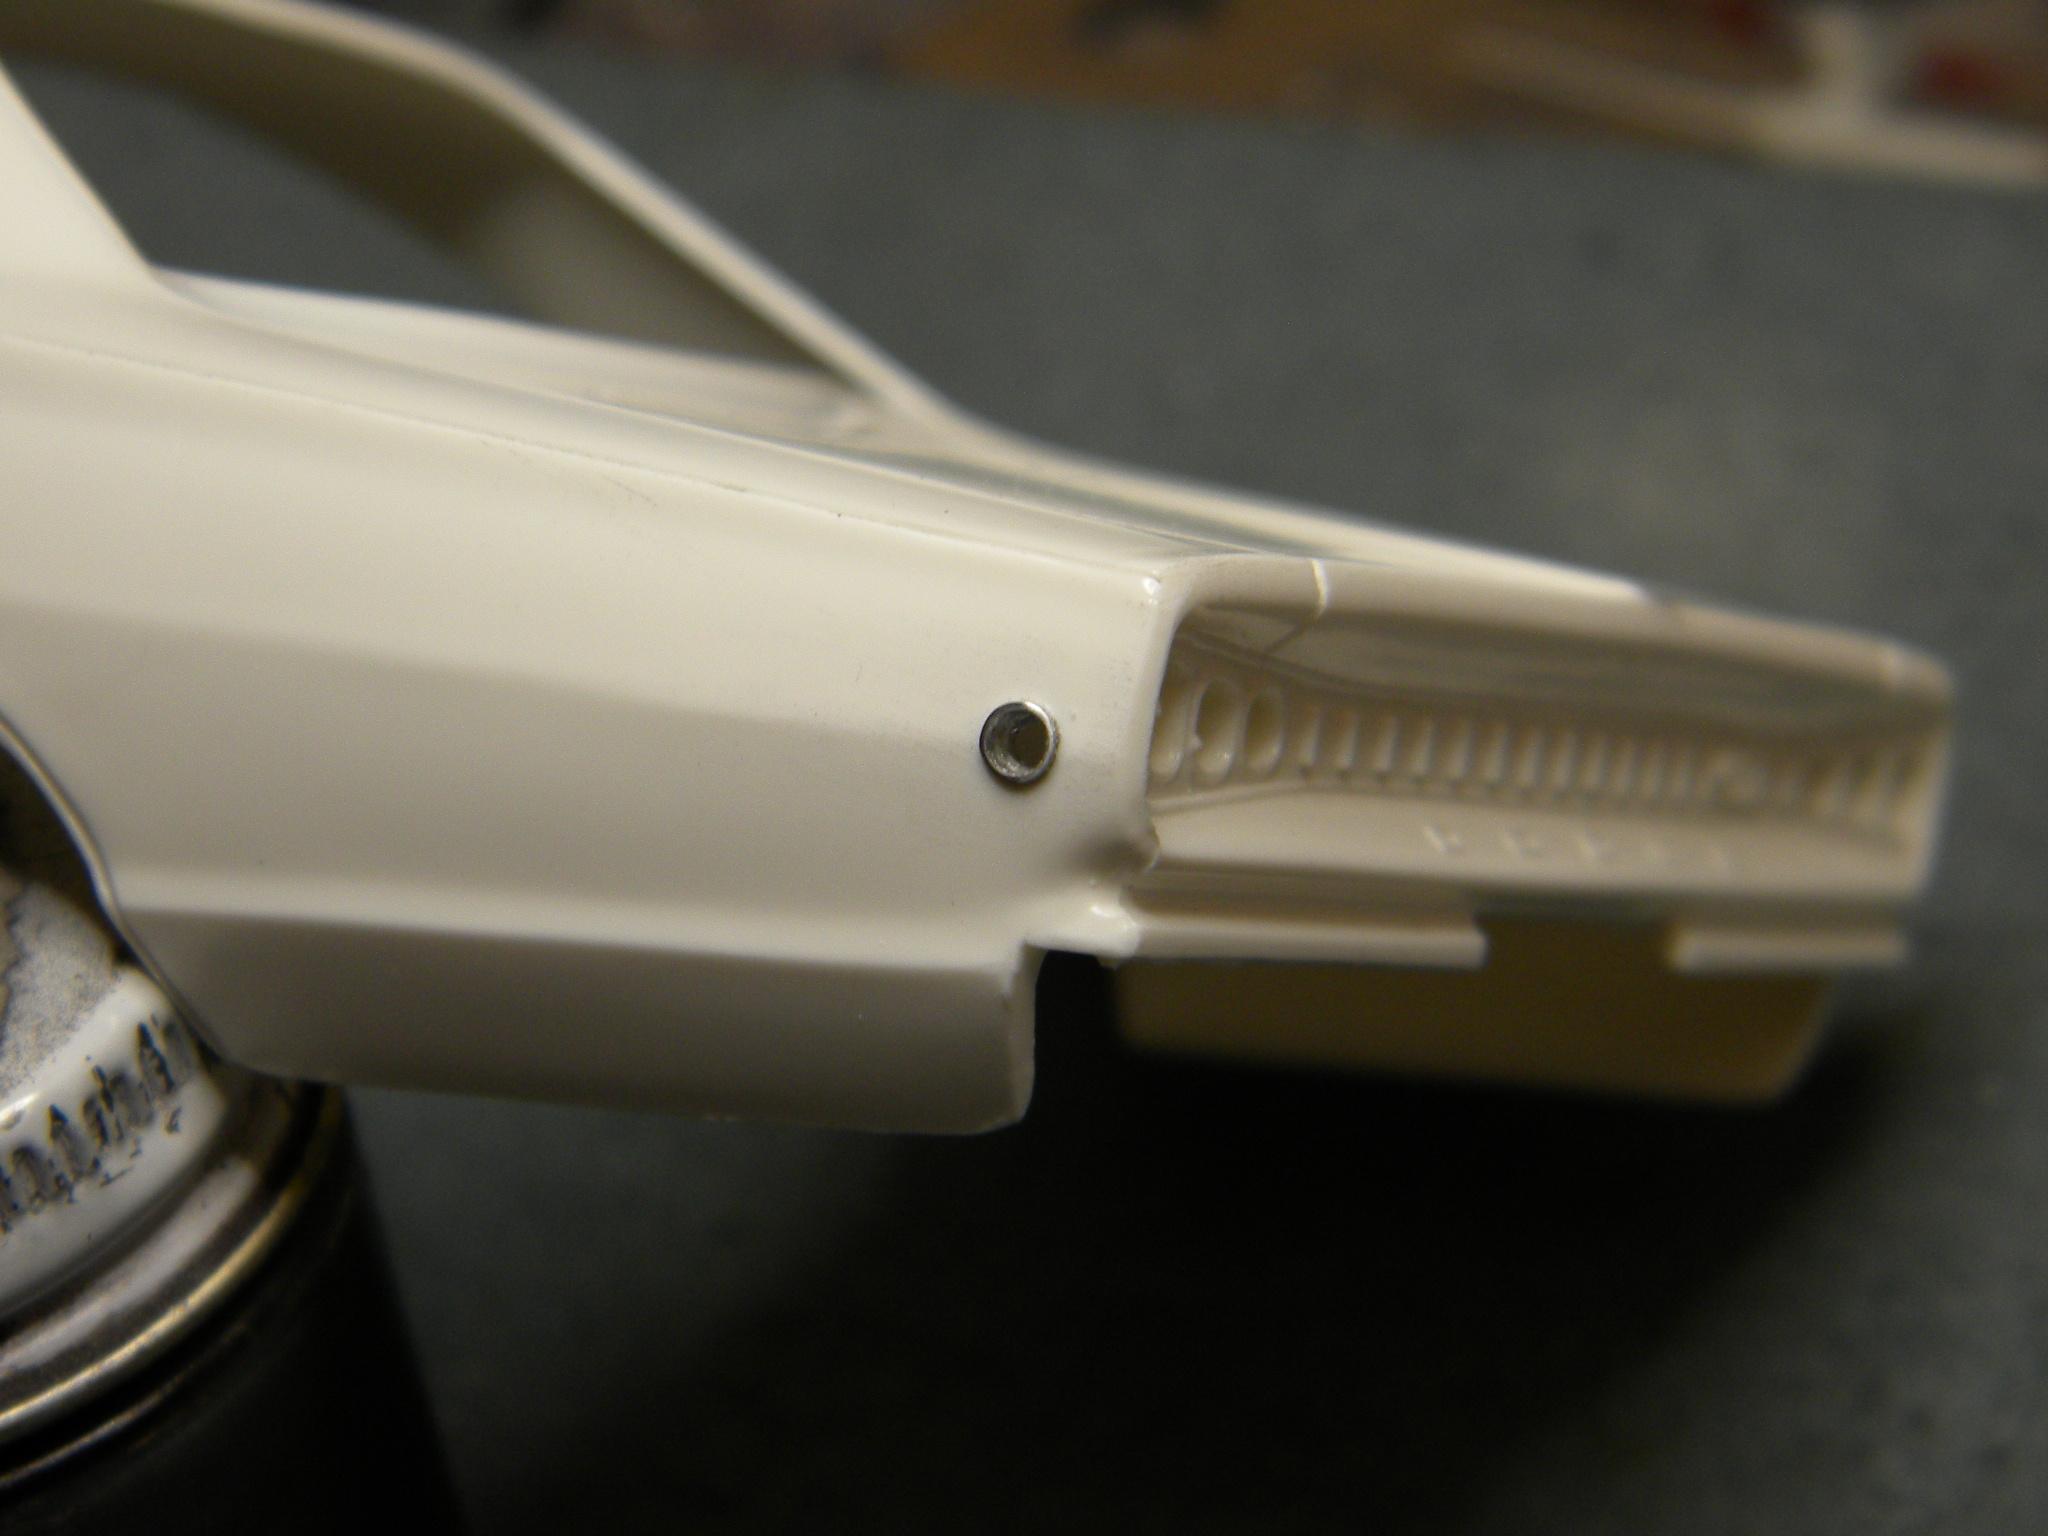
Thanks guys! I've been playing around a little with Greg's (NOBLNG) idea for the marker lights on his '68 Charger to use on this Coronet. I changed the technique just a little by drilling the holes completely through the body and then cutting and polishing about a quarter inch length of aluminum tubing to slip into the hole. This way I figure that I can complete the bezel one of two ways. Either I can add them after all of the painting is finished, (although allowances will need to be considered for paint thickness) or I can install them prior to paint and then reveal them with lacquer thinner in the end as you would a script using the "foil under paint" technique. I think either will work well. I'll just have to ruminate on that a bit. I decided that this was all necessary because there are small sink marks around the front markers that would be difficult to fill and sand with the original markers in place. Lenses I'm not worried about. They can be made with clear or colored sprue and added at a later time. Steve
-
Scale Auto Web Site
StevenGuthmiller replied to Chuckyg1's topic in General Automotive Talk (Trucks and Cars)
Well, I guess that's one more to scratch off of the list. Steve -
It happens to me all of the time. At some point on nearly every project I hit a wall where at least some aspect of the build begins to bore me and occasionally I have a hard time pushing through. Often times, this can be the engine work. Especially if it's something really pedestrian like a typical Chevy or Ford engine. For this reason, I like to add more exciting engine configurations to my models if possible. For my '67 Ford Galaxie, I did a 427 R-Code, a 426 "Super Stock" engine for my '65 Fury, the W-30 400 for my '68 Olds 442 and a 421 Super Duty tri-power motor for my '64 Grand Prix. This sort of alteration can add enough excitement and interest for me to be able to get through it without getting bored. But in the end, I agree. You have to be enthusiastic about the overall project that you're undertaking or it's going to feel like a burden and is not going anywhere. Honestly, I would have a difficult time remaining interested in a '71 Thunderbird. I never particularly cared for this car either. There doesn't really seem to be anything electrifying about this car in general. Honestly, it mystifies me a bit how Ford sold any of these when they were up against other "personal luxury" cars from the era like the Pontiac Grand Prix, Buick Riviera, Chevy Monte Carlo, etc. It strikes me as being a little too pedantic in comparison. Steve
-
I think I understand your point now Steve. I have no knowledge of the Mustang kits that you mentioned. I've never owned any of them, so am not aware of how they stack up against one and other. Steve
-
I think that it might be time for me to exit from this discussion and focus more of my attention on the burden of adding more modern elements to a poorly detailed MPC 1968 Dodge Coronet kit. I believe it's referred to as "modeling". Steve
-
Sorry Joe. I believe that I may have misread your post. My bad. Steve
-
No Joe, it's actually just my opinion. Steve
-
Maybe "pioneered" is the wrong term, but AMT, SMP and Johan brought model car kits to the masses. The kits that you mention may have come before, but I still believe that it was the above mentioned producers that really brought about the model car kit craze which accelerated exponentially during the 60s. Steve
-
I'm looking forward to modifying it. Maybe into a can of Campbell's Tomato Bisque. Steve
-
That's not my point. I'm talking about subject matter, not quality. I don't even consider Tamiya model kits because they produce nothing of interest to me. That's what I meant when I compared a Porsche to a '63 Chevy. Steve
-
I really don't even consider price and how it corresponds with the contents of the box when it comes to purchasing a model. The subject is the most important component, at least for me. I will gladly pay $55.00 for a kit that I really want to build, regardless of detail level, but I won't give a plug nickel for a 300 part kit that holds no appeal to me. Steve