StevenGuthmiller
-
Posts
15,086 -
Joined
-
Last visited
Content Type
Profiles
Forums
Events
Gallery
Everything posted by StevenGuthmiller
-

Fake is Dumb
StevenGuthmiller replied to Greg Myers's topic in General Automotive Talk (Trucks and Cars)
Personally, I find very few of the referenced fakery "dumb". It's all about style and what the consumer likes at the time. I don't have any issues with fake scoops, simulated wood grain, etc. Some of our most iconic cars have fake components that added a very nice styling touch. The '58 Impala just wouldn't be the same without the front fender port holes and rear quarter and roof vents. Steve
-
Fake is Dumb
StevenGuthmiller replied to Greg Myers's topic in General Automotive Talk (Trucks and Cars)
The Prius looks particularly stupid! Looks like he found some old rags around the house and glued them on. It seems to be missing something though. Oh, I know!............The Bernie Sanders bumper sticker! Steve -
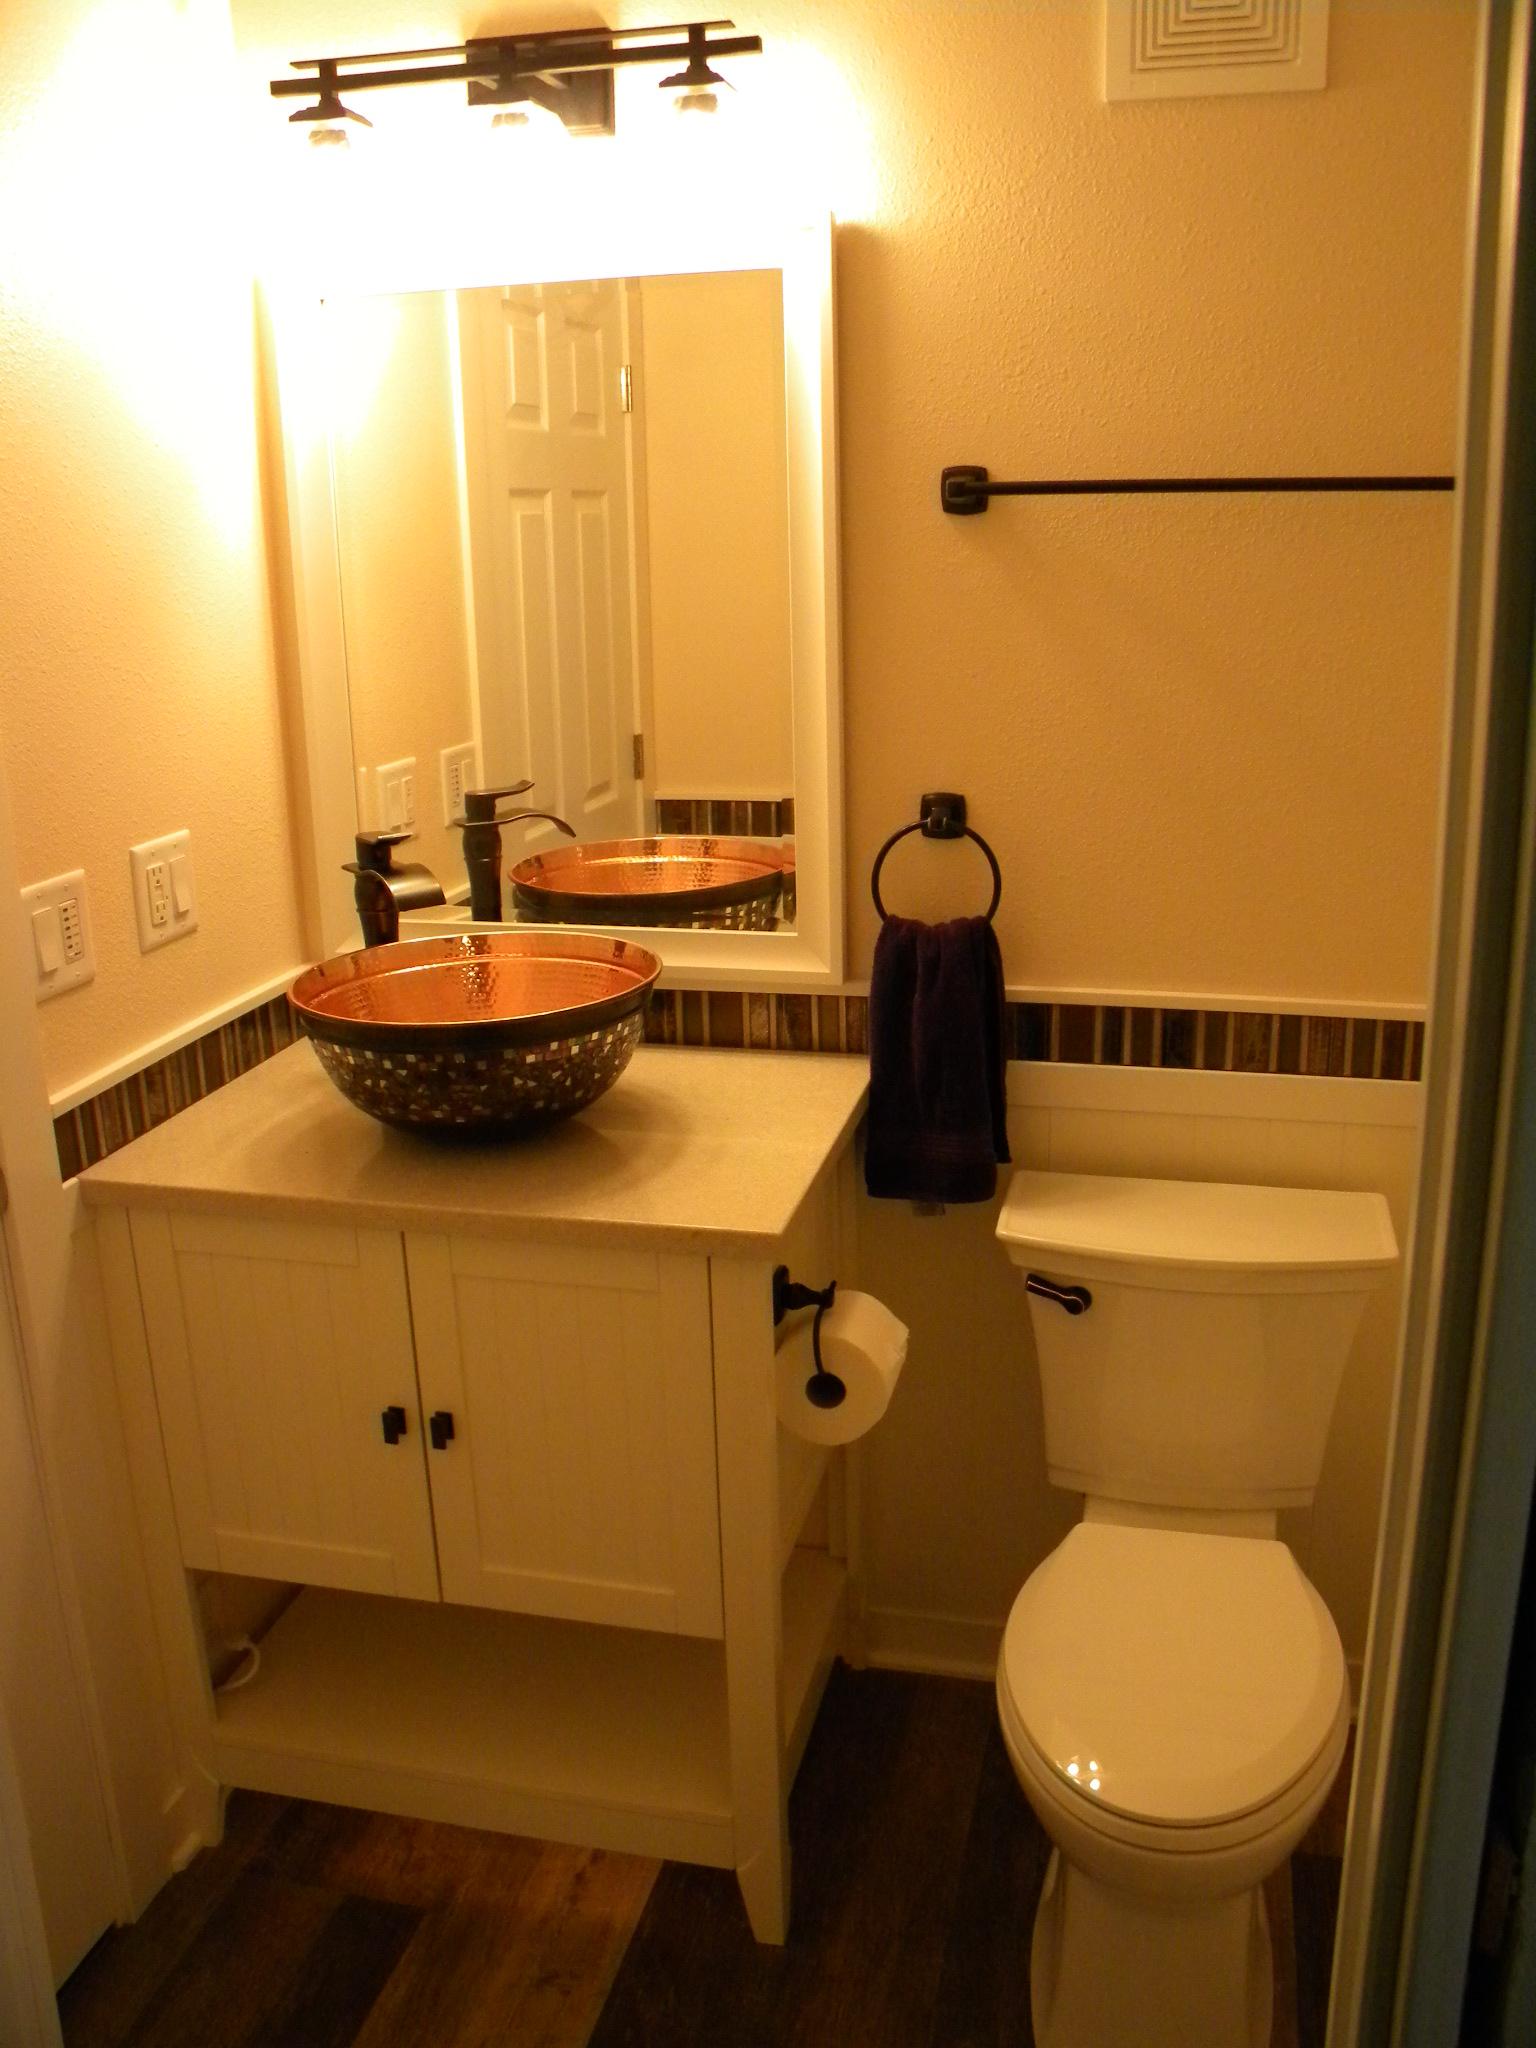
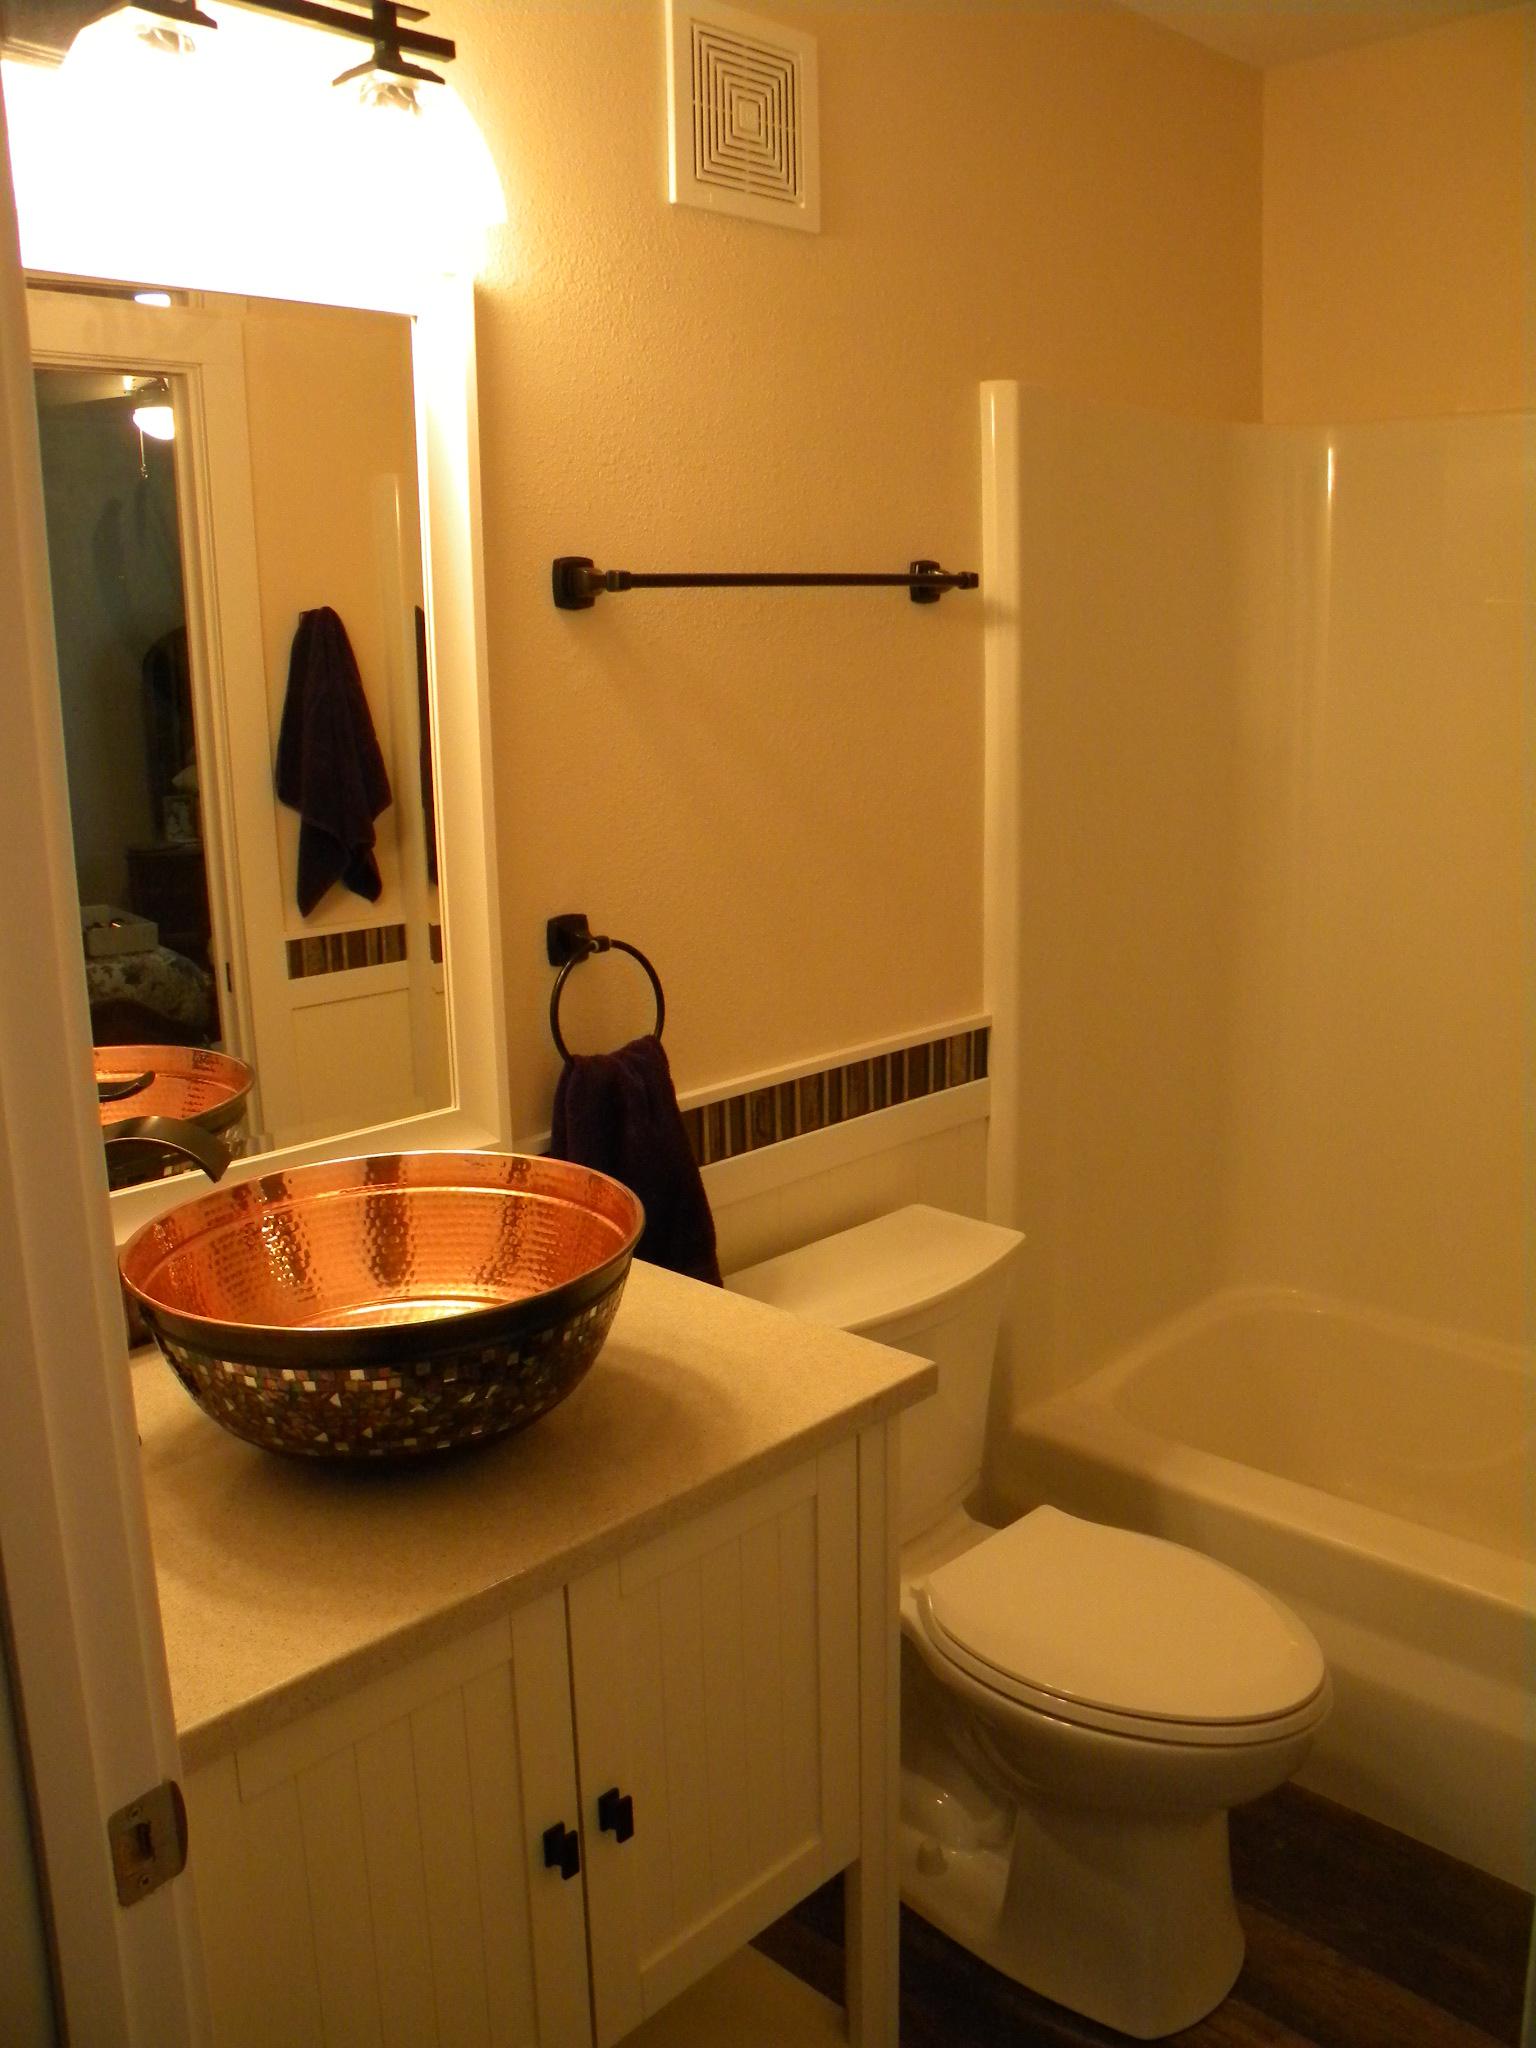
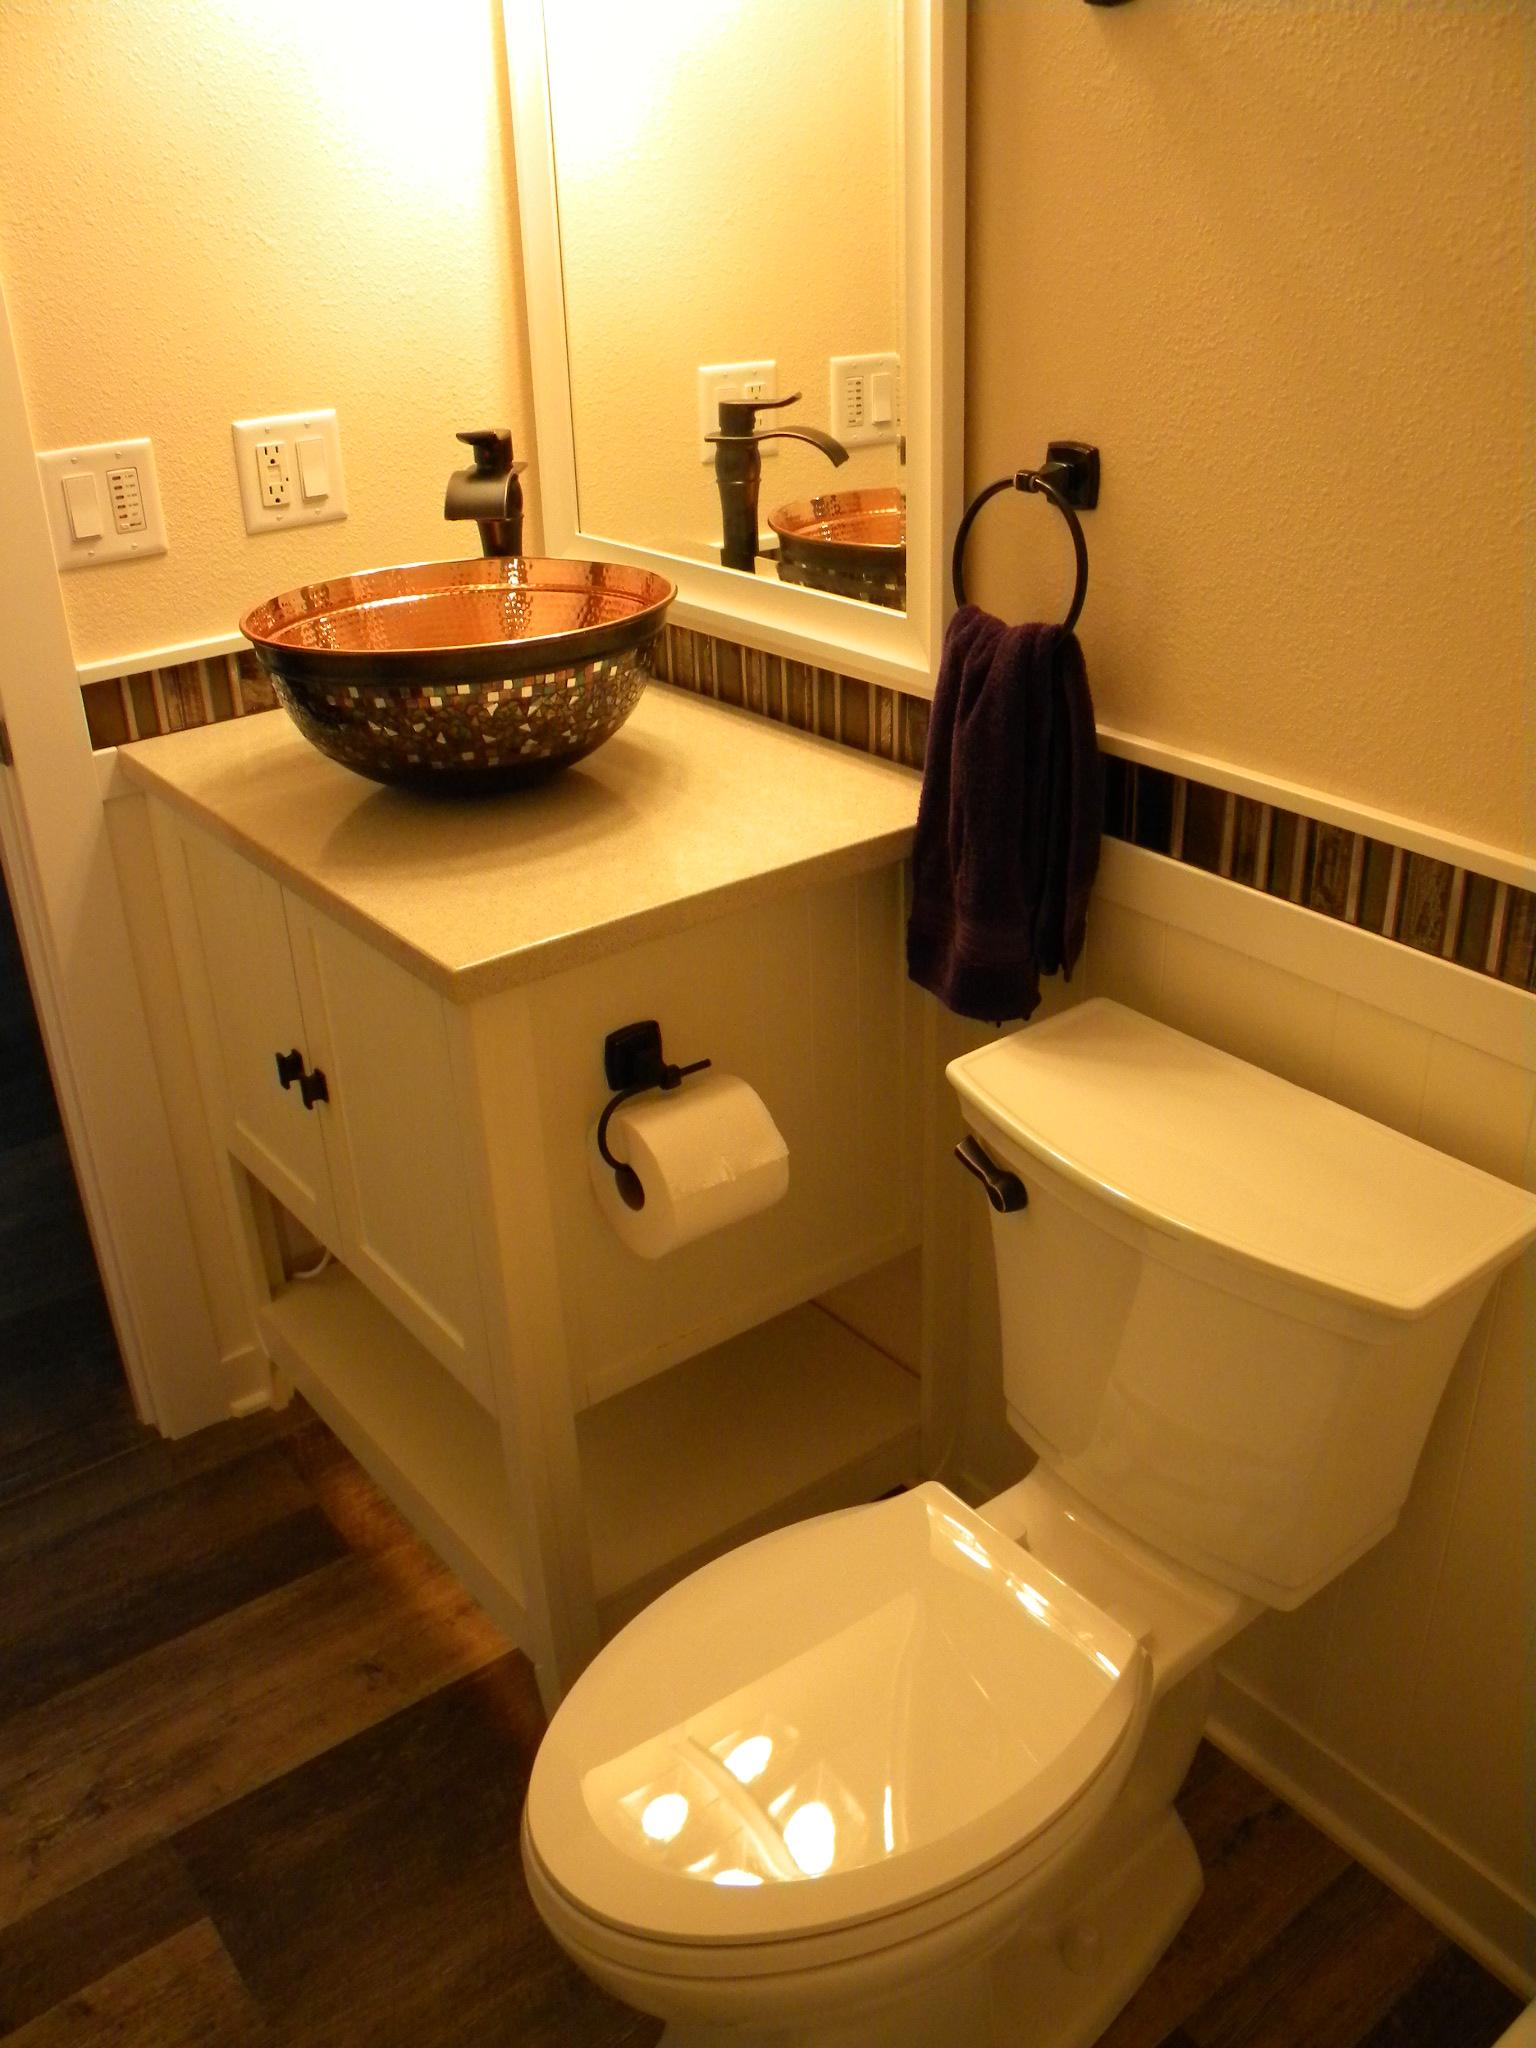
I think I've finally finished this project! Only took me 6 months! But you know how it goes. Not a lot of extra time for projects such as this in the summer when there is yard work and other stuff that needs to be done. Still need to put up a shower rod and curtain, and will replace the shower hardware at some point, but at least the major stuff is done. Everything has been replaced except the tub.
-
Revell 1963 and 1962 Impala question
StevenGuthmiller replied to berr13's topic in Model Building Questions and Answers
I agree. I can't imagine that there would be much difference between the Revell '62 and '63 Impala chassis. Steve -
Revell 1963 and 1962 Impala question
StevenGuthmiller replied to berr13's topic in Model Building Questions and Answers
Revell also has their own '62 Impala hard top kit. I suppose that I should have clarified that I was using the AMT '62 Belair chassis under the AMT '63 Impala body. As I stated, If I were going to build a nice '63 Impala, I wouldn't use the Revell '63 as a starting point. Far too many inaccuracies in the body proportions. The AMT body is much more accurate. Revell '62 Impala kit. Steve
-
I took the tape suggestion to heart as well, although I just wrapped a piece of regular masking tape around the teeth. Making the toothed area flat with a piece of tape aids in securing small parts while the glue sets. I hadn't used any "Plastic Weld" glue for a long time, so I ordered some recently. I'm glad that I did. It works a LOT better than super glue for gluing these small trim pieces in place. Steve
-
Revell 1963 and 1962 Impala question
StevenGuthmiller replied to berr13's topic in Model Building Questions and Answers
That's true. The Revell '63 chassis might be a better swap into the AMT body. The Revell body is a mess in my opinion. But the chassis and interior might drop right into the AMT body. Steve -
Fake is Dumb
StevenGuthmiller replied to Greg Myers's topic in General Automotive Talk (Trucks and Cars)
I guess if we're really getting into "fakeness", there haven't been many cars built in the past 50 years that don't have "rich Corinthian leather", (vinyl) instead of real leather. Or how about fake wood grain in interiors and exteriors. If we are really going to explore "fake", it likely includes every car ever built in some form. Steve -
Hello from Berlin / Germany
StevenGuthmiller replied to RockinRoller's topic in Welcome! Introduce Yourself
Some pretty nice work there Oliver! The '72 Ford Torino is sweet!!!! Steve -
Revell 1963 and 1962 Impala question
StevenGuthmiller replied to berr13's topic in Model Building Questions and Answers
I started that exact modification many years ago and just like any chassis swap, it will require a little work. Mainly with the engine bay details. But it should be a relatively easy swap. Steve -
Fake is Dumb
StevenGuthmiller replied to Greg Myers's topic in General Automotive Talk (Trucks and Cars)
Anything with these on it. Steve
-
Very possibly! I don't think much changed in the basic platform from '68 to '72, but I'm certain that the Olds experts will have all of the details on that. I don't have one of the Revell Cutlass', and there is very little difference between the '68 and '69, So I figured I would use the MPC '69 for the base. Even the upholstery pattern is nearly the same between '68 and '69. Steve
-
All great looking builds! But I would give you all three of the others for the El Camino! That's just plain pretty!! Steve
-
You are more than welcome Brandon. I hope that you will enjoy it. Steve
-
Fake is Dumb
StevenGuthmiller replied to Greg Myers's topic in General Automotive Talk (Trucks and Cars)
This stuff is all just styling cues, and you have to admit, many of these cars that you pictured above wouldn't be the same without all of the "fake" stuff. I would take a '57 Buick with fake portholes all day long over some of the modern super cars and all of the ridiculous looking scoops, vents, fins, etc, covering them from stem to stern, whether functional or not. Steve
-
What Did You Have for Dinner?
StevenGuthmiller replied to StevenGuthmiller's topic in The Off-Topic Lounge
Tonight was homemade "Loaded Baked Potato Soup" with cheddar cheese, bacon and scallions. Steve
-
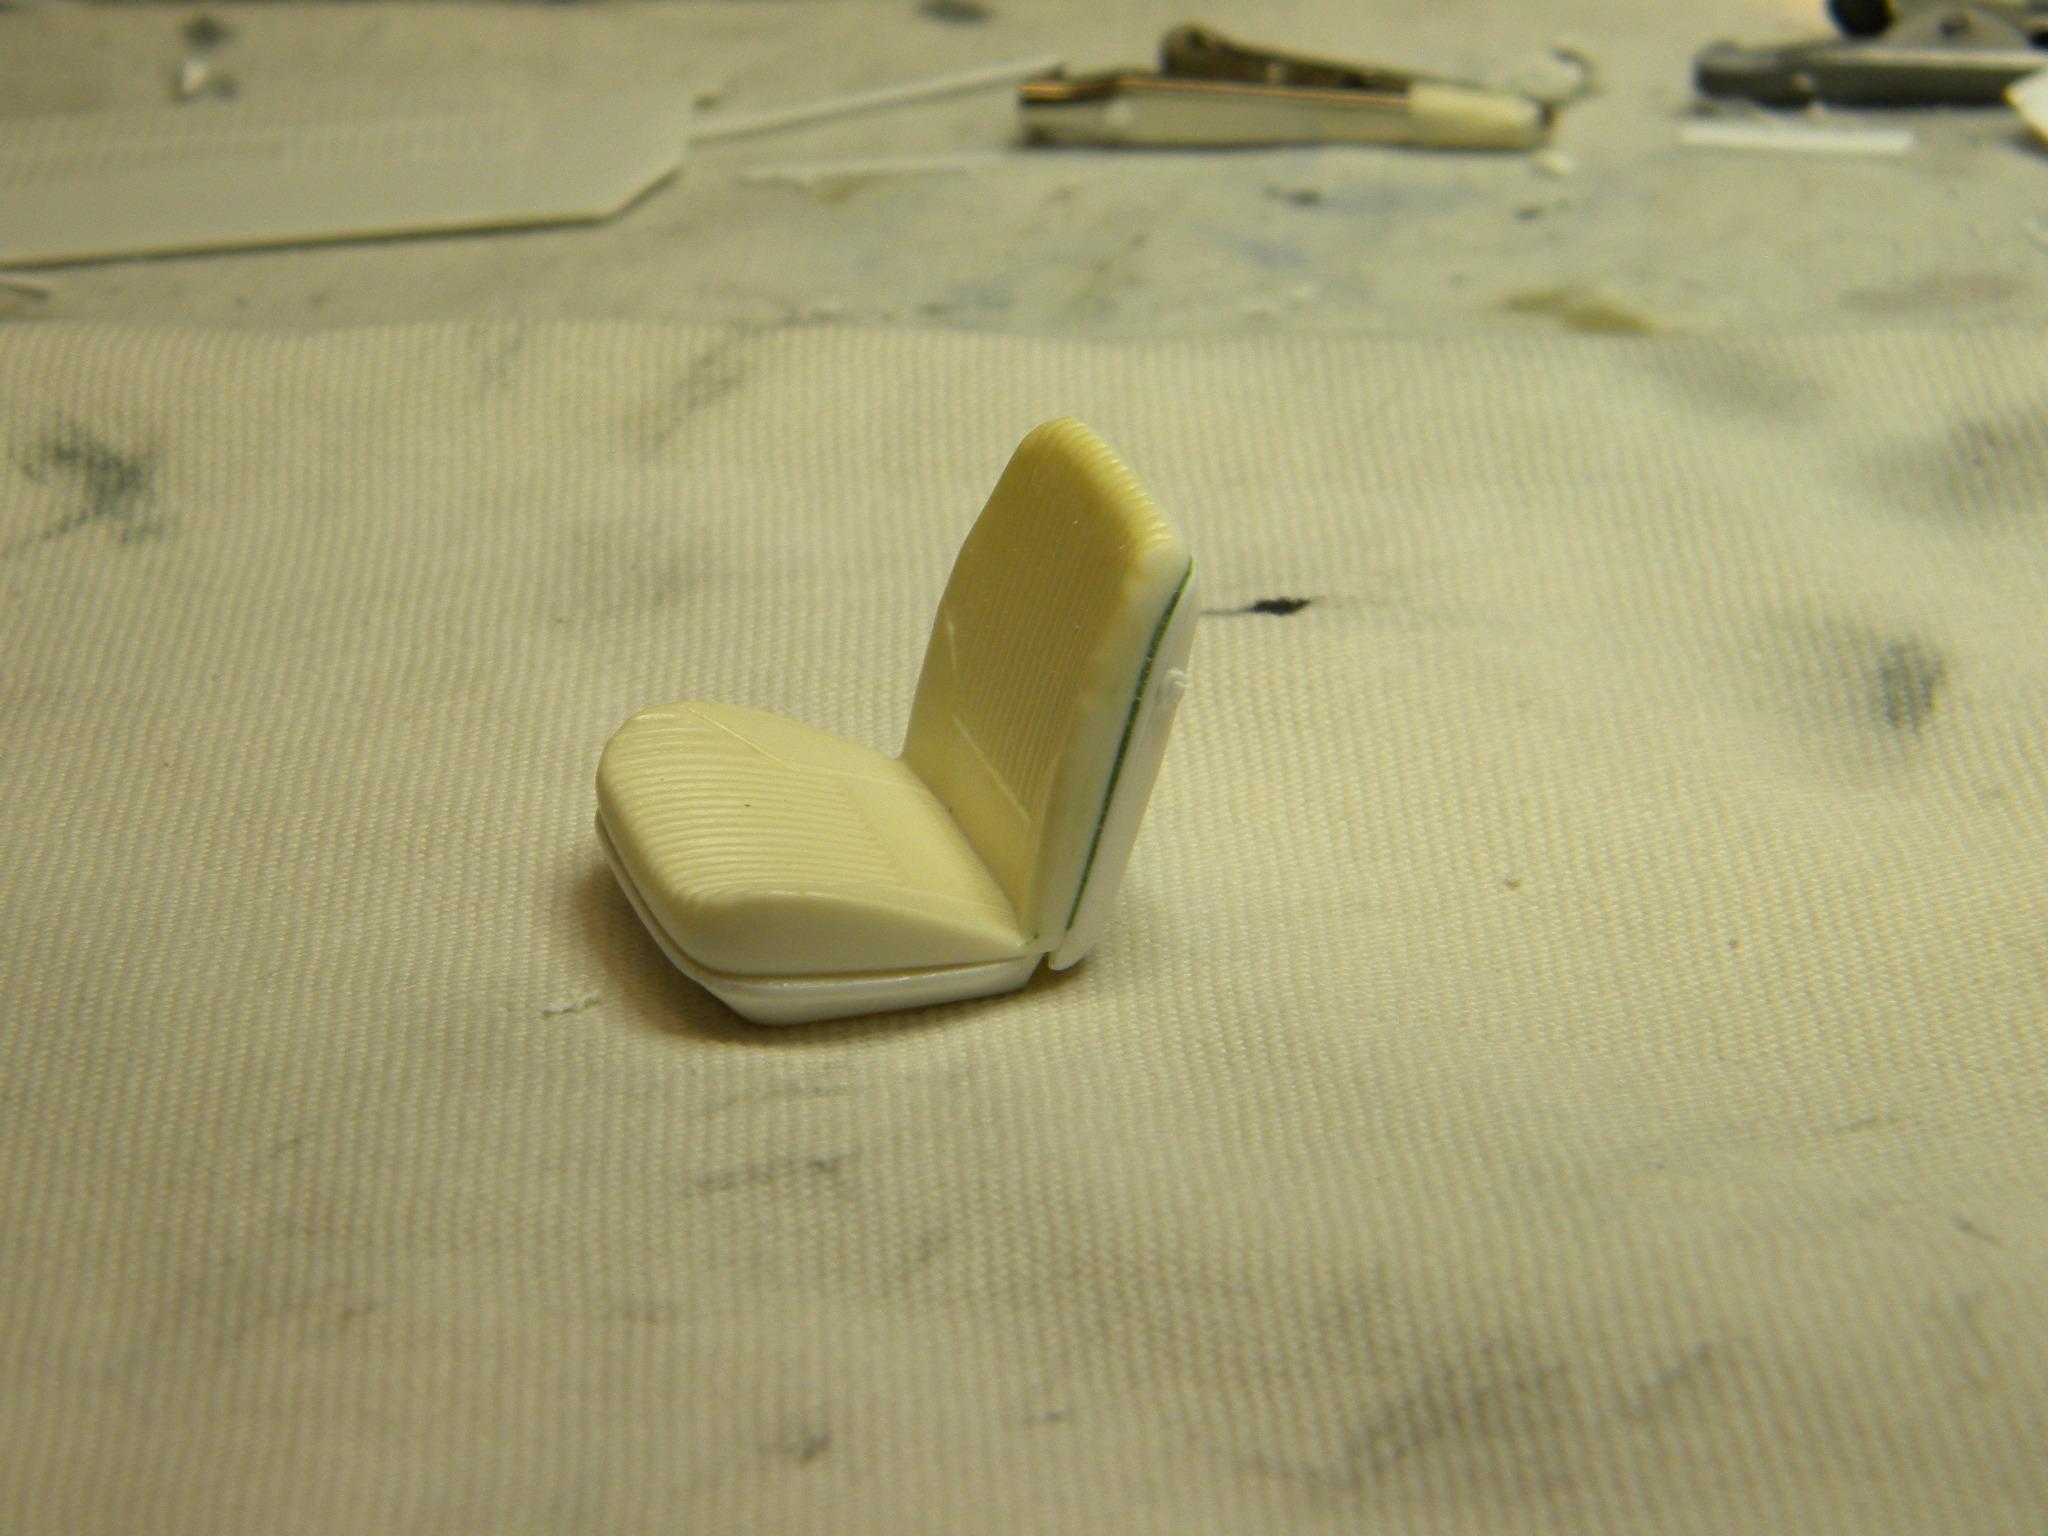
Thanks Keith. I'm not sure how noticeable they will be once the seats are in the model, but in my research looking at interior pictures, it's one of the first things that always jumped out at me when looking at the front seats. They weren't difficult to do, so I whipped them up quick. Steve
-
Fireball Modelworks
StevenGuthmiller replied to Super28's topic in Car Aftermarket / Resin / 3D Printed
I'm assuming that George will be doing a tri-carb set up from the early to mid 60's to fit kits such as the Moebius '61s and some of the GTO kits. He has informed me that an intake and carbs are in the works. I'm going to use them for several mid '60s kits including the AMT '64 Grand Prix and '64 Bonneville kits. Steve -
Thanks everybody! The front seats are nearly finished and ready for primer. But I couldn't resist adding one more little detail. The seat back buttons. Steve
-
1971 Mercury Cyclone restoration finally finished..
StevenGuthmiller replied to thatz4u's topic in Model Cars
I'd love to get my hands on one of these. Nice work Al! Steve -
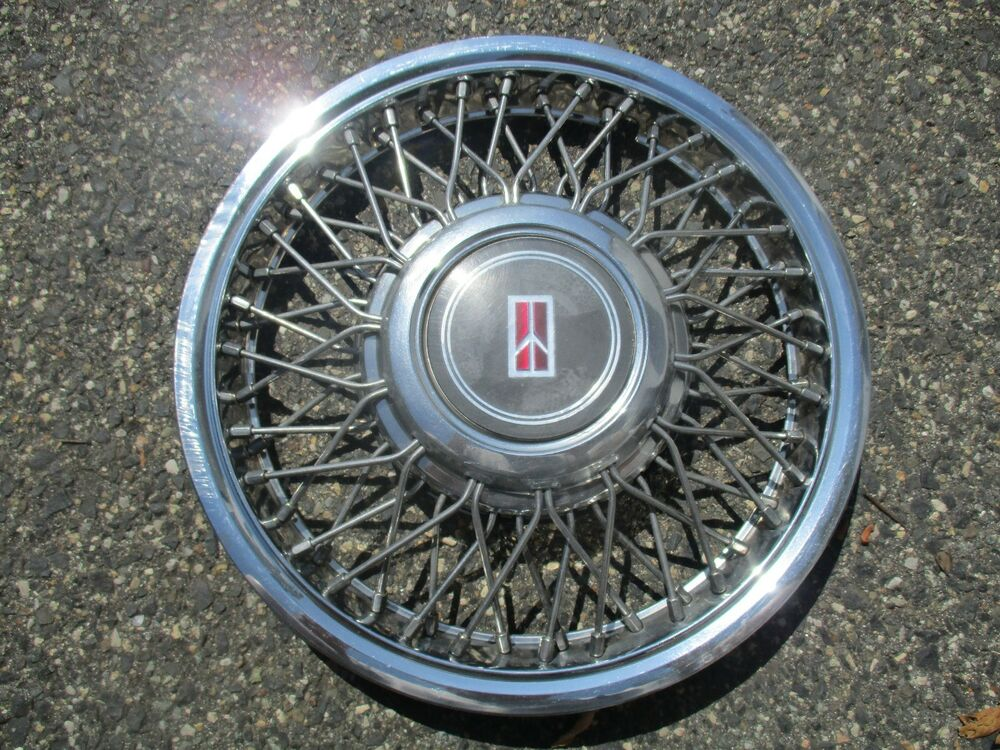
1968 Olds 442 Wheel Options
StevenGuthmiller replied to StevenGuthmiller's topic in Model Building Questions and Answers
I appreciate the thought Steve, but I would rather not have to refinish the wheels. I should have enough options available to me if I decide to use the Magnums. Thank you very much for the offer though! Steve -
Thank you Lorne! I used a mixture of Alclad "Polished Aluminum" with just a drop of Alclad "Pale Gold". It gives the carbs a metal like look with a slight gold hue without being too gold. I save a quarter of a bottle of Polished Aluminum, add enough Pale Gold to achieve the color that I want and then keep it on hand just for carbs. Steve
-
Nice work! The color is beautiful! Steve
-
Nice! This is another one of those colors that is almost impossible to discern from black in artificial light. Some out door shots will really bring out the color. Steve
-
If you're using just regular flat black as primer, yes, there is a difference. If you're using black primer just as a basic flat black finish, no there is not. I won't pretend to be a chemical engineer and give you all of the technical data on the properties of primer, but let's just say that it is designed to create a suitable surface for the paint to adhere to. Flat black paint is a finish. If you're using a simple hobby enamel paint system, you can use virtually anything as a primer. If you're using something like automotive lacquer, I wouldn't even try a generic flat black paint for a primer. It's a recipe for disaster. Steve