StevenGuthmiller
-
Posts
15,071 -
Joined
-
Last visited
Content Type
Profiles
Forums
Events
Gallery
Everything posted by StevenGuthmiller
-

Why is my coat so splotchy
StevenGuthmiller replied to Milo's topic in Model Building Questions and Answers
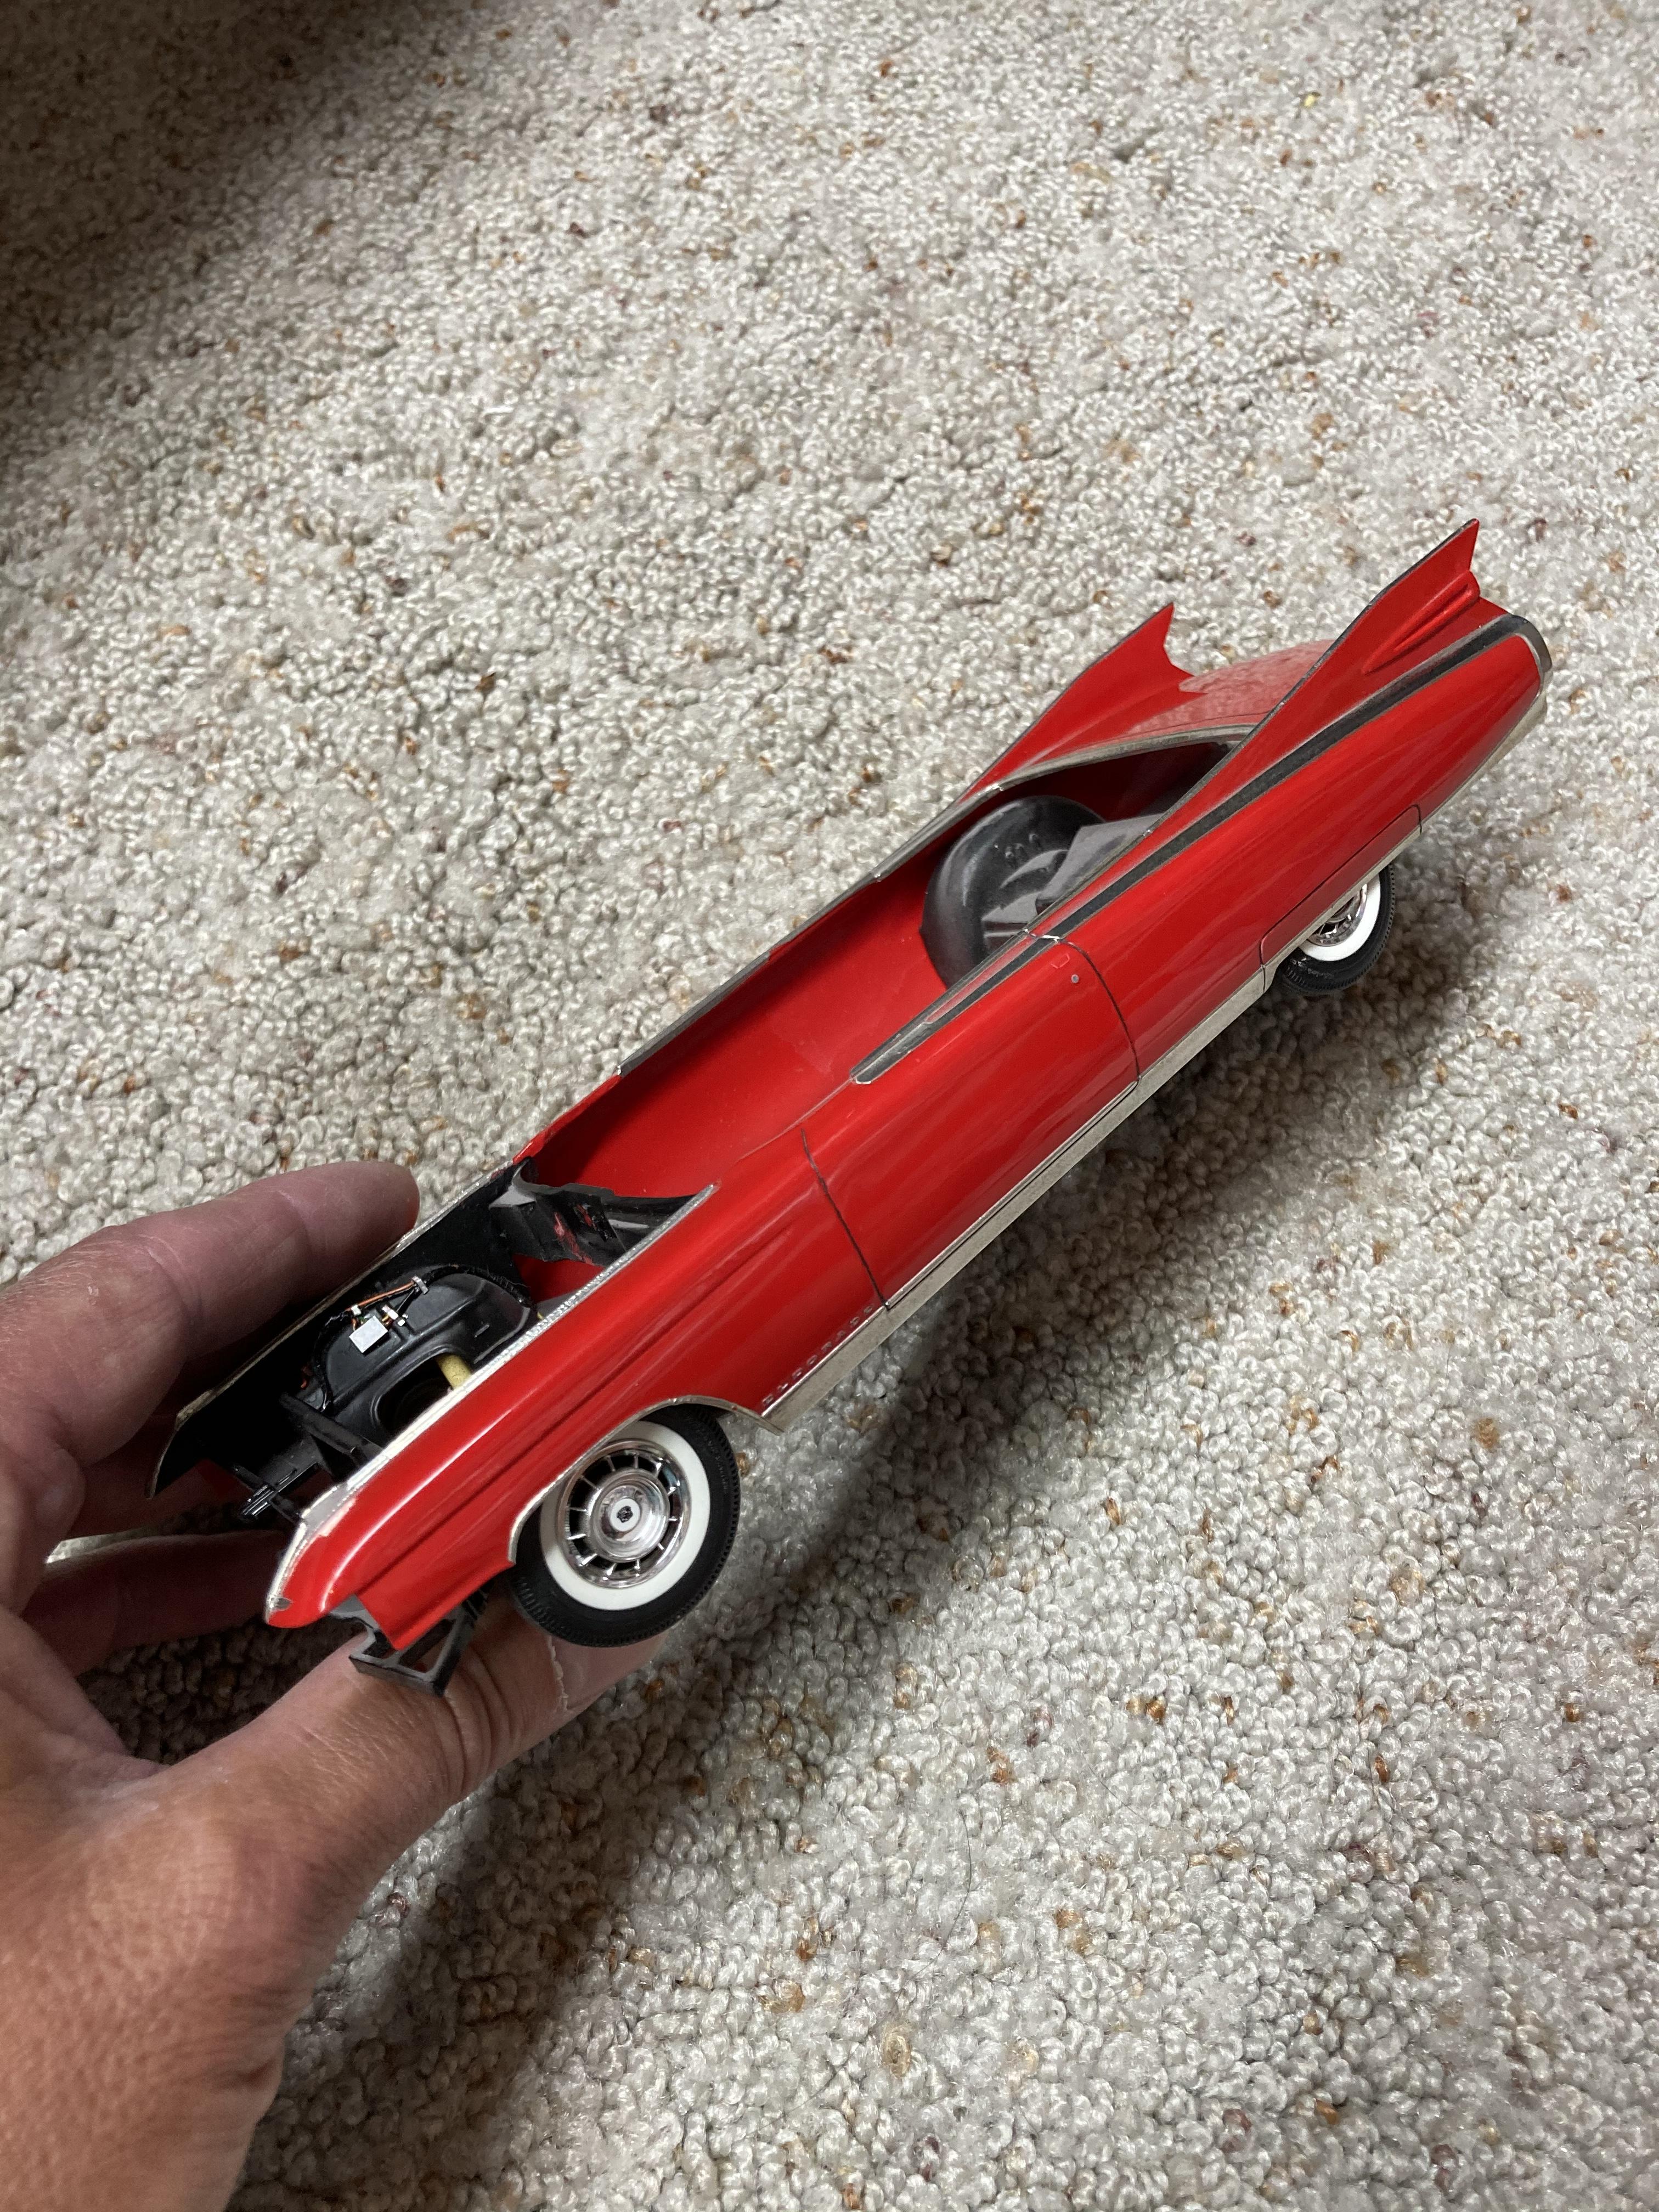
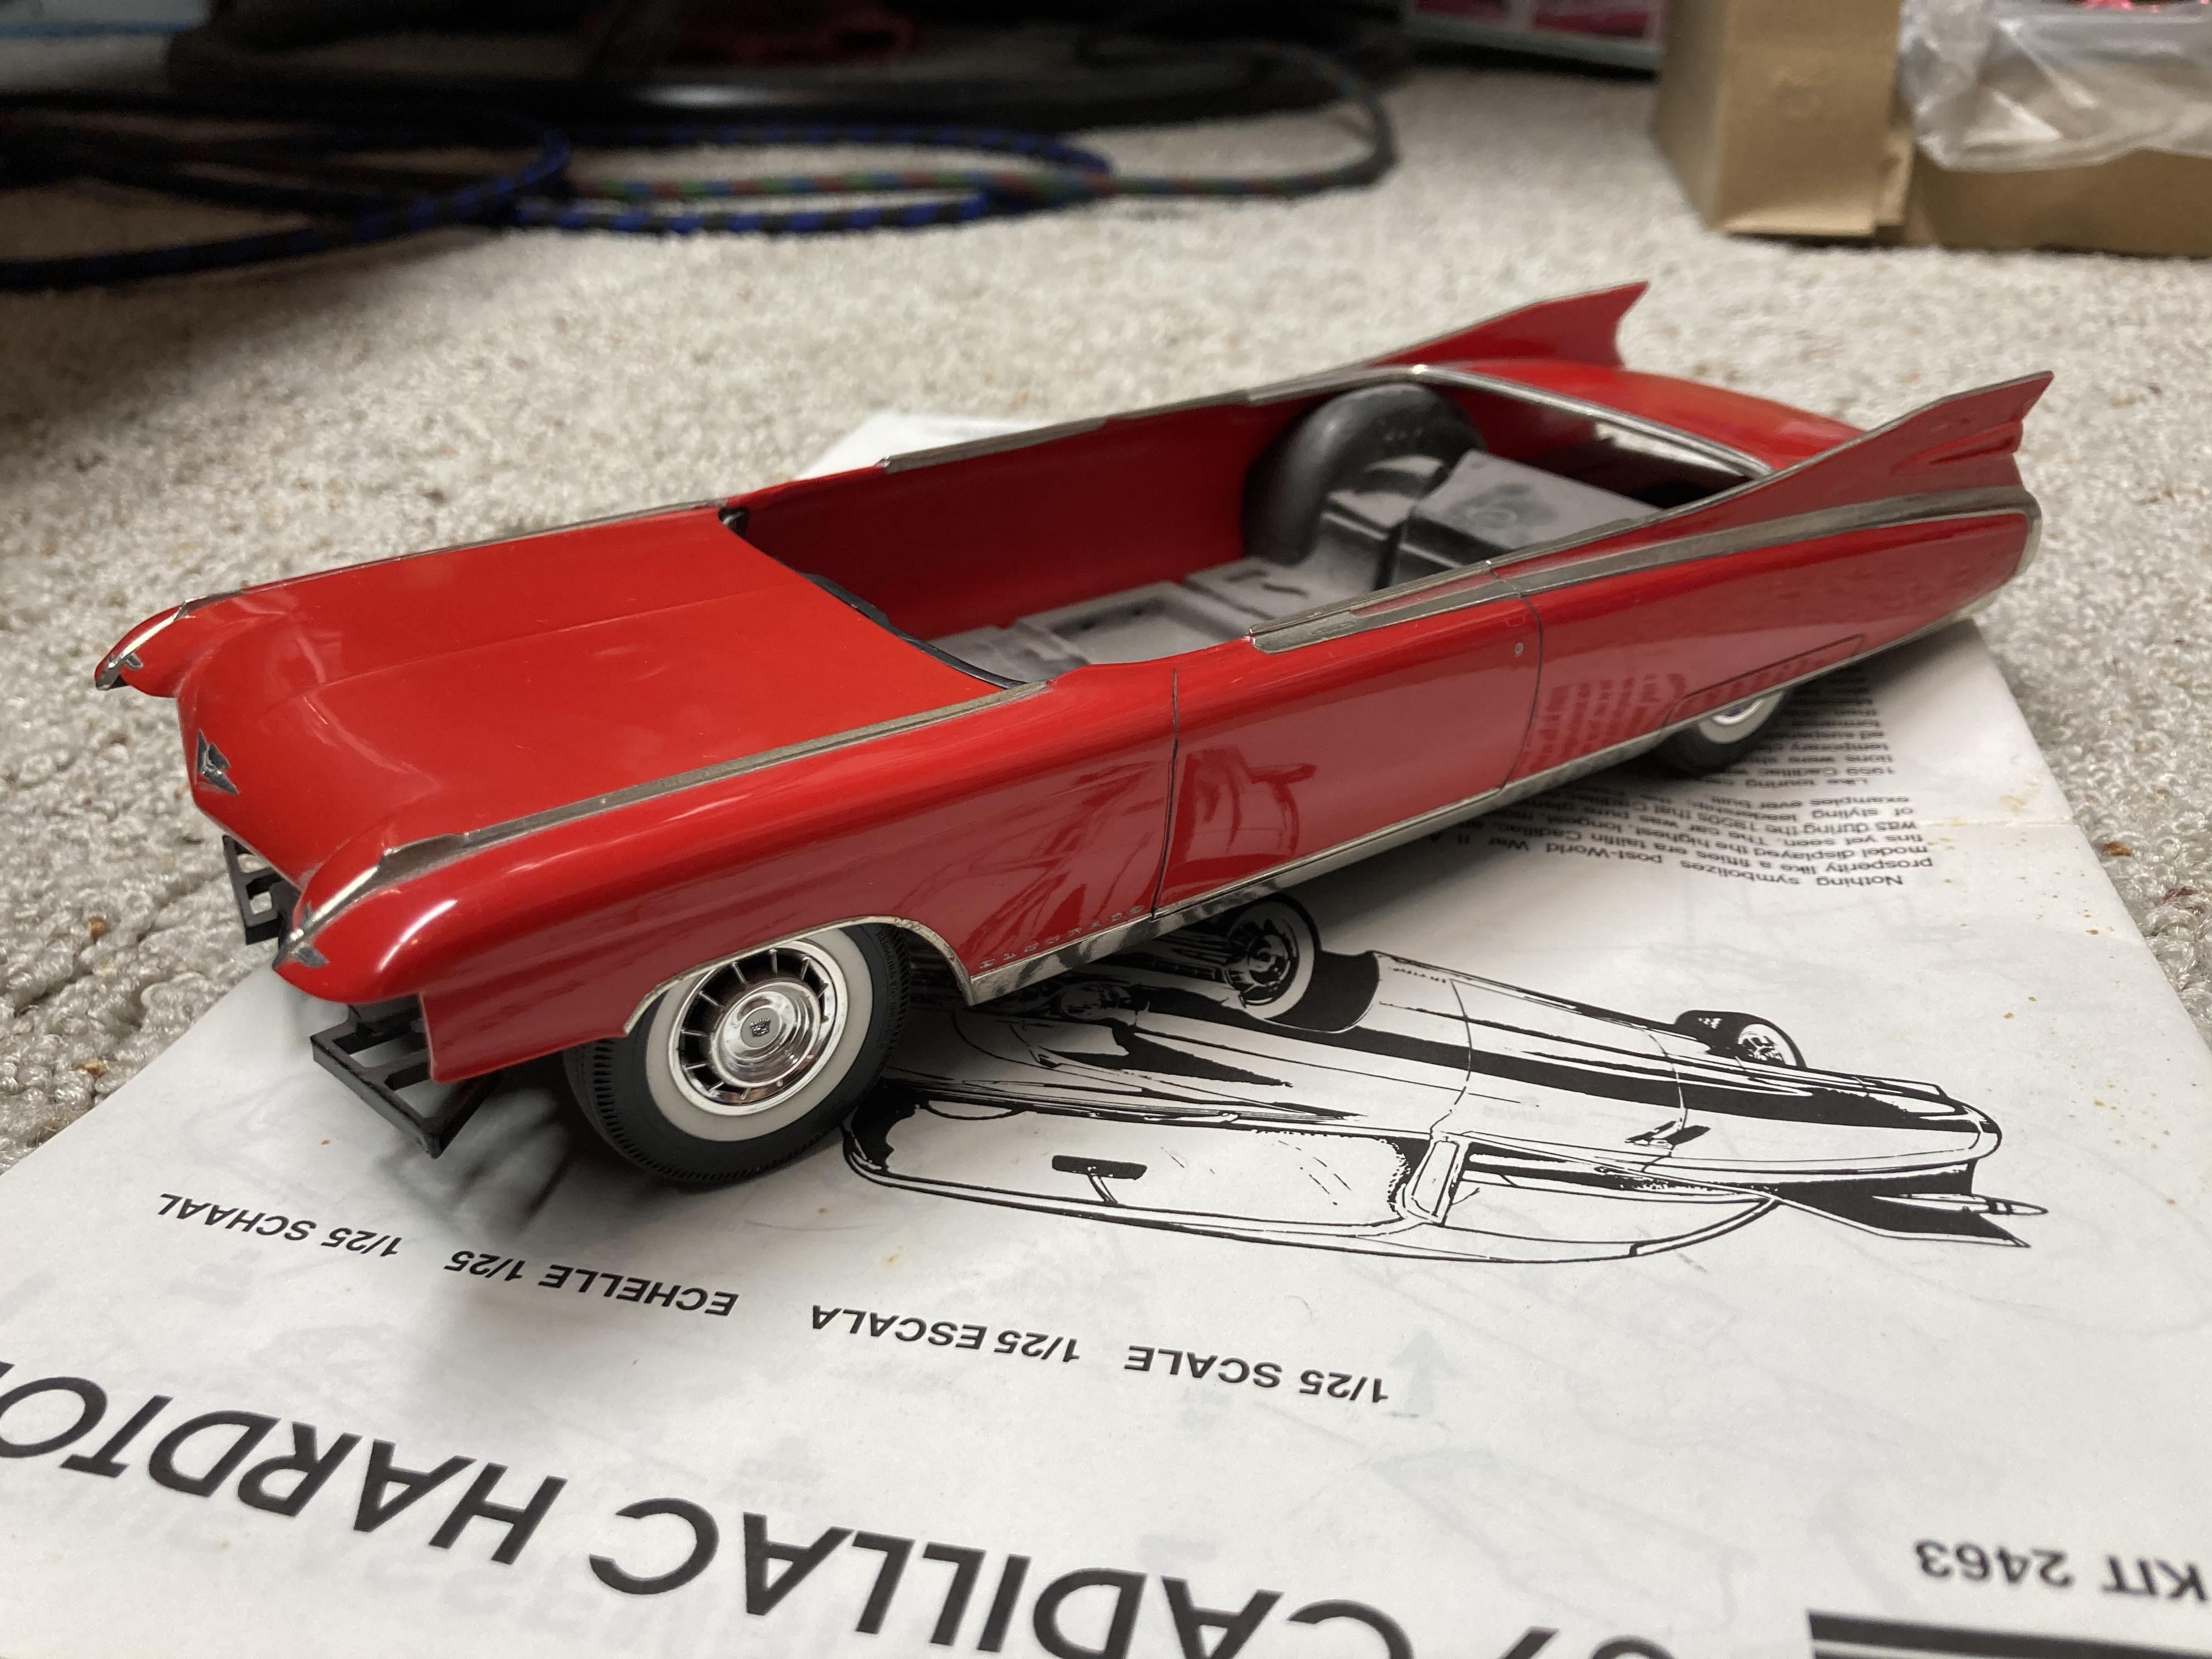
My Opinion? You’re getting WAY ahead of yourself. If you insist upon using enamels, which it appears you have, and there’s nothing wrong with that, forget about the clear coat for the time being. It’s completely unnecessary. Buy a few cans of Testors enamel spray cans and practice your painting technique before you dive headlong into all of the other intricacies of painting. Get down the basics like distance from the subject, pass speed, coverage basics, all the simple things that you’re going to have to master before you start filling up your brain with all of the other nonsense. Testors enamel doesn’t need a clear coat, so learn to spray a couple of nice even coats, let it cure for a couple of months, and then learn the basics of polishing, and you can achieve a perfectly acceptable paint job without feeling that you need to jump through all of these hoops. A Monogram 1959 Cadillac painted with nothing more than a little primer, a couple of coats of Testors red enamel, and then polished. You’re over thinking what needs to be a simplified solution at this level. Steve
-
1964 Pontiac Bonneville Convertible.
StevenGuthmiller replied to StevenGuthmiller's topic in WIP: Model Cars
I've been making a little progress. I finally mated the chassis and interior to the body for the final time, right after gluing in the rear view mirror, front seats, shifter and rear wheels. I also detailed and added the grille halves. Next, I made radiator hoses and installed them bringing the engine bay to a finale! Steve -
1964 Pontiac Bonneville Convertible.
StevenGuthmiller replied to StevenGuthmiller's topic in WIP: Model Cars
I taped the wire in place, flowed a little clear 2-part epoxy into the joint between the frame and wire, and then quickly wiped away the excess glue with Q-tips. Steve -
Yeah, I’m not gonna get into it. ?? Steve
-
I already have too many warning points! Happy Birthday! Steve
-
Thanks Mike. The beauty of this is that it really doesn't require a lot of practice. This '64 Pontiac is only my second attempt at any kind of weathering whatsoever. As I said, it's really hard to mess up. Steve
-
Rebuilds or New Kit
StevenGuthmiller replied to Slotto's topic in General Automotive Talk (Trucks and Cars)
I enjoy all of that, plus some, if it’s an old obsolete kit that is worth the attention, but I just can’t see myself wasting the time on fixing all of the other guys screw ups if it’s a kit that I can pick up for 20 bucks brand new on eBay. I’ll be honest, I haven’t built a modern kit in probably 20 years, but if I did, I’d start fresh and save myself a lot of unnecessary work. Steve -
Nope. I haven't used Humbrol since I was a kid. Steve
-
Rebuilds or New Kit
StevenGuthmiller replied to Slotto's topic in General Automotive Talk (Trucks and Cars)
THAT, I would never rebuild! Once you re-do it, it's just another Monogram '57 Chevy. Steve -
1964 Pontiac Bonneville Convertible.
StevenGuthmiller replied to StevenGuthmiller's topic in WIP: Model Cars
30 AWG. Steve -
I think that I would stay away from a needle, (just my personal opinion) but I often do the fine work with a round tooth pick sharpened to a sharp chisel tip, dipped in lacquer thinner. Not enough thinner to drip. Just enough to dampen it, and then dab it on a paper towel to make sure it's not too wet. The soft wood is a lot more forgiving than a metal tipped tool. Steve
-
Rebuilds or New Kit
StevenGuthmiller replied to Slotto's topic in General Automotive Talk (Trucks and Cars)
Not gonna waste my time trying to save a common kit that I can start from scratch with a brand new one. Why?........ On the other hand, if it's an old, obsolete, vintage kit? I'm all over it! Steve -
I usually use a piece of plastic rod bent to the shape I need for the tube, and then fudge together a dip stick, usually from a small piece of plastic rod drilled for a loop shaped piece of wire. I continue to experiment with dip sticks. Steve
-
1964 Pontiac Bonneville Convertible.
StevenGuthmiller replied to StevenGuthmiller's topic in WIP: Model Cars
Thanks fellas. The windshield seals are finished. They worked out as well as can be expected I suppose. Steve -
Cheap hardware store lacquer thinner will do the trick. This is the only lacquer thinner I ever use. Steve
-
1964 Pontiac Bonneville Convertible.
StevenGuthmiller replied to StevenGuthmiller's topic in WIP: Model Cars
Yup. I like it. Steve -
1964 Pontiac Bonneville Convertible.
StevenGuthmiller replied to StevenGuthmiller's topic in WIP: Model Cars
Thanks Robert. Thankfully, I don't have to worry about the 421 badges. This one is a standard 389 4bbl. While in the process of getting the windshield installed, I decided to do a little experiment to see if I could replicate some windshield seals with some black wire. So far it's looking like it will work. Steve -
1964 Pontiac Bonneville Convertible.
StevenGuthmiller replied to StevenGuthmiller's topic in WIP: Model Cars
Nudging in a little closer to mating the chassis to the body for the final time . Got the door panels, dash, steering wheel, and radiator bulkhead and radiator permanently installed. Doing one final test fit to be certain that everything fits as it should before I glue in the glass, and finally install the chassis and interior into the body. Then it's just all of the fun stuff. Steve -
It’s not so much that we missed you Snake, but more like we couldn’t believe that you’d be silent for so long!! ? Just joking. Glad you’re making a comeback. Steve
-
I always just fill the recesses with plastic and then prime very well and paint. I think this is one of those areas where a lot of problems can be avoided by simply priming adequately. The hoods on the MPC ‘68-‘69 Dodge Coronets were notorious for the hood cutouts, but you’ll have a pretty difficult time knowing that it ever existed on this ‘68. Steve
-
At first, it sounded completely new to me, but after looking at the videos on YouTube, it does look very familiar. Steve
-
PONTIAC Starlight Black -
StevenGuthmiller replied to 1972coronet's topic in Model Building Questions and Answers
As already mentioned, Starlight Black is black. No metallic in it. Metallic blacks and pearl whites are a relatively recent thing. As far as I know, neither was available in the 60s. Steve -
Automotivetouchup.com
StevenGuthmiller replied to Fantom's topic in Model Building Questions and Answers
Shouldn't need that much. I can pretty easily paint a 1/25th scale body with an ounce or less. I would think that 3 bottles should do it. But regardless, it certainly won't take 8, which is what you'd need to spend $110.00. Steve -
Automotivetouchup.com
StevenGuthmiller replied to Fantom's topic in Model Building Questions and Answers
$25.00 for a couple of bottles of Scale Finishes doesn’t sound so bad after all. ? Steve -
Just my personal observations. Steve