StevenGuthmiller
-
Posts
15,071 -
Joined
-
Last visited
Content Type
Profiles
Forums
Events
Gallery
Everything posted by StevenGuthmiller
-
 All that you can do is try. Nothing to lose by giving it a shot. In the mean time, if I were in your situation, loving the hobby as I do, I would join as many online groups and forums that I could find, just to keep myself immersed in it. When you’re feeling better, join a club, or take some of your existing models to a show or contest on occasion. I can’t think of a better way to remain engaged in the hobby than to stay in touch and get out there and meet people who love it as much as you do. Steve
 -
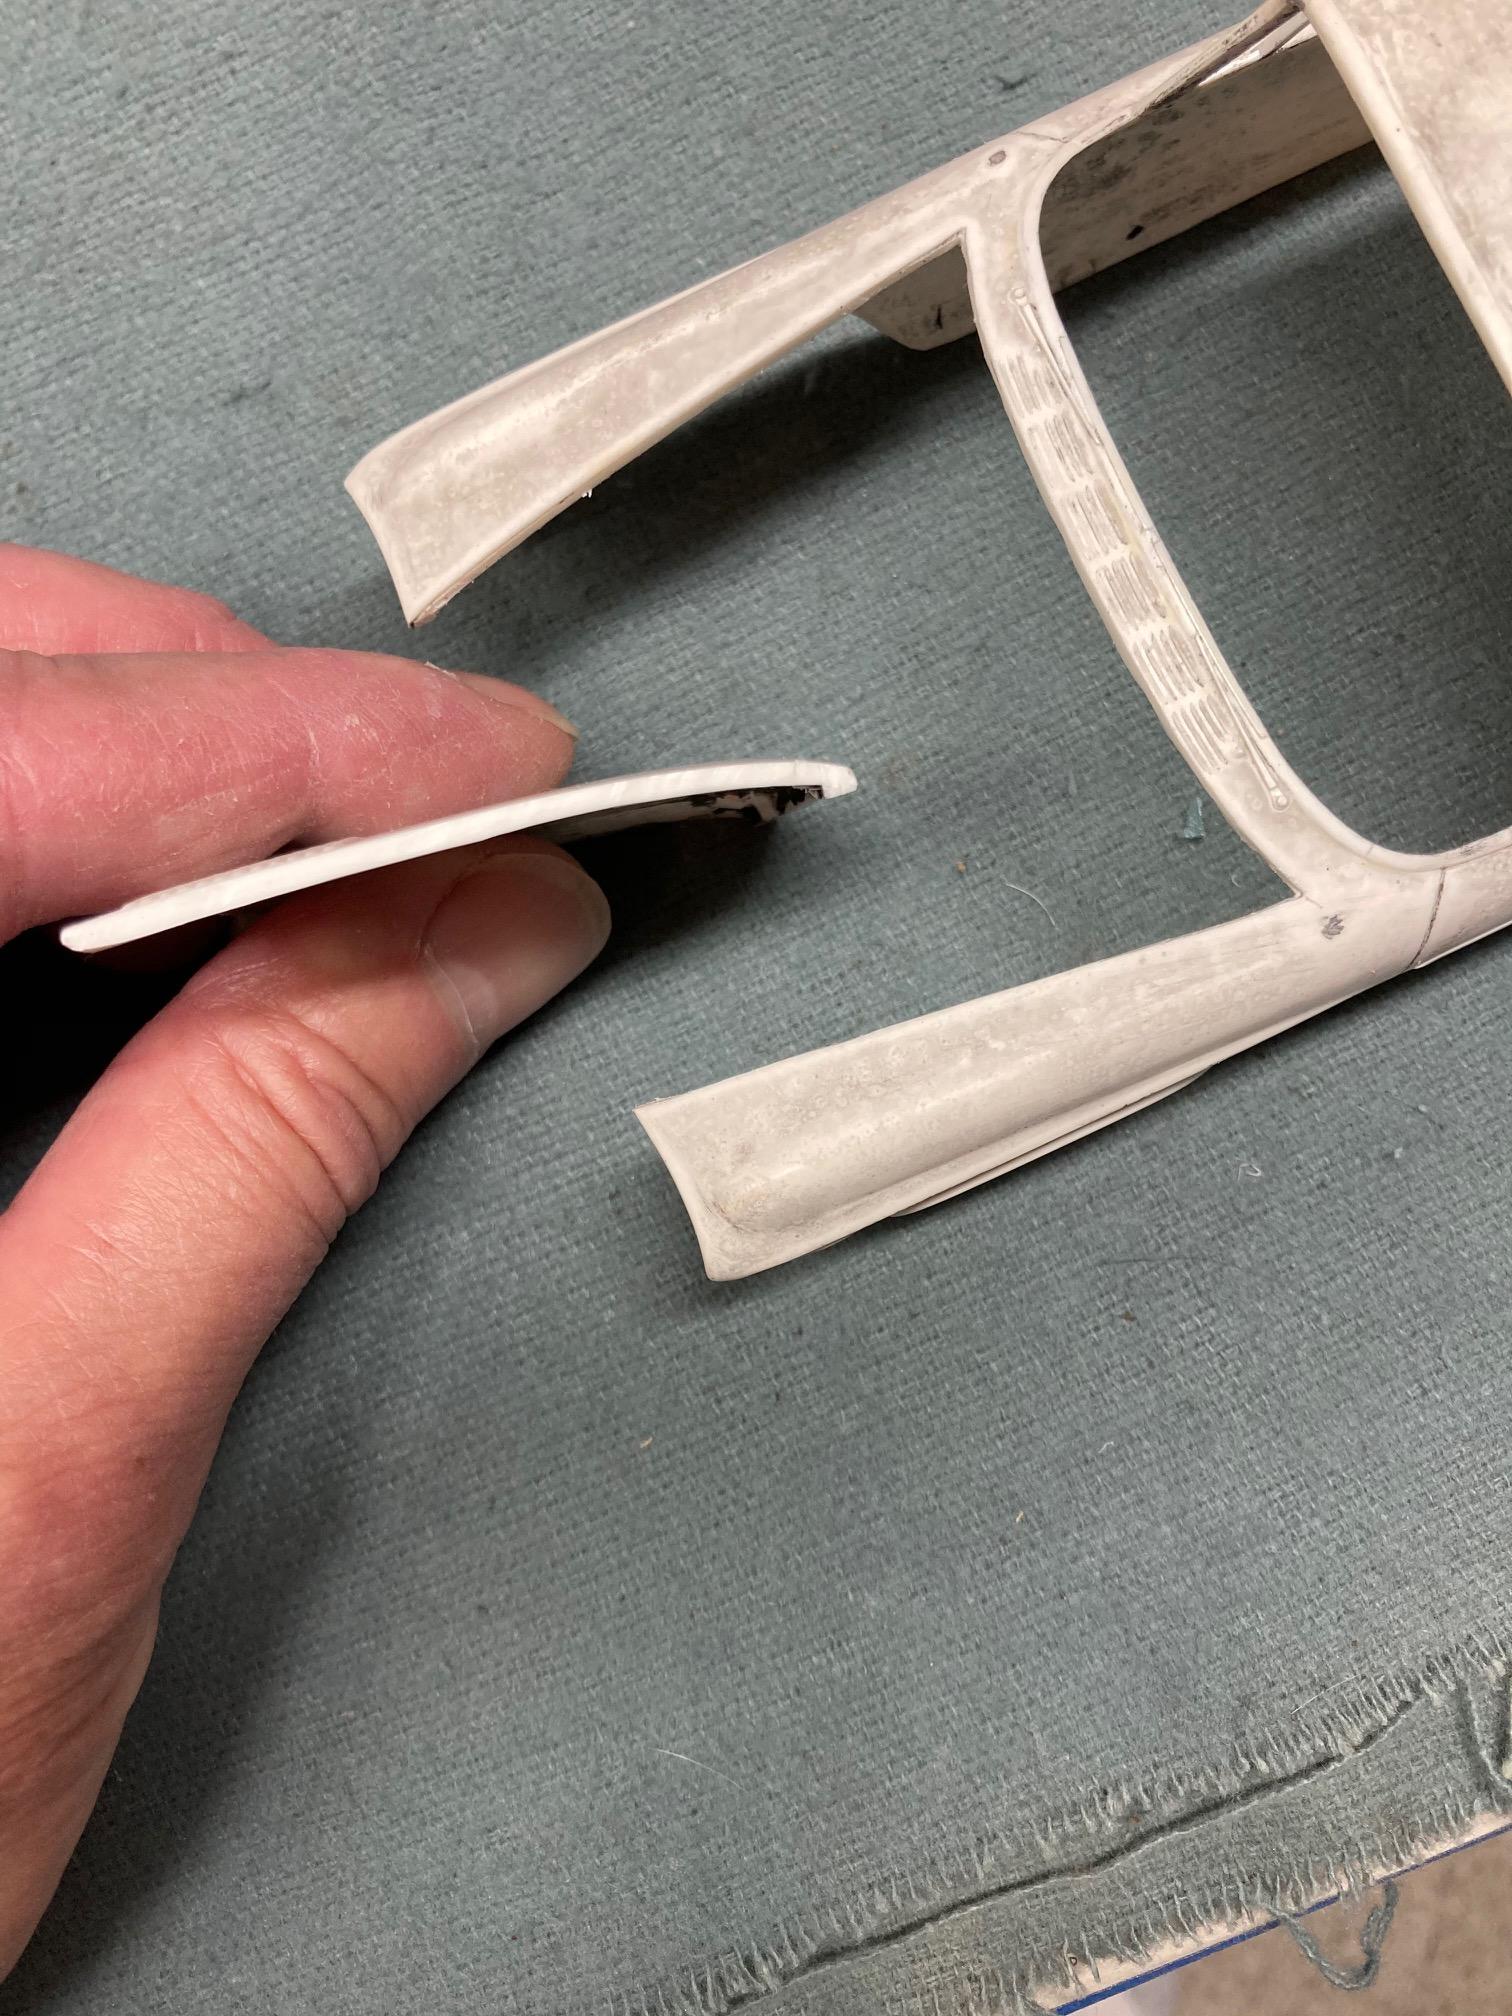
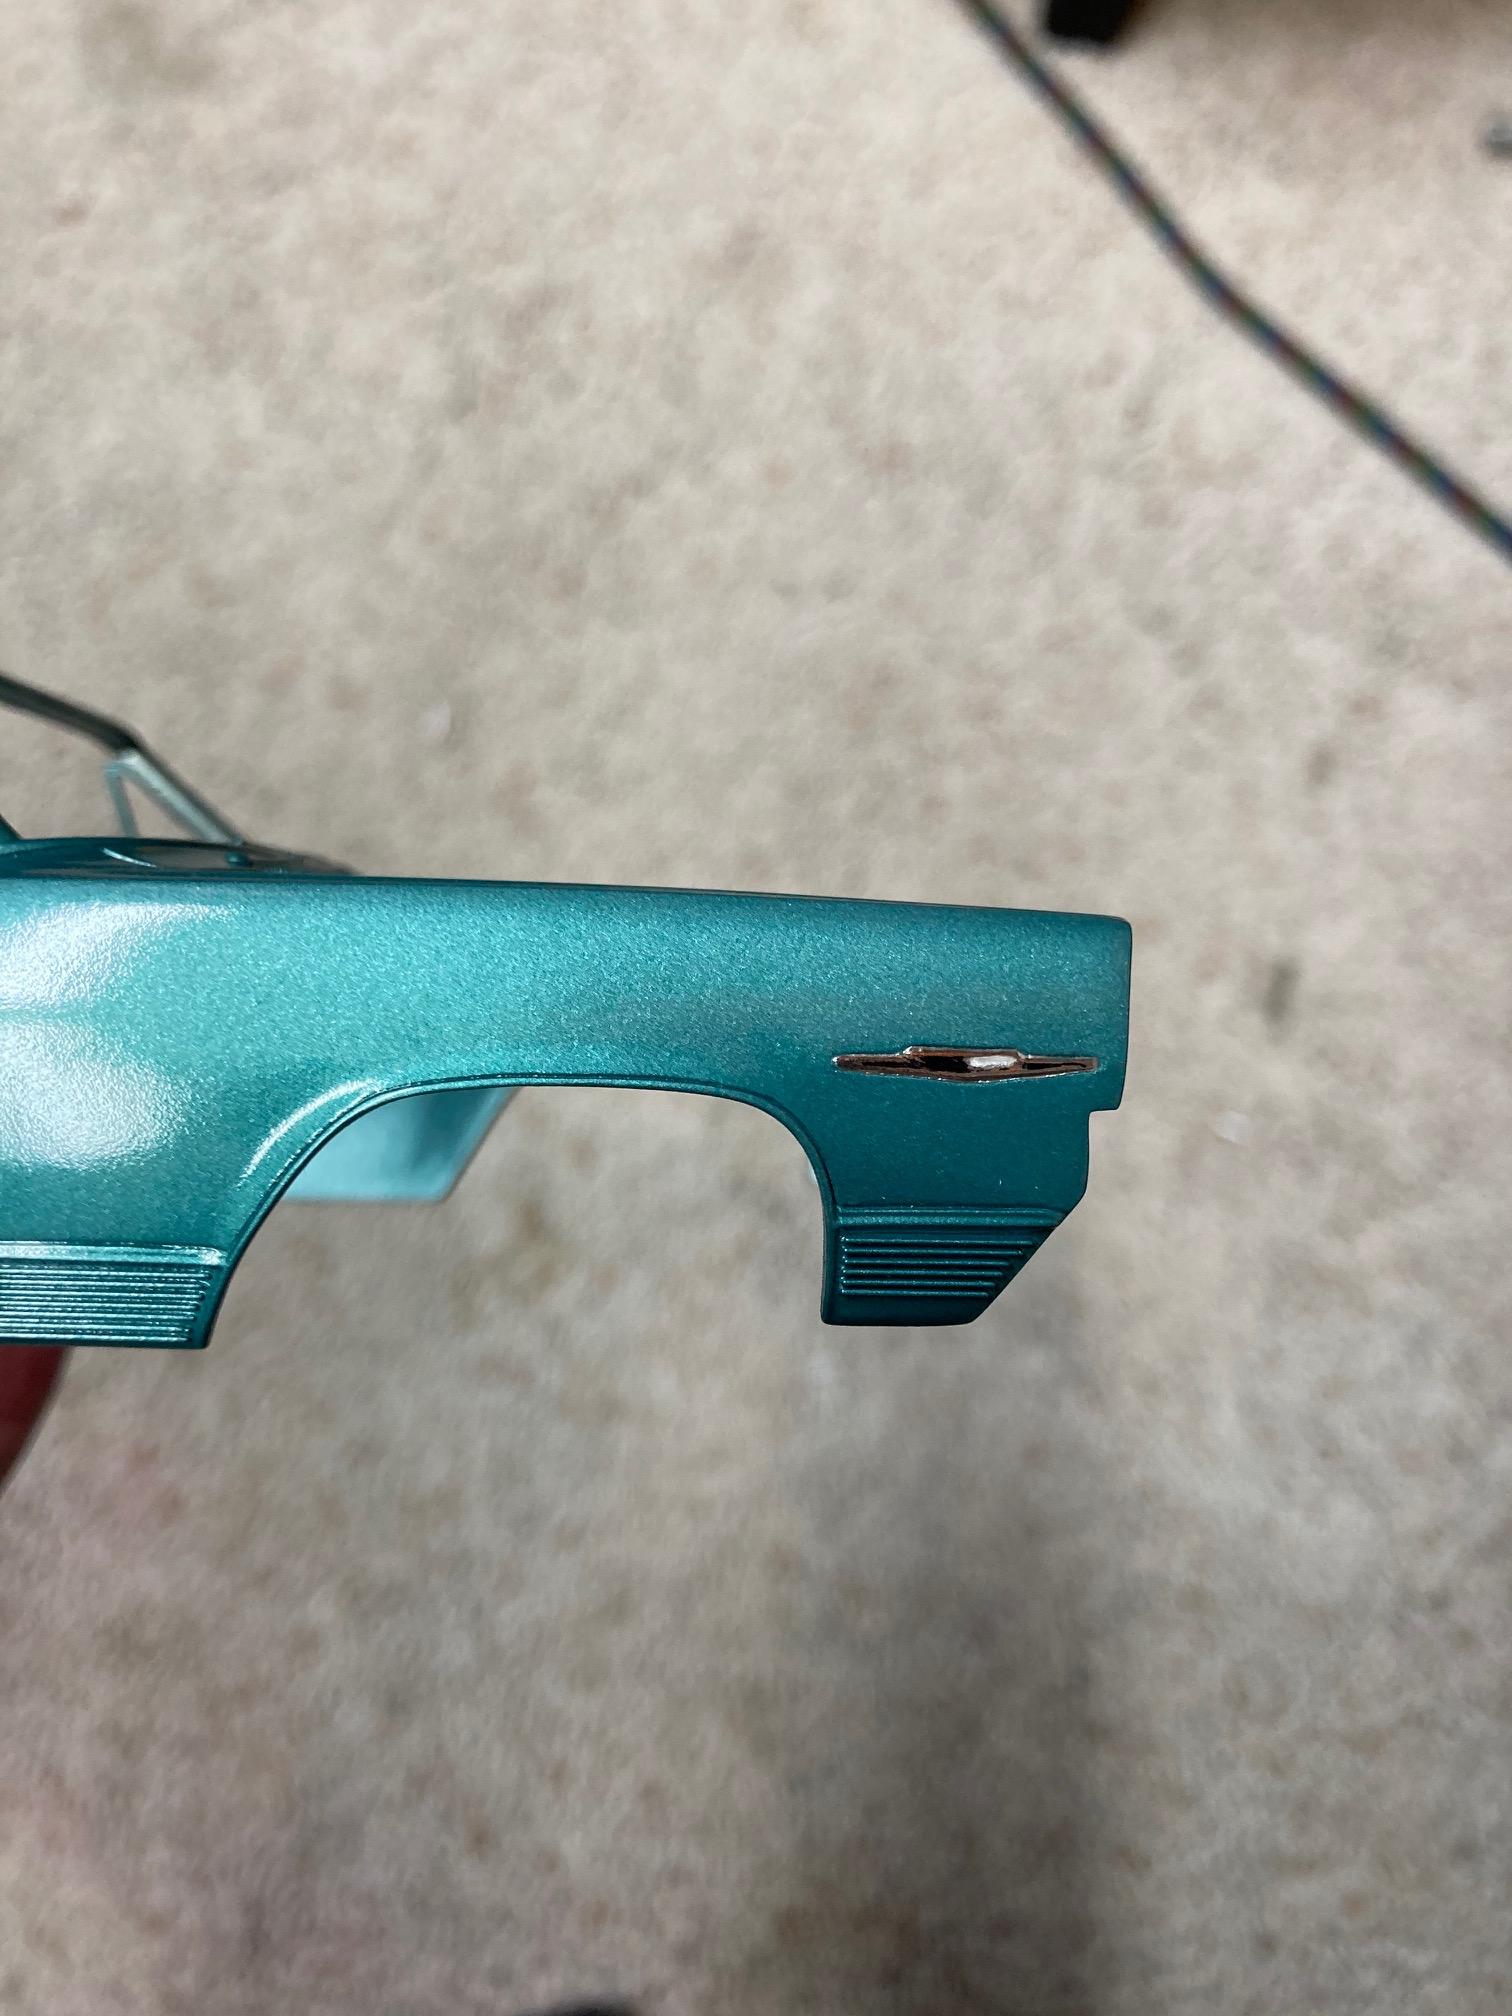
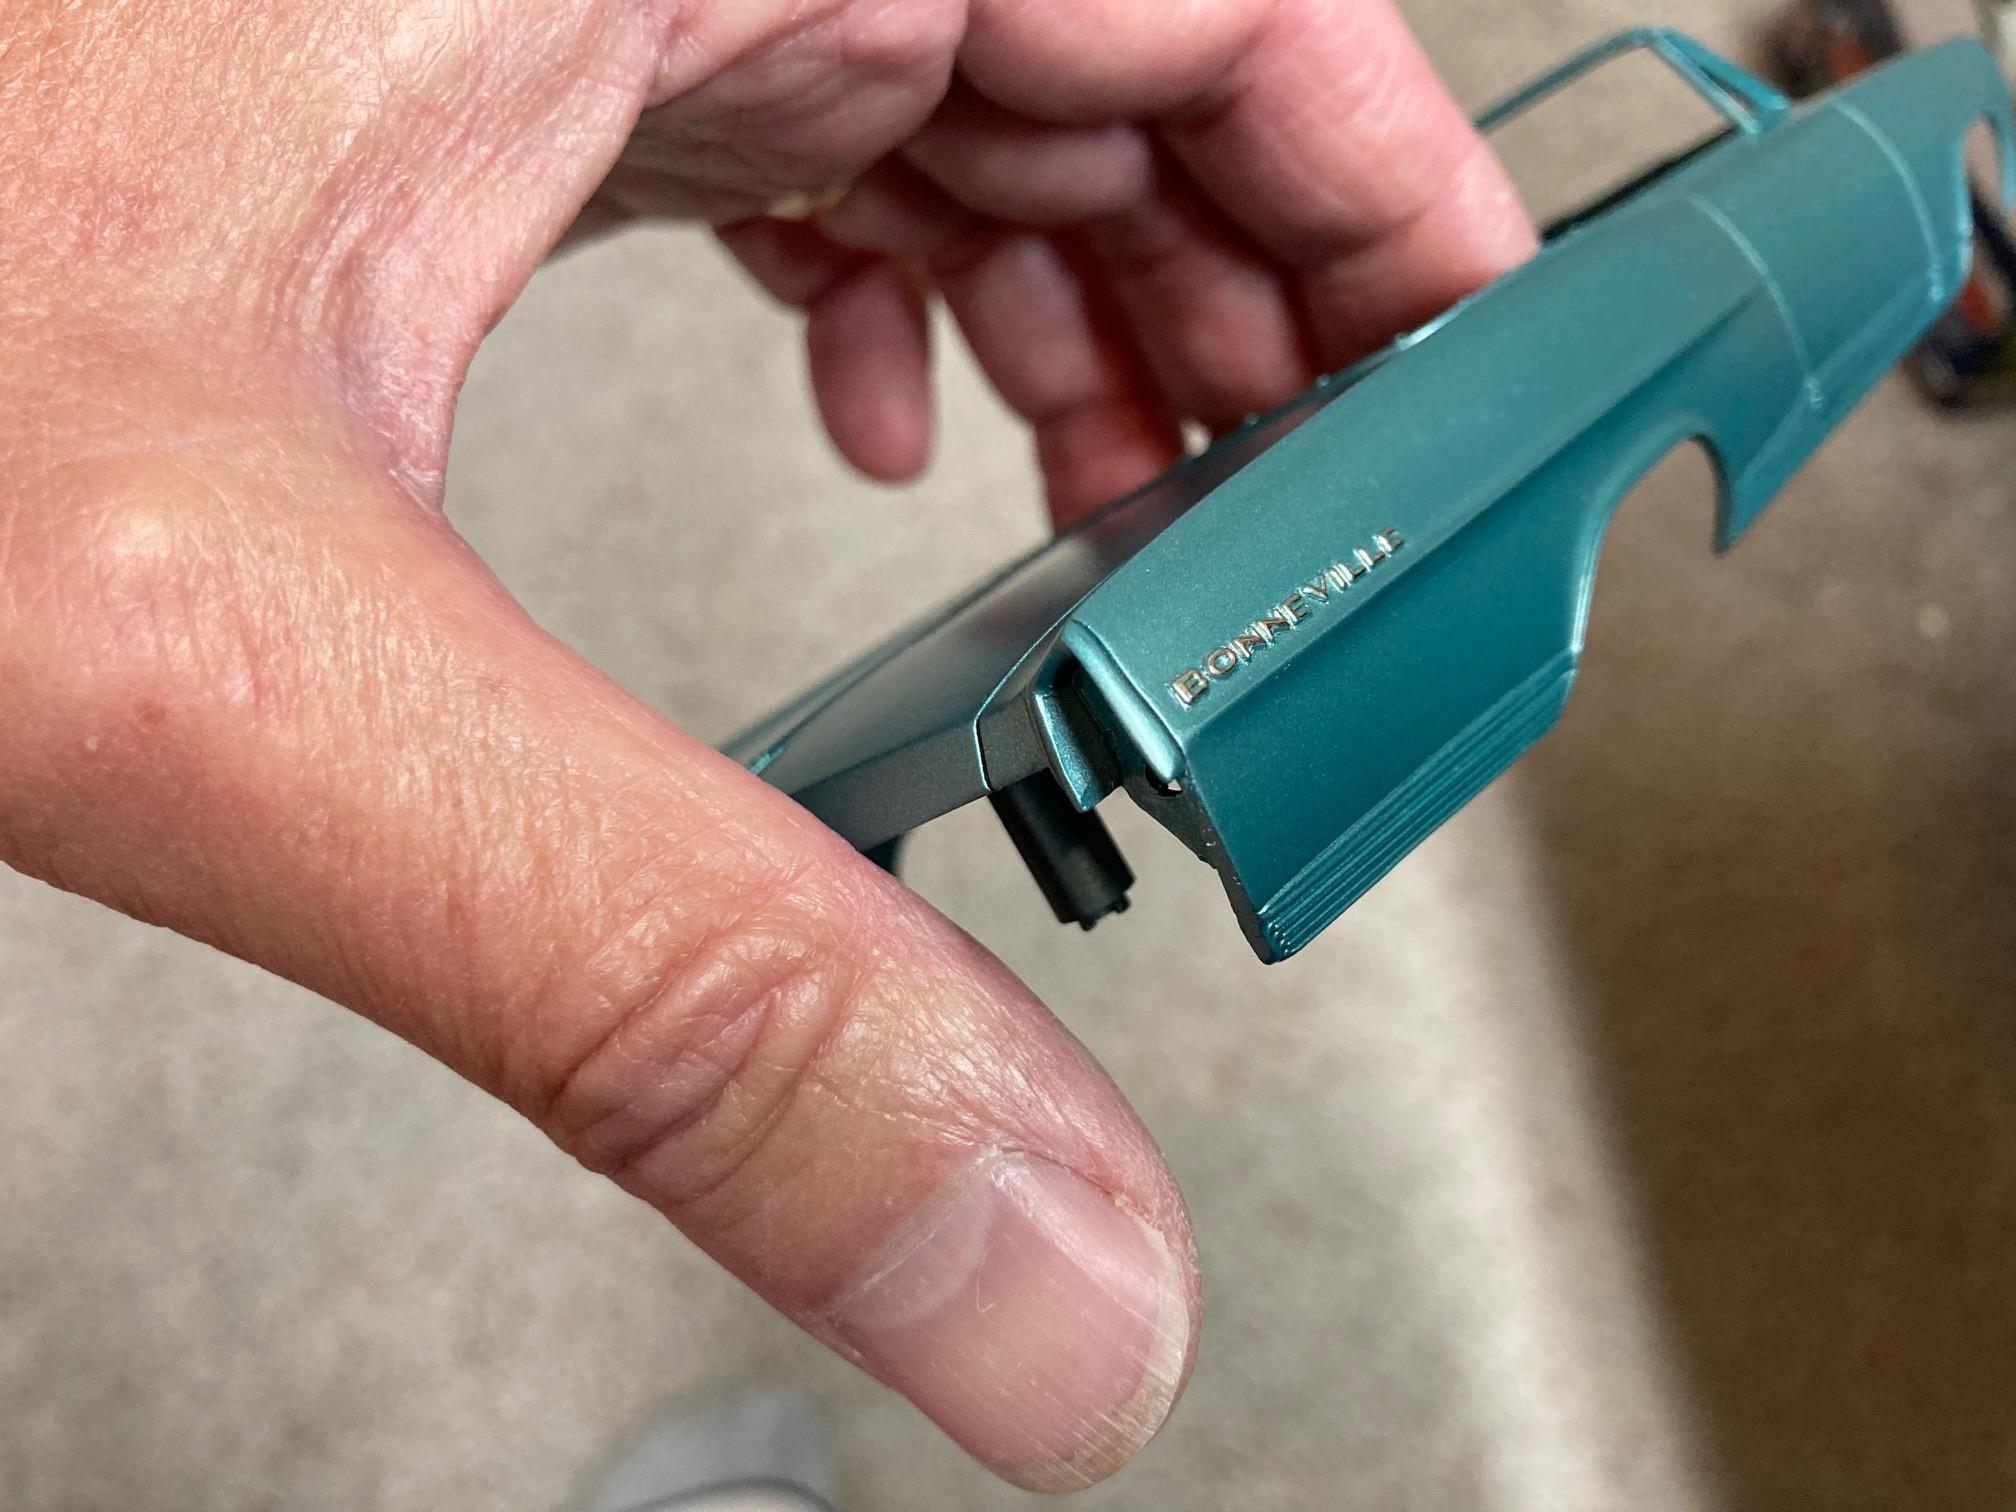
I was using the BMF scriber for some time prior to the #11 blade, but my main gripes with it were that it's far too wide for scribing deeply, (due to it's tapered shape), and it's way too slow for me. I scribed "everything" on the '64 Bonny with a x-acto blade, including every piece of trim, (including the wheel well trim and front quarter badges) and yes, the fuel door too. I was very impressed with the speed of the x-acto blade for scribing and cutting when I used it, (backwards of course) to cut out the hood on an extremely thick Johan 1961 Dodge body in about 15 minutes! So quick and easy, that for the first time, I'm seriously thinking about opening the trunk lid and at least the driver's side door on that project. One of those things that I just never did because it was just too much of a PITA! Steve

-
1964 Pontiac Bonneville Convertible.
StevenGuthmiller replied to StevenGuthmiller's topic in WIP: Model Cars
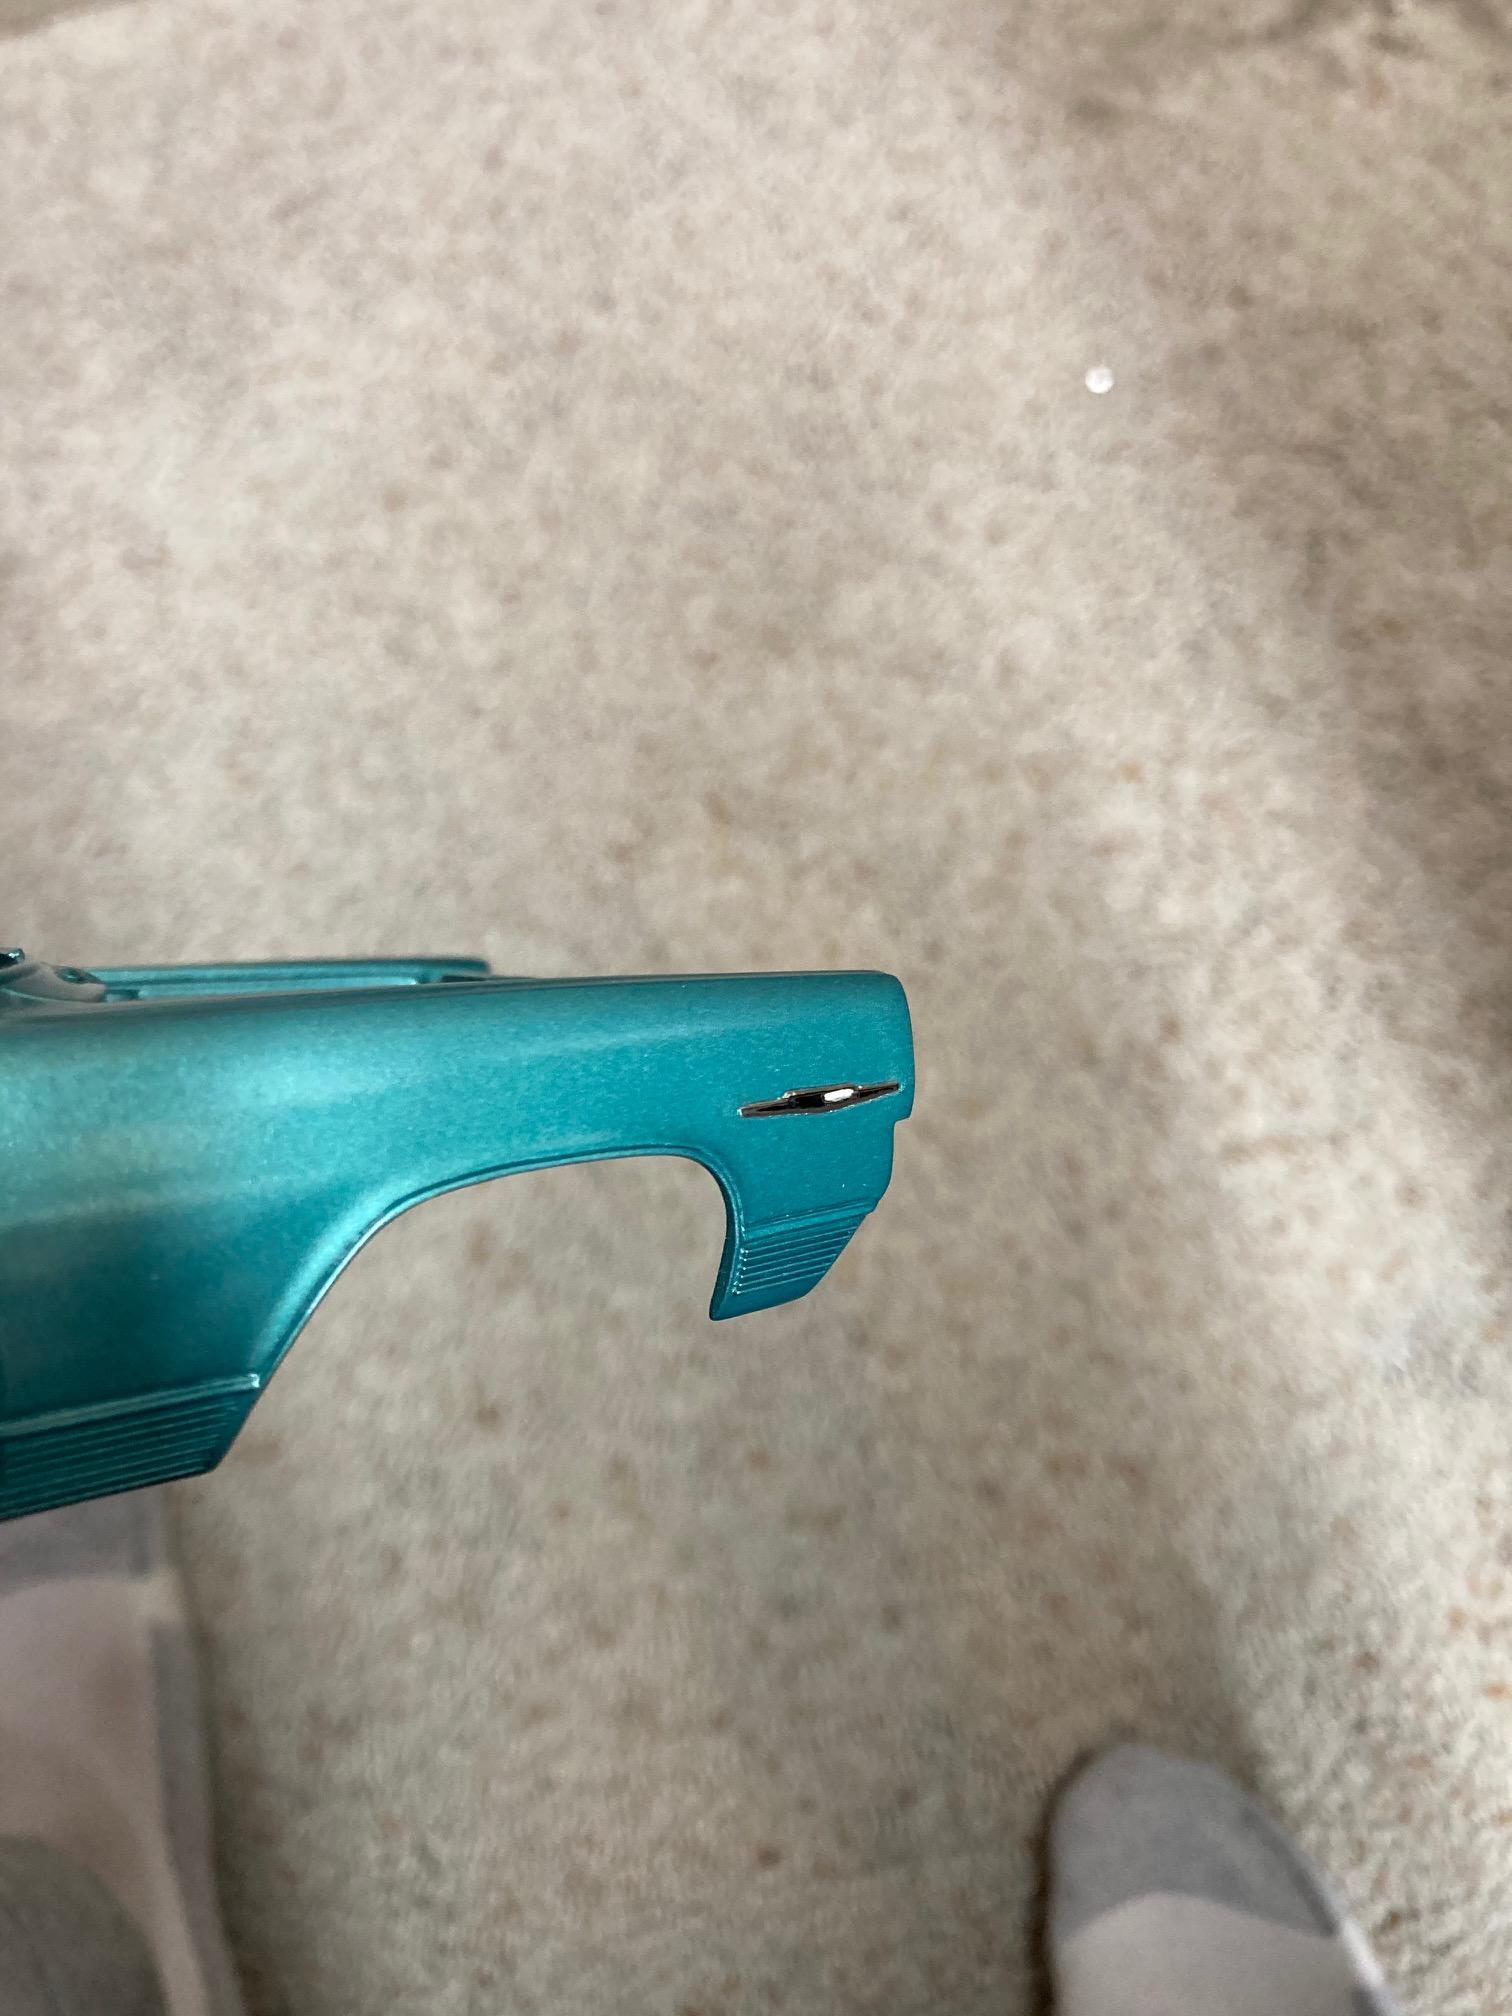
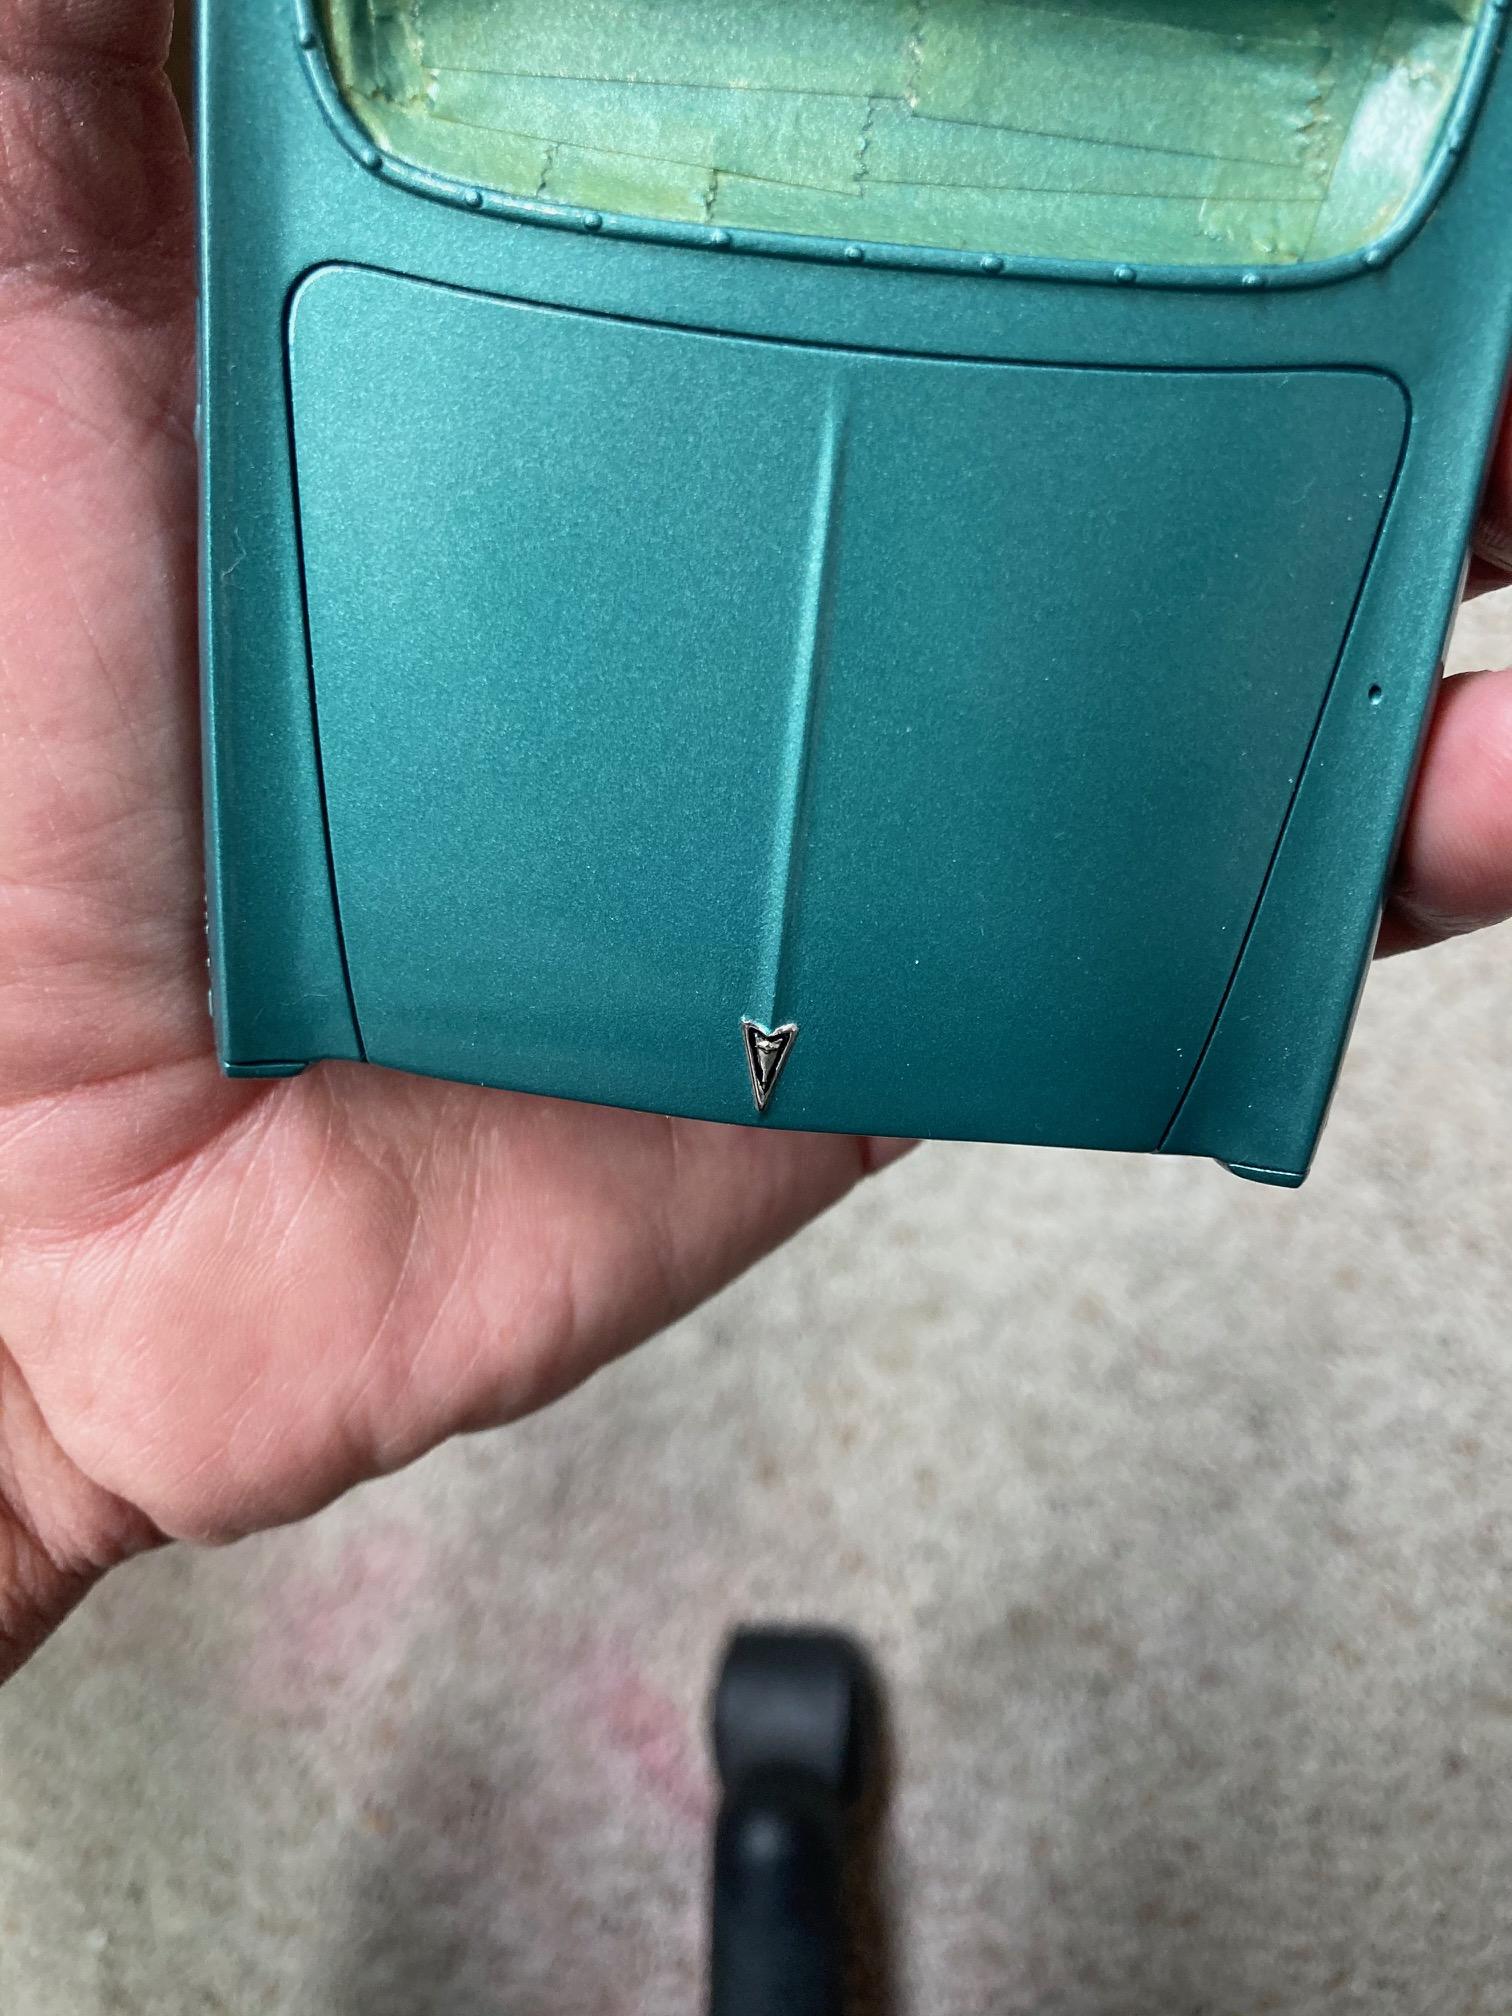
Thanks guys! I got the foil on the badges, and did a little paint detailing on them. Now I can commence with the final couple of clear coats, then on to polishing. Steve
-
I'm a late comer to this technique, but I agree with Snake on this. The back side of an old #11 blade, (even one with a broken tip) works great for scribing panel lines. I have the luxury of building mostly vintage kits which have much thicker plastic than most modern kits so it's easy, (and fast) with a #11 blade to scribe very deep. Deep enough so that no wash is required. For new panel lines, I start with the first few swipes with a sharp #11, and then slowly start with the backwards one. A few strokes with the backwards blade, and you're well on your way. I used this method recently on my '64 Bonneville, and to my eye, they look perfect. And, as Marcos said, looking at the body from an angle lessens the impact of the lines, just as on a 1:1. Steve
-
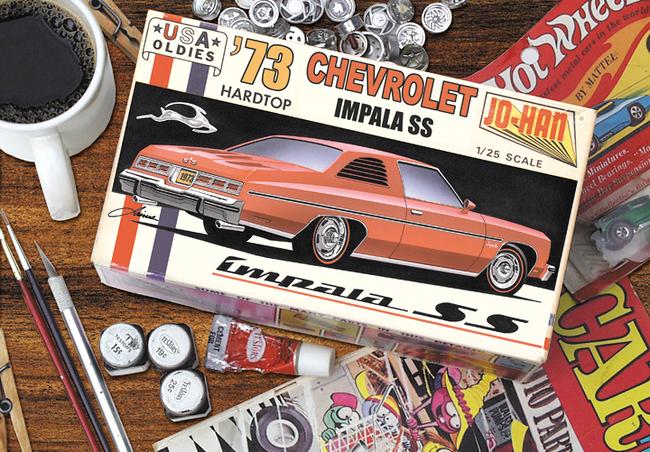
I don’t know if the point is ever to make them look “legitimate”, or to fool anyone anyway. Anybody that knows anything about the history of model car kits pretty much knows what was produced as a real kit and what wasn’t. I think that most of the guys that are producing these phantom kit boxes are just doing it for the fun of it. By the way, the fact that Johan never did any Chevies was just one of the most glaring reasons why it was obvious that the kit was fake. Steve
-
1964 Pontiac Bonneville Convertible.
StevenGuthmiller replied to StevenGuthmiller's topic in WIP: Model Cars
After a small paint set back, I managed to get at least a few coats of clear on today. I'm thinking that I'll let it dry, and then foil and detail the hood, trunk and front quarter badges before I shoot the last couple of coats. Steve
-
Believe me, it's fake. People do these phantom model boxes all of the time. Steve
-
1964 Pontiac Bonneville Convertible.
StevenGuthmiller replied to StevenGuthmiller's topic in WIP: Model Cars
Unfortunately we probably haven’t even reached half time yet! ? Steve -
1964 Pontiac Bonneville Convertible.
StevenGuthmiller replied to StevenGuthmiller's topic in WIP: Model Cars
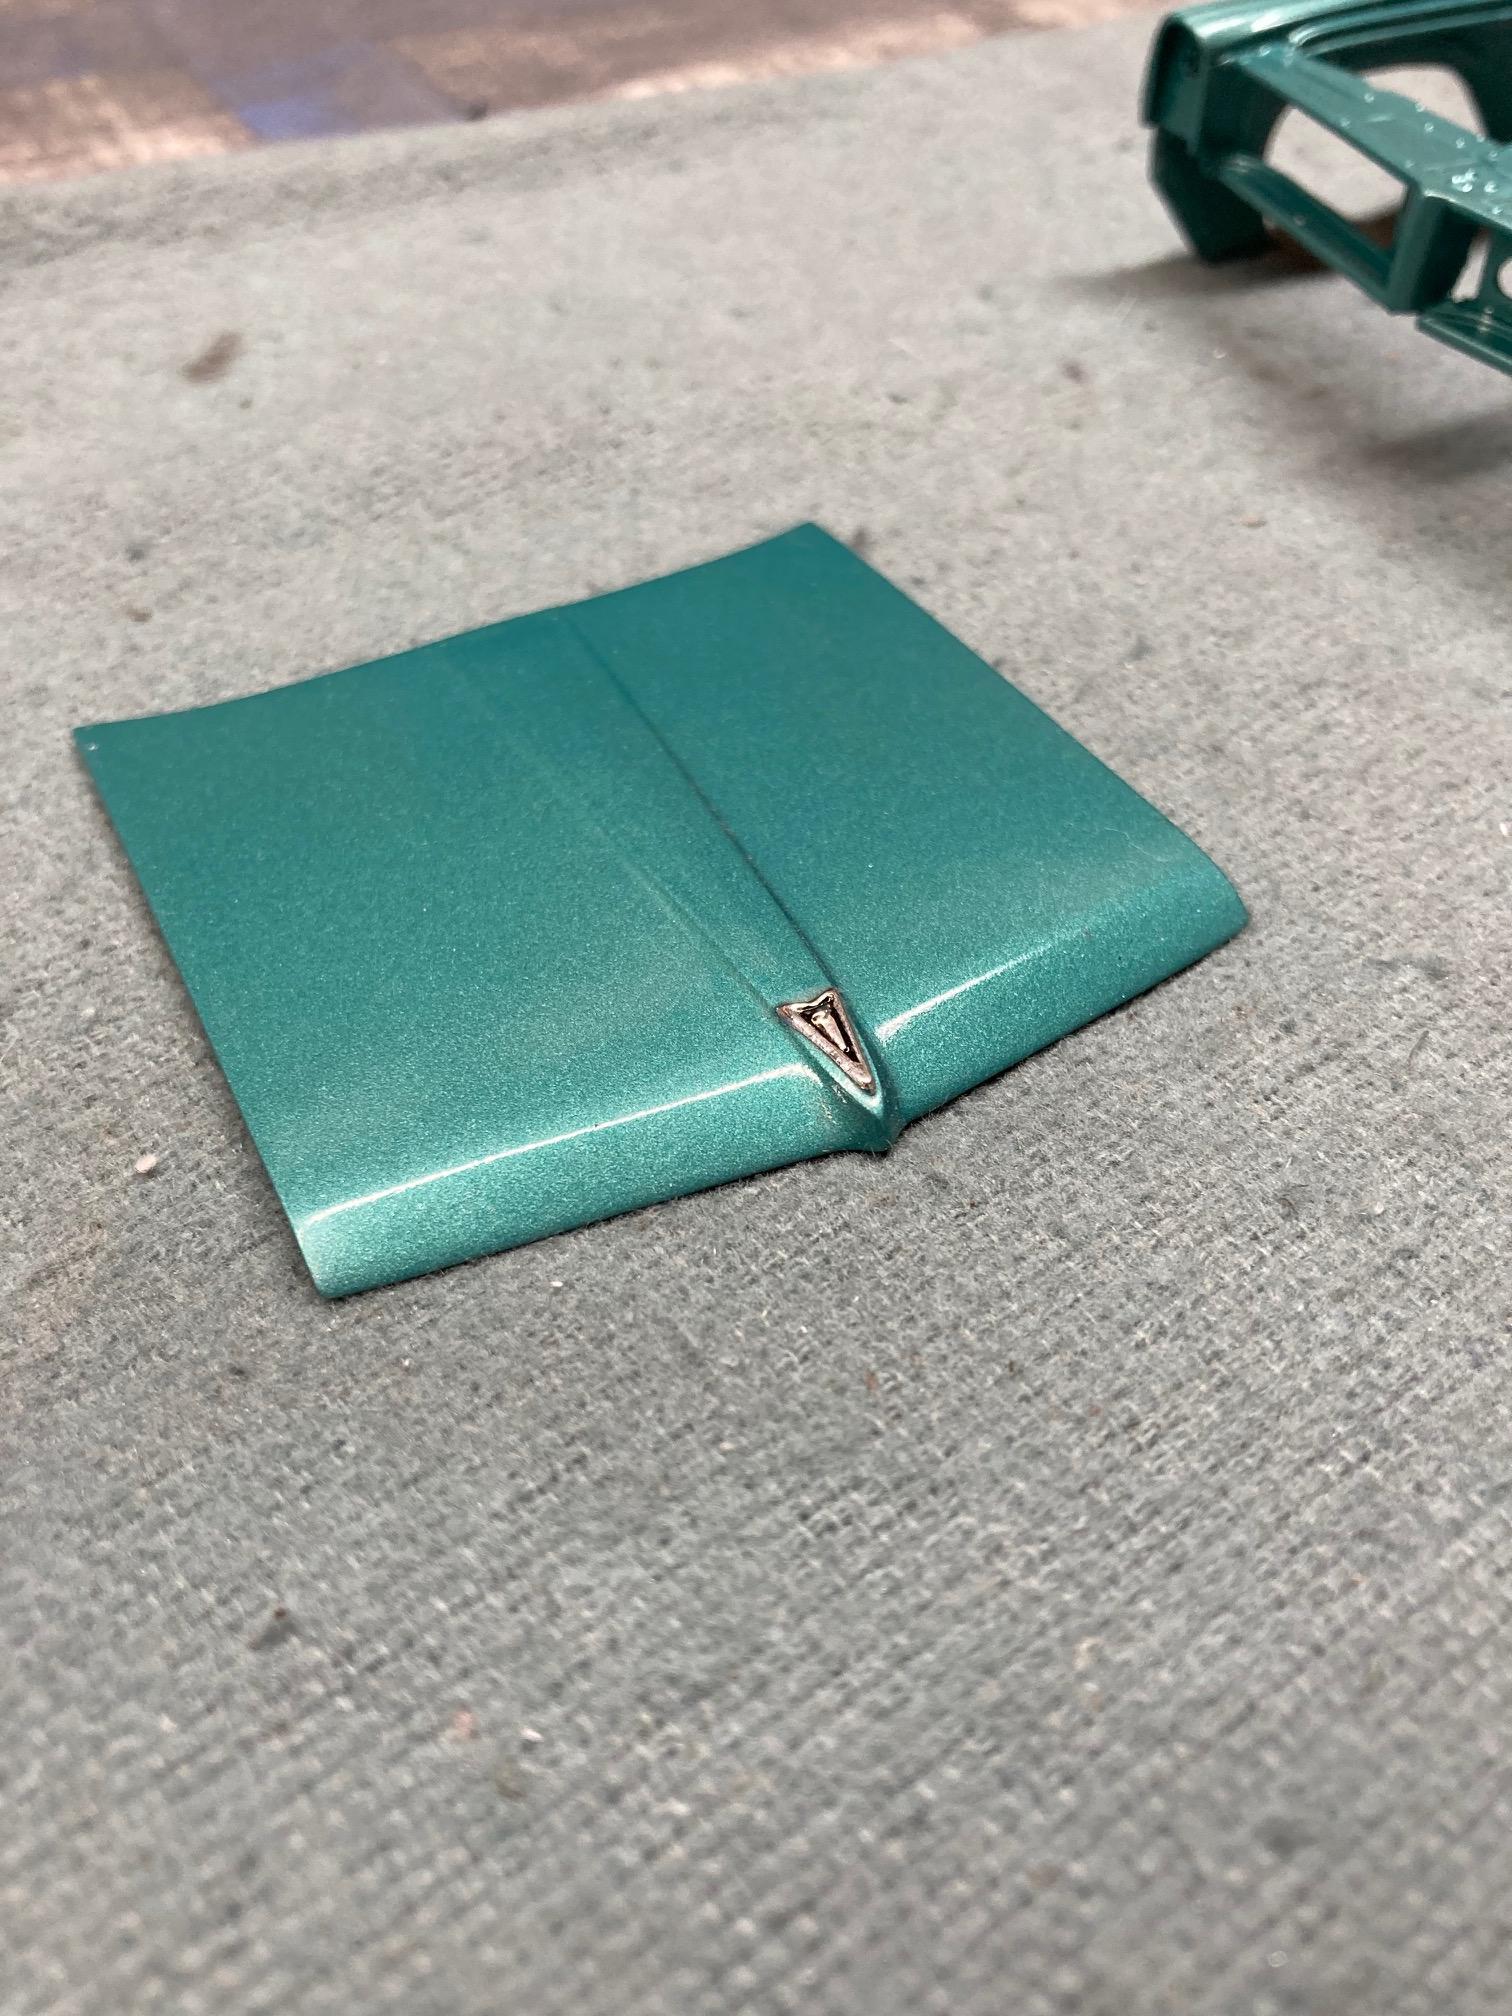
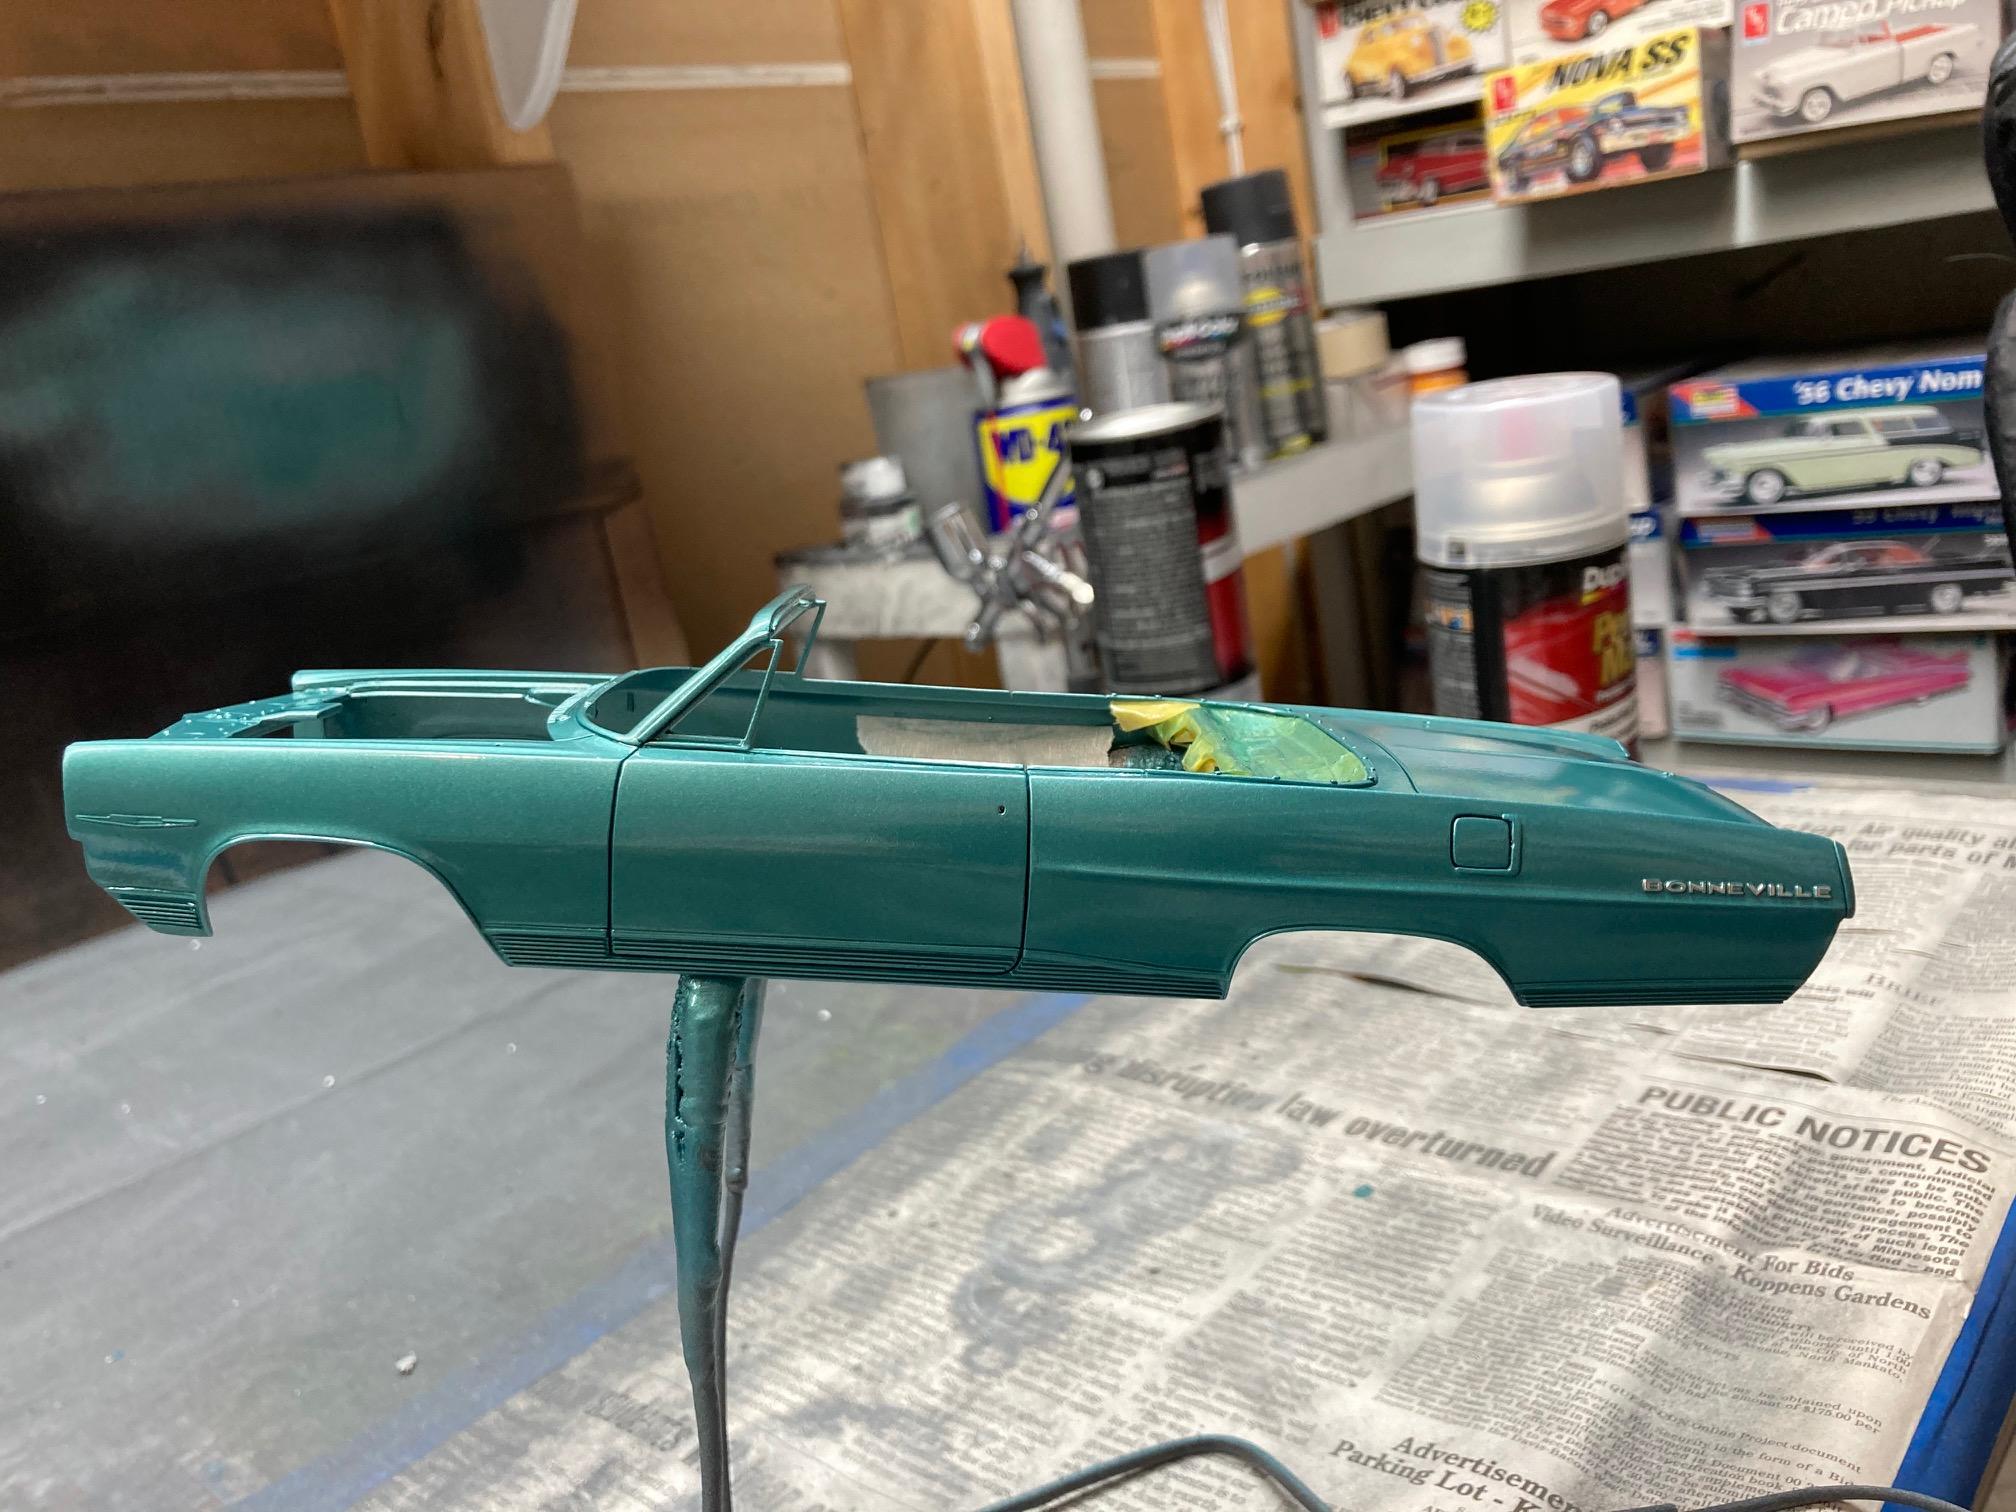
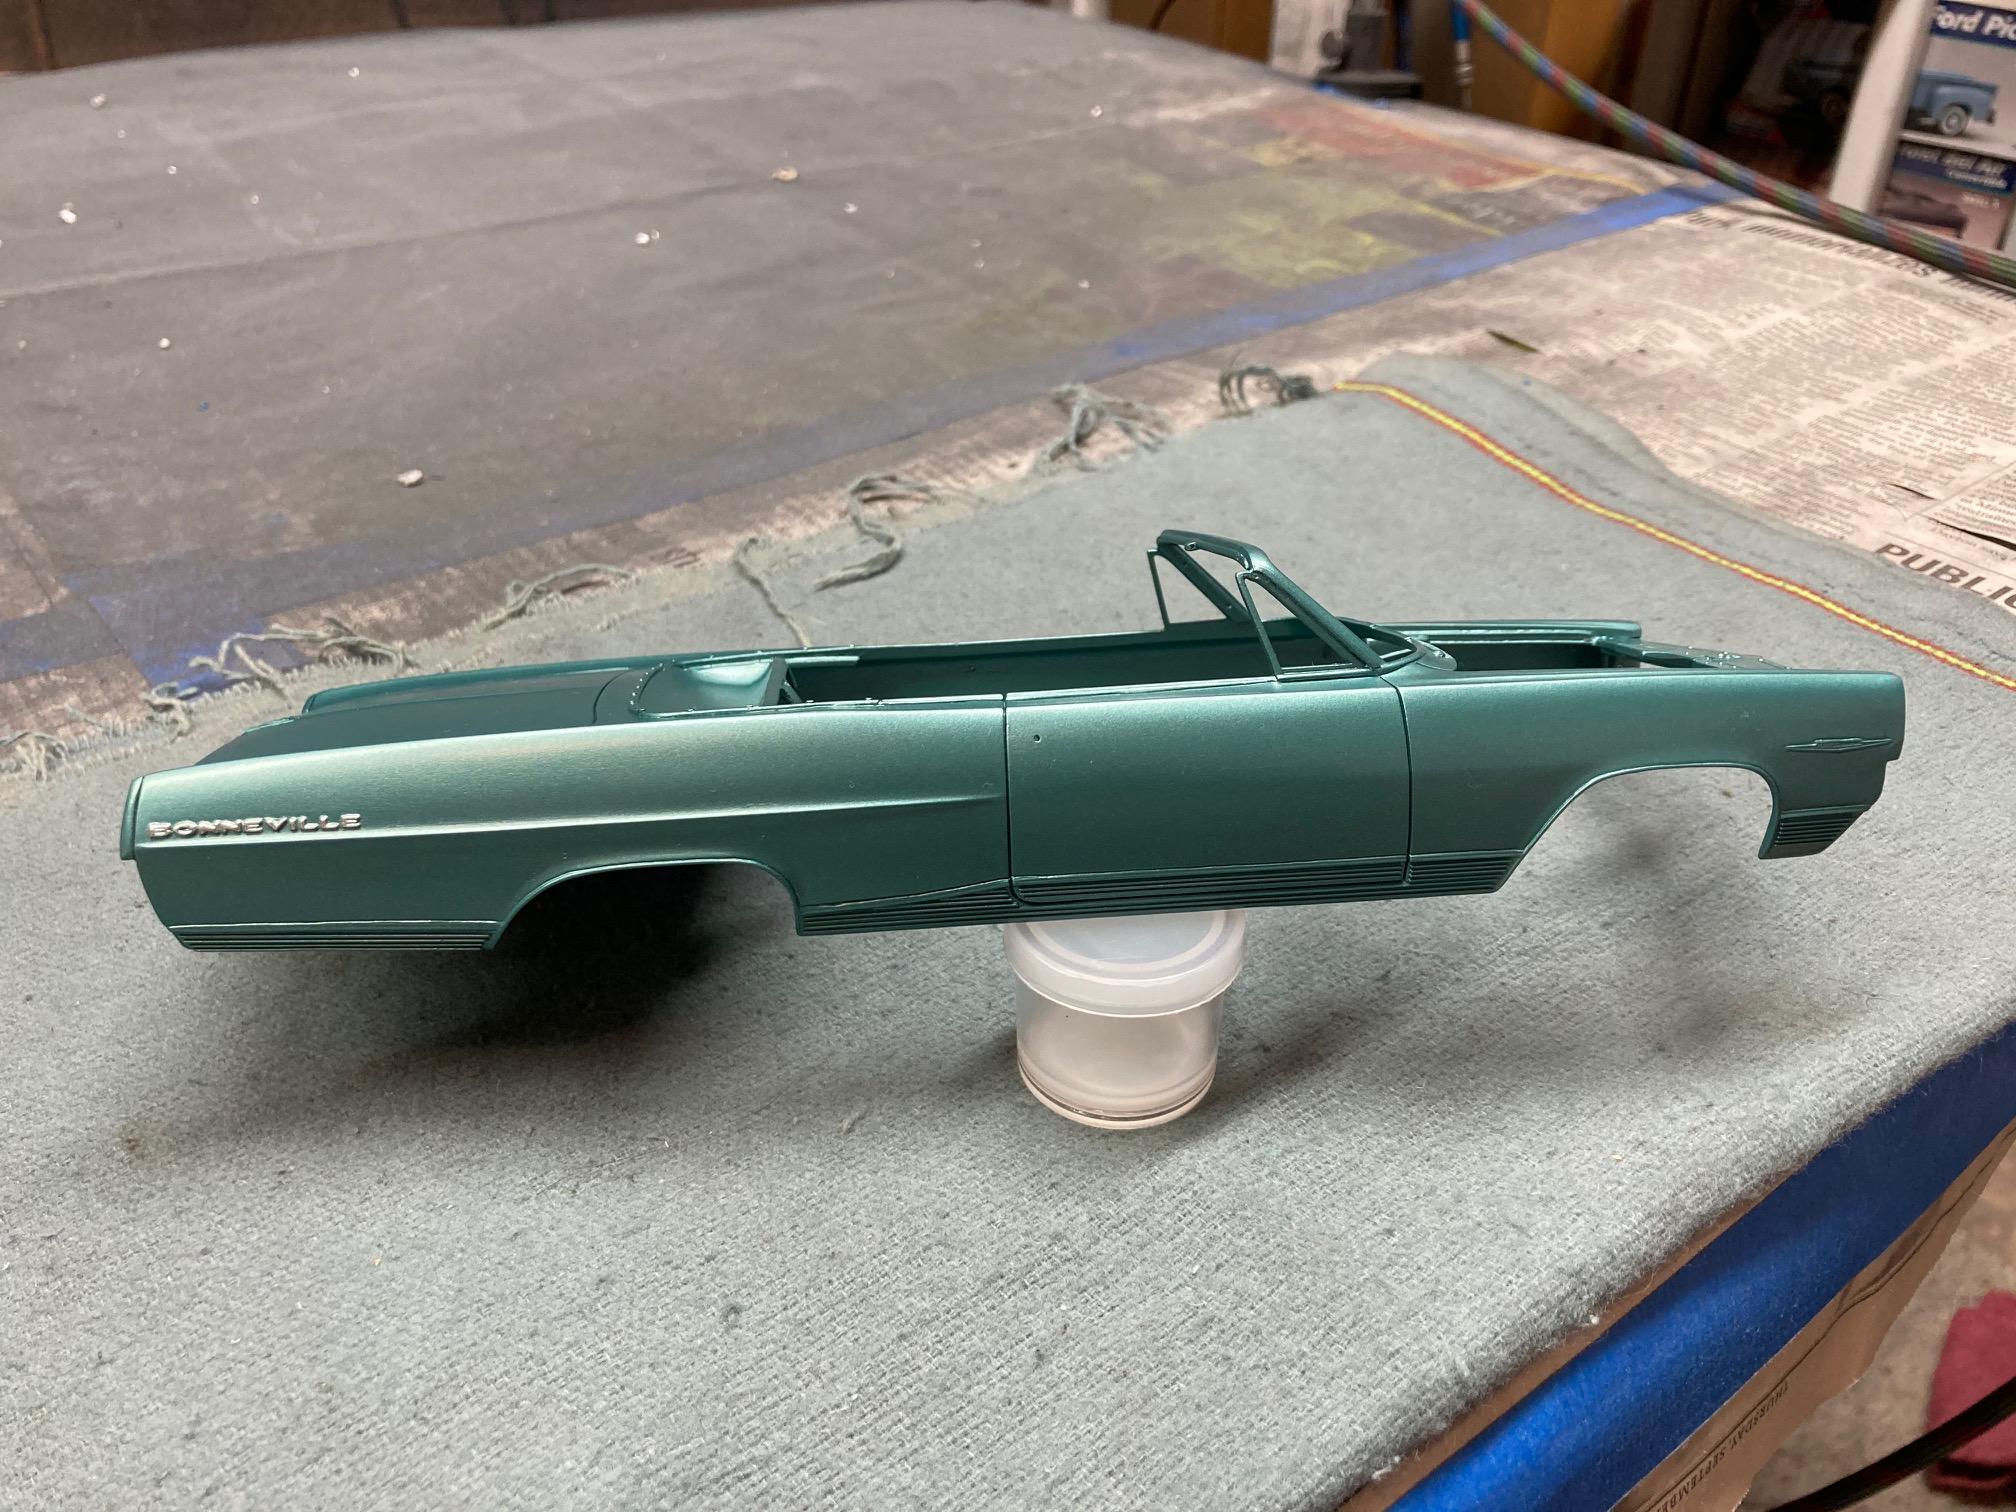
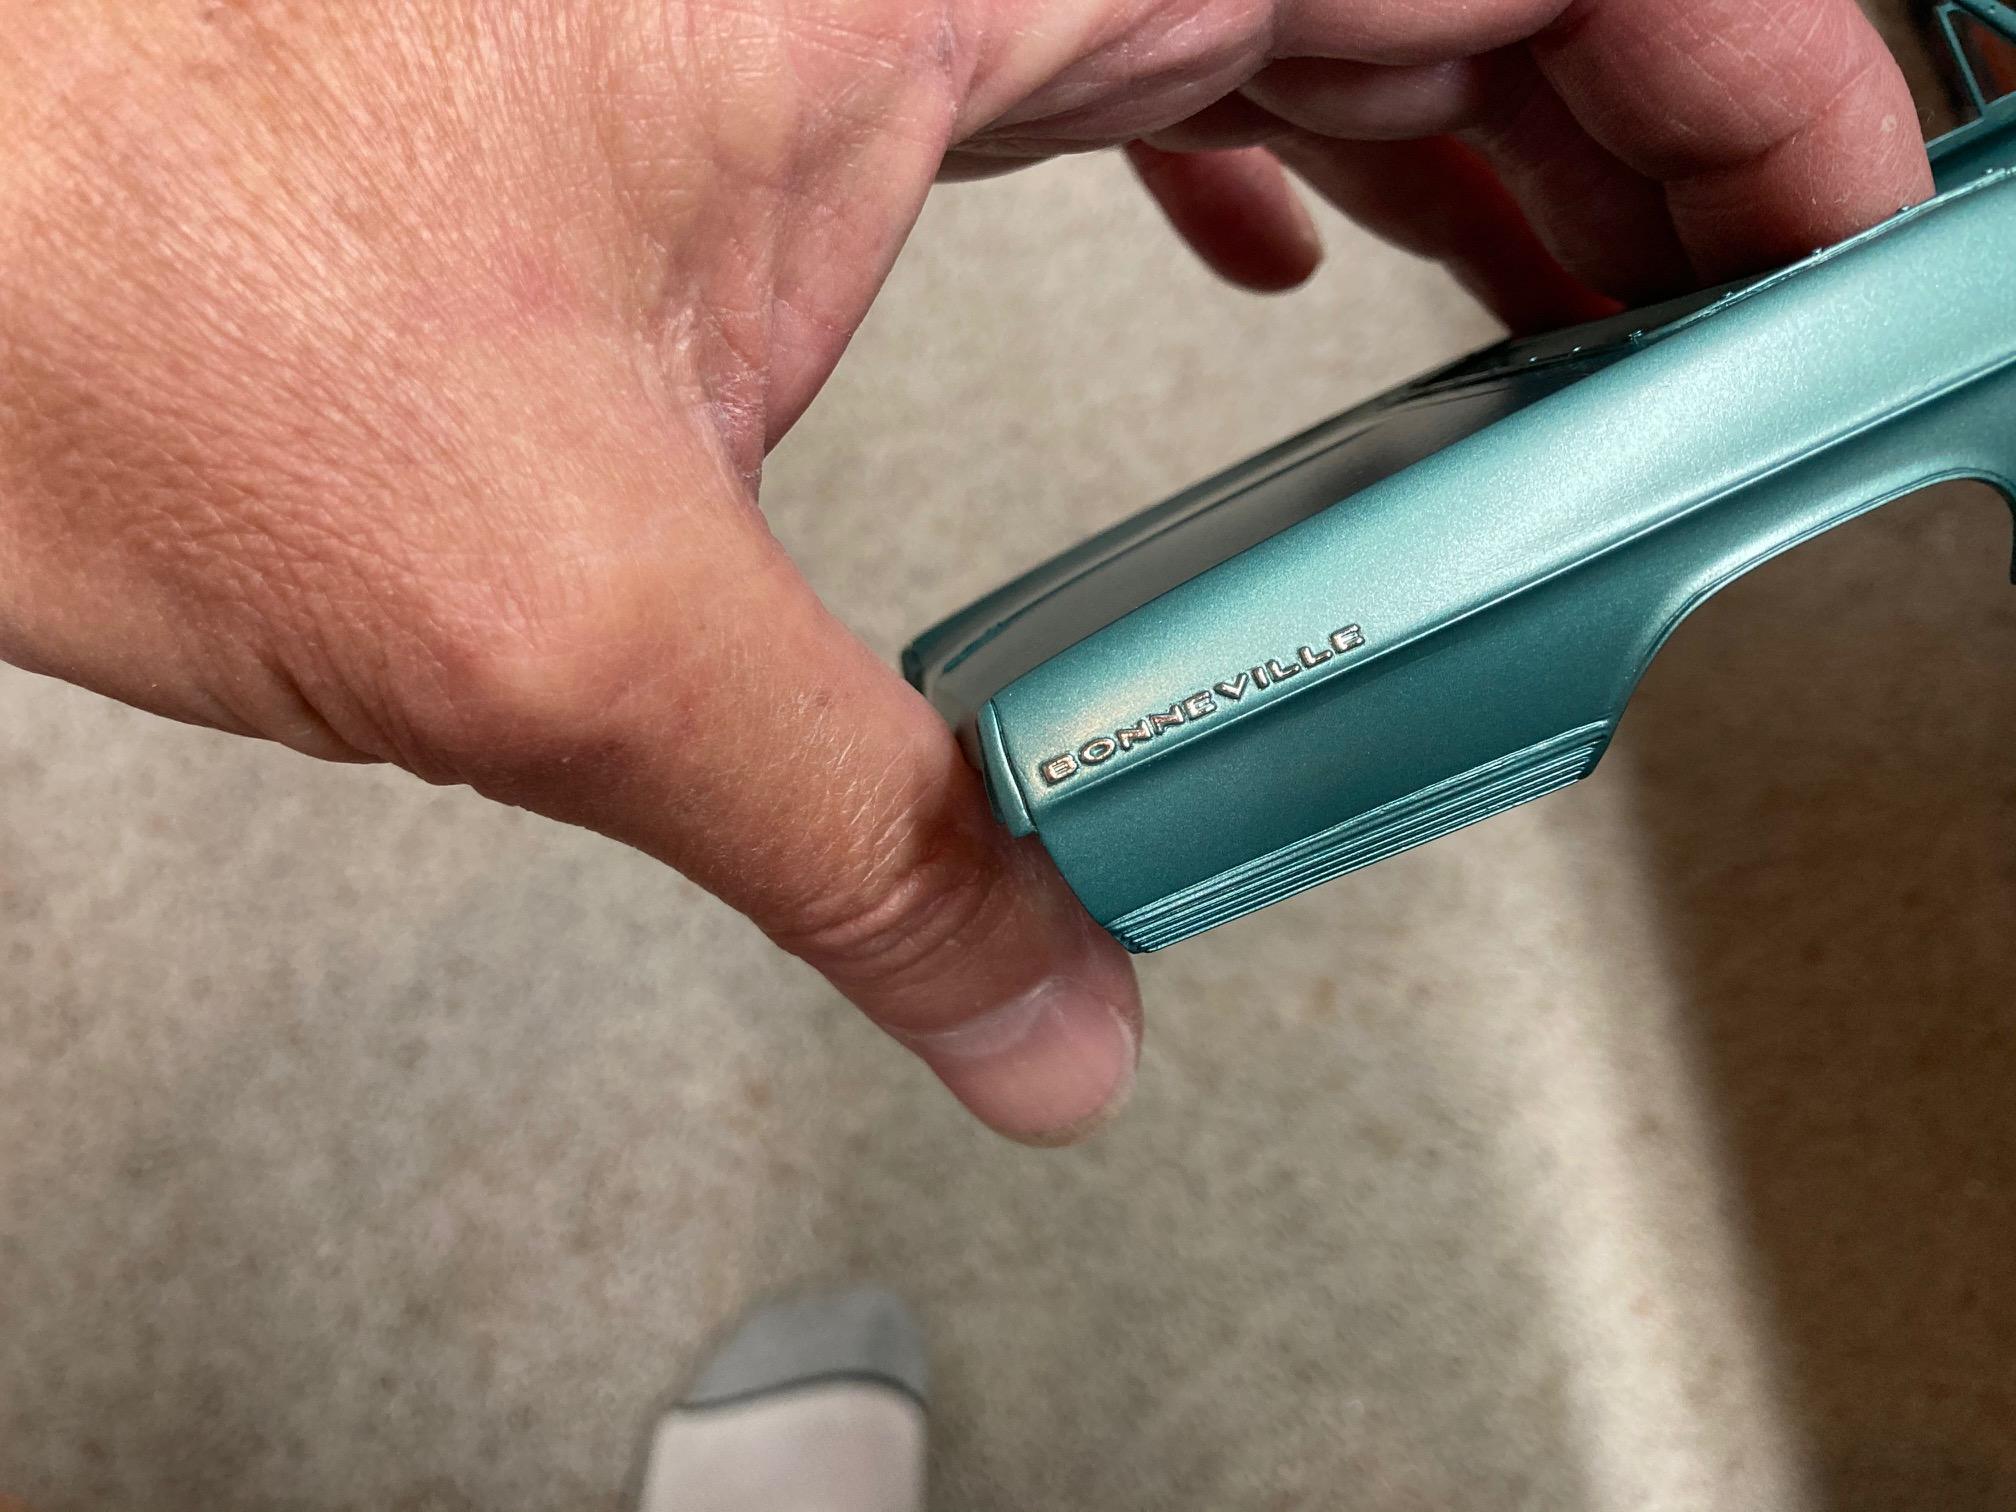
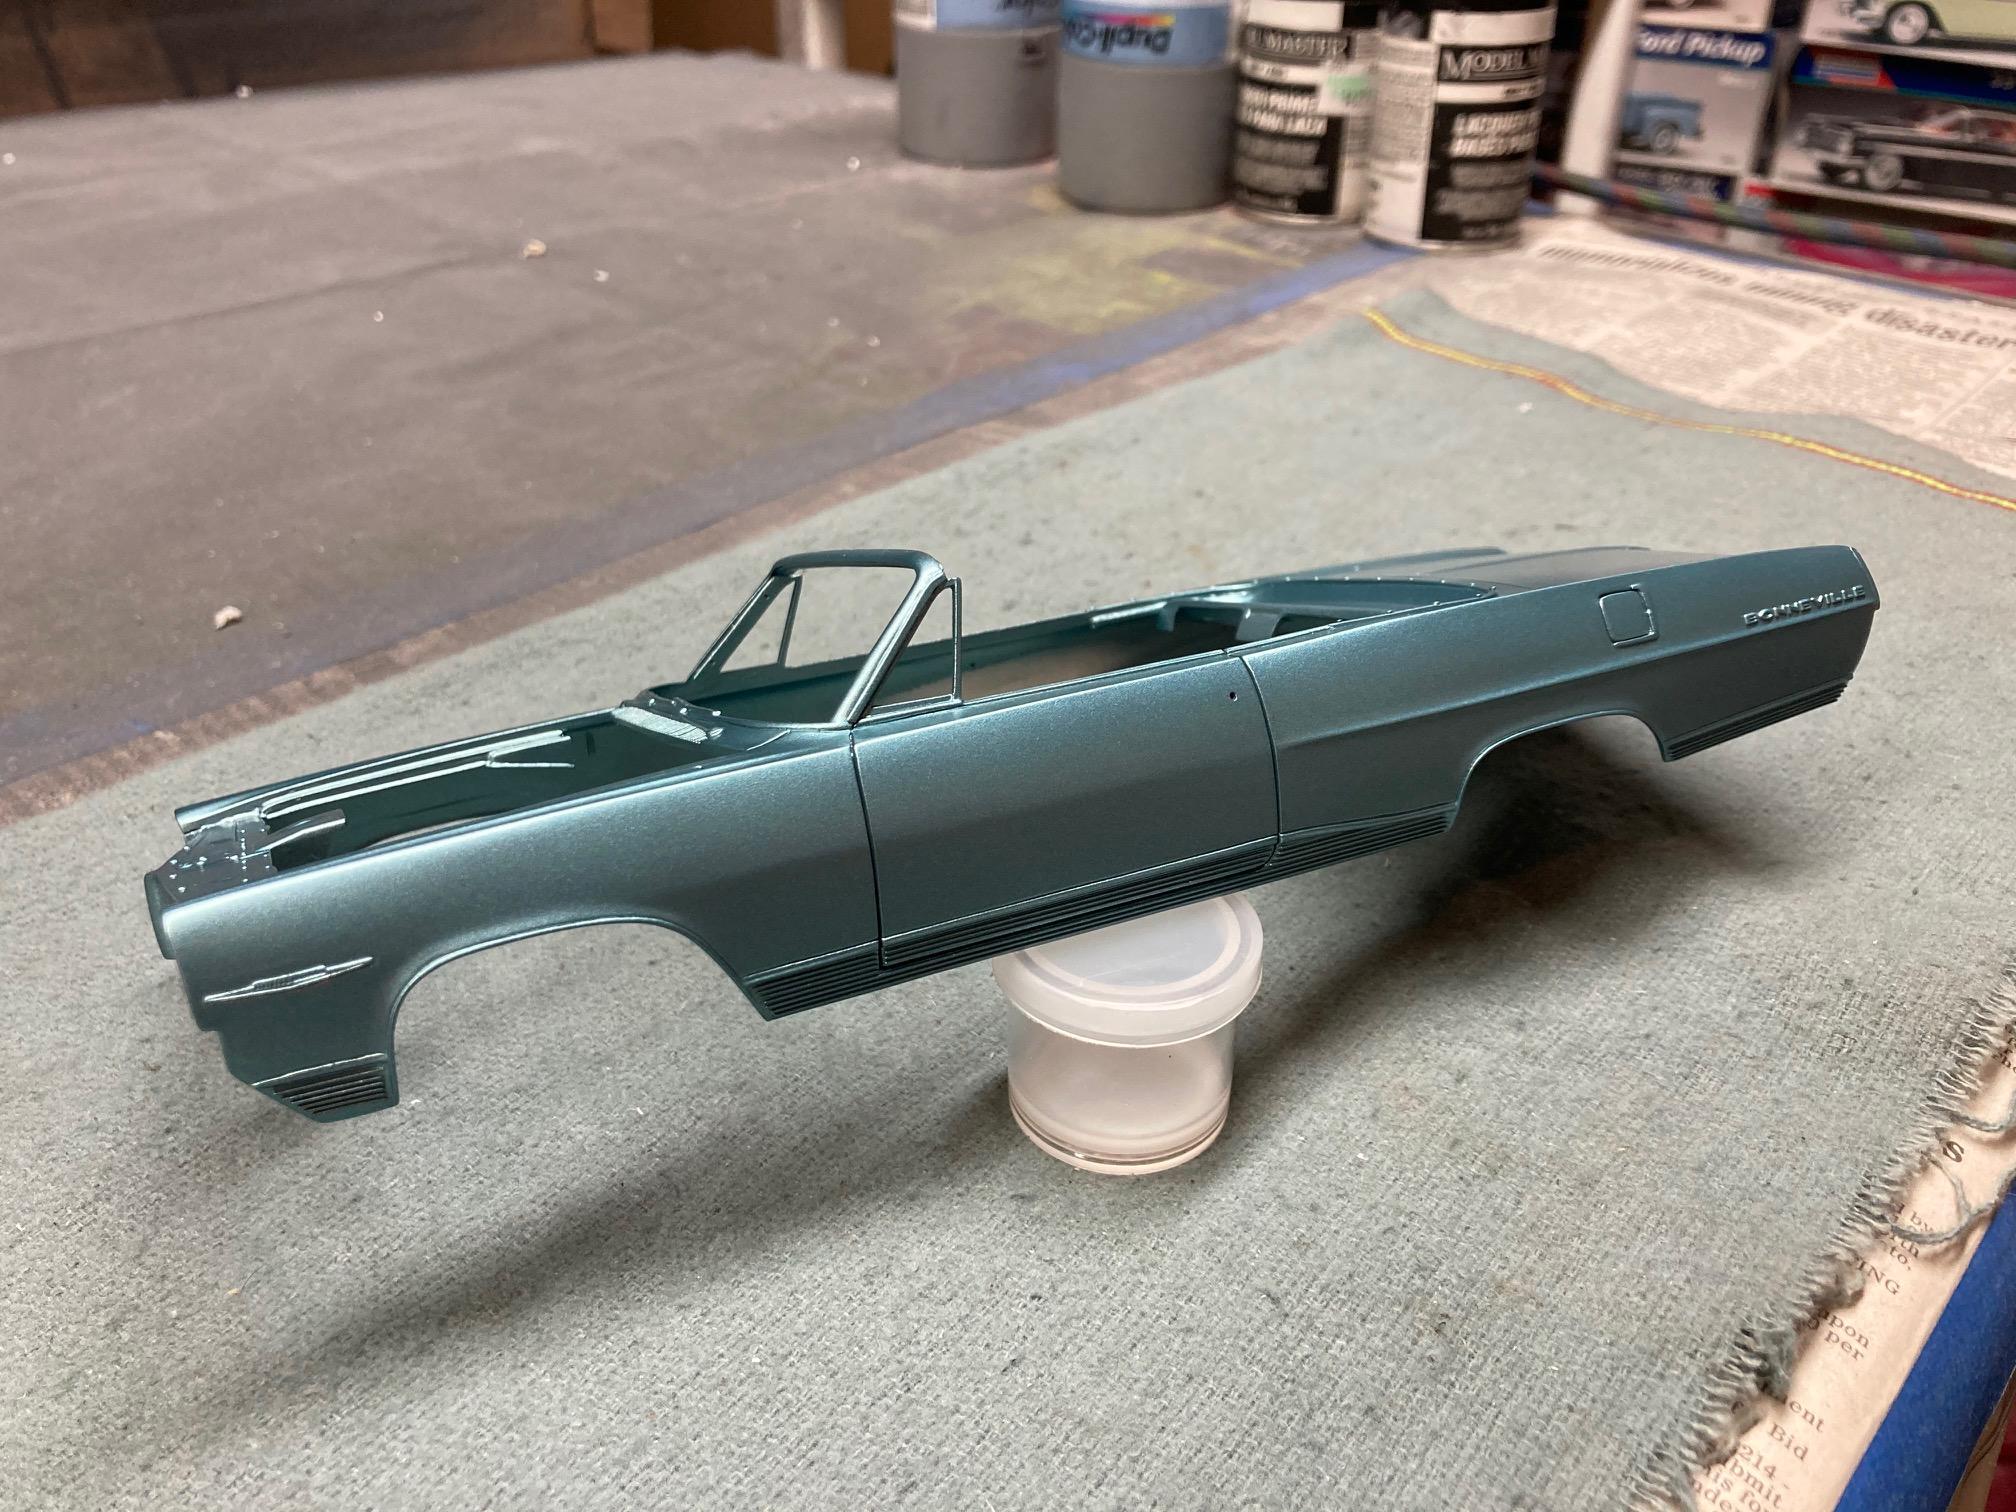
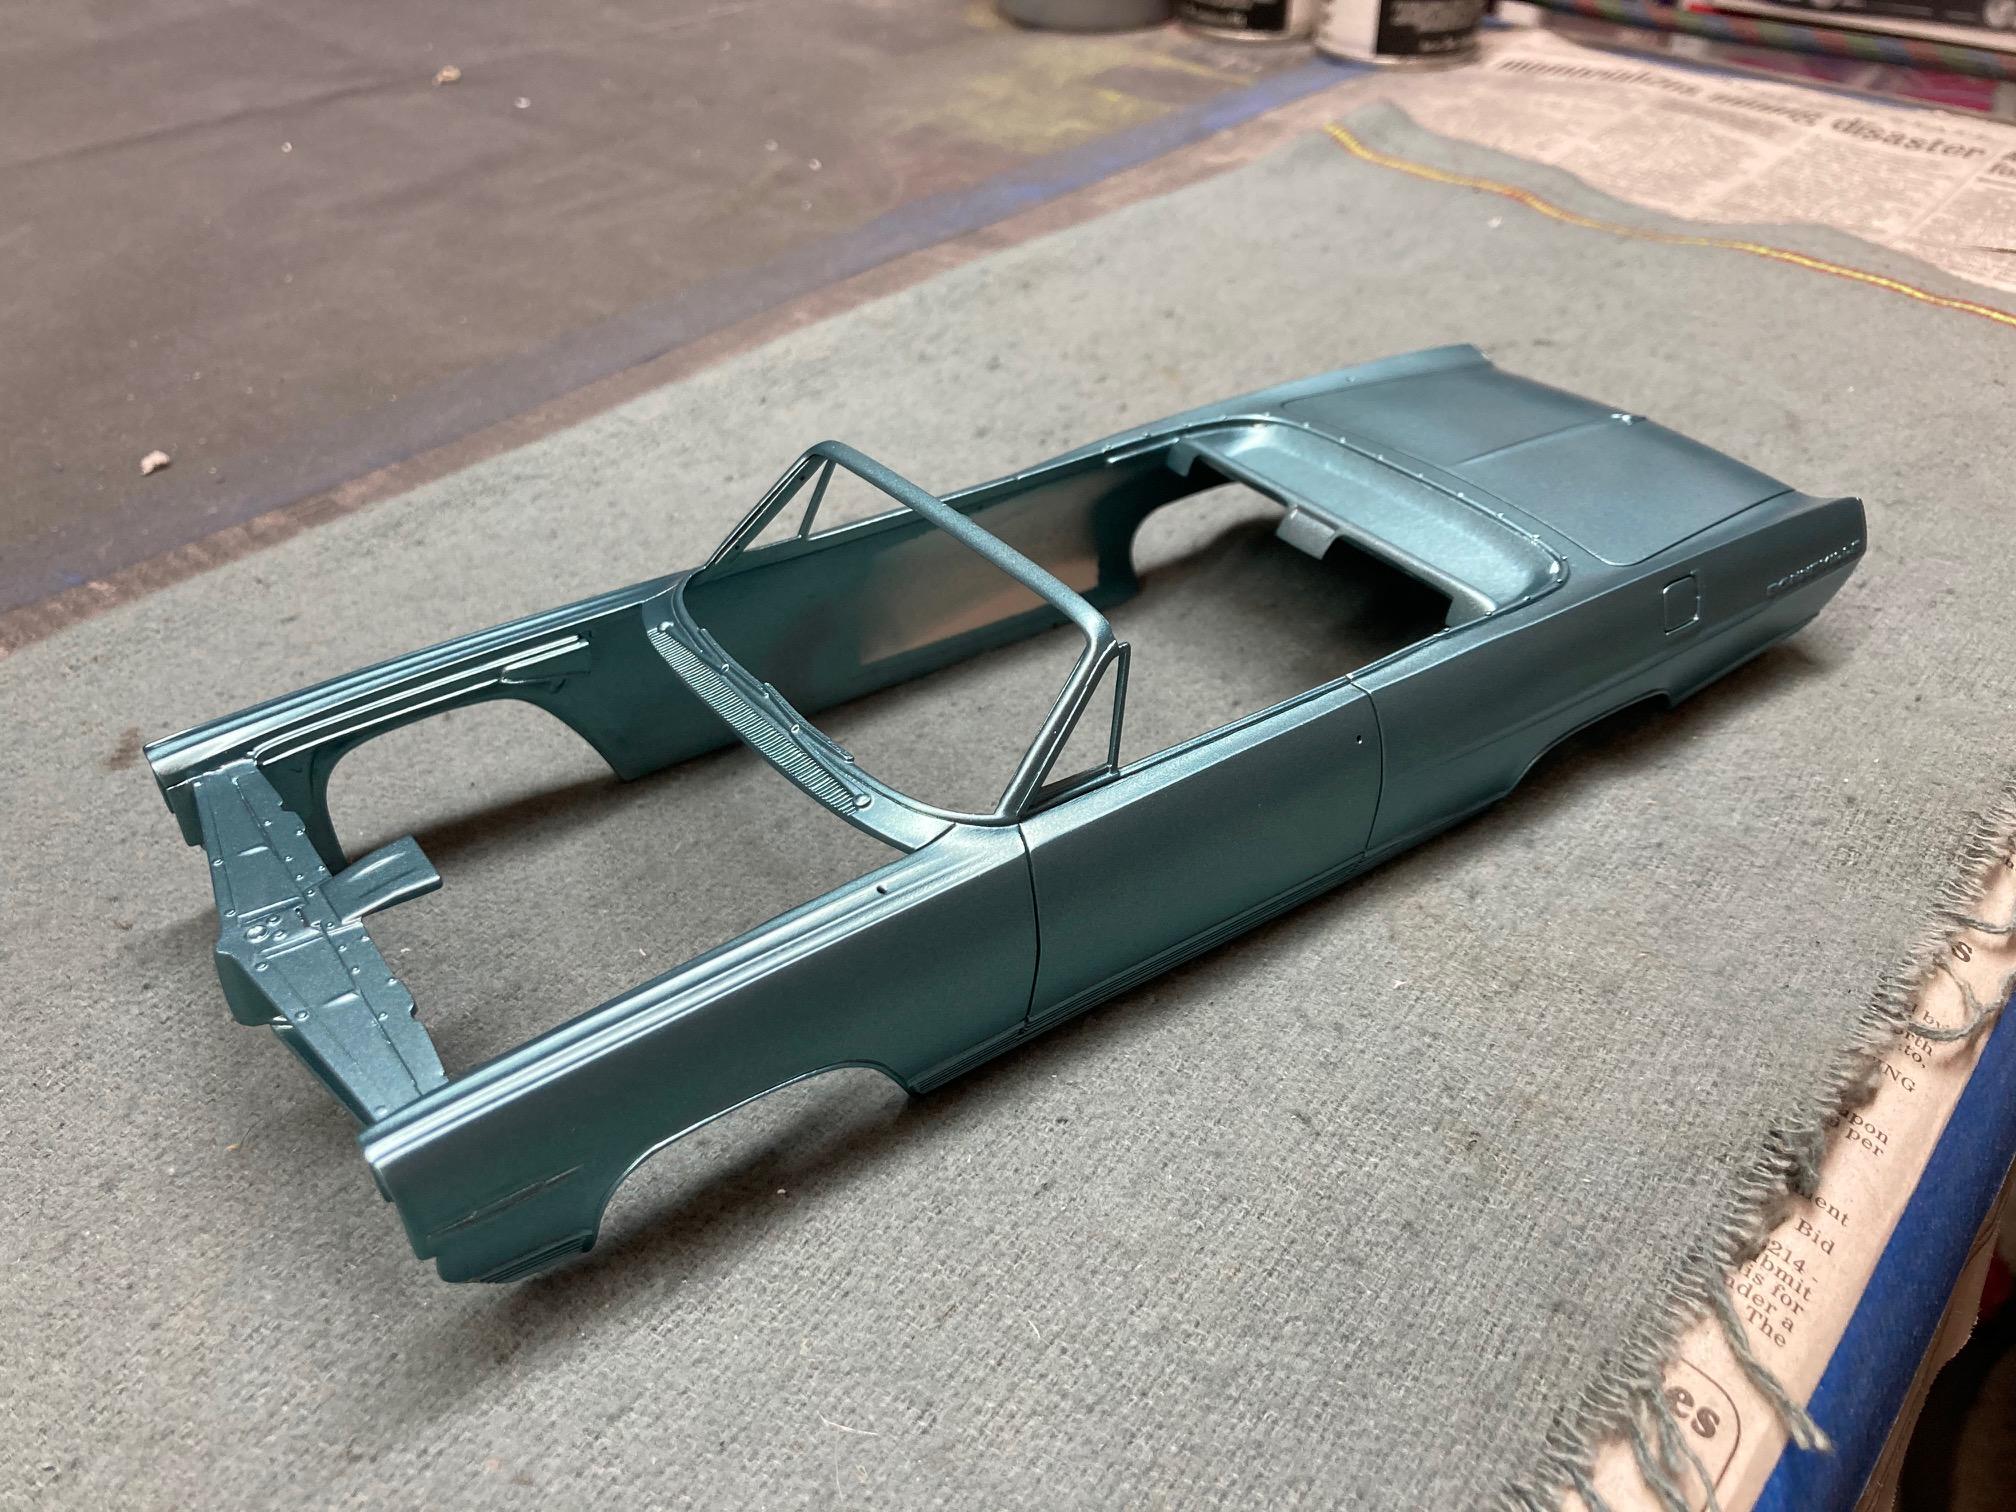
The color is #6955E. "Seafoam Turquoise Metallic". The body color should be pretty close once the clear coats are applied. Steve -
1964 Pontiac Bonneville Convertible.
StevenGuthmiller replied to StevenGuthmiller's topic in WIP: Model Cars
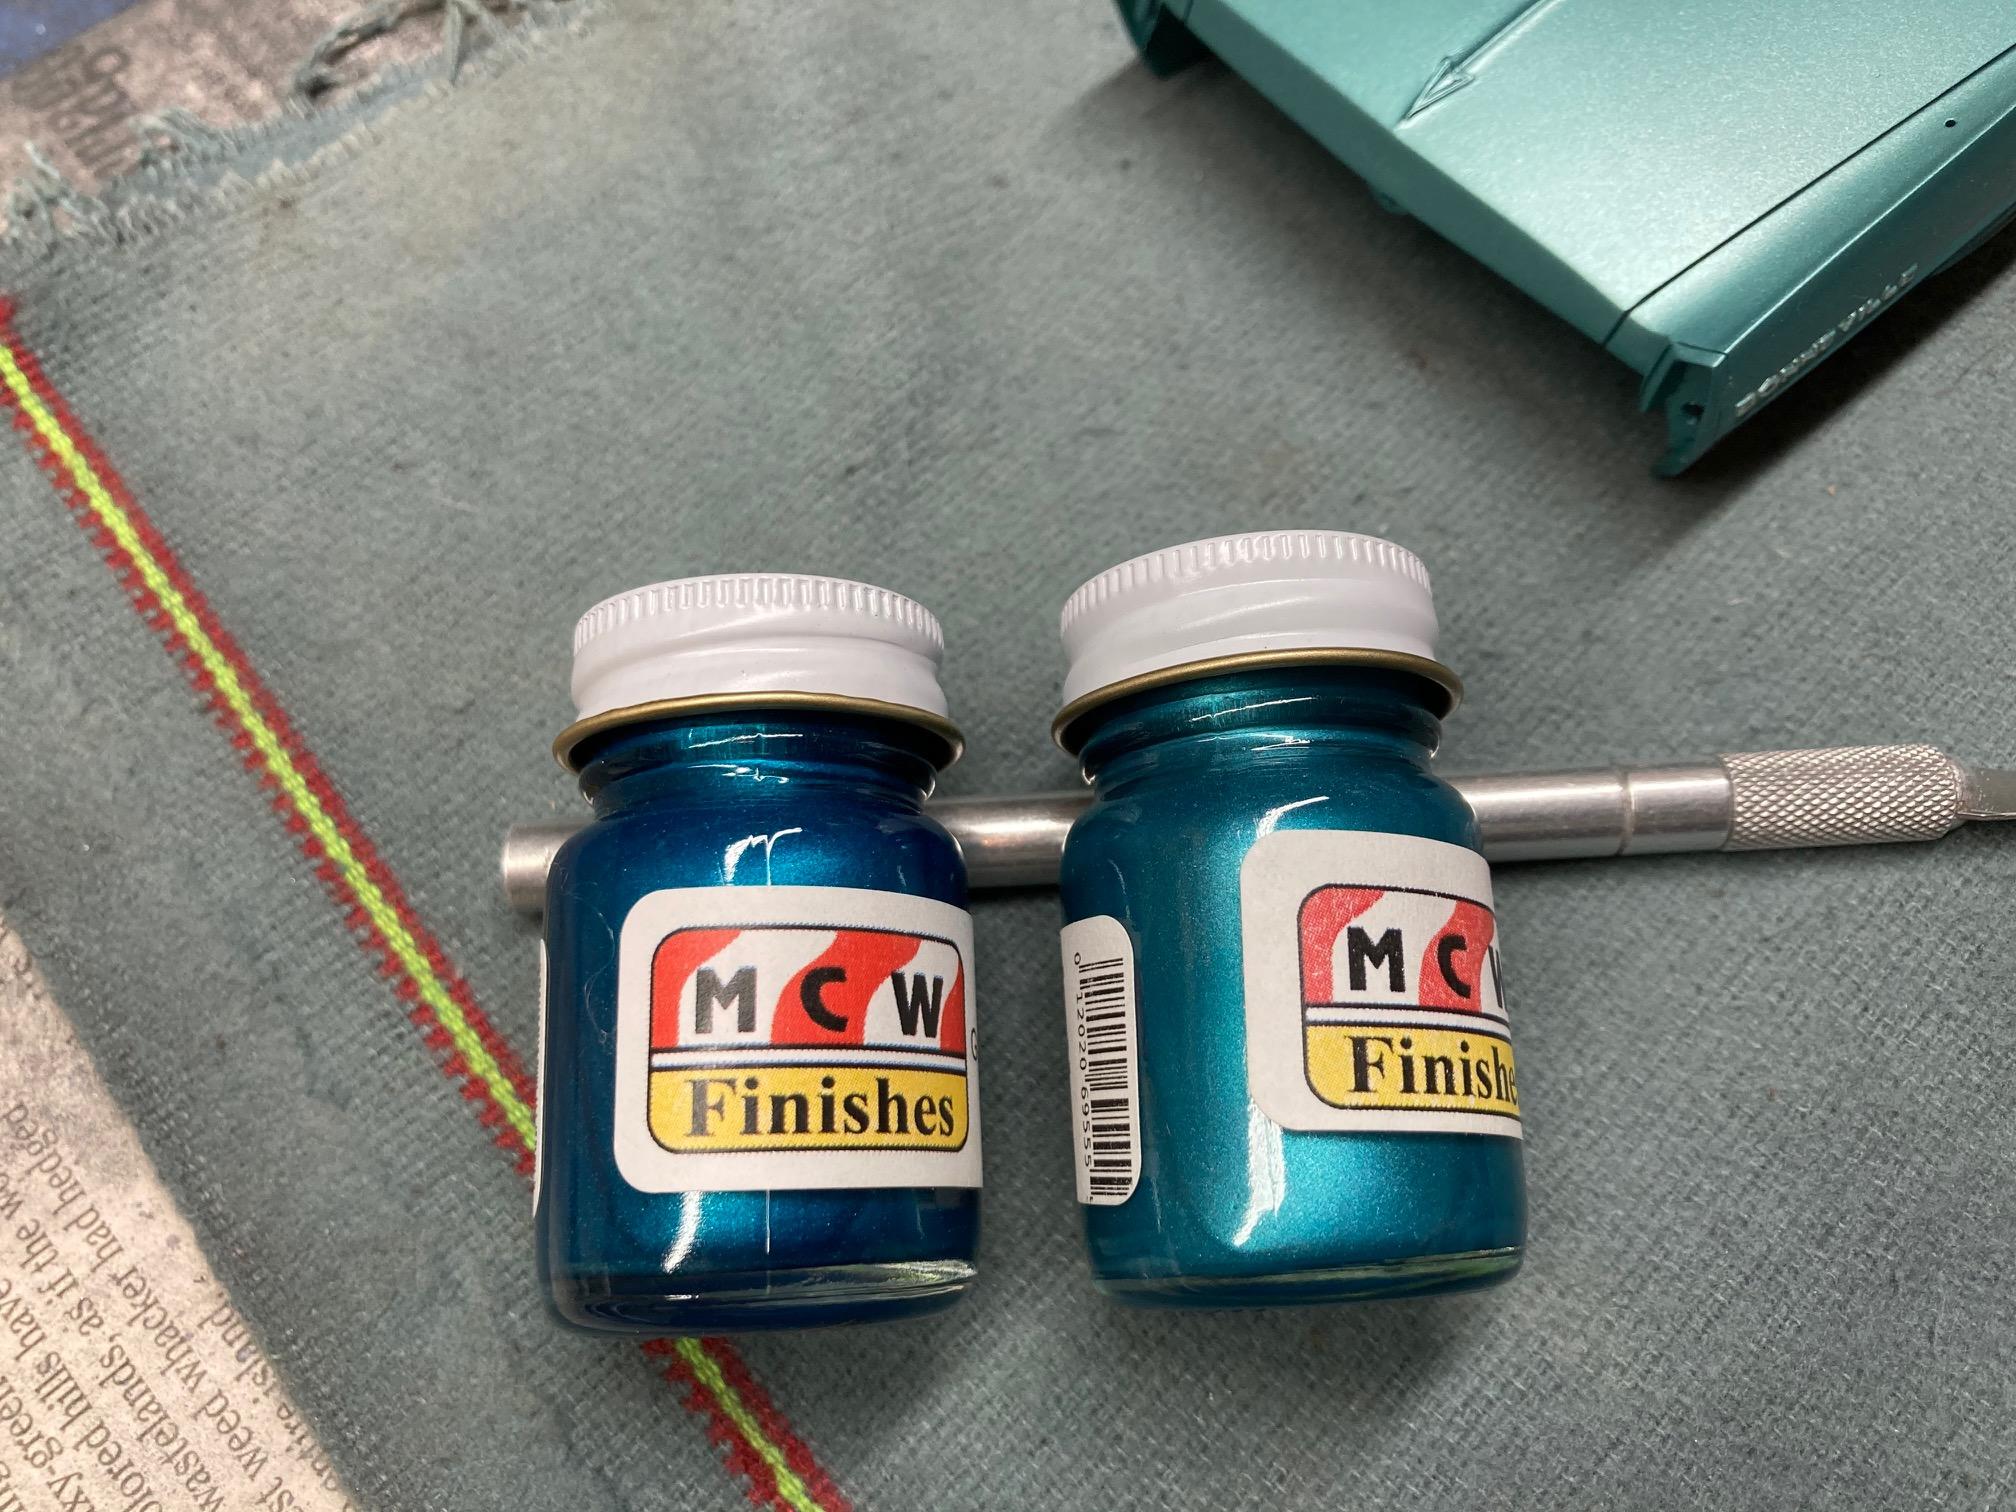
The color is just called "6411 Turquoise Metallic", and it's from MCW. A 1964 GM color. Steve -
1964 Pontiac Bonneville Convertible.
StevenGuthmiller replied to StevenGuthmiller's topic in WIP: Model Cars
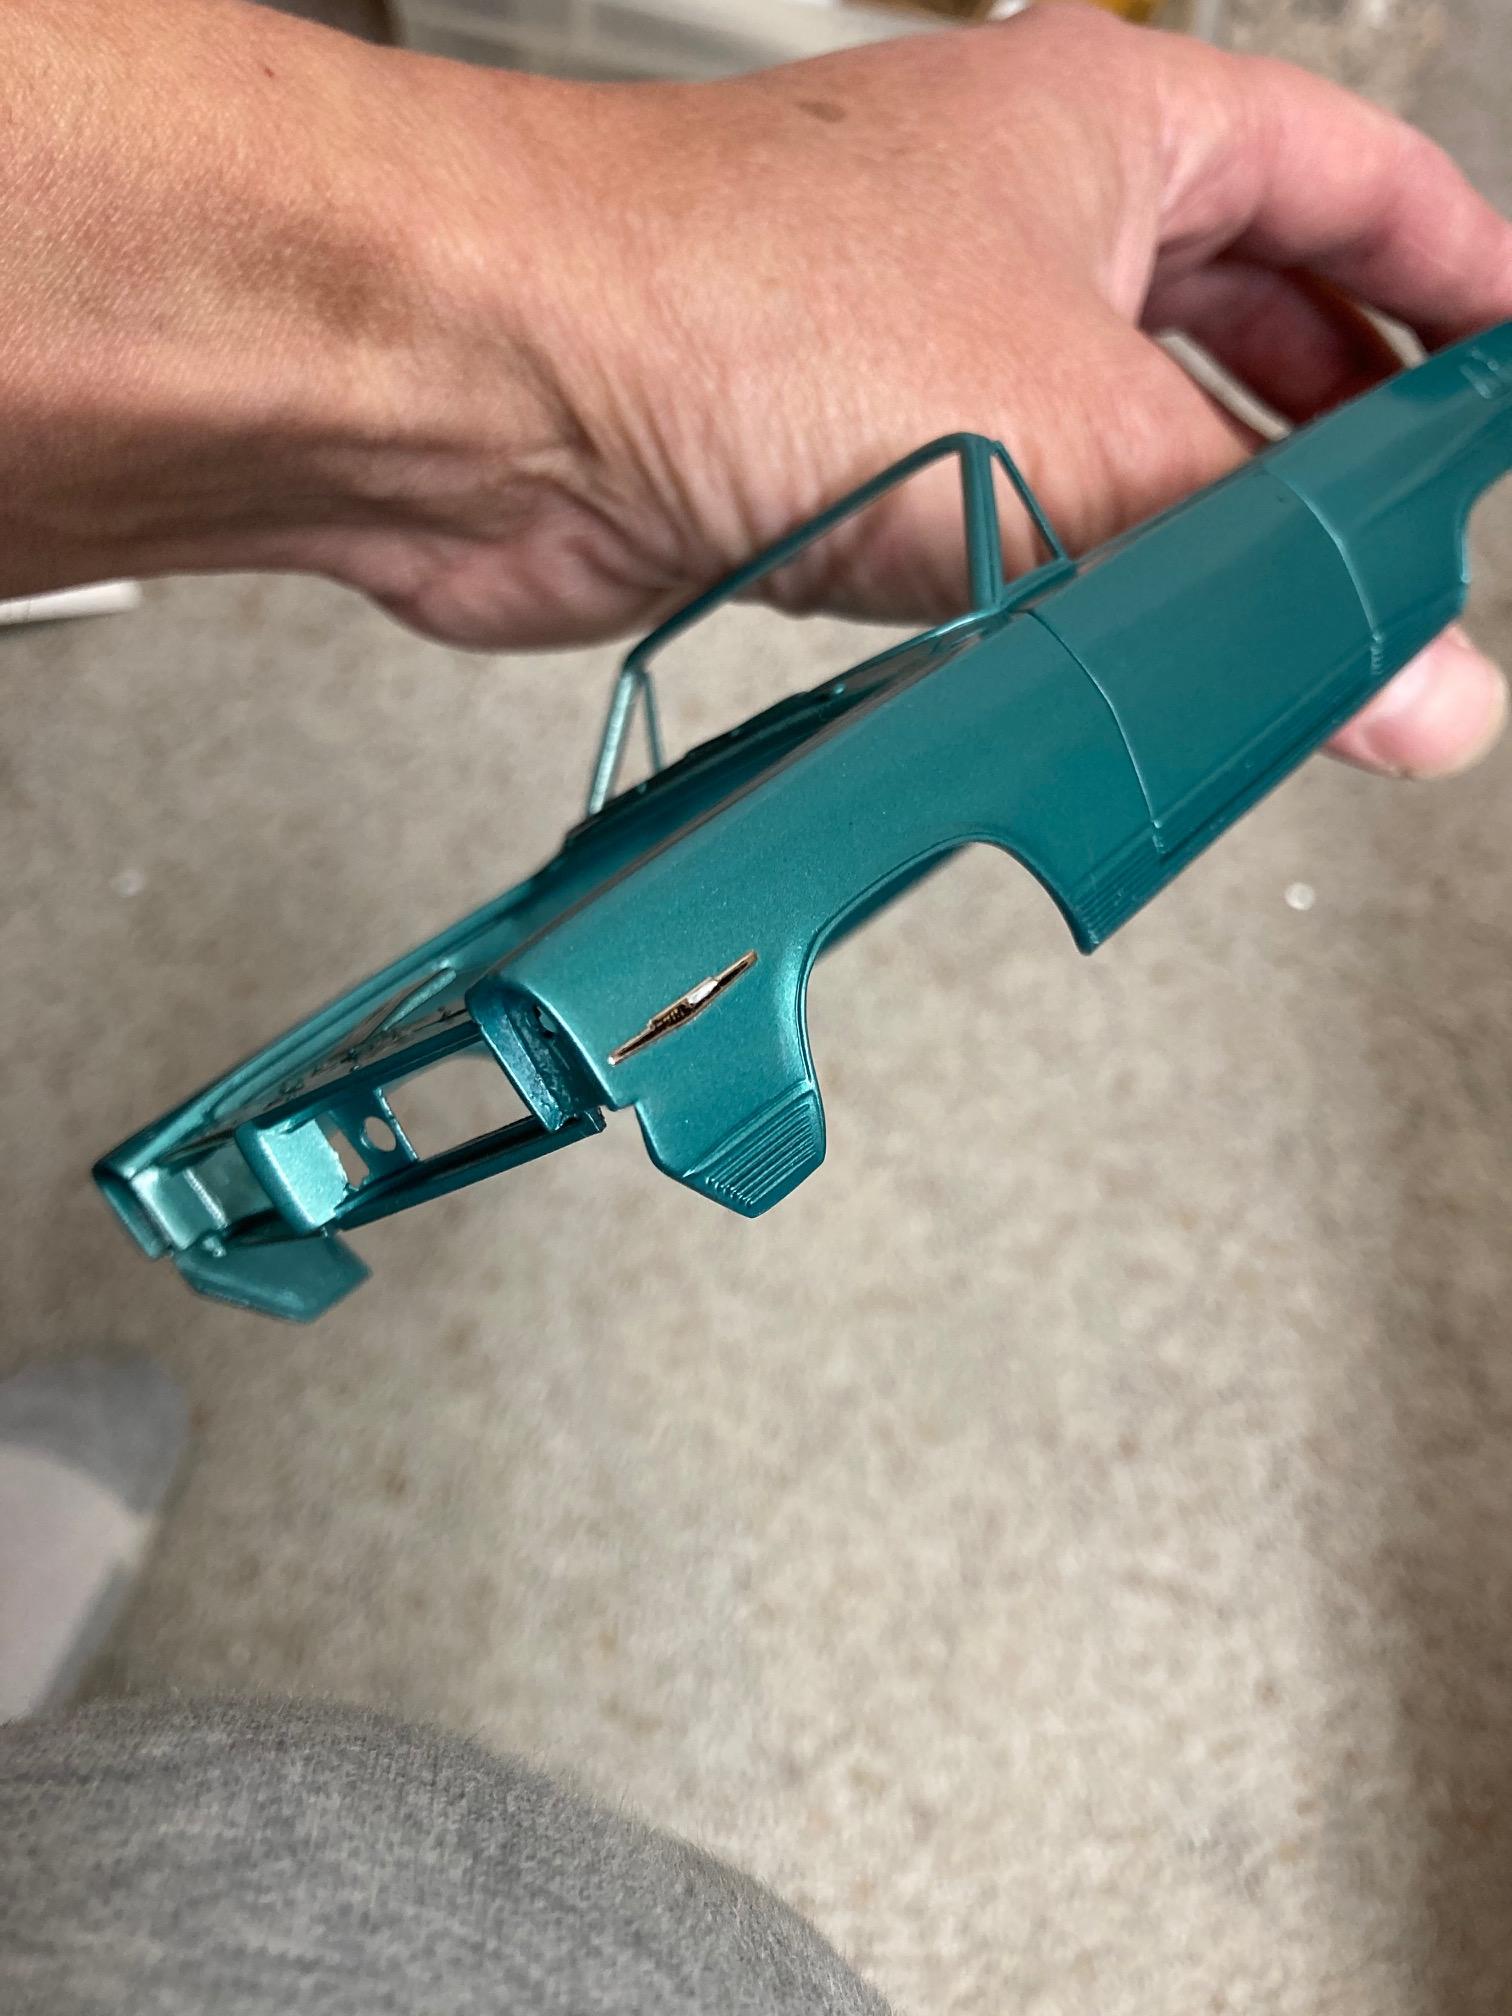
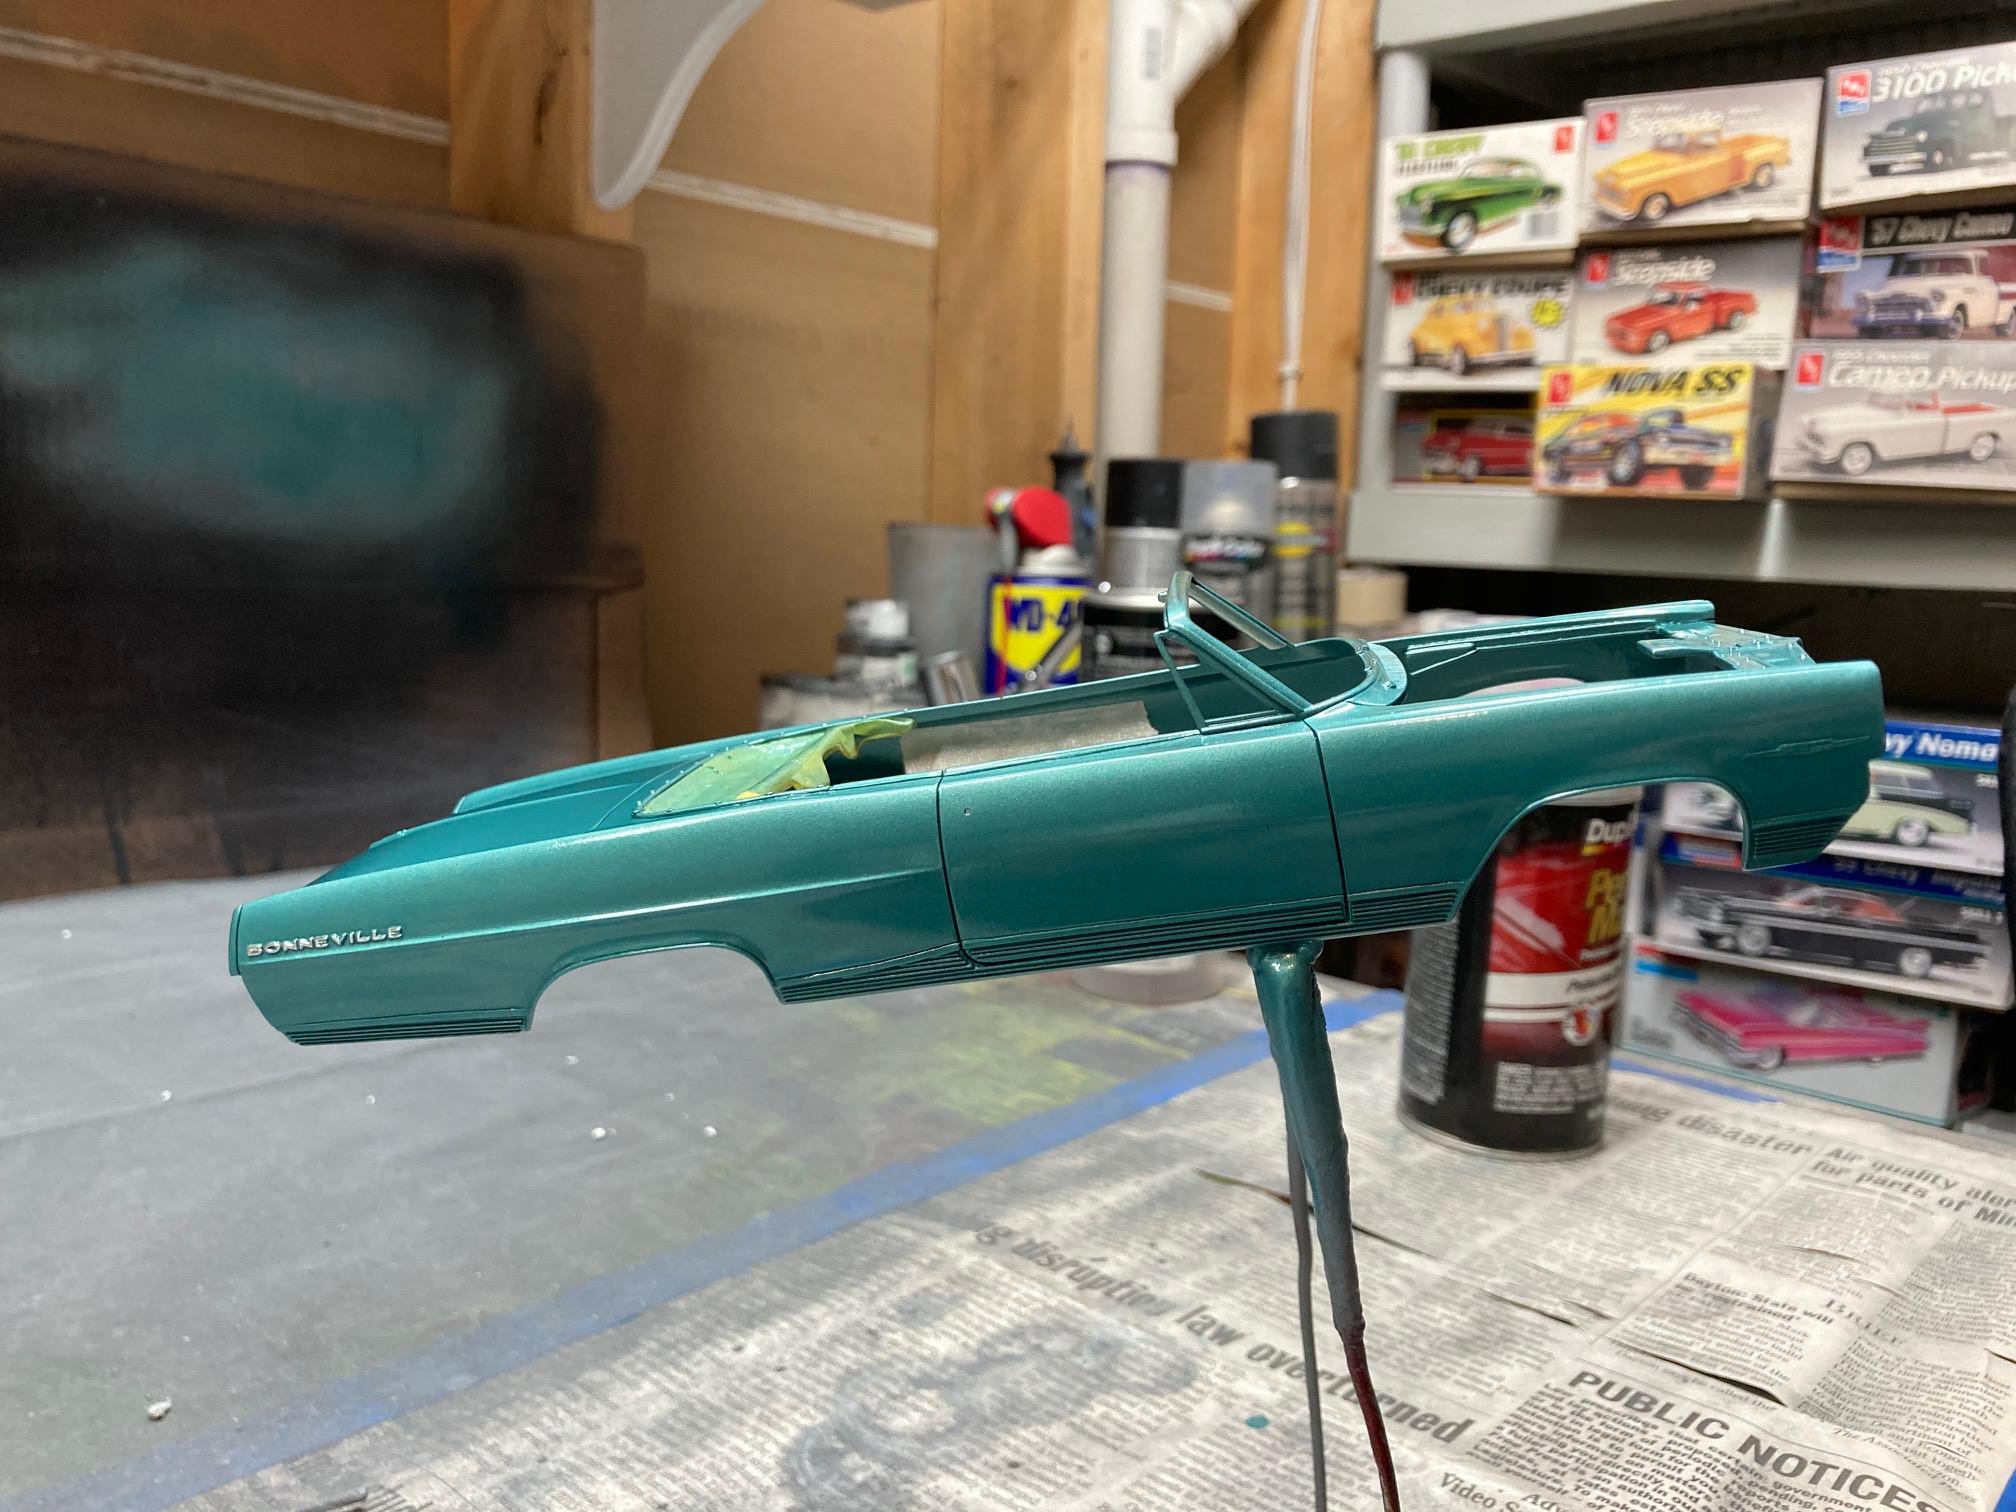
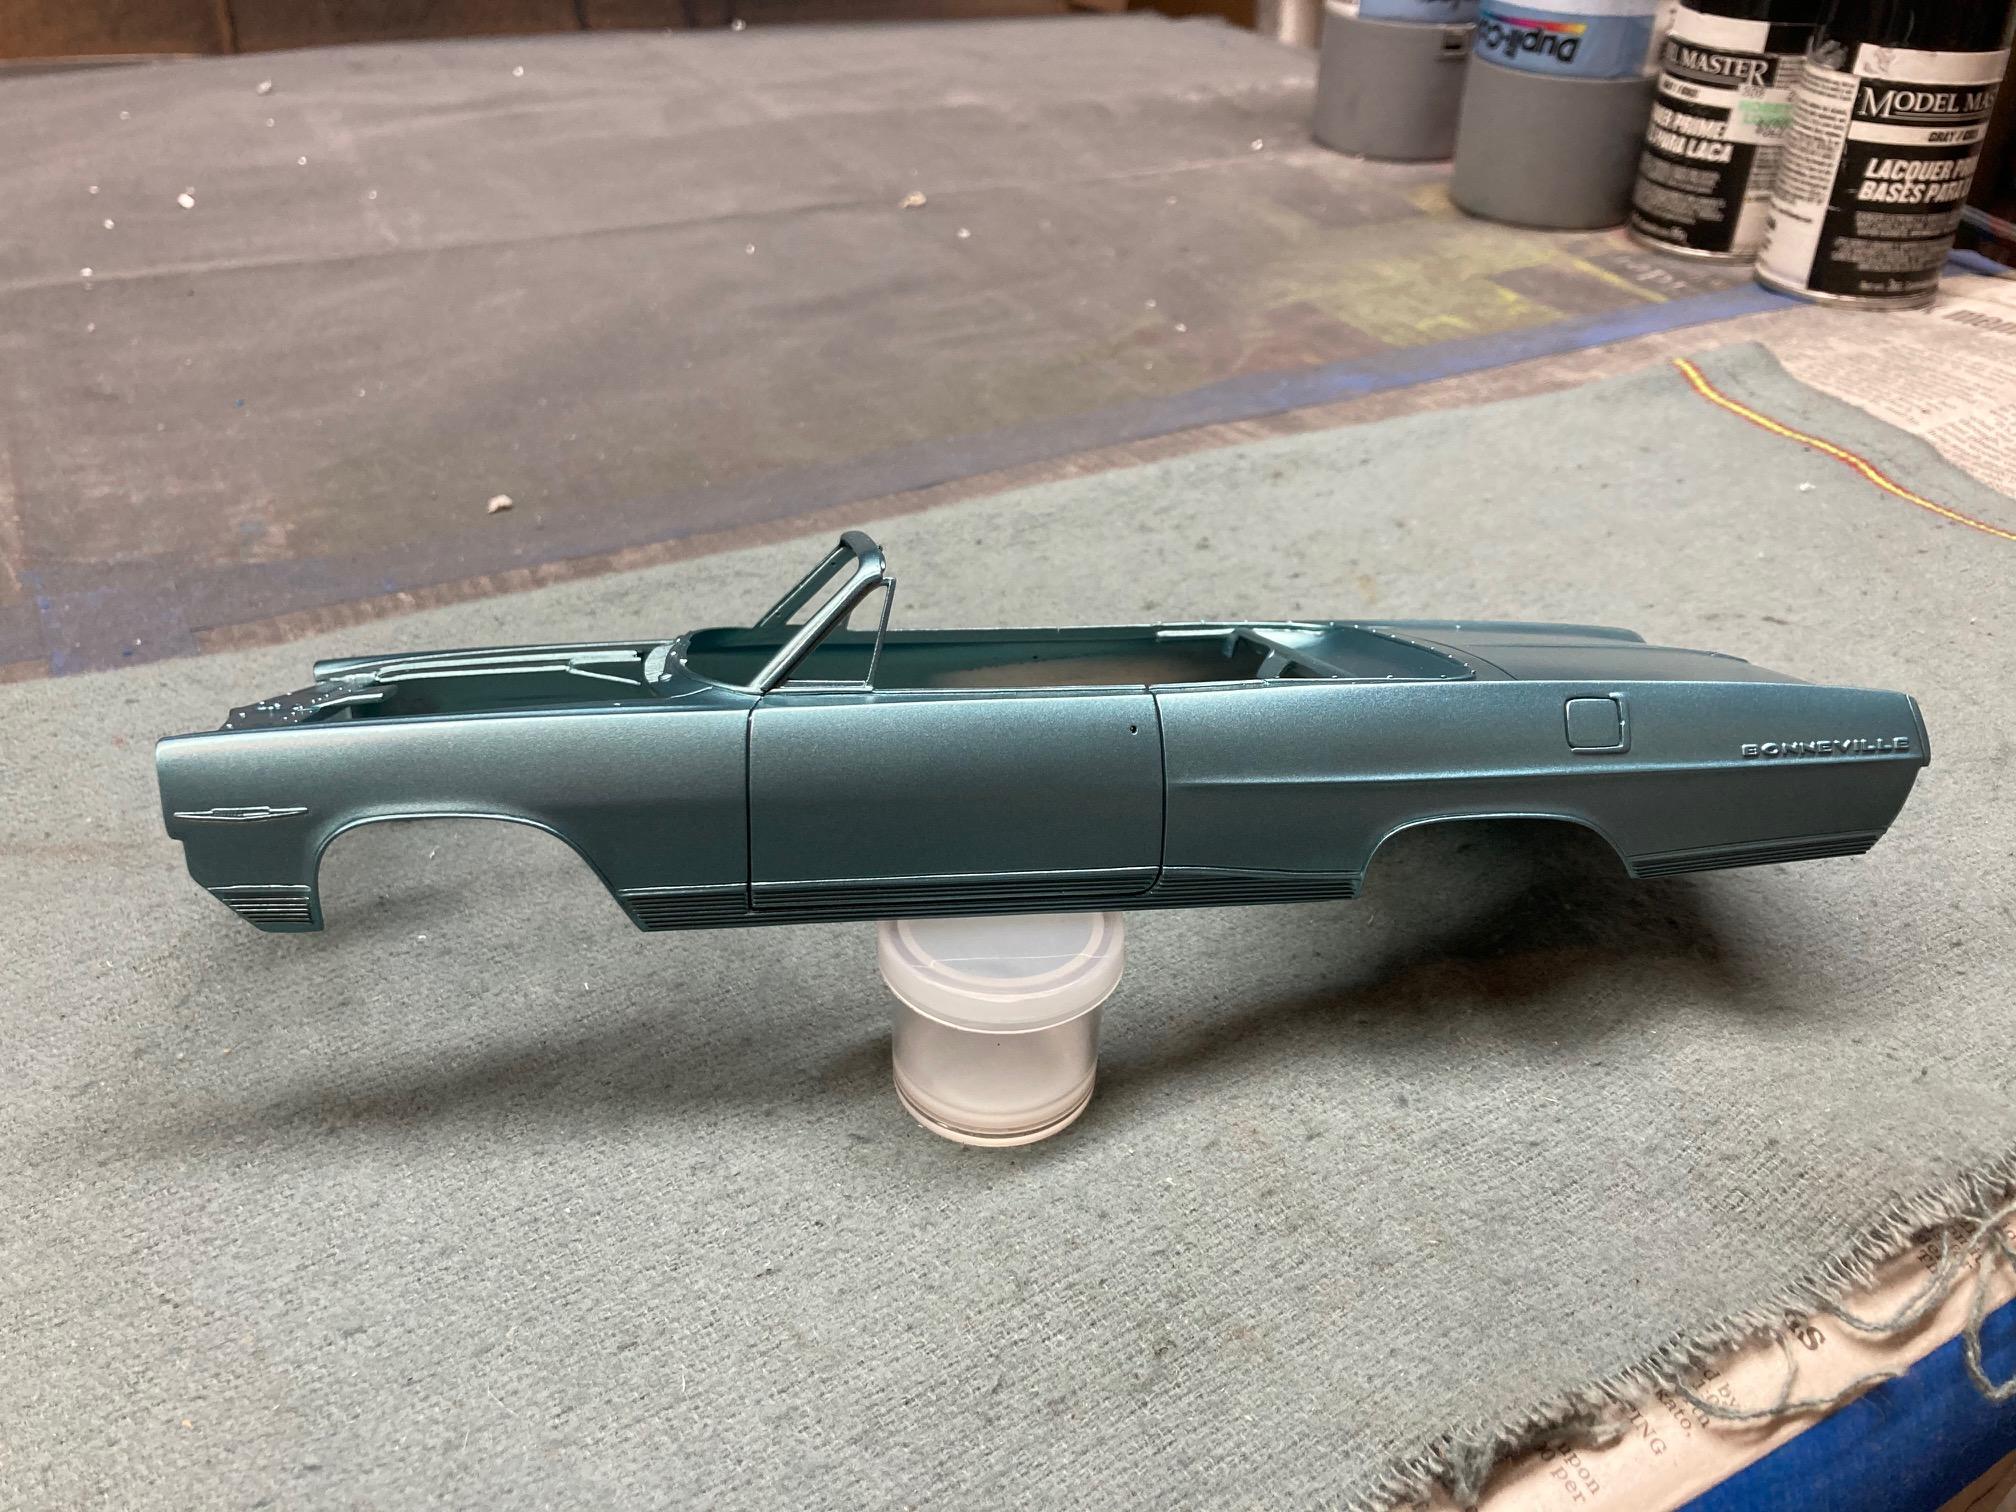
Final color coat on the body, and the scripts cleaned. ready for clear. Picked up a couple of bottles of MCW enamel to play with for the interior colors from my LHS. Steve
-
1964 Pontiac Bonneville Convertible.
StevenGuthmiller replied to StevenGuthmiller's topic in WIP: Model Cars
Is there such thing? Steve -
Scalefinishes site down or gone?
StevenGuthmiller replied to Dpate's topic in Model Building Questions and Answers
I seem to remember something about the proprietor being out for a short time the last time I visited. On vacation or something? Could be wrong, but it rings a bell. Steve -
1964 Pontiac Bonneville Convertible.
StevenGuthmiller replied to StevenGuthmiller's topic in WIP: Model Cars
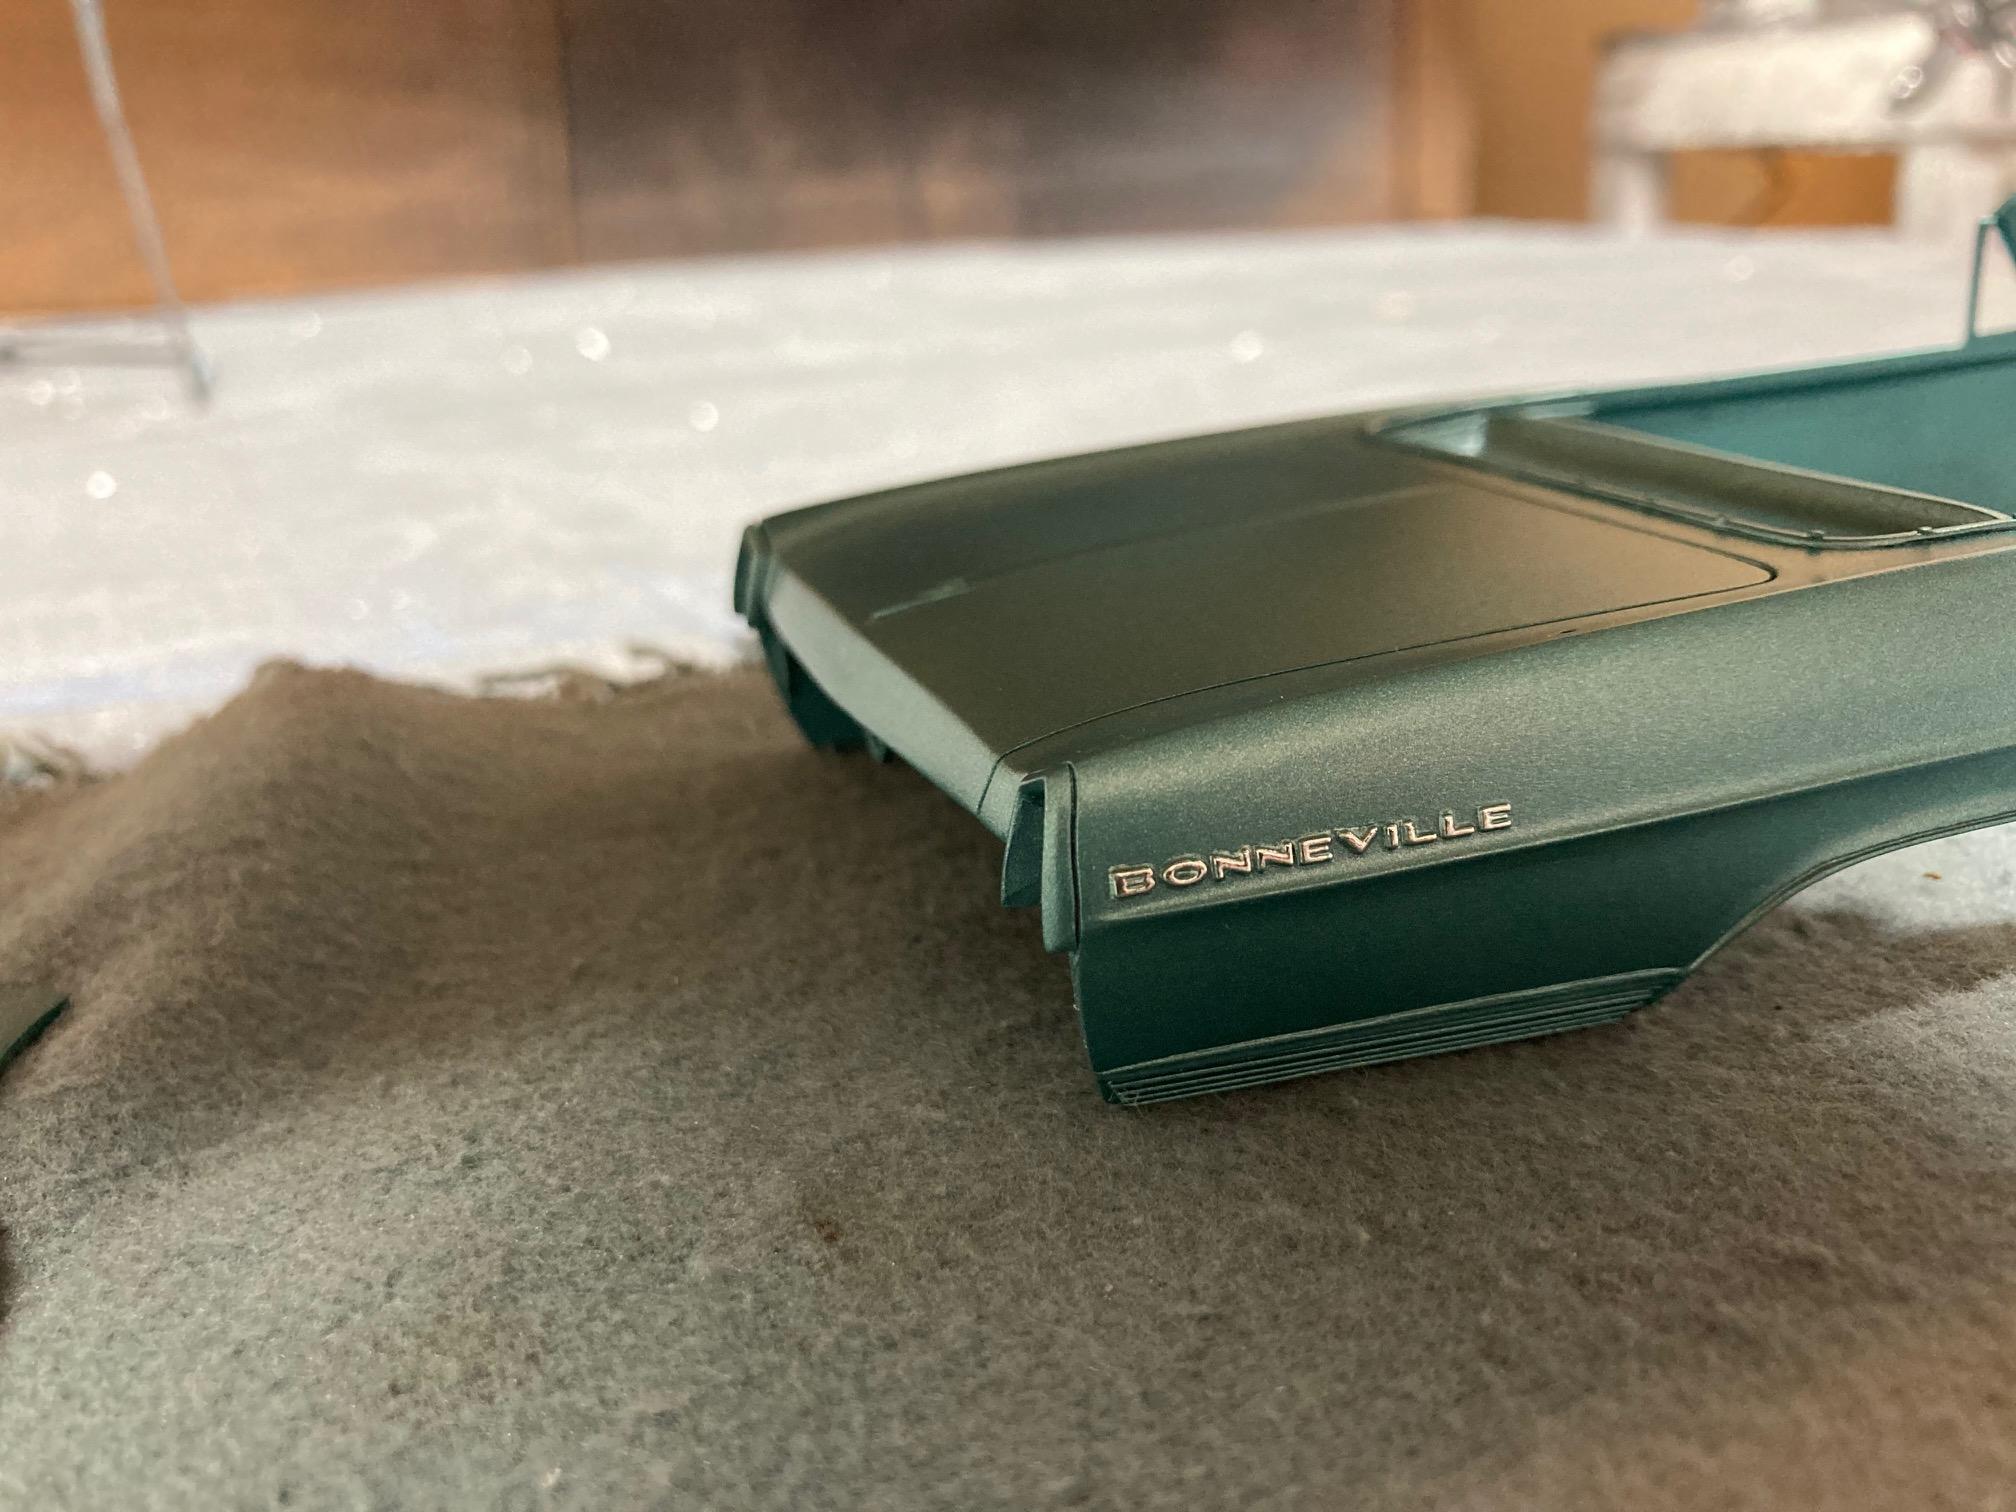
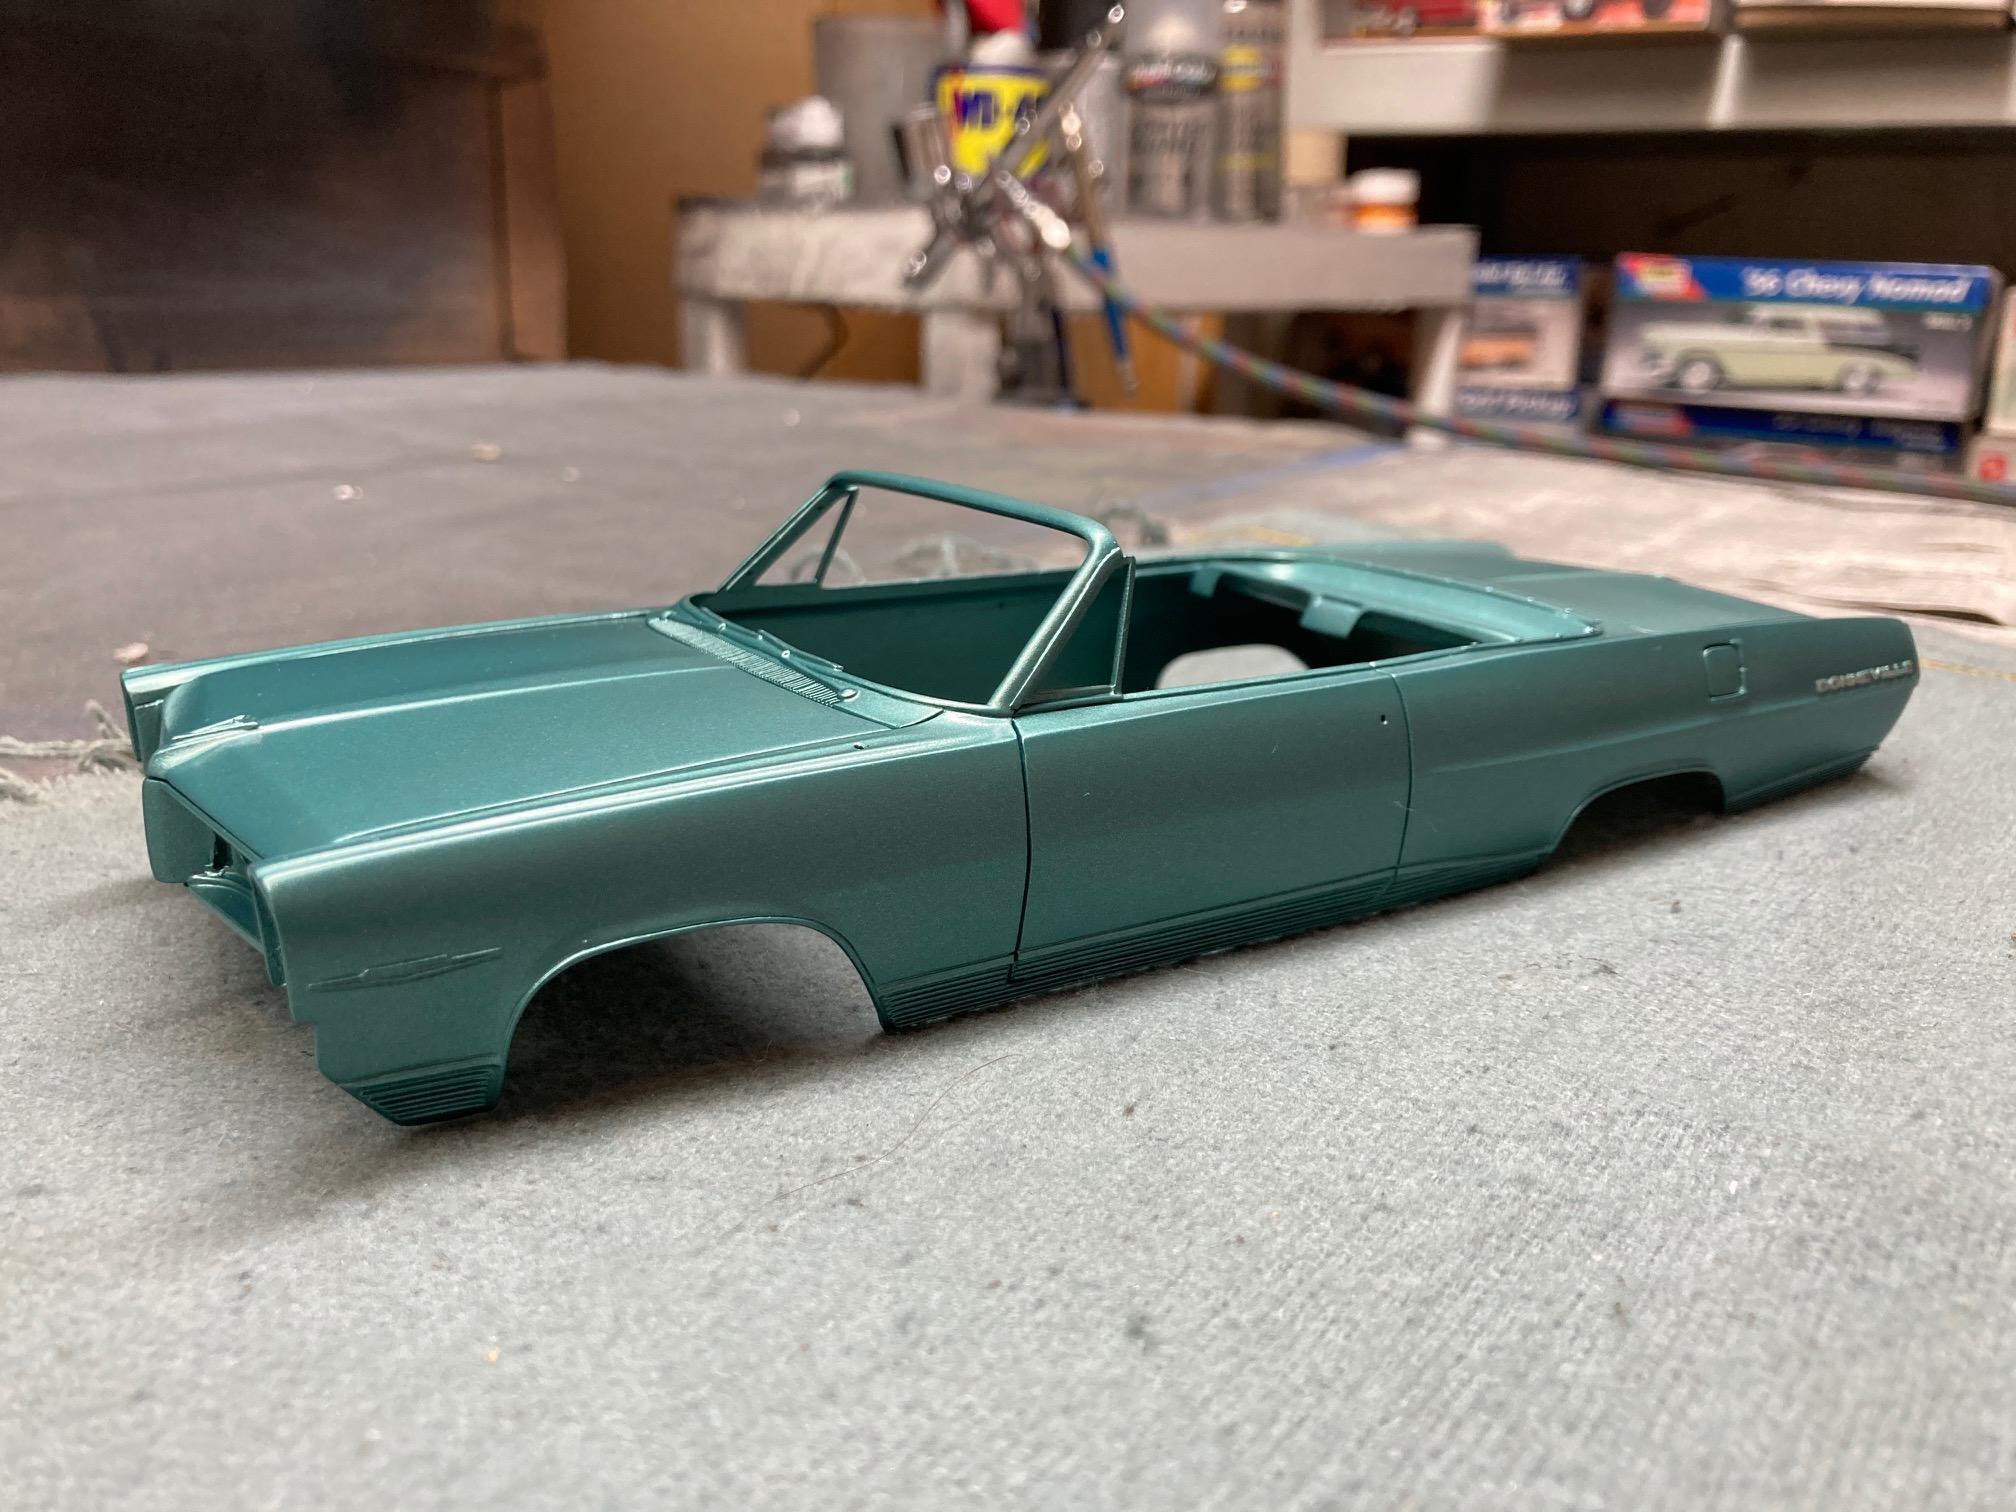
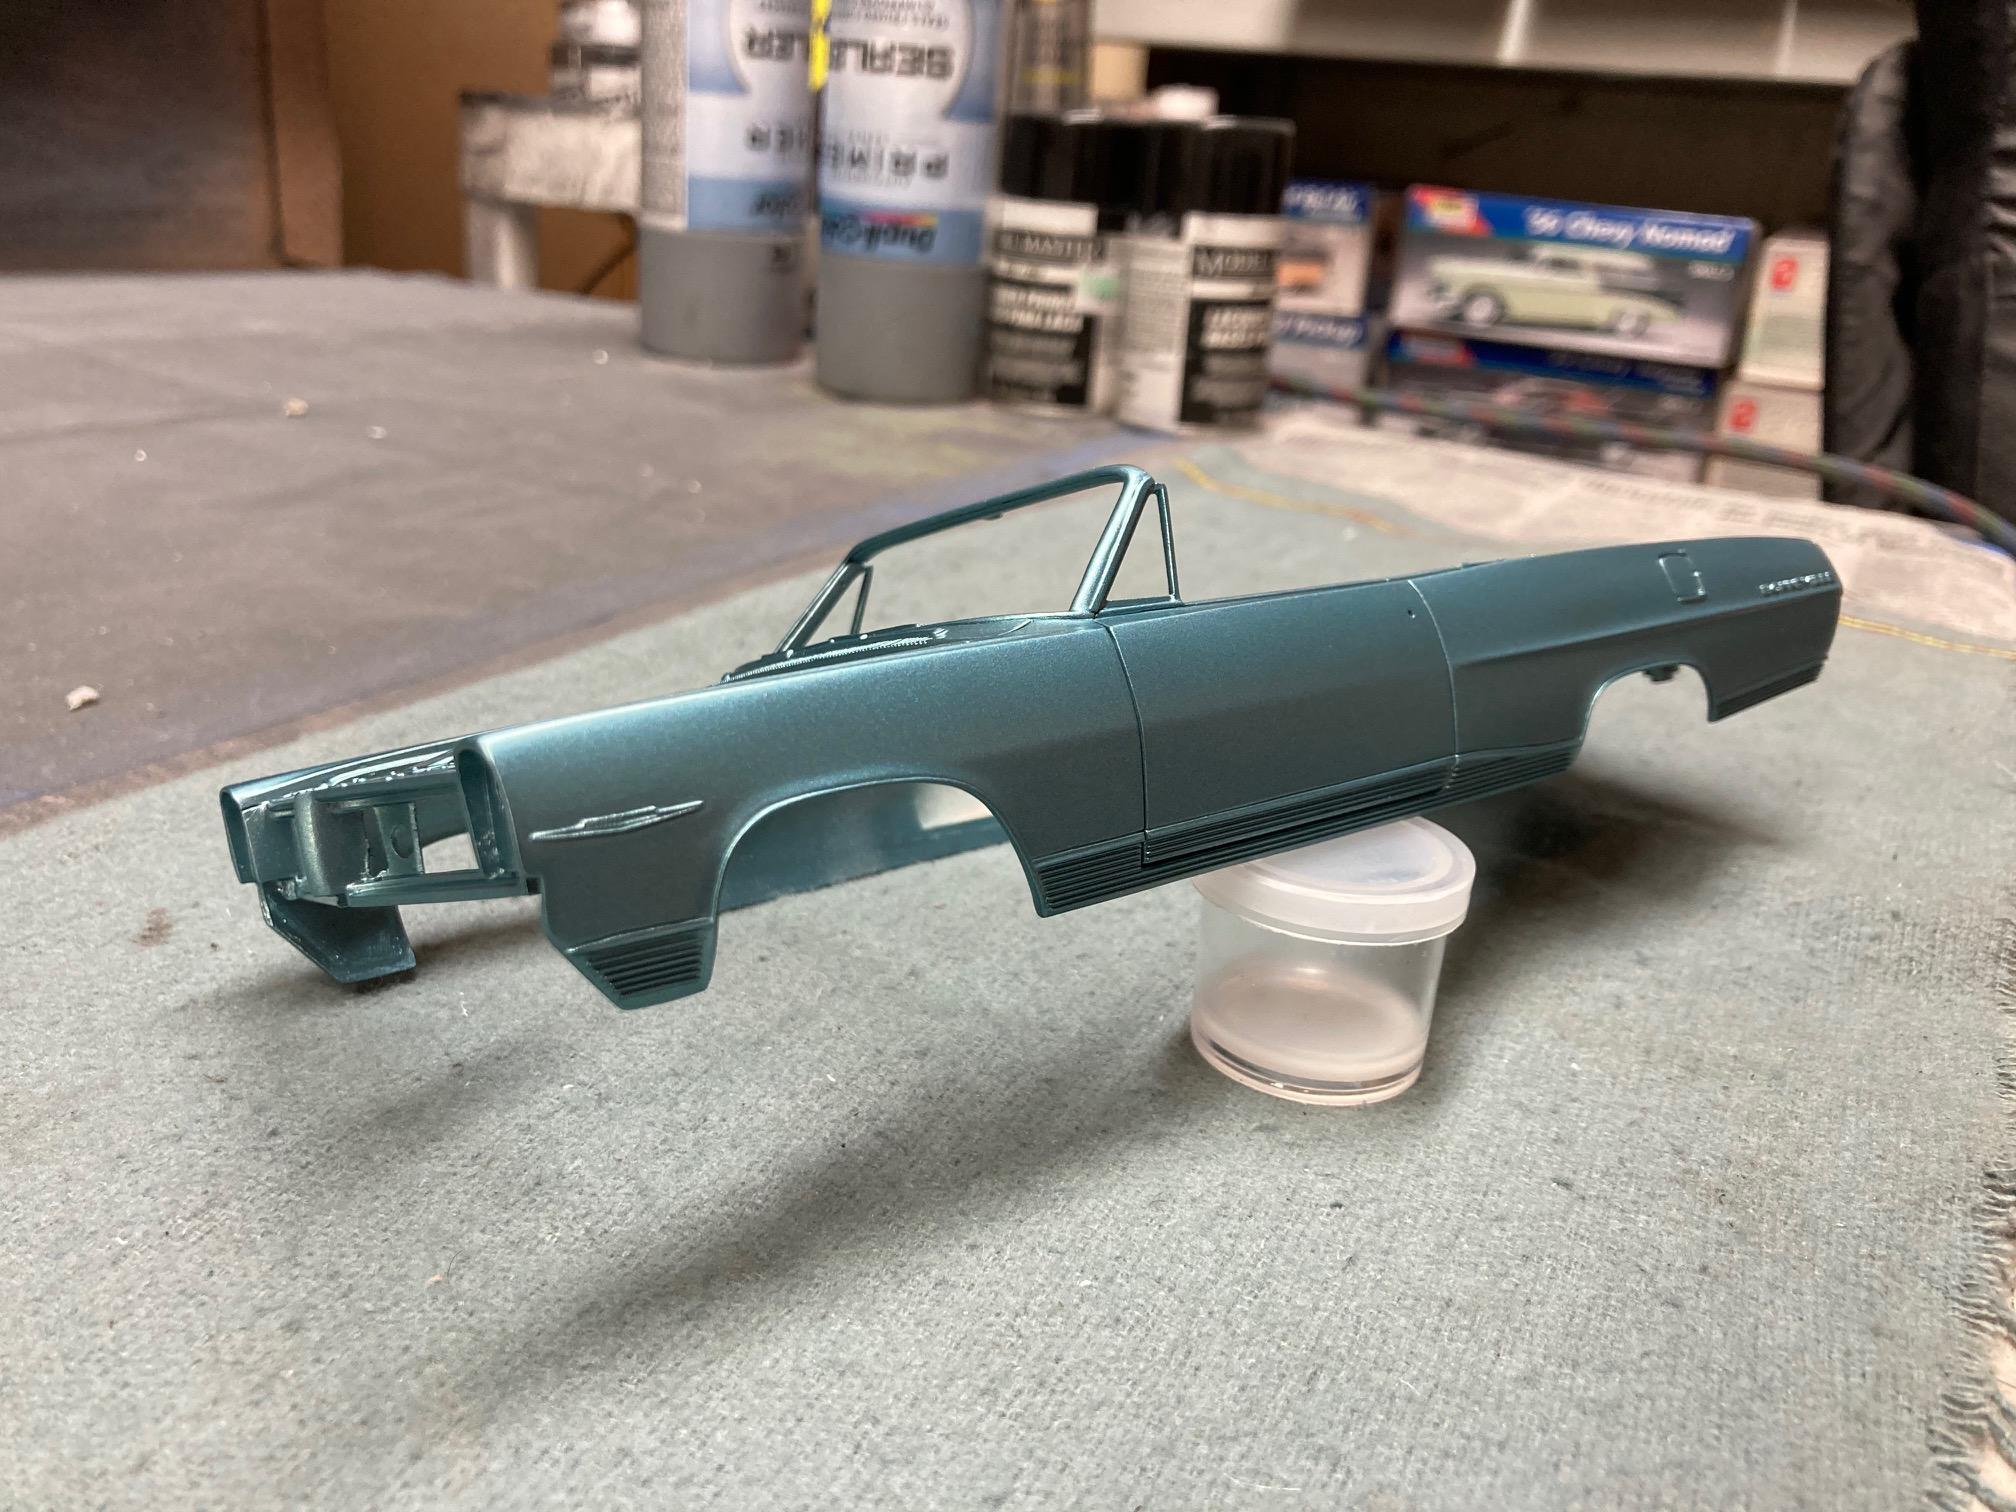
First coat of the final body color. First photos in each set are the final MCW color. Second photos are the Scale Finishes color that I used for the base coat. Apparently supposed to be the same color. The MCW turquoise should really pop nicely with some clear. MCW. Scale Finishes. MCW. Scale Finishes. MCW. Scale Finishes. I like the MCW color much better! Steve
-
Looks great so far! But just so you know, the fender wells would be black for a stock build....if you’re doing it stock. Steve
-
Mostly belts/pulleys/air conditioning parts. The Monte Carlo has the compressor on the driver's side, while the El Camino has it on the passenger's side, which is correct for the Grand Prix. Steve
-
1964 Pontiac Bonneville Convertible.
StevenGuthmiller replied to StevenGuthmiller's topic in WIP: Model Cars
No. I spray them as I would any other paint. Steve -
1964 Pontiac Bonneville Convertible.
StevenGuthmiller replied to StevenGuthmiller's topic in WIP: Model Cars
The thing that I really like about a lot of MCW’s metallic paints is that they have the correct metallic sheen for 1/25th scale without exhibiting any discernible individual metallic flakes. The Scale Finishes paints look pretty good prior to clear coat, but once clear coated, the metallic particles become more obvious. Not so noticeable with the naked eye, but quite obvious in photographs. Steve -
1964 Pontiac Bonneville Convertible.
StevenGuthmiller replied to StevenGuthmiller's topic in WIP: Model Cars
We’re gonna find out! ? Steve -
1964 Pontiac Bonneville Convertible.
StevenGuthmiller replied to StevenGuthmiller's topic in WIP: Model Cars
Thanks guys! Started getting a little color on the '64, but these are just base coats, and not the final color. I had a bottle of Scale Finishes '64 Pontiac turquoise that I bought for this project initially, but decided to order a jar of the same color from MCW. I opted to use the MCW paint for the finish coats because the metallic particles are finer, and the color is brighter. The Scale Finishes color leans more towards the blue side, while the MCW is more green. I decided that this Scale Finishes color would make a good base for the more vibrant MCW paint. It's a start. Steve
-
Kit Preferences
StevenGuthmiller replied to Horrorshow's topic in General Automotive Talk (Trucks and Cars)
I'm with you. I have a great deal of fun re-engineering these old kits and trying to bring them up to the level of detail of a modern kit. It's a lot of fun to test your skills, and when finished, you have something truly unique. Steve -
Either engine would be a good choice, but there might be some pulley and belt differences between them and the '69 engine. All that would be needed is a single 4 bbl intake, (the one from the '69 Firebird would work) A Fireball Quadrojet carb, and an air cleaner from another kit. (probably will need modifications to appear stock). In all honesty, the MPC '70 Grand Prix engine compartment needs a whole lot of work to look remotely stock anyway. The fender wells are way too narrow, (a huge gap between the inner wheel well and the fender) the radiator brace/shroud area aren't even close to accurate, and of course there's no air conditioning parts detail, which as far as I know was a standard feature on all Grand Prix's from this era. When I build my '69, it's going to get a whole lot of engine, engine bay and chassis upgrades. A lot of the chassis and engine bay parts can be had by raiding the AMT '70 Monte Carlo, and '68 El Camino kits. Steve
-
What did you see on the road today?
StevenGuthmiller replied to Harry P.'s topic in General Automotive Talk (Trucks and Cars)
Just happened across this little gem in the Legion parking lot. Steve
-
What Did You Have for Dinner?
StevenGuthmiller replied to StevenGuthmiller's topic in The Off-Topic Lounge
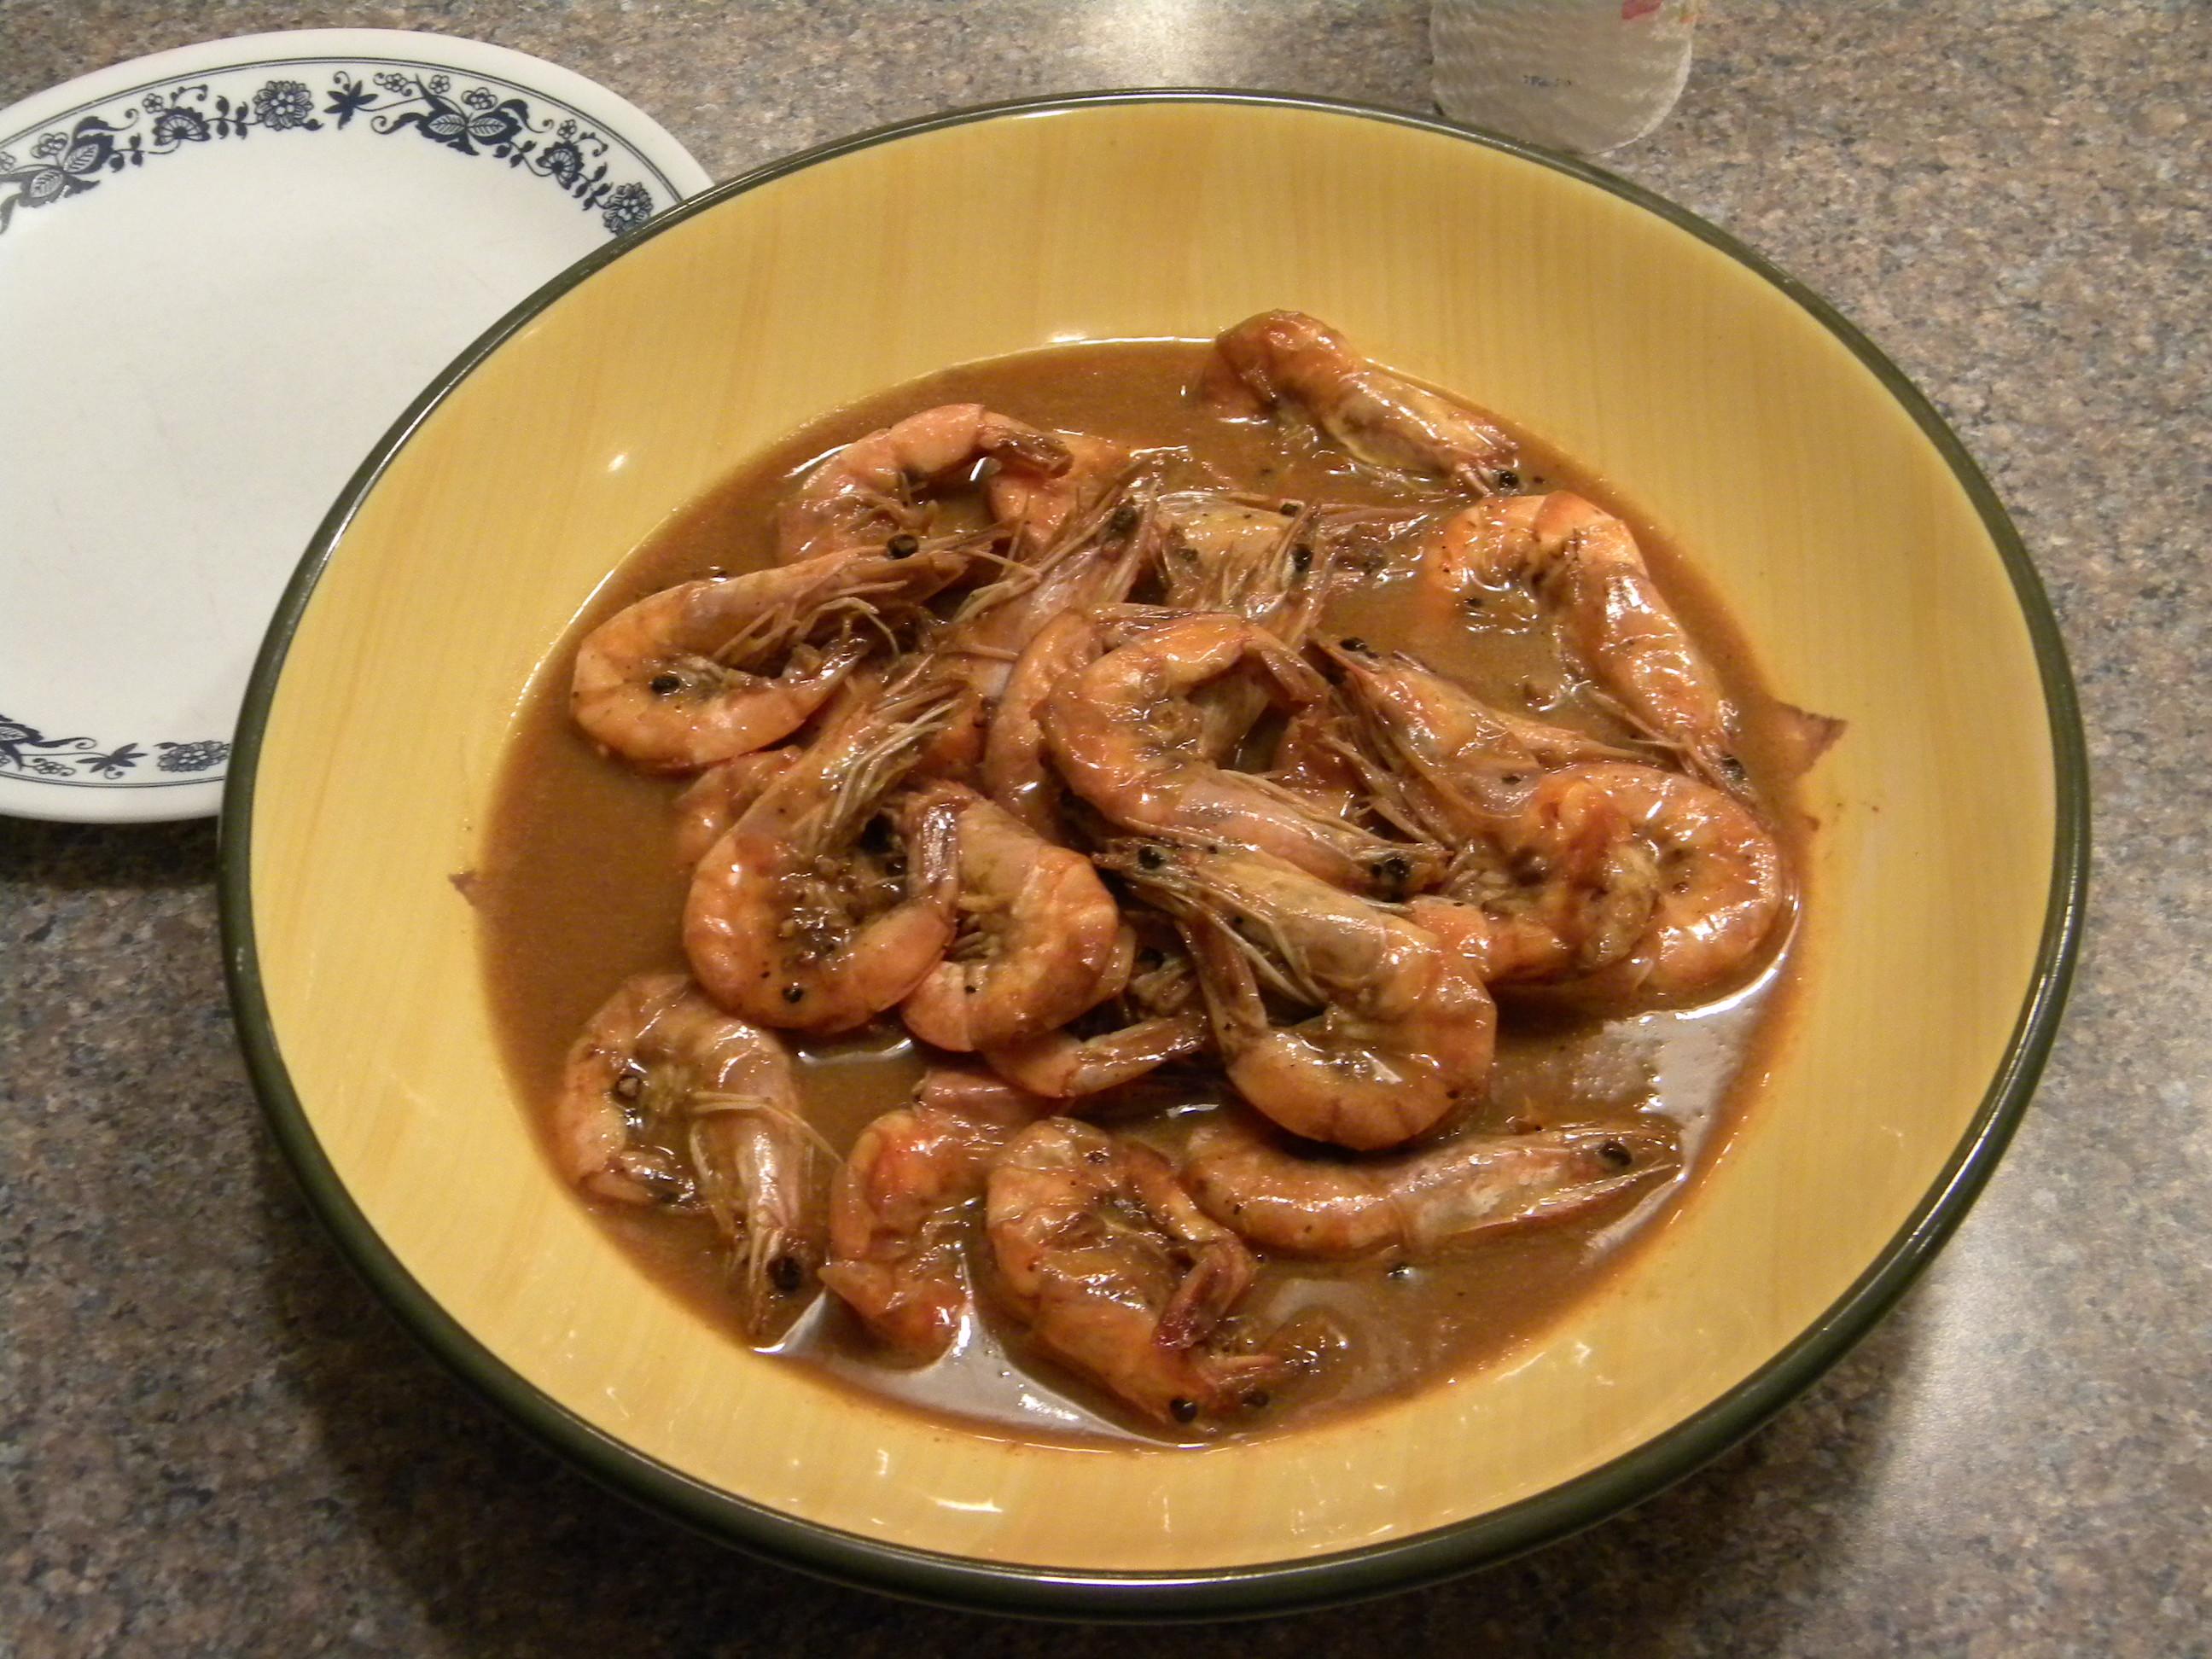
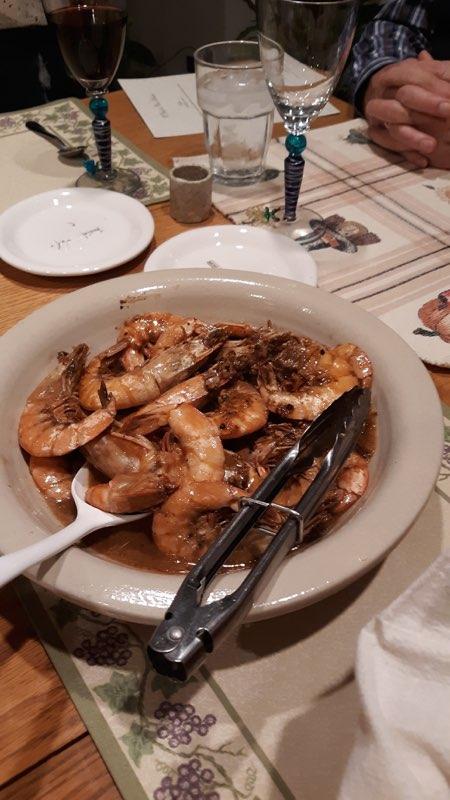
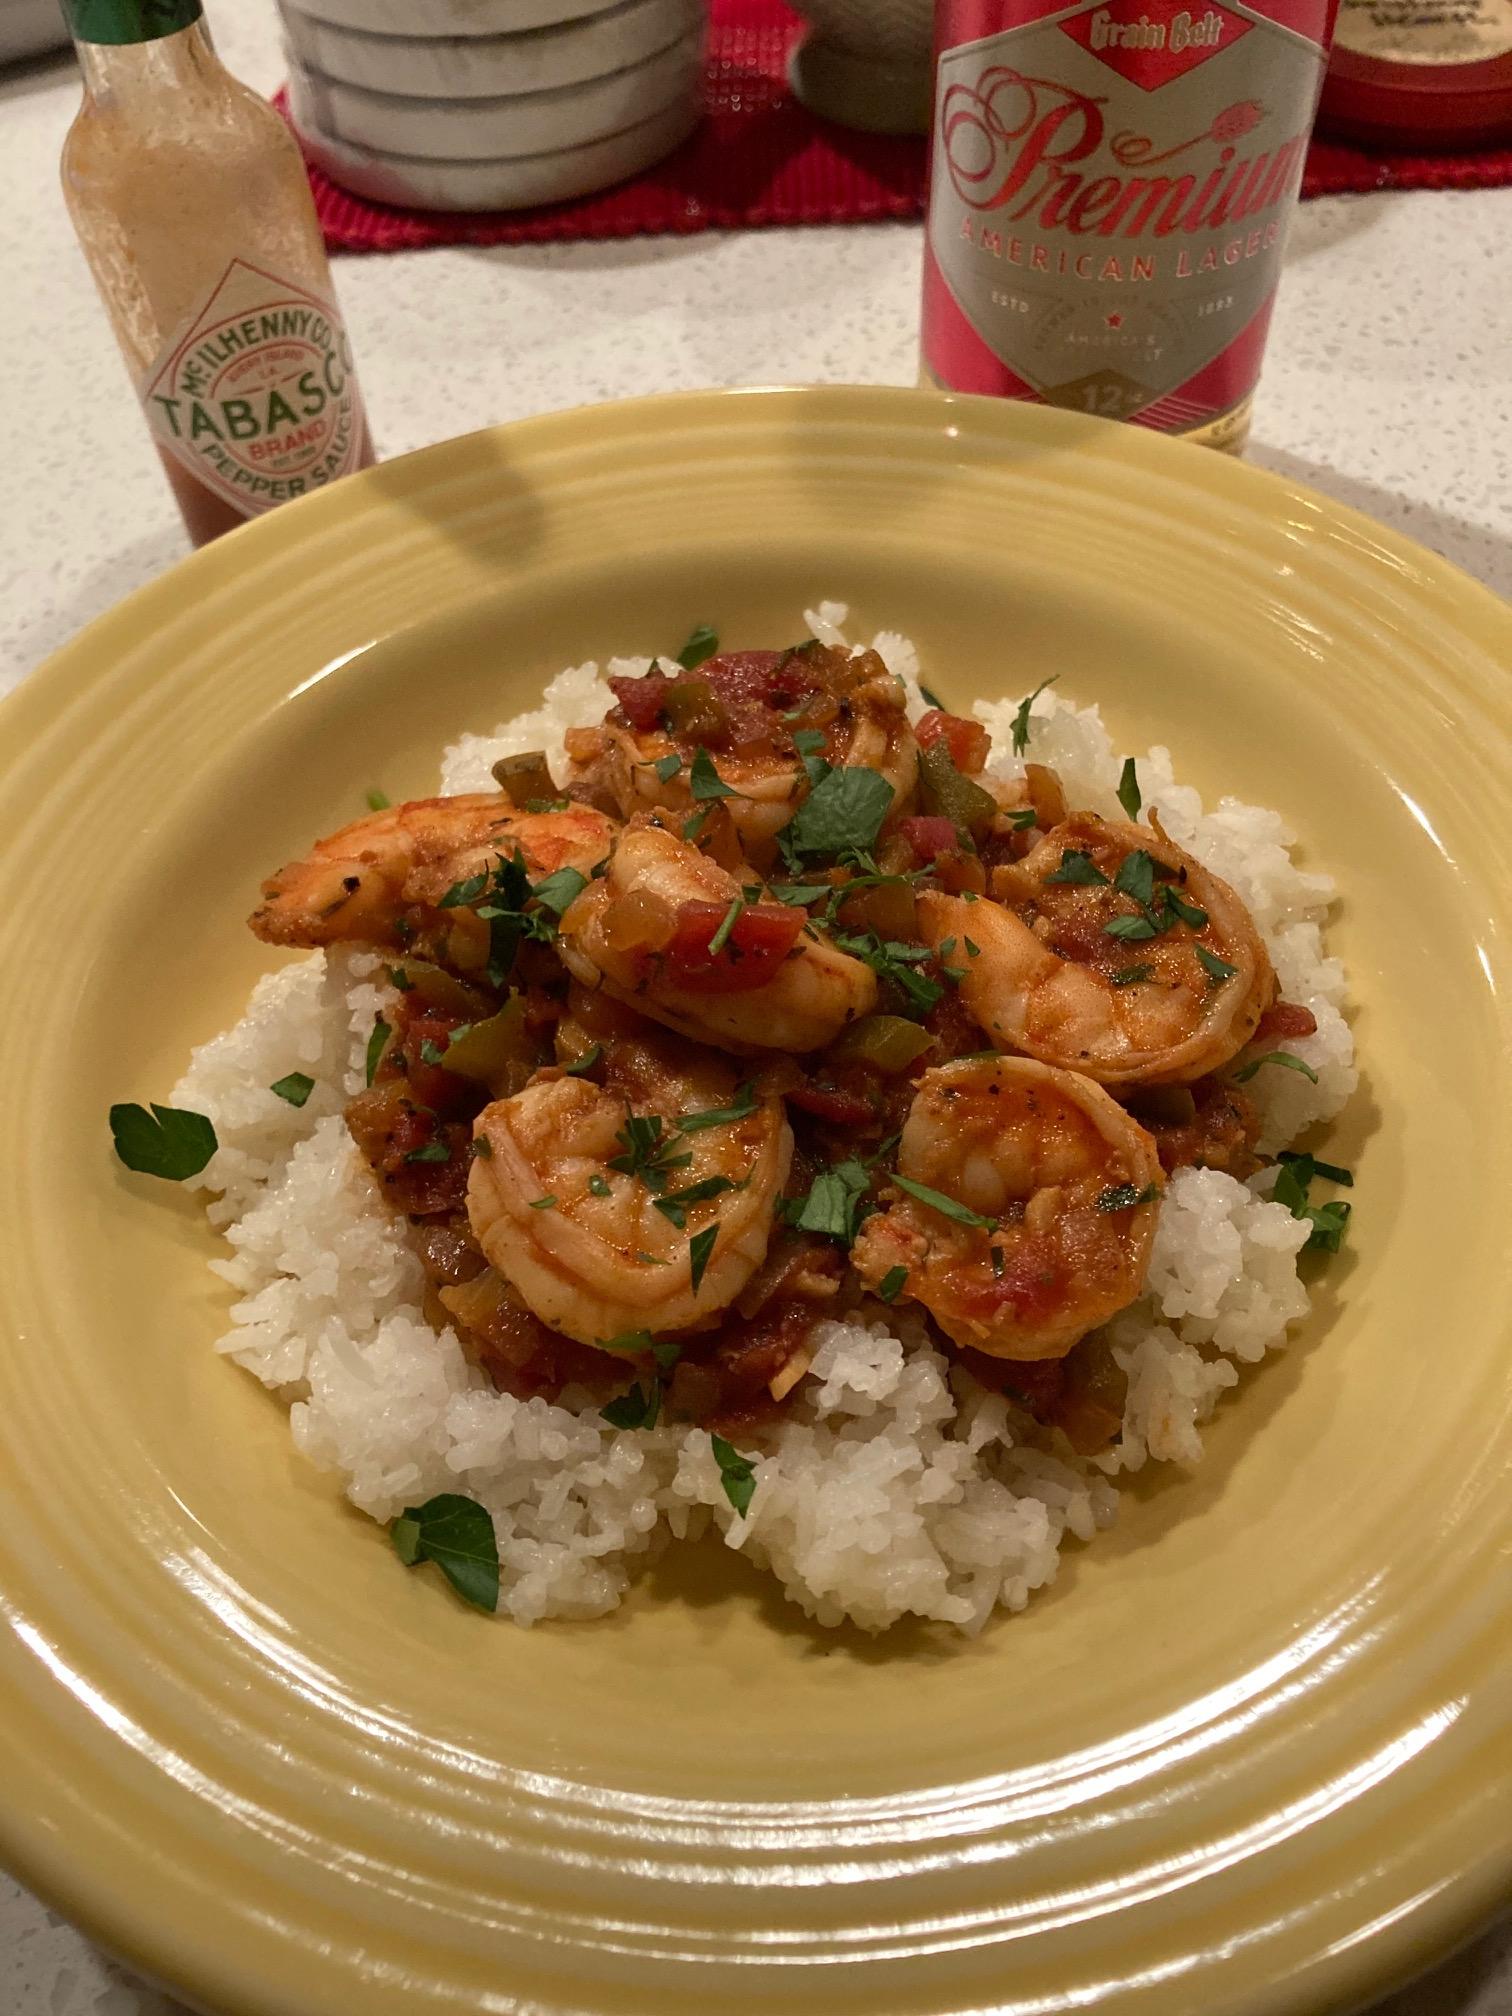
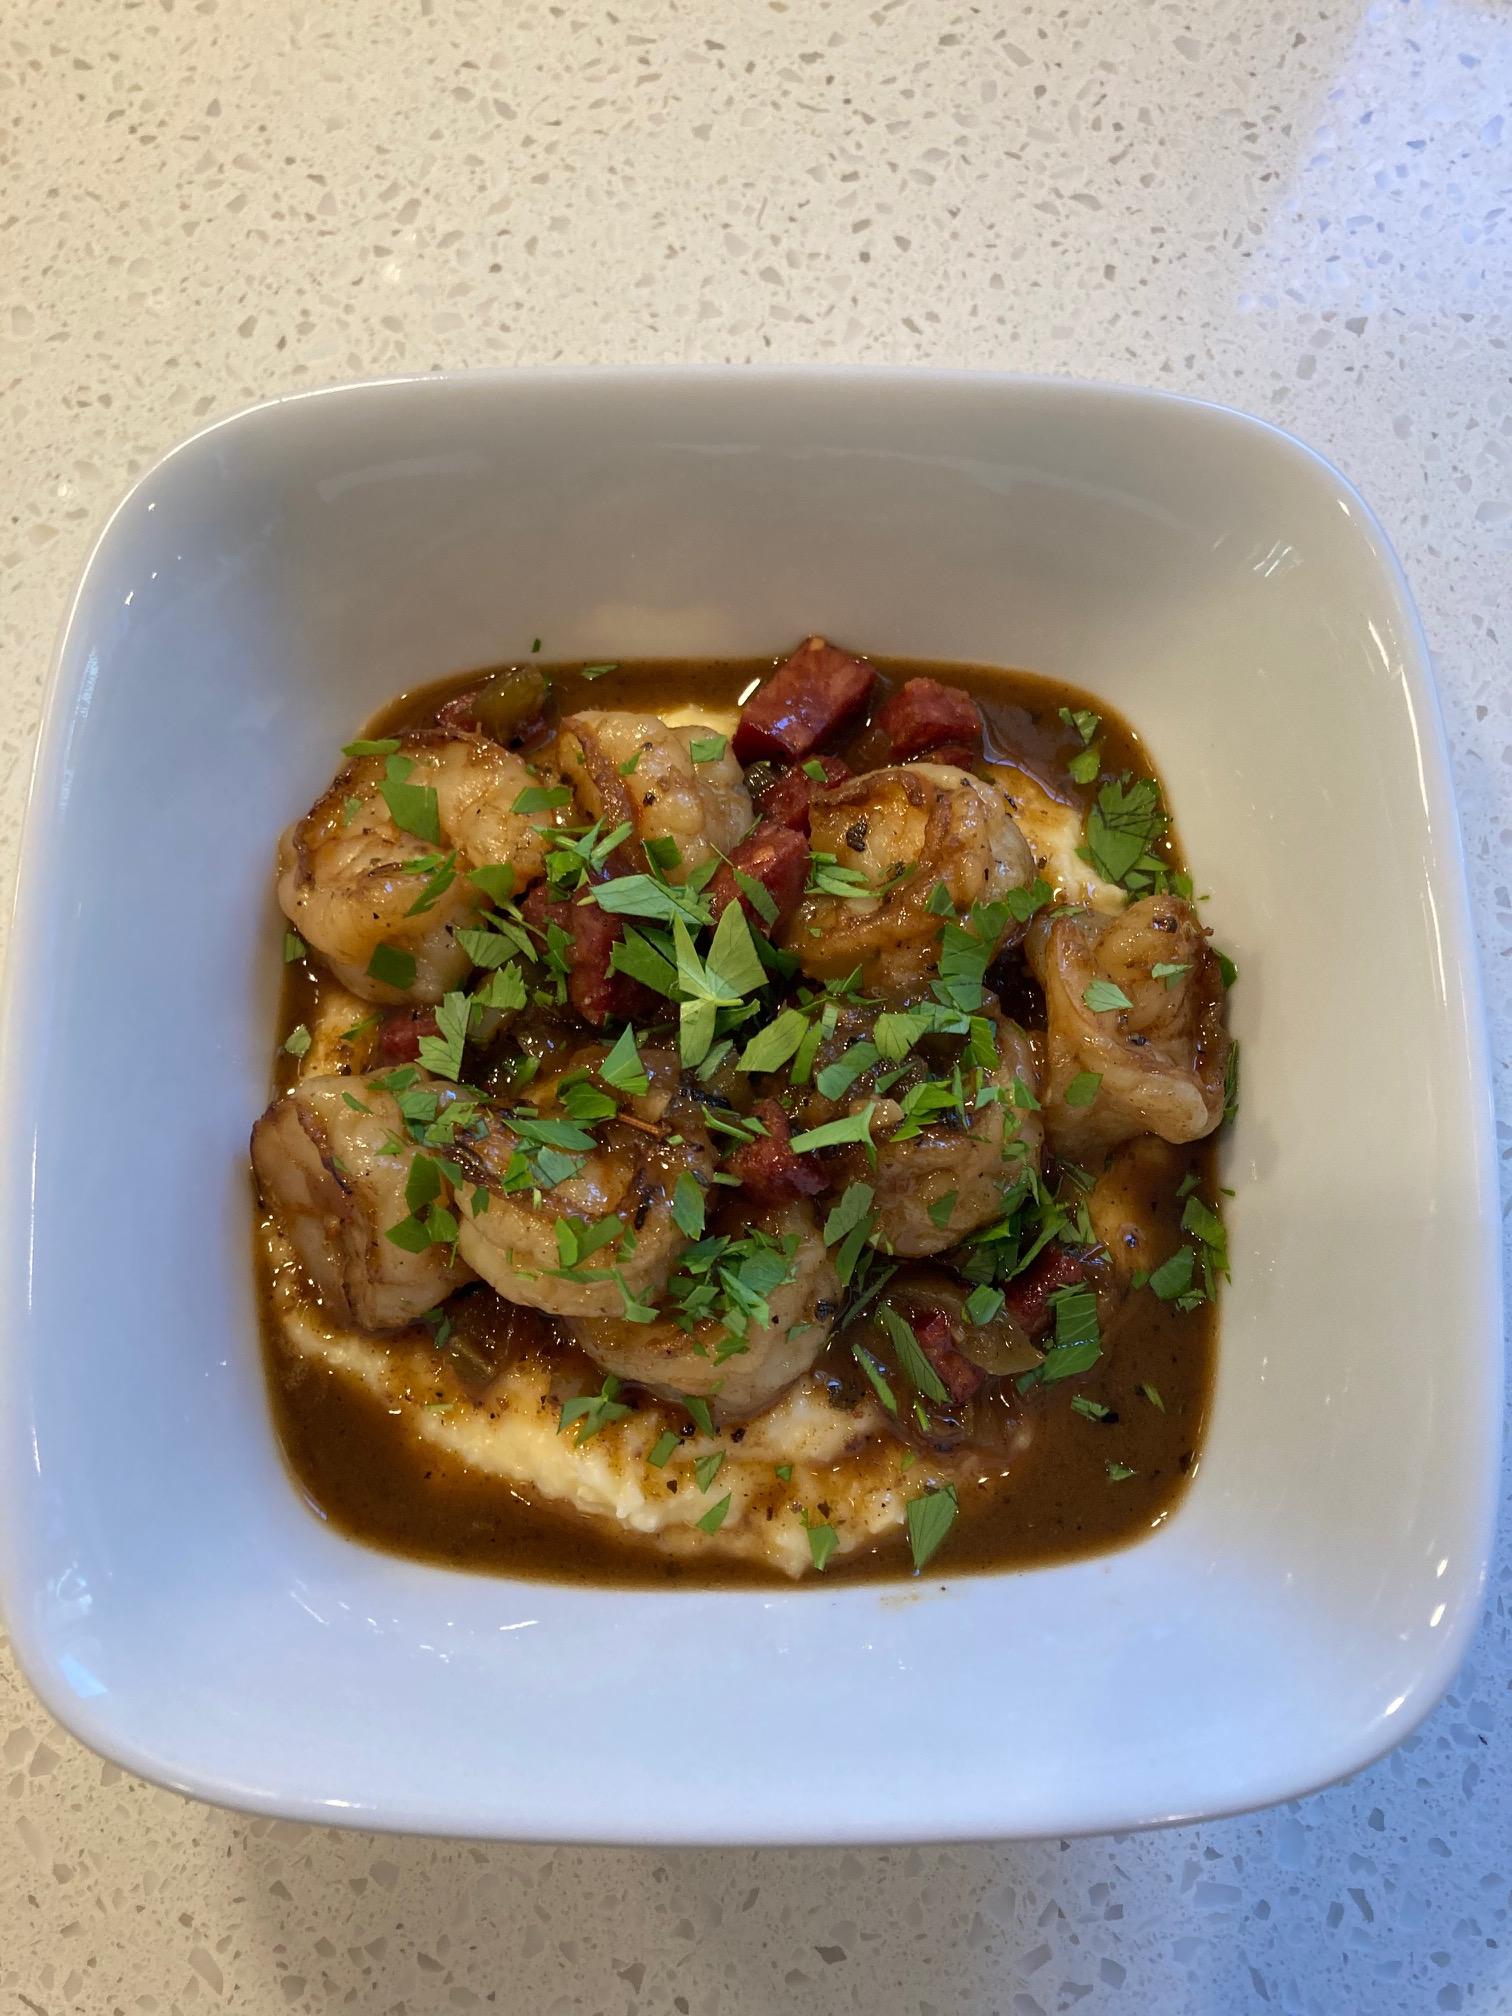
I'm a shrimp freak! And a bit of a Cajun or Creole aficionado. A few of my absolute favorite New Orleans style shrimp dishes. New Orleans style BBQ shrimp. Shrimp Creole with rice. Shrimp and Cheddar Grits. Steve
-
What Did You Have for Dinner?
StevenGuthmiller replied to StevenGuthmiller's topic in The Off-Topic Lounge
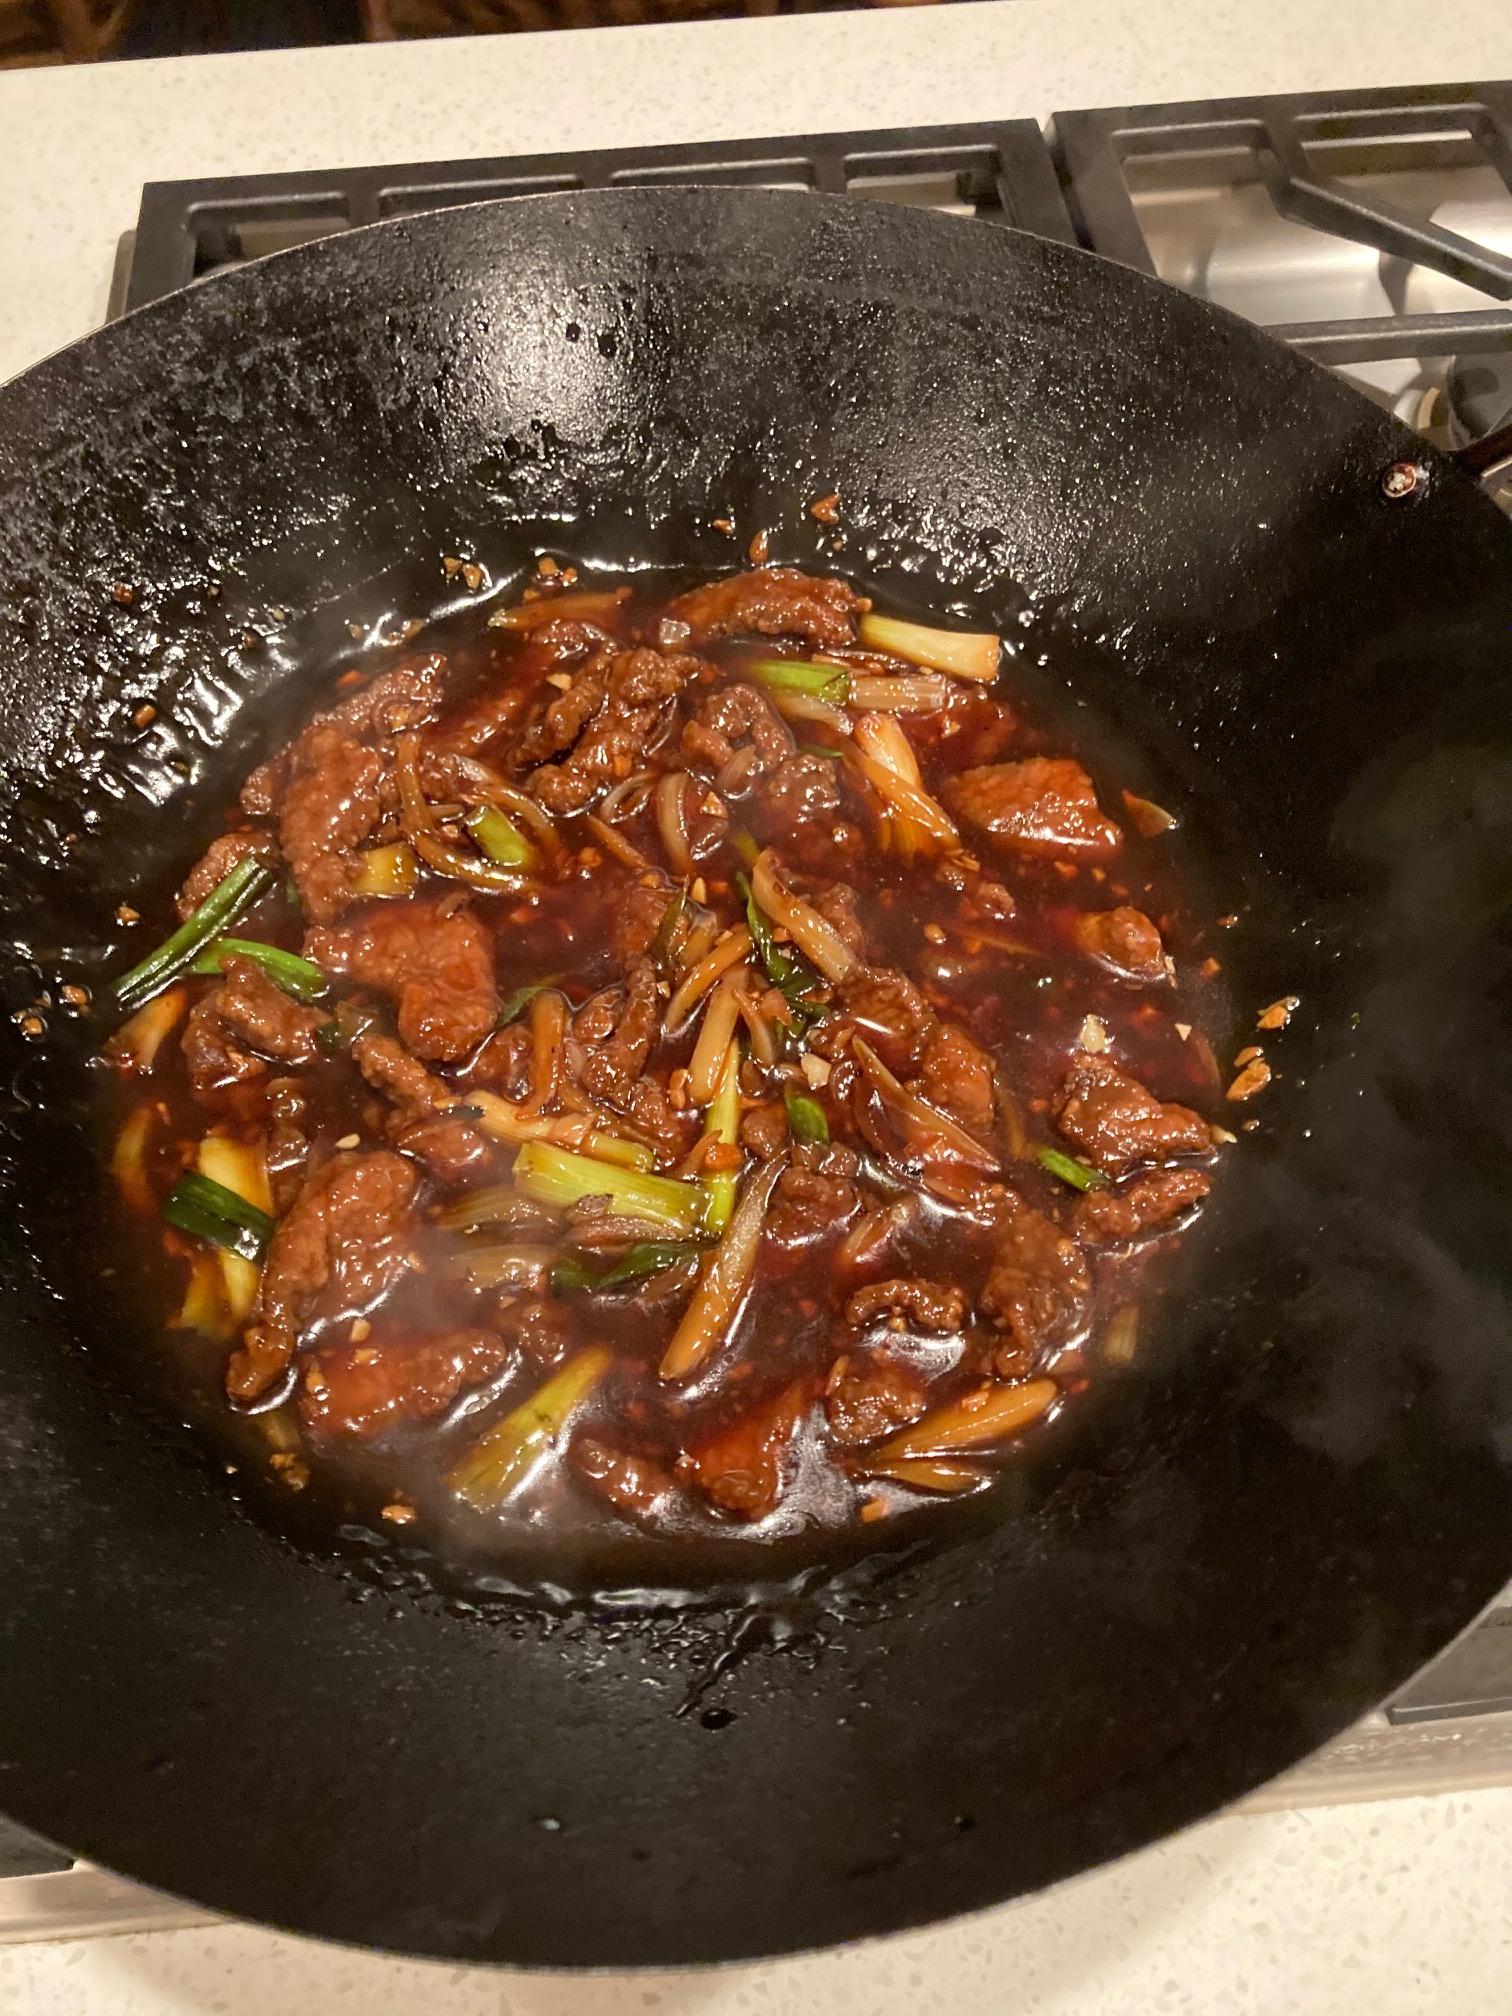
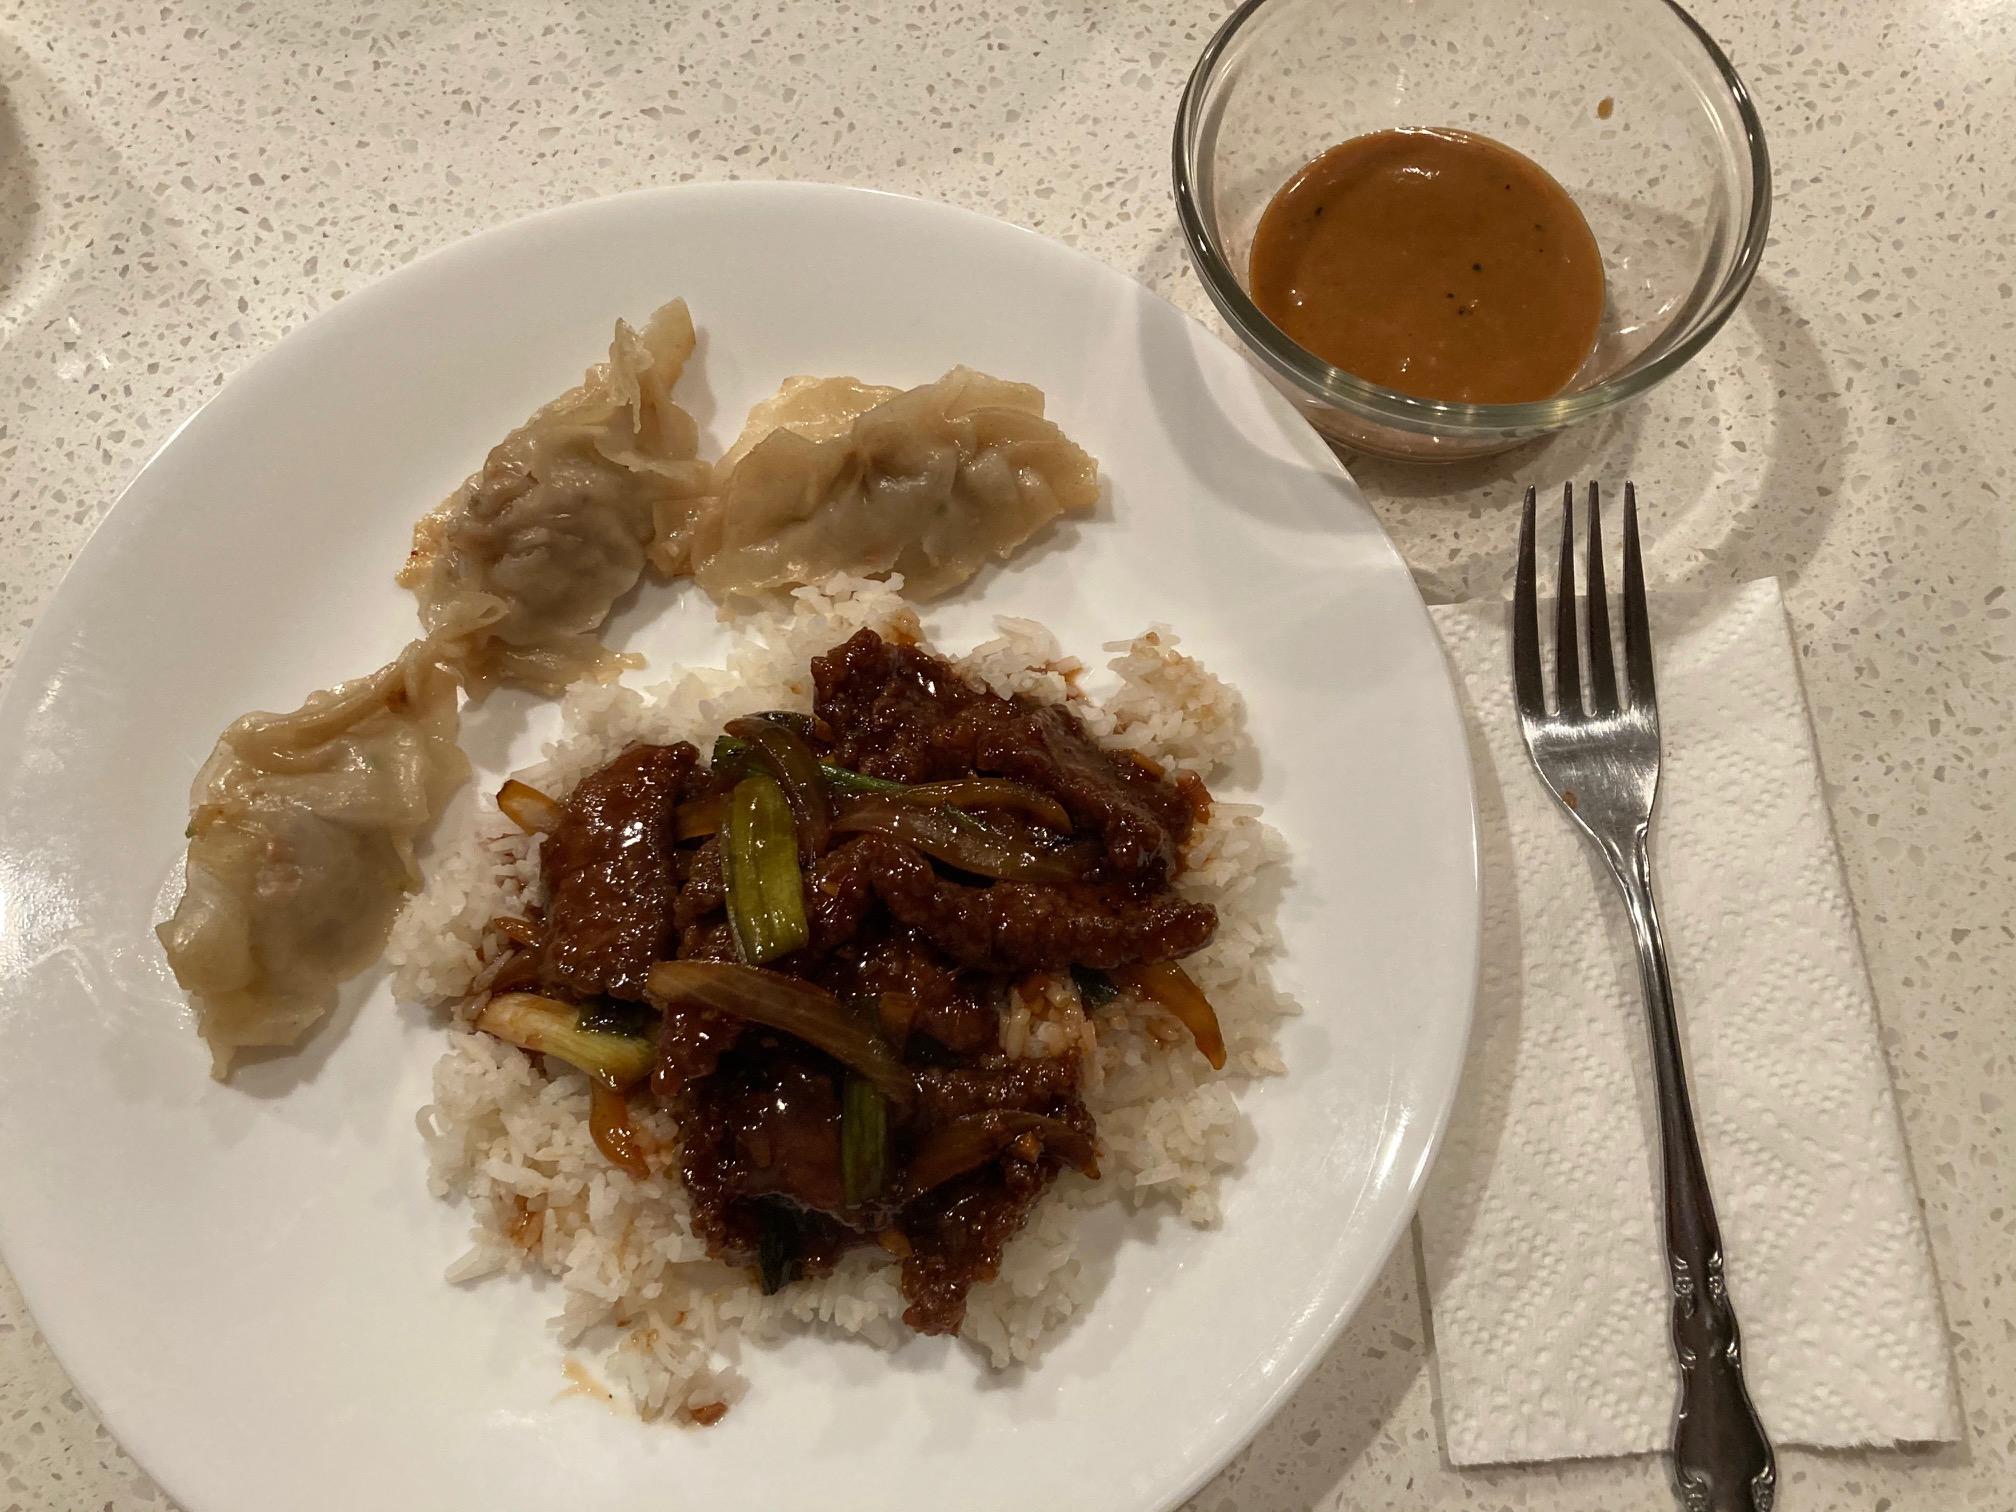
Another one that I whipped up some time ago. Mongolian Beef and home made pork dumplings with peanut sauce. Steve