James2
-
Posts
4,287 -
Joined
-
Last visited
Content Type
Profiles
Forums
Events
Gallery
Everything posted by James2
-
I do warm them, it’s just one of those things. I have it stripped and primed again. I’m thinking of two toning it, we will see.
-
Looks like I will have enough to repaint the main body. Just have to let it gas out and wait for a good day to use the airbrush.

-
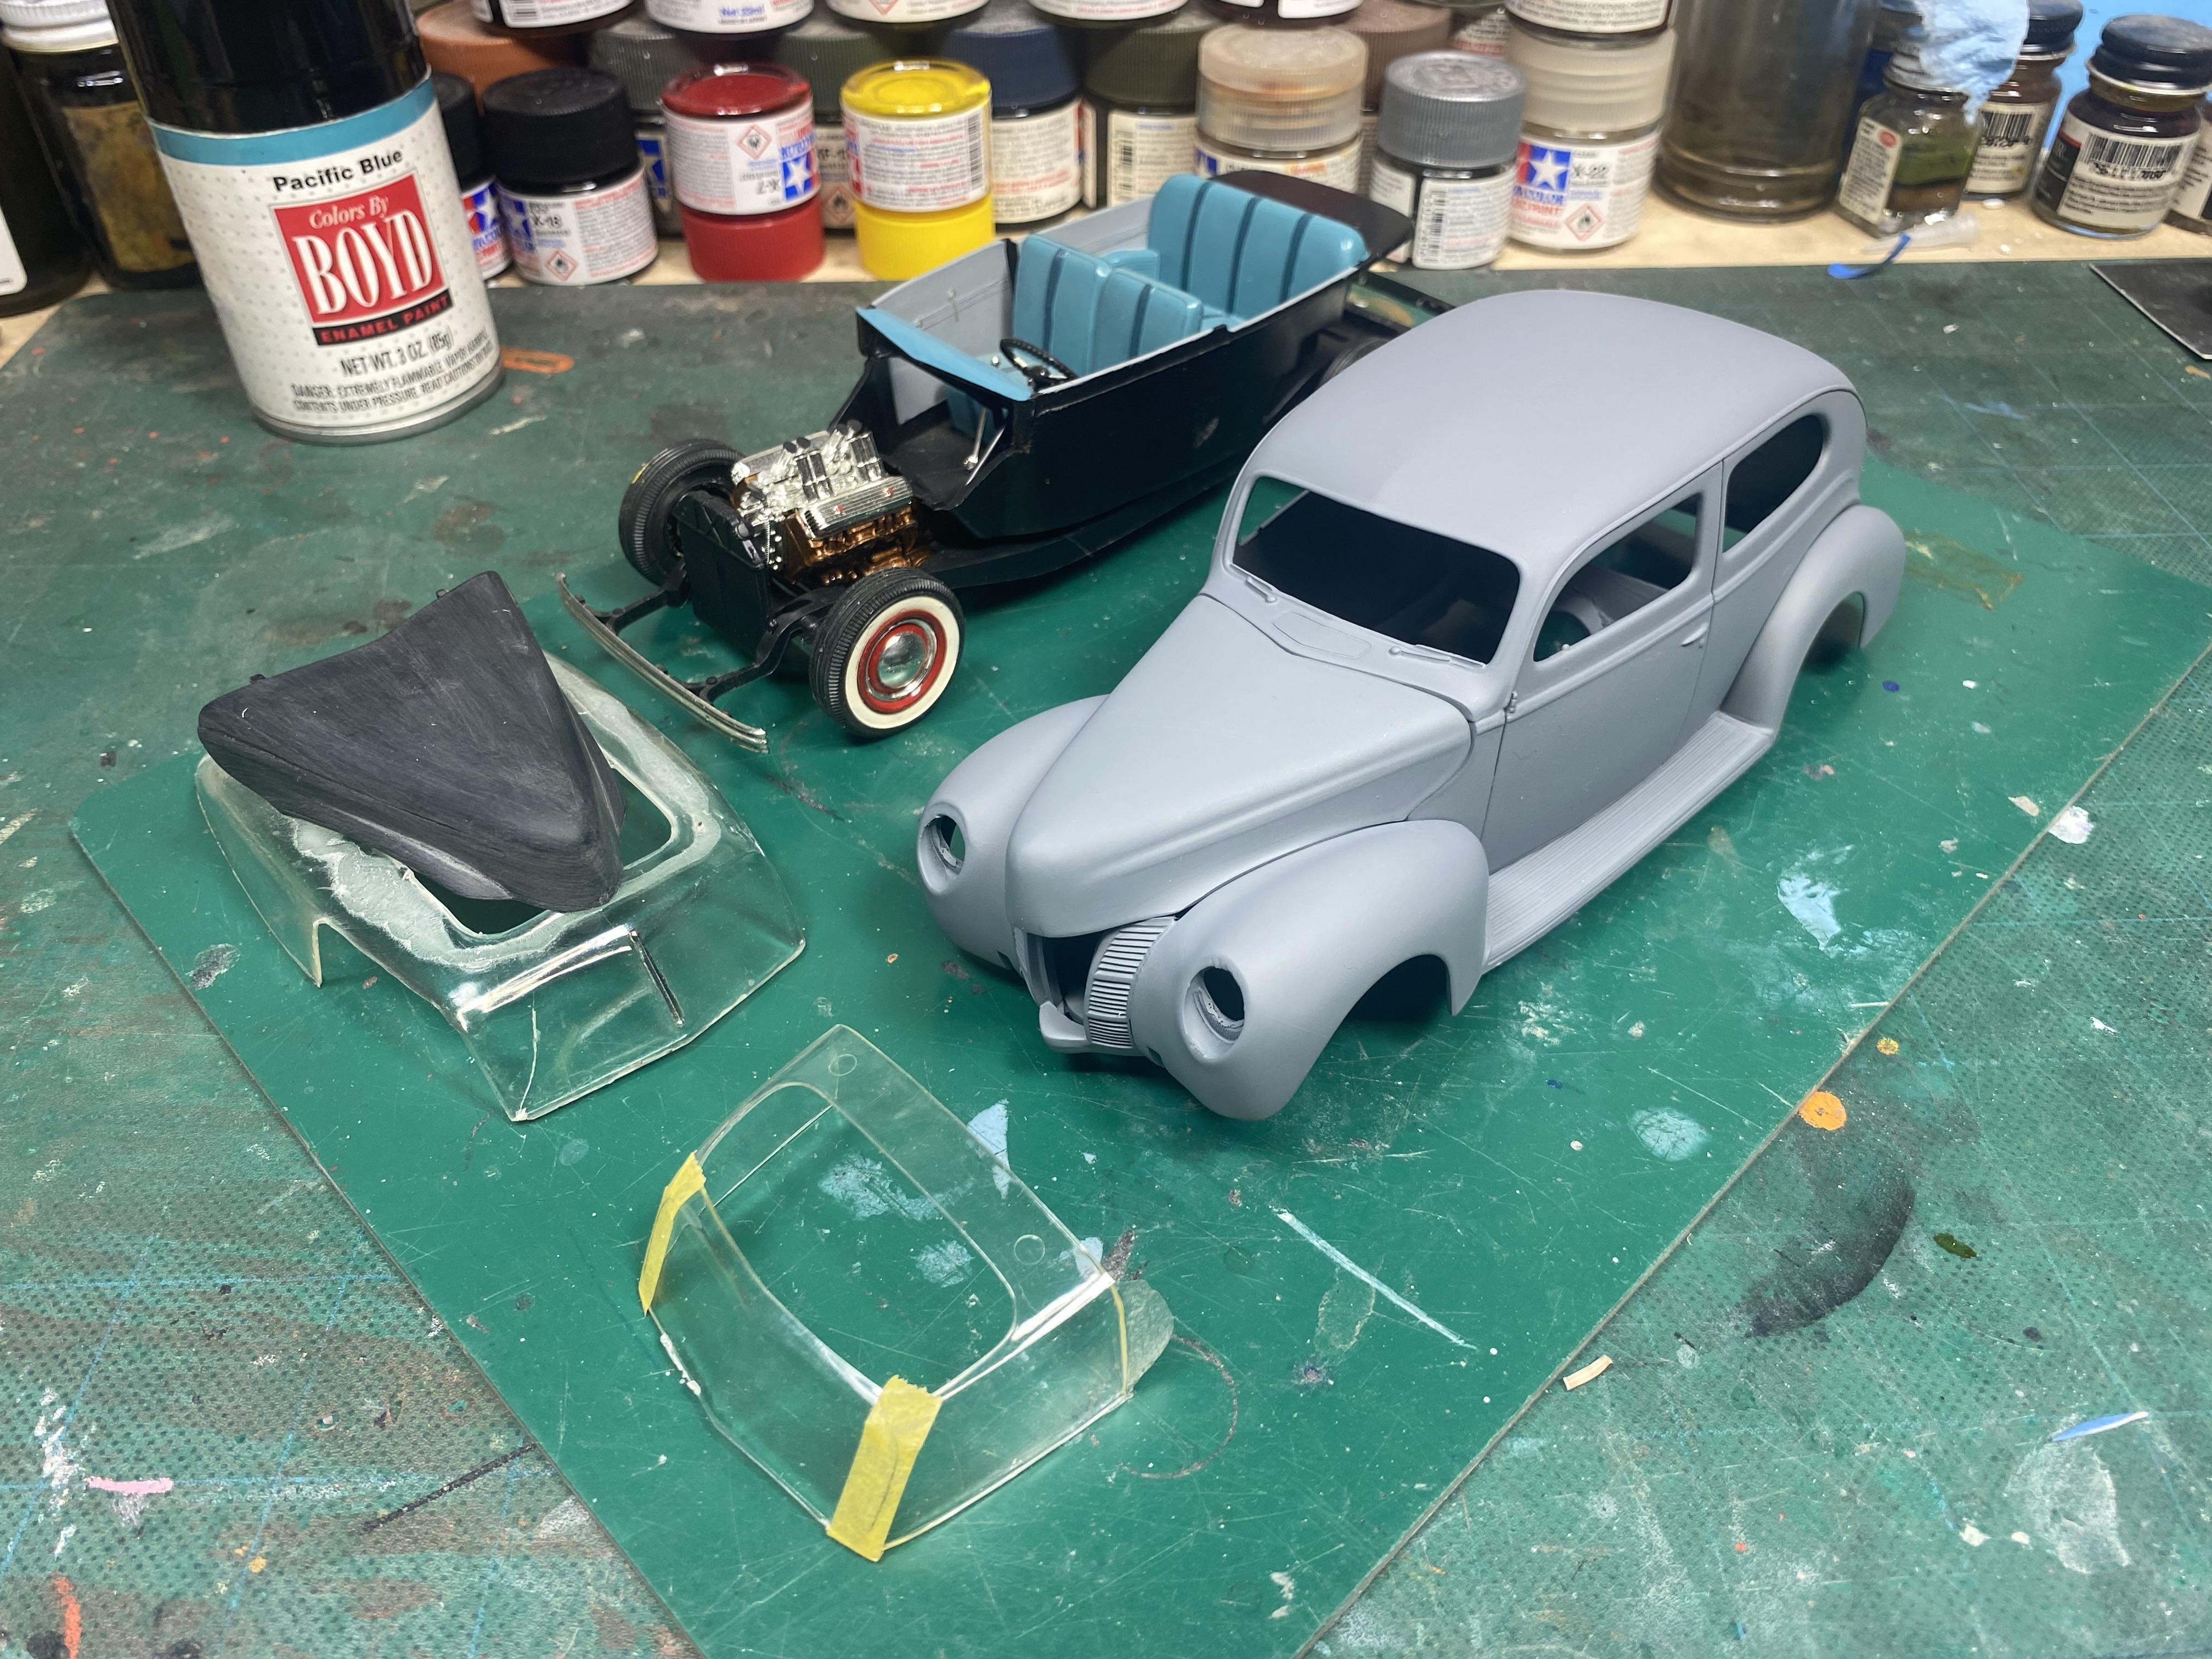
Morning update. Last evening as I attempted to paint the new hood I figured I put a fresh coat on the body as well, this become a fatal decision. Paint just splattered in every direction ruining the finish on the body, I thought the nozzle was clogged so I quickly switched to another, this reacted the same way. At this point the purple pond was the best solution. Now the tricky part, I believe the nozzles were not the problem. I do think, being an older Boyd spray paint and by using it the other day may have caused the pressure at the nozzle to decrease. IDK I tried three nozzles, and the results were the same each time spit instead of spray. Shame on me for not noticing at the beginning test shot! Problem #2, this Color by Boyd paint is discontinued and I have not found it anywhere online. I will decant what is left and see if that is enough to fix my mistake, if not this car will become a two-color finish. I love this hobby, if only for the patients and problem-solving lessons....
-
I sure do like what you're doing here....
-
Jim Desjarlais, aka customline , have been discussing the different hoods on the 39/40 Fords. The hood type being driven by the body type had several styles. Here are a couple links to view.... https://www.modelcarsmag.com/forums/messenger/118441/#findComment-614535 1940 Ford Standard Vs Deluxe | The H.A.M.B. Disaster has struck; into the purple pond the body goes.
-
Despite icy rain and 27deg temps, I managed to heat up the garage with my torpedo heater, paint the Sedan and use the oven light for several hours to dry the body. I think it will do just fine. It was a good color choice too.
-

Chevrolet titan 90
James2 replied to Transtar2's topic in Model Trucks: Big Rigs and Heavy Equipment
Great job bring'er back to life. -
Do you also have 1:1 project cars?
James2 replied to ctruss53's topic in General Automotive Talk (Trucks and Cars)
1:1 addiction, I got into motorcycles in my teens. I never had money for drugs, but the addiction is real. I have built several Shovelheads and currently have these. 04 Roadking (Daily) and a 79 FLH I've had for over 15yr. It's had many different versions.
-
What a great build, nice detail and subject matter. I forgot about the orange brake drums; I remember orange undercoating being a thing when I was a boy....
-
I enjoy rebuilds and build overs; it's a cool way to get out of a slump. And I really like restoring and upgrading an older model. Kind of like a rehab for the hobby!
-
Coming along nicely!
-
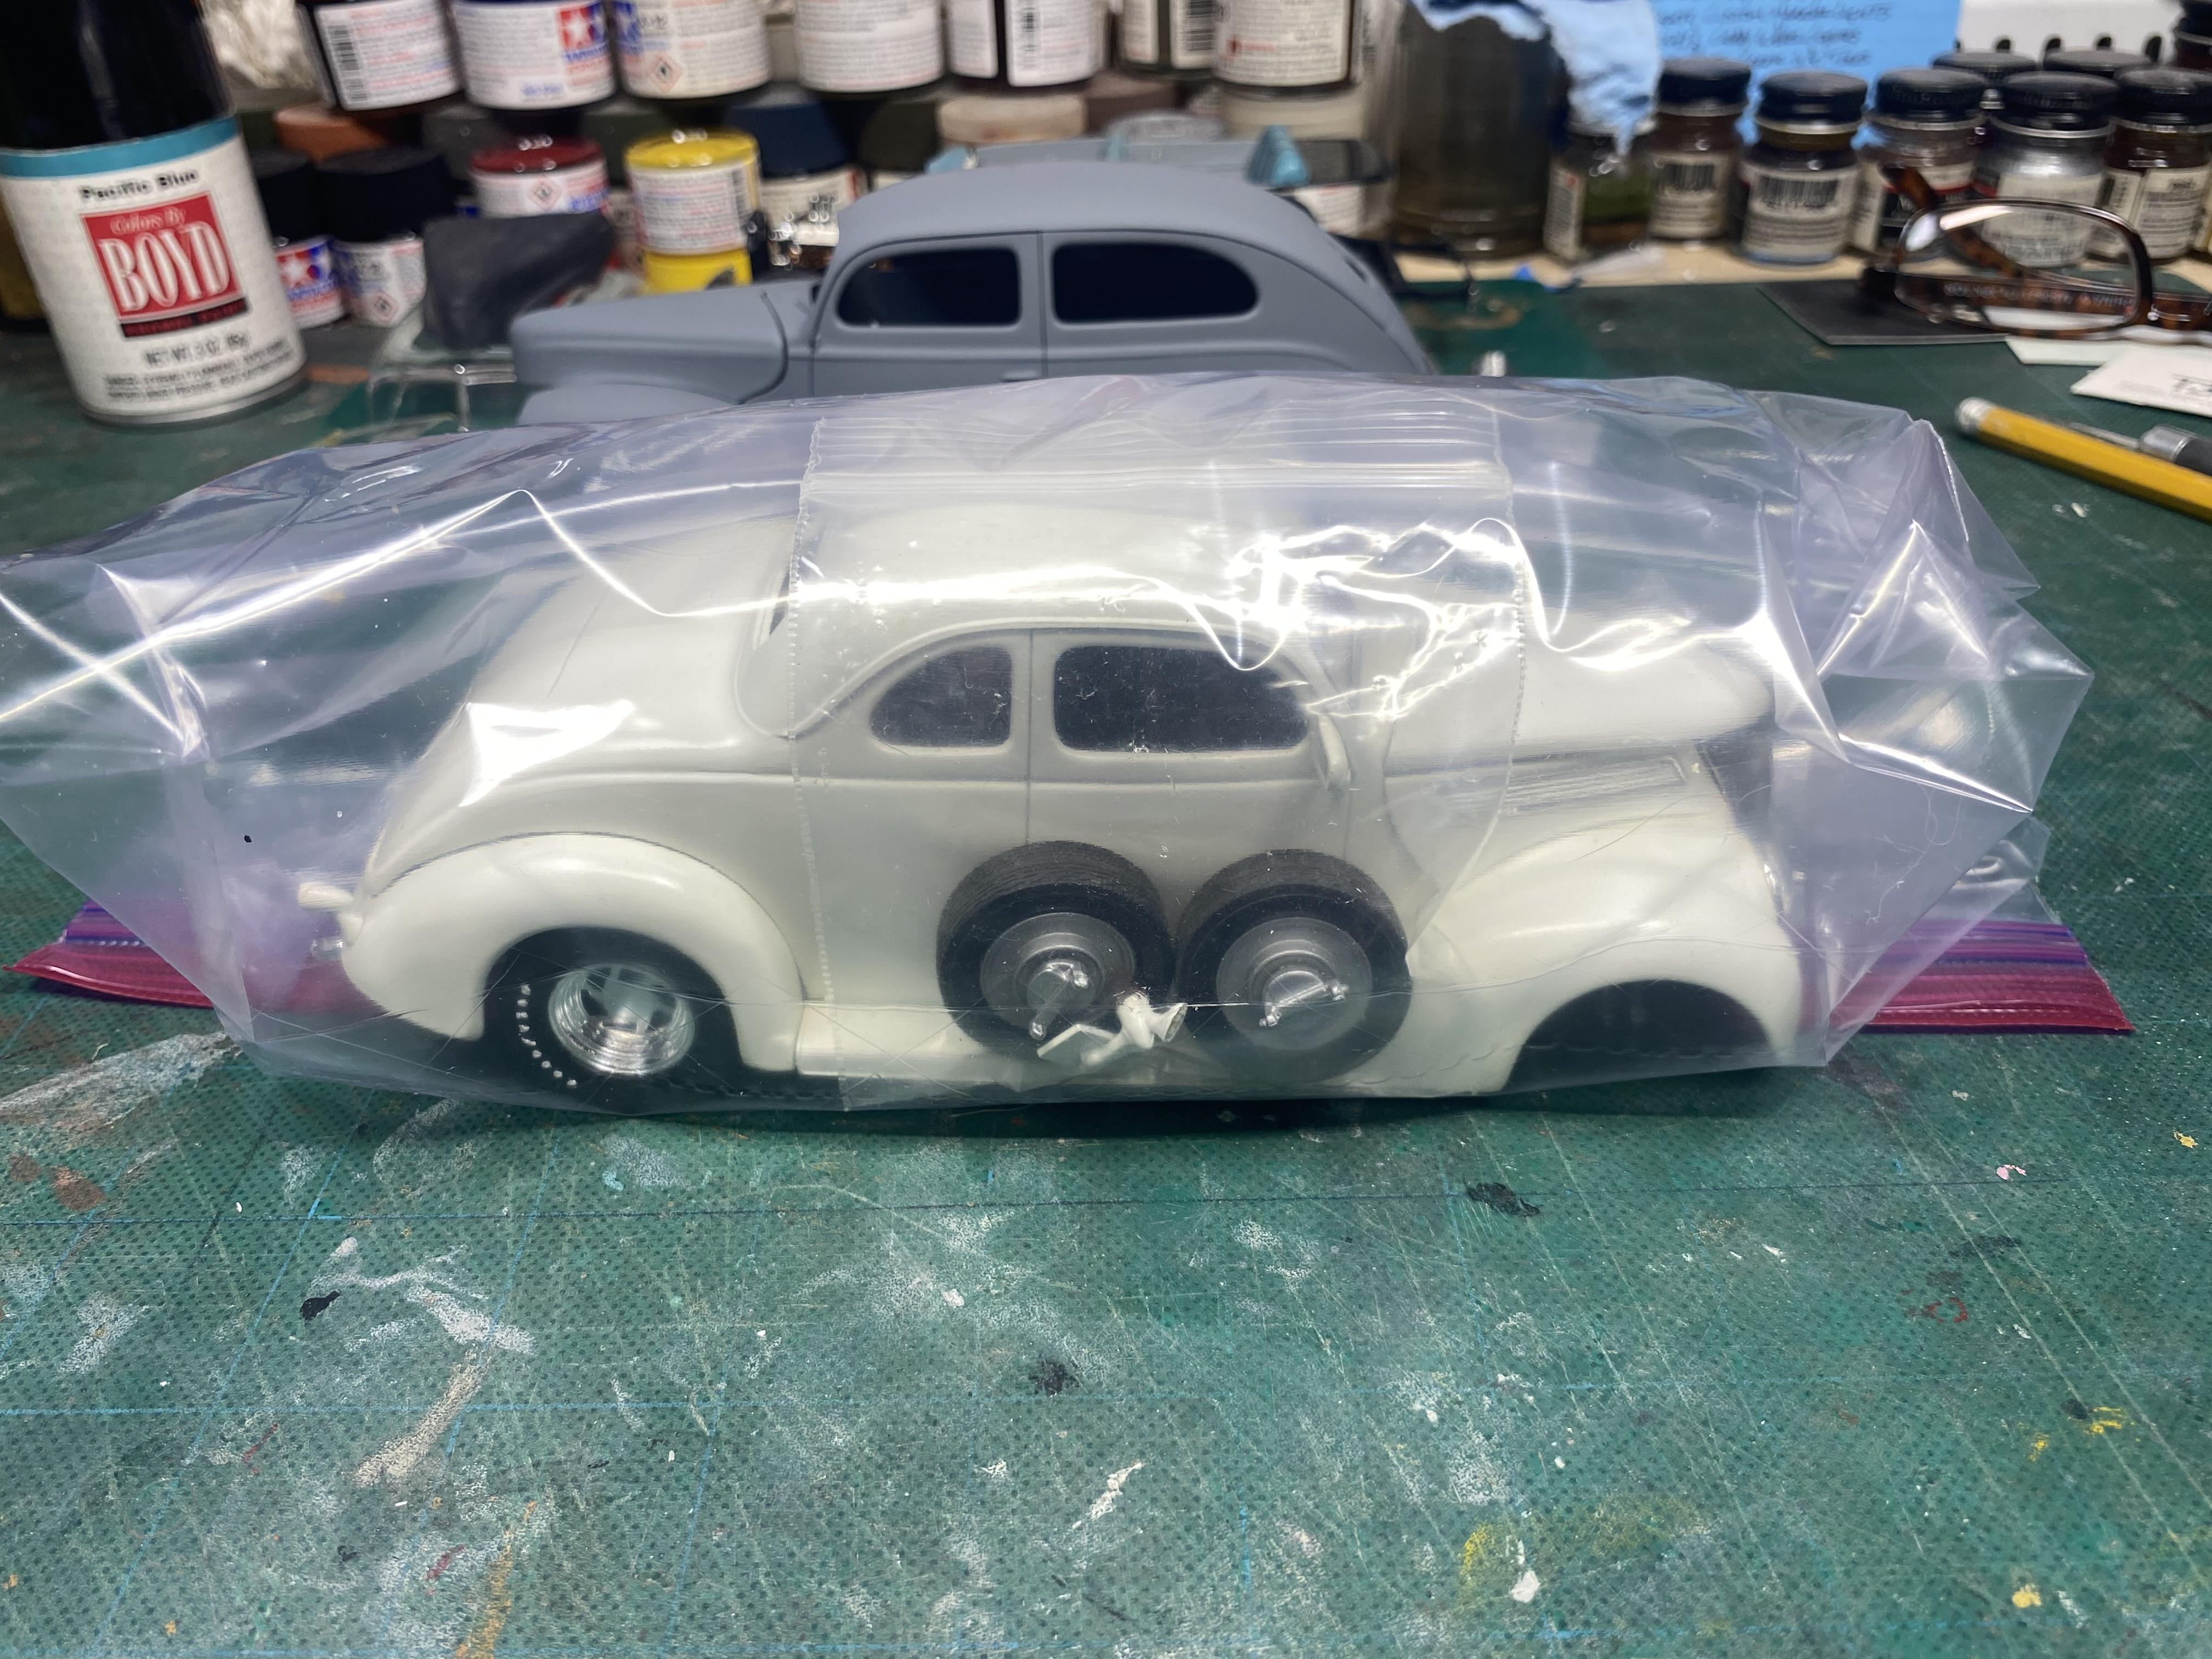
Just a quick update, got the body cleaned, rescribed and primed today. Motor is glued back in place and the windscreen is marked to cut. Also picked this up on eBay, I was going to strip and rebuild it but it’s to nice. I’ll start a repair post later.
-
If your set on not using, is it, I'll take!
-
It does look pretty nice....
-
Very nice and well detailed, I like it!
-
My 1st Big Rig "Blue Collar"
James2 replied to James2's topic in WIP: Model Trucks: Big Rigs and Heavy Equipment
Thanks Steve, I'm ready to prime some more parts and fine tune the cab. But I've been working on my motorcycle lately getting ready for the riding season. I hope to make some bench time next week.... -
I like it just fine, always enjoy a rebuild too!
-
Nice
-
So nice….
-
Welcome Brian glad you were able get back onboard, you models look very nice. How about a pic of the 1:1?
-
Your tribute will be very nice I'm sure, liking what you are doing so far. Interestingly enough, I recently heard from Rogers Daughter, Heather aka, BabyGirl1221 It would be a comfort to know about this project of yours, perhaps you could send her a message, in fact why don't we all say hello!
- 187 replies
-
- 1
-

-
- plowboy
- roger hayes
- (and 1 more)
-
The devil is in the details….
-
Thanks Zippi, Me too!
-
Thanks David, the original hood didn't match the body color and it was sanded beyond repair but was painted black. I felt it needs to be replaced; I think I can save the rest of the model.
-
Even with the shaved hood, the side chrome strips were ruined as it came. So now the comment would be leave the new hood or shave it?