Snake45
-
Posts
22,539 -
Joined
-
Last visited
Content Type
Profiles
Forums
Events
Gallery
Everything posted by Snake45
-
Thanks. Dunno when I'll get to it, or be hit by the inspiration. I'm rounding up references and parts. I just realized that the S&M '65 Plymouth was also AWB from the beginning, so I'm thinking of doing them both at the same time. Jenkins' Black Arrow and Dyno Don's Comet ended up AWB but both started out with stock wheelbases, so those I'll build stock-bodied. I have all four kits now to do all four iconic cars.
-
Thanks! Yeah, that's what I'm gonna do. I finally found some that will more or less fill them up. And I know what you mean about driving you crazy. As you know I've followed your project from the beginning. And it's a part of the inspiration for this one: "There must be SOME way to get a somewhat acceptable looking result out of this backbirth that's gotta be easier than what Styrene Surfer's going through."
-
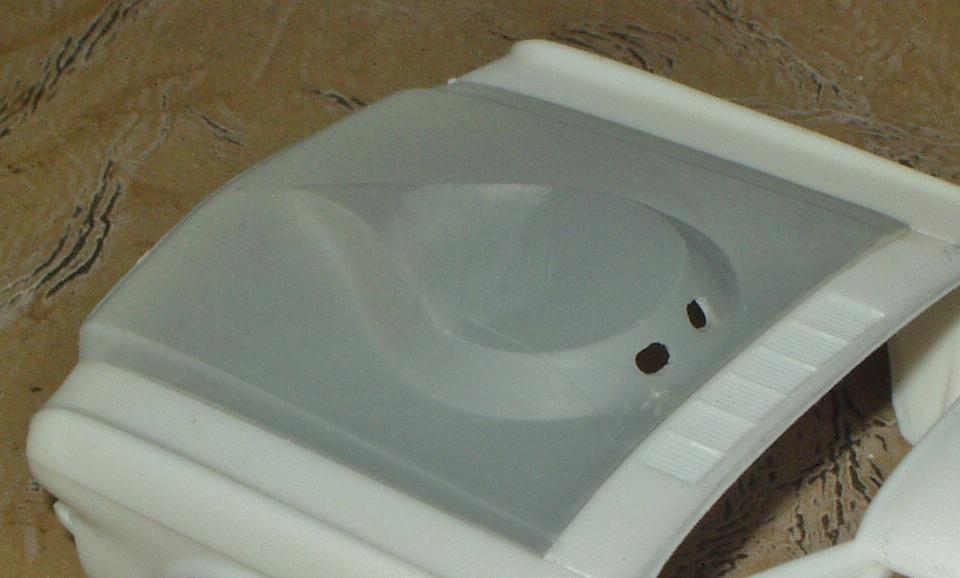
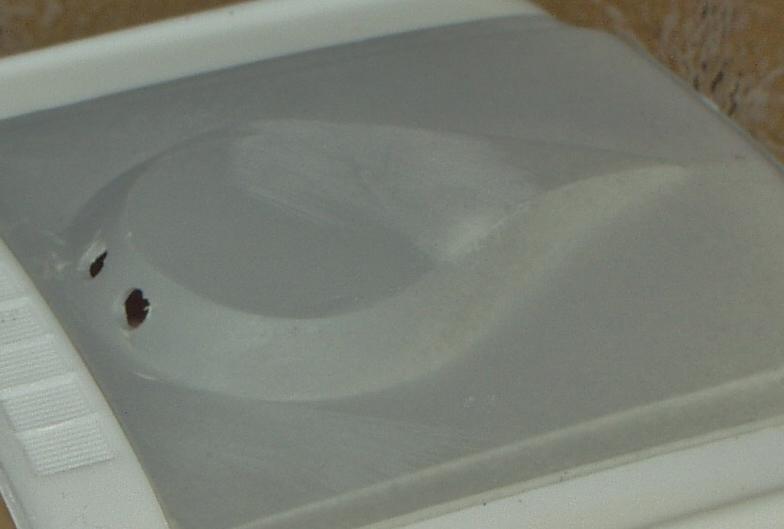
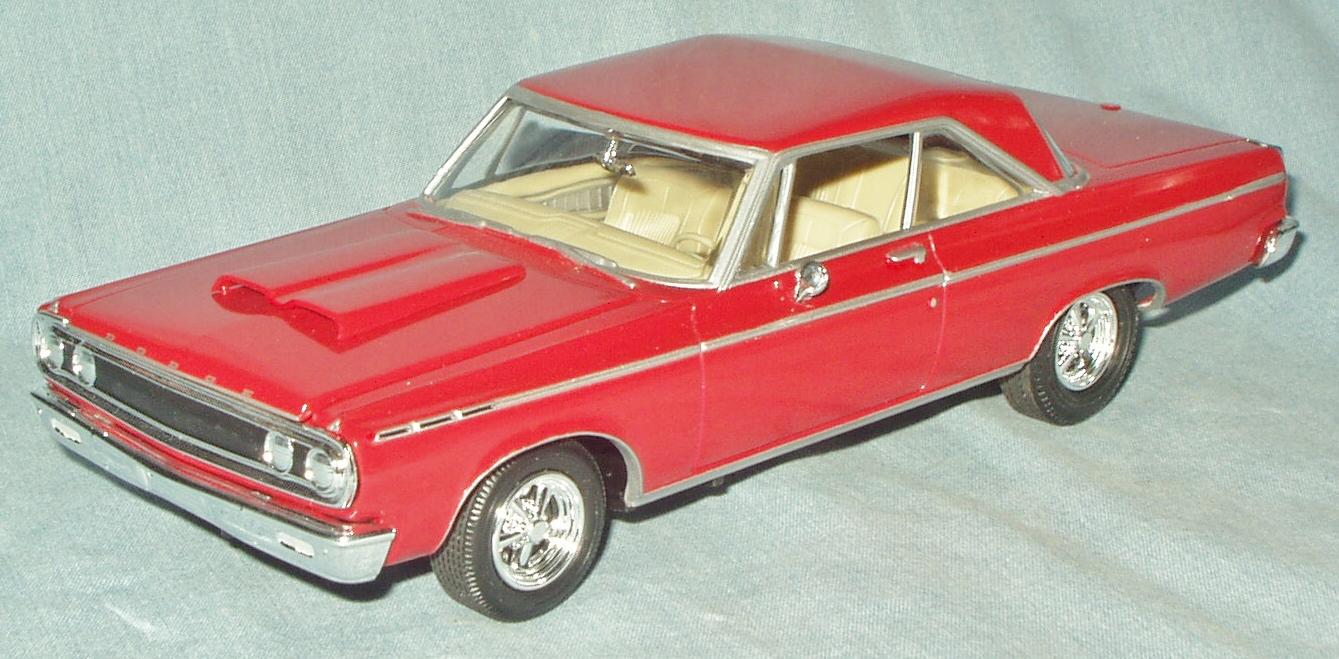
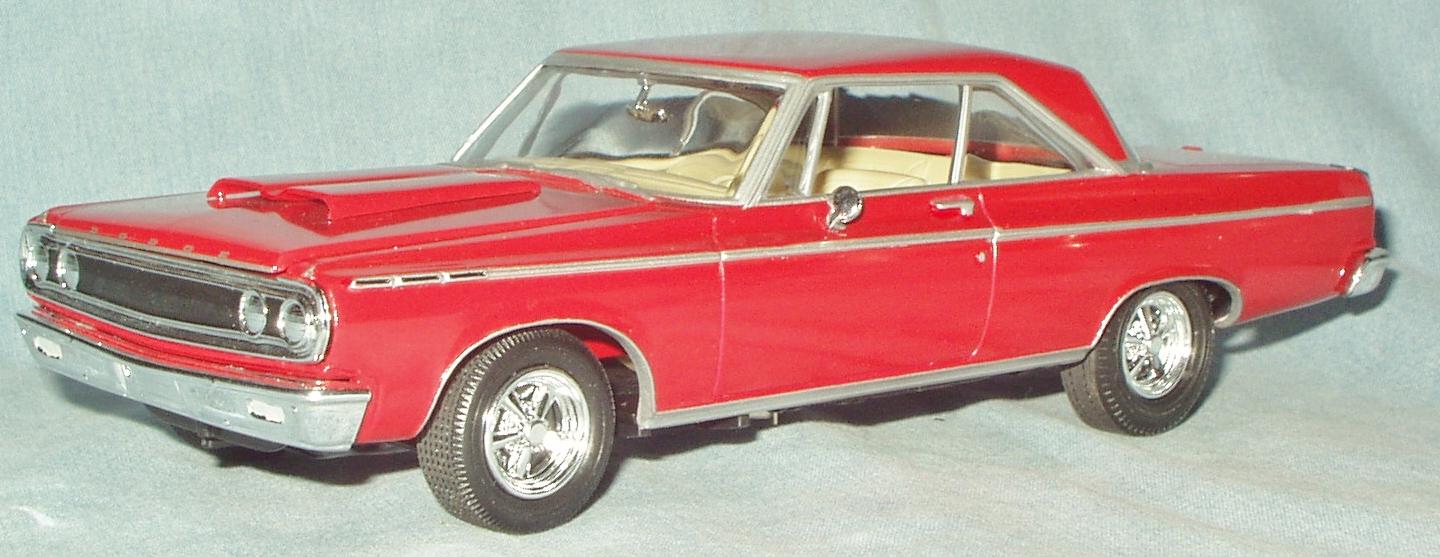
Today I decided I'd sanded the hood as well as I could before its first coat of primer to see exactly where I stood. Not perfect, but not bad. Actually a lot better than I expected when I started. Little bit of a crack showing on the left side of the cutout. I took the opportunity to lay a bead of superglue gel on the joints on the underside of the hood for reinforecment. Dunno why I hadn't done that before. I drilled the two holes just to define the inner boundaries of the cutouts, before I lost the markings under the primer. These will be cut and filed out to their full lozenge shape when I get the rest of the bubble exactly where I want it.

-
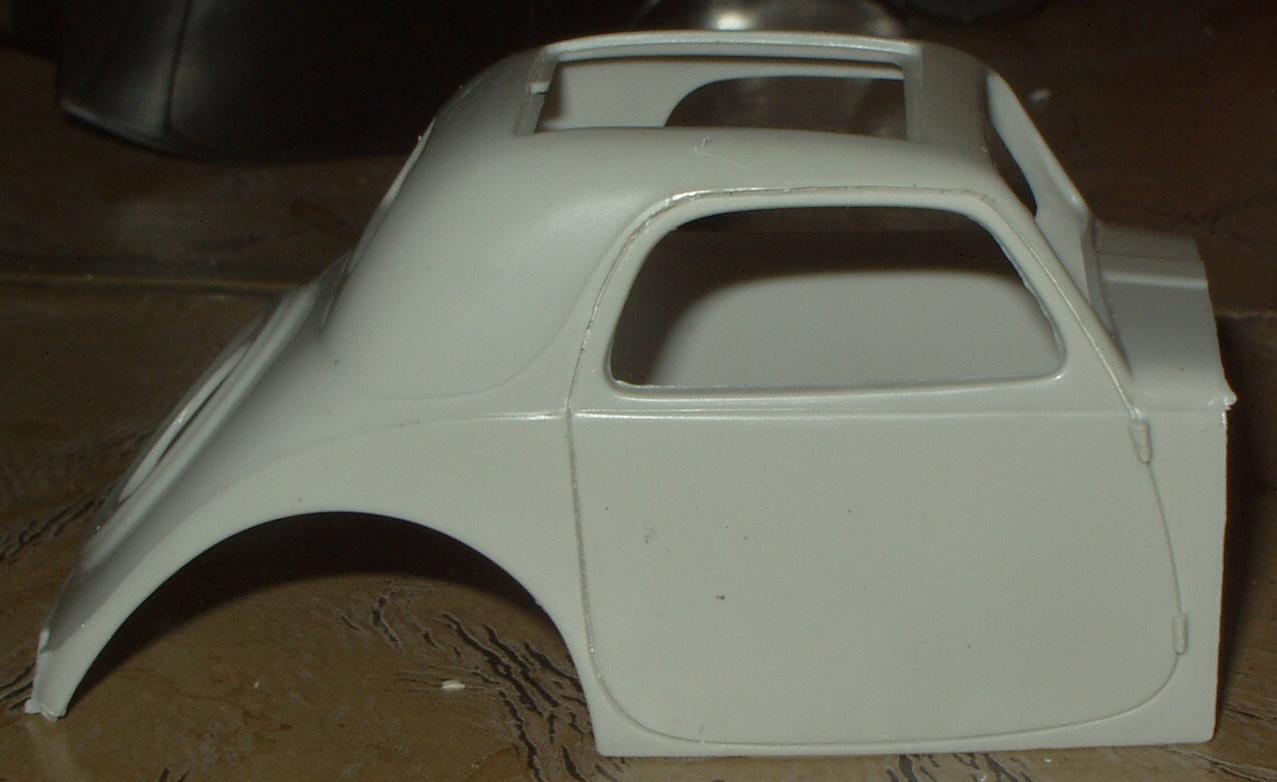
Just since I had them both on the workbench at the same time, thought it would be fun to take couple pics of the undersized Revell '34 body alongside the AMT Double Dragster Fiat. The Fiat is actually taller! Of course, the Ford is chopped. The Ford body is actually both wider and longer than the Fiat, though.
-
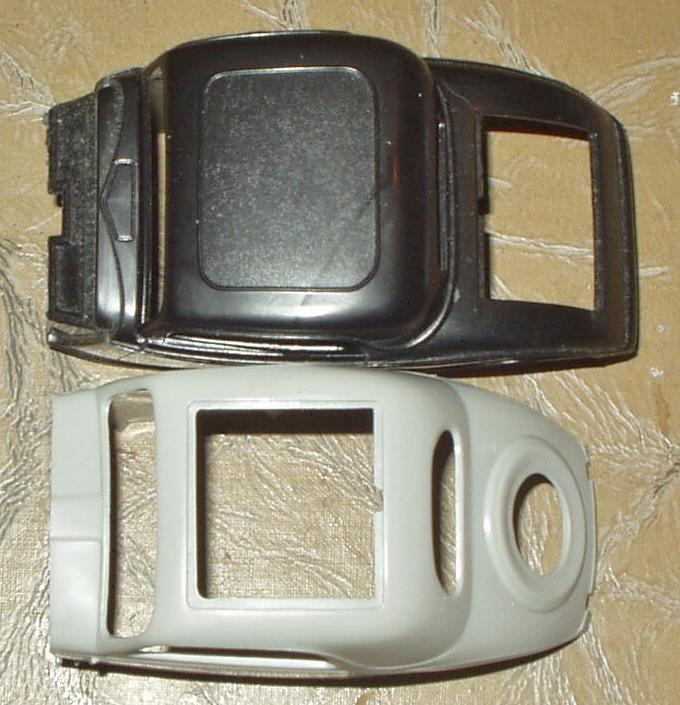
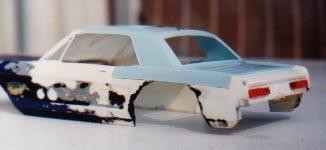
I did one using a roached glue bomb fastback body and a new coupe kit body. I ended up cutting the roof, most of the trunk, and the top of the rear fenders off the FB body and grafting them to the new coupe body. But that FB body was pretty wasted from the beltline down. It might be easier to just cut the rear fenders at the doorline and do it that way. The leftovers:
-
 Got something accomplished I've been putting off for years. If you've bought an AMT Double Dragster in the last two or three decades, you might have noticed that the upper door line of the right side of the Fiat body is all screwed up. Apparently the mold is damaged. There's not only not a line there anymore, much of the line is now actually RAISED! Last night while watching TV, I started scribing out this line, and today did most of the finish scribing. It's not perfect, but it now looks hella better. I can now drive on with a Fiat project of some kind.
-
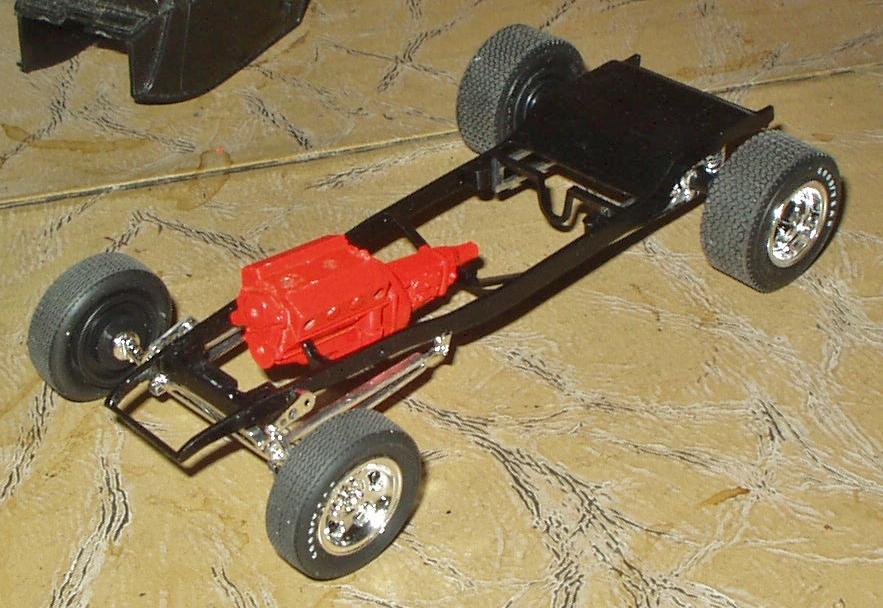
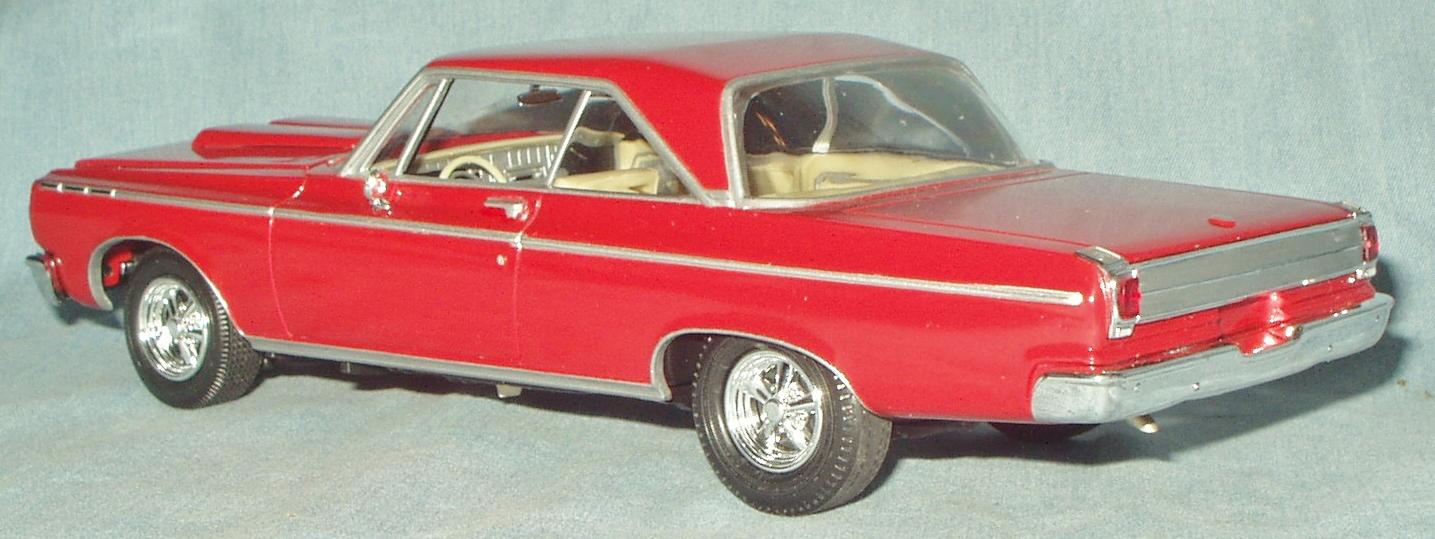
And today, it sat on its wheels for the first time.
-
Leroi "Tex" Smith's Fiat Street Rod
Snake45 replied to Snake45's topic in General Automotive Talk (Trucks and Cars)
That's not it, but was the closest pic I found to it, too. -
I got laid off the first of February. I knew it was coming for a month, and it had been a temp gig the whole time, so I saved my money in the run-up months. I hadn't planned to go back to work for at least three months, maybe more, just stay home and work on models, so aside from not being able to find toilet paper, this is pretty much exactly how I already planned to spend my spring. Who knows what will happen after that? I don't worry about it--we could all be dead by then (which has actually been true every single day of our lives). I'm very thankful for every day and every little thing I have. Enjoy today and model on!
-
Anyone remember Leroi "Tex" Smith's Fiat street rod? It was orange, fenderless (or maybe small cycle fenders), had a full hood but not the Fiat nosepiece, and a Model T-ish radiator. I think it might have powered by a Cadillac engine. Just spent an hour trying to find a pic of it on Google and Bing. No joy whatsoever--not one single picture! Anyone just happen to have any pictures of this?
-
The landing gear legs look too long by about 50%, too.
-
I thought it reminded me of that backbirth 250 SWB.
-
Surely I can't be the only one who opened this thread expecting it to be about the Blues Brothers?
-
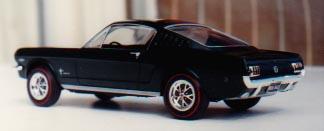
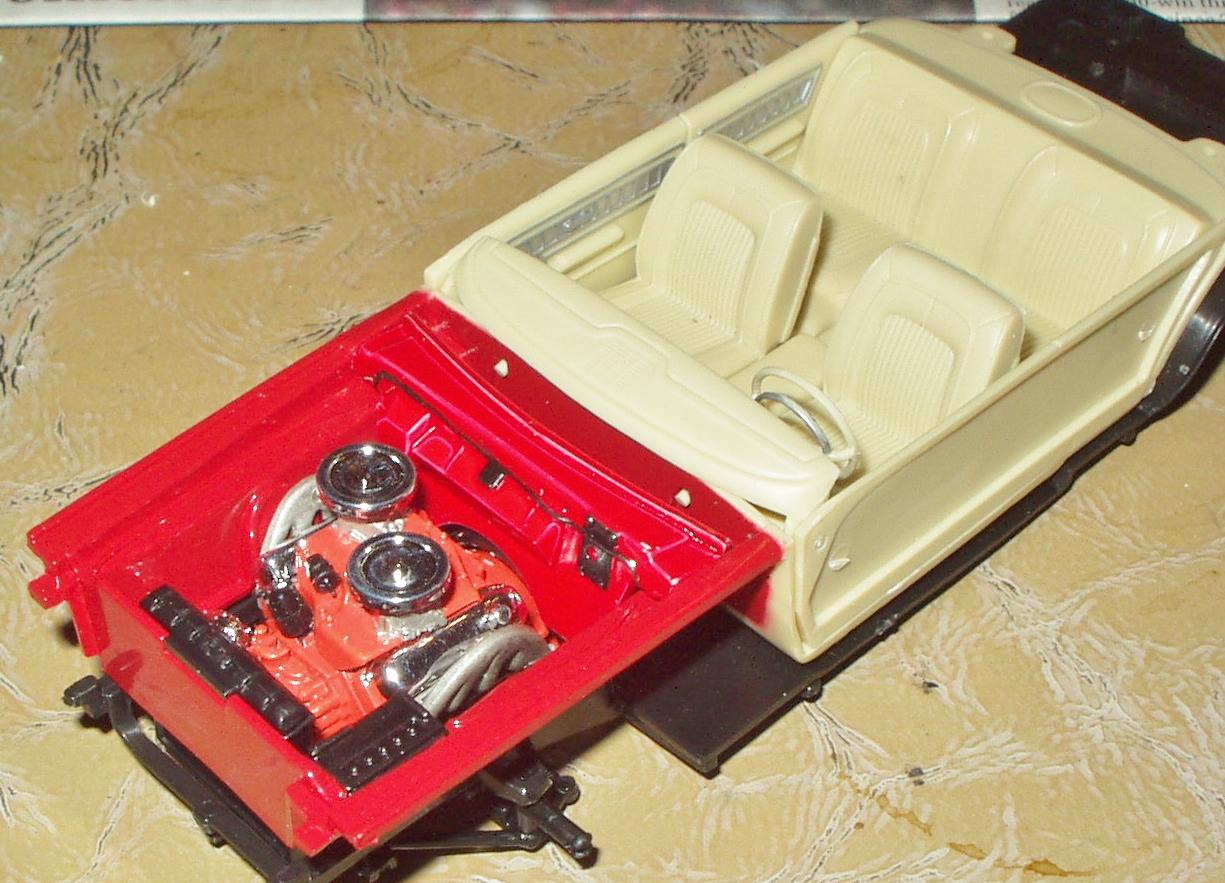
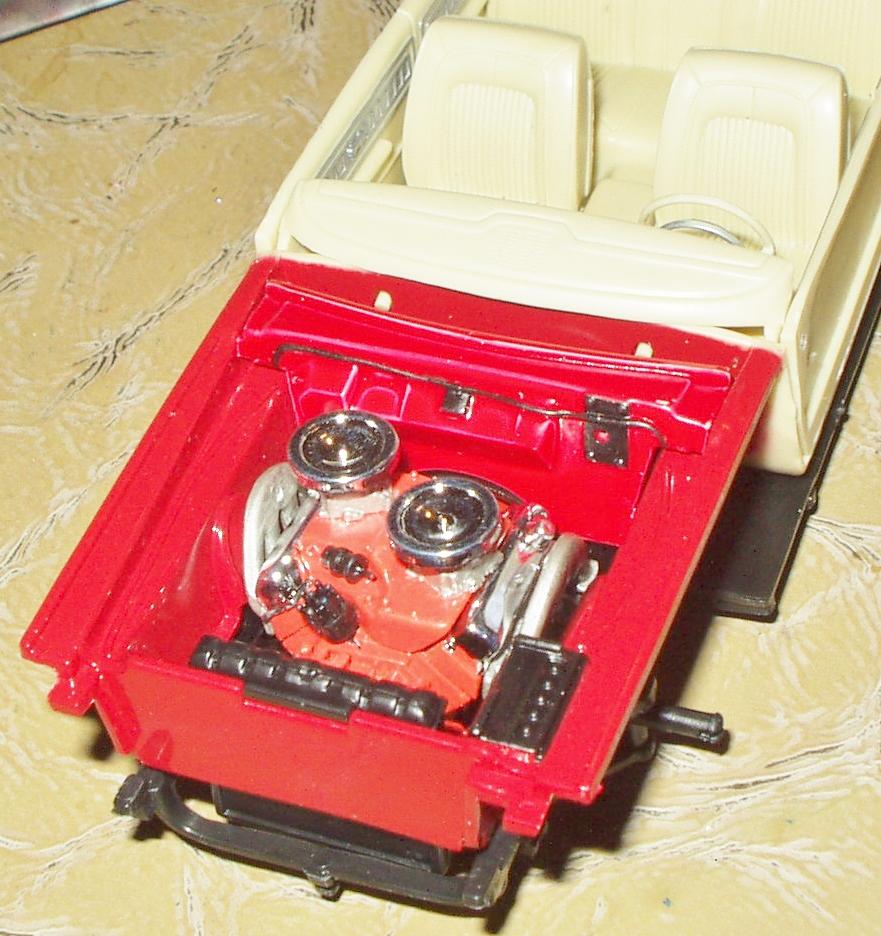
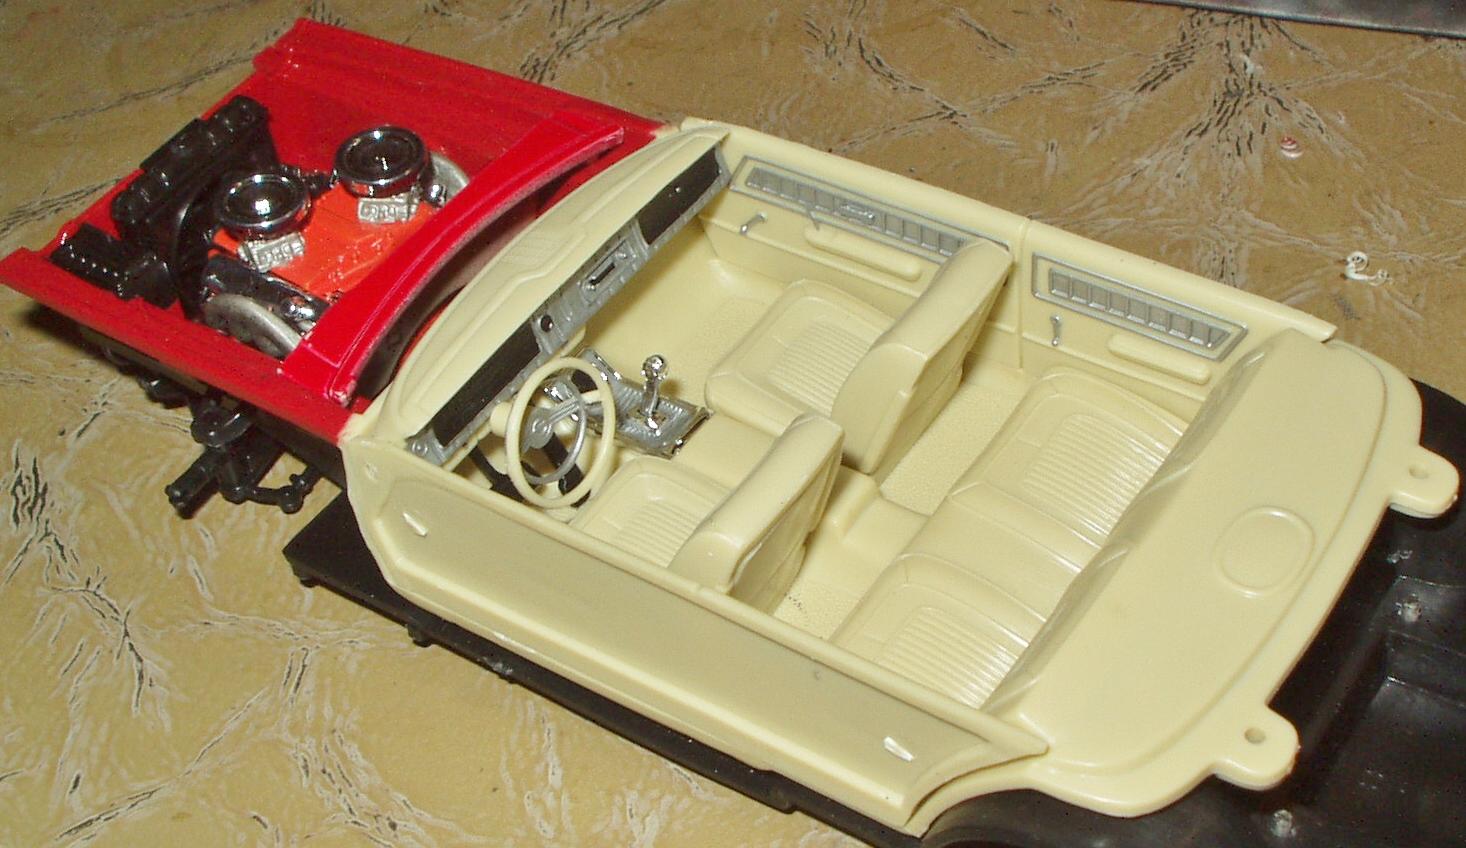
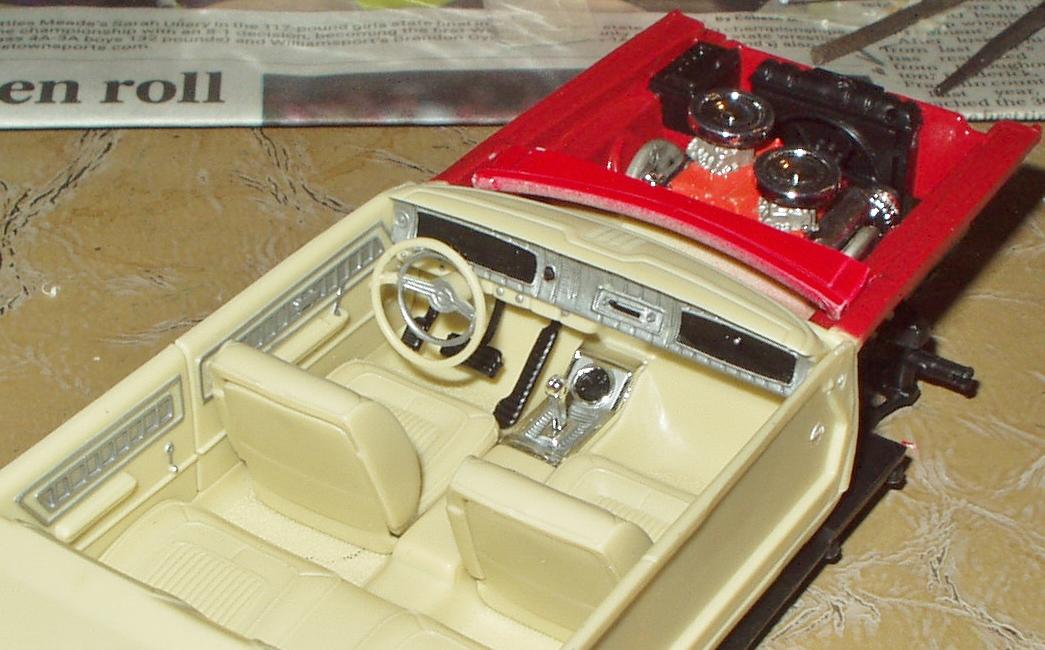
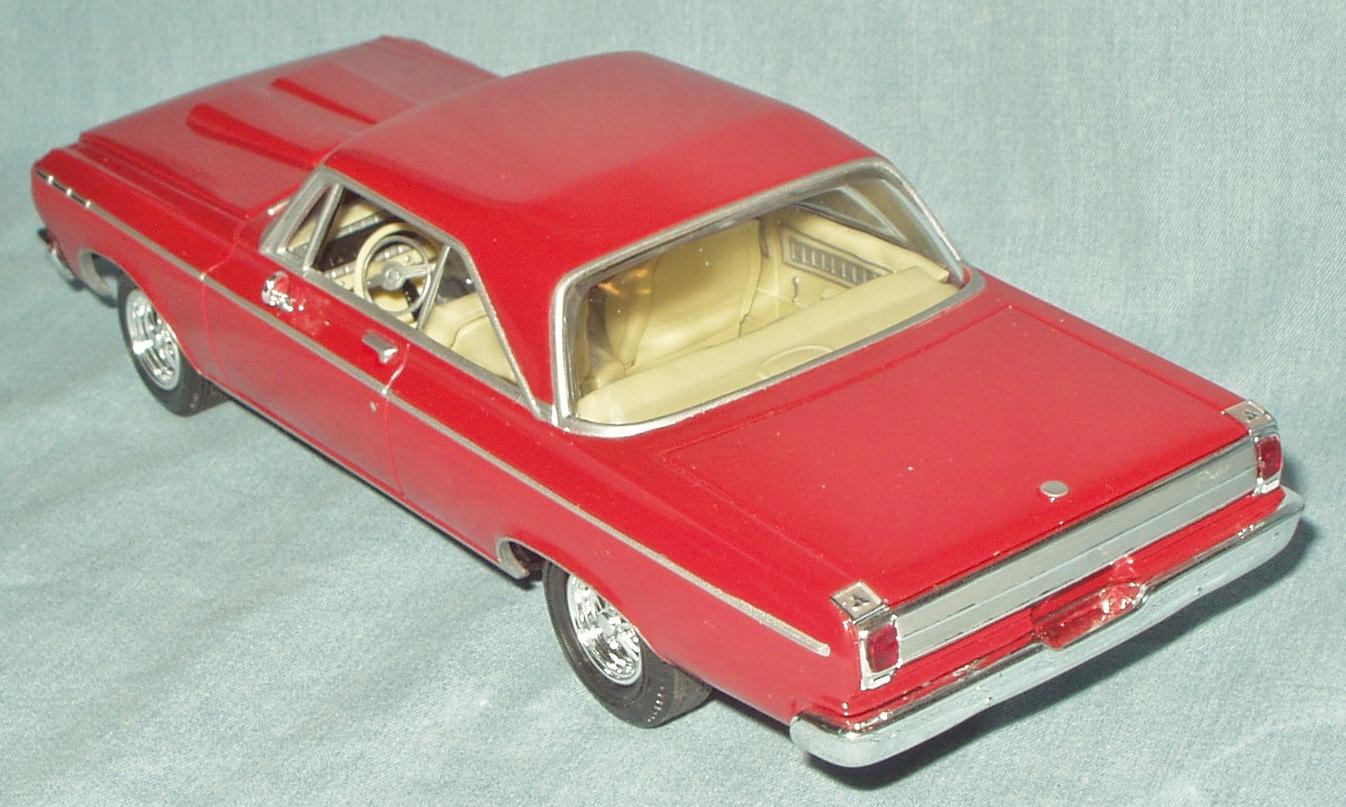
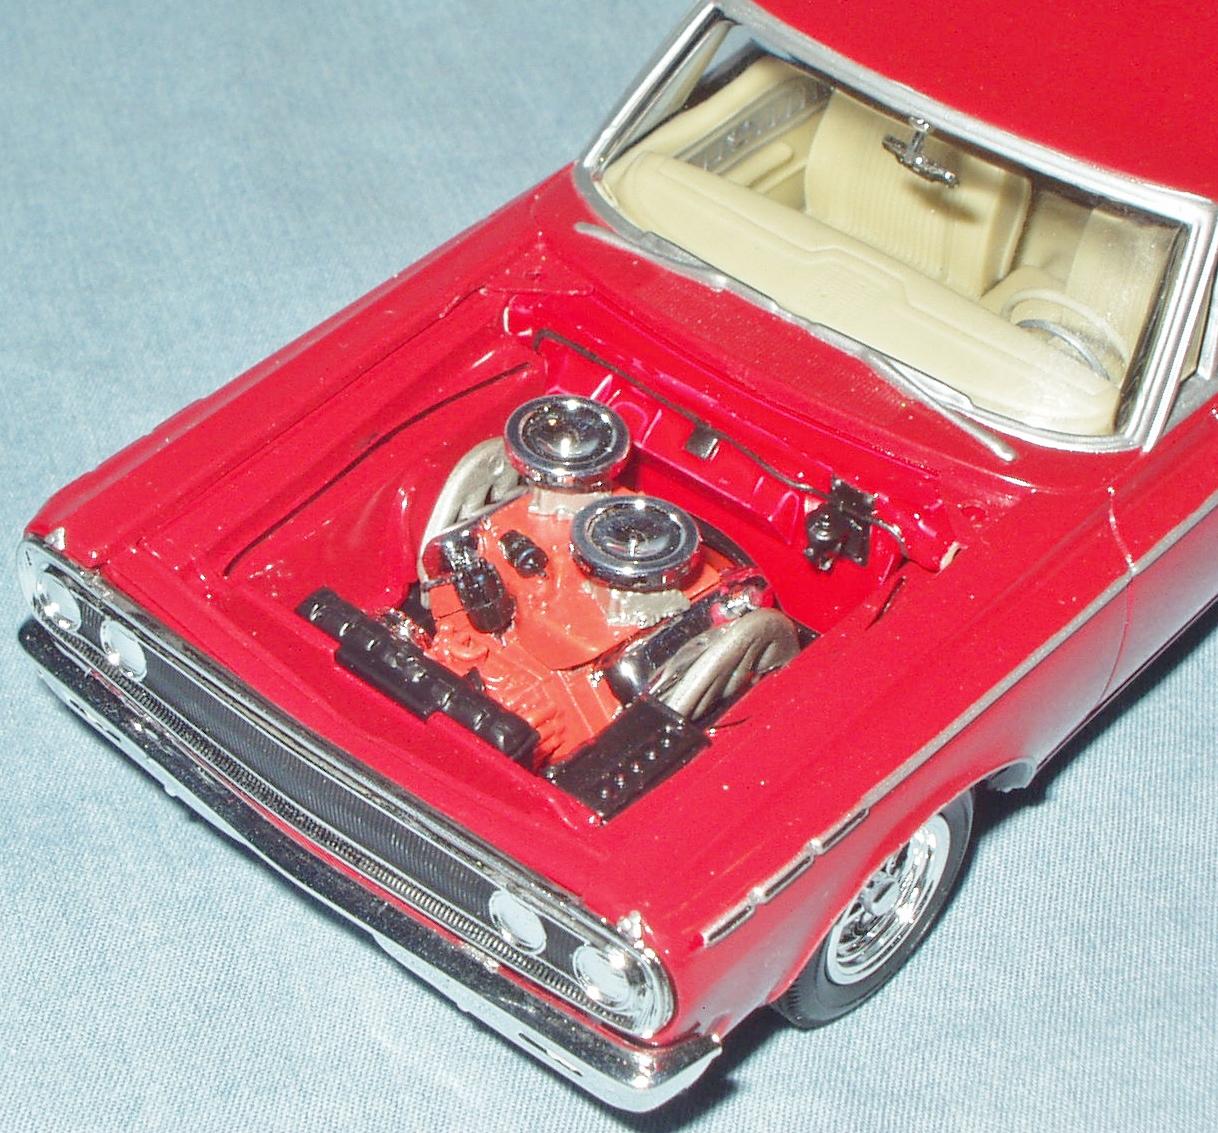
I believe this kit is being reissued again soon, or perhaps already has been. Couple weeks ago I Snake-slapped a prepainted one (bought at Walmart a decade or more ago) together out of the box and thought I would share a few construction impressions. This is the most precision-eered kit I've ever seen. Take your time and ALMOST everything goes together perfectly. It's not really a snapper, but I'd call it a "press fit." The ONLY glue I used anywhere on it was gluing the engine block halves together, and then the front (timing) cover onto the engine. Everything else, I just press-fit into place. Even the exhaust pipes lined right up with the exhaust manifolds, amazing! Avoid the temptation to test-fit things. The pegs and their holes are so precise that you'll probably only be able to get them together ONCE without breaking them, which will complicate things. A thin layer of paint will interfere with fit, and will have to be removed from the pins. In fact, I had to do a slight bit of trimming/reaming on many of the holes to get the pegs in. Once in place, everything is tight enough to stay put without glue. In final assembly, notice that there are two tabs that fit into the upper radiator wall, while the rear of the chassis also fits into tab slots at the rear of the body. DON'T install the front bumper until you have the assembled chassis installed in the body, as the bumper serves to lock the lower part of the chassis (subframe) in place. If the bumper is in place first, this will be very difficult to do without breaking something, or at least cussing a lot. Don't install the wheels and tires until you have the chassis in the body. I was dreading putting the wheels on the stub axles, expecting to break at least one, but they snapped right on easily--probably the easiest part of the whole build. BTW, the distributor is for a 6-cylinder. The ONLY parts interference I found in the whole build was between the front windshield mounting tabs and the firewall. I got everything together, but the chassis was bowed down and visible. I carefully took everything apart and trimmed the front edges of the windshield bosses and filed some clearance notches in the back edge of the firewall for good measure, and then everything fit just fine. The worst part on the whole build IMHO was the grille. The "open" areas are so shallow that I found it impossible to black-wash them, leaving the chrome, and get it looking good all the way around. I ended up just painting the whole open area semigloss black, as was popular back in the day. The only things I painted on this one (I started with a prepainted issue) were the engine and the firewall. The engine is molded in blue, but I don't think it's the correct shade of blue. Google-image showed many engines in orange, which might or might not be correct for '65 factory new but looks cool. I used Testor Orange from a rattlecan over white primer. Model Master Italian Red lacquer was a pretty close match to the body's red paint for the firewall. The body “chrome” trim is tampoed in silver, but it's a very “flaky” silver and looks like silver car paint. I went over it all with Silver Sharpie, which doesn't have the flake. The only interior detailing I did was some Silver Sharpie and Black Chrome Trim work. I thought it should have been a one-day slap-together, maybe two, but it took me the better part of three days to finish. It's a good looking model for the time and effort expended, IMHO. The next one I build will be heavily modified as Dick Landy's AWB funny, but that will be a completely different story. I hope this post will be helpful to someone. Thanks for looking and as always, comments welcome. Model on!
-
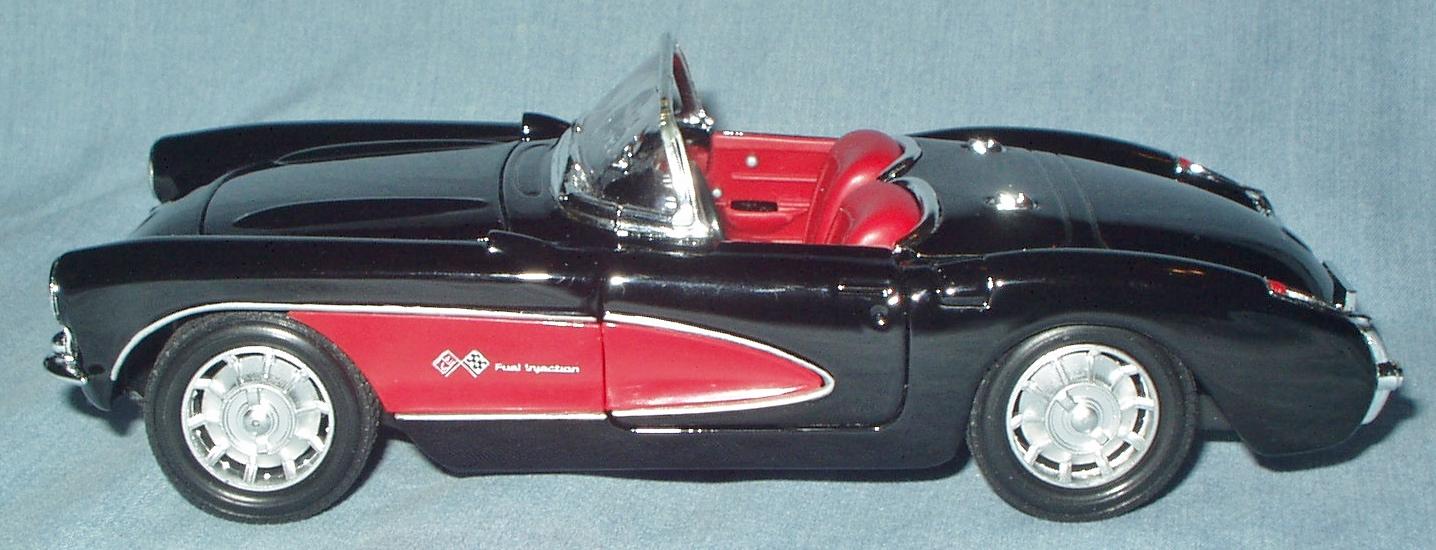
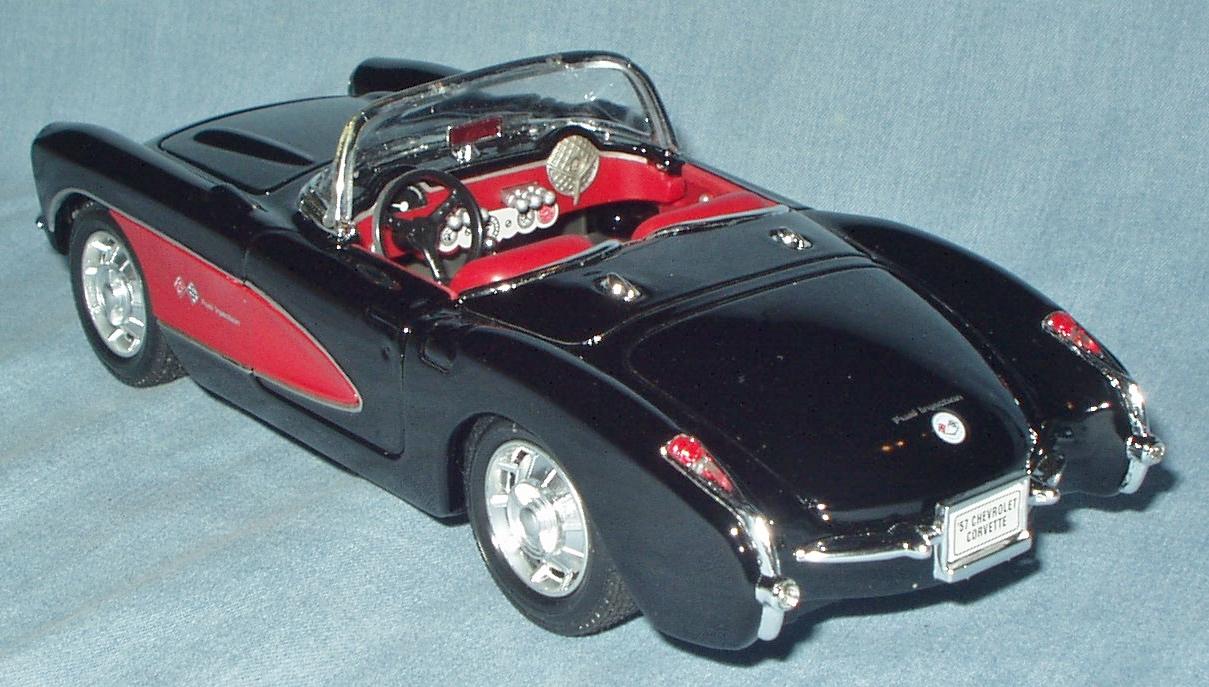
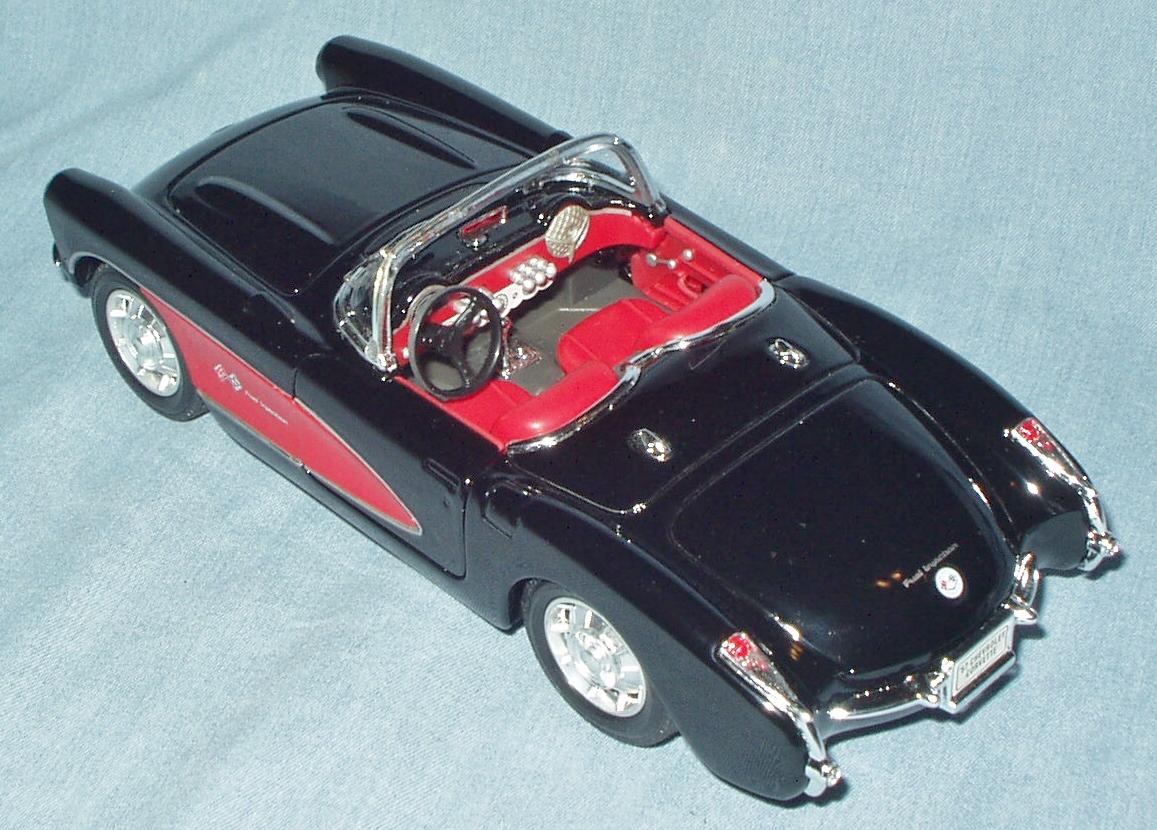
They're tampo. The coves are red plastic, and I removed them and cleaned up the edges (and Sharpied the cove trim at the same time). Are the coves separate plastic pieces on yours? I can't tell.
-
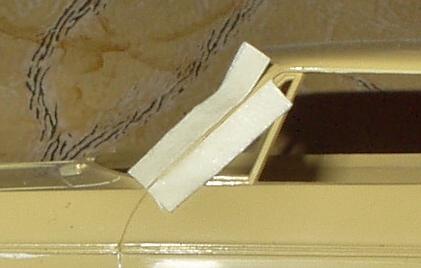
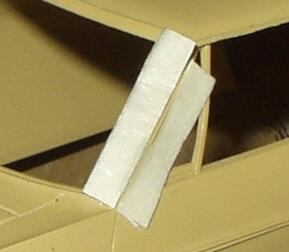
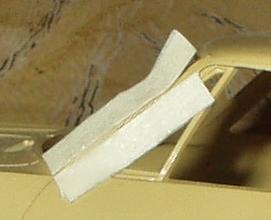
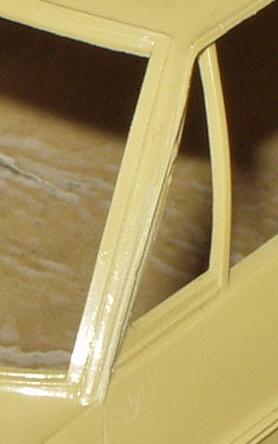
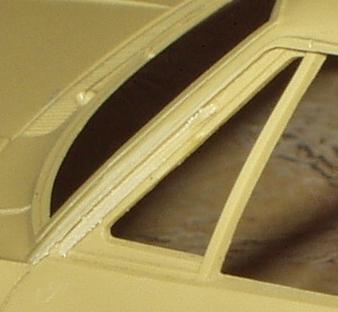
I'm working on rescuing an original AMT '66 Impala Promo. The lower half of the drip rail on the left side A-pillar was almost nonexistant. It started out as an extremely thin sliver of plastic, like flash, and by the time I'd finished polishing the body, even this had disappeared entirely. I worked out the following repair method, which seems to have worked pretty well. 1. Lay several layers of masking tape on a cutting surface (some use glass but I like sheet styrene, just since I've got a buttload of it). Build up the tape layers until the stack is as tall as your drip rail needs to be (probably somewhere around 4-8 laybers). Lay a straightedge on this and cut a couple strips about 1/8” wide (dimension not critical). You MUST have a clean, straight, pristene edge for this—don't even think of trying to use the edge the masking tape came off the roll with. It will be raggedy and dusty. 2. Carefully lay these strips as “dams” where you want to build up your drip rail. Press in place firmly. 3. Fill the gap between the tape dams with superglue GEL. I strongly recomment Loctite brand—ask for it by name. It is the best superglue gel I've ever used, much better than generic stuff. Fill the gap to where it just overflows the tape. Having some SG gel on top of the tape is fine, it's actuallly desirable. 4. Let cure at least 24 hours. This stuff does not set up instantly, it takes a while. 5. When dry, DO NOT try to remove the tape dams. Instead, with a file (or a sanding block and at least fresh #280 grit paper), file the SG gel down until you are exactly flush with the top of the tape dams. 6. At this point you can remove the tape dams and marvel at how good your work looks. You will probably have to do a slight amount of cleanup on the front and rear edges of the new drip rail with a small, fine file. Some smoothing of the “face” of the rail might be needed, too. 7. Ready to go!
-
-
Absolutely outstanding work! I proclaim you a Glue Bomb Hero!
-
Well that's just been good ATM advice for a couple decades now.
-
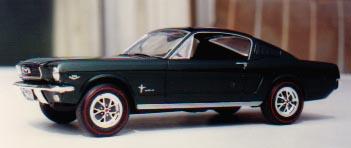
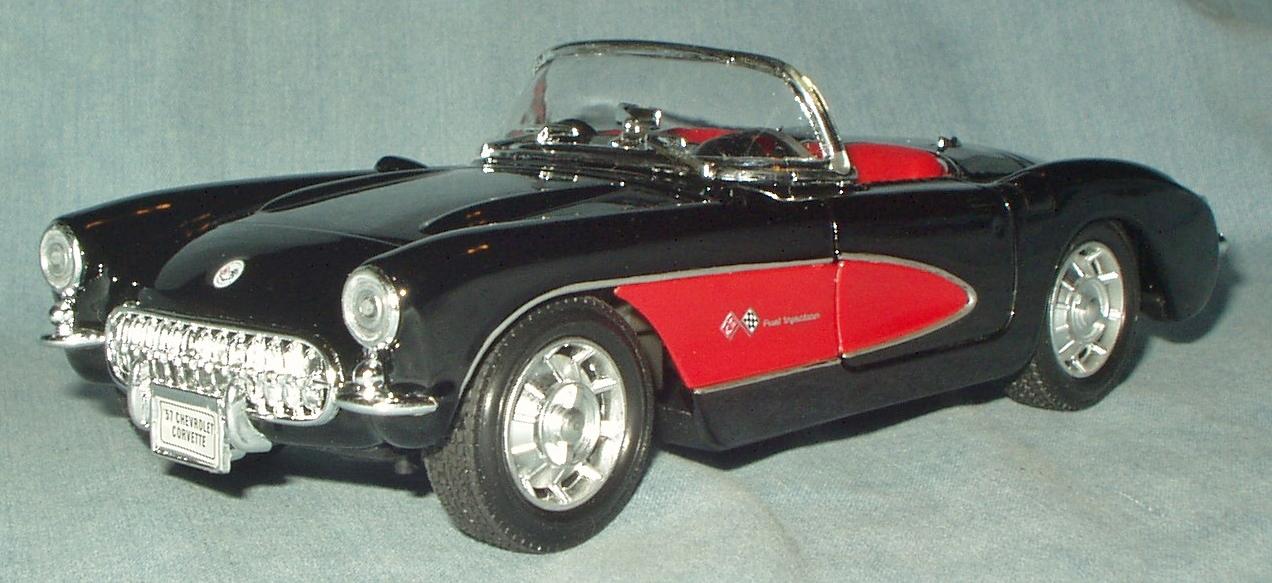
Here's my $10 Rite Aid Welly, which I believe is the same model. I Snake-Fued and photographed it in mid-2019 and thought I wrote it up here, but I guess not. I was able to improve the weird headlights a bit. Sanded the tire treads. Sharpied the cove trim and black-washed the grille. Flat-coated the wheel covers. Painted the whitewalls black, just 'cause I don't like whitewalls, especially wide ones. I did some stuff in the interior too but at this point I can't tell you exactly what. Maybe the pics will tell the story.
-
Thanks for the cheers and votes of confidence! I shall strive to endeavor to persevere!
-
Okay.
-
Yeah, but I'm not gonna do it on this one. Also, if you do that, you have to remove the "scoop" trim from the coves, and it is NOT easy to sand that stuff out. (I know, I did it on one.)
-
Whats the story on the "Switchers" ?
Snake45 replied to Jon Haigwood's topic in General Automotive Talk (Trucks and Cars)
I'm working on one of the Coke ones now. It's missing quite a few of the original Switchers pieces, but I think there's enough there for me to work with. -
Automotive (and other) toys from our childhood
Snake45 replied to Harry P.'s topic in The Off-Topic Lounge
I never had a carwash or a car factory, but I had one of these, hella cool!