restoman
-
Posts
1,129 -
Joined
-
Last visited
Content Type
Profiles
Forums
Events
Gallery
Everything posted by restoman
-
Thanks again, it was a fun build.
-
Very, very nice!
-
 Very nice!
 -
Nice build! I did that car a few years ago, it's one of my favourite Nascar racers in my cabinet. Yours looks fantastic! Trivia: The real car did a complete mid-air roll early in the race and landed fully on it's wheels. There wasn't a mark on the body but the suspension was done for after the landing. Too bad, it was an attention getter.
-
1970 F-100 Stepside 4x4
restoman replied to Dave Toups's topic in WIP: Model Trucks: Pickups, Vans, SUVs, Light Commercial
I'm really liking the direction this is going. -
http://www.modelcarsmag.com/forums/topic/139780-66-mercury/?tab=comments#comment-2043424
-
Very nice! I really like it.
-
I picked up this re-issue a few years ago. Painted it last fall and have been eyeballing it since then...

-
I did airbrush these rims and then brushed some Future over them. The pic doesn't really show it well, but it looks pretty similar to polished aluminum. ...And with the acrylic Future topcoat, they can be handled without fear of dulling or rubbing off of the chrome.
-
Nice job!
-
I sprayed the front and rear bumpers of my last build with Molotow. I'm relatively happy with how it turned out, but it does seem slightly duller than it did when I airbrushed it on. I took care to not touch anywhere that was visible. I used nitrile gloves and paper towels when handling the parts. The car I started with was a glue bomb with worn out chrome, so the Molotow was a low-cost option that let me build the car. It most definitely works for that! I am going to use it on a resin Dodge pick-up grill, as - to me - it better resembles bright anodized aluminum than it does chrome. I'm just not going to touch it with bare hands. Time will tell if it stands up...
-
Now appearing in Under Glass...
-
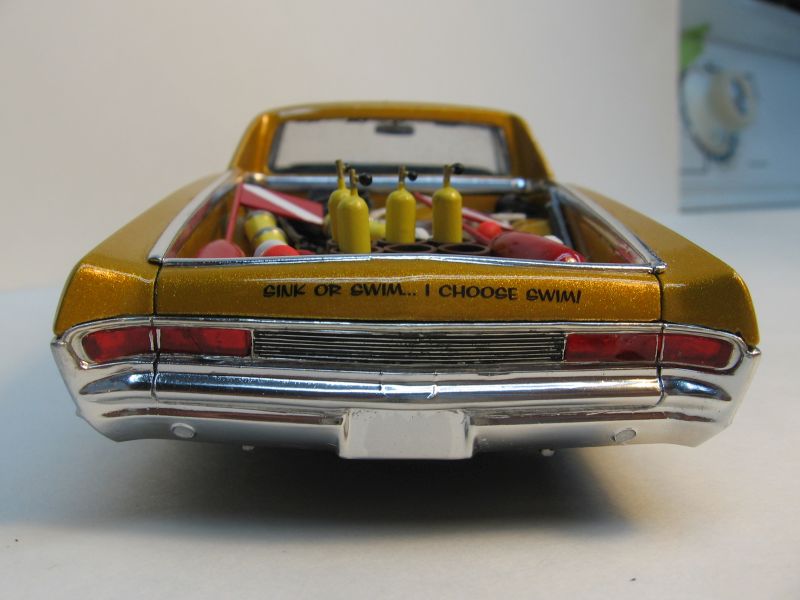
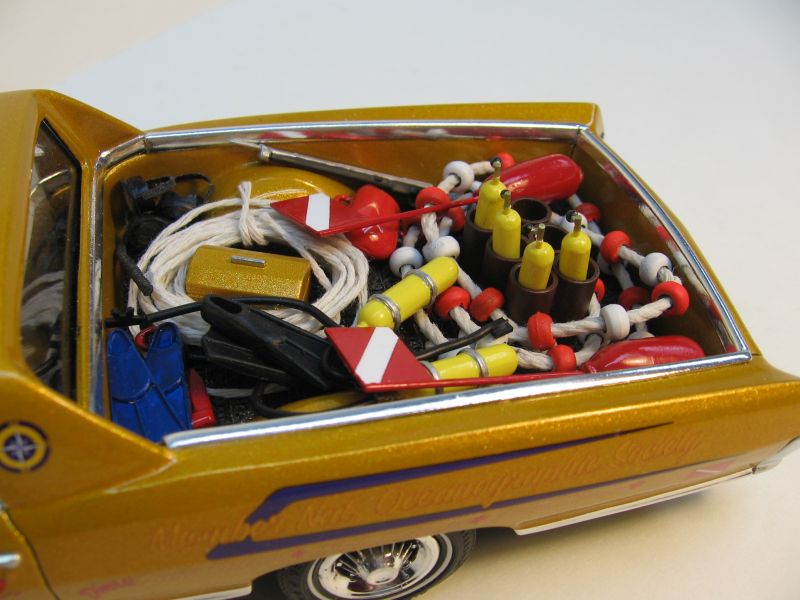
This started as a bit of a glue bomb/basket case, missing an interior, wheels and usable chassis. My parts box coughed up everything needed. I used the roof and cargo bed from the '70 Bonneville kit as well as some of the scuba equipment. The rest of the equipment I built from scratch. Swapped over to a single four barrel, four speed car, I spent a ridiculous amount of time putting this thing together. I sliced the taillights and scribed the rear bumper to simulate an opening tailgate, added clear headlight lenses and rings, added the chrome bed rails, covered the cargo floor in a rubber-looking mat, lowered the stance, and shot the bumpers with Molotow chrome. Plus a whole lot of stuff that I've forgotten... I added license plates after I took the pics... The grill fit perfectly until the chassis and body were glued up, and the hood has a slight warp that I just couldn't get rid of completely. It was way bad when I started... Sprayed in Testors Inca Gold, topped with 2k clear. '70 Bonneville decals. I used the very nice white wall tires from Modelhaus. Glad to see it finished. Comments always welcome.
-
BugBerry: VW NewBeetle luxury delivery van
restoman replied to Claude Thibodeau's topic in Model Cars
Very Nice! The decals add that extra little bit. -
That's awesome!
-
Very nice work!
-
Very nice job. I like it!
-
One of those would be an awesome accessory for our '74 Super Beetle! I'm thinking the VW clutch would hold up ok, and it's probably alright on the highway (till the crosswinds come up!) but stopping with stock Beetle brakes might be a handful... I just might put this on my scratch-building list, it's so cool.
-
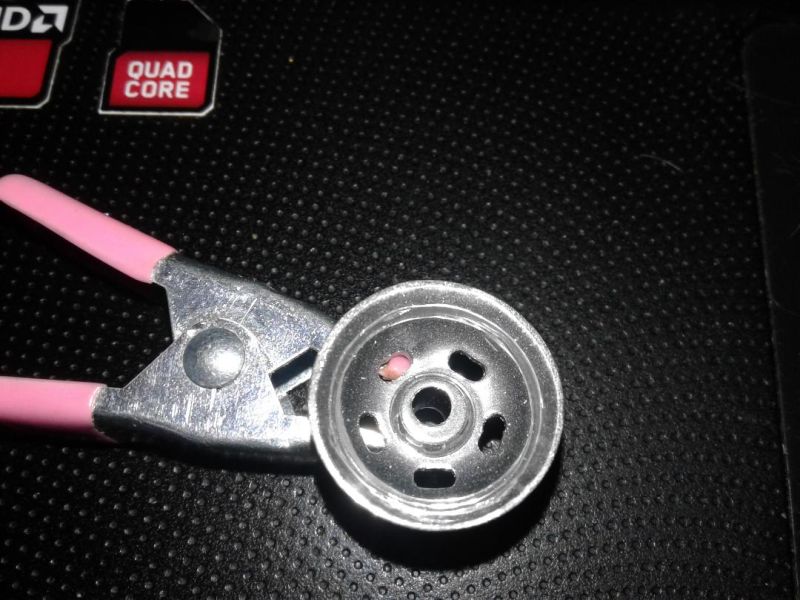
I've used some shiny card stock and brushed on colour, then simply placed the wheel face down to transfer the paint from the card to the wheel. A little bit of practice and you get nice even paint edges, though it's only on the outside edge of the rim.
-
Very cool!
-
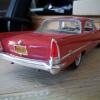
Molotow chrome through the airbrush... The original chrome was whipped, so off came what was left of it. I opened up the headlights and the bumper slots, took care of the mold lines on the sides of the bumper and took some material off where the bumper meets the tire, for a more-gooder fit. Comments always welcome.
-
How accurate are factory color chip sheets?
restoman replied to crowe-t's topic in General Automotive Talk (Trucks and Cars)
For the most part, the colour chips are accurate. ...But, there are sometimes more than a few variances in the actual paint colour itself. Some modern colours can have upwards of a dozen variances of a single colour standard. The colour standard is what the chips are supposed to match... -
Great tip. Thanks muchly!
-
Very nice! One of my favourite kits, and you did a bang-up job with it.
-
I used a black bandage wrap. It looks like a rubber mat, pretty pleased with it, and we had some here in the cupboard.