Sledsel
-
Posts
3,949 -
Joined
-
Last visited
Content Type
Profiles
Forums
Events
Gallery
Everything posted by Sledsel
-
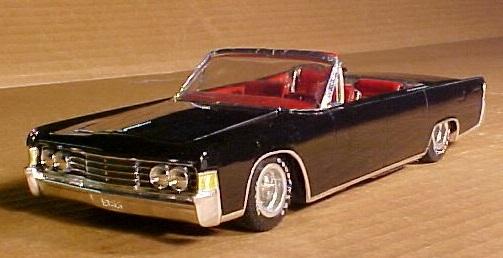
 Well, I am not into the low profile "rubber band" tires, but these have decent sidewalls. Overall it looks great and it is one of my MUST HAVES!!!! On a side note, a Dyno Don version would be spectacular!!!
 -
Bill Elliott 1987 Coors TBird
Sledsel replied to magicmustang's topic in Stock Cars (NASCAR, Super Stock, Late Model, etc.)
Looks great!!!! These are really nice kits out of the box! -
First time modeling
Sledsel replied to WayfromSmoke's topic in WIP: Model Trucks: Pickups, Vans, SUVs, Light Commercial
No problem. If you want one of those beds, contact them, tell them what you want. There are quite a few options and they email back fairly quickly. Easy to deal with!!! -
Mold factory mistake. Ugh!!!
Sledsel replied to Sledsel's topic in General Automotive Talk (Trucks and Cars)
The orange plastic does not bug me, the minor fixes don't bother me to much. When done it will look correct unlike other newer kits that are just wrong and need a butt-load of corrections Glad for all the input on this from all you. -
Anybody ever build one of these
Sledsel replied to junkyardjeff's topic in General Automotive Talk (Trucks and Cars)
I have one somewhere and planned on using the cab and various parts with the '34 -
First time modeling
Sledsel replied to WayfromSmoke's topic in WIP: Model Trucks: Pickups, Vans, SUVs, Light Commercial
The wheelbase is longer on the camper special. Frame is the same though. Attached are photo's to help. The Section 8 beds are nice and can be ordered with or without trim. I bought several.
-
First time modeling
Sledsel replied to WayfromSmoke's topic in WIP: Model Trucks: Pickups, Vans, SUVs, Light Commercial
That kit has the camper special bed which is incorrect for your build. Contact Section 8 Hobbies for a standard 8' bed. -
International Scout SSII
Sledsel replied to mrmike's topic in WIP: Model Trucks: Pickups, Vans, SUVs, Light Commercial
Not sure I'd clear it if there are mold lines. Interesting than mine is molded white. Keep us posted! -
Mold factory mistake. Ugh!!!
Sledsel replied to Sledsel's topic in General Automotive Talk (Trucks and Cars)
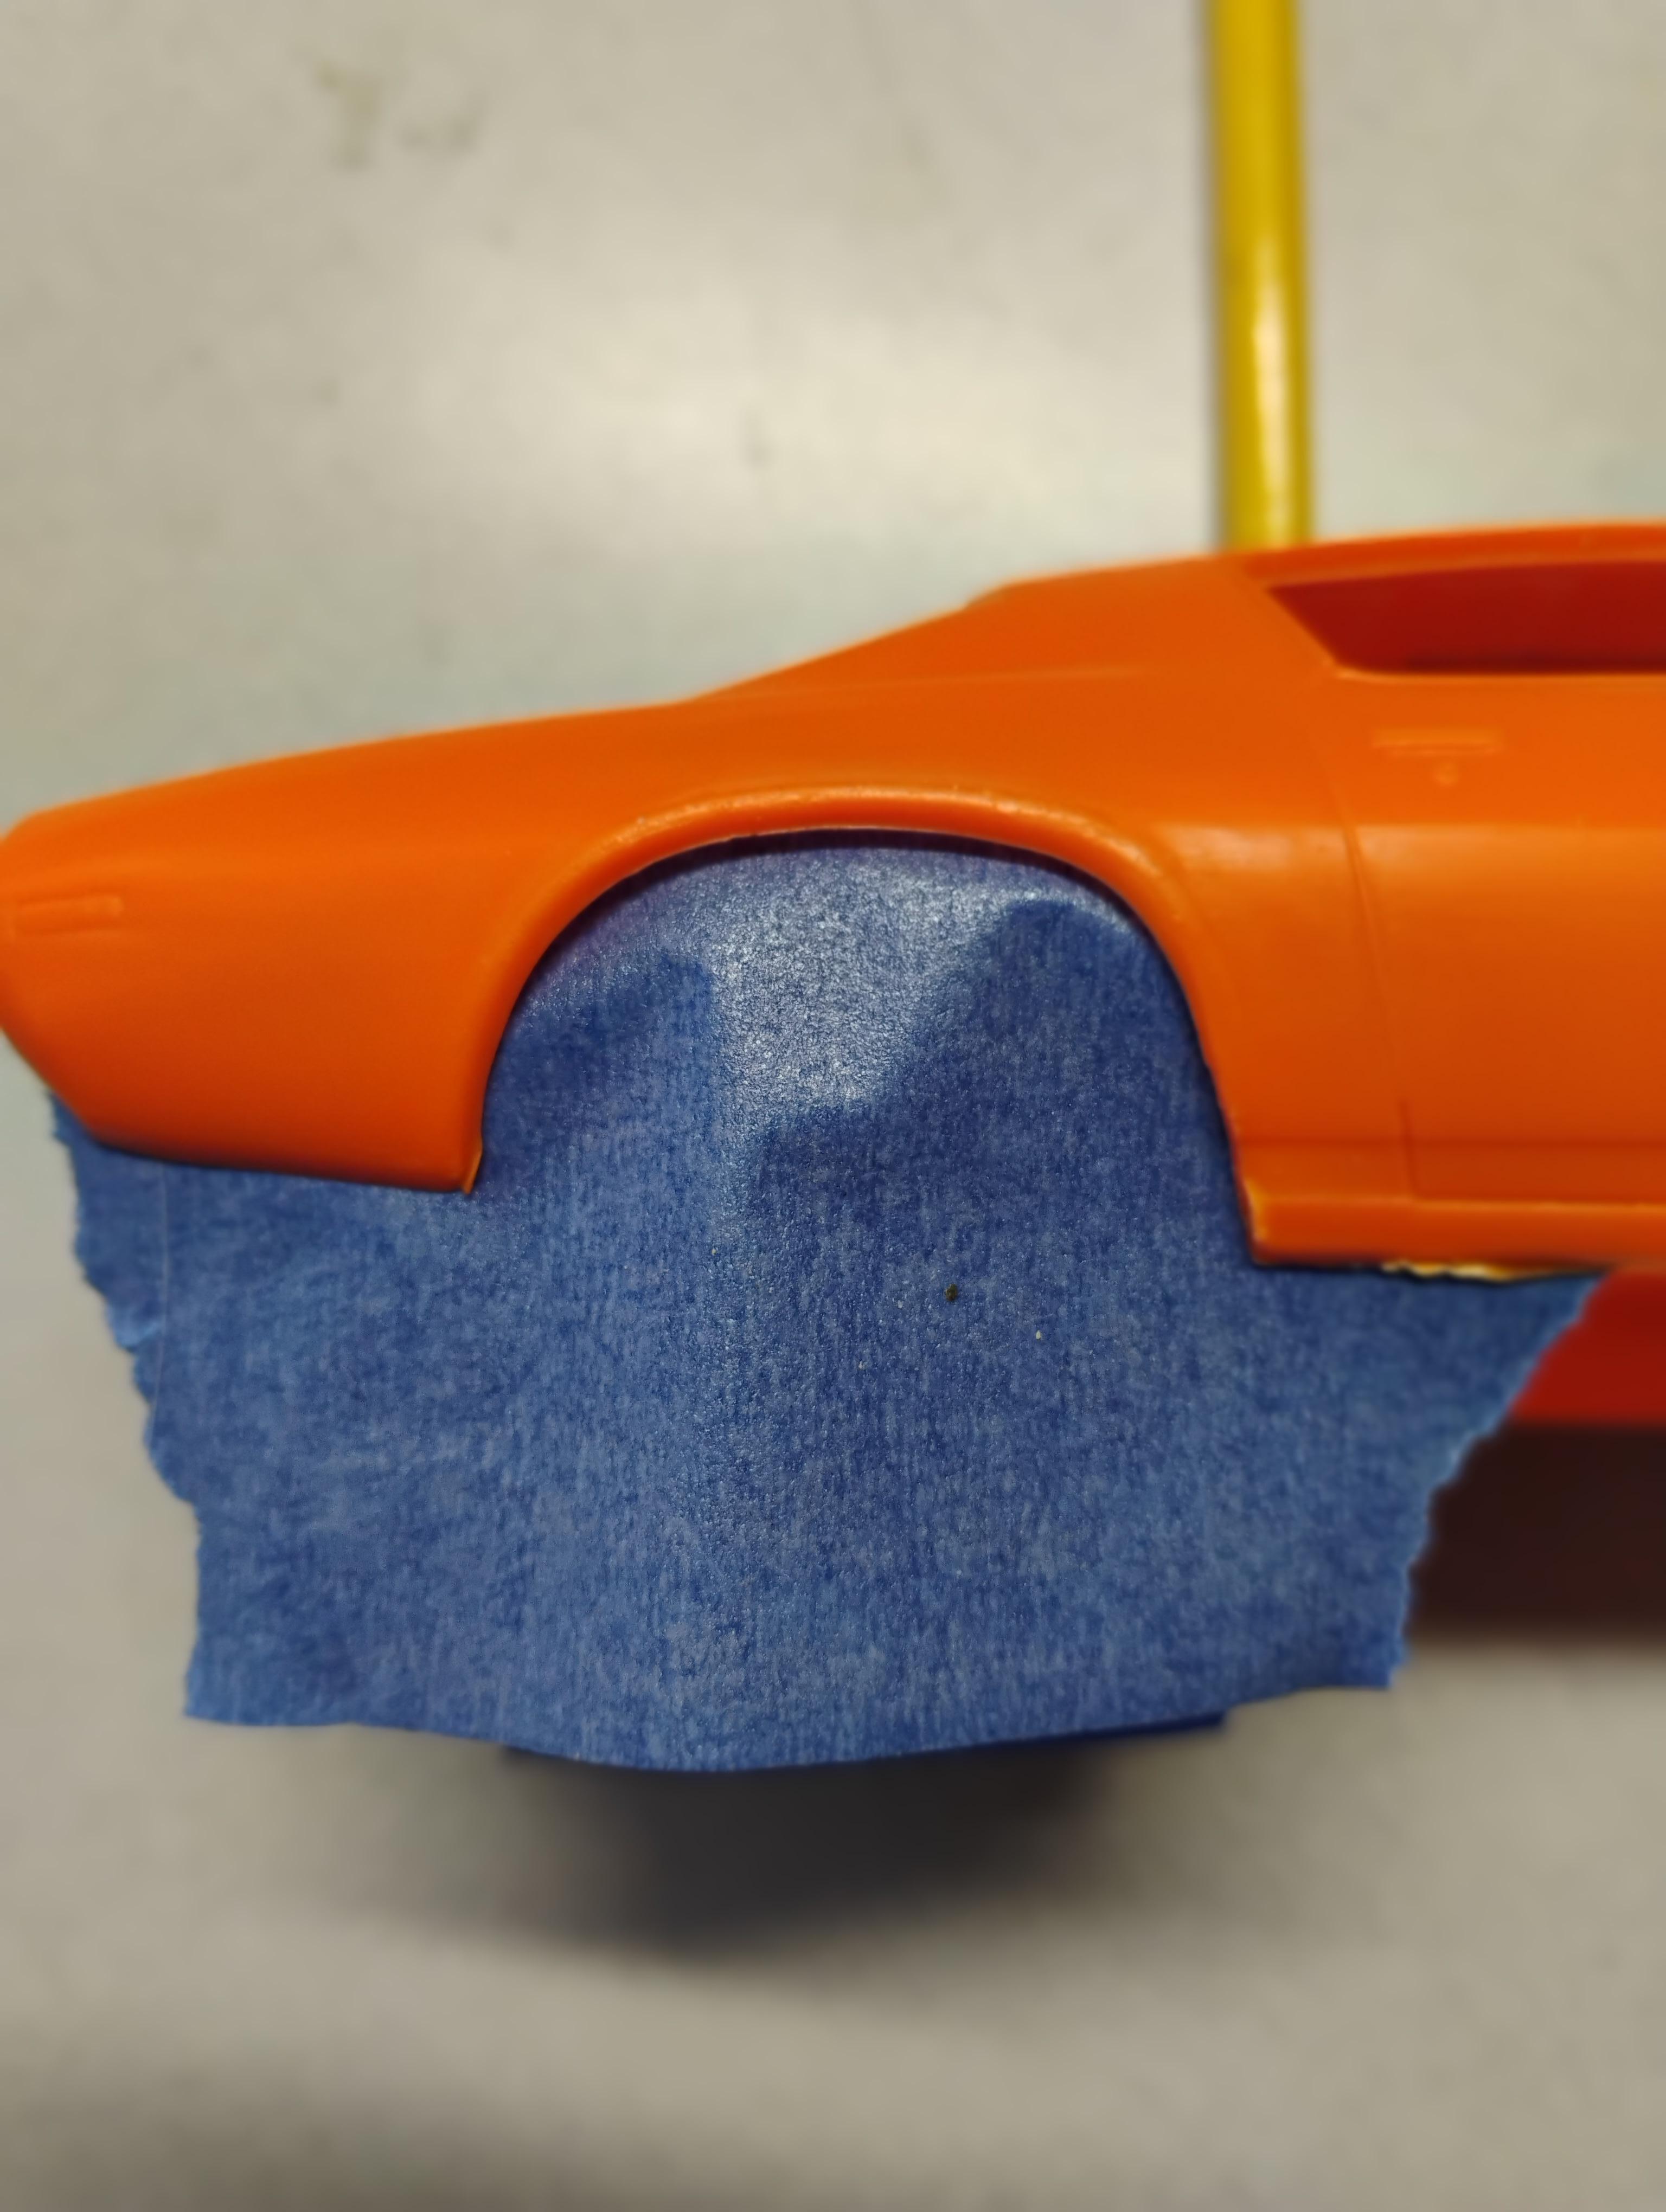
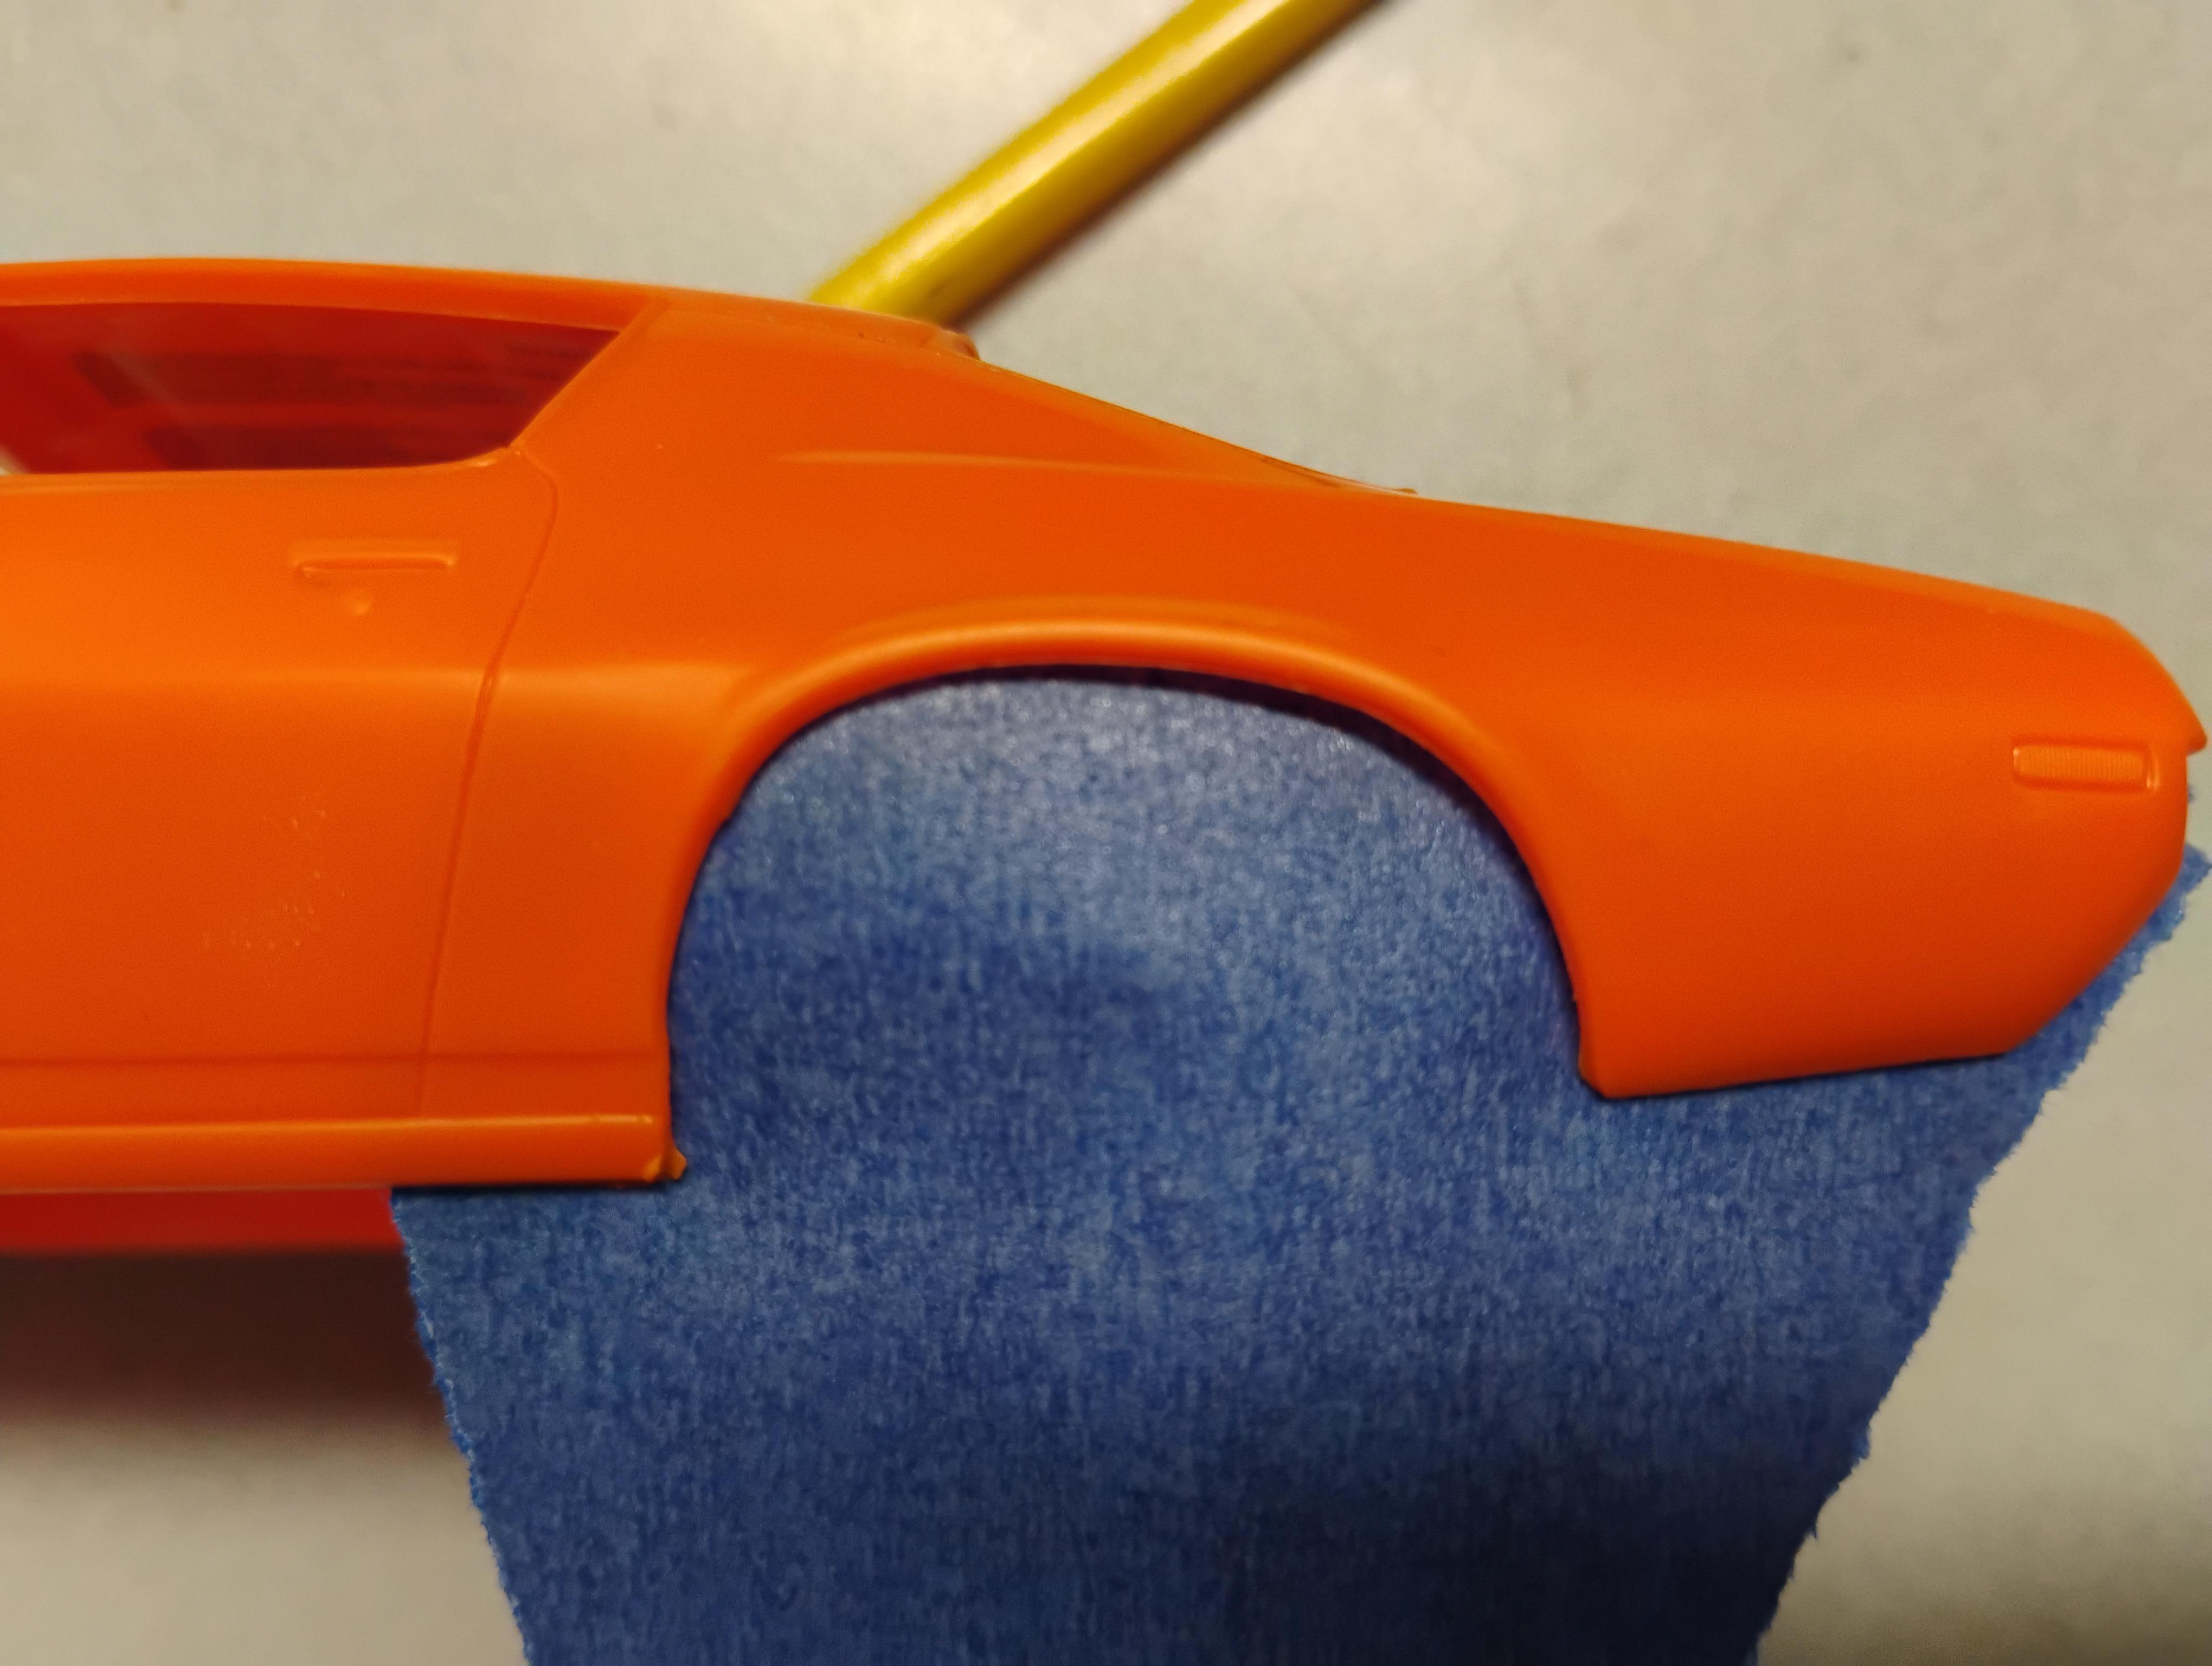
Yup, I see it on mine also. I may go rocker molding delete on this as I did with the '72 Nova. Thanks for the heads up. seeing this after paint would have made me crazy!!! -
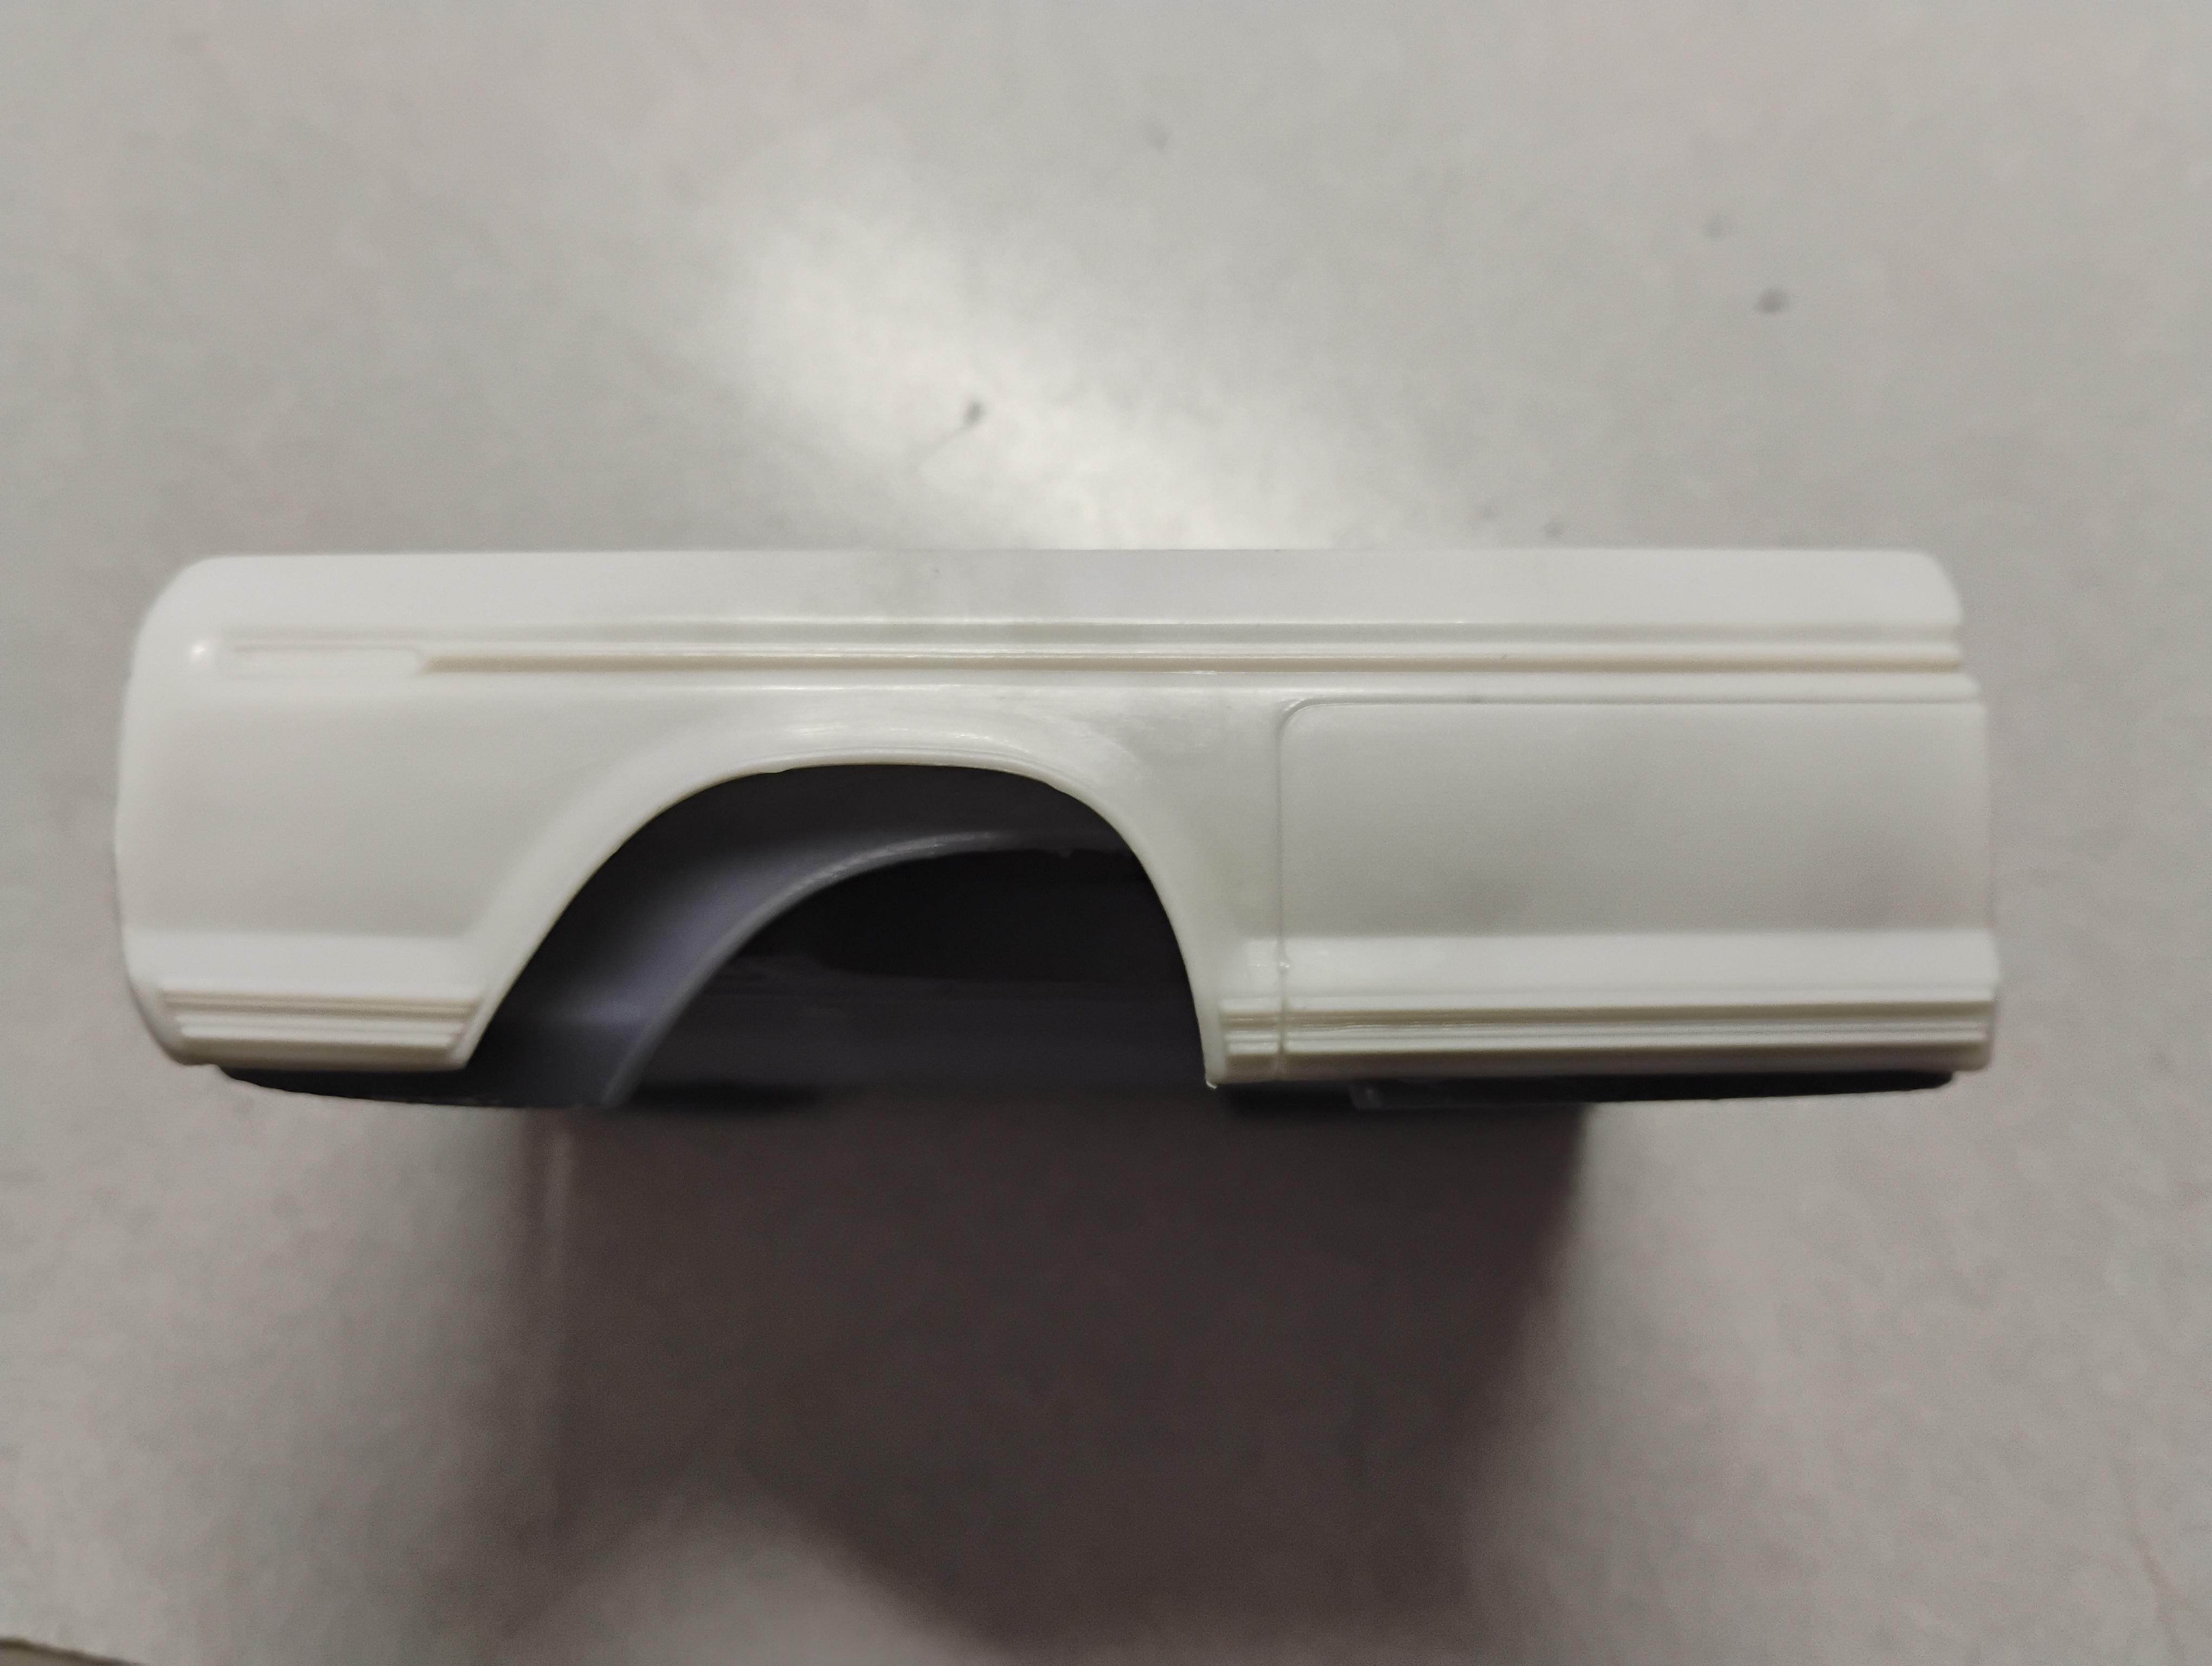
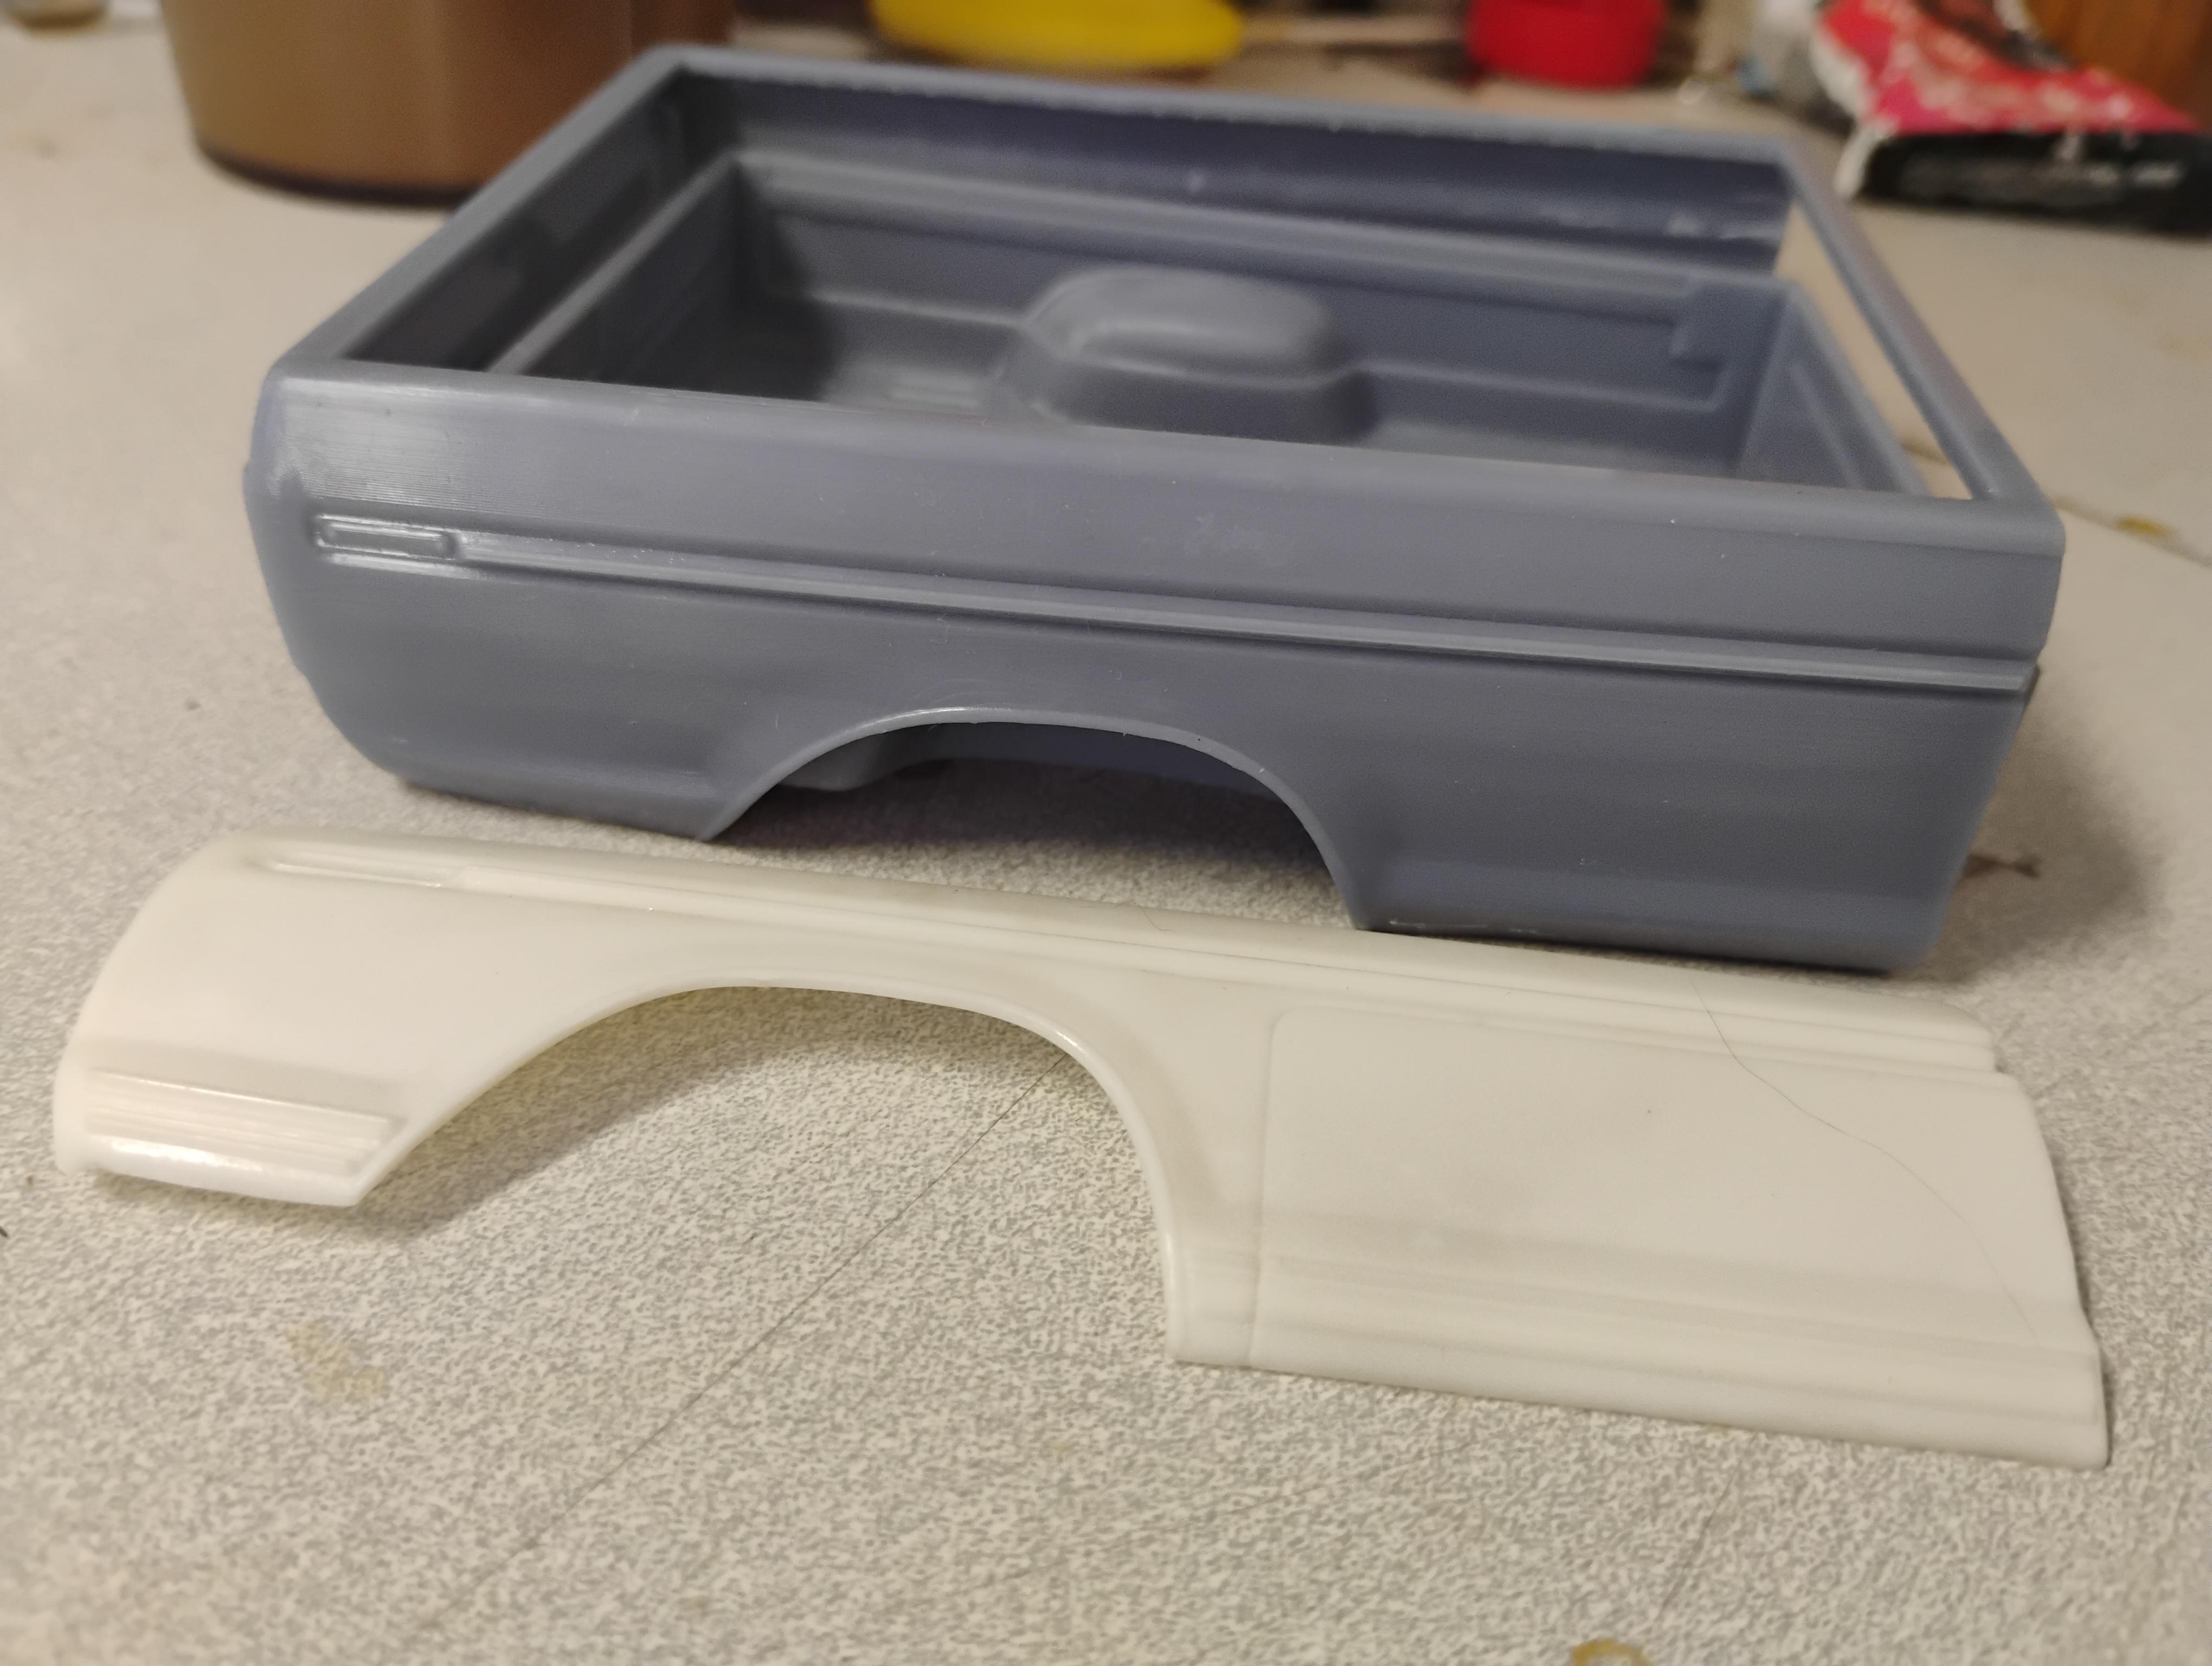
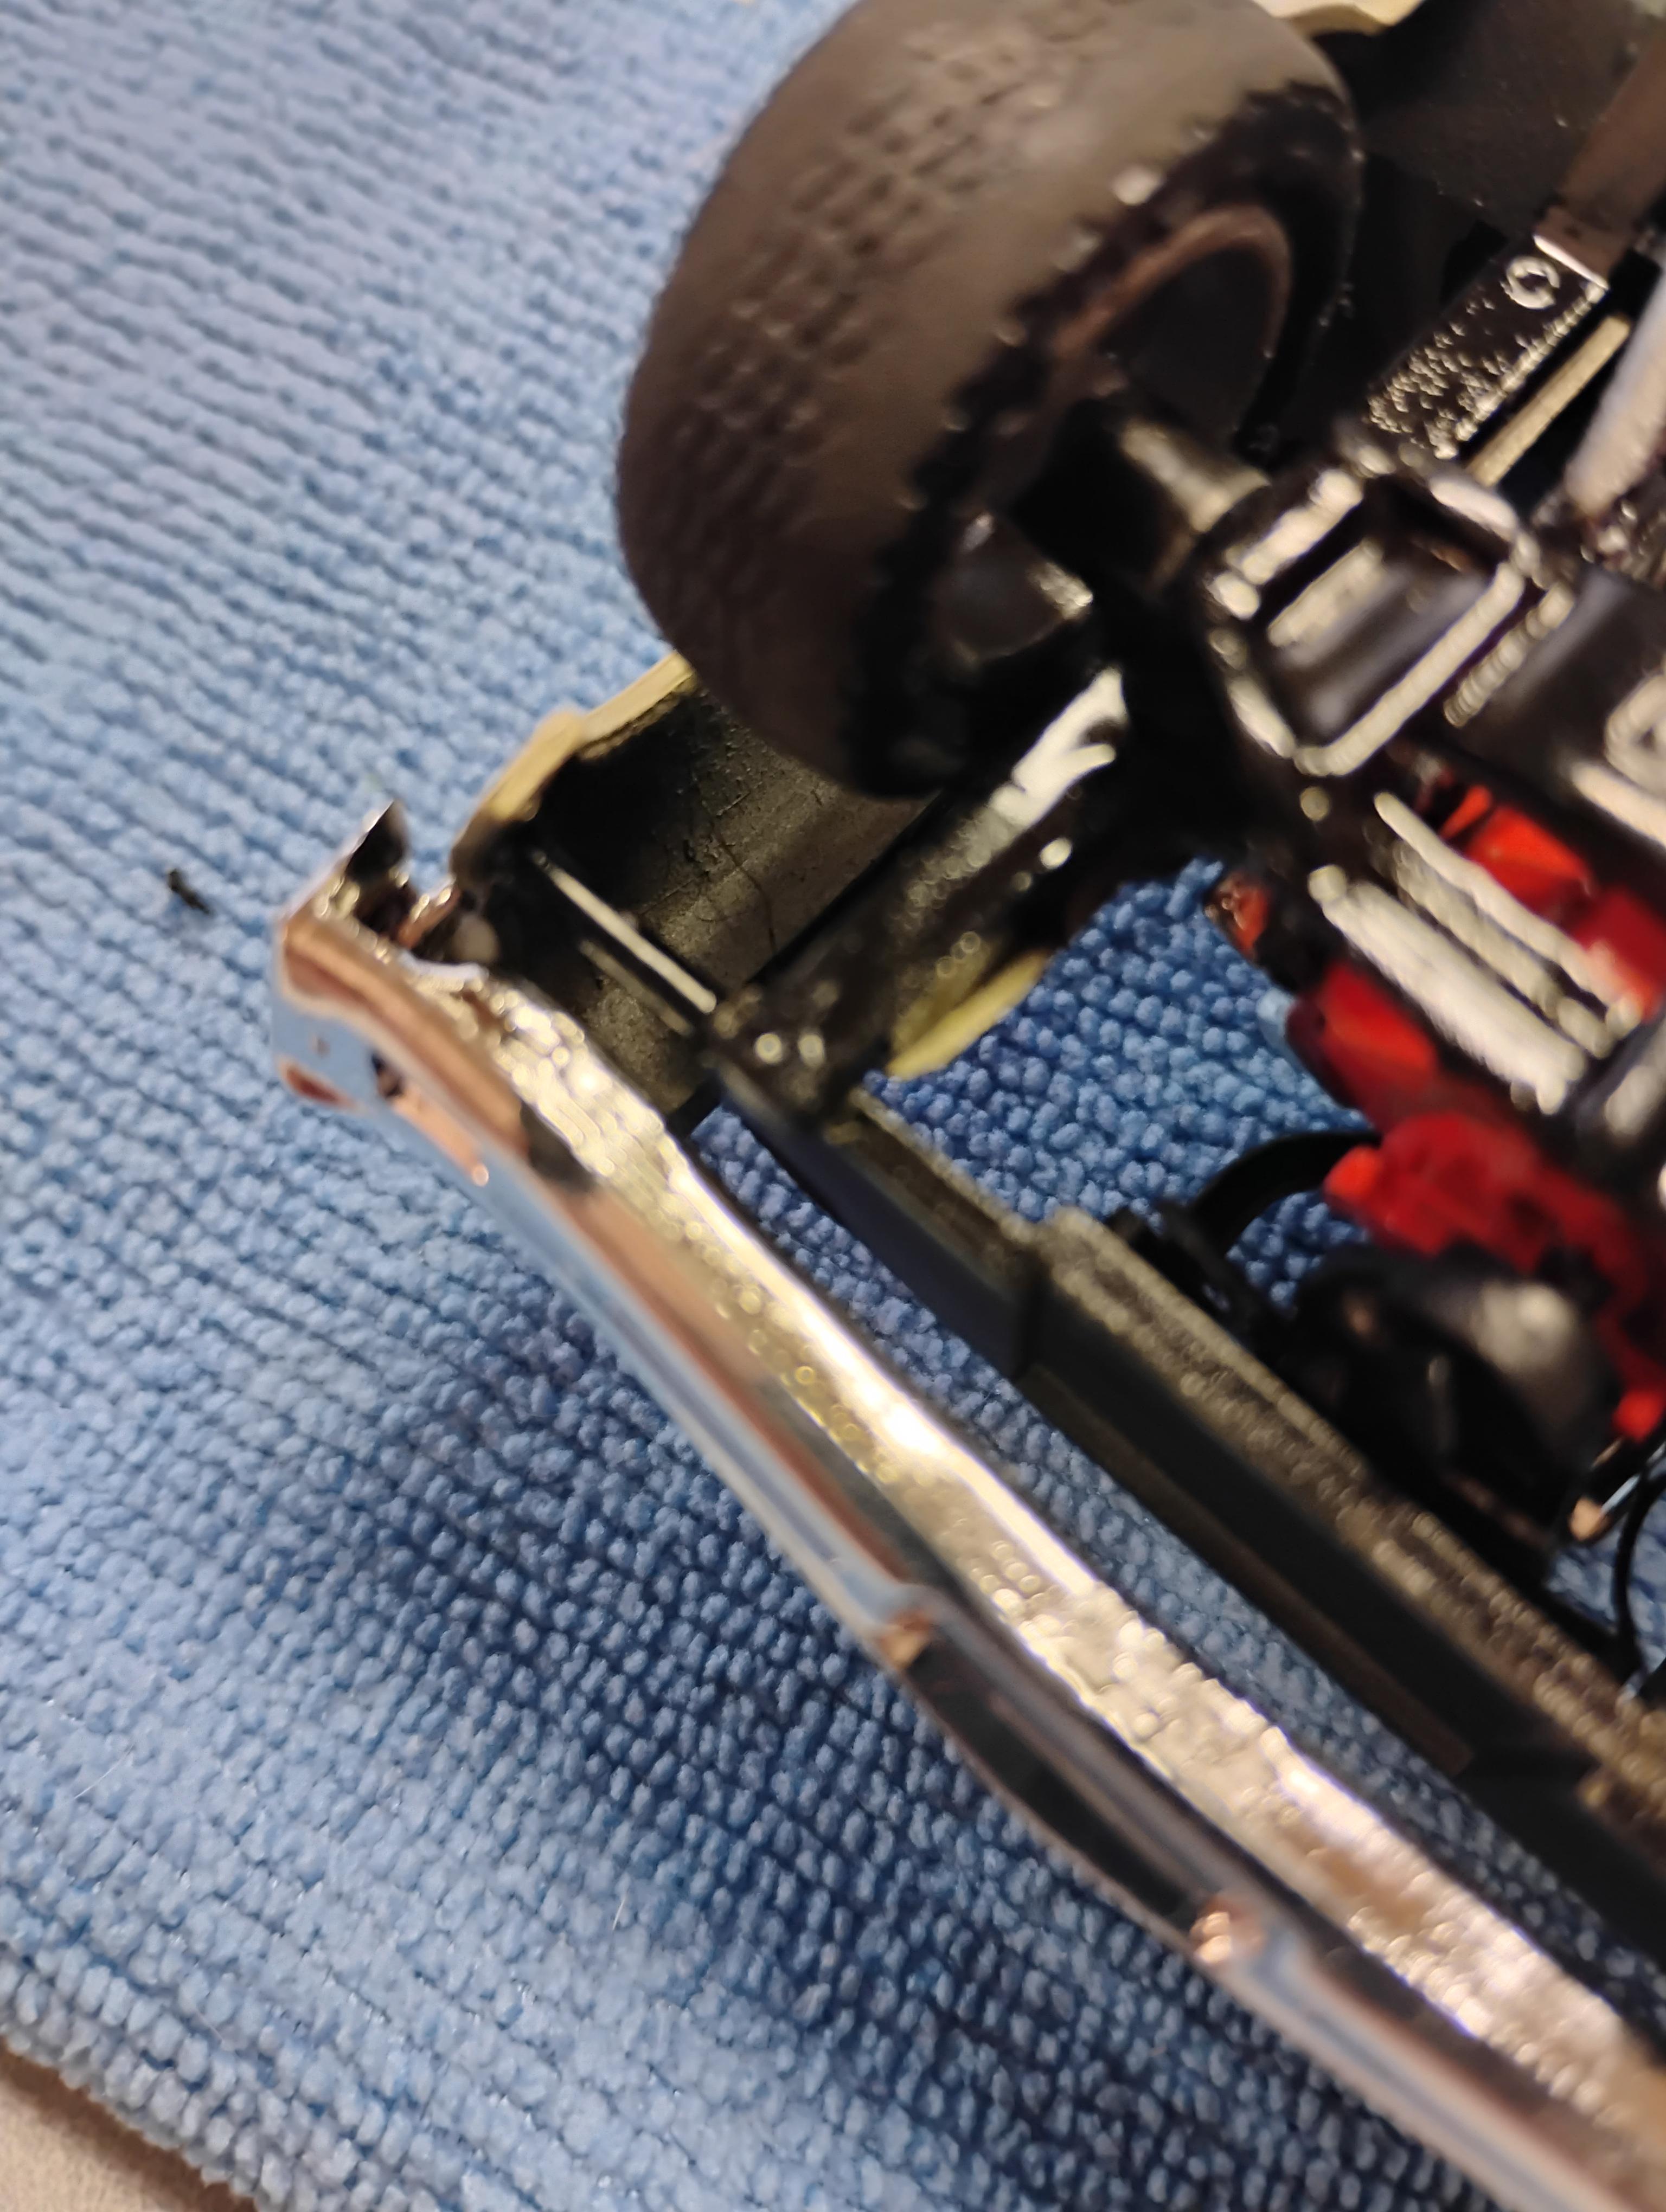
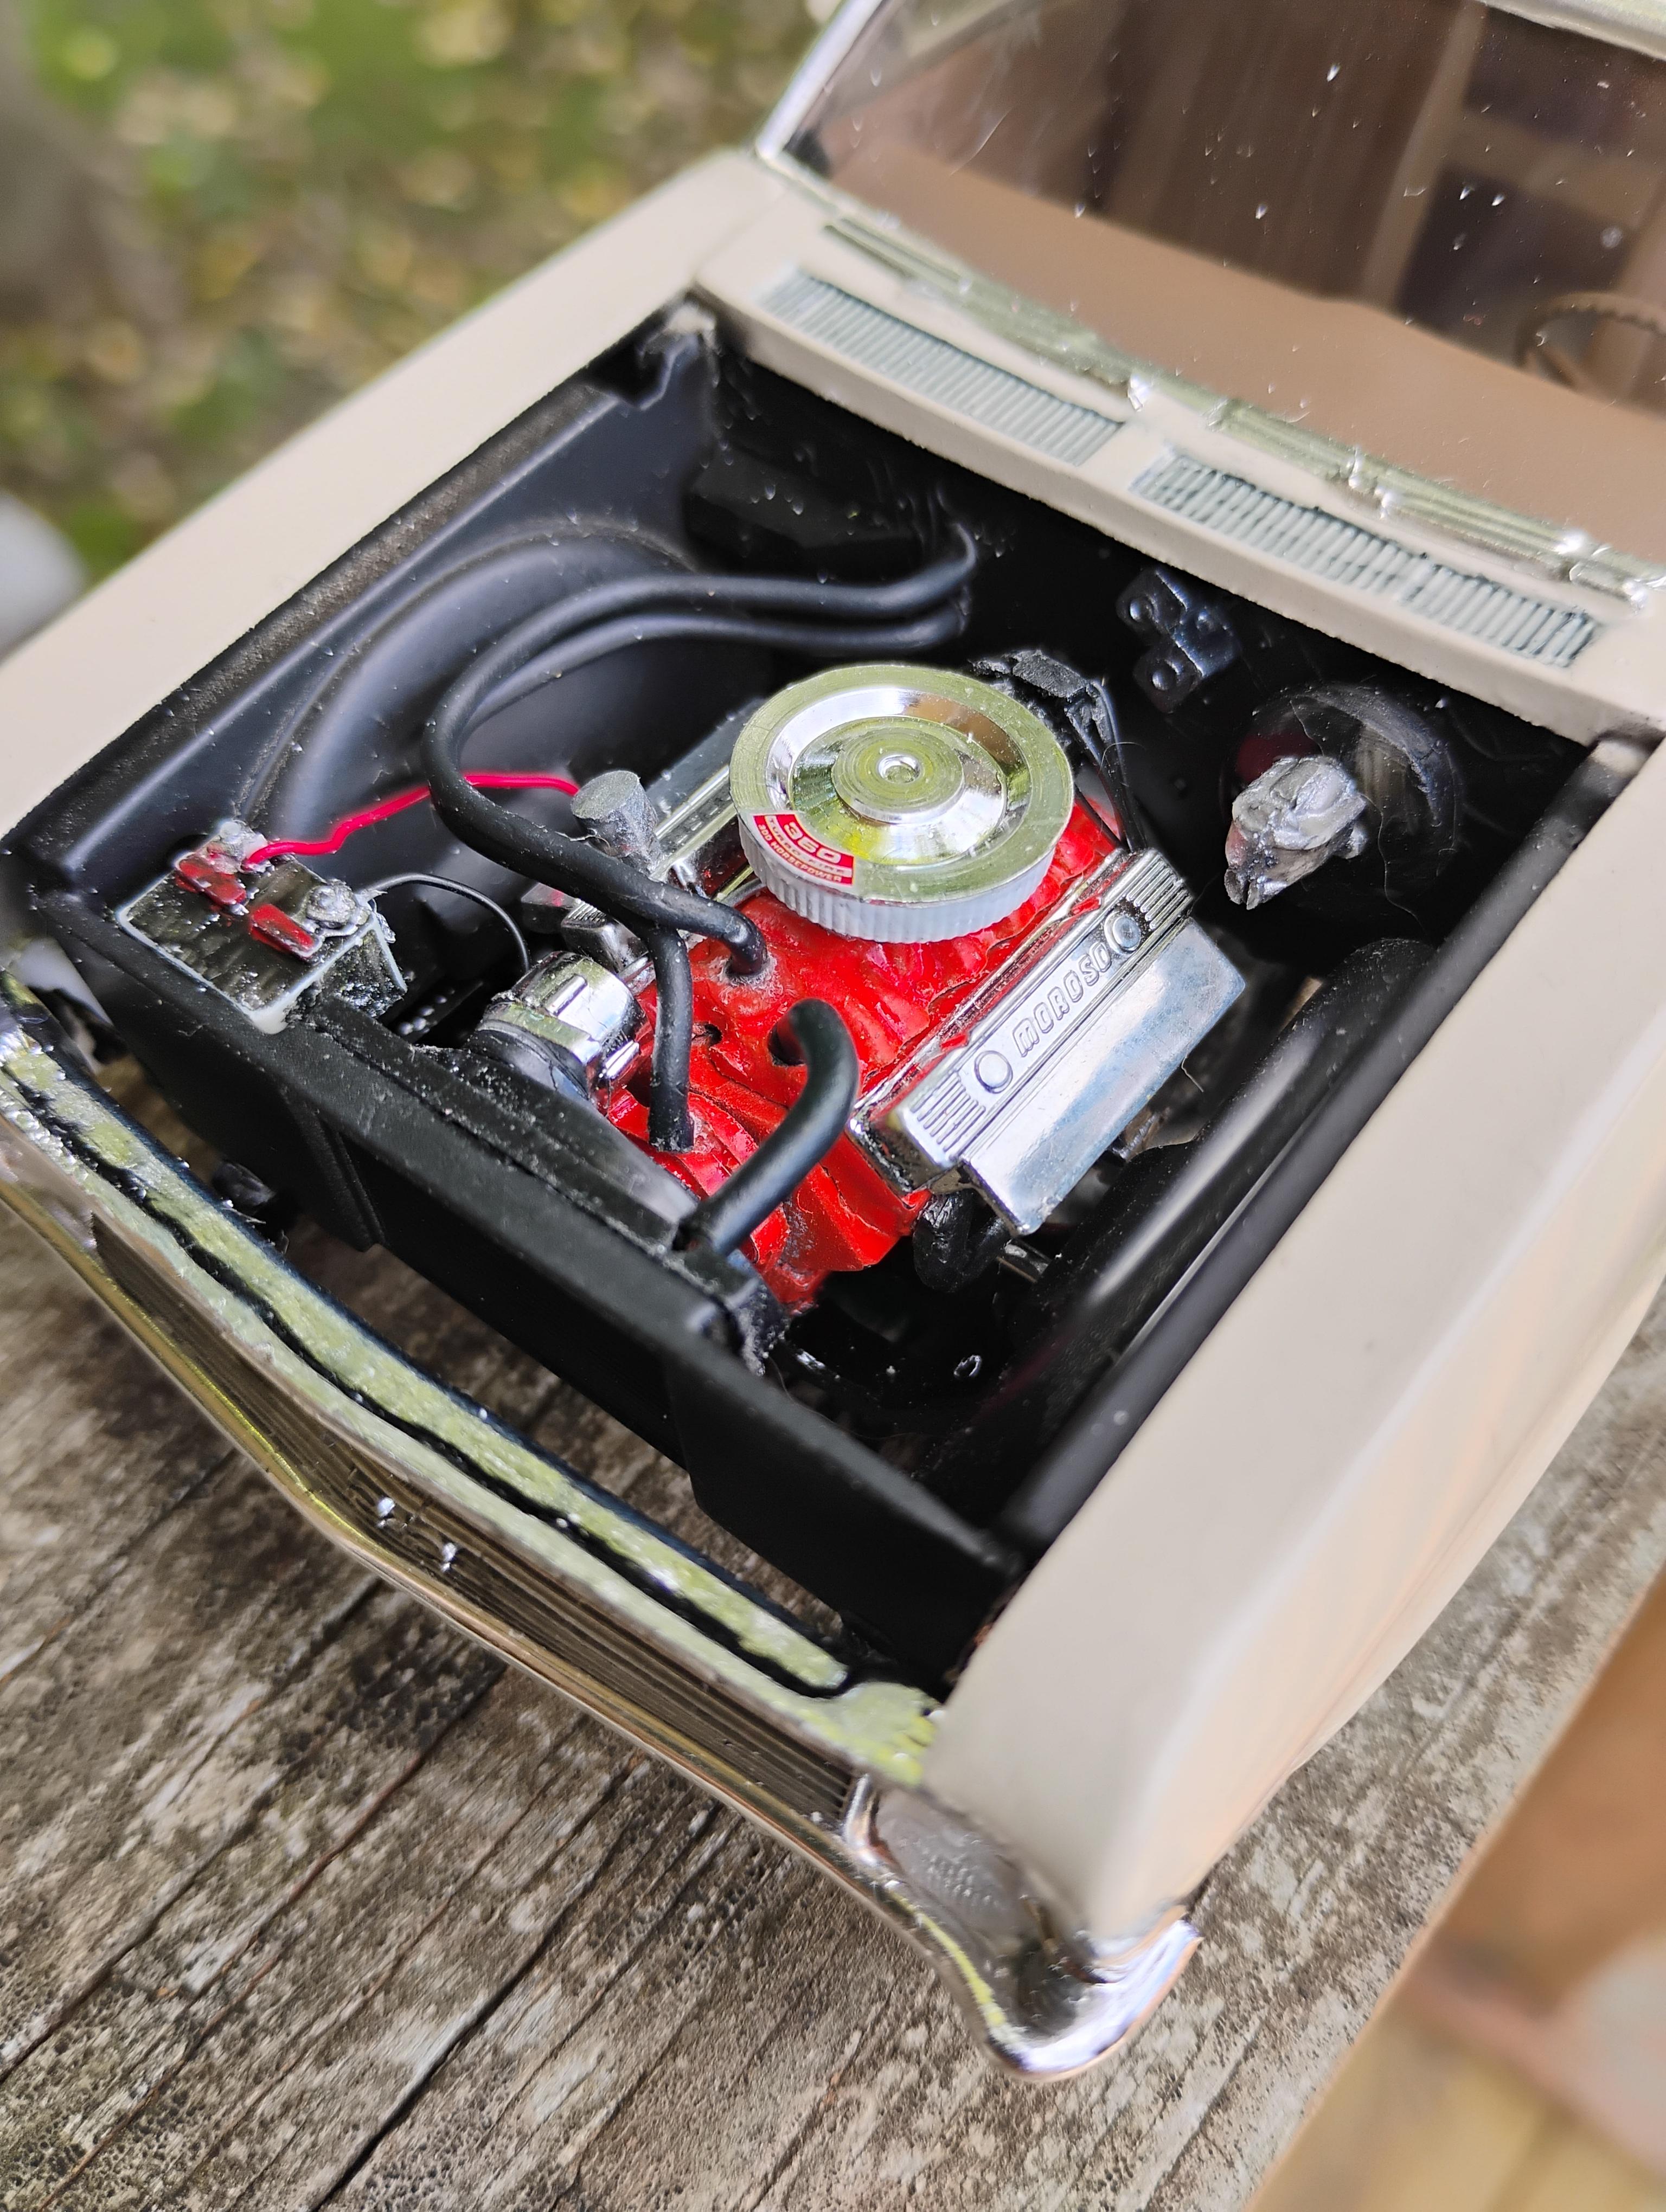
I decided to get a new project going. Don't know why because I got a ton going anyway. Well I had read about warpage on this Camaro kit so I pulled everything out to check and all was good. Then I started looking at the body. On the passenger side the mold sprue was cut off from the molding process and unfortunately cut too short. I have checked and measured and I need to add about a 1/16th of an inch to the front of the quarter panel / rocker. Very frustrating because I was hoping not to be fixing things like this. I really don't think it's worth asking for a new body. Has anybody else run into this? Pictures show the different shapes of the wheel openings.
-
Noticed AMT’s releasing the ‘57 Ford soon
Sledsel replied to Falcon Ranchero's topic in Car Kit News & Reviews
Love this kit, I have a stash already and also several EBAY bodies and parts in my stash to fix the what I consider the awful body of the Revell Ford -
Looks good!!!!
-
Tough to get things to fit on that but it looks like you succeeded with it. Good Job!
-
I am with Swamp Dog. Shake the heck out od it. I have never used flat black as a primer but have used it for chassis parts without issue. That being said, I have used it for base coats AFTER actual primer without issue also. Those that say it is not for modelling have their own preferences and that's fine, but Rustoleum works fine for me.
-
Very cool. I love these unique cars/builds. Nice job on it!!
-
Thank you everyone for the compliments. As mentioned, it is not as bad as some have said, just takes a bit of fitting and building, then again every build should.
-
A lot of complaints about the separate fenders, lack of detail and of course the dreaded mold lines (It is a 50 year old mold.... STHU) I'll go by order of things I found. A mold depression at the top of the doors near the fender. Little putty, sanding, done. With the interior in the body, the chassis sat crooked. I shaved off some of the driveshaft hump from the center to the rear with a sharp knife and did the same to the bottom of the interior tub. Then I could adjust while assembling. Fender install was pretty easy and done before painting. Rear of the fender sat a bit high to my eye so some sanding to the underside of the fender and it looked good. I taped the hood in place to align the fenders. At this time I double checked fender to door gaps. I may have sanded the fender a bit to have the gap even, not sure though. Once I was happy with gaps, the fenders were taped in place also and glued from below. After the glass and interior was in place the wheels seemed to far toward the rear. I thinned out the interior tub and rear wheel wells where they made contact. Fixed. Now, what I considered the biggest dilemma was the front of the fenders seemed tucked in to far and the little pins that align the fenders and bumper/grill would not hold the fenders out. First thing I did was glue some evergreen to the backside of the grill where the little pins are to give a better mounting/aligning surface. Then I took and old sprue piece and placed it between the bottom of the fenders to the correct location. This took a bit of cut sprue/check fit/trim, repeat. Once happy with width I cut some braces from some round evergreen and glued between the frame and fender on each side (very similar to what a 1:1 has) Once dry, remove the spacer and install grill and bumper effortlessly. I attached a photo of the little brace I added. To me, none of this made it "unbuildable" as I have seen said about this cool old kit.
-
Came out nice.
-
Thanks.... I was curious about that being a build option.
-
That there is a beautiful build!!!! 2 thumbs up!
-
At that angle I agree 100%..... My mistake.
-
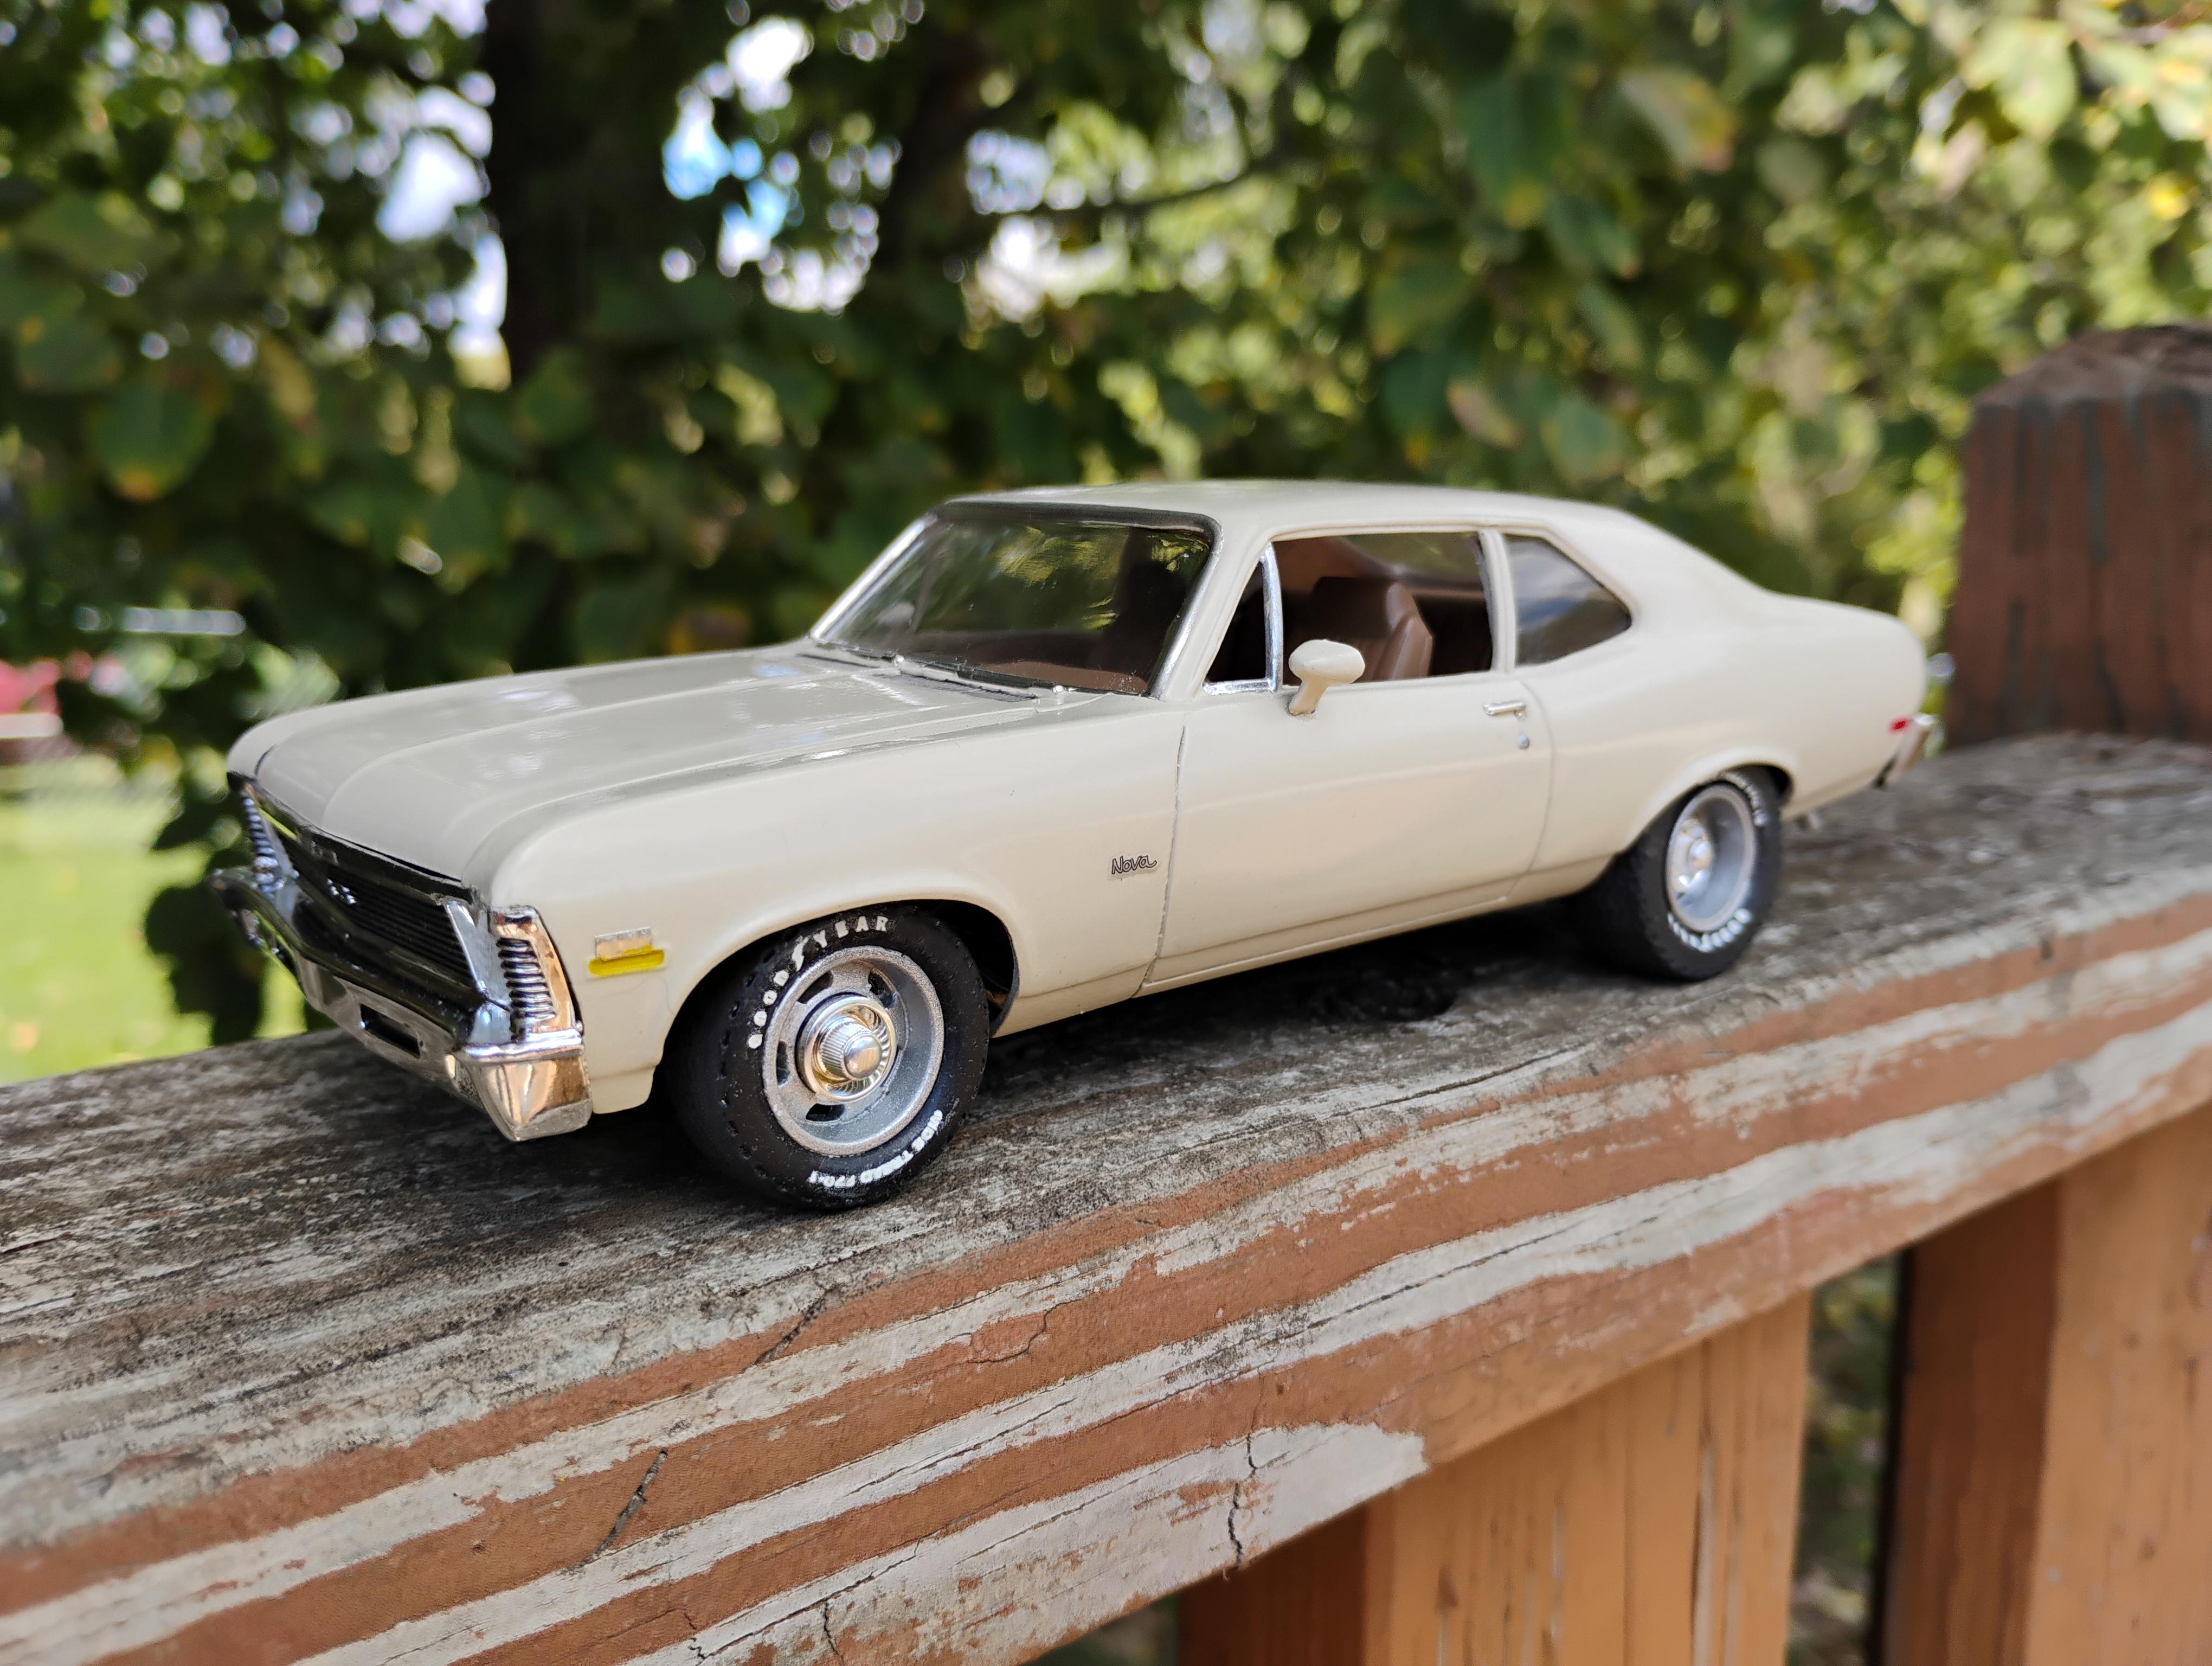
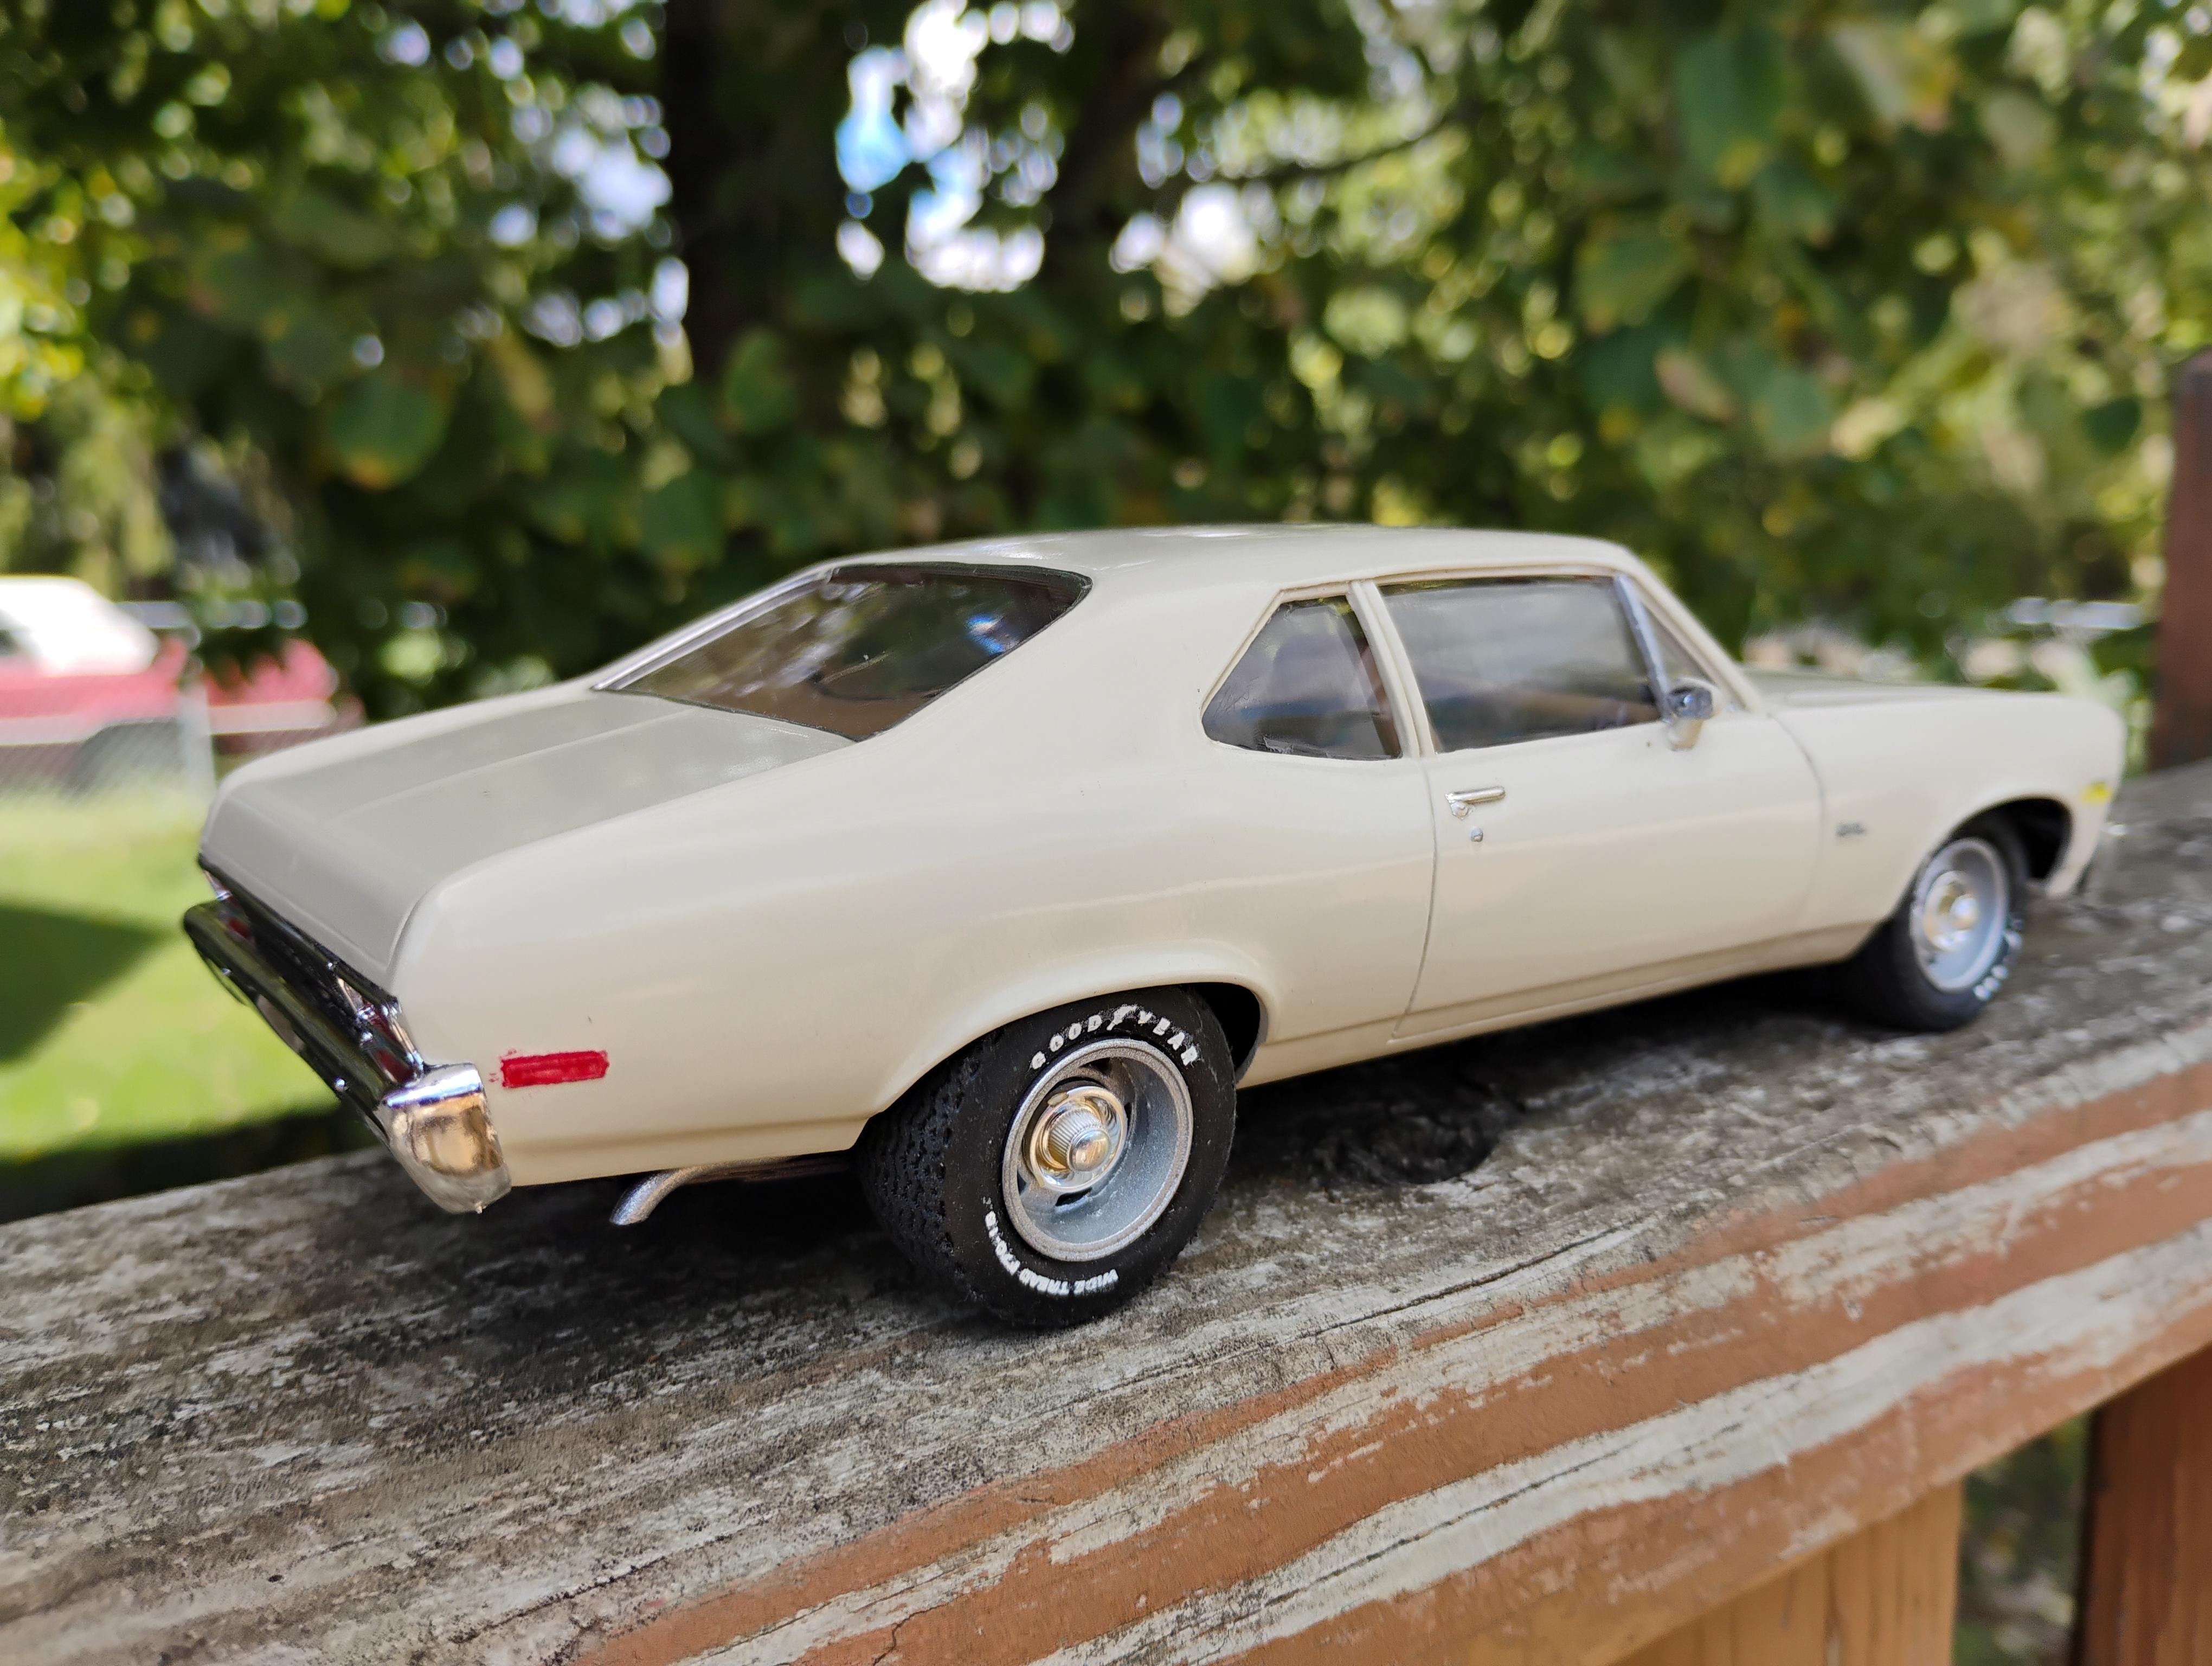
After hearing a lot of complaints on a Facebook page about this kit I had to go get one and check it out. This was what I consider a quick build for me. Took a few weeks of an hour or so every few days. It is by no means perfect. It actually went together pretty good, there were a few issues but nothing that made me put it back in the box. My two biggest issues was the chassis not sitting straight when the interior was in. I shaved a little bit off the interior drive shaft hump, and a little off the top of the chassis plate in the same area. Also once the interior was in place the wheels weren't in the wheel wells correct. So therefore I shaved a little bit off of the rear of the interior tub and I shaved a little bit off the rear wheel wells so the chassis could move forward. Those were the biggest issues I had. The car is finished with Rust-Oleum gloss almond, no rubbing or buffing done. And the interior is Rust-Oleum nutmeg. I wanted this build to look somewhat like a sleeper so I had removed the rocker moldings, hood vents and decided no chrome around the door and quarter glass. I did add a few details to it and used a set of 1969 Chevelle wheels on it. (thank you to pulln4dejr for the trade) It needs a few post build touch-up but I am calling it done. I actually liked this kit and plan to get another.
- 18 replies
-
- 17
-

-

-
'63 Vette NASCAR Modified WIP
Sledsel replied to bobss396's topic in WIP: Stock Cars (NASCAR, Super Stock, Late Model, etc.)
Super cool build going on here!!!! -
AMT 69 Torino Cobra.
Sledsel replied to Leon Cream's topic in WIP: Stock Cars (NASCAR, Super Stock, Late Model, etc.)
That is looking cool. Kind of a cross between race car and custom with the molded bumpers. FYI, the firewall is a Monogram NASCAR piece. -
Looking great! Does it come with an engine?