-
Posts
401 -
Joined
-
Last visited
Content Type
Profiles
Forums
Events
Gallery
Everything posted by dragstk
-

Snap together kits and beginners
dragstk replied to dragstk's topic in Model Building Questions and Answers
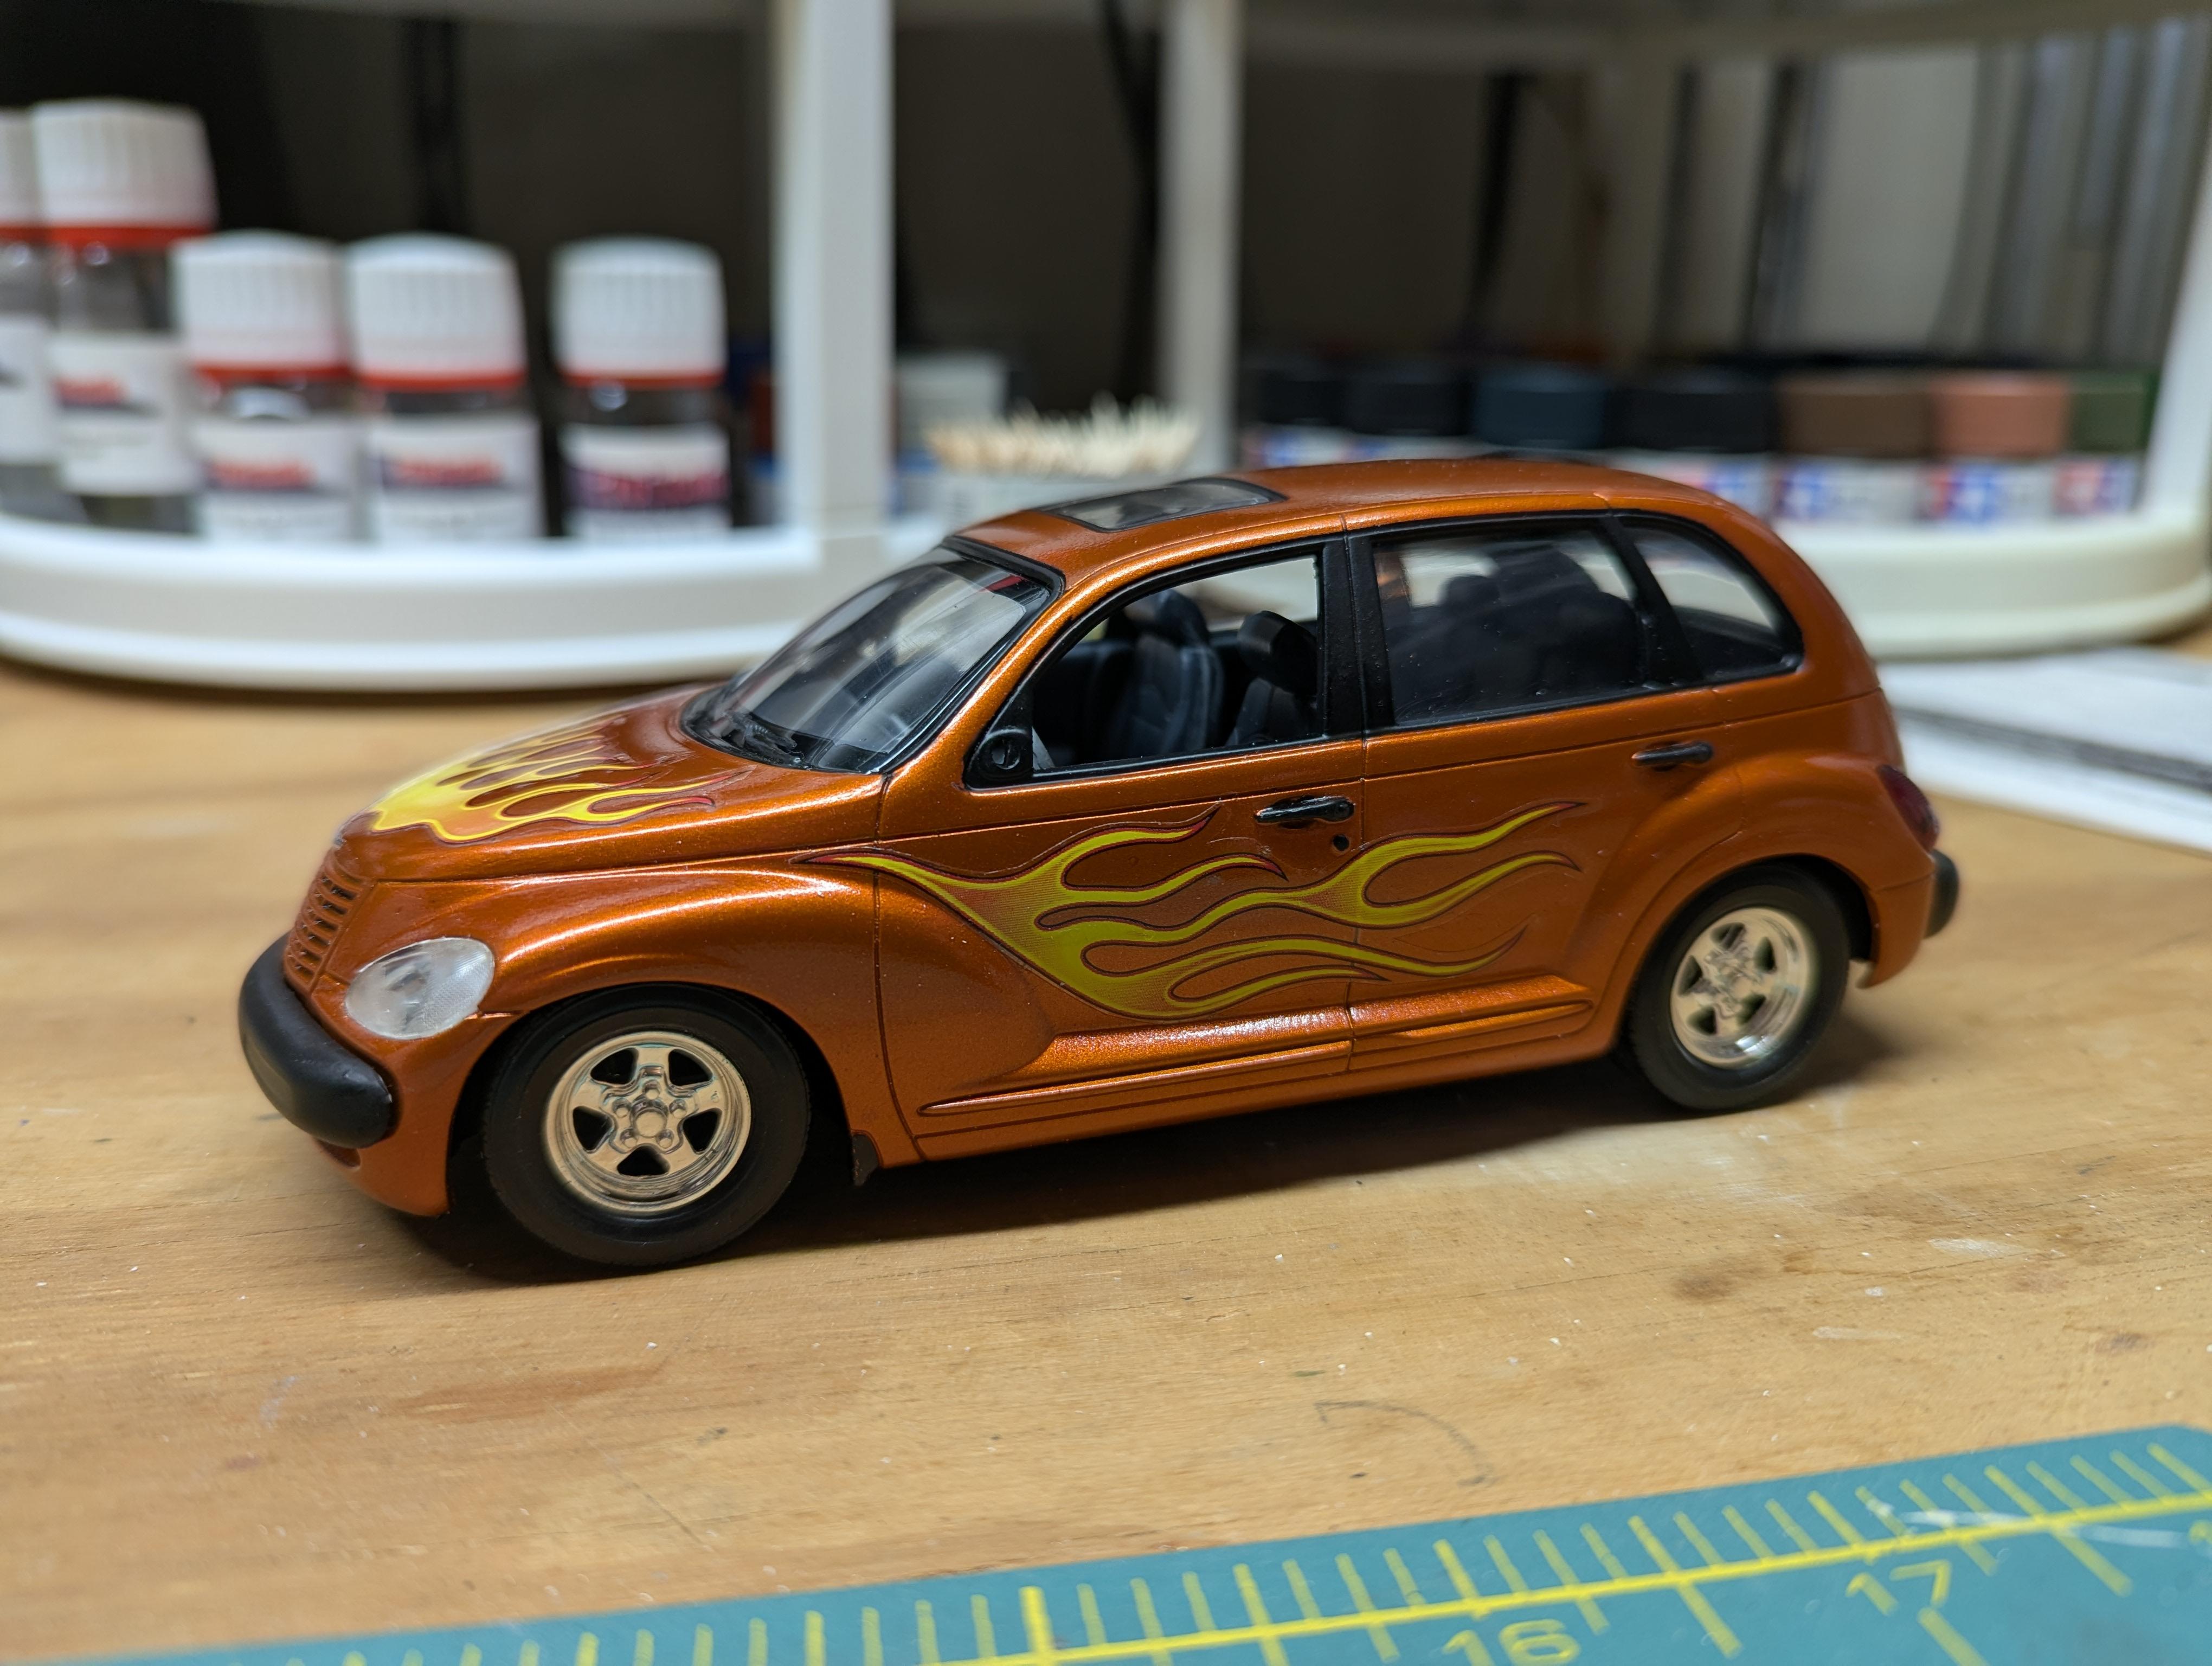
Well, here is how it came out. Definitely not my best work and WAY more work than it should have been. But my friend likes it and thats what matters -

1972 Ford F-250
dragstk replied to Jay Lankford's topic in Model Trucks: Pickups, Vans, SUVs, Light Commercial
Acme Snow Relocators...what a great name!! I really like your build, very clean. Nice job! -
That Viper really works. I really the mods you have done!!
-
I agree, nice save. I really like the hood scoop, that really works!
-
Nice job "un-stalling" your project. Looks really good!
-

Willy's Revival via Simon Fordman
dragstk replied to 1972coronet's topic in General Automotive Talk (Trucks and Cars)
I really like this guys videos. He is resourceful and very determined. And really well shot. Ive seen all his videos. But I find myself asking, why would he pick the projects he does. Some of them are so clapped out. But he is entertaining -

Snap together kits and beginners
dragstk replied to dragstk's topic in Model Building Questions and Answers
As I said, this was a sample of 1. And Im glad/hope that my experience is not the norm. Maybe my kit was made on a Monday or a Friday. 😆 -
I like it. Very clean build. Congratulations and nice build
-
While talking to a friend of mine, she said she loved the PT Cuiser she used to own (please dont judge 😁). Well, I happen to have the Revell snap tite kit in my stash (please dont judge..😆) So I thought Id build it and give it to her. Ive been building models for 50 years. And the entire time Im building it, Im thinking of what the experience would be like for a beginner or someone new to the hobby. Without some serious modifications, this kit could not be finished. The headlights had to be cut into 3 parts to fit. The windshield/side glass,back light fit so bad that the interior wouldnt fit and so the chassis could not be in even close. It had to be cut up also to use it. I realize this is a sample of 1. But if someone new to the hobby started with his kit, its going to leave a "bad taste" for the hobby. And then we lose another person from joining the hobby. And from I stand and what I see at local shows, there seems to be fewer and fewer new builders, especially young ones. Its seems the median age of builders is getting up in the 50's and 60's. Whats going to happen to this hobby if we dont get new blood coming in? I wrote to Revell, basically saying the same thing as here. Hopefully they will take this as helpful and not as an attack on their kits. This kind of a rant and I dont want to seem overly negative. I'd just like to see steps taken to ensure that this hobby endures. Any thoughts, comments, please feel free to chime in
-

Nissan Datsun Sunny
dragstk replied to meechum68's topic in Model Trucks: Pickups, Vans, SUVs, Light Commercial
Nice job on your Sunny!! Its different , I like it -

LADIES AND GENTLEMEN: The Chrysler Atlantic concept, my way
dragstk replied to ismaelg's topic in Model Cars
I like your way! Nice job on this build, Ismael. -
Thats a great build, Jurva I really like the subtle sleeper look
-
An excellent use of spare parts. Very cool build!!
-
An impressive level of detail, on a very clean build. Nice job, Bob
-
Wow, that is an impressive black paint job! Very clean build. 👍
-

Got some free time this weekend. Doing some baking/cooking.
dragstk replied to LDO's topic in The Off-Topic Lounge
You know, I might have some free time, to help eat...er...sample some of those breads...😅 -
Very clean build, Justin. Nice color choices
-
Nice build, Elliot. The color and the stance really make it!
-
Now that is a great tip. Simple, effective. Thanks Greg
-

A quick adblock plus question........
dragstk replied to JollySipper's topic in The Off-Topic Lounge
I will second the set up that Jose is running. I run the same set up and have had no issues or ads -

Tamiya Mercedes CLK-GTR
dragstk replied to Dave42's topic in Other Racing: Road Racing, Salt Flat Racers
I have always loved the looks of these cars. You did them proud. Very clean!!! -
I always liked these cars done in the Pro Street look. You have done a great job representing this look! I bet it was a lot of fun building that exhaust around the rear diff. Kudos to you for taking the exhaust all the way out the back
-

Revell 1939 Chevy Sedan Delivery in 1/24 Scale.
dragstk replied to Dragonhawk1066's topic in Model Cars
Very clean build. I really like the colors you chose. I have one of these on my desk. If it comes out as clean as yours, Ill be happy


