Daxman
-
Posts
214 -
Joined
-
Last visited
Content Type
Profiles
Forums
Events
Gallery
Everything posted by Daxman
-
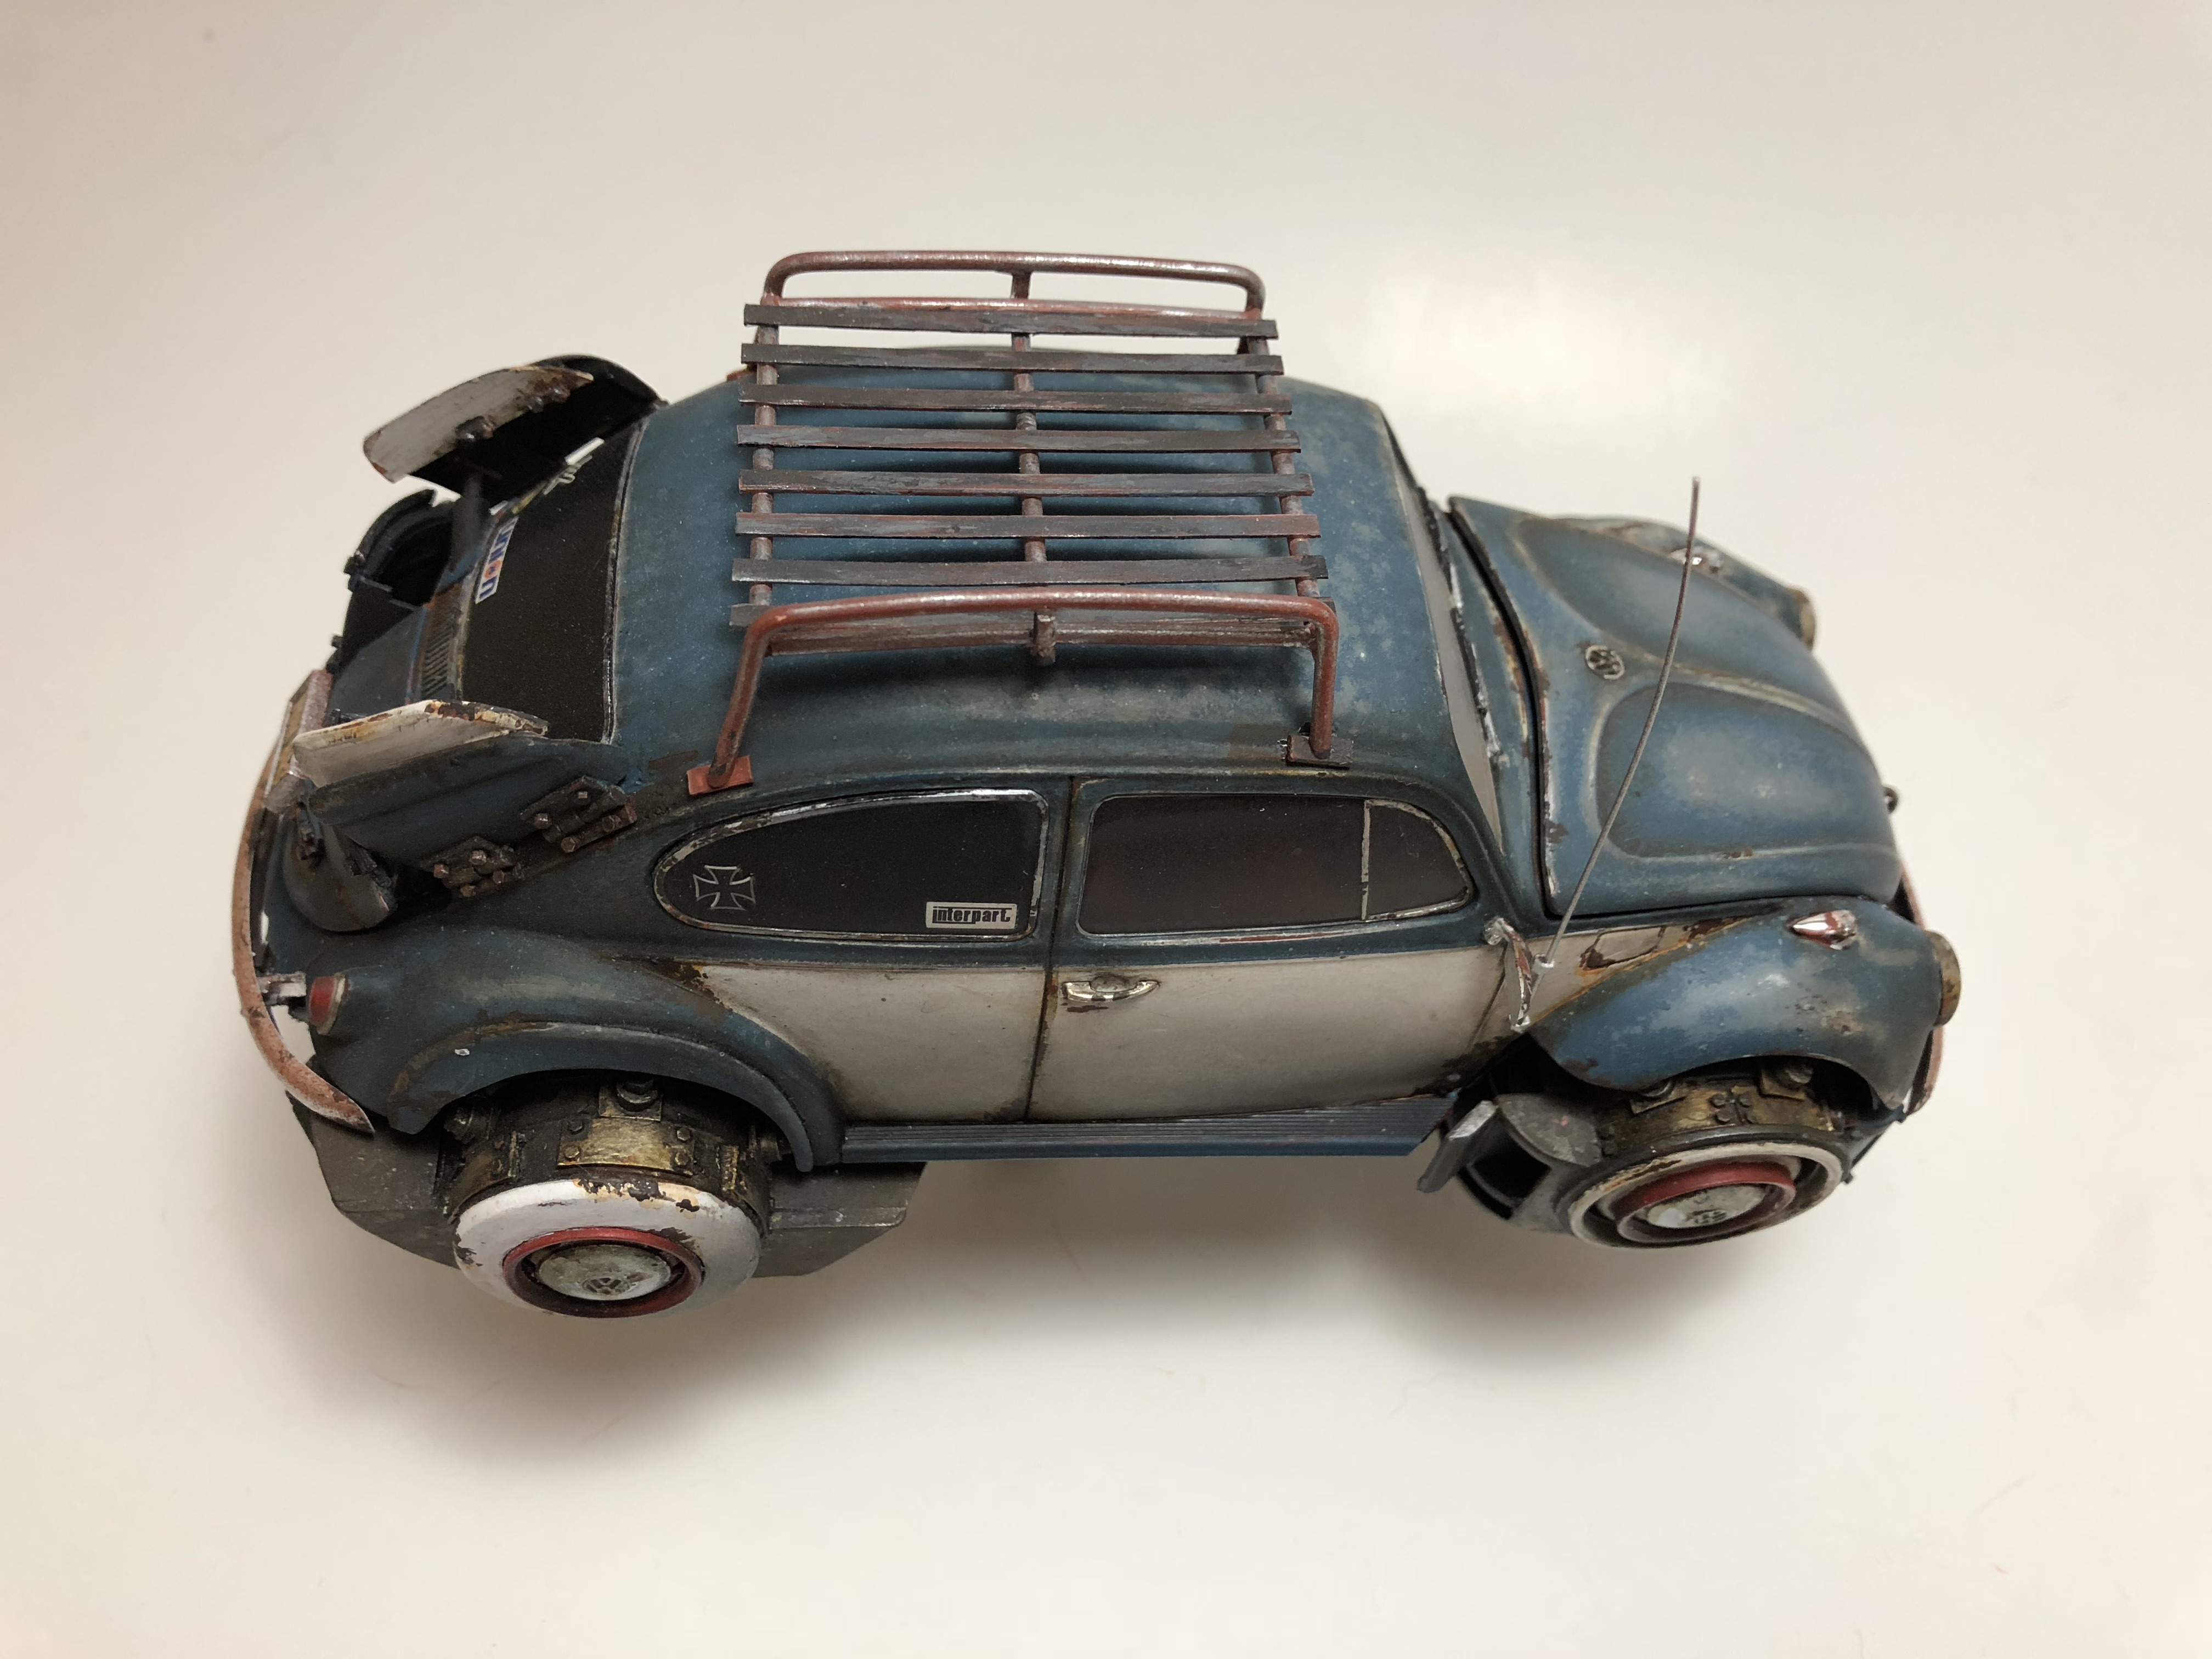
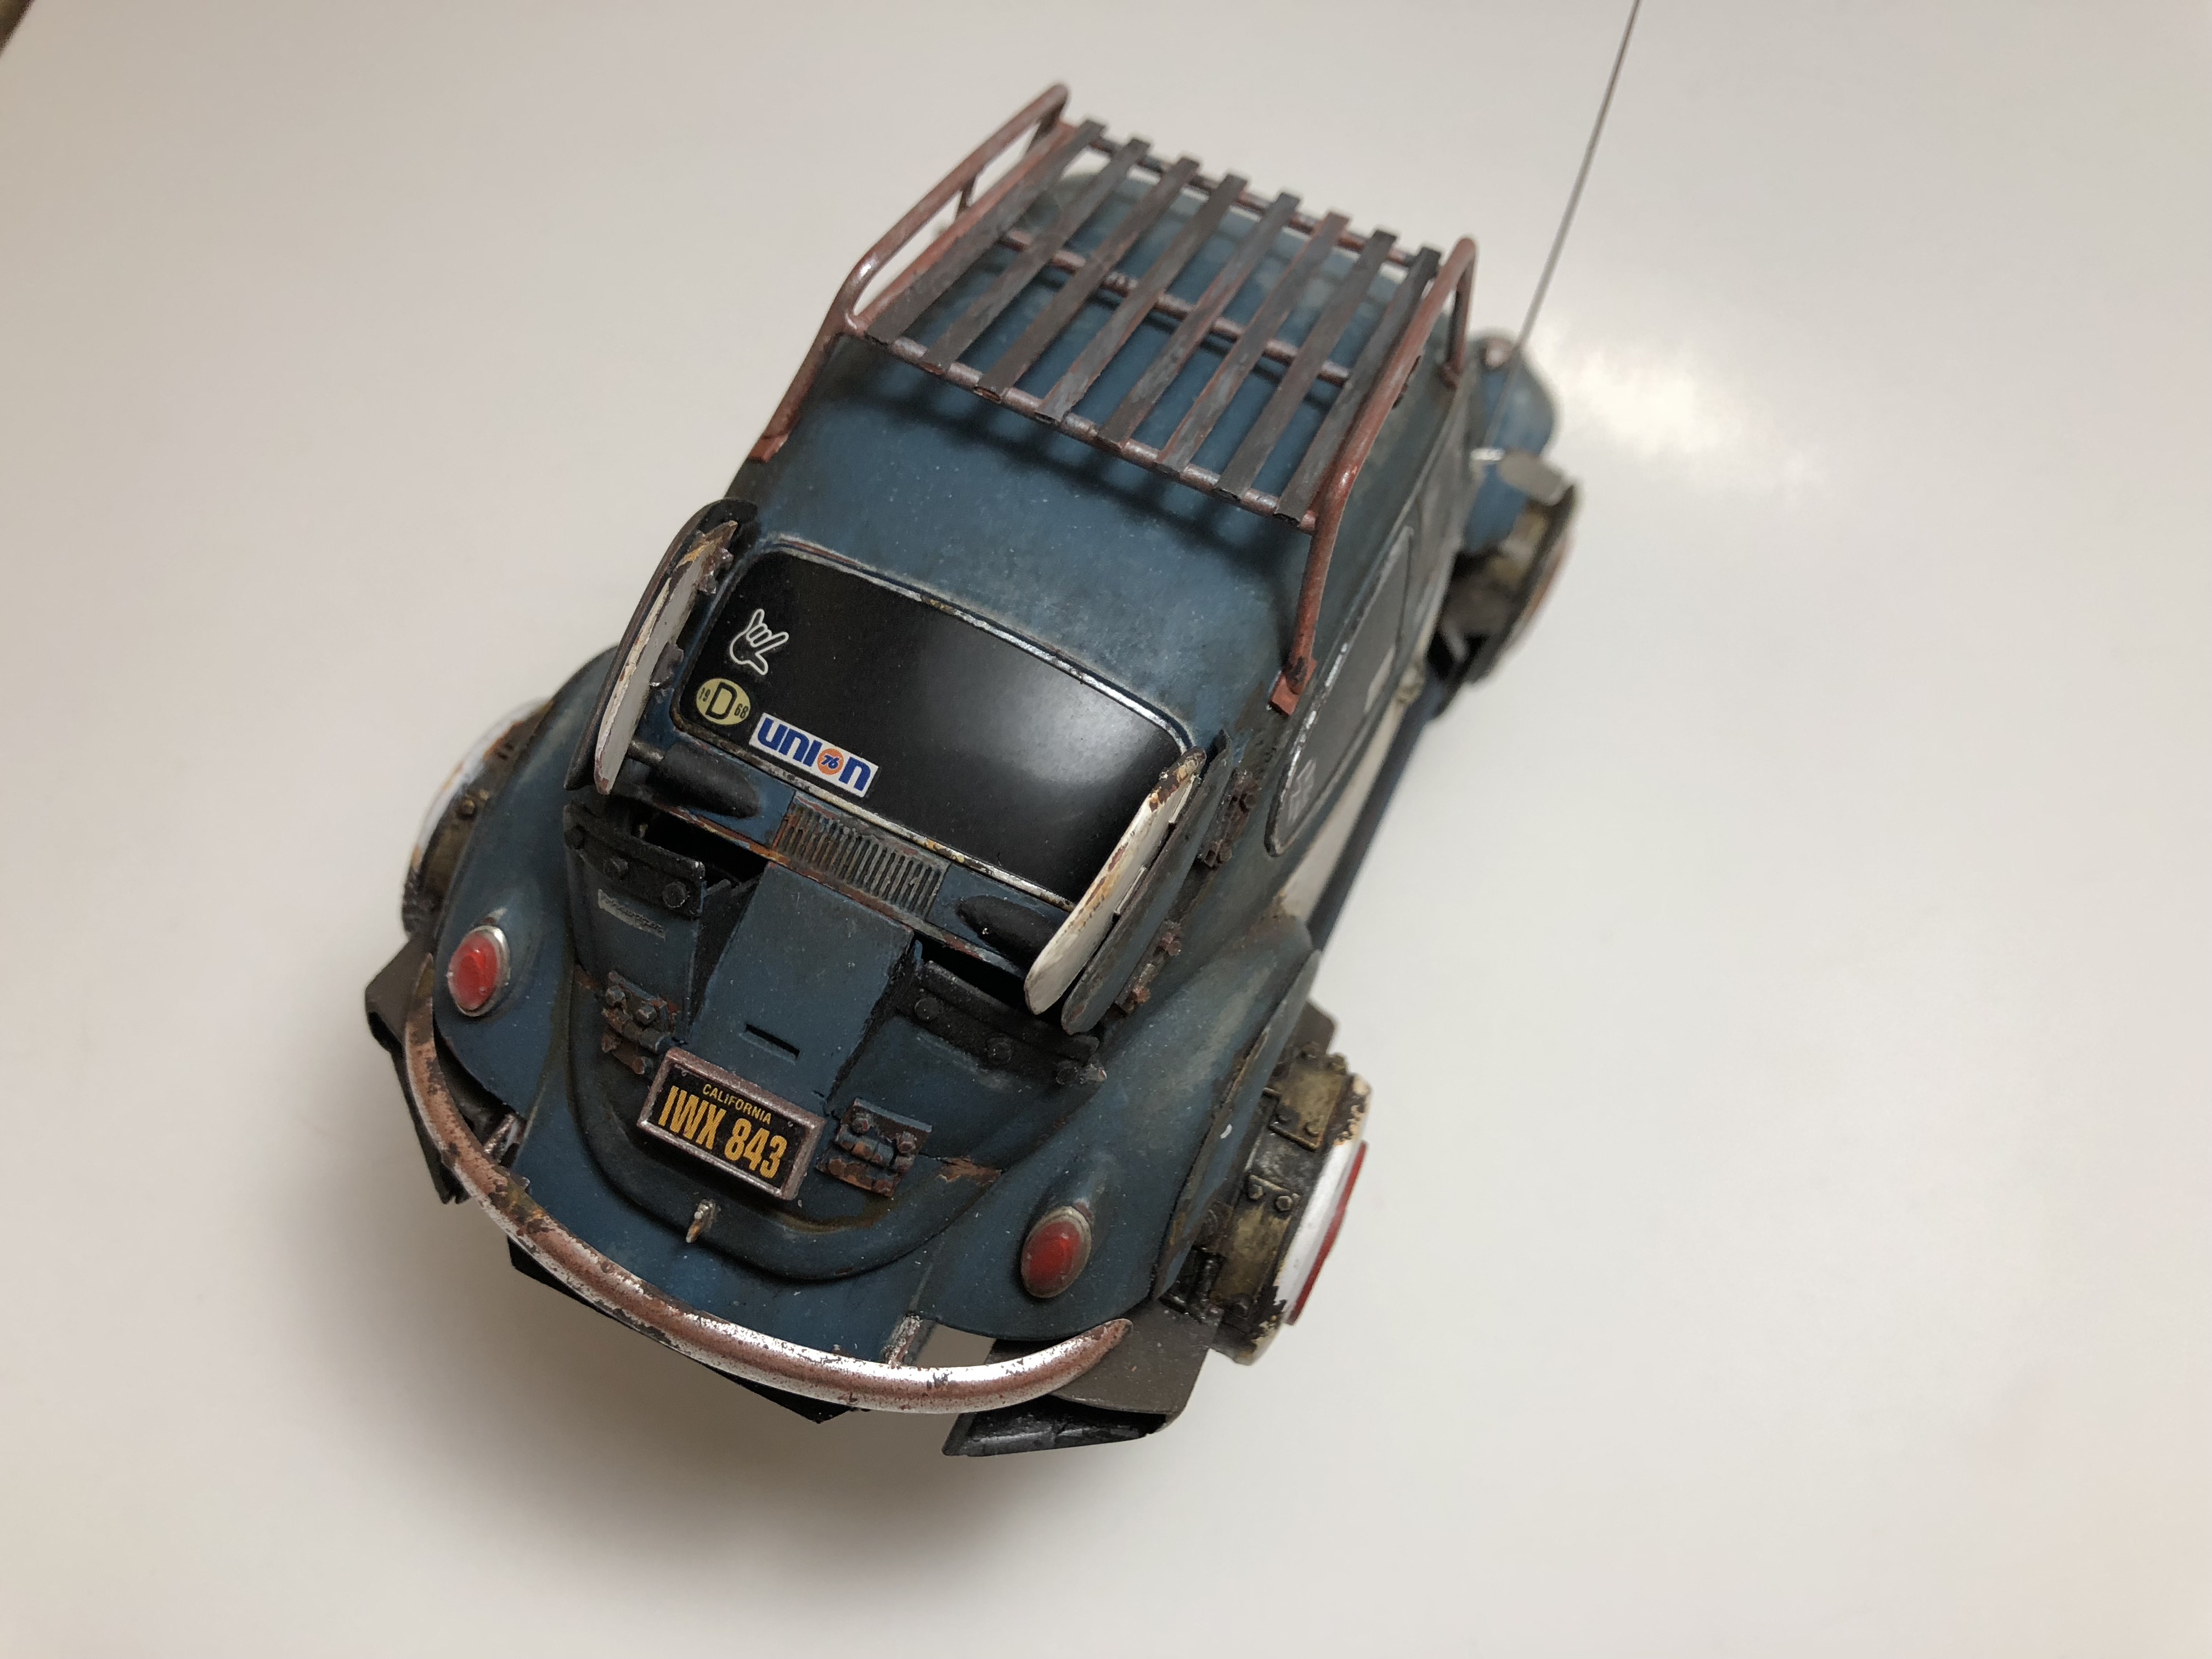
Thank you for the comments! I got the final weathering done on the antennae and the license plate frame. I and added a few more decals. Unfortunately, I went a little too heavy on the window tint and the weathering of the windows. The interior is difficult to see. However, the body is still able to be separated. VW brothers!!

-
Datsun 620 Pickup
Daxman replied to afx's topic in WIP: Model Trucks: Pickups, Vans, SUVs, Light Commercial
I started working on this same truck just a few nights ago. Thanks for showing how you separated the truck wall from the cab. I did the same after seeing how well yours turned out. Pleased show some updates!!! -
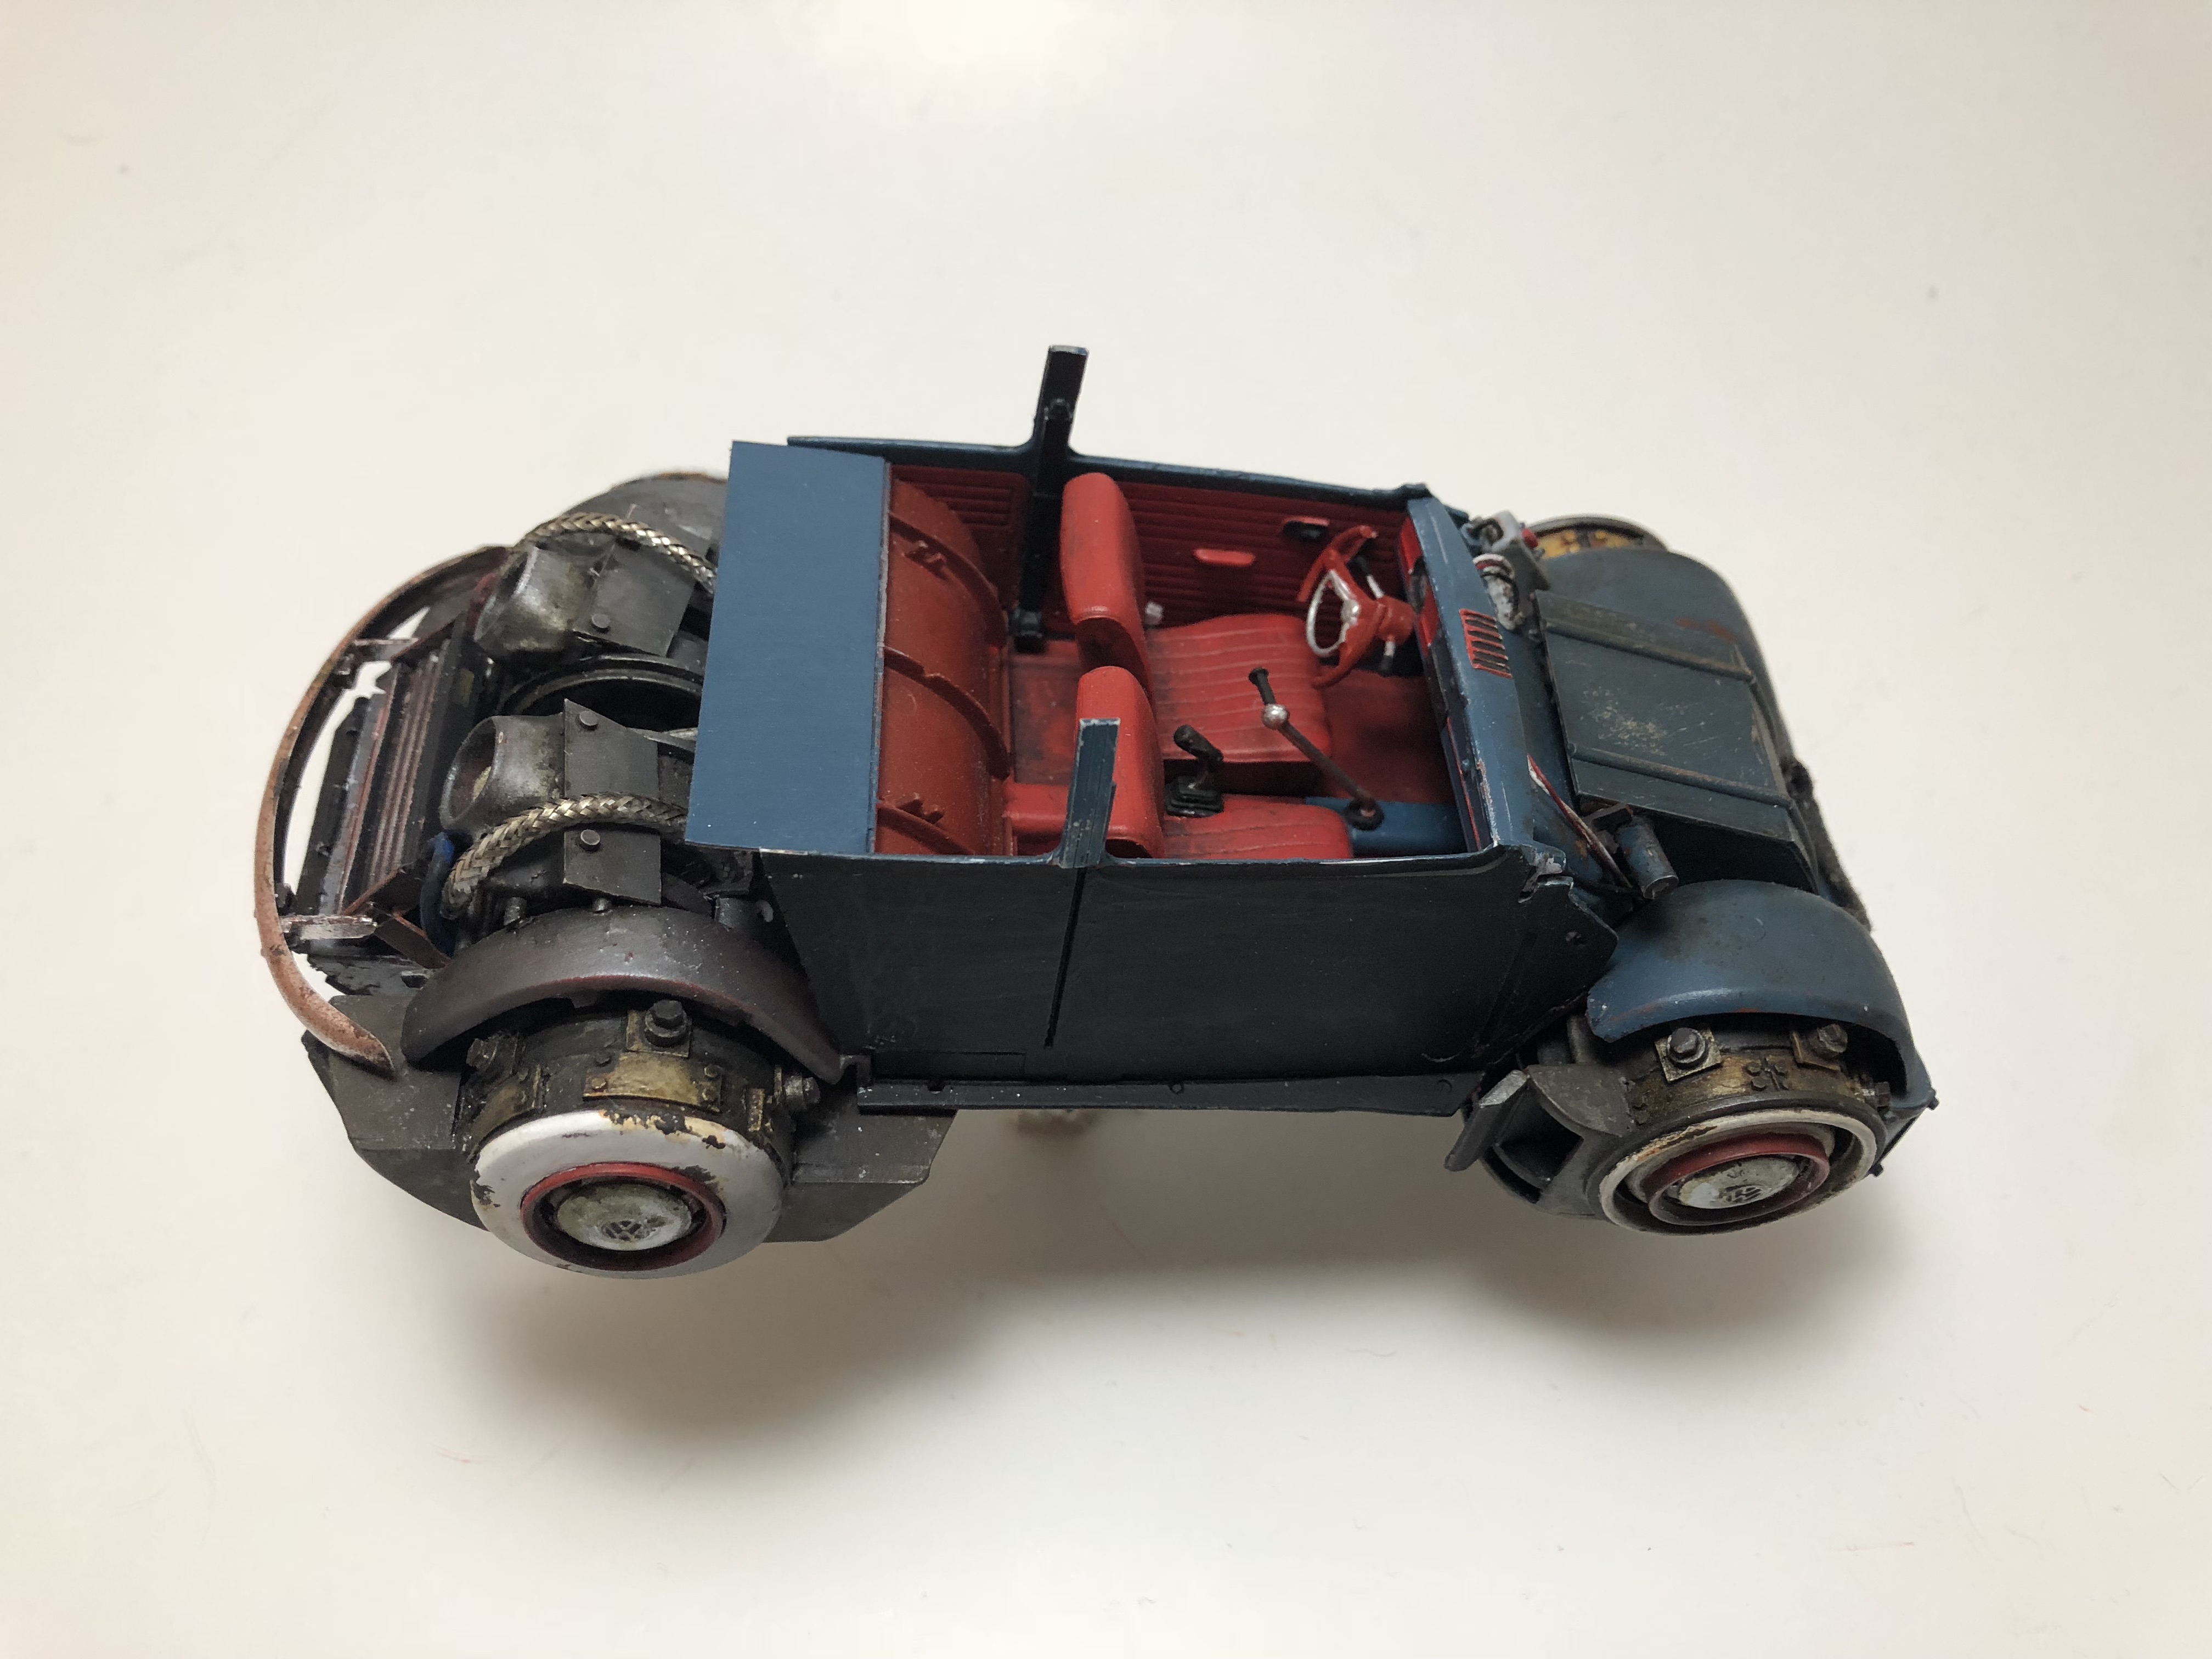
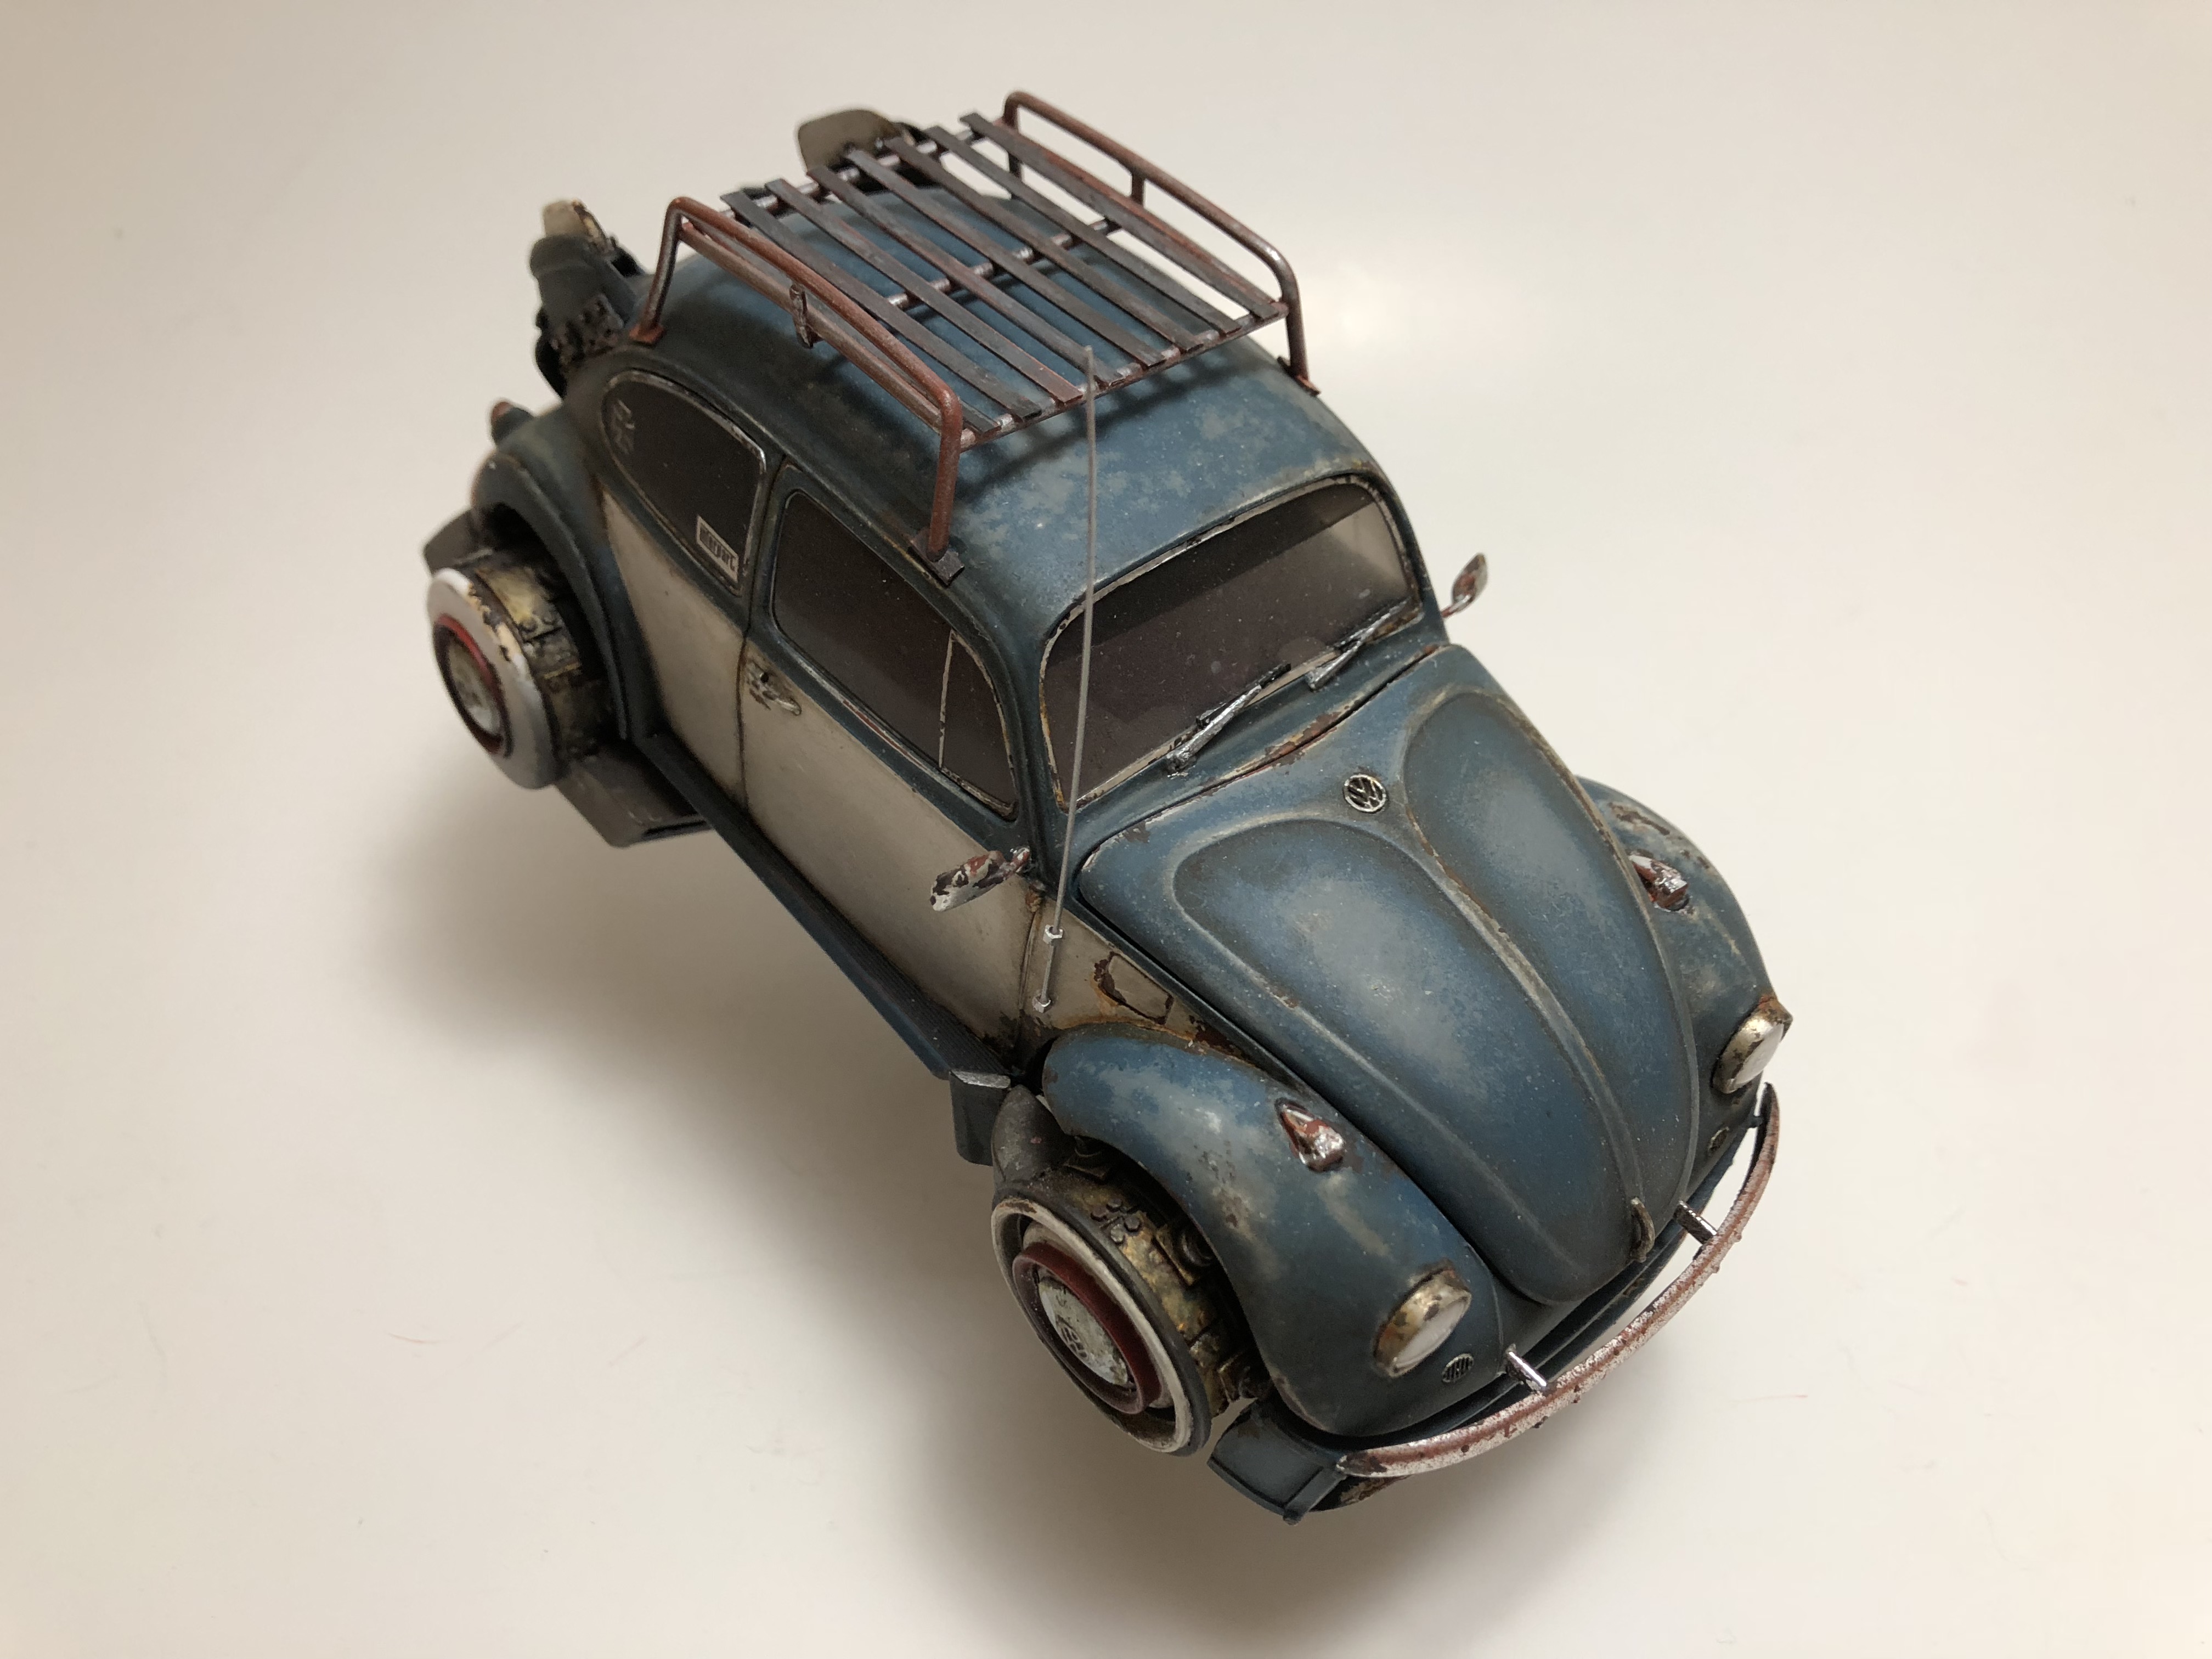
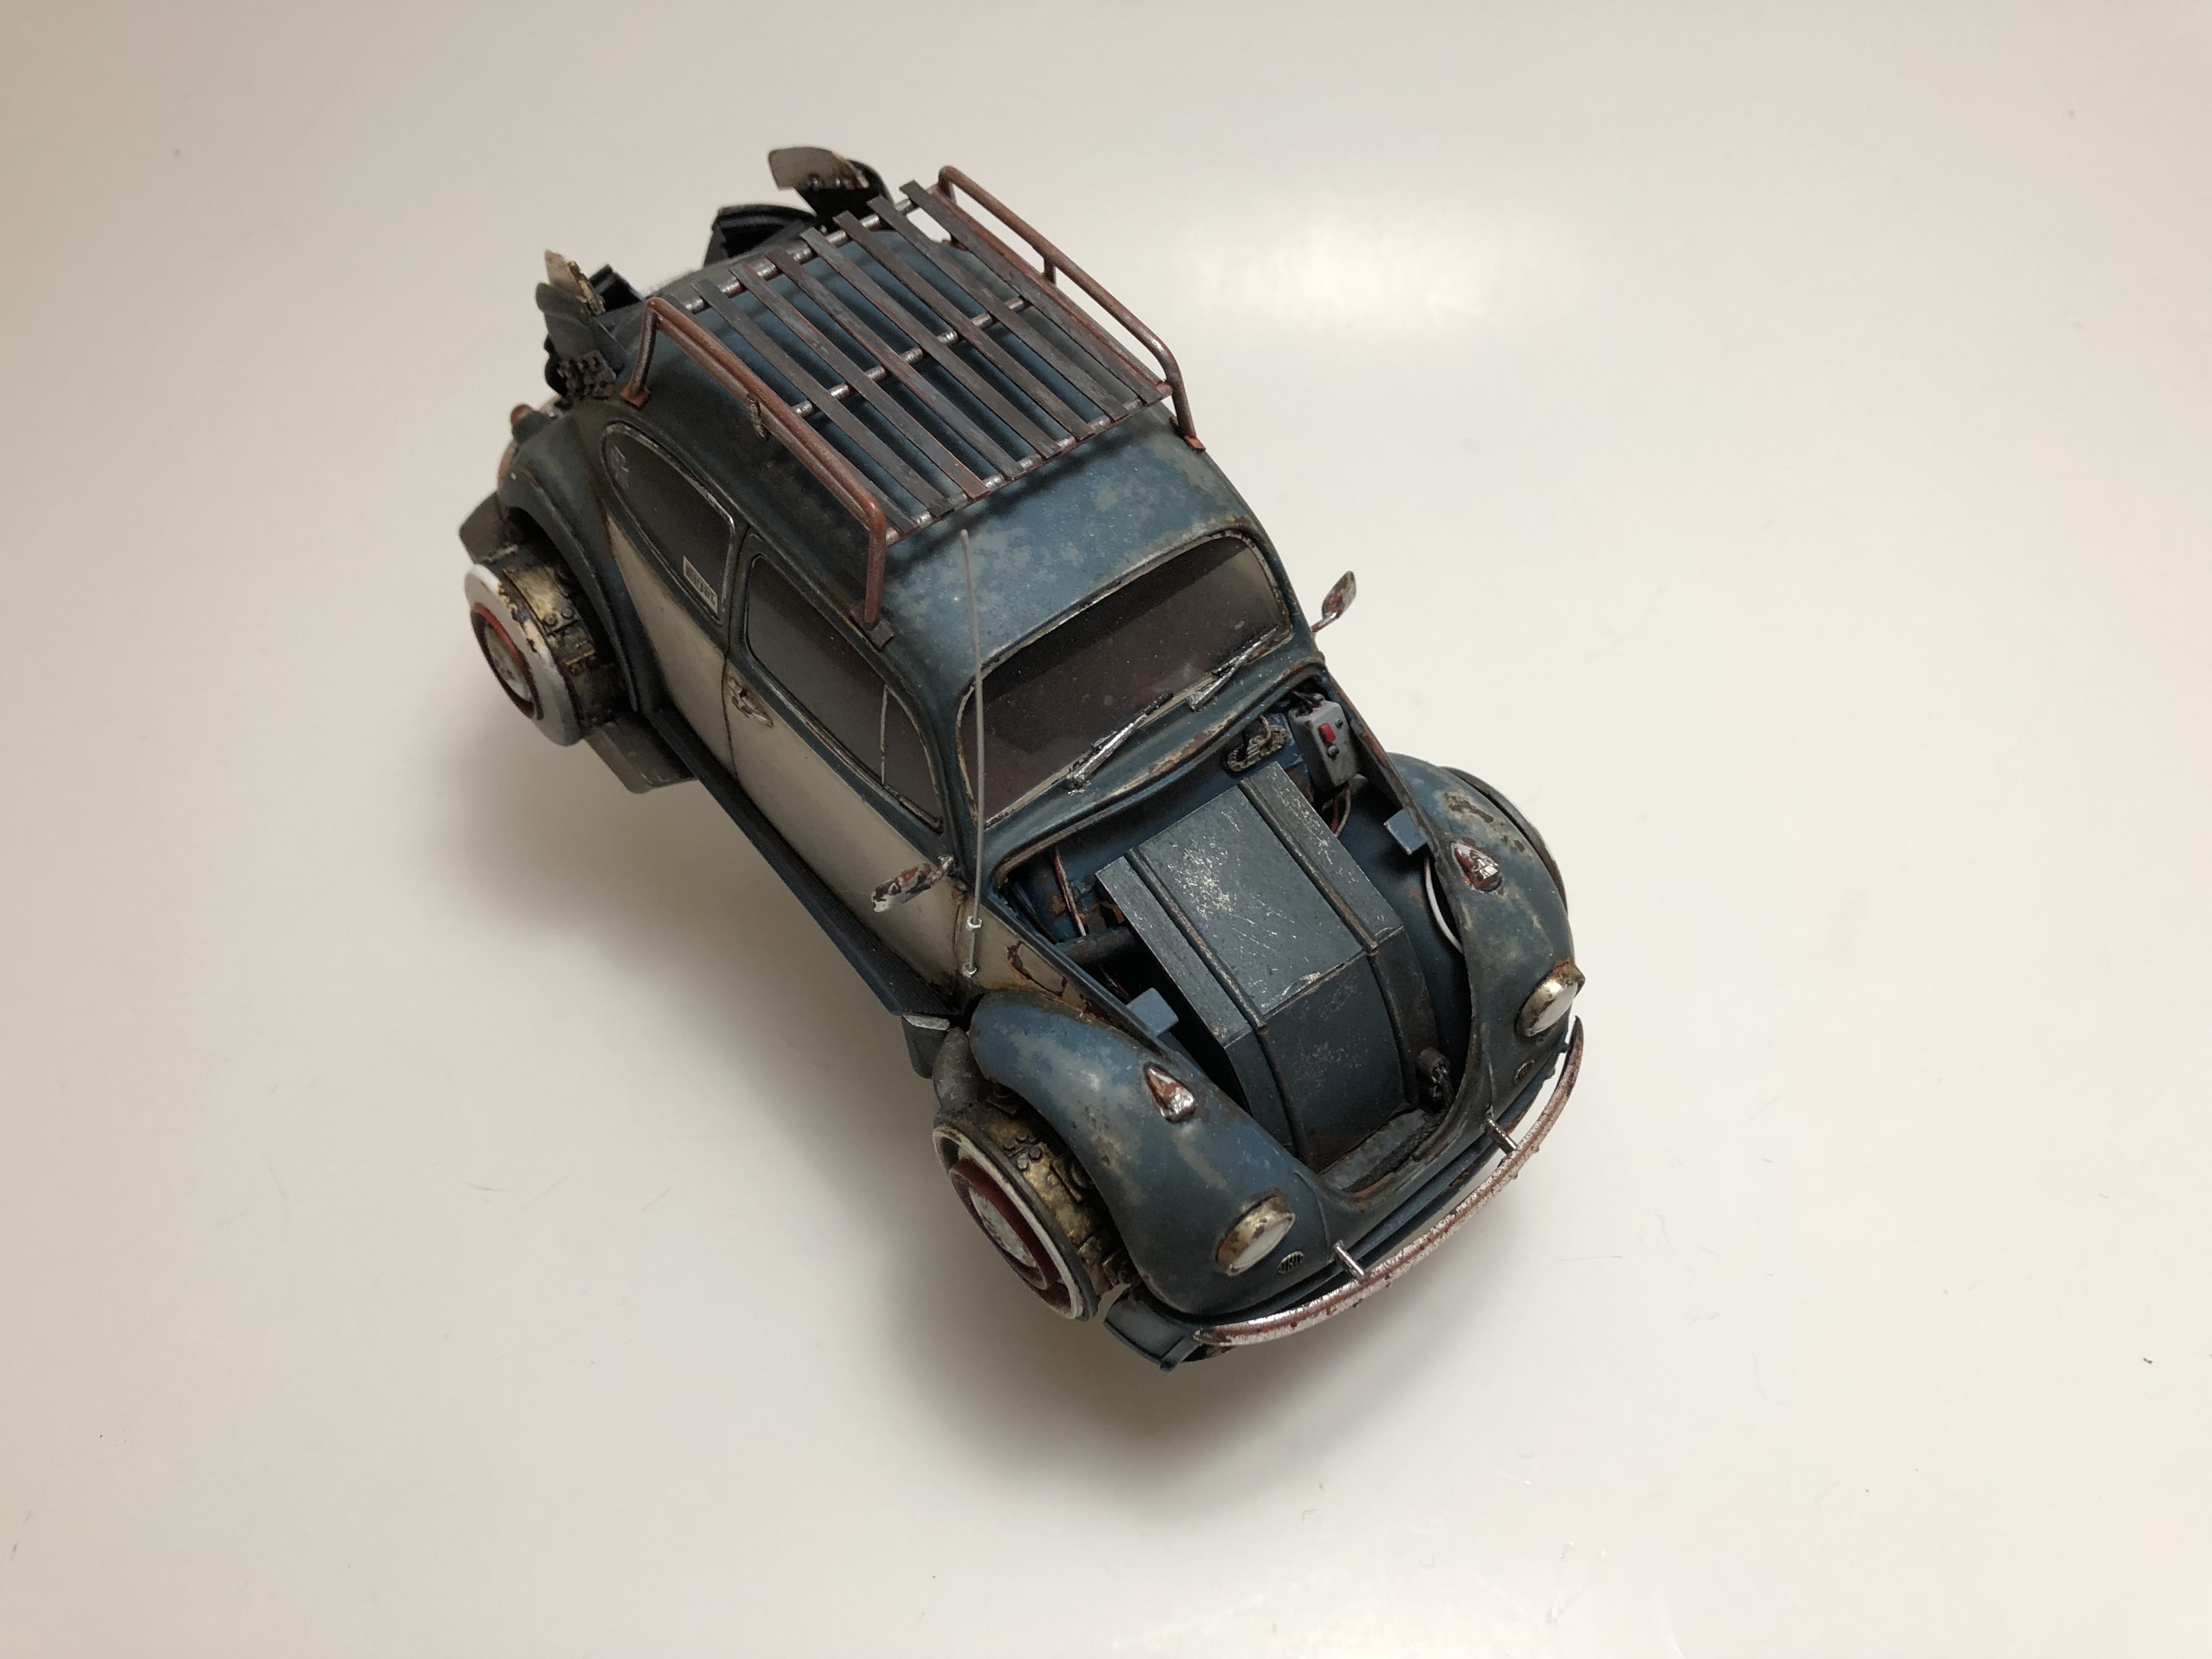
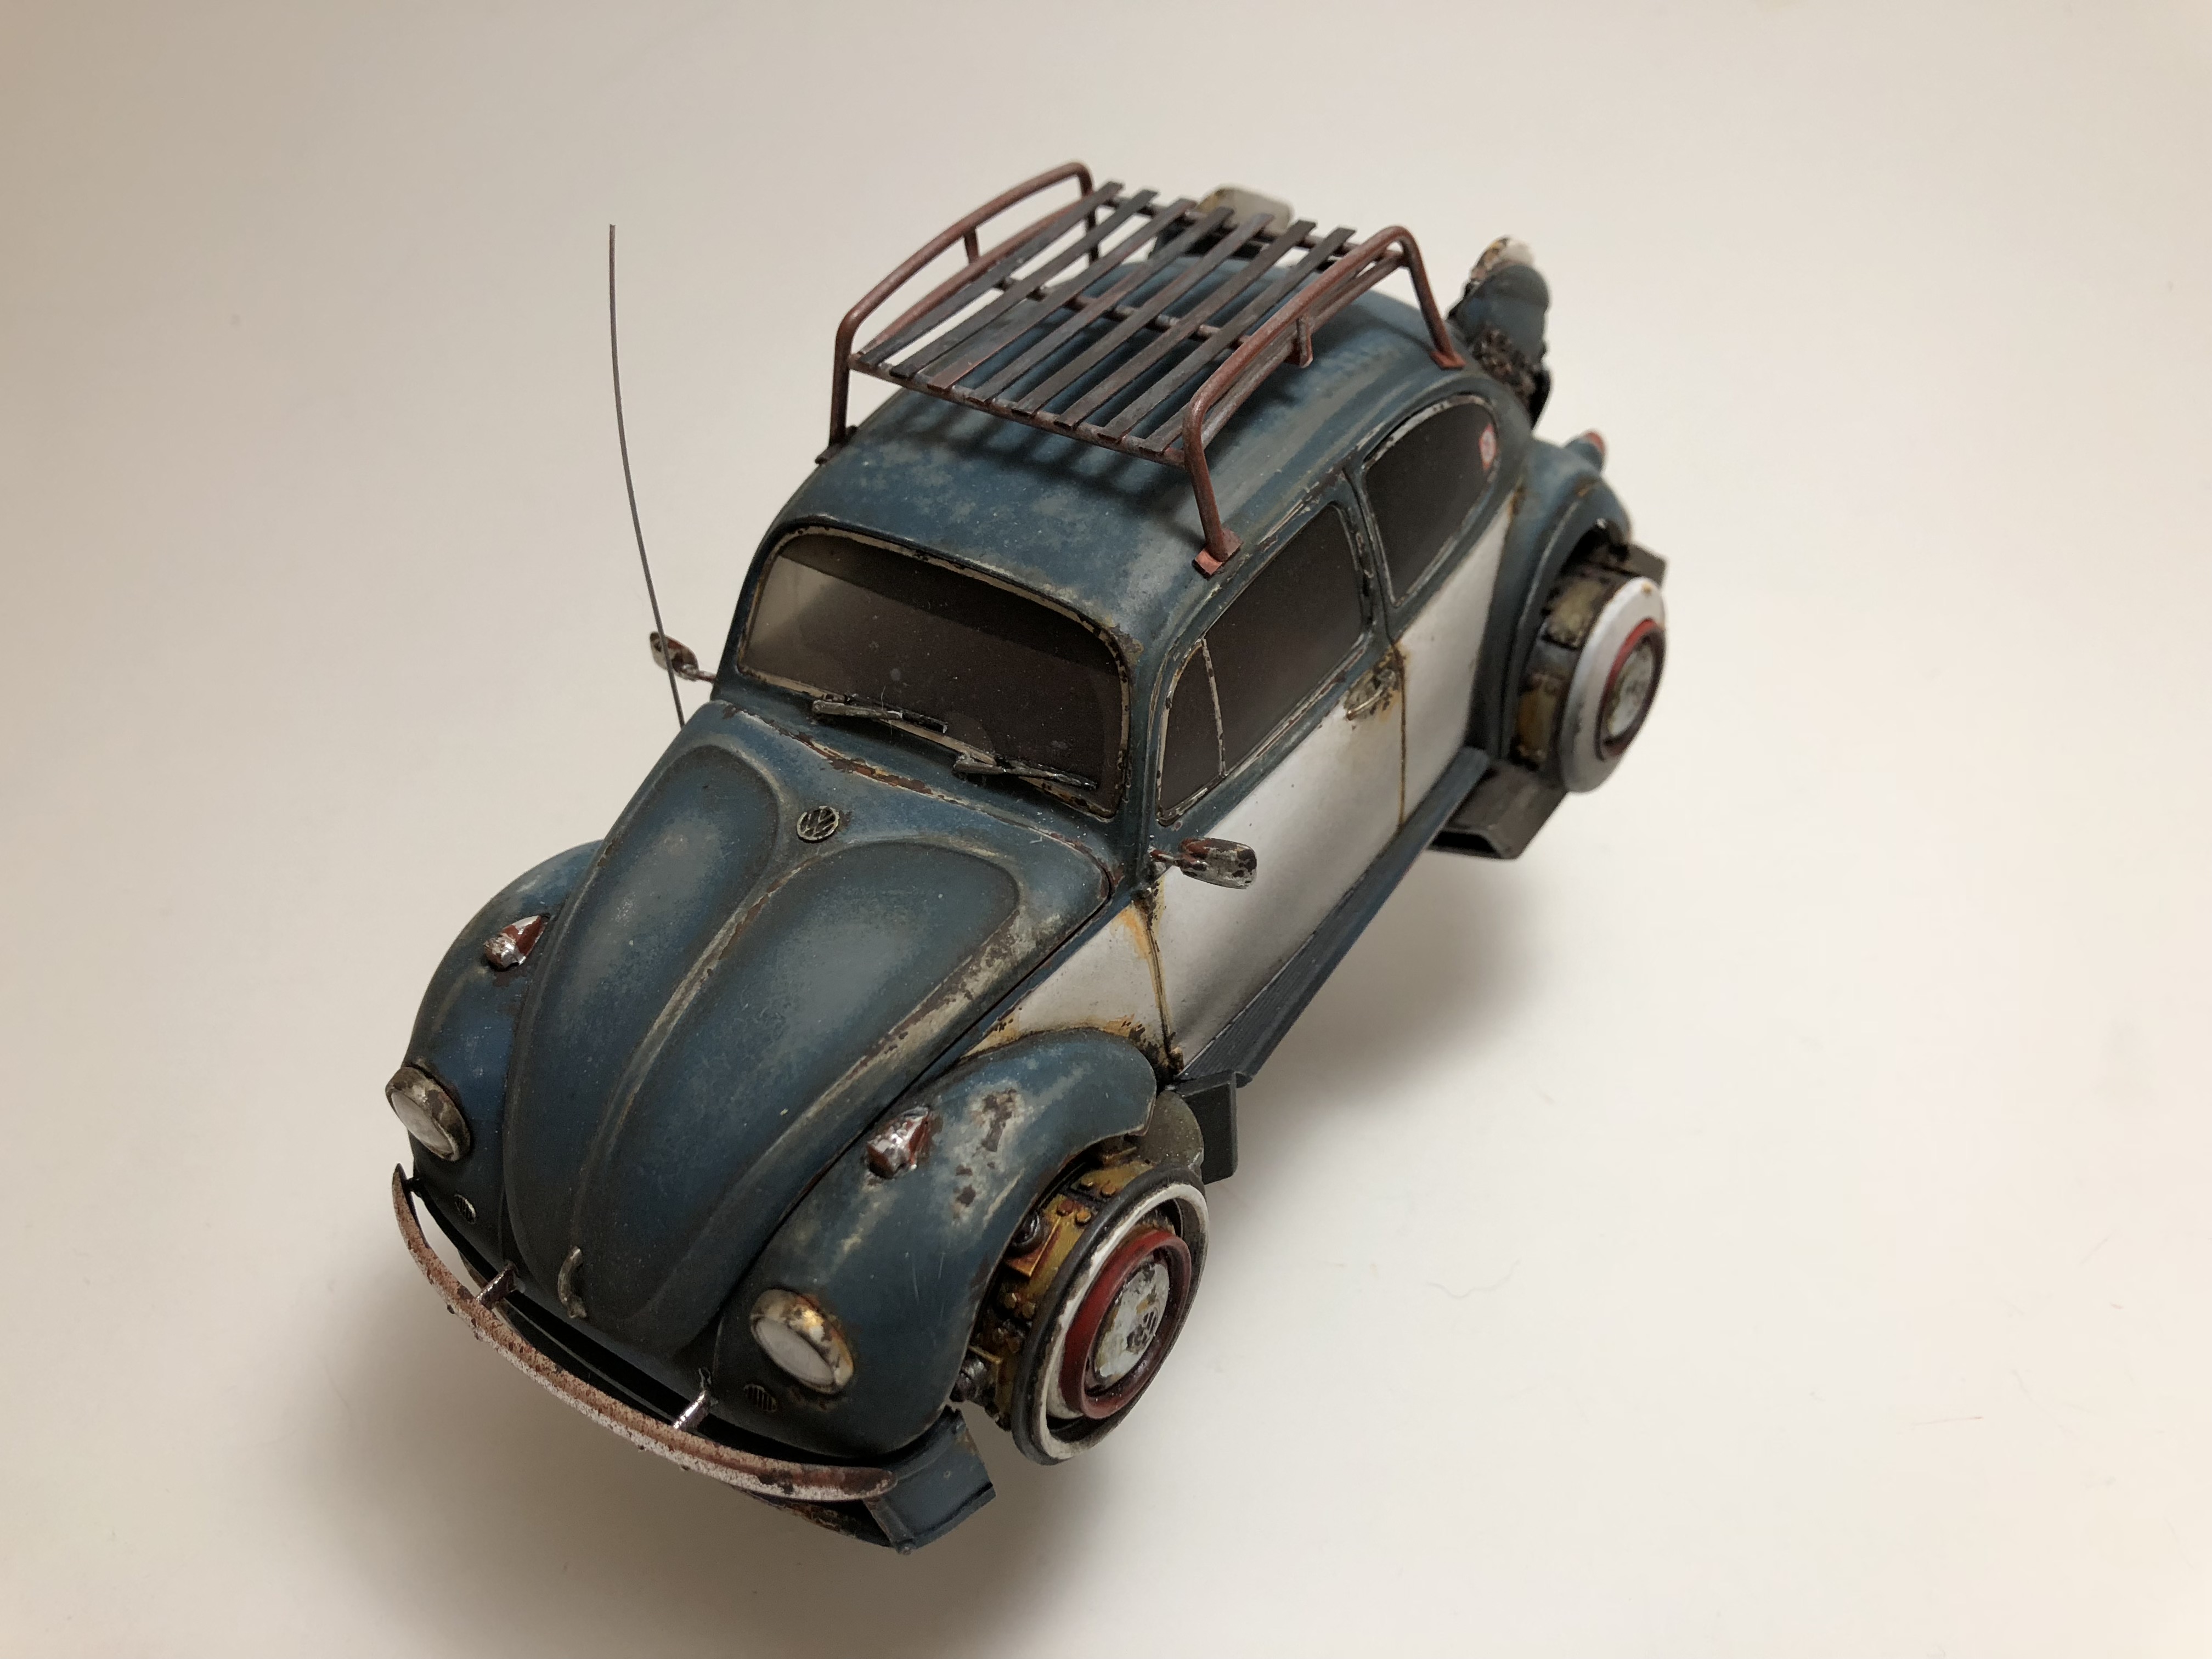
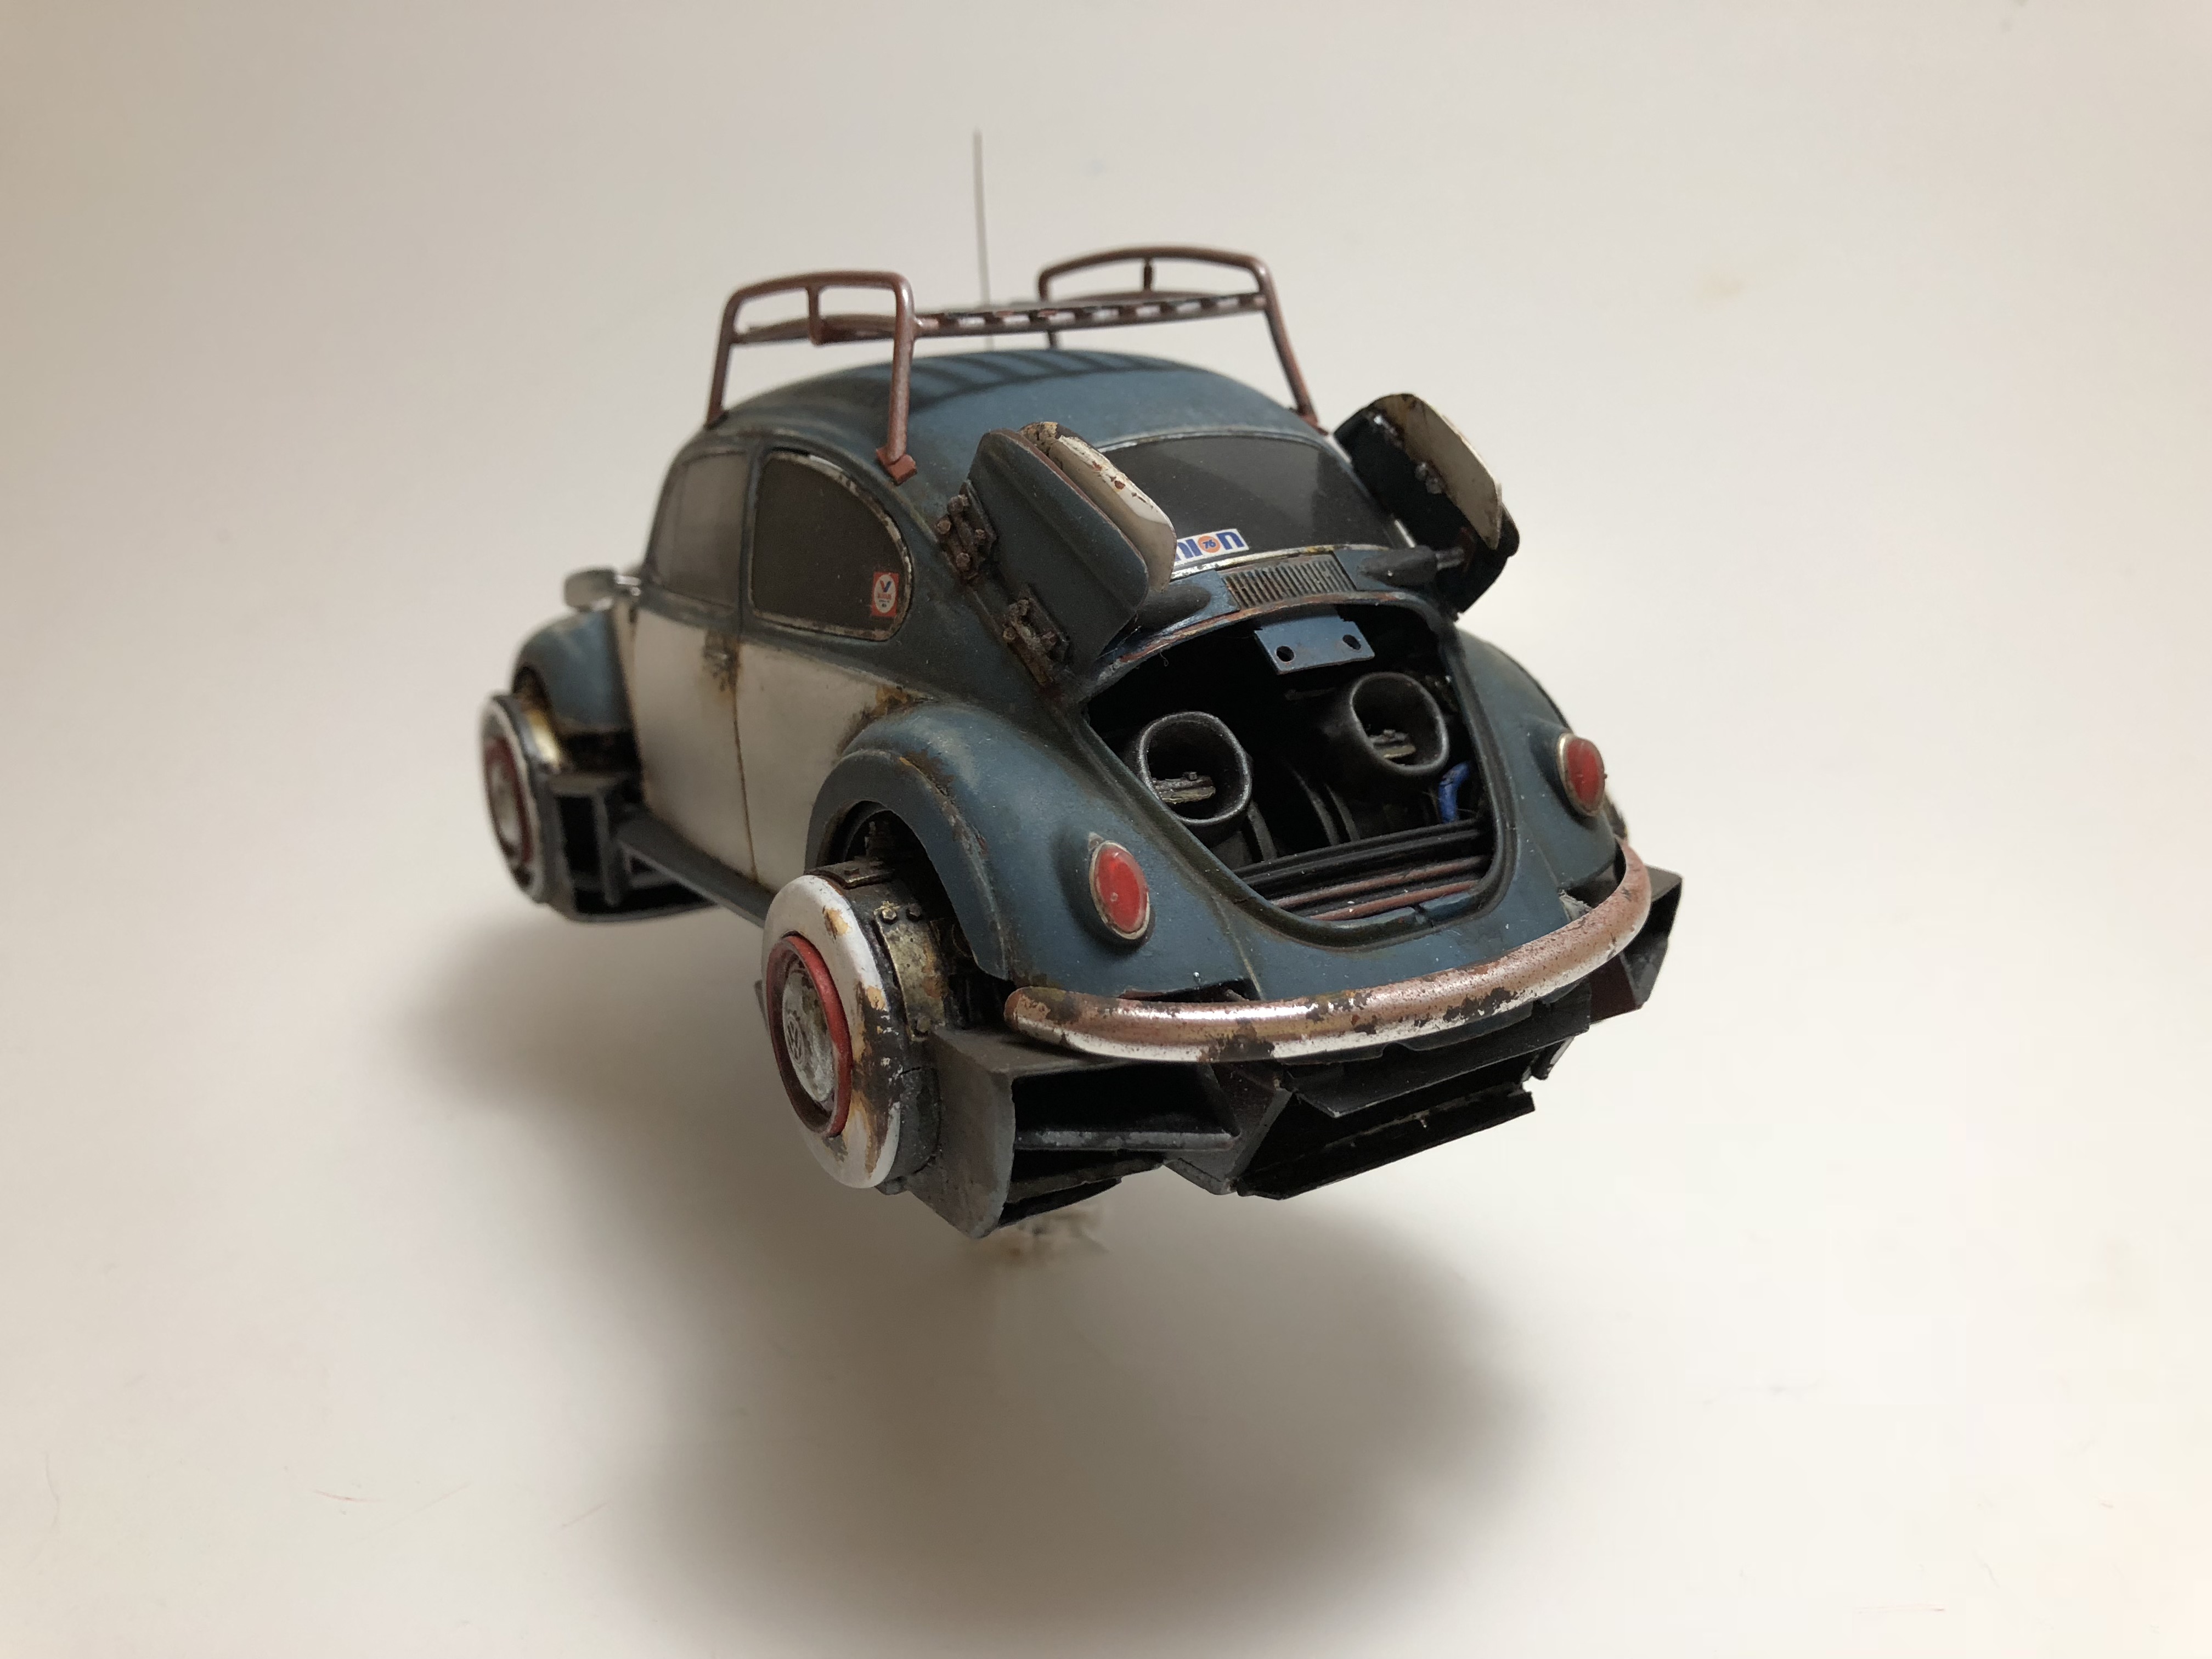
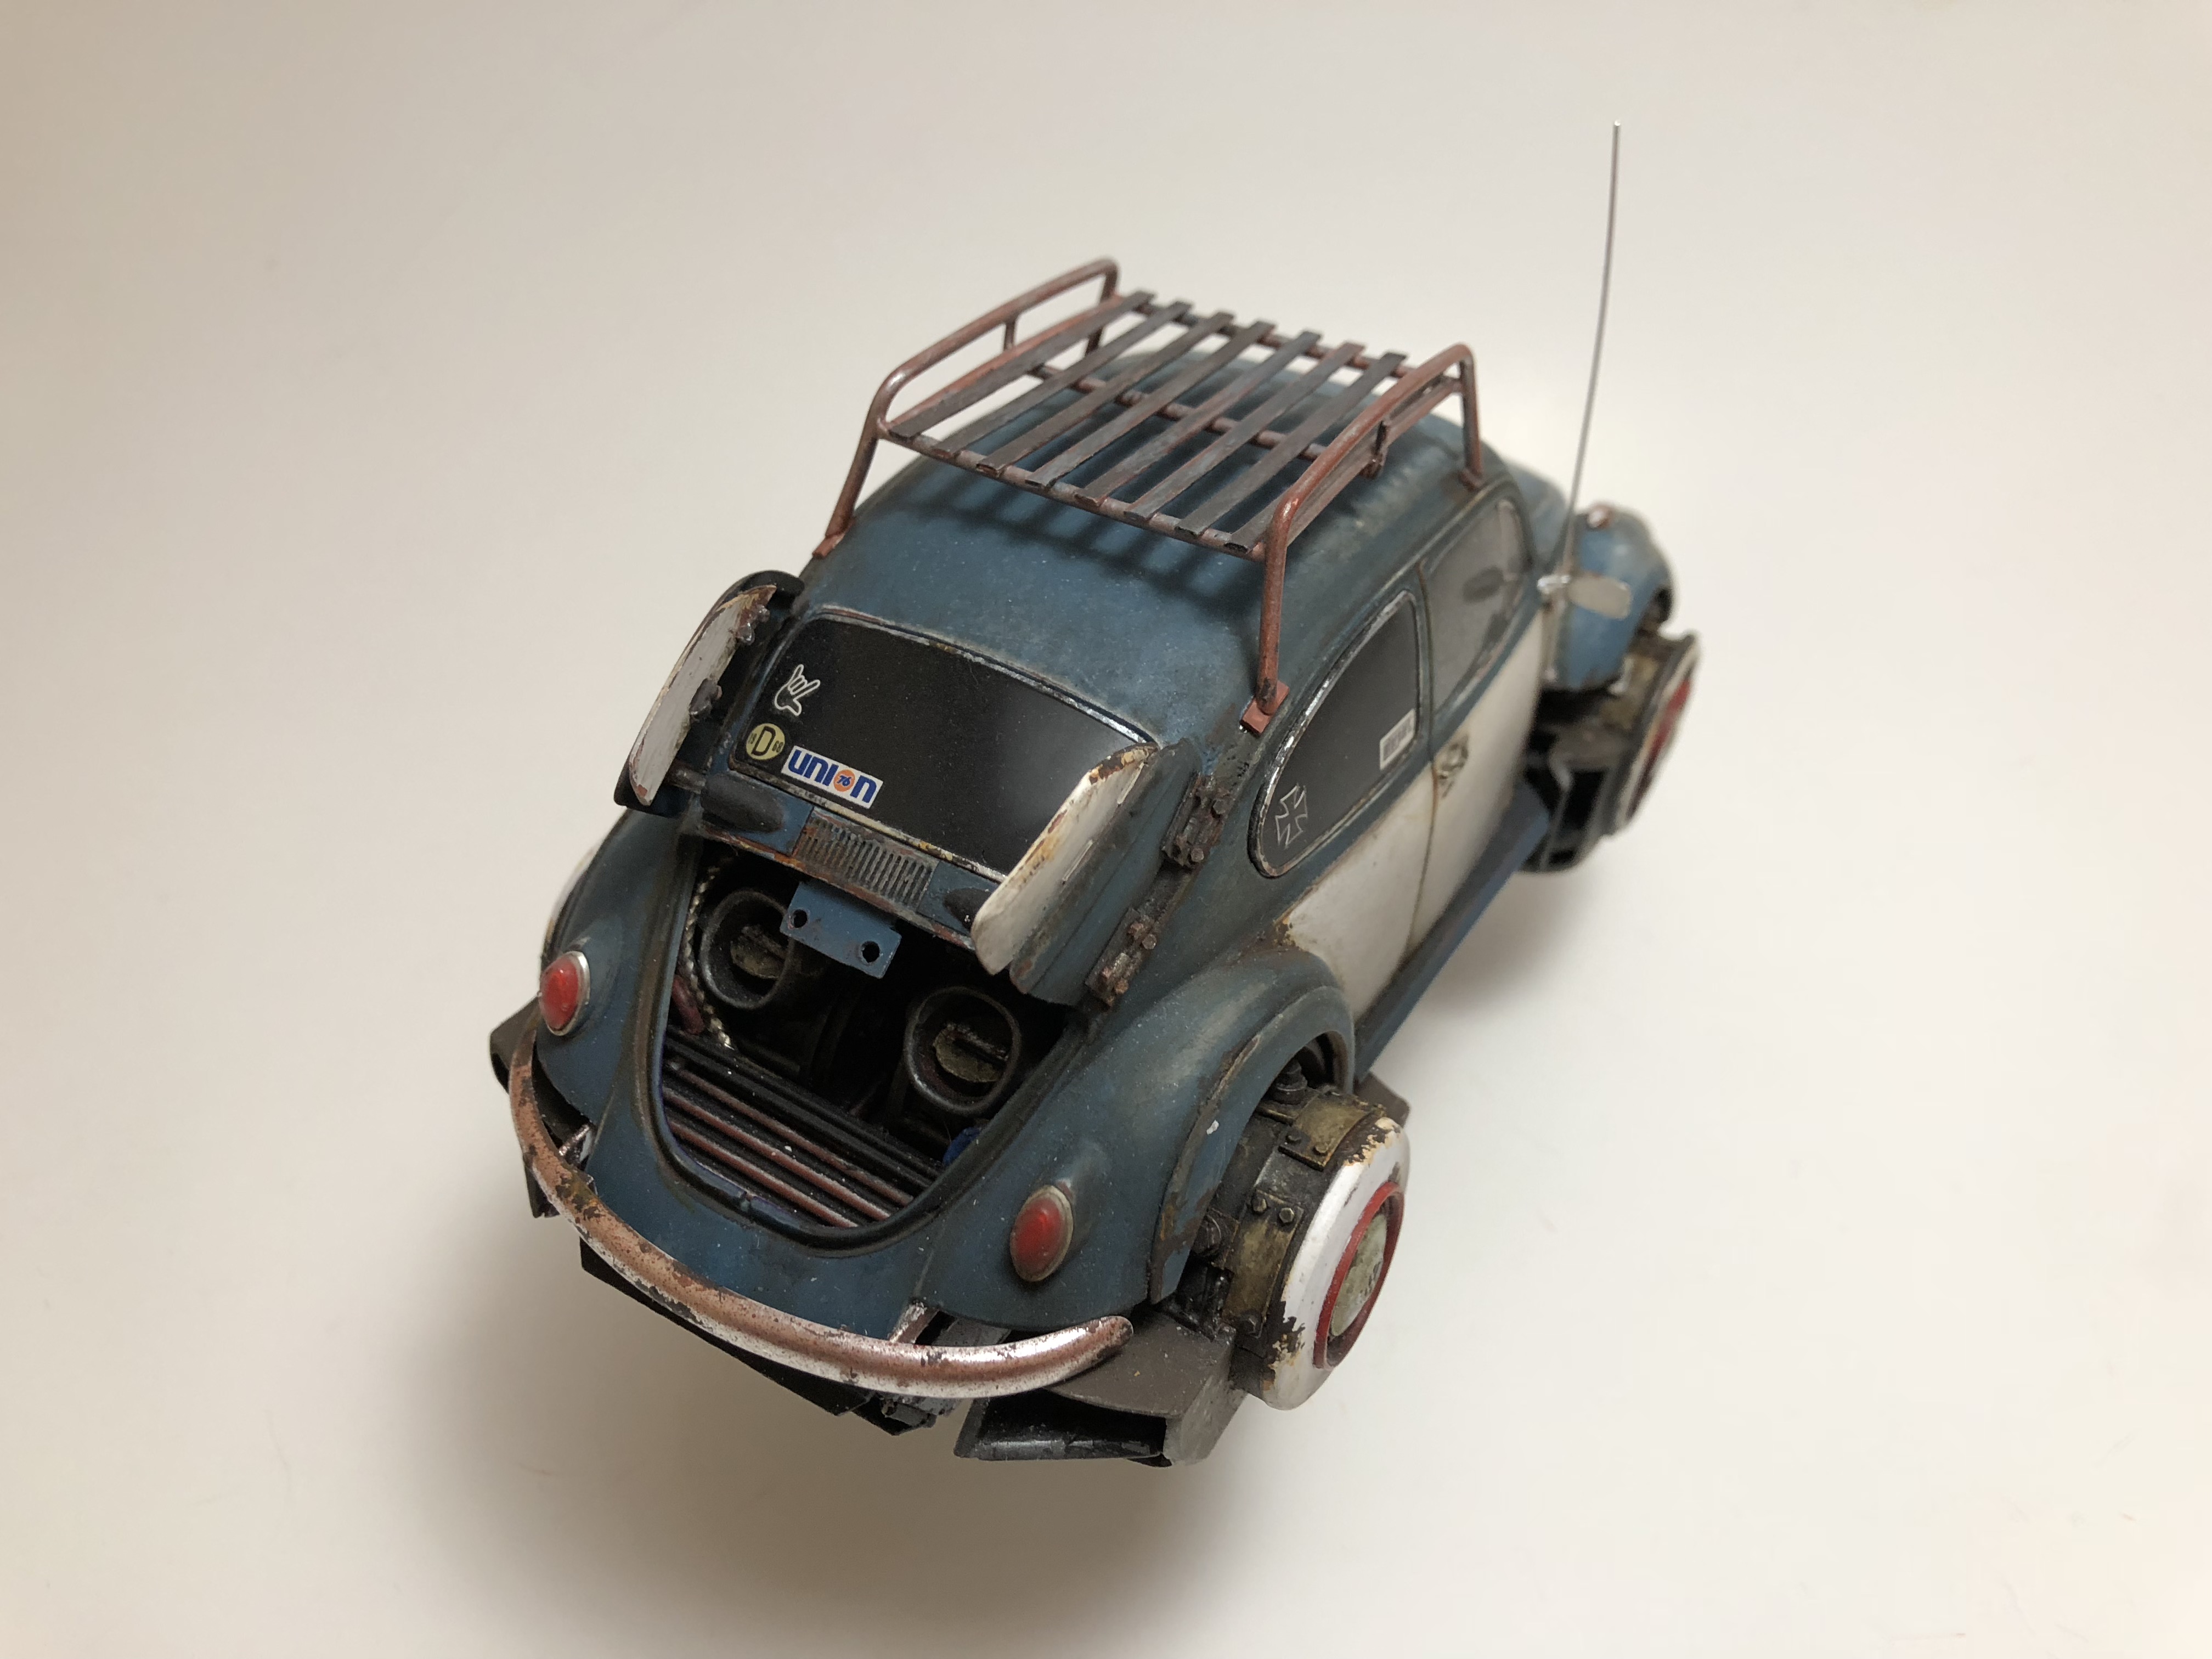
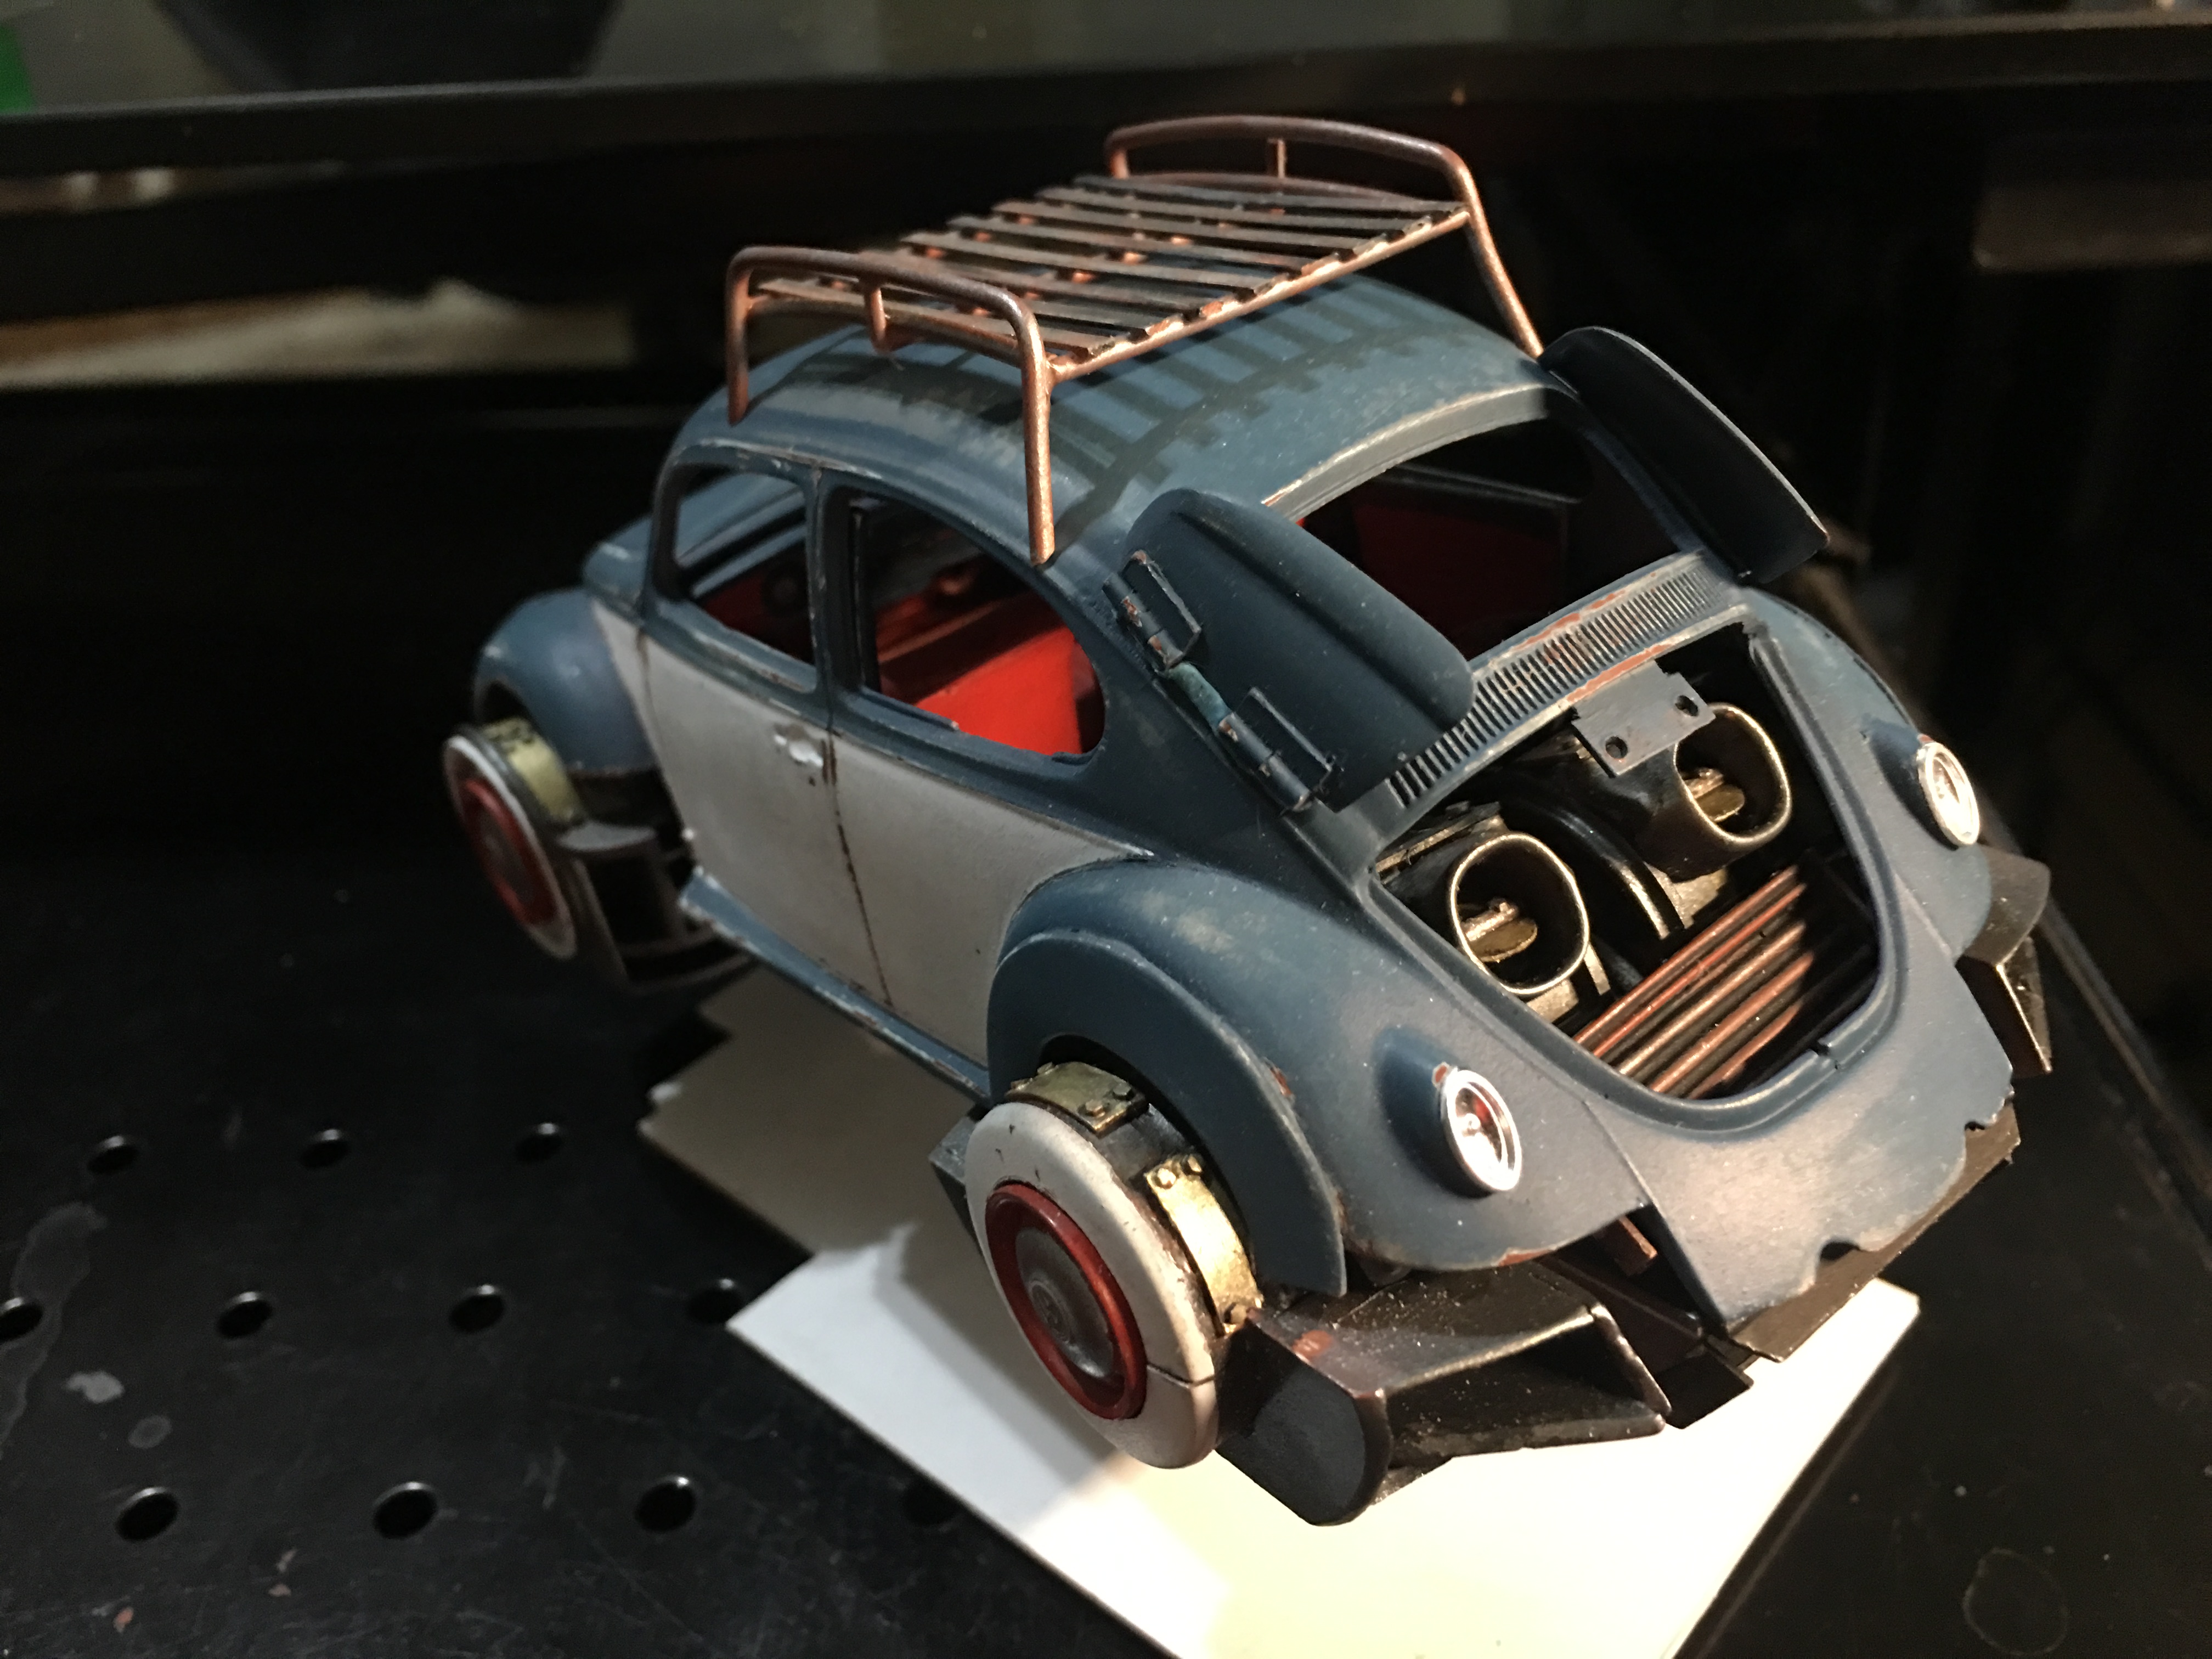
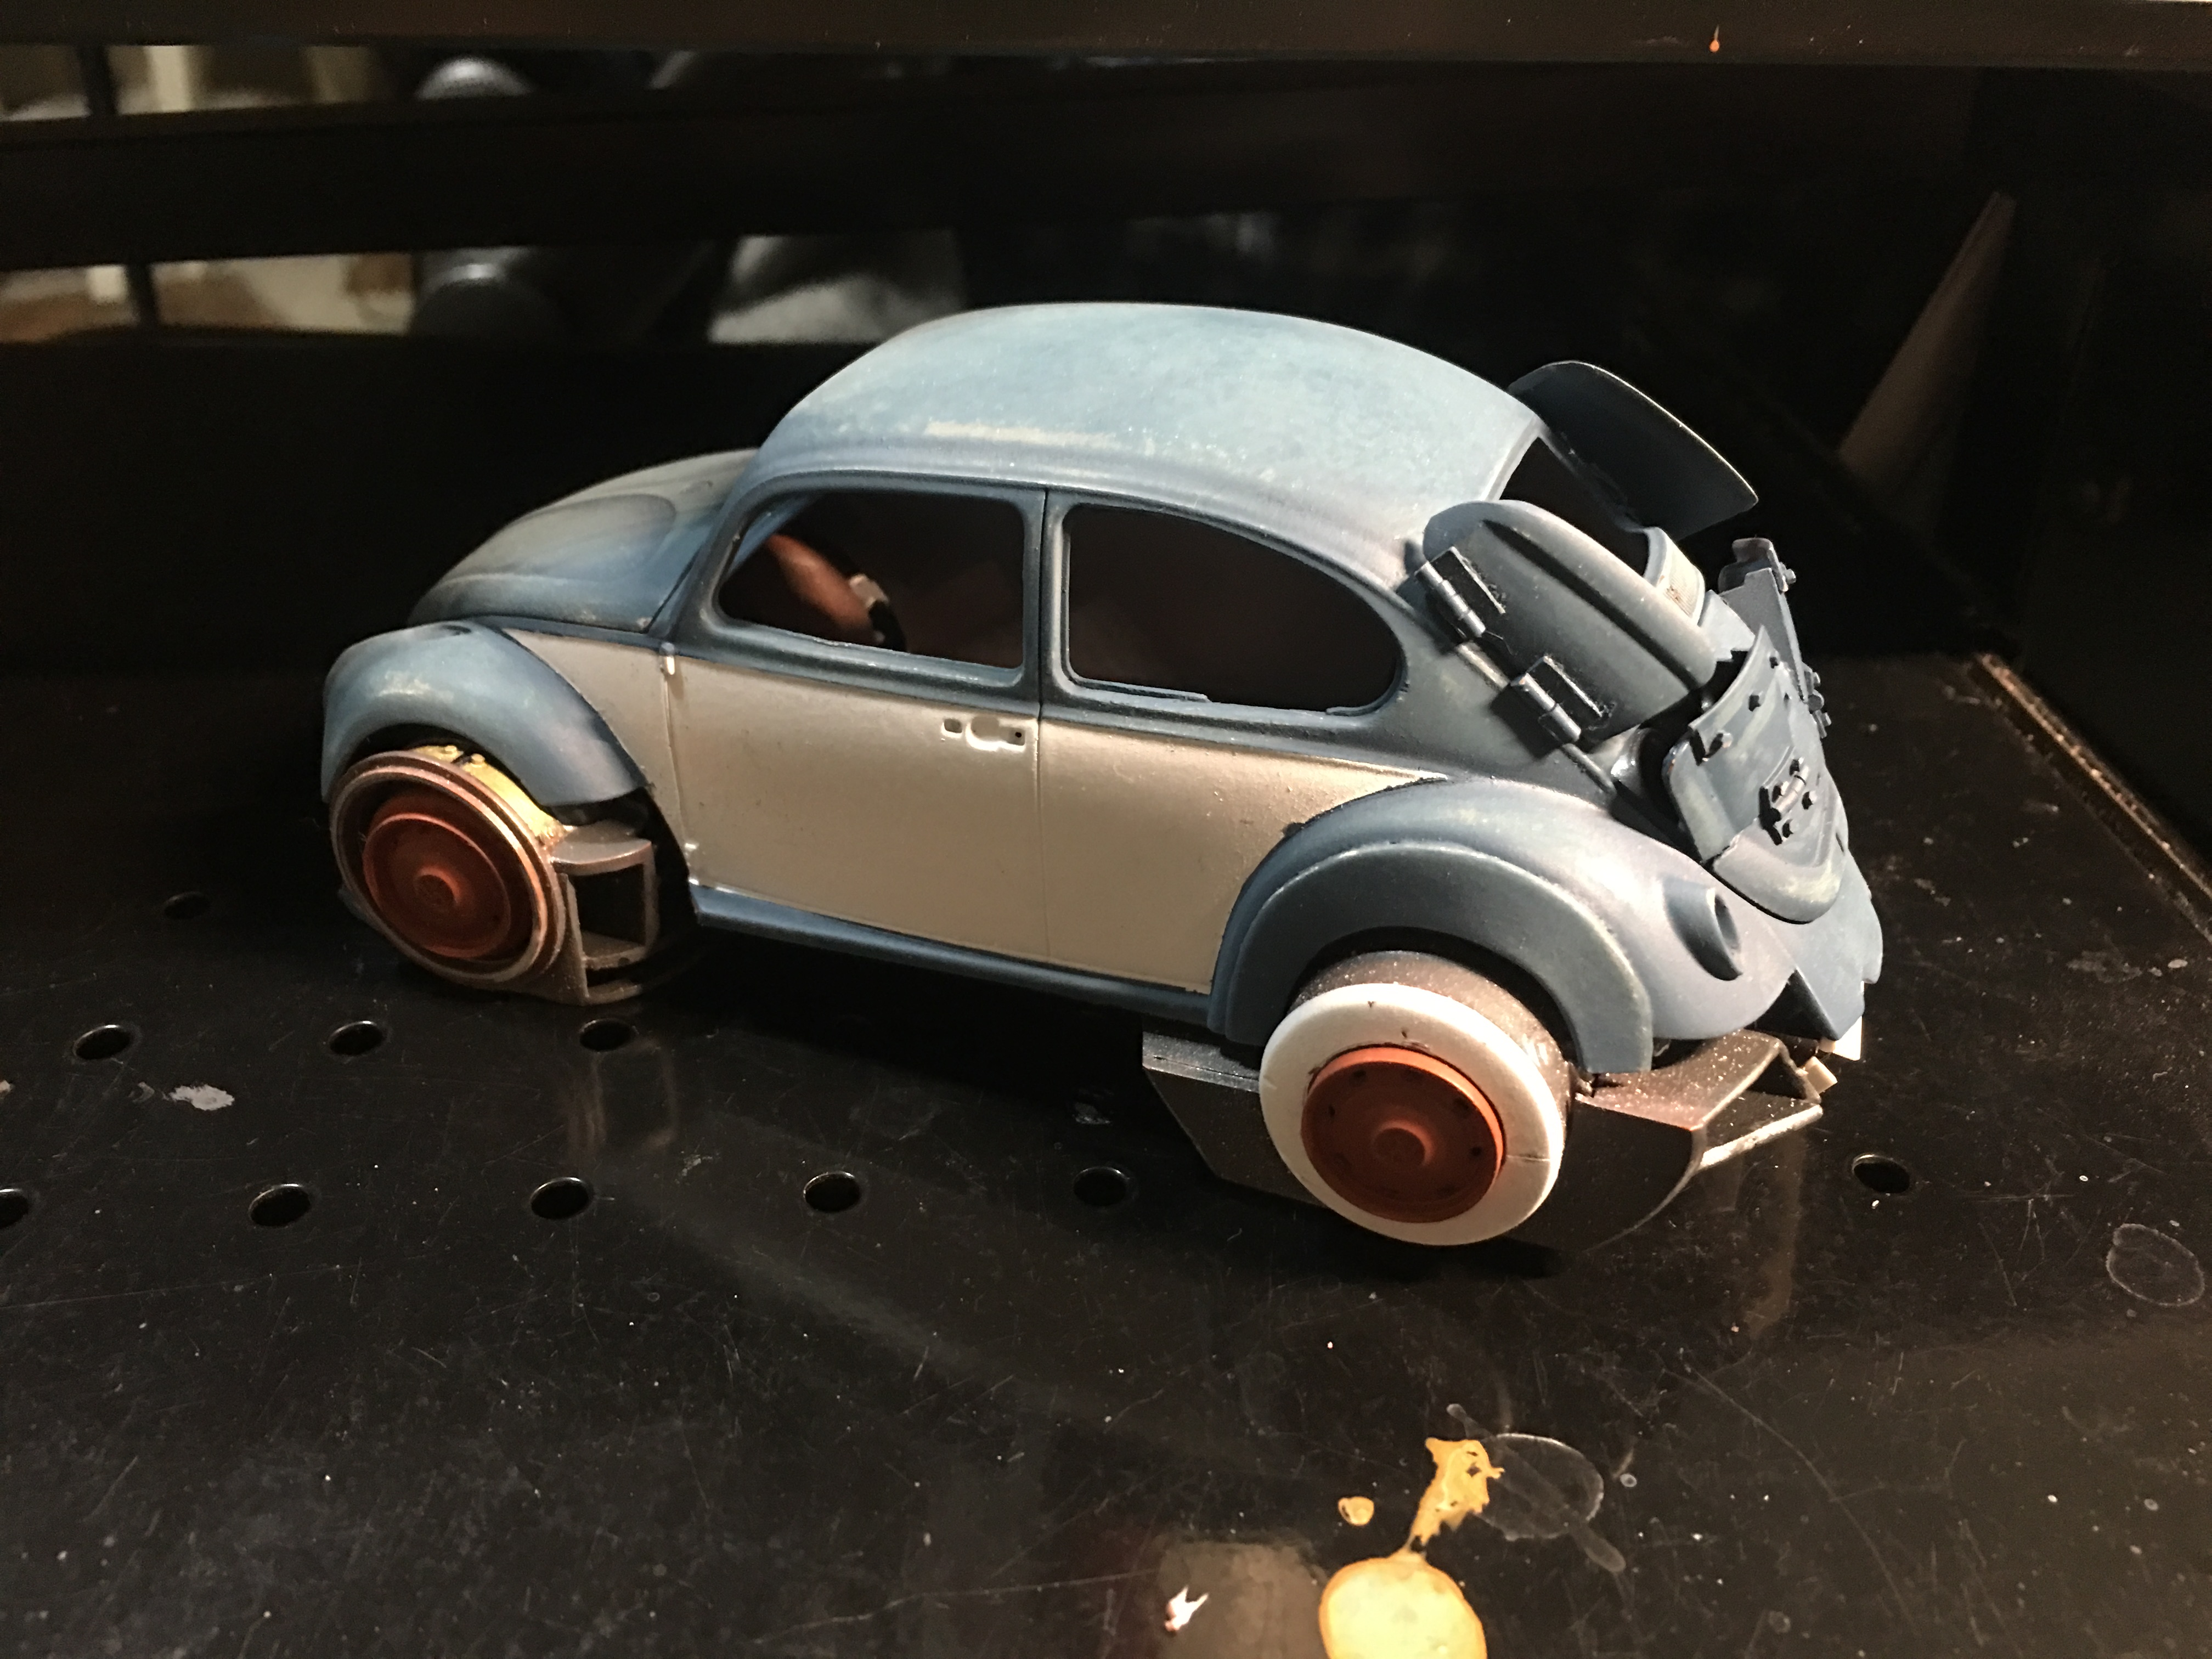
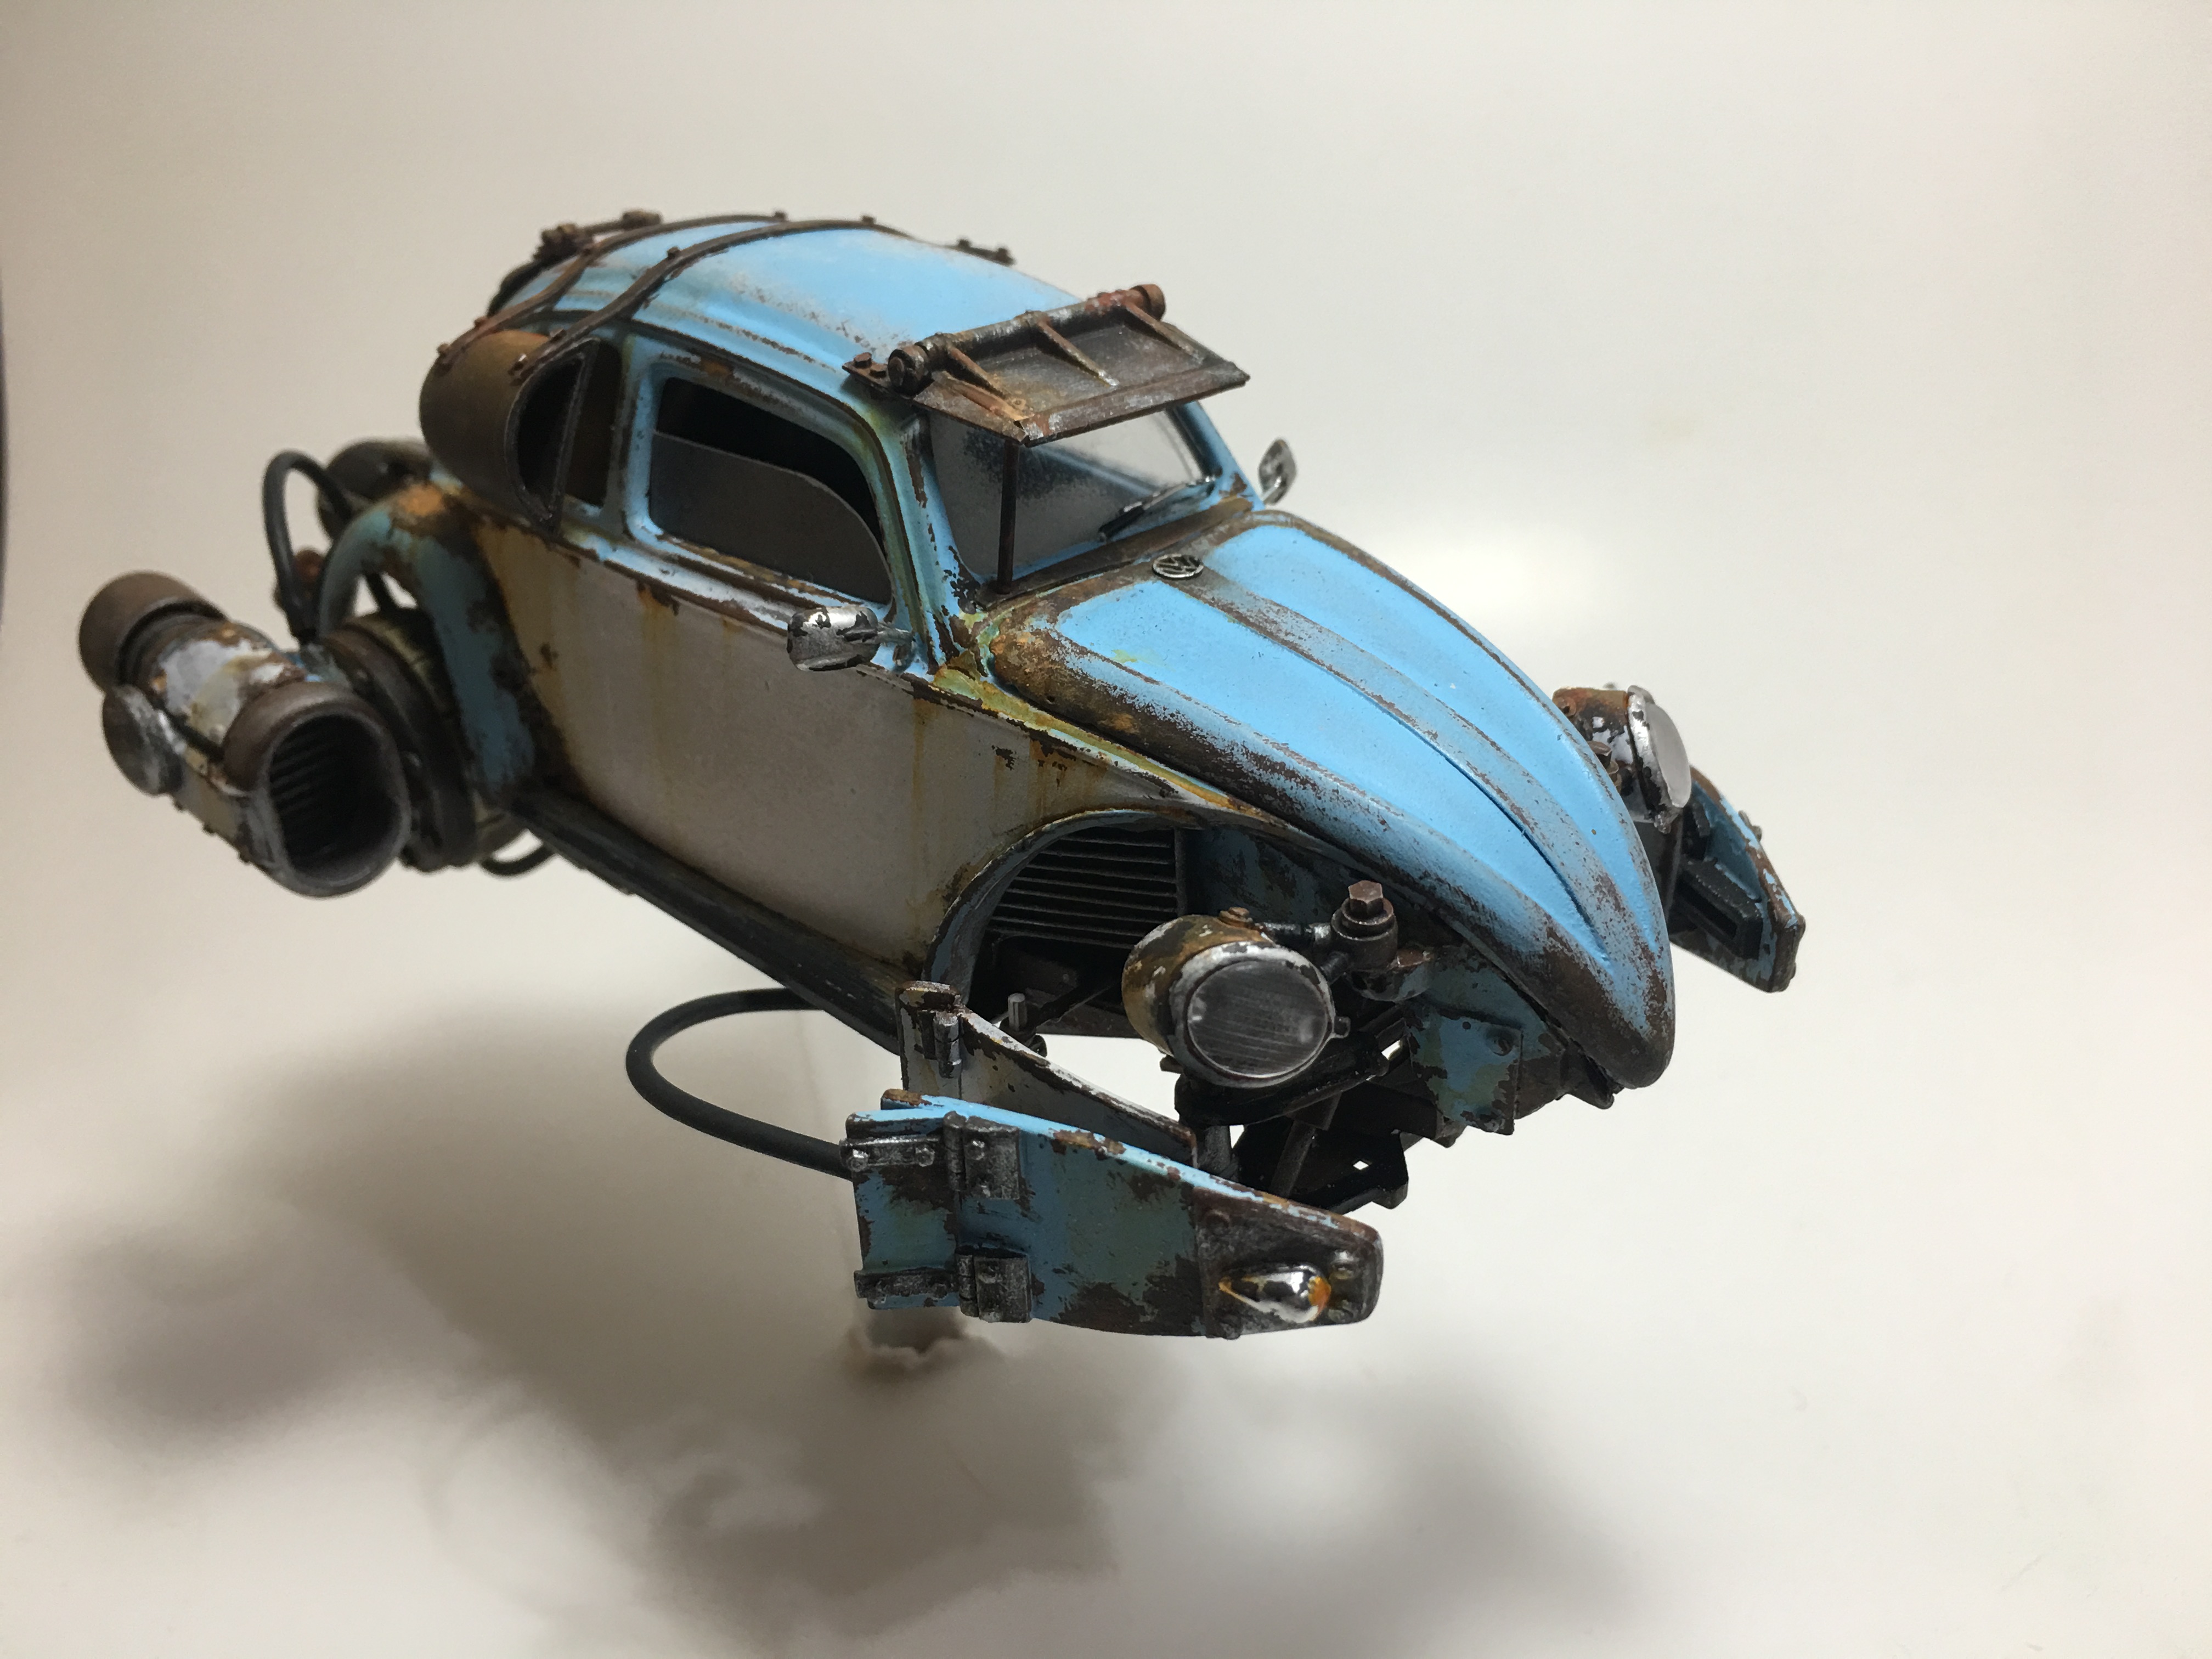
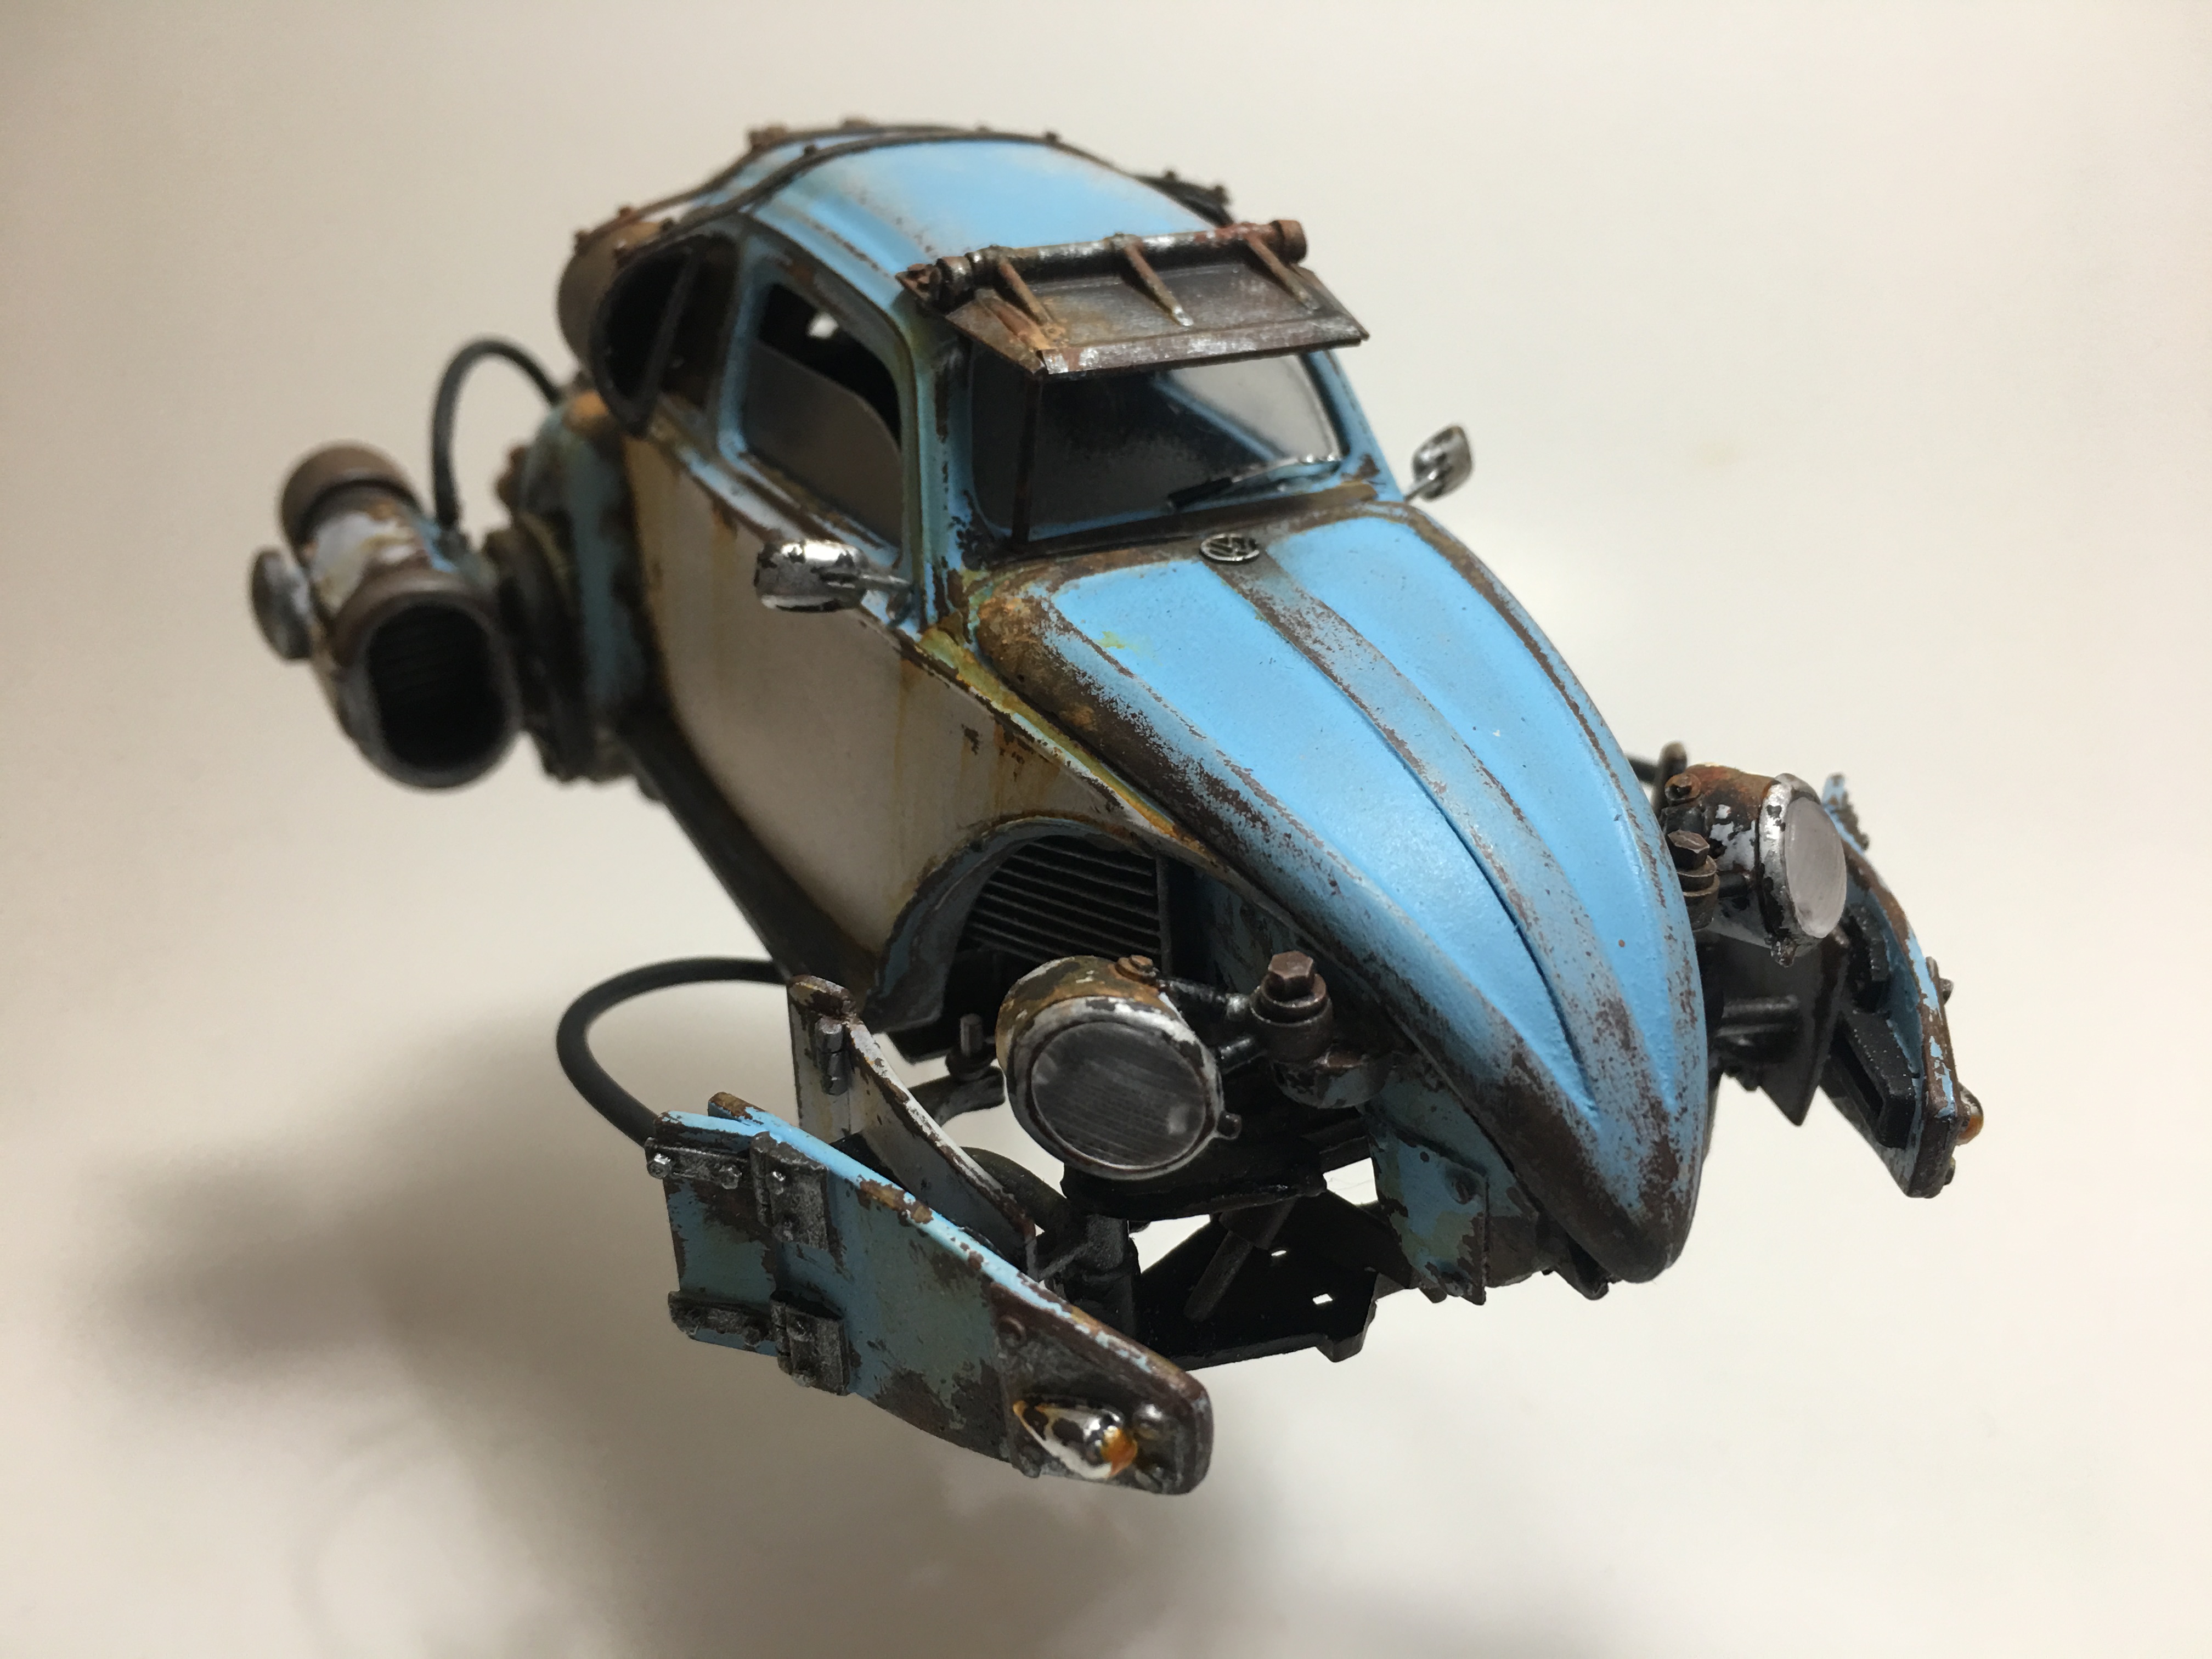
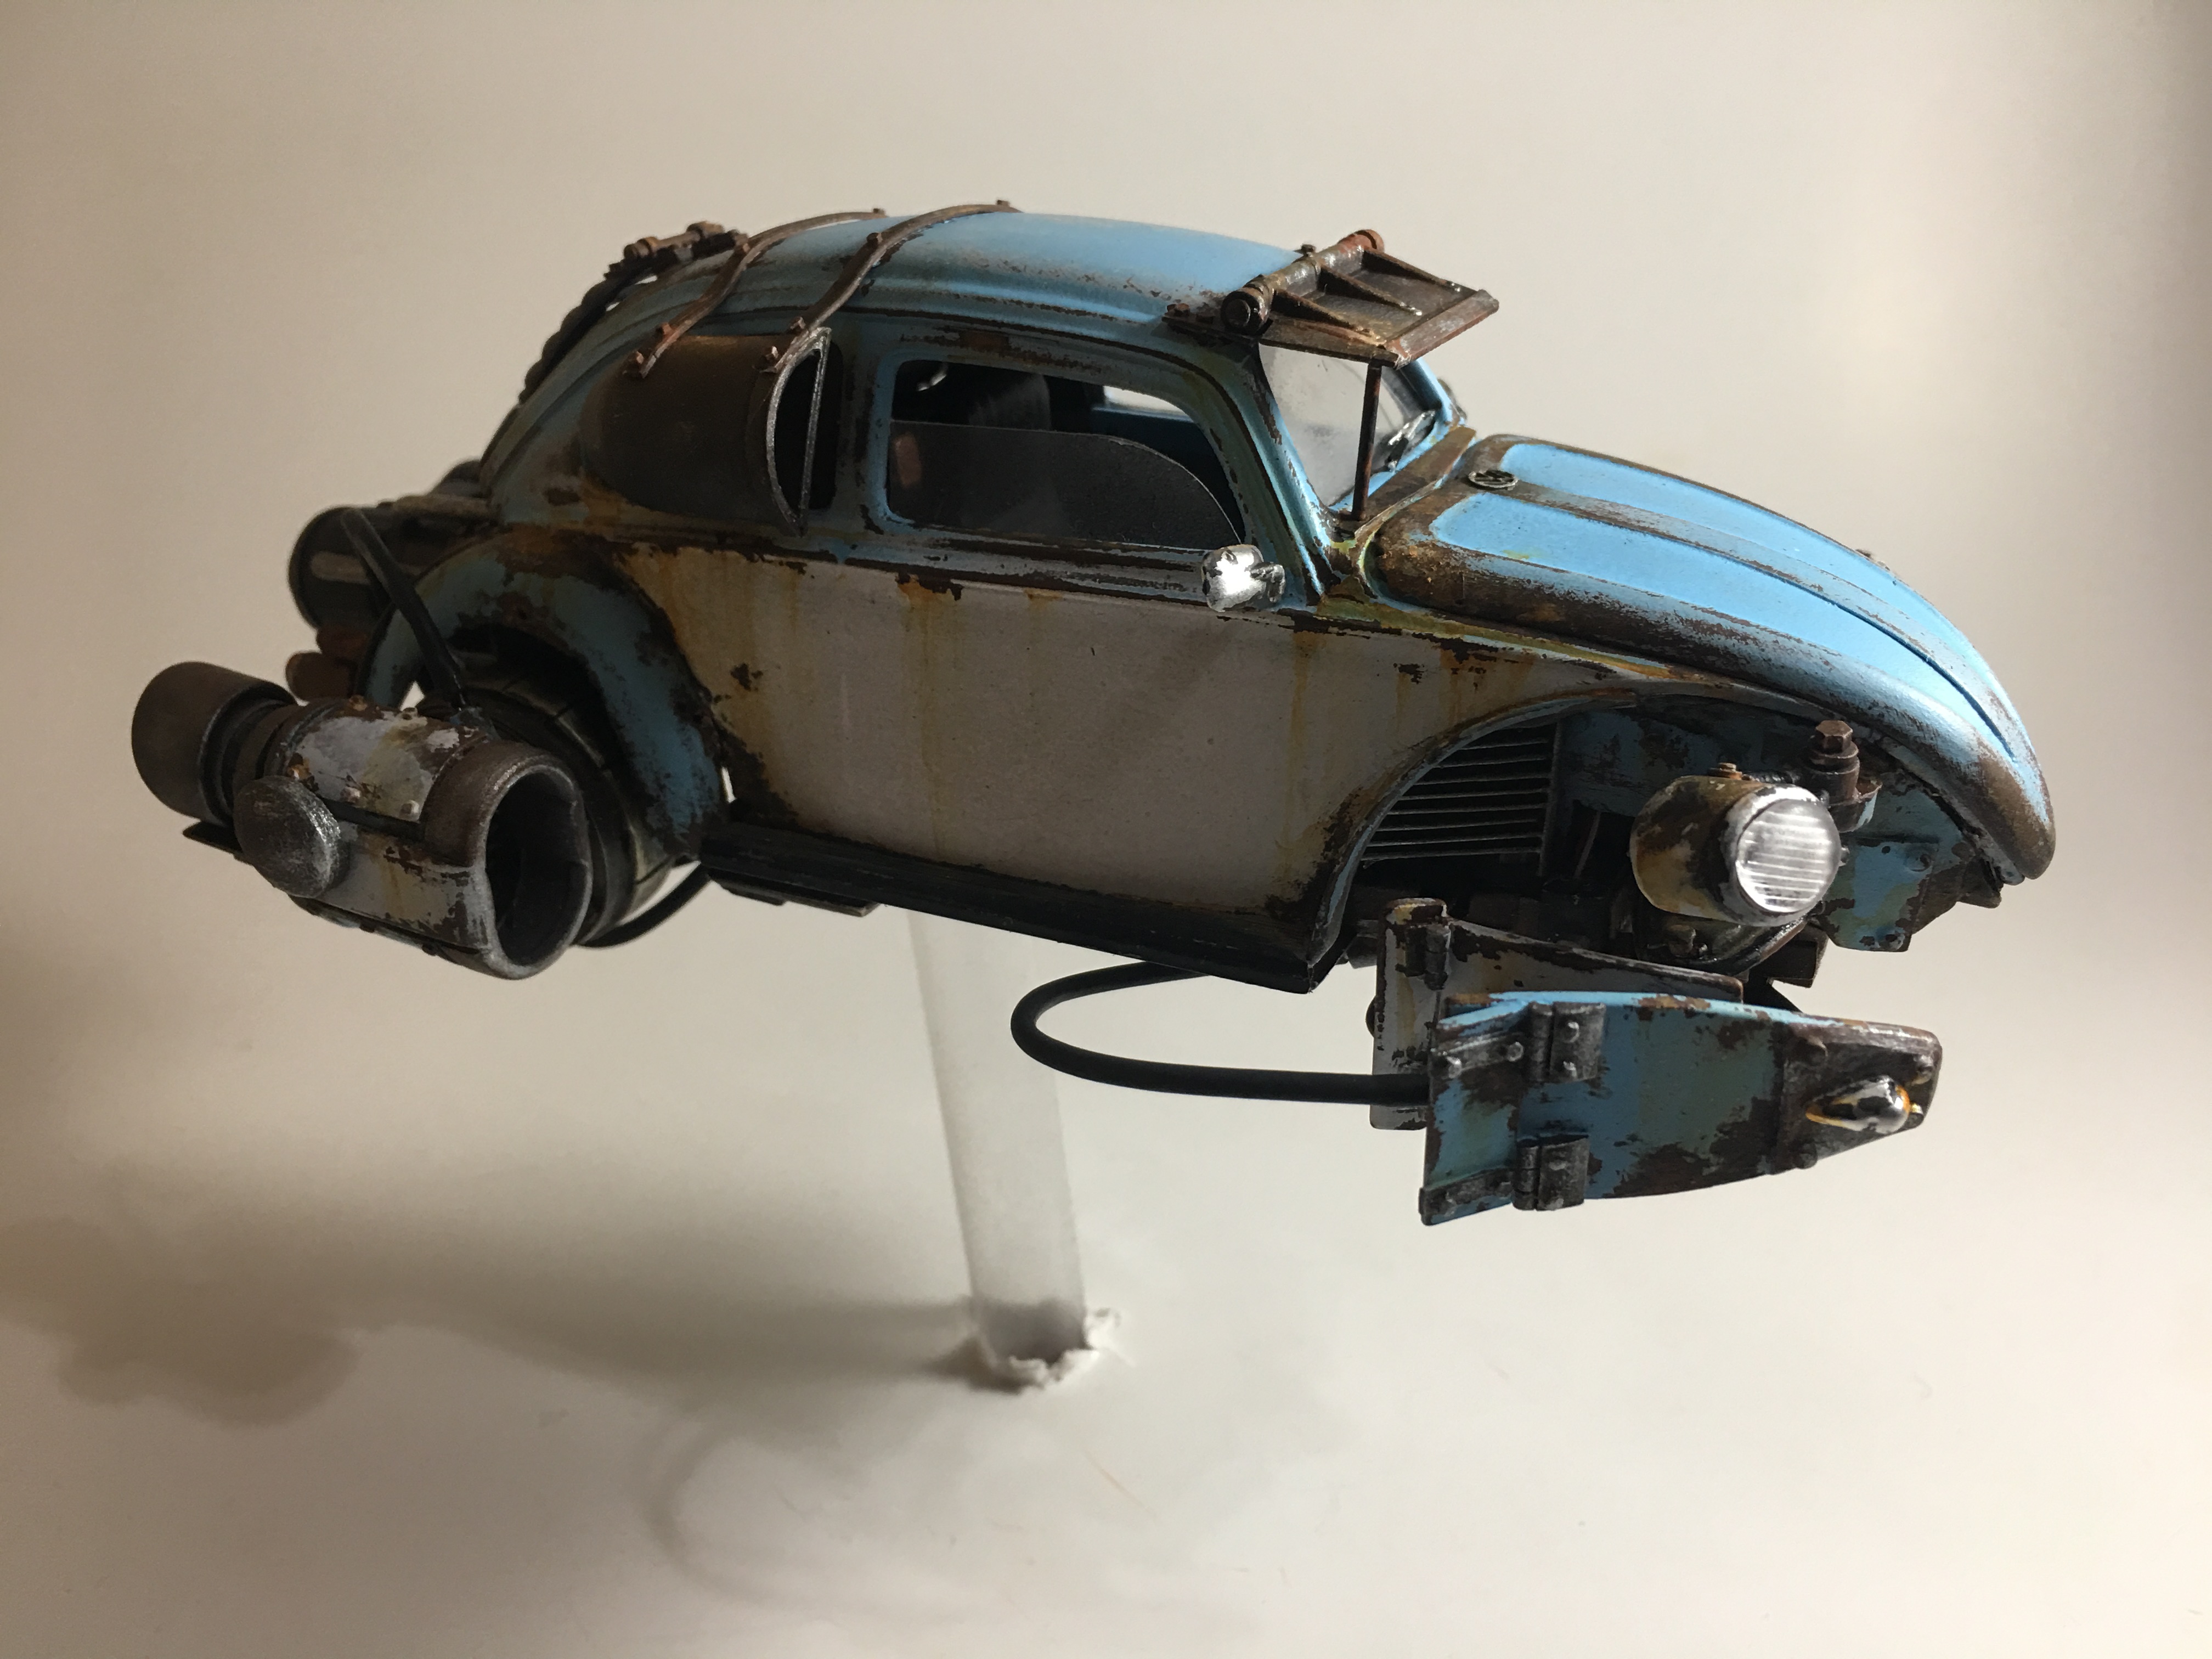
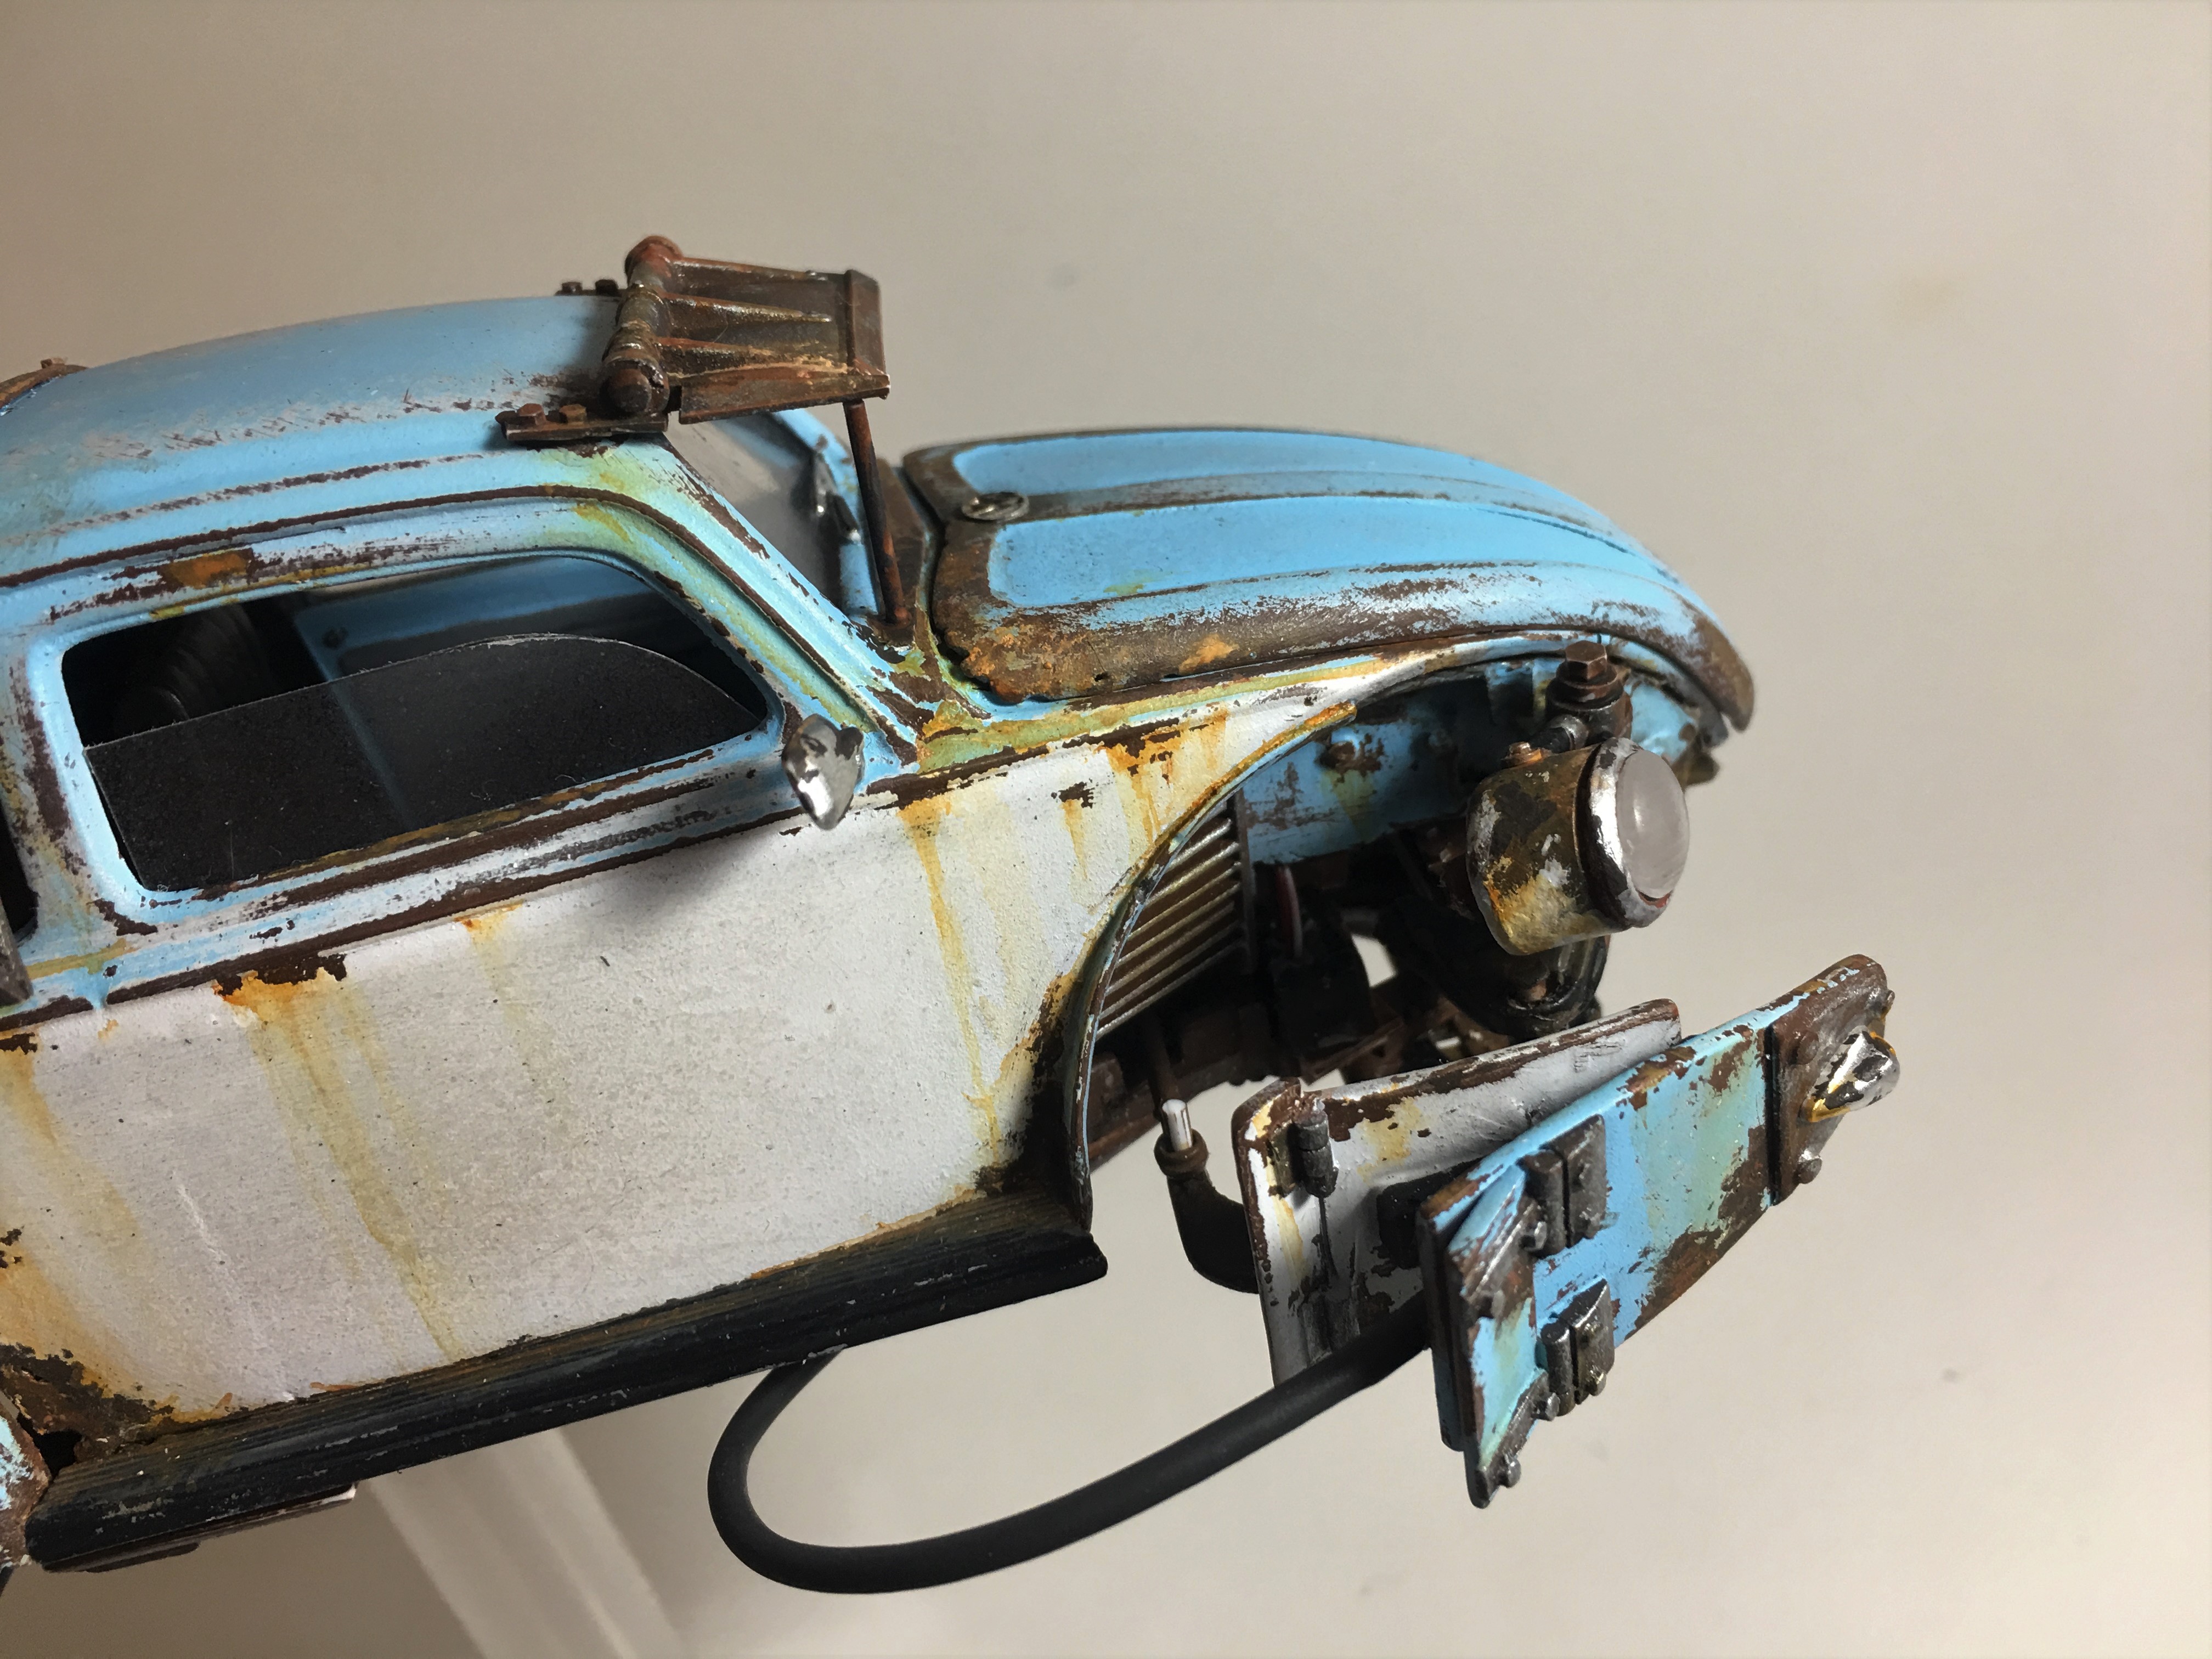
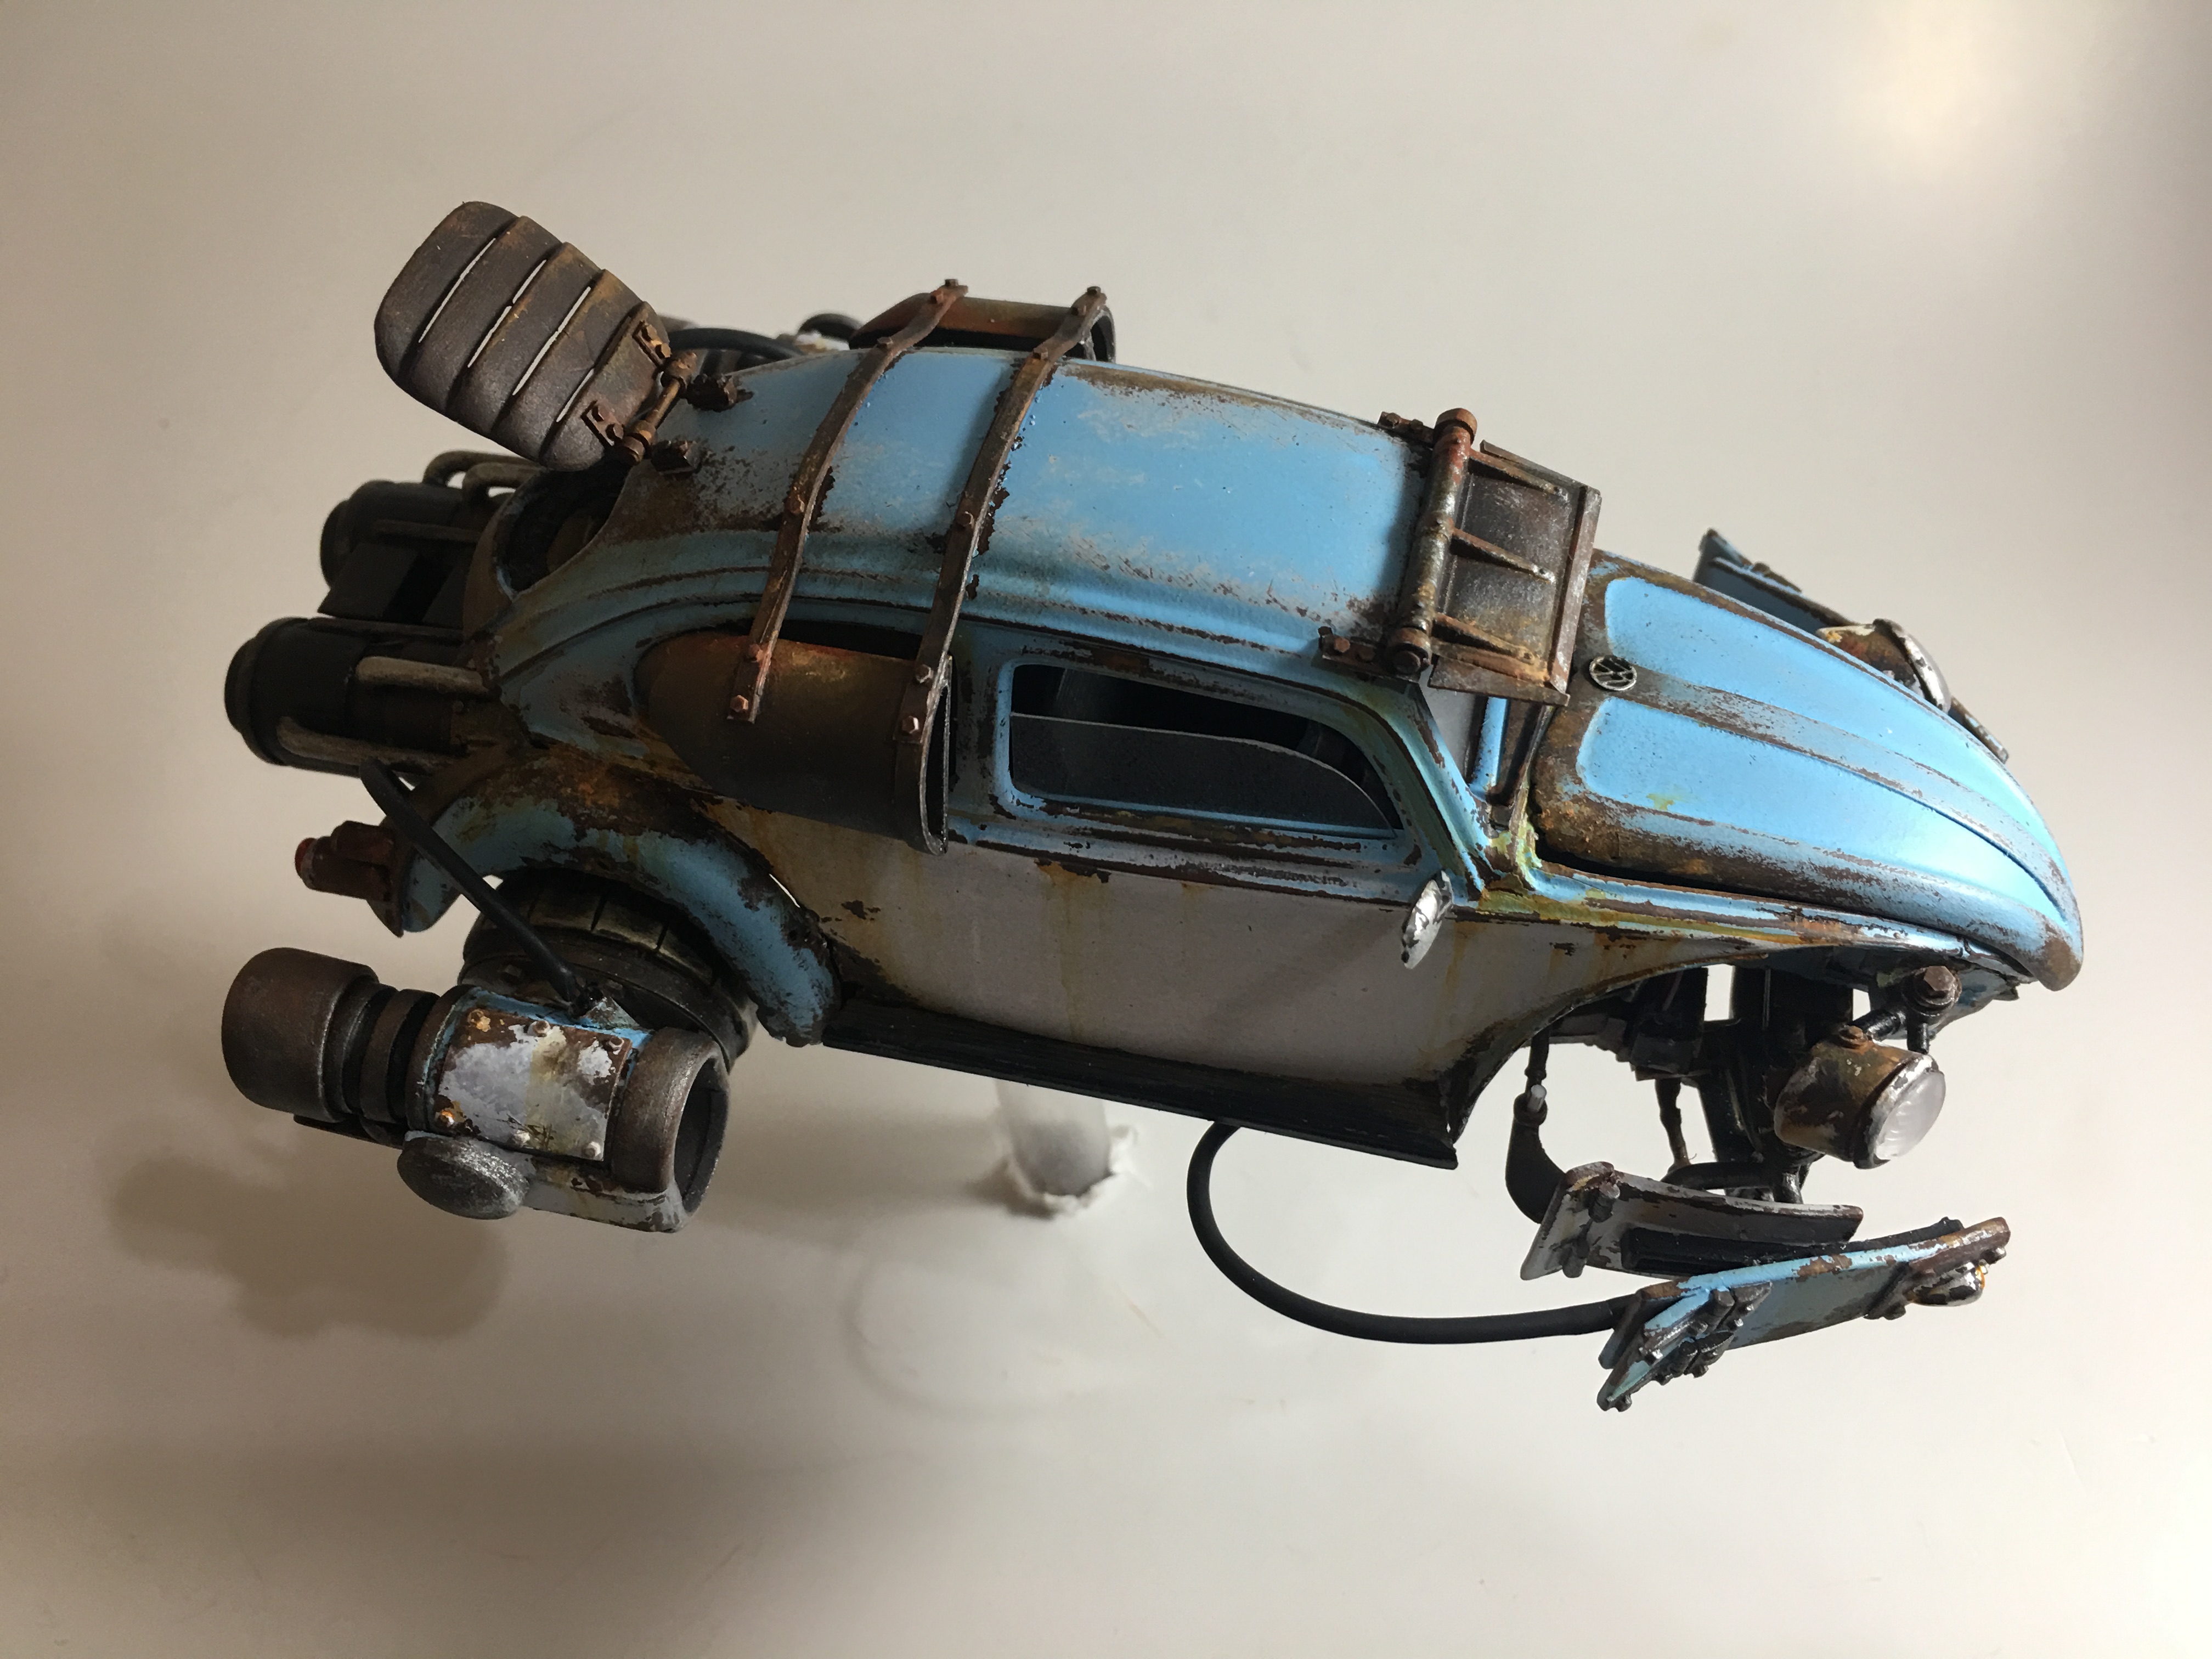
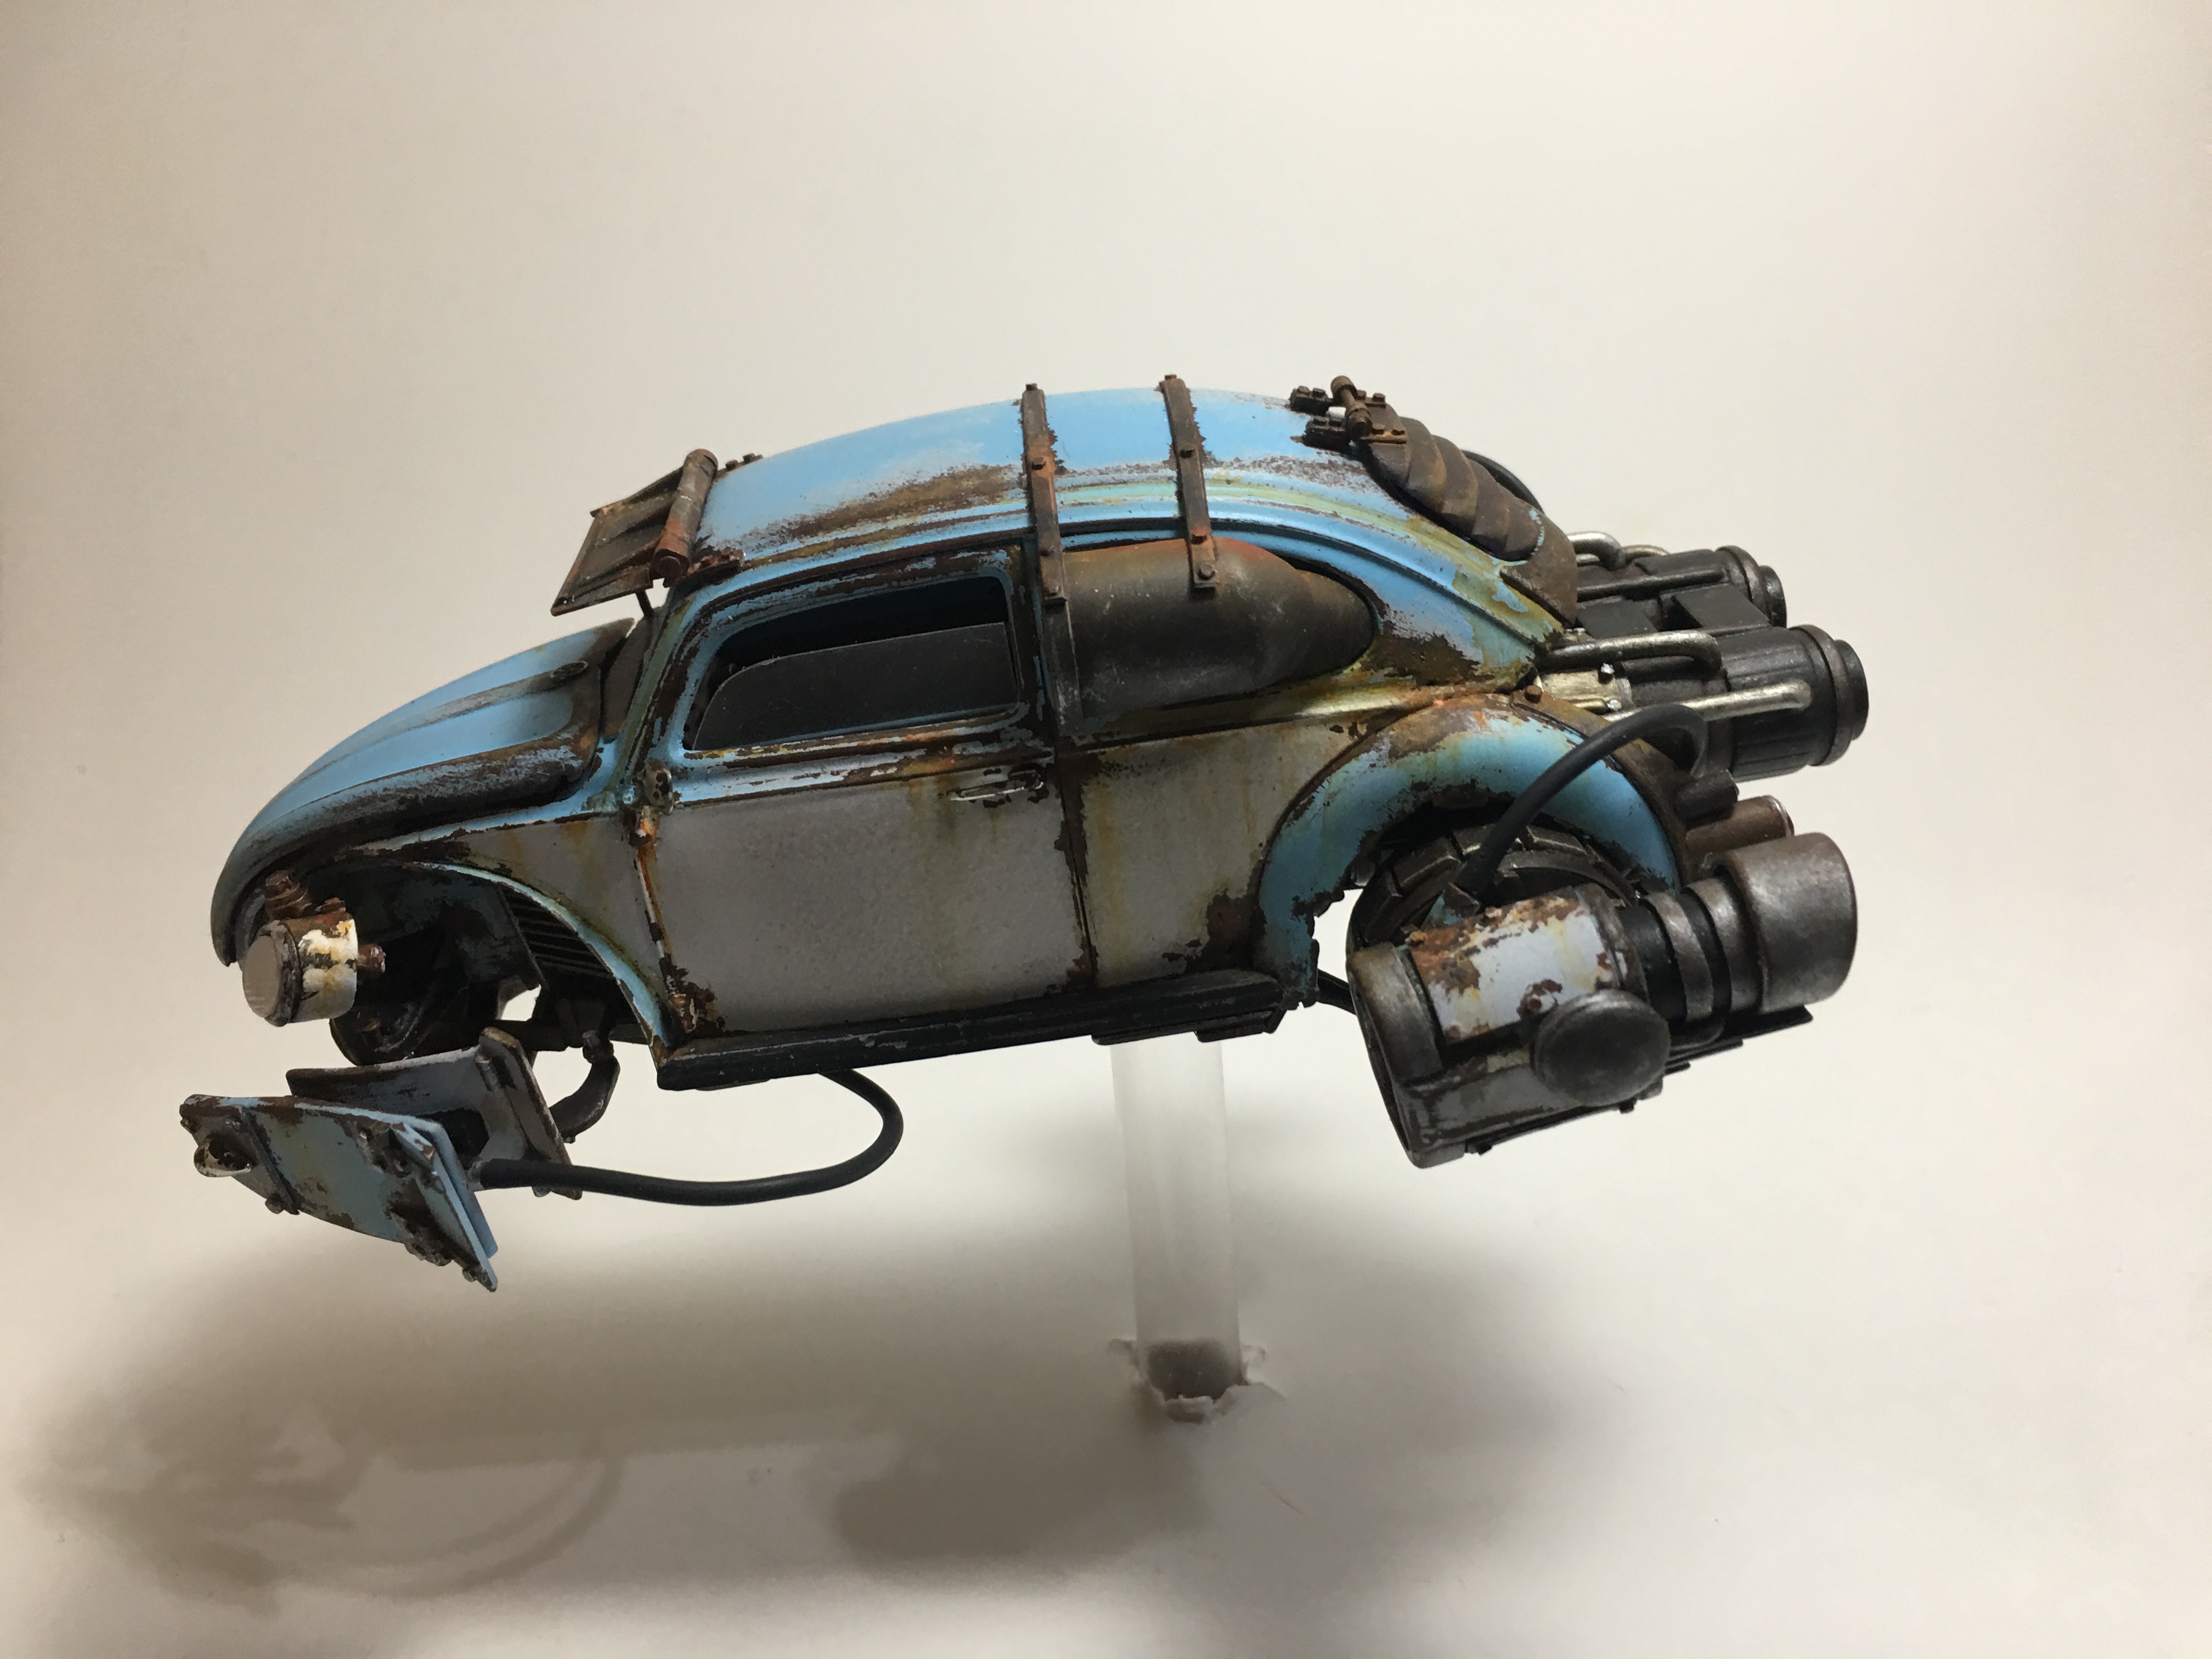
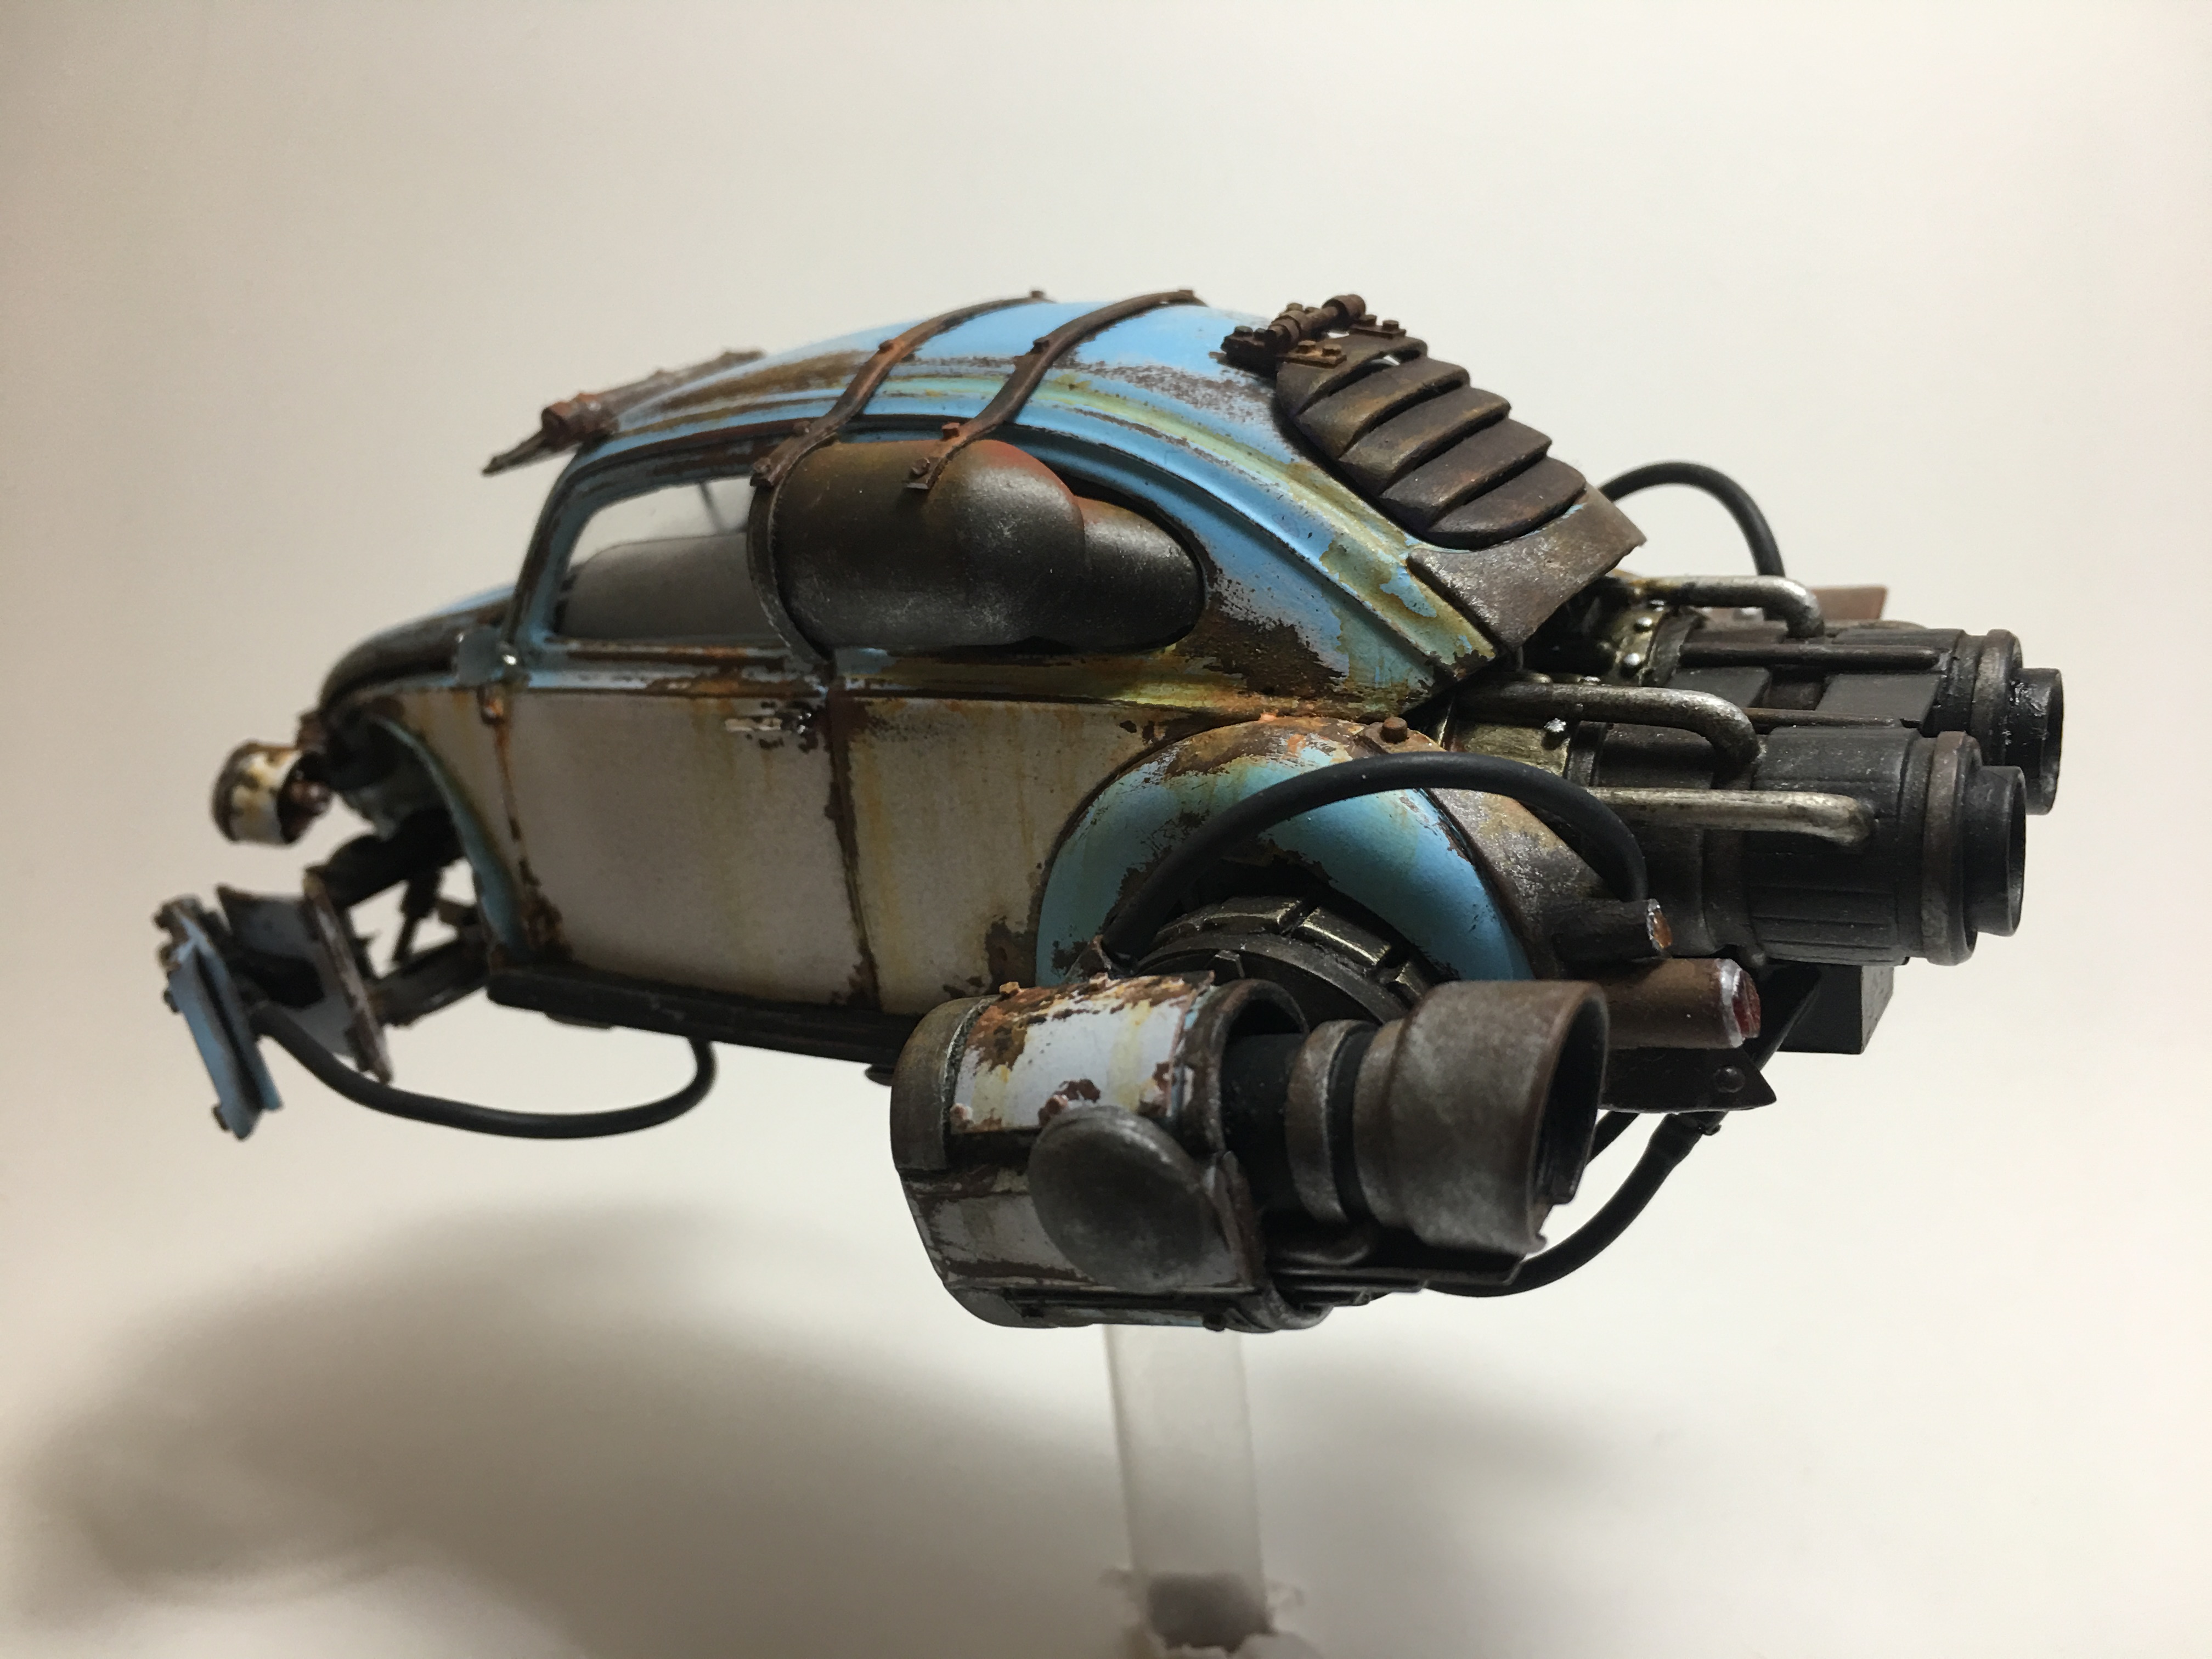
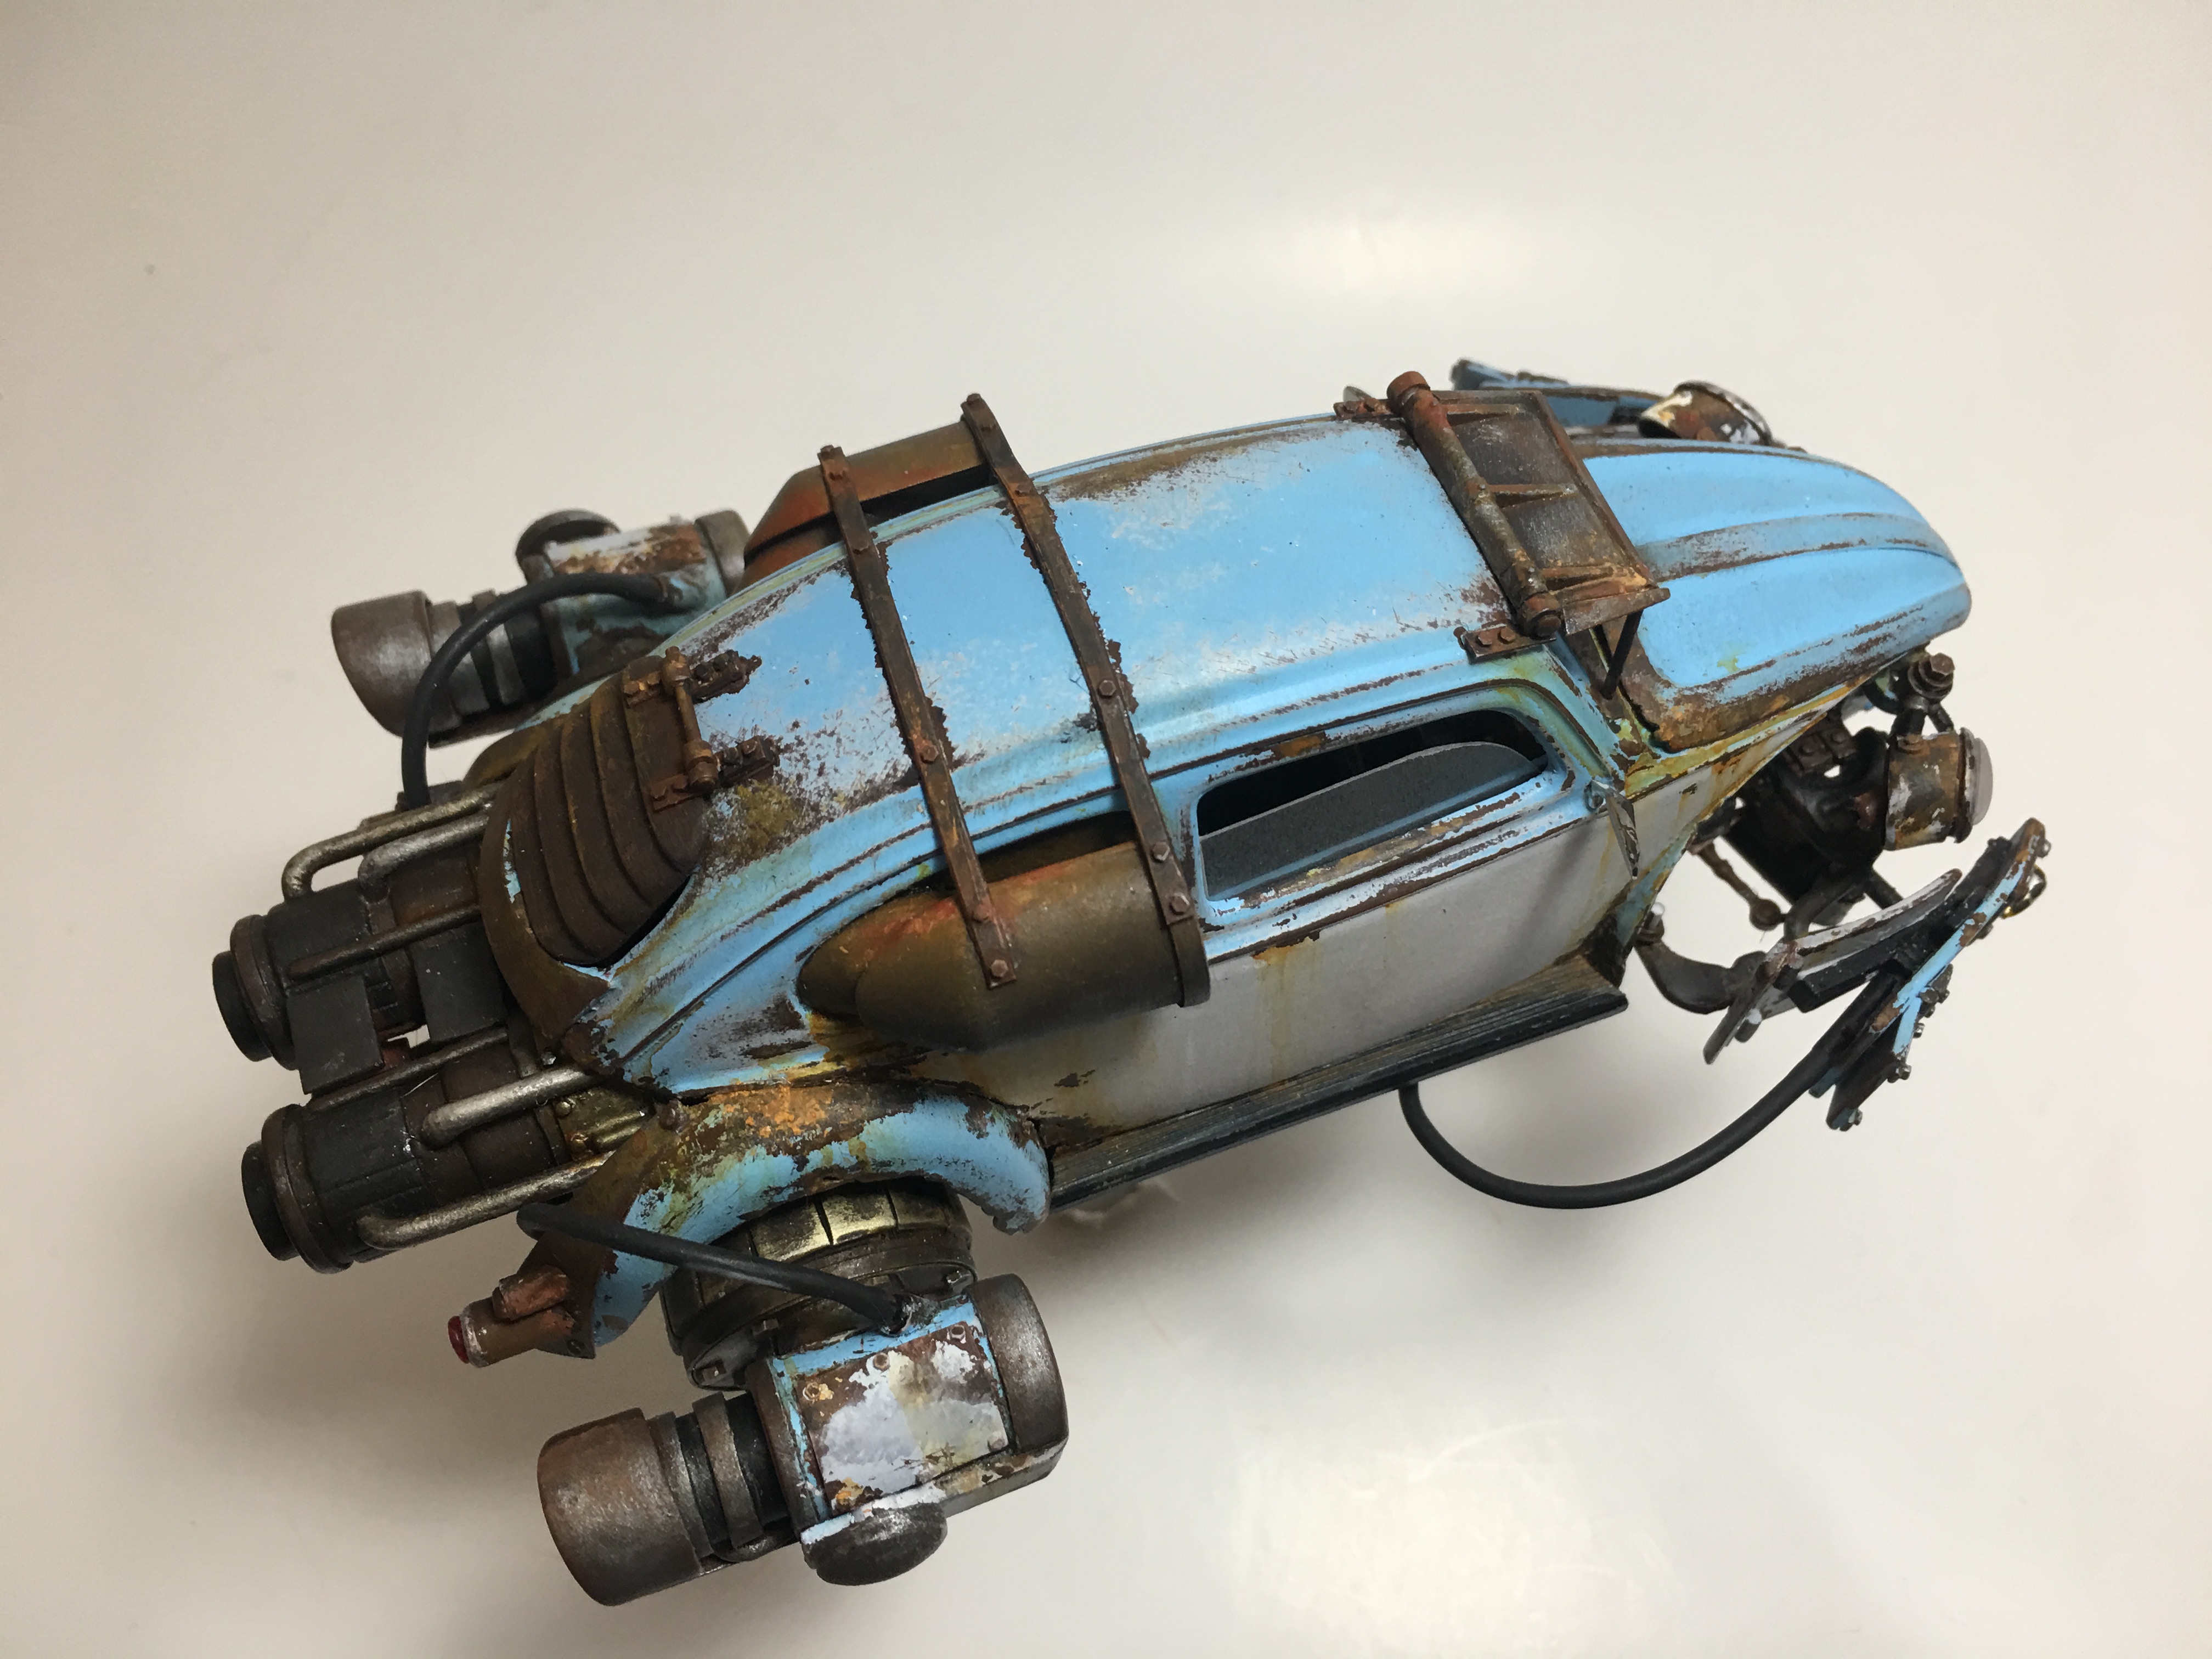
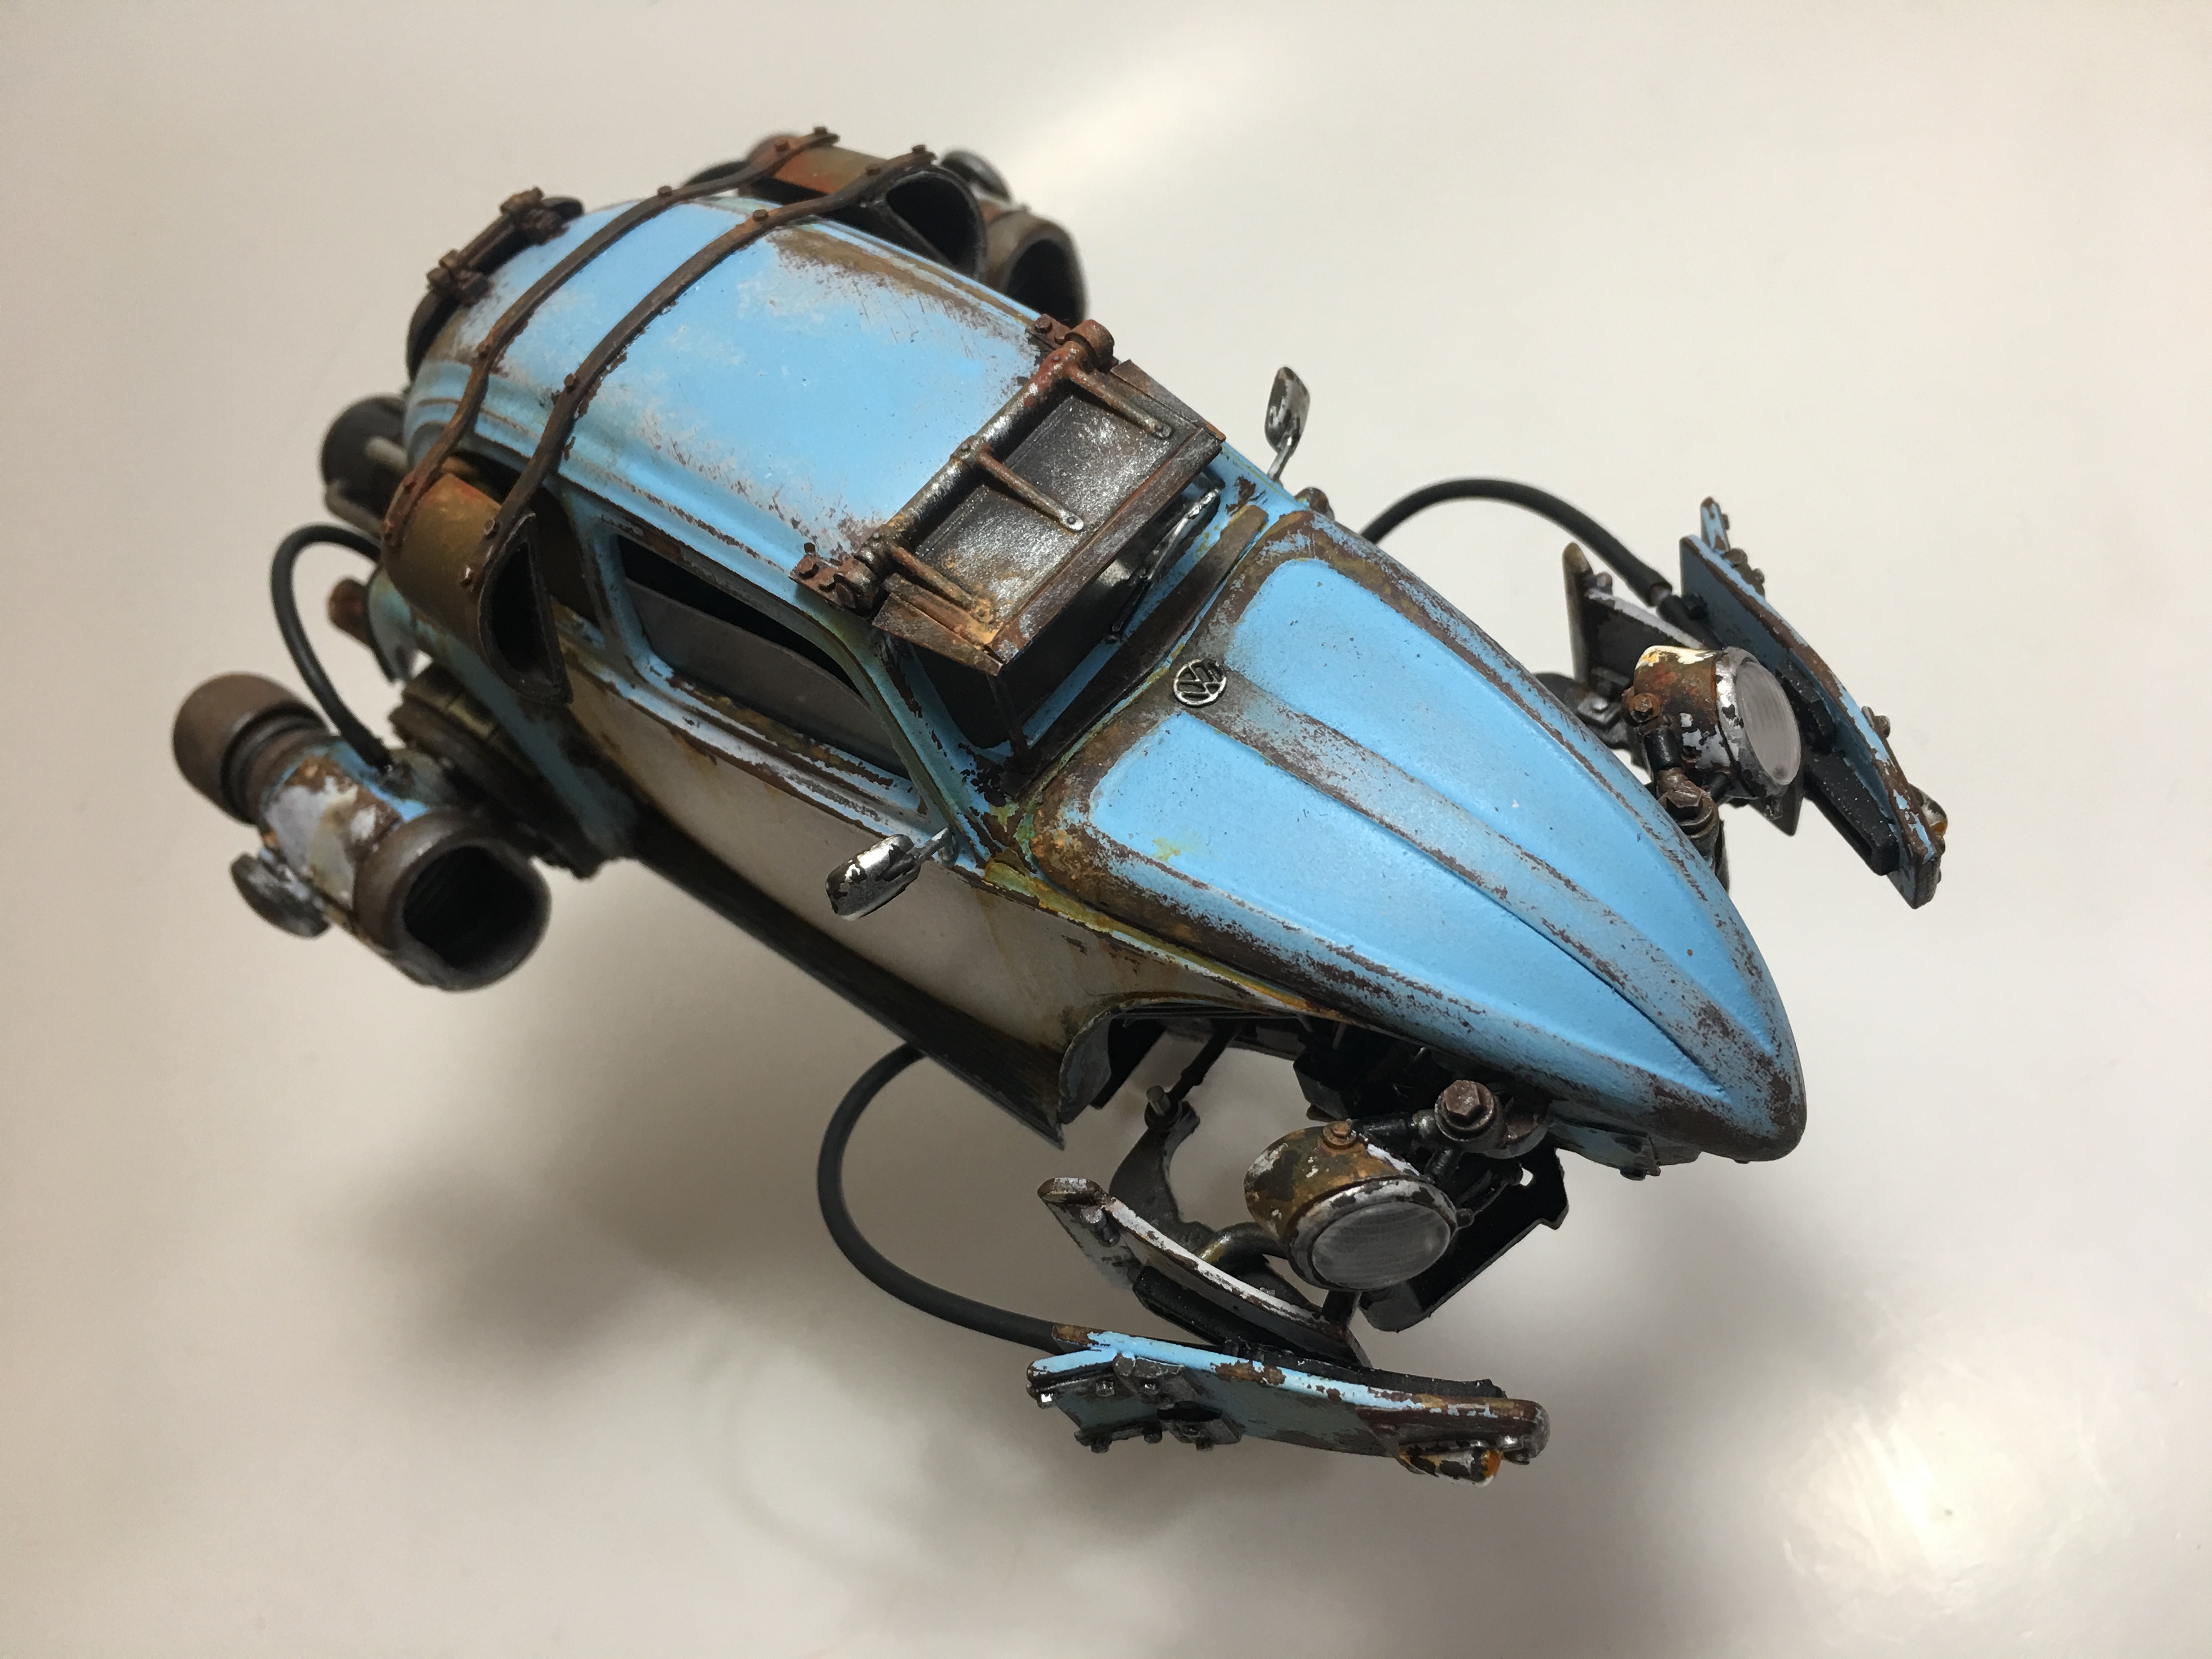
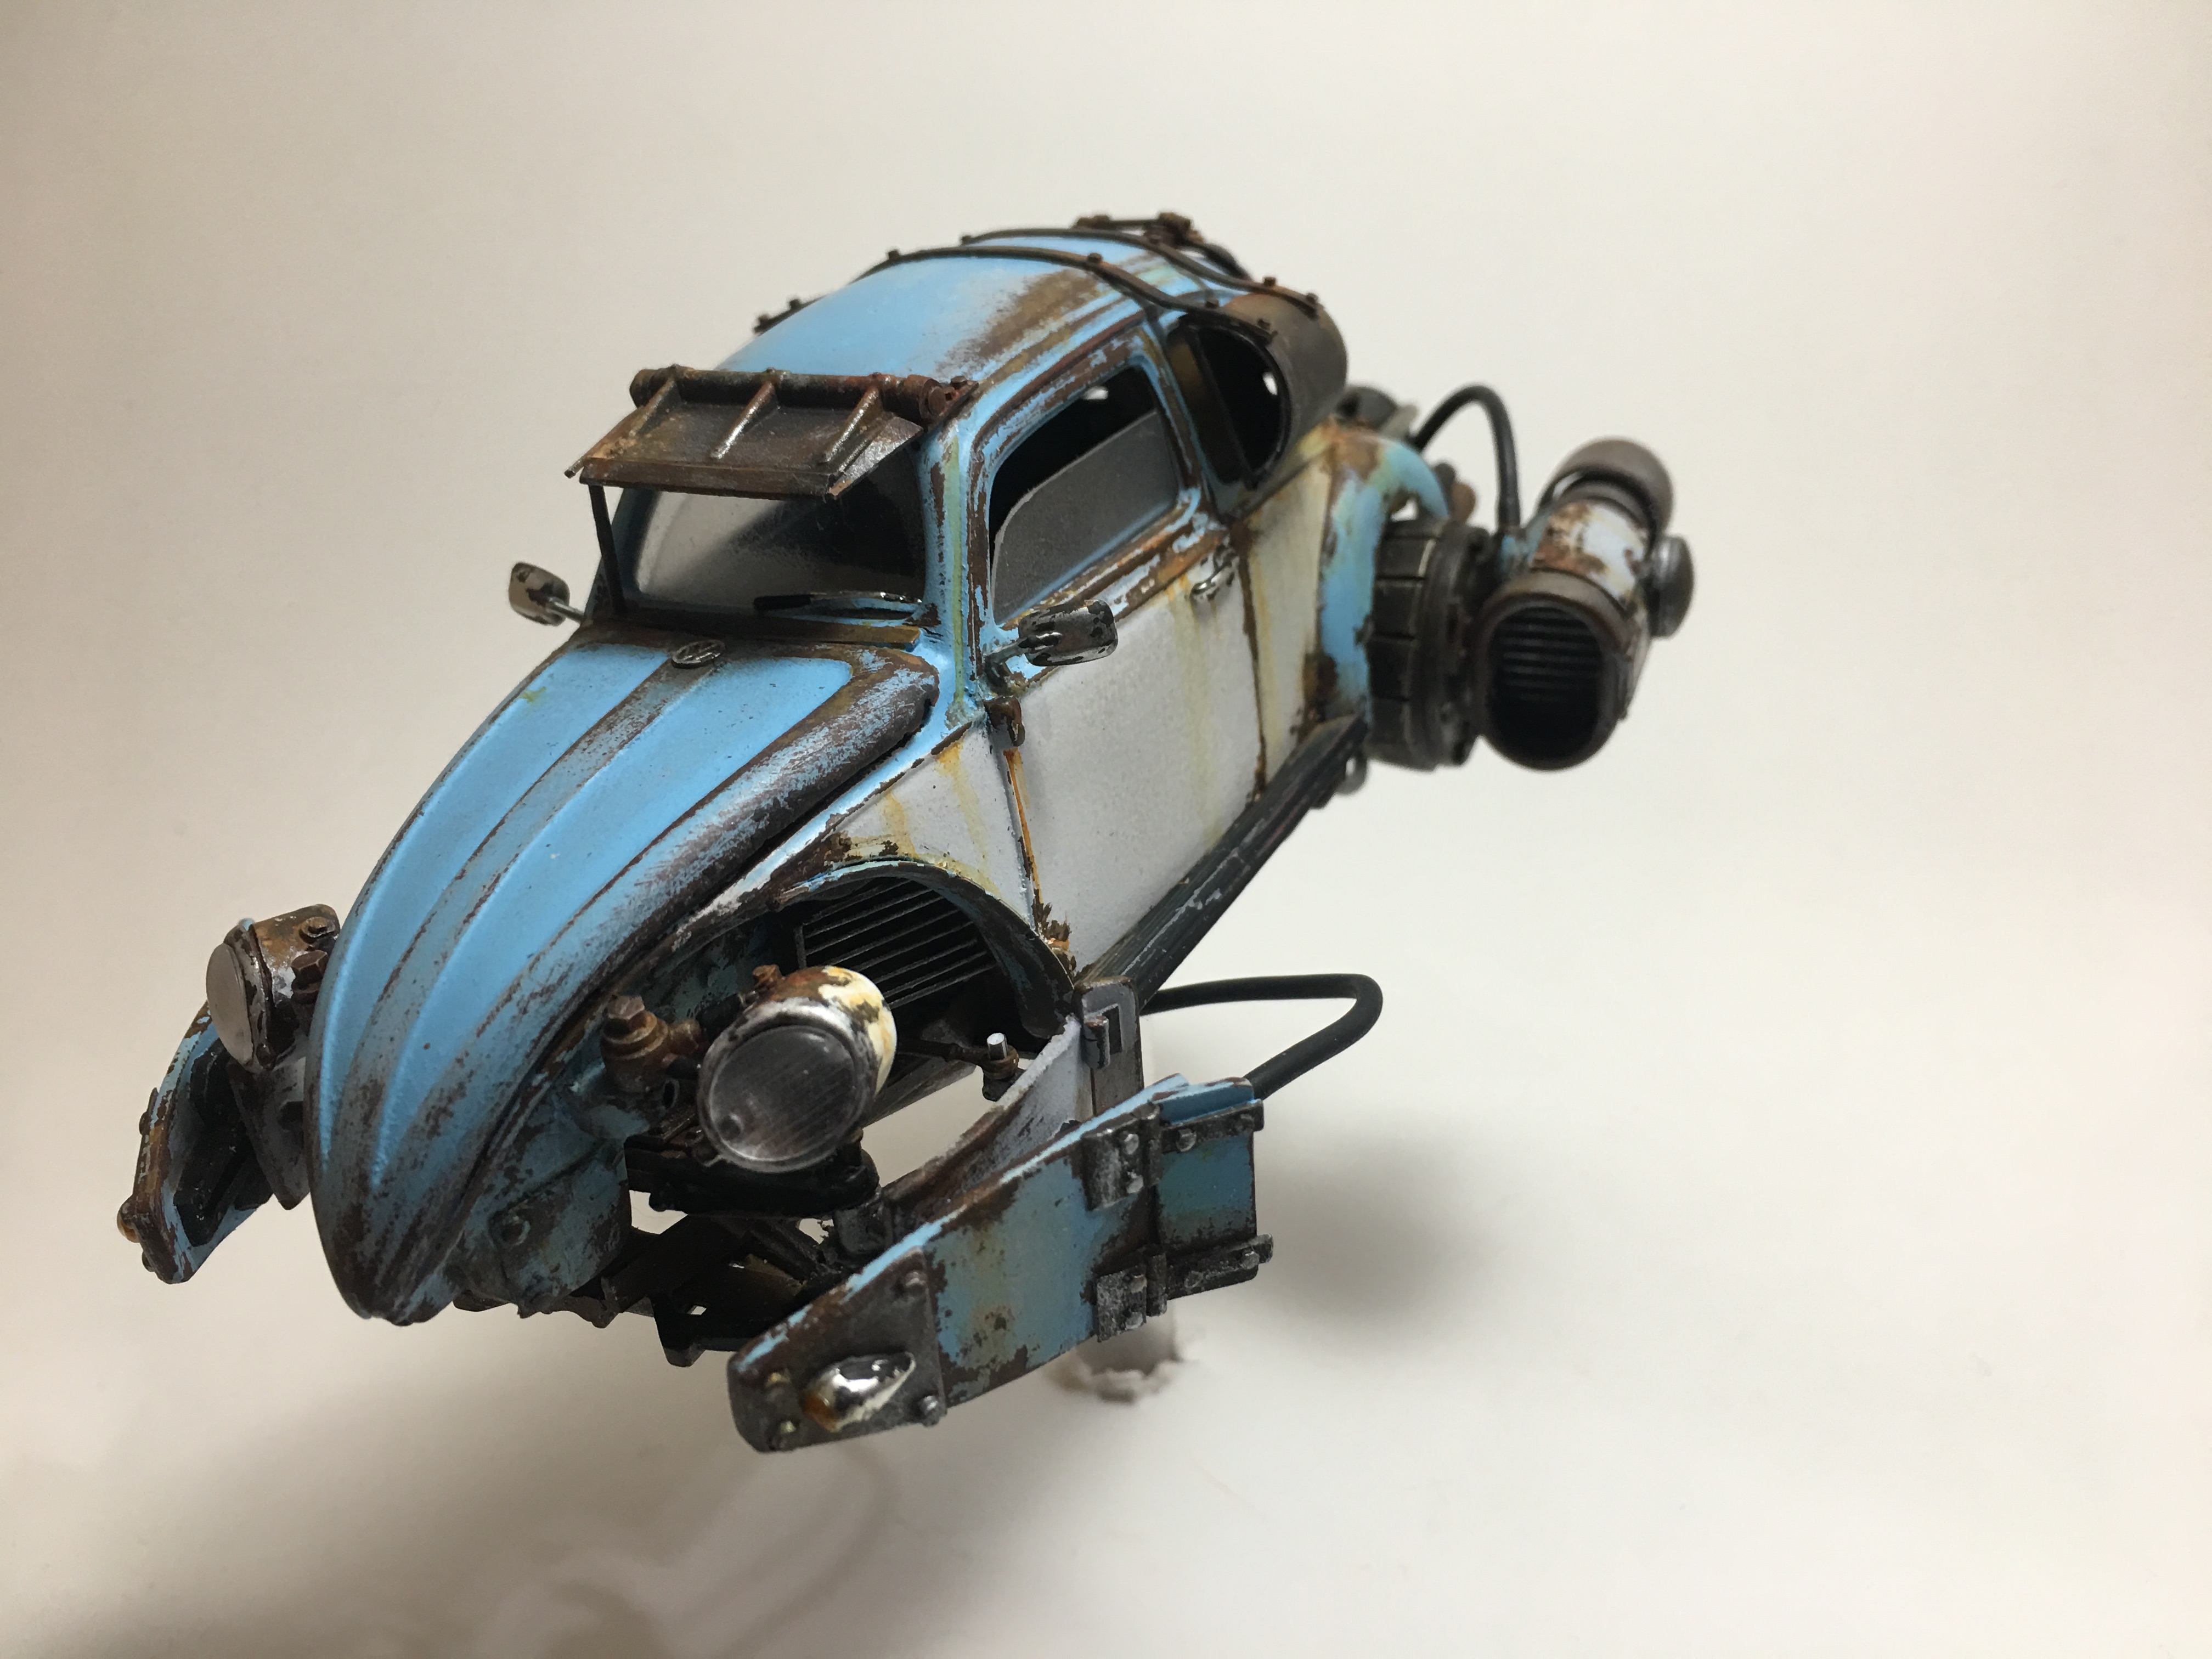
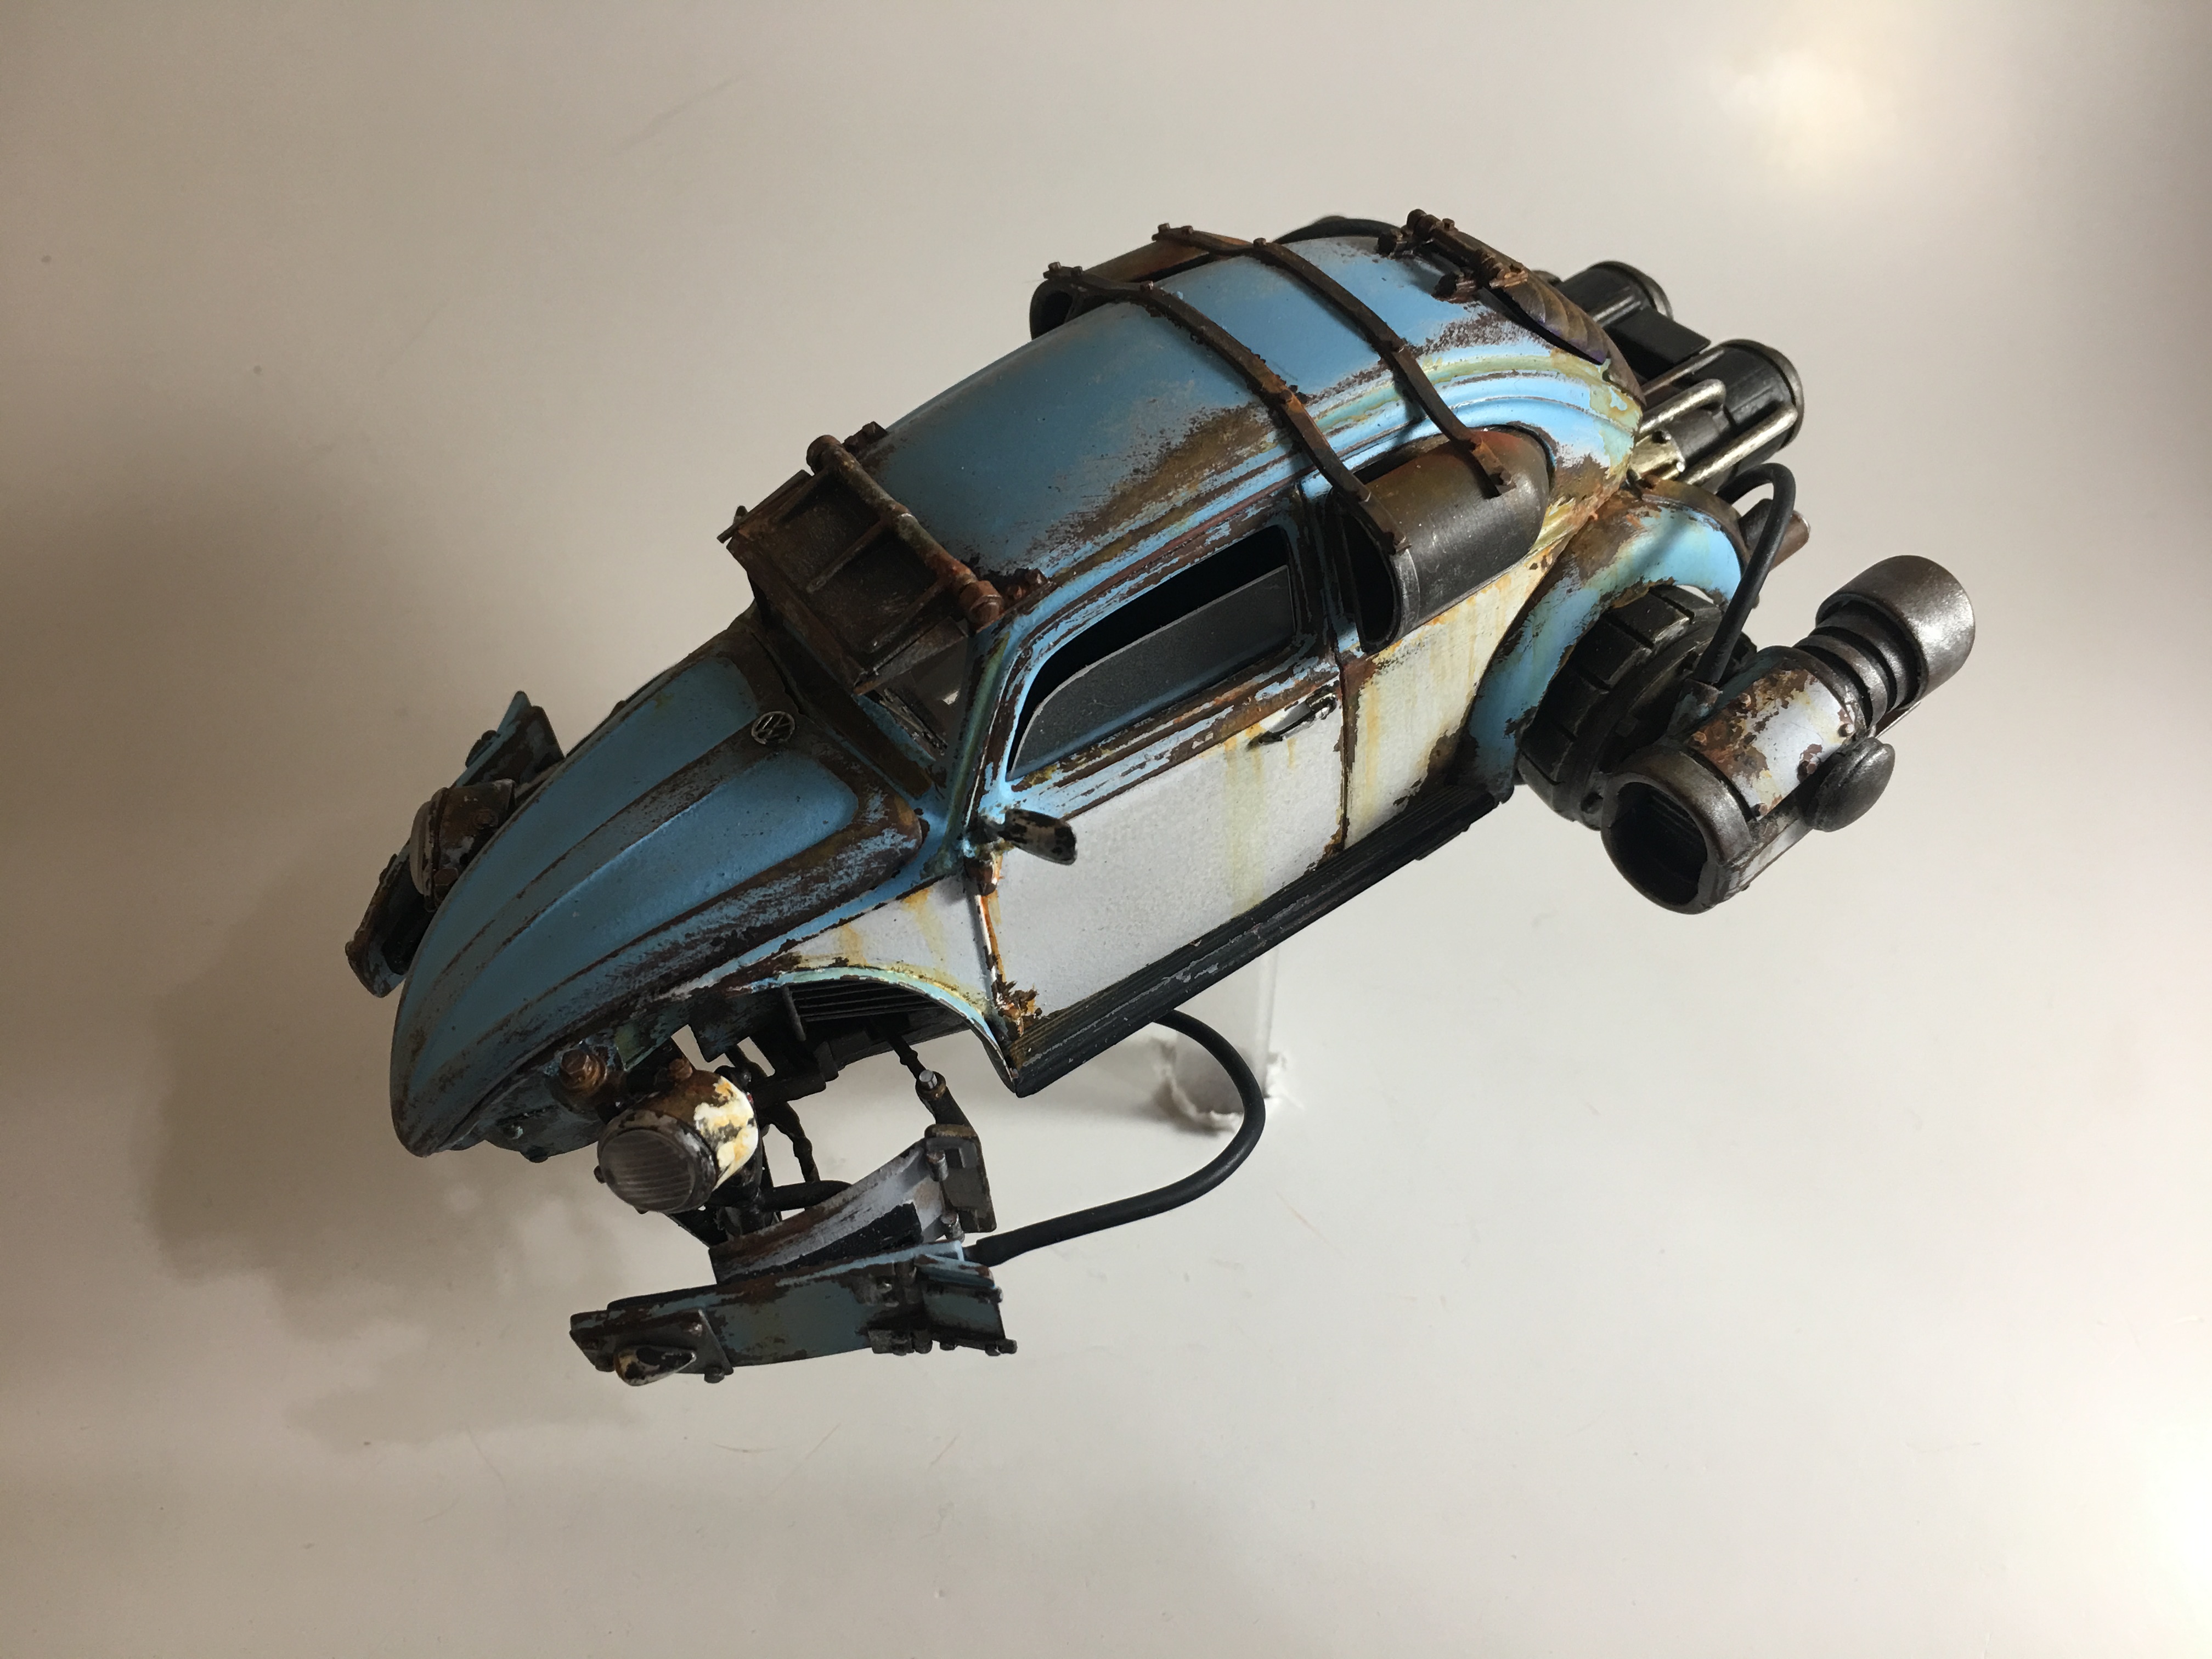
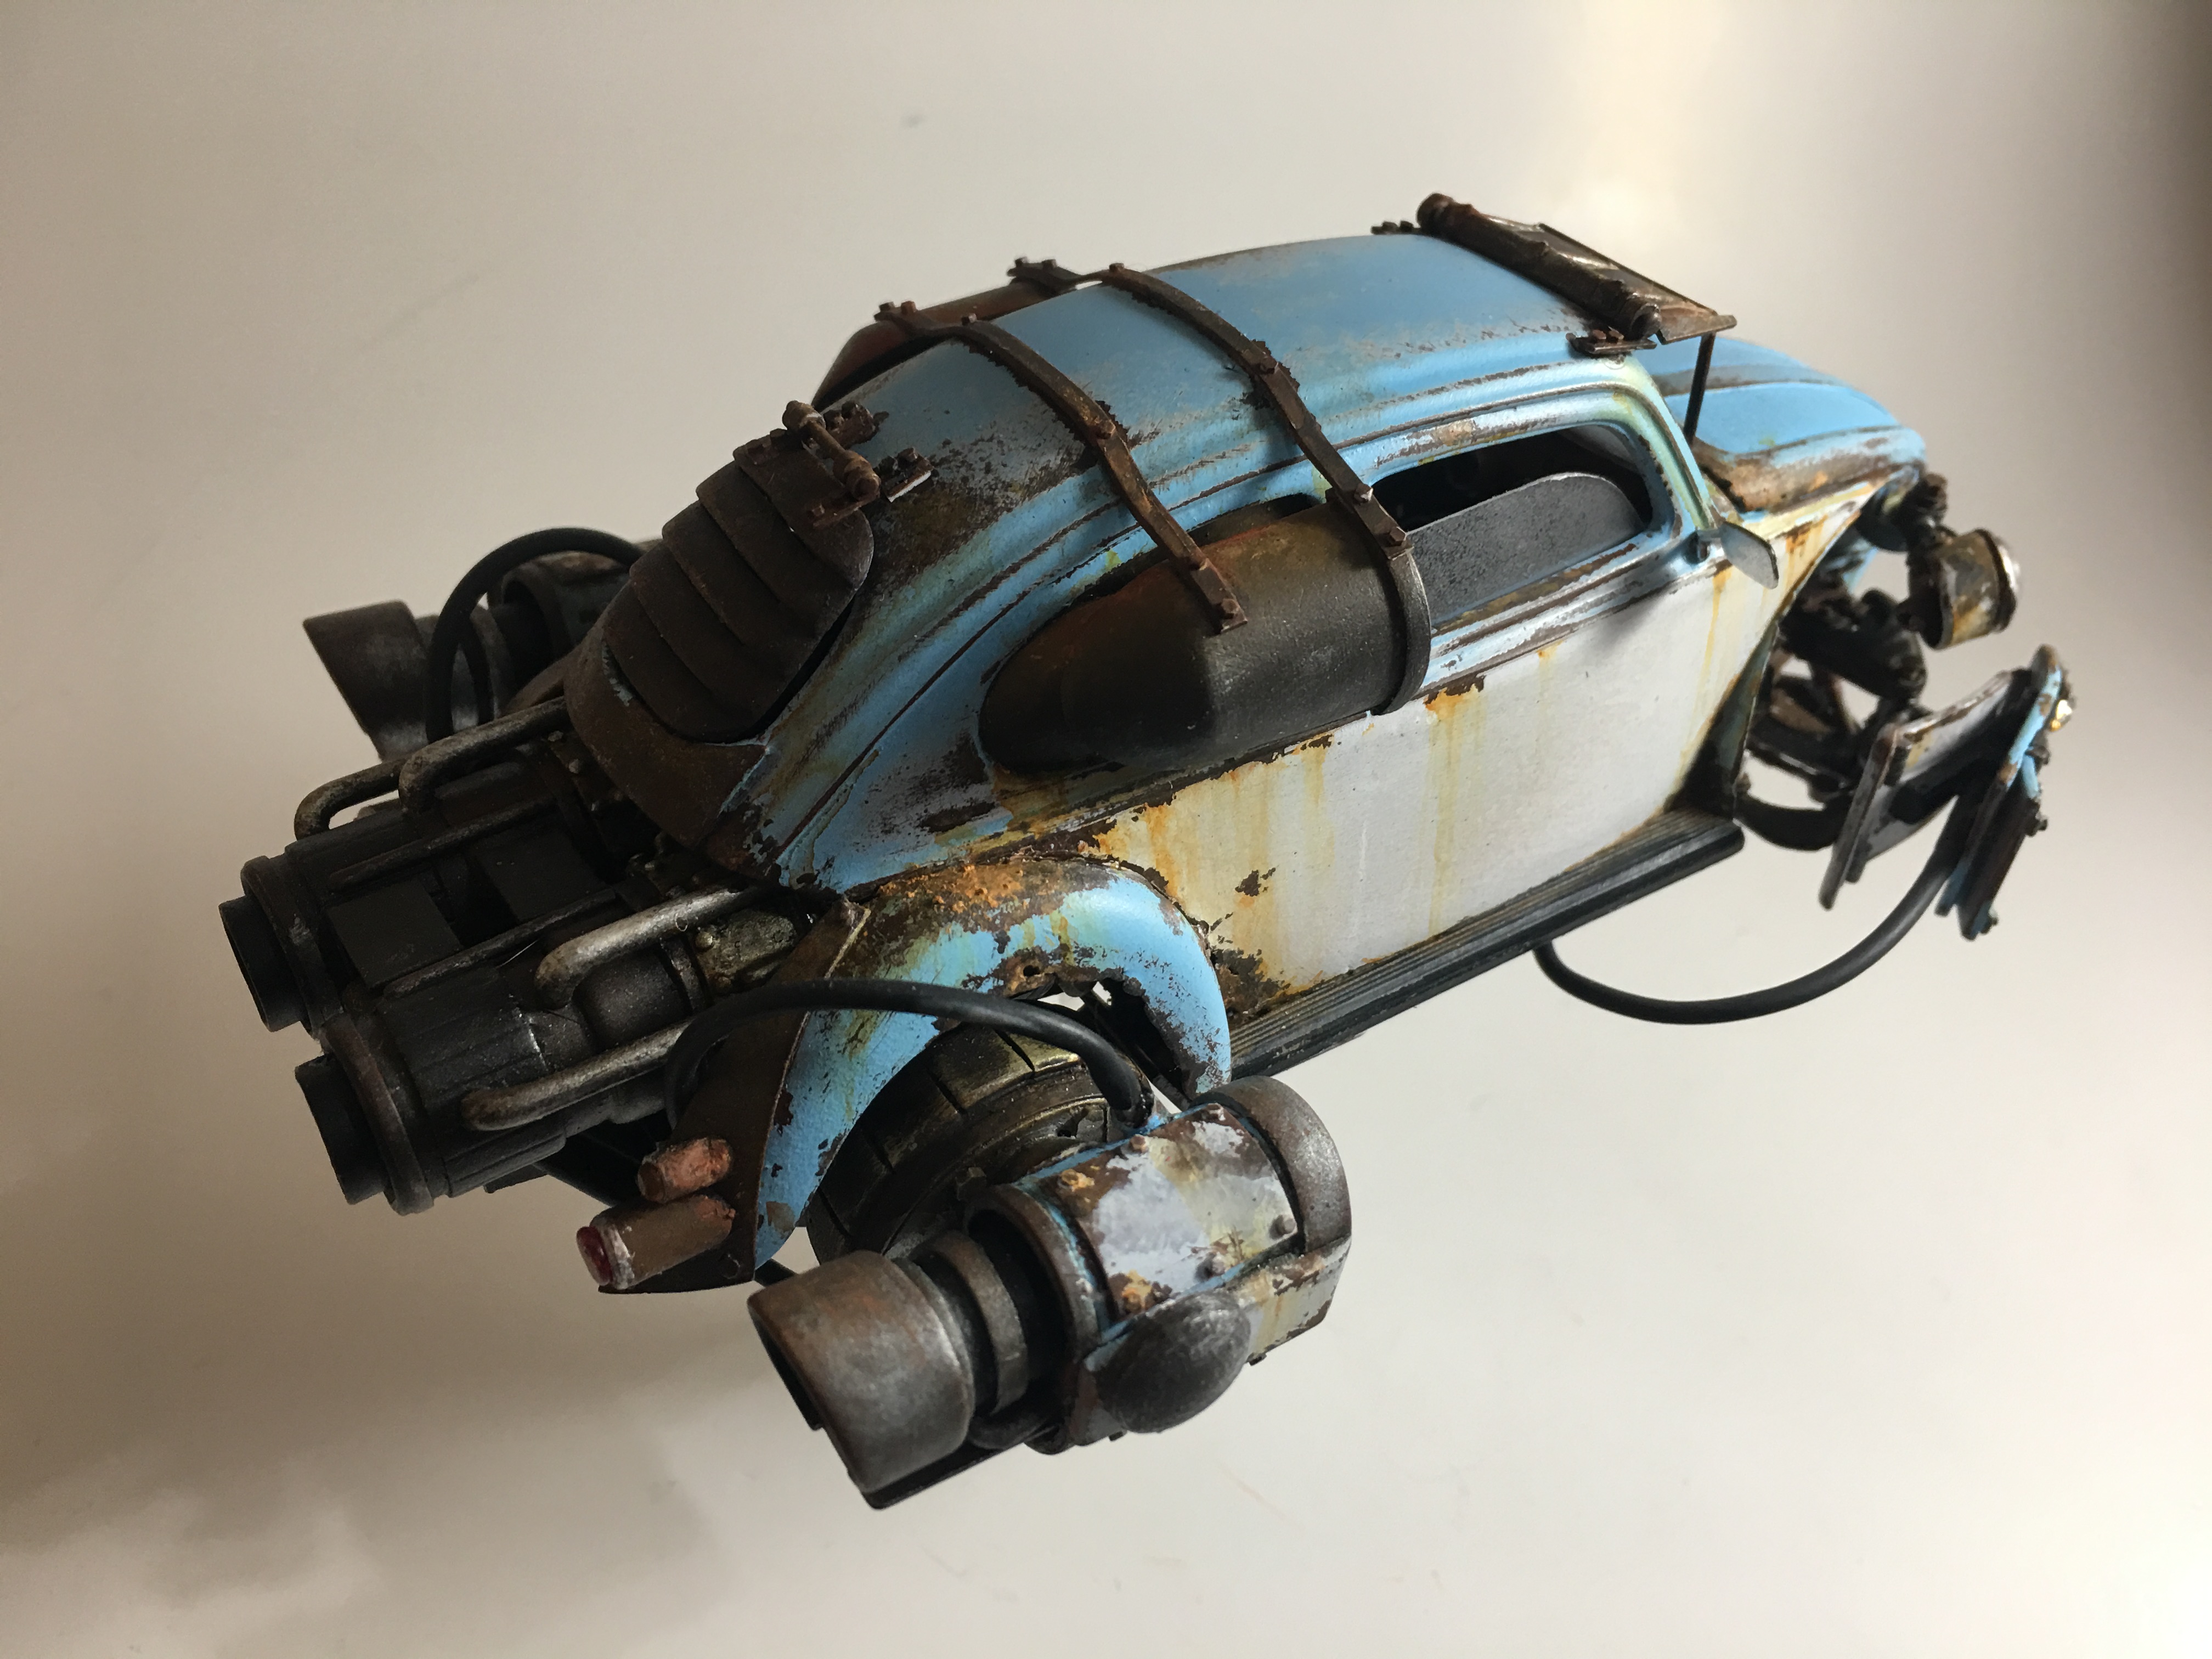
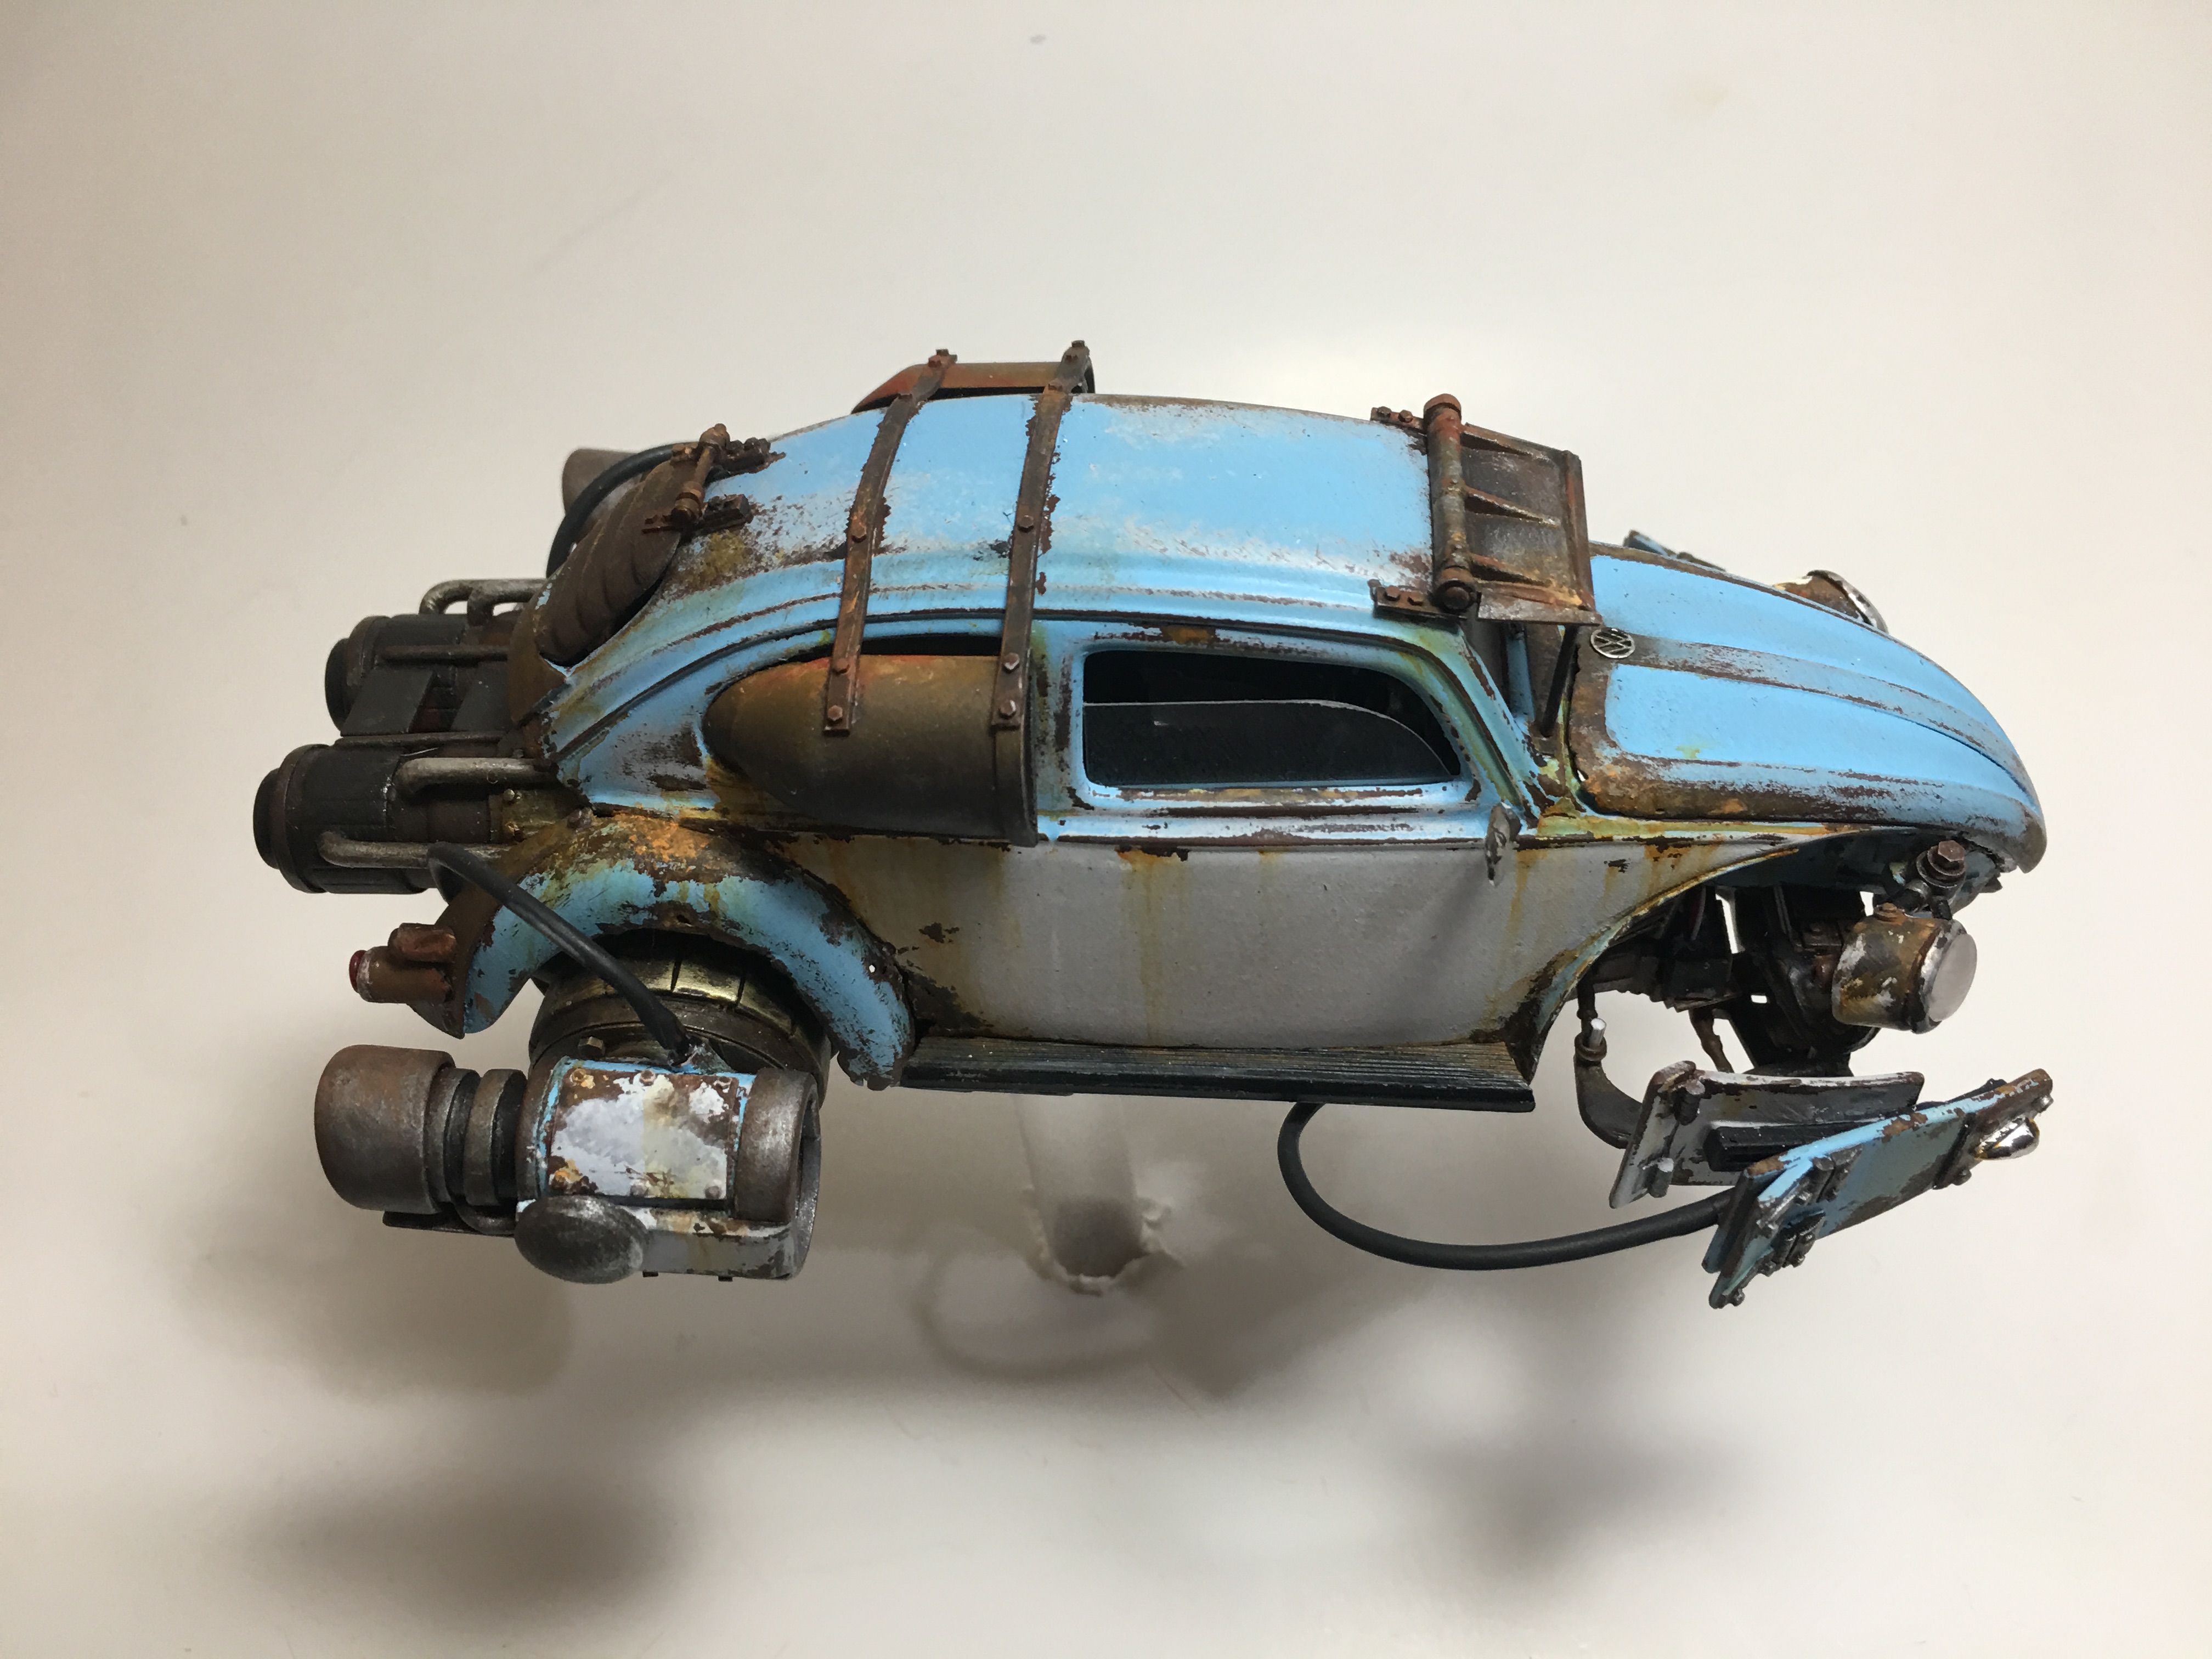
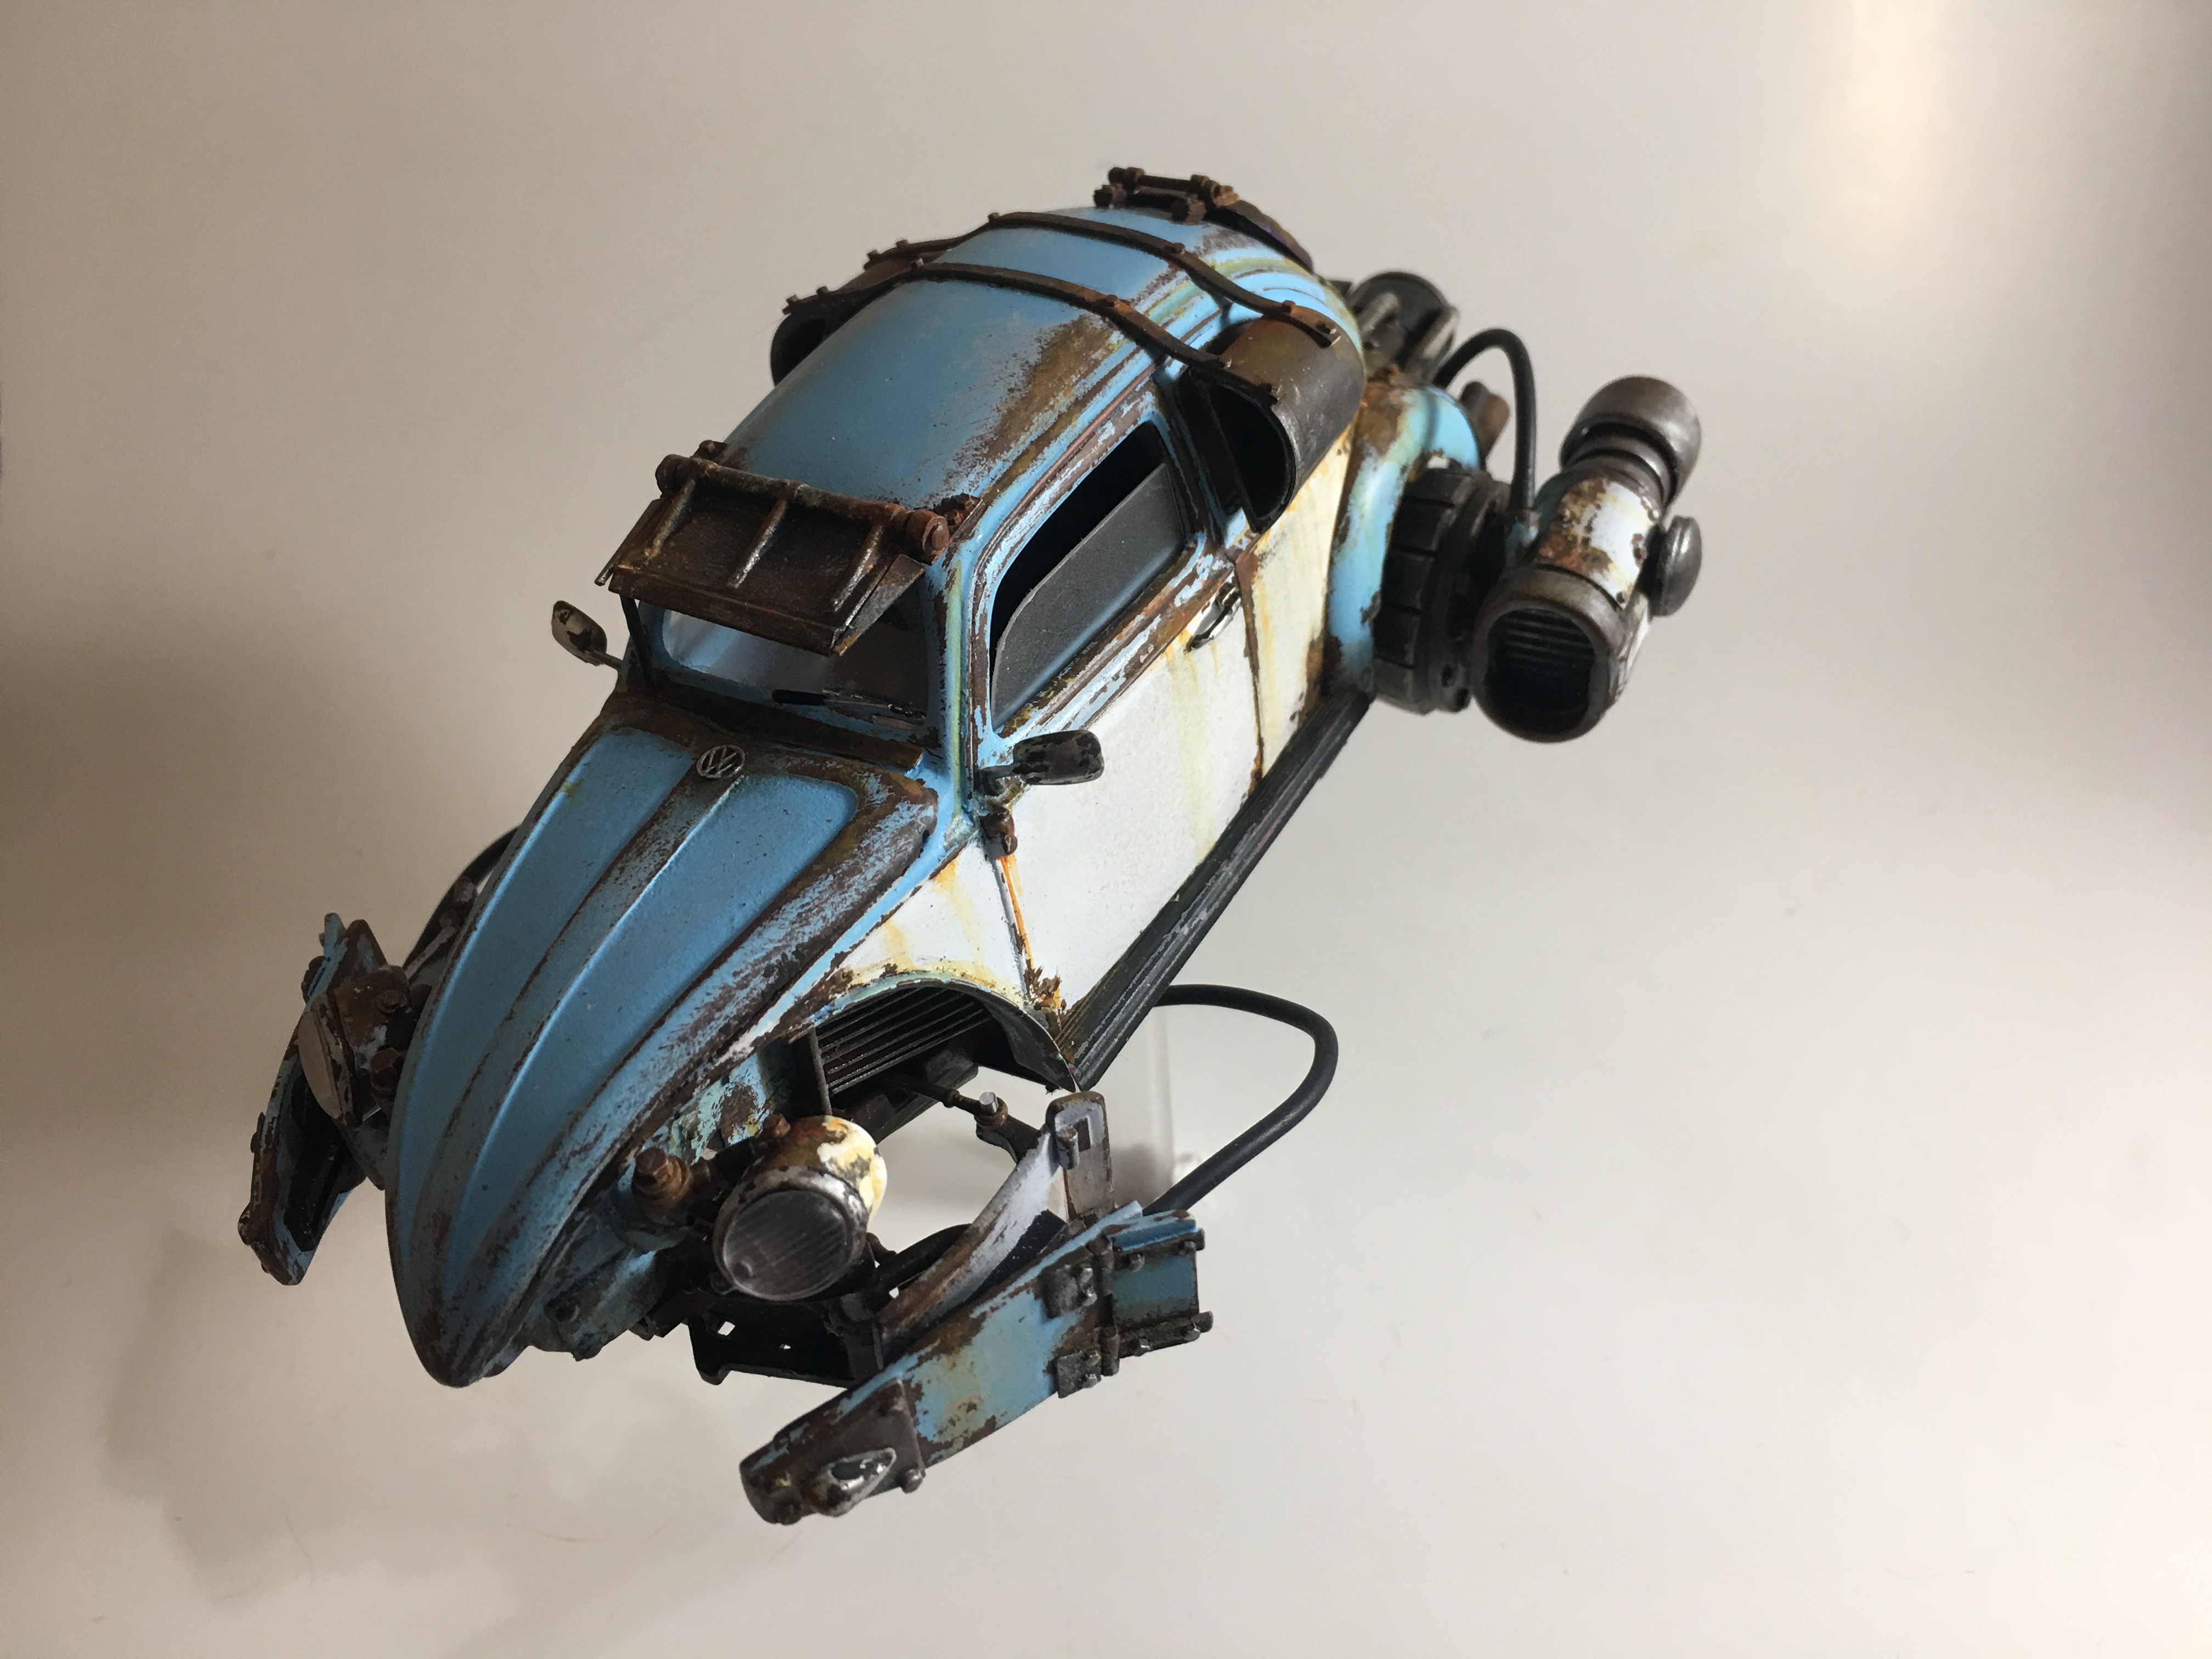
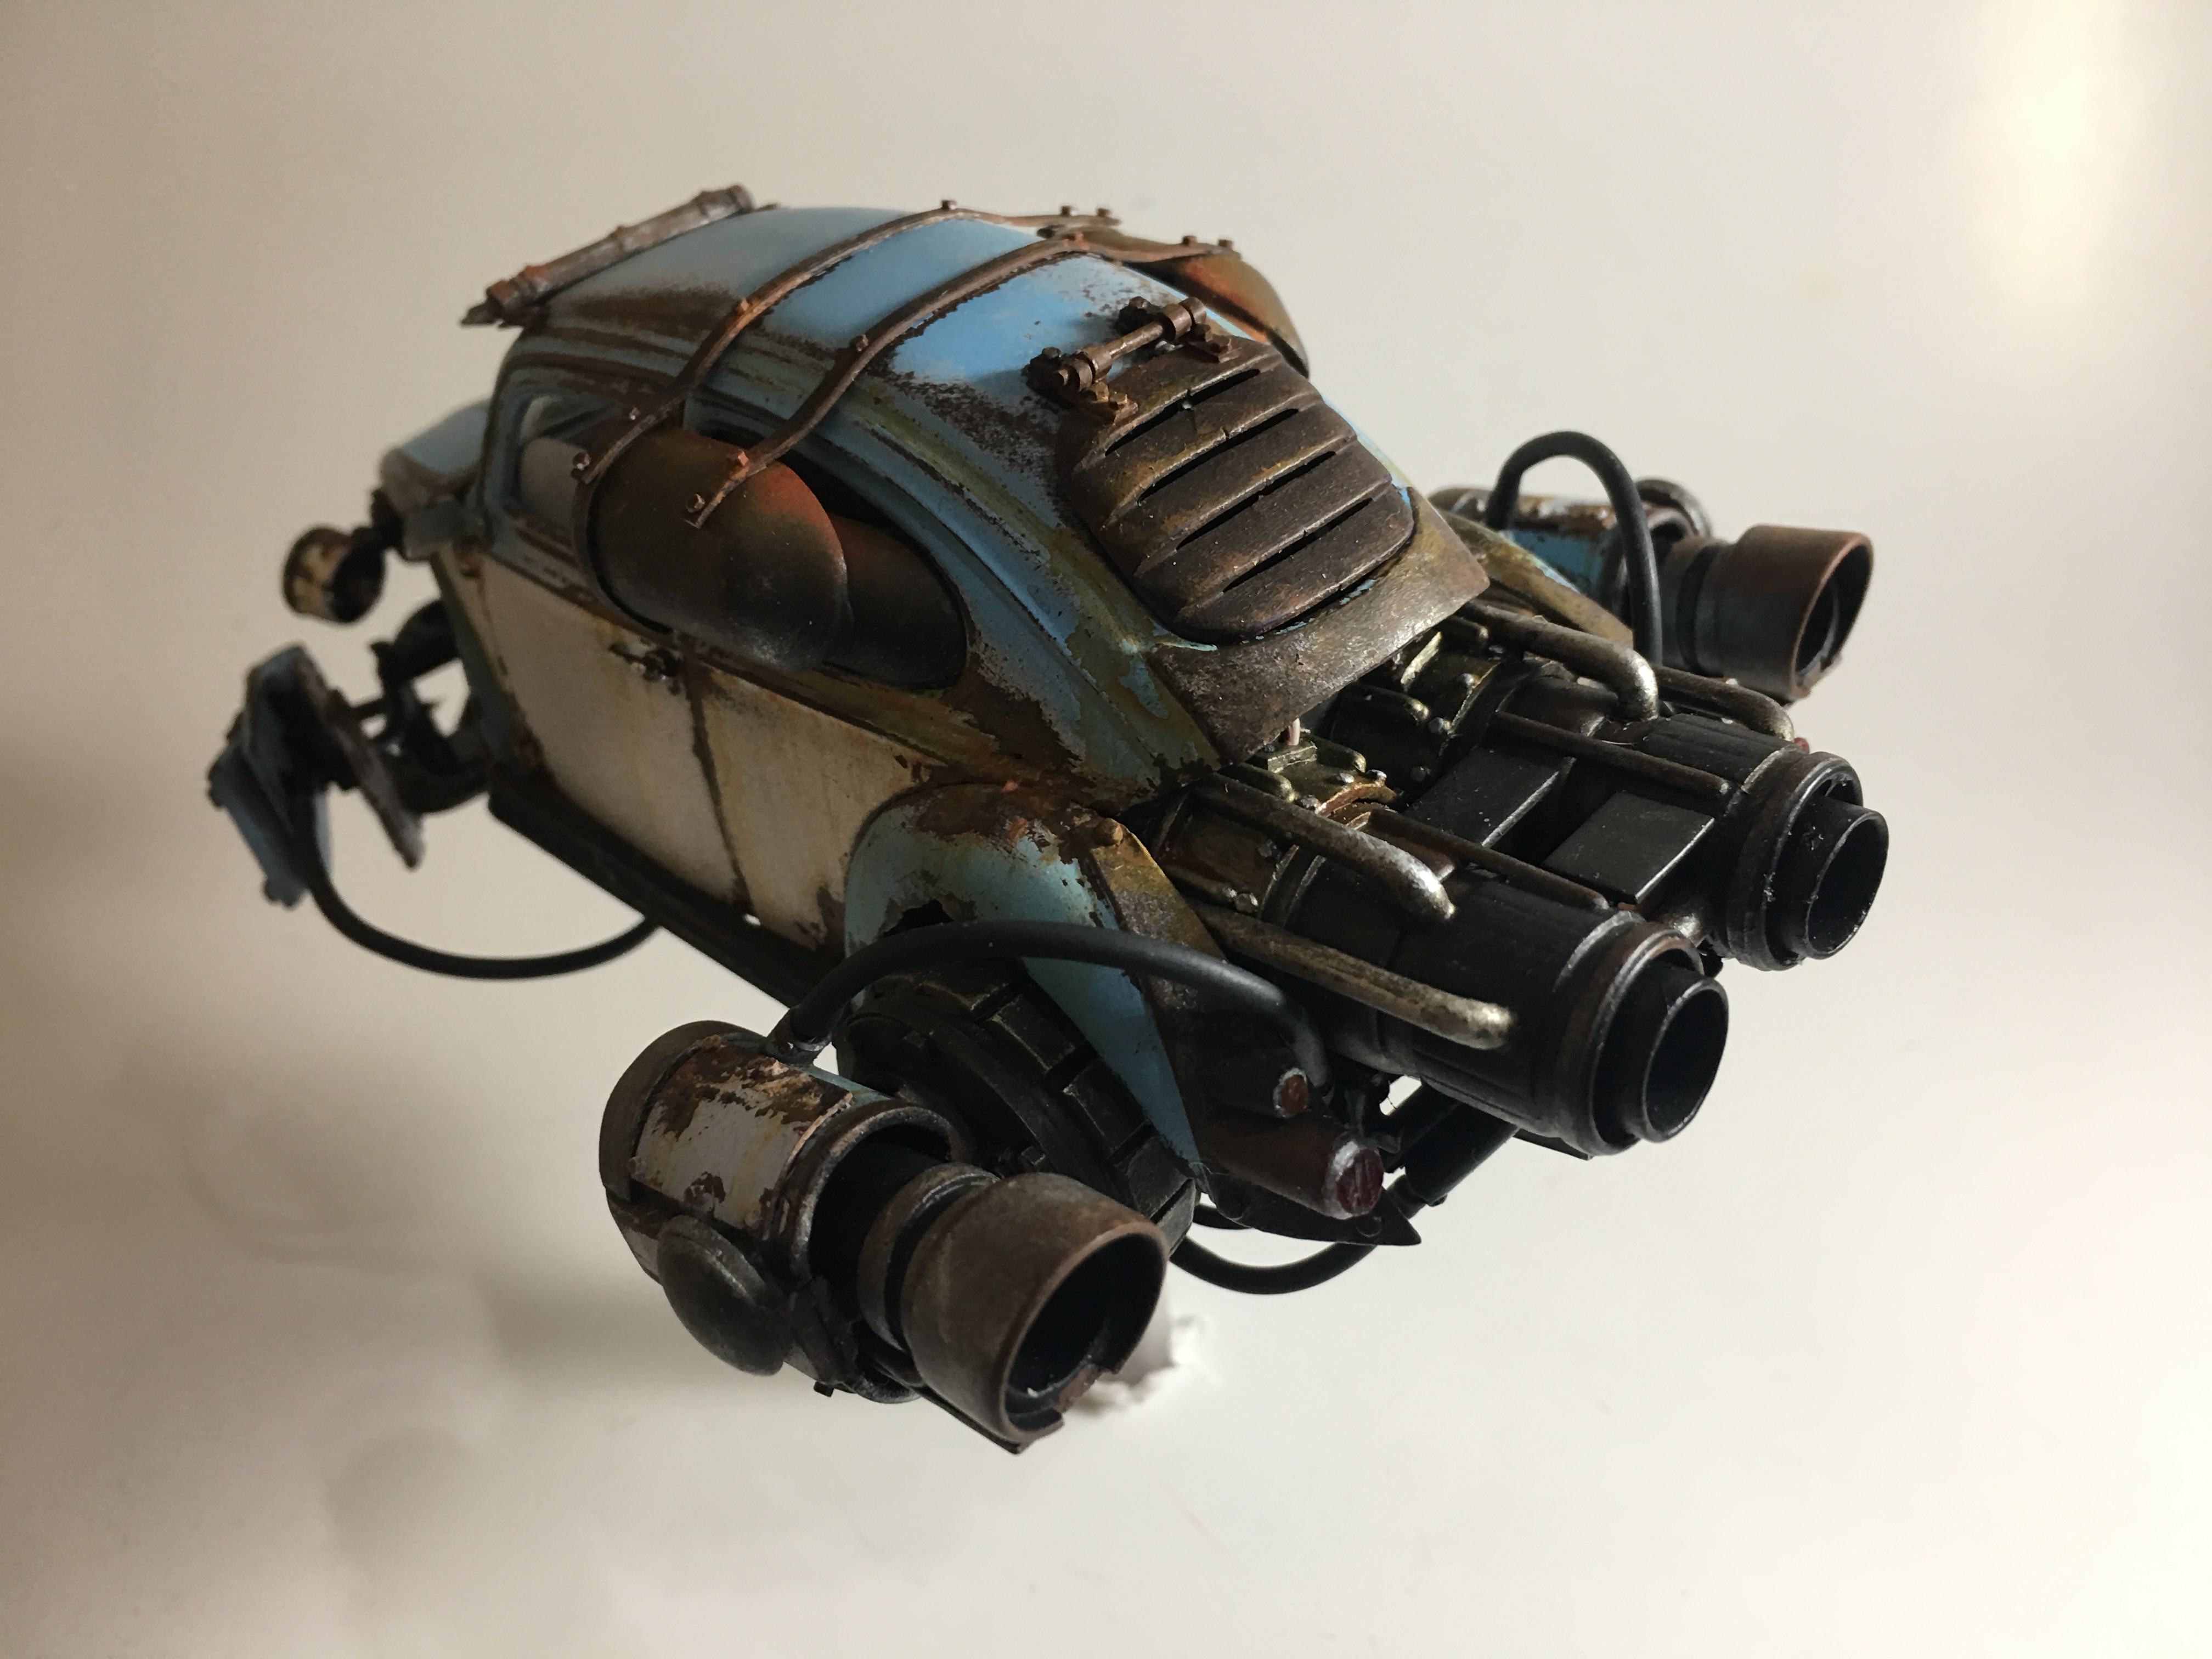
Here's my next hover vehicle. It's a 1968 vintage VW Beetle with some Diesel Punk flair. I had planned to make a jet board (instead of a surf board) to go on the roof rack. This proved to be difficult, only because I can't seem to come up with a jet board that will match the ascetic of the car. For now it's just a cool roof rack that turned out 100% better than I had imagined! I just finished this model about an hour ago. I quickly took some photos using a homemade cardboard light box. Got the photos on the computer and realized that I weathered everything on the model, except for the antennae and the frame of the license plate. These were the last two items that were scratch built today. In my excitement to finish, I forgot the weathering process.....I'll get some more photos up soon. Under the front hood is the fuel tank and some random loose wires. Under the engine cover........huge intakes. Very fun build. Thanks for looking!
-
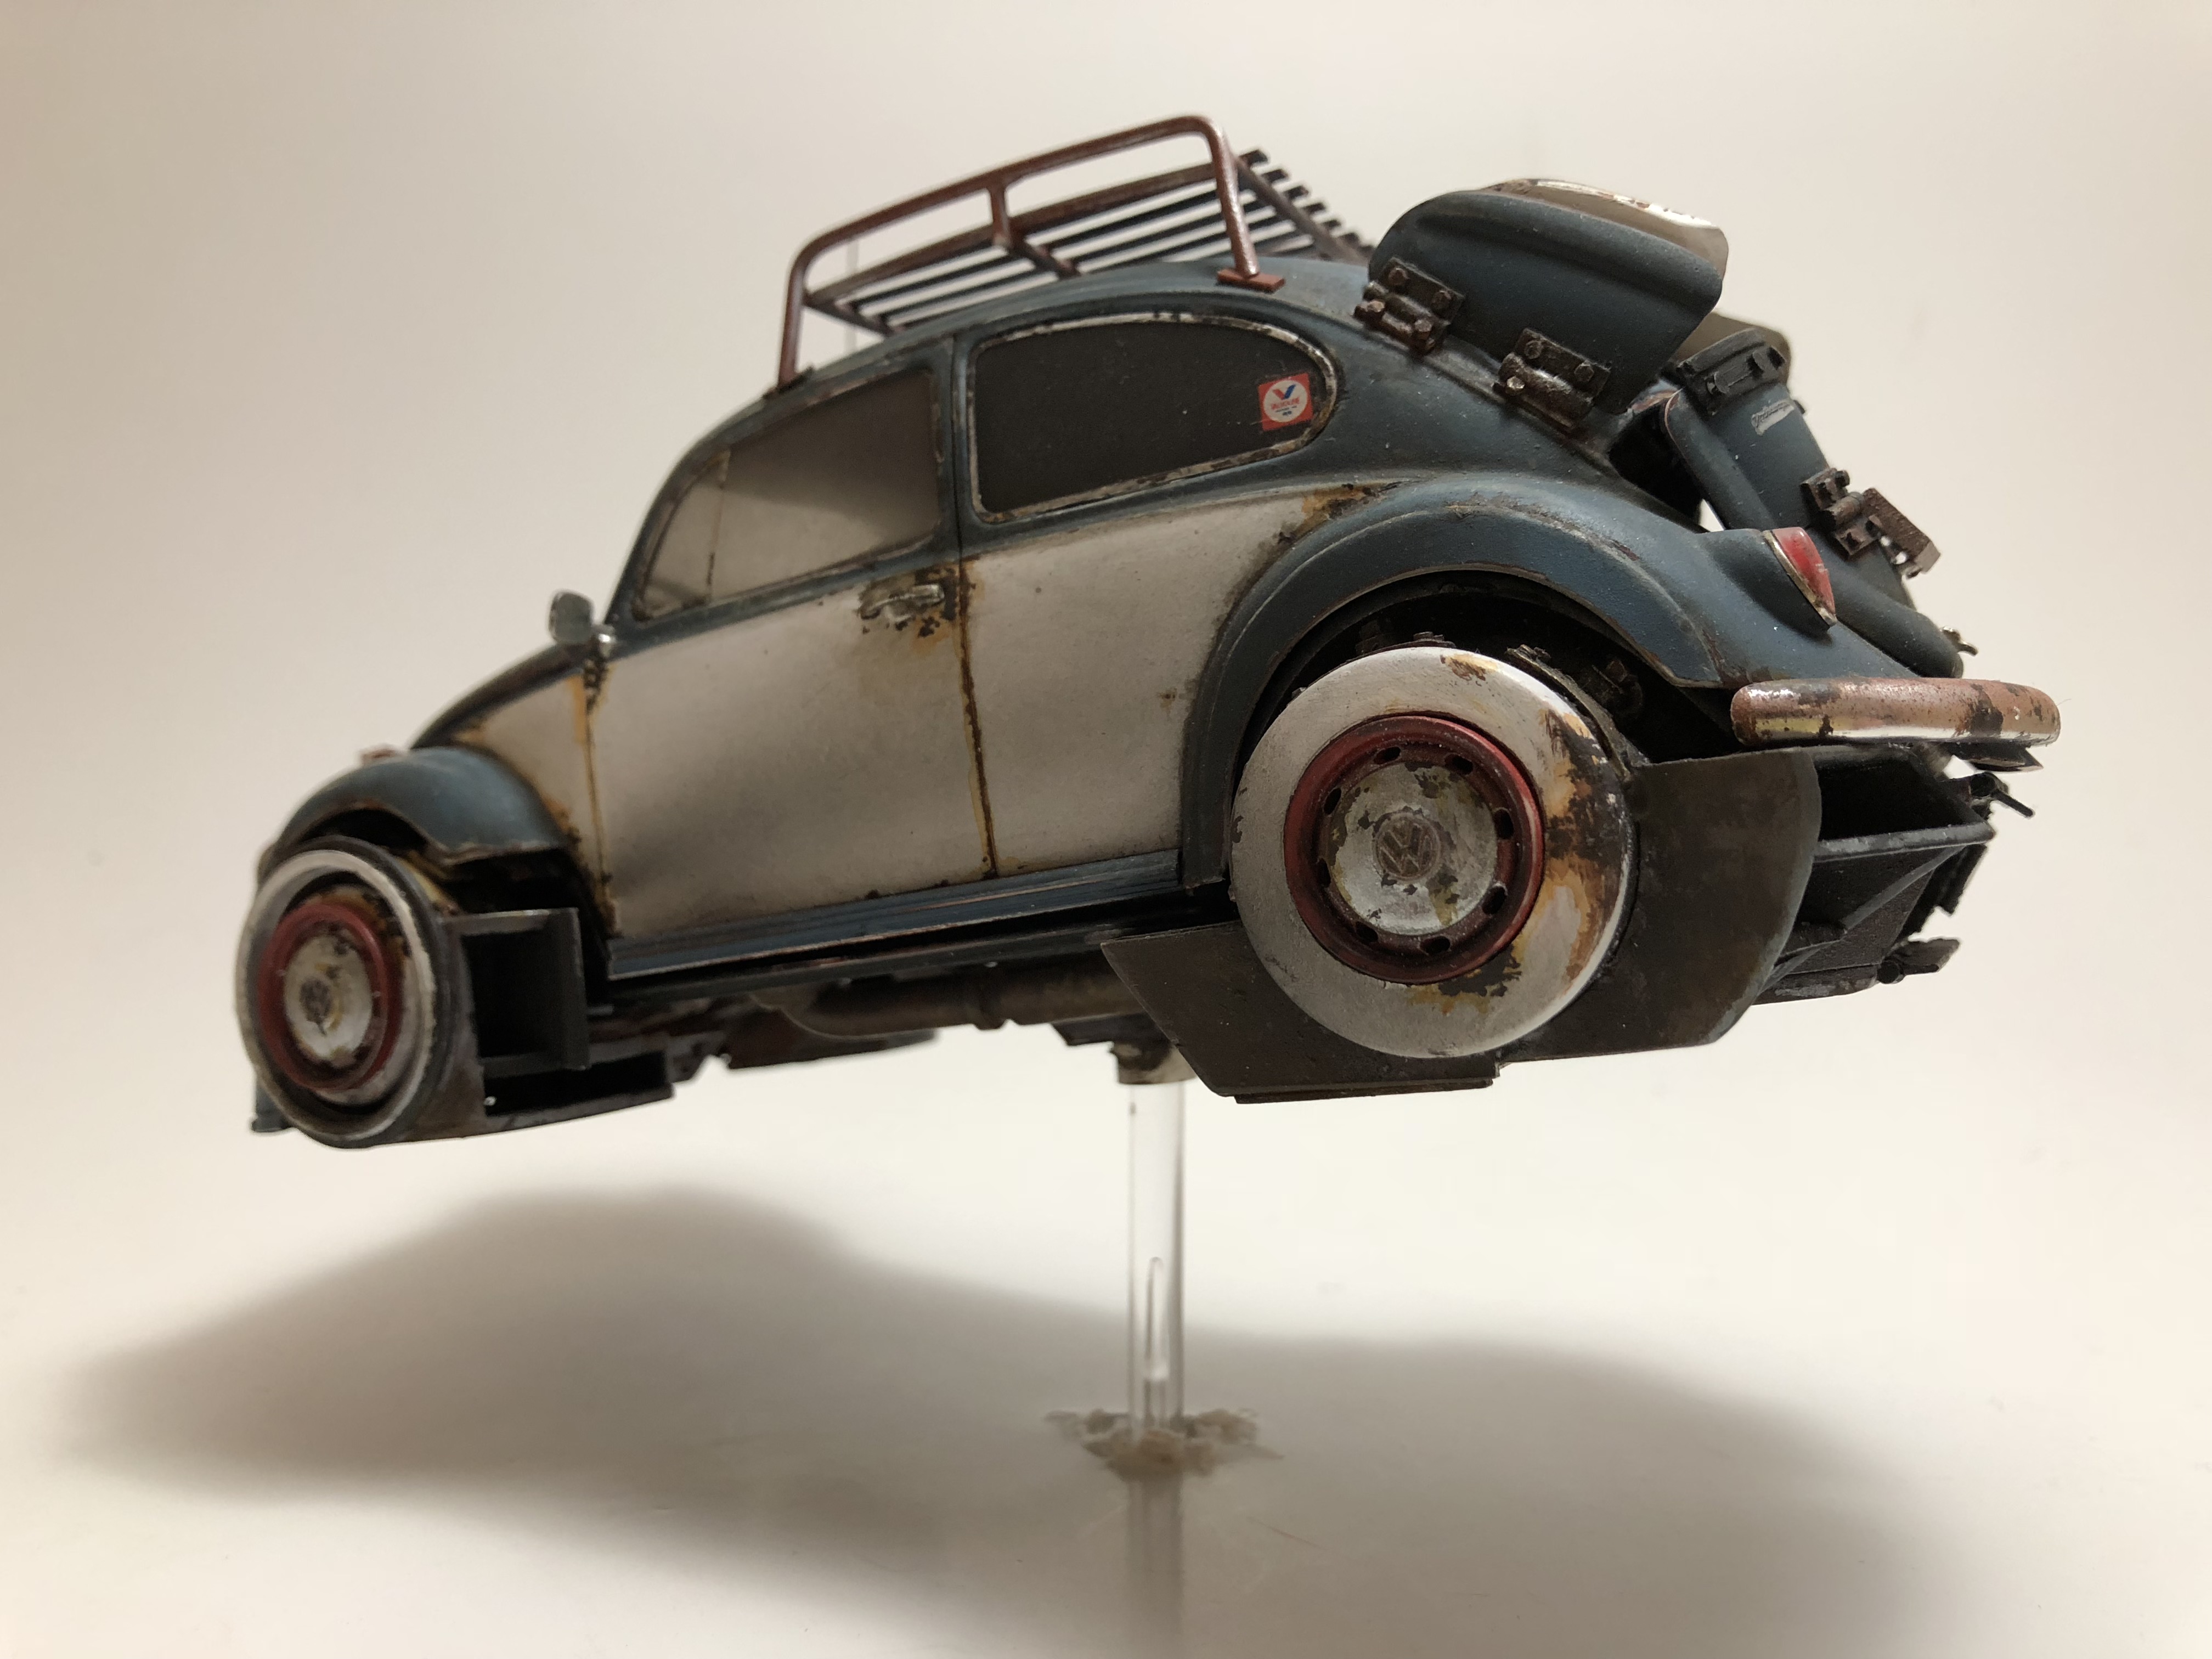
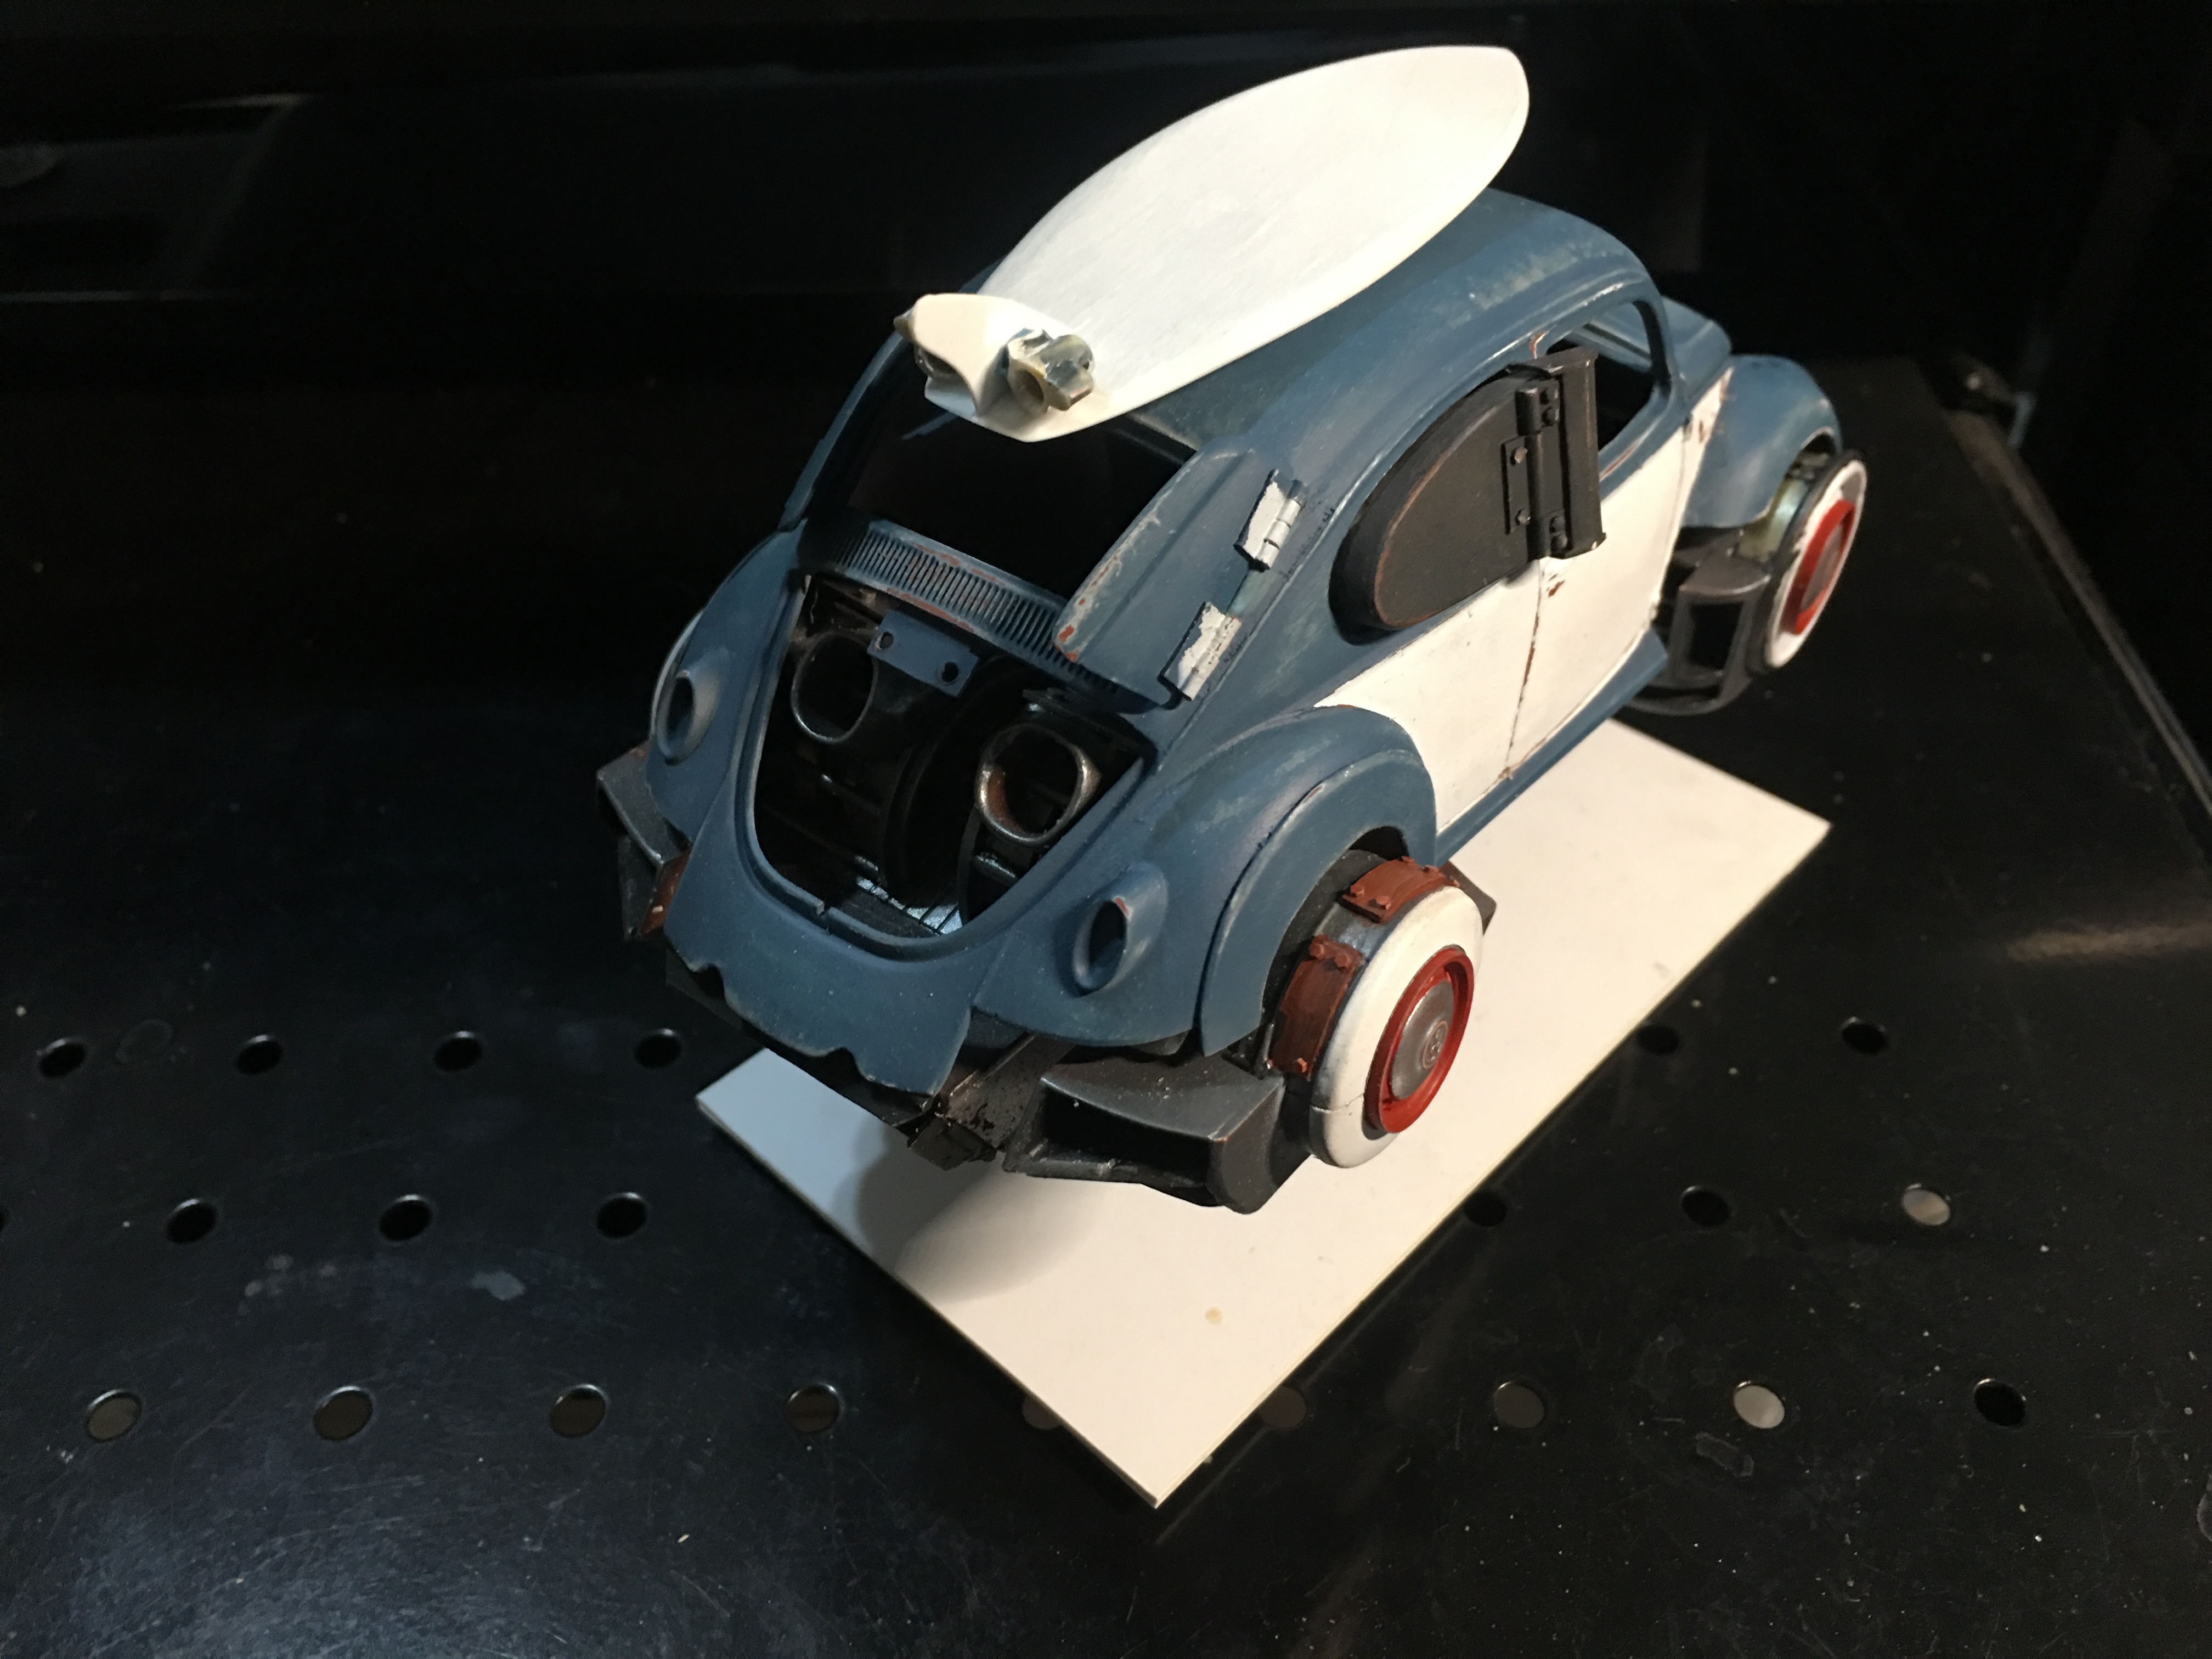
Nearly done. I'm not 100% happy with the jetboard. It doesn't match the ascetic of the car. I've painted it a few times already. If I can't get it right, I may not include it on the completed model. I'll keep the roof rack if I decide to not use the jetboard.
-
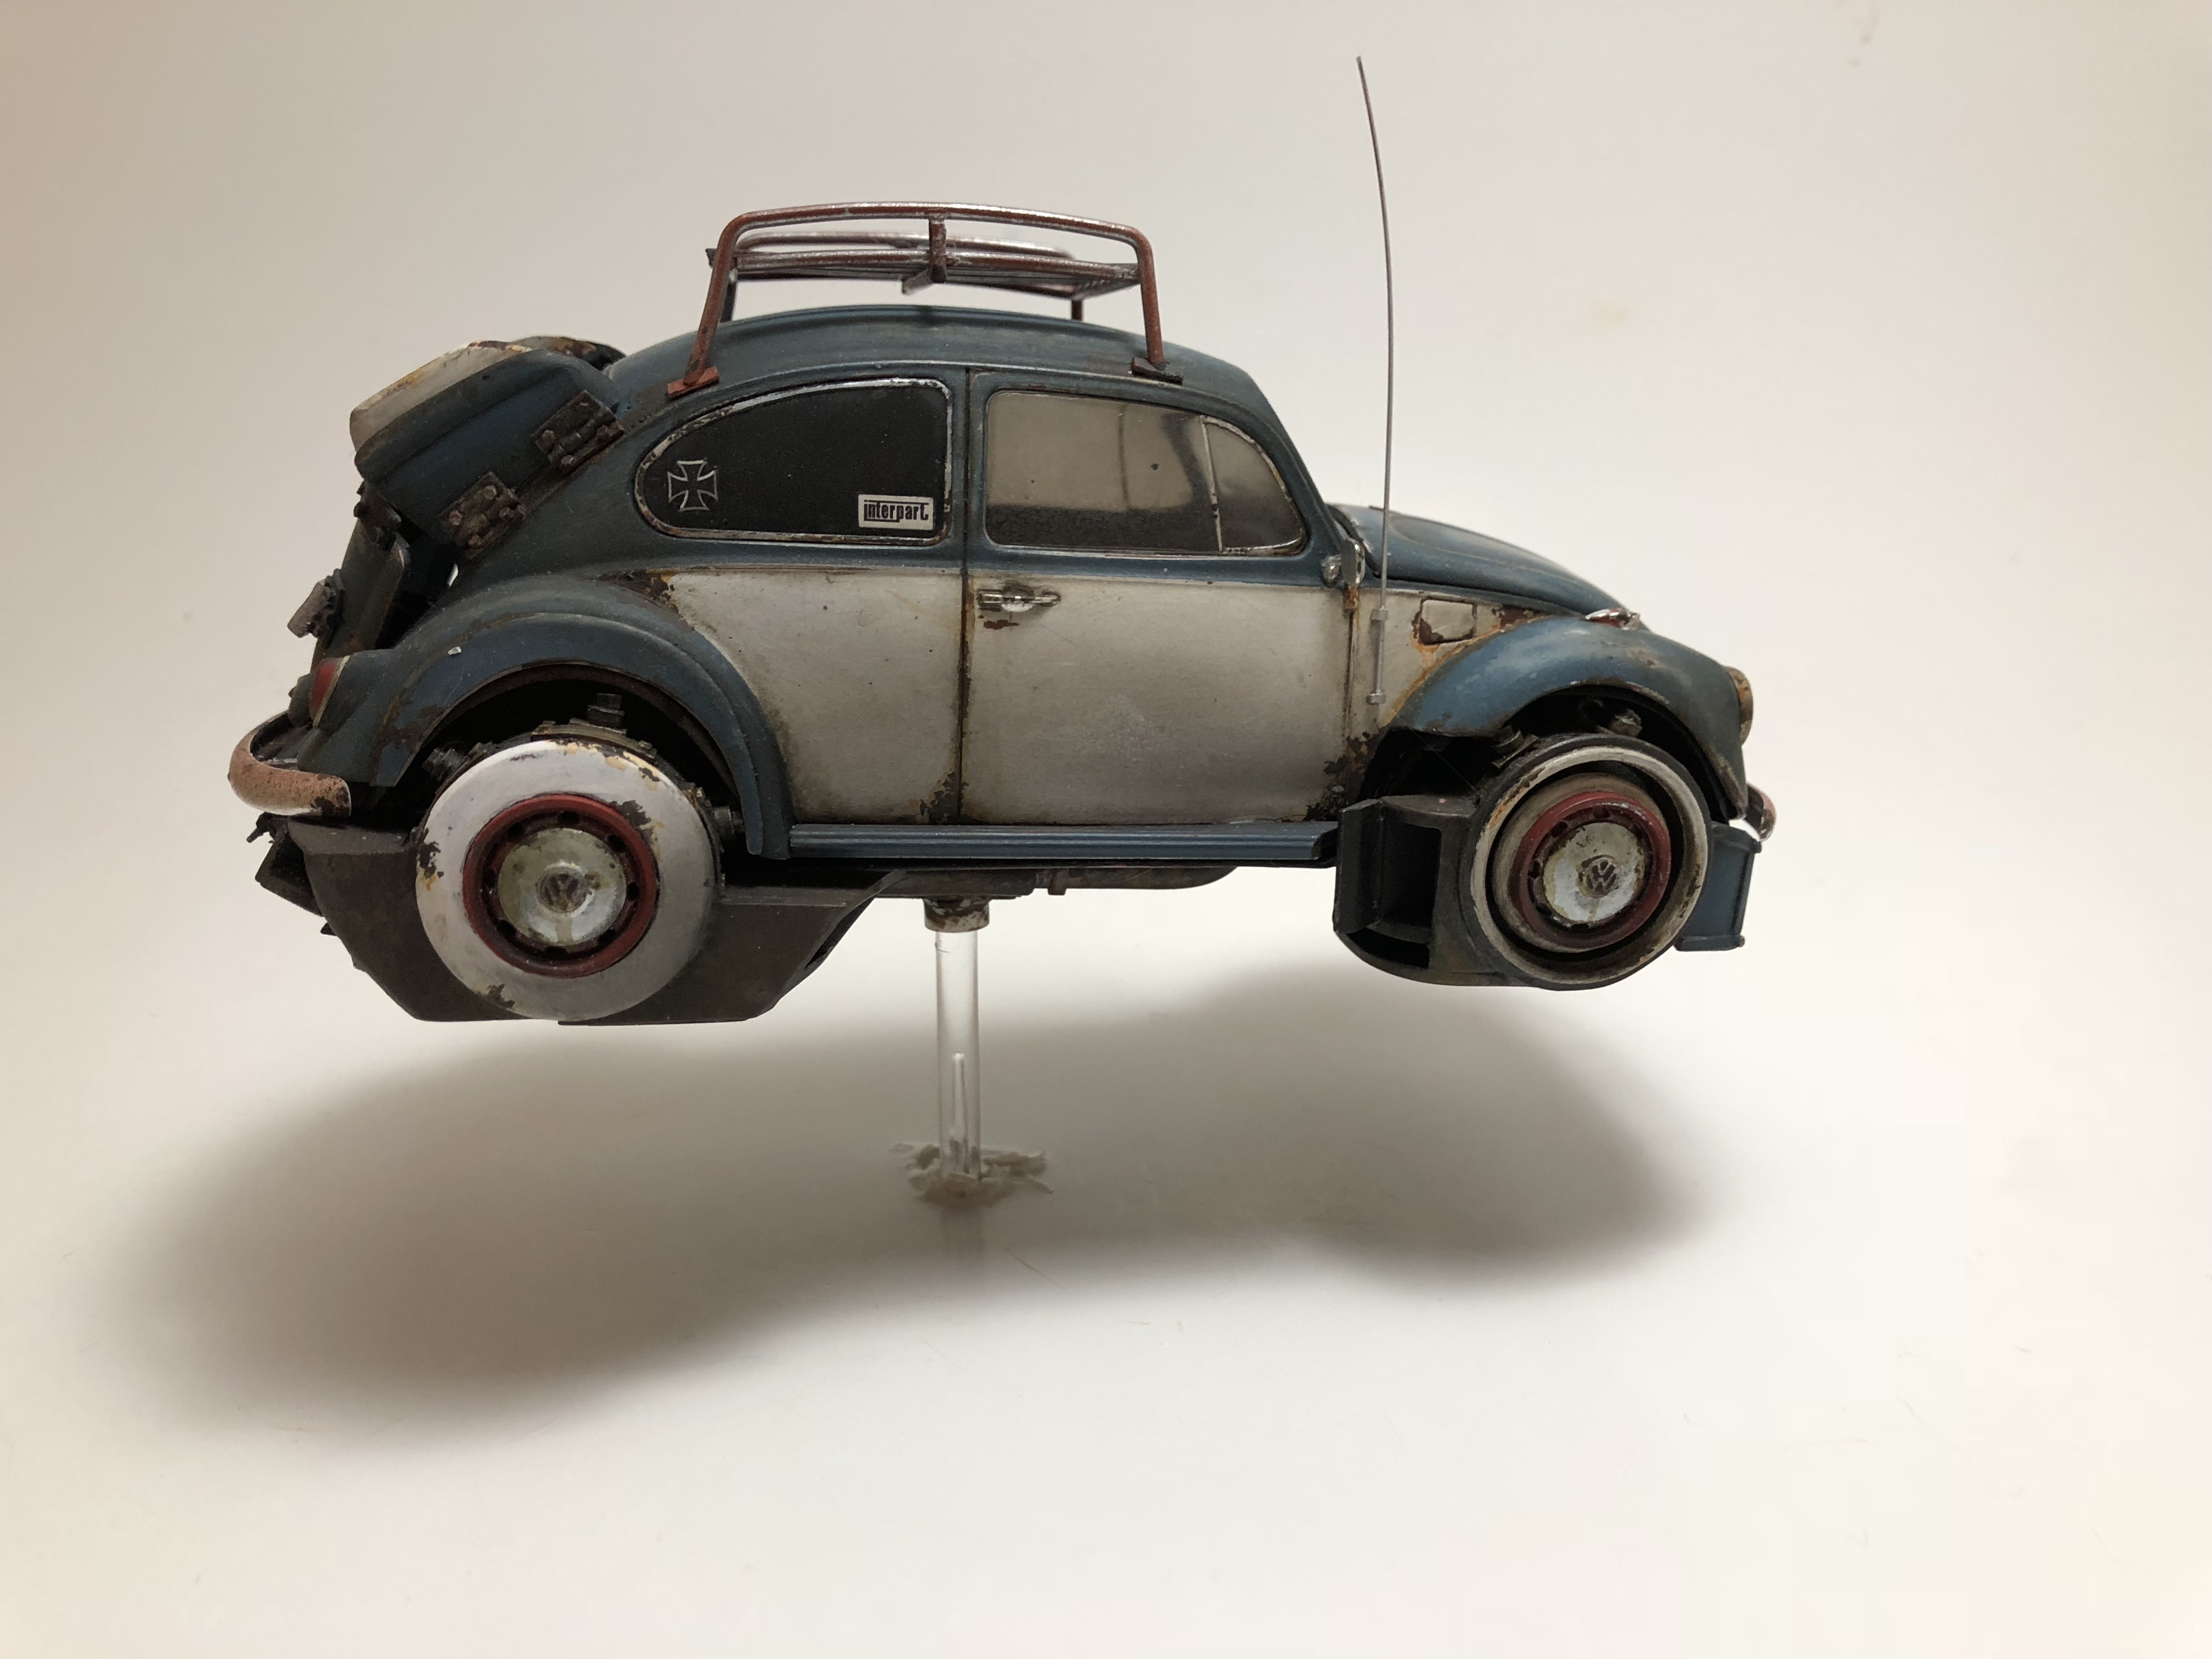
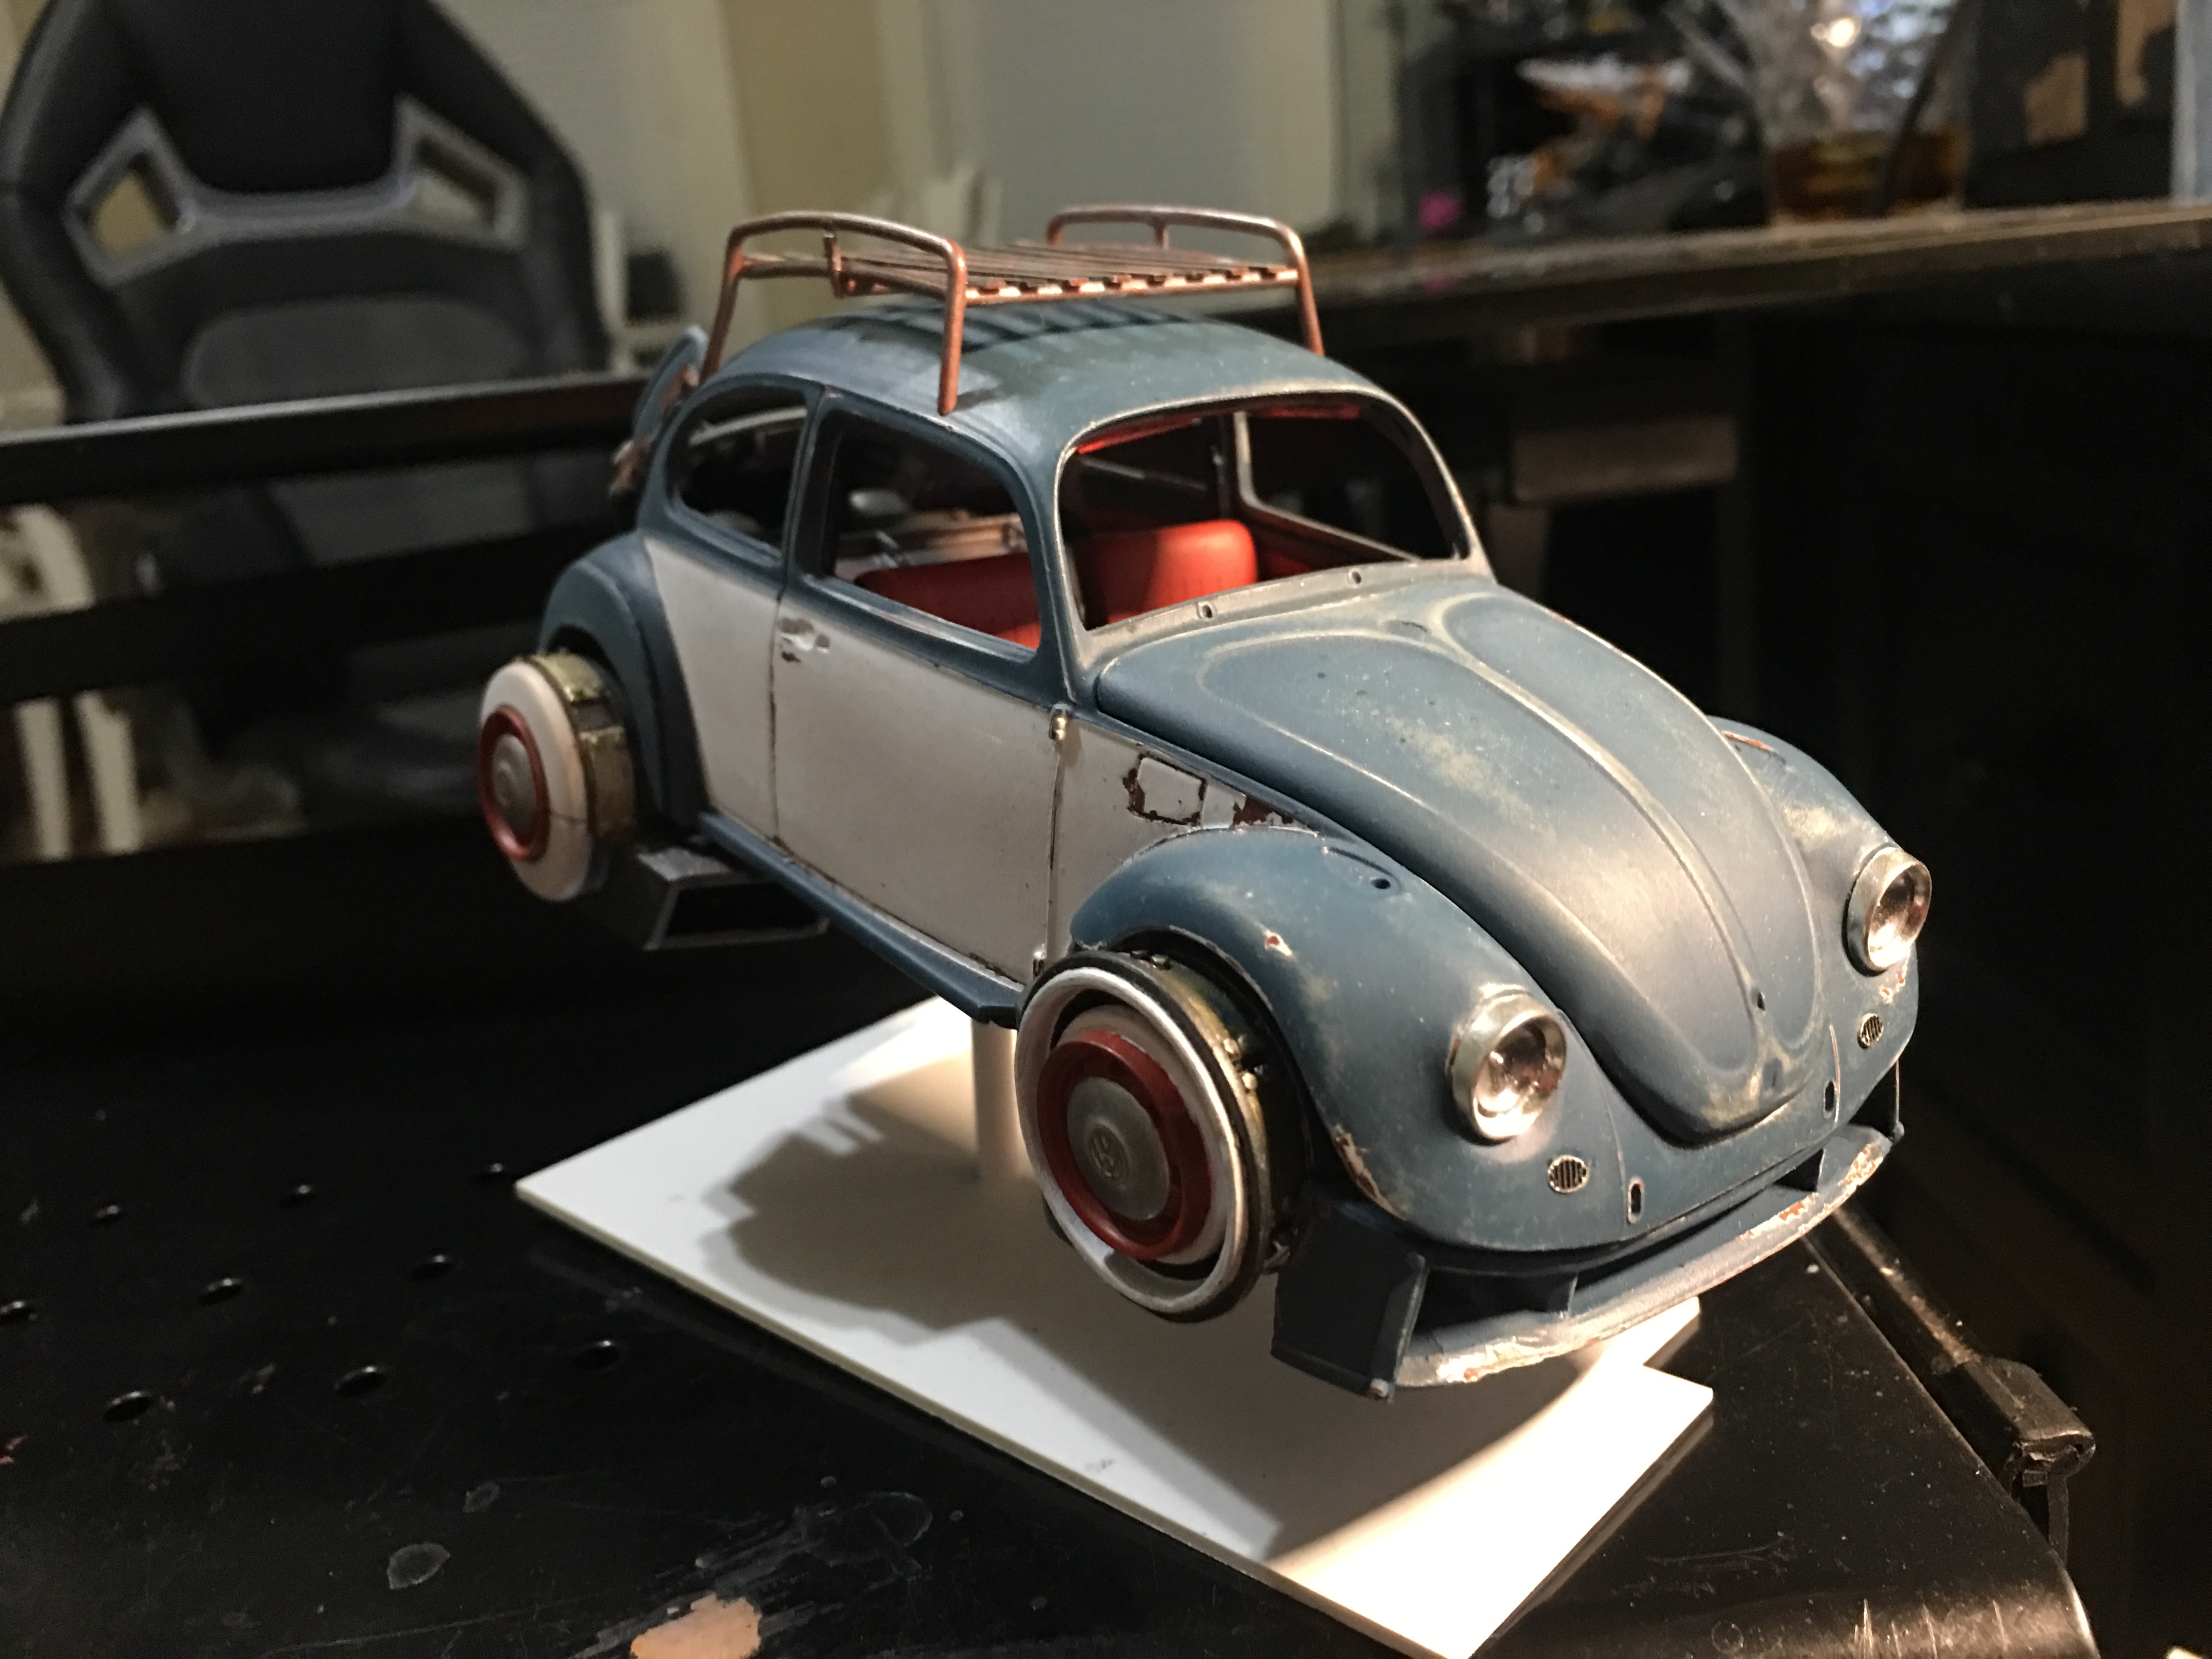
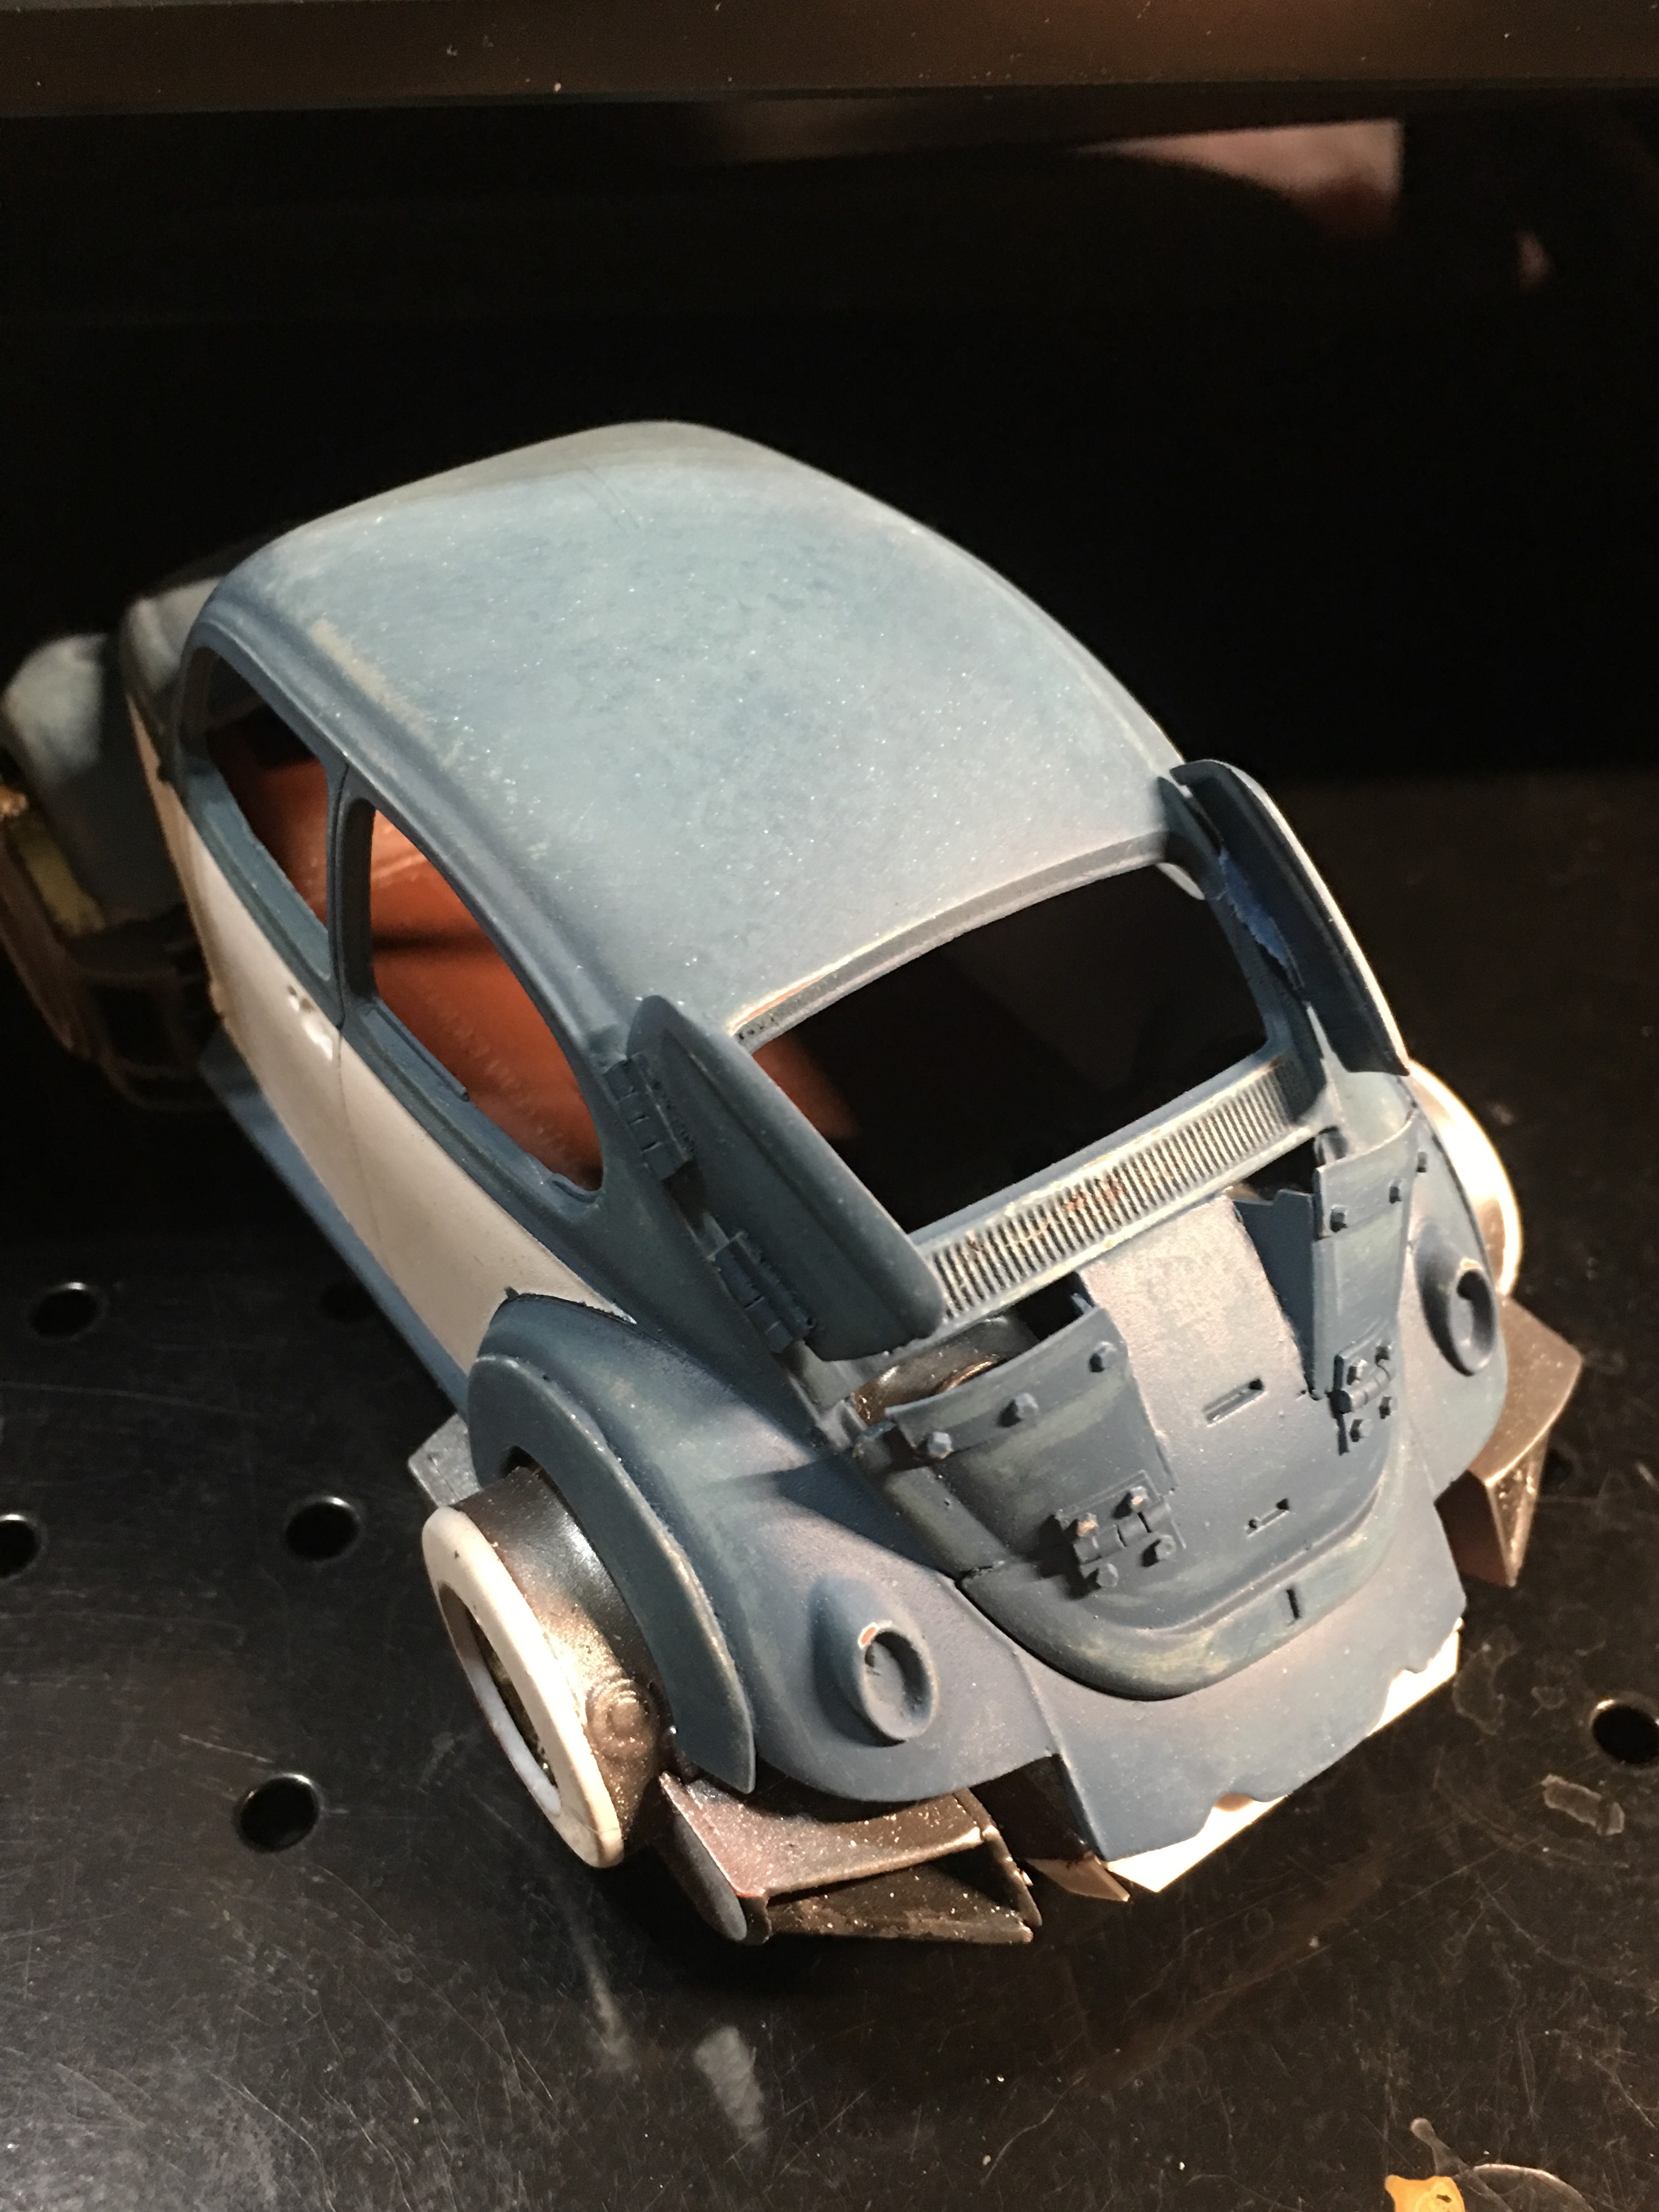
Almost done. That means I'll probably be another month before it's finished. I took another look at the wheel arch as Robert mentioned. I carved away some of the fender flare and added some mechanical pieces to give the underside of the fenders more detail. It looks much better. Thanks for the suggestion. Added a large fuel container under the hood with some wires and hoses. I need to clean up the seam on the gas tank. In these photos, many of the parts are still not glued on. I hope to add black and chrome to the window trim. I need to make mounts for the roof rack. Lots of touch up painting and some slight weathering. I would like it to have road grime and grease. Some streaks of rust, but not too much. I may paint the small detailed edge of the fins white. Been thinking about it since I first started fitting them to the car. I was hesitant to paint the interior red. I do not like red interiors on cars at all. Plus the car being blue, I just didn't think it would look good. My wife and kids talked me into it and I'm shocked at how well the red interior goes with the look of the car. I plan to add some window stickers and a medium tint to the rear 3 windows. Thanks for looking!!!
-
Well done. Nice job on the body roll and sense of motion.
-
I think I know what you're talking about with the wheel arch. When I took the previous photos, the body wasn't tight against the frame. I took some new photos tonight to show off the interior. The body is a little closer and the wheel arch fits a little better. Working on a fuel tank. I figure it would burn a ton of jet fuel. The stock VW tank isn't going to cut it. I'll add a fuel filler line to the exterior and might try to hinge the fuel door. Lots of hinged things. Still working on these. The rear intakes needed something interesting. I put in two throttle plates. I think they look really cool!! I spend a lot of time putting my models into their final stance. Mocking up what it will look like when complete. I'm sure that you all do the same. A few months ago, my wife brought home some Locktite Fun-Tak mounting tabs. She told me that it looked like something I could use. It works great for temporarily holding on parts that you're not ready to glue. It's holding the rear wings in the photos above. It does leave a residue, but seems to come off easily. Thanks for looking!!!
-
I started using Vallejo Acrylics 2-3 years ago. They're perfect for people like me who have no patience to wait for enamels to dry. I can airbrush a part and be handling it within a few minutes. The VW has been sanded with 400 grit. I applied some color to the roof rack.
-
Just finished putting the roof rack together. Threw a coat of primer on it. A smaller diameter Styrene rod would have looked better, but overall I'm VERY happy with it. I'll work on some brackets that'll hold it to the roof. Then paint.
-
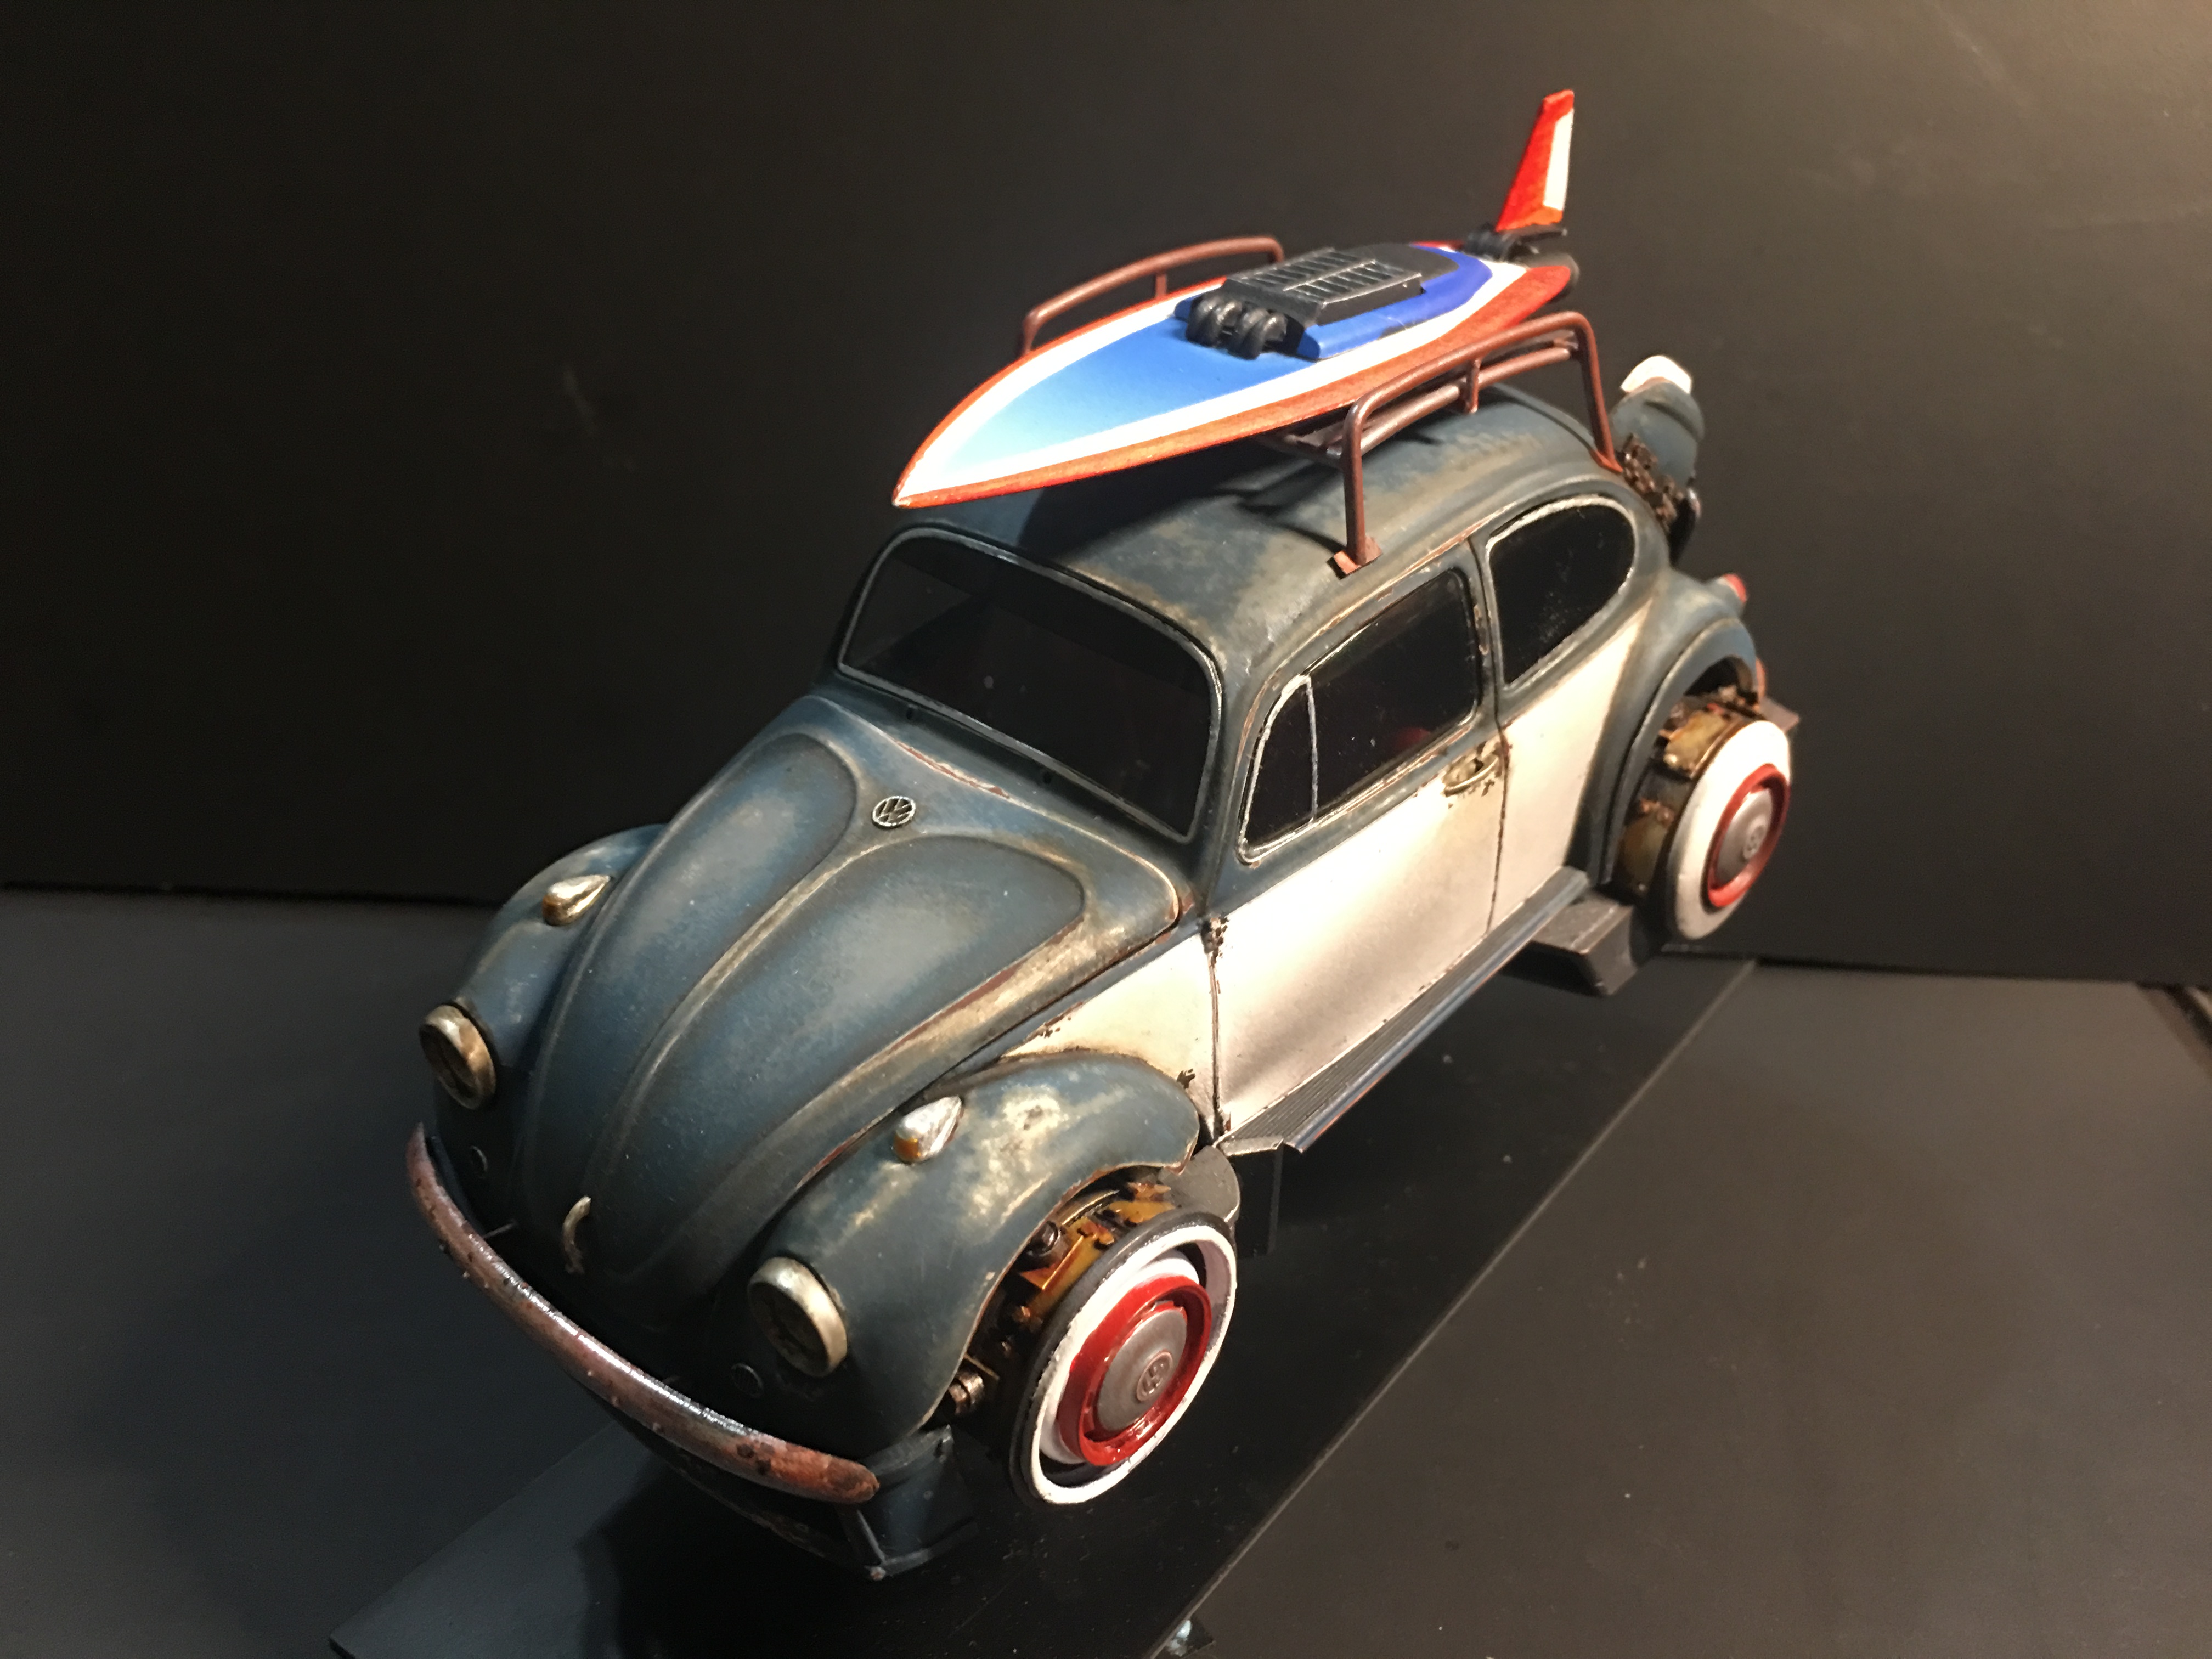
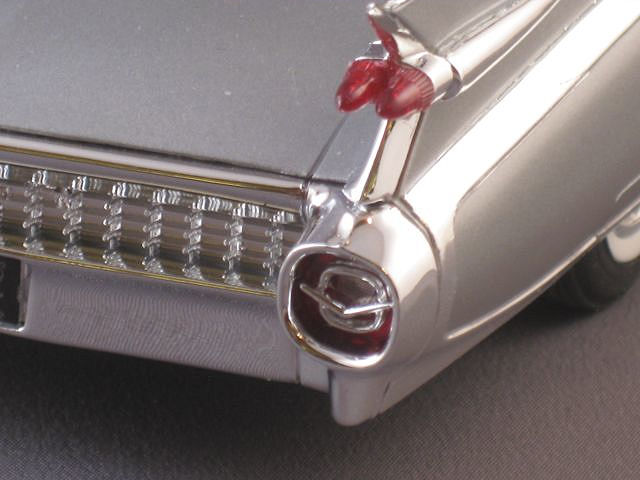
You would be 100% correct! They are the bumper bits from a 59 El Dorado. I knew that bumper would come in handy someday. I have not tried a 2CV. Since the Bug now has a So Cal style, I decided to go a little farther with the theme. What's more So Cal than a surfboard and roof rack? How about a jetboard and roof rack? I started looking up places to buy a 1/24 scale surfboard. Decided it would be quicker to make it myself out of some thick Styrene. Good decision, it didn't take long and turned out fine. I don't know what I'll be using for the Jetboard's turbines, but I've got some temporary thrusters in these photos. I need to buy some smaller diameter Styrene rod to start the roof rack. I'm not looking forward to starting that little project. Thanks for the comments! They keep me motivated.
-
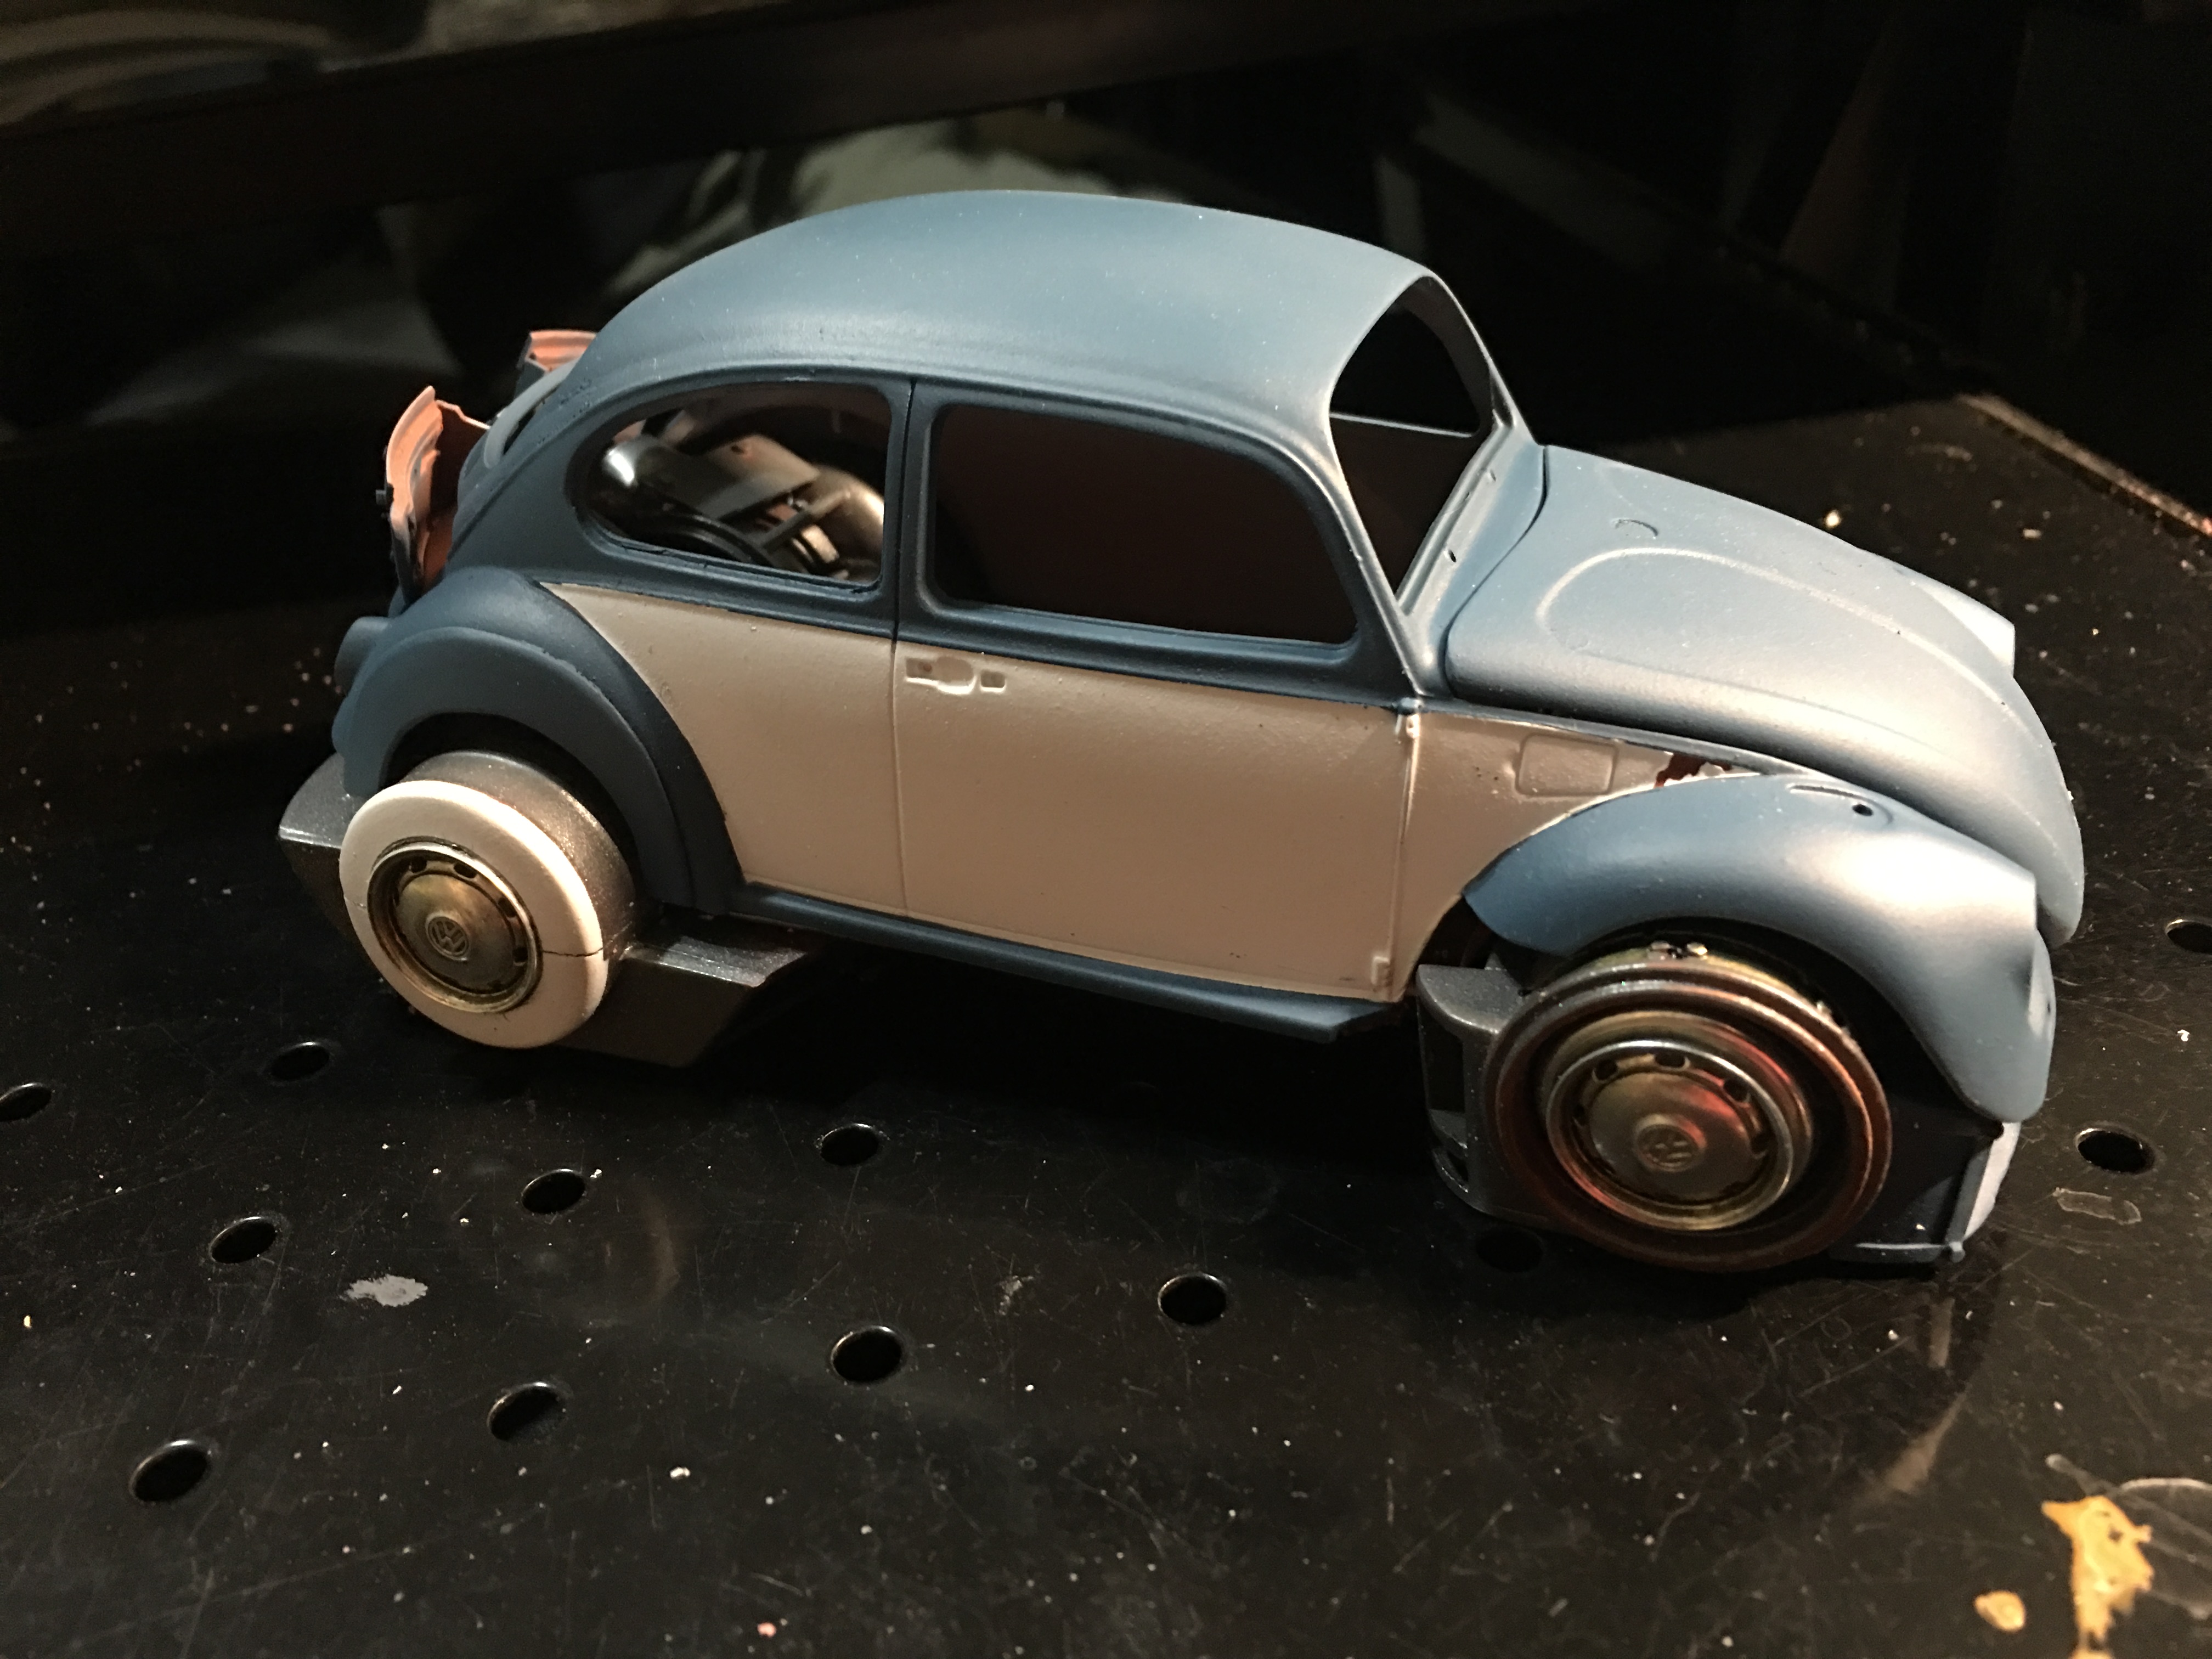
I painted the rims. Love the colors. I saw something in the photos that I didn't notice earlier. The white walls were supposed to have the same outer circumference. I see now that I shouldn't have painted the outermost ring on the front rim. It makes the front white walls appear larger. I'll need to paint the outer ring with gunmetal. I need to clean up some of the paint lines!! I want to add some white and red highlights. Not too much. I was thinking about painting the blades on the intakes white with a small red highlight line.
-
I thought your early stage creations were amazing....then I followed the link and saw your finished builds. Really cool ideas here. Great stuff!!! That Willys is outstanding.
-
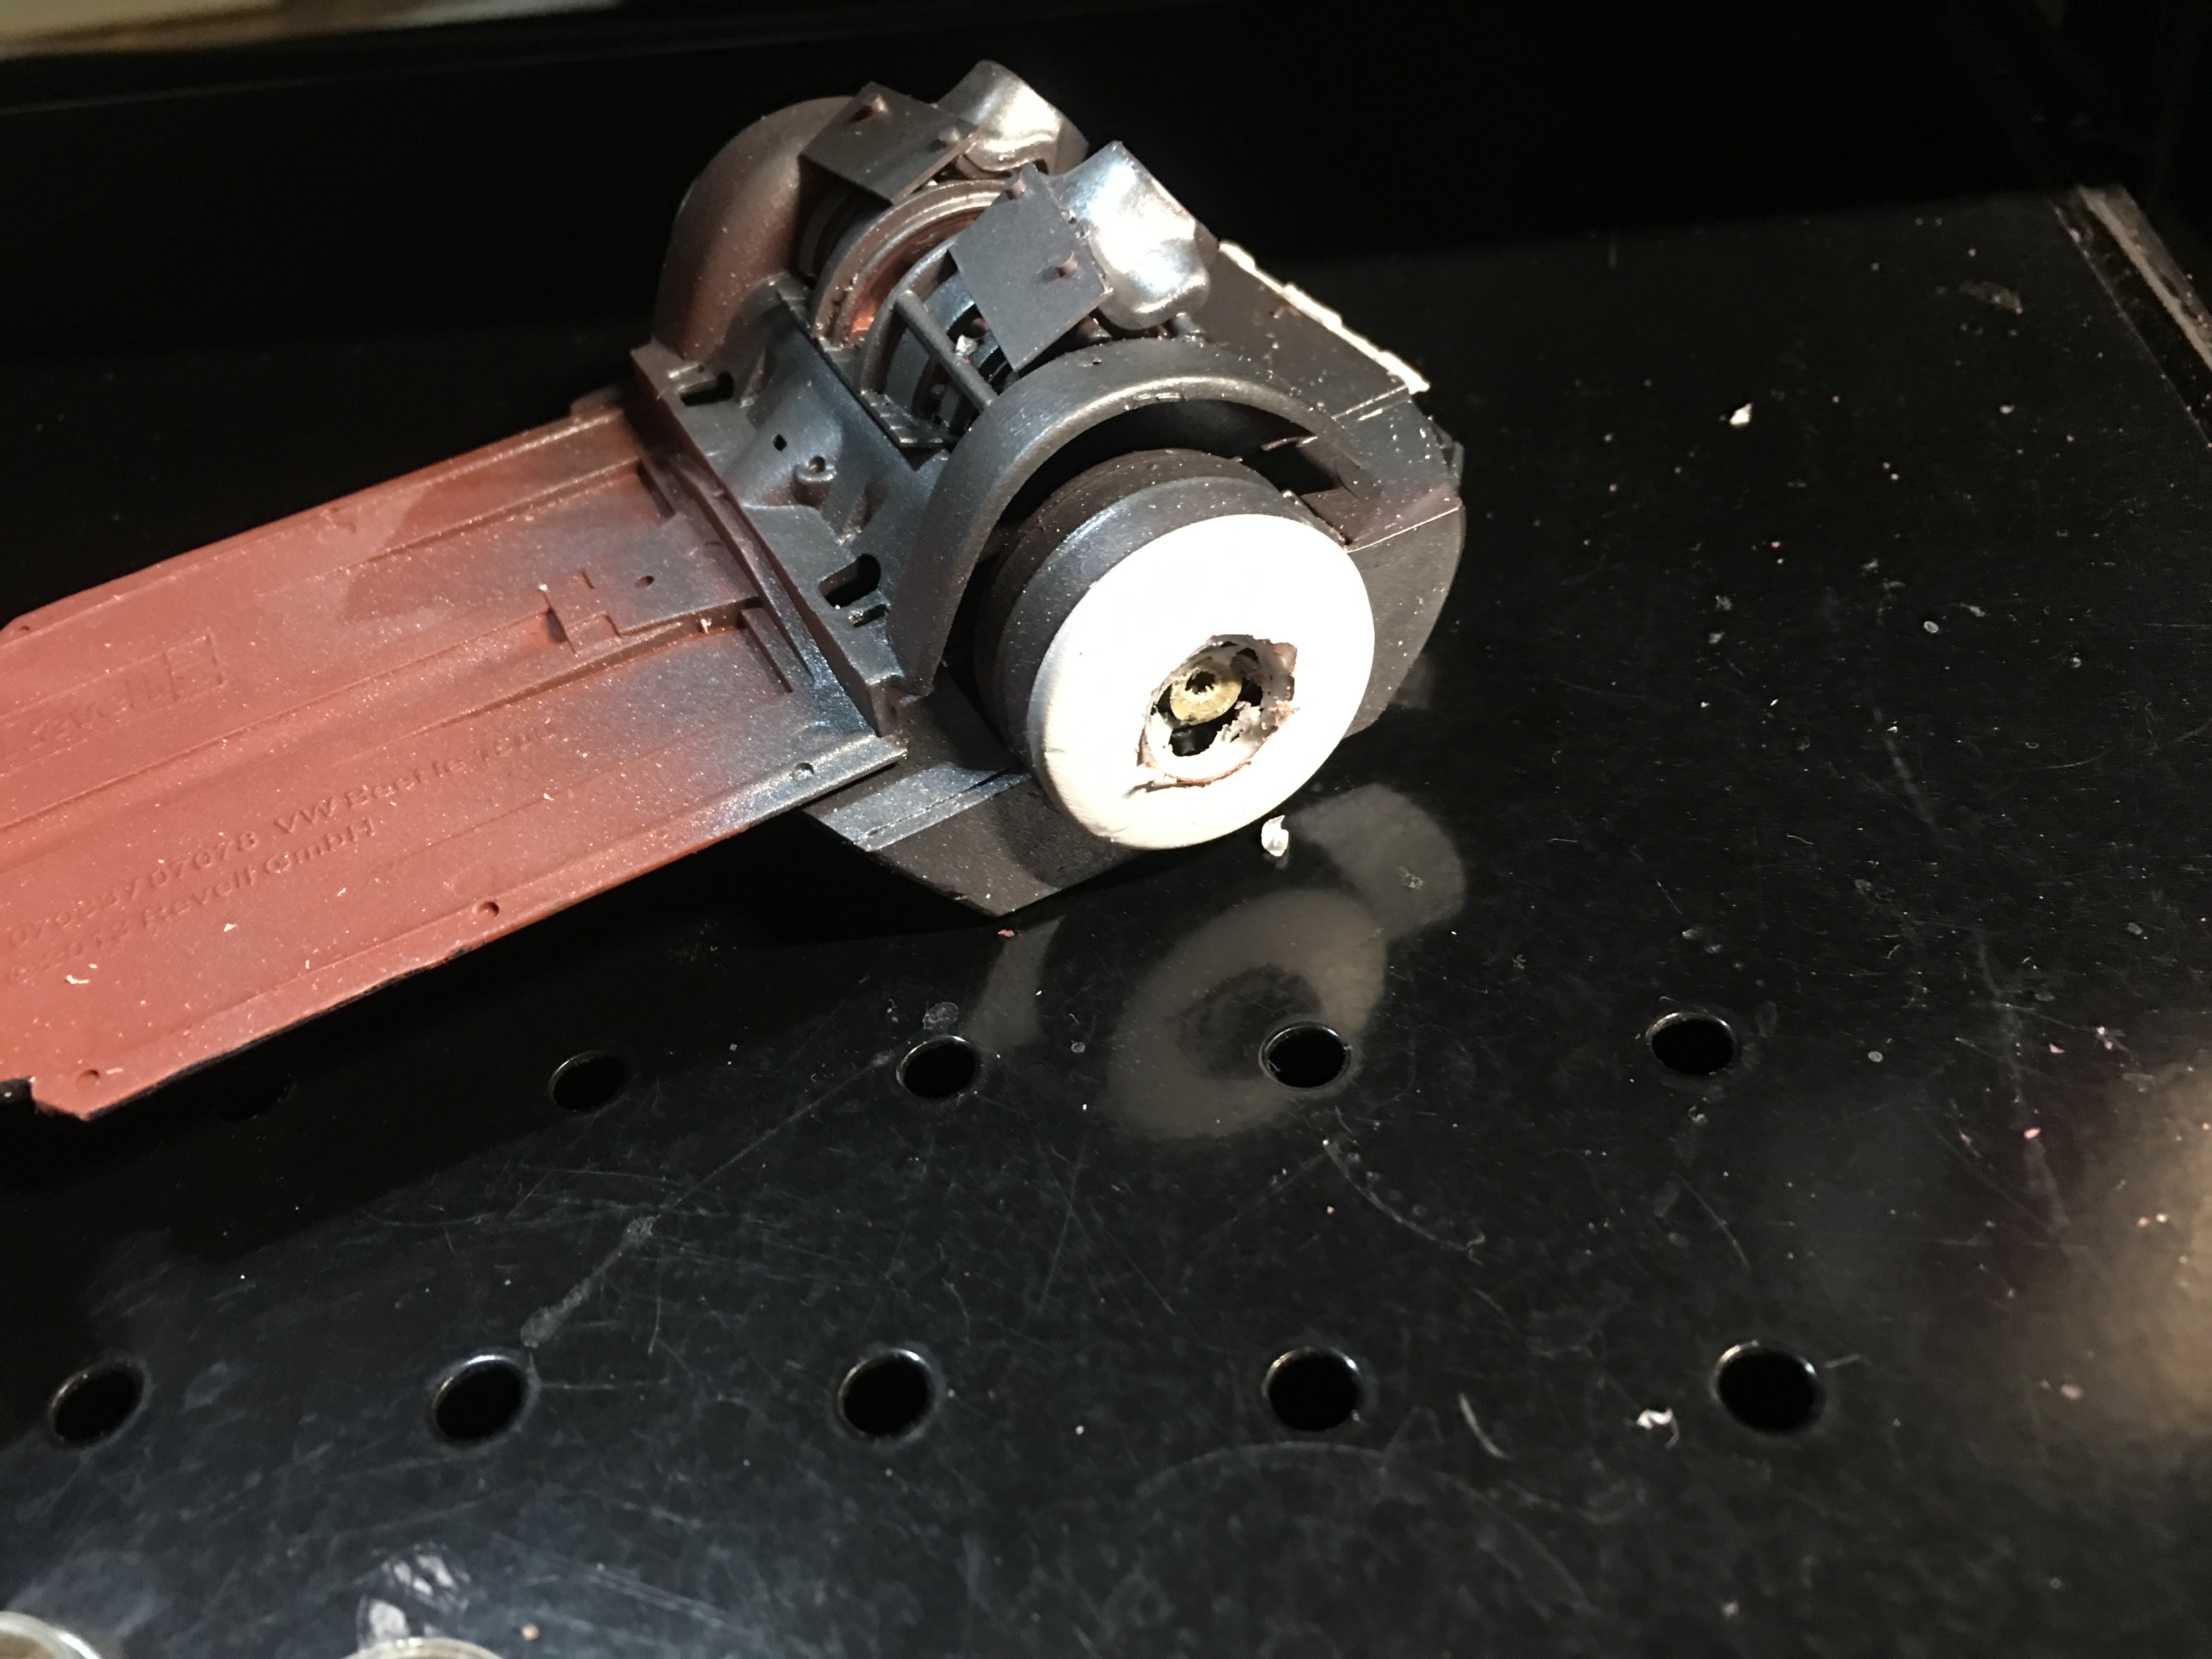
Here's the progress from tonight. Also some pictures of the rear engine. Going to put fins or a throttle plate inside the large rear intakes. I hope to add wires and hoses everywhere in the engine compartment. \\\ Does anyone know what the two center intakes are made from? The rear rim and hub cap will be set farther inside the tub. The rims will be red and the cap will be chrome.
-
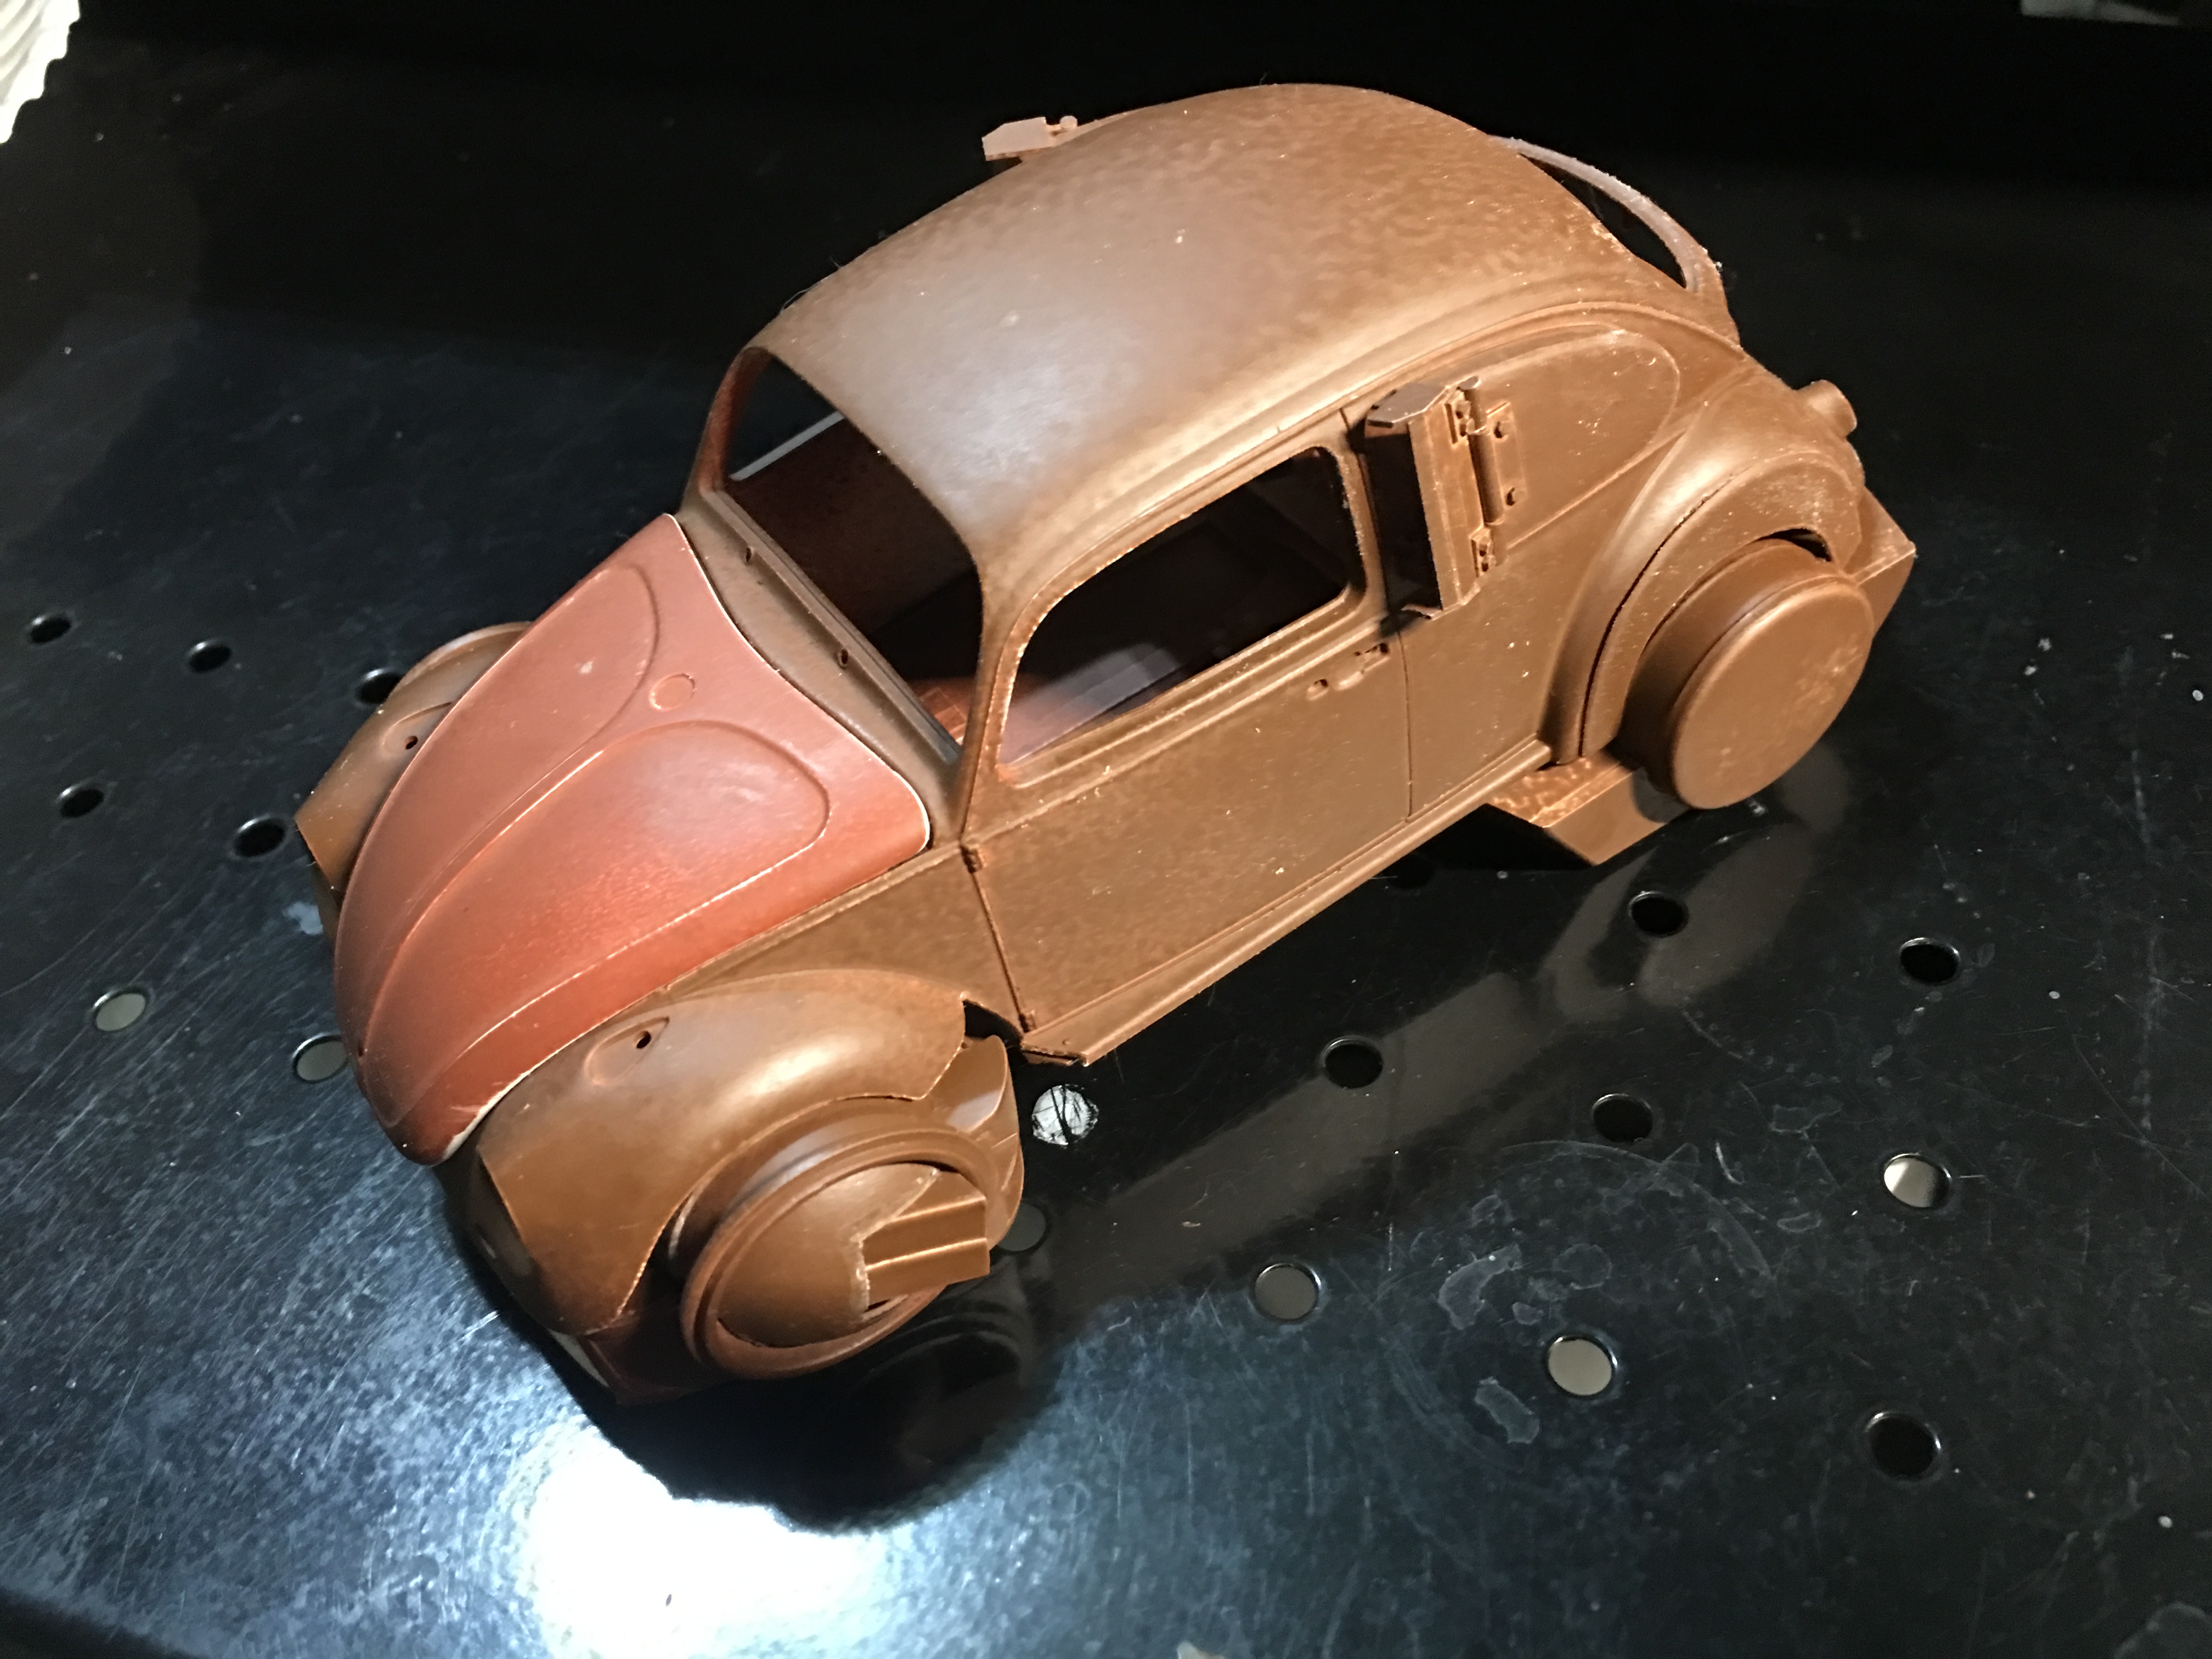
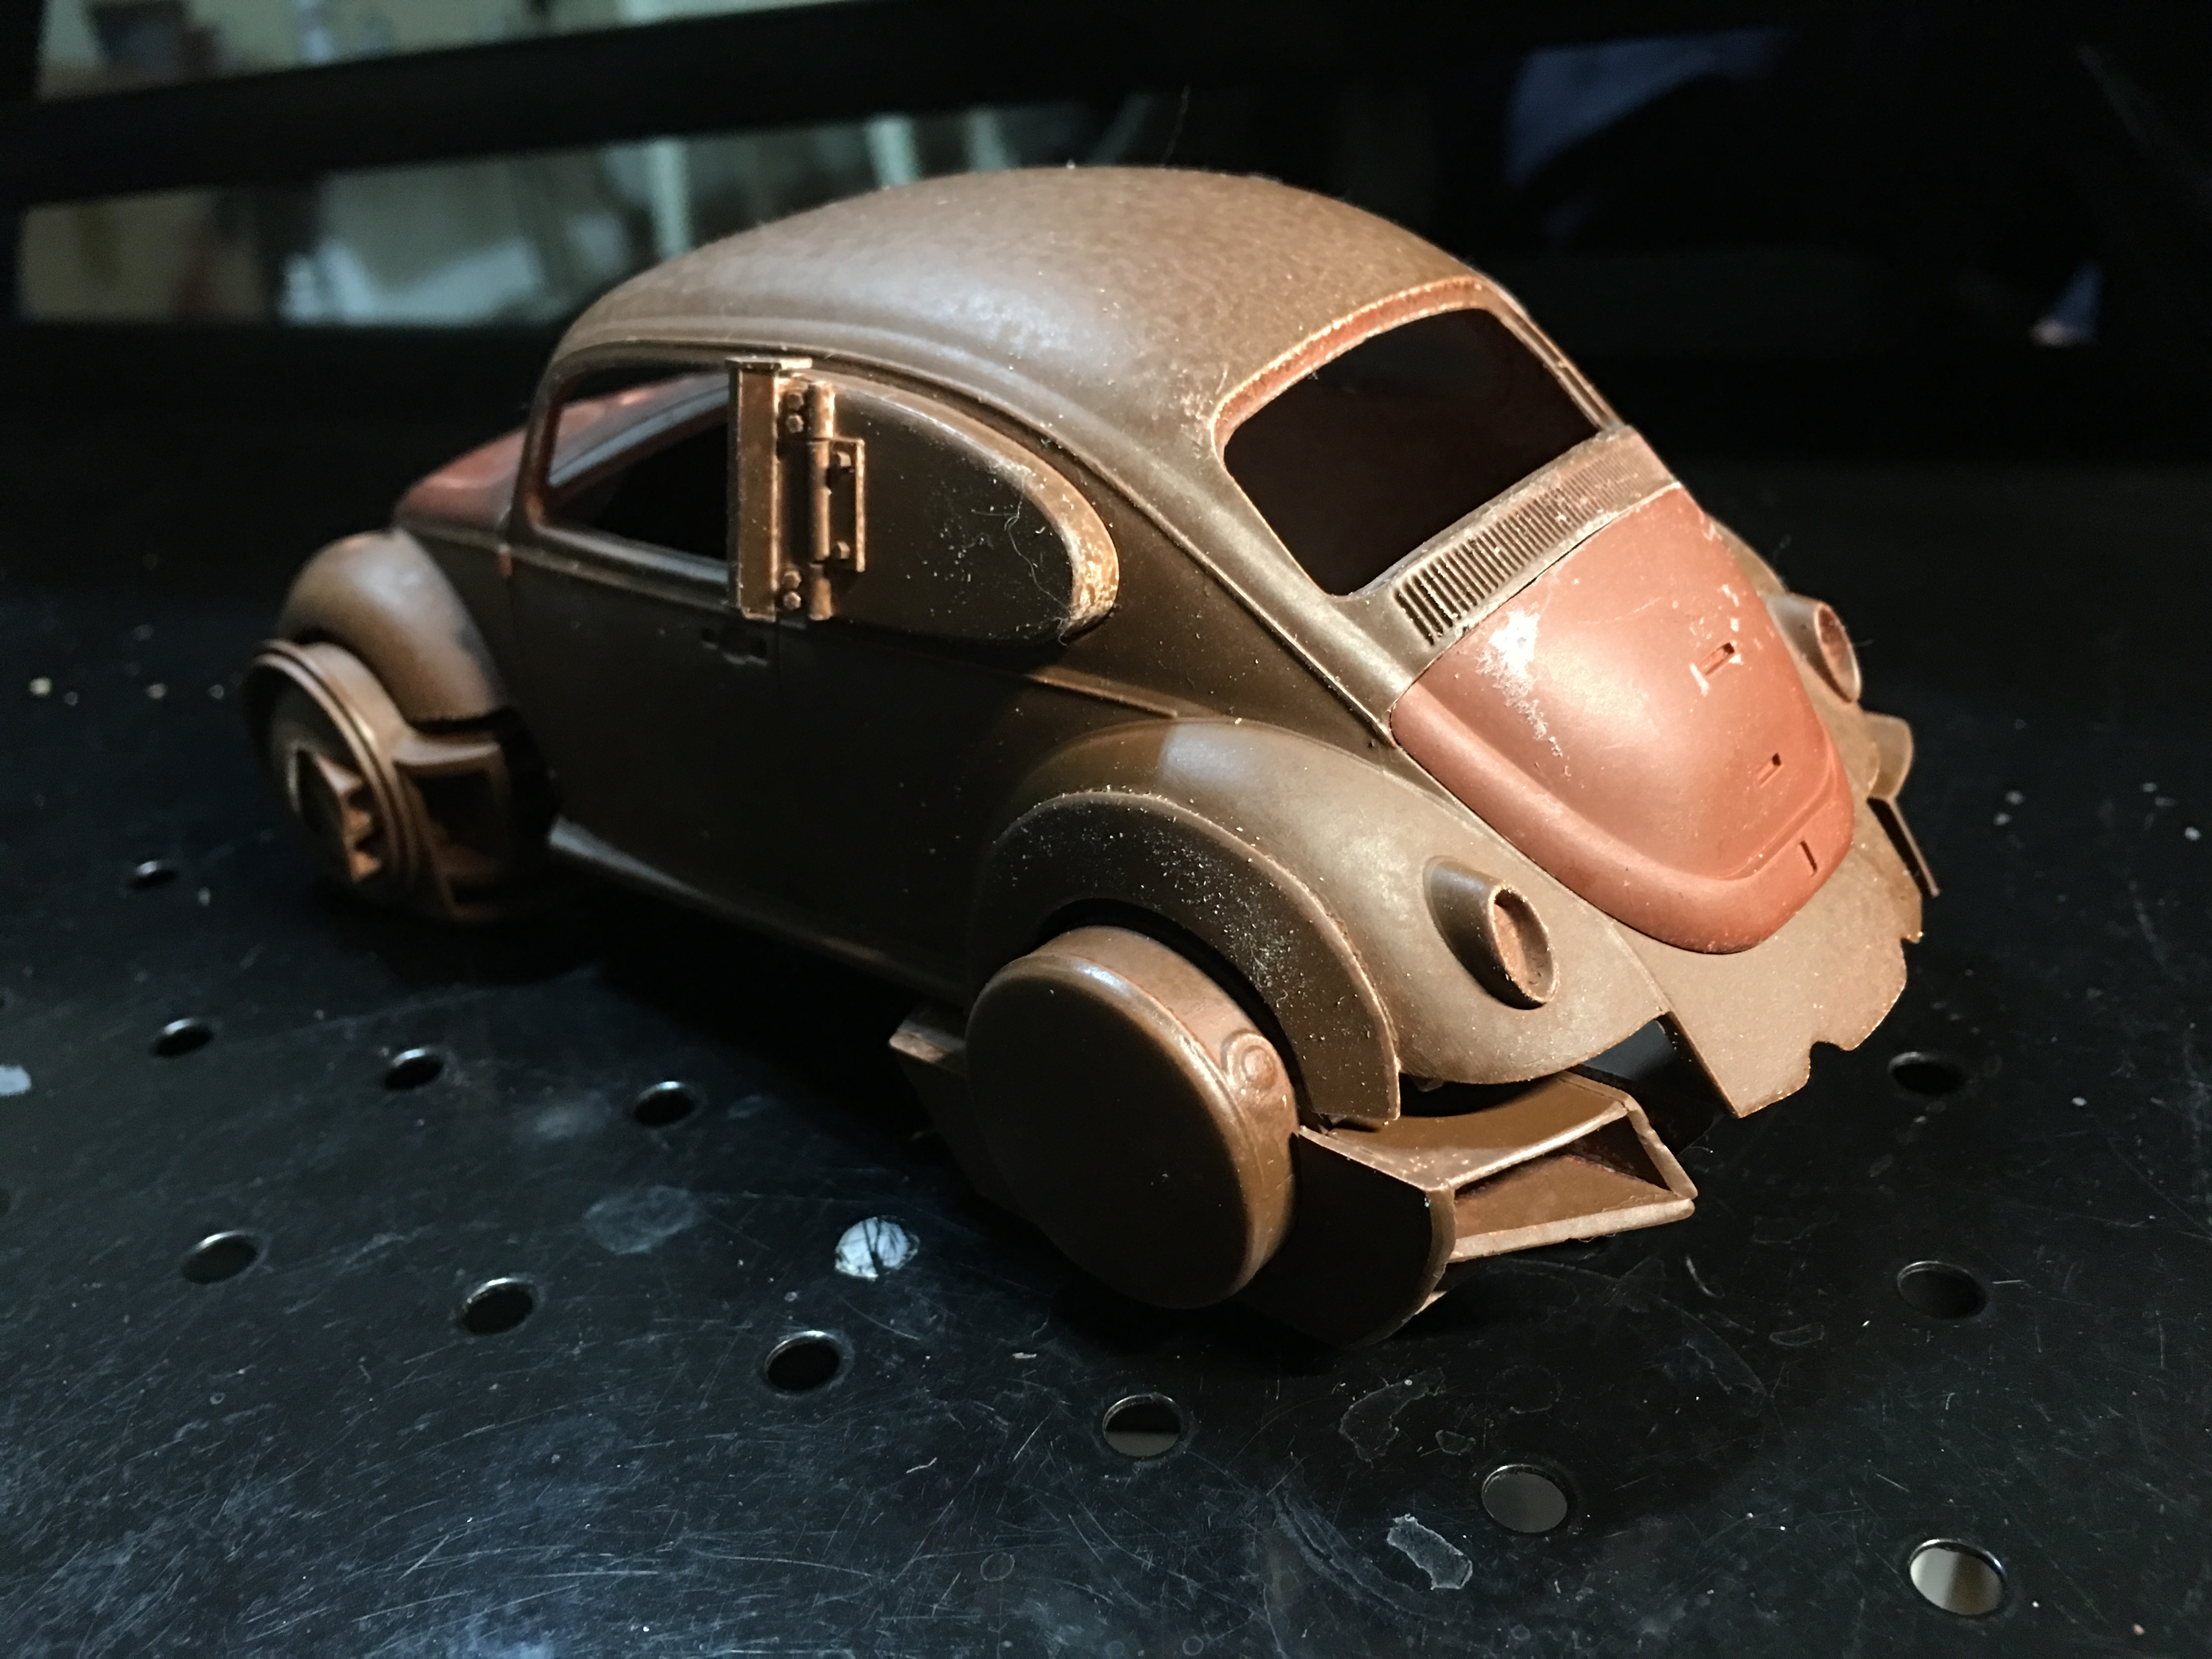
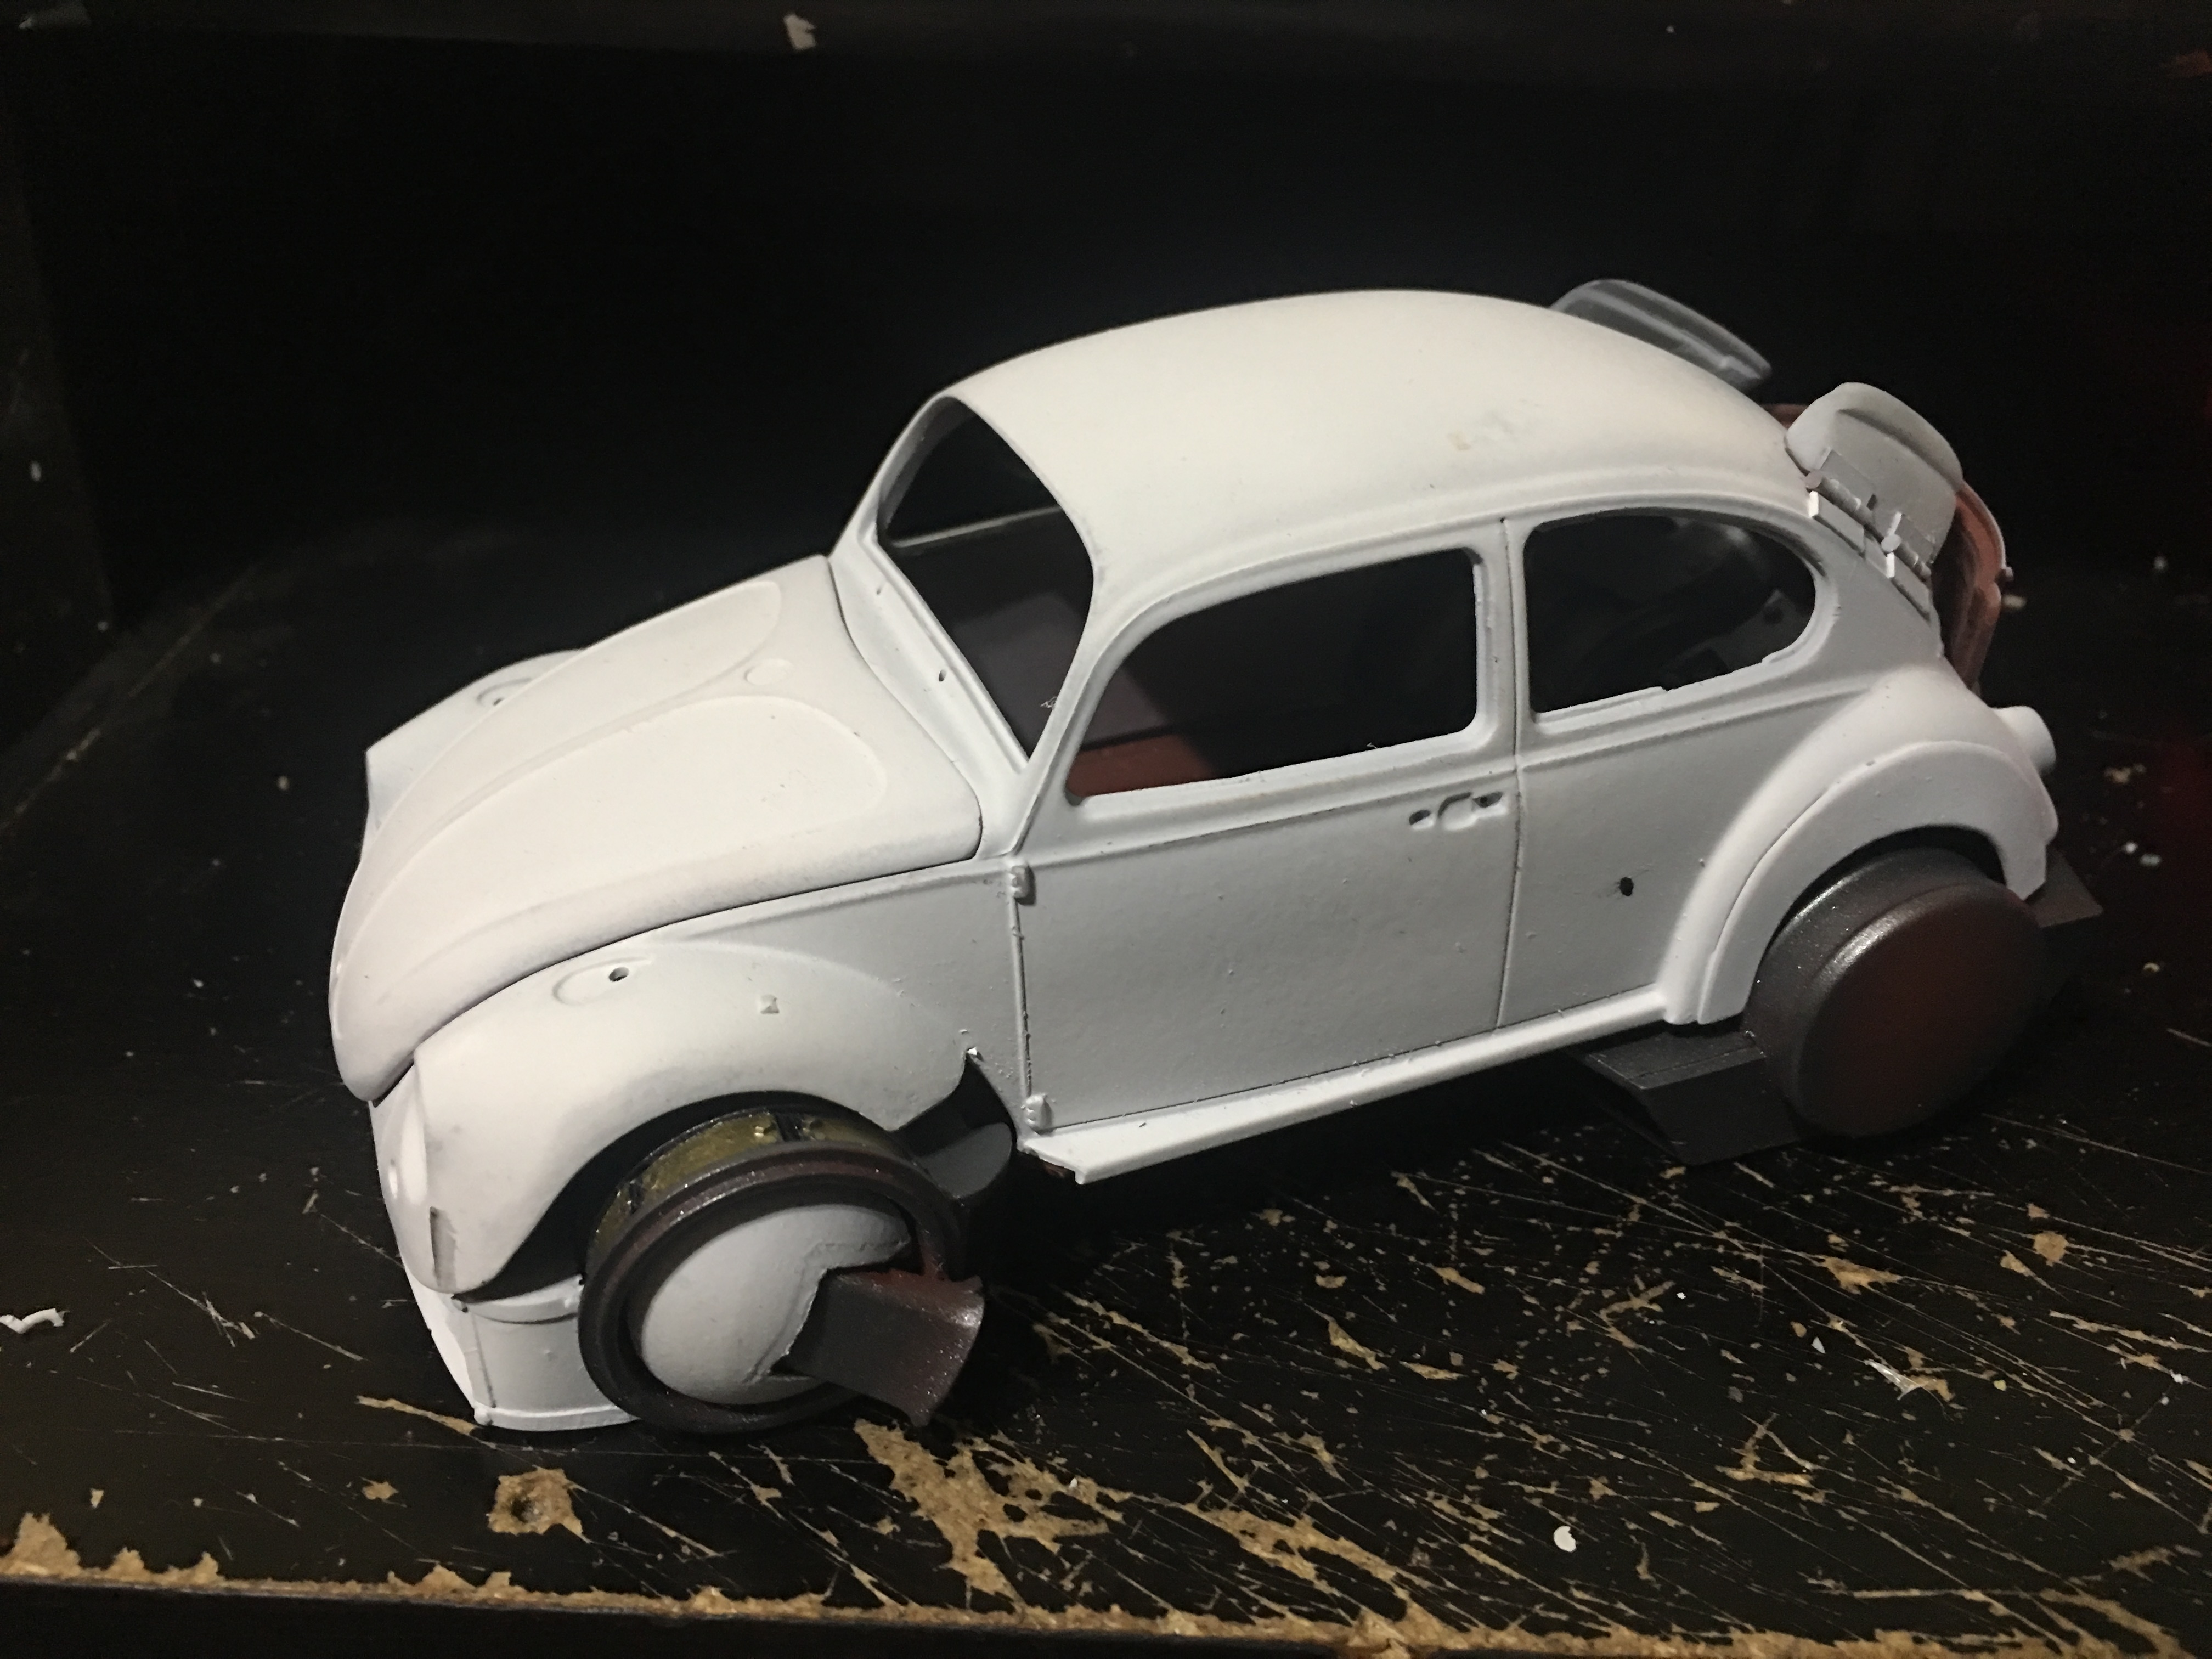
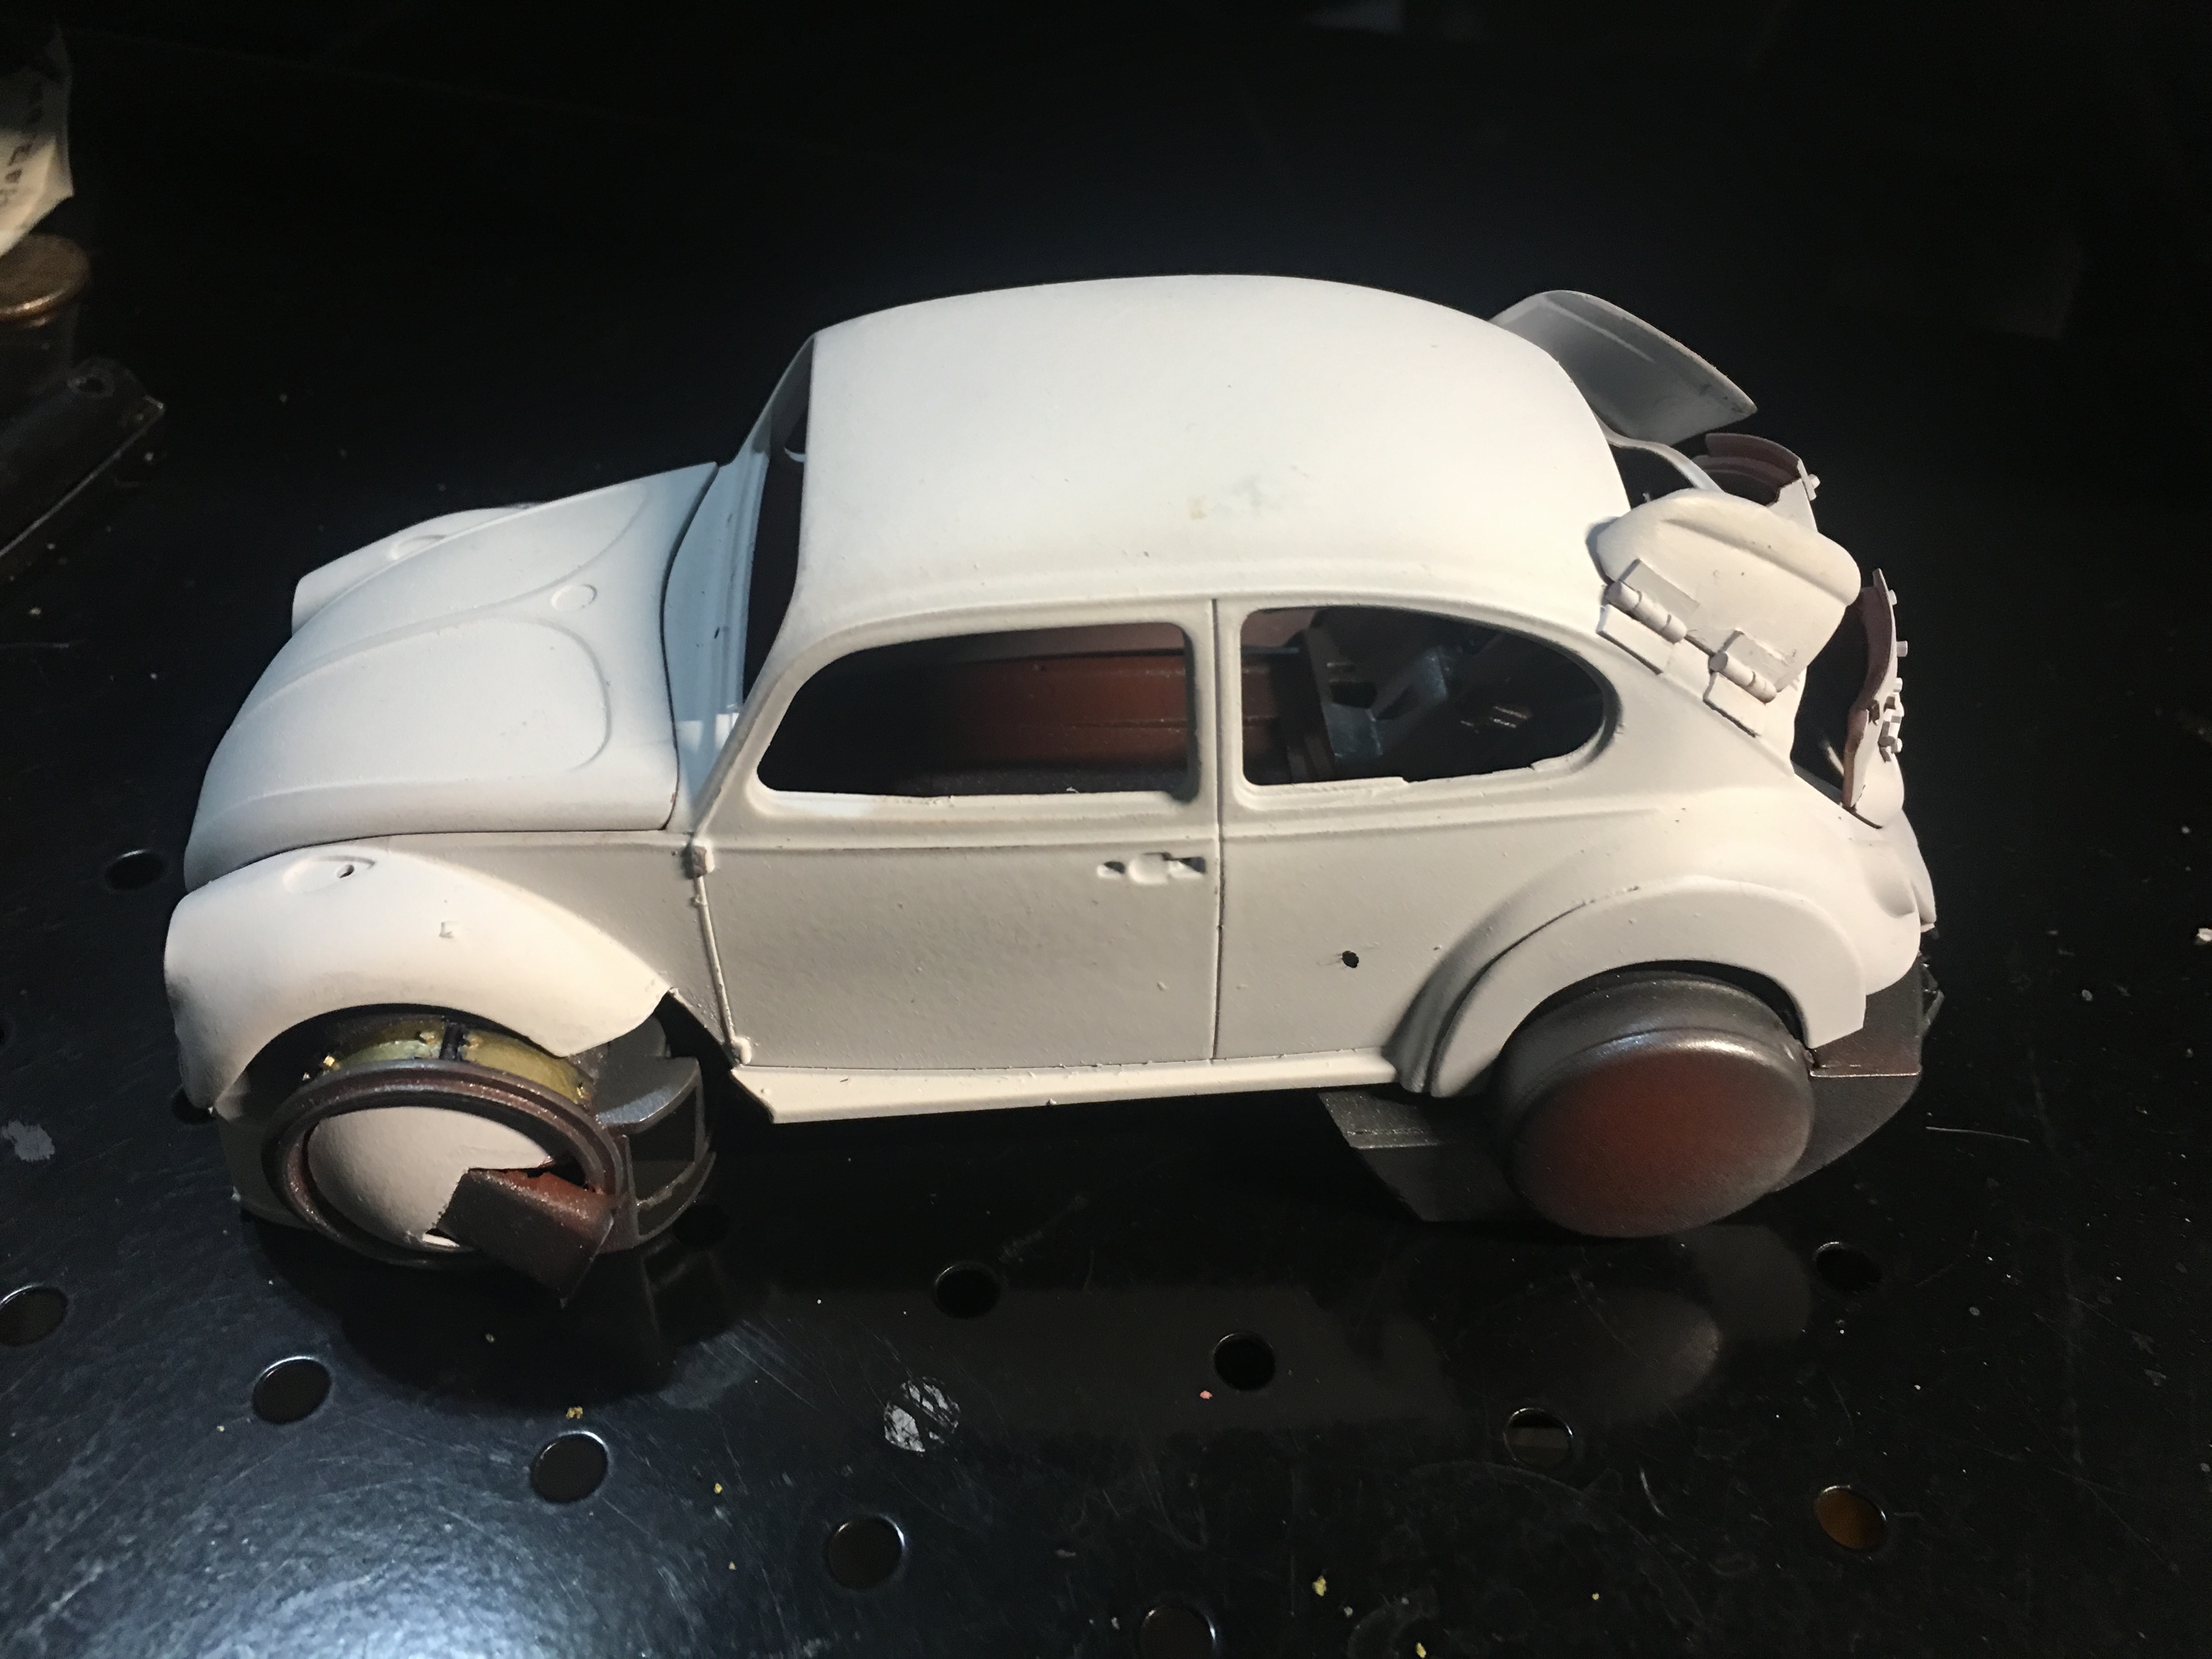
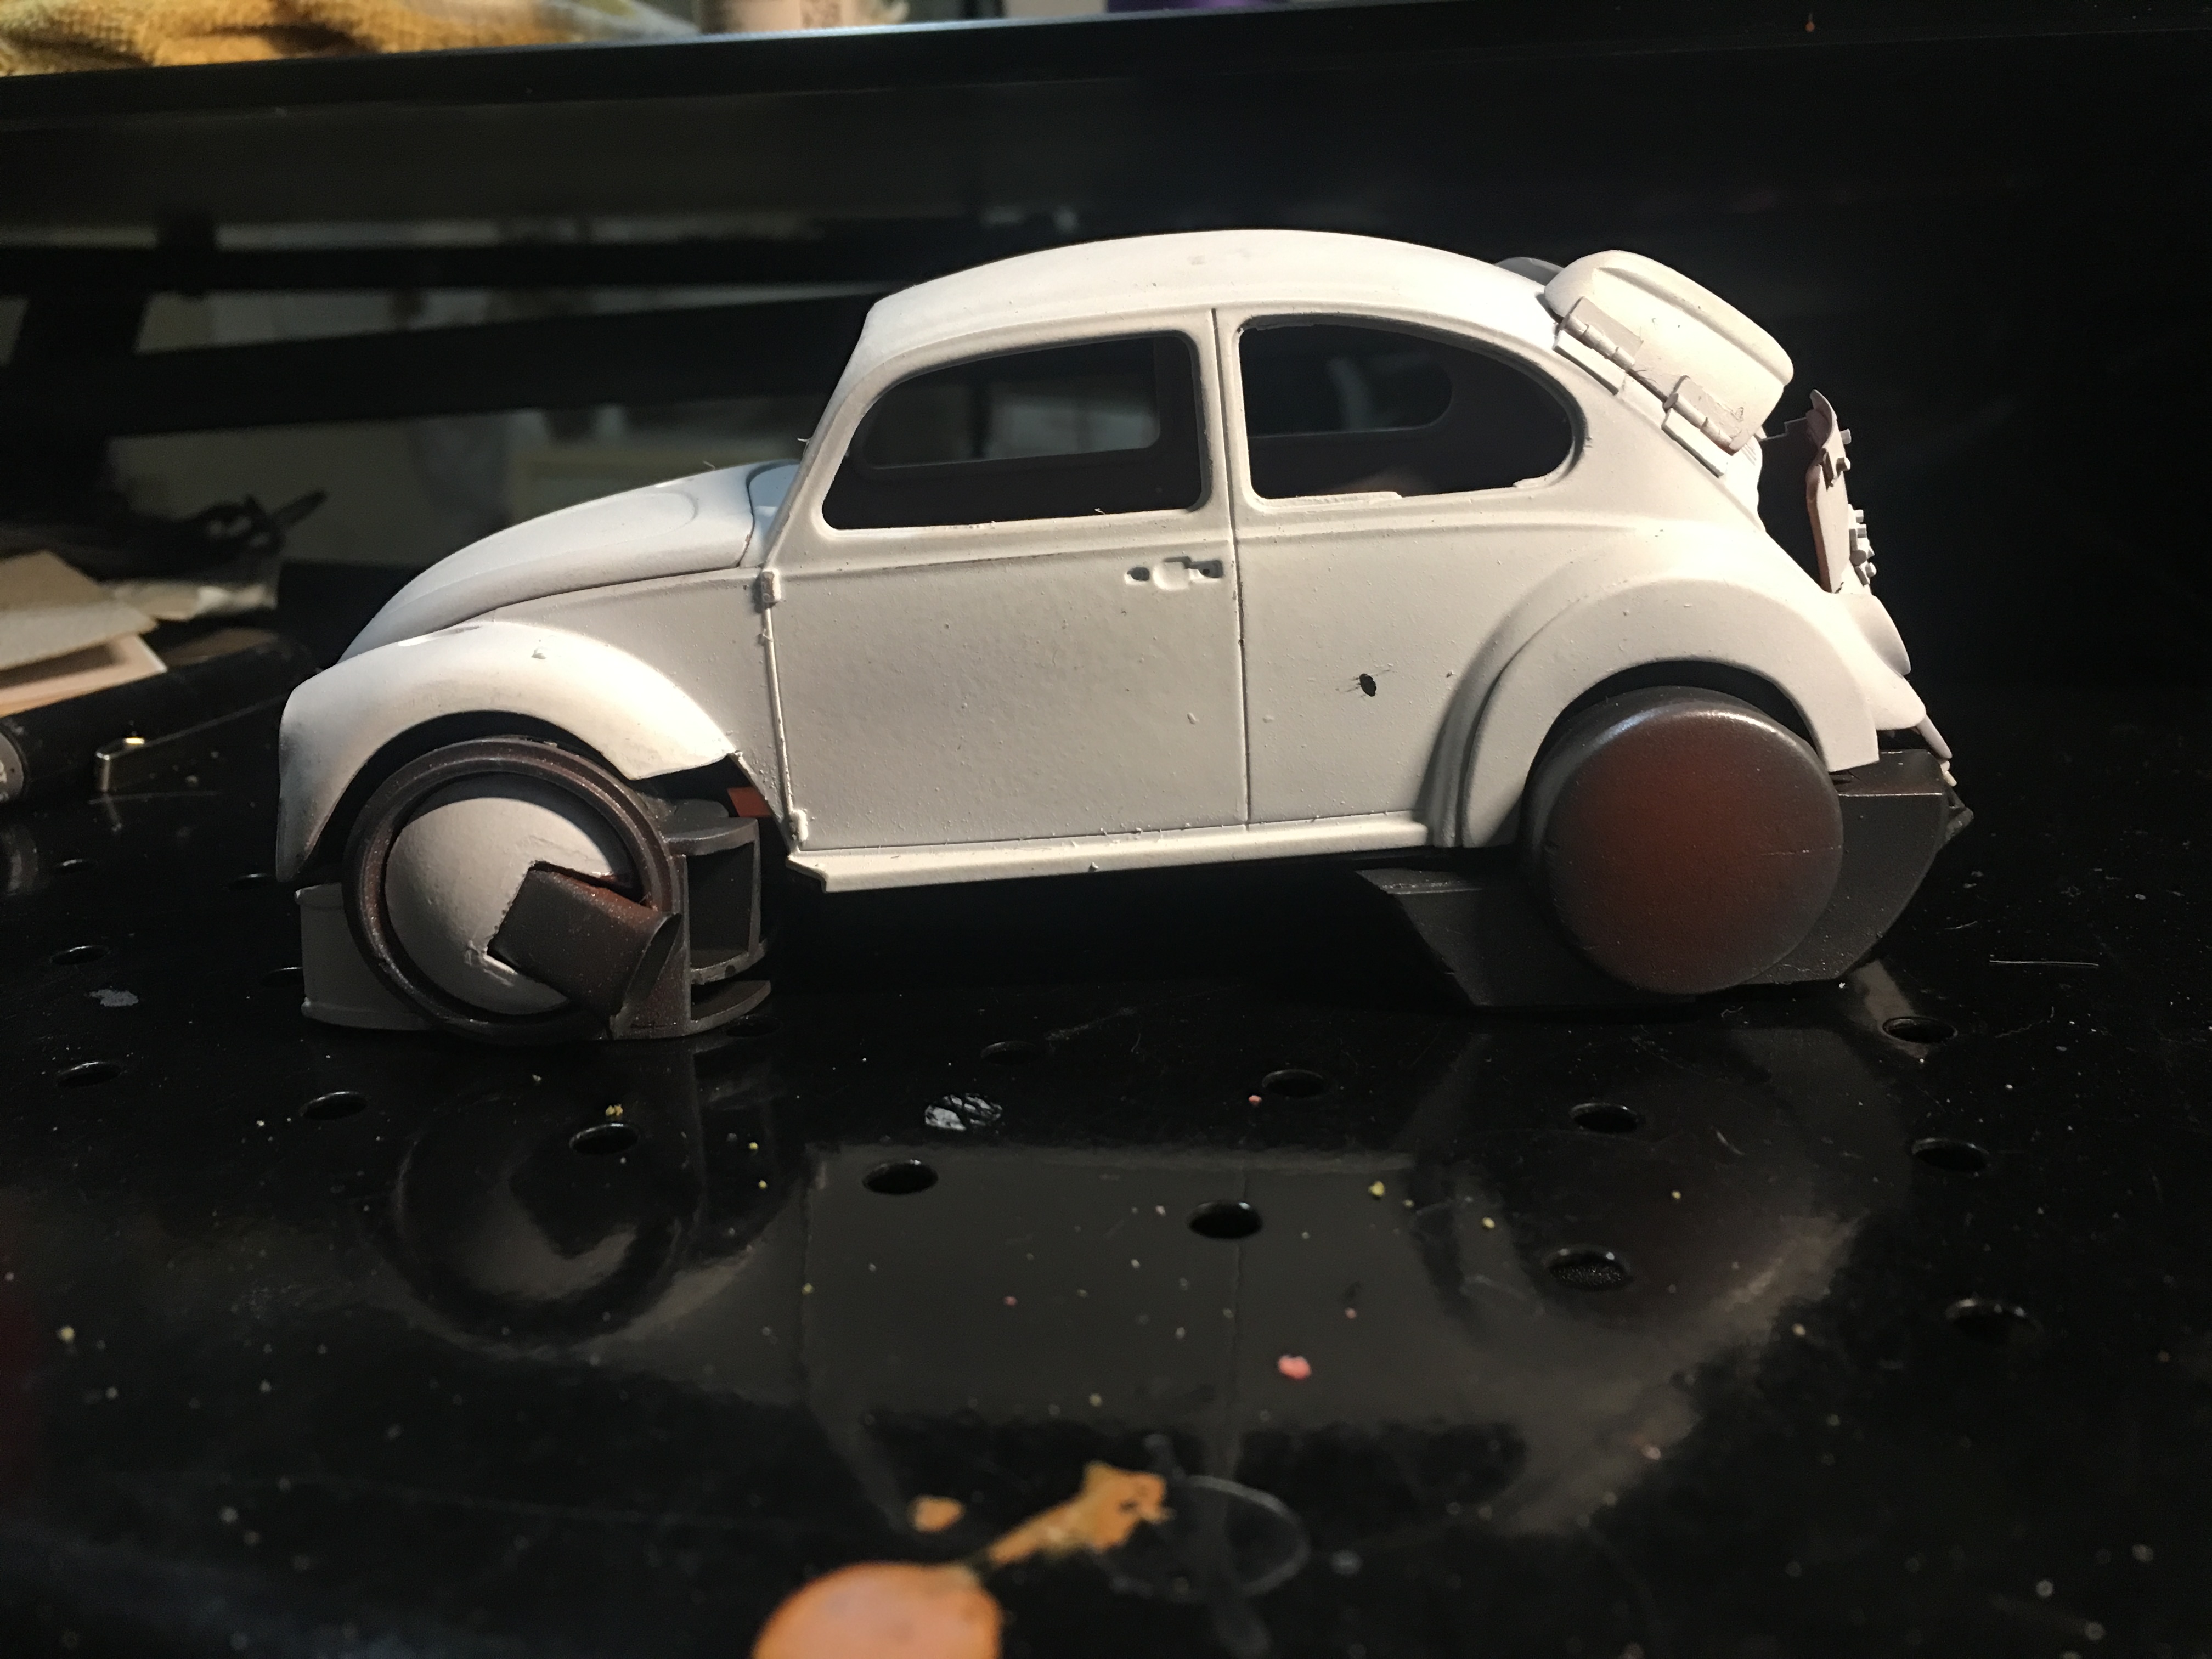
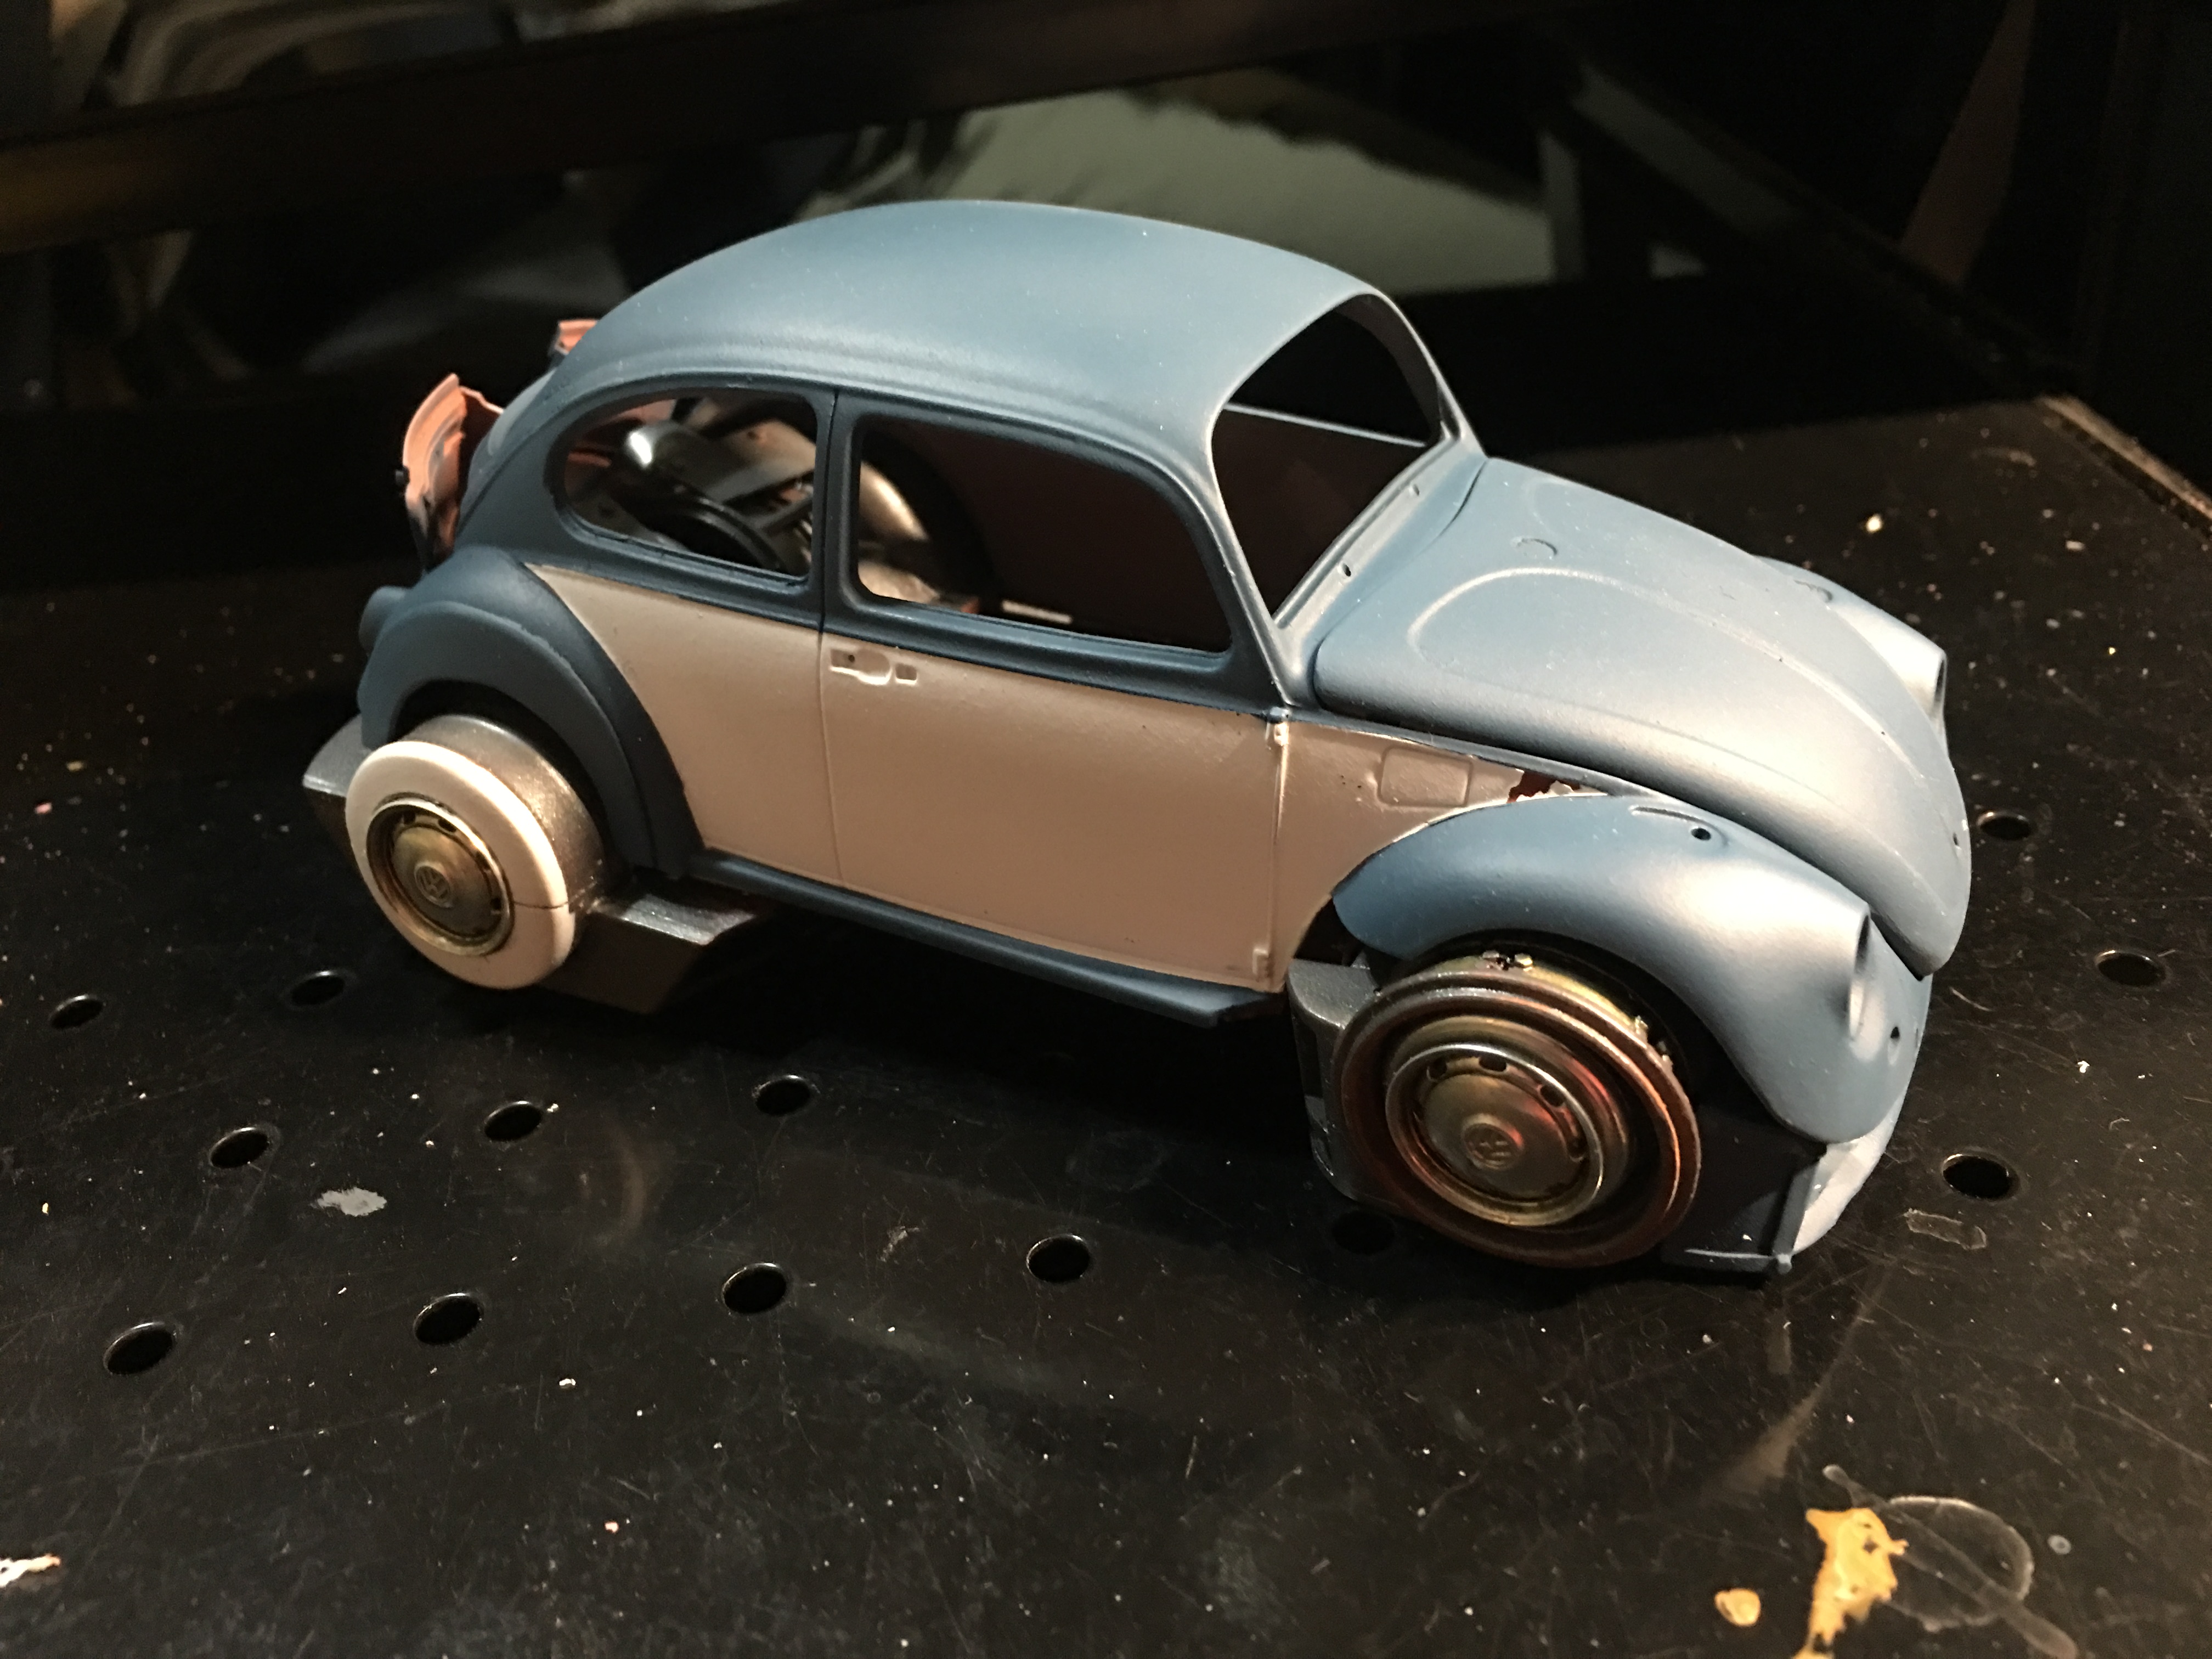
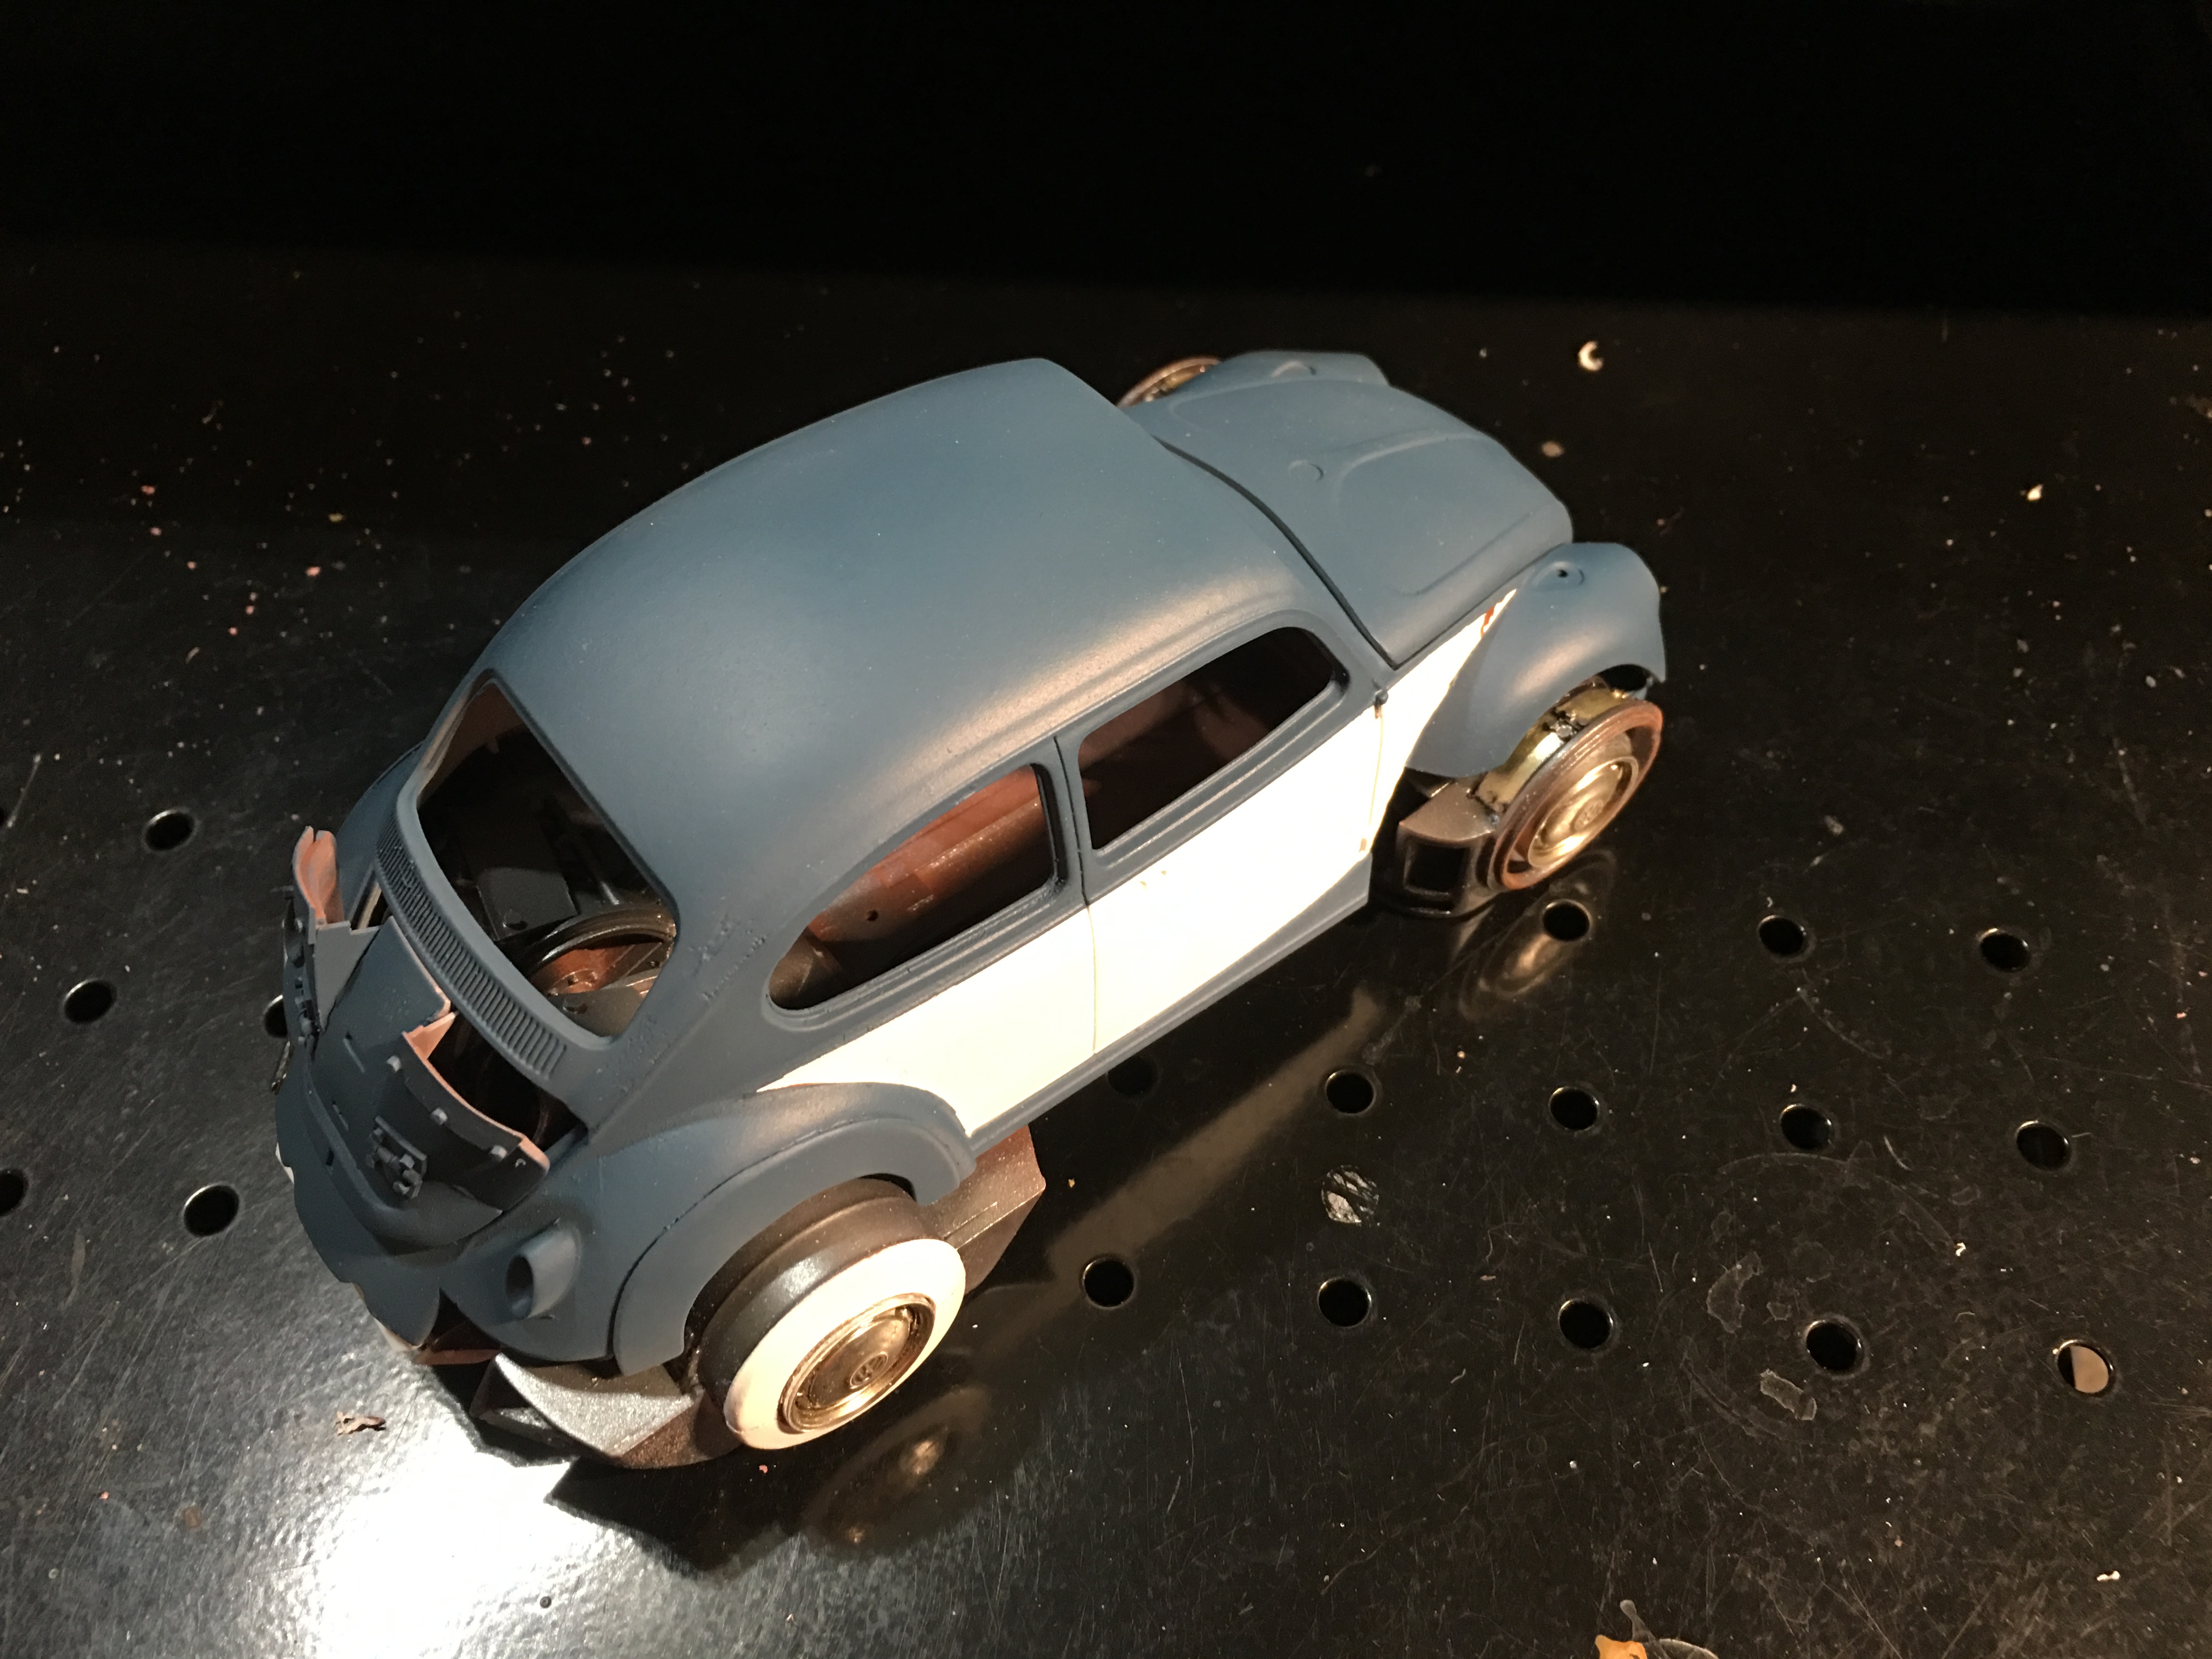
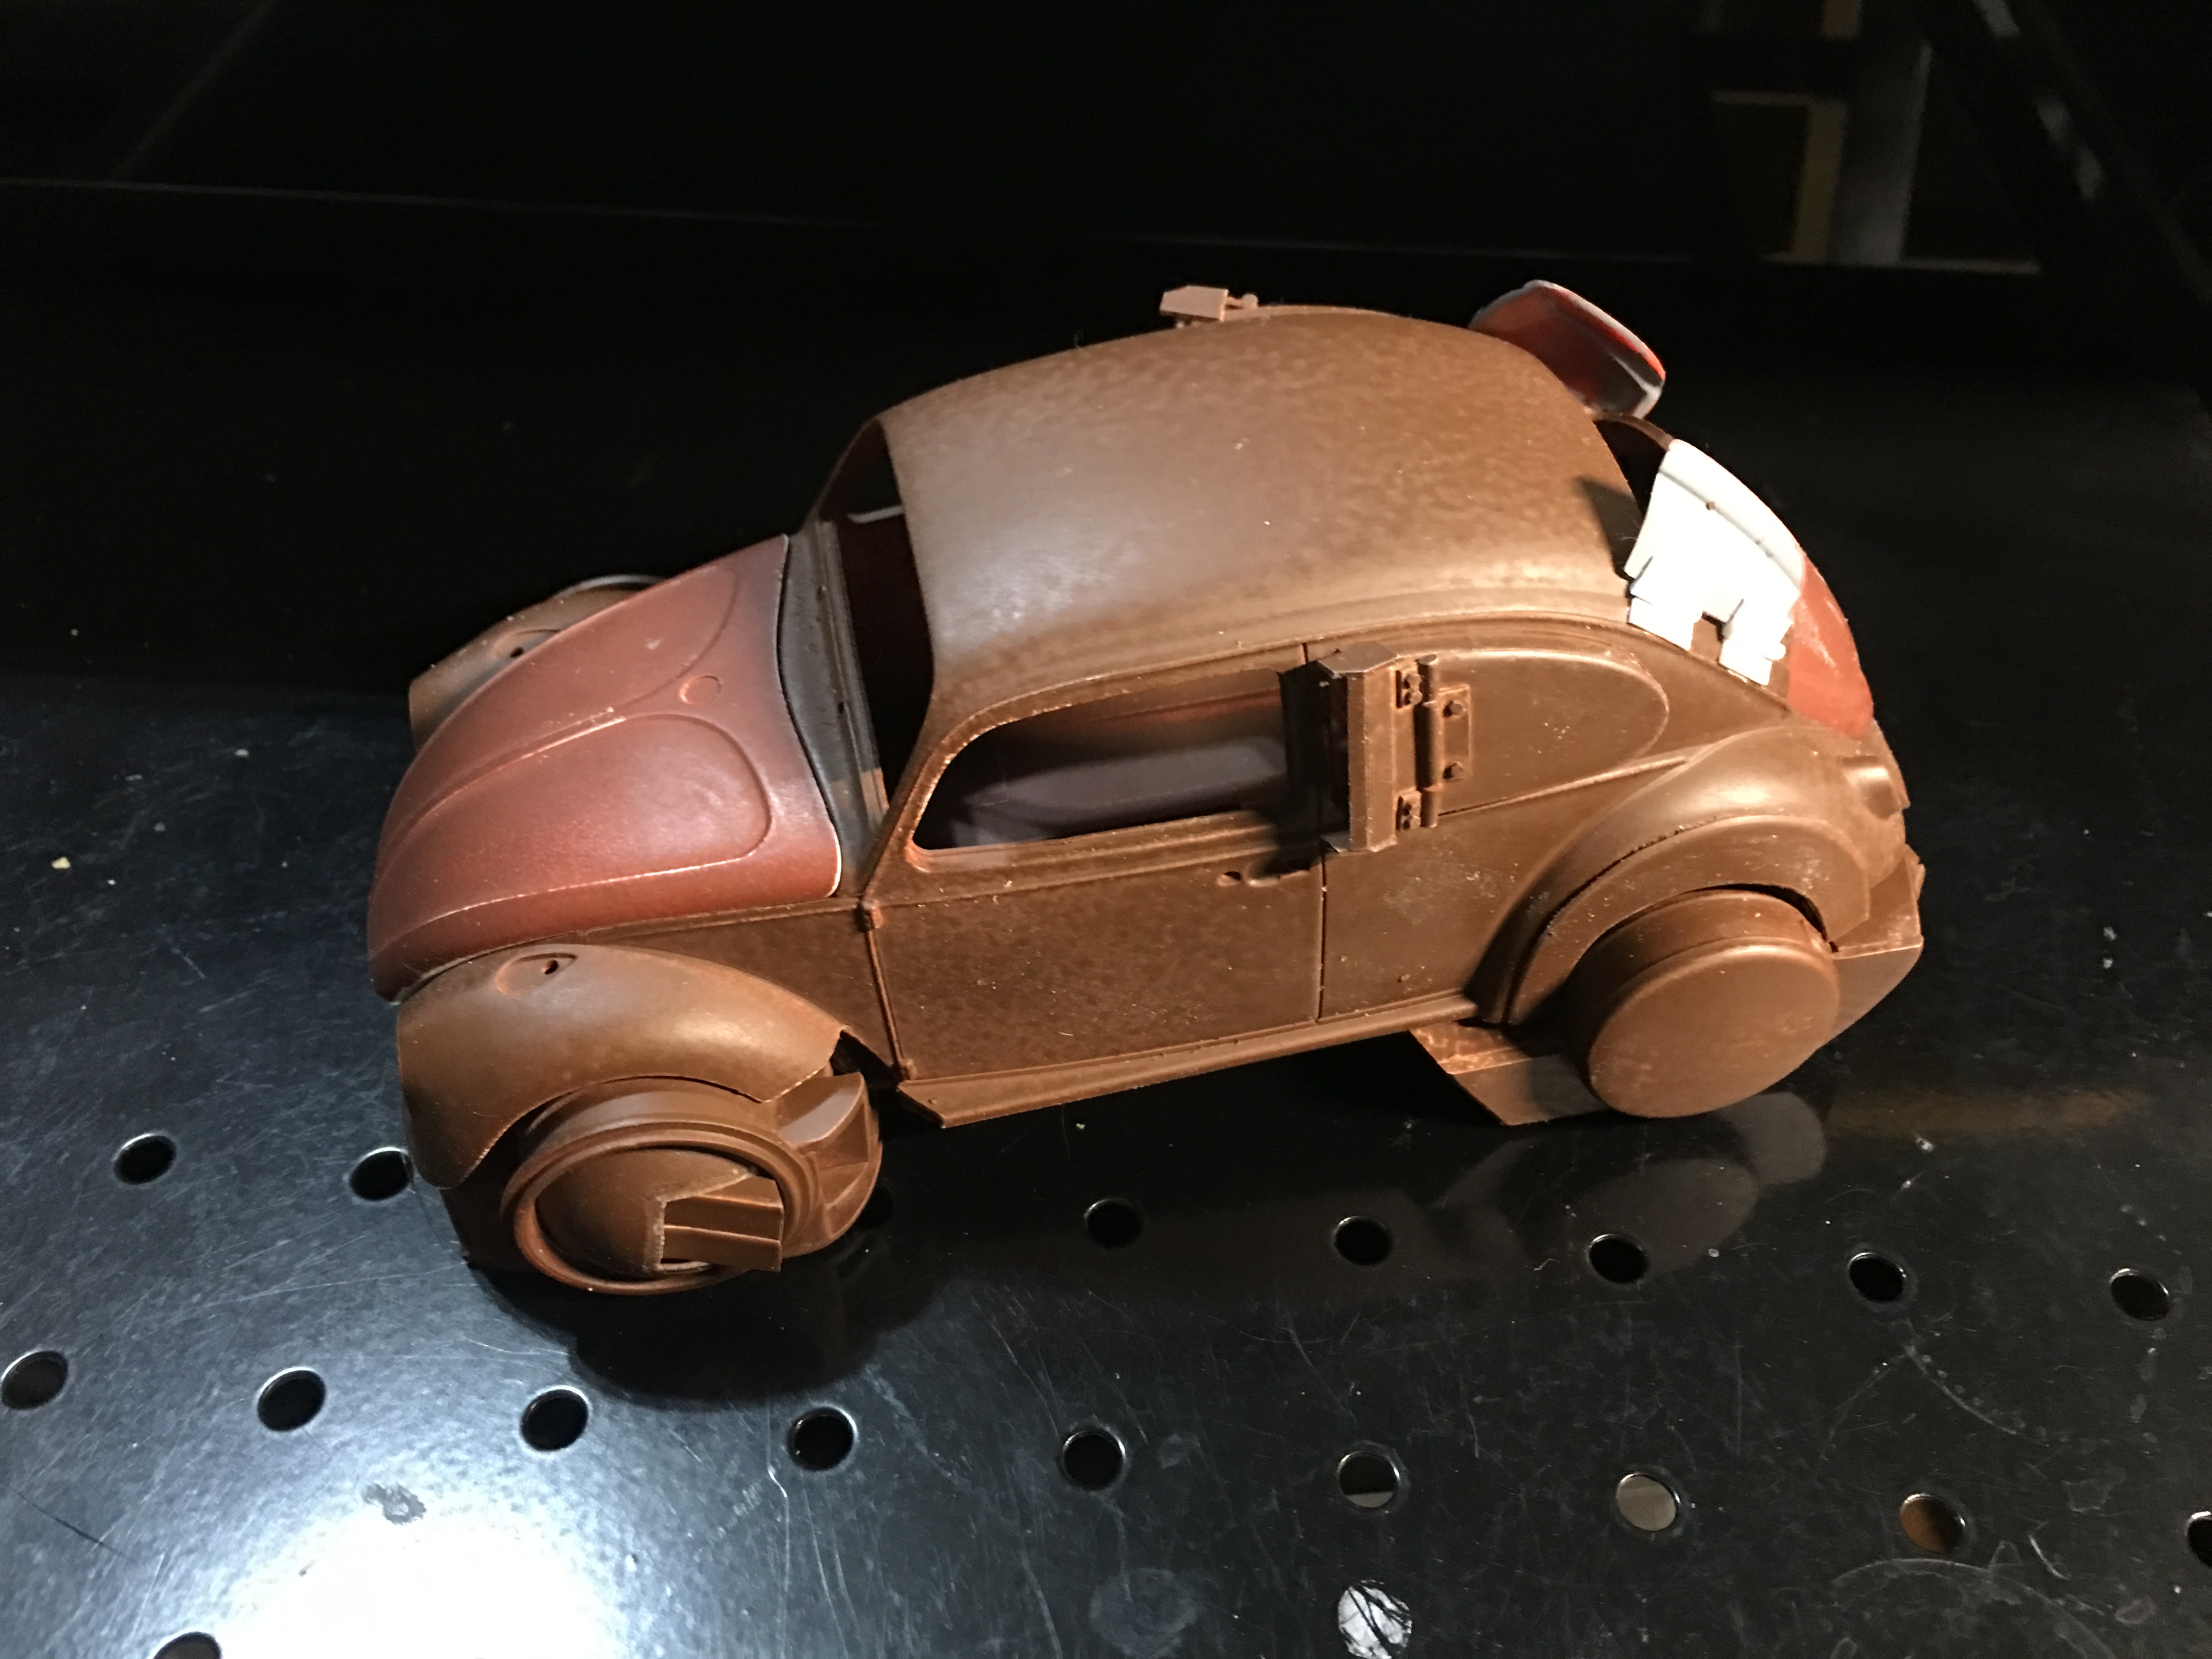
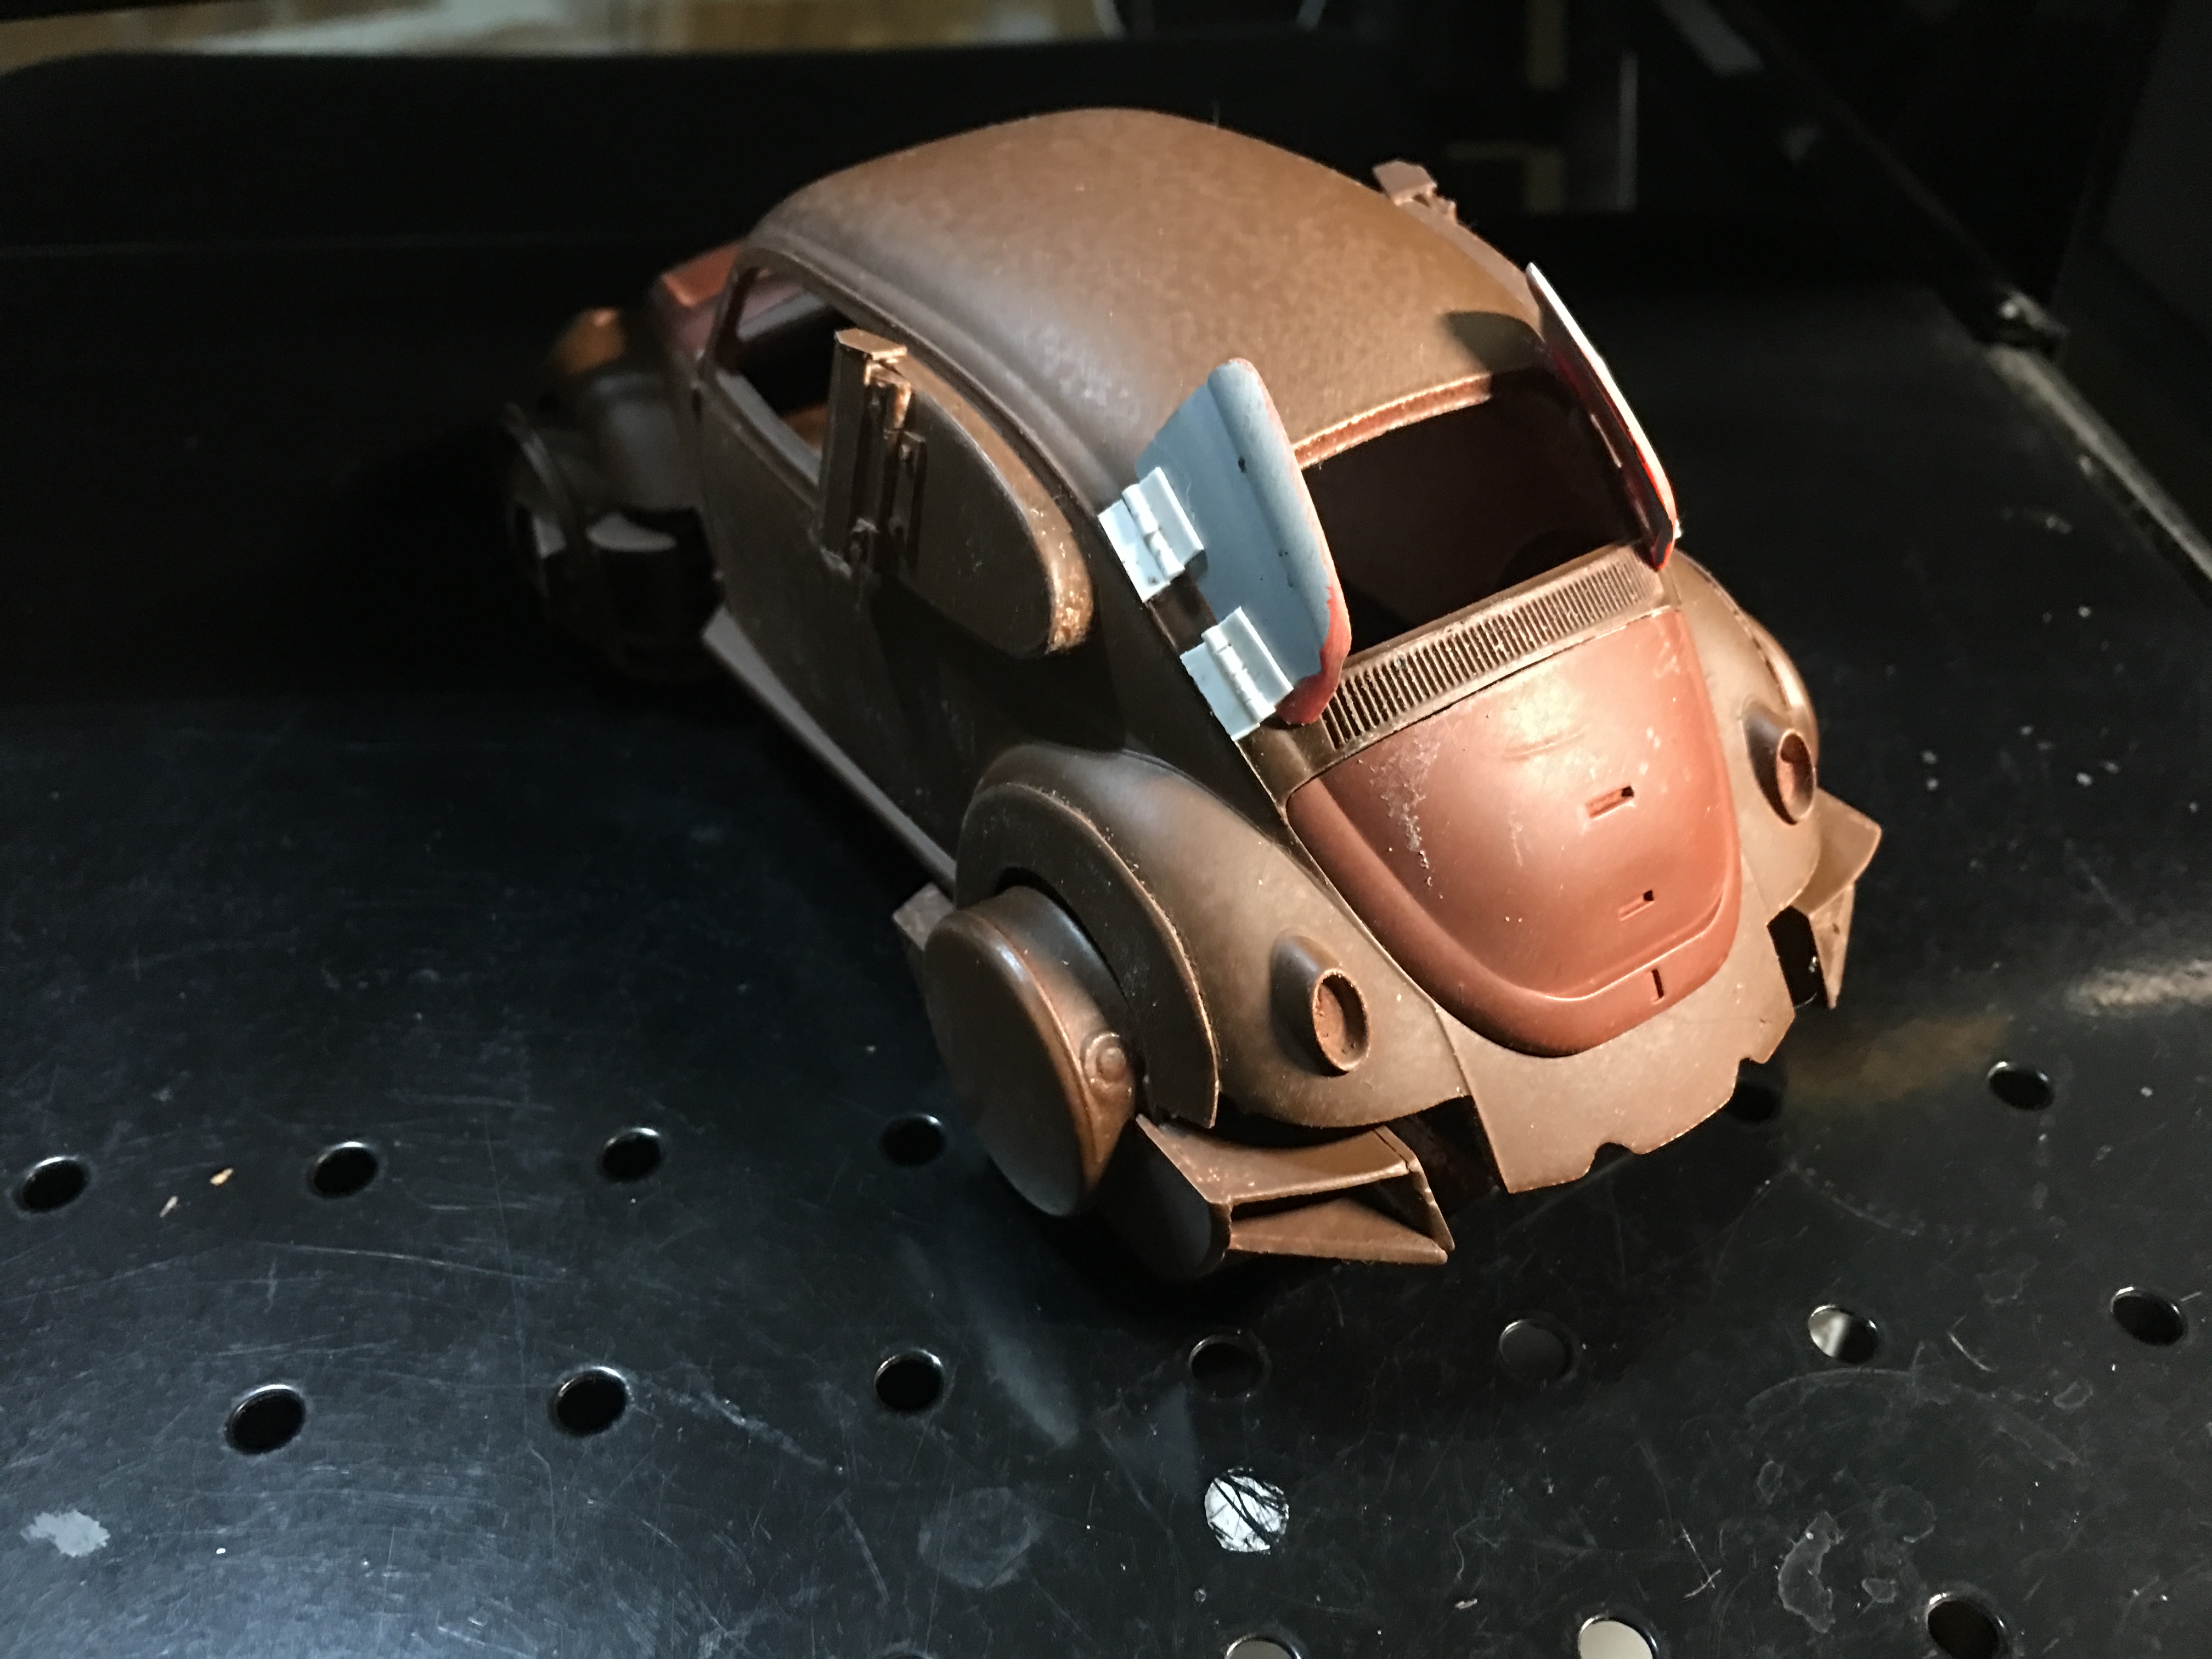
I started another hover car. It needs a clever name. I'm all ears if anyone has a good suggestion. Vintage 68 Hover Bug........ This started out as a hover race craft. I envisioned bright graphics like you'd see on a formula 1. If you guys have seen any of my other posts, you'll know that my finished models usually look quite a bit different than what I begin with. Styrene shavings and cat hair for that " just finished a race look" I added some fins on the top, cut from another VW Bug's rear trunk lid. I wanted it to have a lowered stance while in flight. I had pictured a black, white and red racing graphics with racing numbers and sponsor decals. I imagined it as if it had just finished a race. Heavy soot from the turbines. Grease and oil on the engines. Maybe a little damage from other hover race craft. The fins on the top, direct air into the rear engine cover via hinged vents. I remember as a teenager, the cool VW Bugs at my high school always had their rear hood lifted for air cooling. Similar thing here, except the vents lead to some massive air intakes on the back of the engines. I got stalled at this point on the graphics and decals. I spent weeks trying to come up with race style graphics. Was I going to use decals? How am I going to get good paint lines with multiple colors? This was all out of my zone. So I started looking into vintage style...... I'll be painting the inner rims bright red. The center caps will be chrome. The front will have white painted similar to the rear white walls. I will be weathering it. It's a daily flier! Slight rust. Slight paint fade. Dirt in the crevasses. Soot. Good stuff.
-
I thought about the race car theme for the past few weeks. I wasn't confident enough to try race style graphics and decals. I just couldn't come up with anything that worked with the rounded shape of the Beetle. So it went from this: To this: I'm going to paint the rims bright red, leaving the center caps chrome. Probably going to add some weathering. Not a ton. I want it to look like it's used.
-
Back to the 1st bug again. I really didn't want to start this, just after completing the last bug....I got two new models that I was excited to start. A 75 Datsun pick-up and a 41 Chevy pick-up. Somehow I ended up back on the original bug. I'm a big fan of intakes and hinges. I still want to make it some kind of race craft. Numbers and decals on the sides. Some kind of racing graphics. Some wear and tear.
-
I enjoy the comments! Thank you all. I used a Vallejo acrylic set for the rust effects. It was a set of 8 washes and paints. It has some really great colors to work with. I suggest it for anyone starting out new to weathering.
-
24 hours? That's amazing. Love the color. Great build.
-
Thanks for the positive comments! Much appreciated Very fun build. The best part about weathering.......I had this model %99 complete. I had just finished the final Dullcoat, waited 20 minutes for it to be dry enough to pick up....then I dropped it. Broke the body into 3 pieces. The right rear fender and the right front headlight/front fender broke off. I was very upset with myself. I had to re-glue the pieces back on. Luckily, a little rust colored paint fixes everything.
-
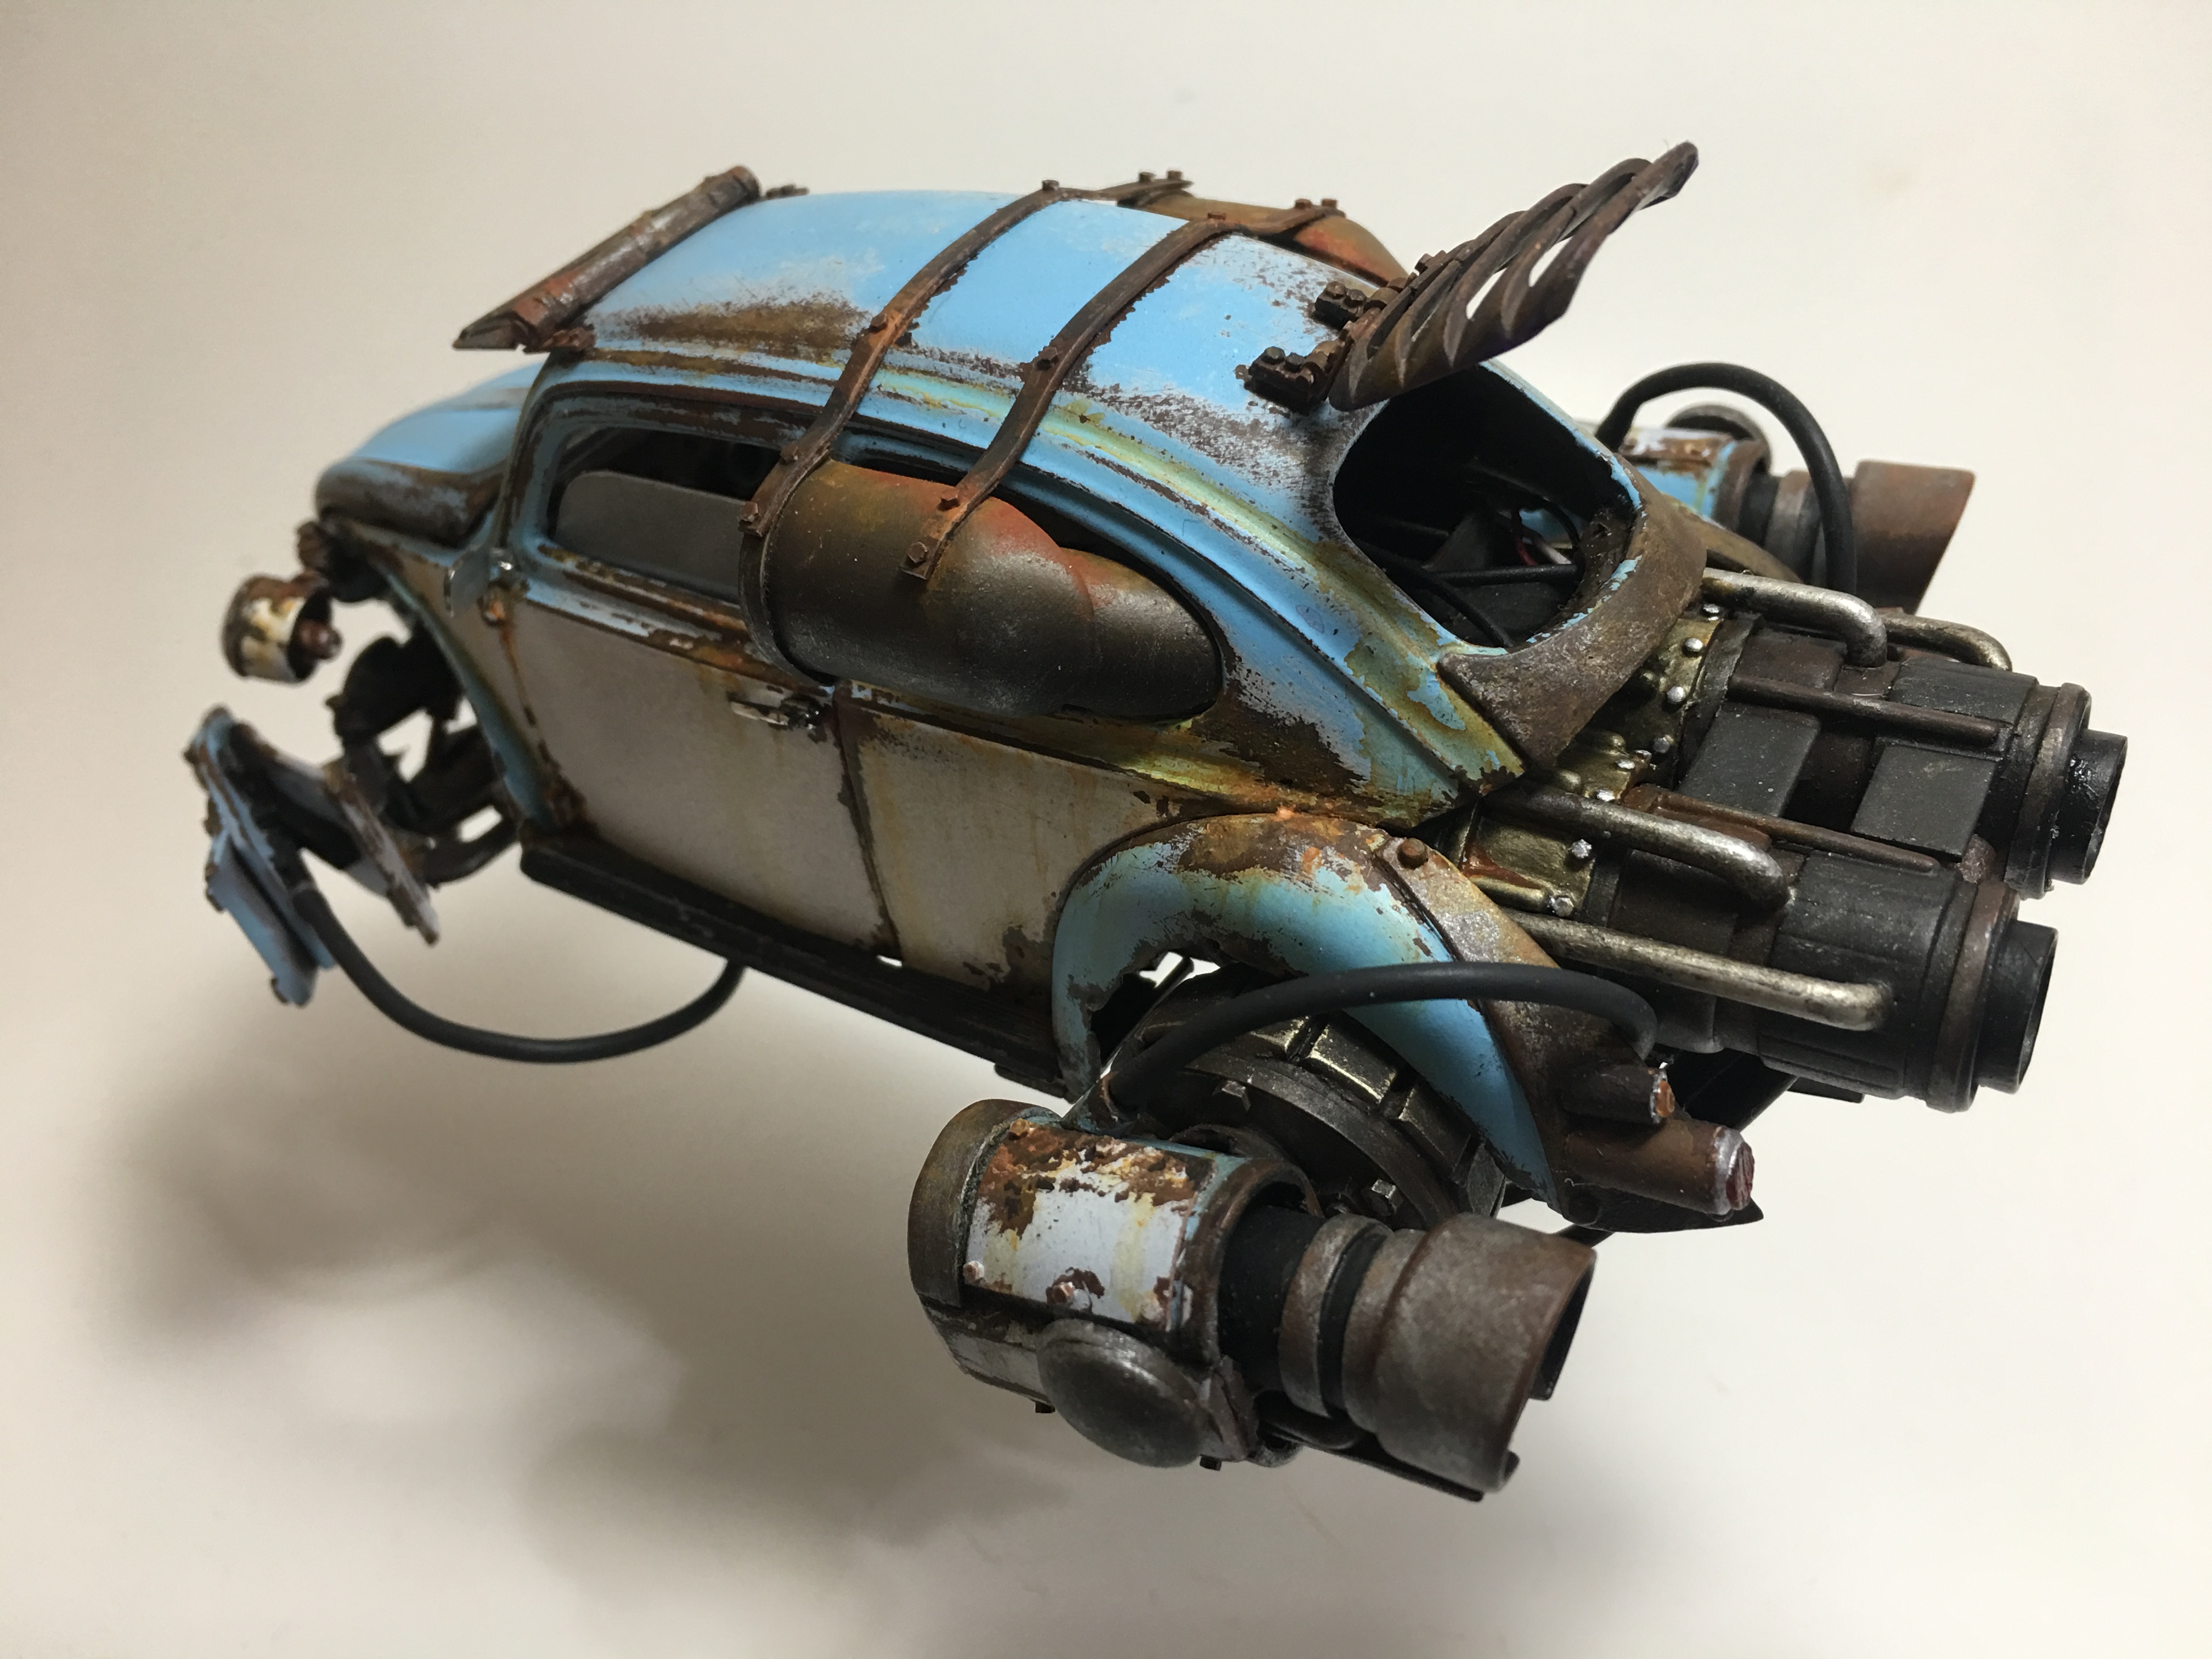
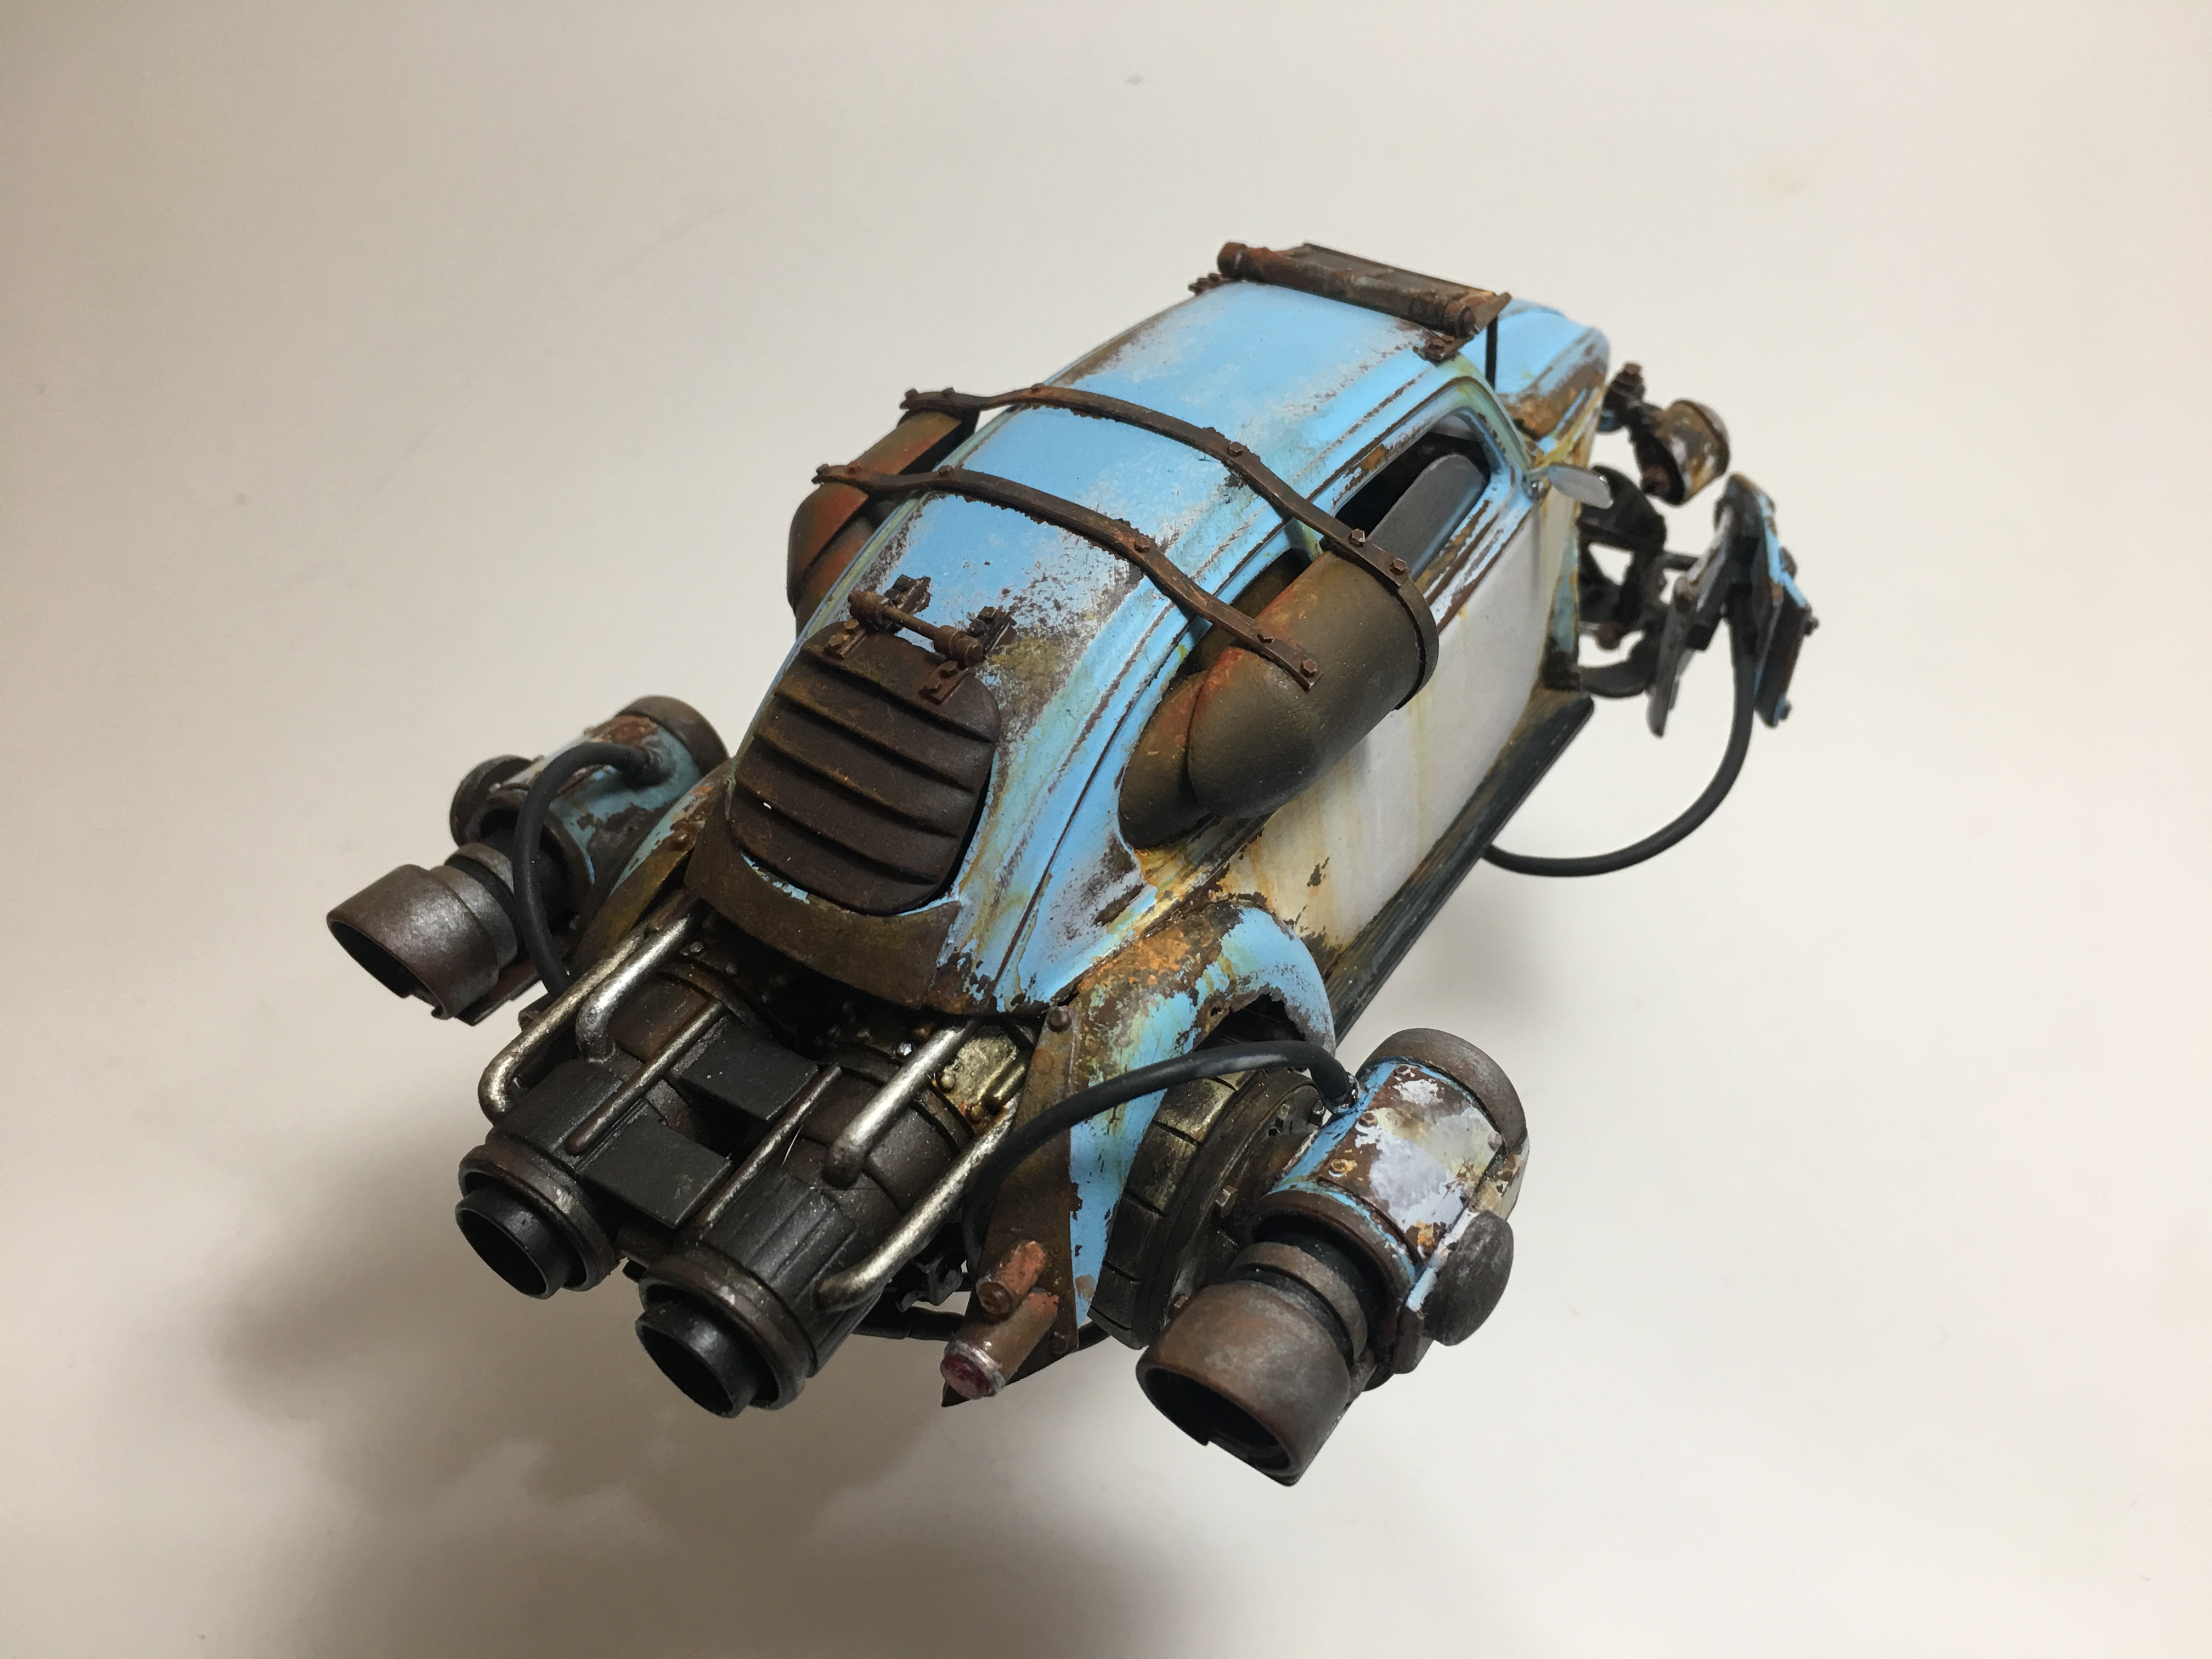
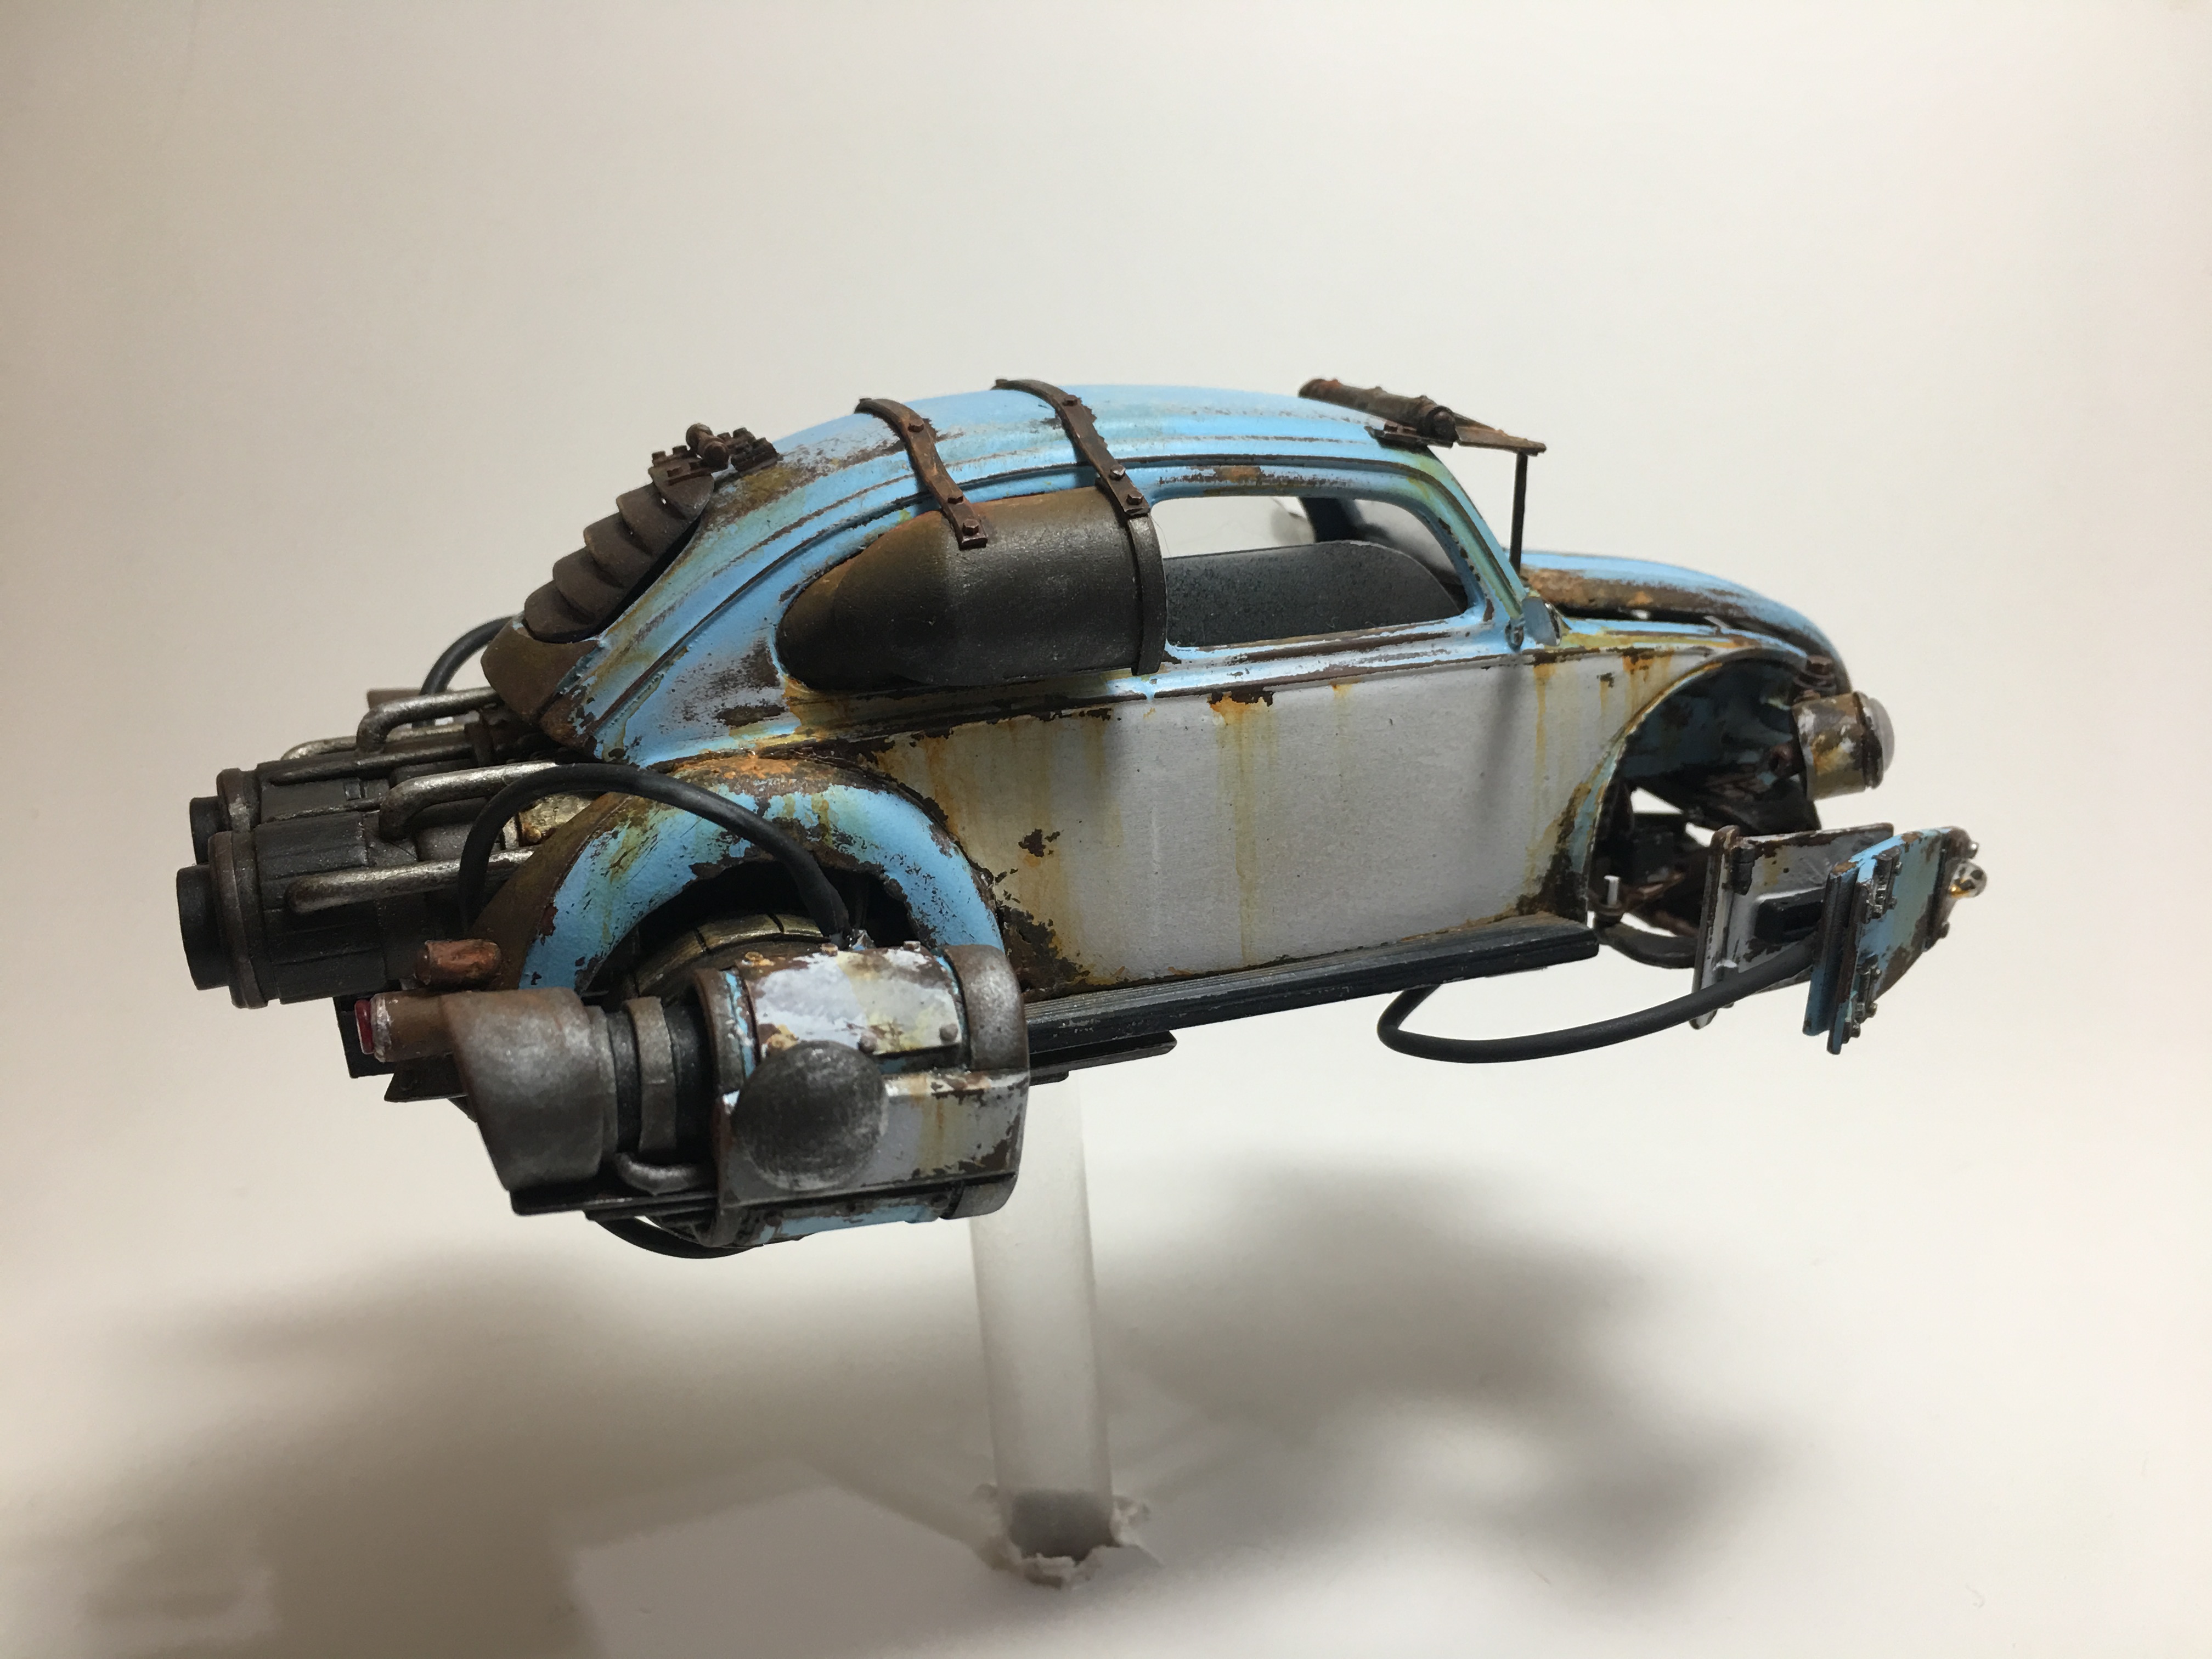
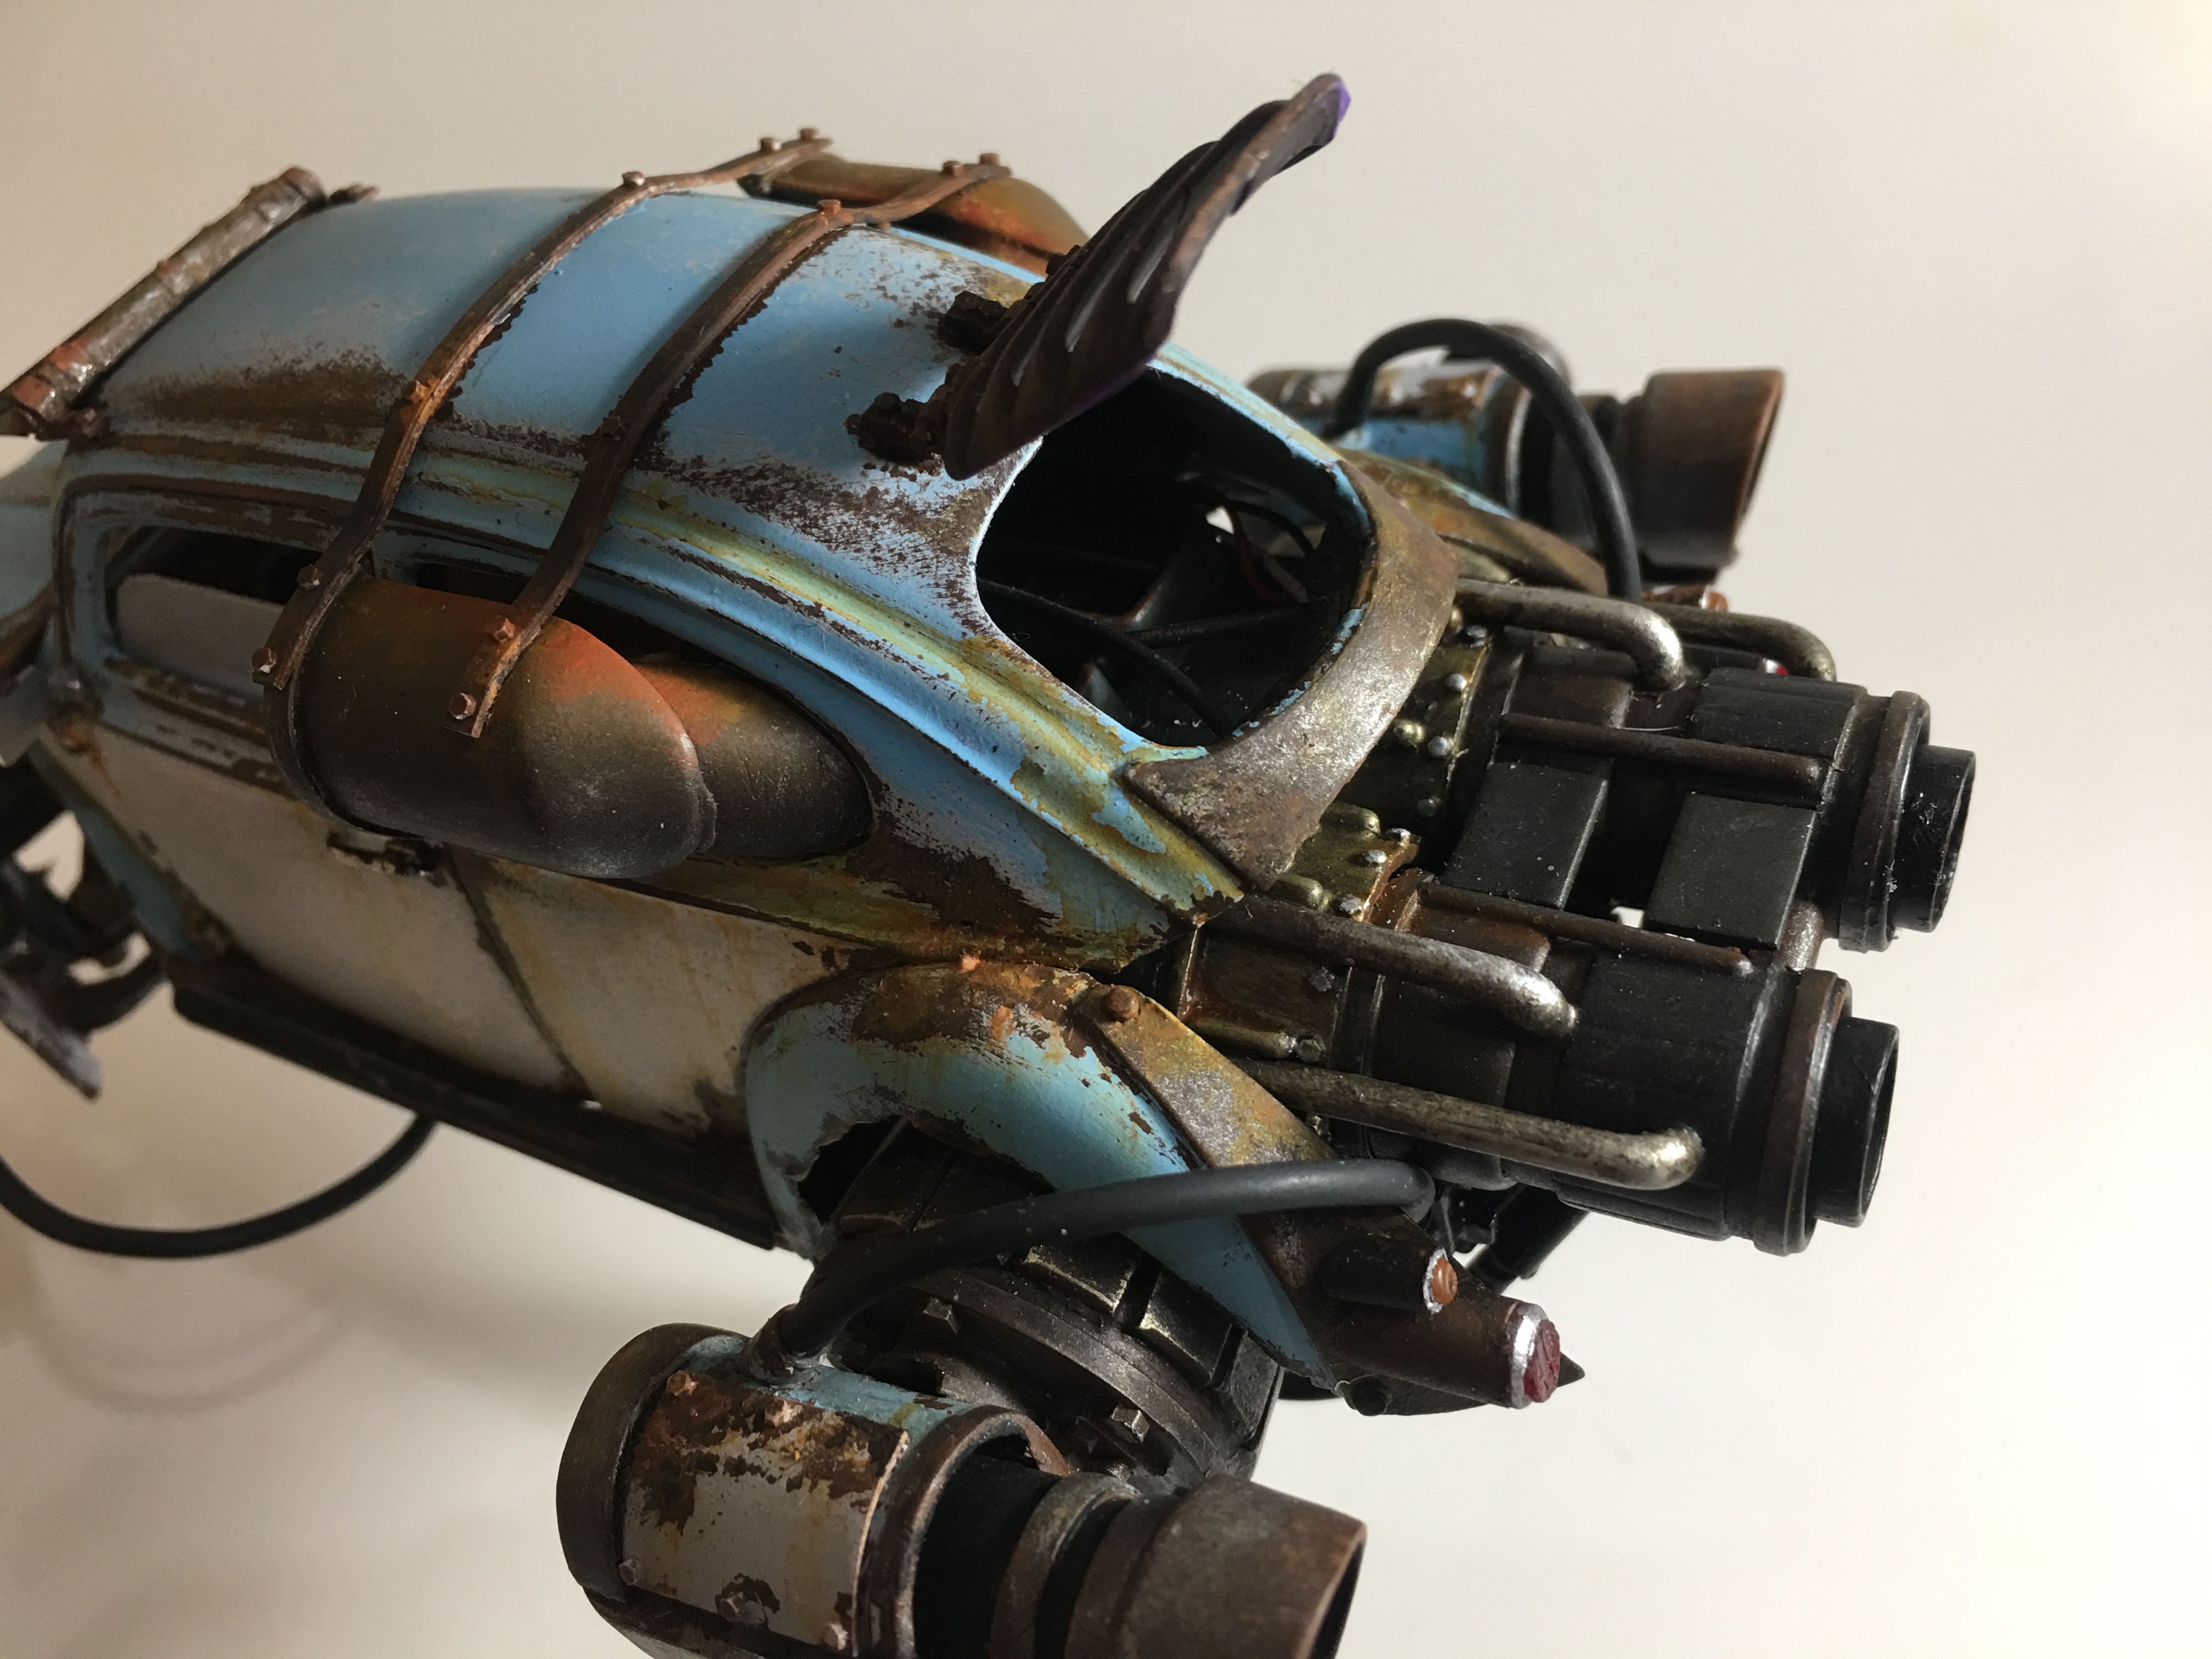
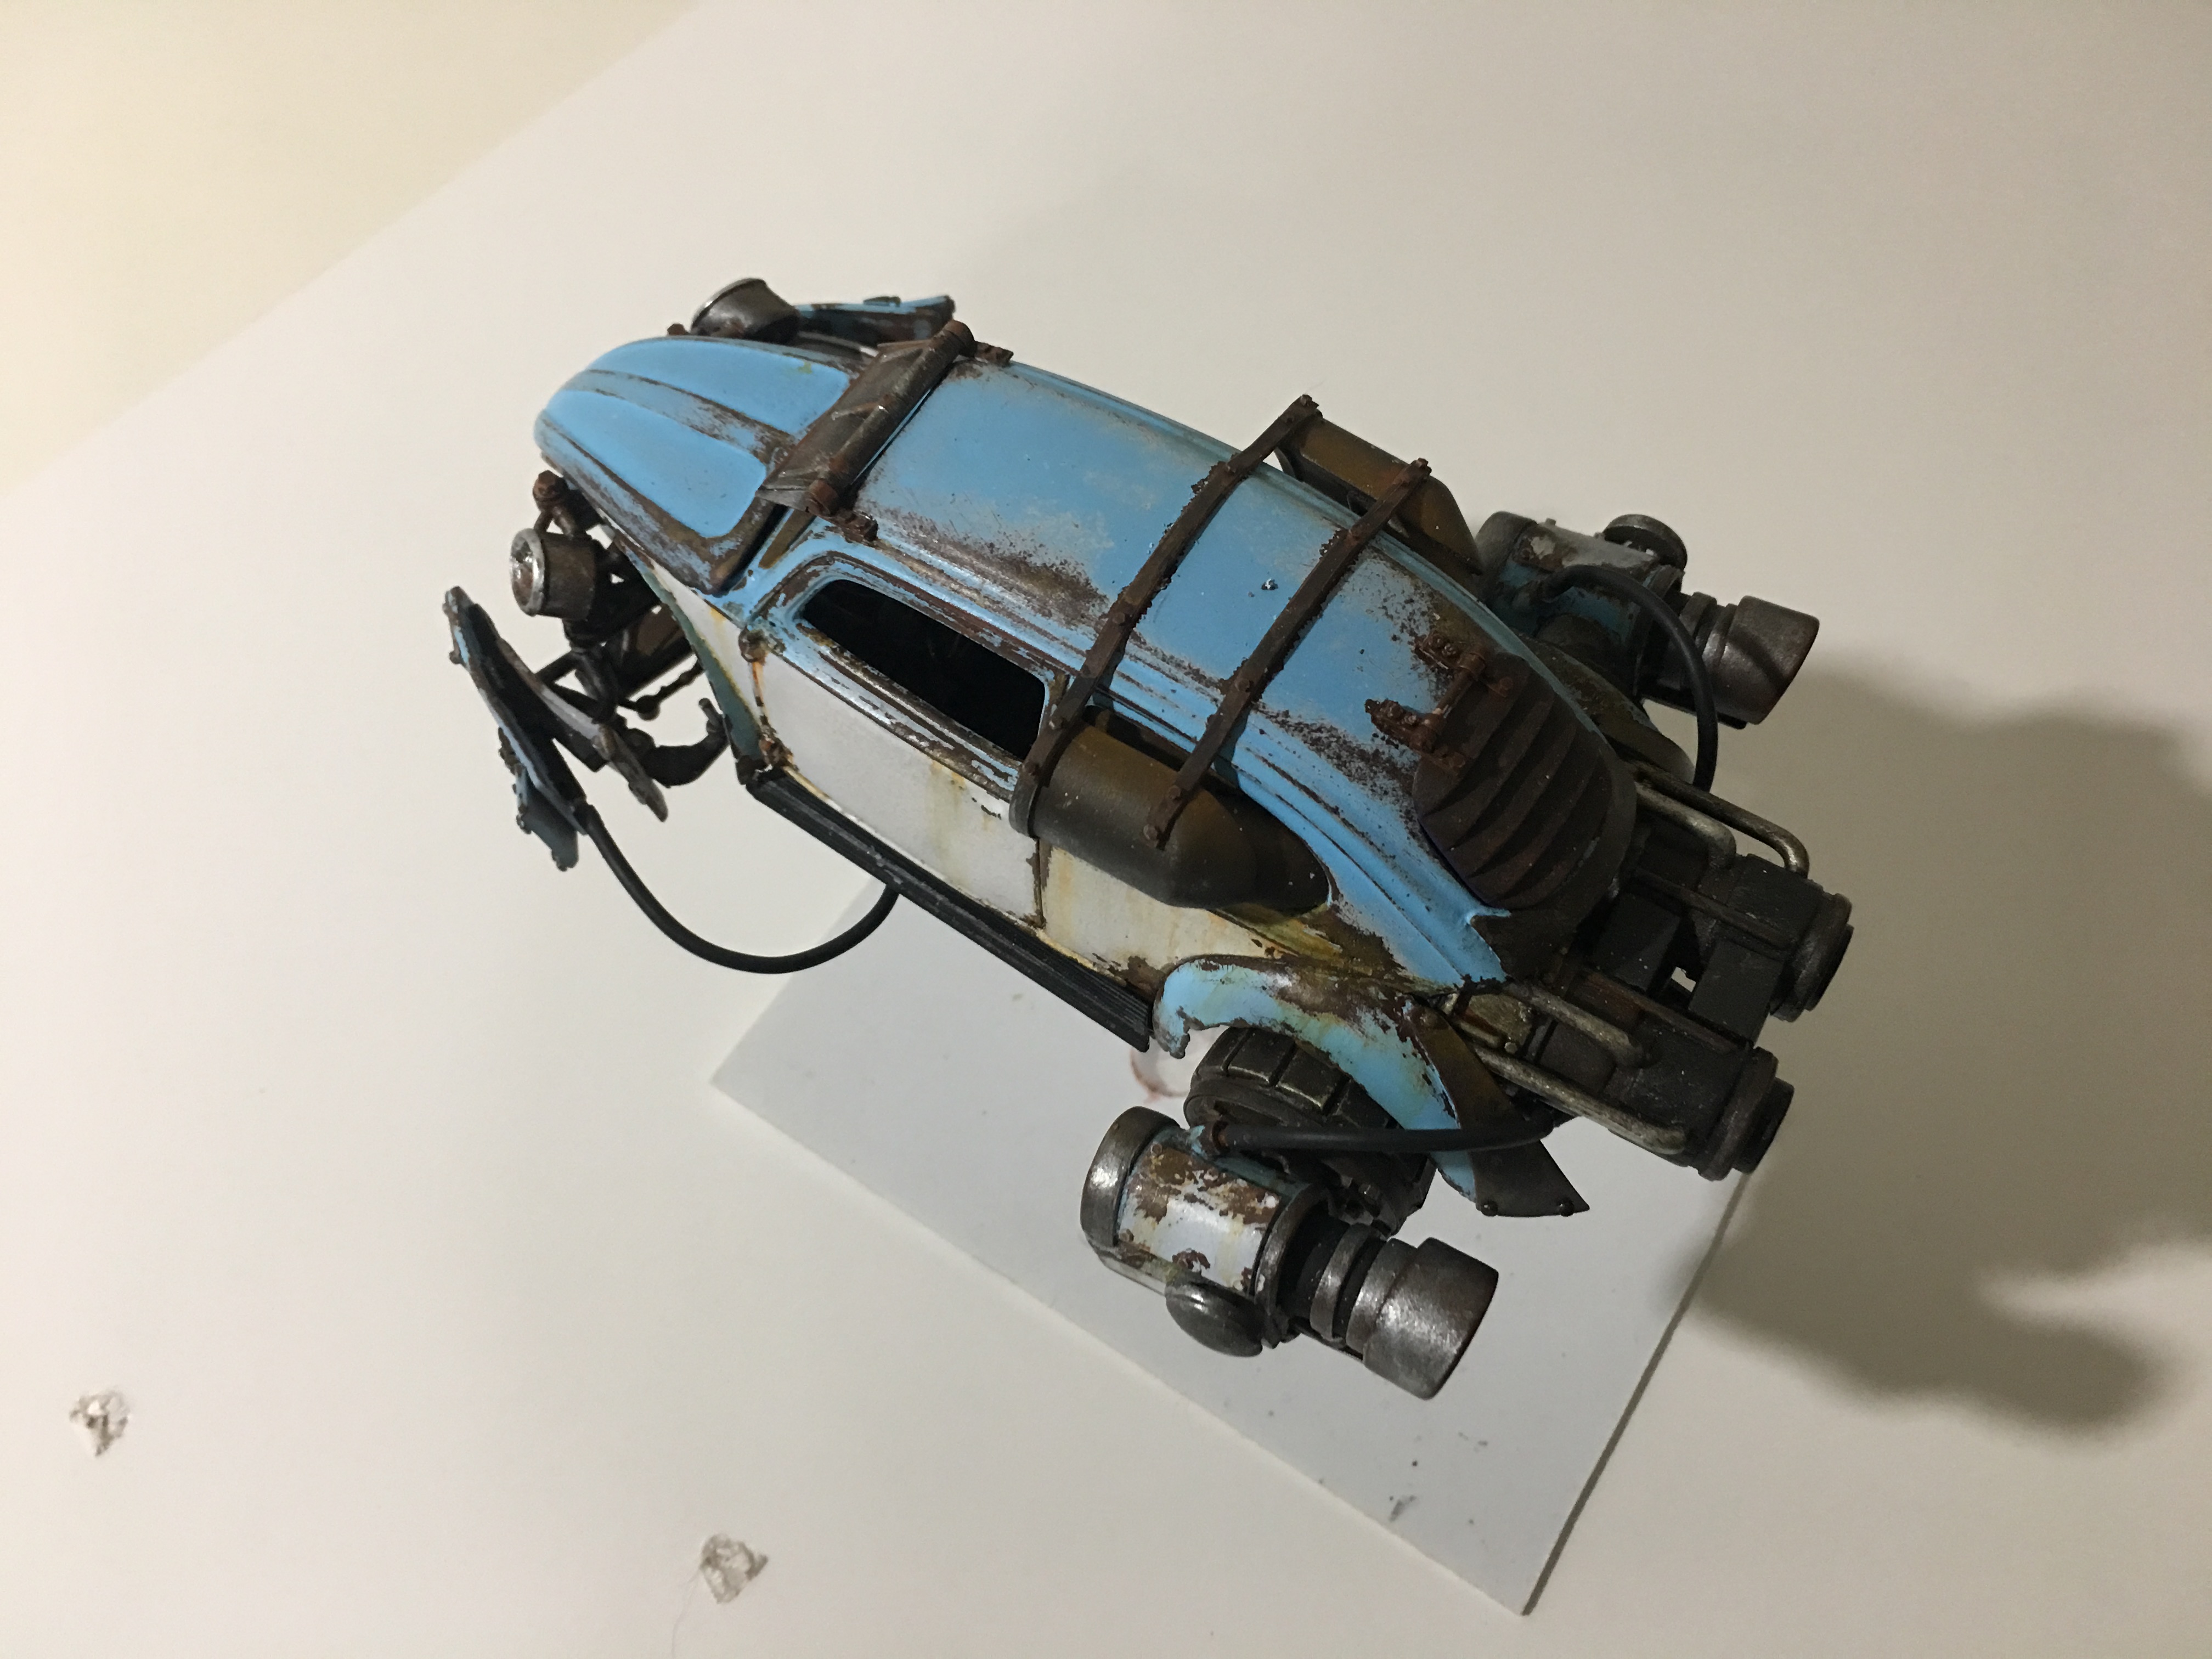
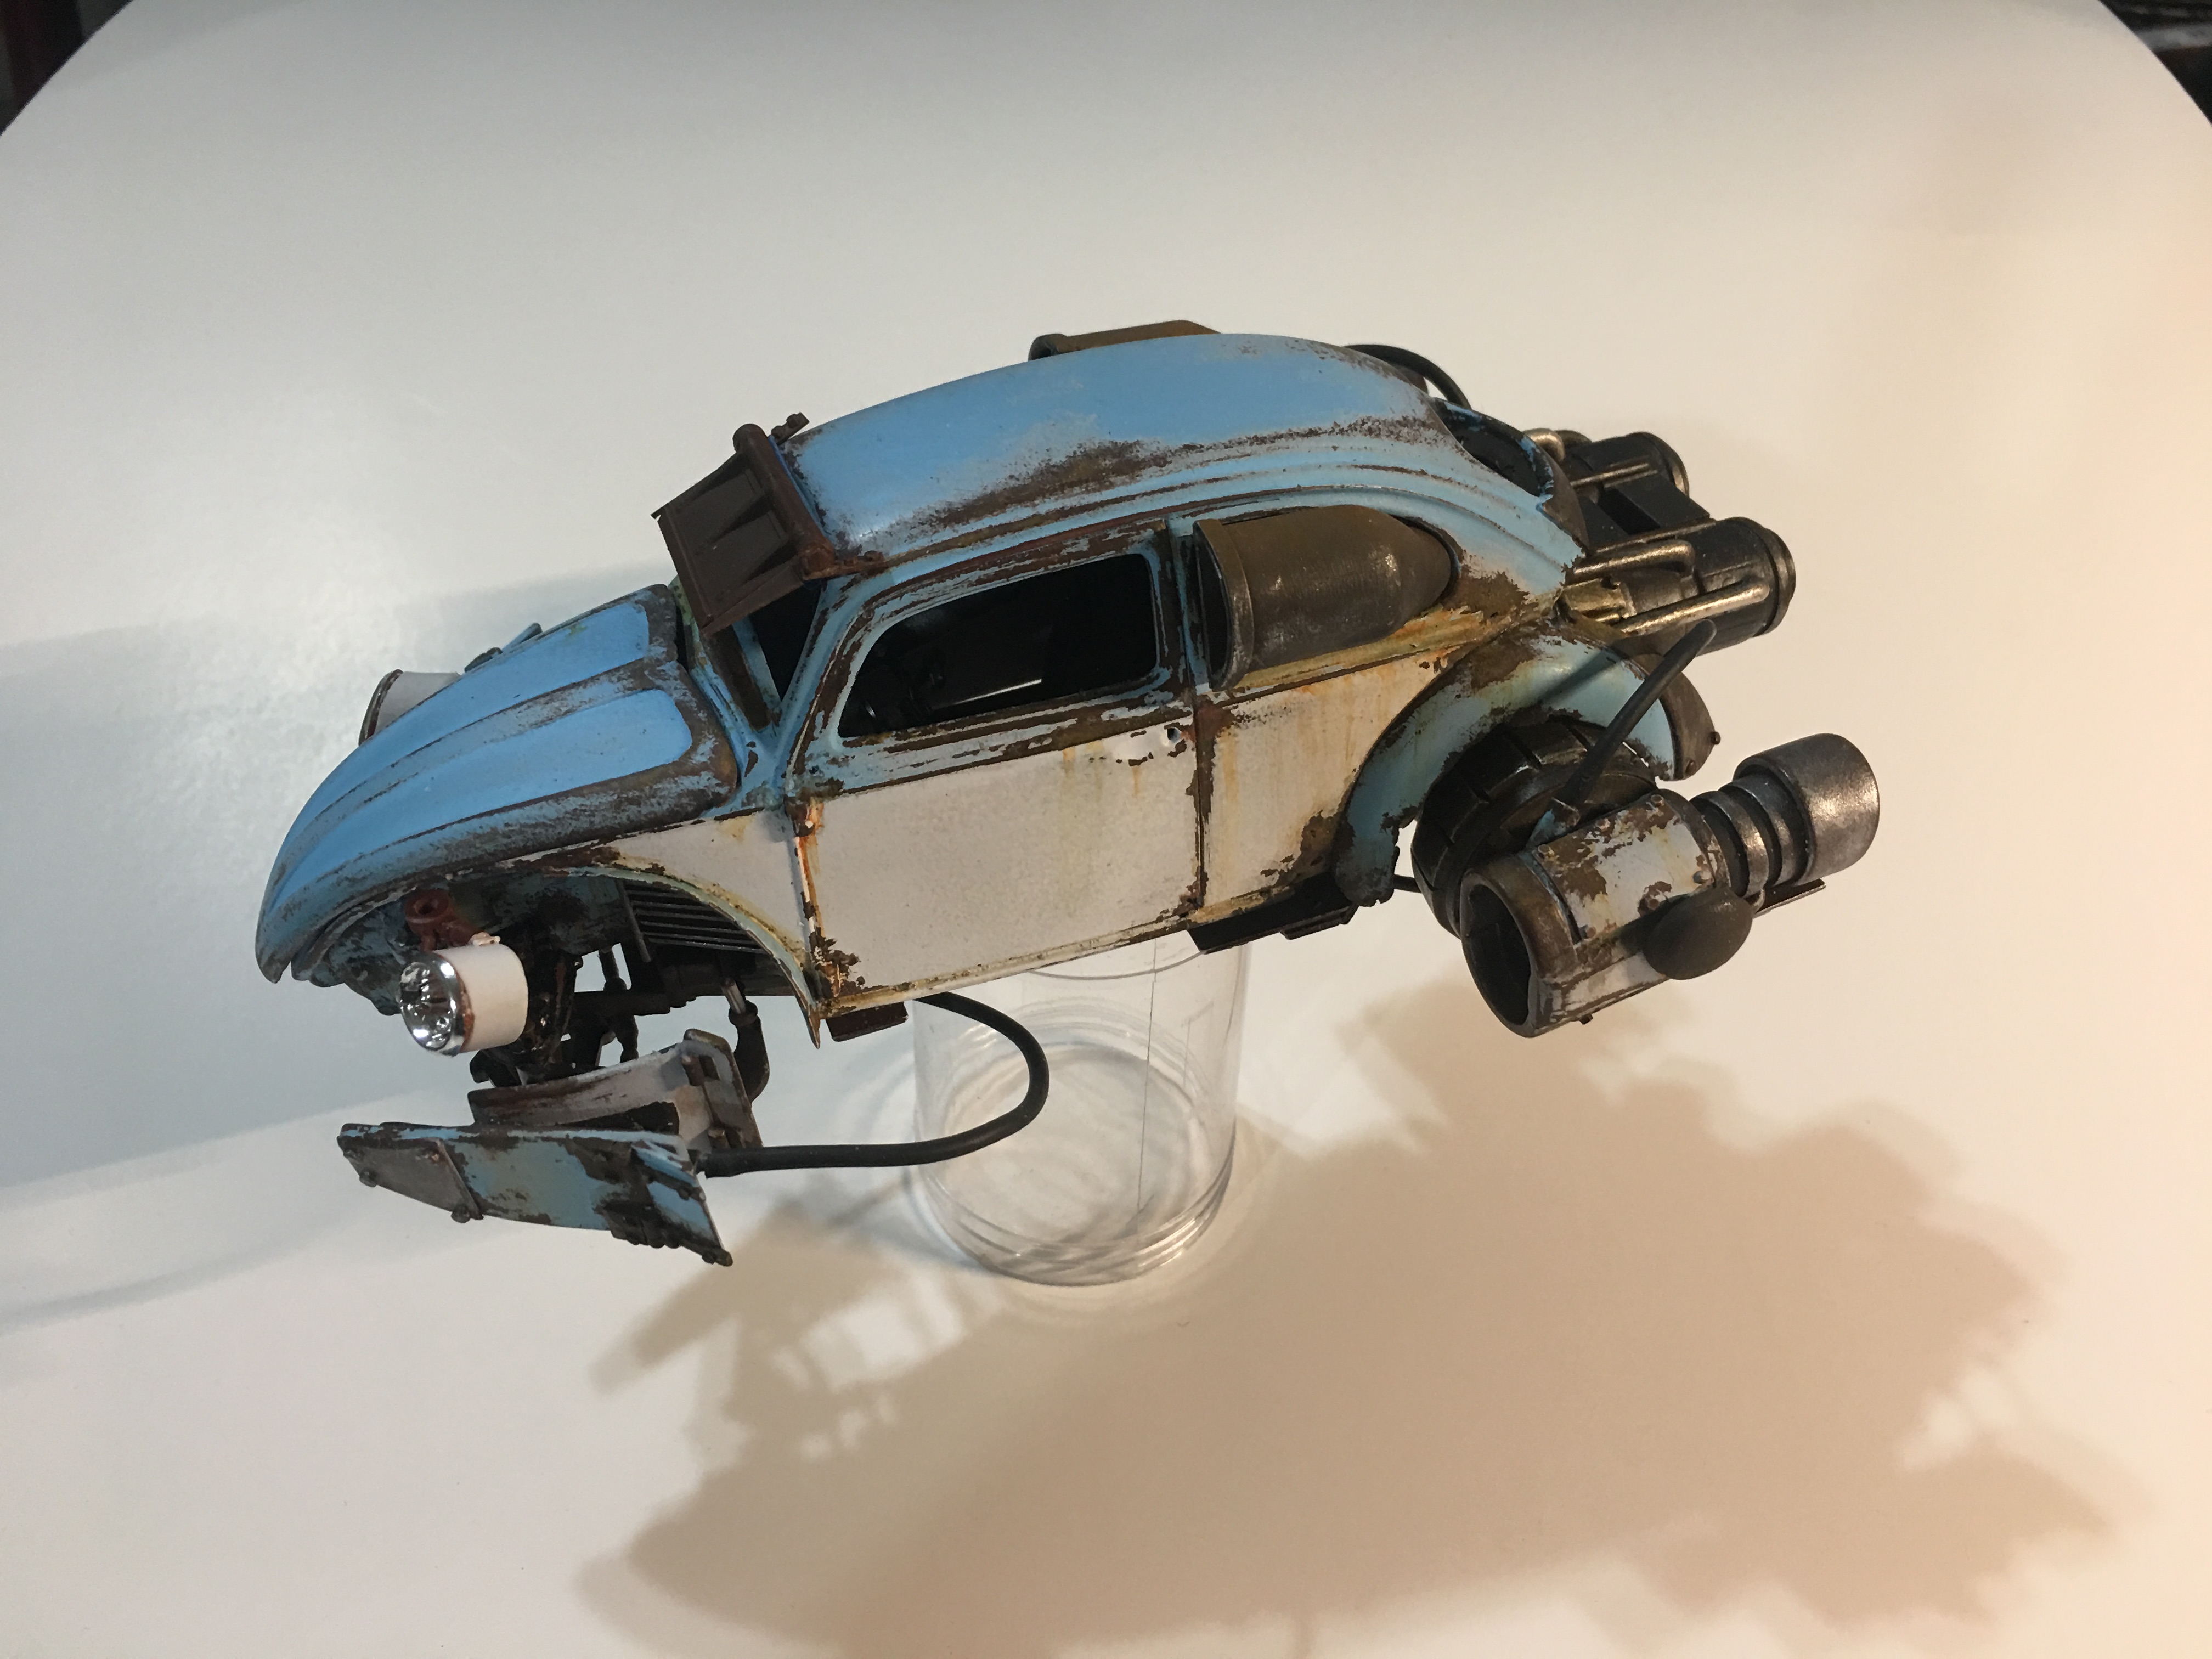
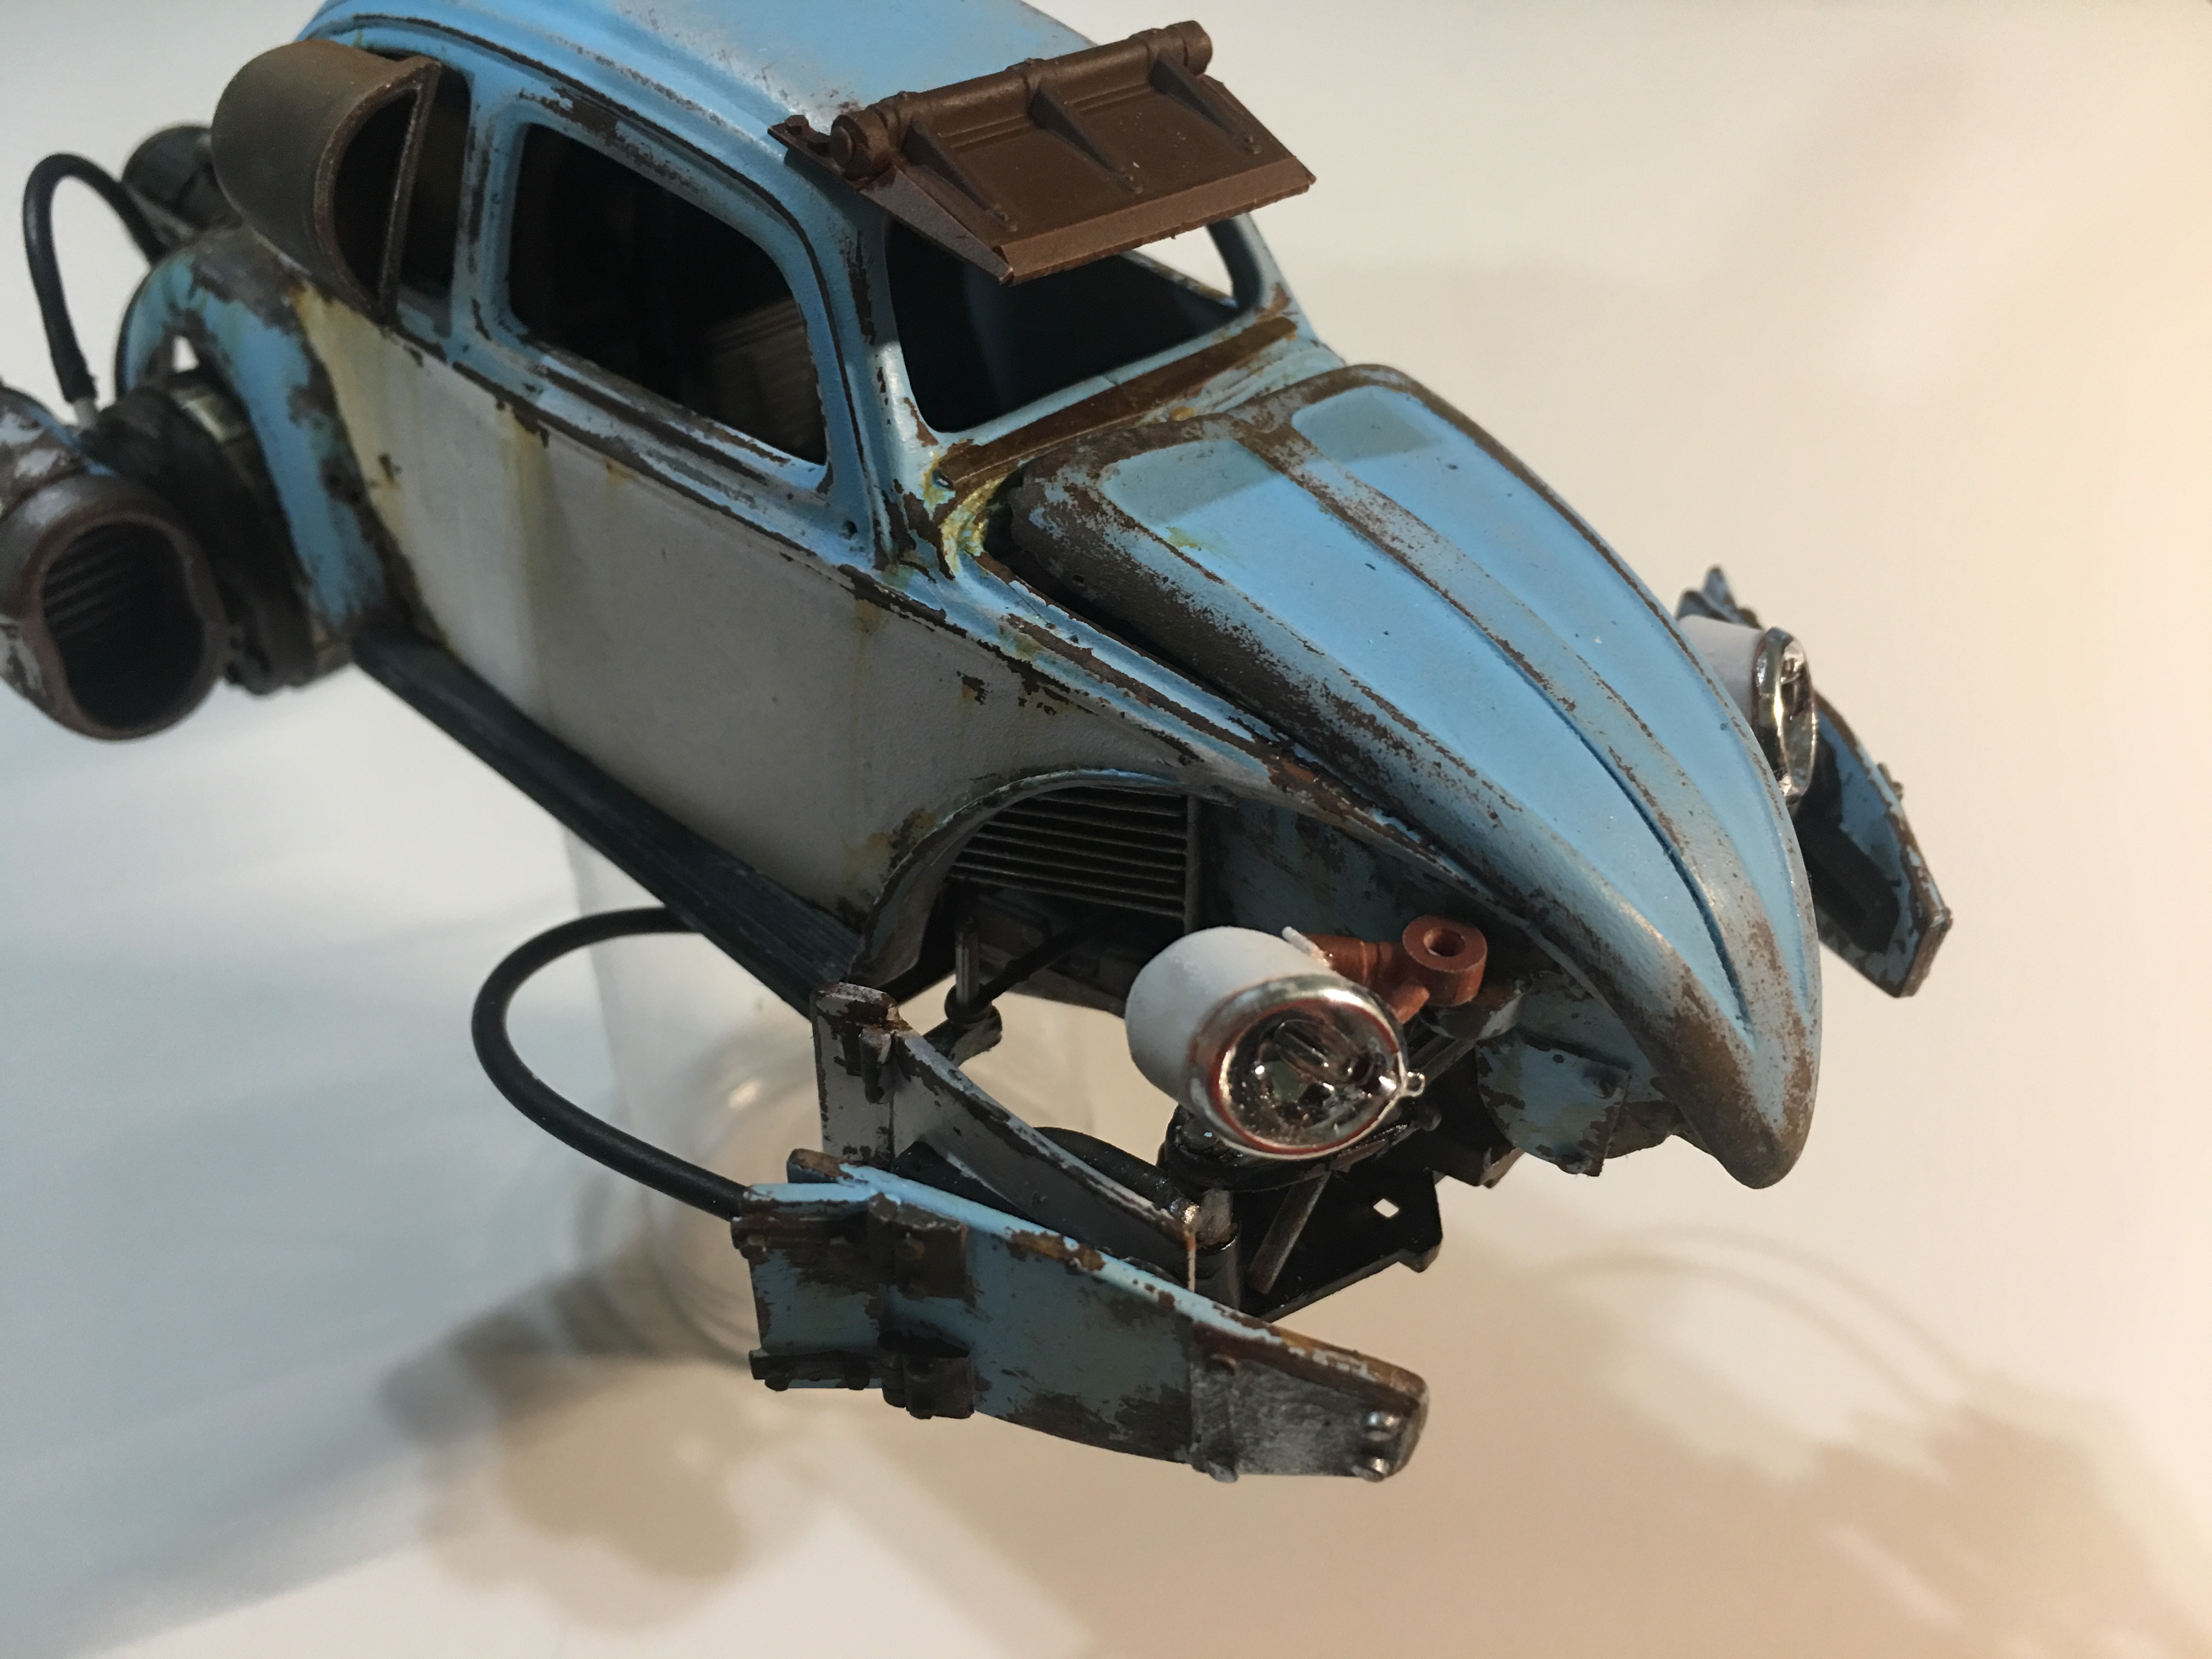
I finished this beast last night. I'm very happy with the finished model. The turbines are all scratch built from styrene rod. The front wings are made from the front seats. The rear louvers are from a Hemi-Cuda. I gut the body down the center and removed about 1/3 of the plastic. Sealed off the old passenger door. The windshield visor is hinged and moves freely. Although, I did end up putting in a support post. I thought it looked much better.
-
RocketWagen is done! This was a fun build. I'm very happy with the colors and the weathering. I'm also glad I went with the wings in the front as opposed to turbines. Plenty of random hoses. When I trimmed out the middle section of the body, I had no idea it would make the bug look so aggressive.
-
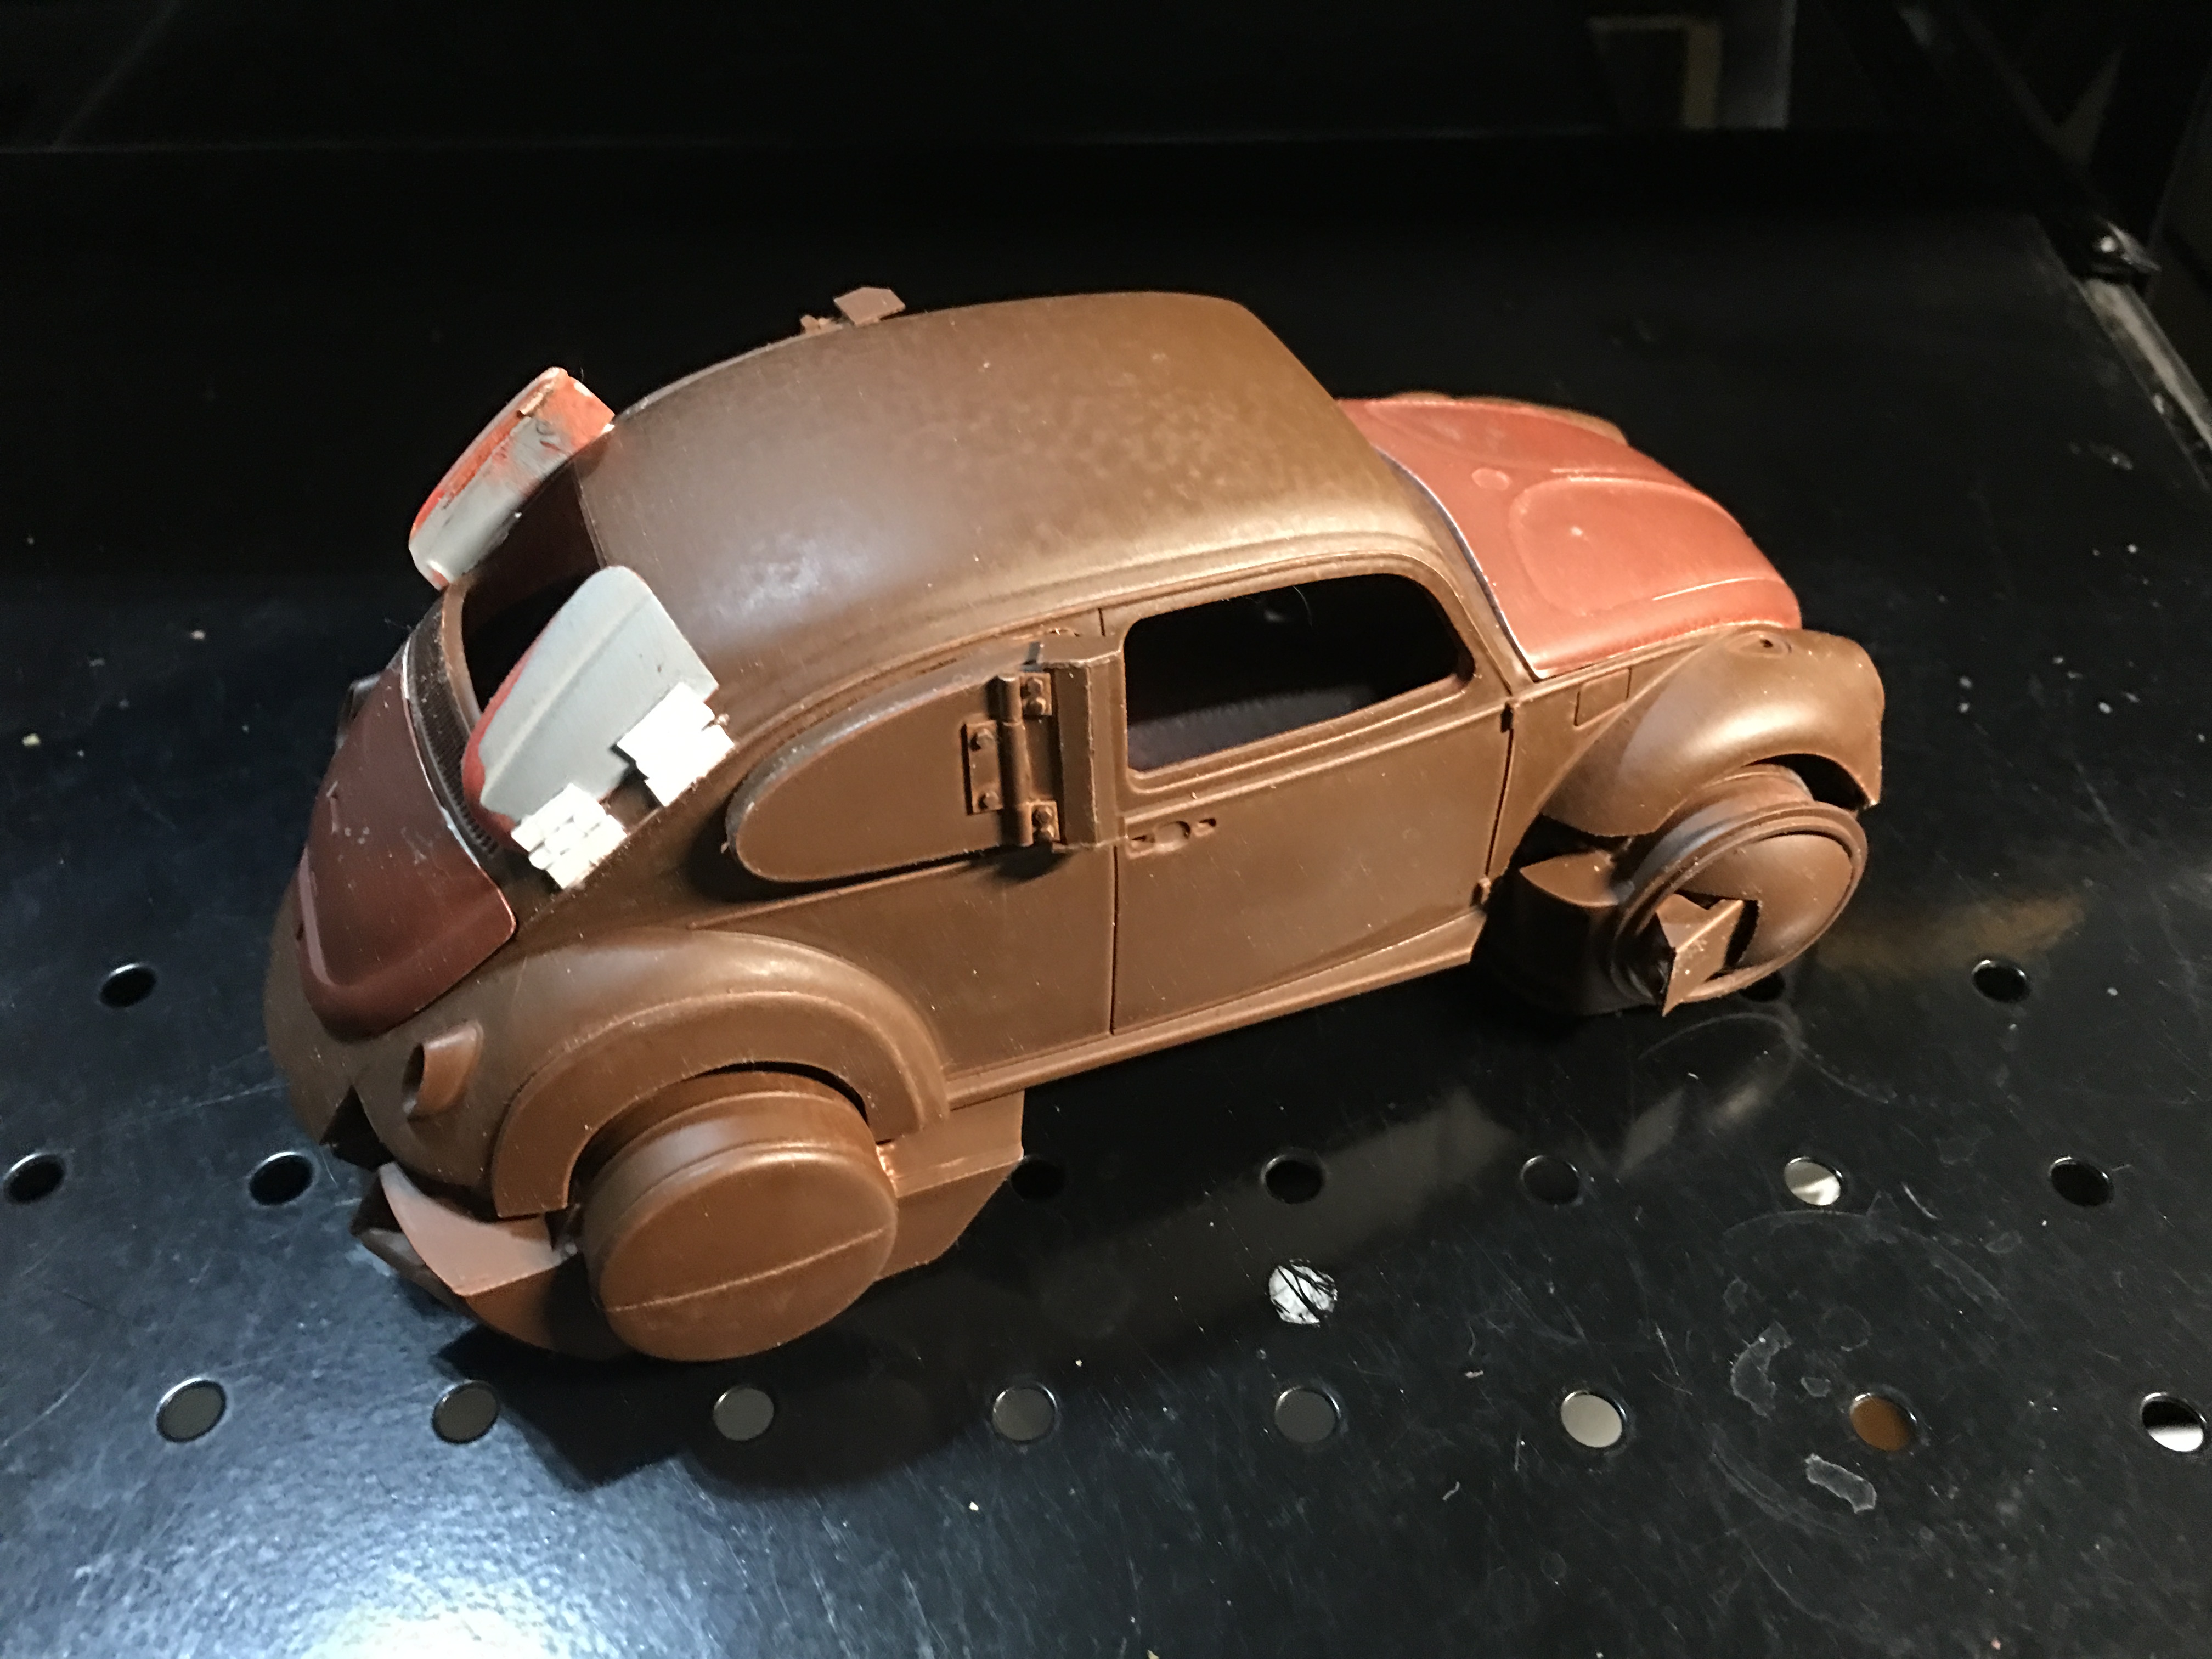
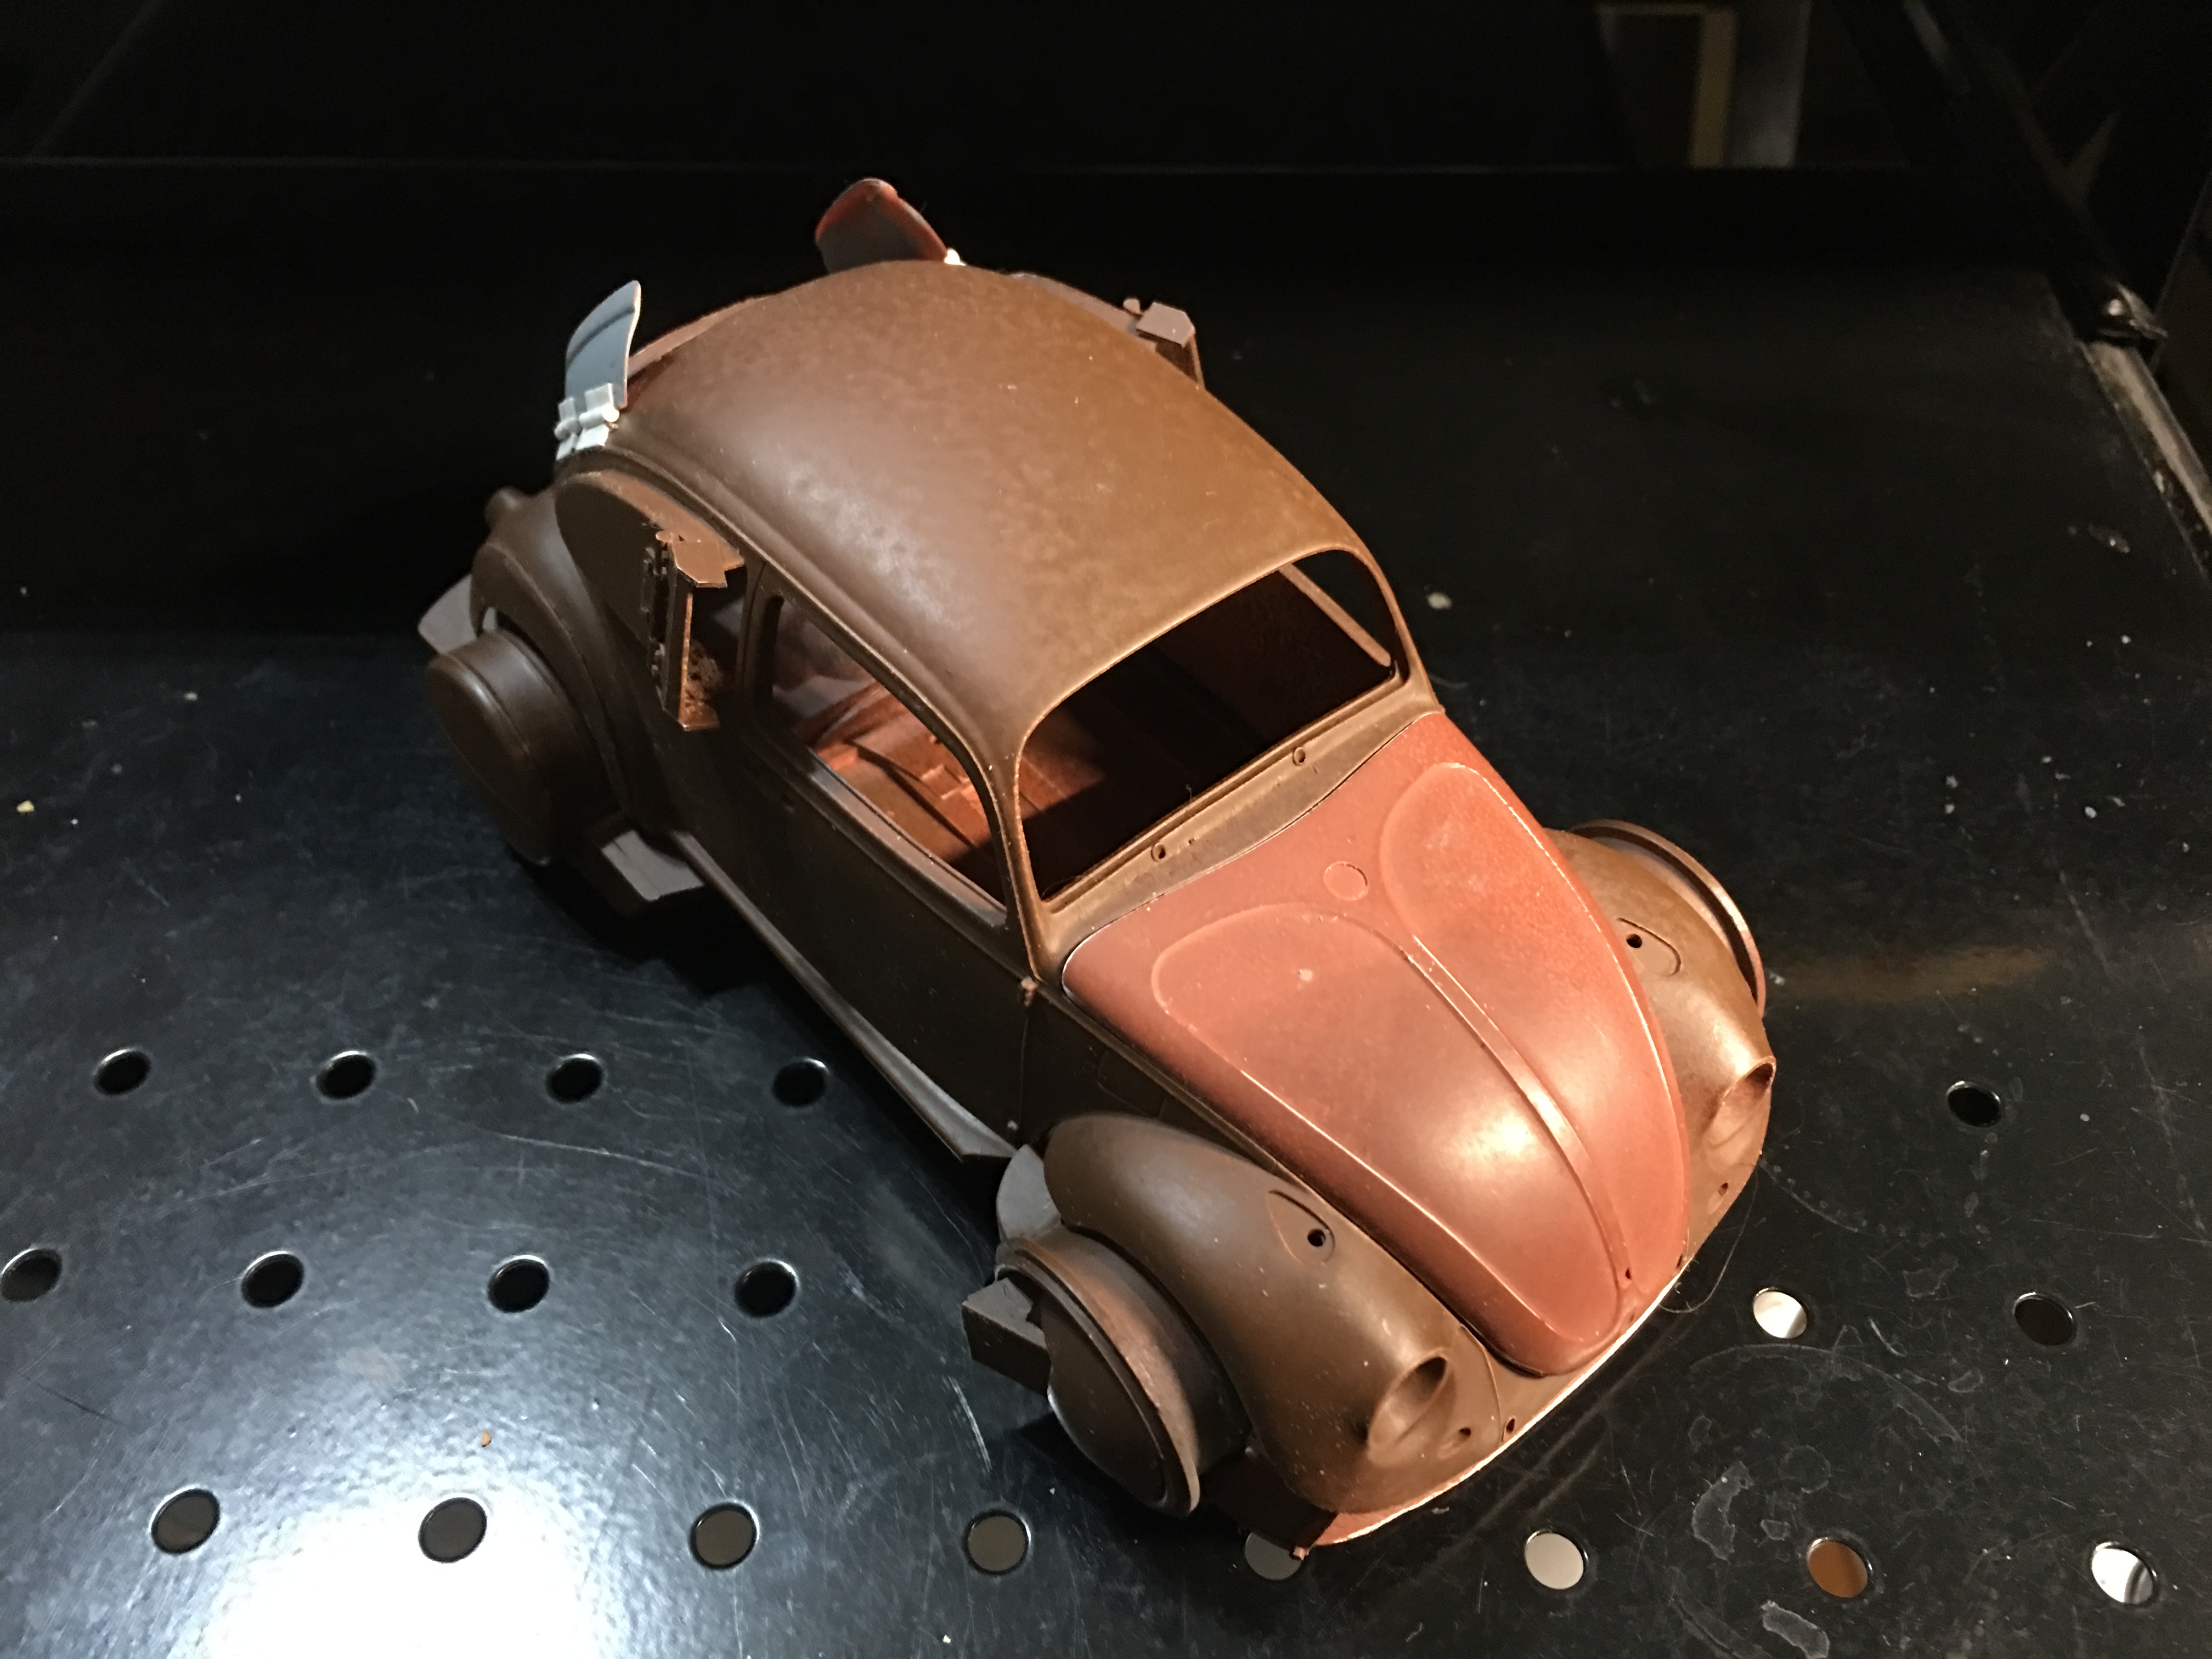
I've tried the hairspray technique a few times with no luck. I even tried it on this model, but ended up repainting it. What I've done on my last few models is to start with a few coats of rust colored enamel primer. I'll then airbrush different shades of rust over that. I'll use light colored rust on the parts that would see the most sun. I use a dark rust for the lower areas. Then a few coats of Dullcoat to protect the rust colored paint. Then I airbrush grey acrylic over the rust/Dullcoat. This layer would be the "factory" primer from the auto manufacturer. You could sip this step, but I think it adds realism. It also adds a good buffer between the rust and the body color. Last step is to spray the body color over the gray. After it's dry, start sanding and chipping the acrylic away. The acrylic chips away with a X-acto blade pretty easy. The Dullcoat should provide a barrier for the rust paint. Just don't sand through the Dullcoat. Thanks for the comments guys!!!!
-
I believe that I got the rear window louvers from a Hemi-Cuda model that I've been stealing parts off of for years. I shortened them to fit the rear window. I made little hinges so that you could still take a peek at the turbines. I added metal straps to stabilize the 2 side intakes. I think I'll paint the headlight shrouds white.
-
I added the visor and headlight assemblies last night. It's getting close to being done. I think this is the quickest I've built a model in years. Thank you for the comments!
-
I thought the front window was too tall. I needed something to reduce it's overall size. I made a visor out of a semi truck rear fender. All my cars seem to have visors....it's a common theme. This VW really needed it. I added headlight assemblies to the screw mounts under the fender.