Dann Tier
-
Posts
8,151 -
Joined
-
Last visited
Content Type
Profiles
Forums
Events
Gallery
Everything posted by Dann Tier
-
LOL!!!!
-
Hey, everyone!, update here...instead of bouncing around and finishing the little bits all over, I've decided to stick to one area, and finish them off entirely, i.e; today is the front cowl. I had several things to do to it still, in fact, it is the 'part' that takes up most of the things on my "Finishing" list. True to form, I decided to SB something else, lol…...the hydrolic units for the flaps, and the CF, wire-hiding frame piece that the real car has. I also had to redo the headlamp access panels, because even the thinnest plastic was still too thick, and wouldn't allow the cowl to seat down all the way. My next fix was to try heavy aluminum cooking foil....lets see how that goes after the paint is applied! Next will be SB the red release tabs, and setting the magnets at the proper level.

-
Thanks a lot, Tim!!
-
Thanks, Gerry!!
-

Recommended Handle for #11 blades
Dann Tier replied to Bernard Kron's topic in General Automotive Talk (Trucks and Cars)
Yes they do fit Xacto brand blades, Dave! -
NICE!!!!
-
Revell Datsun 510 ( tuner or drift car)
Dann Tier replied to fordlover632's topic in WIP: Model Cars
I agree!!, and those racing tyres that come with them are awesome!! -
Need some?.....I have a ton of them.....never use them
-
WHAT!!!!!!!......I NEED ONE OF THOSE TOO!!!!!!!
-
Recommended Handle for #11 blades
Dann Tier replied to Bernard Kron's topic in General Automotive Talk (Trucks and Cars)
I've been using Olfa products forever!!….love them!! -even their blades stay waaaaay sharper longer than the others!! -
Shouldn't this be part of the "Wanted" section?!...lol
-
VERY COOL, Ray!!!, what might help it out, is if you had wider slicks on the back.....it would make it look so much meaner!!
-
Revell Datsun 510 ( tuner or drift car)
Dann Tier replied to fordlover632's topic in WIP: Model Cars
I love these little cars!!, and it looks like you're doing a GREAT job of it!! Japan orders have been slown-down a bit because of a typhoon that hit the island. I was actually surprised that my orders came in at all......when I finally found out what happened, I ordered from another place just incase.....I now have back-ups...lol -Keep up the great work!! -
Still looking great!!…..looking forward to more updates, bud!!!
-
This is looking killer, bud!!...cant wait to see more!!!
-
This is moving along FANTASTICALLY!!
-
Thanks a lot, Ben!!….glad you're liking it!
-
Thanks, Jason!, WOW!!….you got a lot going on there!!…..hope you get back to that Porsche soon!!!....my ALL-TIME favorite German car!!!
-
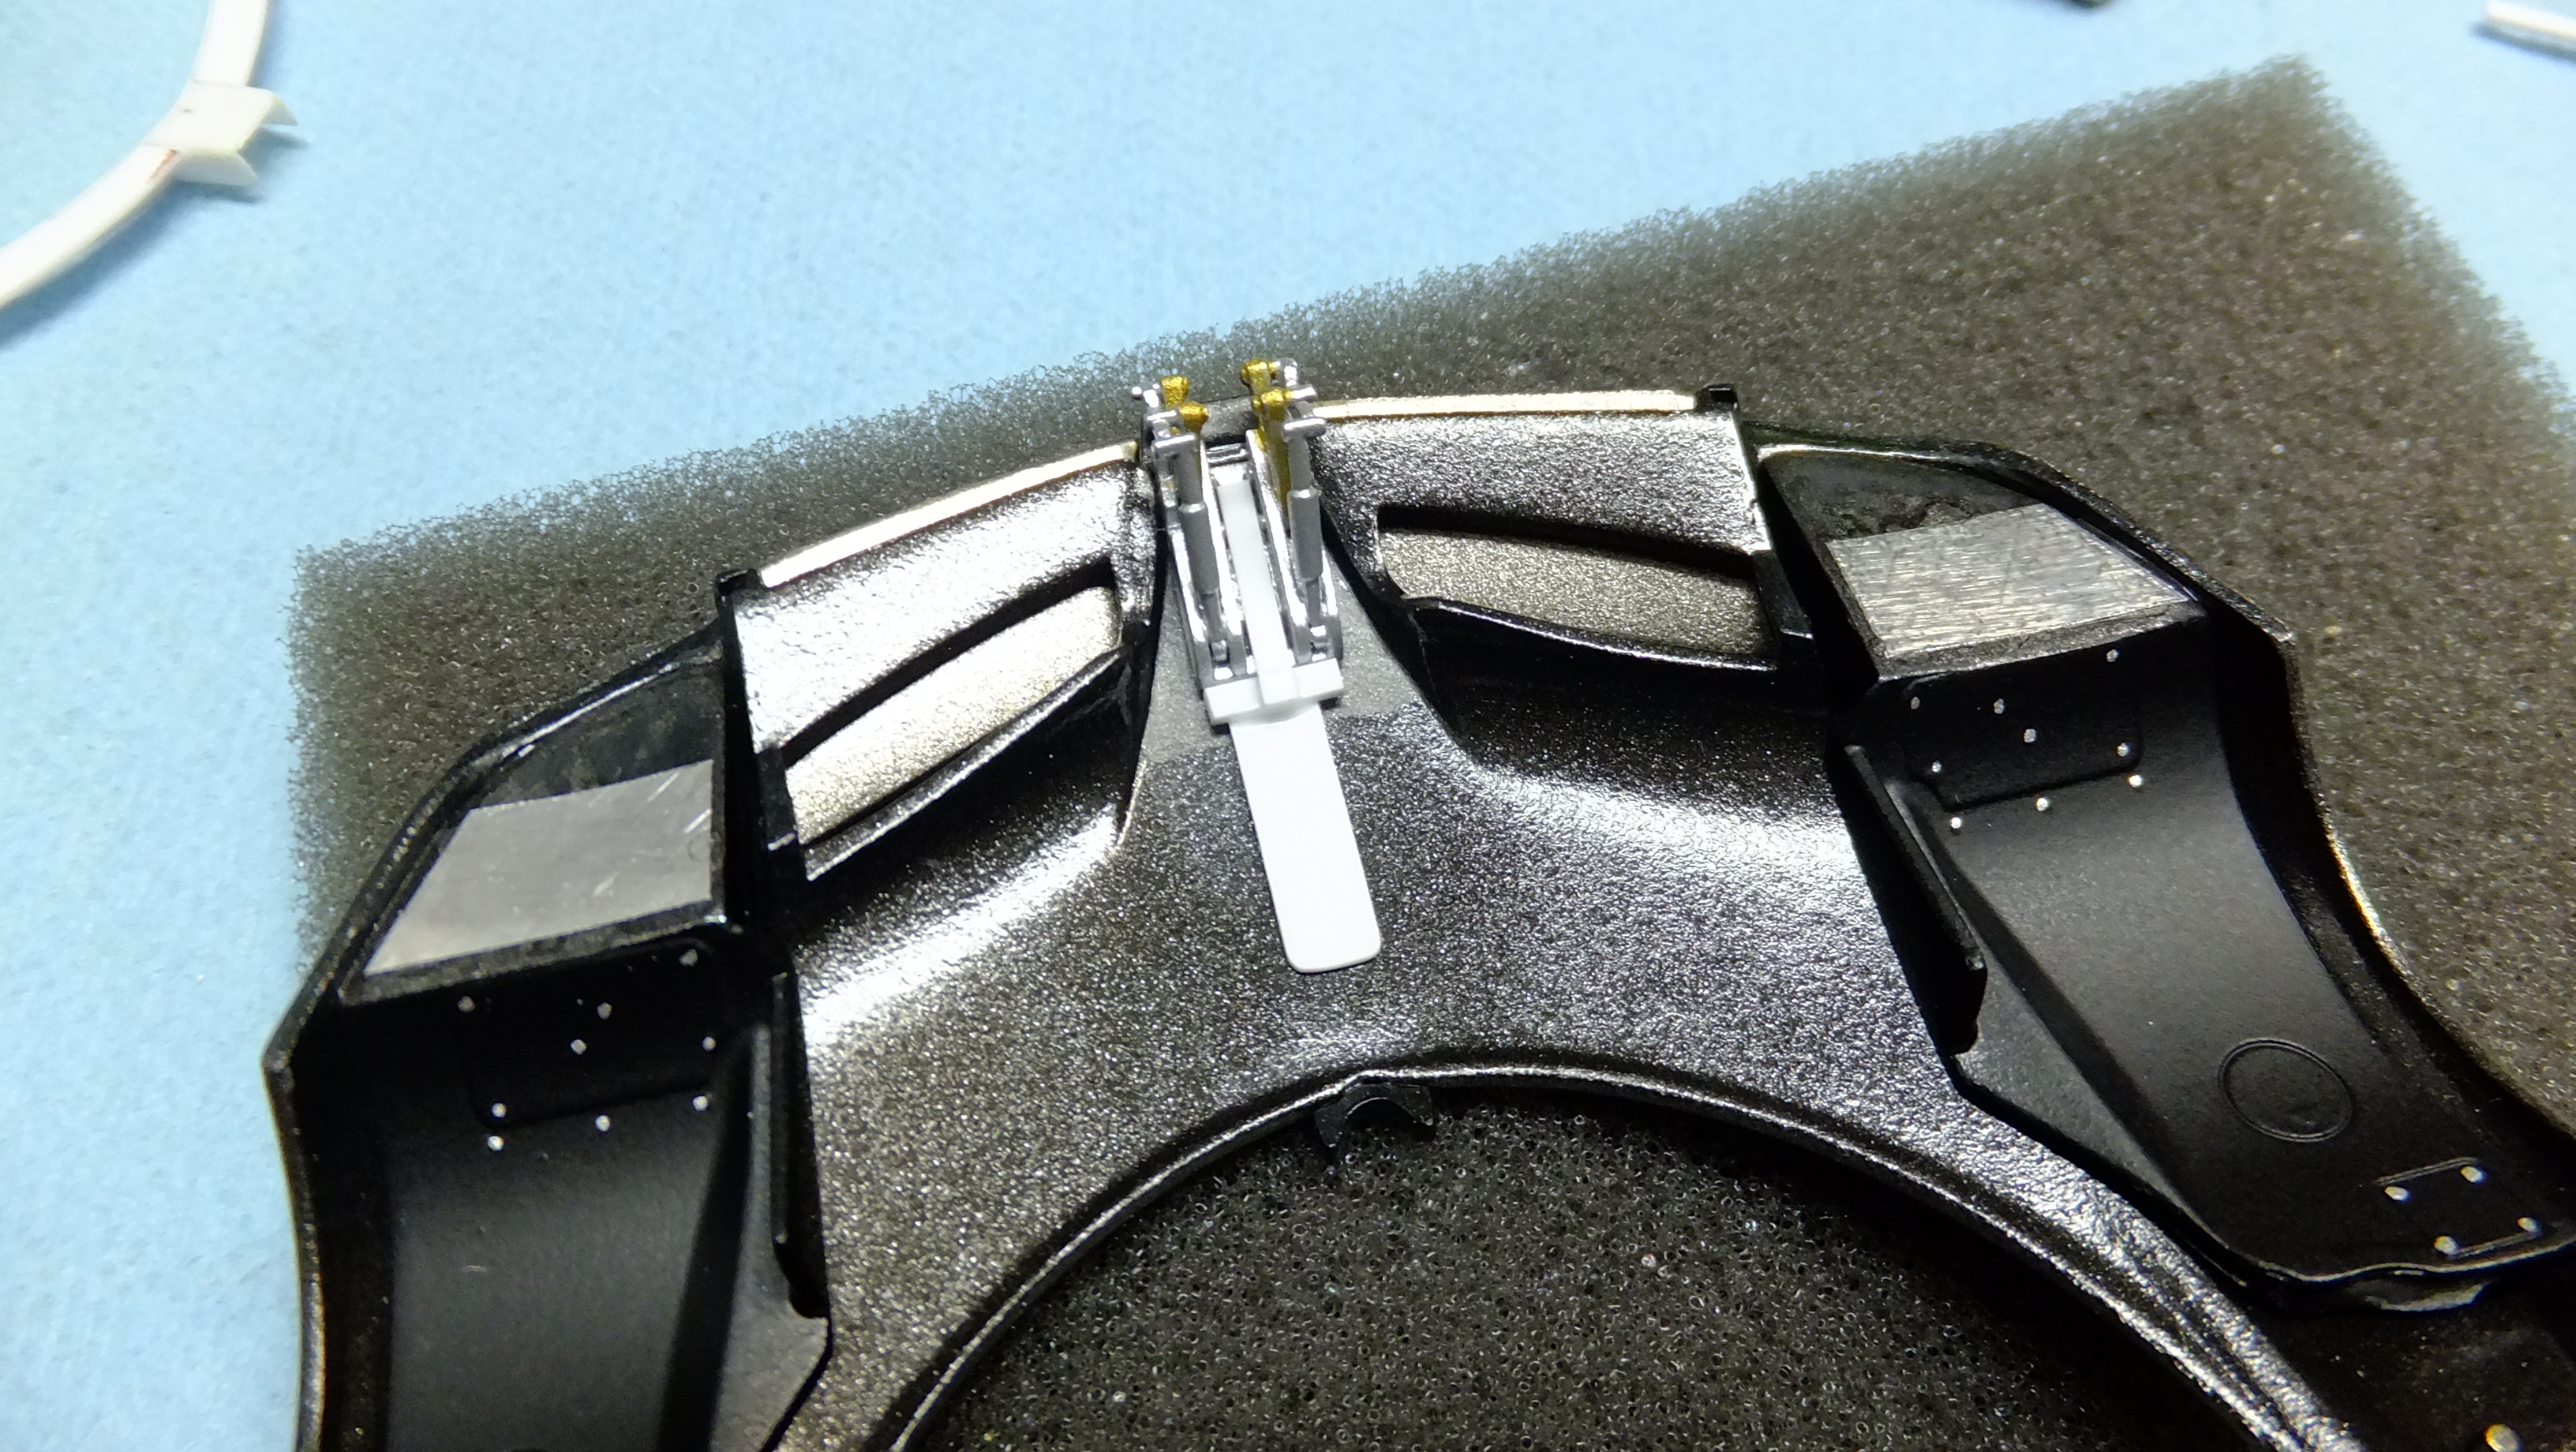
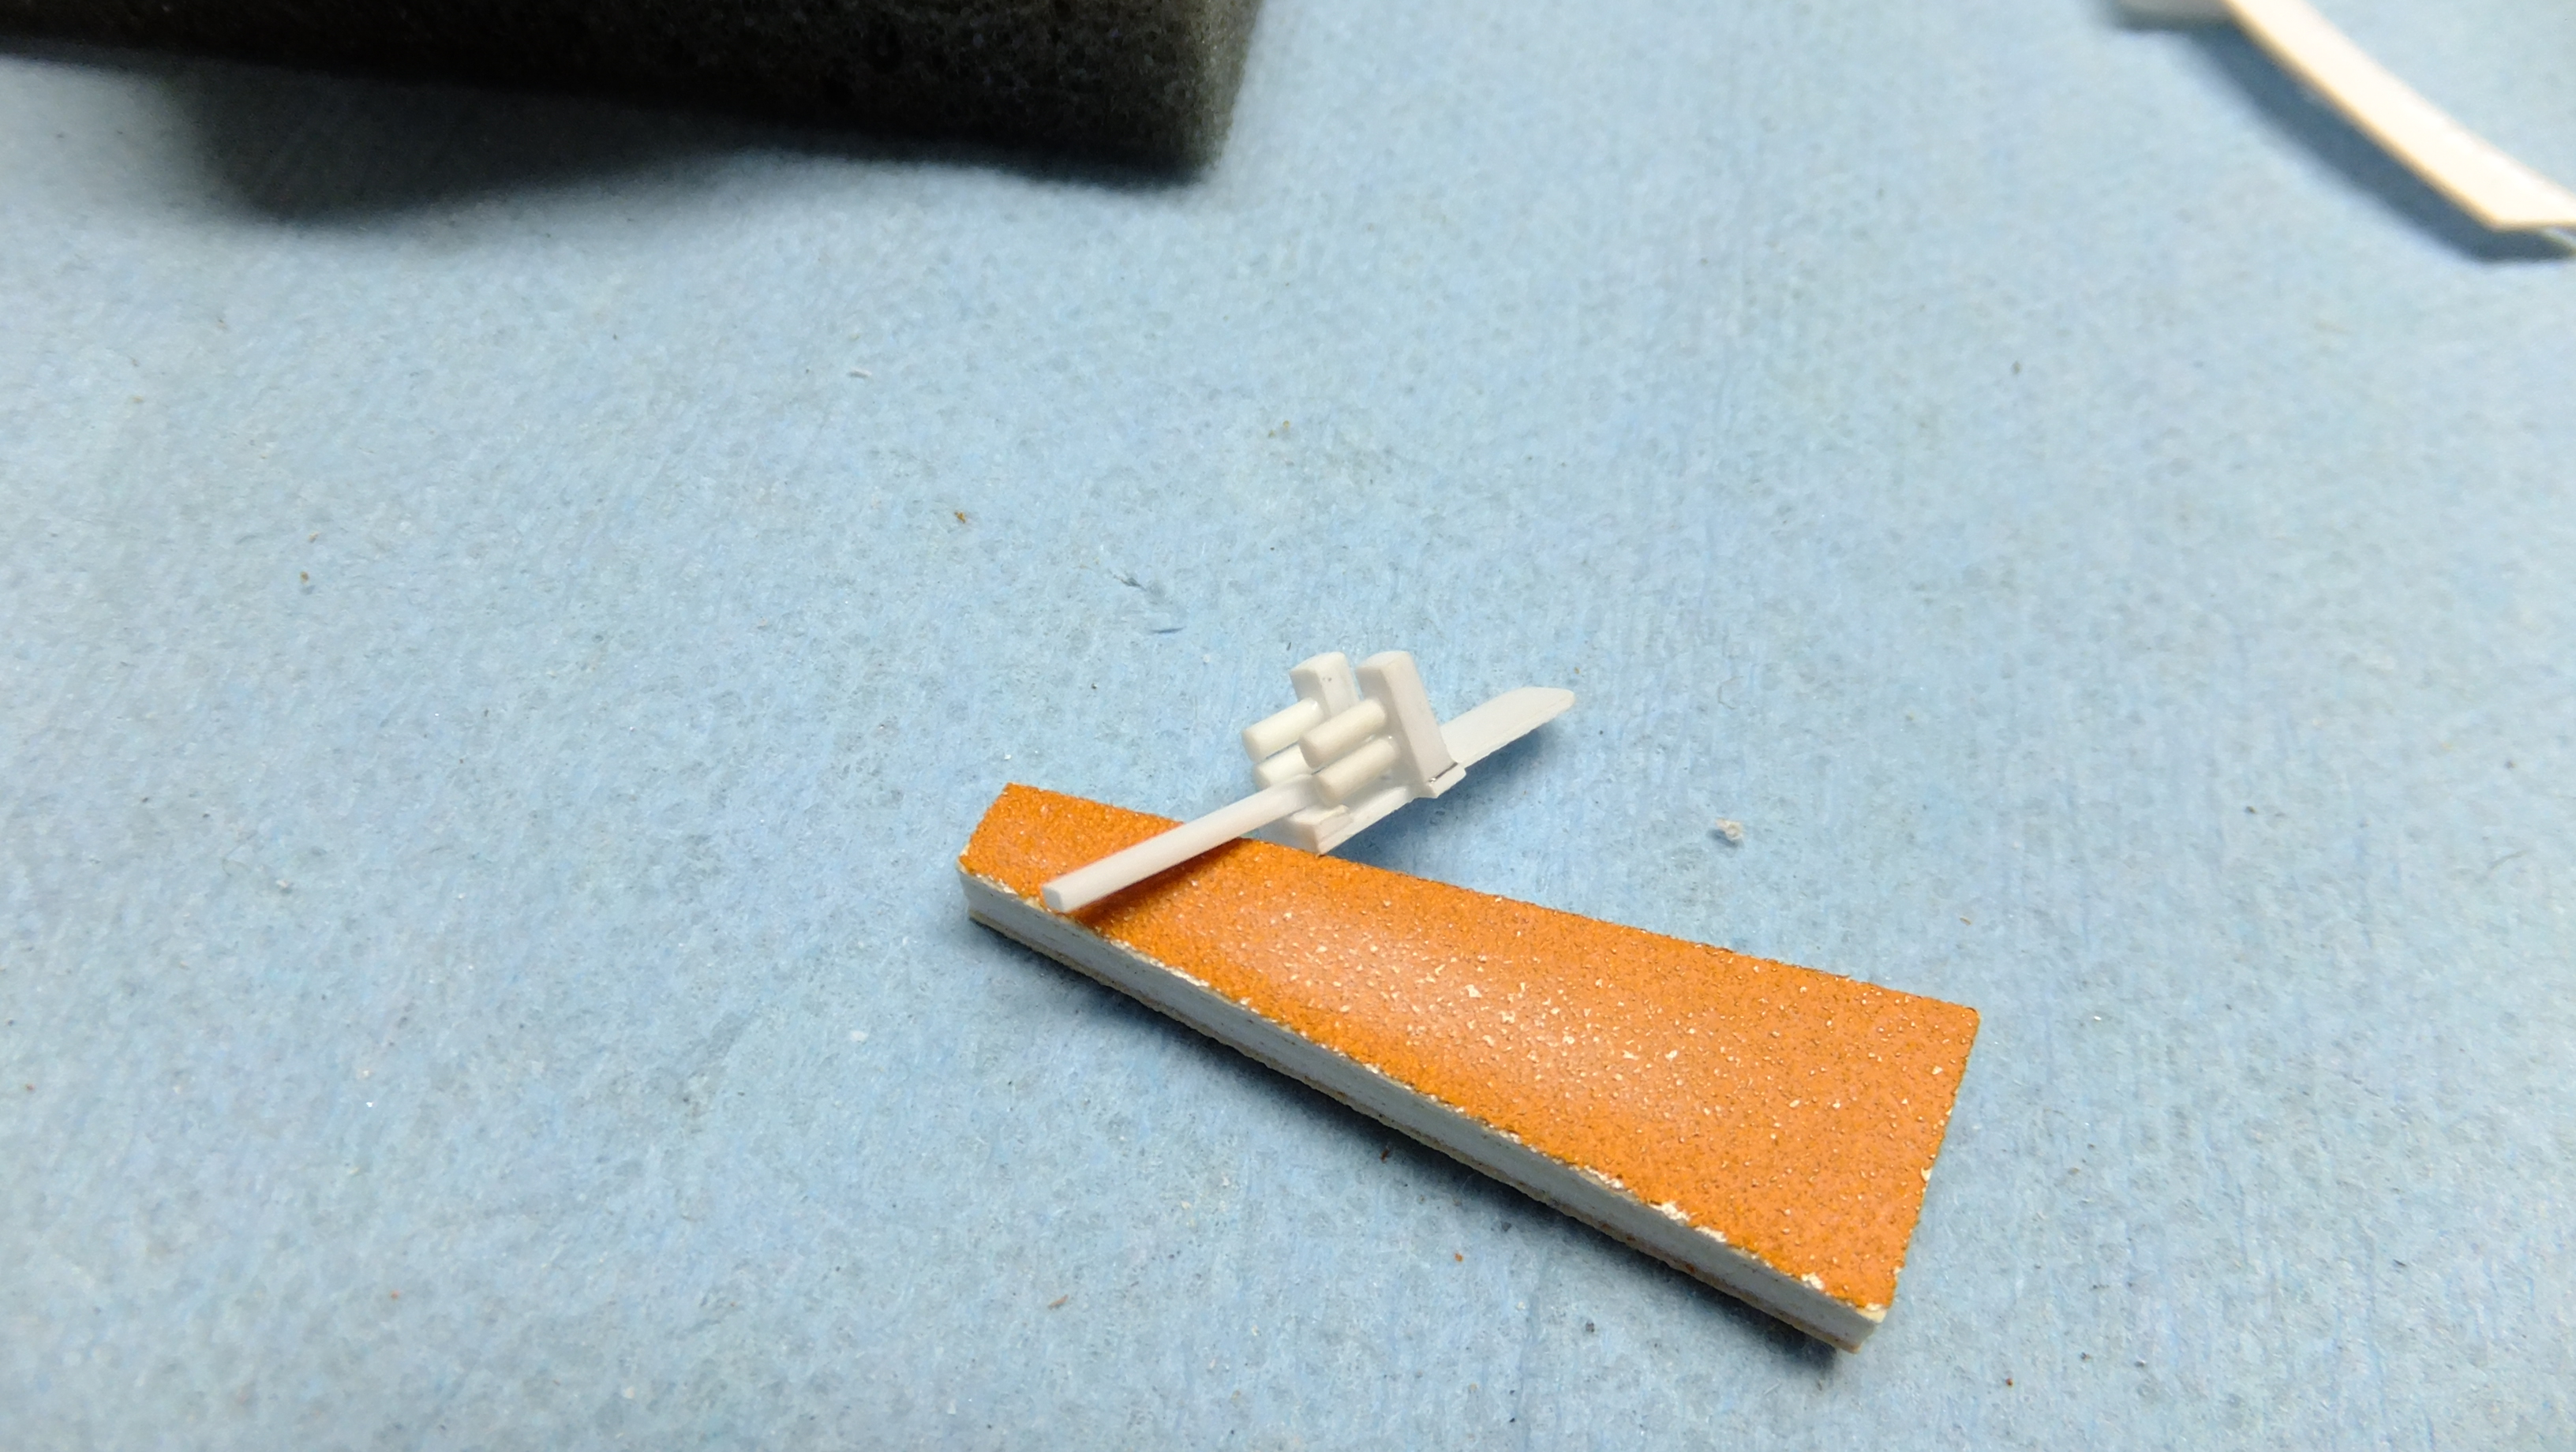
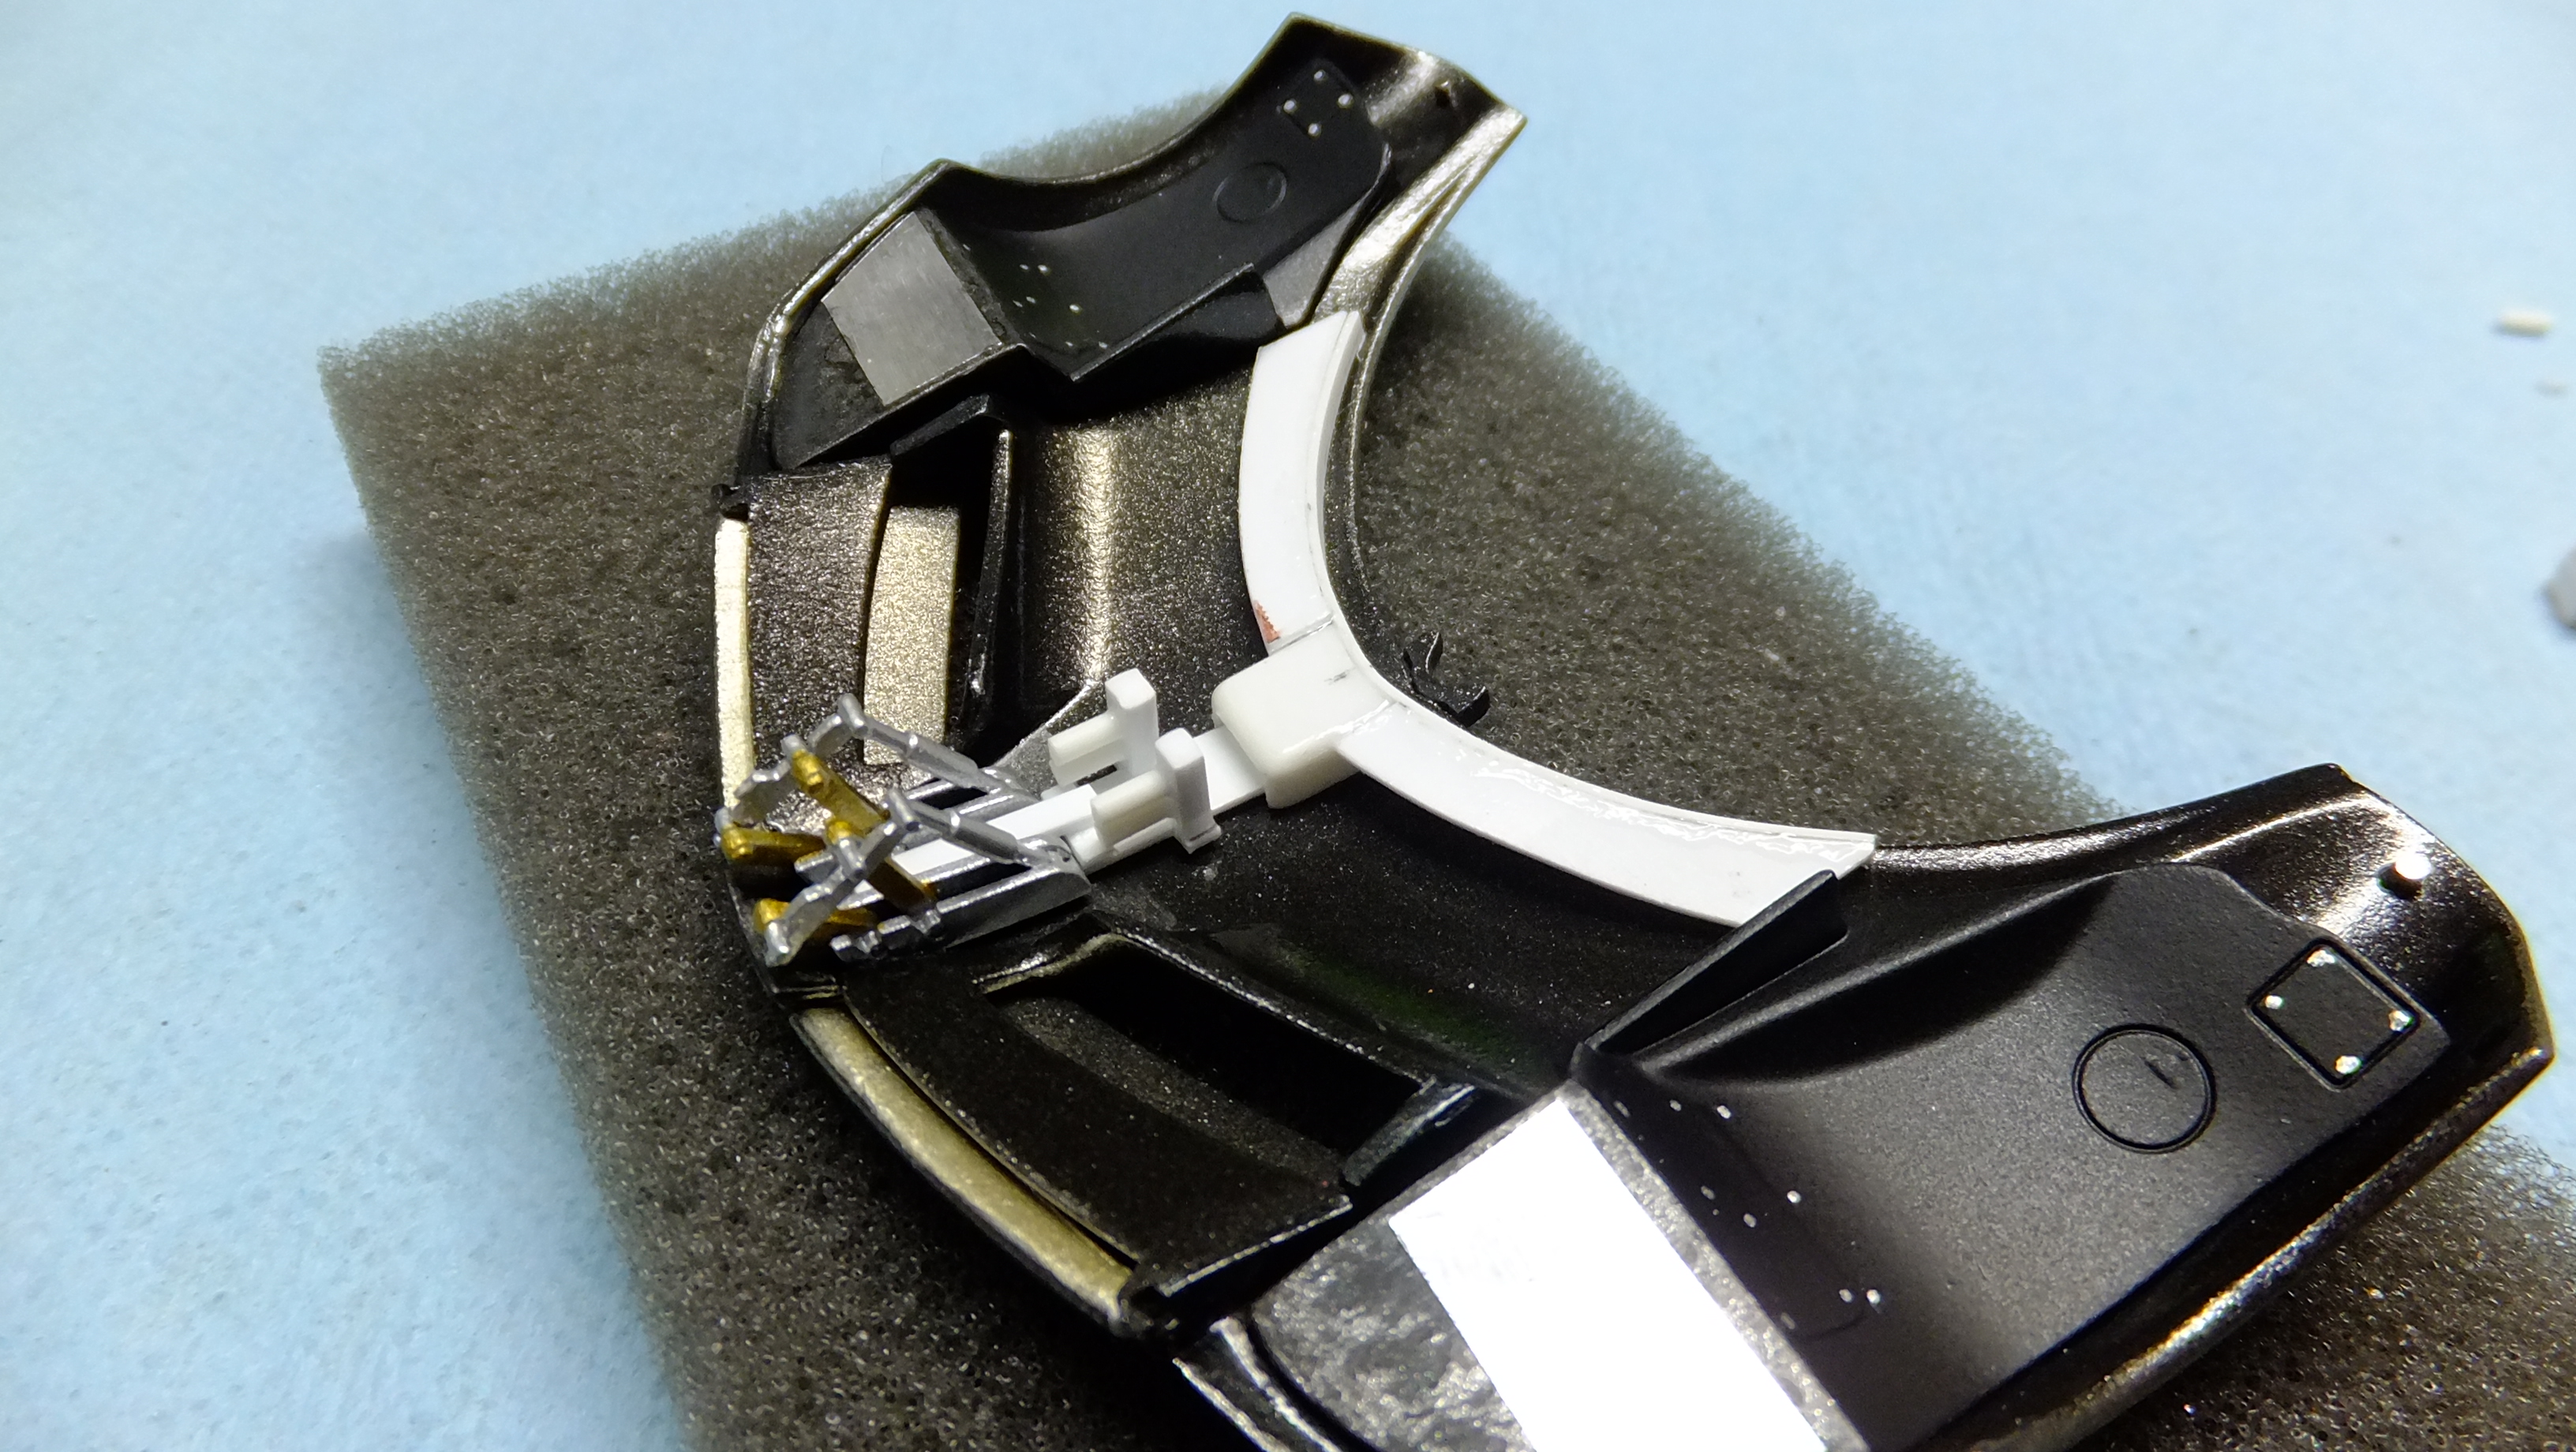
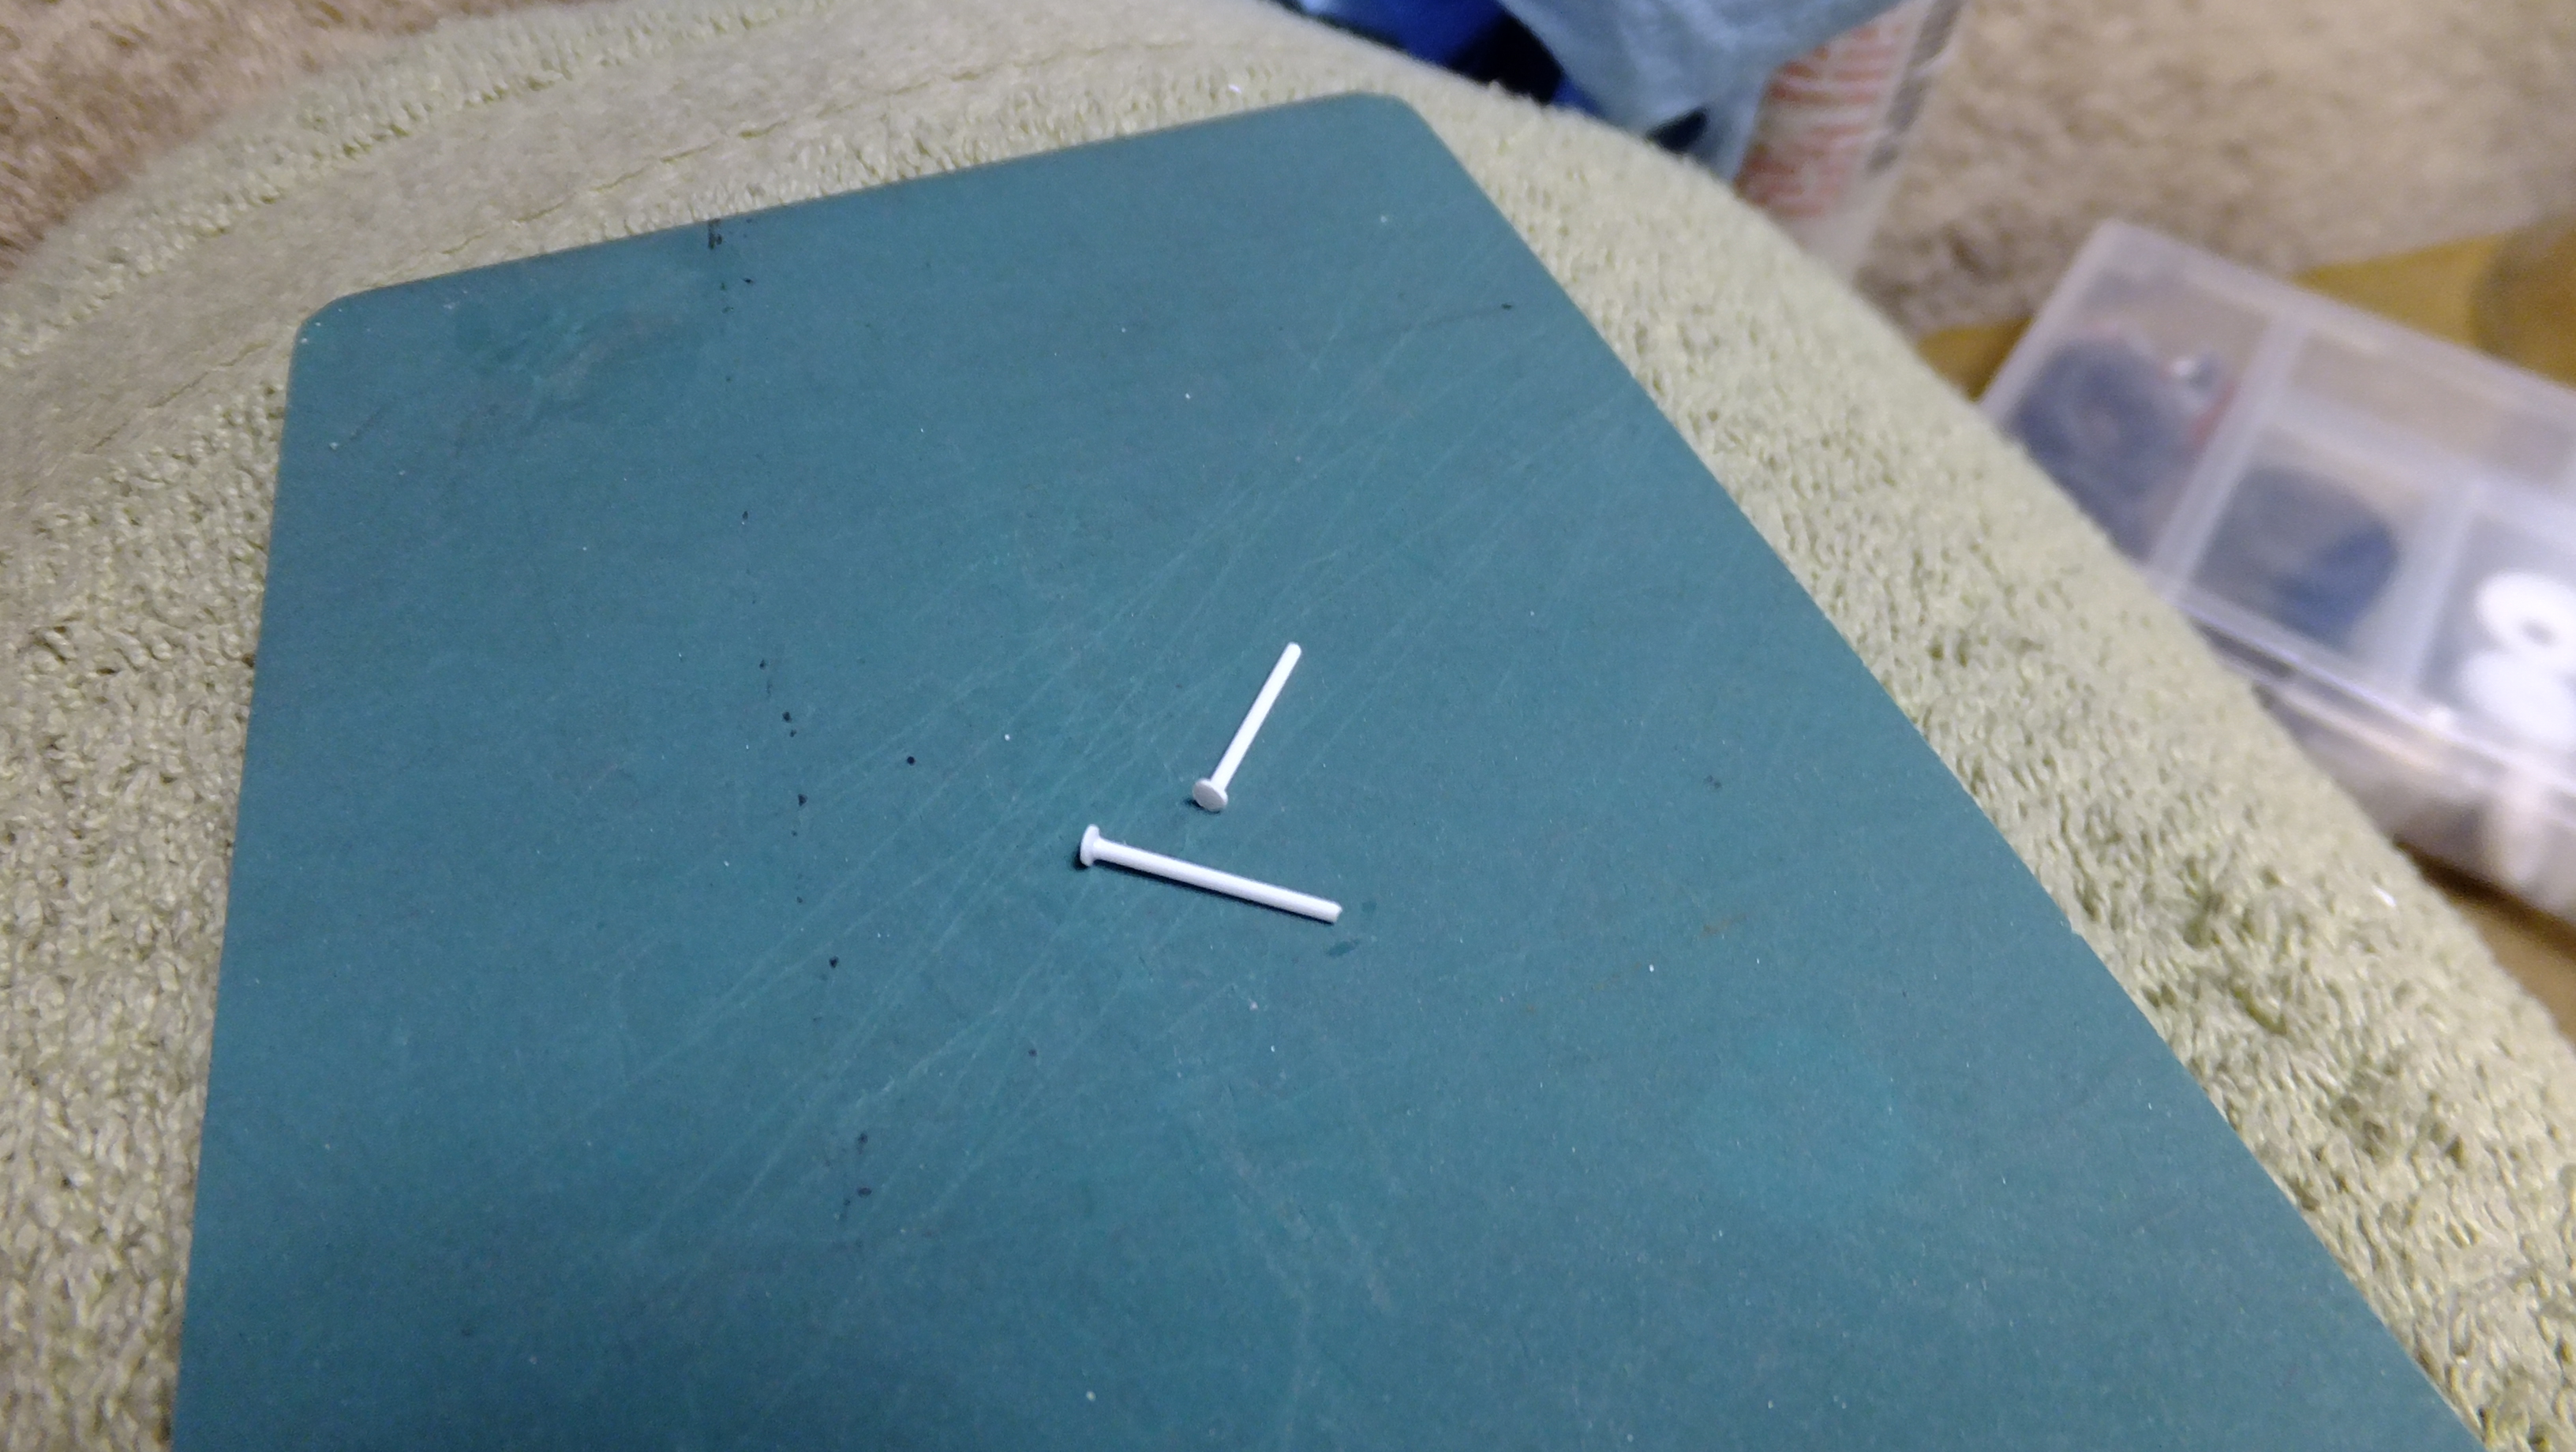
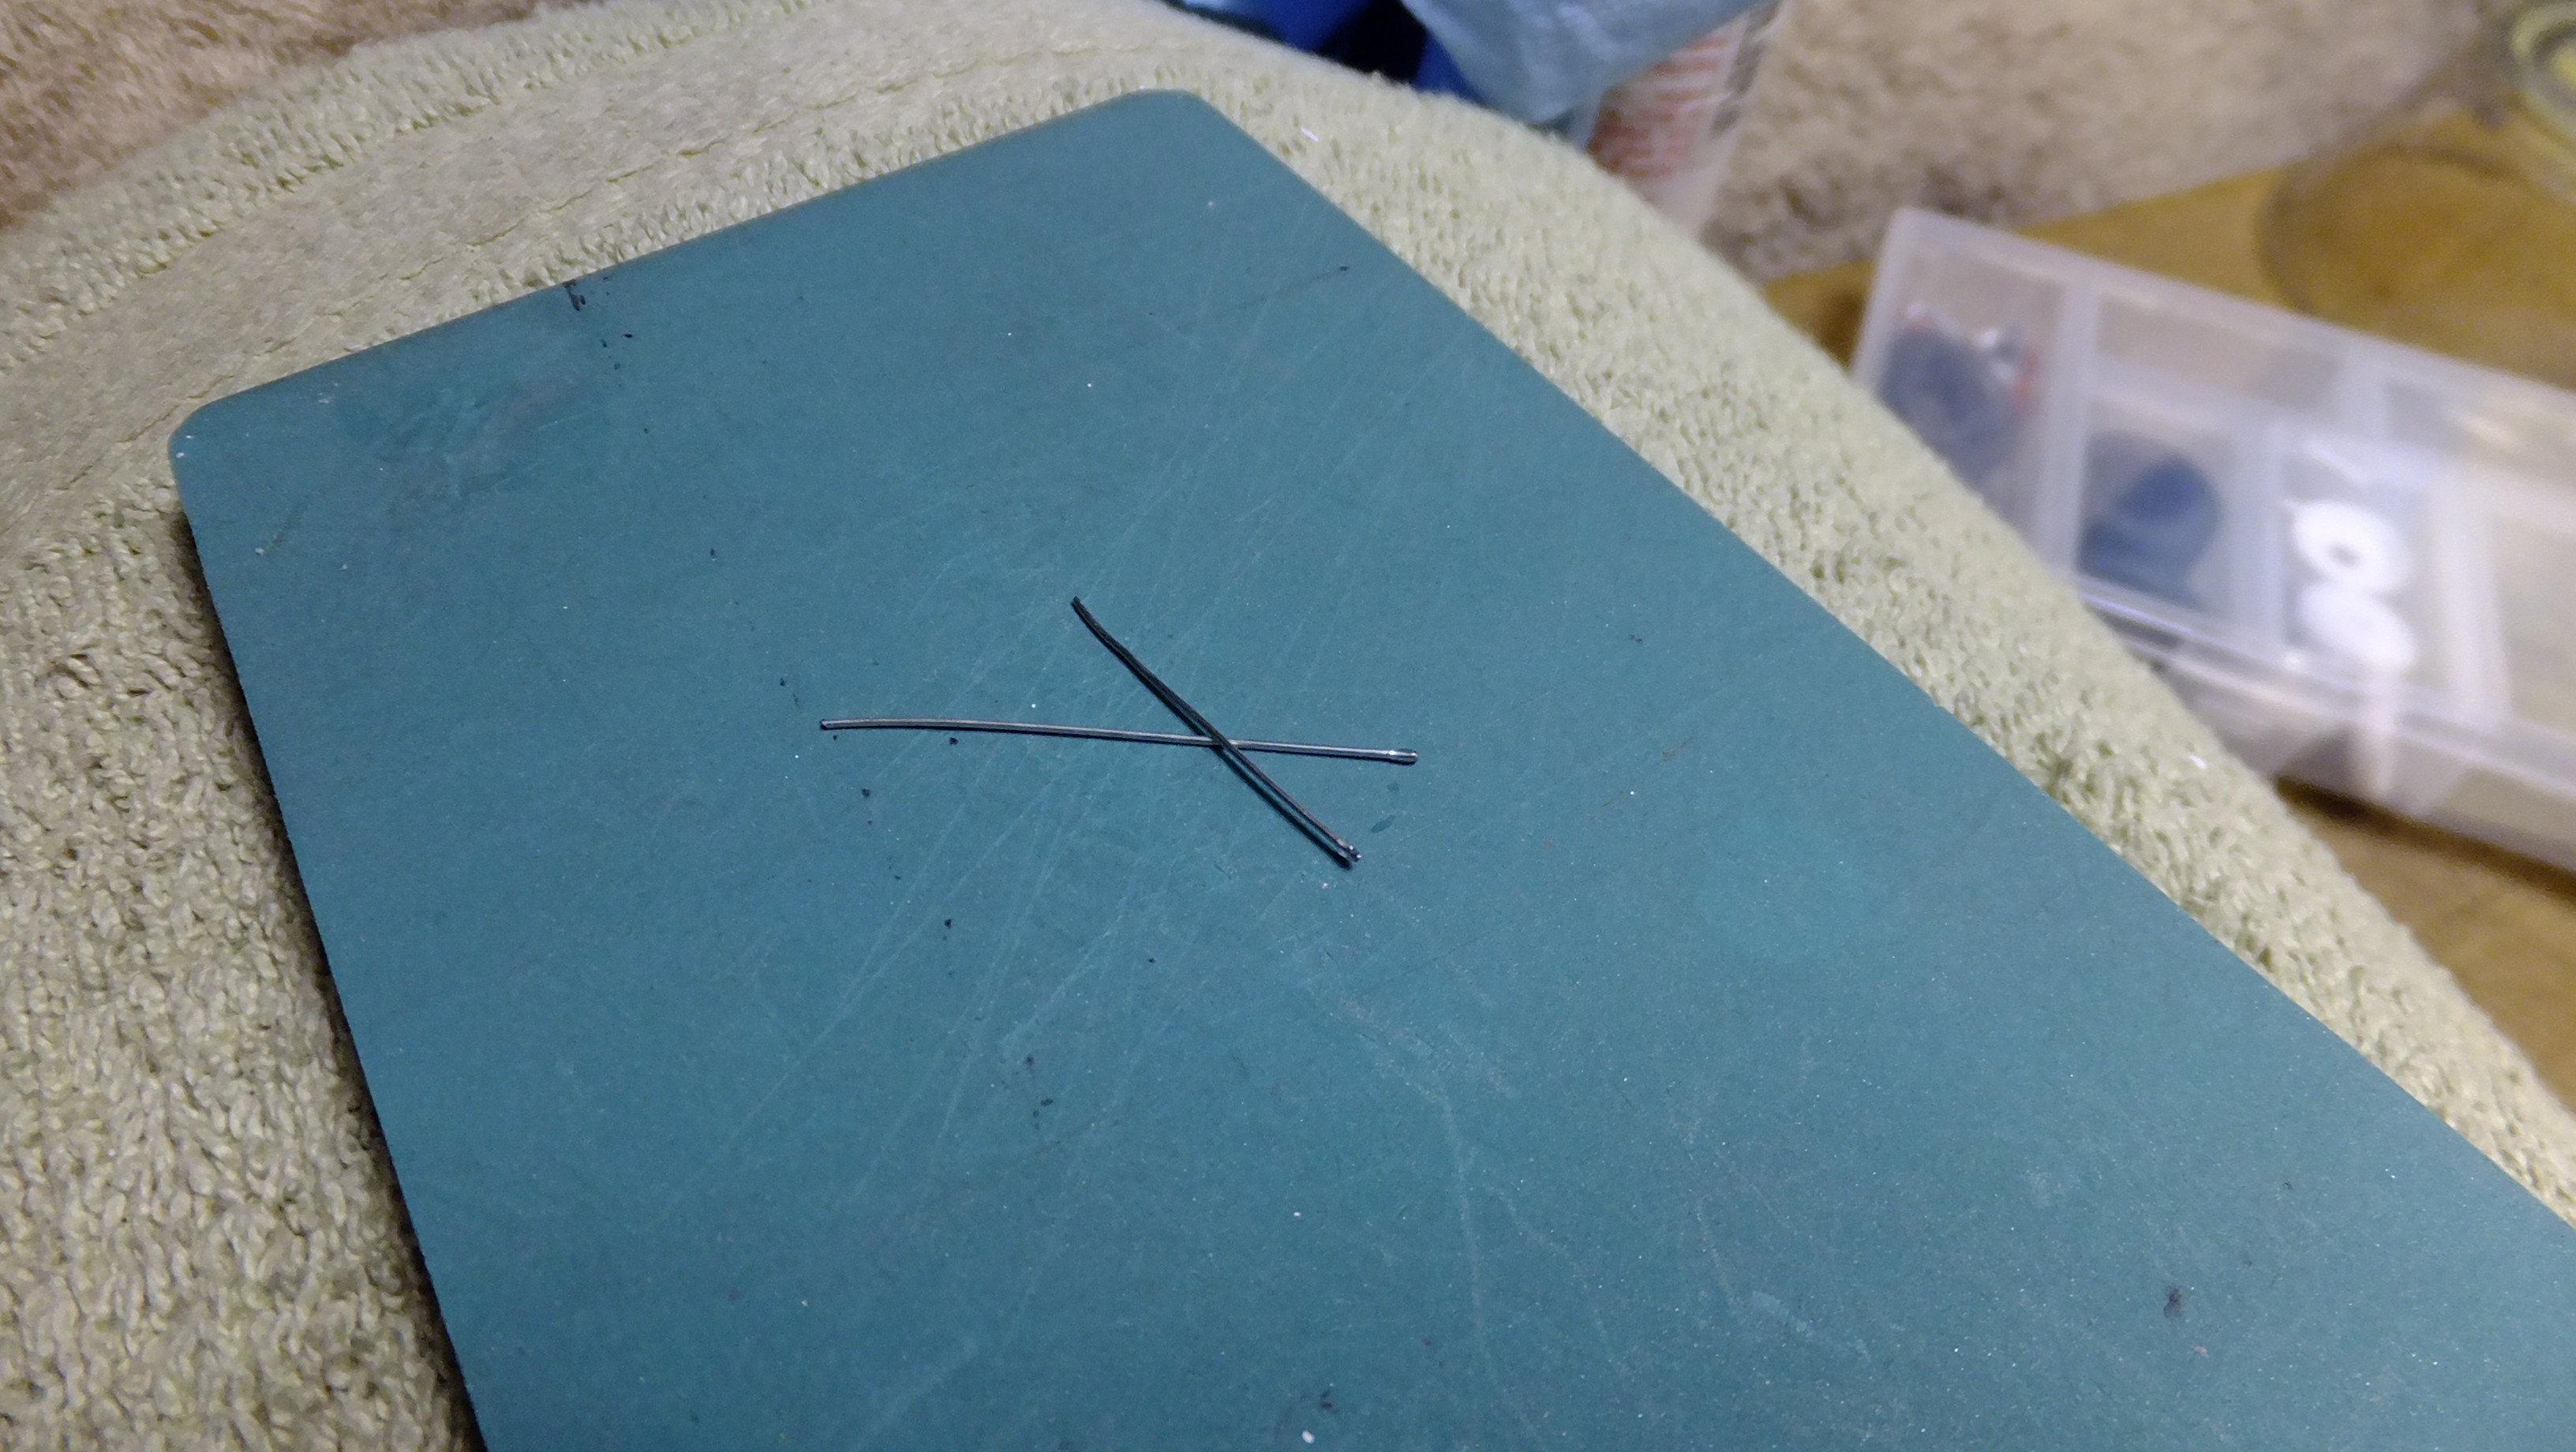
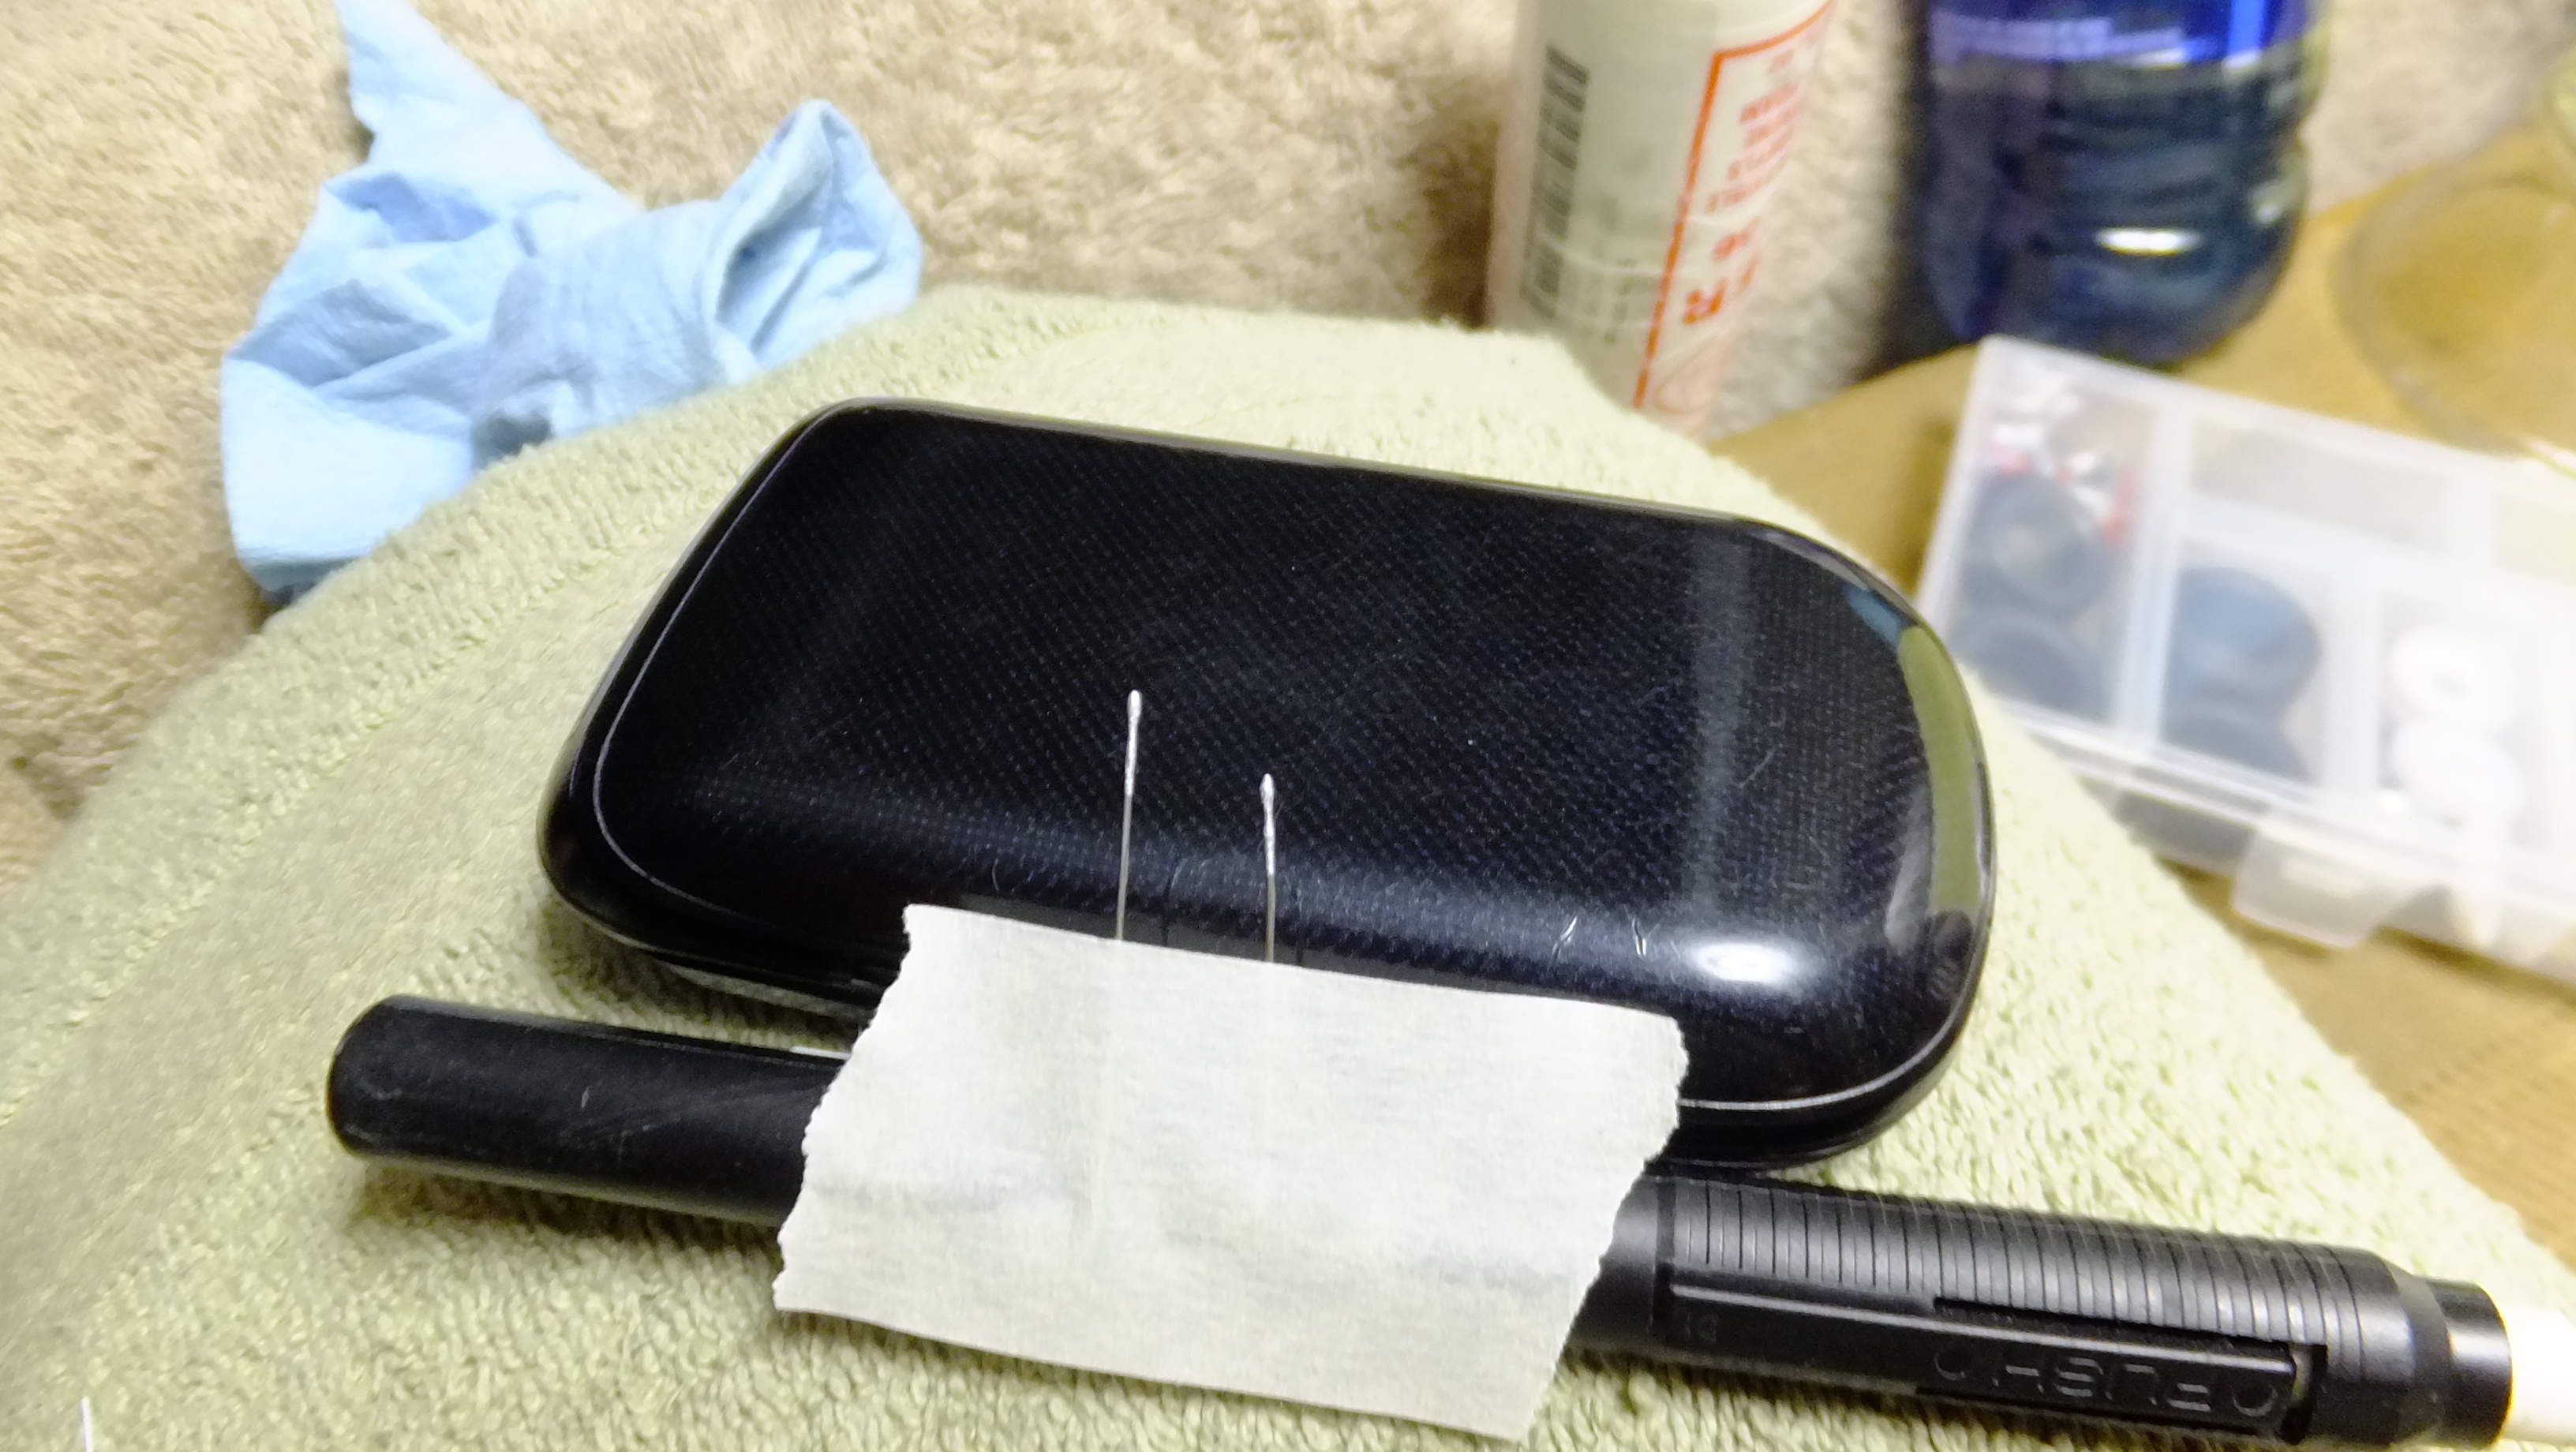
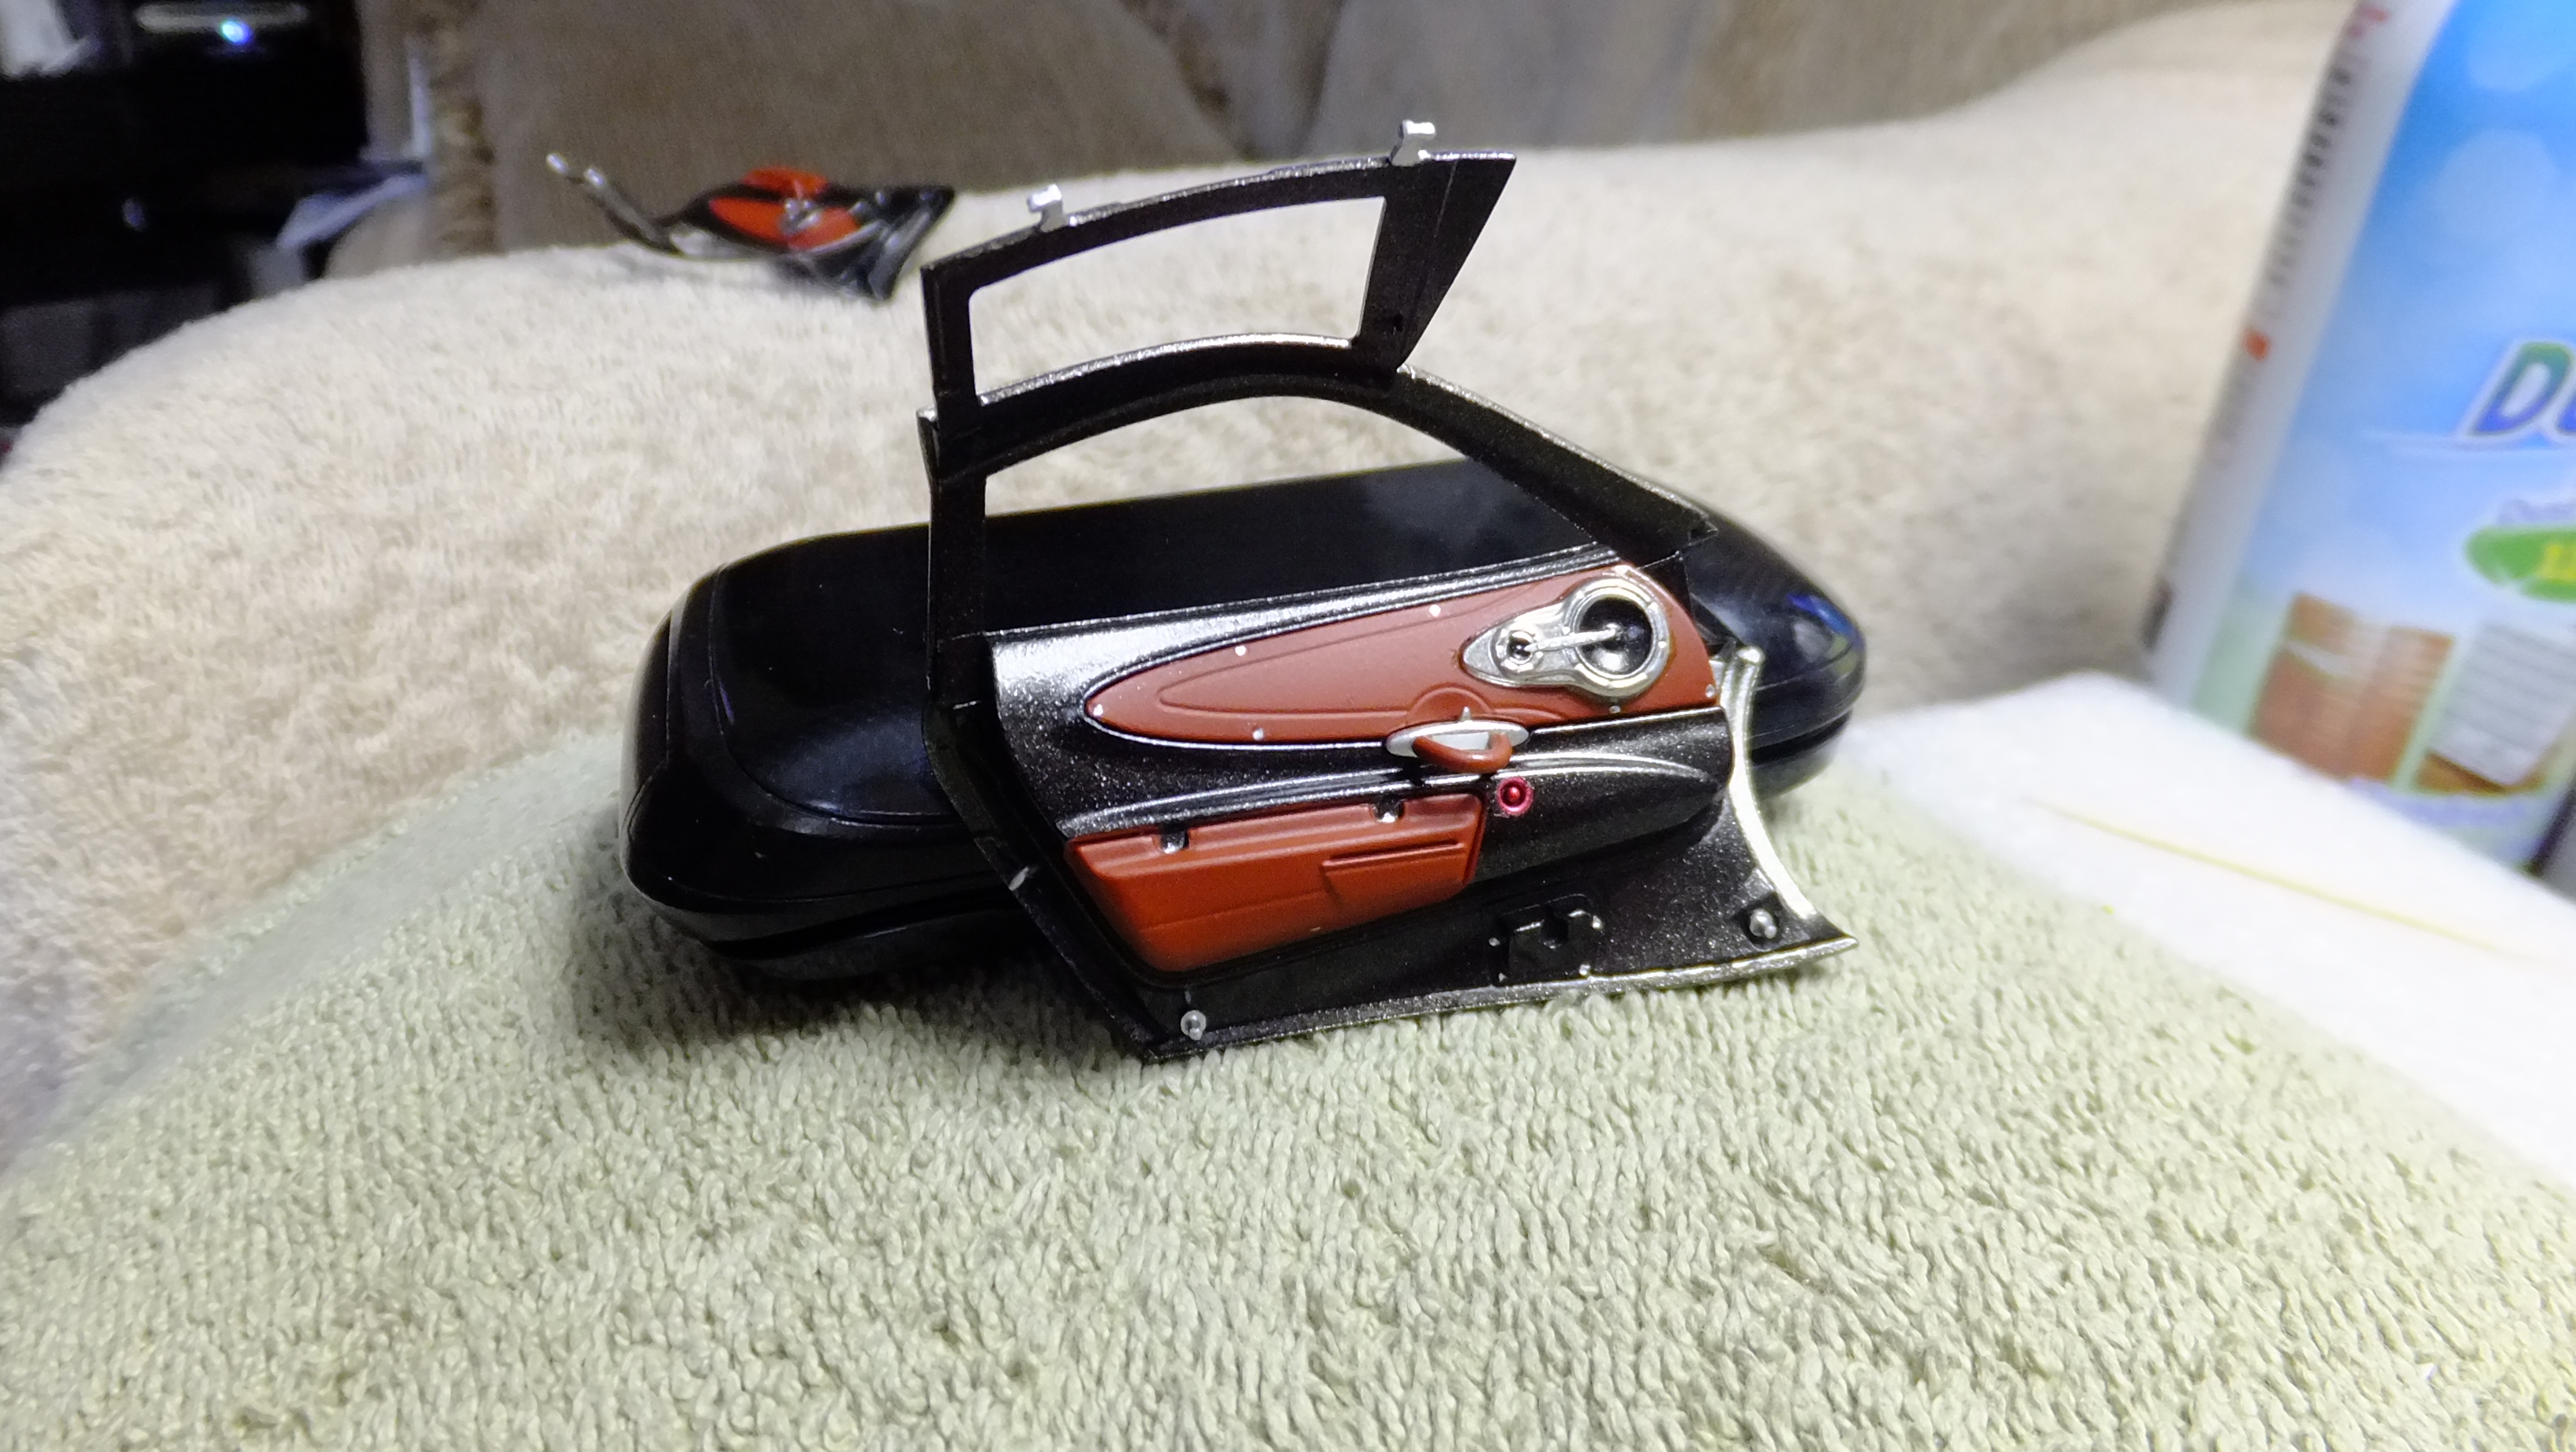
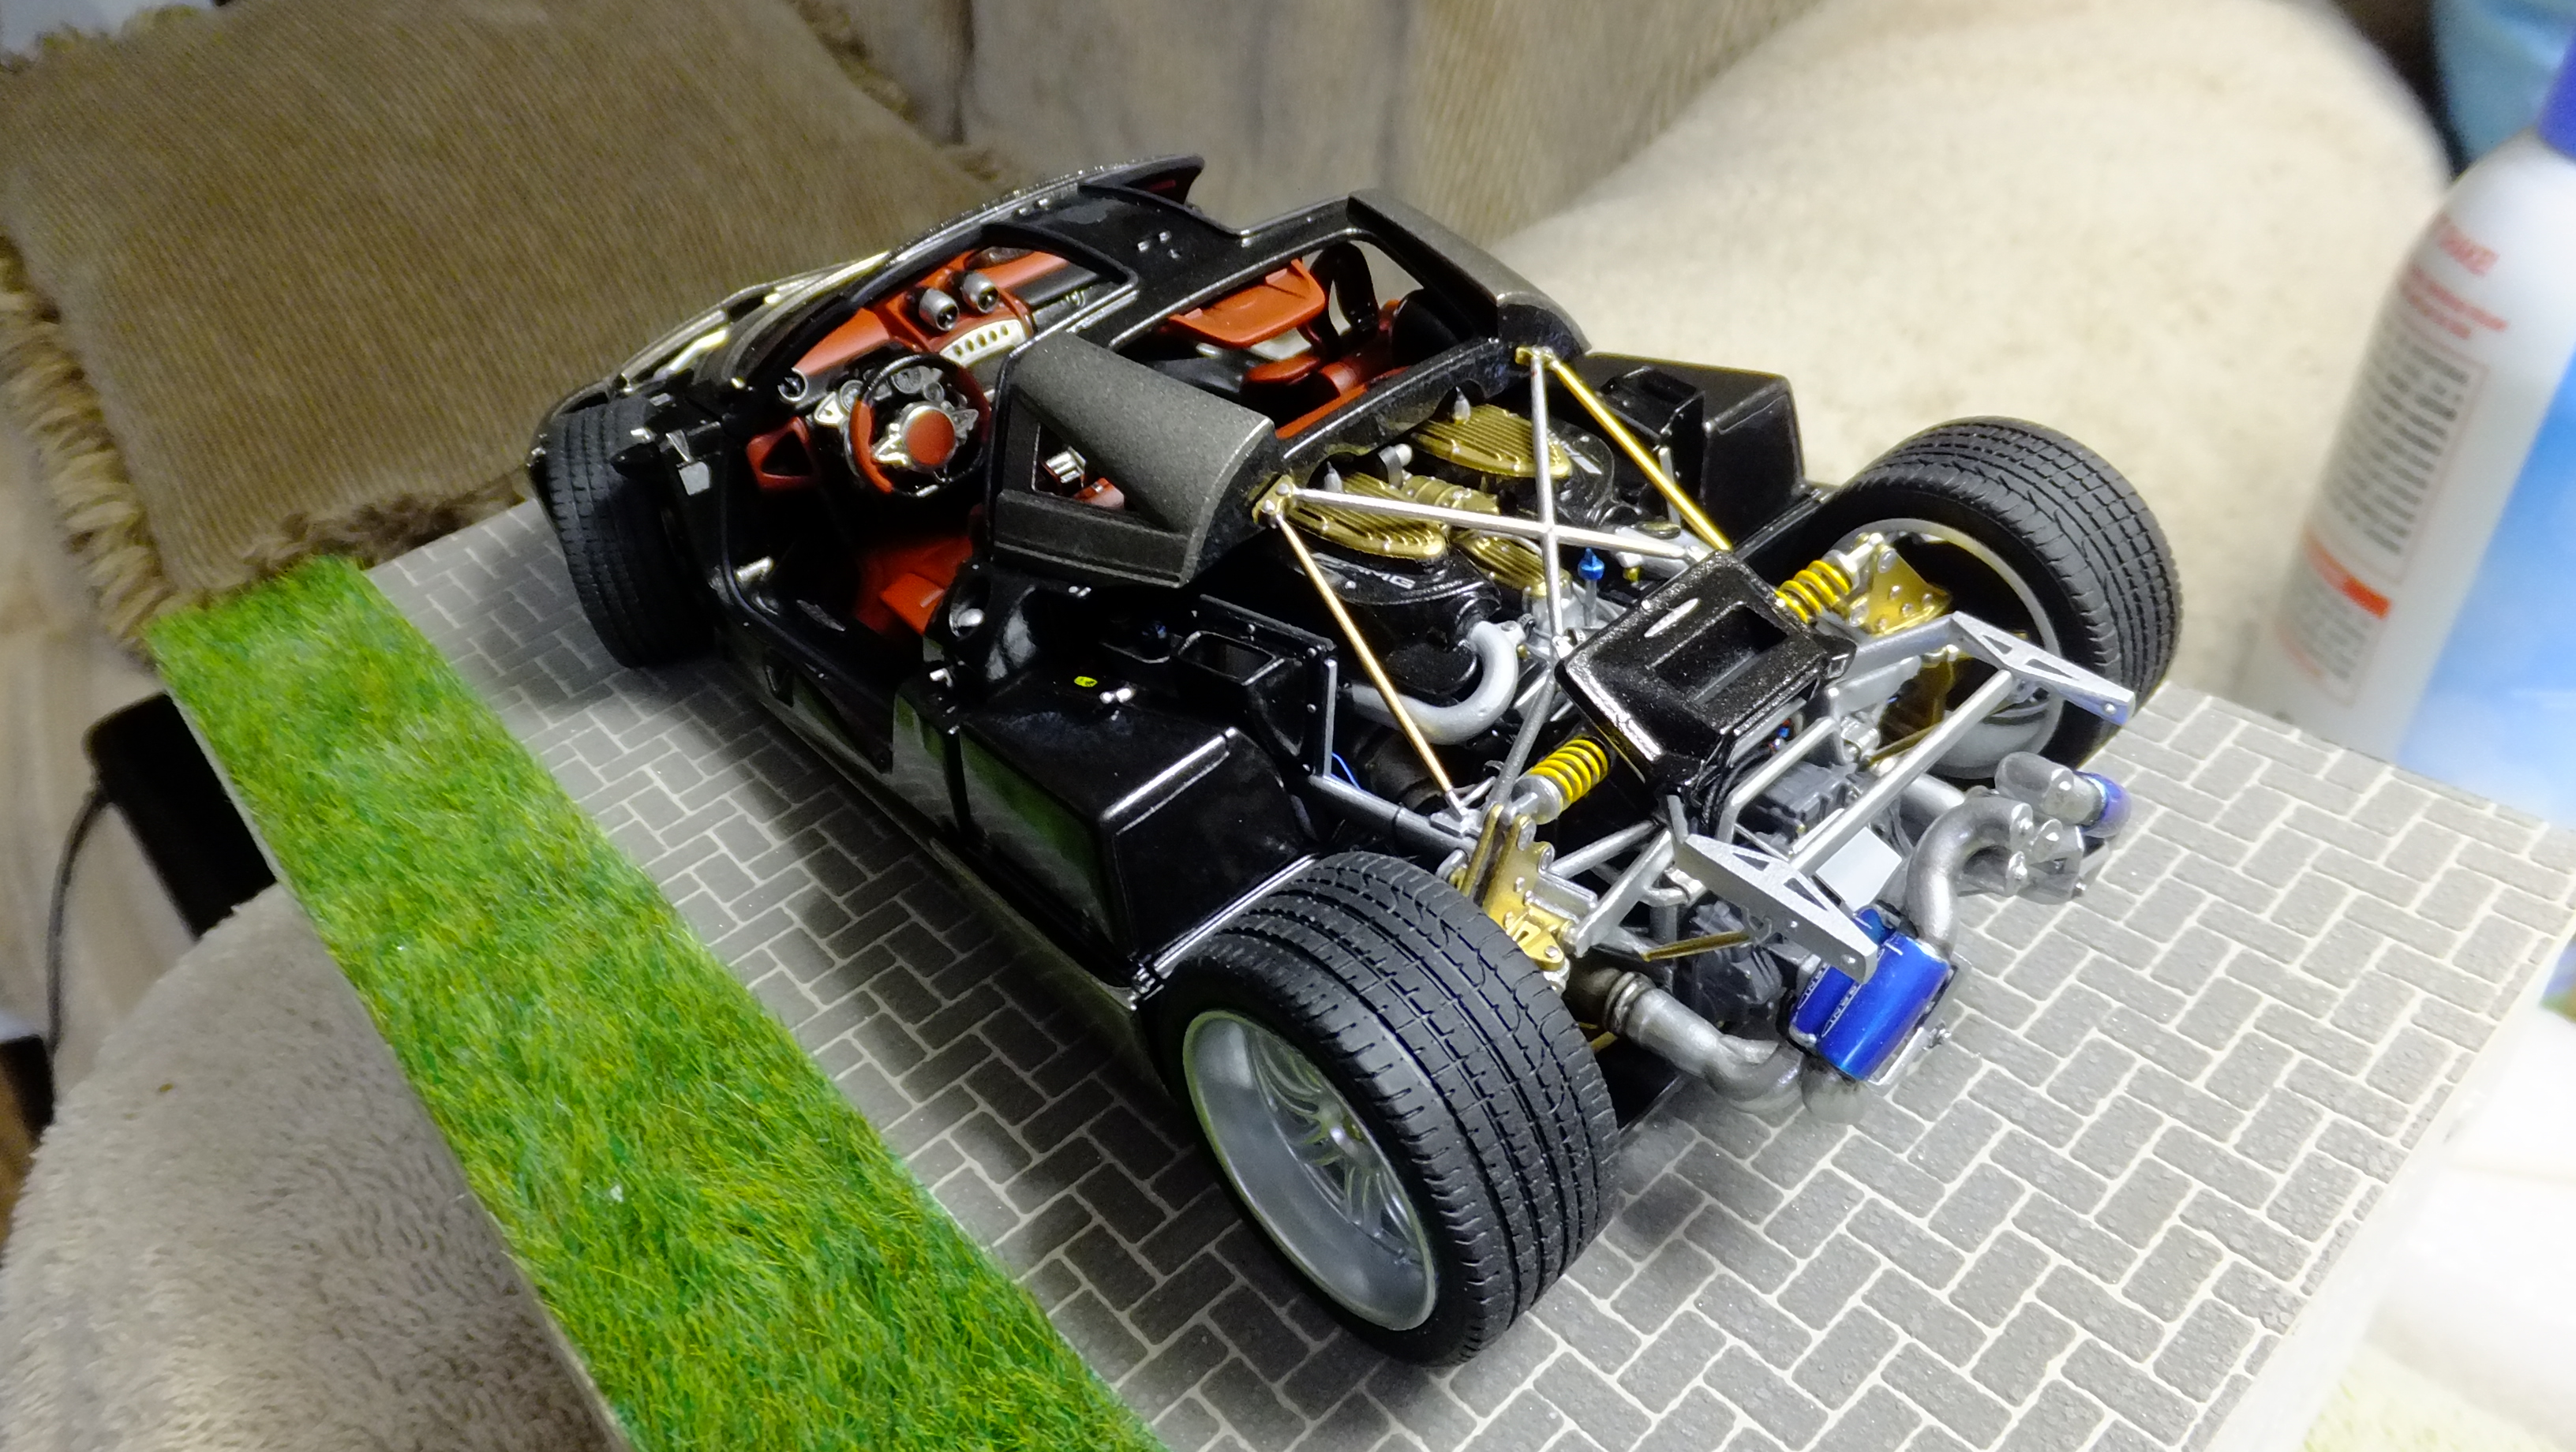
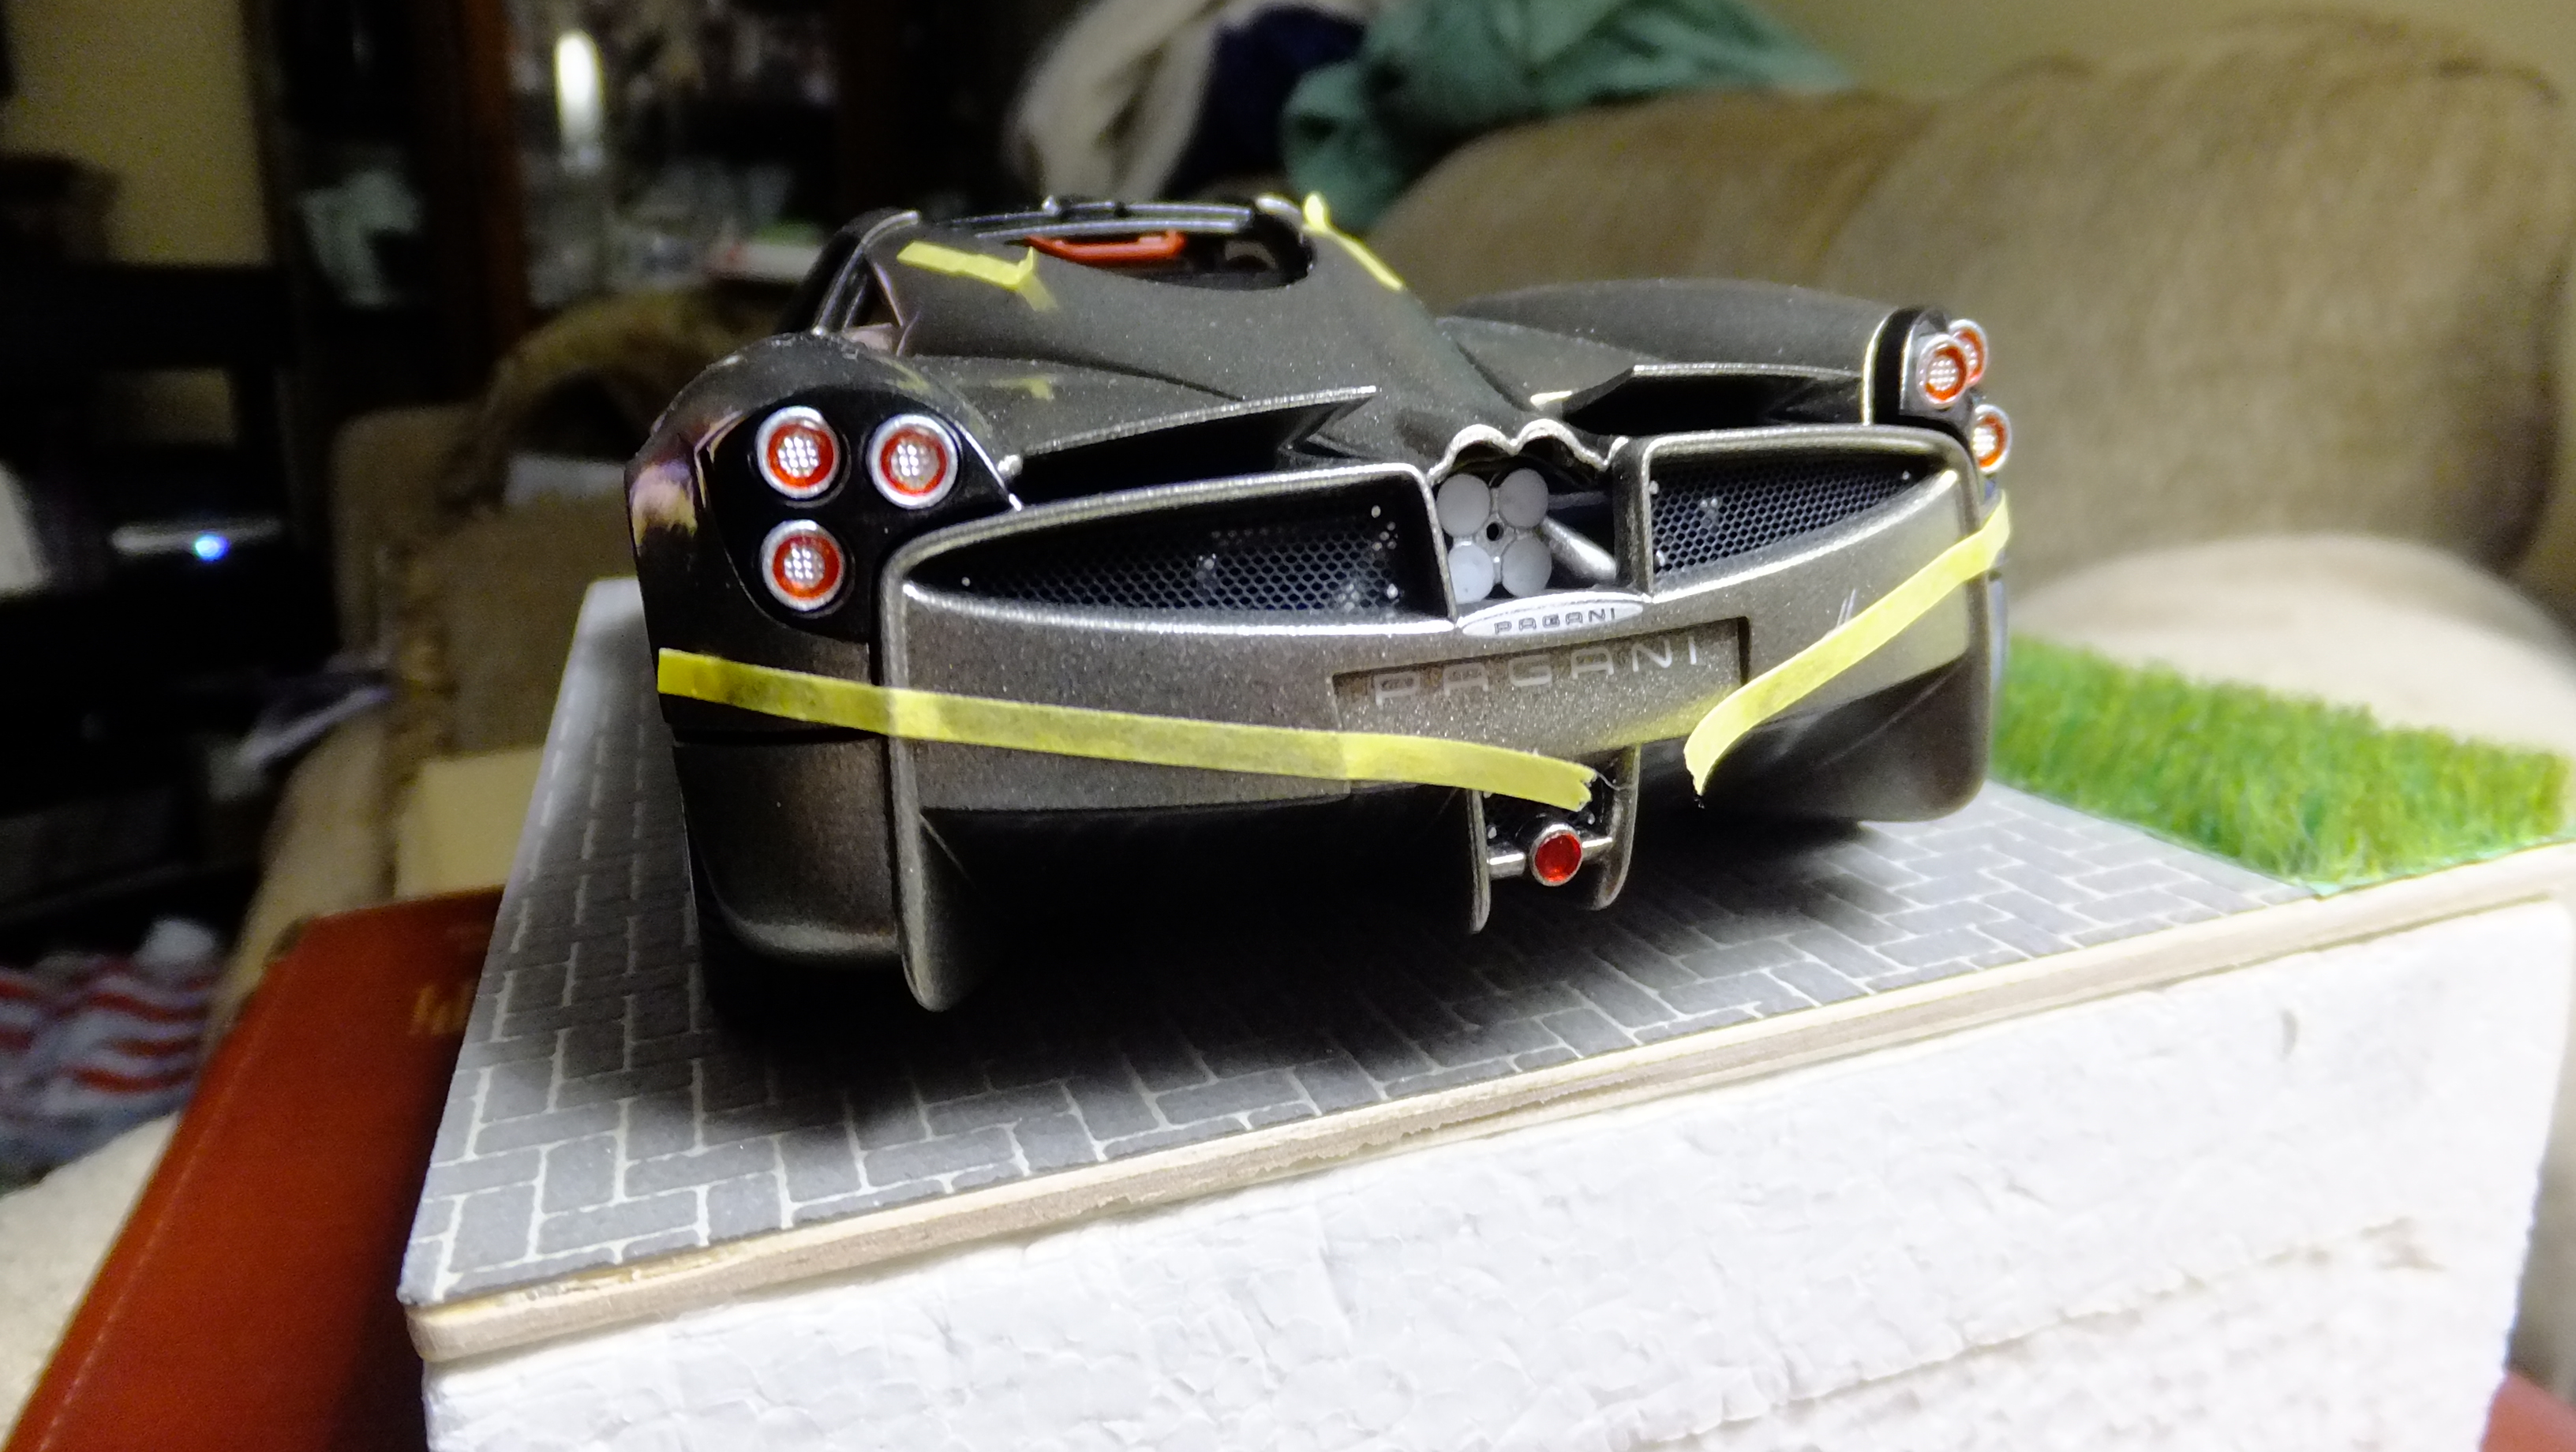
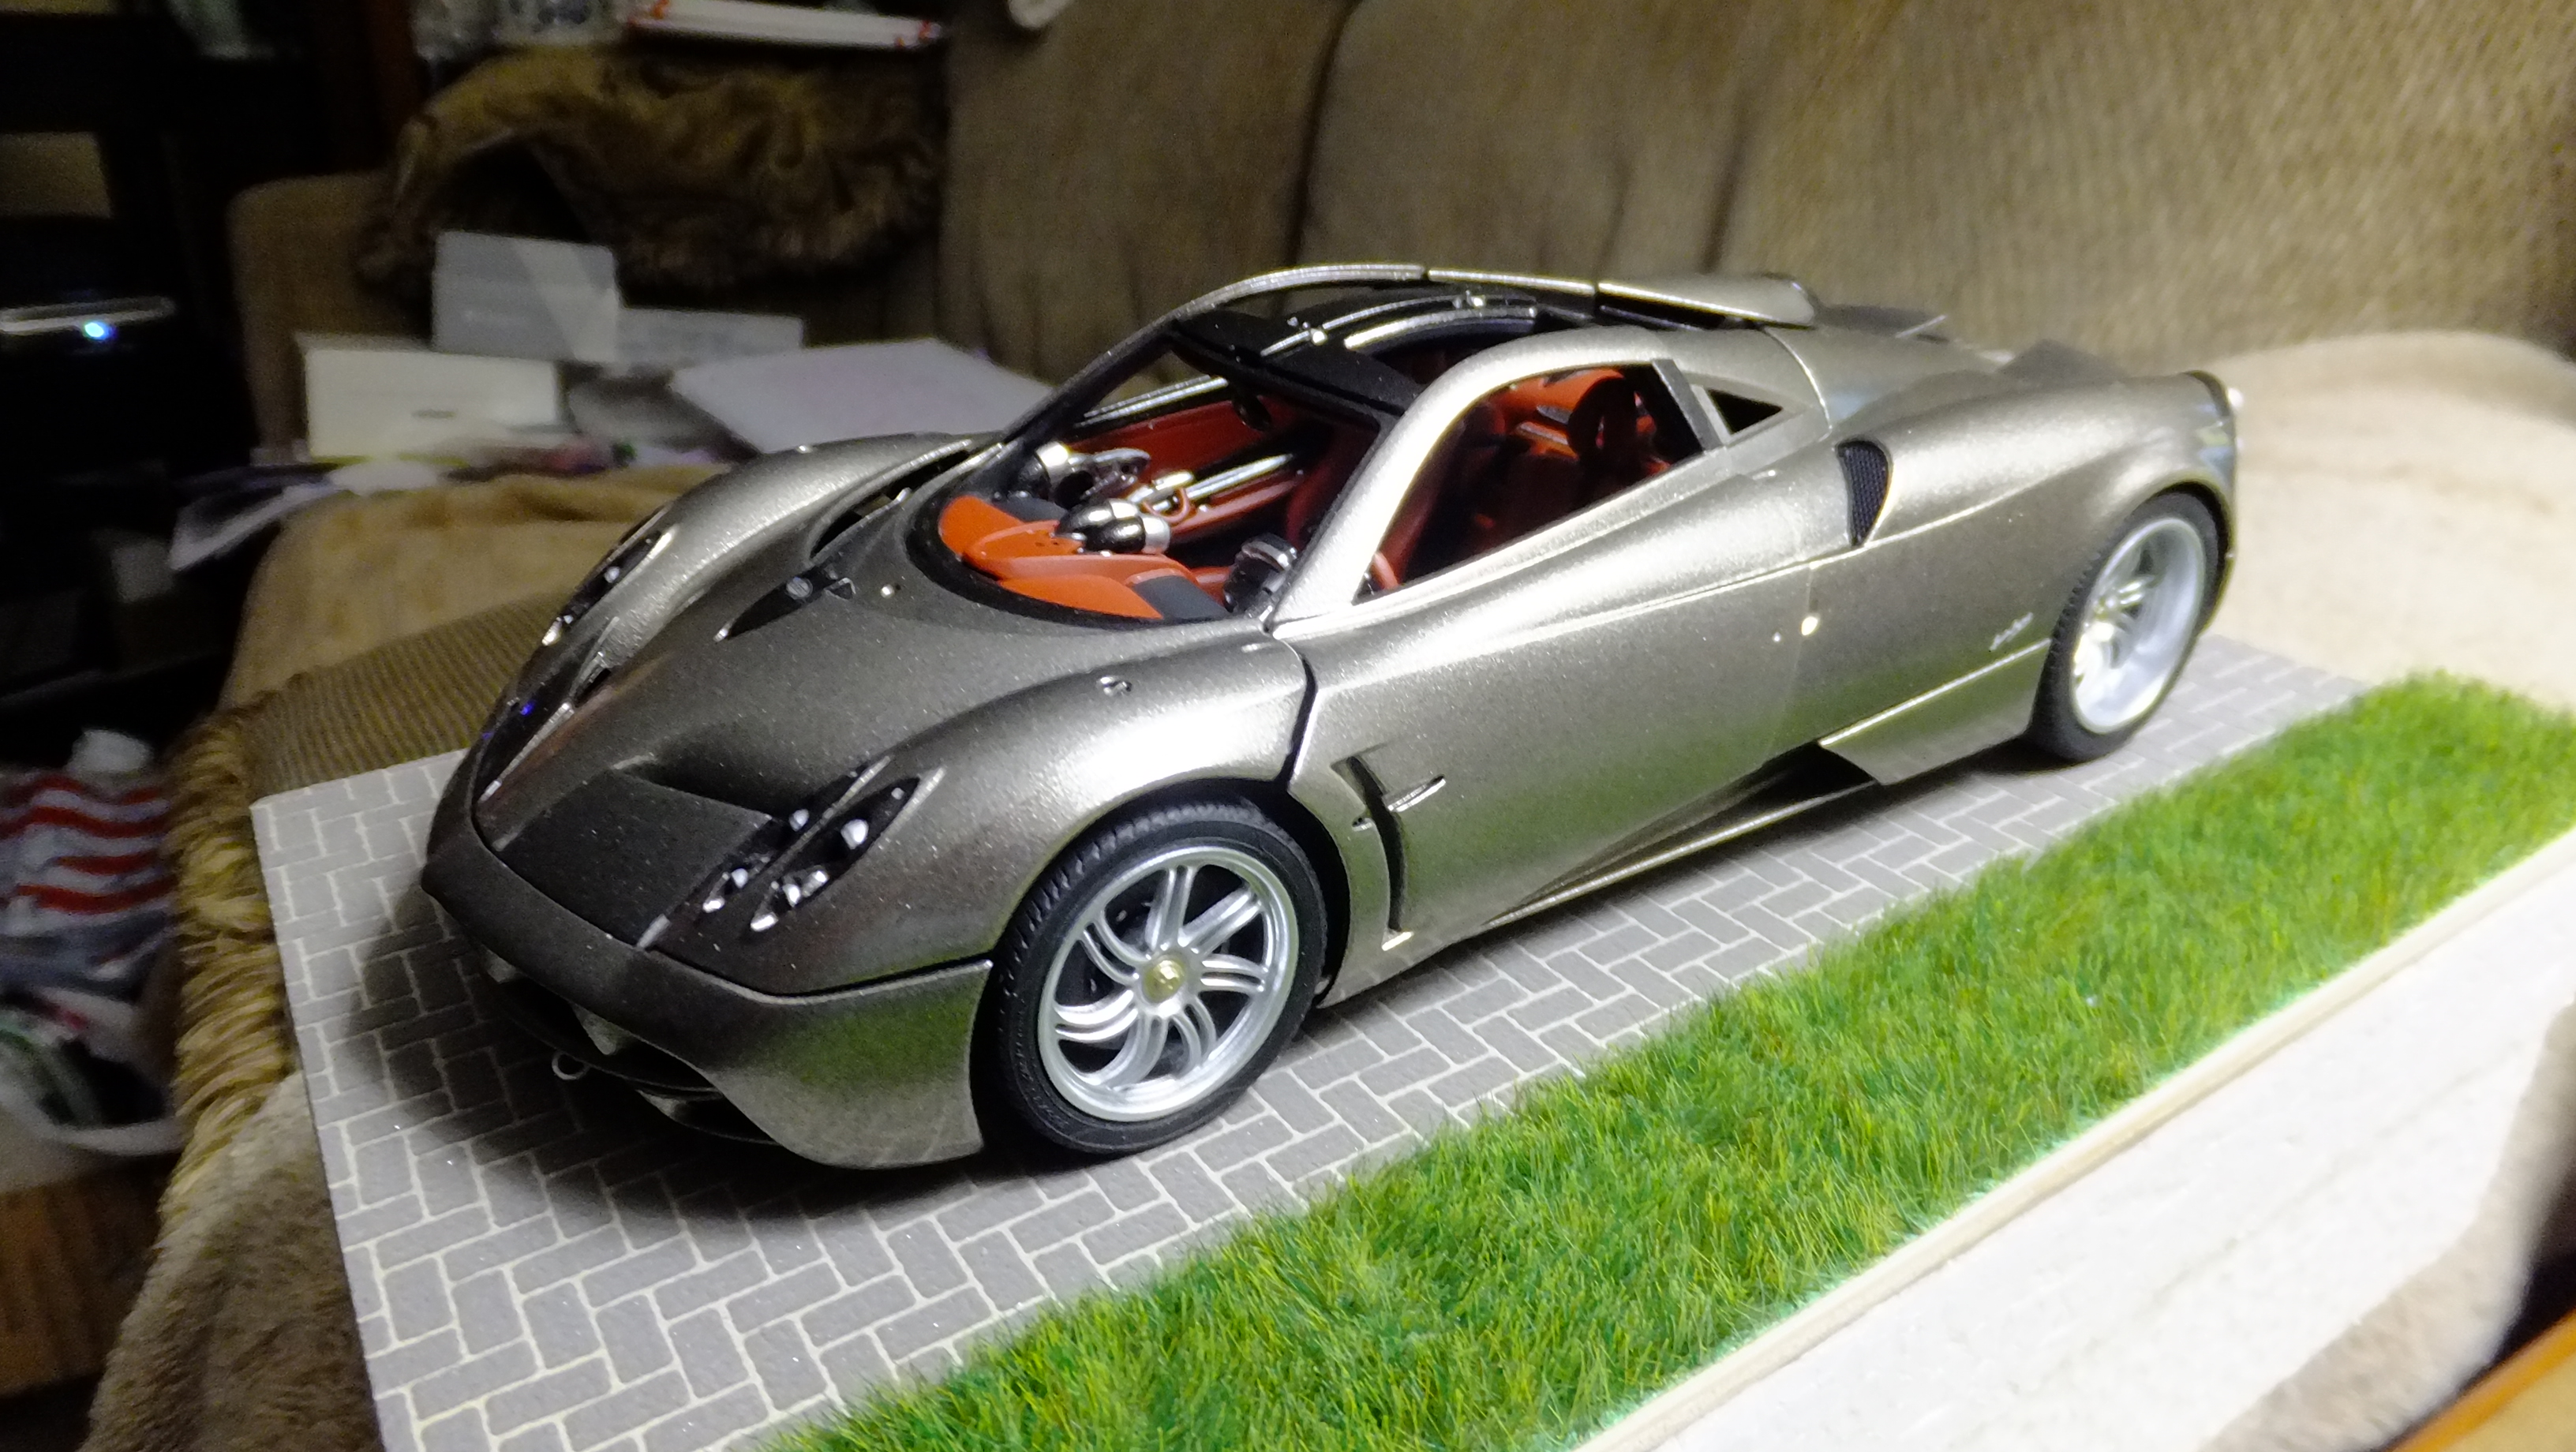
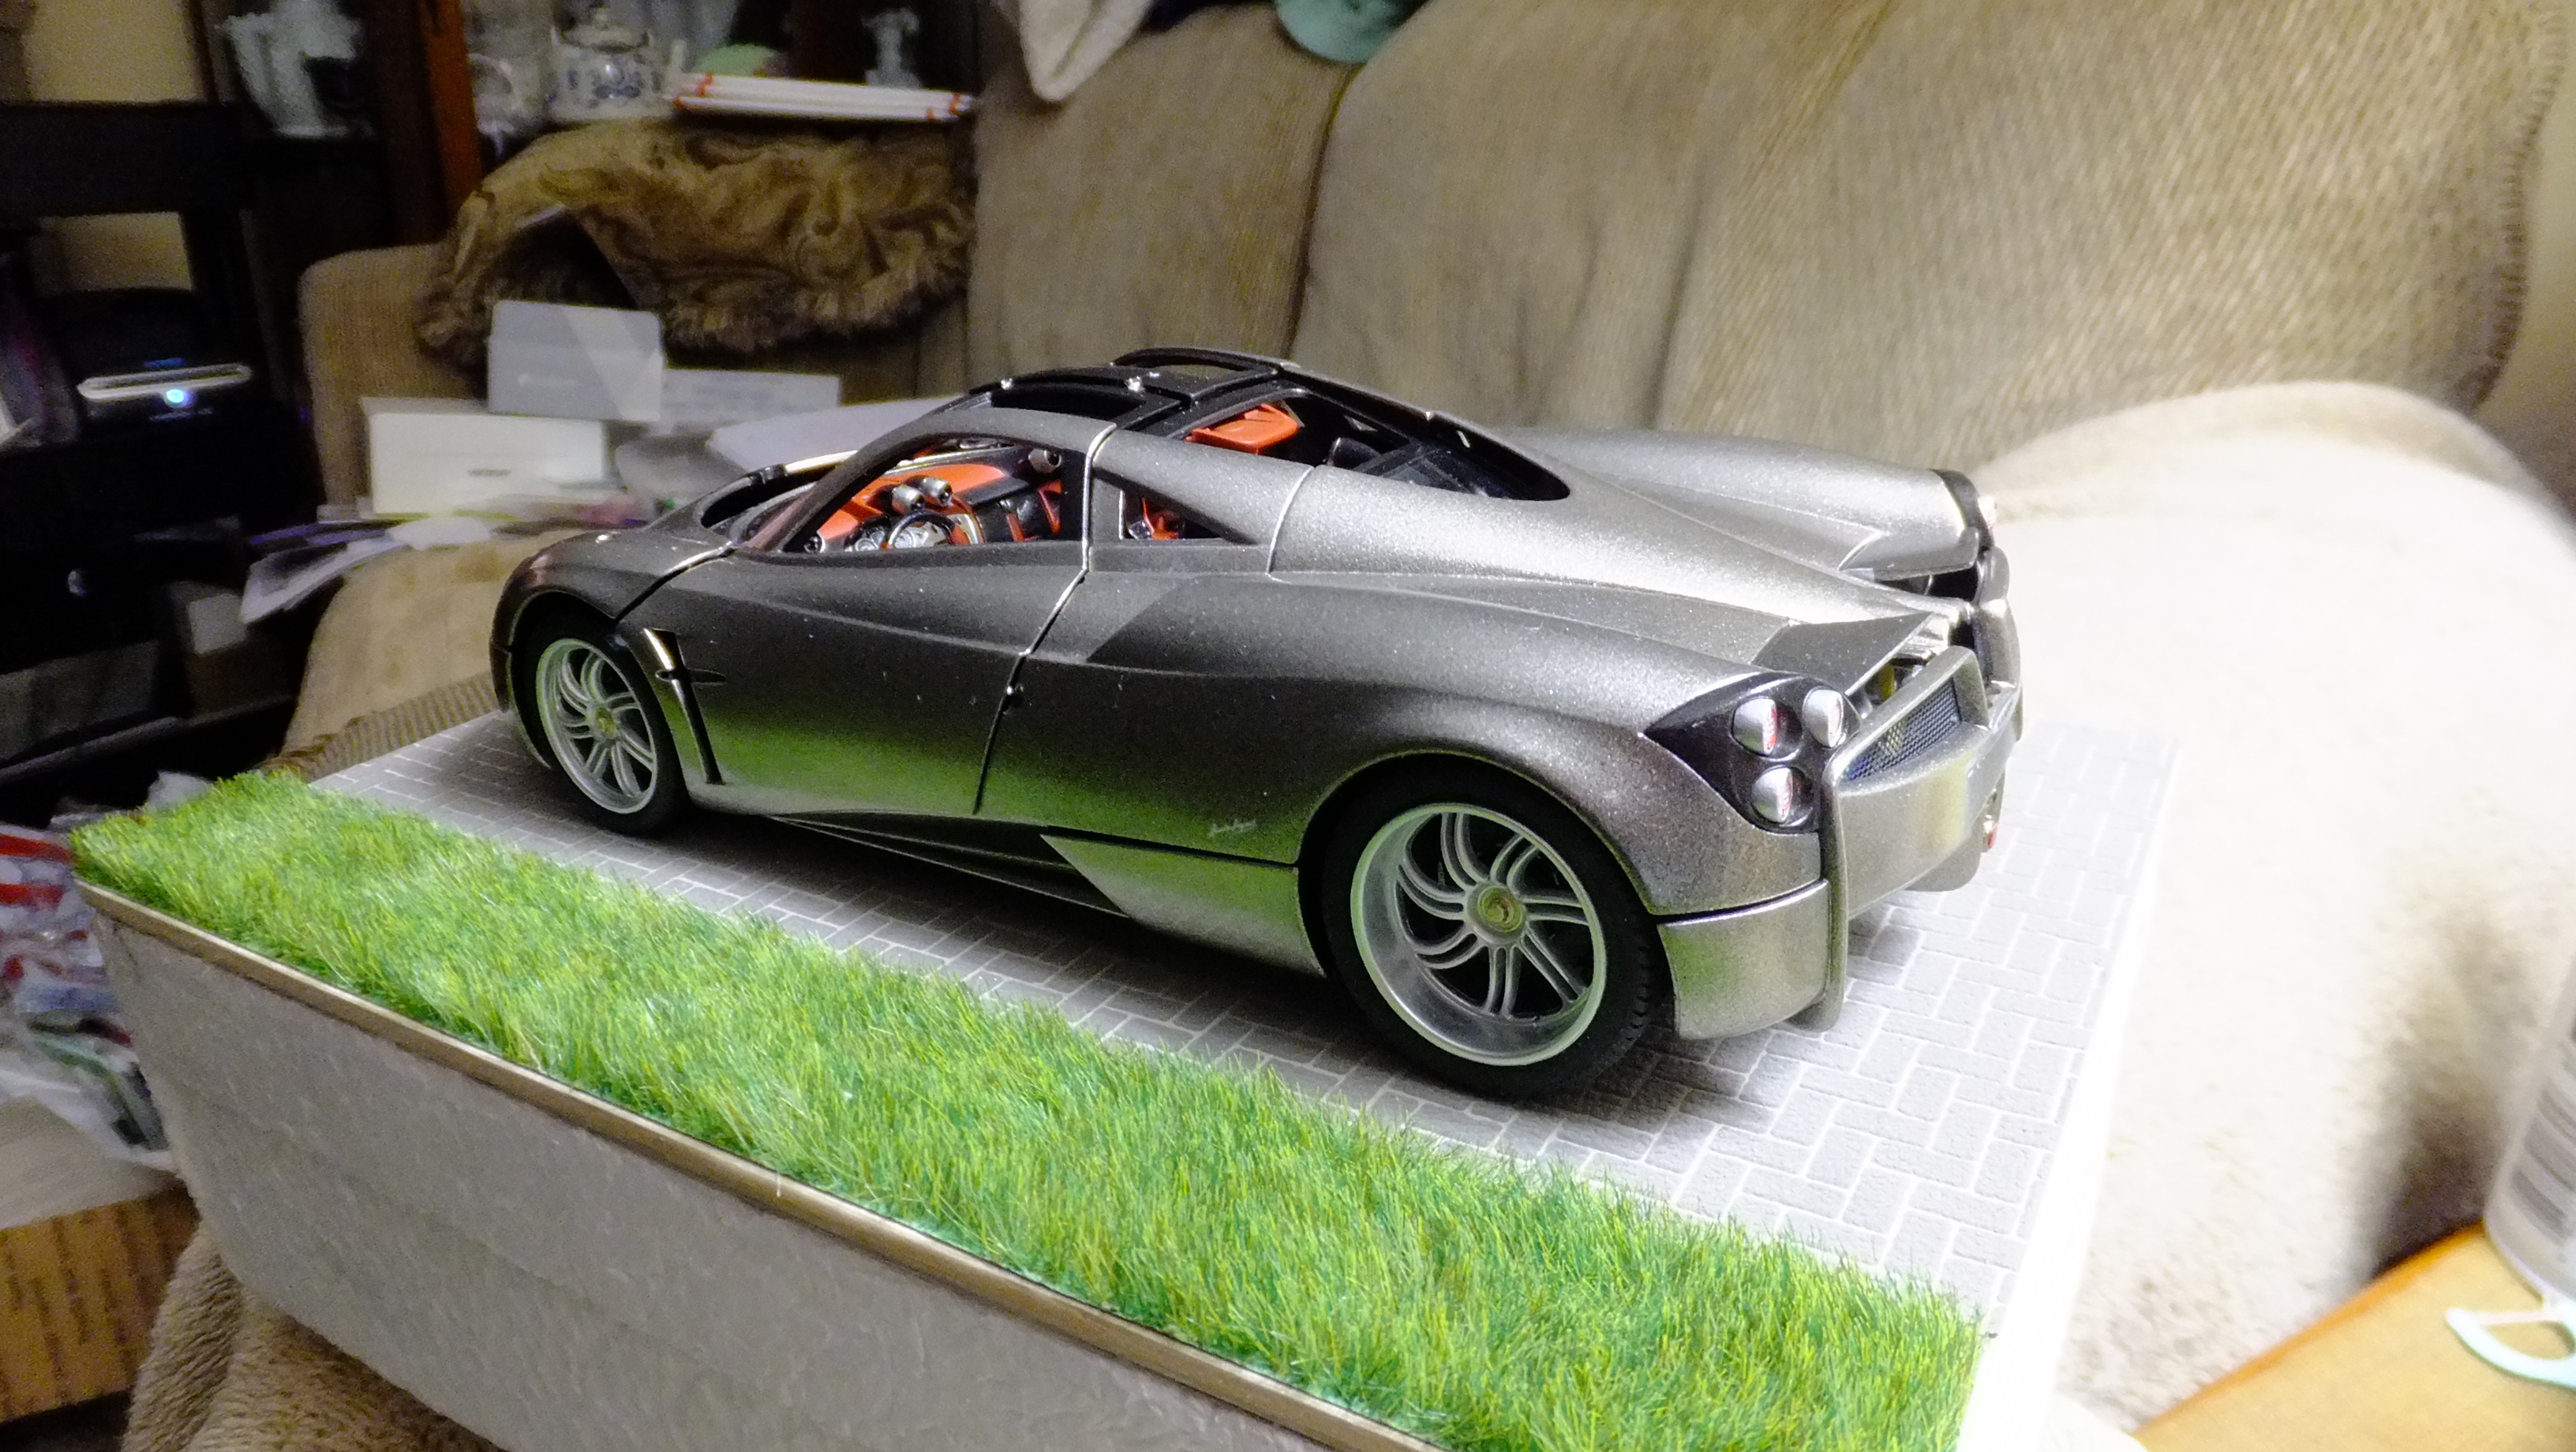
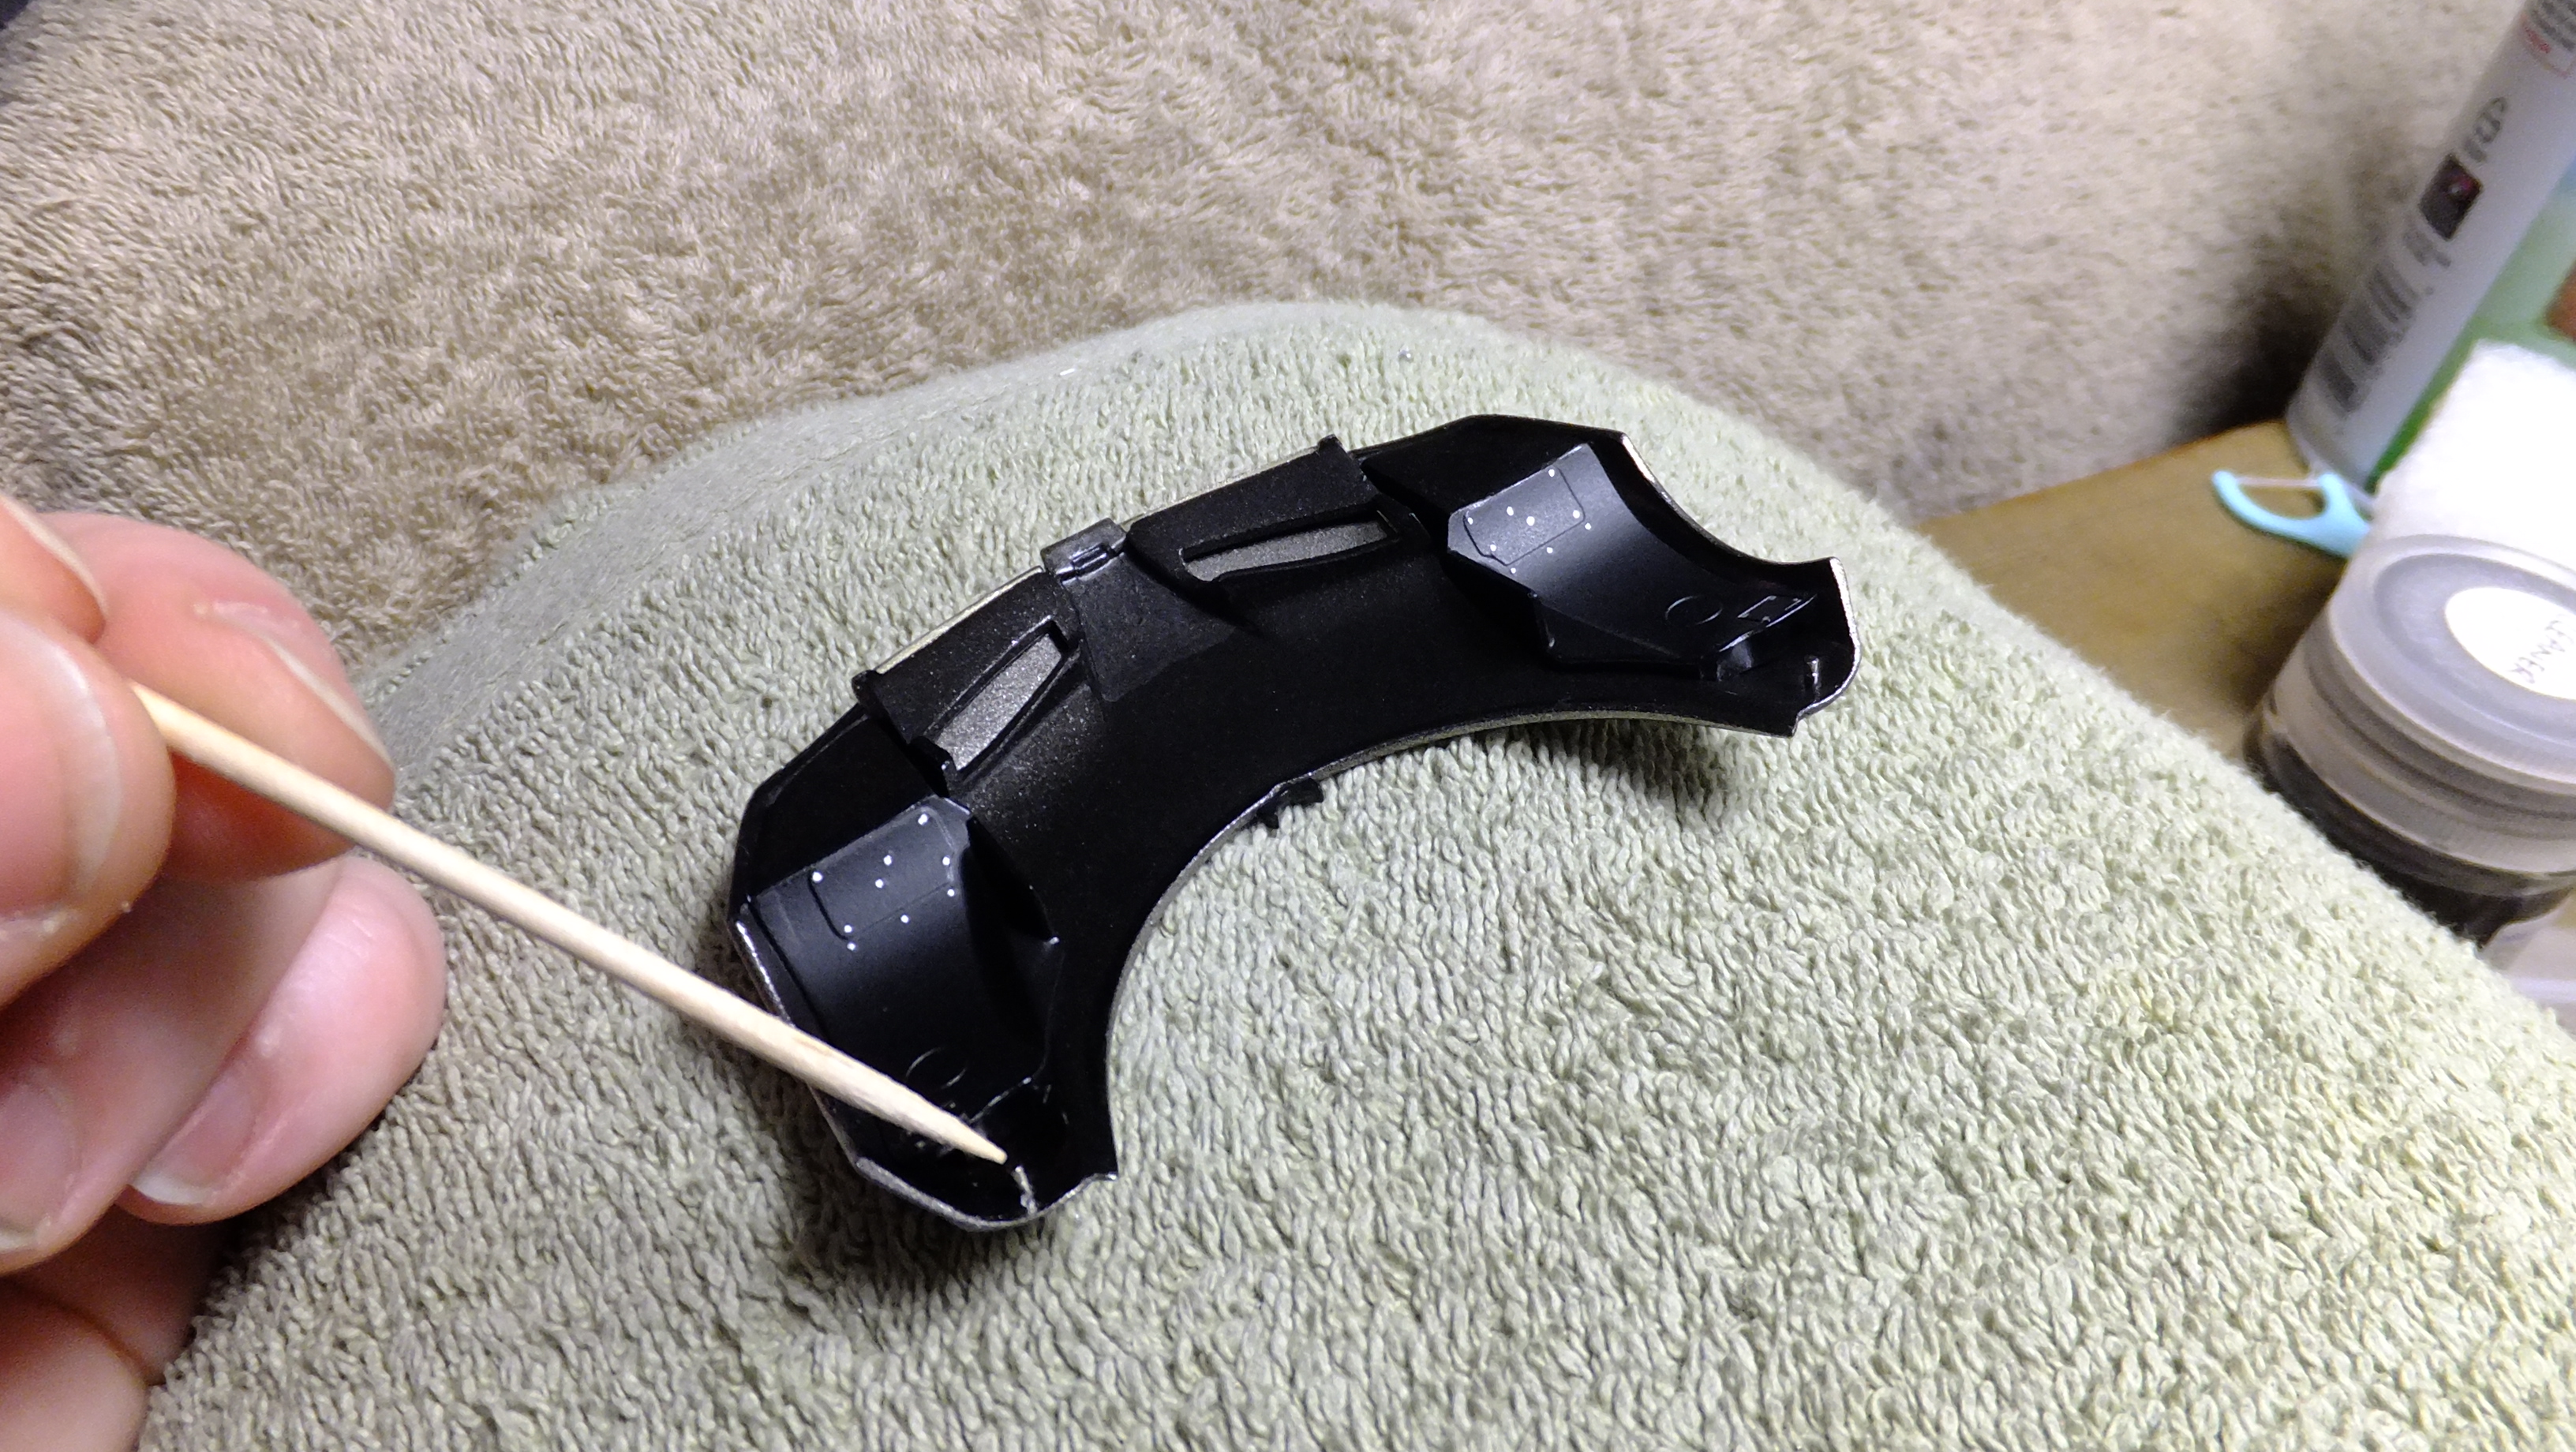
…...and some more.... -Photo 1; I SB the two allignement pins for the door.... -Photo 2; To replicate the door-release toggles, I took super fine wire, dipped the end in super glue, which made the proper shape, then painted them chrome silver.... -Photo 3; these are the toggles.....before I glued them in place, I scraped the wire klean from paint. -Photos 4,5,&6; The finished doors with the new SB details! -Photo 10; Here you can see one of the new SB cowl catches. Notice also, I needed to make the door catches smaller as well. -Photo 11; the heat shield was added. -Photo 12; the doors are permanently on, and fit great as you can see!! -Photo 13; It was finally okay for me to tape the exhaust pipes together, and to glue the collector on. -Photo 14; I taped the rear cowl down in the proper position, then glued the belly-pan contact, and let it set for a while. -Photo 15; After the lower contact dried, I taped the bumper to the tyres so that it wouldn't move when I took the cowl off. It was then that I carefully flexed back the top contacts that I SB over the drive axels, and glued them down.....it worked a treat! Also in this photo, you can see the air ducts? that I replicated.....the toothpick points to them. -Photo 22; Here, i'm pointing at the micro magnets that will be use on both cowls, to finalise the fitments. As you can see with the front cowl for example, the strap-ends are a bit high, so I will be drilling, and setting the one magnet down a bit, til everything fits properly......same type of deal with the rear cowl.
-
-
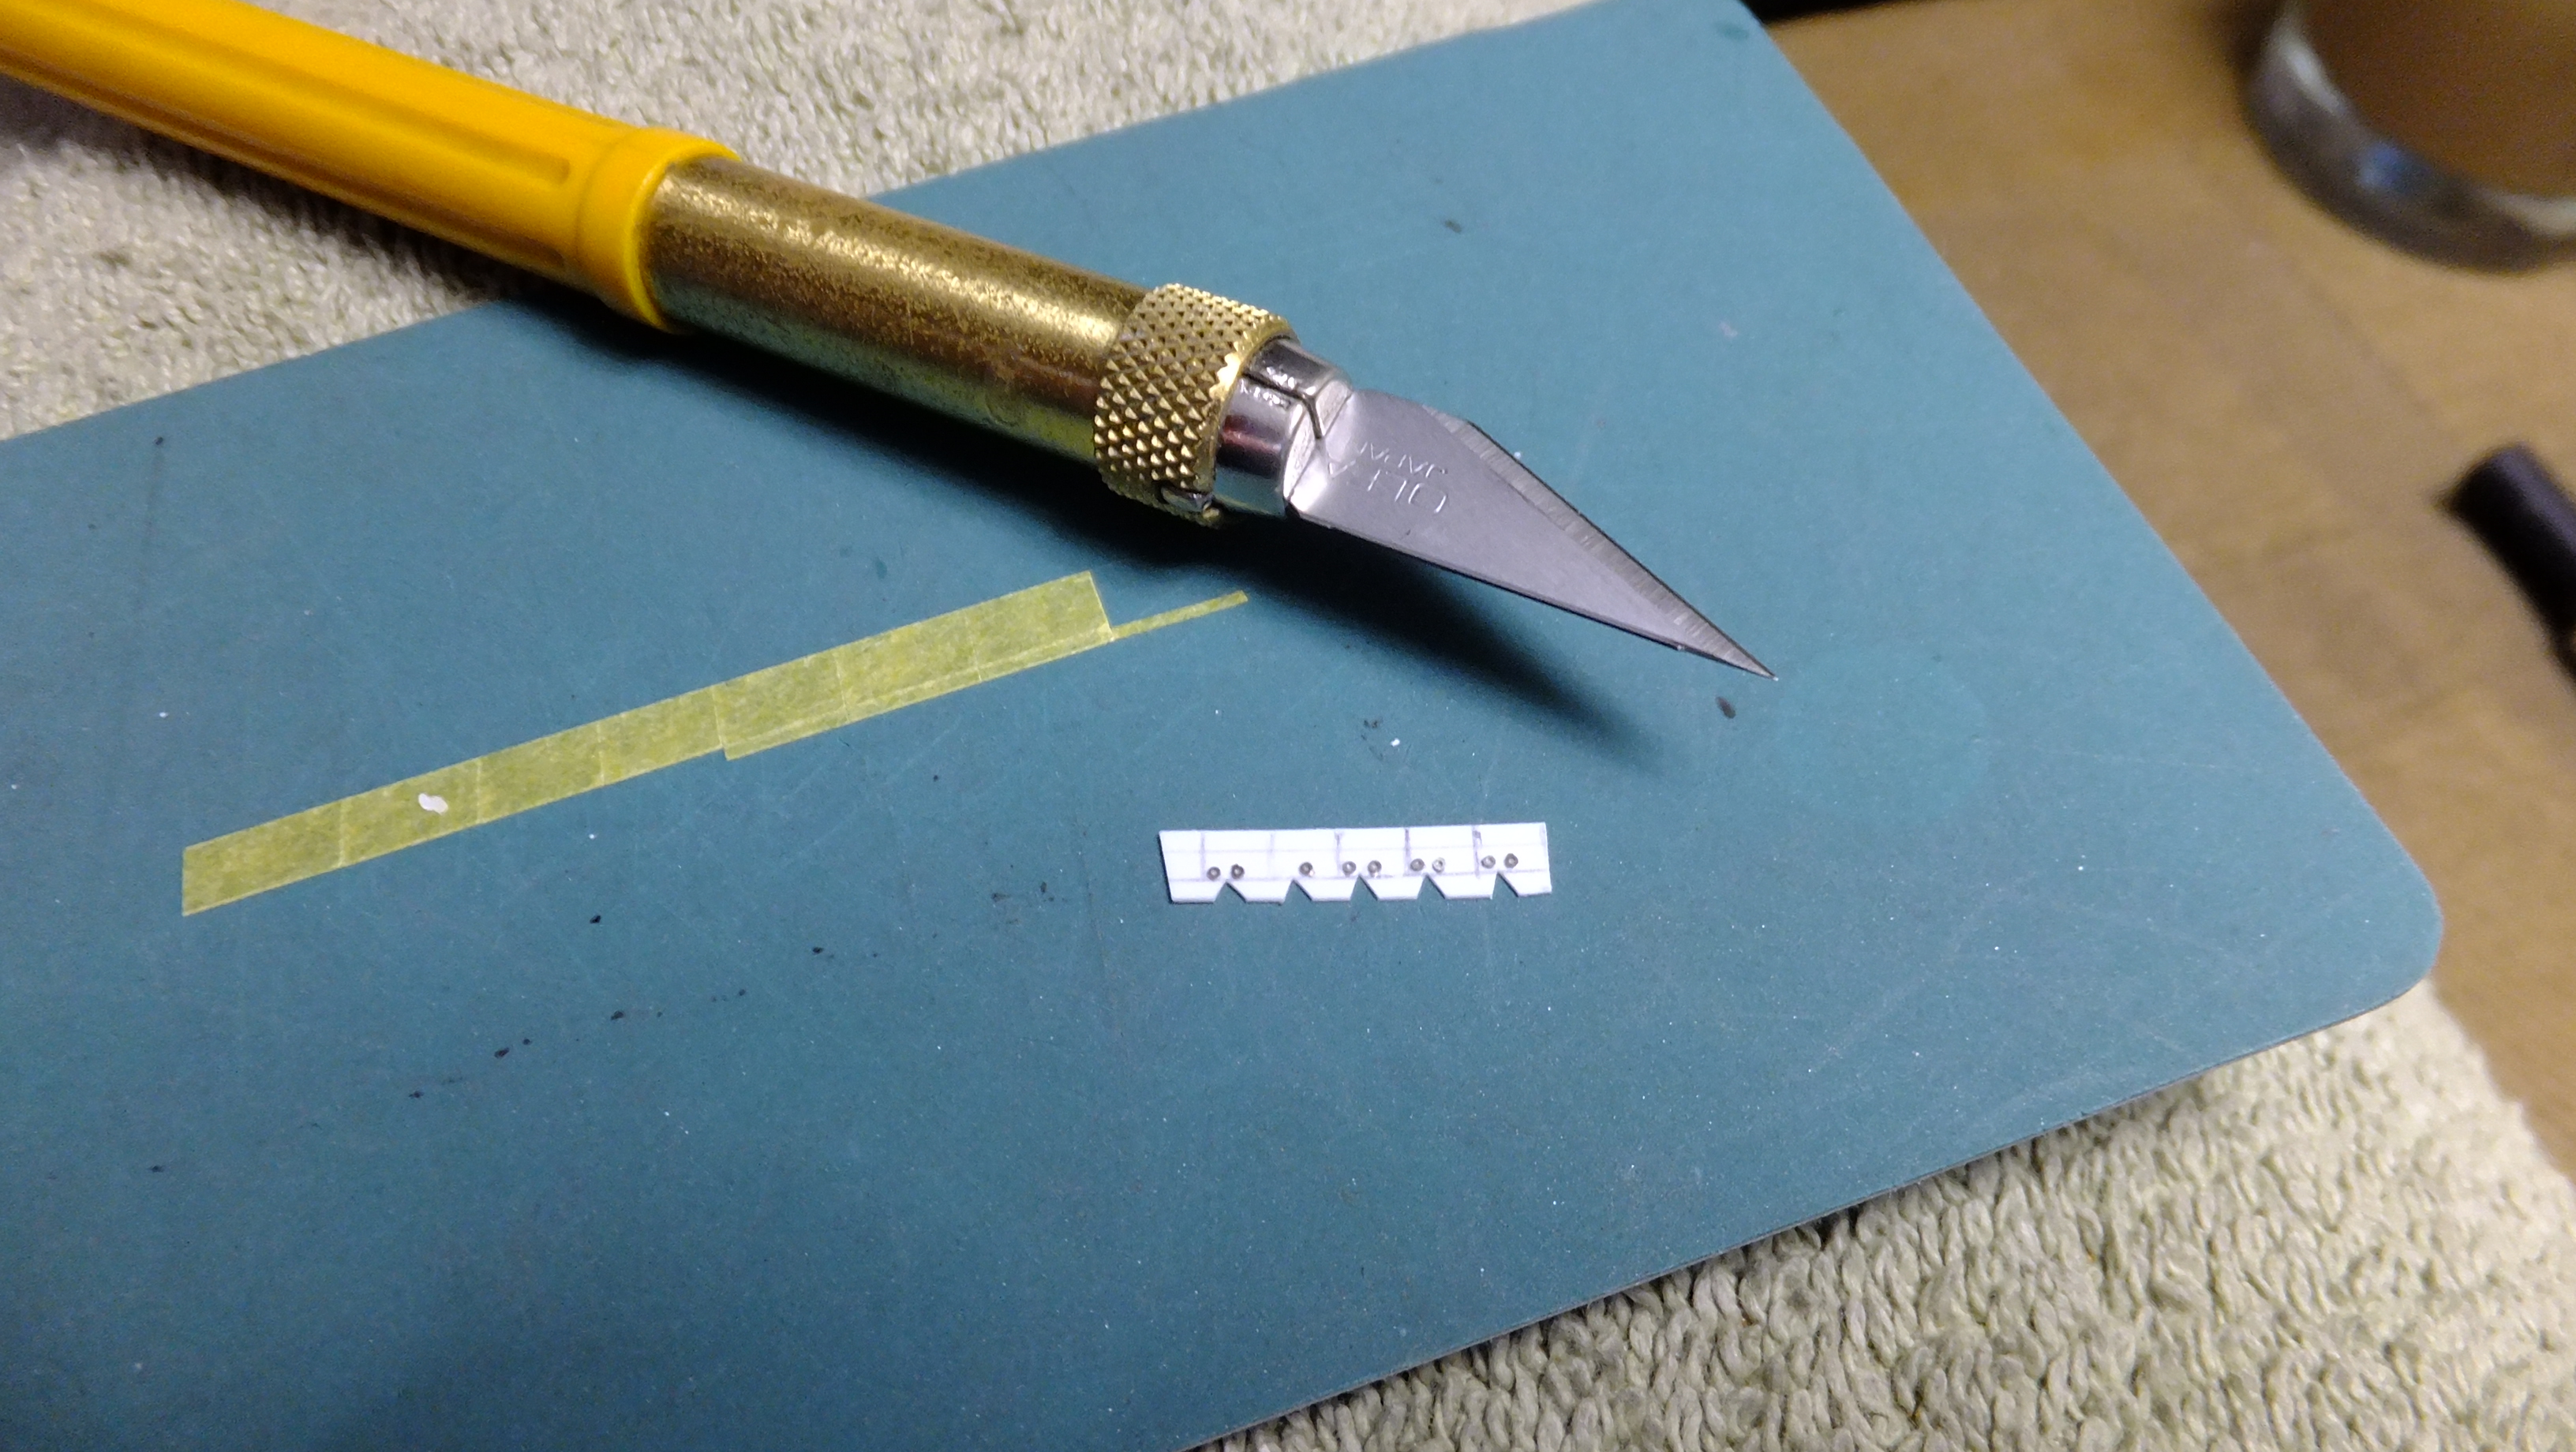
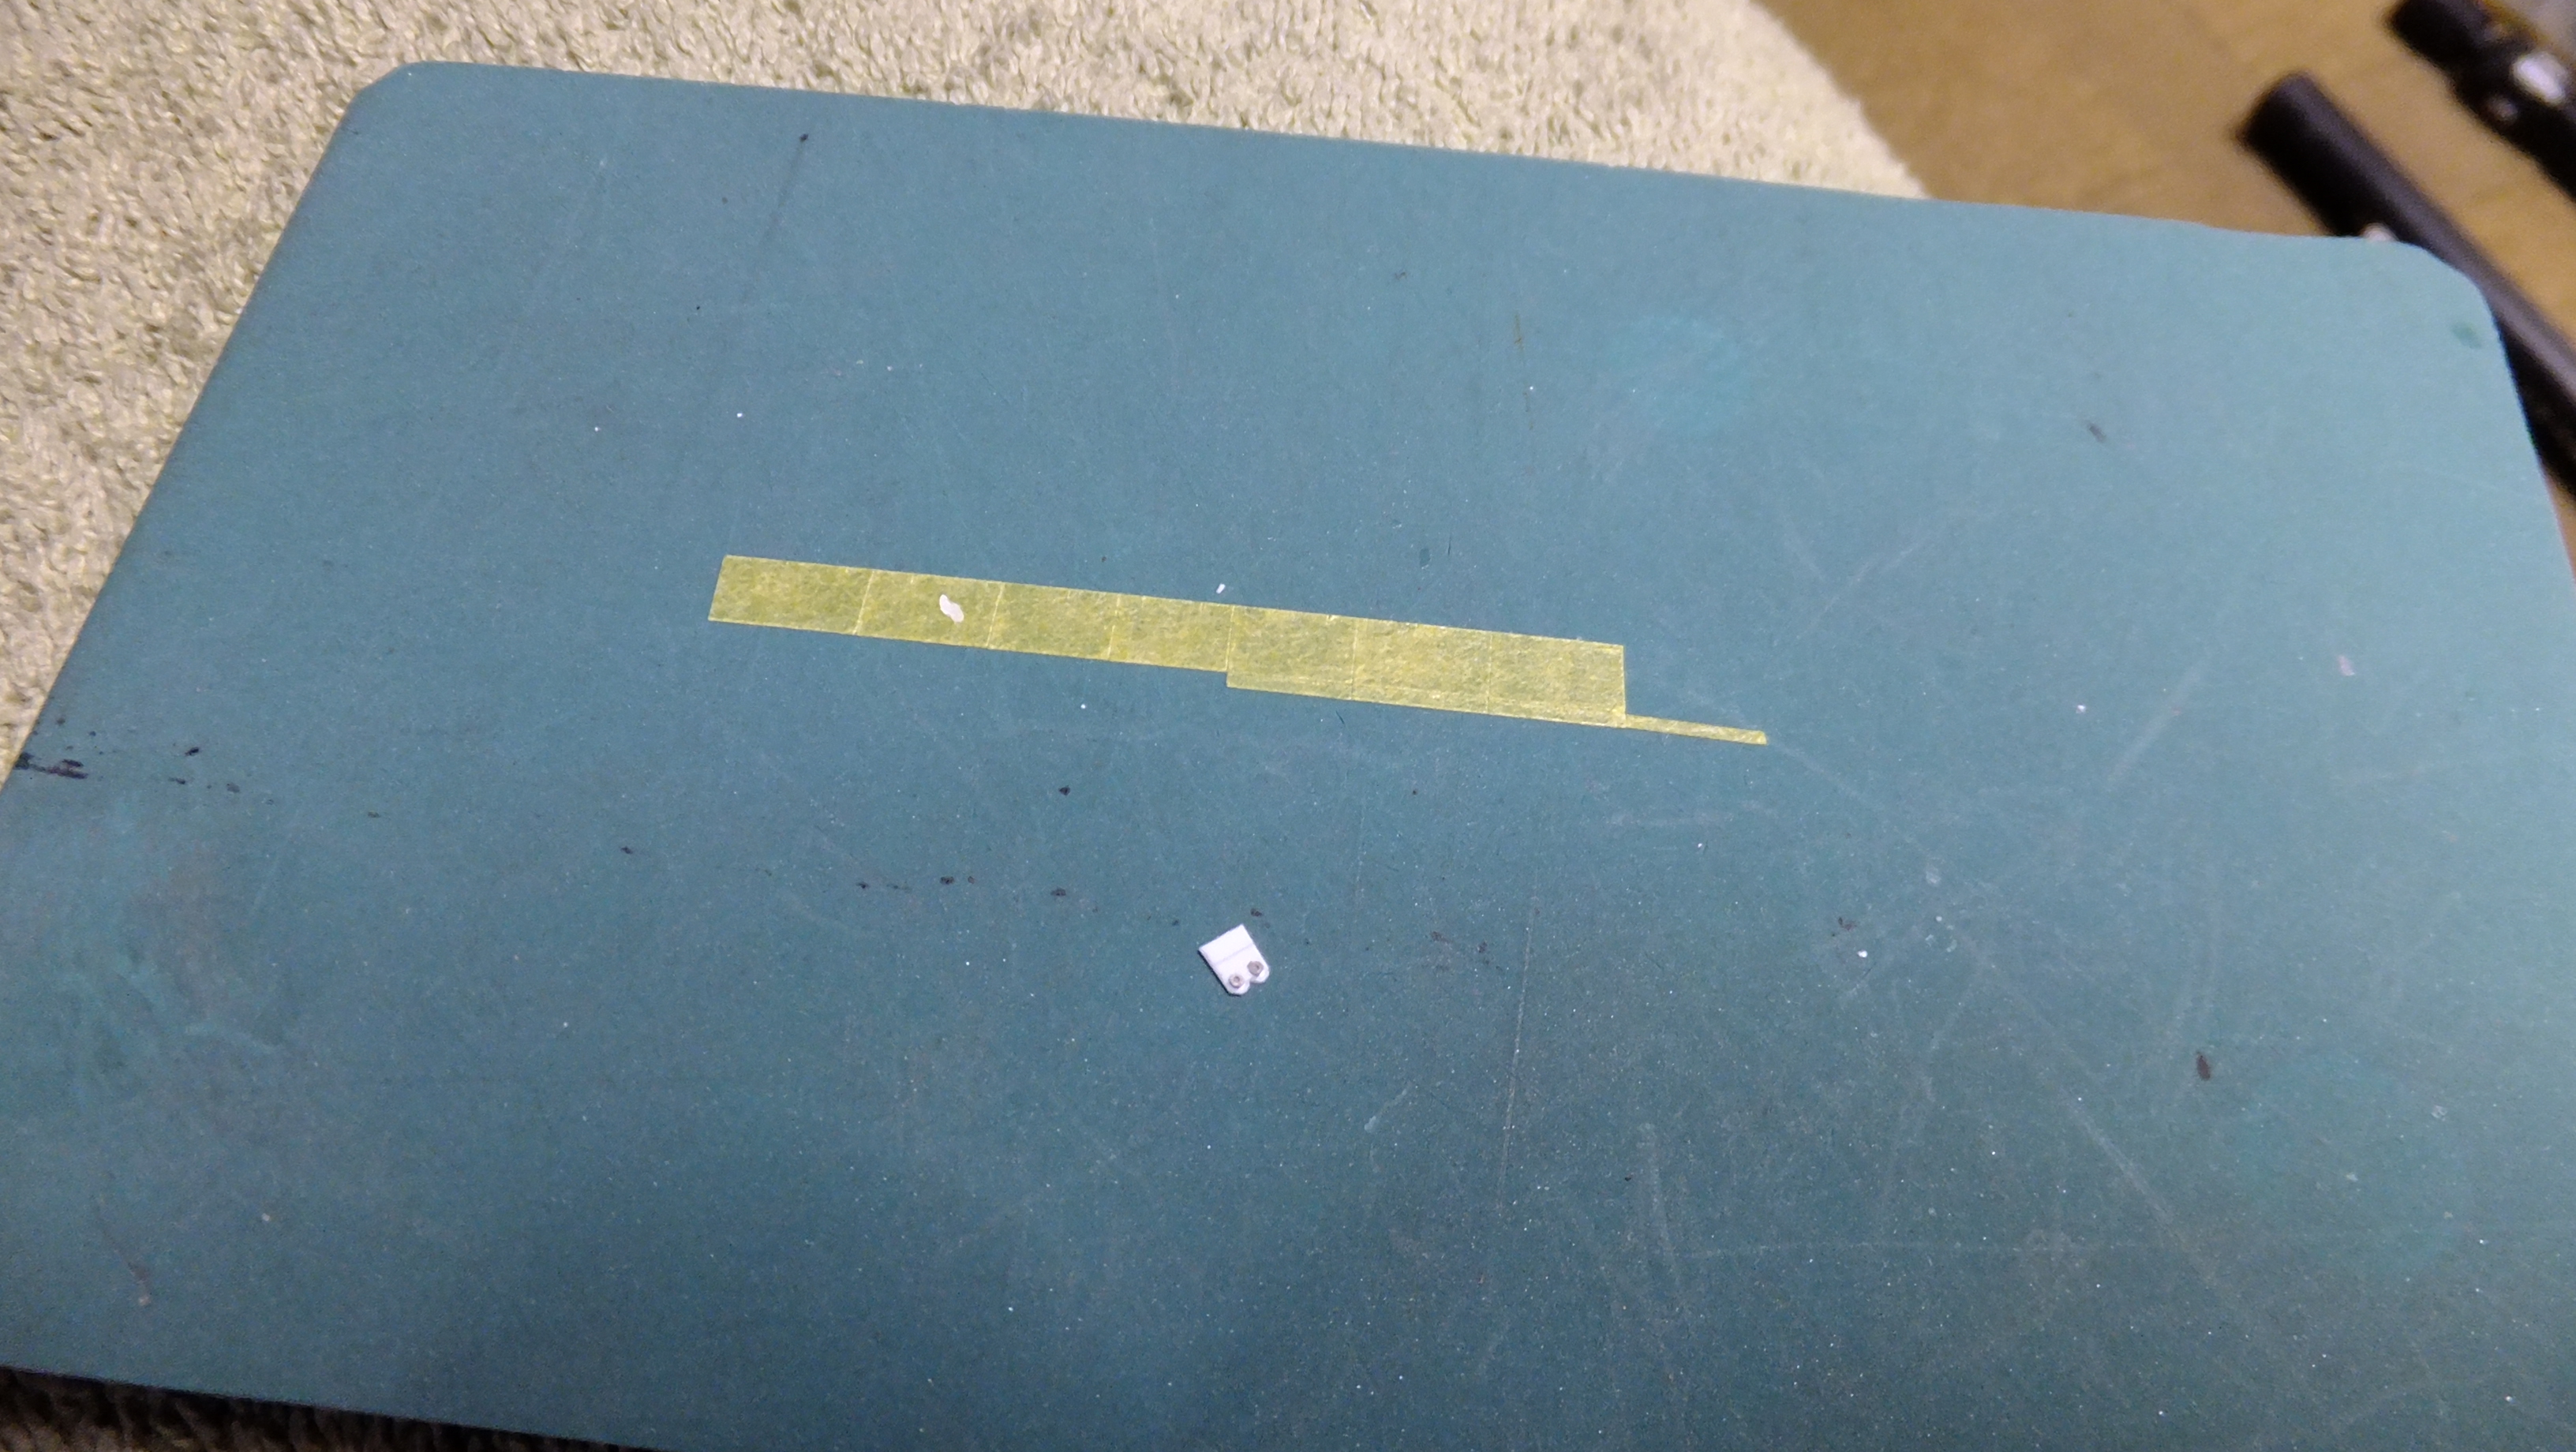
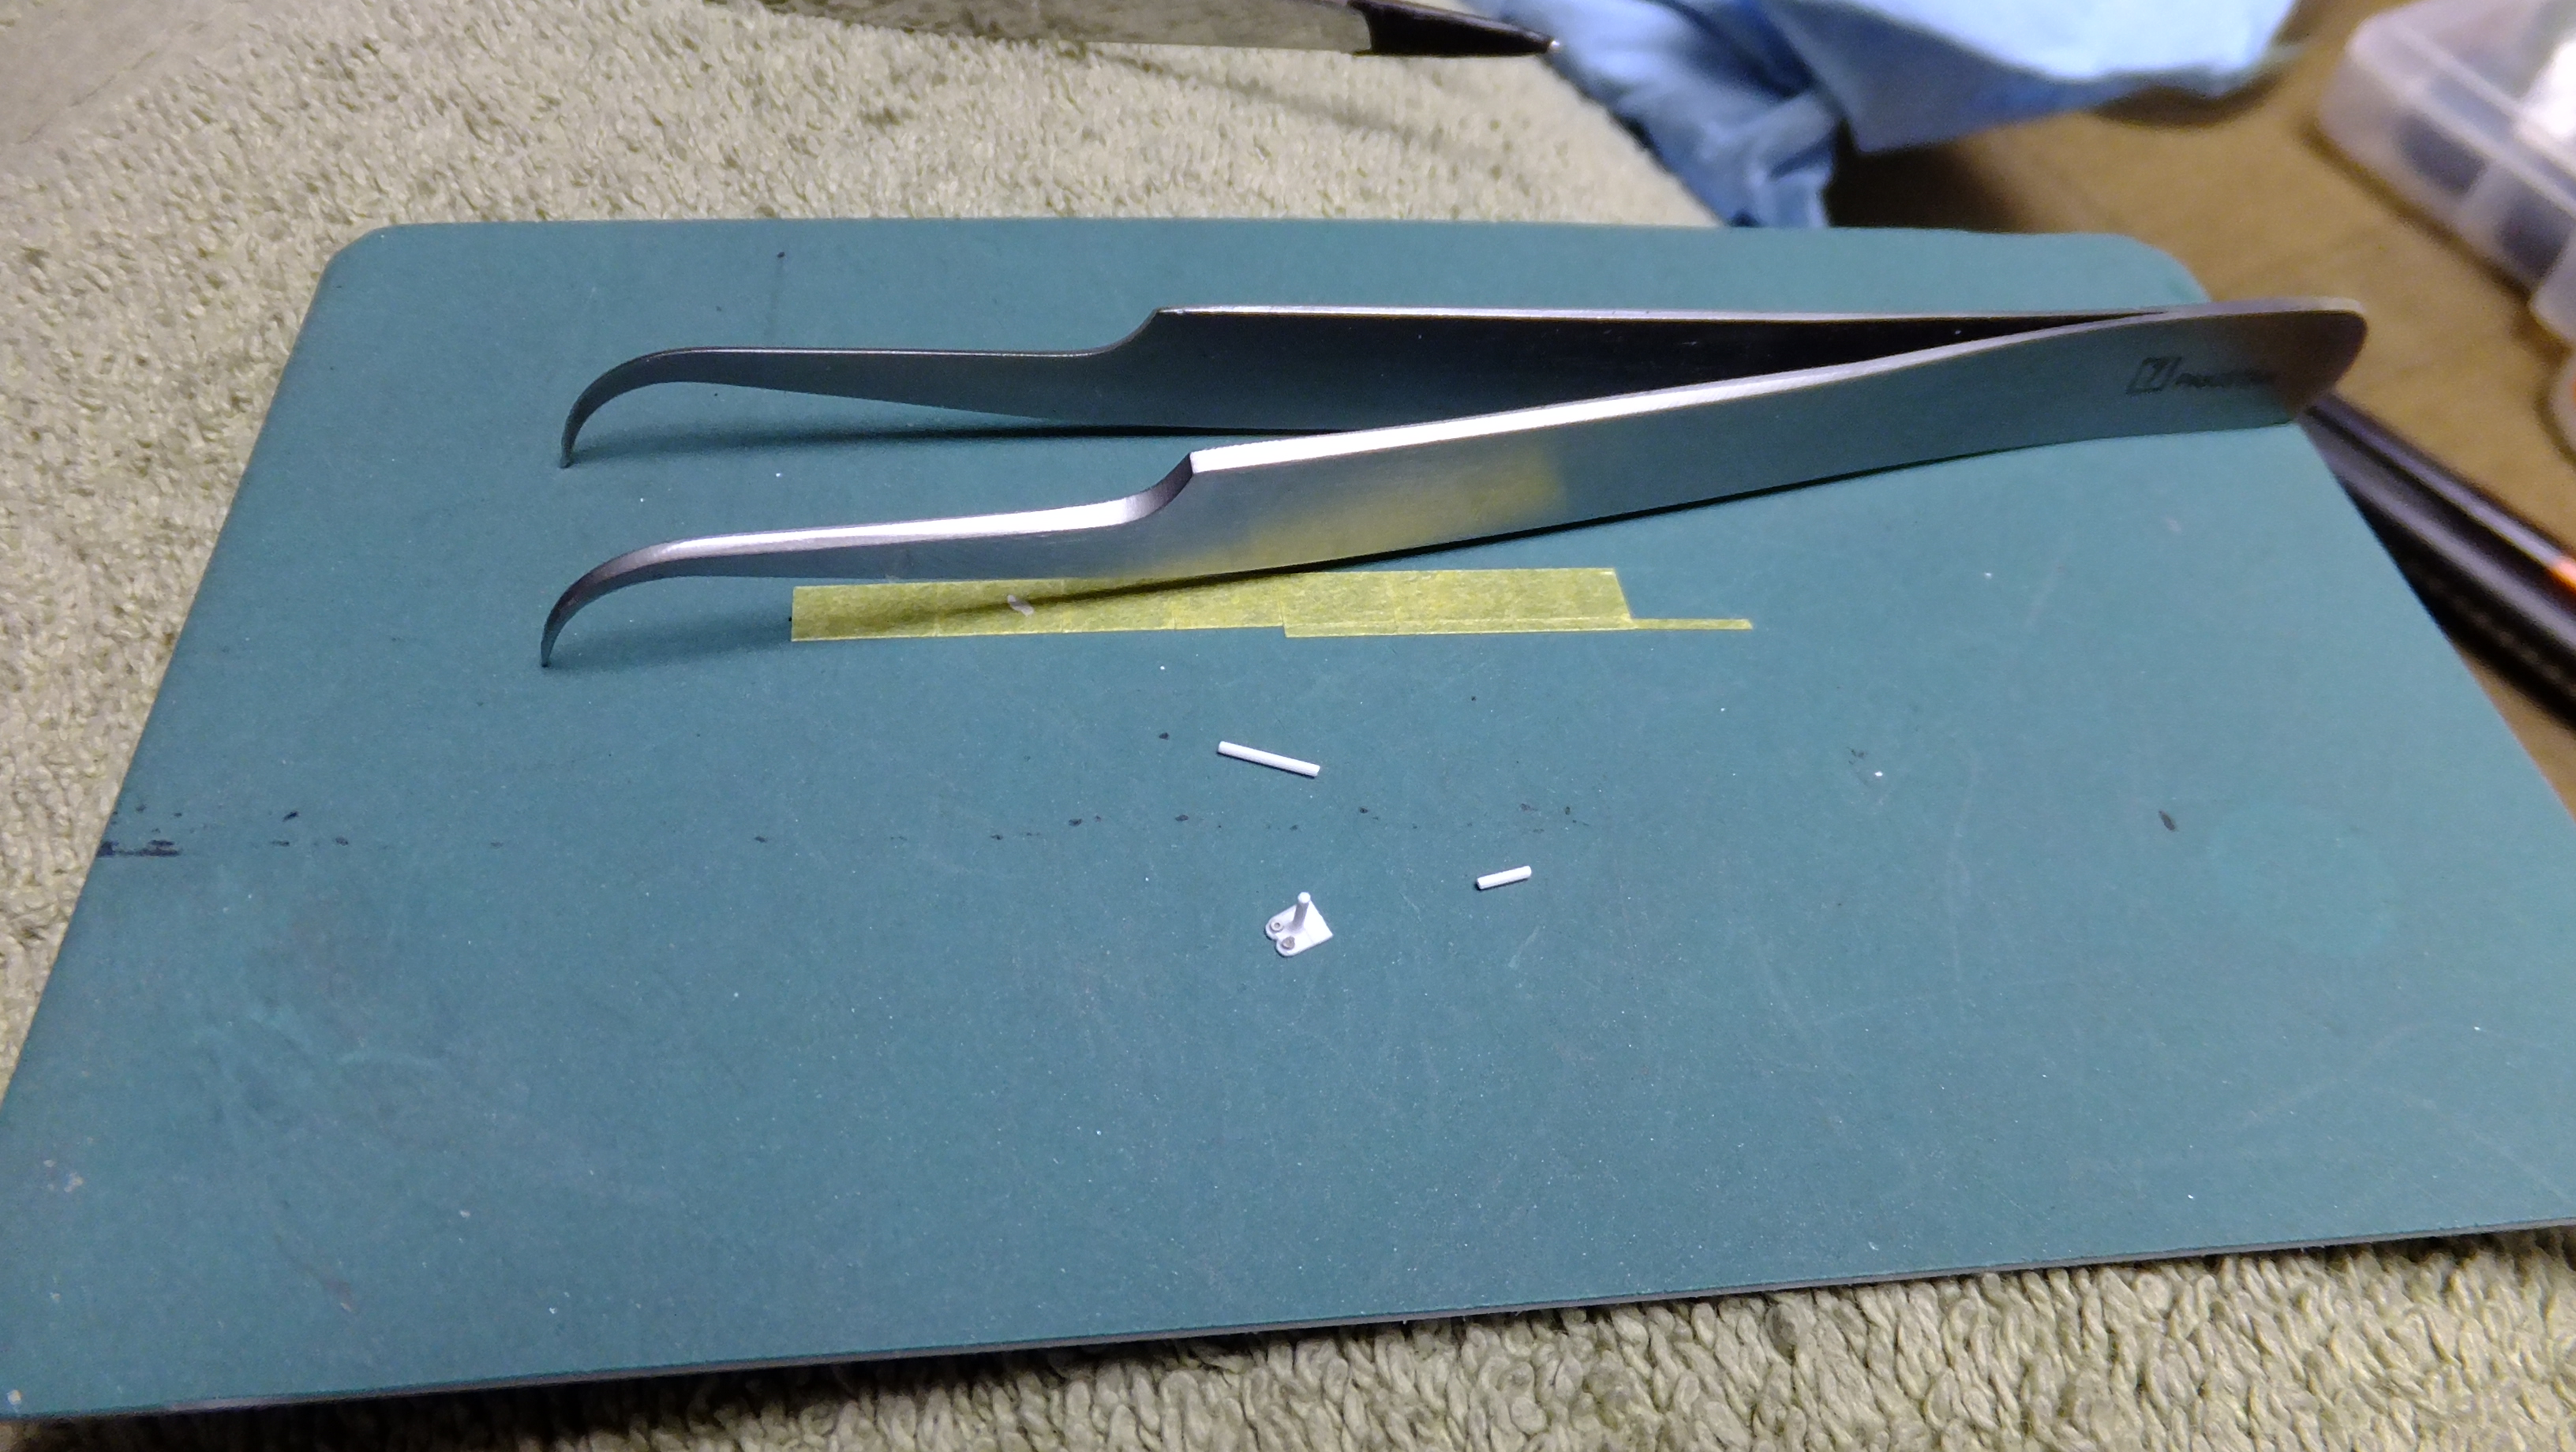
I had to remake all the cowl-catches since the first ones were a bit too big......heres how I did it;
-
Thanks, Jason!!….I will have a lot to post soon!
-
I knew this was gonna look KILLER, bud!!!
-
True!......not often do you see it built anyways.....lol
-
Yes it is, Alex!!…...I've actually got half of that list done now, and in a few minutes, I will be cracking-on with it again!