Dann Tier
-
Posts
8,151 -
Joined
-
Last visited
Content Type
Profiles
Forums
Events
Gallery
Everything posted by Dann Tier
-
I'm gonna love following this!
-
I think you saved it pretty nicely, bud!!
-
Love how this is turning out!!
-

Hasegawas Lamborghini Miura SV....new update!
Dann Tier replied to Dann Tier's topic in WIP: Model Cars
Thanks, Tommy!! -
Hasegawas Lamborghini Miura SV....new update!
Dann Tier replied to Dann Tier's topic in WIP: Model Cars
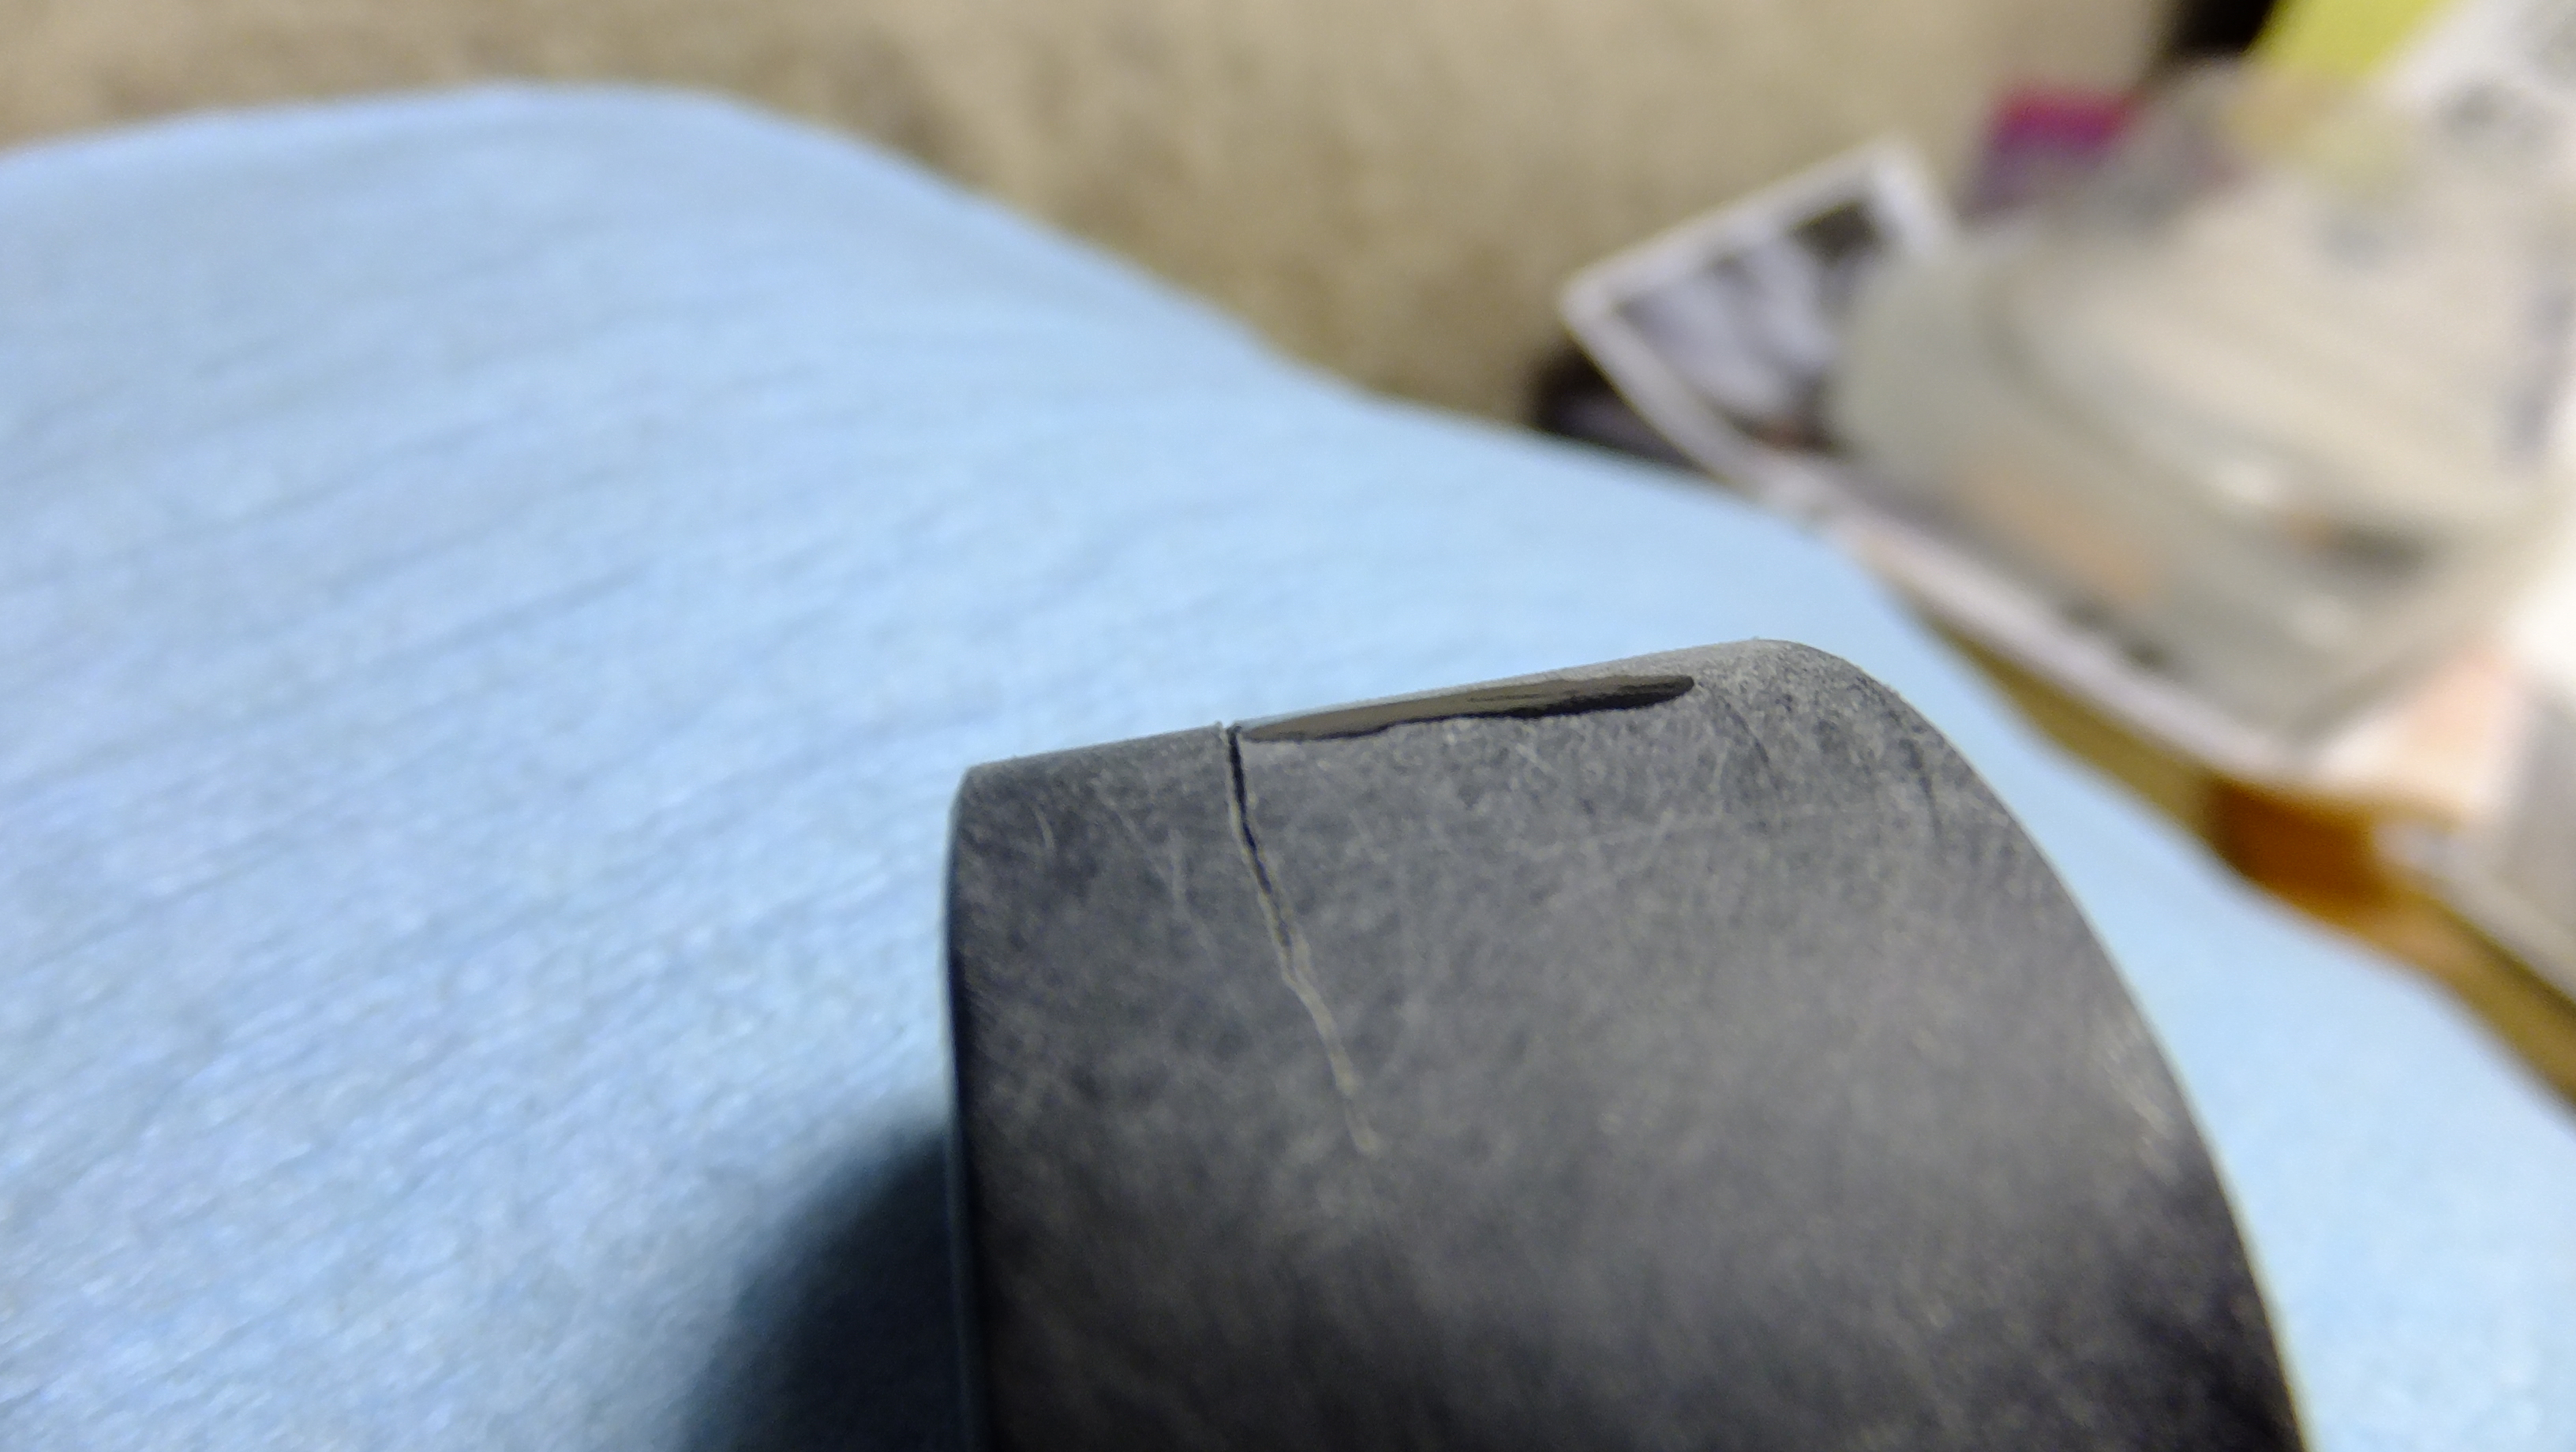
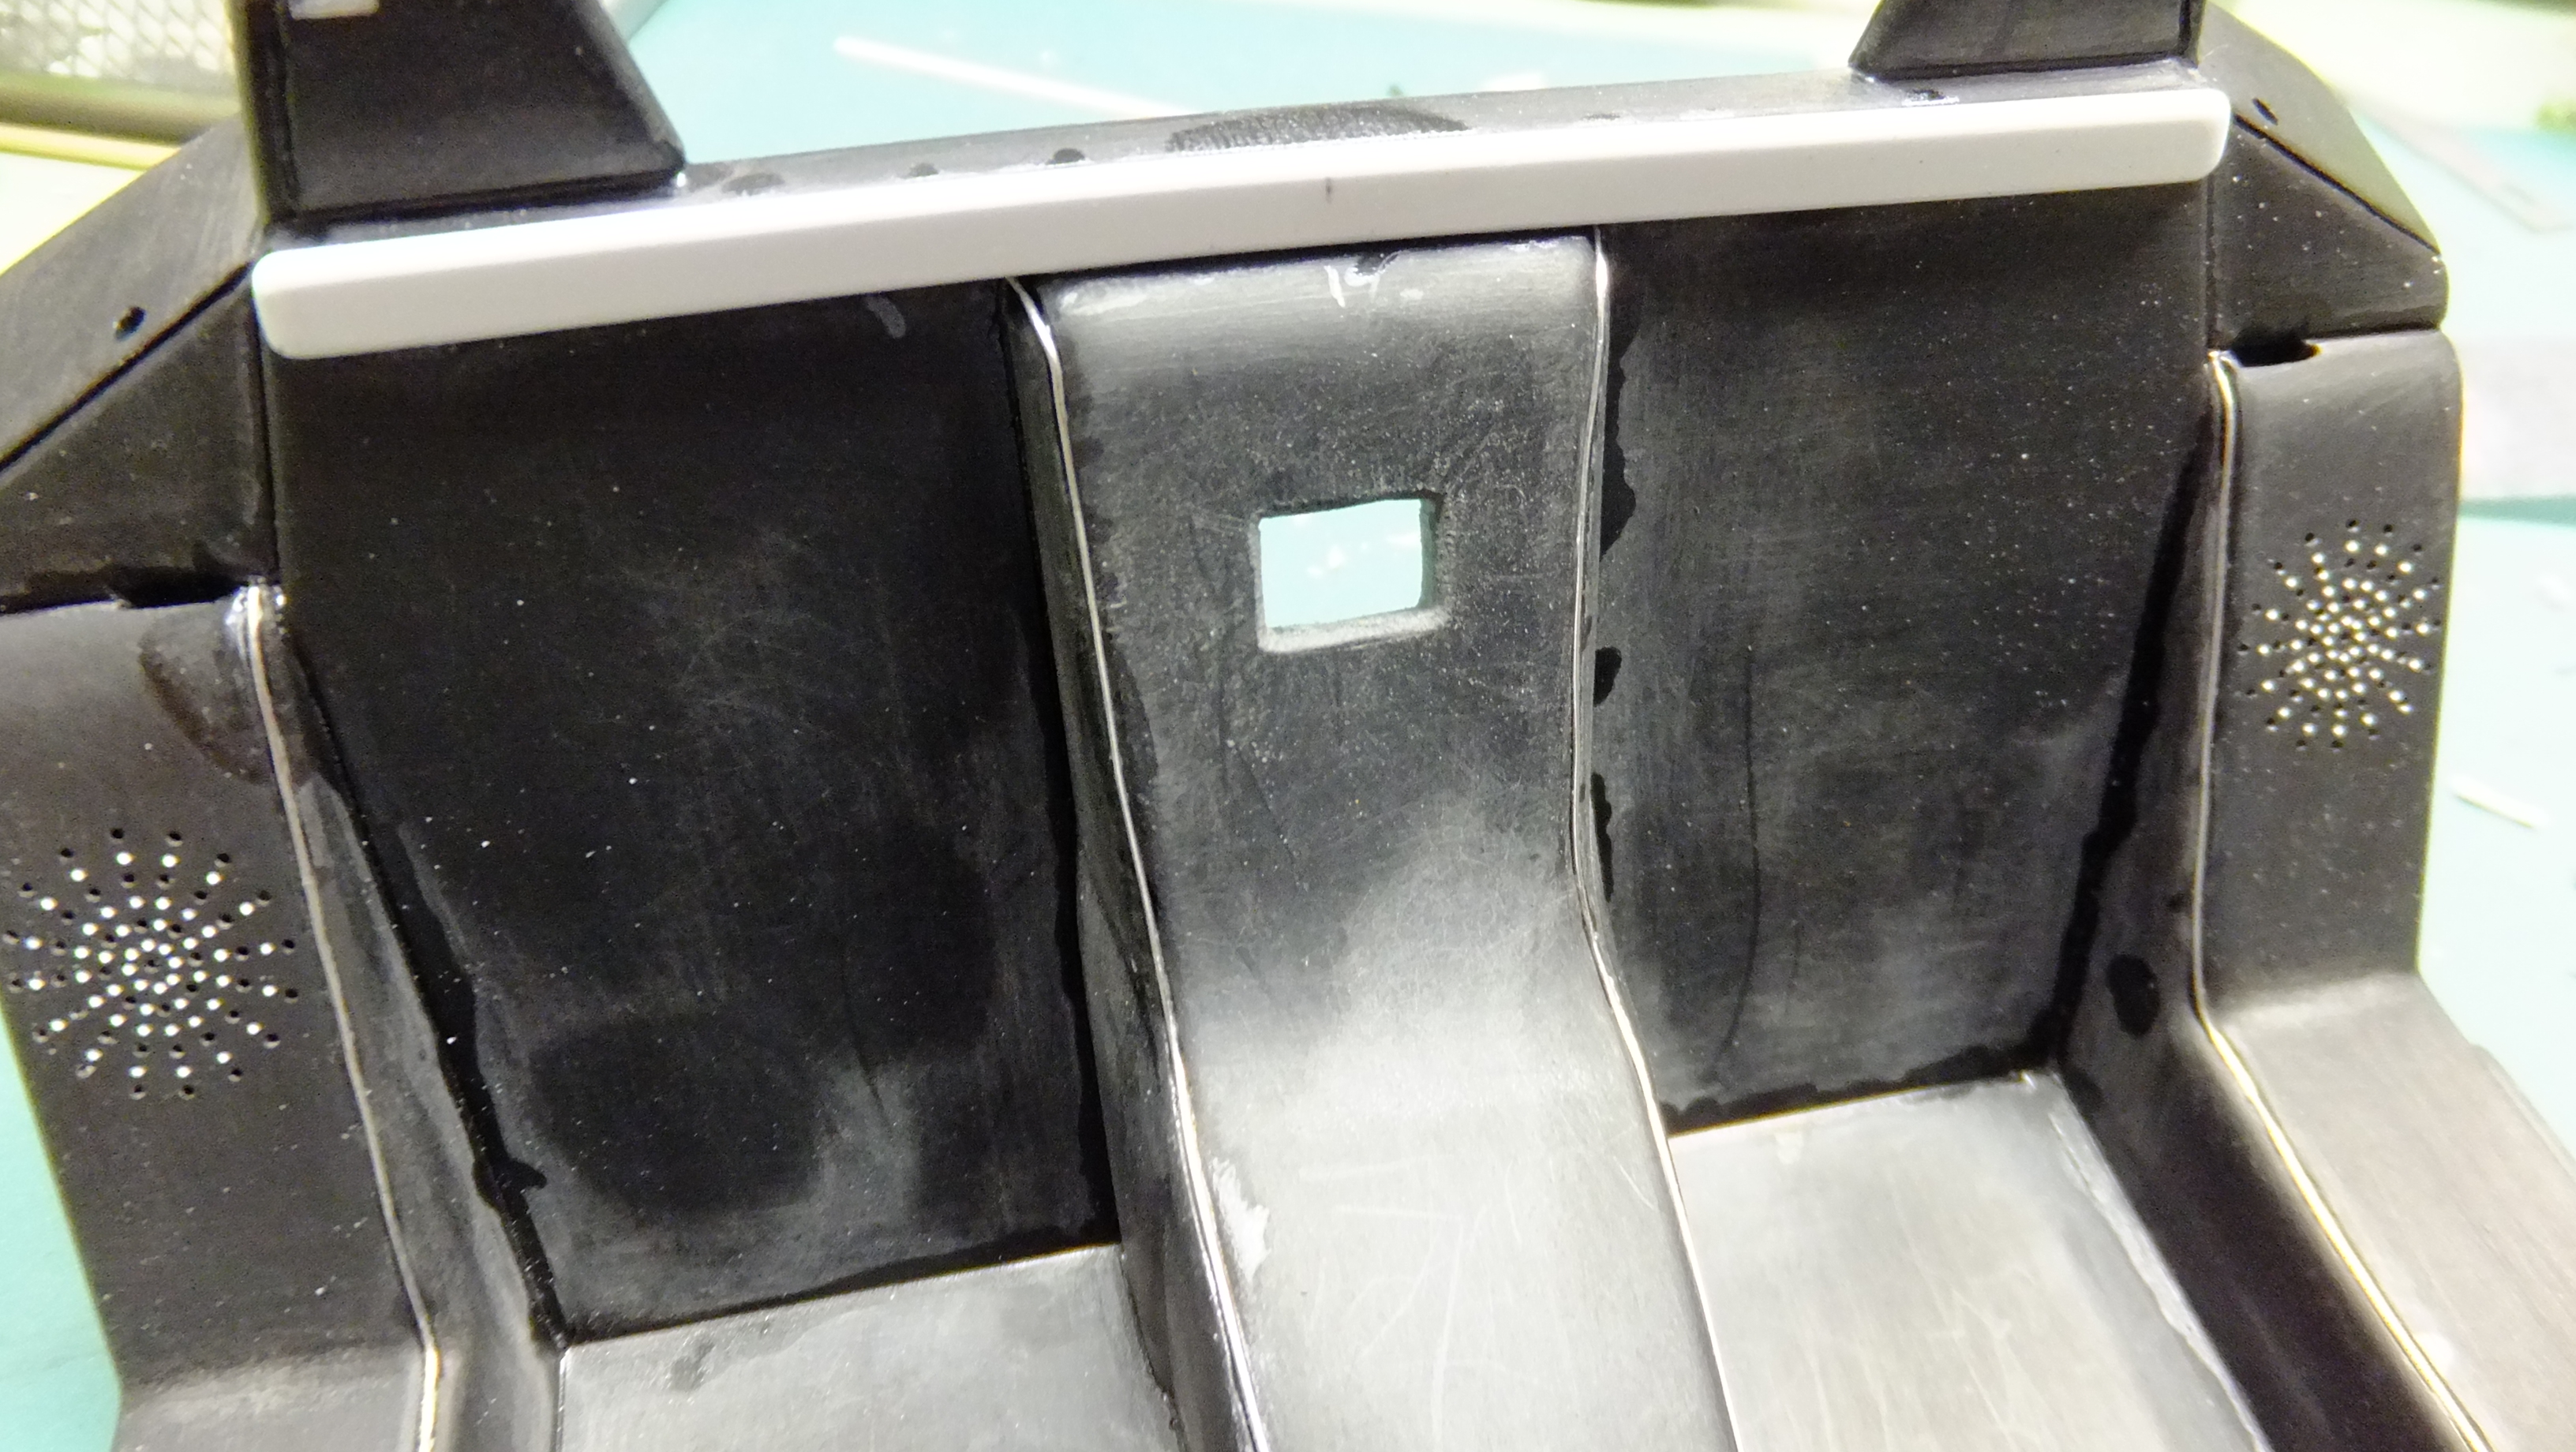
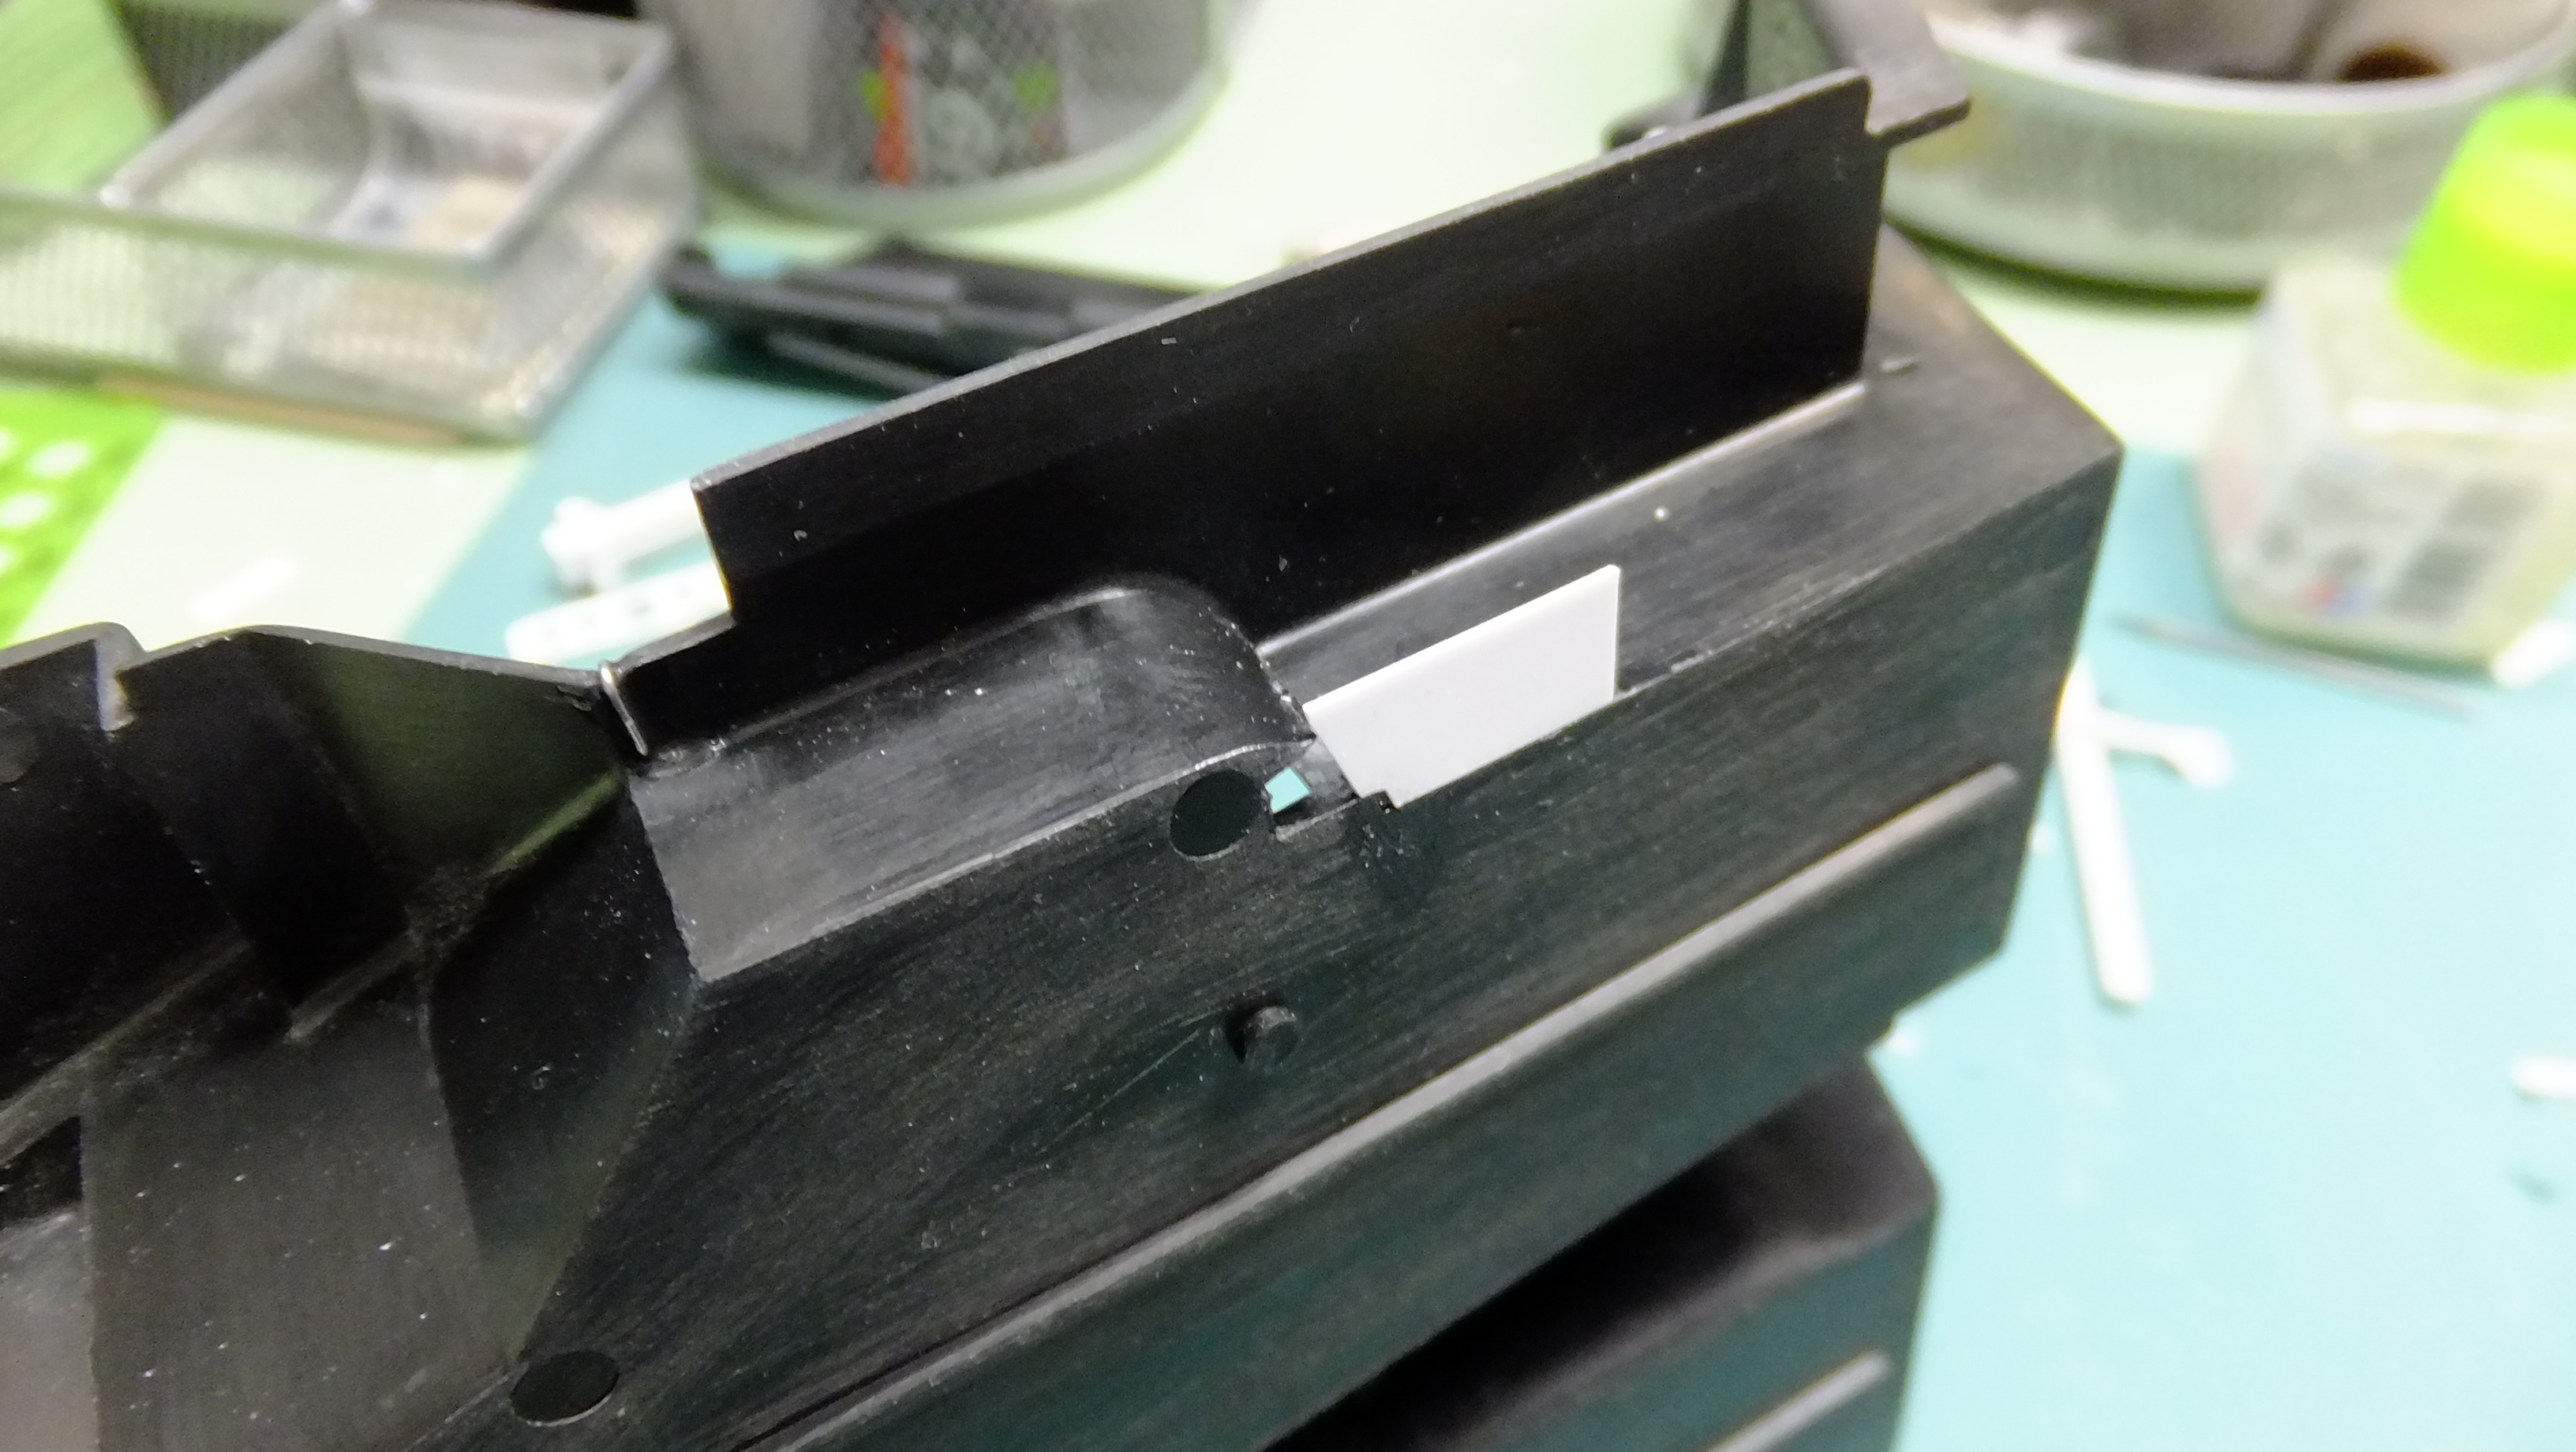
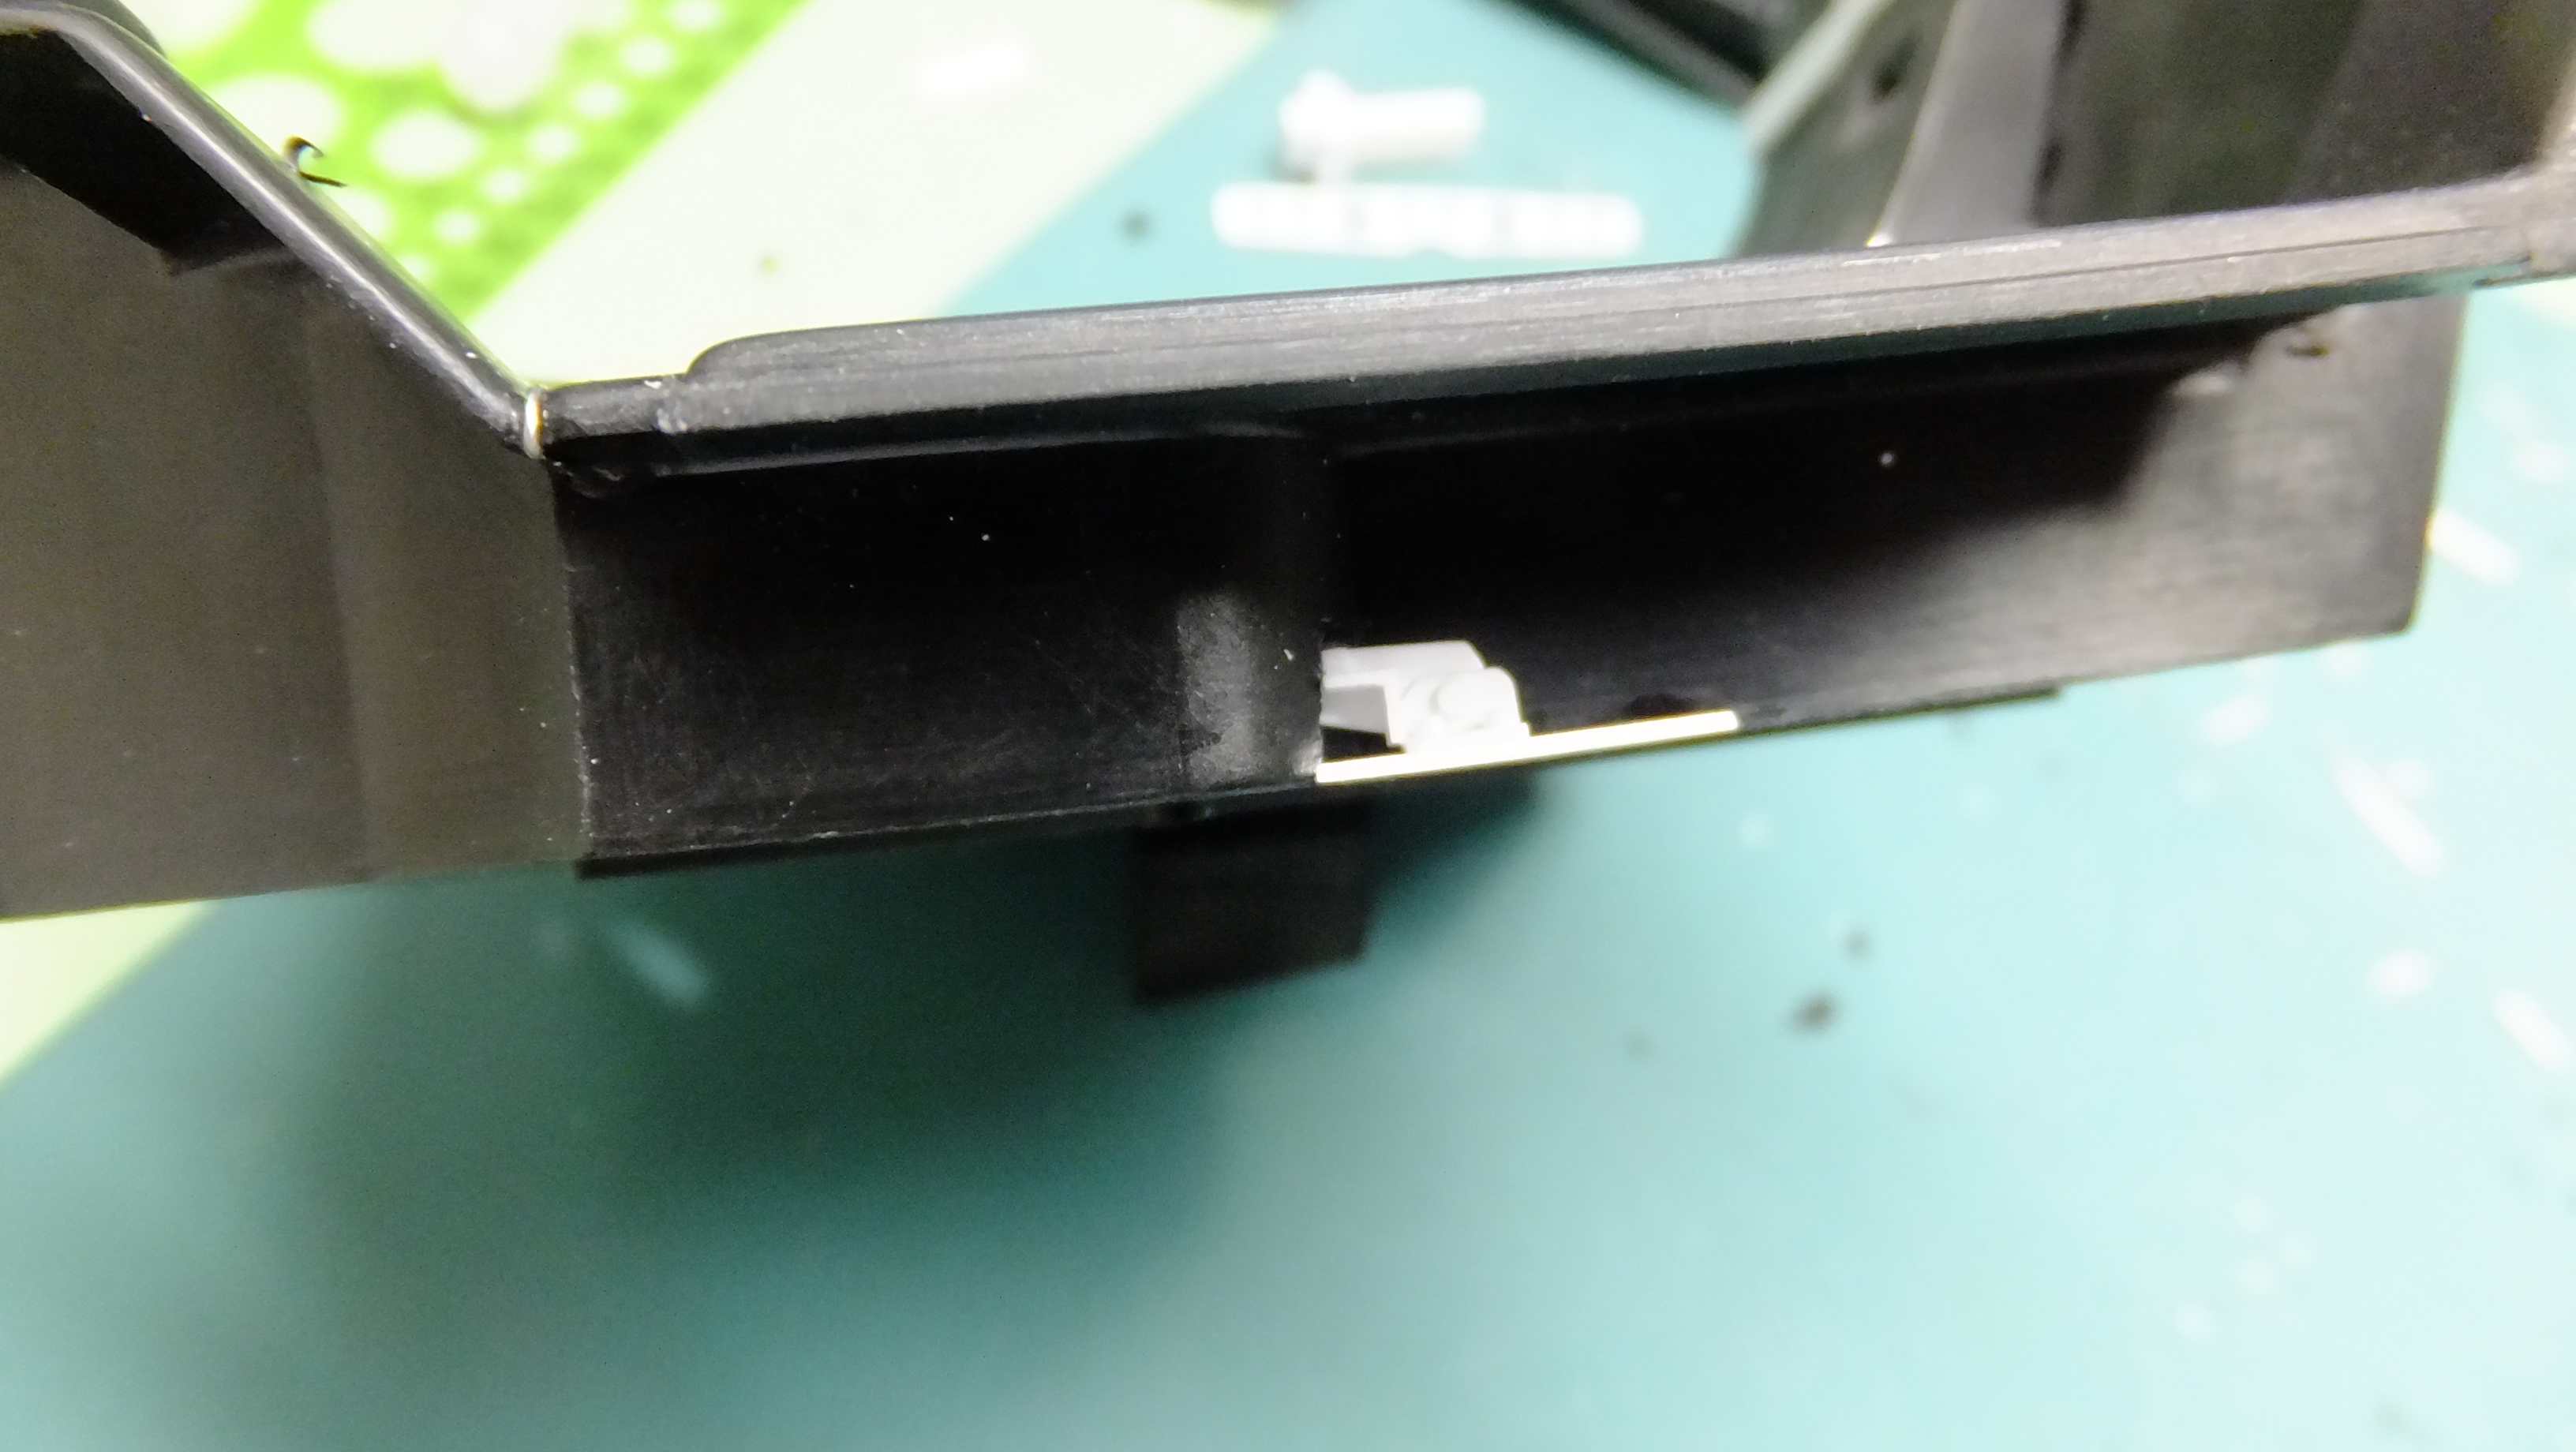
Here you go, Thomas!.... -Photo 1; The demonstrator with two scratches... -Photo 2; I cleaned out one of the deep scratches with the same tool I used to pronounce the scratches... -Photo 3; I put a couple of drops of my Plast-Zap CA onto this klear plastic container bottom, and used this tool I made to be able to apply a VERY thin glaze on, so that sanding is easy. I use the long flat side to apply the glue with.....its a broken drill bit that I put into my pin vise backwards, and then carefully ground a sharp angle using my Dremmel, and a diamond Barrel bit. This is the glue applicator I use the most, and I periodically scrape-off the built up glue with an old blade, and carry on!...…..been using it for 26 years! -Photo 4; Notice how I was able to get right up against the intersection without flooding it... -Photo 5; Heres an angle shot that shows just how thin I do it...
-
Hasegawas Lamborghini Miura SV....new update!
Dann Tier replied to Dann Tier's topic in WIP: Model Cars
If I did resin, i'd try it for sure!....good tip to know!! -
Hasegawas Lamborghini Miura SV....new update!
Dann Tier replied to Dann Tier's topic in WIP: Model Cars
I've heard of that too, Alex, but the beauty of this method, is easy, quick, and uses whats already filling the line.... -
Hasegawas Lamborghini Miura SV....new update!
Dann Tier replied to Dann Tier's topic in WIP: Model Cars
Its an easy, quick fix.....no other supplies needed! I have to go get new tyres put on the jeep, but when I get back, I will post some photos of what I use, okay?! -
Hasegawas Lamborghini Miura SV....new update!
Dann Tier replied to Dann Tier's topic in WIP: Model Cars
You're very welcome, Mike!! -
This is the kit I have yet to build...
-
Hasegawas Lamborghini Miura SV....new update!
Dann Tier replied to Dann Tier's topic in WIP: Model Cars
Wait a minute!.....Plasti-Zap isn't super glue??!!, that's what I use!!! -
WOW!!, perfectly BEAUTIFUL MASTERPIECE!!!
-
Absolutely STUNNING!!!....love it!!!
-
Now that is GROOVY, Pat!!!!!...kleanly built as well!!!
-
Das ist SEHR Wunderbar!!!!….Ich lieben es!!
-
That is strange, wish I could help, but I haven't started mine yet. I always thought that apart from the stupid slots in the frame that needs to be filled, this was a pretty decent fitting kit....
-
Otaki 1/12 Lamborghini Countach Twin Turbo...Mission Statement
Dann Tier replied to Dann Tier's topic in WIP: Model Cars
Thanks, JC!, me either, this is my first ever ANYTHING over 1/24...lol Its fun so far, and I do have a Fujimi 1/20 Miura to do some day, but this will be my only 1/12, since its my favorite car EVER!! -
Otaki 1/12 Lamborghini Countach Twin Turbo...Mission Statement
Dann Tier replied to Dann Tier's topic in WIP: Model Cars
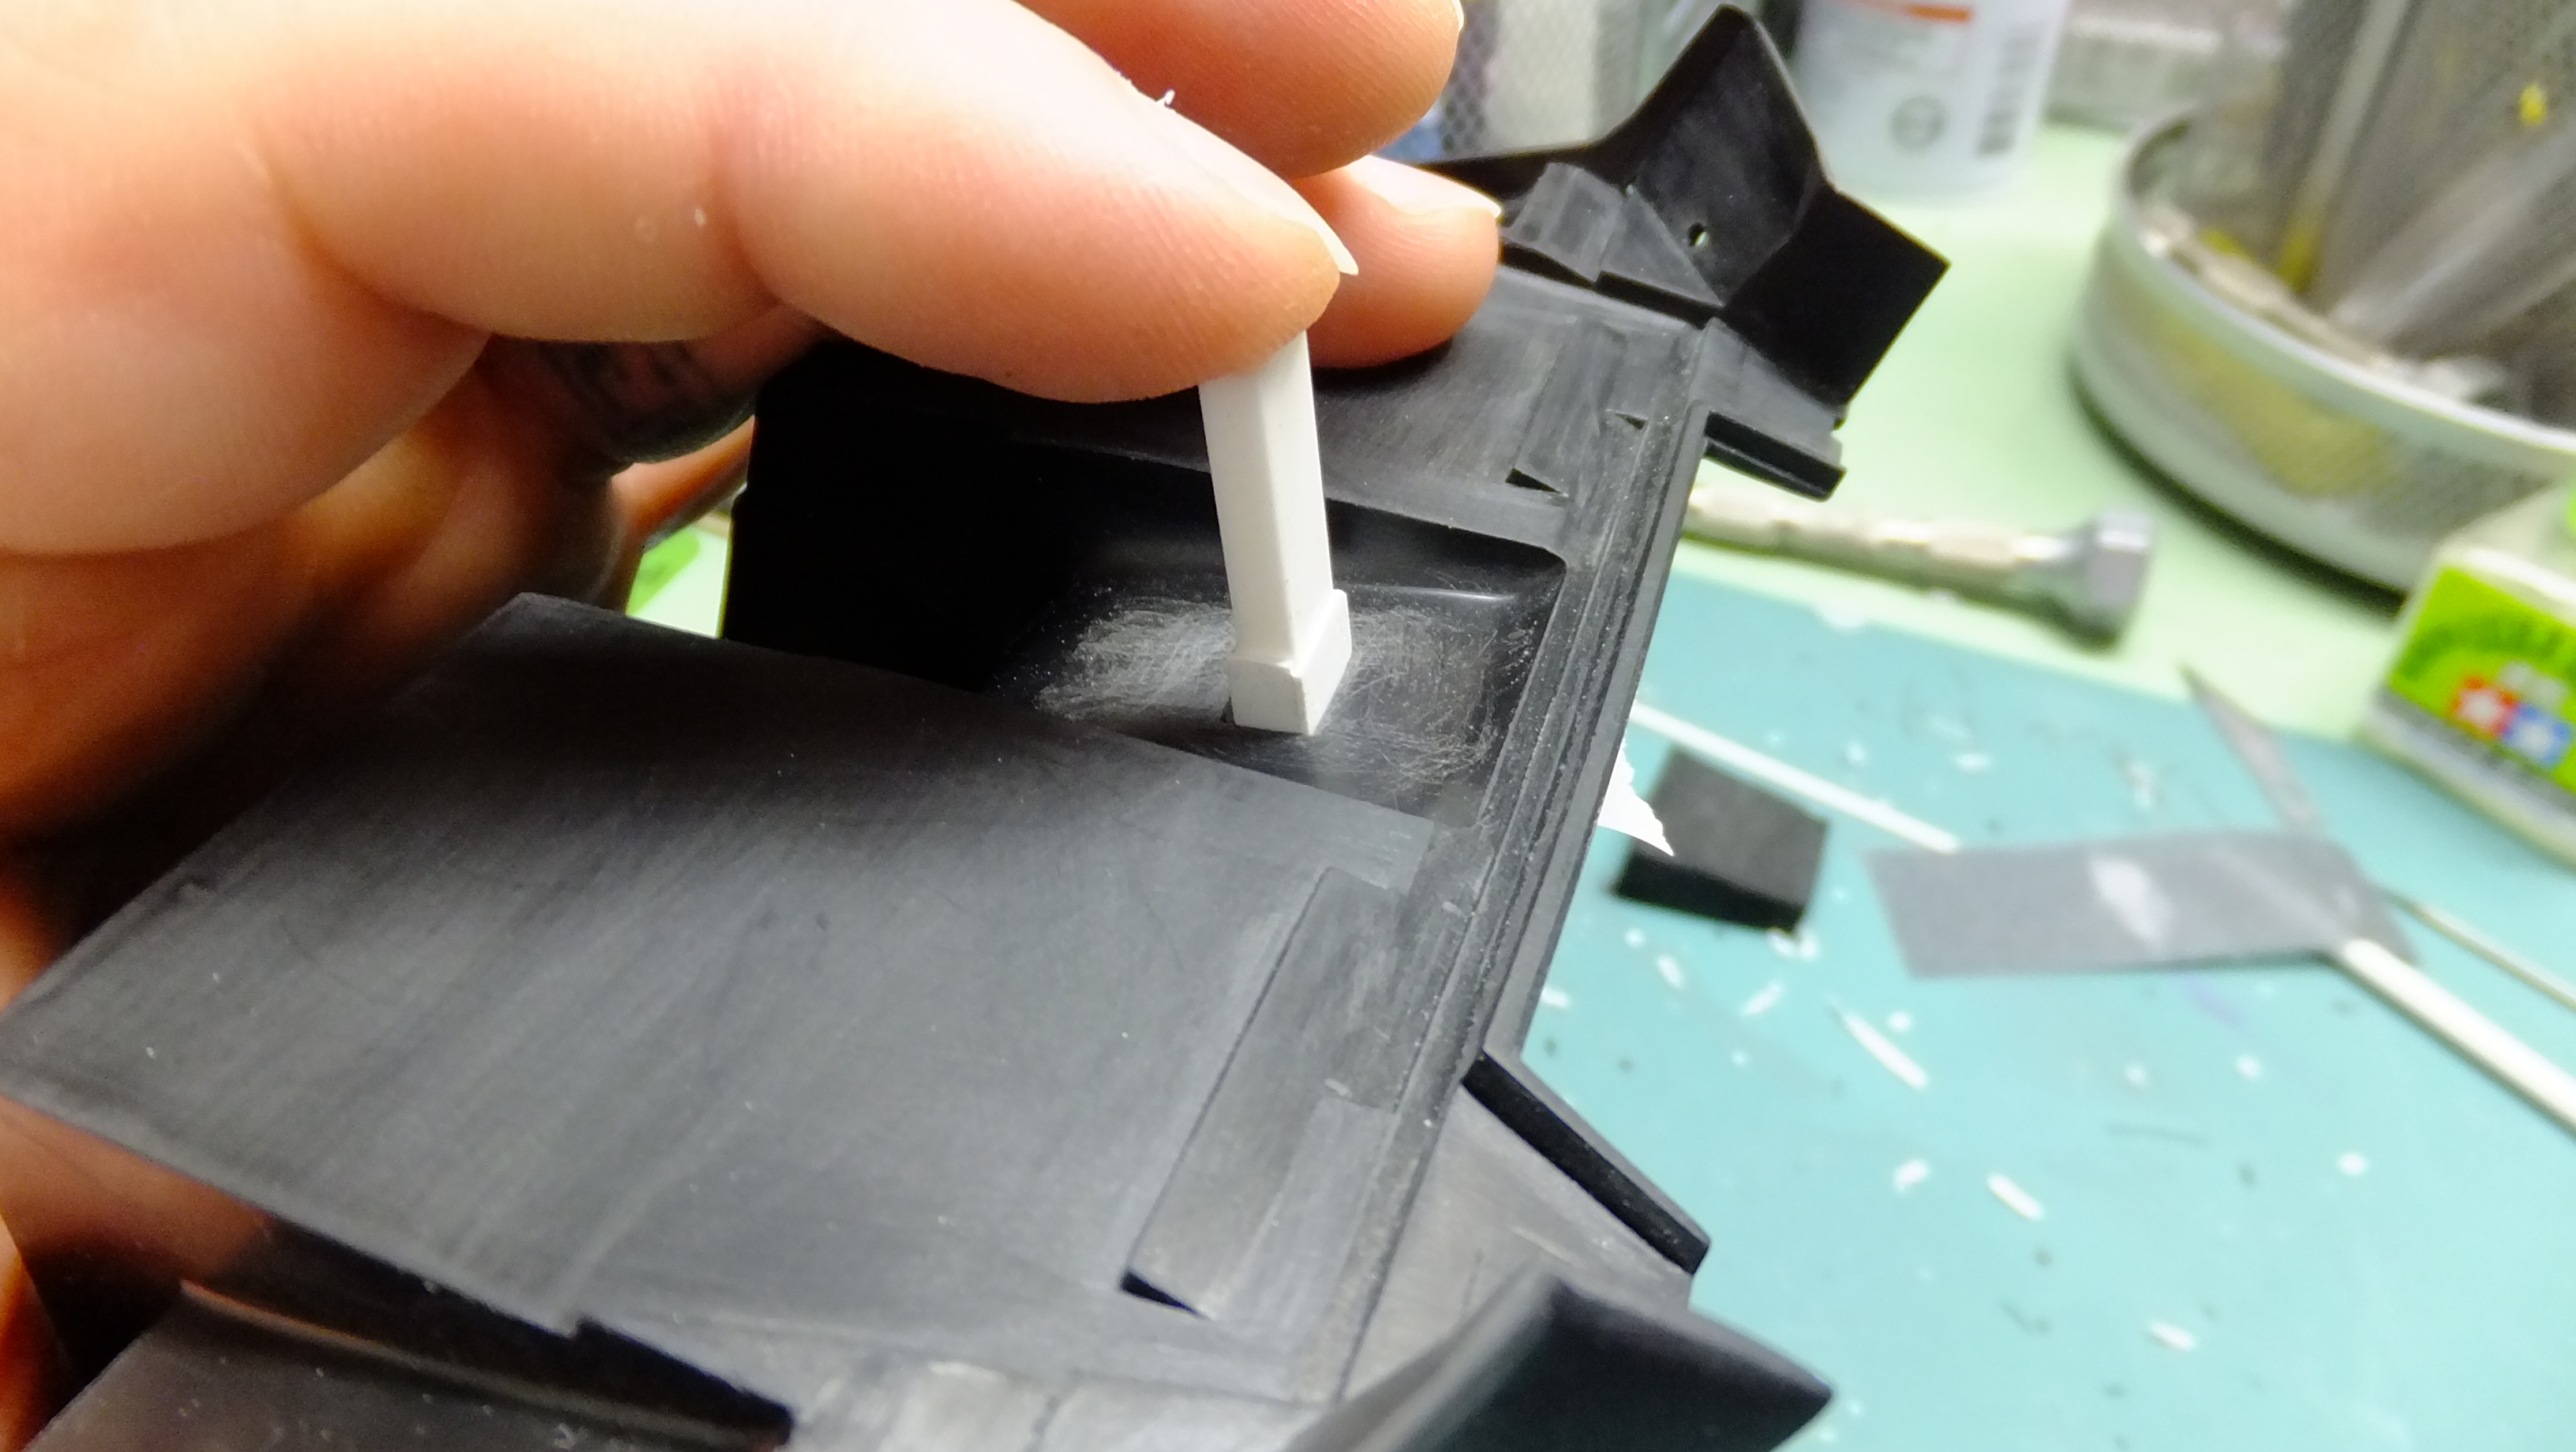
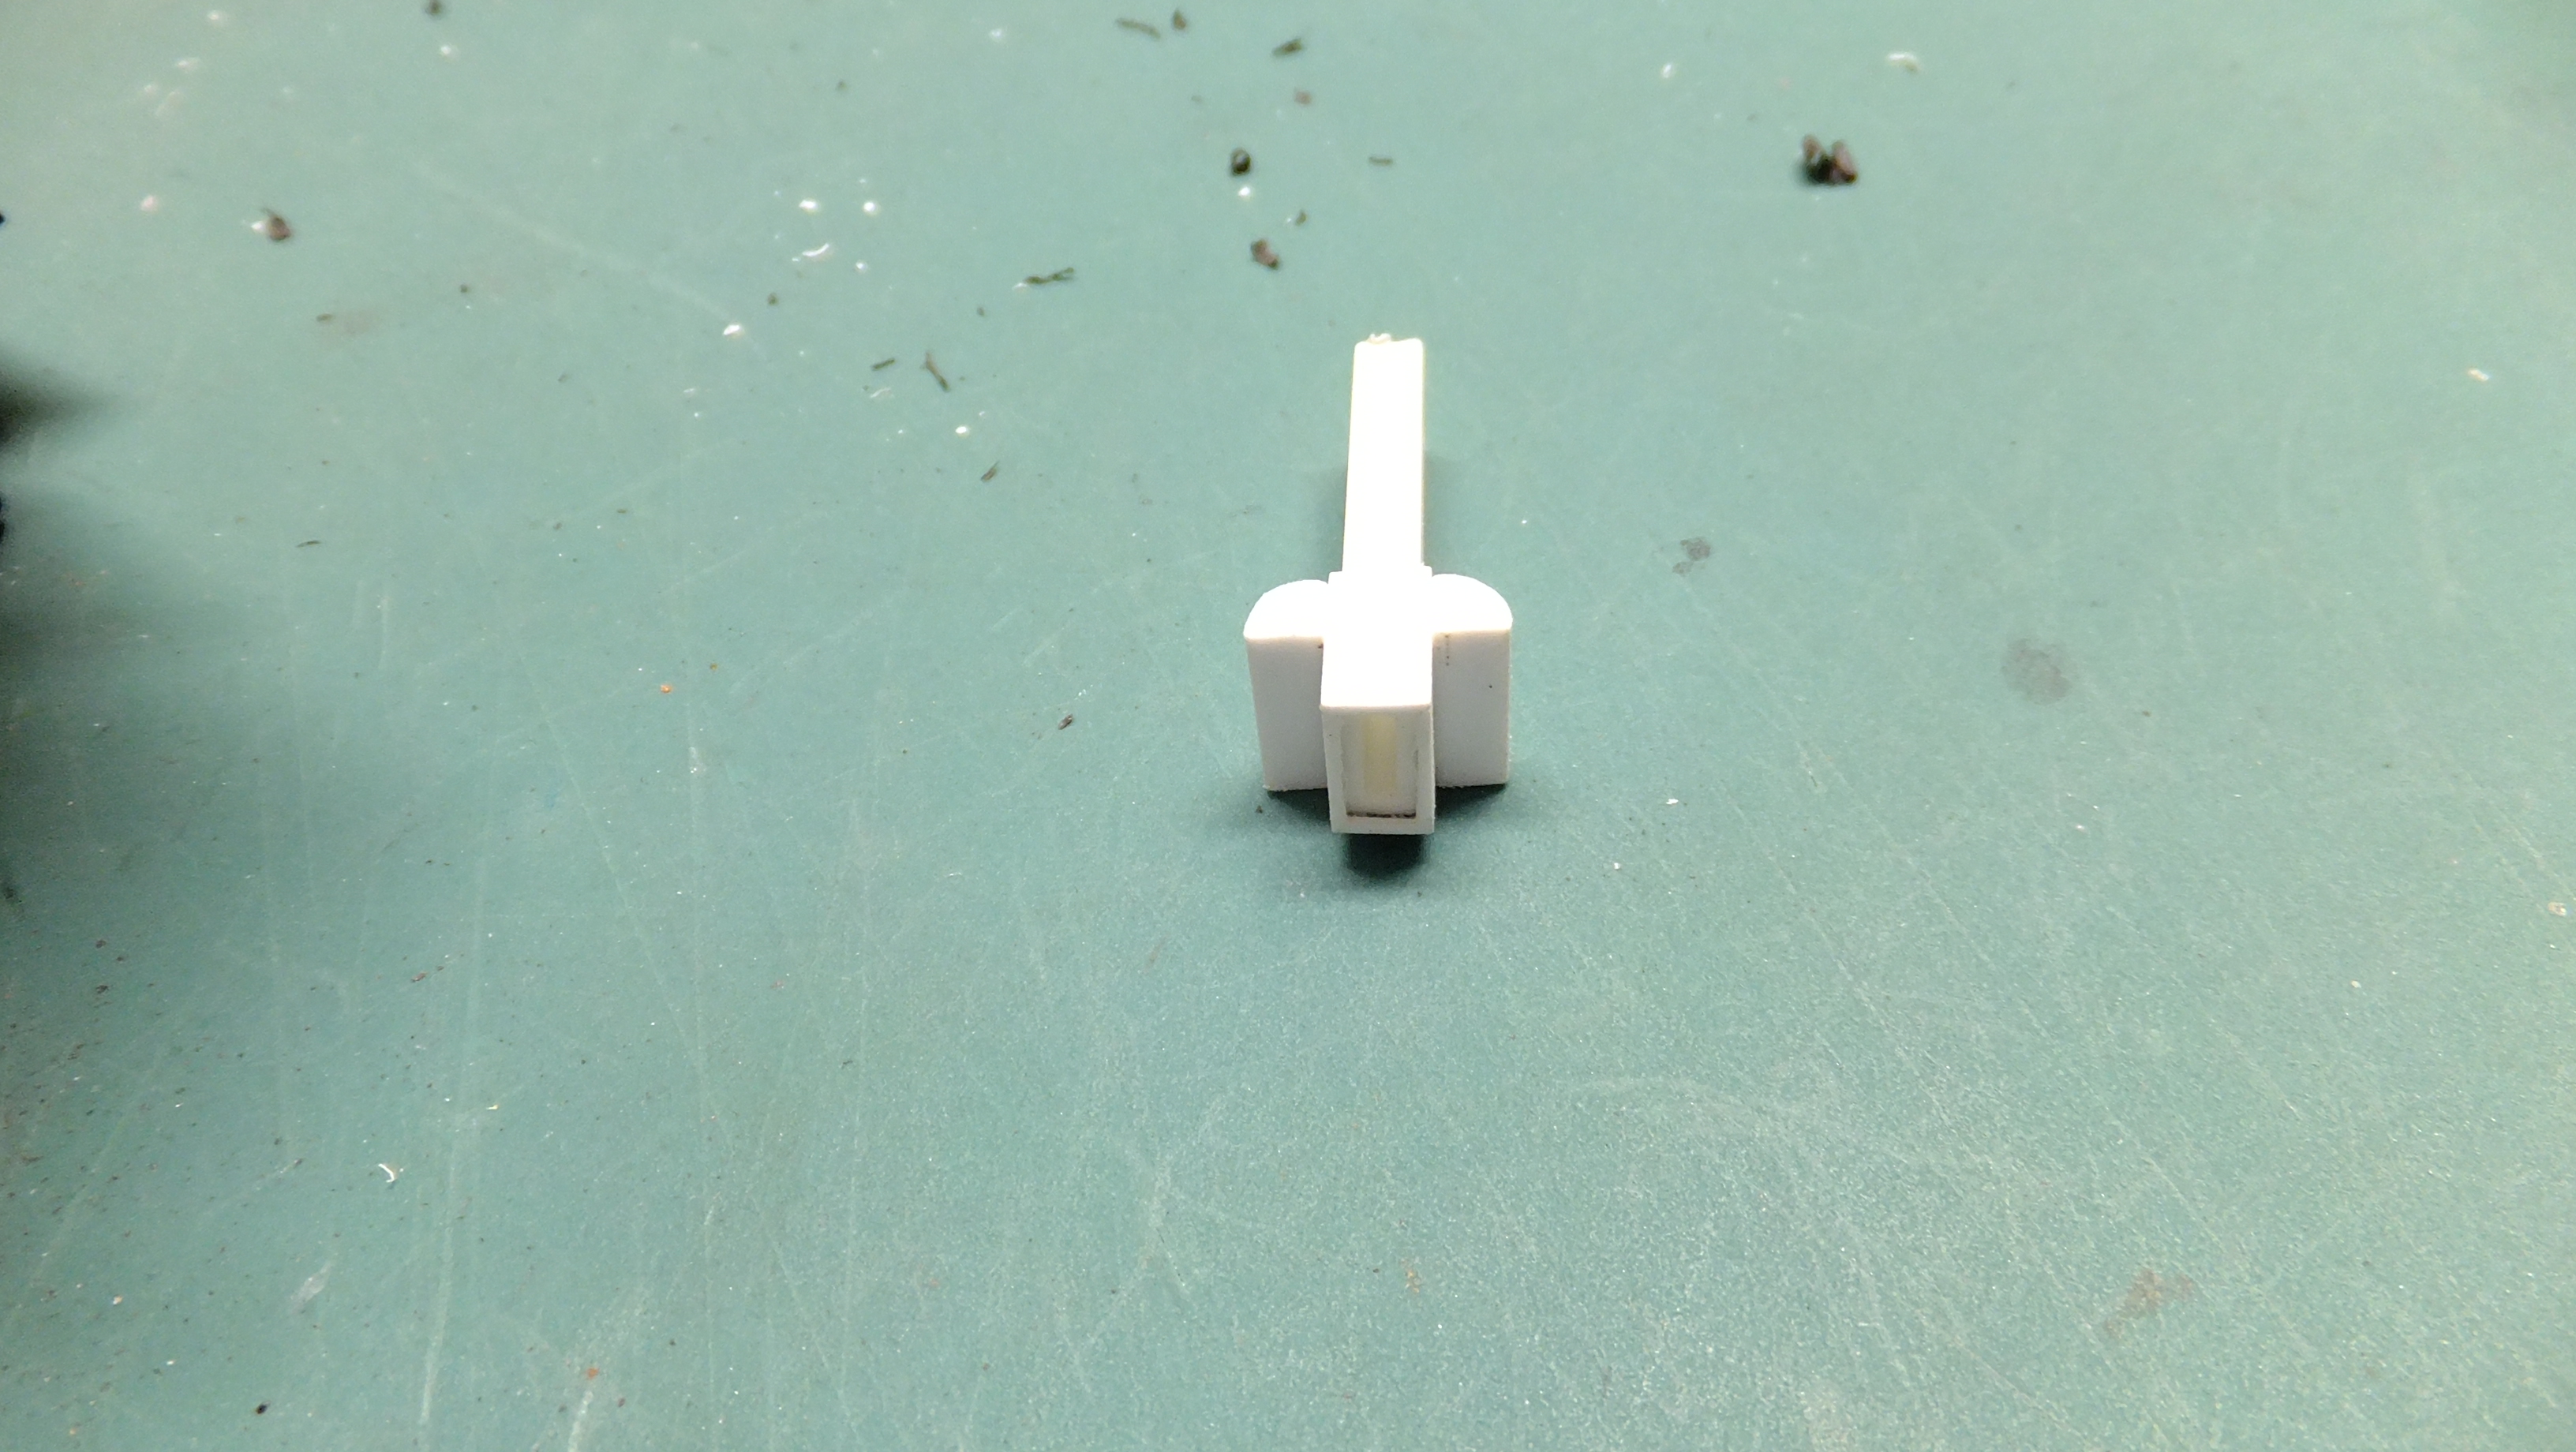
Todays update is about finishing the last couple of parts for the interior.....then its FINALLY paint time!! -My E-brake handle broke while test fitting, so I have to give it the right angle again before painting, but other than that, im pretty pleased with everything so far.
-
Thanks, Scott!, if were me, you bet i'd do a Singer, but Tina will build it as is.
-
Thanks, Carl!...she loved it!!
-
Hasegawas Lamborghini Miura SV....new update!
Dann Tier replied to Dann Tier's topic in WIP: Model Cars
Yes it can, Lloyd!, what works really good for me, is to sand-over the scratch again, until its full of dust, then carefully klean-out any lines that connect to it, so they don't get filled in as well. The dust is its own filler when you add the THIN glaze of super glue....really works a treat!! -
Hasegawas Lamborghini Miura SV....new update!
Dann Tier replied to Dann Tier's topic in WIP: Model Cars
Thanks again, Jason!, they sure are PE like the rest of the vents and such! It was suggested earlier, that the single eyelash base was just a jig, but after closer scrutiny, it isn't. it has VERY tiny holes that the individual lashes tabs fit into, and after thinking about it, why bother etching the ring where the headlamp fits-in if its just a jig? -
Hasegawas Lamborghini Miura SV....new update!
Dann Tier replied to Dann Tier's topic in WIP: Model Cars
DO IT, Joe!!!!, you will love this kit!! -
Hasegawas Lamborghini Miura SV....new update!
Dann Tier replied to Dann Tier's topic in WIP: Model Cars
You are correct, Thomas, the SV doesn't have the eyelashes, but its nice to have the option! -
Hasegawas Lamborghini Miura SV....new update!
Dann Tier replied to Dann Tier's topic in WIP: Model Cars
Nice, Pat!!….i'm here to help!!