-
Posts
1,837 -
Joined
-
Last visited
Content Type
Profiles
Forums
Events
Gallery
Everything posted by Dave Darby
-
Bump. Going to try and restore missing photos and add link to build process.
-
Very nice build! I have a question though... I can't even edit a post I added a week ago. The edit option simply is not there. How were you able to edit a post from 2017?
-
Dave, thanks for all of your hard work. I have a question/suggestion. Would it be possible to extend the window of editing posts indefinitely? I have some older posts from a few years ago that have broken image links, and I would like to fix them. I also have a thread I started a couple of weeks ago, which I added an update date to, but now I cannot go in and edit to reflect my latest update (ie; "Updated June 10" to "Updated June 21"). The idea that unlike a certain other forum, the threads are long term and don't roll off the map is great, but there are posters out there (particularly those who use/used Photobucket) who lost their photos, leaving a trail of broken image icons. Hence the need for the long term ability to edit posts. Any chance of this happening?
-
While I admit I liked the survivor look, I think think you really knocked this one out of the part. Makes me want to get one myself. Super nice work!
-
Both looking good Helmut! I'm not usually a fan of the Continental kits, but I like that one>.
-
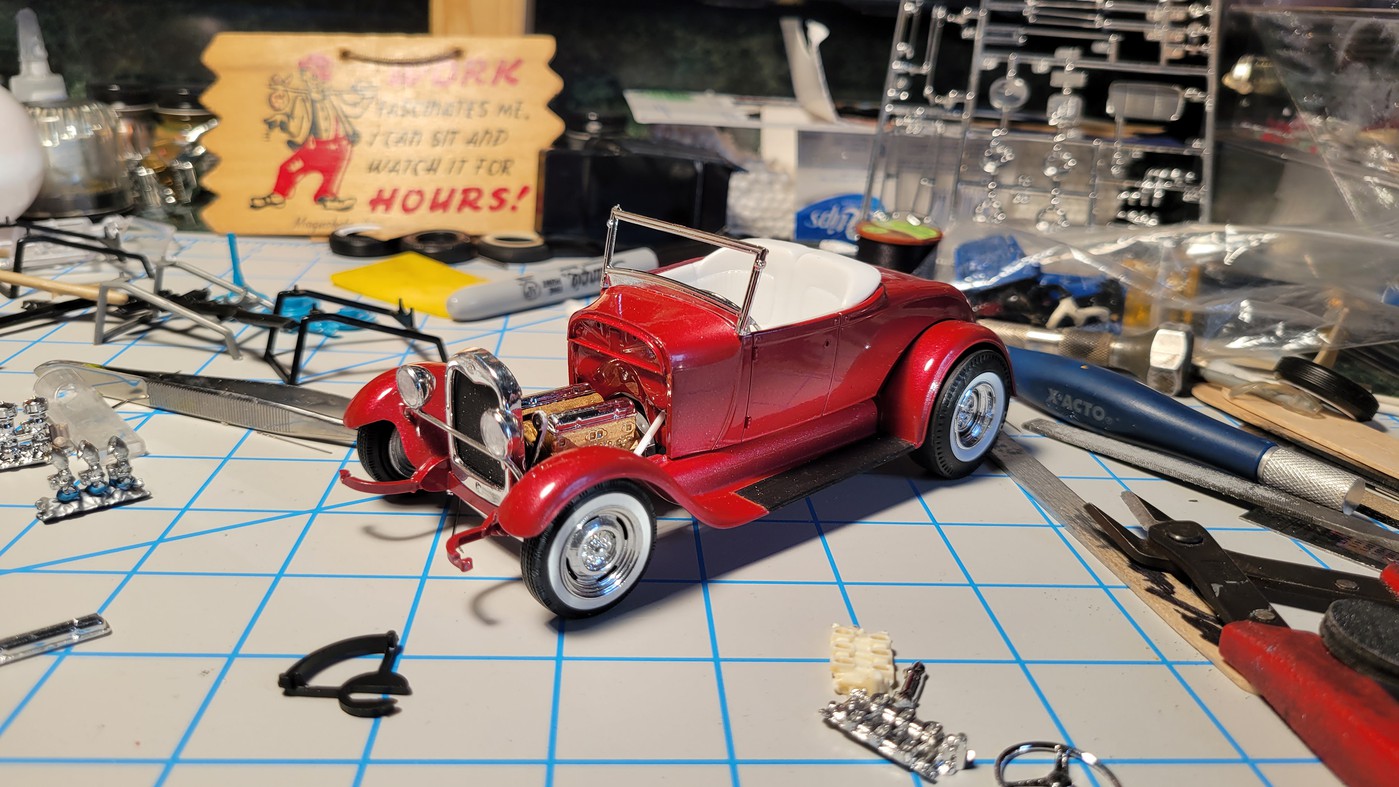
It's been a little while since my last update, so here is the latest on the scattershot progress. I carpeted the floor pan using black corduroy. Corduroy requires some pretty sharp cutting utensils if you don't want jagged edges. In fact even Xacto knives don't work that well on it. I picked up a carbide edged wheel cutter at Walmart for around 20 bucks-ish. Cuts through like butter. I have some other cars that are going to get the corduroy treatment, so for me it was a good investment. Otherwise I at minimum recommend a good sharp pair of fabric scissors. I cut the shifter from the Ala Kart shifter base (part of the transmission on an early Ford toploader transmission), drilled it out, and added my custom bent straight pin I showed you earlier. The clutch and brake pedals are also Ala Kart items. I painted just the rubber pad portion flat black, so that they would show up better. I'm still on the fence about the gas pedal, sourced from the AMT 32 Vicky kit. Seems a bit big. Here's how all of this looks in the car. I was originally going to shorten the shifter a bit after I tried it in the car, but I like the extra height. Gives it a Stroker McGurk/Norm Grabowski quality, I think. Didn't notice until after I snapped the photo that the engine had flopped over. I have details to add to it, so it's not glued down yet. And yes, one of my door handles took a walk. Going to have to scrounge one out of another kit... That's it till next time I can spend some more quality time on this one.
-

Revell 1957 Cadillac 4 door made into a convertible.
Dave Darby replied to carbuilder1950's topic in Model Cars
Looking good! -
I love that Deuce!
-
To be fair, I live within about 20 minutes of an Ollies, and I can tell you it can run both ways. Ollies gets model kits in once or twice a year, the stores don't always get the same selection, and while oftentimes the kits are those dogs nobody wanted to bring home (hence Round2 wholesaling them off) they also get a few gems too. Fall 2018 was a treasure trove, where I picked up some Model A/Mod Rods, 40 Ford Coupes, 57 and 60 Corvettes, Surf Woodies, and some other show cars, other times you'll see lesser kits like the 70 GTO, and the Daytona. This current time around I picked up a few Flashback 57 Fords I'd been wanting, and one of the two stores in my area haven't got their kits in yet, and I am hoping to pick up a 69 Chevelle convertible. Anyway, short story long, it's feast or famine, but you can't beat the price when they do have what you want.
-
That interior is completely bitchin'. I also love what you did with the grille. I have a pre paint 57 I've been playing with, and wanted to share a caveat. Sometime in the late 70s or early 80s, they evidently lost the clear glass tool, and cut a new one. Consequently the windshield doesn't fit very well, being too wide. In fact, you can fit an original windshield right inside the new one. So you may either need to sand the heck out of it then polish, or maybe scratch a new one. As with your other projects, I'm looking forward to watching this on progress.
-
Man that's gonna look good! For your piping, how about foiling it?
-
Exactly. Where you suppose Ollies bought theirs? Round2. And Ollies isn't exactly nationwide, so I don't think too many customers are siphoned off from the new release.
-
Dave likey.
-
I think this thread could use a bump just based off of this post alone. I'm going to have to hunt down one these kits for an old build I'm revitalizing.
-
That's way cool, Alan. I was actually wanting to put some King Bees on mine (only with the stock headlight bar) but there aren't too many properly sized ones in scale. I had experimented with these buckets from the Monogram A pickup using 49 Merc lenses, but they were only marginally smaller than stock.
-
Hi Alan, I will definitely have to look into those ideas. I was already aware of the windshield / cowl interface, and it is actually still loose. My only concern is pulling up the plating with the tape if I mask it off. It's definitely something I've given serious thought about. Thanks for the kind words. And I'd love to see your real roadster.
-
I feel silly now, since further up the thread (where I apparently didn't look!) you described the product by name. But hank you for the photo. Now I know exactly what to look for. Keep rocking, my friend!
-
Looking good. Can't wait to see this one finished.
-
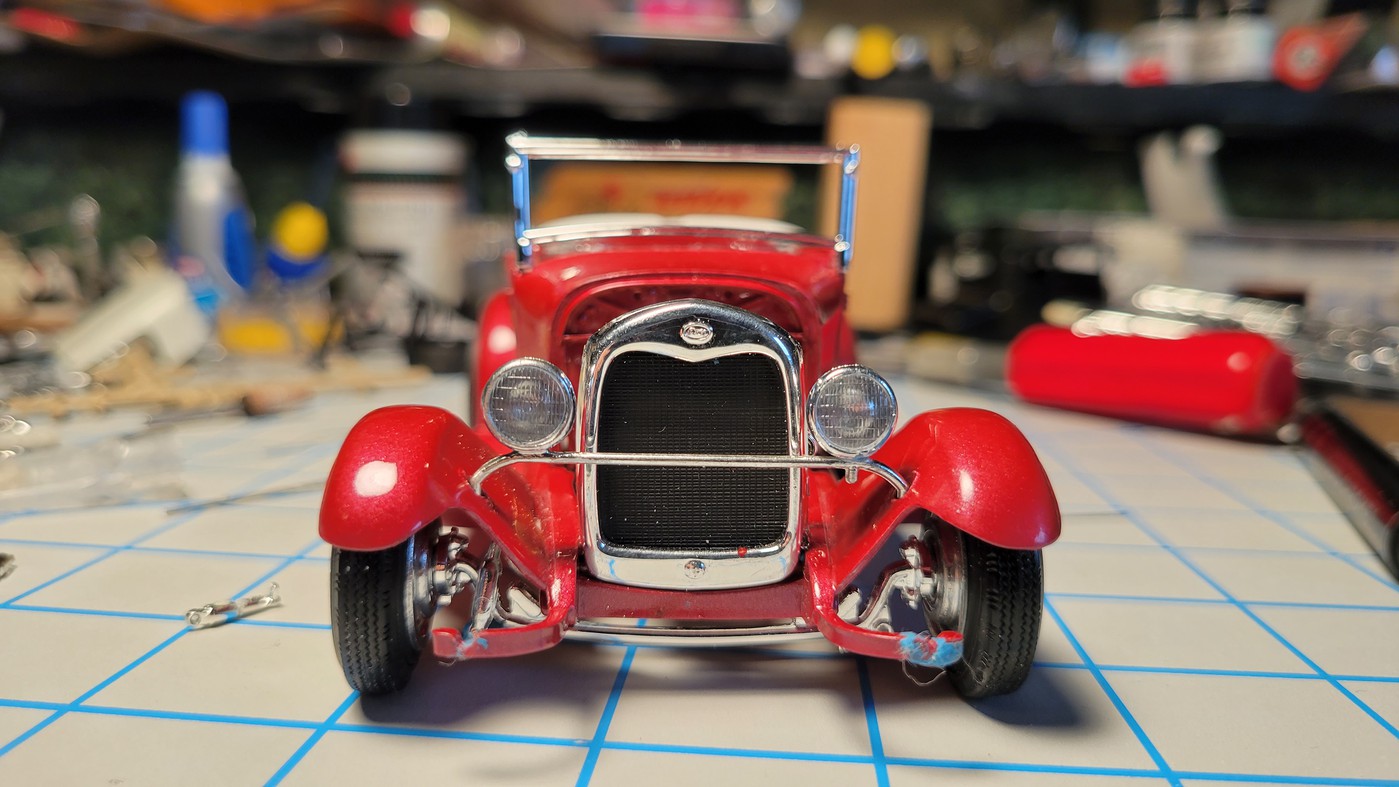
Picking up where we left off... I don't think I showed you the distributor yet... Yep, Genuine sewing thread pulled through beeswax. (This one's for you, Don Emmons!) Here, the plug wires are in place, except for the coil wire that you can see hanging down over the valve cover. Here is a comparison between the modified interior (left), with the unmodified interior tub on the right. Note that I have begun scribing the door lines, and have cut out the floor, to facilitate laying down some honest to God corduroy for carpet. (I think I mentioned this was going to be old school!) Because the seats sit a little above the top of the body, it was necessary to fill in the back portion of the seat. I used Milliput putty for this. It was also the first time I worked with the stuff, and of course, I used waaaay too much. I still have some finessing to do, but the fit is much better now. Also visible is the black covered insert on the dash, and the wood-grained steering wheel. As I mentioned before, I cut the floor pan out and painted the bottom side body color. I painted portions of the top of the floorboard flat black, in preparation for the Corduroy carpet. Here's the aforementioned Corduroy, along with a shifter I made from a straight pin. It's a scaled-down version of the shifter in the Monogram Little Deuce. I may take another stab at that, as I'm not perfectly happy with the smoothness of the curve. More to come! Here's a teaser...
-
Tire burn is a bugger. On the plus side, if you can't fix it, it's a pretty simple flat piece you can easily replicate with clear sheet plastic. Looks like a cool project. I'll be watching. What colors are you thinking?
-
Very cool. Love the colors. What paints did you use?
-
Thanks Dennis. I drew a lot of inspiration for this newer stage of the build from your excellent work.
-
Wow! I need to get me one of those! I'm going to hazard a guess that you can get all or most of that of that tire burn gone with a four way nail file from Sally Beauty Supply, followed up with some polish. Bill, your survivor is Koolzville! I love it!
-
OK, I'm going to pick up where I left off yesterday. As I mentioned earlier, Jim Keeler's work with Revell has an almost a jewel-like quality, but occasionally there are a few flies in the ointment. As you can see from this extra Tweedy Pie engine, there is no front cover for the bellhousing. So... I traced around the bellhousing adaptor on some thin sheet plastic. When I finished it, I shot it with a coat of Testors Chrome. I'll show you a photo of it finished, later. Next, I turned my attention to the firewall. When AMT redid the Model A for the "A Venger" version in the mid 70s, they shortened the stock steering column and eliminated the hole in the firewall for it to pass through, presumably to accommodate the Red Ram Hemi. So I switched to an earlier issue firewall, which I ground down quite a bit for clearance. You can also see that I set the firewall back flush with the cowl, and added a lip where the upper cowl/gas tank bolts down. Then I made a flange for the perimeter. Here you can see this finished lip, and how I ground down the firewall. This is pretty close to correct for a Model A, but ultimately, I ended up having to set the firewall back a little further into the body. The stock hood will not fit with this setup unless the underside is ground for clearance, but the hood isn't part of the plan anymore. This is a hot rod after all. Next up, I had to do something with the intake manifold. As you can see (and sorry the manifolds are 180 from each other) the thermostat housing for the tripower is in the center of the intake, which is completely correct for a stock 2 or 4 barrel manifold, but not ideal for a tripower. So.... Here is the finished Intake and firewall, along with a preview of the engine mocked up. Again, many thanks to Larry Moore for the tri-power intake. I masked around the perimeter of the cowl and shot the firewall in place on the body. The kit radiator support rods are way too bulky, so I made my own from guitar string. If you go to a music store and ask nicely, you can generally score some used ones for free. Here is where I will break off until next time.
-
Niiiiice! Where do you get the molding putty?


