Joe Handley
-
Posts
8,928 -
Joined
-
Last visited
Content Type
Profiles
Forums
Events
Gallery
Everything posted by Joe Handley
-

Street Fury Customs and Custom ‘58 Fury
Joe Handley replied to Joe Handley's topic in WIP: Model Cars
Haven’t been in the home office since going back to the office for work on Tuesday, so I went over what was needed on the glue kit Fury’s body and gave it ready for another layer or so of primer, wince the weather is good enough.
-
Dodge Viper RT/10?
Joe Handley replied to LL3 Model Worx's topic in Model Building Questions and Answers
It's been too long since I looked at the roadster kit, but it should have a 3rd brake light since those were on all cars and starting to appear on light duty trucks by then. If I remember correctly, the rear window ons the roadsters were removable and separate from the top and door curtains that the early Viper RT/10 roadsters had. -
Dodge Viper RT/10?
Joe Handley replied to LL3 Model Worx's topic in Model Building Questions and Answers
I you're talking about the roadster, no, I don't remember that it did, though if it is the GTS Coupe, it should have the rear window with the brake light detail molded in, IIRC. -
Street Fury Customs and Custom ‘58 Fury
Joe Handley replied to Joe Handley's topic in WIP: Model Cars
Laid down more primer, kinda crappy weather for it, but at least I know where I have to do more body work on these cars once the primer is dry.
-
Wow, all in the last 48 hours?!
-
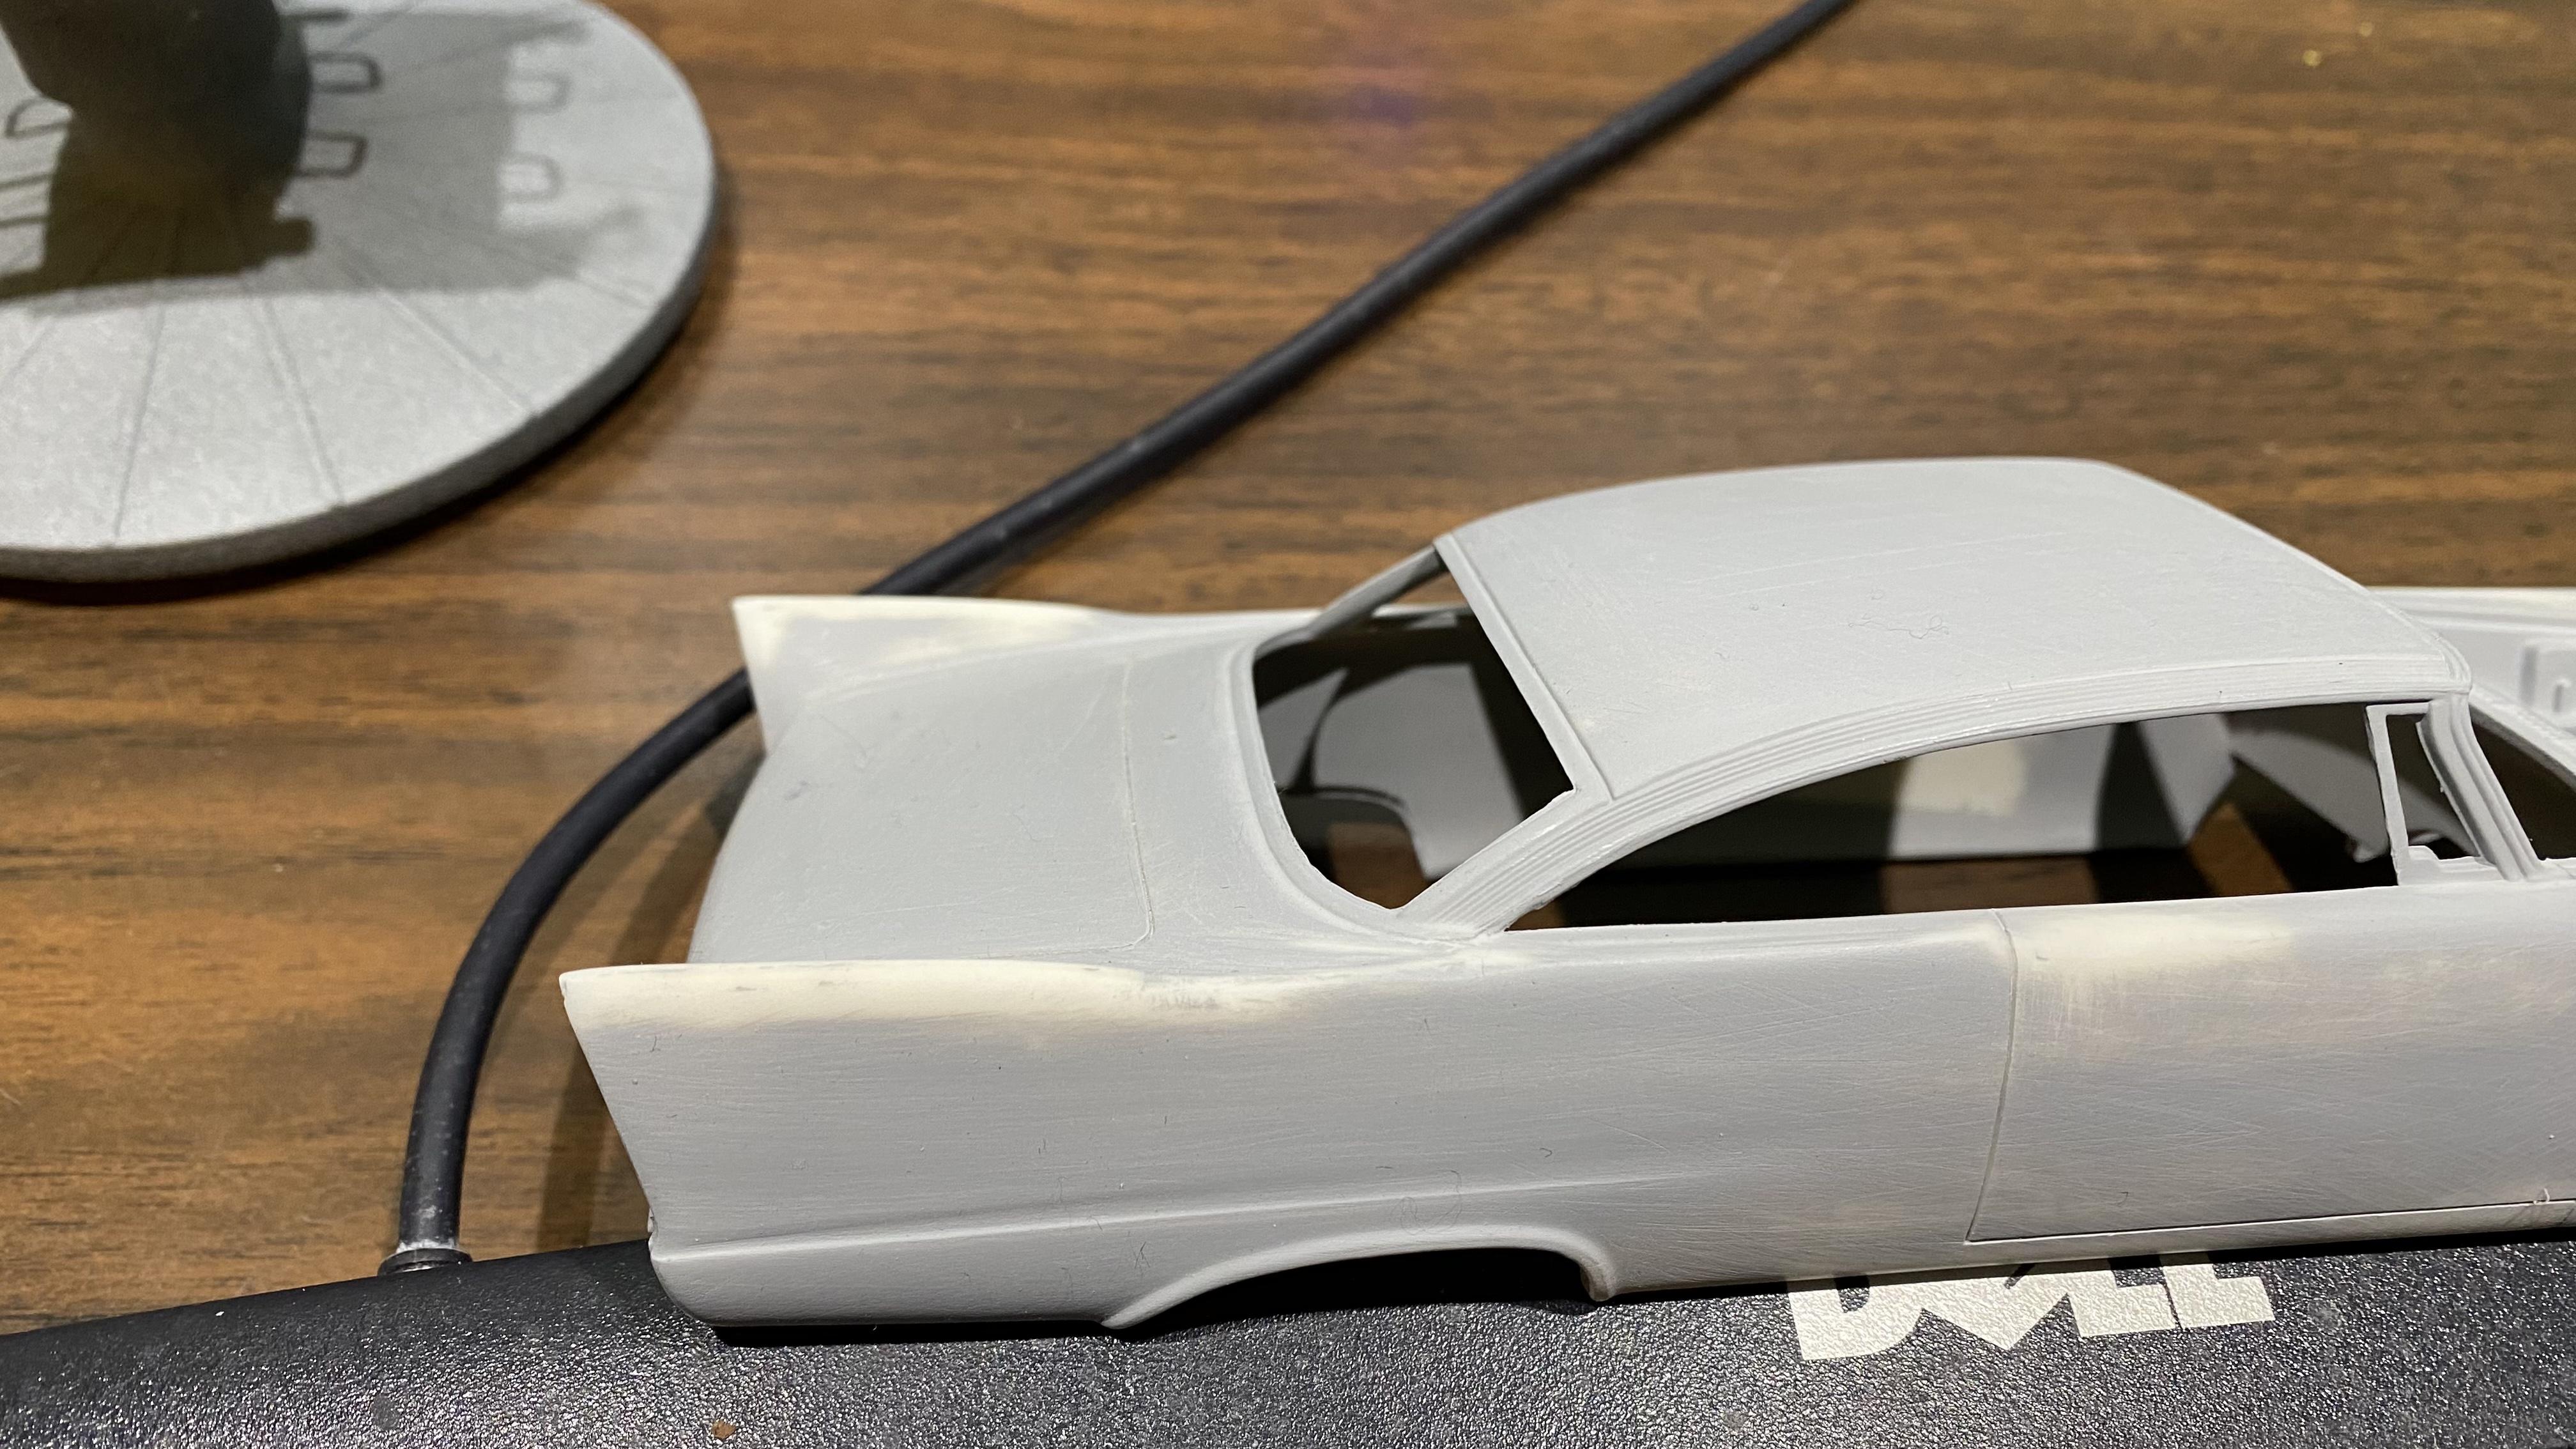
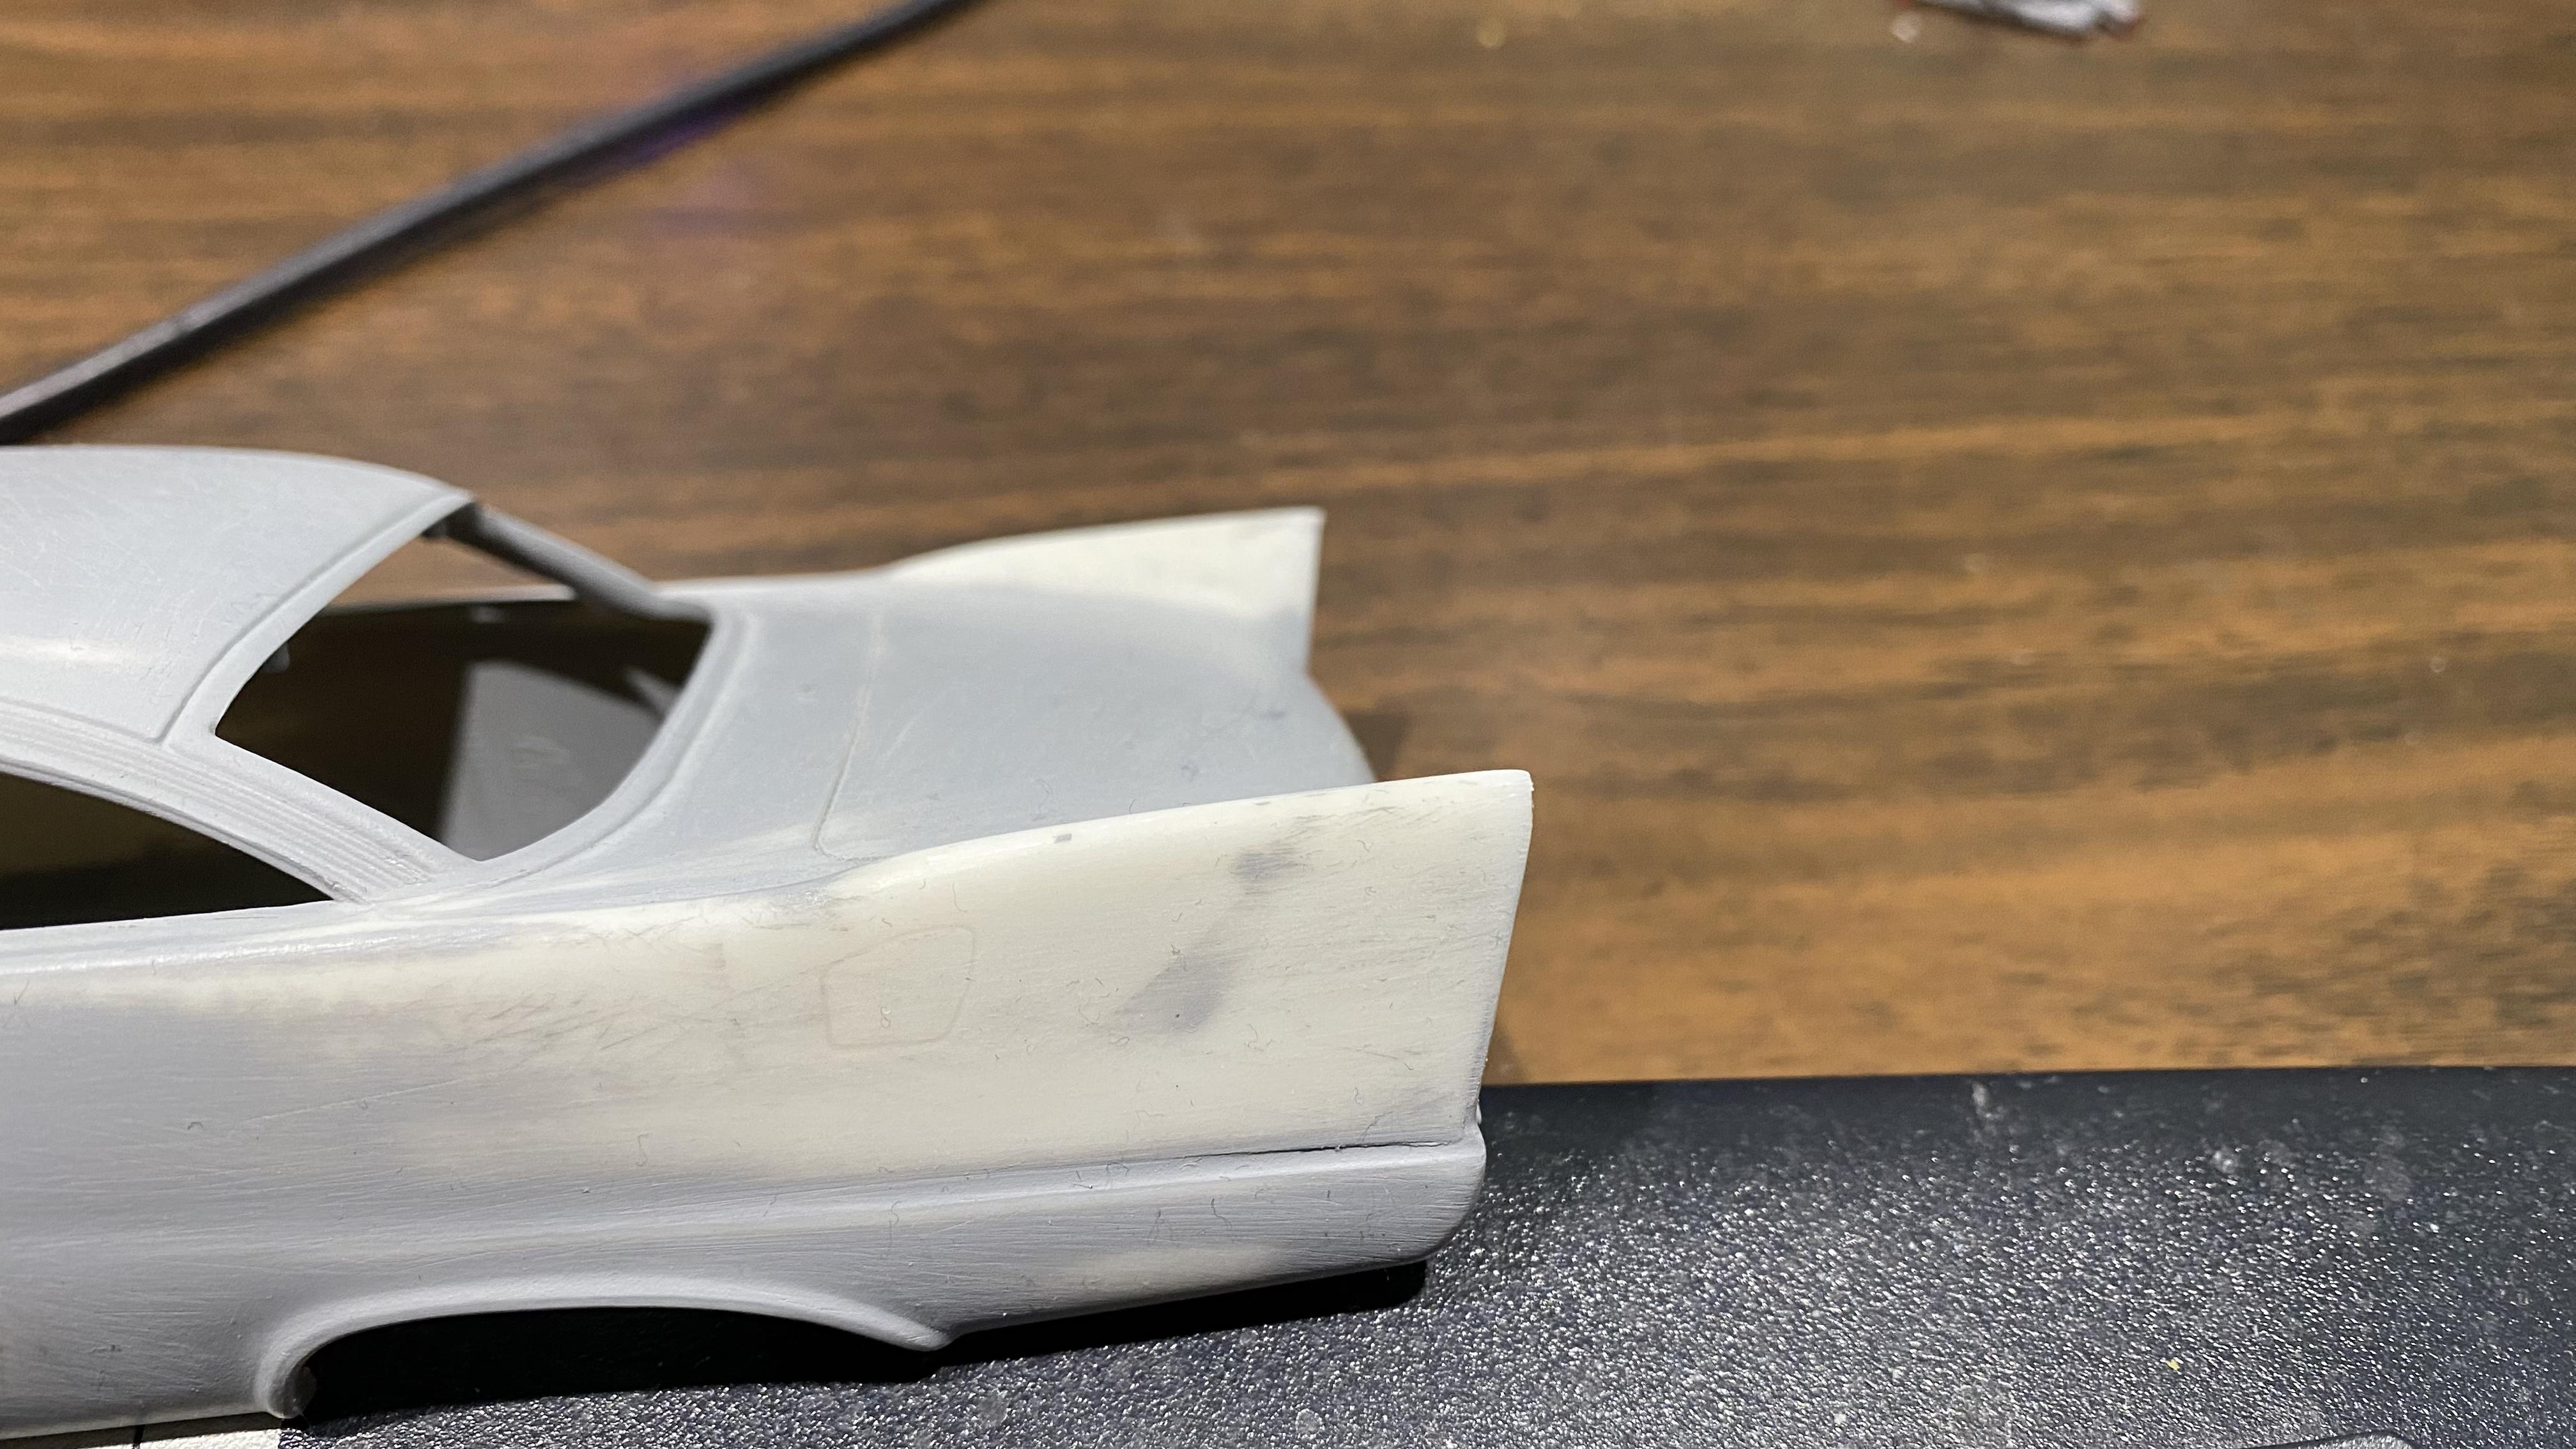
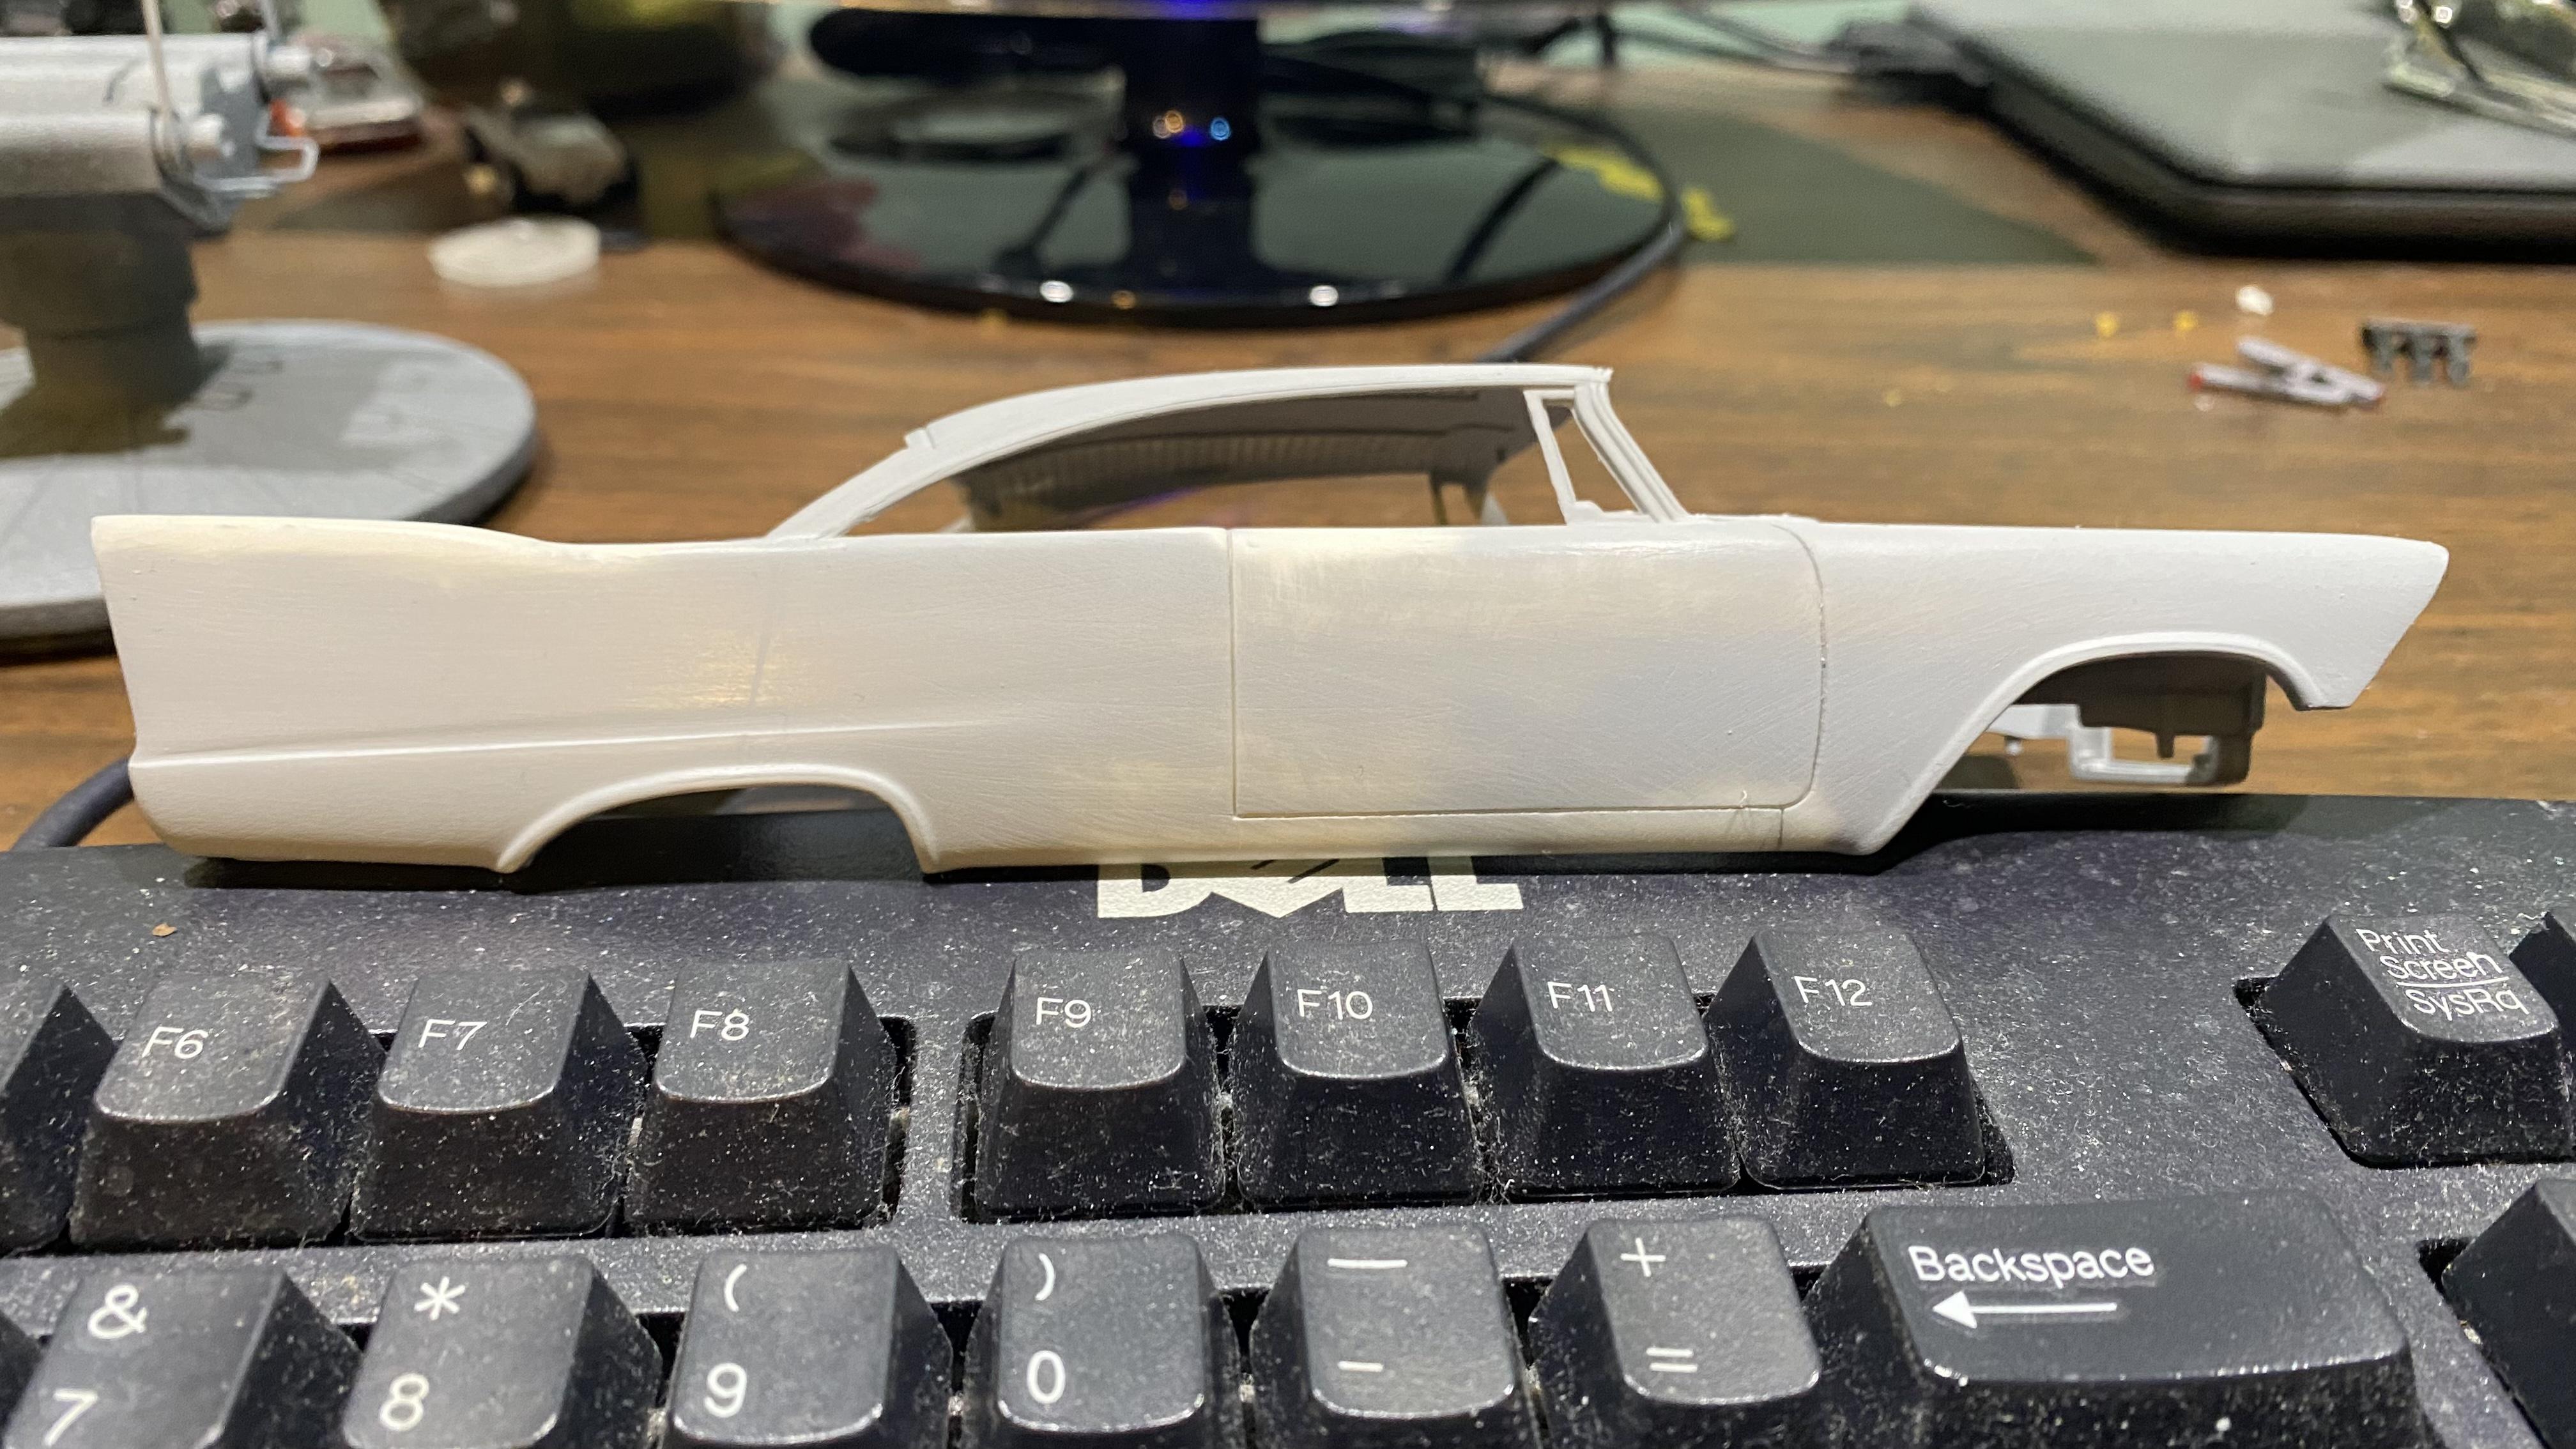
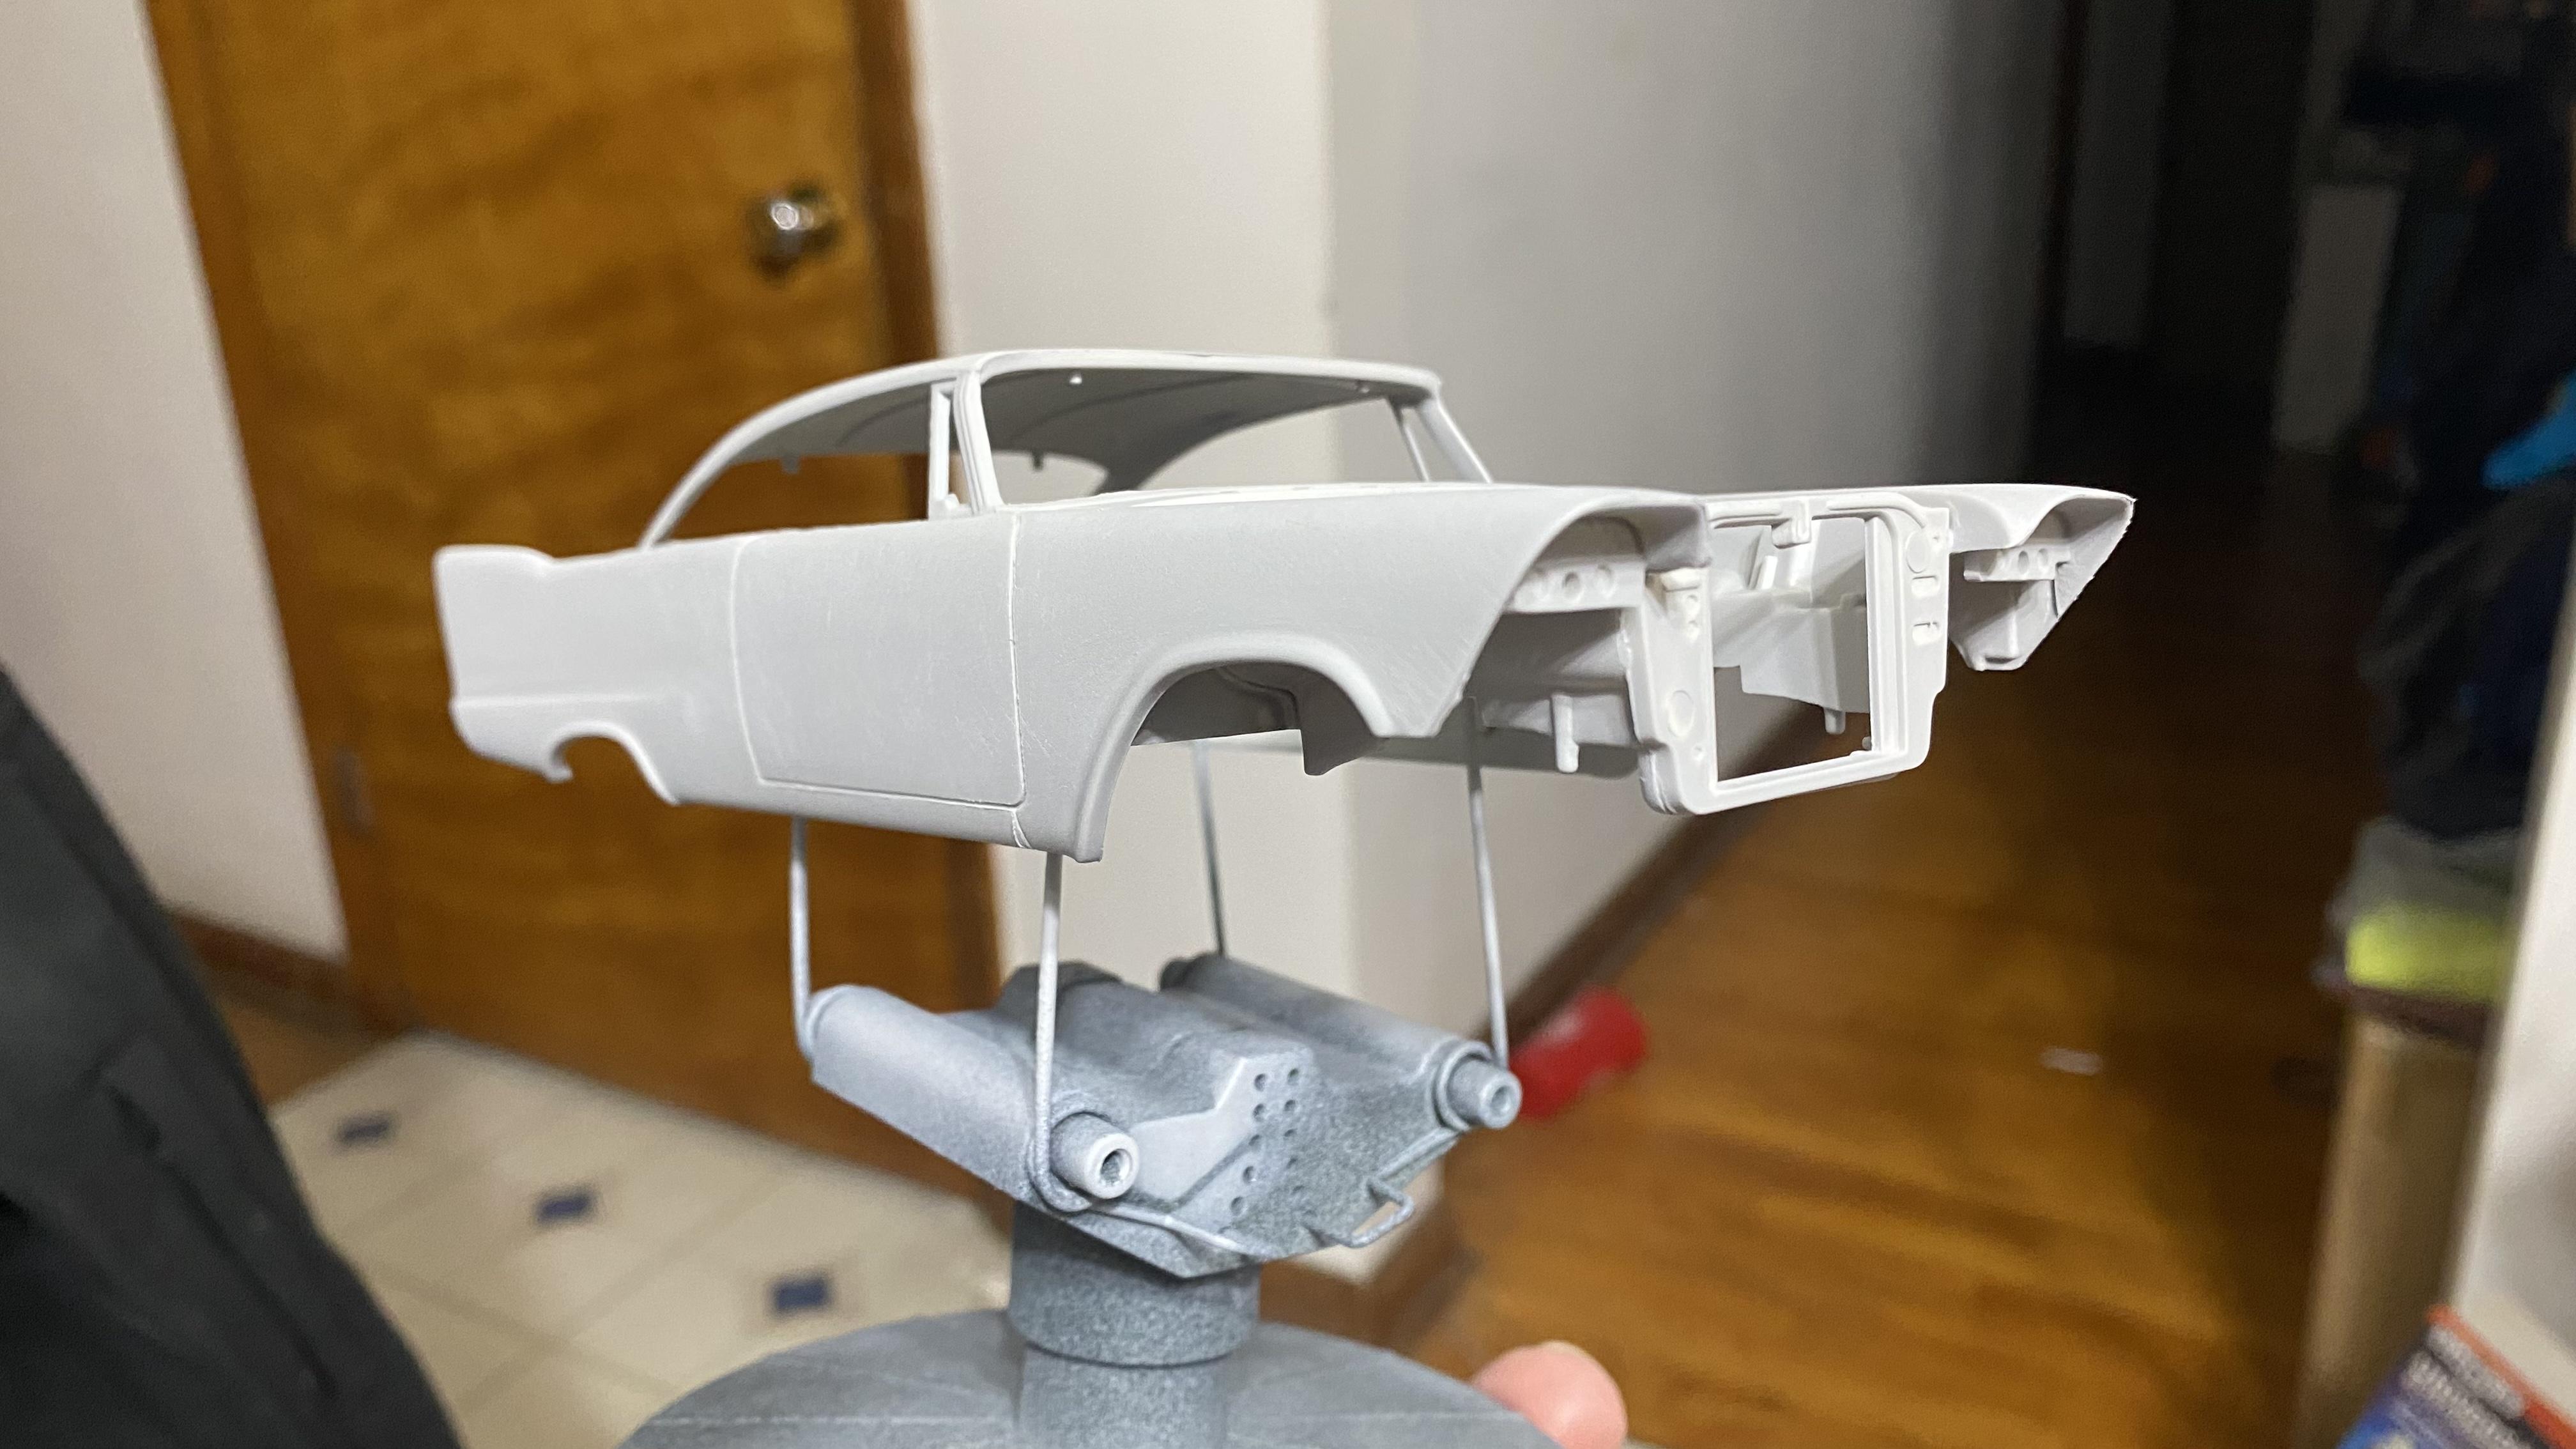
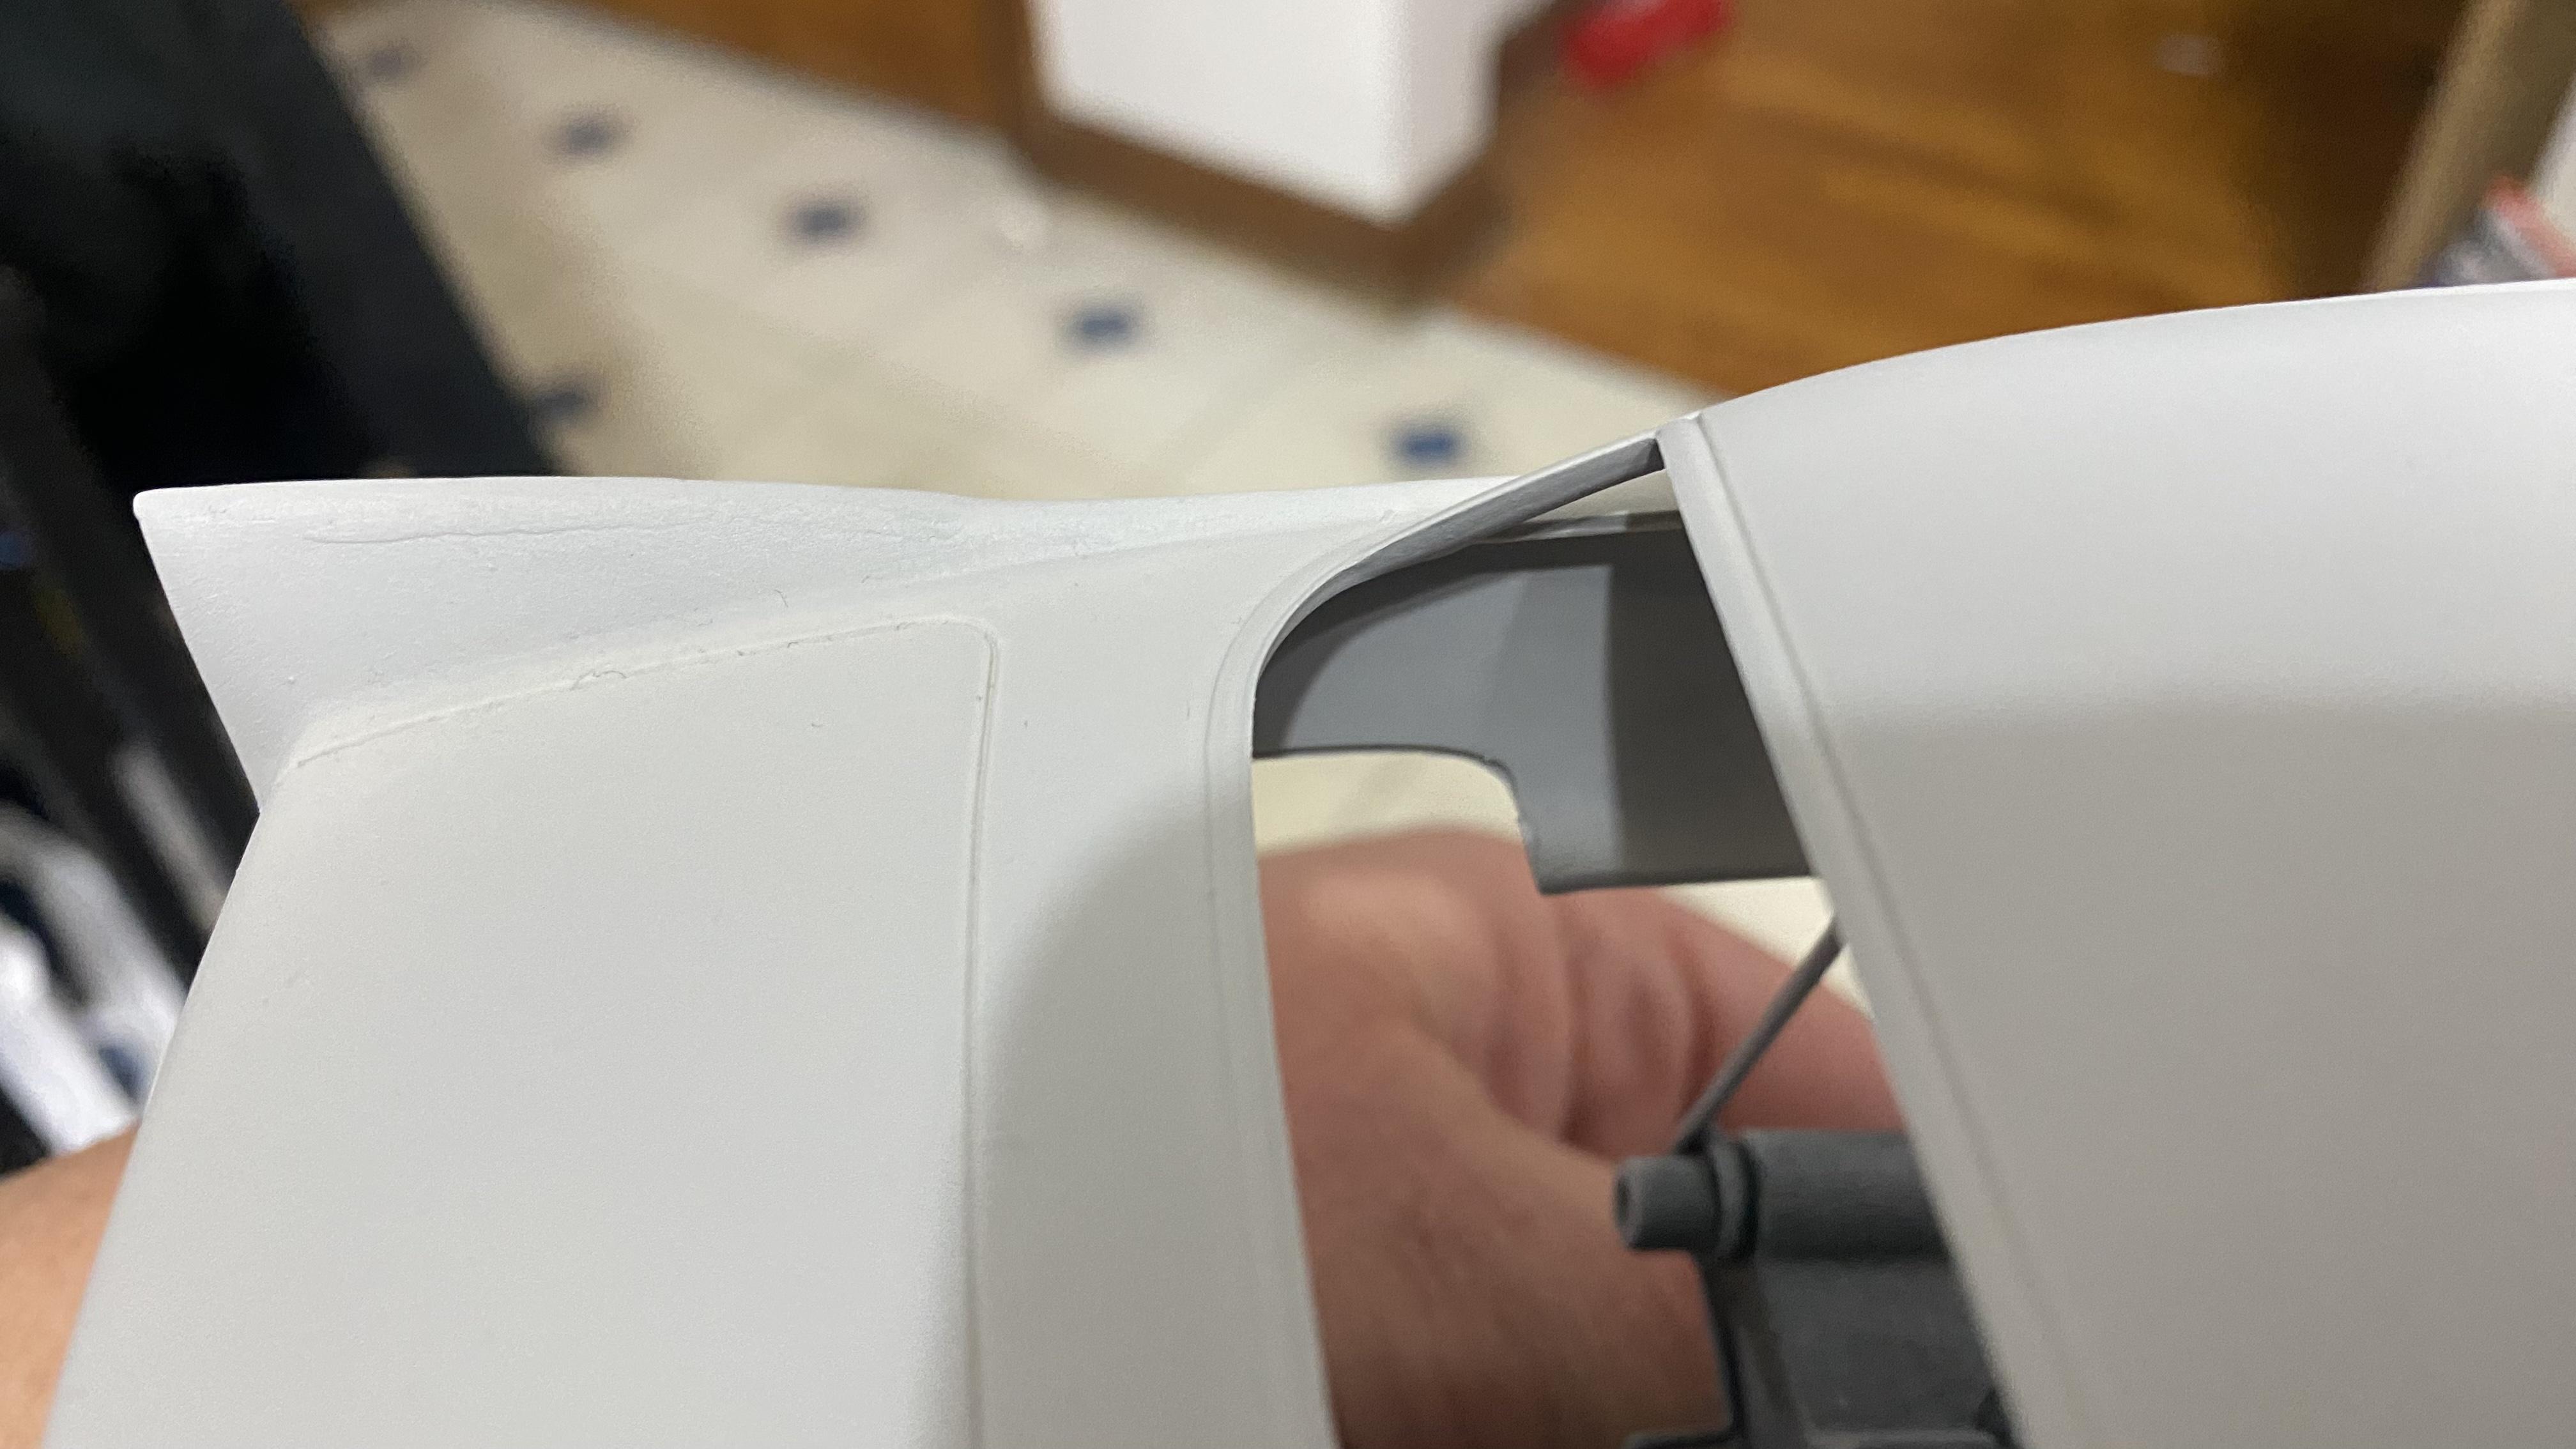
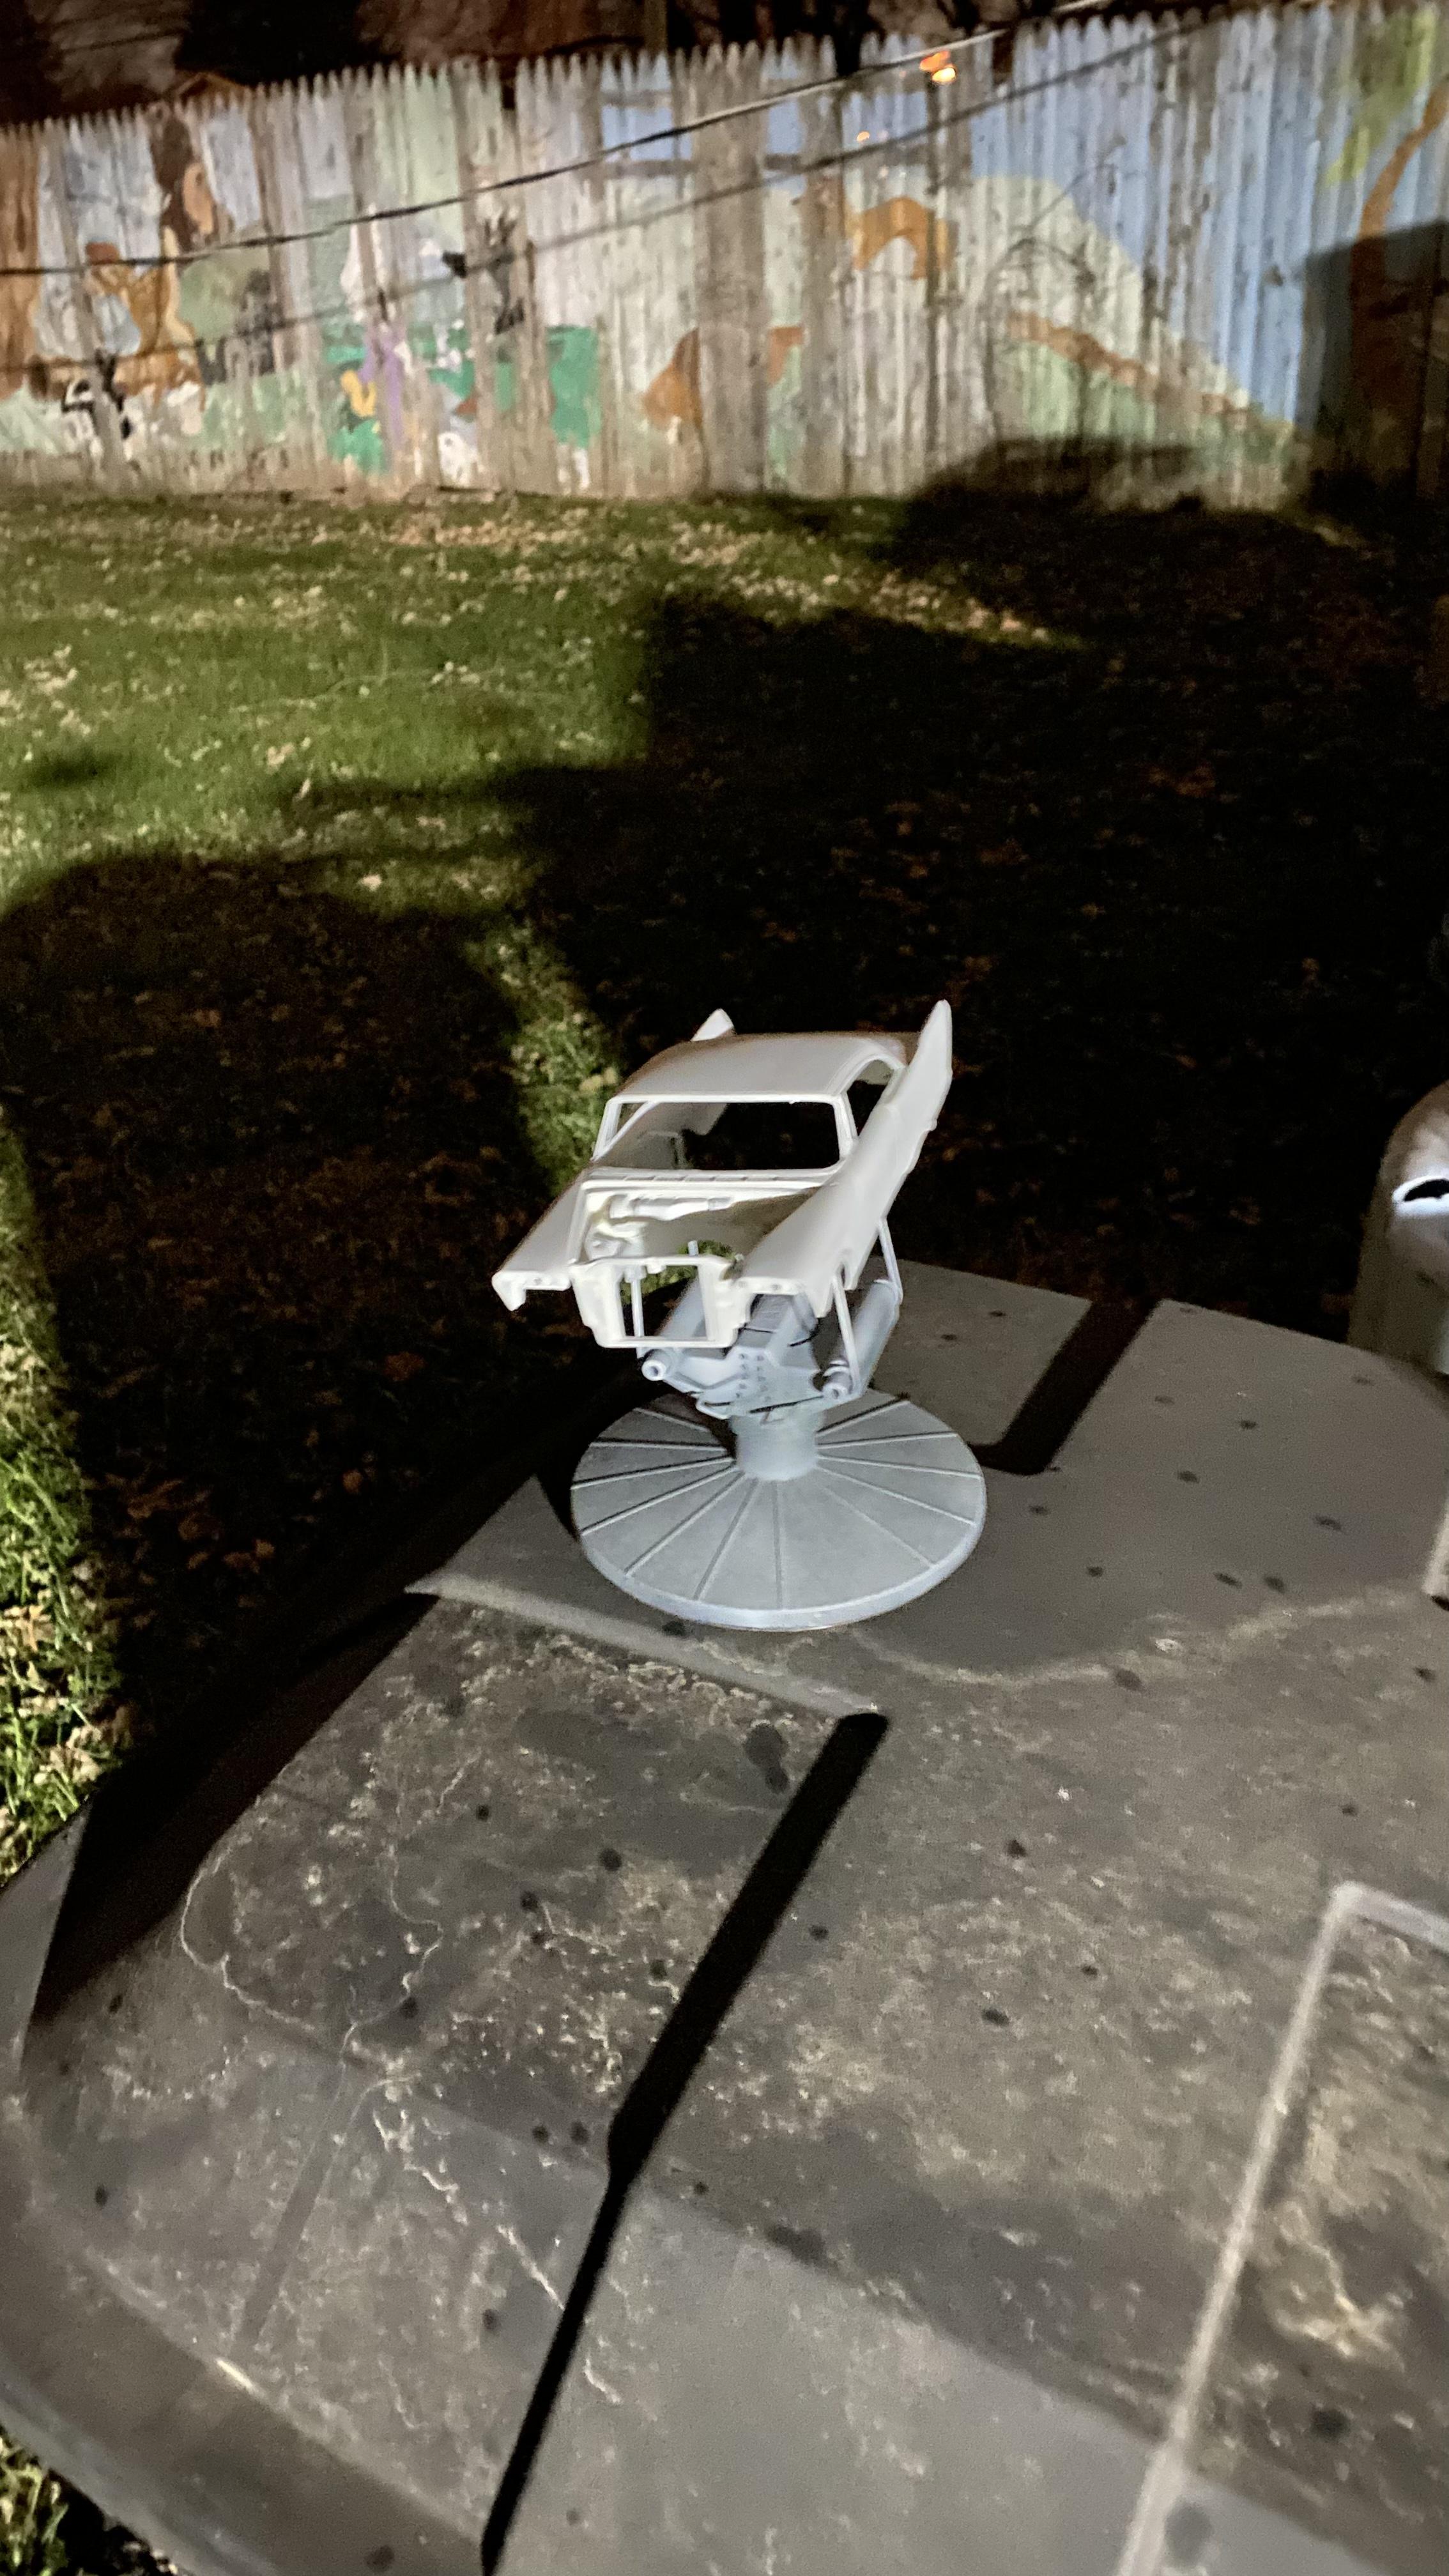
Street Fury Customs and Custom ‘58 Fury
Joe Handley replied to Joe Handley's topic in WIP: Model Cars
Here’s a few pics of the glue kit Fury from after I brought it inside. It looks pretty good so far, but there were a few areas that I just couldn’t tell for sure that is usually more obvious when primer gets put down, or at least for me, even when primer grey styrene is used, much like AMT/ERTL used to do. The tops of the fins were an area of concern since I was using the Bondic resin as a filler along the edges of what should normally be Chrome trim caps to blend those into the fin tips. Those are areas where the primer over the surface or a foundation plastic color that is a better contrast against the clear resin does a better job of showing what I still needed to do vs white styrene as well as just sanding chrome trim off the sides.
-
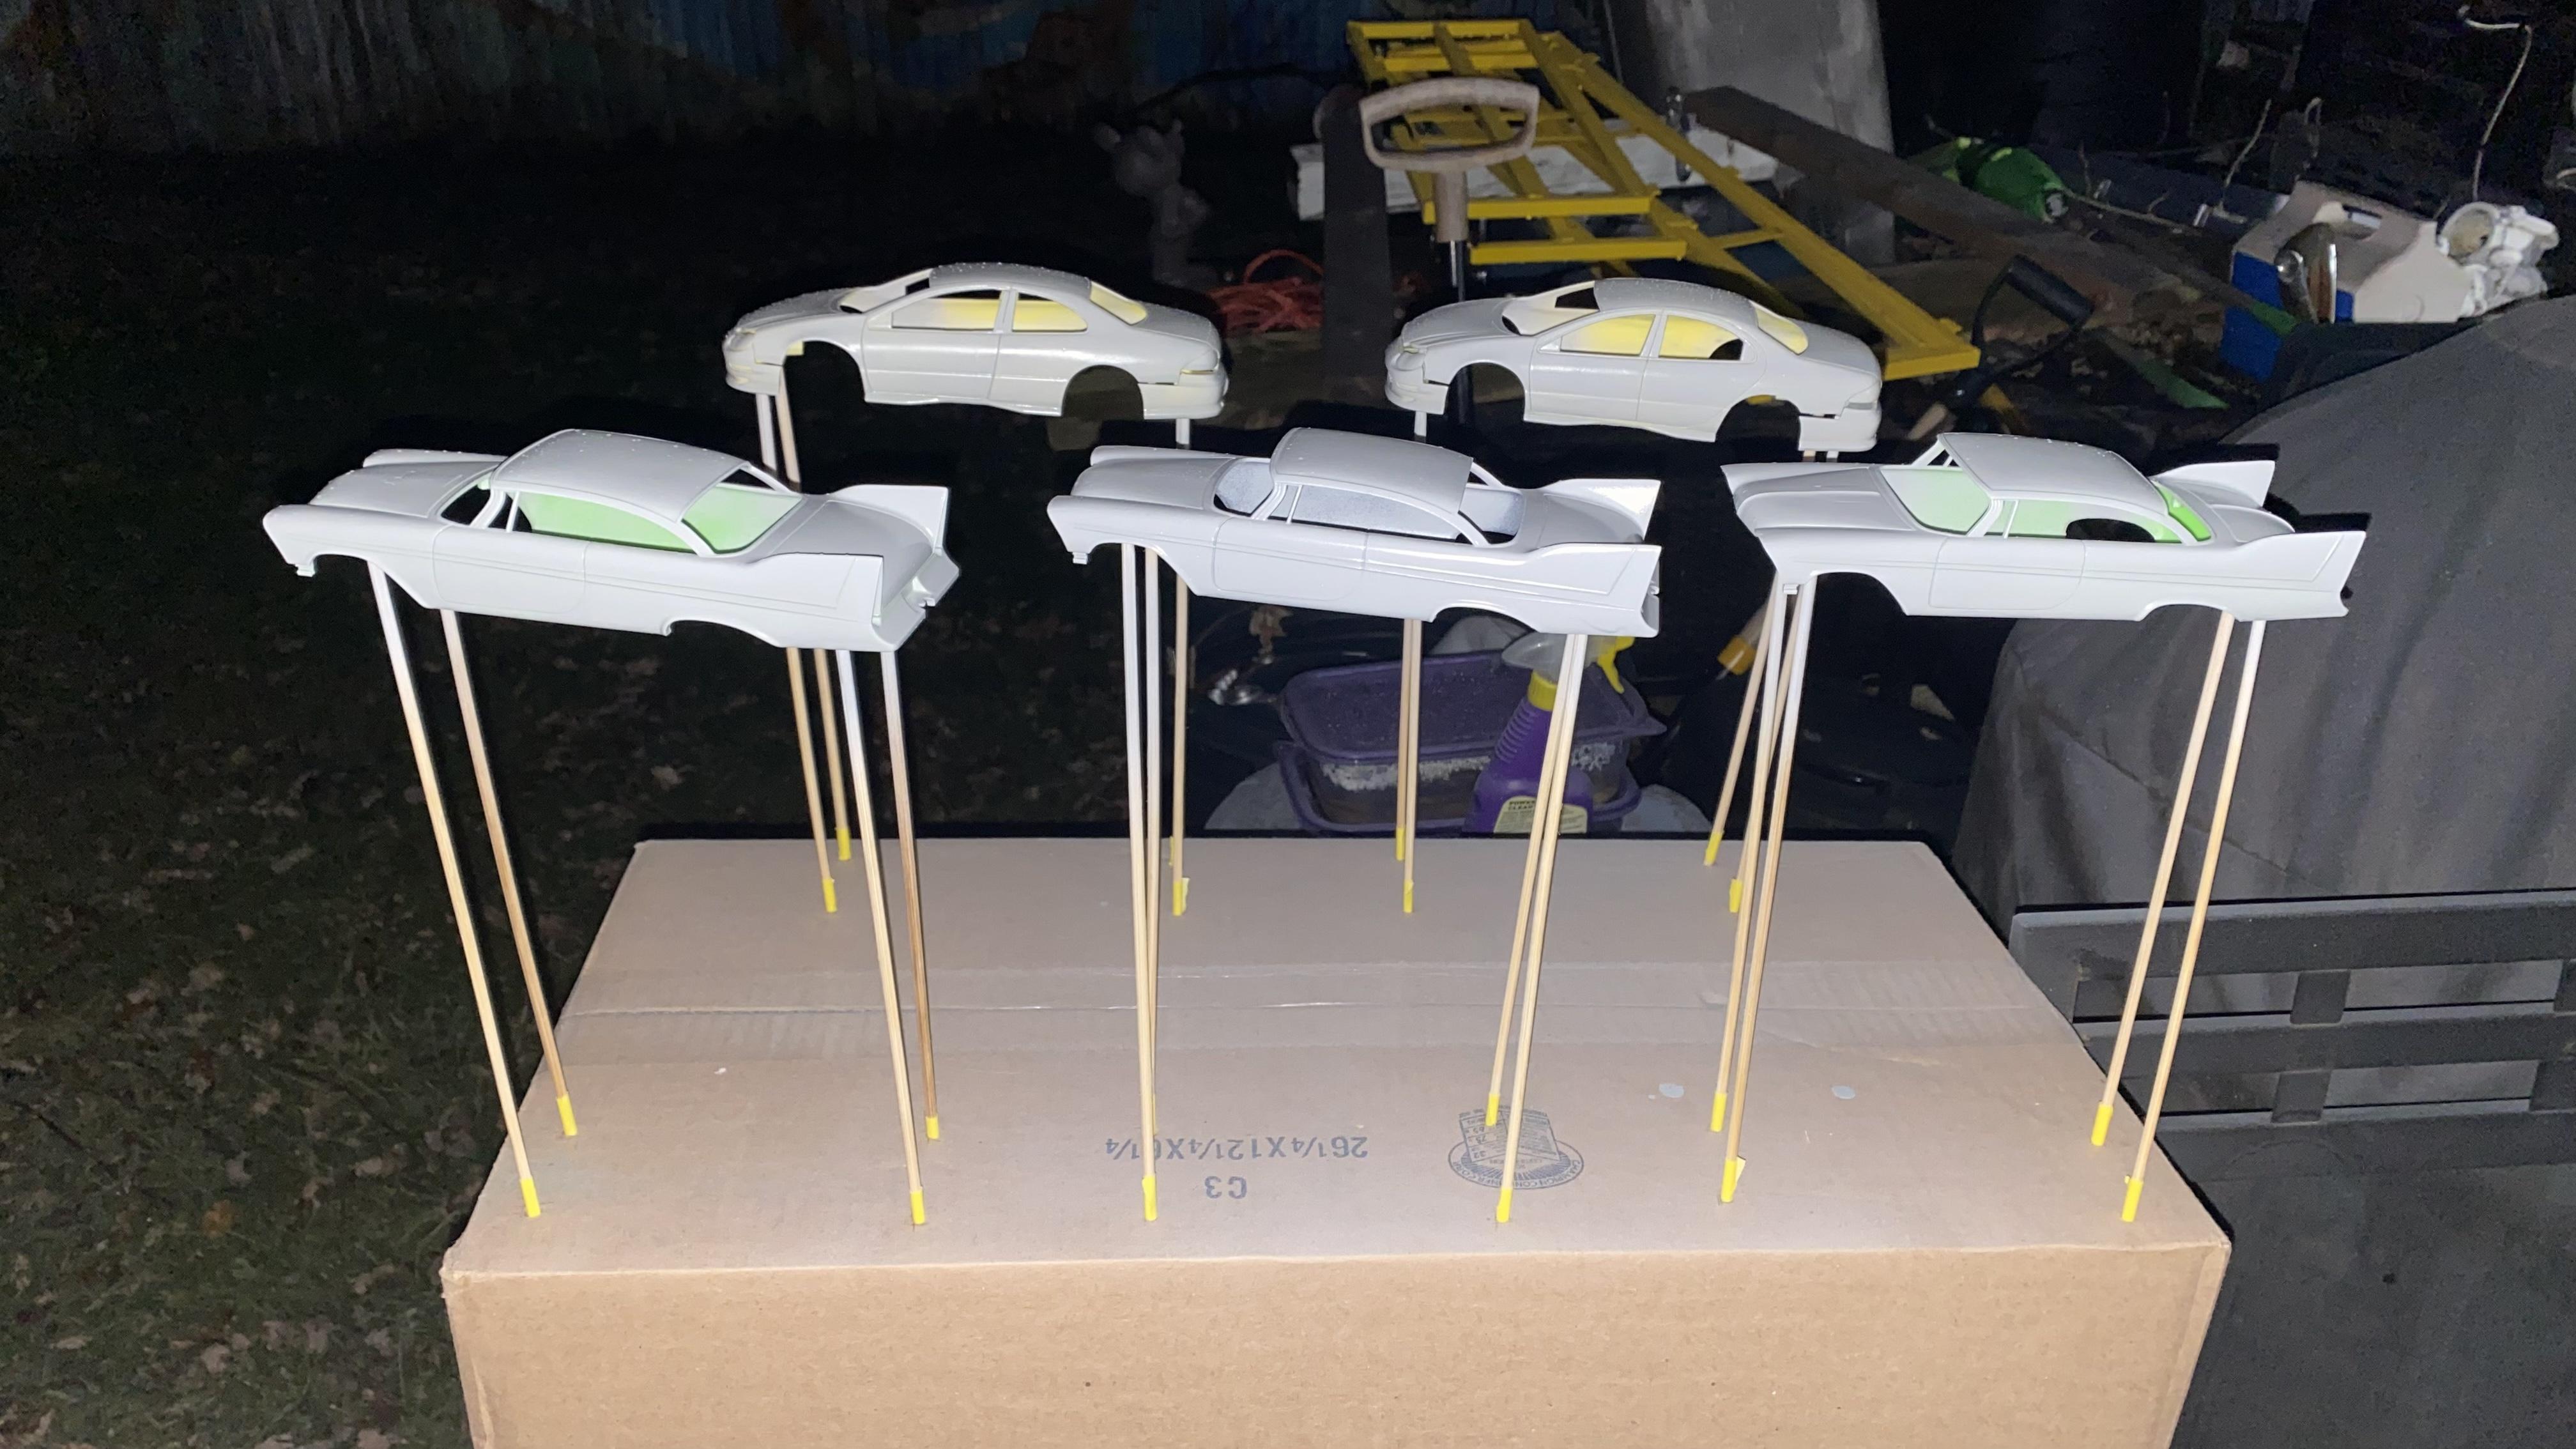
Street Fury Customs and Custom ‘58 Fury
Joe Handley replied to Joe Handley's topic in WIP: Model Cars
Got portions of the glue kit in primer today if the weather holds out, I’ll be able to get the snapper Fury’s and Concords in primer too. No pics, but those are mounted up on posts and ready to spray.
-
1970 Charger Peking to Paris Rally Car
Joe Handley replied to Joe Handley's topic in WIP: Model Cars
Had to add some mini tubs since the tires are just that tall. got them mocked up for now, will try and finish them after dinner.
-
This has to be one of my favorite videos on YouTube in relation to this matter. I also used a the RSR story to help set up a 1/10 scale RWD and rear motor Traxxas Bandit that I built a couple years back to race against a buddy’s 1/8 scale, AWD and mid motorLosi 8ight E, but that’s more of a “run whatcha brung” than an actual racing class. Should be interesting to see how the two pair up once we actually get to run each other.
-
I already want to get an E-Tron, despite not being an Audi person, but am already looking forward to the C8 and DB5 kits!
-
Yeah, you just need to sand/file/cut down the posts on the wheel backs to make those fit in the fenders, that’s just an ancient kit at this point in it’s life.
-
Even if it’s only going to be a curbside like the AMT Slammerz series, that would look great if you were to finish it!
-
I know those wheels are kind of a favorite among the drifters, but they just look so right on a lot of US cars too!
-
1970 Charger Peking to Paris Rally Car
Joe Handley replied to Joe Handley's topic in WIP: Model Cars
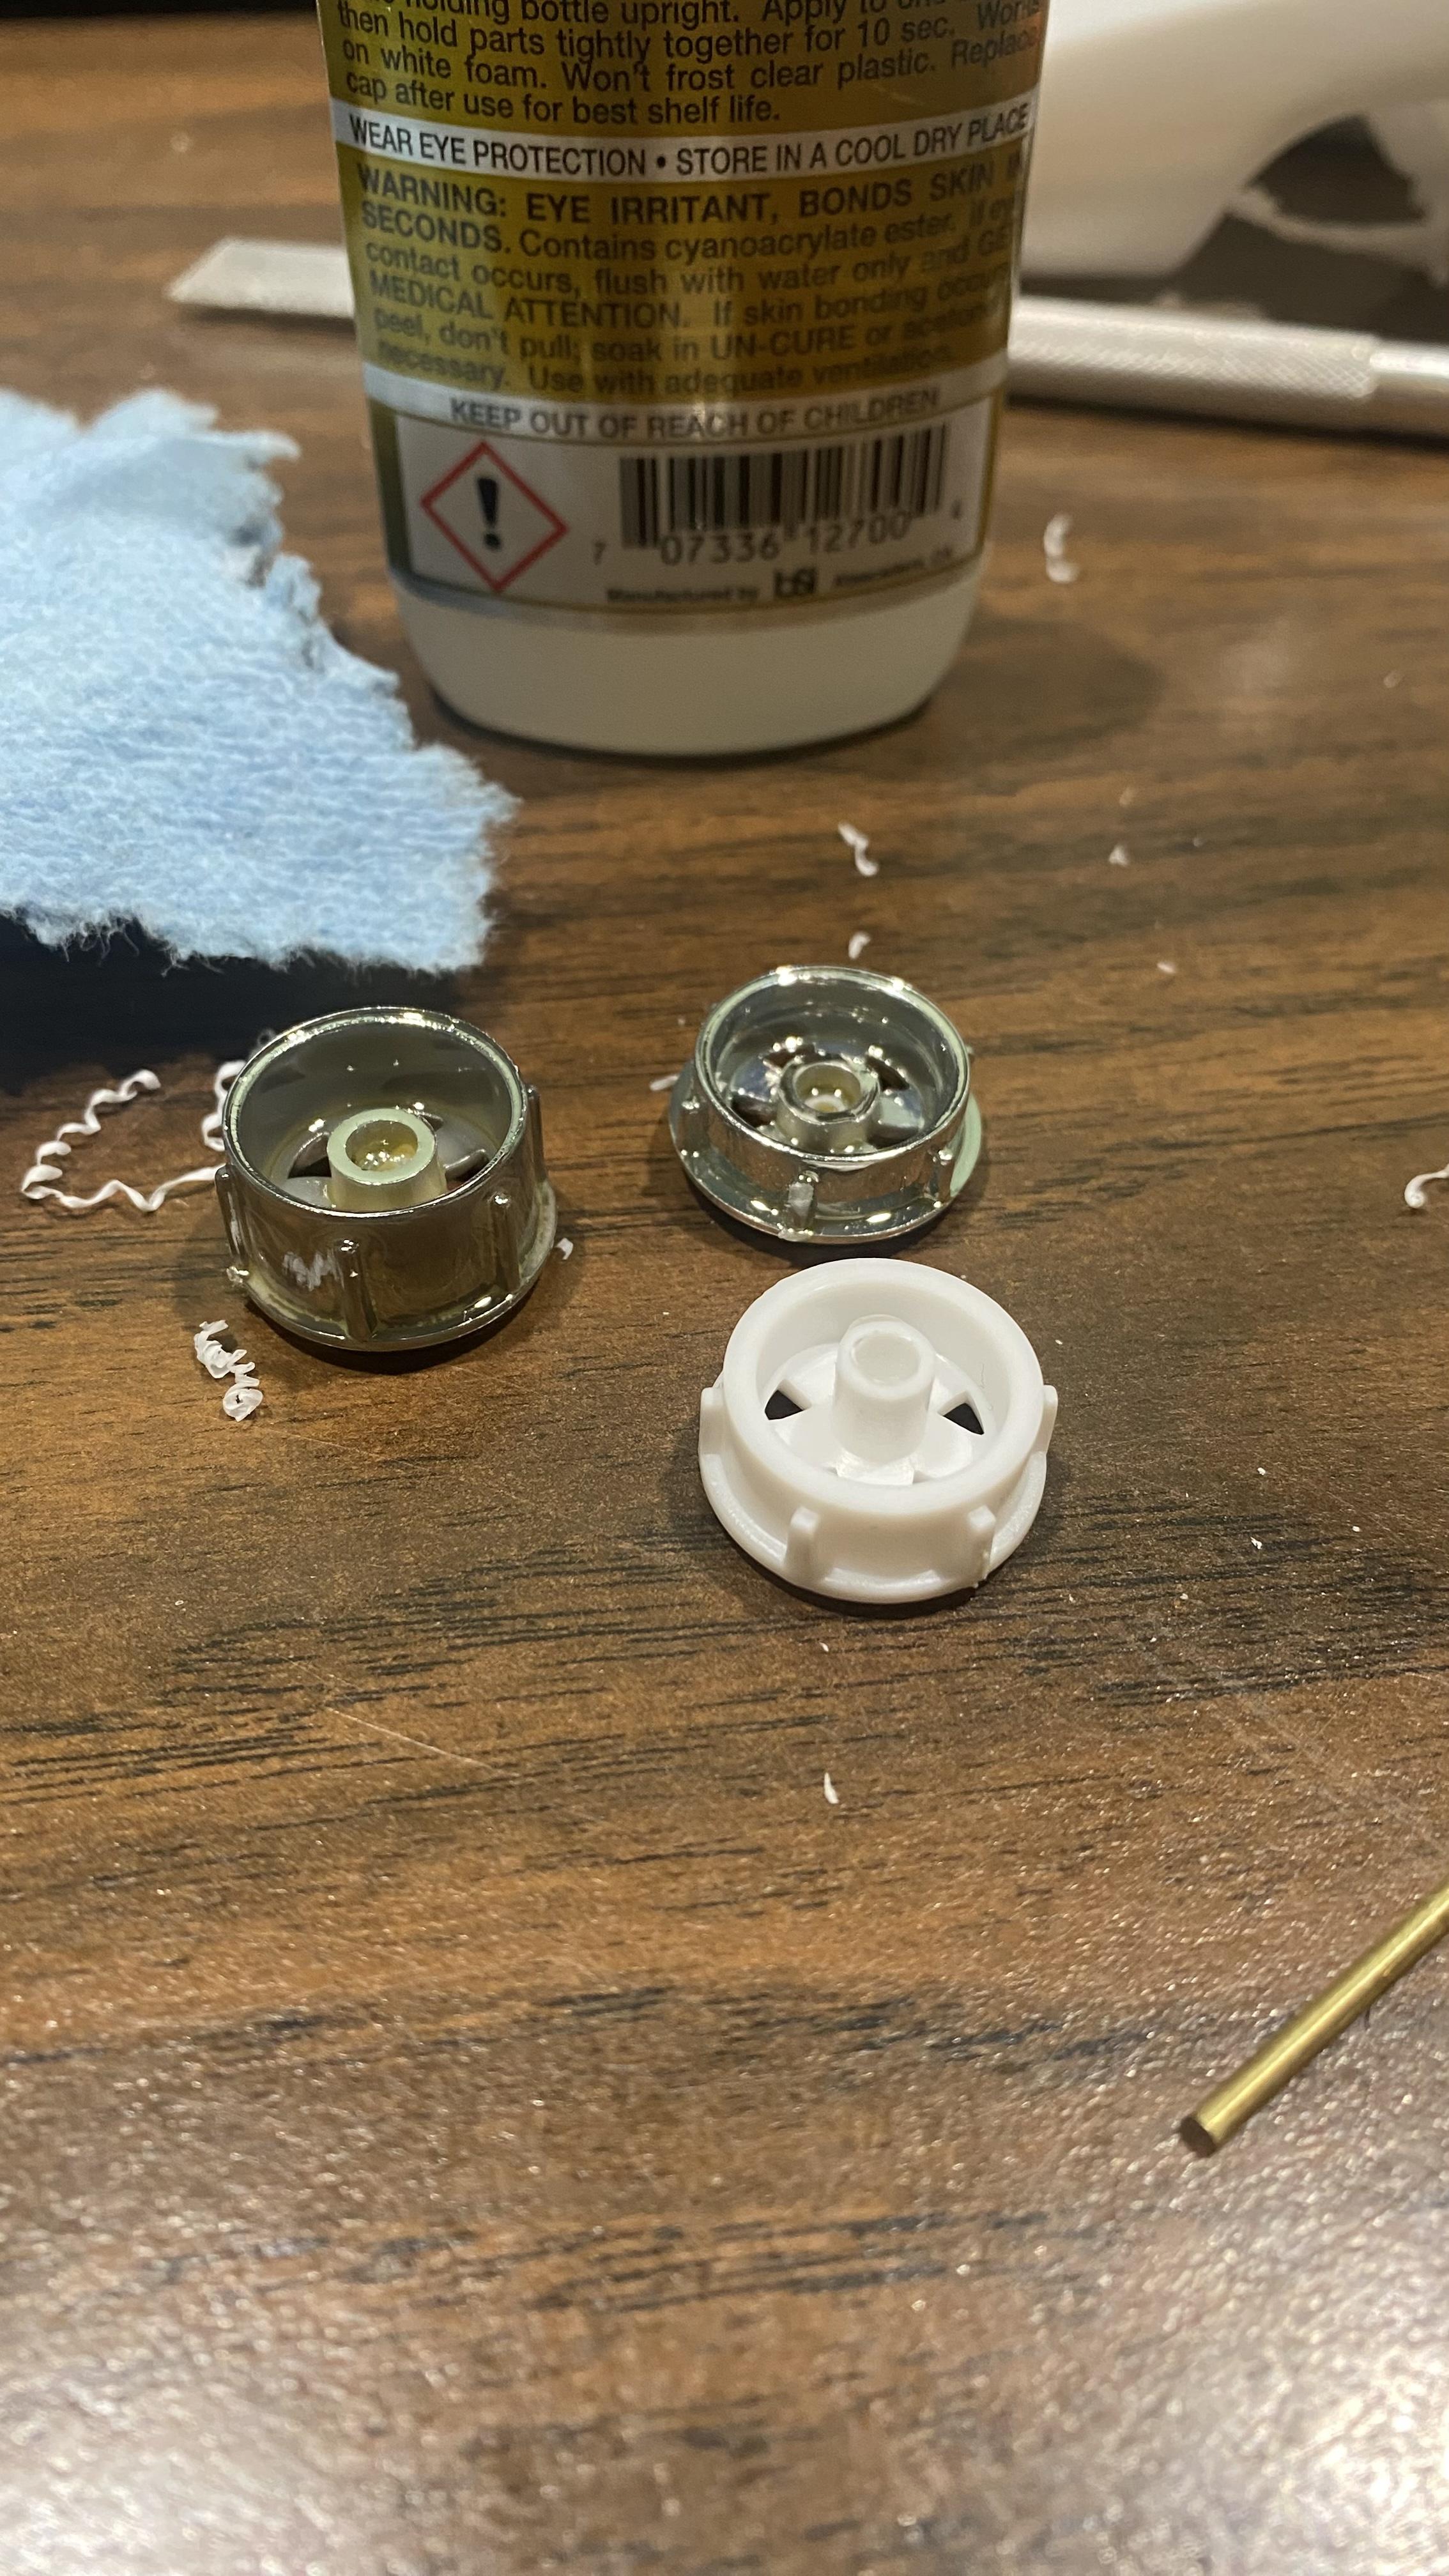
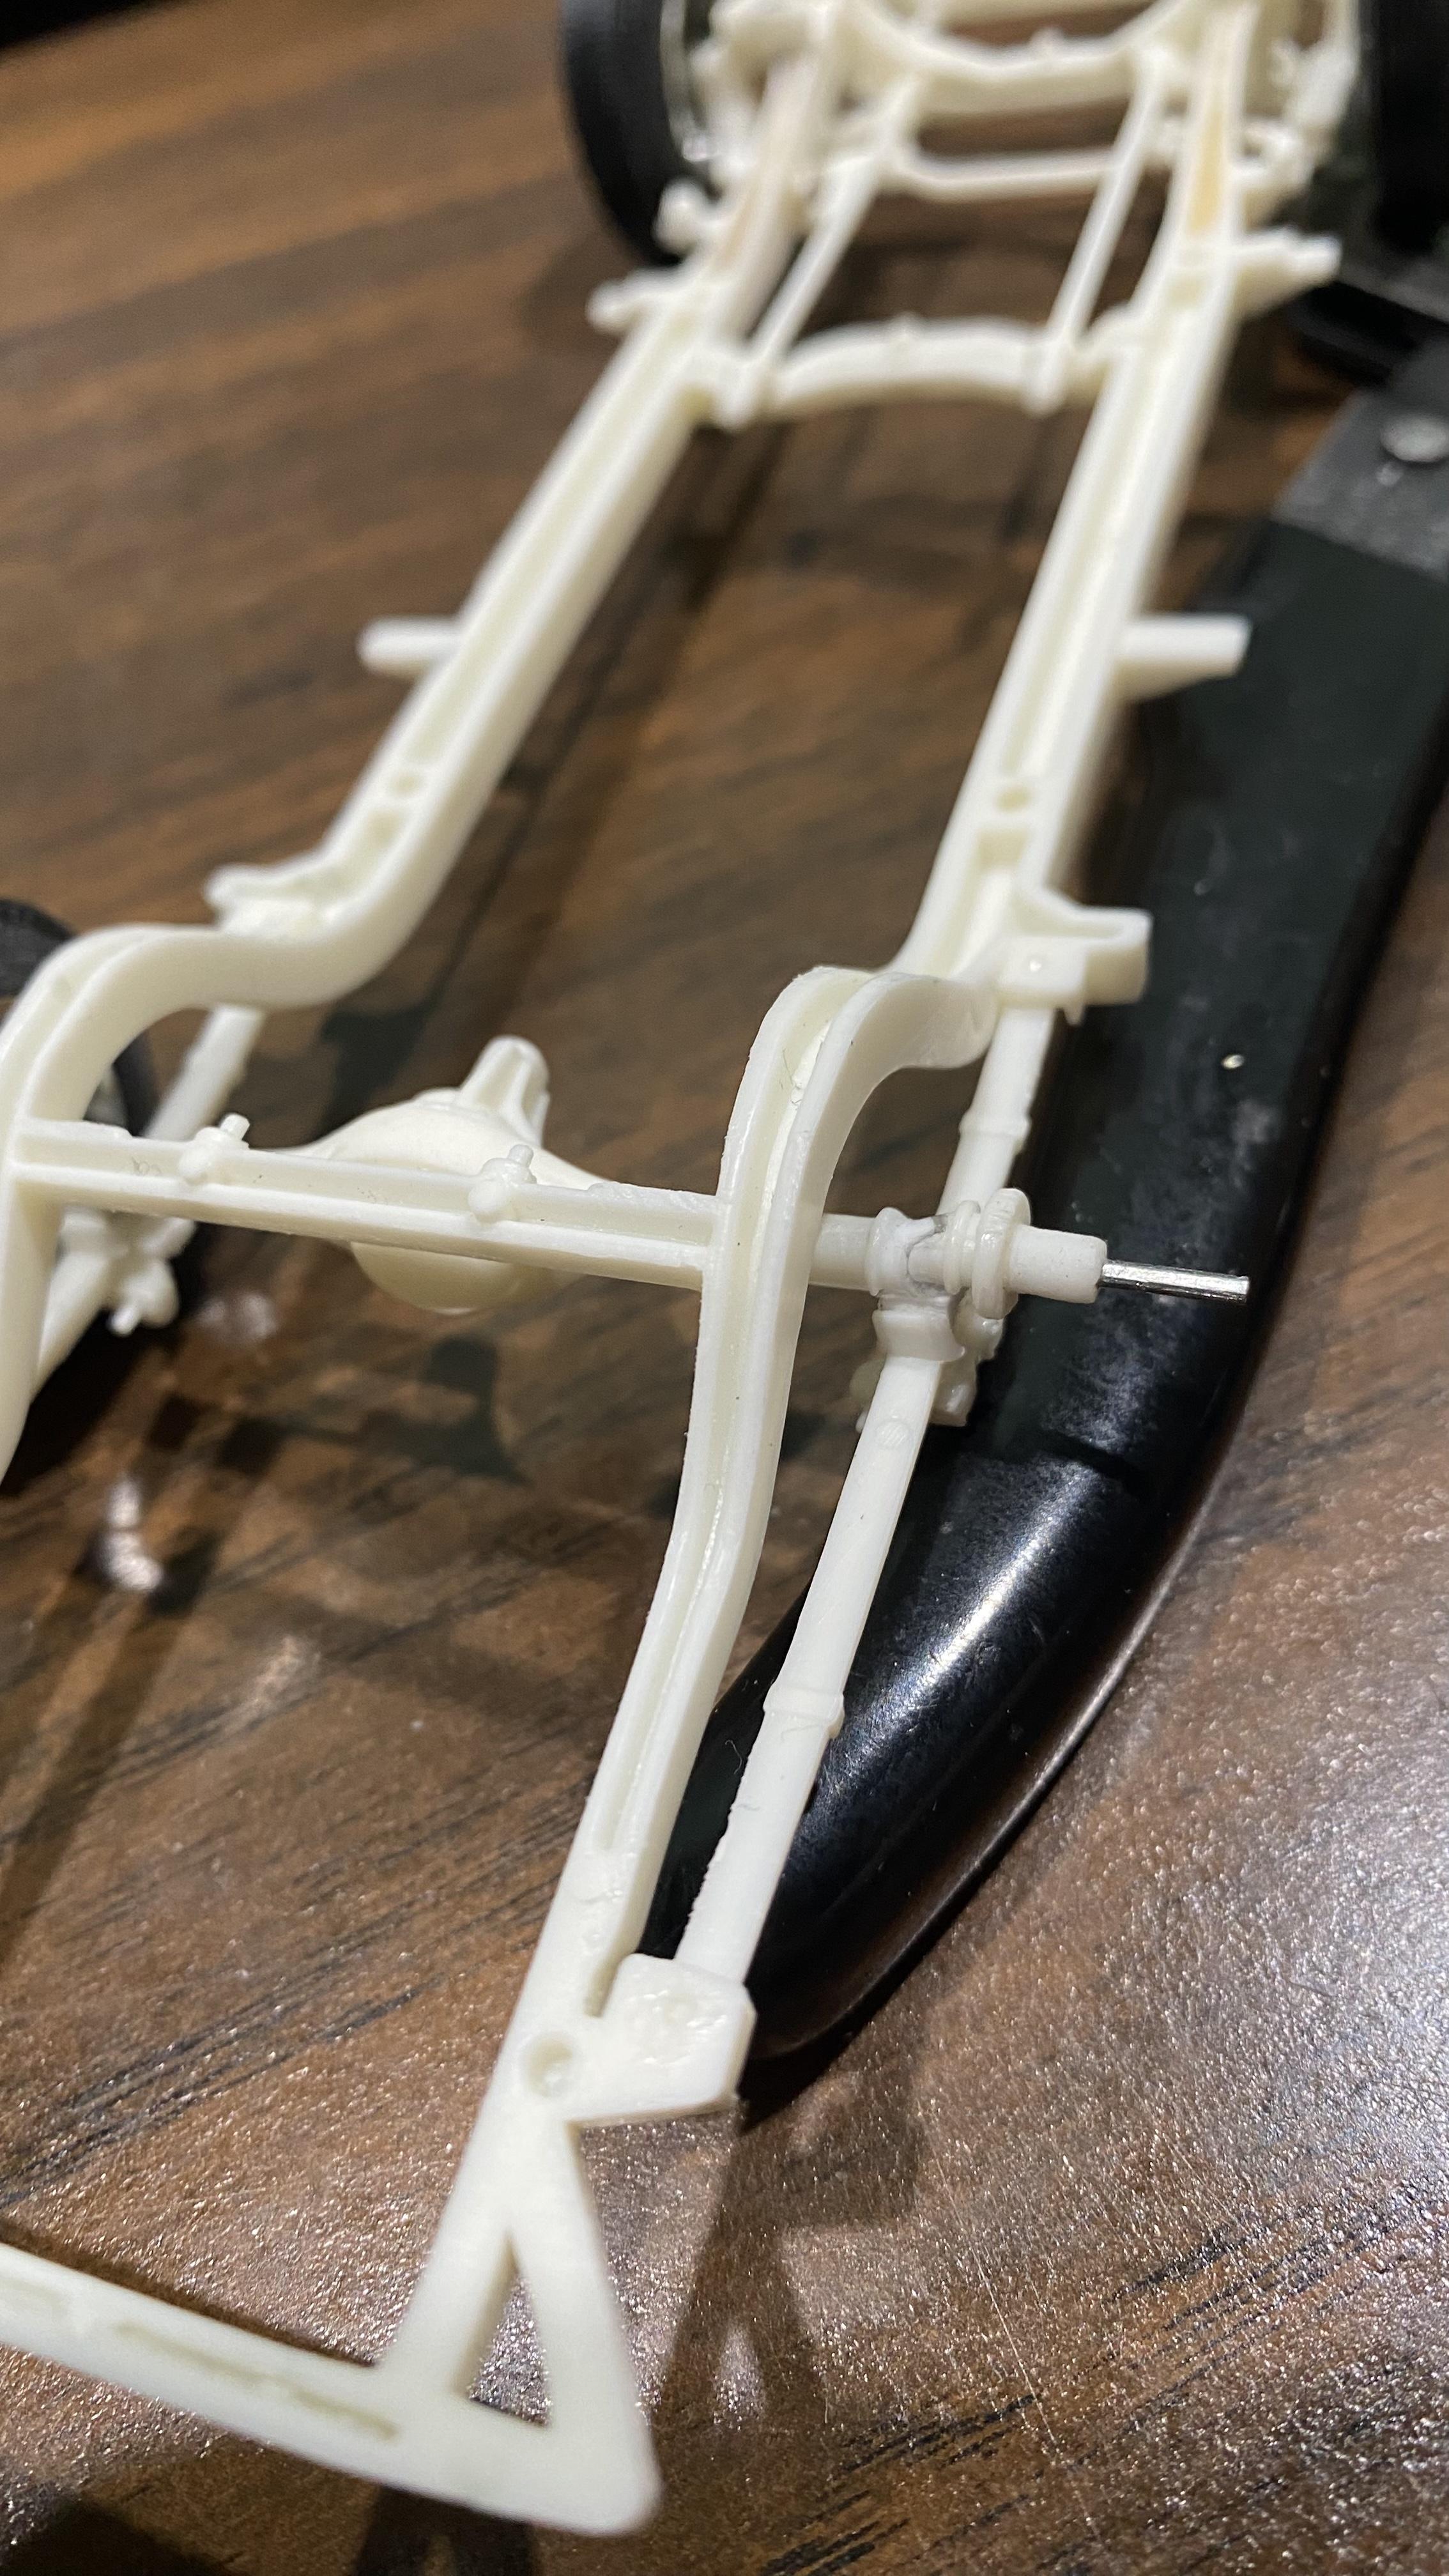
I think I’m going to imbed a length of the brass rod I use for axles on the Pegasus wheels into the wheels with either plastic stock and/or Bondic then drill out the spindles and axle ends and CA the brass into them during final assembly. -
1970 Charger Peking to Paris Rally Car
Joe Handley replied to Joe Handley's topic in WIP: Model Cars
It’s funny you say that, I was thinking the same for this one, only with brass instead of copper! -
1970 Charger Peking to Paris Rally Car
Joe Handley replied to Joe Handley's topic in WIP: Model Cars
That is one of many Chargers built by Hollywood that inspired this build, though the below one more so in particular, which was done to chase thieves in Jeep CJ-5S that would go places that none of the 2wd cars on the show could go. As well as a ‘62 Plymouth Fury Dad had, which had been his first new car as well as been modified and raced on the street and tracks, but retired from that life when Dad went to work for the railroad. What Dad did was add air shocks to the back (which I think the above GL had as well, story line wise), cranked the torsion bars to lift the front, used Dodge Truck wheels and taller tires all around with wider rear tire, all to compliment the SureGrip equipped 8 3/4” rear axle. There were few places he’s said that Plymouth wouldn’t go along the railroad’s right or ways and outside of Jeeps, few trucks could follow! -
1970 Charger Peking to Paris Rally Car
Joe Handley replied to Joe Handley's topic in WIP: Model Cars
Thanks and Maybe, maybe not, I’m just going to build it as though it has a low compression 383 in it, figure a low-ish compression but still pretty healthy 383 would be better than a larger and more powerful B or RB motor. -
1970 Charger Peking to Paris Rally Car
Joe Handley replied to Joe Handley's topic in WIP: Model Cars
Got some more work done tonight, the rear suspension, torque box, and suspension lift for the rear was all glued in before going to an appointment with Dad then getting dinner. After we got home and had dinner a few hours later, I got to work lifting the front of the car by cutting and bending suspension parts to do what I wanted. It also appears that I will need to mini tub the rear a little bit as well, luckily I have plenty of prescription bottles laying around to destroy for the effort! The other thing I need to do is to try and make the curbside Jeep wheels fit the Charger’s axle and spindles, May need to figure that out tomorrow.
-
1970 Charger Peking to Paris Rally Car
Joe Handley replied to Joe Handley's topic in WIP: Model Cars
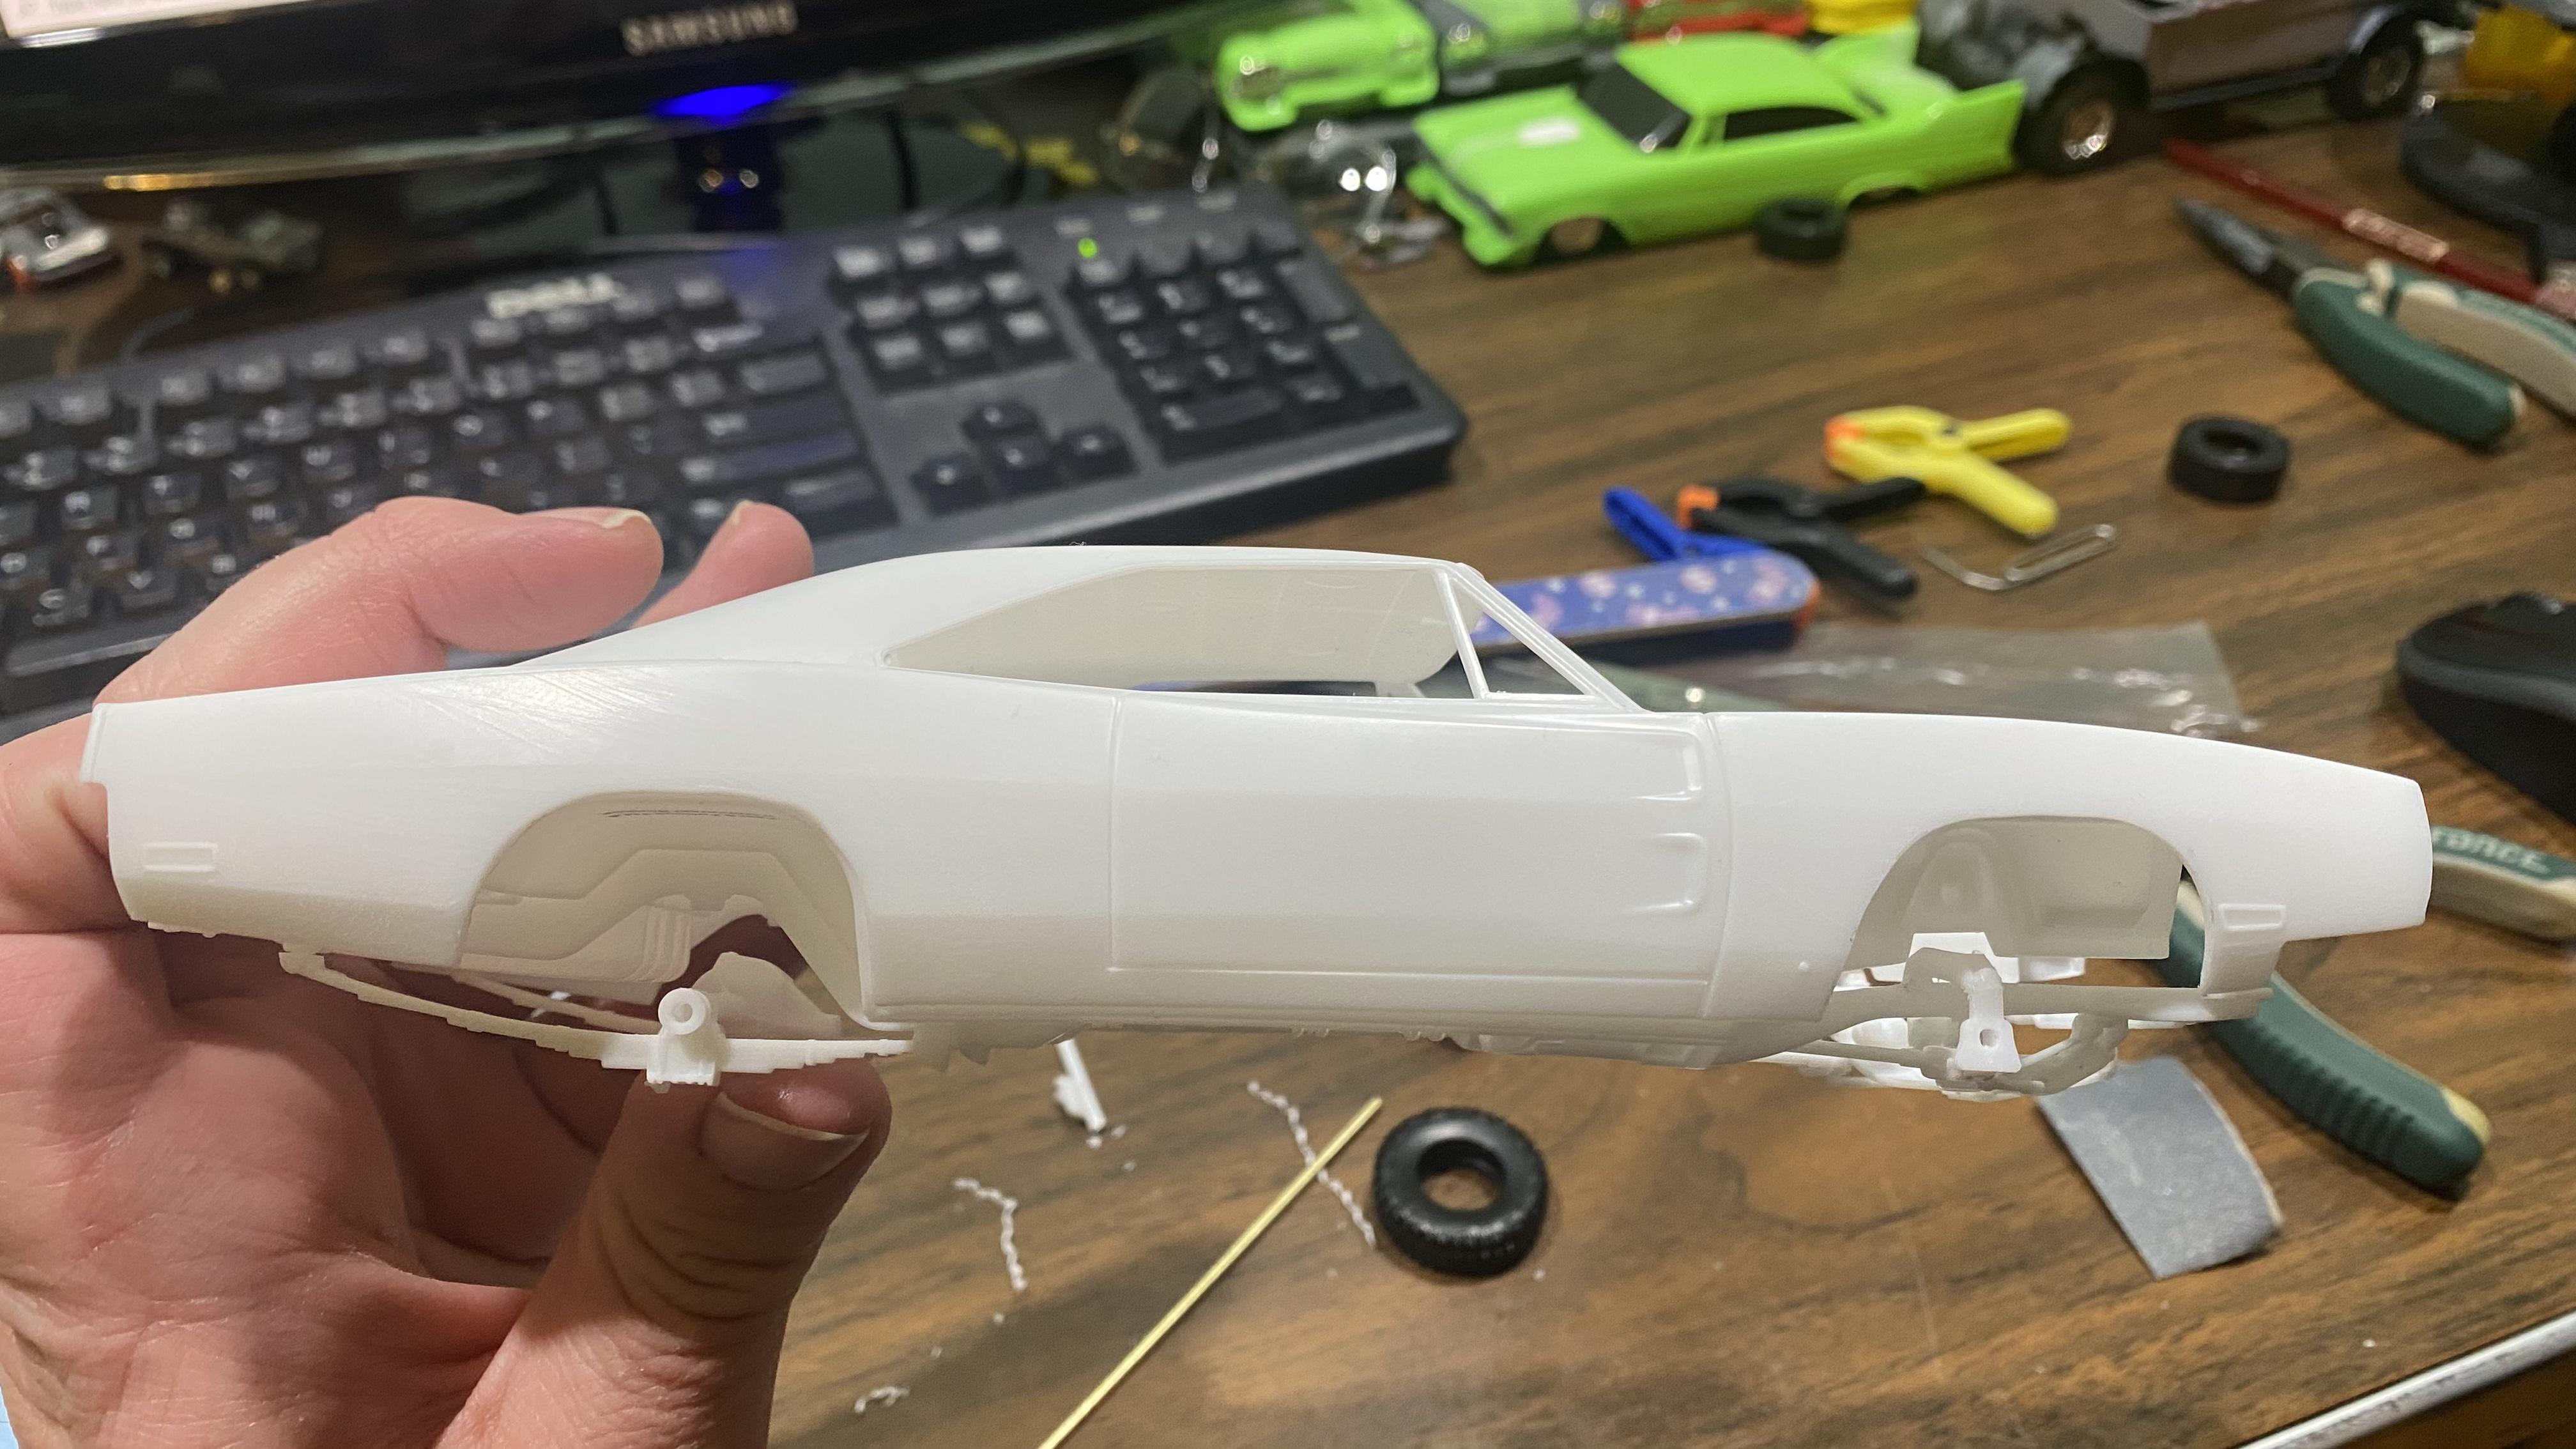
Got the fenders trimmed and that seemed to have done the trick, probably would have been around 1” added clearance throughout the openings if it was on a real 2nd Gen Charger.
-
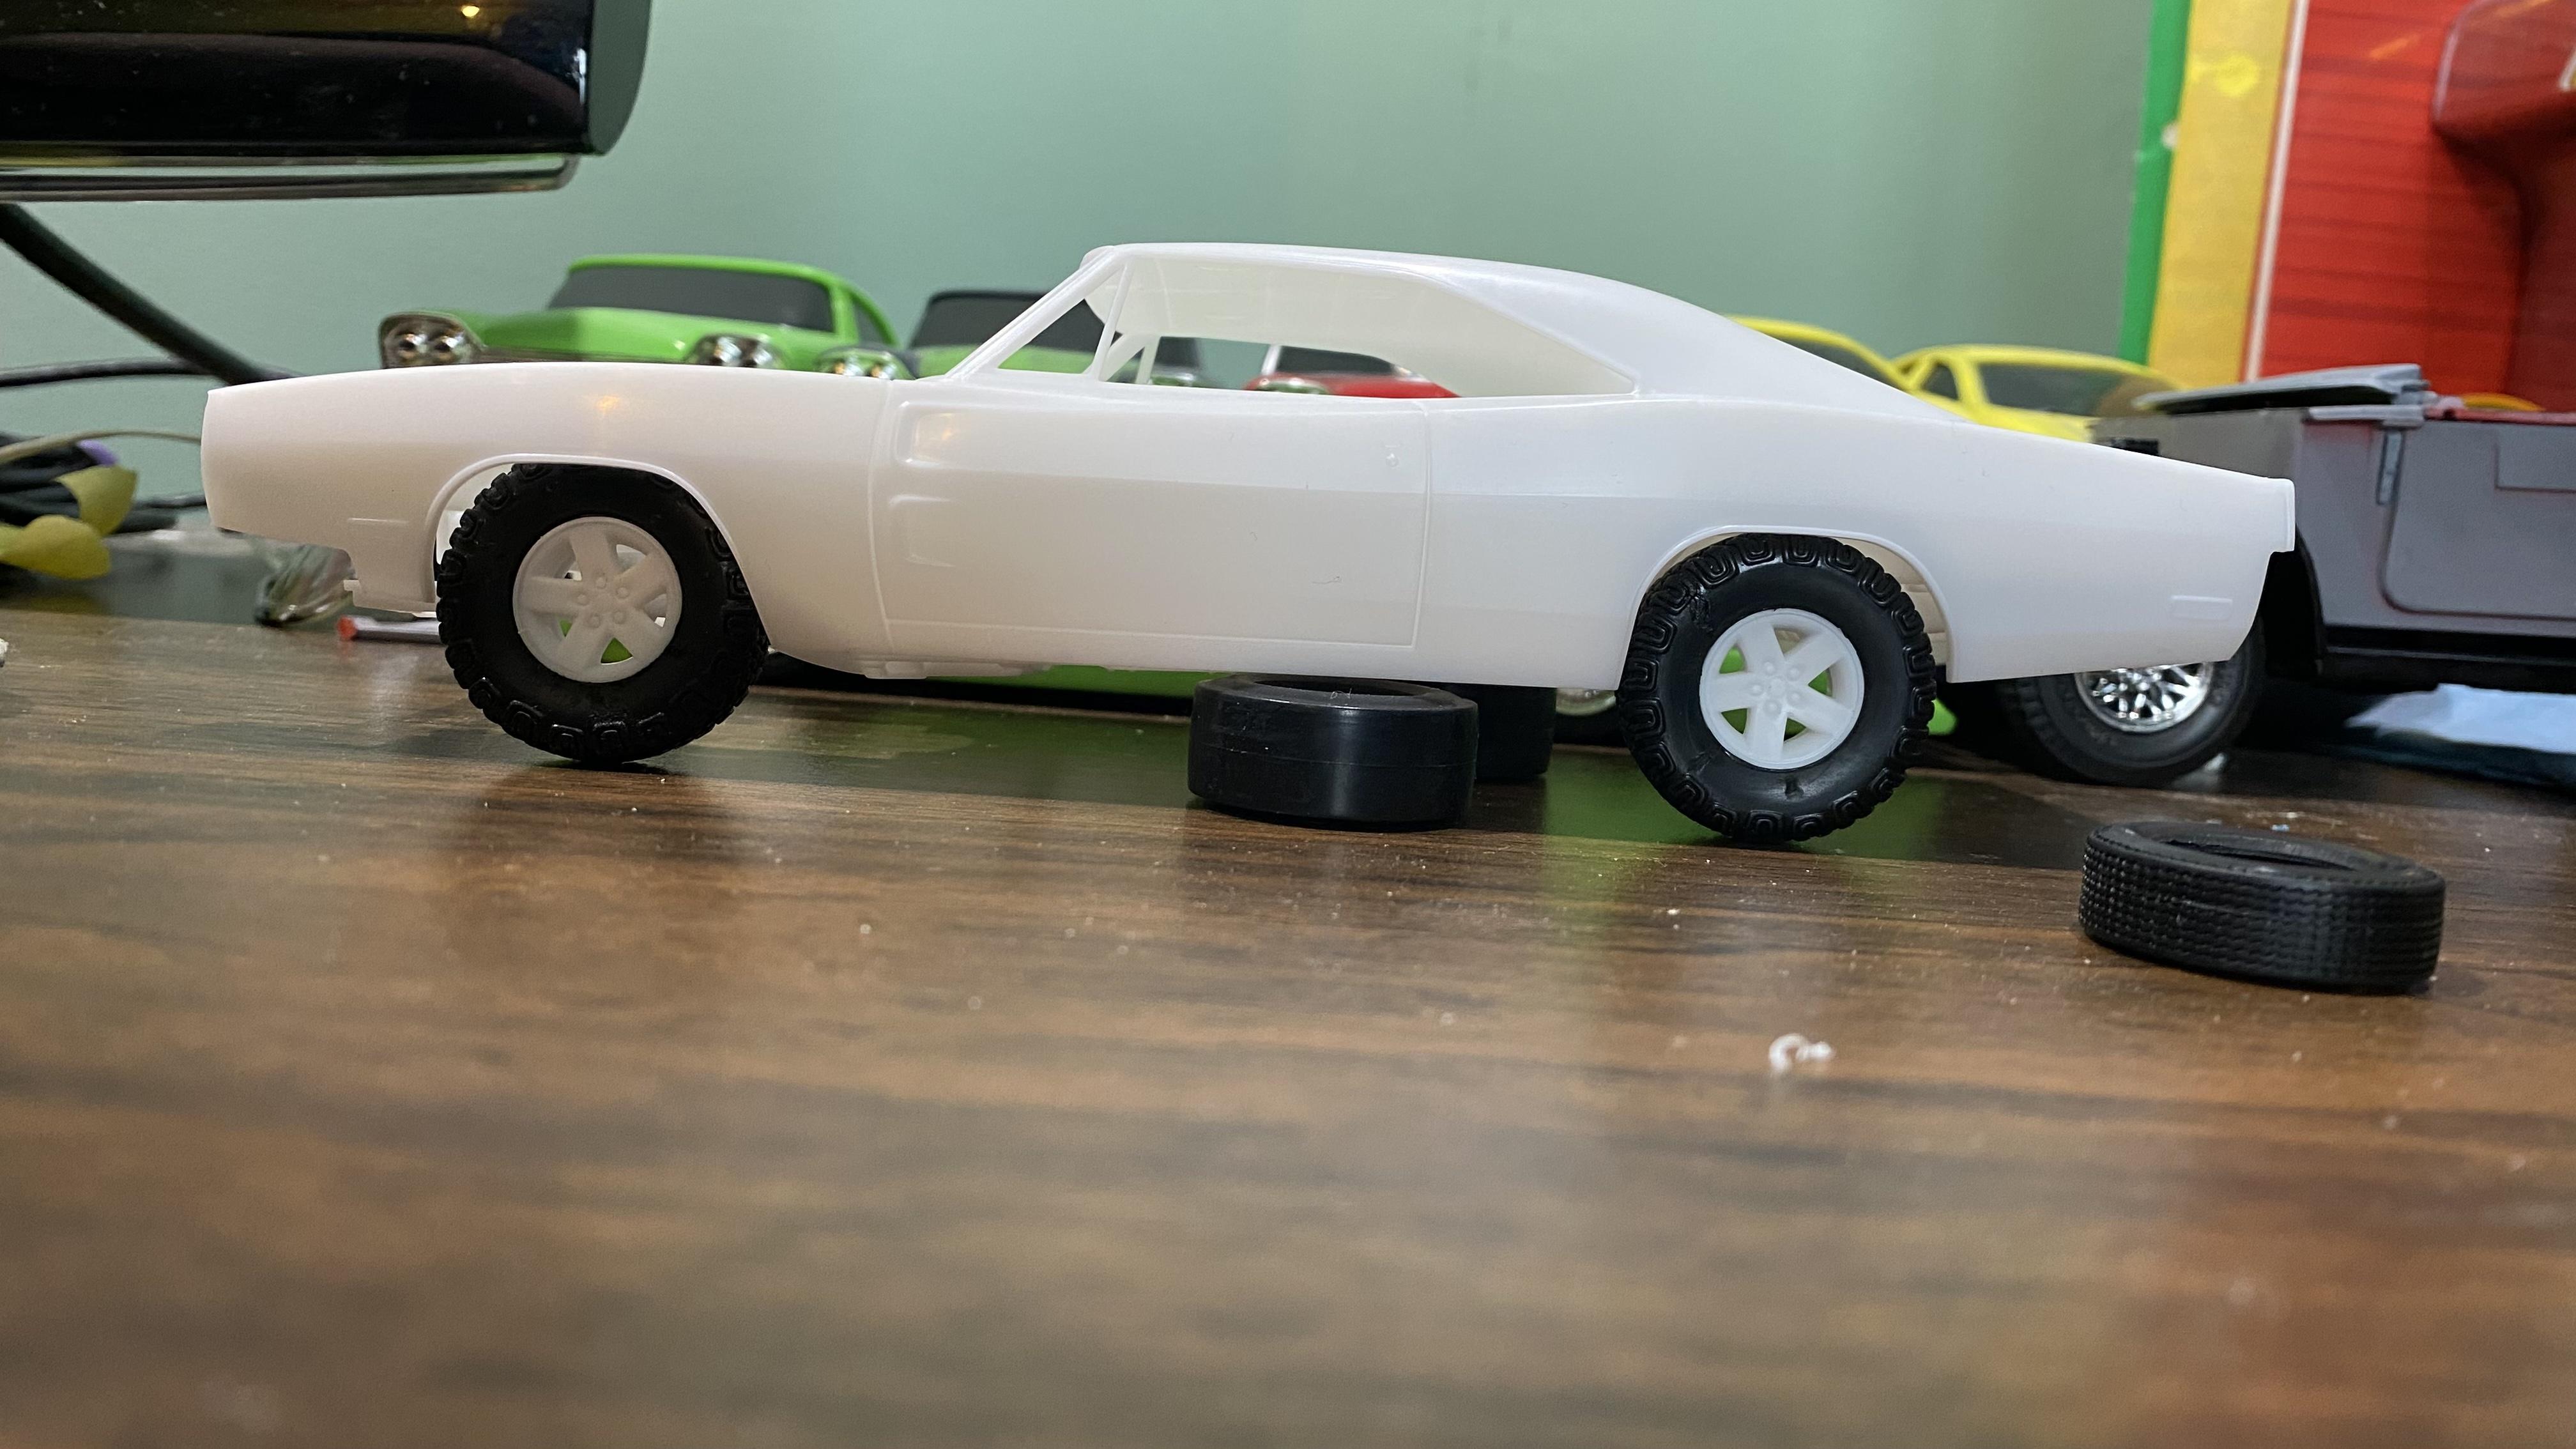
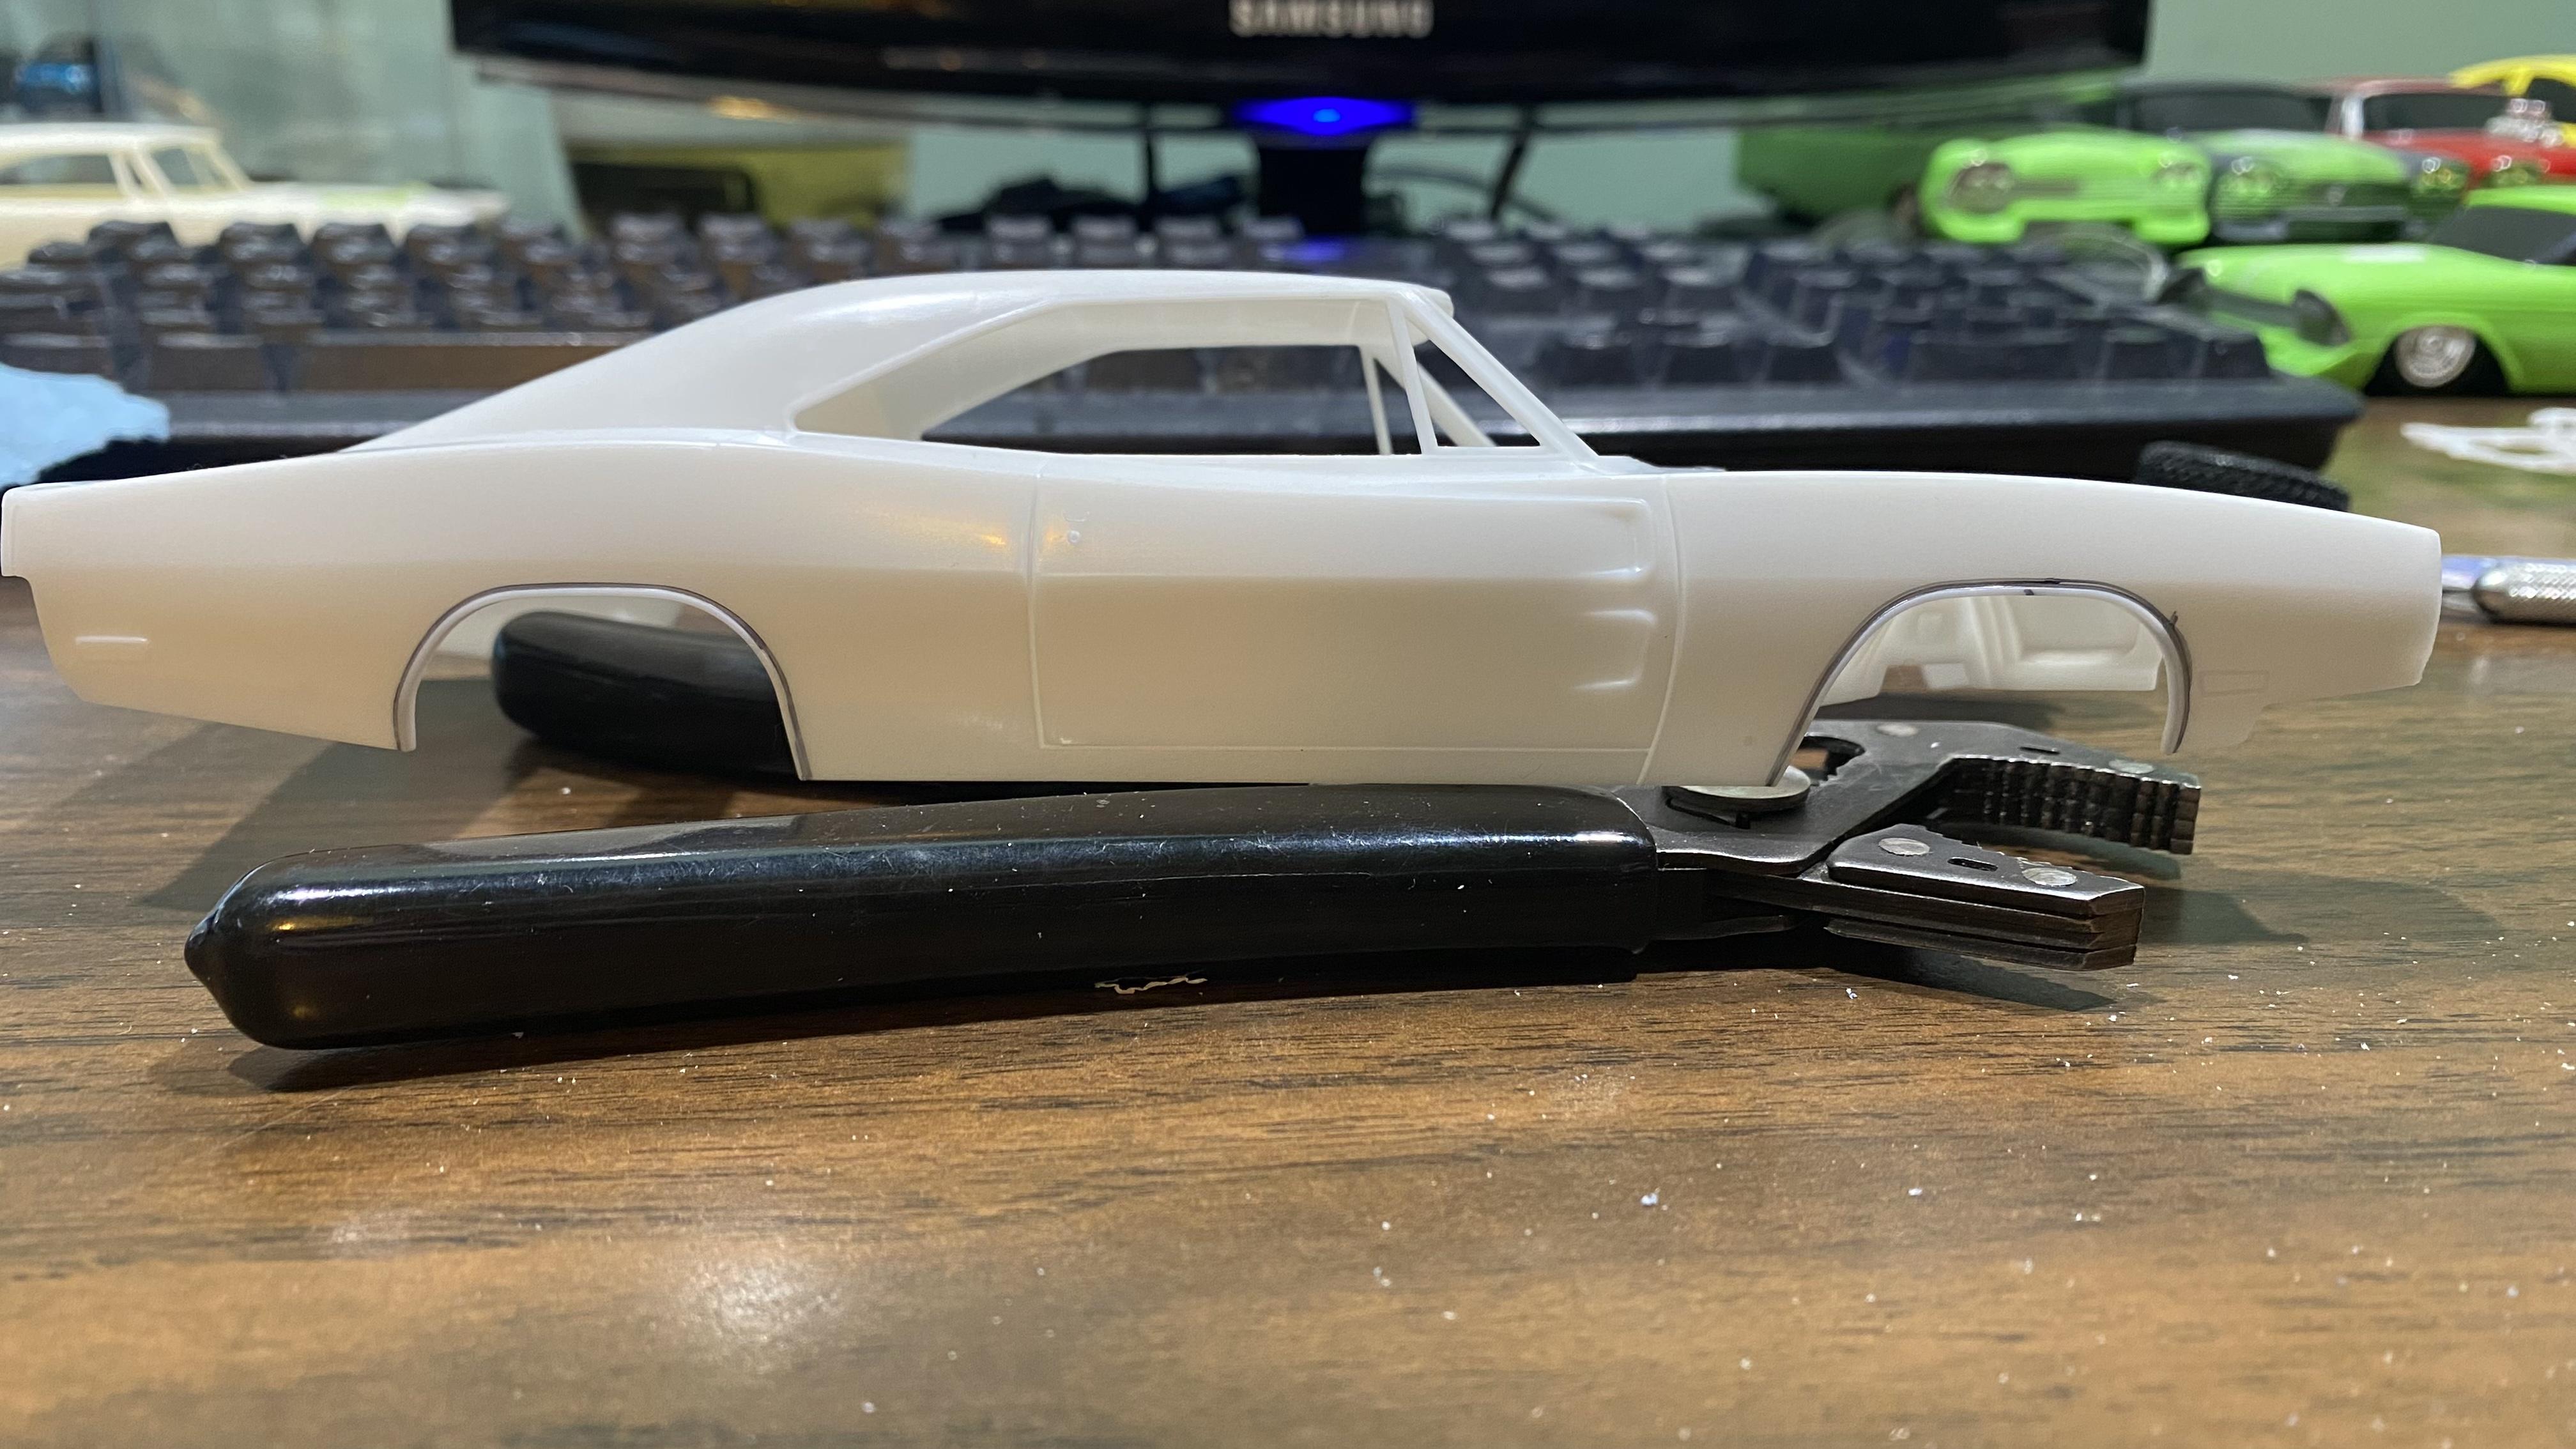
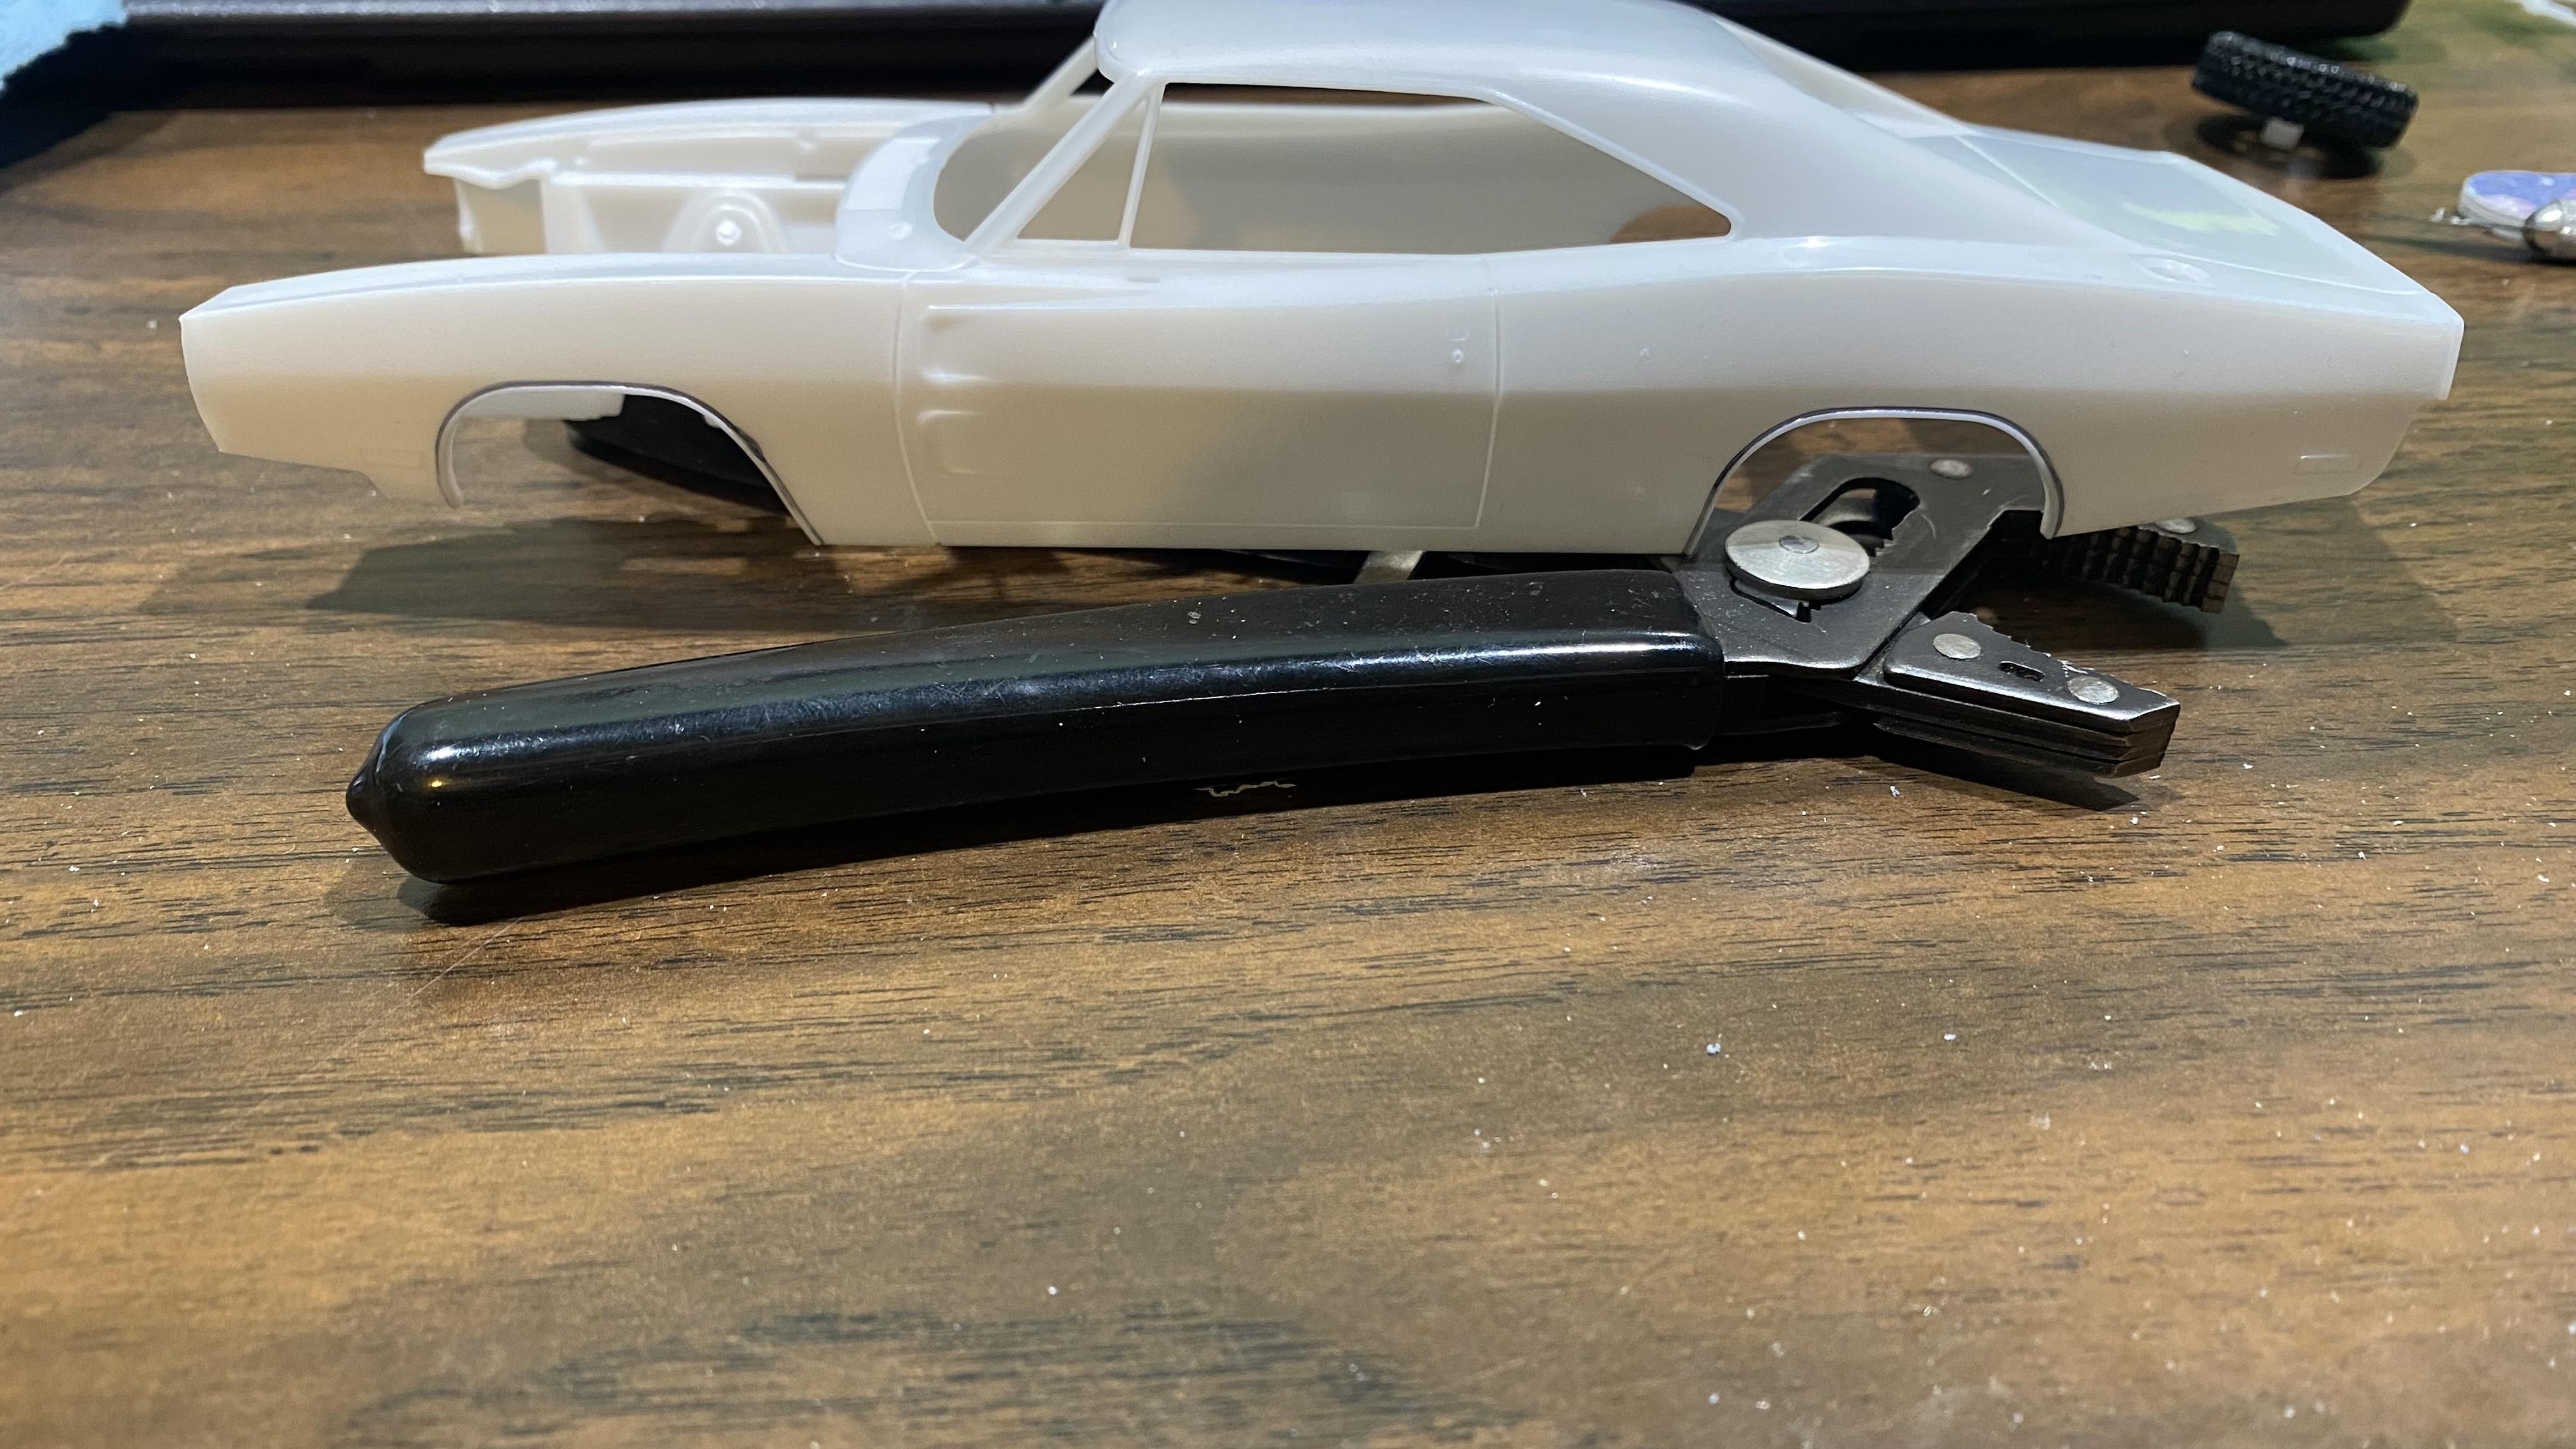
Bill’s ‘50 Stude Rally Car got me thinking about this again and finally decided to start looking into it using the Fast and Furious Dom’s ‘70 Charger and Jeep (TJ) Wrangler Rubicon posted up a couple pics with just the TJ Rubi tires then the wheels and tires under the body with the floor sitting on a couple of slicks from the Charger kit. Then here’s the difference between the TJ kit tires and the slicks and skinnies from the Charger. I did pop it apart and mark the wheel openings so I can trim the part that has the chrome trim to make a little more room for the tires.
-
Street Fury Customs and Custom ‘58 Fury
Joe Handley replied to Joe Handley's topic in WIP: Model Cars
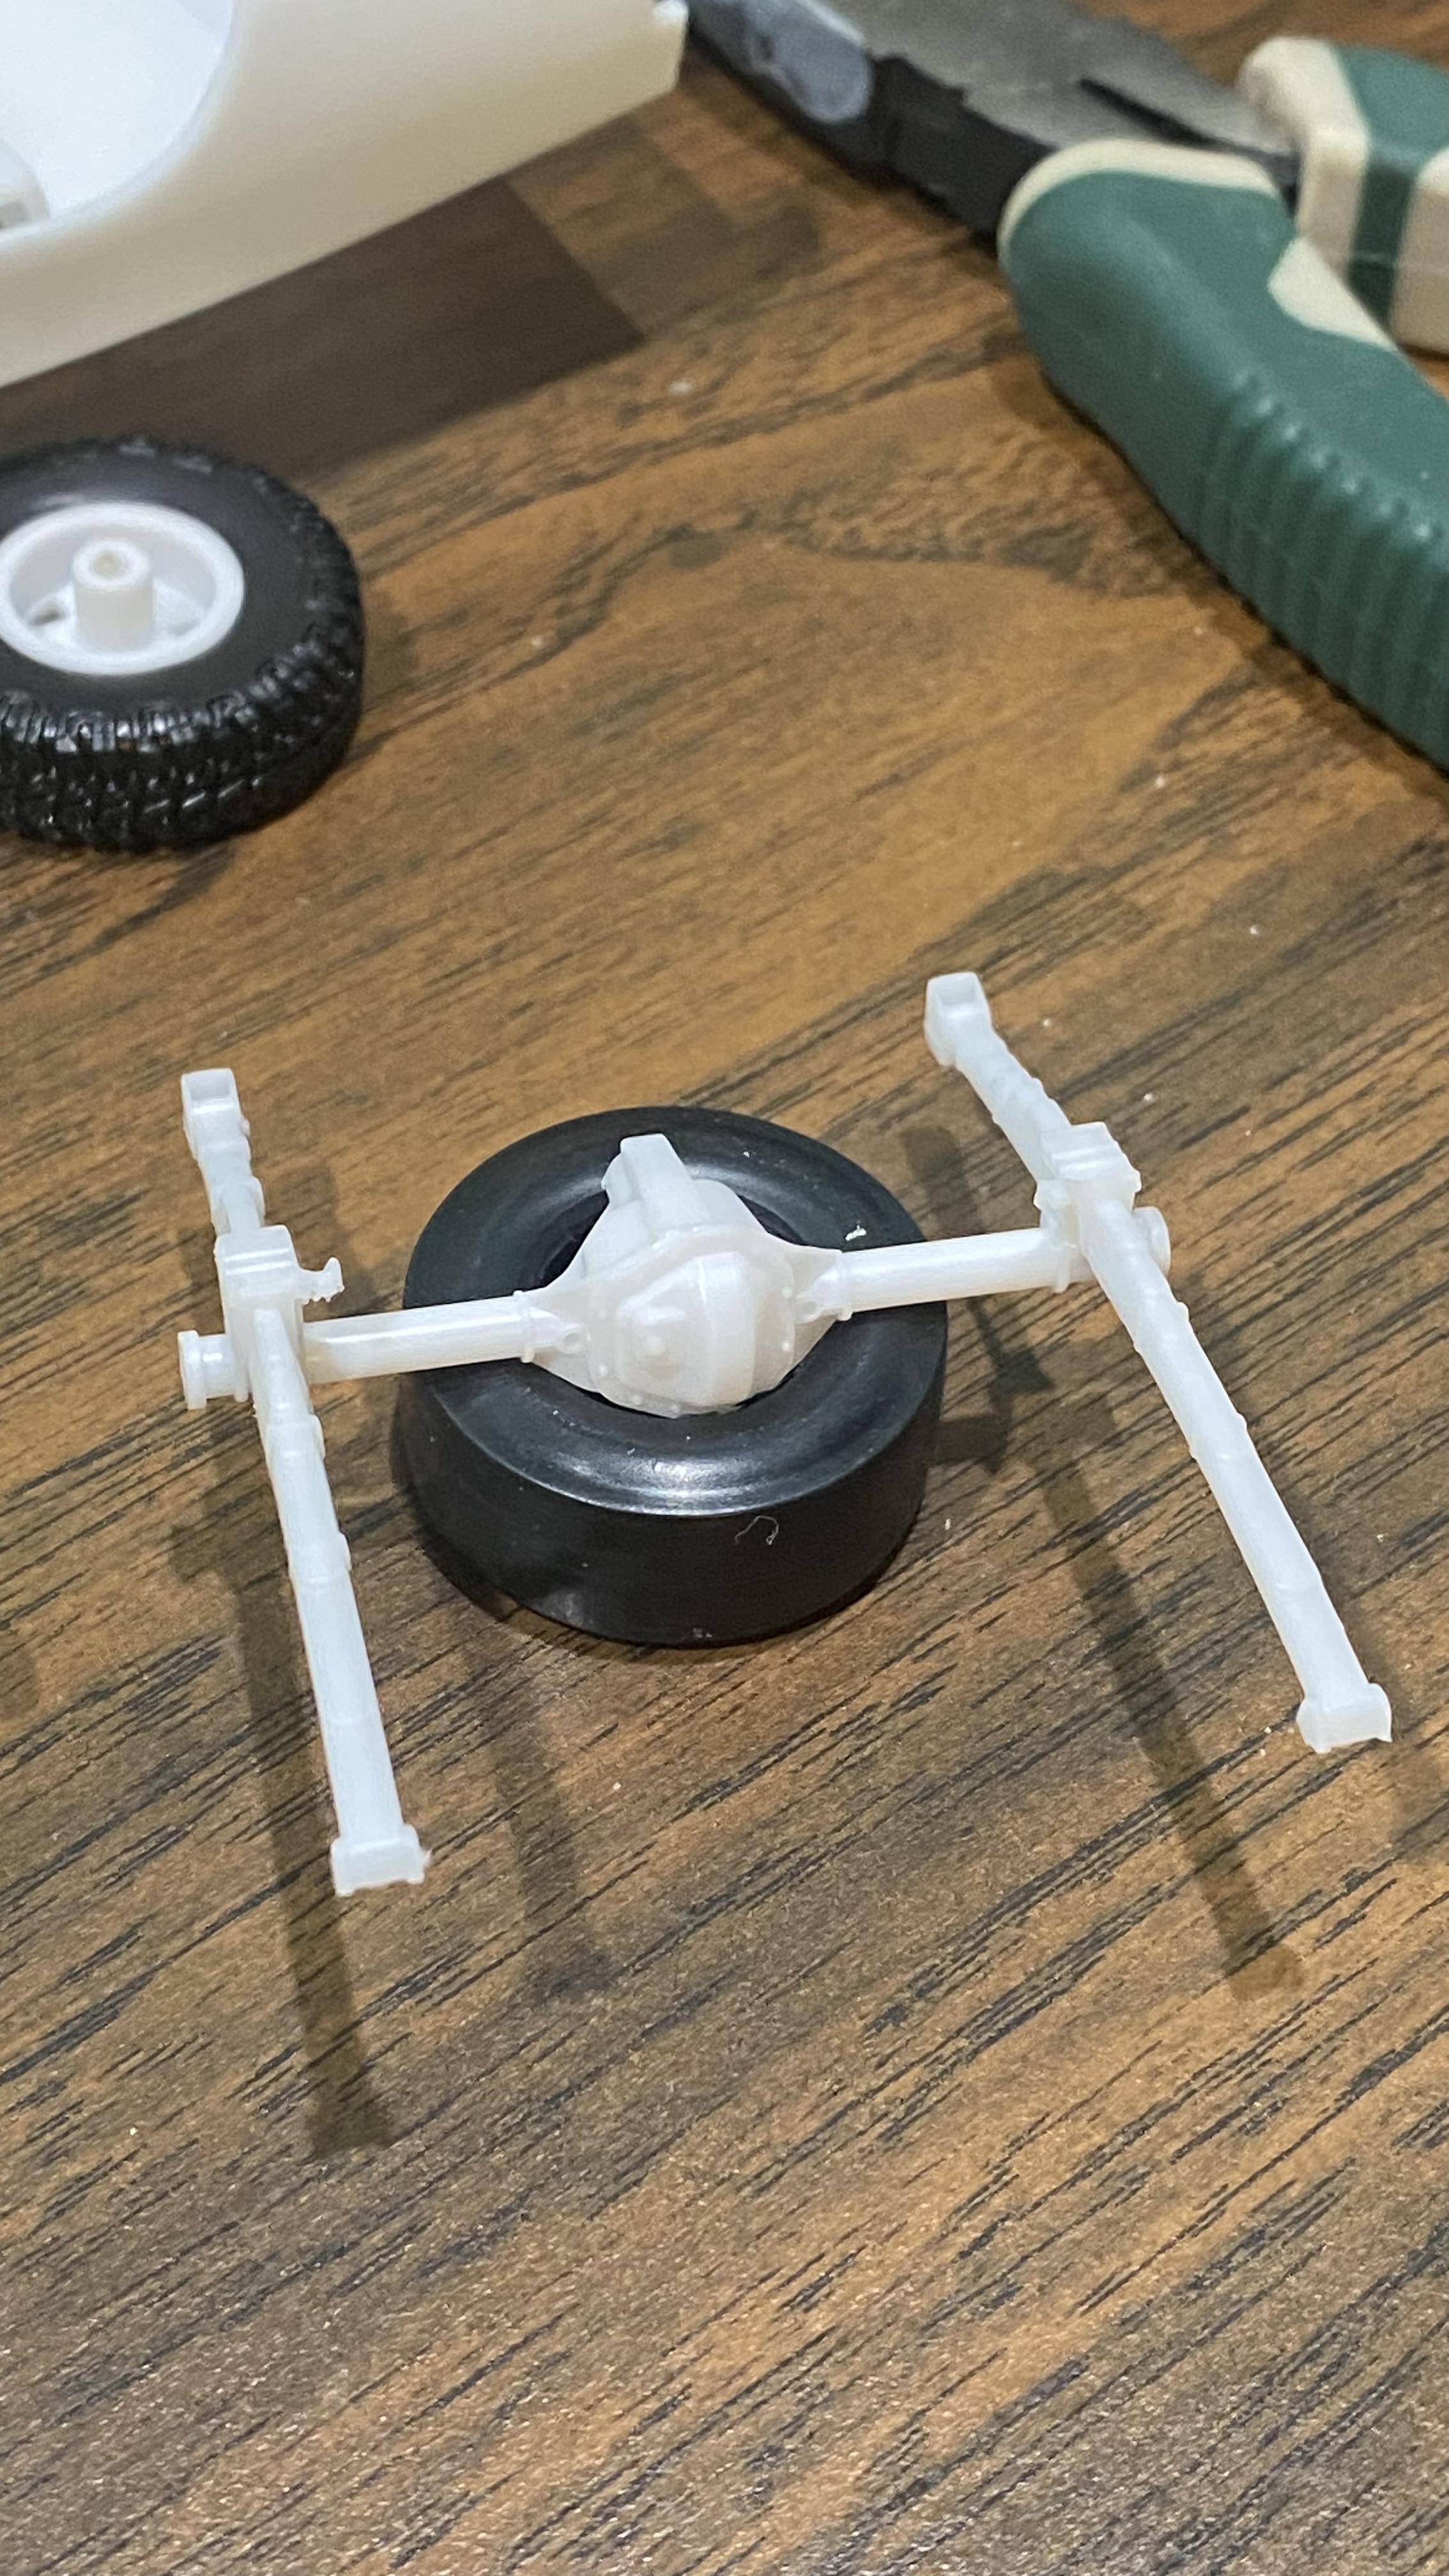
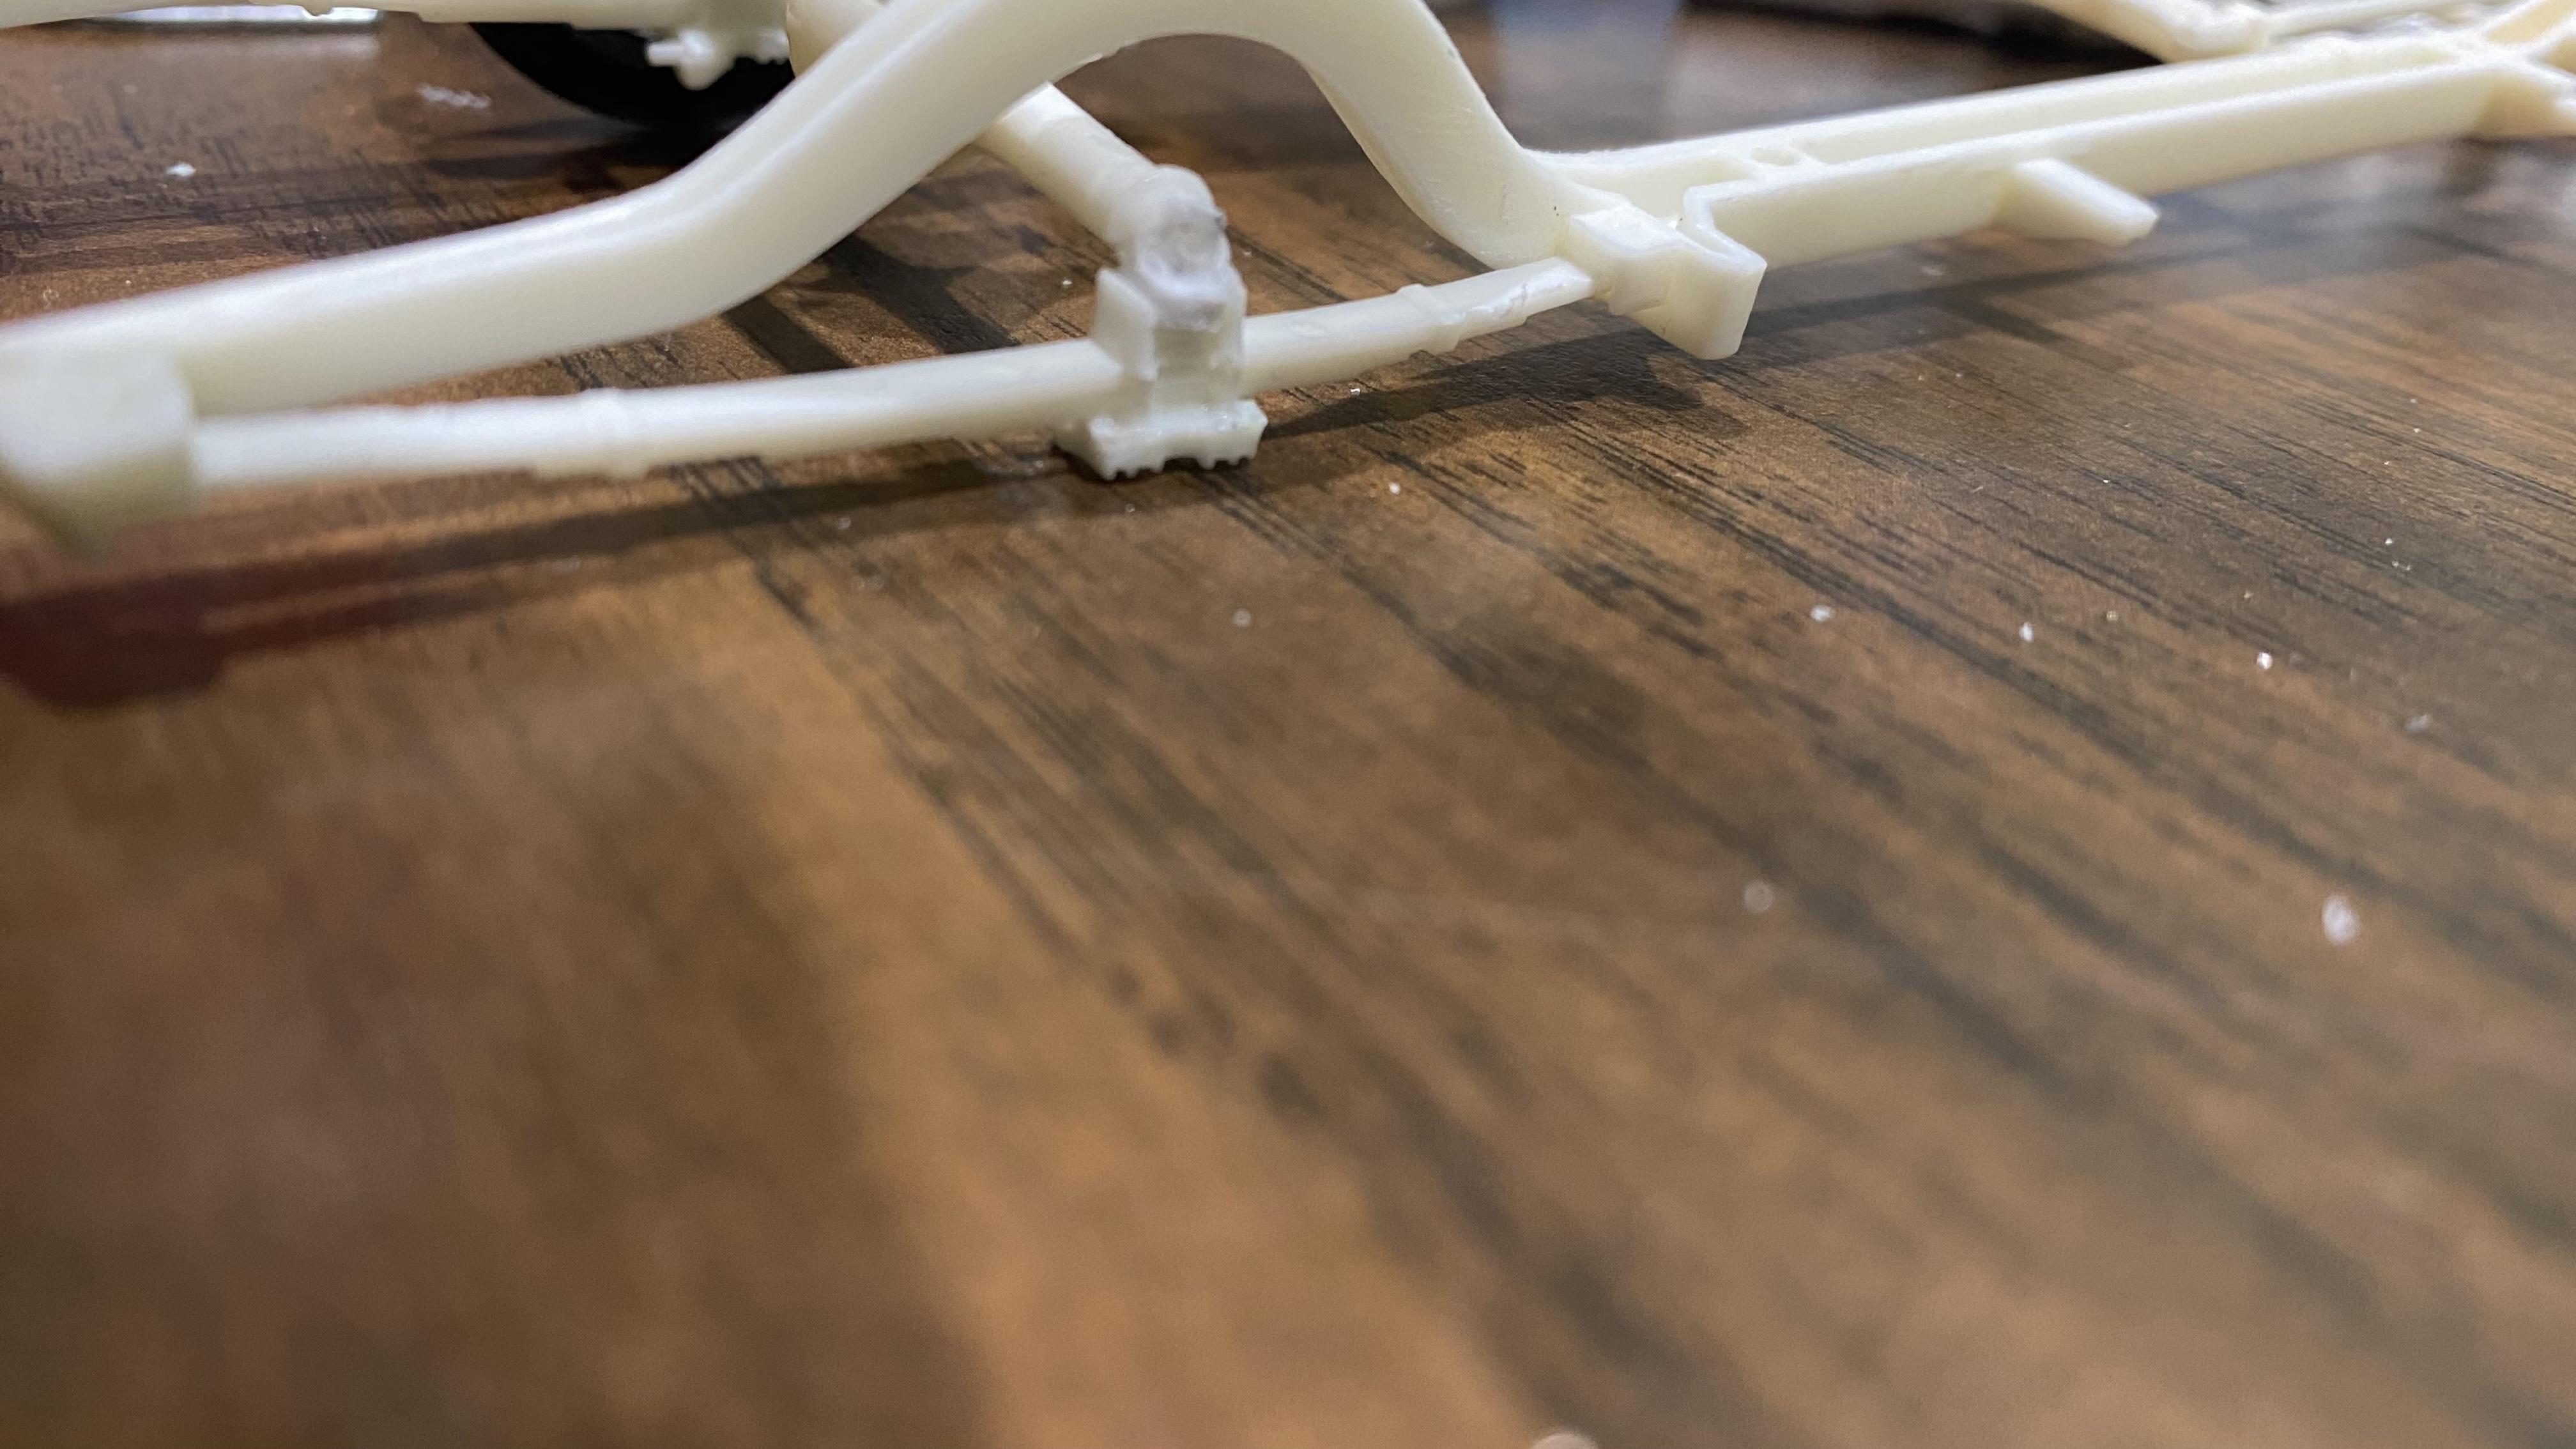
Got the rear axle drilled and pinned back together, going to give the CA time to cure before doing more with it. I also sanded down the part of the axle that the wheel will be CA’d to once completed, may need to do that with the other 3 as well, come to think of it.
-
Tamiya - Honda Ballade Sports Mugen CR-X Pro
Joe Handley replied to 89AKurt's topic in WIP: Model Cars
Never caught onto this one having a side dump exhaust before! -
Street Fury Customs and Custom ‘58 Fury
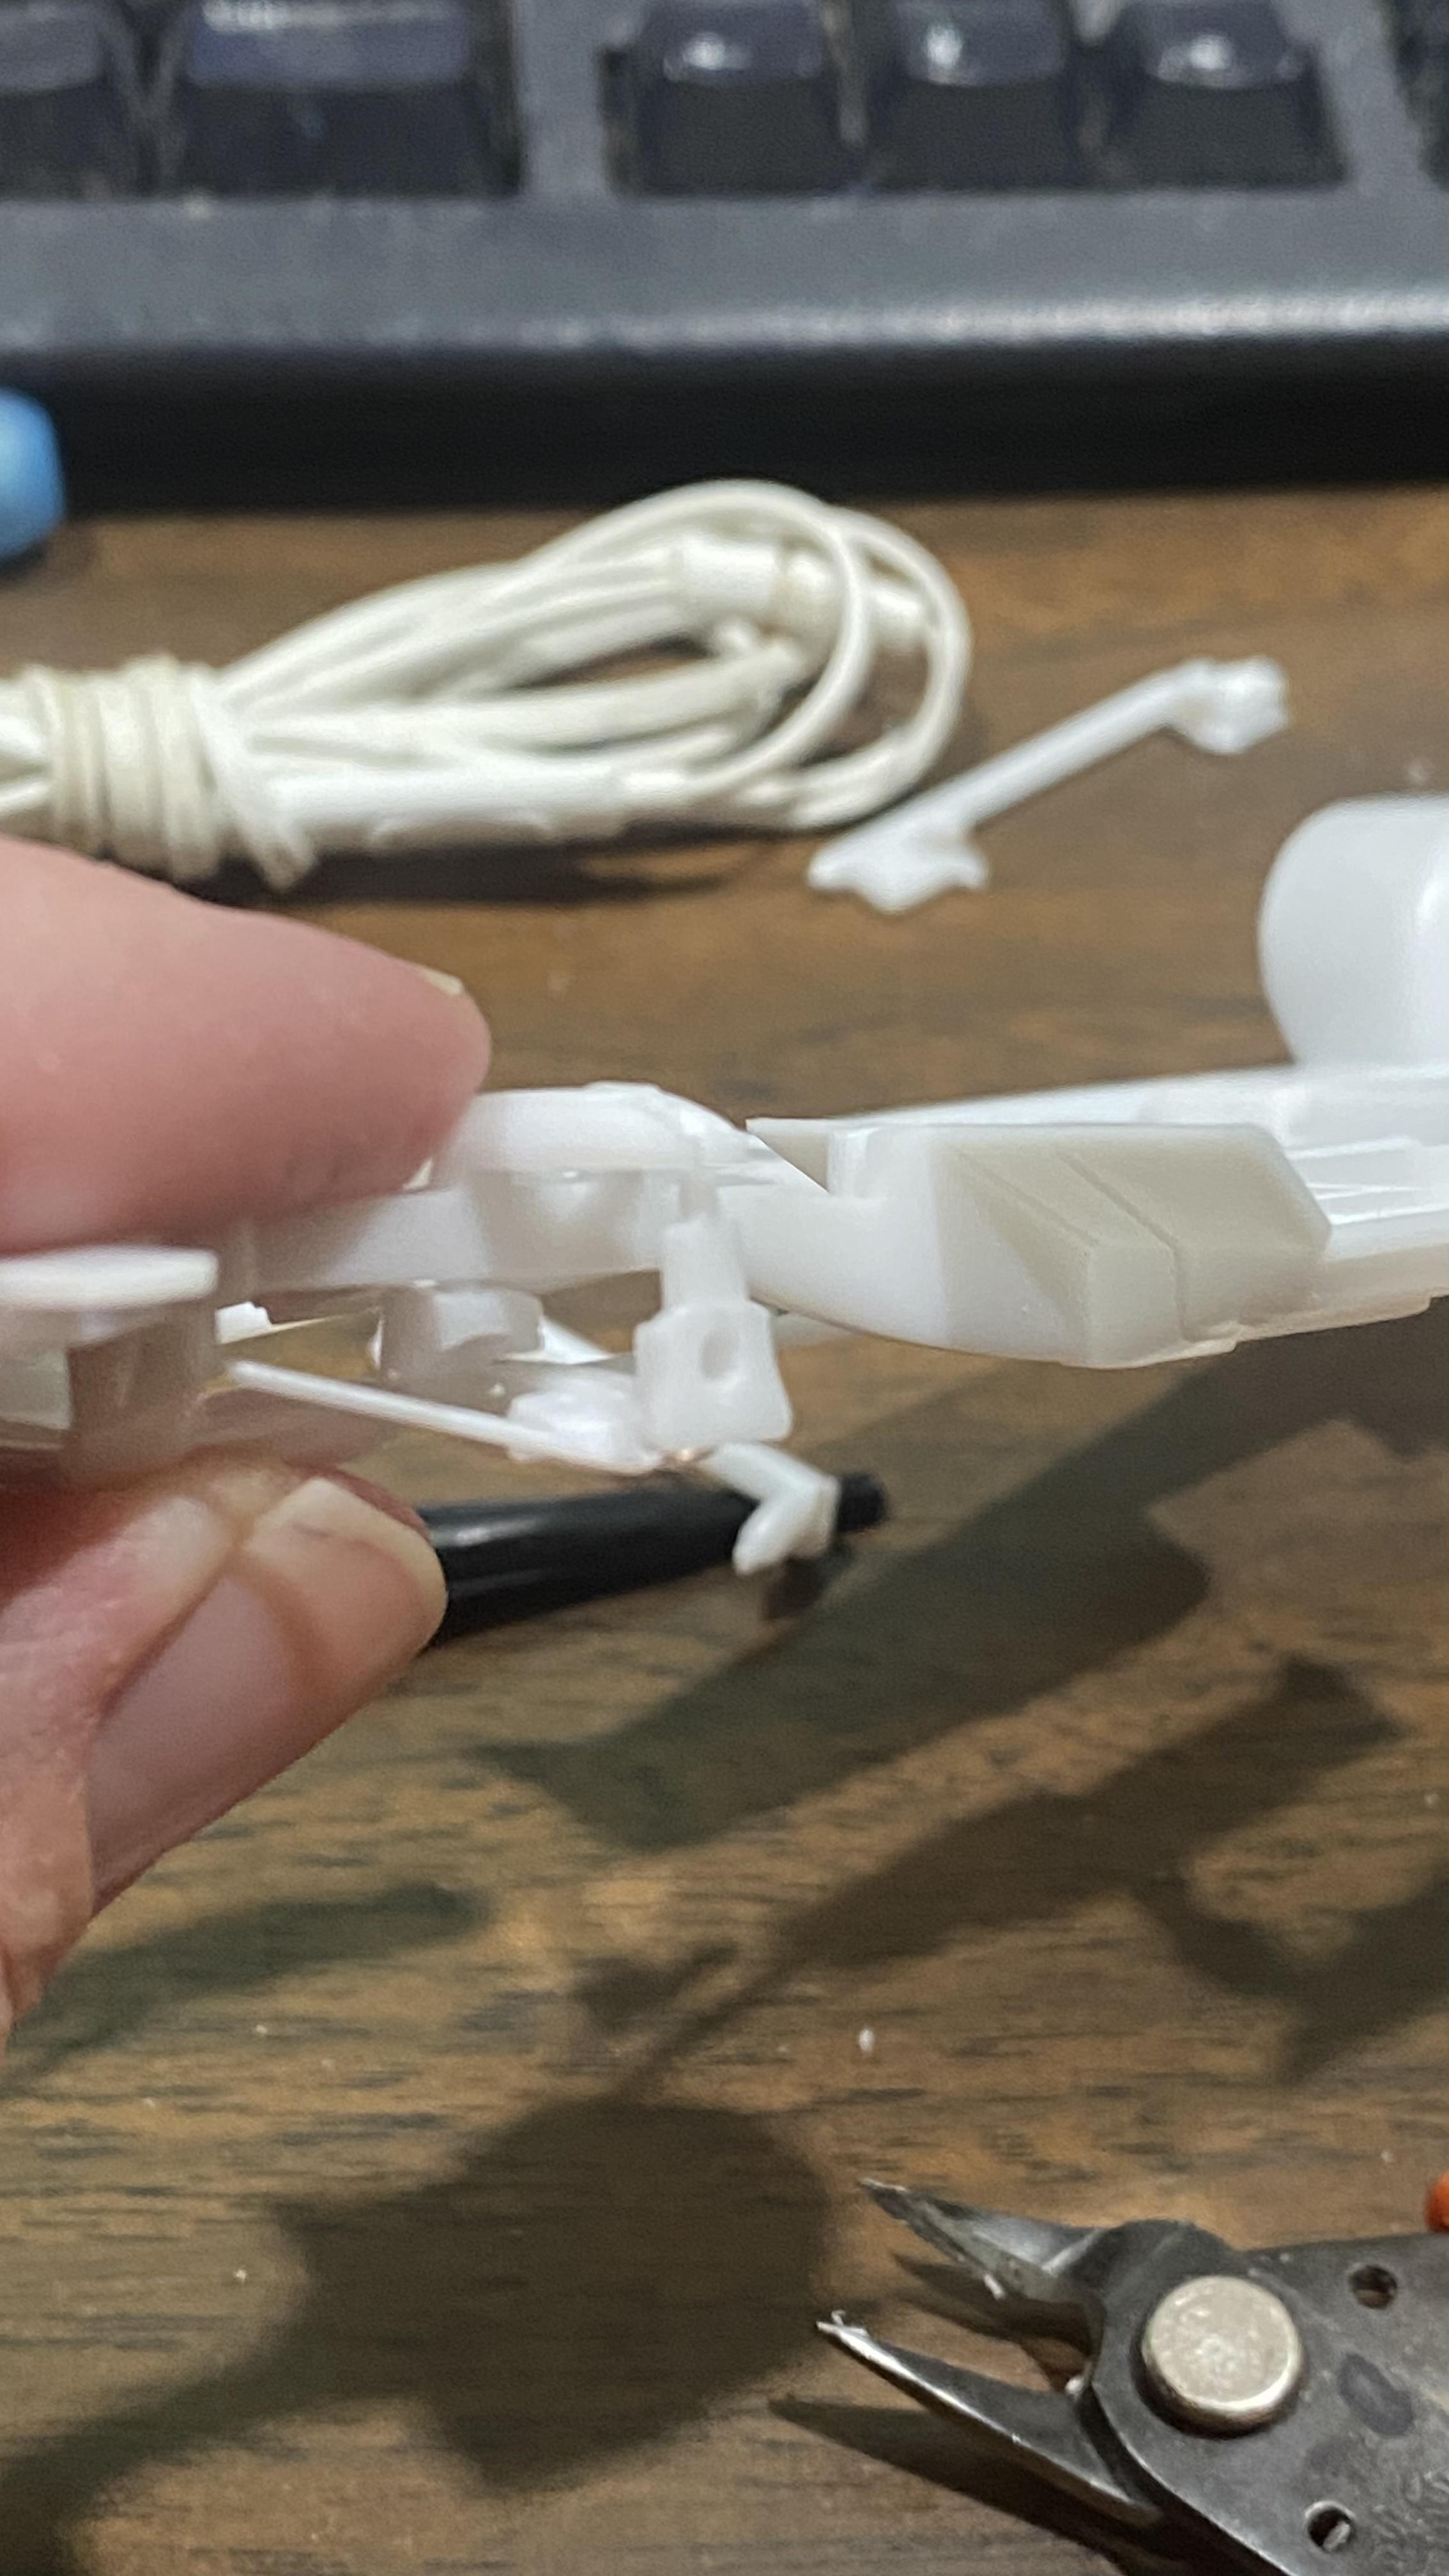
Joe Handley replied to Joe Handley's topic in WIP: Model Cars
I have to look under the desk, I dropped the chunk that broke off last night to Another Quick Edit…….. Found it! Think I can use a chunk of mangled Hot Wheels axle to pin this like David suggested!
-
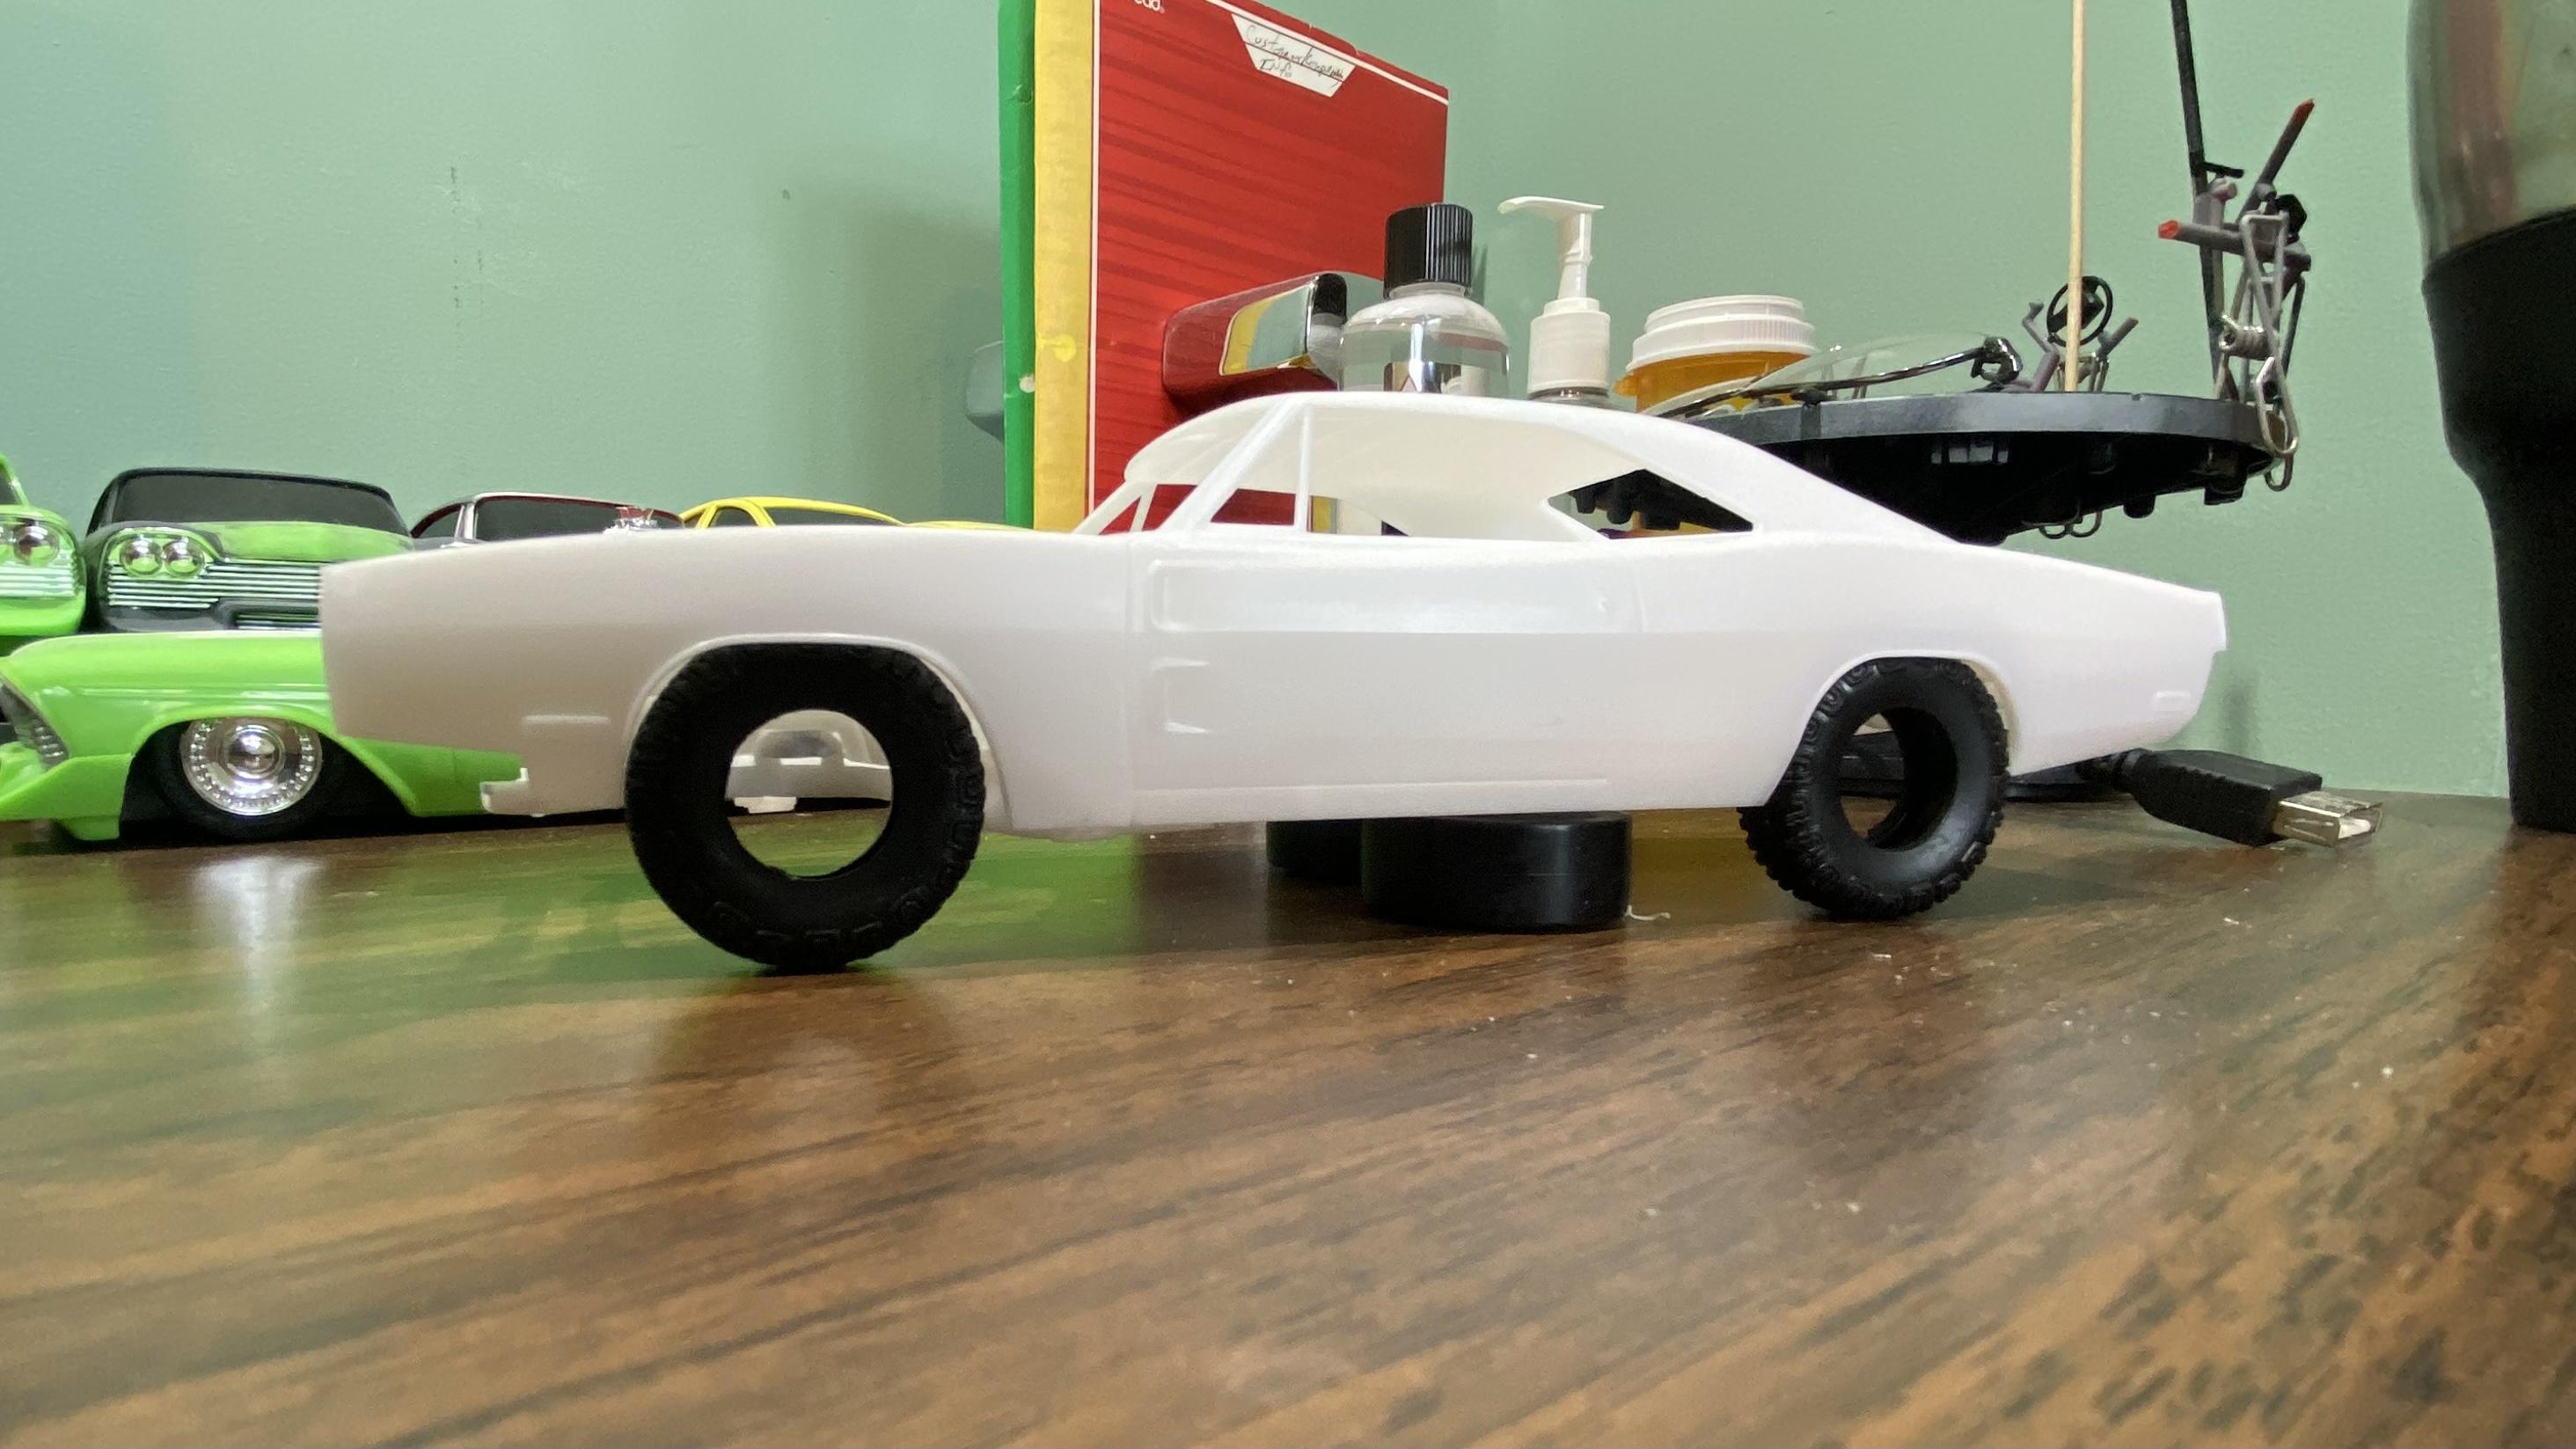
Who doesn't love a mock-up? Let's see yours!
Joe Handley replied to Belairconvertable's topic in WIP: Model Cars
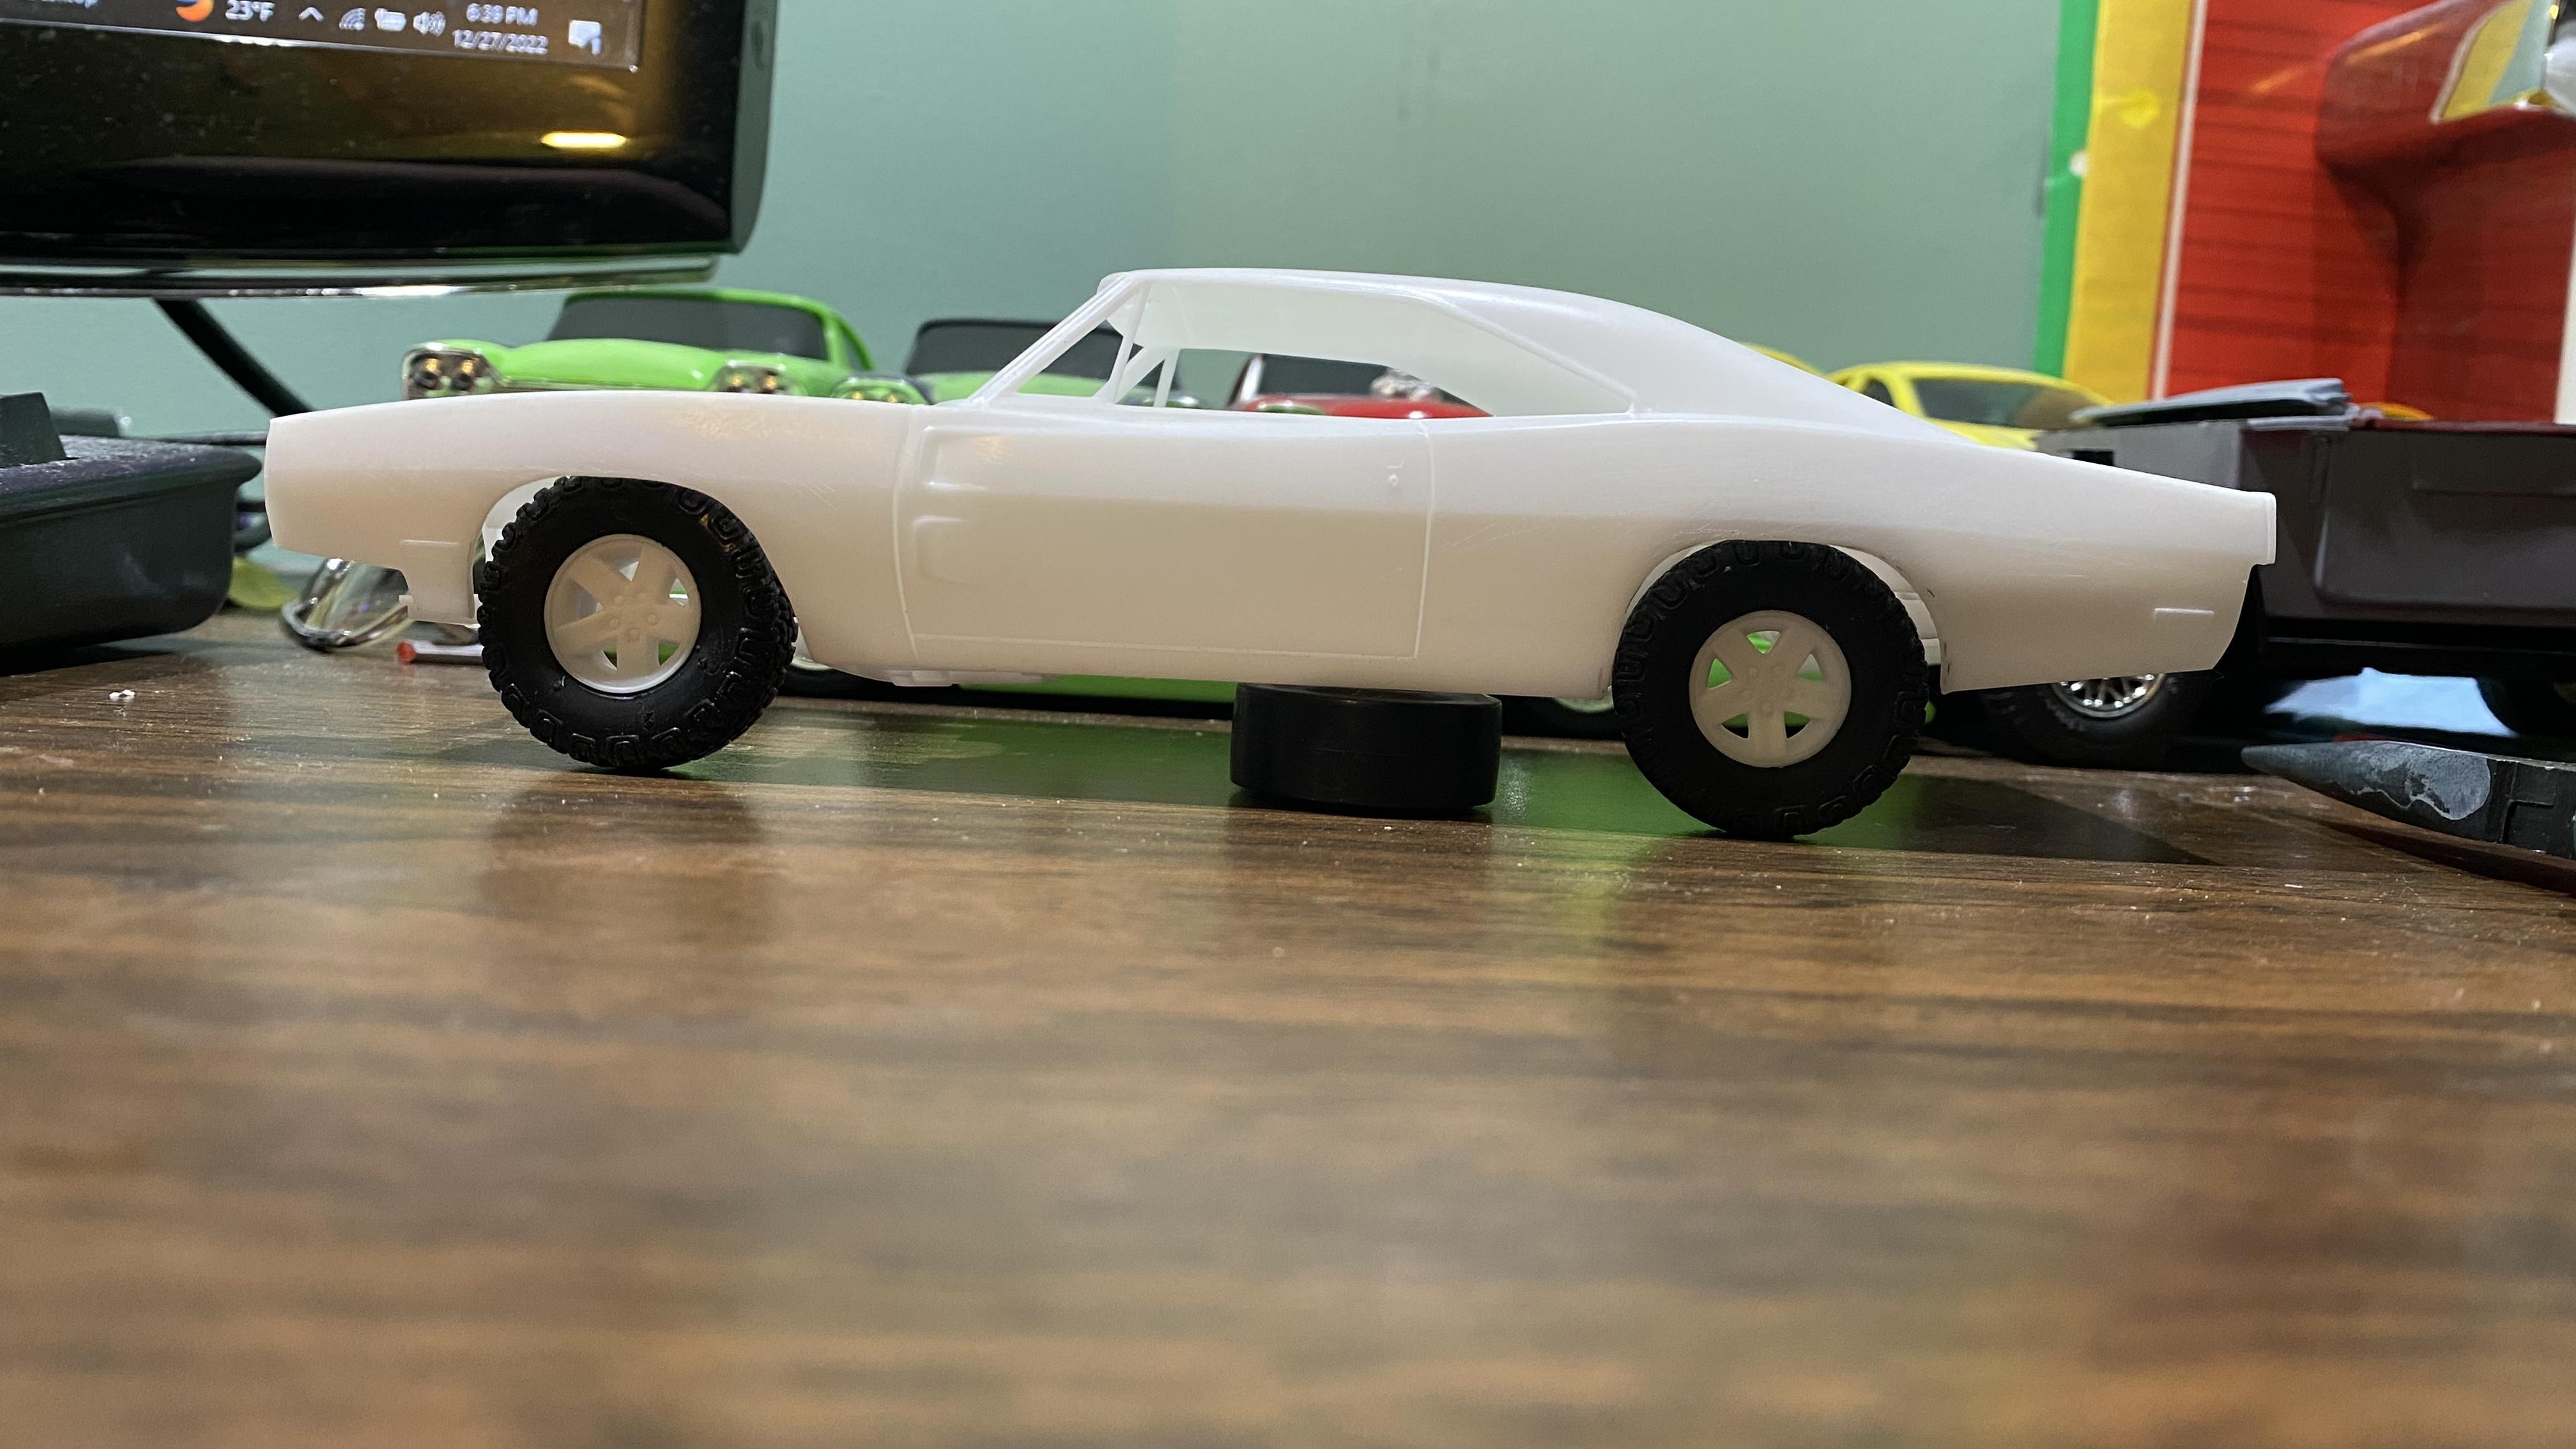
Been thinking of this for a few years now and figured Dom’s Charger would be the best way to go, though I do need a regular Charger hood unless I want to build a scoop to make that look like it’s got a little ventilation for heat extraction. I’m using the wheels and tires from the Revell Wrangler Rubicon kit, which are taller than the slicks in the “Fast” kit, but between that kits front and rear tires in width. I’ll probably need to open the fenders and quarters by the thickness of the chrome trim for more tire clearance. Quick edit, put two of the TJ Rubi wheels in two of the tires from that kit and shot another profile pic with the wheels in the tires……. Best part of these wheels, since the most of the Jeeps built from ‘84-‘06 and all of the B-Bodies are 5 on 4.5”, this would be a plausible wheel option on a real build like this will be!
-
I’ve had my WiFi back since Saturday evening, but for some reason today, my laptop won’t stay connected, took me 30 min from the time I “punched in” to where I could start taking phone calls as the thing wouldn’t stay connected, now mid way through one of the few calls I’ve had, I get booted and it won’t connect again. Haven’t had issues with my iPhone and Dad hasn’t complained about it with his phone, iPad,or Mac as of yet.