disconovaman
-
Posts
1,979 -
Joined
-
Last visited
Content Type
Profiles
Forums
Events
Gallery
Everything posted by disconovaman
-
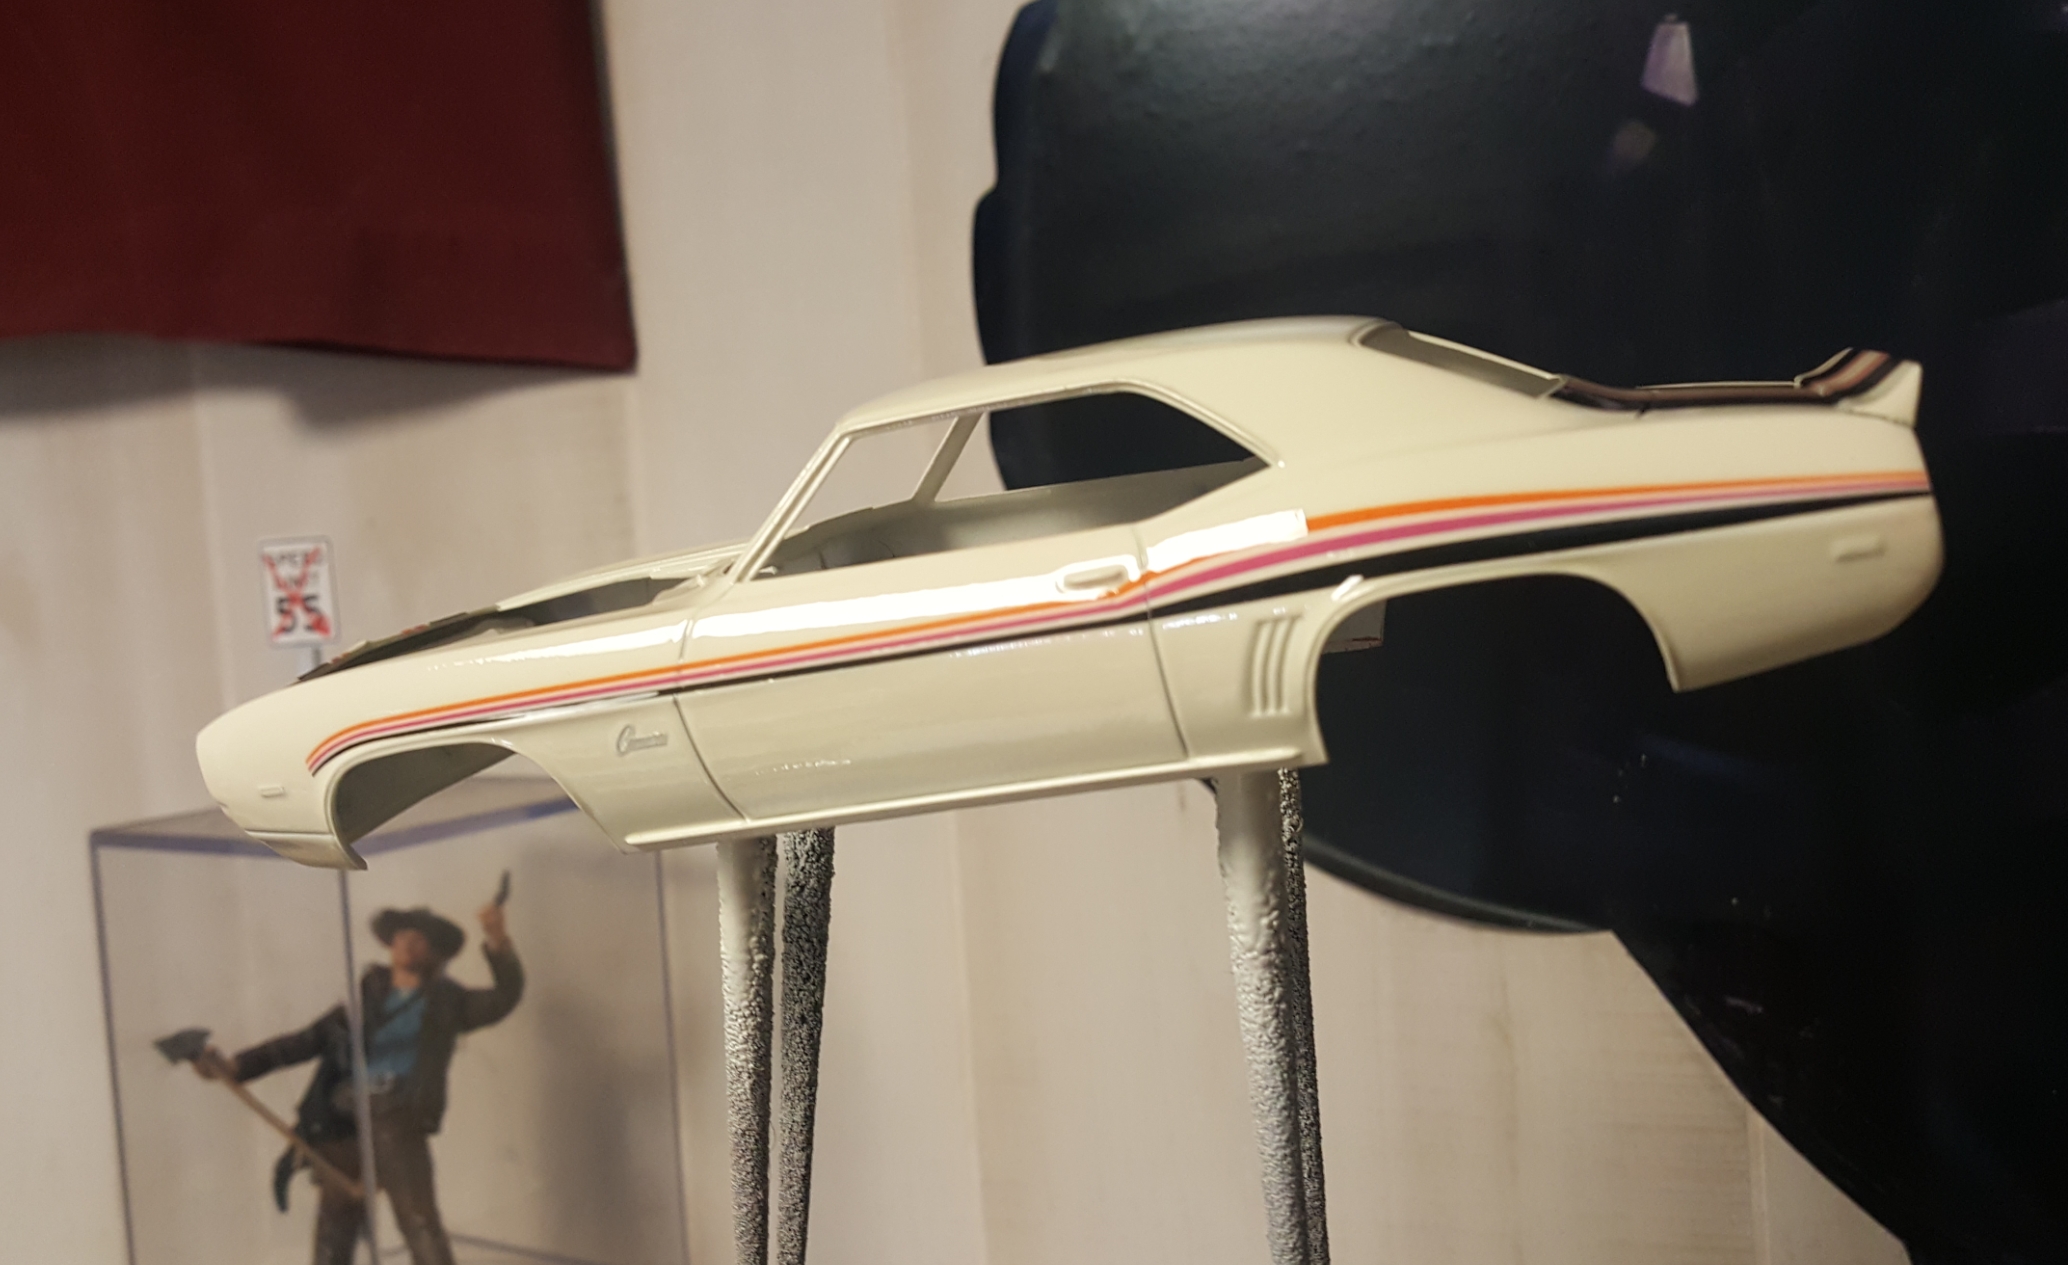
I did on the trunk and spoiler but because the original decals are so old they were a little stiff. They broke on me a little here and there on the upper valance panel had to touch it up with paint. ? But now that I have clear on them they seem to be ok. I used a razor and made a tiny cut and used some decal set and clearcoat on a toothpick to push them down into the door seals. Look better now Snake?

-
Polishing over the weekend and some BMF today... Interior just needs the roll bar added to be complete. I used a 9 inch ford rear, still modifying that but I should have it wrapped up by the end of the week...
-
Love the color... I have this kit, been trying to deside what to do with it... I built the peach version of it back in the day... painted it Hot pink! It was the 80's!
-
Could this be a rare look at Axel's blue Chevy Nova before it was crappy? In all honesty I think the movie makers got it wrong by presenting the main characters car as a beat down used car. Imagine the impact the car would have today if Foley's car would've been a dent free 70 Nova with air-shocks, Cragers, and nice paint. I definitely don't think the moviecar would've "Accidentally" gotten sent to the junkyard...
-
It's a neat concept... I've thought about doing it with the Revell Camaro since it has been molded in so many colors (Yellow, Blue, Red, and White). I'm thinking Blue body, white interior, red engine, white headers etc etc... I guess the old sayin "Thinking out of the box" doesn't apply here lol!
-
If you Google "how to wheelie a 1 ton" this really crazy guy from Canada is stupid funny... there's no telling what he's tought his kids to do lol...
-
That is Beautiful! and some great skills on display here...
-
I was about to do that, when I knoticed the hood from the 1/25th AMT 67 Chevelle ProStreet was the same snorkel from the 69 camaro. I had to slightly modify it (sand it flat on the bottom) by using my trusty board file tool. I use that thing alot... lol...
-
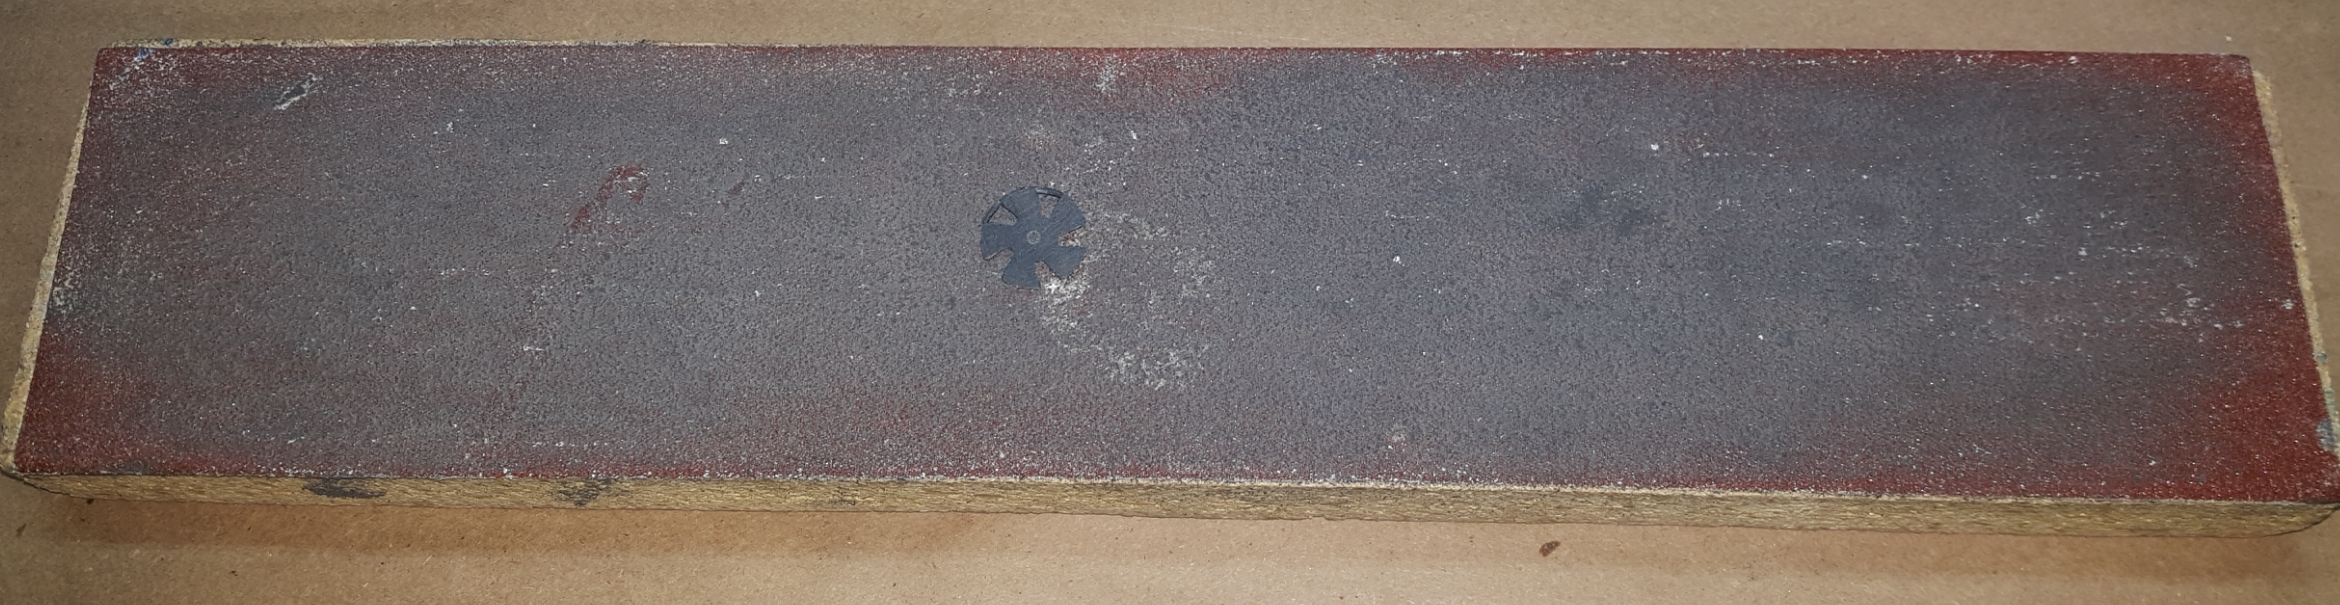
No problem I was a little vague...lol. I have a peice of a 80 grit sand paper for an air file sander stuck on a peice of 1X wood board and I just lay the wheel flat on the wheel back and sand it til the center falls out.
-
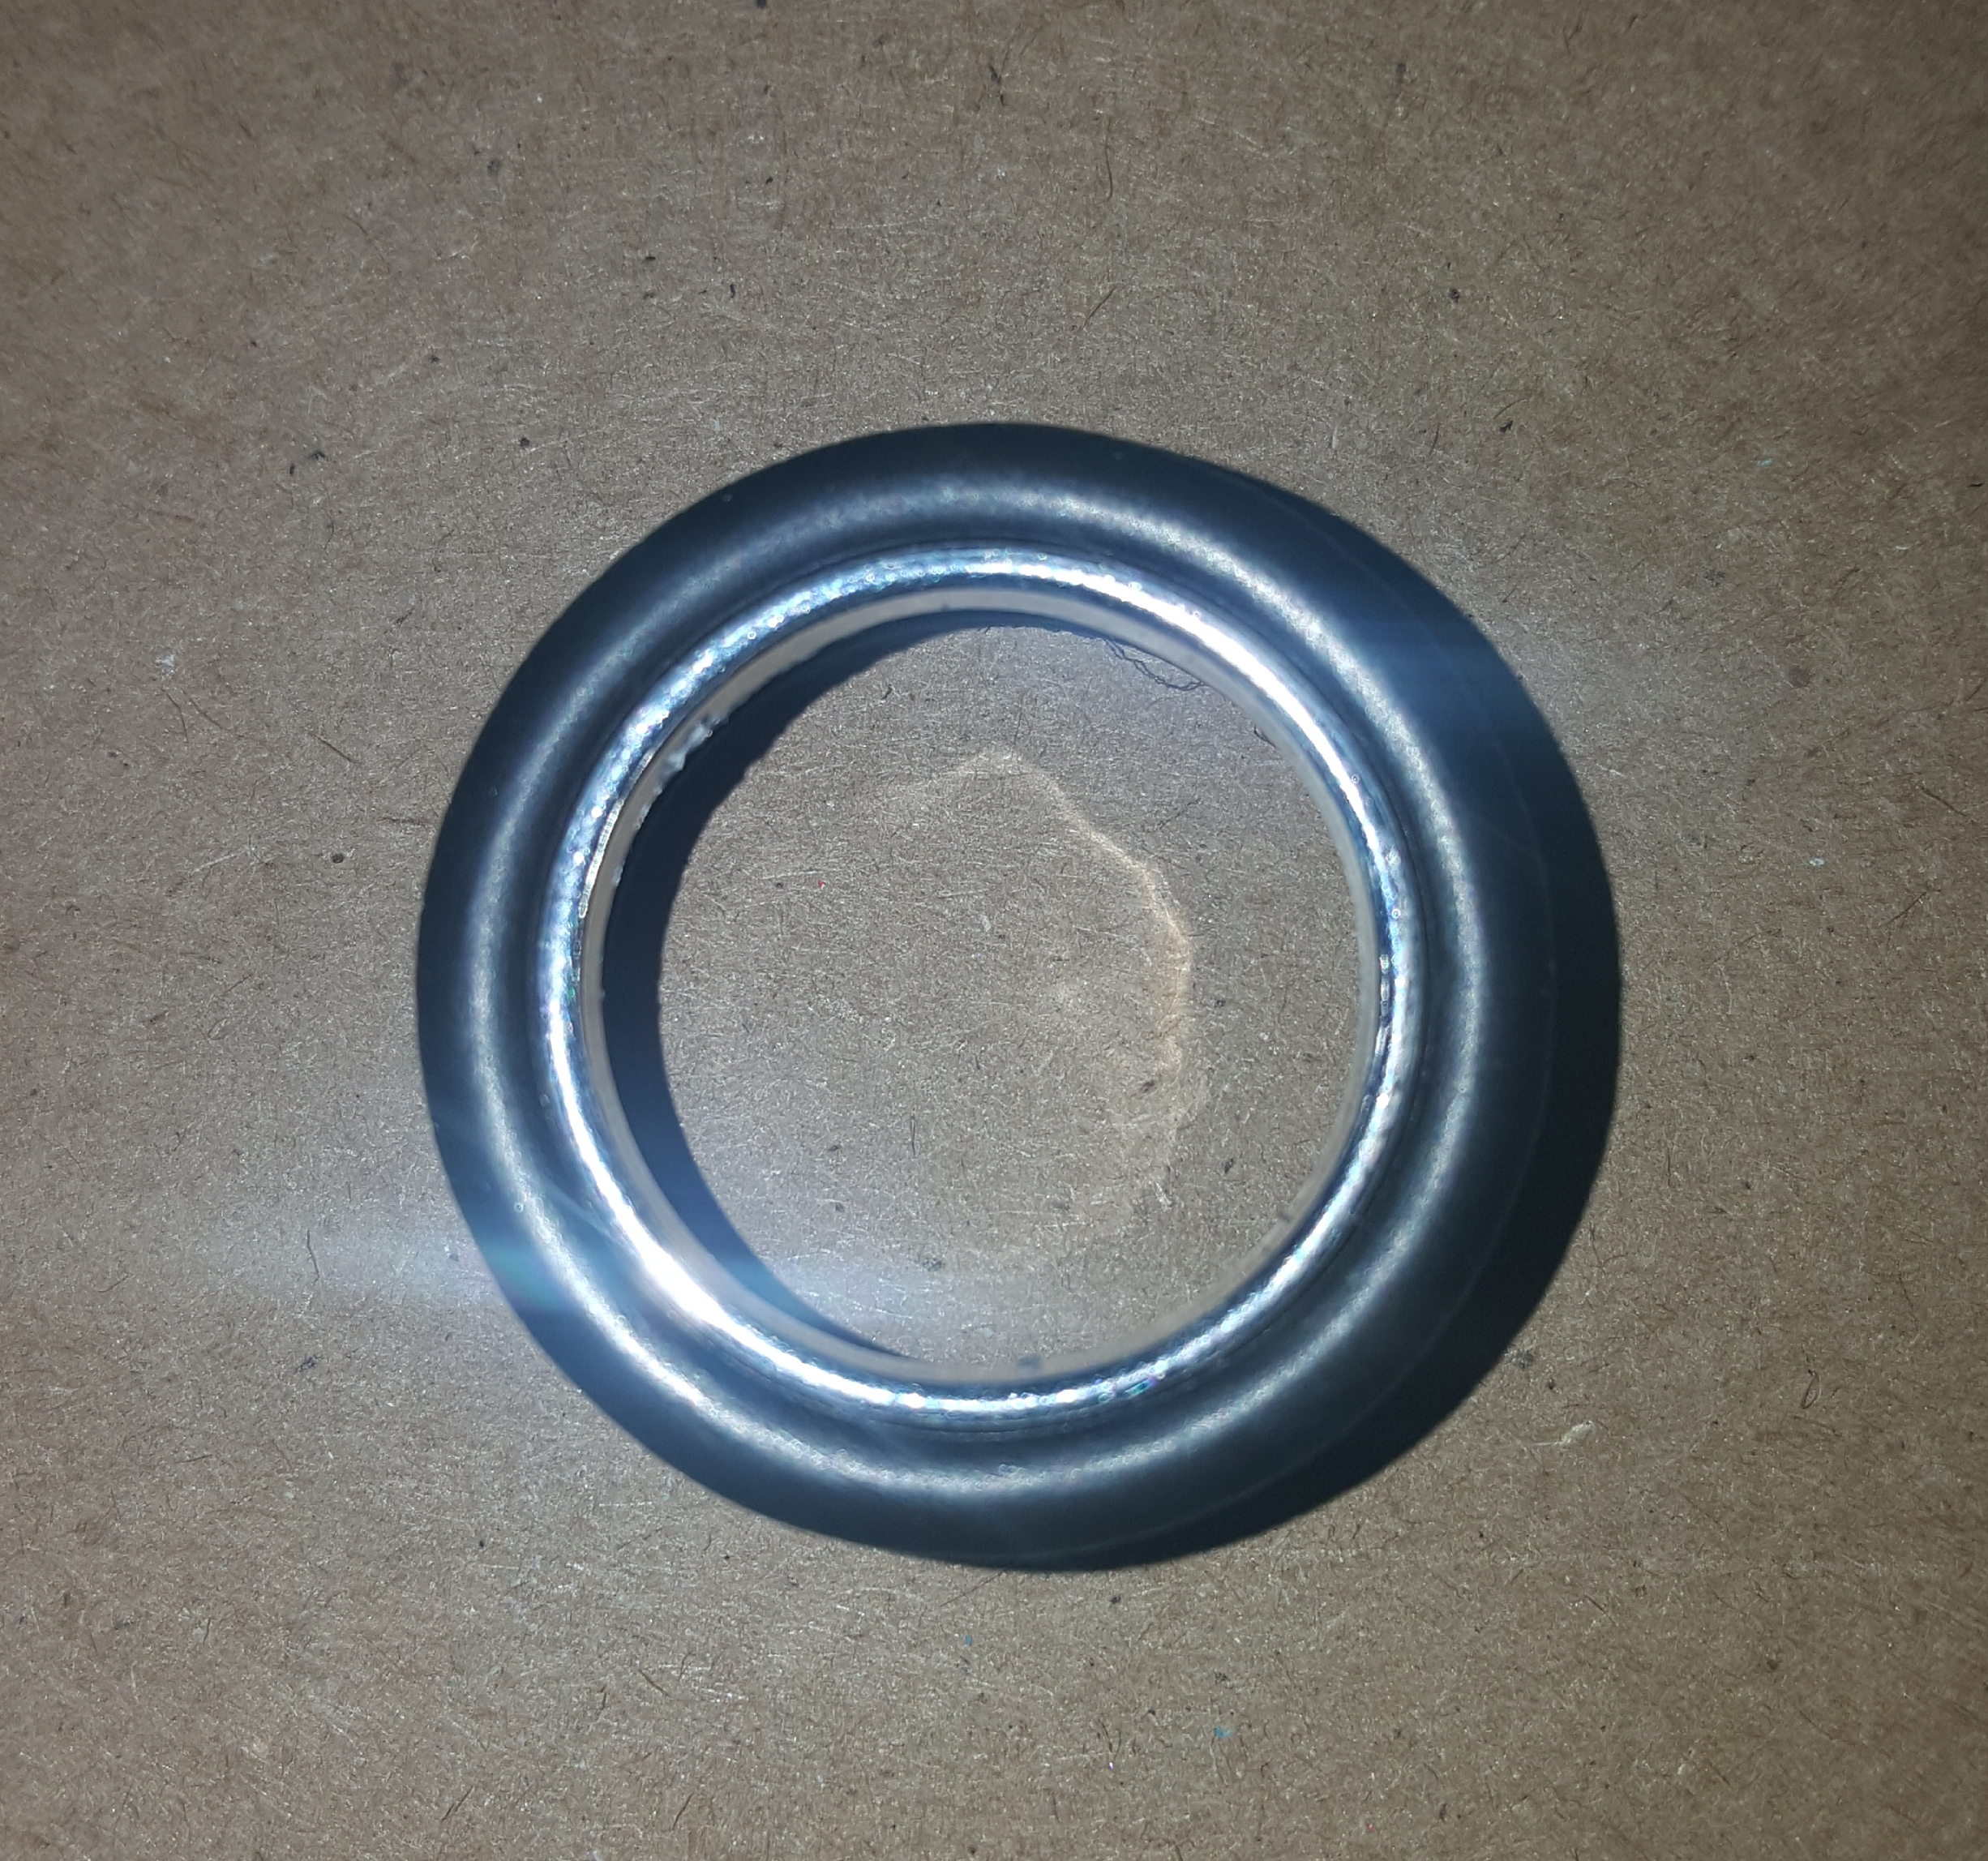
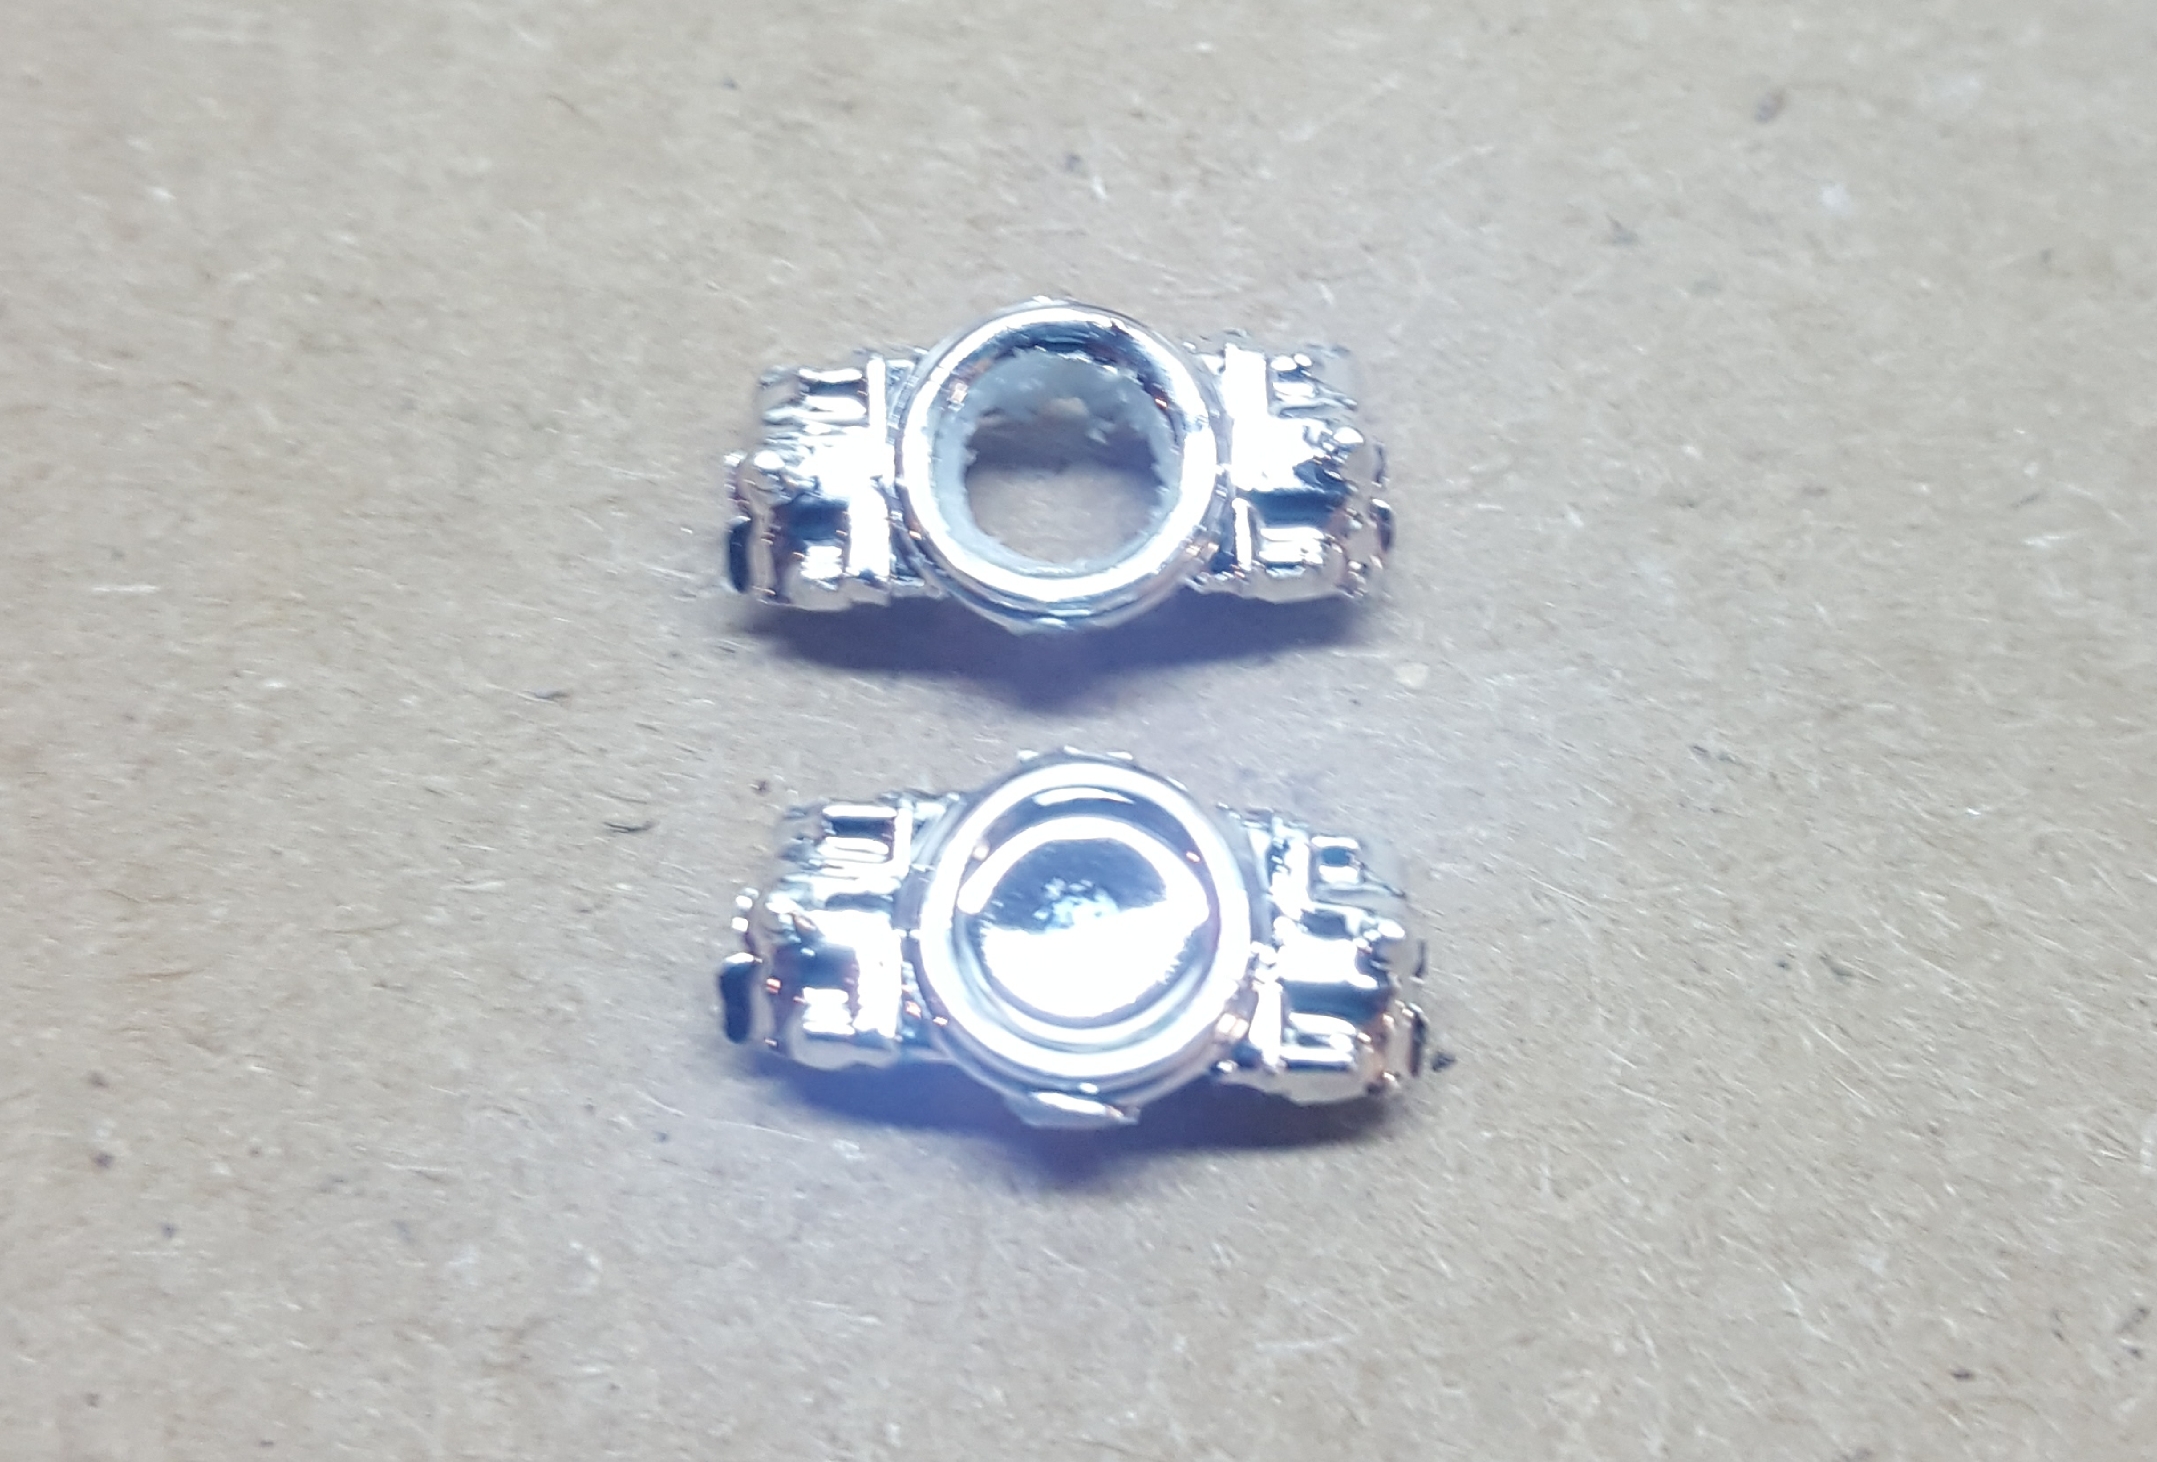
First, sand the backs off the wheels so the middle is removed... Next, insert the wheel backs and the newly sanded ring into the tires (side note: you can paint that ring flat red for a red line tire look). Last, pop the stock rally wheel into the built tire and wheel and suddenly you have 20 inch Rally wheels. the centers from the custom wheels can also be salvaged and added if you like that look better. This method will make the wheel deeper in appearance.
-
Another tip on the camaro... Making the custom wheels deep or 20 inch Rallys...
-
Wow, good colors on those... The Revell chassis is gonna be a great donor for the 69 I think... start looking for slot car leftovers...
-
Awesome! God Bless you Greg! My Ex (my son's mom) needs a kidney and she has been dealing with failing kidneys for awhile... I can't imagine having one removed. Nice to know you made it out... I think it takes alot of soul searching to donate an organ...The good thing is living donors are first on the list if they ever need one...
-
I wasn't aware that Round 2 had already discontinued the kit... I guess it makes sence now to me because yours is the only one I can think of that was even on the fourm... Not many people are building them for sure... Much to real life... the 4th gen nova gets the shade agian.☹ I'd like to beleive it is the old tired Mpc tooling and not the subject matter but I'm just fooling myself sadly... I still love them and I think the 4 door Resin will sell well... I hope...?
-
Hey Robert... Is this the Yenko by chance? The big block... If so, may I suggest the ZL-1 treatment? All aluminum engine... It's probably the Holy trail of GM engines, So why not have that application in that nice silver body?
-
Thanks guys, I have some Tamiya colors and I've forgotten what combinations to use over the years. lol... Most of the time I just use the first thing I grab lol... I still have to fab the twin turbos so I'm thinking that carb might not get used anyways...?
-
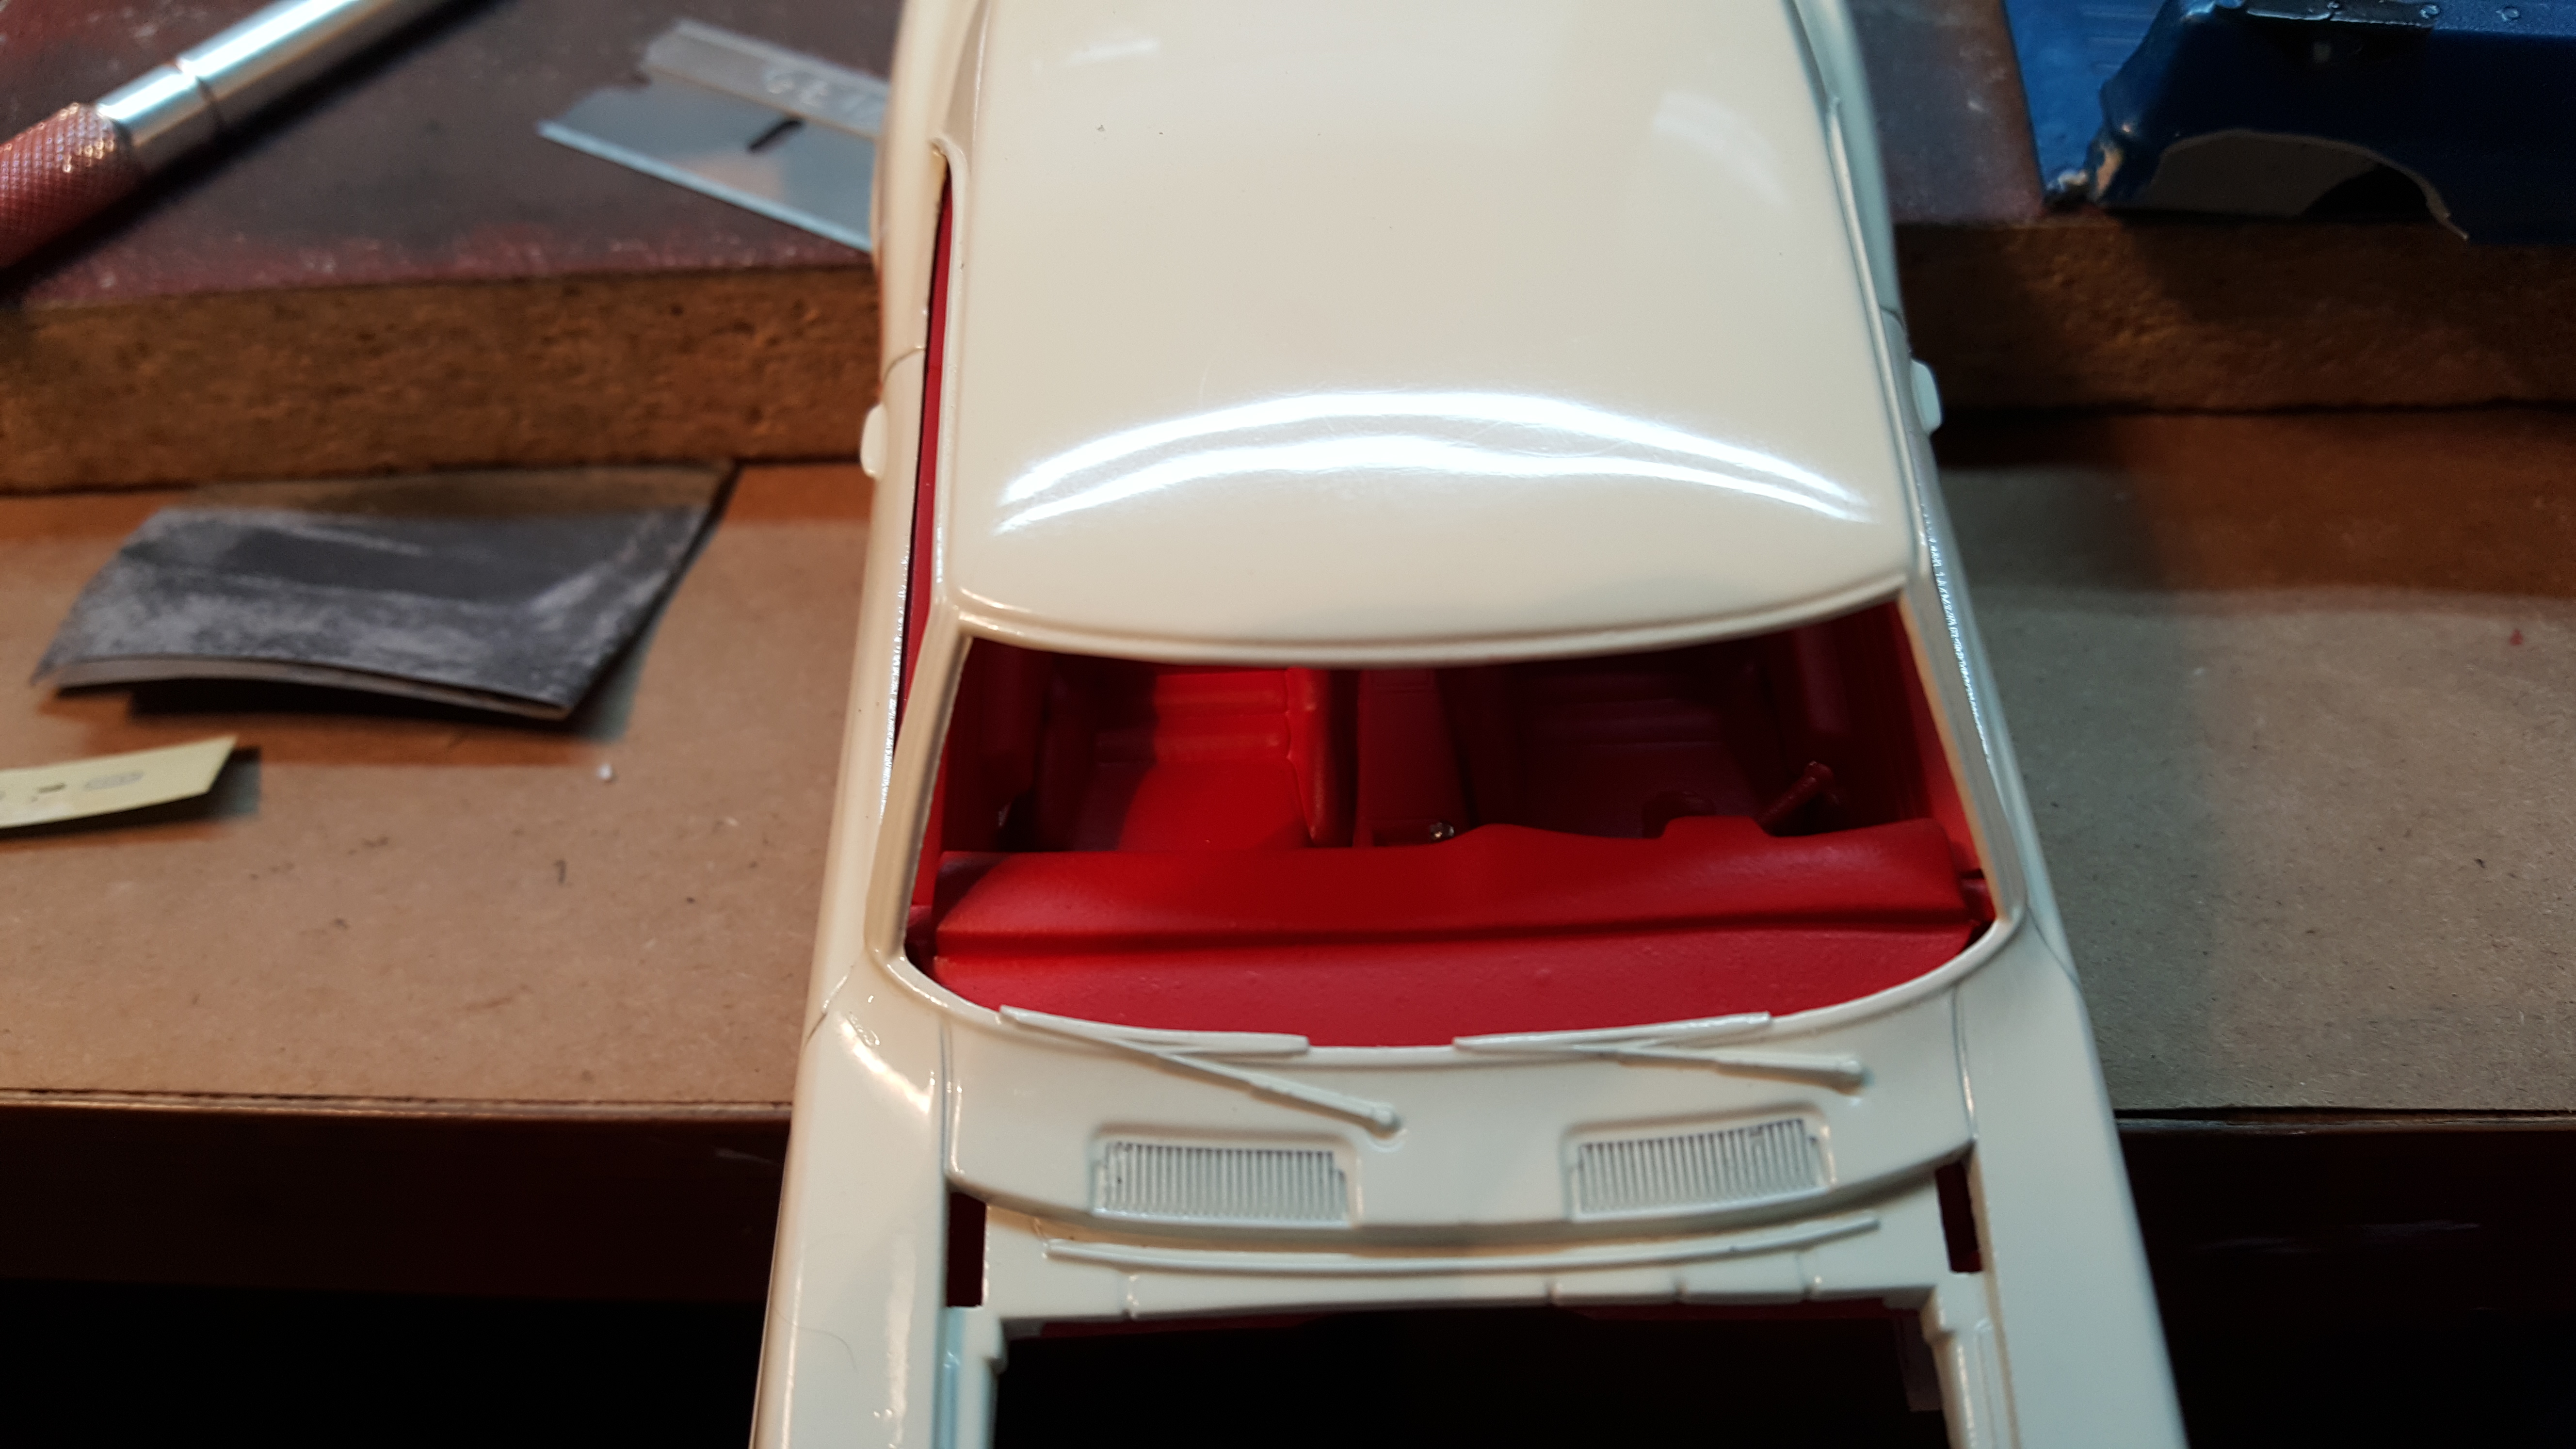
Working on the engine today, particularly the carburetor for the Revell camaro. I always drill the center out, add the end of a staple, and a corner of the decal sheet. glue those two together and then glue that into the opening of the carb... paint it gold and there you have a touch of realism... if you're gonna display it without the breather that is... If not, then nevermind. Also, I got the body clear coated... nice and shiny. Next step is polishing.
-
Yeah you're right... that's why it looks weird... I couldn't pinpoint the problem... You're tryin to get the doors to be closer in depth to the grill... This modification will make it look more correct... As I stated before I've had 3 myself and 2 were RS 327 cars and one was standard Plain Jane 307 2 speed powerglide on the colum... The Monogram series have the standard grill so I won't be using the RS grill on any of those. I like the "doors opened look" for the next RS grill I use... Thanks for the tip. That interior tub I butchered up will also be in that car. I'm gonna paint it like that original Monogram car you built back in the day... All of them will be right here in this thread... Keep on trucking...
-
No buddy, please don't think that... I just haven't been able to process the information. I do think the Revell grill is to far out to the surface so whatever you are doin to move it back will look 100 times better. I was gonna comment on the headlight doors opening... but I'm still tryin to figure out how I could get them to open and shut...
-
Back at the bench busy applying some decals... I desided not to alter the decals to fit the 1/25th kit. I built this kit with these decals before and I cut them down to fit but I never liked the result... I'll bury them in clearcoat tomorrow supposed to be in the 60's. One thing I can't use on the camaro is the 1:24th hood scoop... I'll have to find a 1:25th snorkel scoop... Can anyone think of what I can use? I don't want the scoop to be permanent, it will just sit on the hood for display. Thanks for any suggestions...
-
Thanks, I wasn't sure what they were... I knew they couldn't be Centerline... this kit was released in 77 and I think the Telstar didn't come around til the 90's. I could be wrong but I don't remember seein them before then... I had a set on my old nova back in the day... I'd still like to see the Telstars get made in 1:25th scale.
-
I'm intrested to see pics of your grill when it's finished Snake... I've been looking at the original directions for color confirmation on the Cream camaro. I see that the interior tub didn't have a back seat. I had engineered a custom back seat to fit the tub. Apon seeing this, it makes me want to switch directions. I dunno... hmmm?
-
I've always thought the AMT 67/68 was a tad bigger than the 69 Revell. Comparing the 69 to a 68 in real life, the 68 looks smaller and shorter? but they have the same dimensions so I guess it's an illusion. lol...
-
To be fair the Revell RS grill is tooled that way for the purpose of having two grill options... standard and RS option. To me, the two options grills are better than a more accurate one option grill. You can make the RS grill look pretty good for what it is I think...
-
This is the modified tool 69 Camaro annual right?