Chariots of Fire
-
Posts
2,788 -
Joined
-
Last visited
Content Type
Profiles
Forums
Events
Gallery
Everything posted by Chariots of Fire
-

M-20 Prime Mover
Chariots of Fire replied to Chariots of Fire's topic in WIP: Model Trucks: Big Rigs and Heavy Equipment
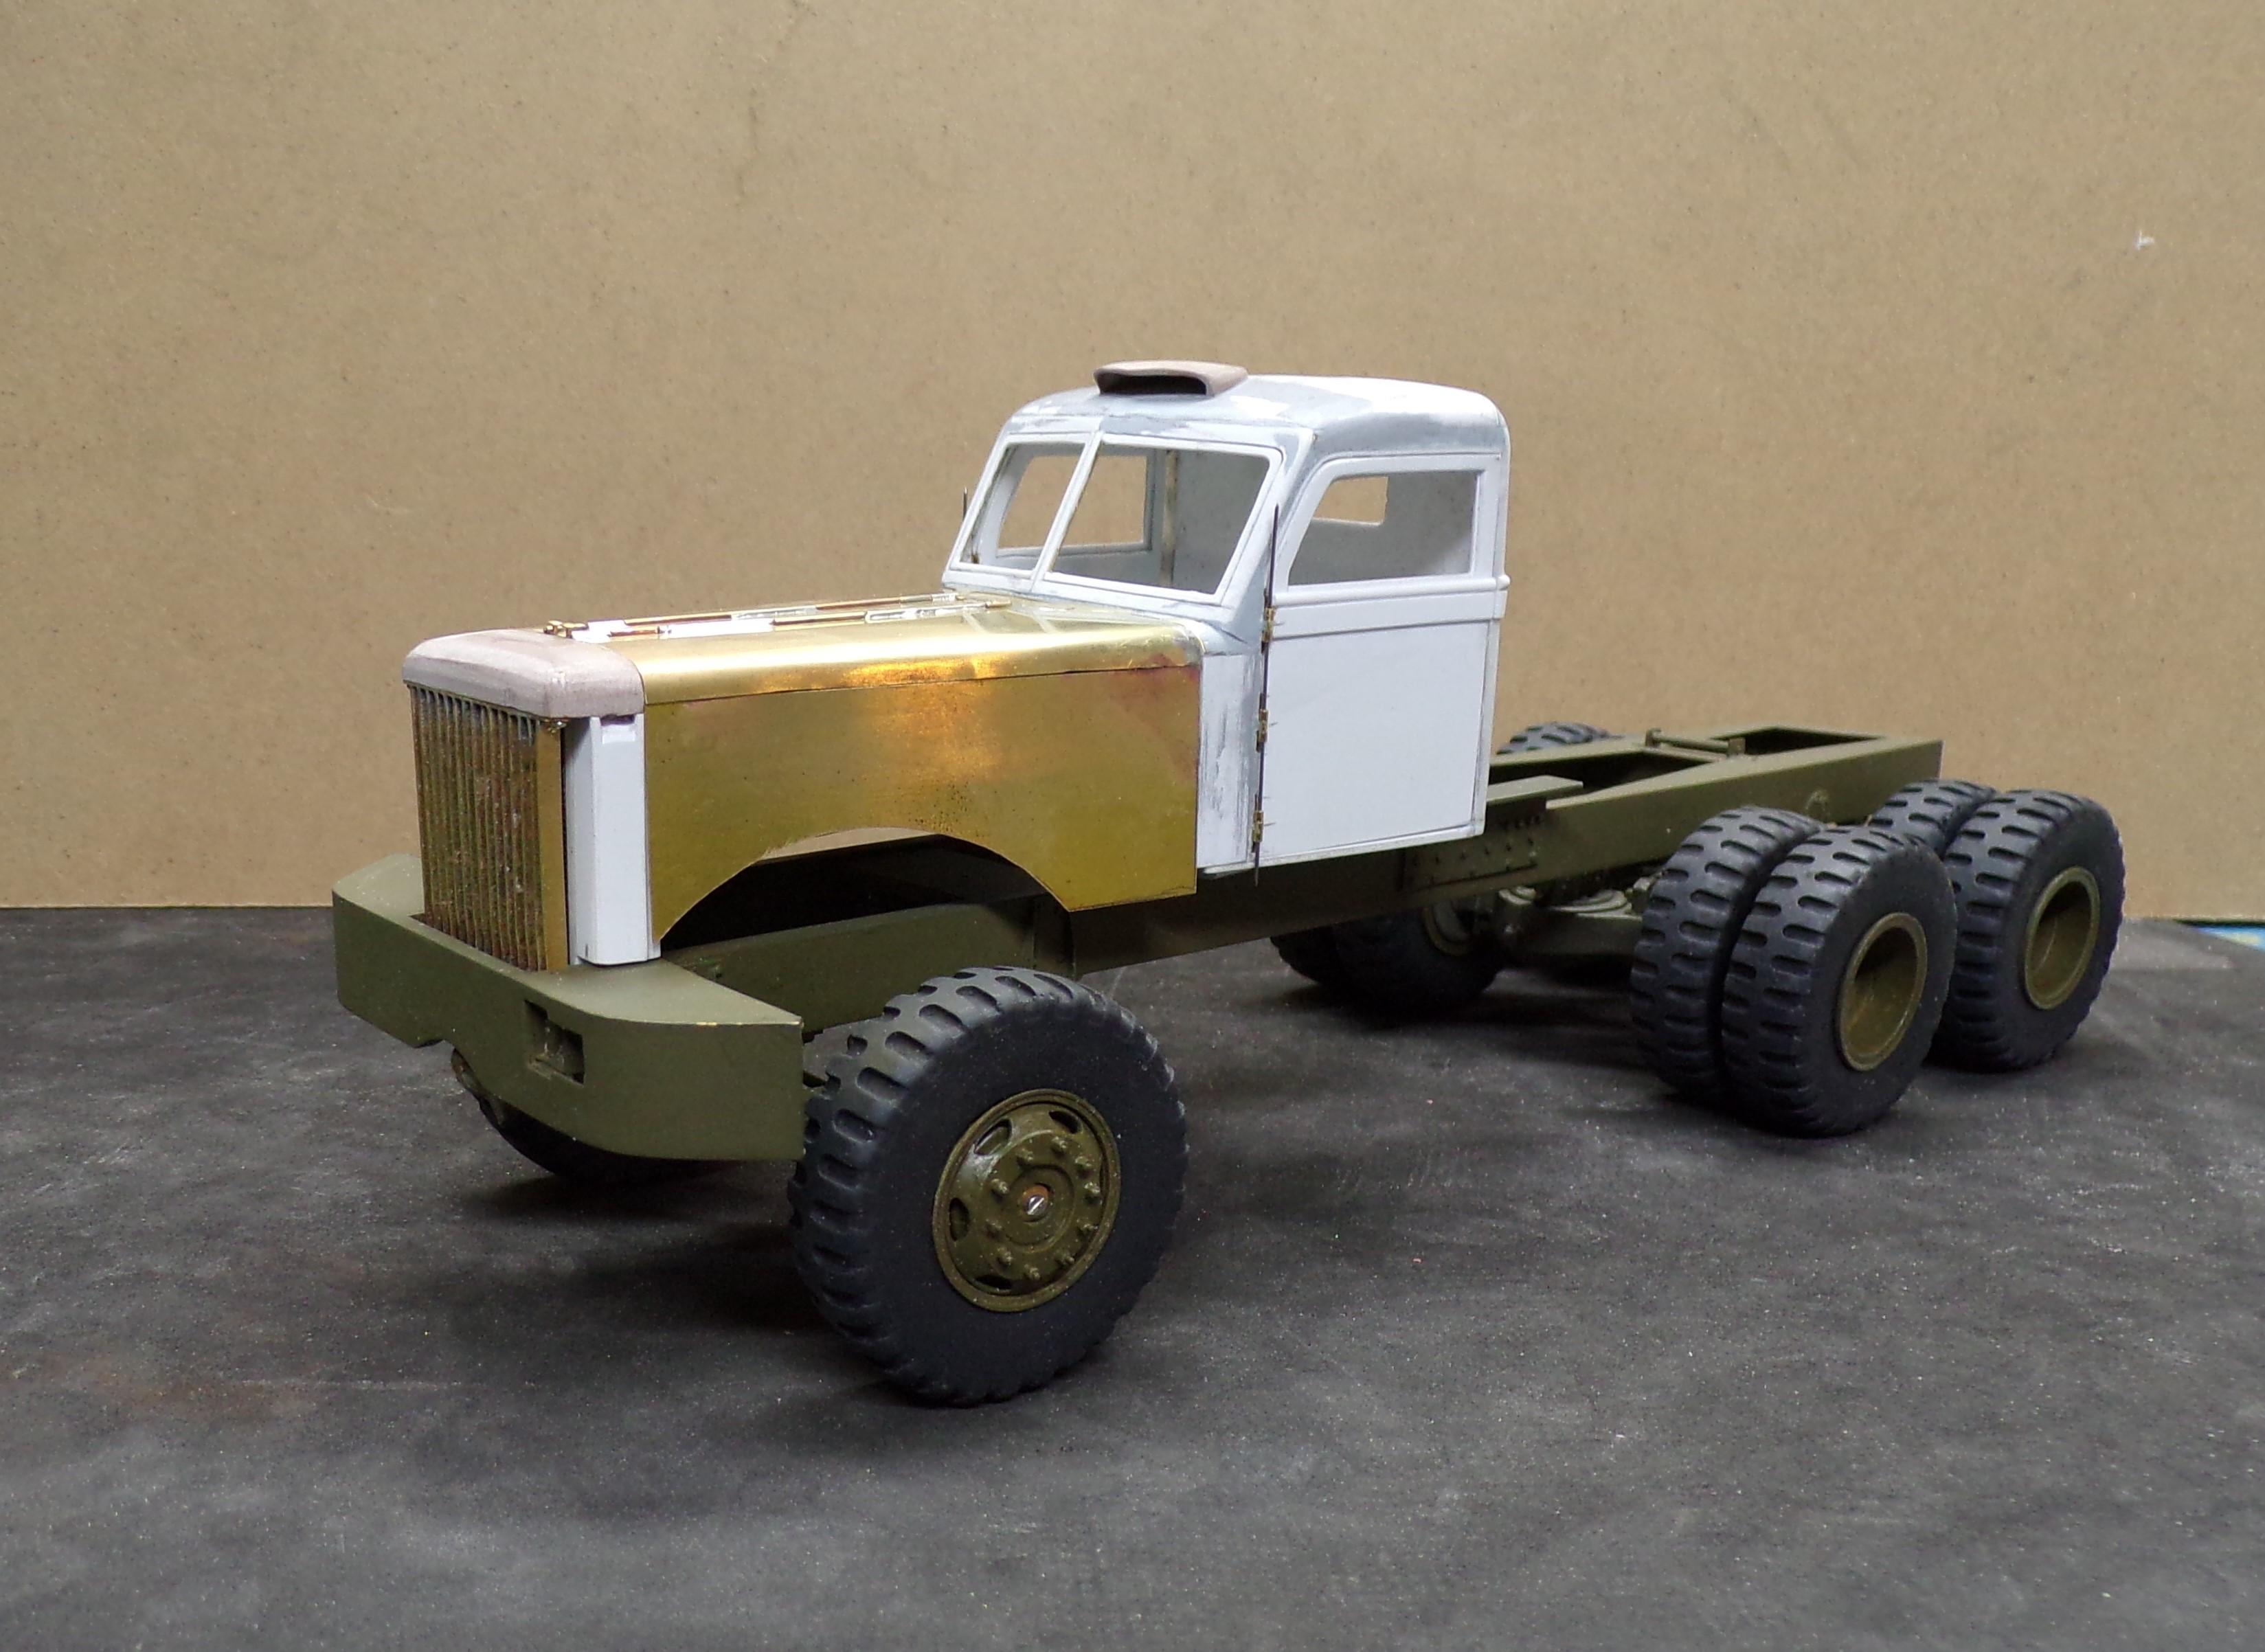
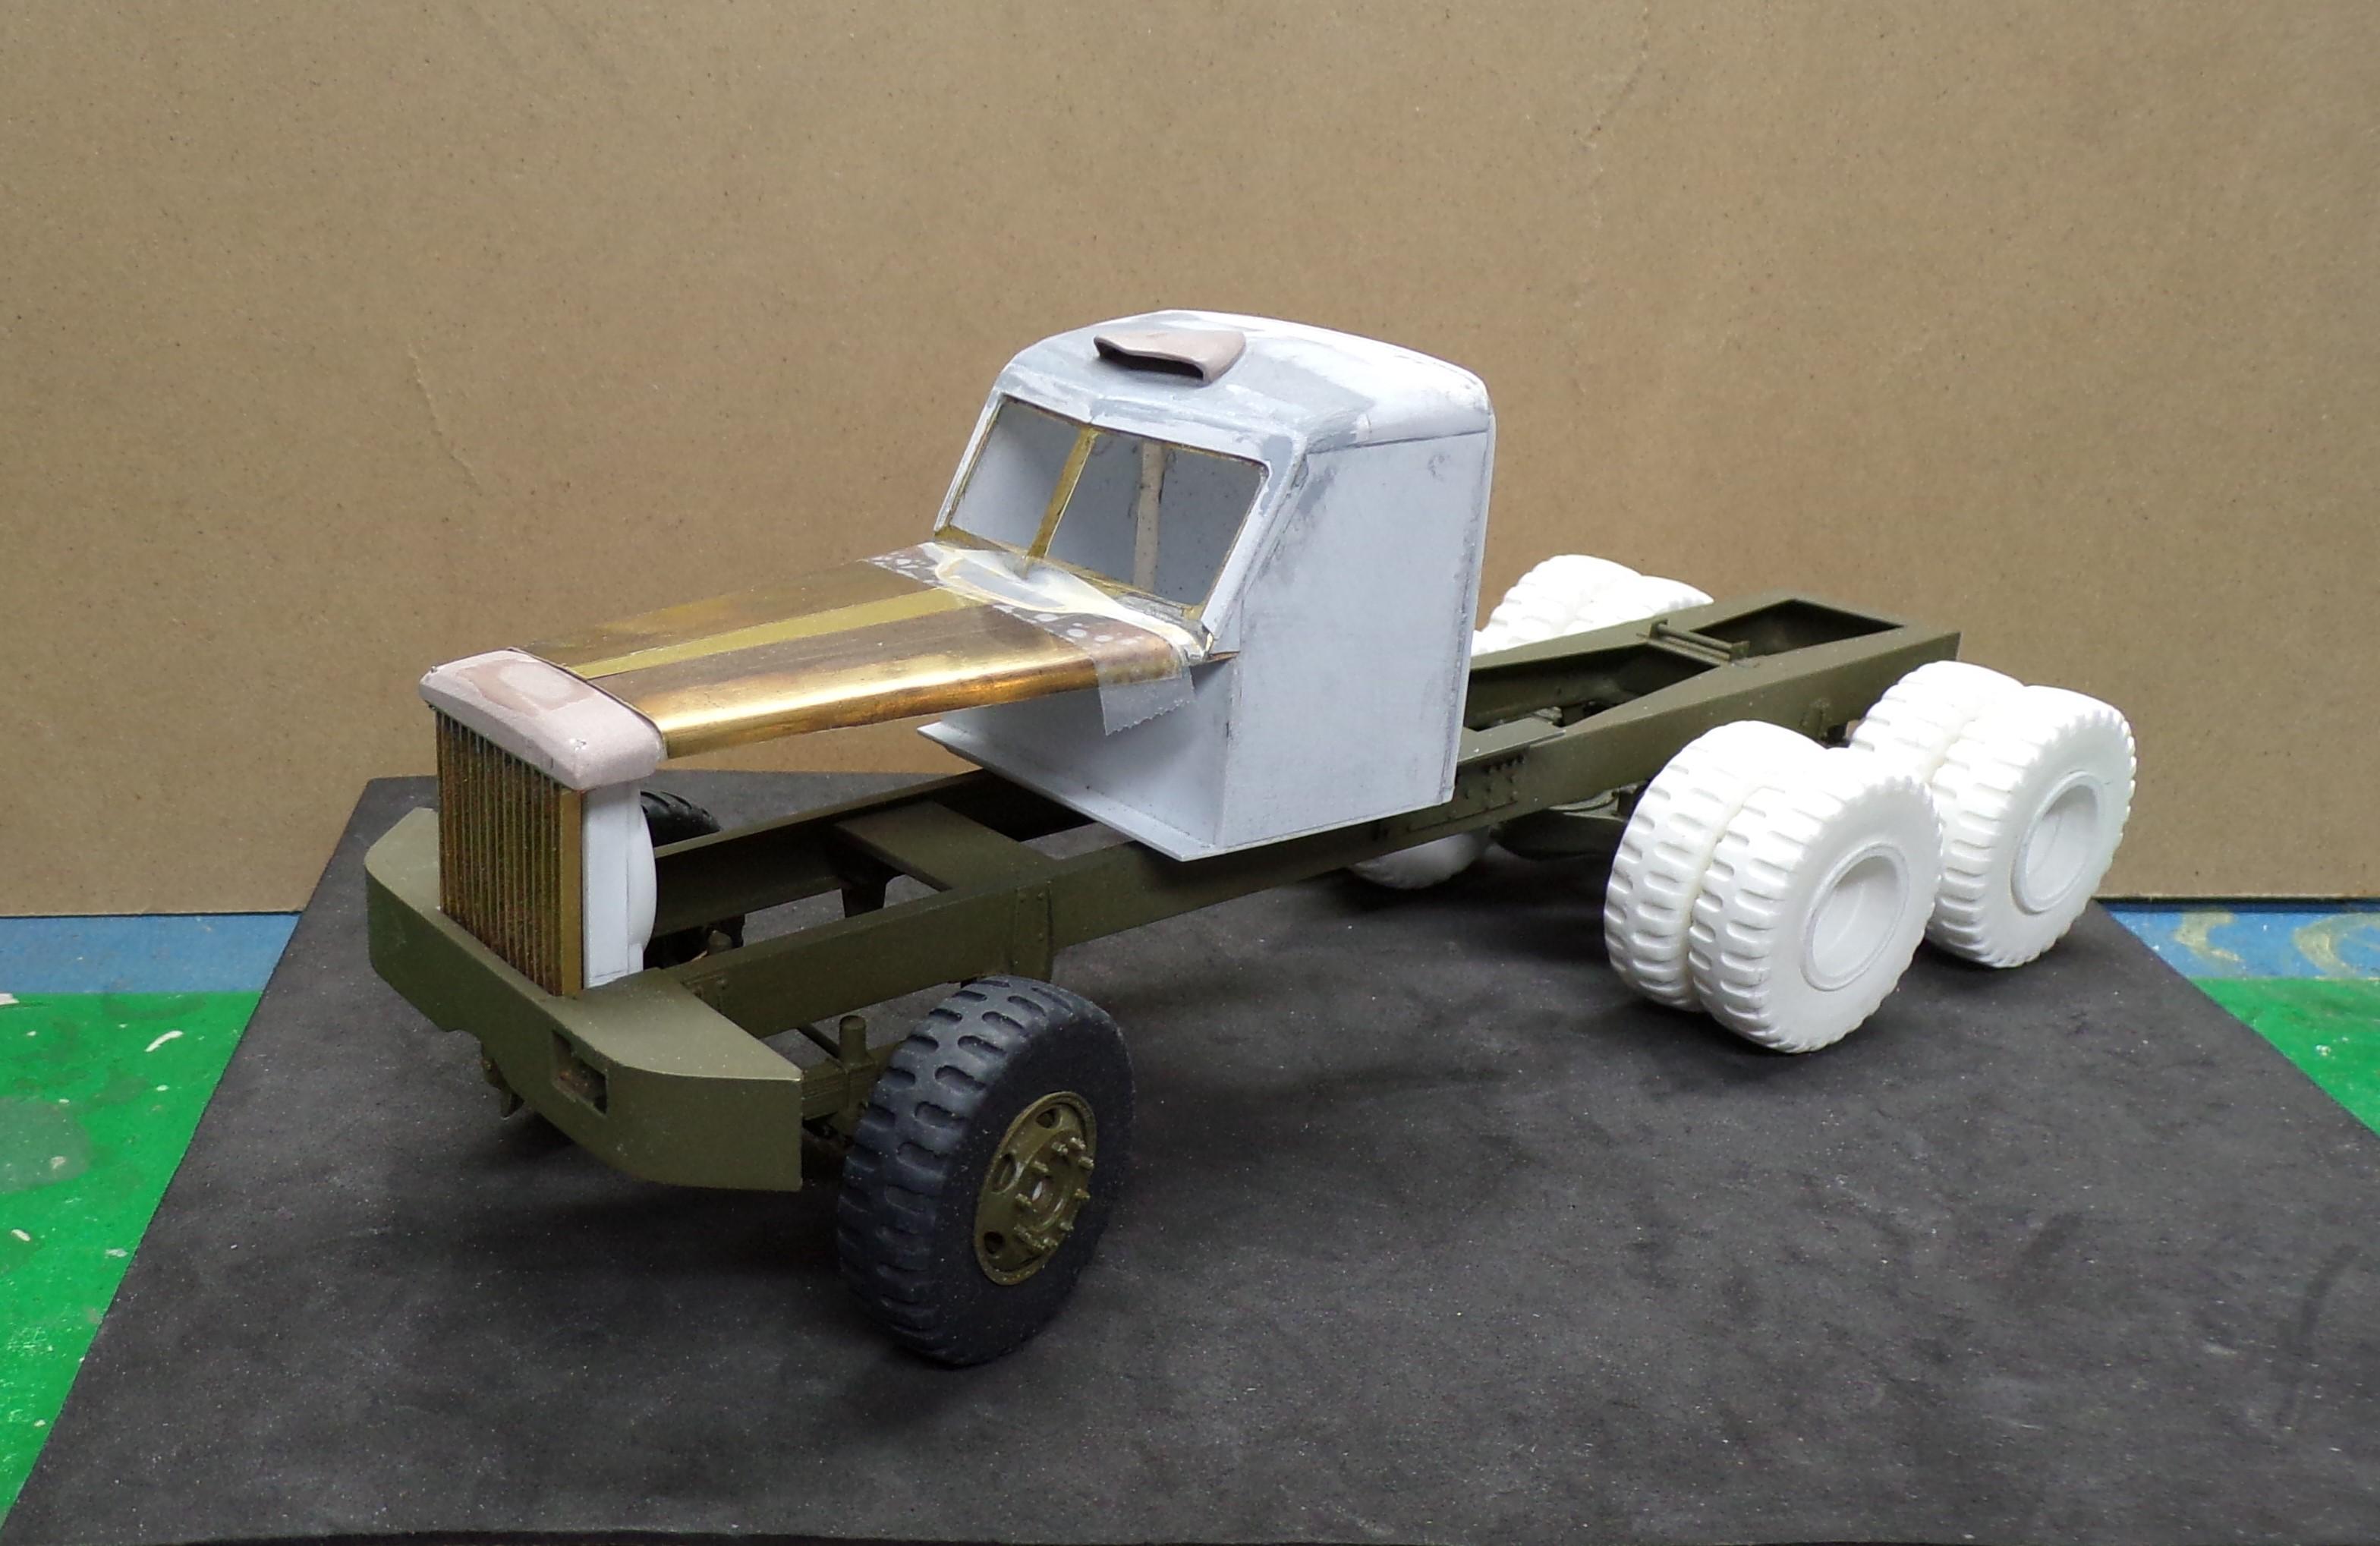
Got some real work done for a change. The radiator, hood and cab are now where they need to be. The 4 hood pieces and the center section are all hinged to open. Pins at the front and rear of the center section connect the radiator and cab. Tires and wheels are now painted and installed. Beginning to look a bit like a heavy duty truck now.
-
M-20 Prime Mover
Chariots of Fire replied to Chariots of Fire's topic in WIP: Model Trucks: Big Rigs and Heavy Equipment
A quick update on the M-20. Finally the radiator, hood and cab have come together. I can now locate the cab precisely on the frame with the two screws that mate the frame and cab floor. Still some tweaking to do on the hood sections and the hinges need to be added so it can be opened. The doors are now fully hinged for opening and the cowl vent opens with a lever in the cab. Radiator side pieces can now also be installed in line with the hood sides.
-
M-20 Prime Mover
Chariots of Fire replied to Chariots of Fire's topic in WIP: Model Trucks: Big Rigs and Heavy Equipment
Amen to that, Bob!! 30 louvers to each side of the hood! There are some adjustments to make ahead of that but they will come in time. -
M-20 Prime Mover
Chariots of Fire replied to Chariots of Fire's topic in WIP: Model Trucks: Big Rigs and Heavy Equipment
HAH! Not so much sometimes!!? -
M-20 Prime Mover
Chariots of Fire replied to Chariots of Fire's topic in WIP: Model Trucks: Big Rigs and Heavy Equipment
Progress has been slooooowwww! So many little wrinkles to work out. Some things have just been done over and over. Finally making some progress. Front and rear suspension is done and work has proceeded with the radiator, hood and cab. Adjustments are in the works to make sure all of it fits where it is supposed to. I had to shorten the cab some, adjust the hood length and make a small change in radiator location but we are getting there. Lots of different materials at play here. Evergreen stock of all kinds, sheet and strip brass, Renshape, resin castings just to get where we are at. Craft wire and #15 hex beads dress up the wheels as lug nuts. Paint is Testors OD and Tamiya rubber black so far.
-
Ah, bad camera angle. Got it!?
-
Hey, Brian. The rear of the top looks like it needs to be raised up some. Does it in fact slope backward a bit? I have one of those CF Mack cabs that is very thick as well and would really need some TLC to get it to look right.
-
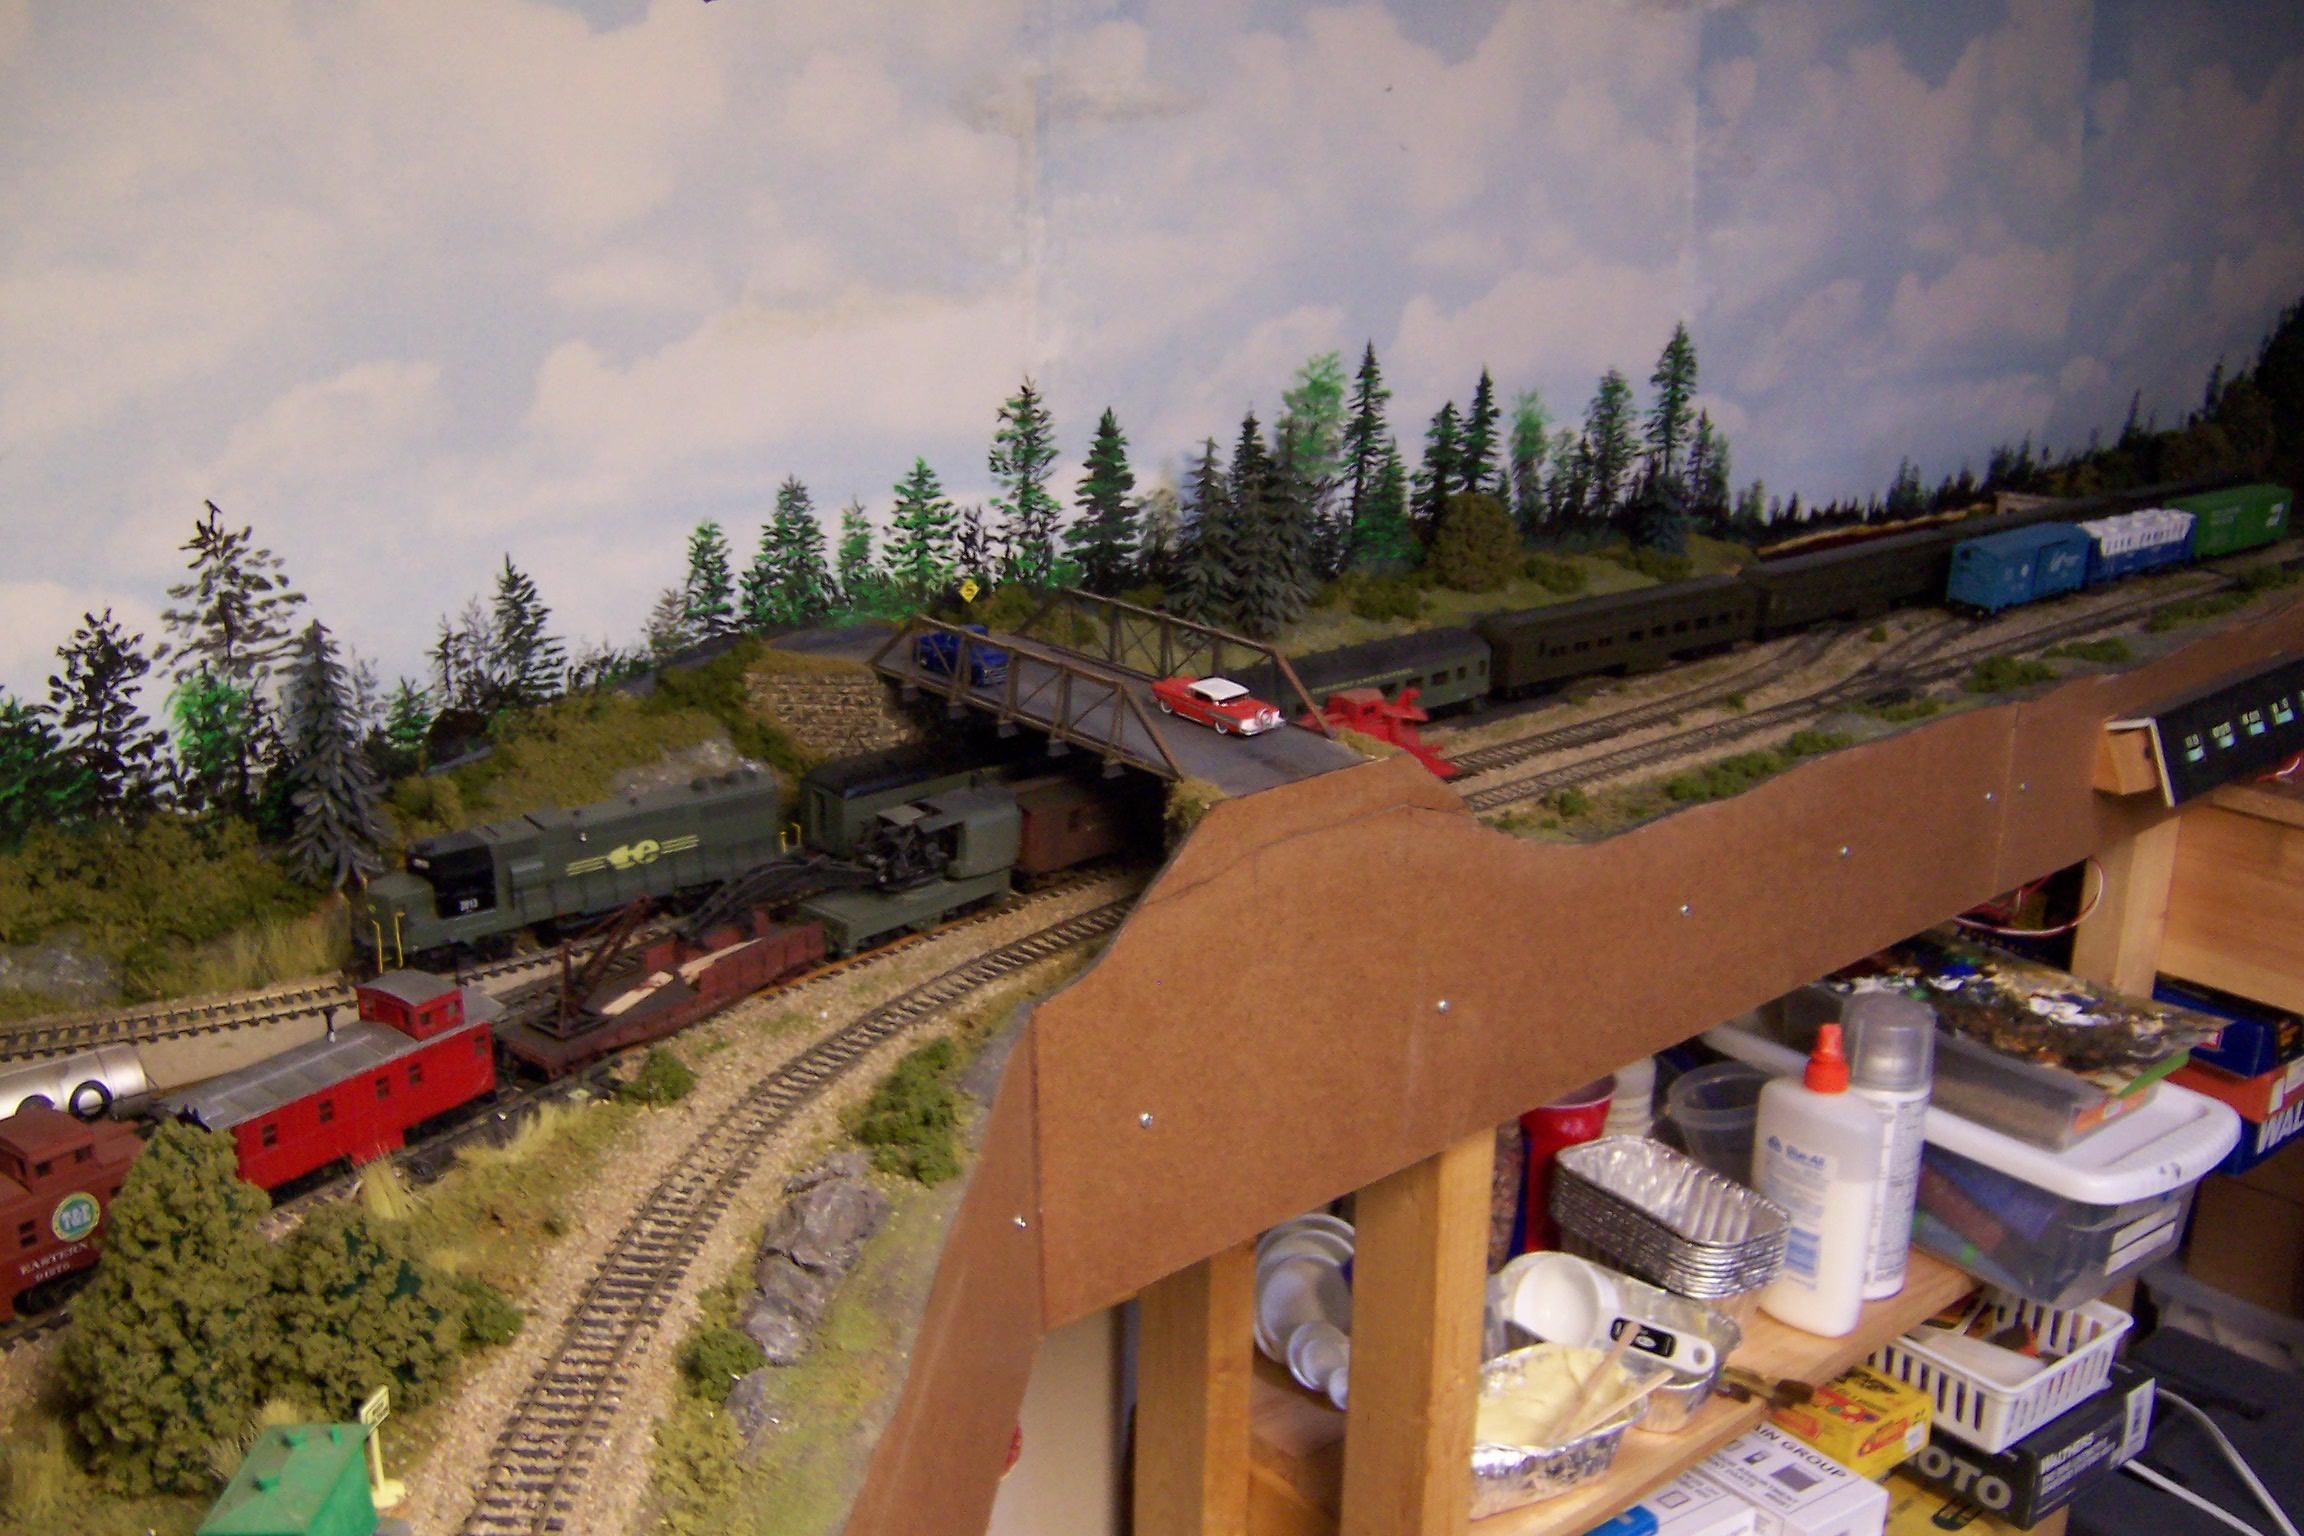
I see you like trains too! ☺️
-
Nice clean work, Brian! Bet the case is BIG!!
-
Fire investigation unit
Chariots of Fire replied to Firebuilder's topic in WIP: Model Trucks: Big Rigs and Heavy Equipment
That last one is your tunnel rescue, right? -
Fire investigation unit
Chariots of Fire replied to Firebuilder's topic in WIP: Model Trucks: Big Rigs and Heavy Equipment
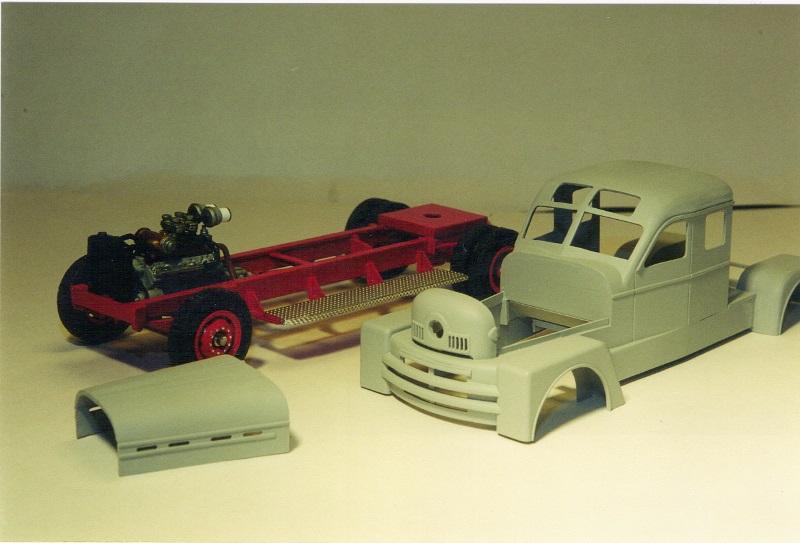
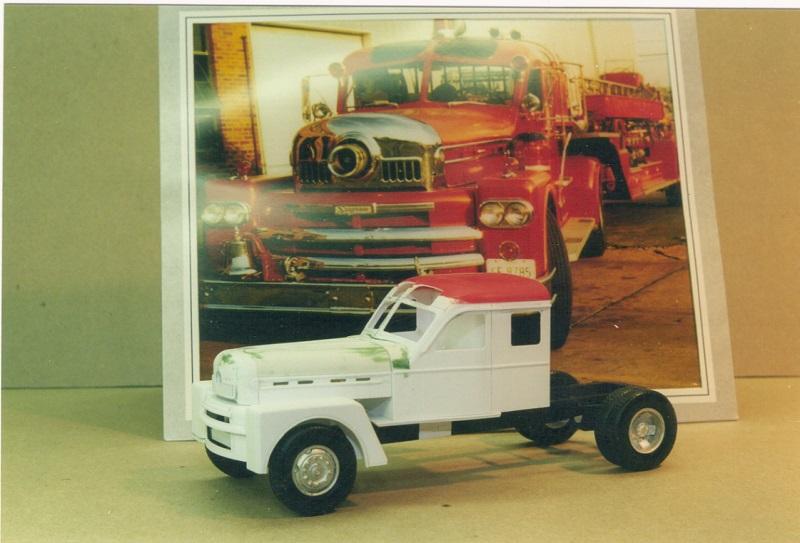
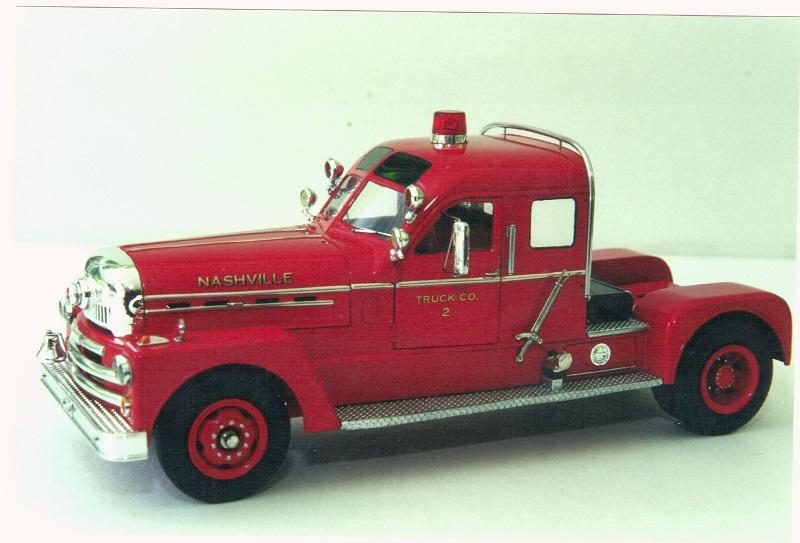
Got one more, Danno. This one is 1/32 scale and was done for a guy who loves the Nashville, TN FD. They had a tillered aerial drawn by an Anniversary Series Seagrave. He had a Franklin Mint Seagrave tiller that was drawn by a cab forward J series. I scratch built the '62 using the tires and wheels from an Aurora kit. The rest is plastic stock. The top was formed from the Aurora ALF top and cut open for the green vision panels. I had the nose and front bumper chrome plated by Chrome Tech back in the day. The same guy wanted me to build a Nashville Seagrave that had a Pitman Snorkel on it but I never was able to get enough good information to do it.
-
Fire investigation unit
Chariots of Fire replied to Firebuilder's topic in WIP: Model Trucks: Big Rigs and Heavy Equipment
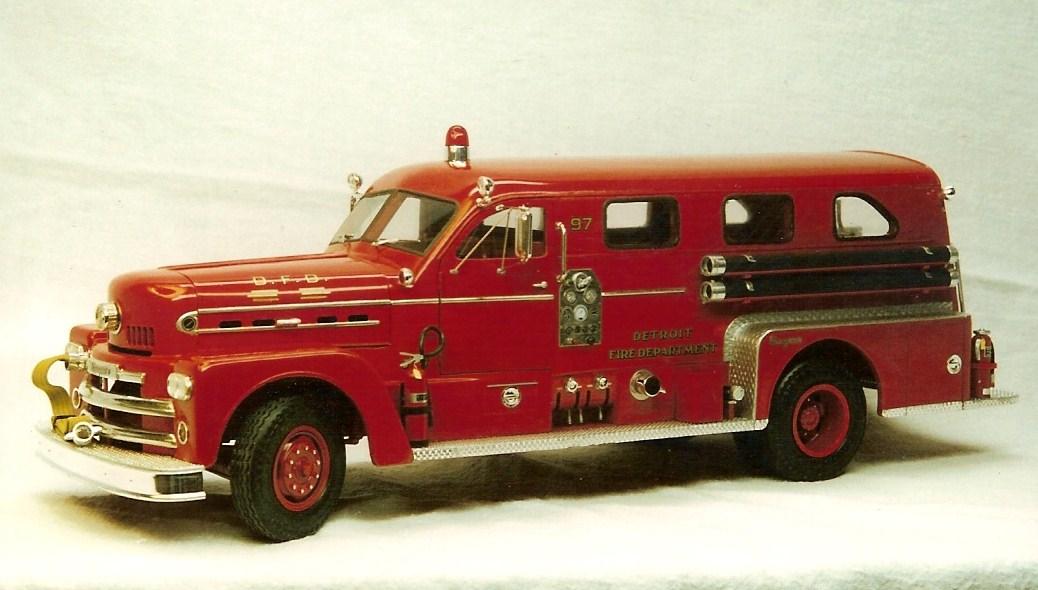
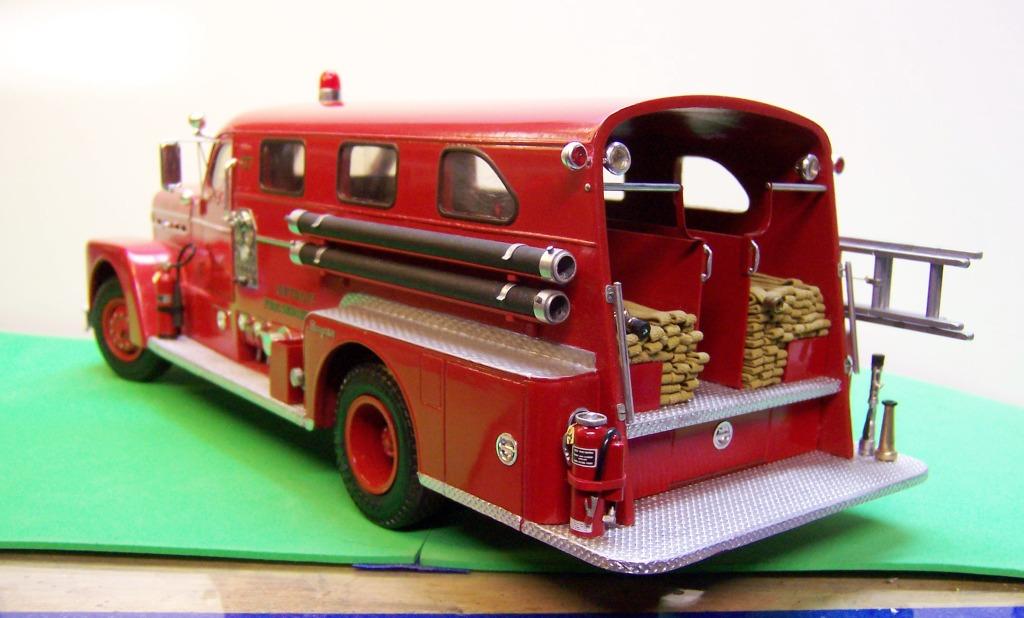
Here you are, Danno. I built two of the River Edge pieces. One is in their Company 2 station. The first one I still have and was shown in Scale Auto Magazine years ago. A River Edge SAE reader saw it and inquired as to who built it. SAE contacted me via snail mail and the rest is history. When I delivered the built to River Edge I got a personal ride around the village in the real Seagrave. A real treat! The second one is a typical Detroit sedan style rig, I took a lot of information from Matt Lee's book on Seagrave. This is the River Edge piece I still have. It was built from photos I took at Croton-On-Hudson fire muster years ago. The rig that is in River Edge is in the foreground. The Company Chief insisted it needed a flag and although it is difficult to see It is there near the right end of the windshield. The Detroit Seagrave. Doors and hood open. An original Eisbrenner casting.
-
M-20 Prime Mover
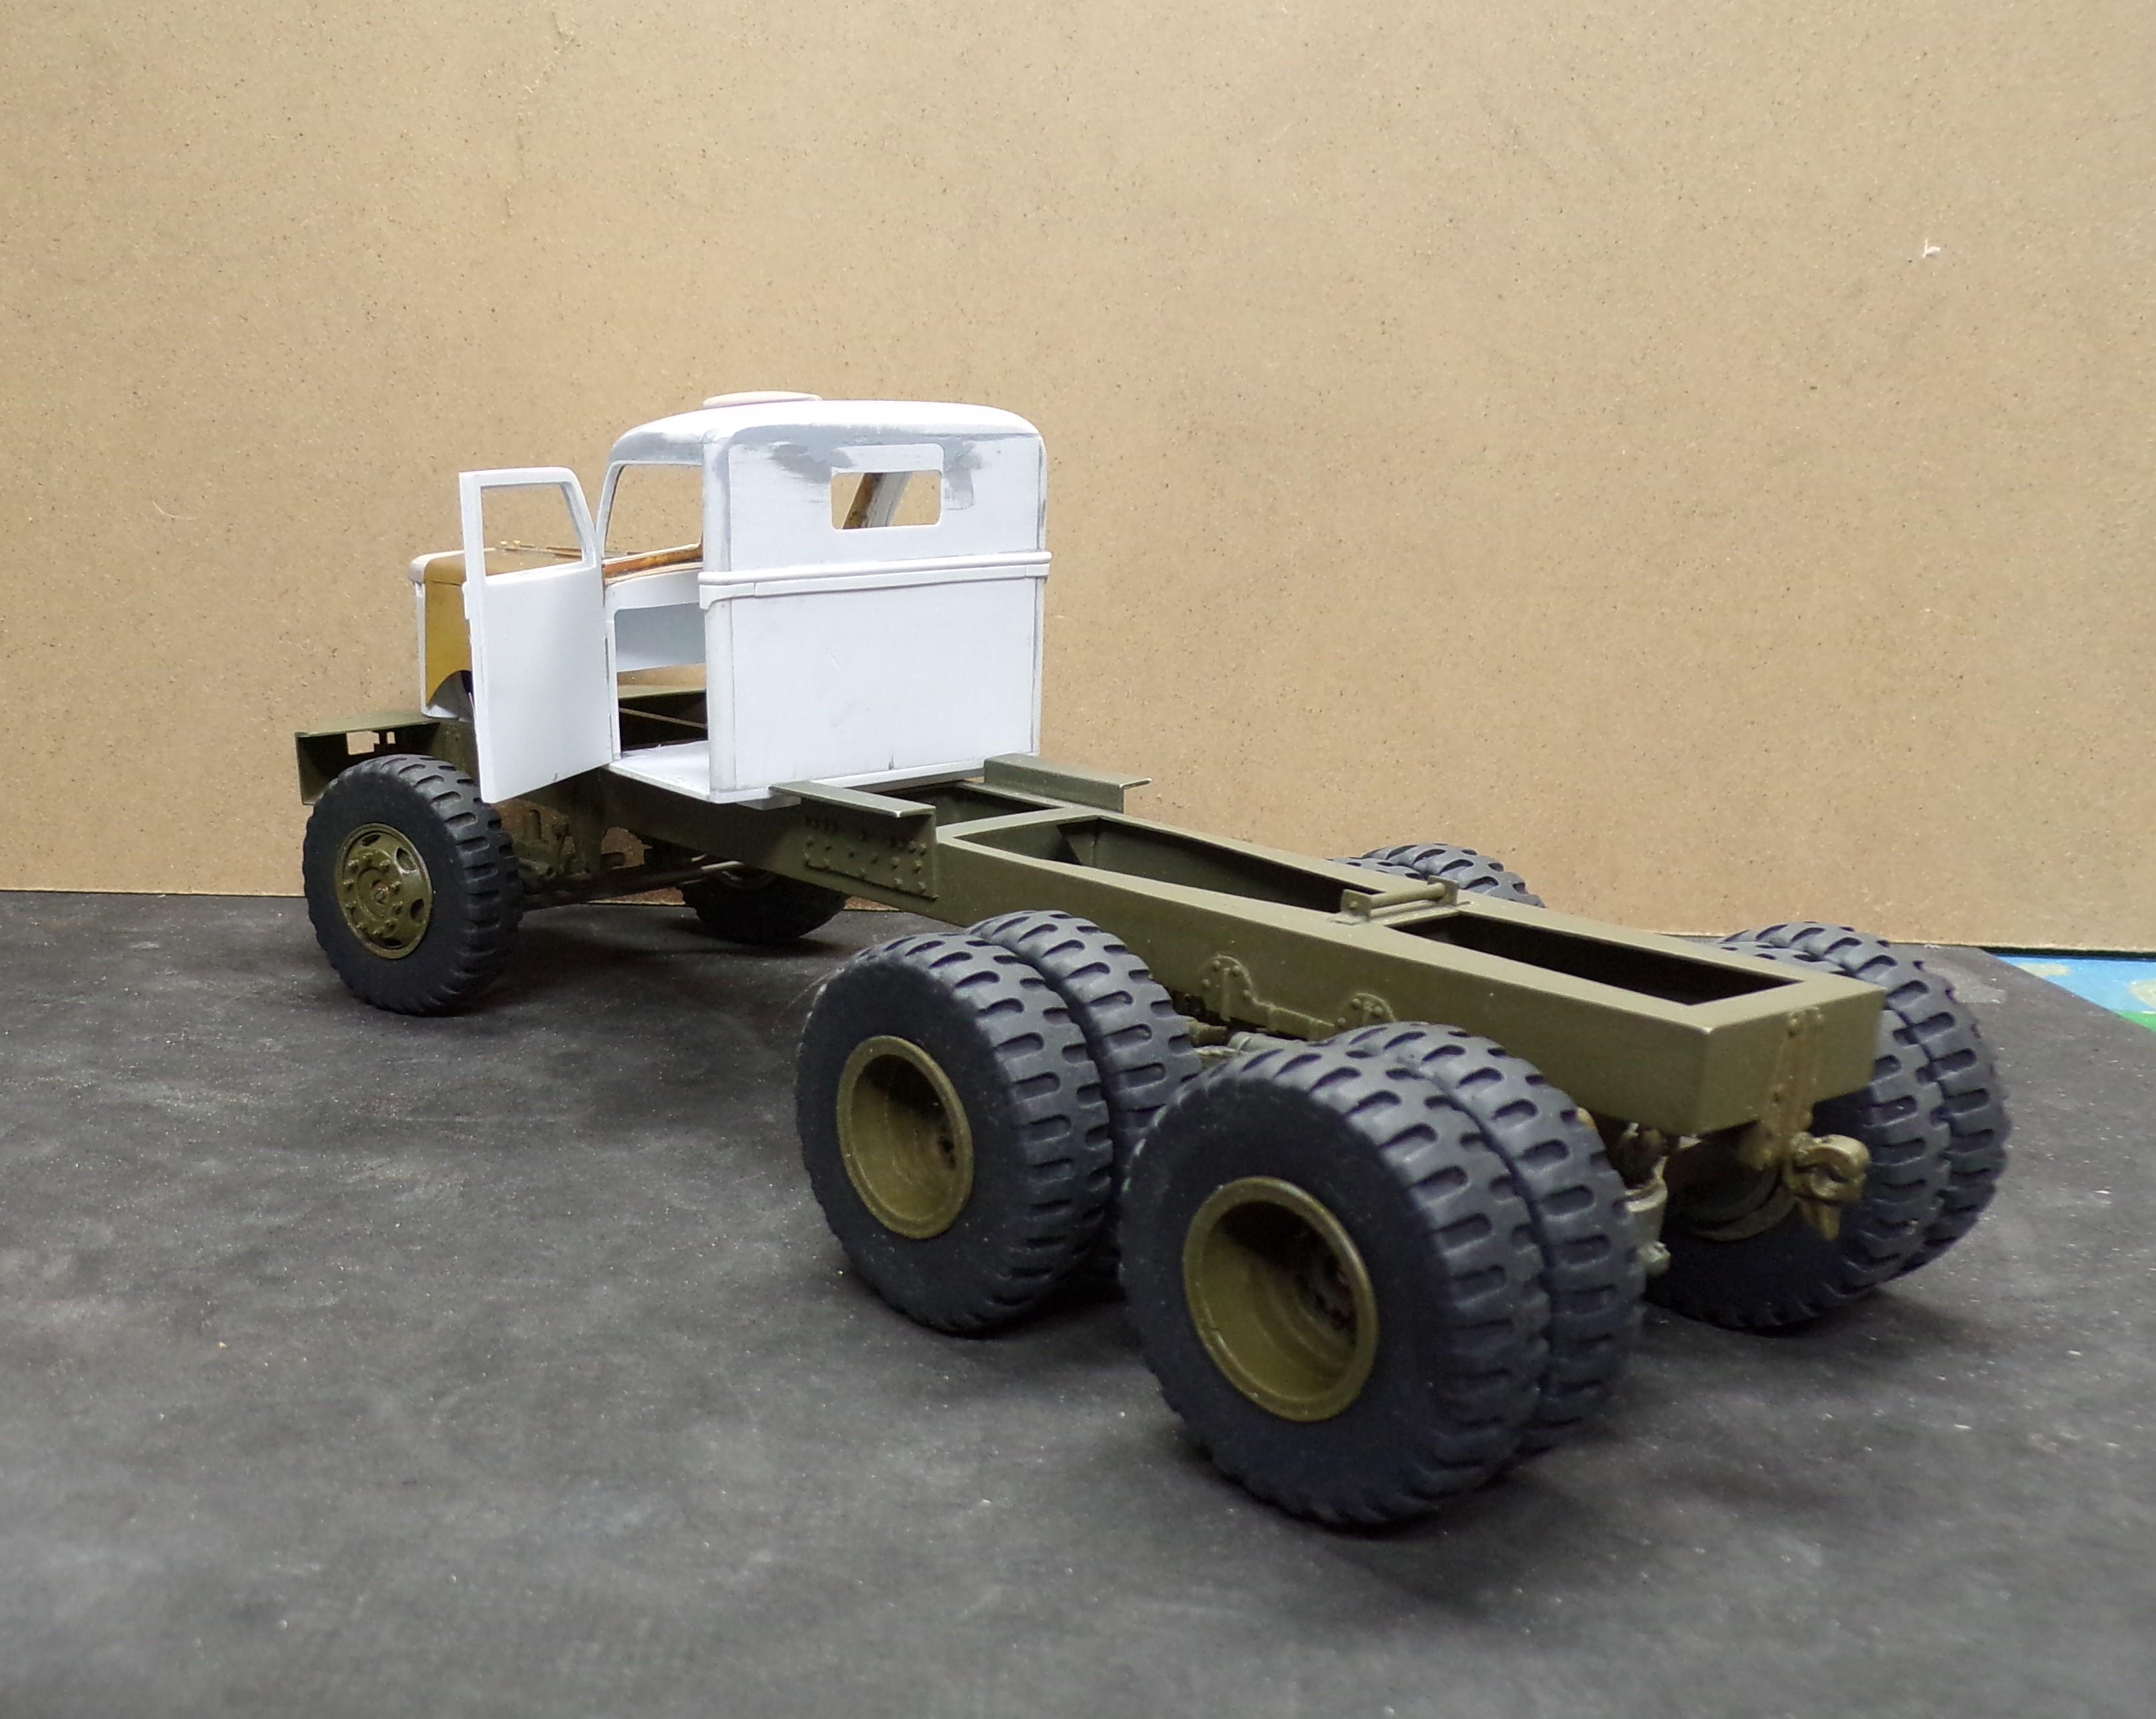
Chariots of Fire replied to Chariots of Fire's topic in WIP: Model Trucks: Big Rigs and Heavy Equipment
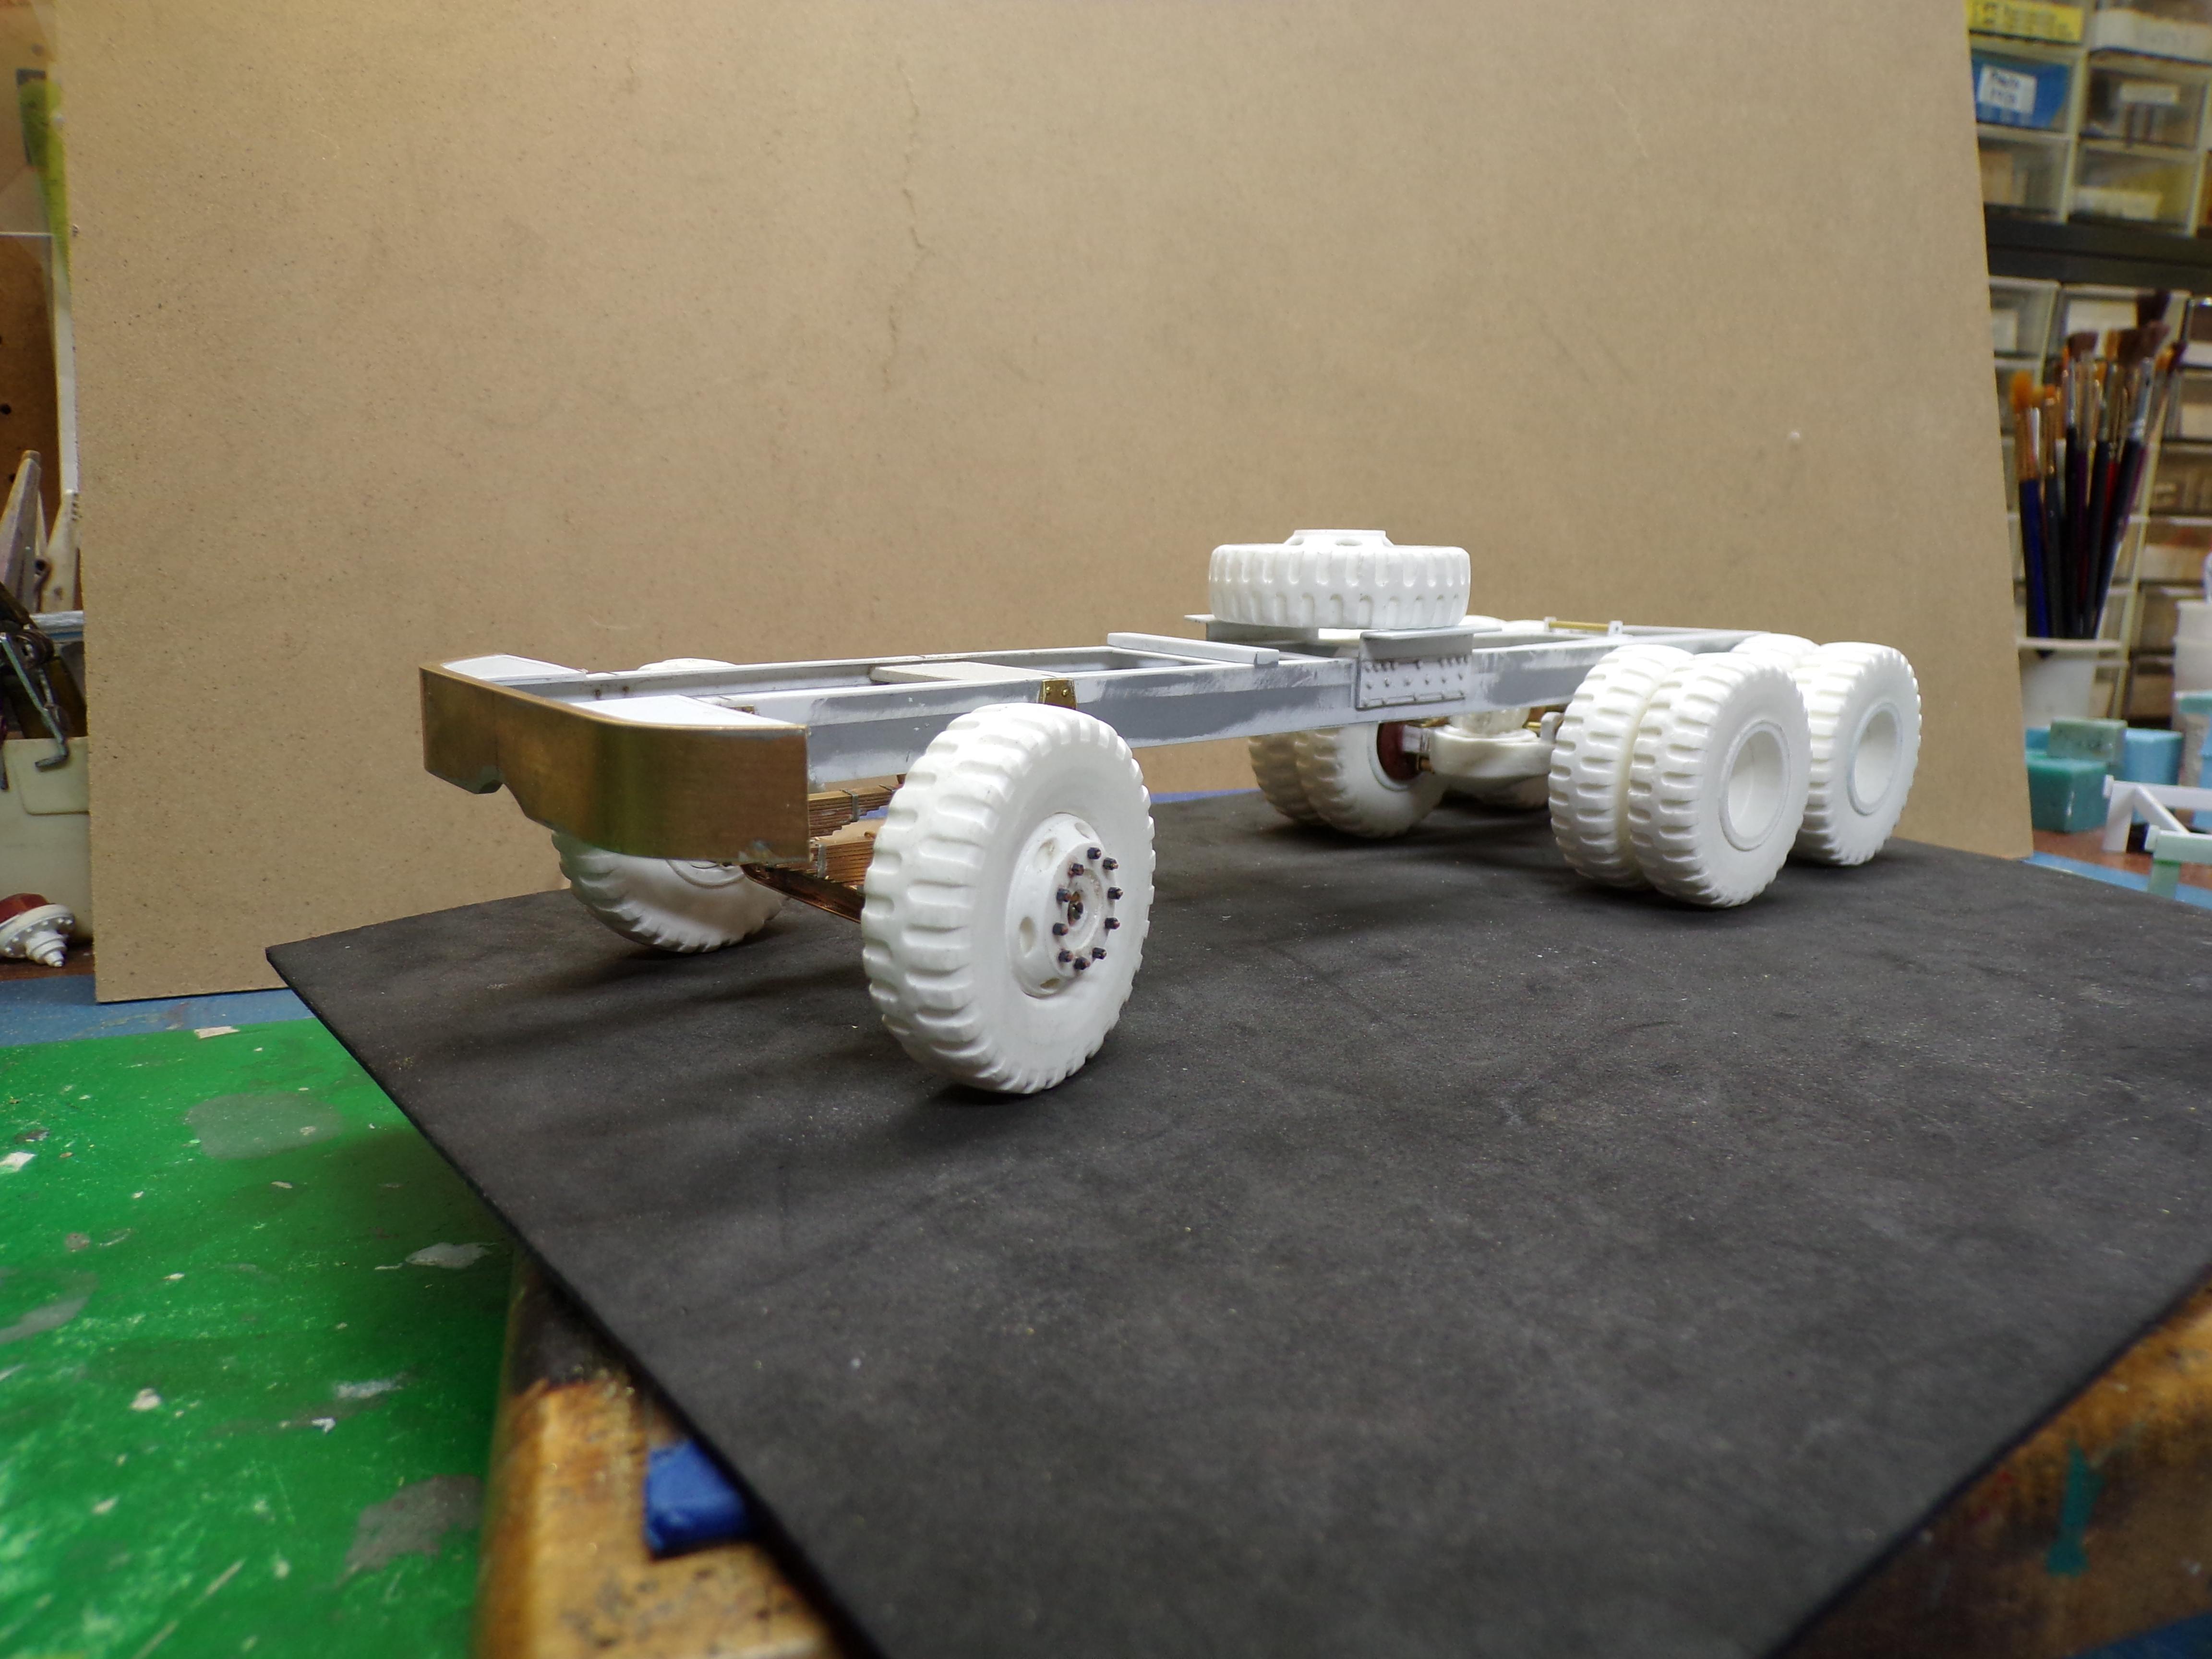
Got it standing up on all 10's now (temporarily at least). Working on the steering arm for the front end as we "speak".
-
Fire investigation unit
Chariots of Fire replied to Firebuilder's topic in WIP: Model Trucks: Big Rigs and Heavy Equipment
Whose Seagrave casting is that in the background? I built two from the original Eisbrenner castings and still have one of the real early ones that had no window trim. Looks like brown bakelite. -
M-20 Prime Mover
Chariots of Fire replied to Chariots of Fire's topic in WIP: Model Trucks: Big Rigs and Heavy Equipment
Hey, Bob. The hex nuts are on the ends of the shackle bolts but are hard to see. I use them for all sorts of stuff. I had a master done in 3D by Down Range Productions. Then I made a mold and cast what you see. All I did was send a photo of the tire with some basic dimensions and they did the rest. 12:00 x 20's are good size and much larger than anything else I had. -
M-20 Prime Mover
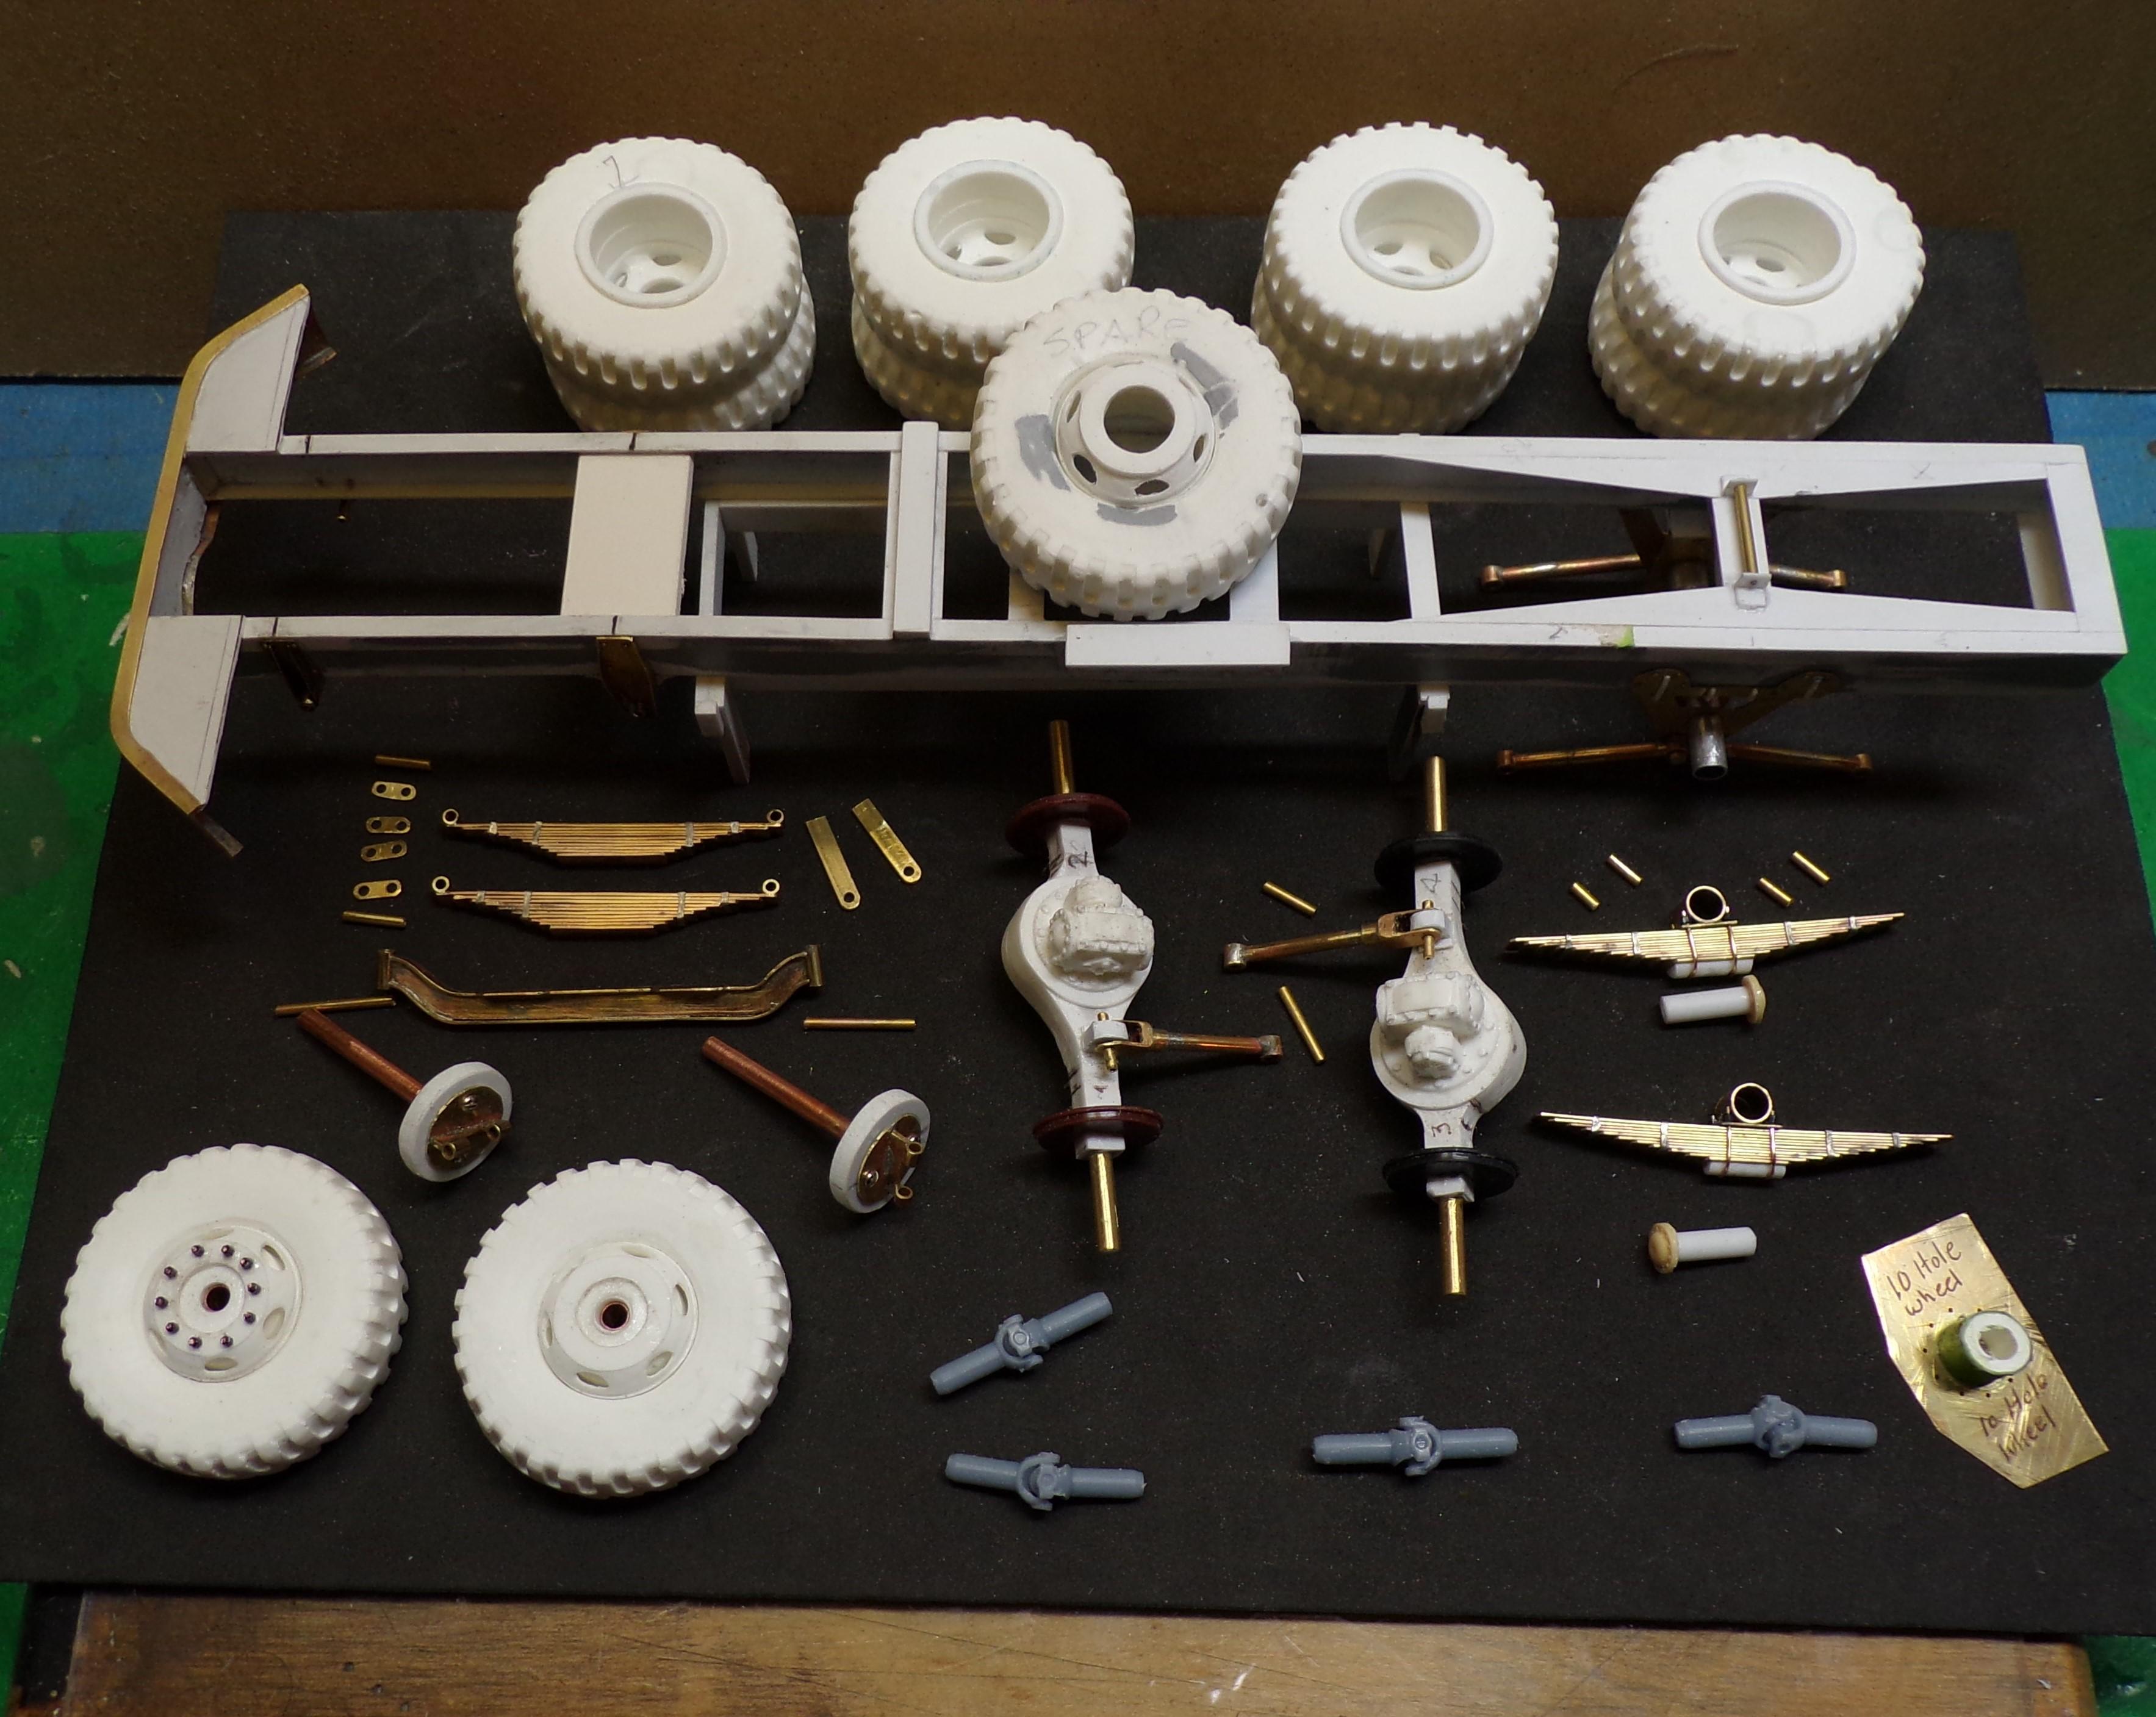
Chariots of Fire replied to Chariots of Fire's topic in WIP: Model Trucks: Big Rigs and Heavy Equipment
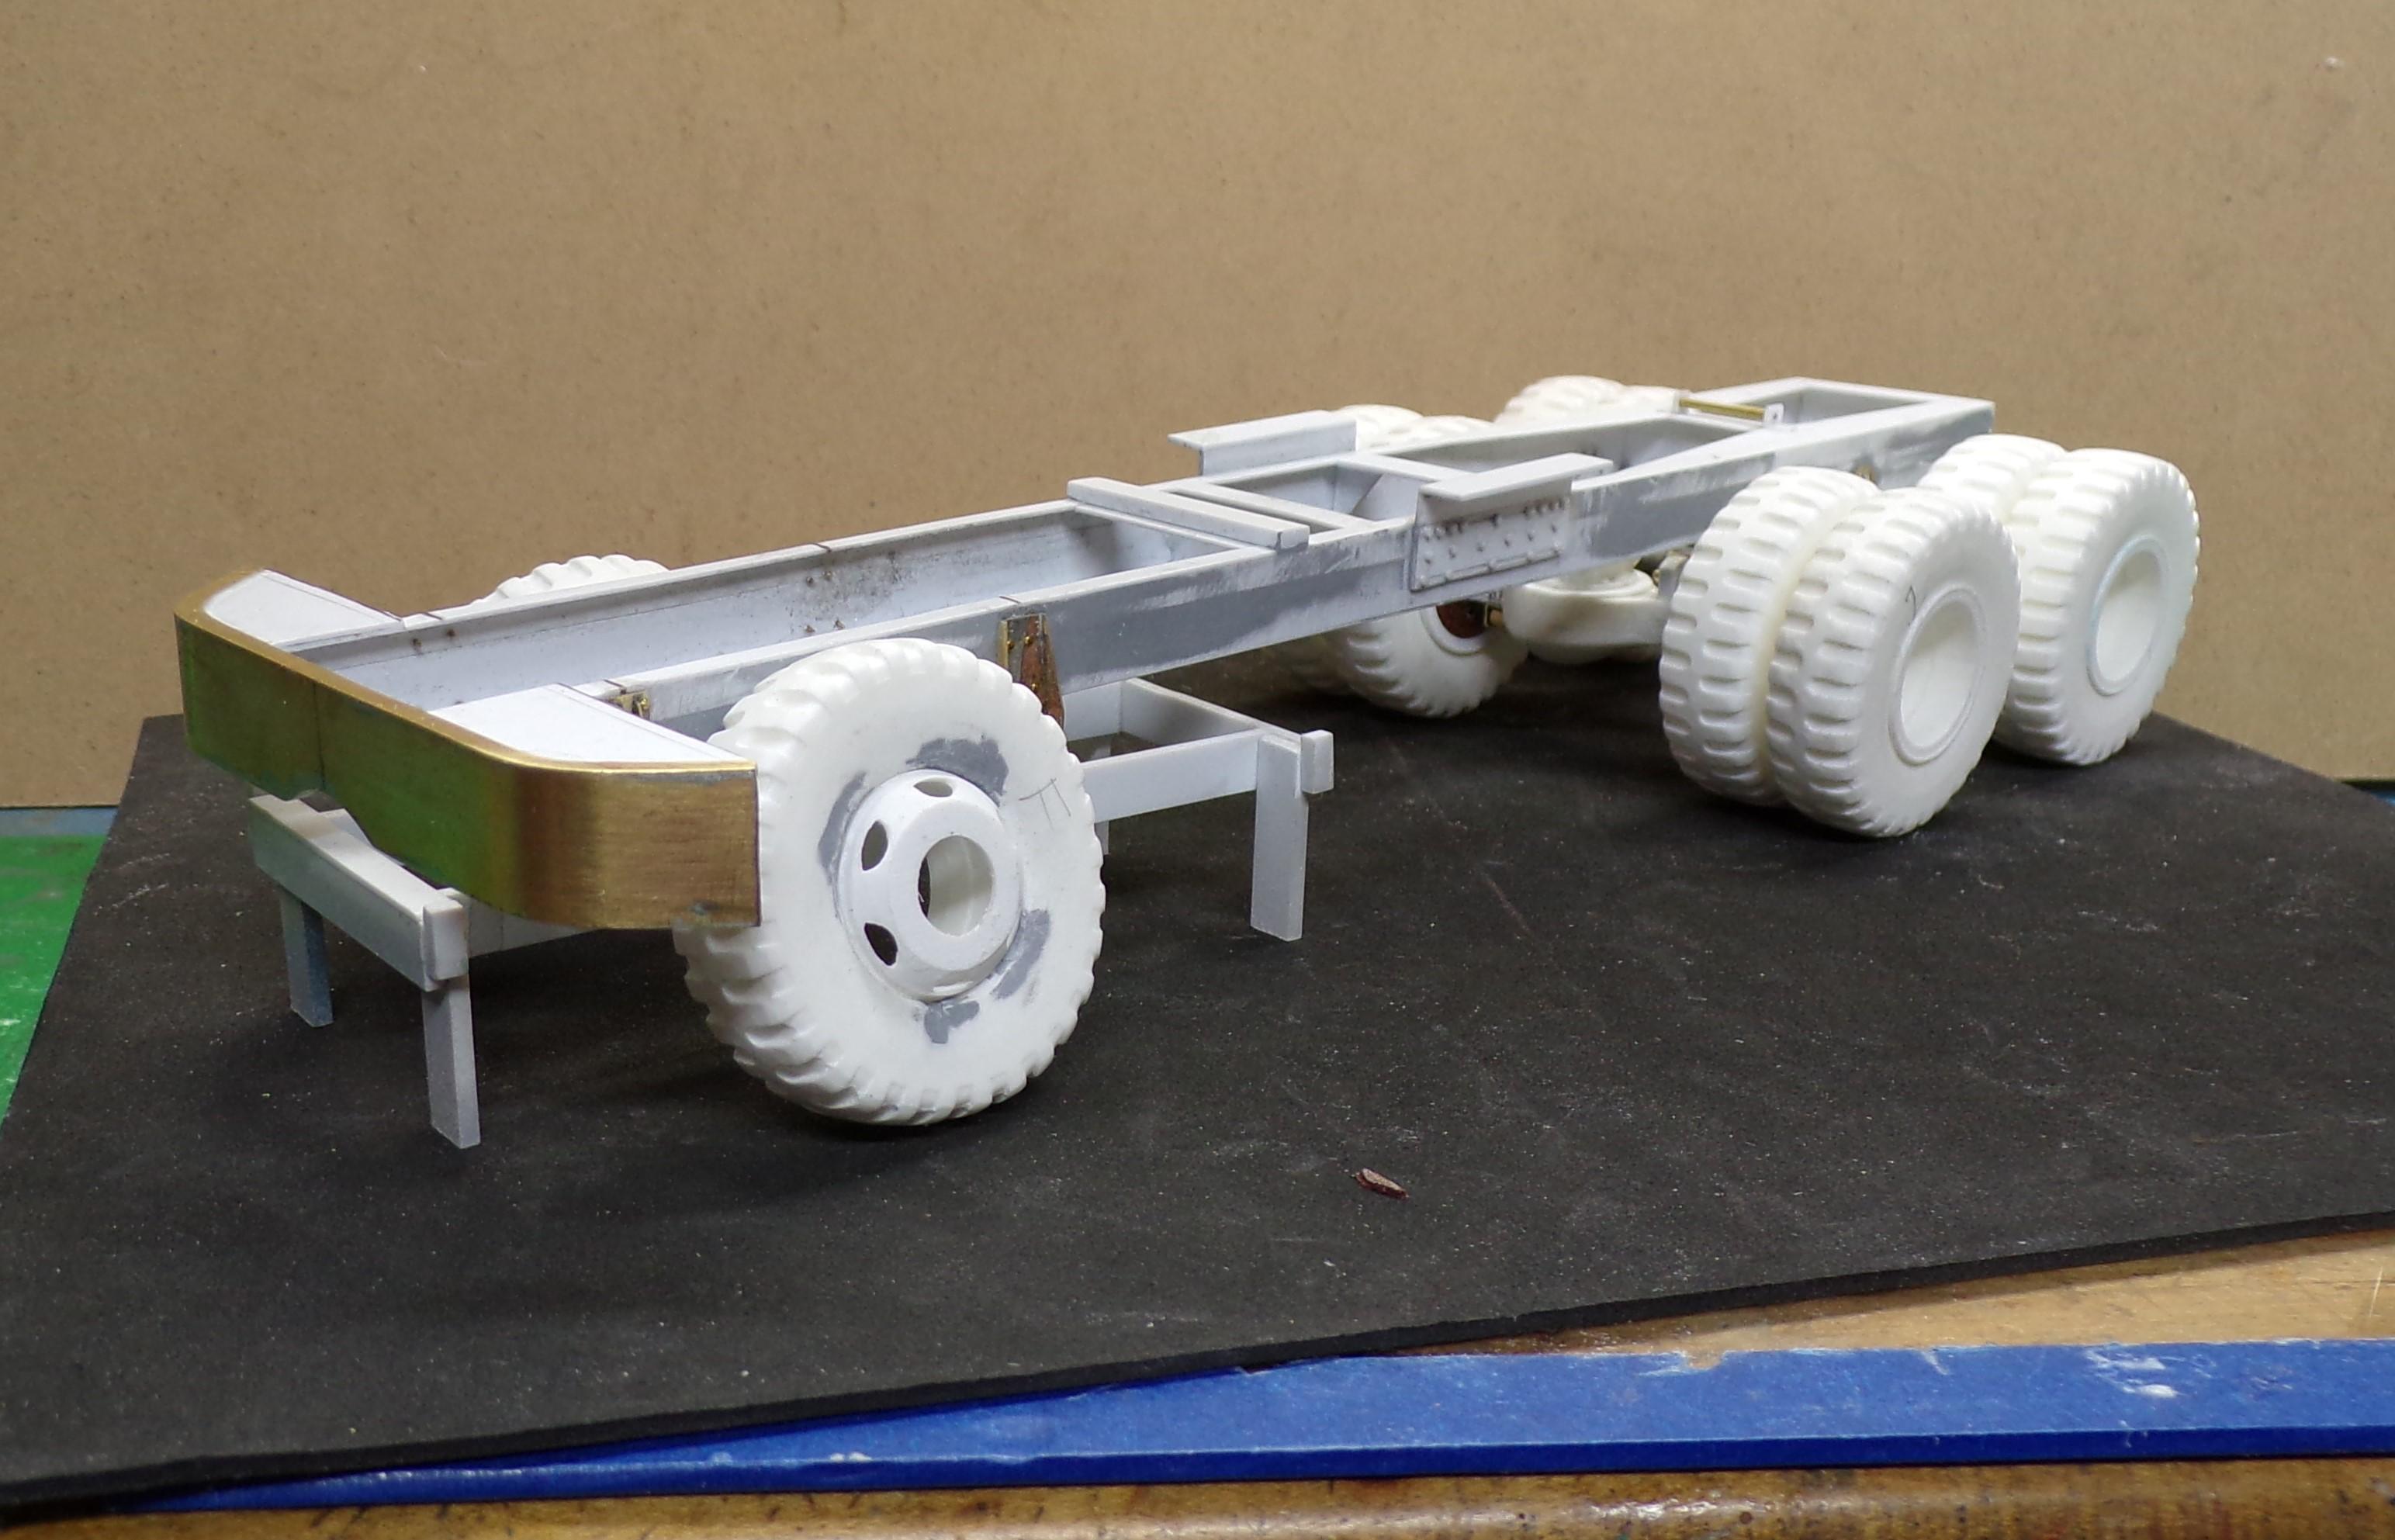
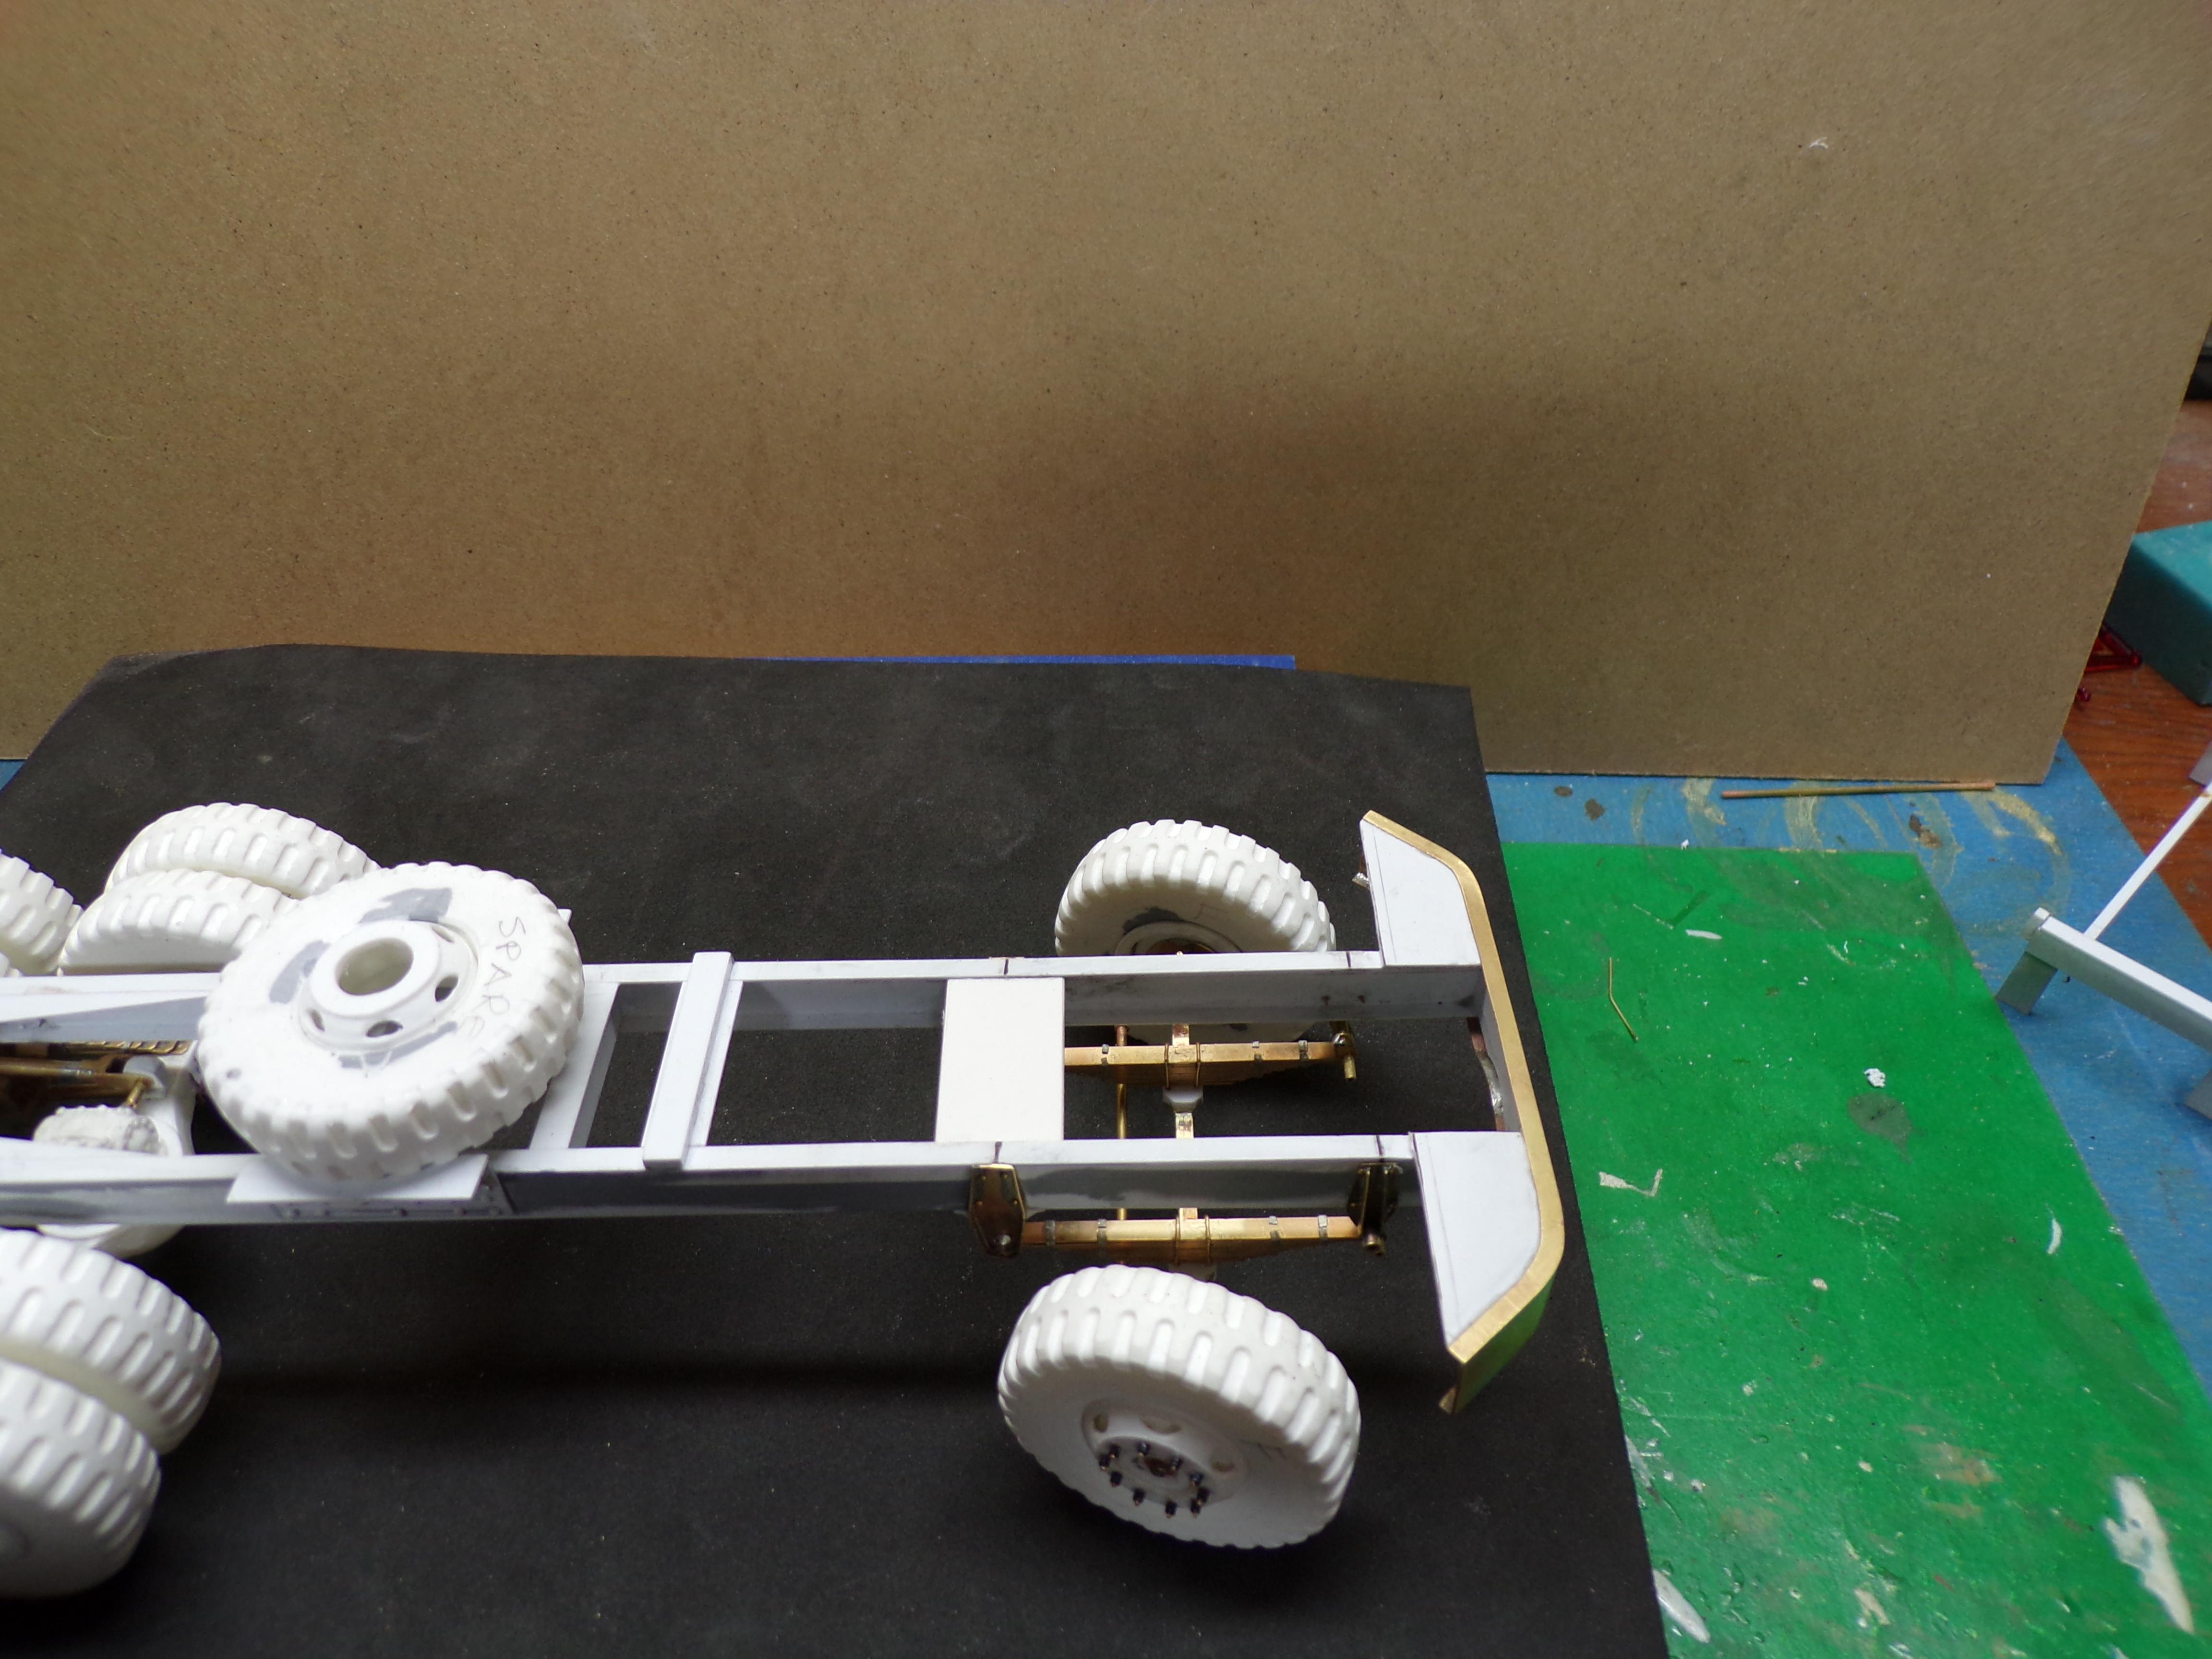
Here's the latest work on the M-20. Front springs are done along with shackle components. I found some soft 1/8" brass craft wire that comes in a coil but which is easy to straighten. Pieces were cut to length and soldered at the ends beginning with the short ones first. The front axle is soldered brass stock as well. Spindles a finished and the wheels are all set for tie rod connections and the steering arm. The gadget in the right front is a template for making holes in the wheels for the lug nuts. It fits the center of the wheel and it is easy to locate each hole for drilling and the spacing is even. Can't do it to the remaining front wheel. The hub is glued in so the locations for drilling have to be by eye. Oh, well. Live and learn!! The universal joints are 3D printed from Down Range Productions. They sort of snap together but need to be modified for the drive shafts.
-
Got a good start, there my friend!
-
Revell Mack CF
Chariots of Fire replied to Gmatta691's topic in WIP: Model Trucks: Big Rigs and Heavy Equipment
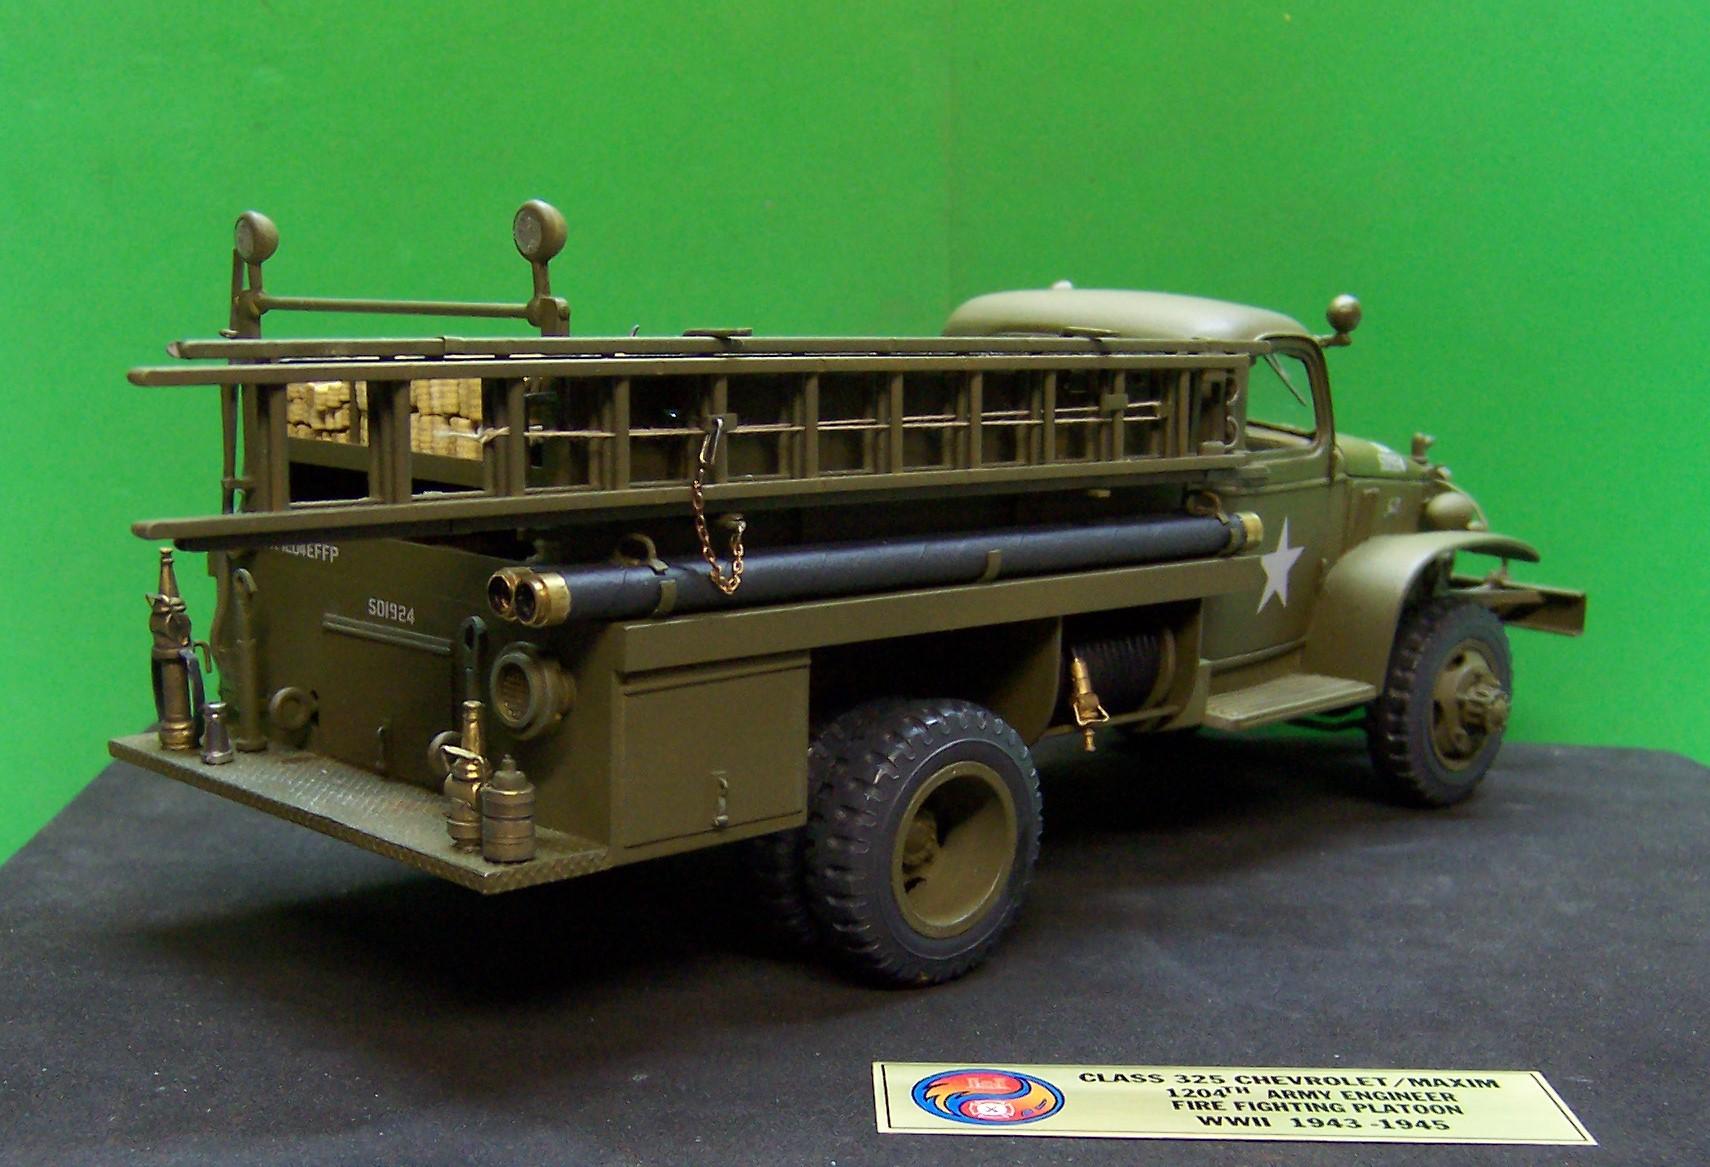
Depends on what type of nozzles you are talking about. If it is for either the booster line or the handline in the bed try DonMillsModels@aol.com He has them in white metal. If you want a larger nozzle for a 2-1/2" working line then you could make one out of sections of brass tubing. I'll show you the white metal ones and one I made from brass. The nozzles on this brush truck are the white metal ones that have been painted up and given a wash. The nozzles on the tailboard of this Class 325 military fire truck were made of brass tubing as was the nozzle on the booster reel in front of the rear tire.
-
M-20 Prime Mover
Chariots of Fire replied to Chariots of Fire's topic in WIP: Model Trucks: Big Rigs and Heavy Equipment
Yes it is. I have a 1/35 scale kit of the same rig but 1/25 is the scale I prefer. -
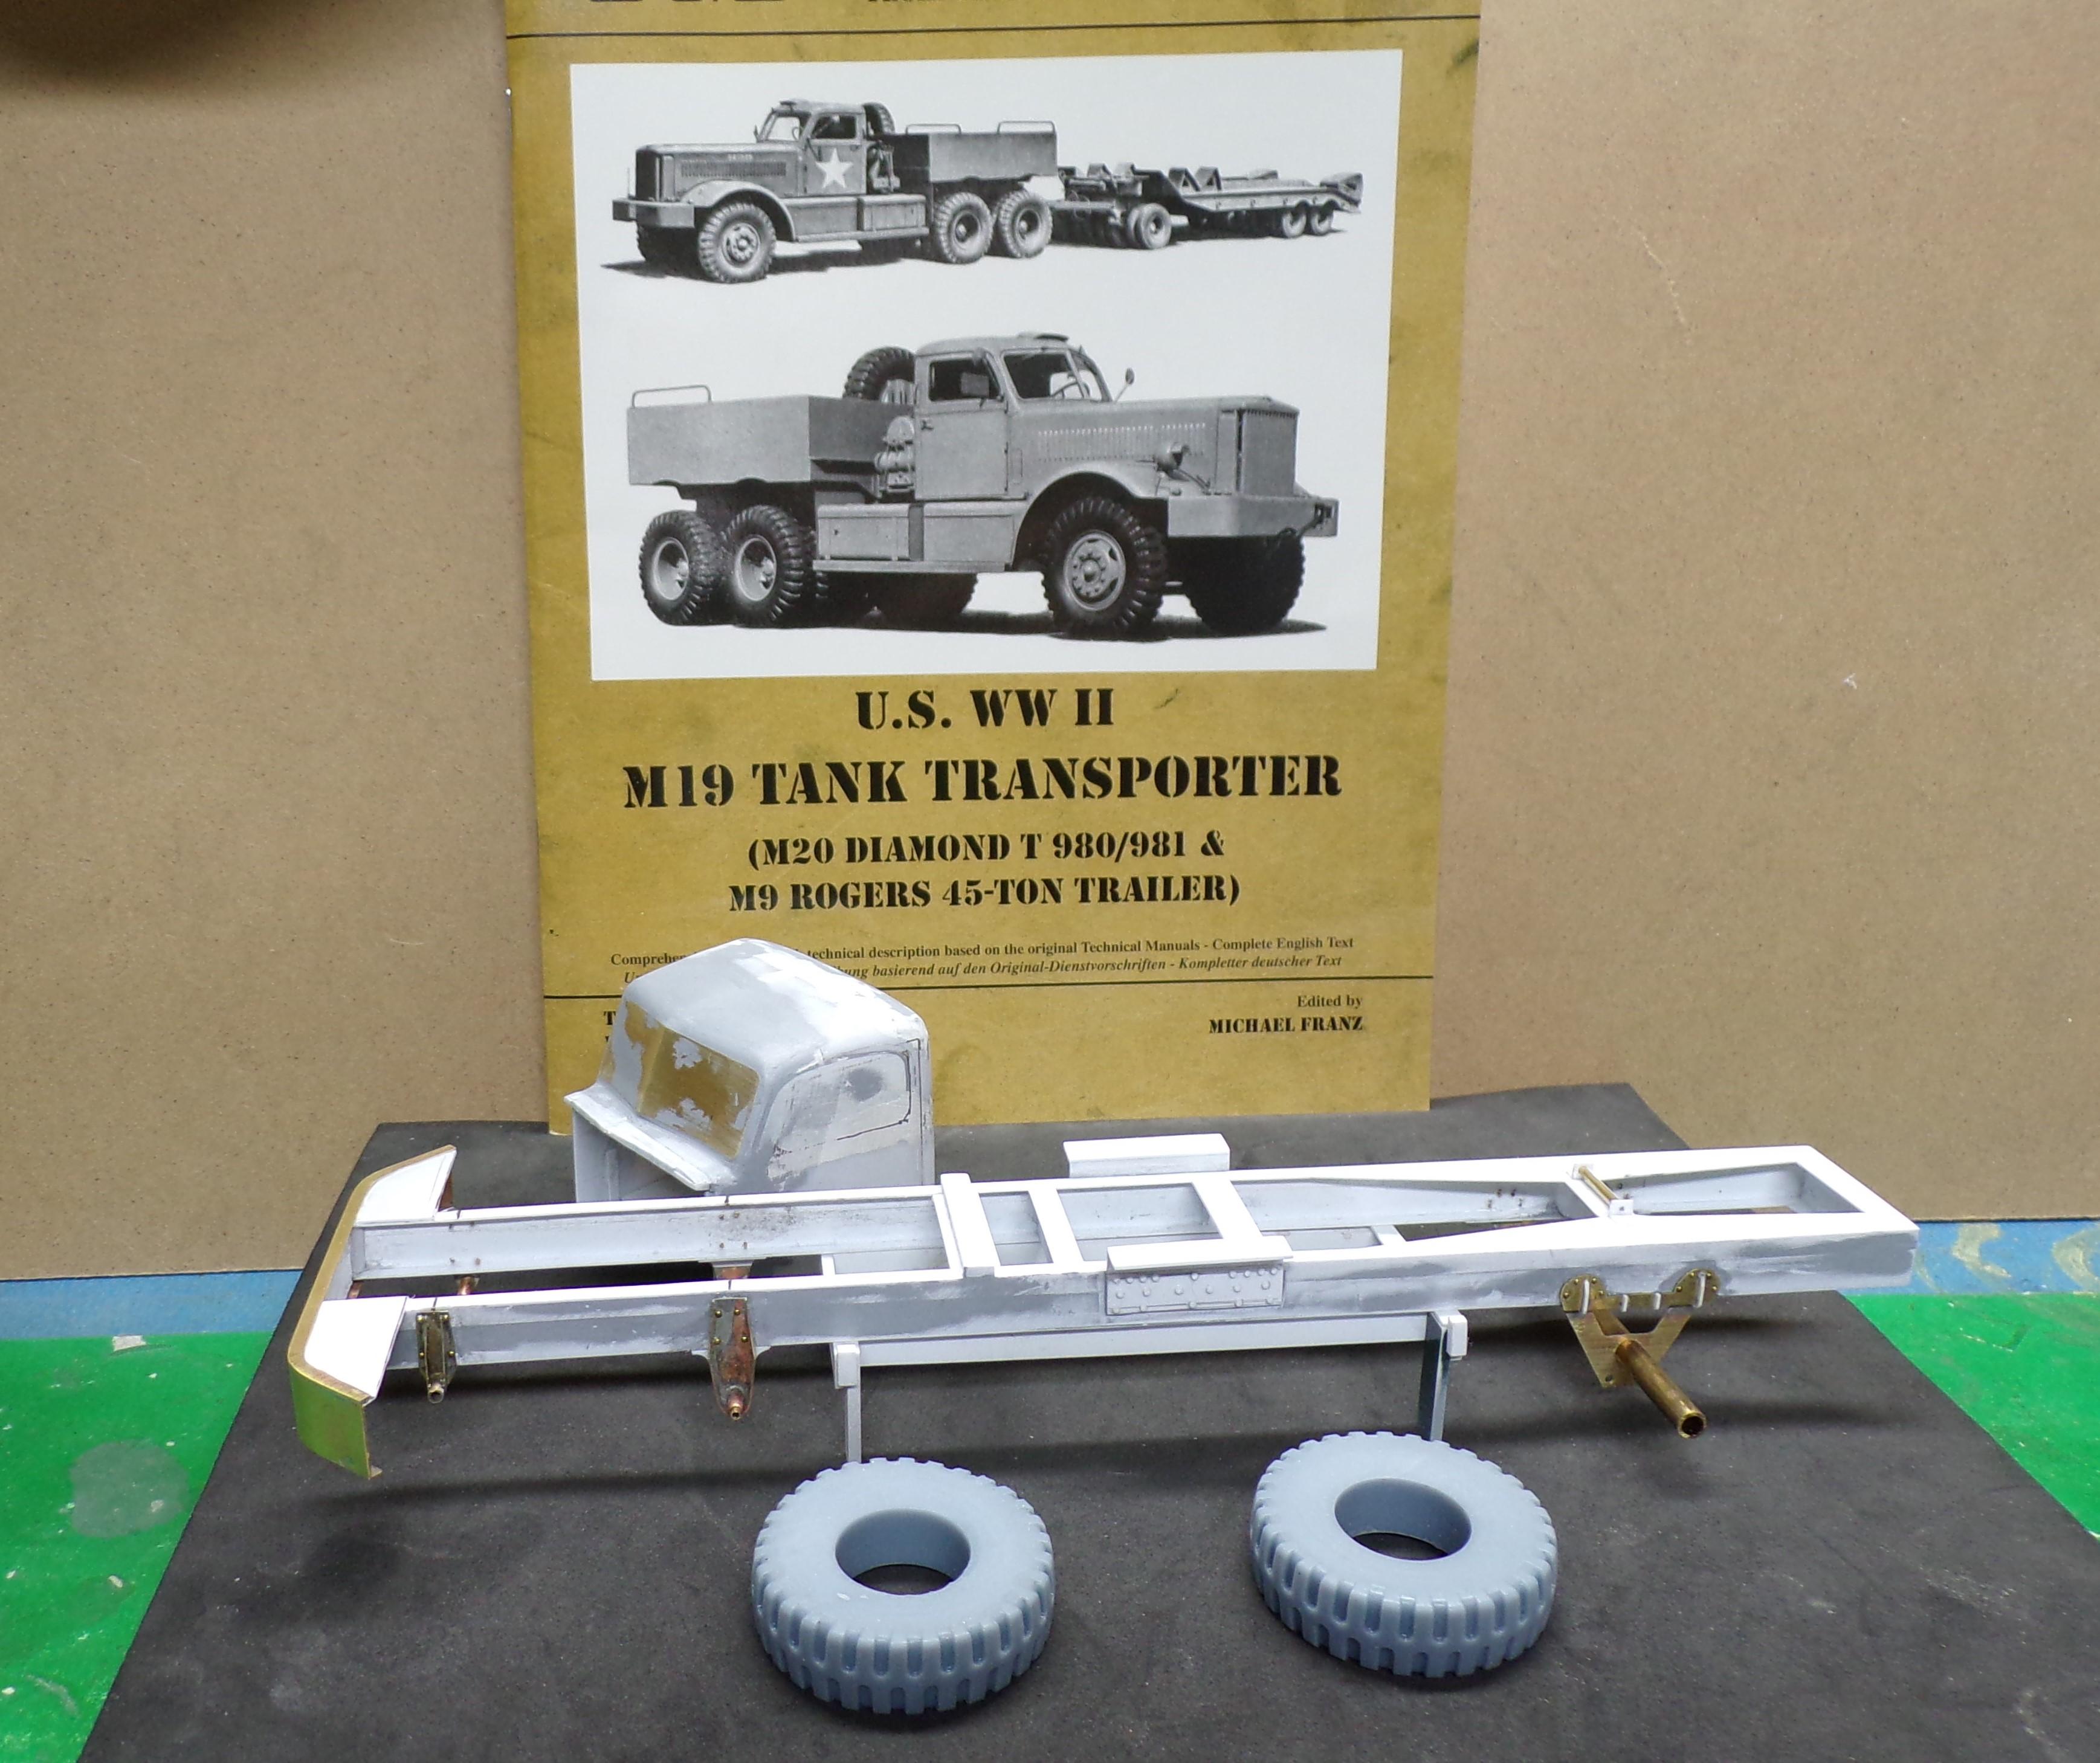
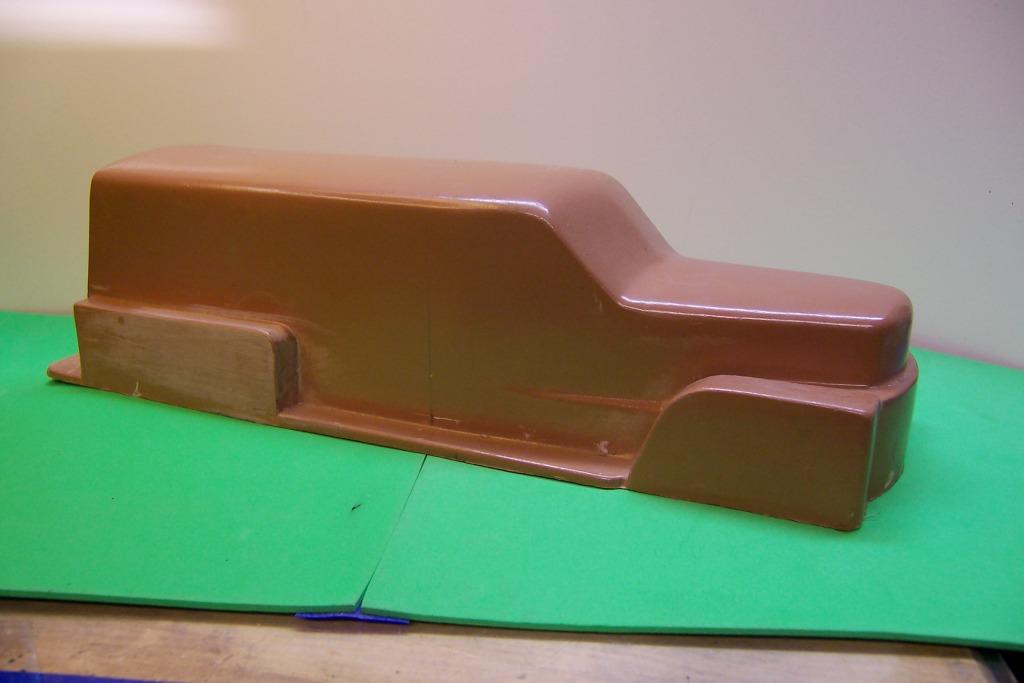
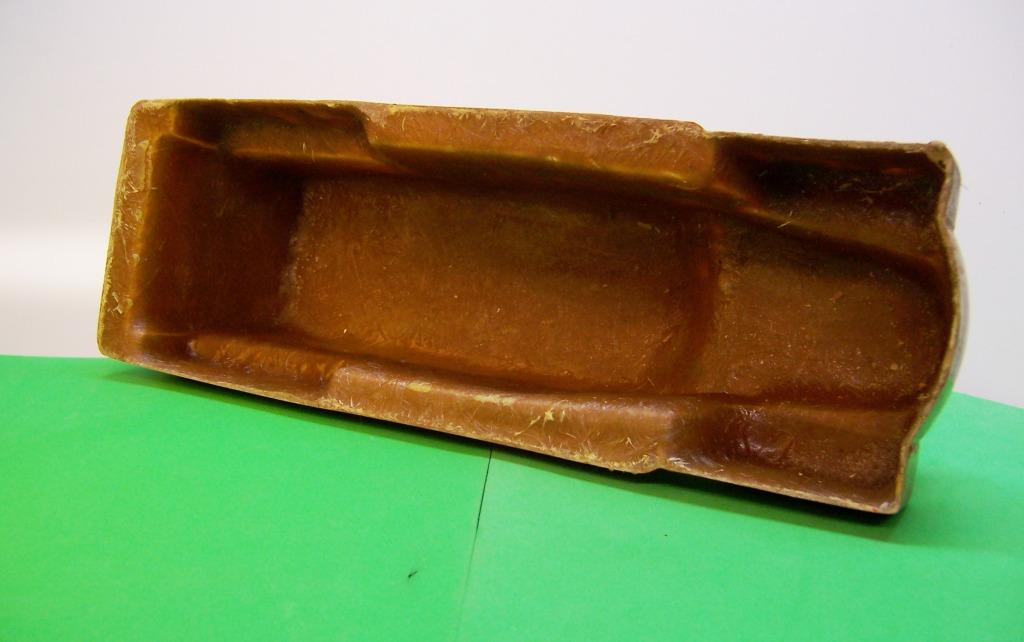
Been working on this project for a while now. Slow in coming as there is a lot of underside detail to do. Lots of castings, brass soldering, etc. But it is fun to do. Will be posting in progress pix from now on. The M-20 is a Diamond T 10 ton tractor used to pull a 45 ton Rogers trailer. They hauled tanks and also heavy supplies to the American army as it progressed inland from the beaches of Normandy. Trailer will be done after the tractor is finished.
-
Revell Mack CF
Chariots of Fire replied to Gmatta691's topic in WIP: Model Trucks: Big Rigs and Heavy Equipment
A bit hard to see but I think you may be putting the paint on too heavy. Best to do thin coats and let it dry between coats so that if there any imperfections you can sand them out. Each time is a learning experience. -
Revell Mack CF
Chariots of Fire replied to Gmatta691's topic in WIP: Model Trucks: Big Rigs and Heavy Equipment
What kind of paint are you using? -
Revell Mack CF
Chariots of Fire replied to Gmatta691's topic in WIP: Model Trucks: Big Rigs and Heavy Equipment
Looking good. If you have the guides for the other side of the hose reel, put them at the other side of the body, not at the hose reel. -
HI, Ed. Not for a while, I'm afraid. It has been put away until the spirit says go. A lot to it and there has to be a plan.
-
Mack monogram fire truck
Chariots of Fire replied to Aerodyne03's topic in WIP: Model Trucks: Big Rigs and Heavy Equipment
You've got the right idea. Be as neat as you can be with the red and amber. I know it's hard to do but it will make all of the difference in the world. Some file work on the body where you did the cut and then some plastic sheet stock and you should be good. Again, be as precise as you can when putting the sheet in place as the inside corners are going to be hard to clean up otherwise. Cut a little big and then sand a little at a time to get a close fit.


.JPG.5cdf5af7a385e5ed9ccb12024c4f6e1c.JPG)