jaymcminn
-
Posts
1,762 -
Joined
-
Last visited
Content Type
Profiles
Forums
Events
Gallery
Everything posted by jaymcminn
-
I would be more than a little shocked if Tamiya didn't jump all over this, especially the race version. I'm definitely down for one.
-
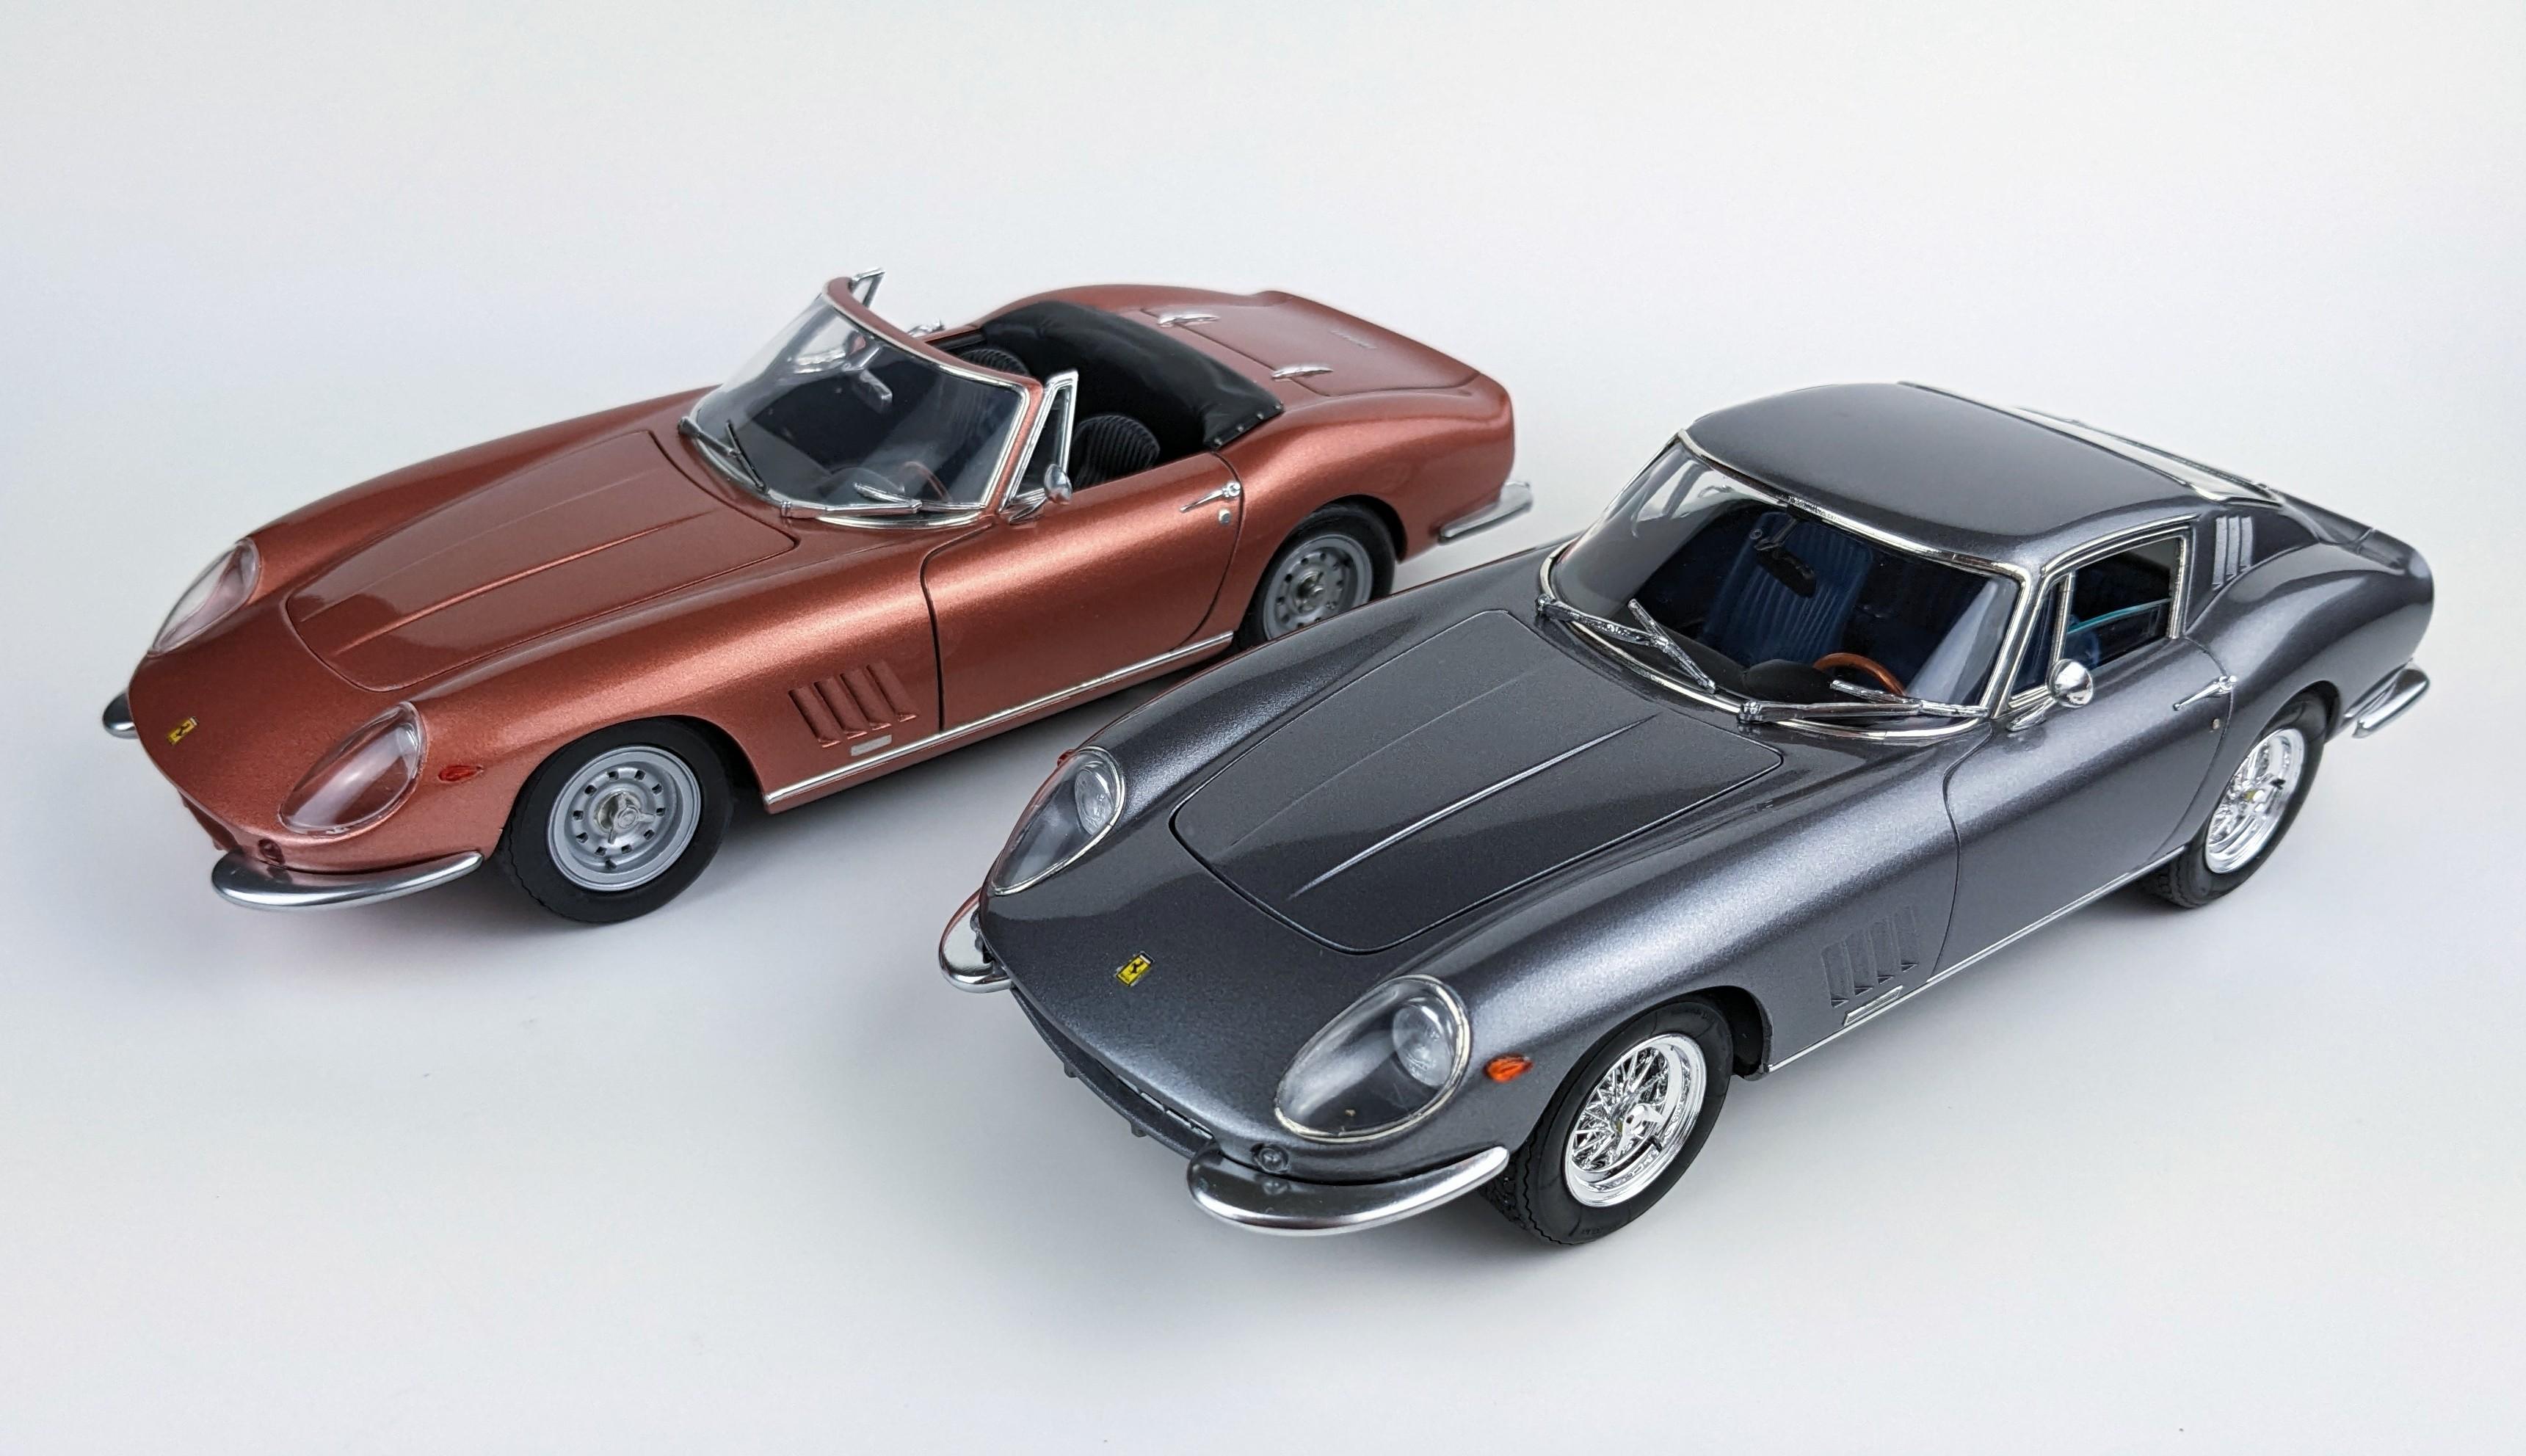
This is a repop of the Italeri 275 Spyder. It's an extremely nice kit with no major fit issues whatsoever. The front and rear fascias and headlight buckets do need a bit of putty to blend them nicely. The wheels/tires are a bit clunky but there are plenty of aftermarket solutions out there if you want to go that direction. These almost always have the windshield frame broken. Mine was broken in the middle but the pillars were still attached. Here's the Italeri Spyder wearing Historic Racing Miniatures Campagnolos next to its even rarer (the kit, anyway) coupe counterpart wearing Fujimi Ferrari Daytona wires... Just a heads-up, don't use the Florida plates as there's no "Brovard" county in Florida. There's a Brevard and a Broward, but no Brovard.

- 1 reply
-
- 2
-

-

Black parts, White paint
jaymcminn replied to matthijsgrit's topic in Model Building Questions and Answers
This is the correct answer. Unbelievable how well this stuff covers. -
The ones I get come with a little packet of catnip to sprinkle on the scratcher. My cat gets the catnip and I get a parts holder. It's a win-win!
-
I've never seen another cat with markings like Brie's. That is the coolest-looking cat ever. Great that her personality matches!
-
Another beautiful 35b build! This is absolutely one of the best kits of all time and responds so well to some added detail and weathering. The discoloration on the copper piping is a great touch that I might go back and add to mine now I've seen yours. You really nailed "the look" on this one!
-
I just thought you were trying to avoid any copyright infringement issues!
-
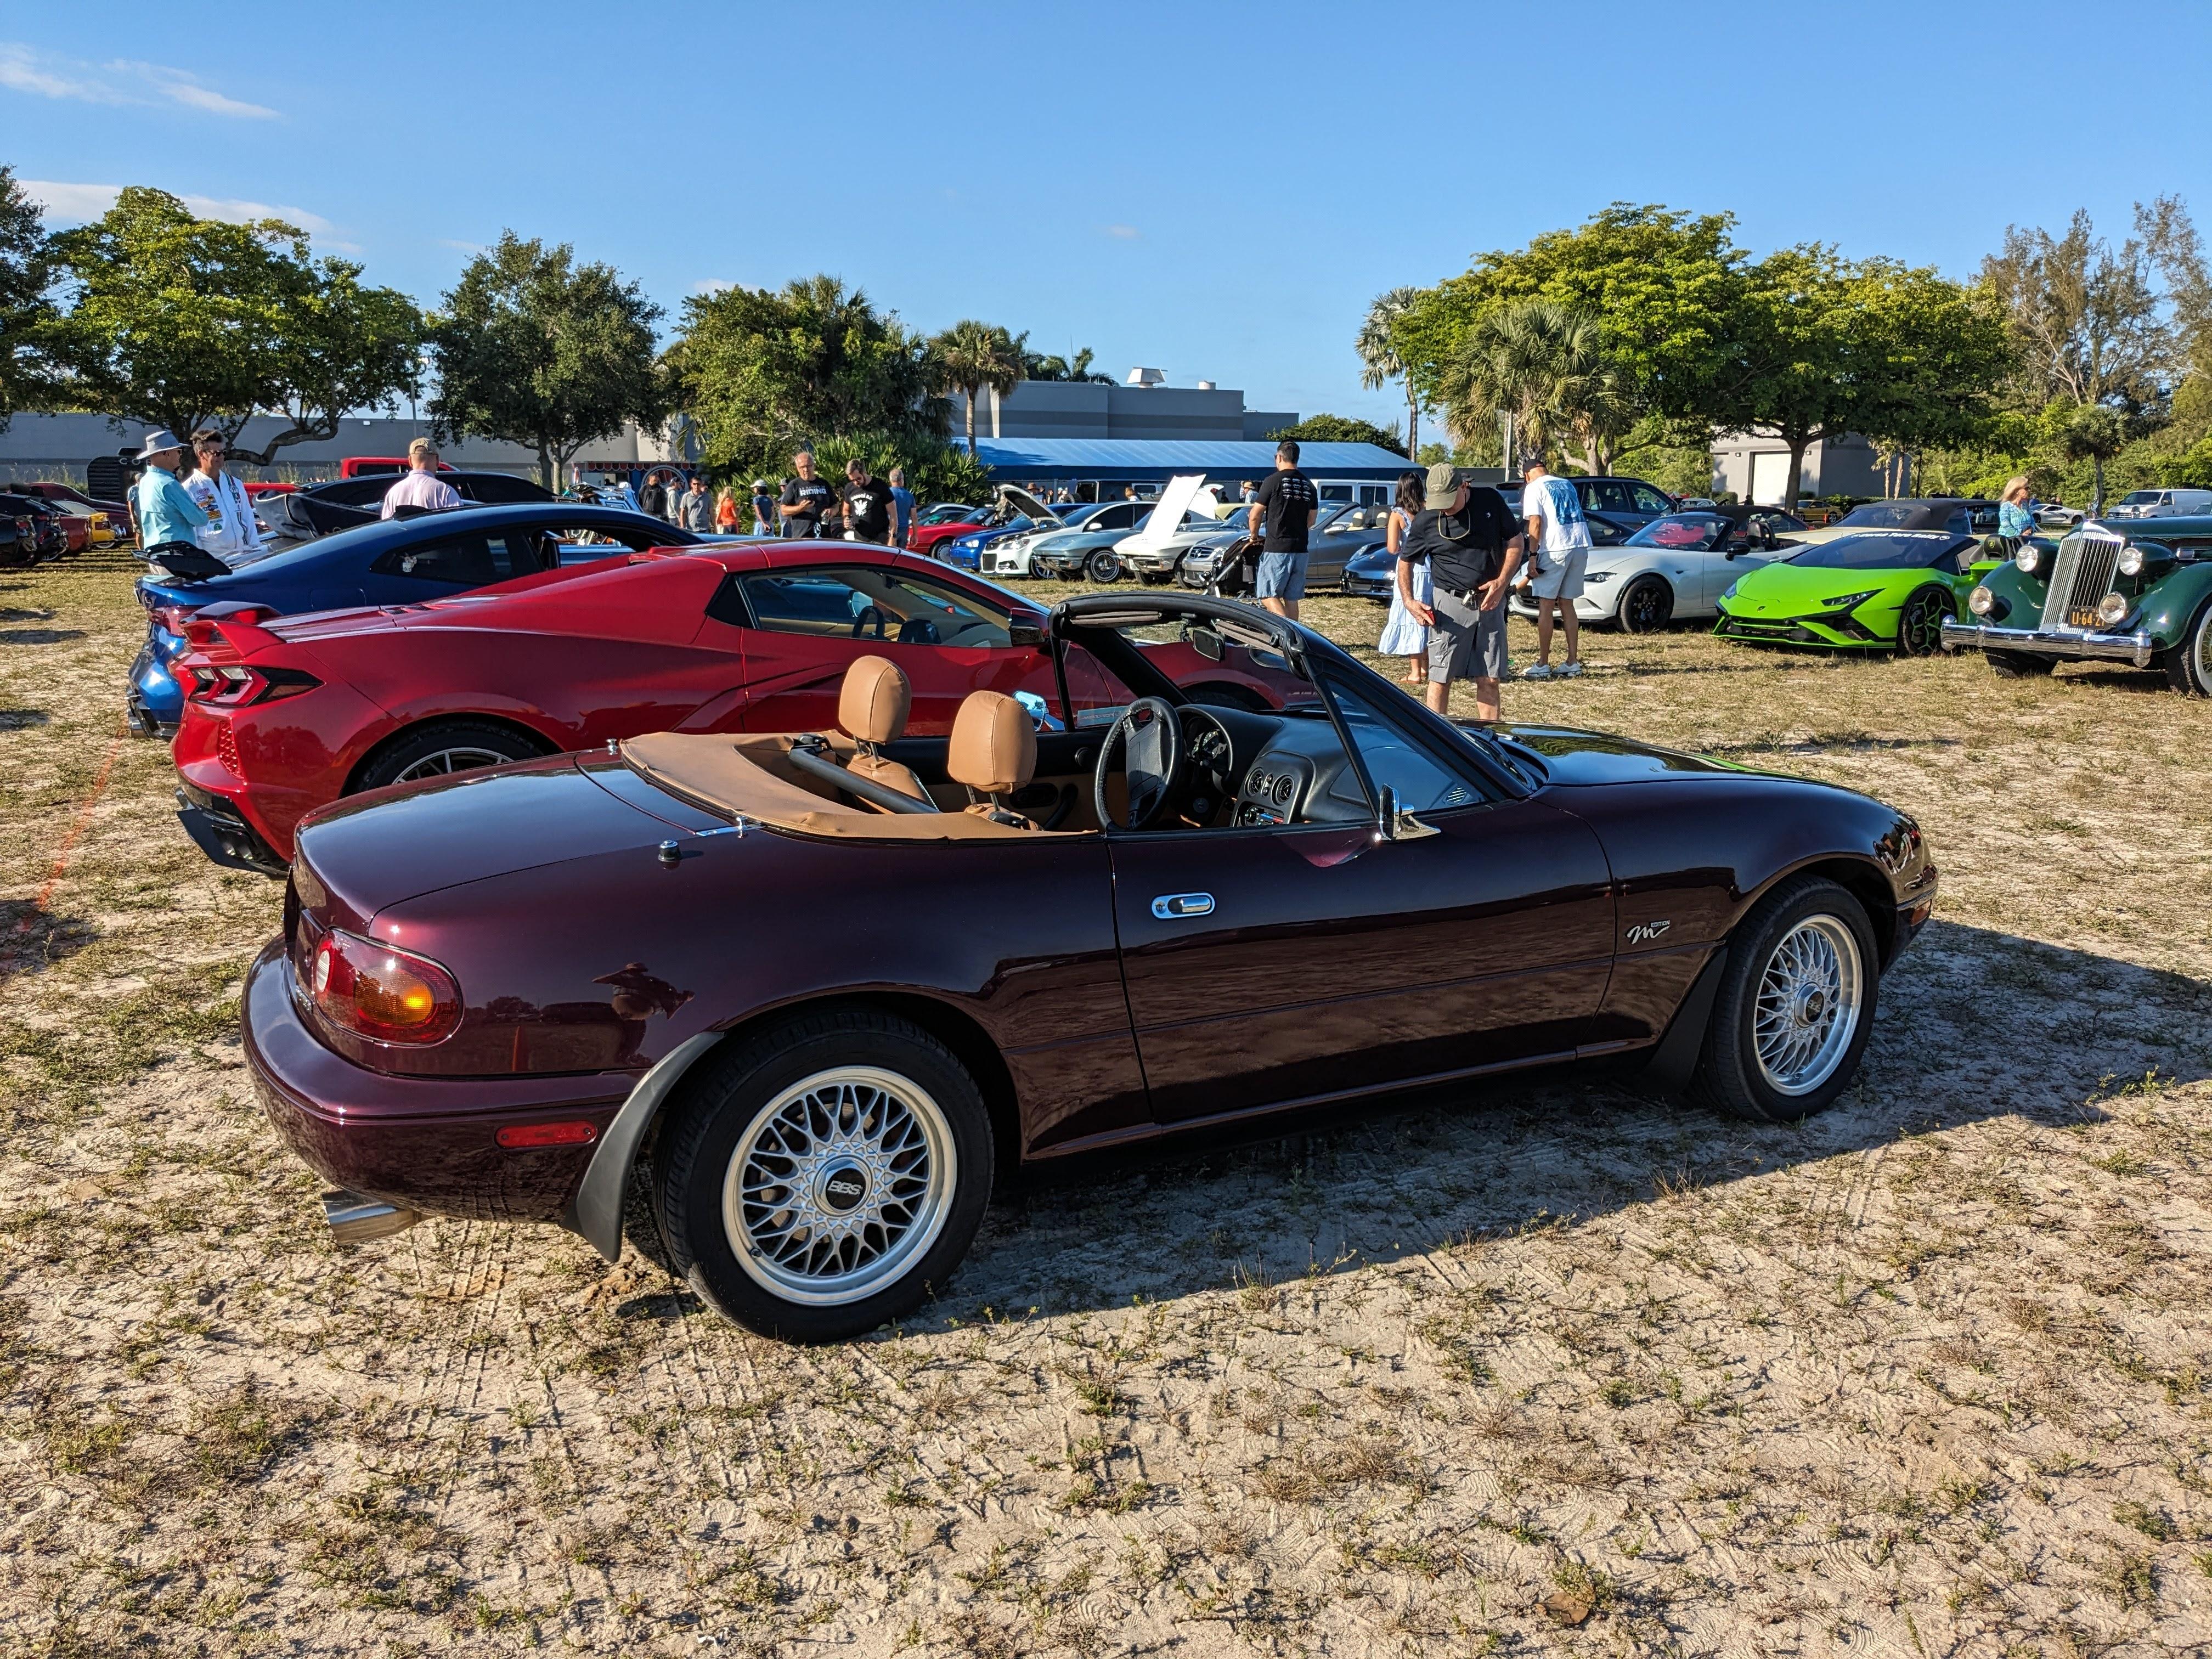
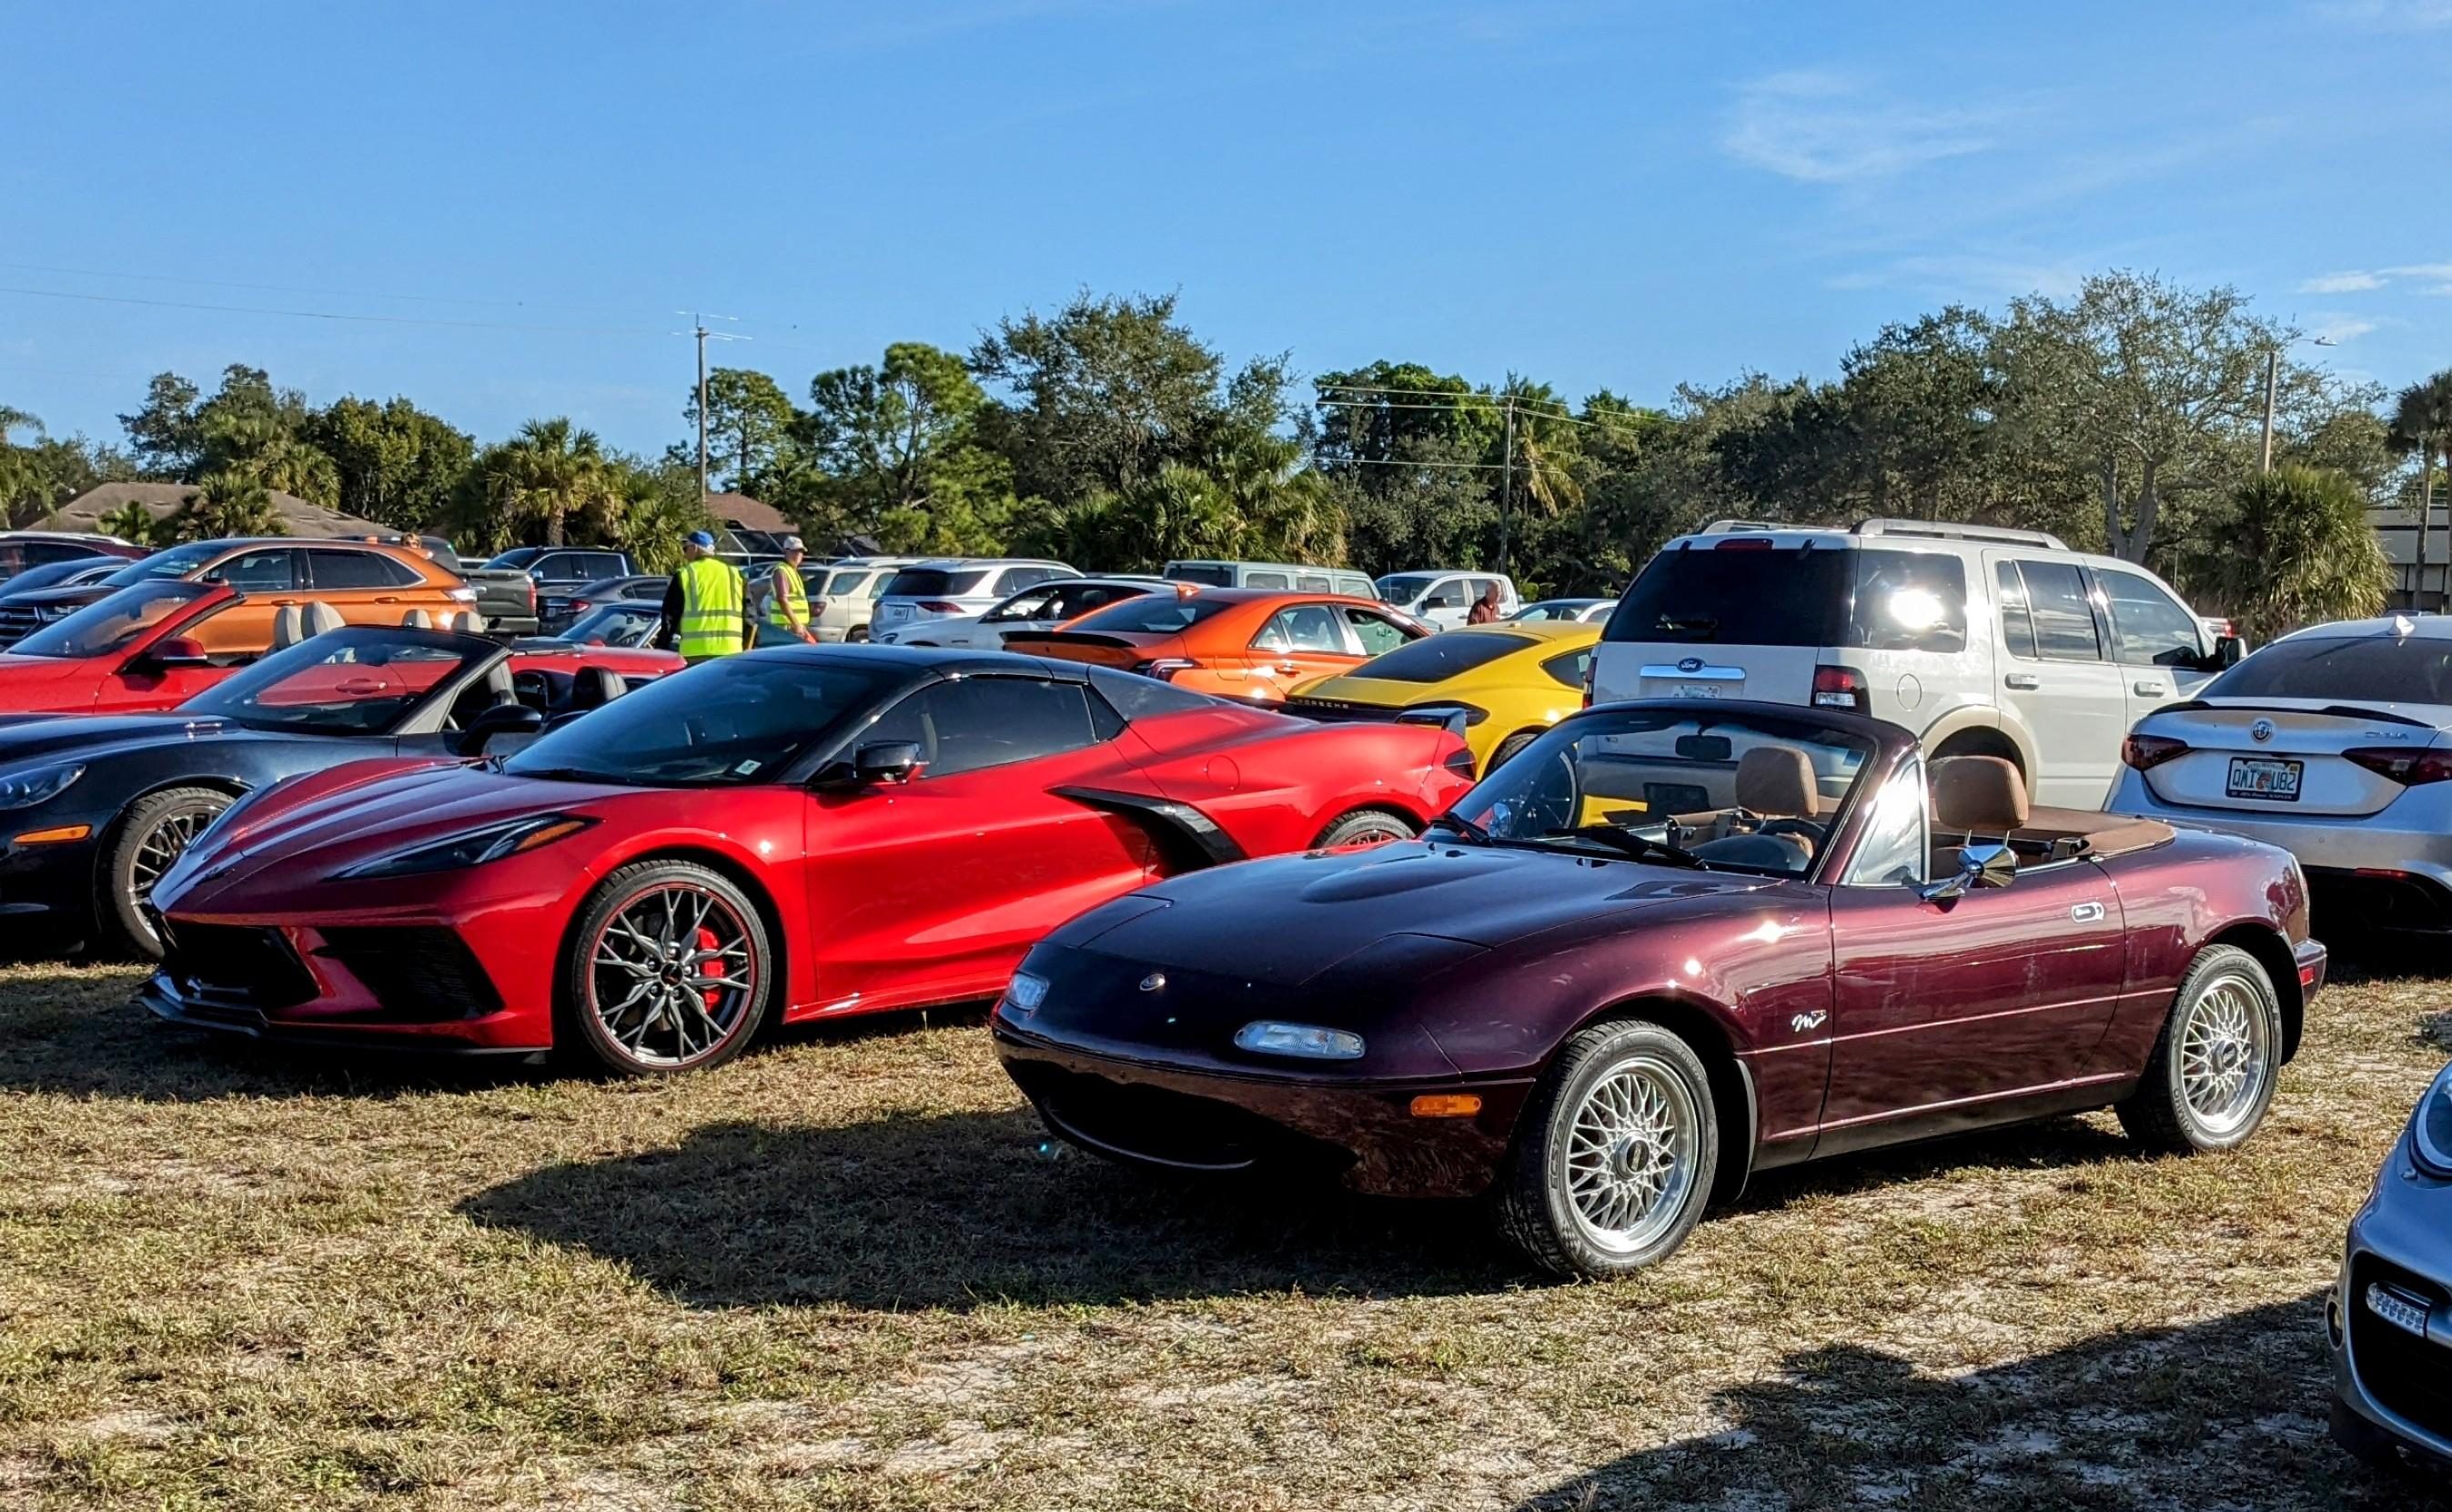
I'm partial to Merlot Mica myself. Just realized that these pics were taken at two different shows and somehow I wound up parked next to a red C8 both times!
-
Octavia RS? Skodas are so much cooler than the VW products we get here in the US.
-
I was looking at a Mazda3 Carbon Turbo (ironically, here in Naples) a while back but I couldn't get past that Zircon Sand color with the Terracotta interior. It's truly dismal in person.
-
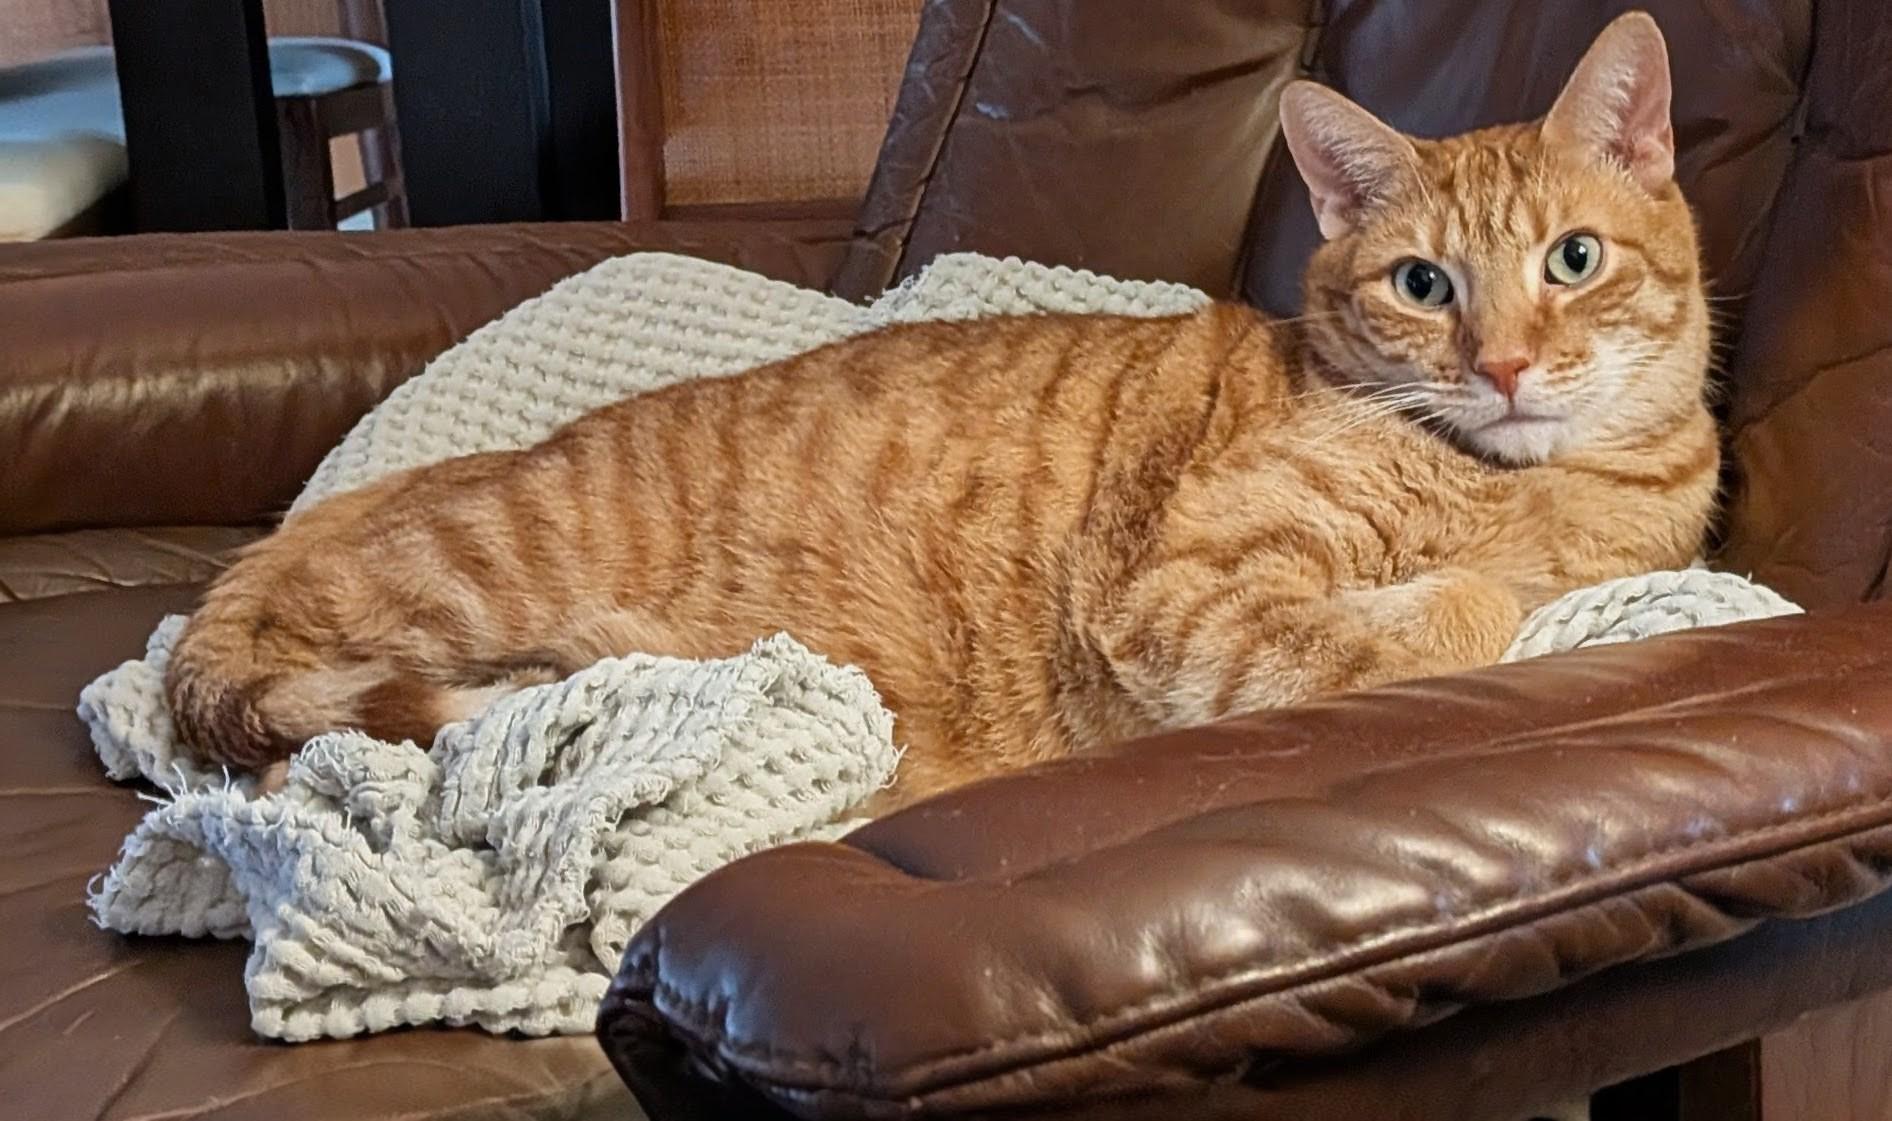
By temporarily placing this freshly-laundered blanket on my vintage Ekornes lounge chair I have now apparently made it the property of The Cat.
-
I haven't ordered from him since 2024 (as apolitical as I can make it) so I'm not sure how the process has changed. His wheels are excellent.
-
Soul Red is a tri-coat with a high-metallic red base, red toner and clear coat. Any single-stage paint won't capture the look. If I wanted to steer toward hobby paints, I'd try Tamiya Mica Red over Silver Leaf. That might give the right reflectivity and scale metallic look.
-
62nd All Japan Model & Hobby Show (2025)
jaymcminn replied to niteowl7710's topic in Car Kit News & Reviews
It looks suspiciously...normal. -
62nd All Japan Model & Hobby Show (2025)
jaymcminn replied to niteowl7710's topic in Car Kit News & Reviews
That BMW will be well worth splashing out for the inevitable USCP detail sets. I can't wait! -
Splash likes several thin coats before applying wet coats. It's pretty "hot". I was well forewarned the first time I used it and still had minor crazing issues that required respraying a couple of parts. It's good stuff but a bit finicky. Their Bentley Racing Green shown on the Tamiya 1/12 Caterham 7 below...
-
Probably the '30 Ford. It's an extremely clean build. As much as I like the Chrysler 300 overall, it has some foiling issues that work against it. This might be intentional for the junkyard look but it doesn't come across that way in the pic. The "tall T" is cool, but not quite at the level of the other two. Not feeling the '34(?) pickup or the '37 Ford, though.
-
Looks great, Mark. The Mica Red is a great color for this car. Sometimes I wish I'd gone for something brighter like this when I built mine as the metallic black I went with blends a little too well with the carbon fiber accents.
-
Why did my chicken stick to the pan? (Stainless/skin-on thighs)
jaymcminn replied to LDO's topic in The Off-Topic Lounge
You definitely need to preheat the pan, especially with stainless where the only nonstick properties come from whatever fat is being added to cook. Adding the thighs to a preheated pan will crisp up the skin and allow the chicken to "release" from the pan a lot easier. It's a bit less forgiving than cooking with nonstick cookware or seasoned cast iron. Make sure to heat the pan first, then add oil and let that get to temperature before adding your meat. -
Those would be the prototype Austrian-built "Gmund" cars. They had split windshields and were quite different to the production cars. Here's the one in the Revs Institute here in Naples...
-
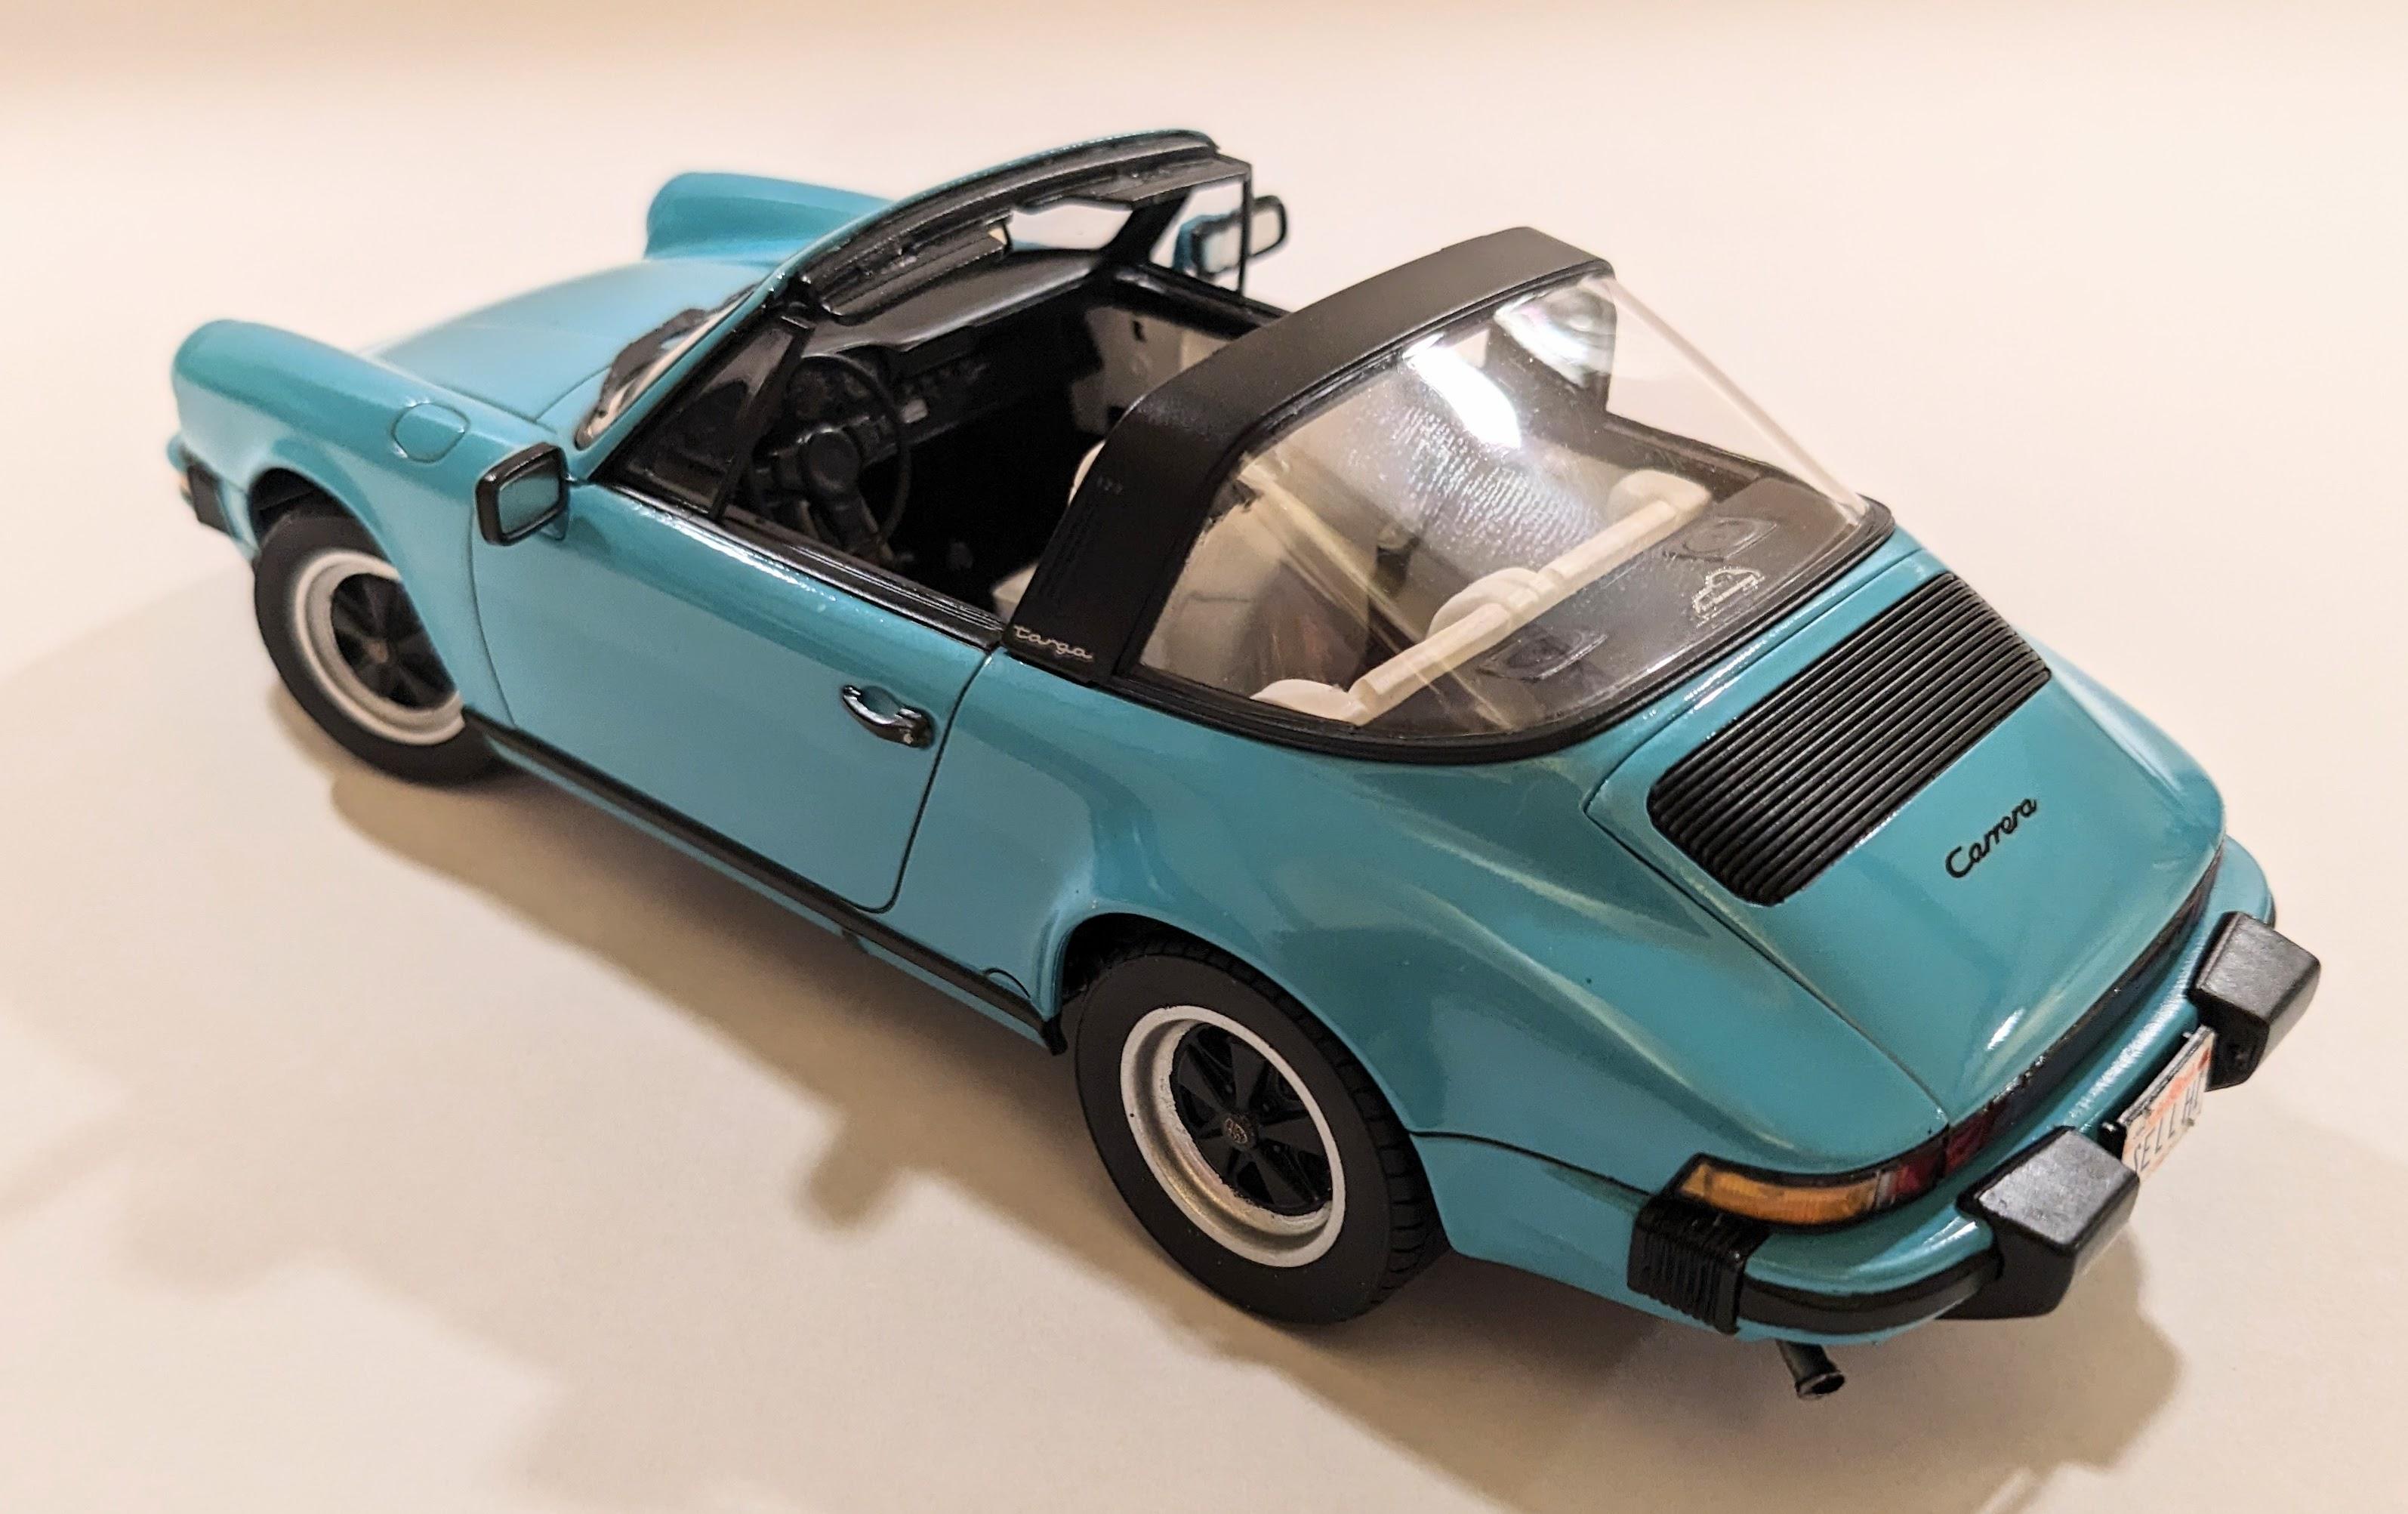
Agreed, you may as well do something out of the ordinary! (My Revell Targa in Tamiya Coral Blue)
-
Beautifully done in a great color scheme. I built the Targa a few years back when these kits came out and was blown away by how nice that kit was. I have the coupe in the stash... plans keep vacillating between a mild resto-mod and a scruffy "survivor".
-
Absolutely lovely. Something people don't realize these days is how many Porsches you saw running around in more muted color combinations like this one back in the 80s!
-
Absolutely beautiful. I have the Brougham in the stash, I've been trying for years to figure out how I want to tackle the wicker work. The Jo-han classics are a level above!
-
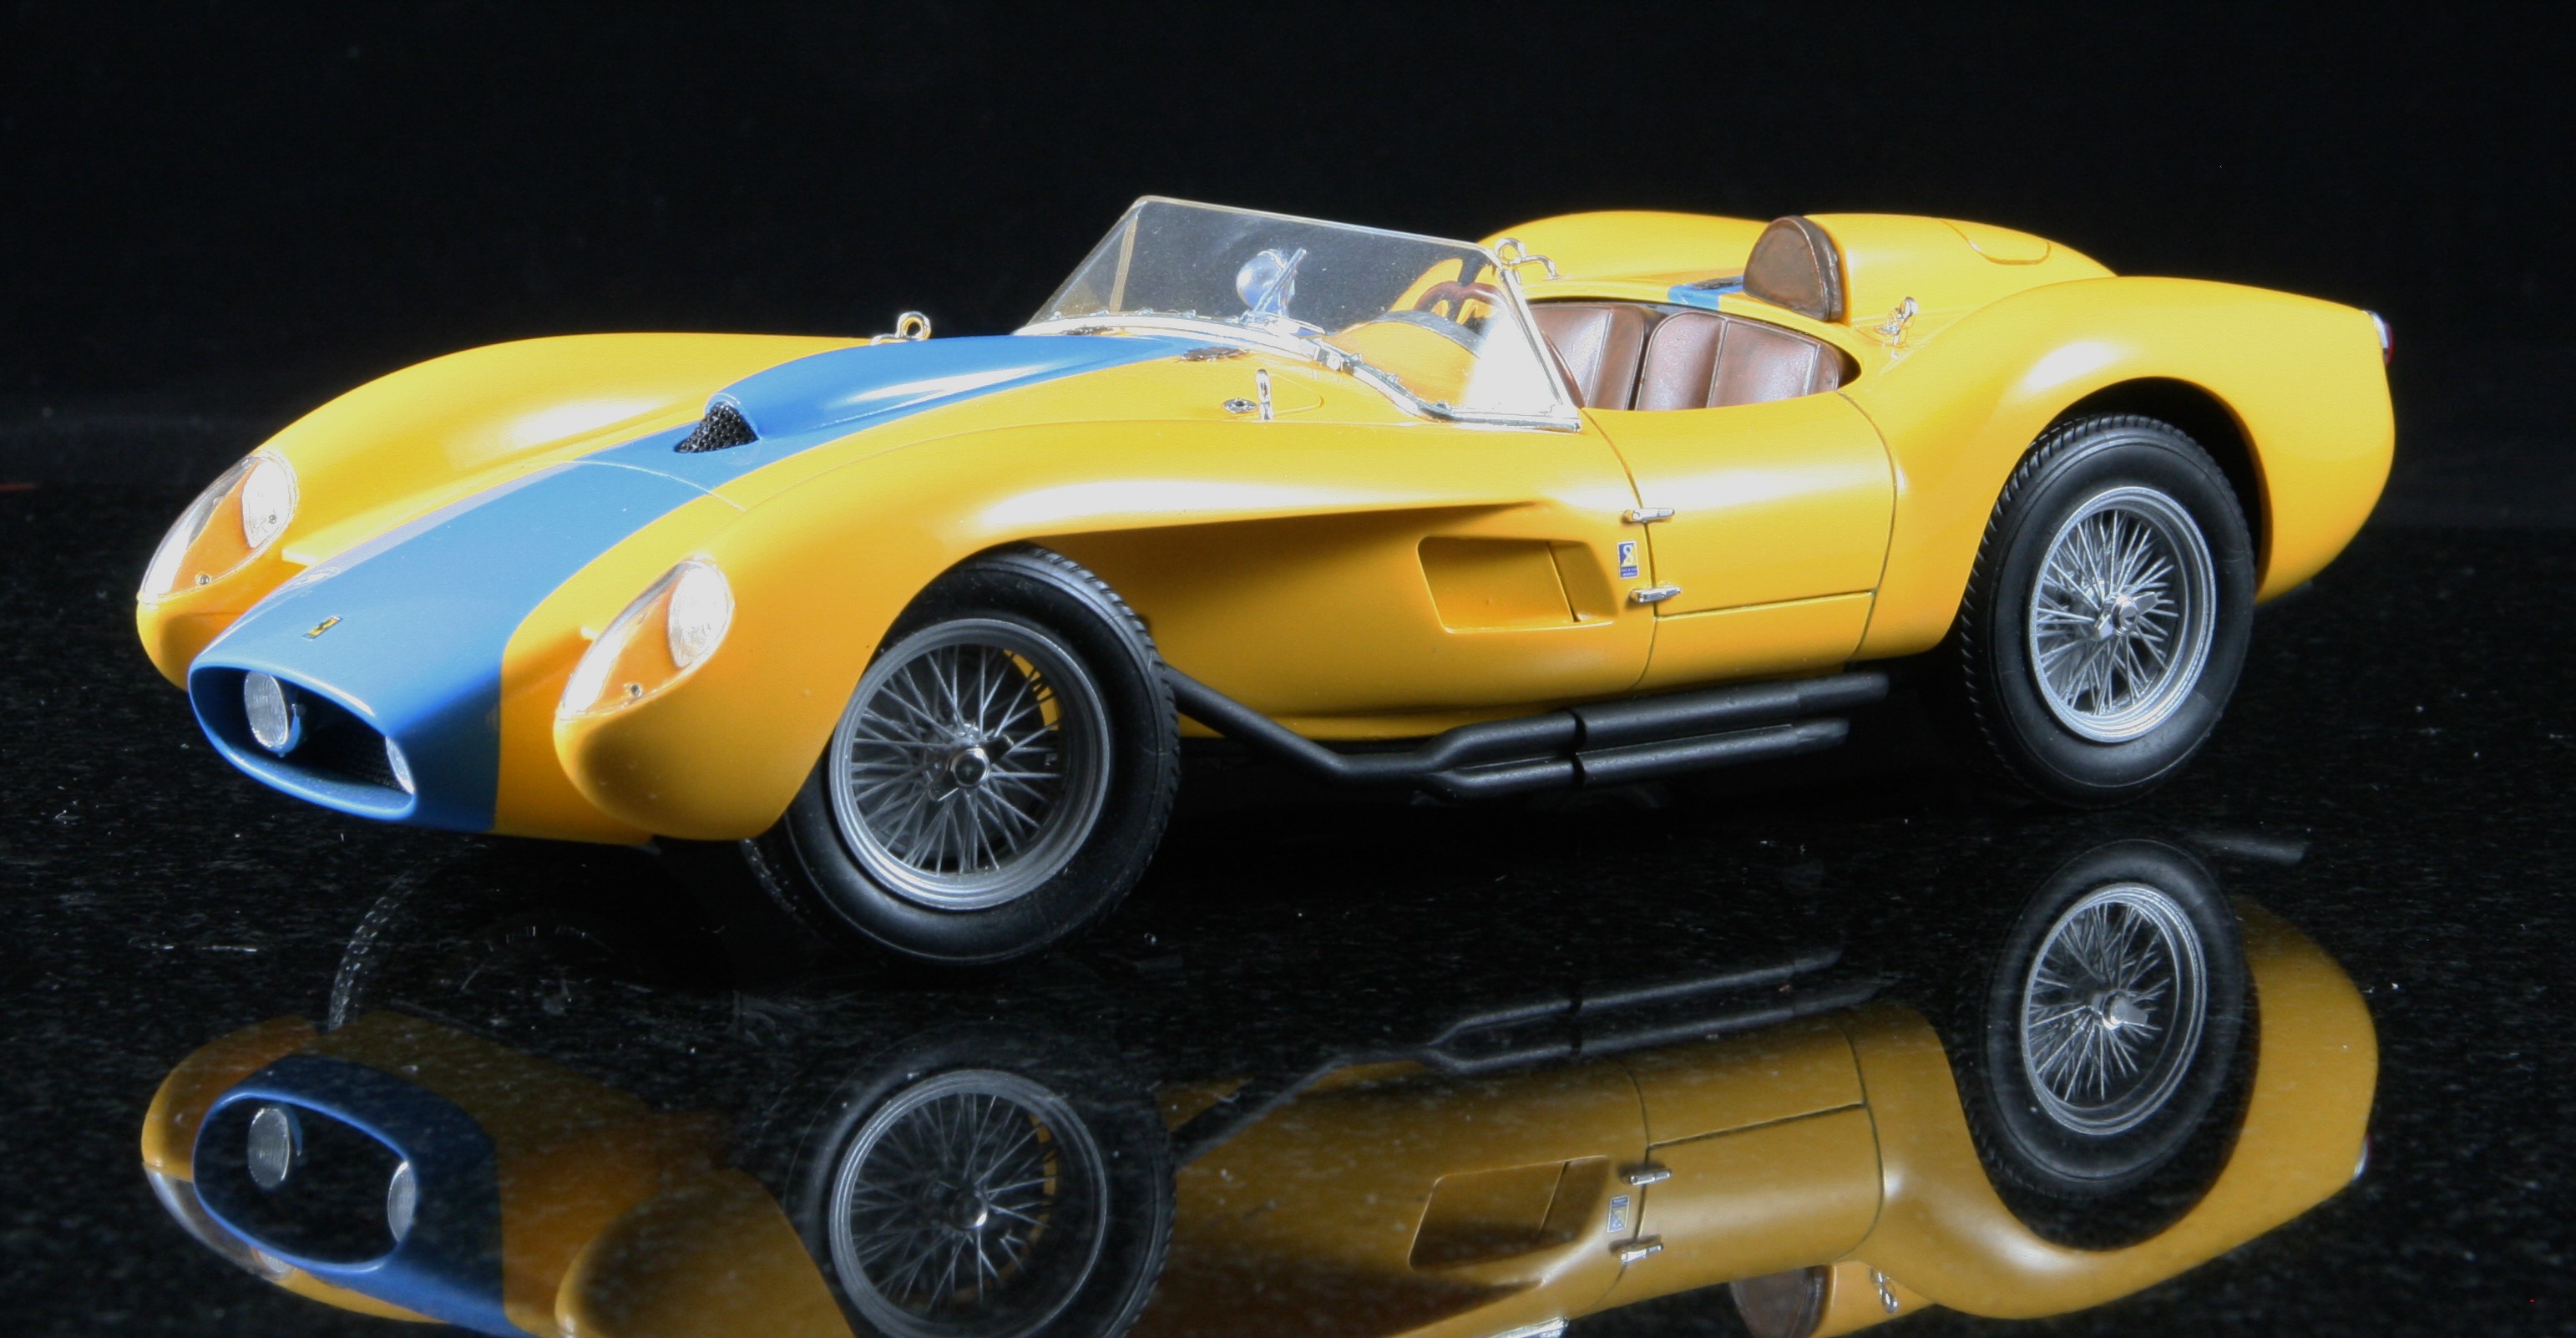
White primer will make yellow POP. Tamiya Camel Yellow over white primer... Tamiya Chrome Yellow over white primer...