jaymcminn
-
Posts
1,762 -
Joined
-
Last visited
Content Type
Profiles
Forums
Events
Gallery
Everything posted by jaymcminn
-

What’s your favorite clear red paint?
jaymcminn replied to Monty's topic in Model Building Questions and Answers
Sorry, this pic was actually to point out the taillights...the body color is Tamiya Mica Red over pink primer. I masked the clear section of the taillights and then airbrushed the orange. Probably about 5 thin coats. I then let it dry for a couple of days, masked off the orange areas and then hit it with the red. The orange provided a nice base coat for the red to grab onto and it only took about 3 coats to get the color I wanted. -
What’s your favorite clear red paint?
jaymcminn replied to Monty's topic in Model Building Questions and Answers
Tamiya LP lacquer clears thinned with Mr. Leveling Thinner are fantastic for airbrushing. It takes multiple coats to build up the color but the results are excellent.
-
Radwood Ready... Tamiya Mercedes 500 SEC Lorinser
jaymcminn replied to jaymcminn's topic in WIP: Model Cars
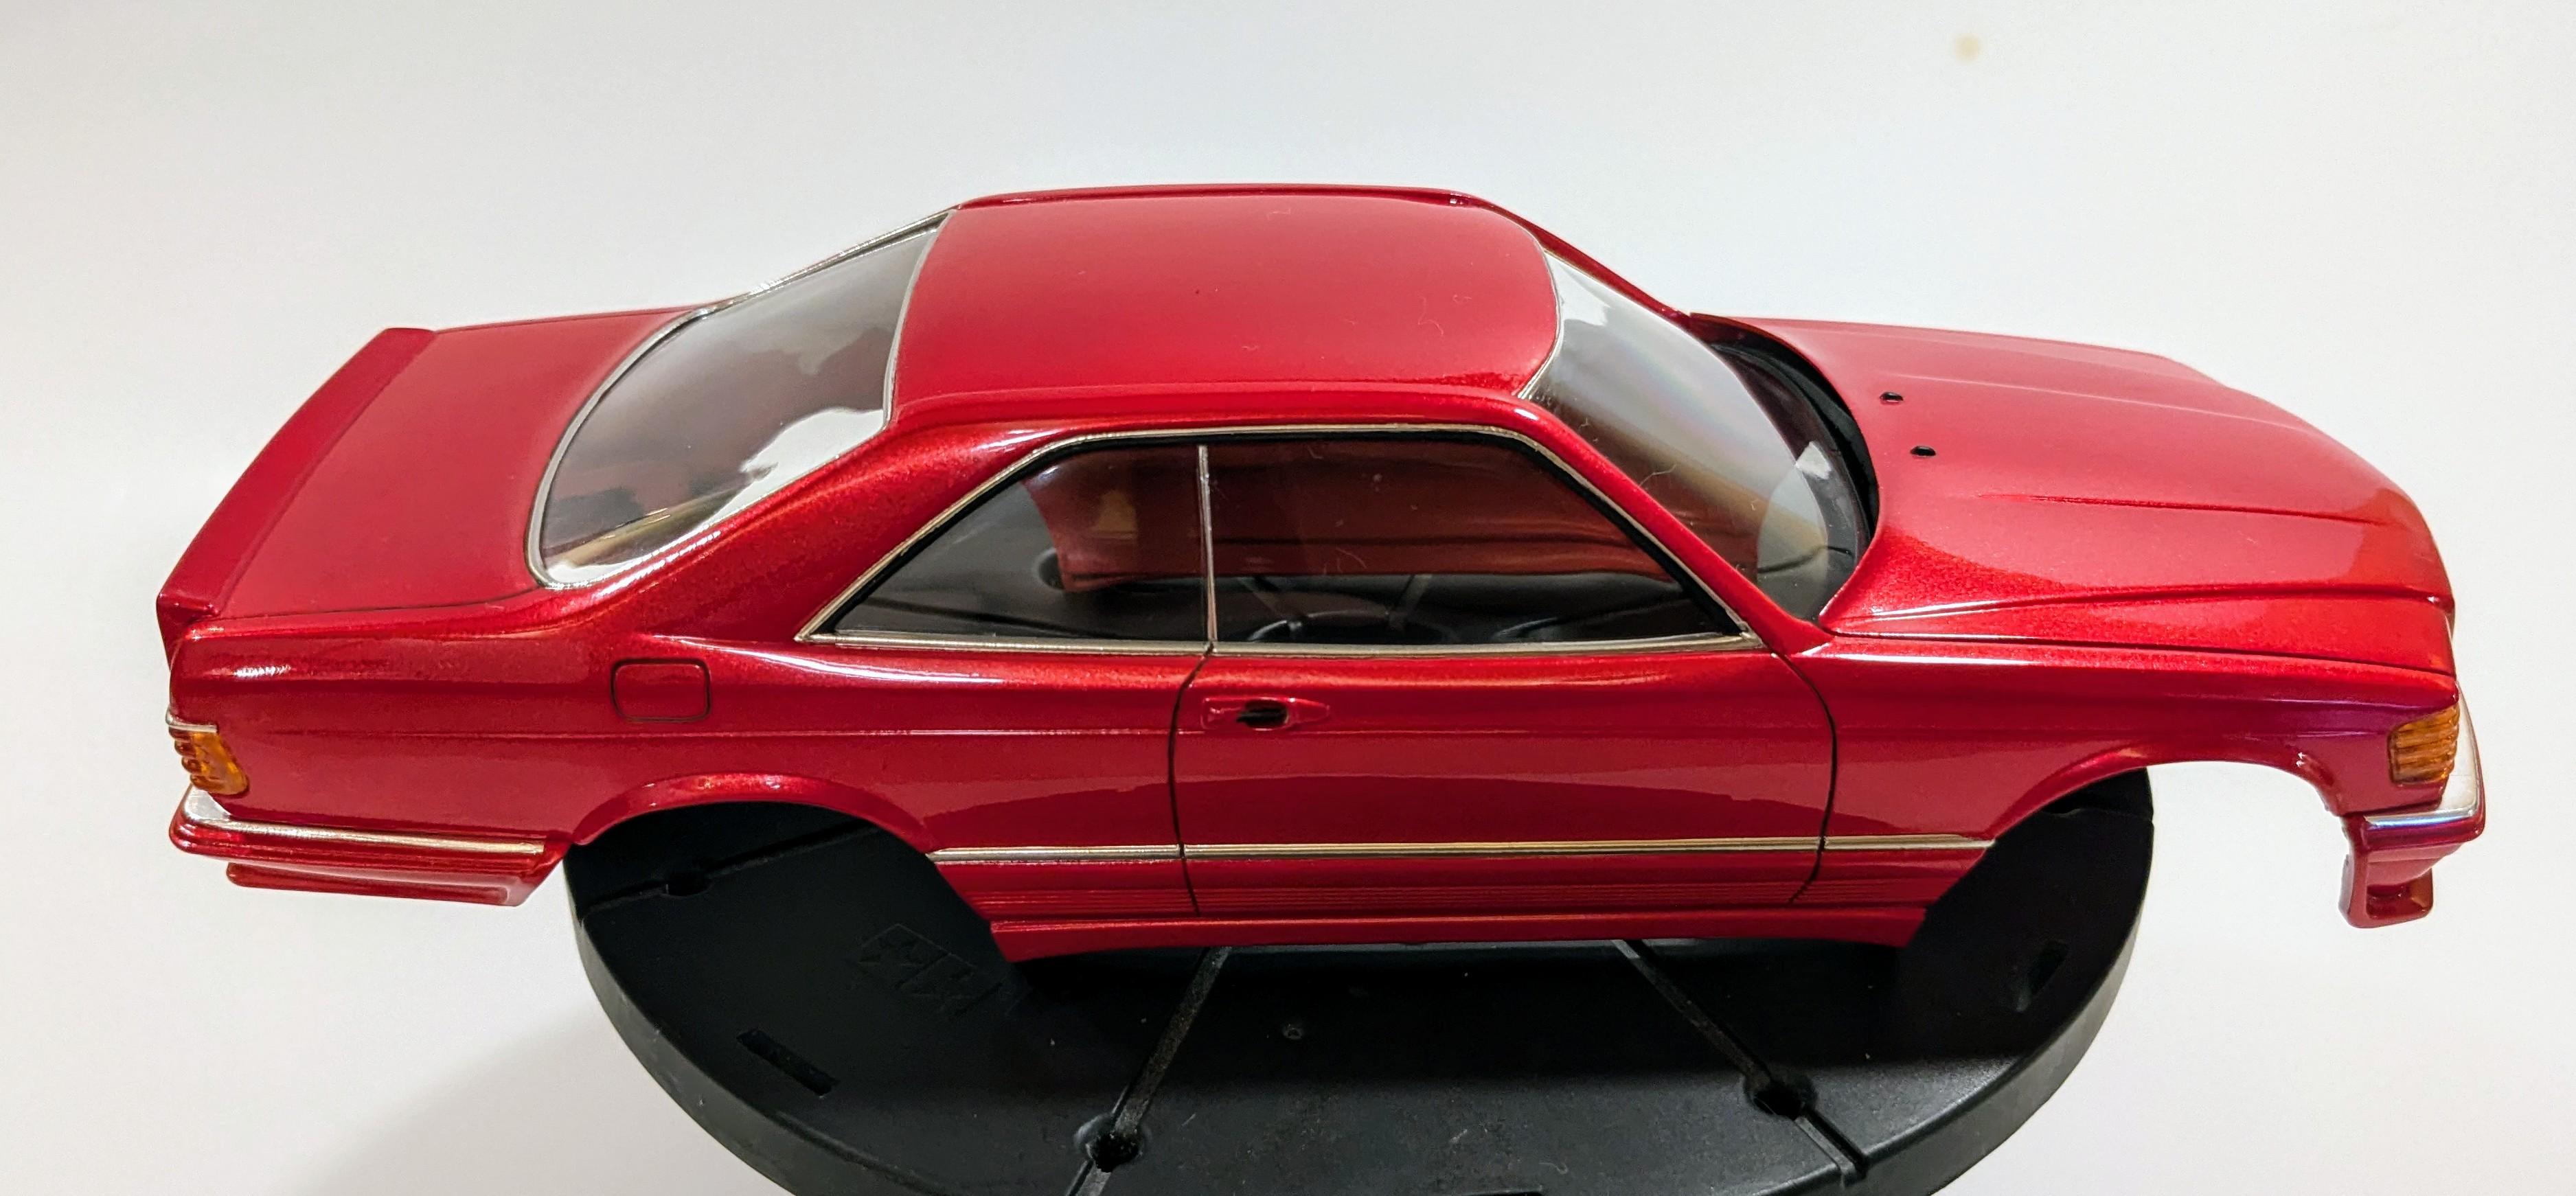
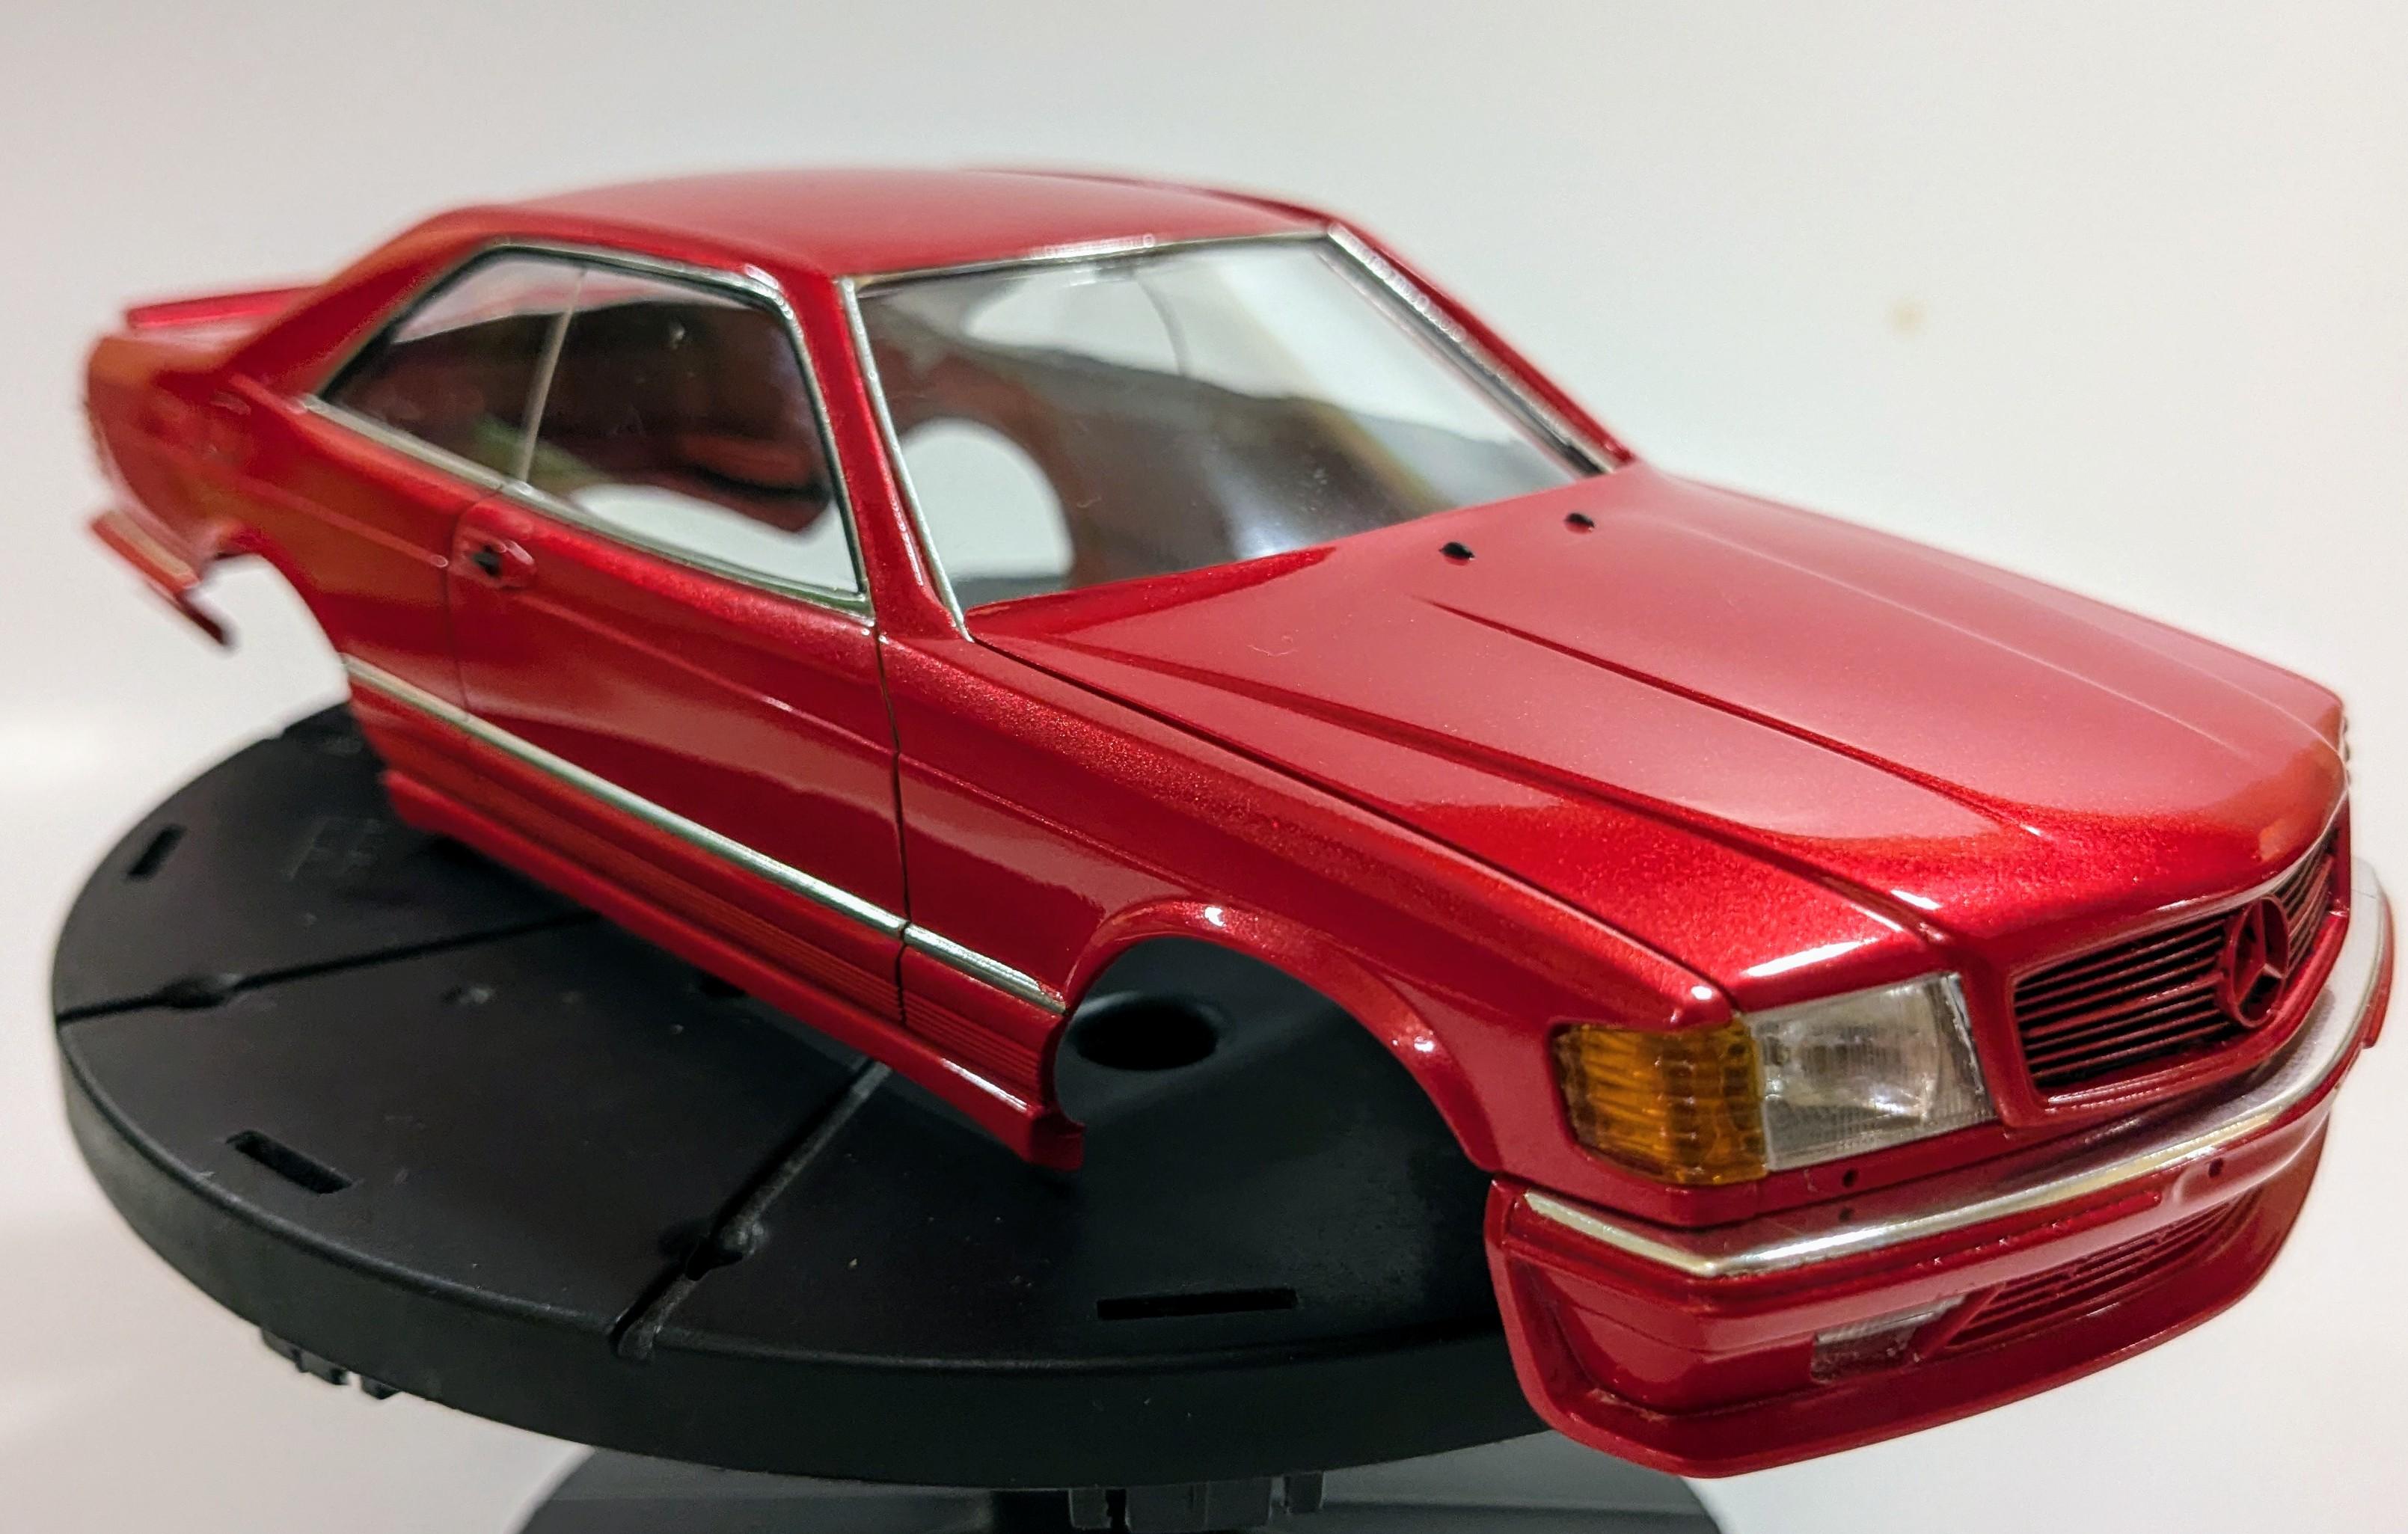
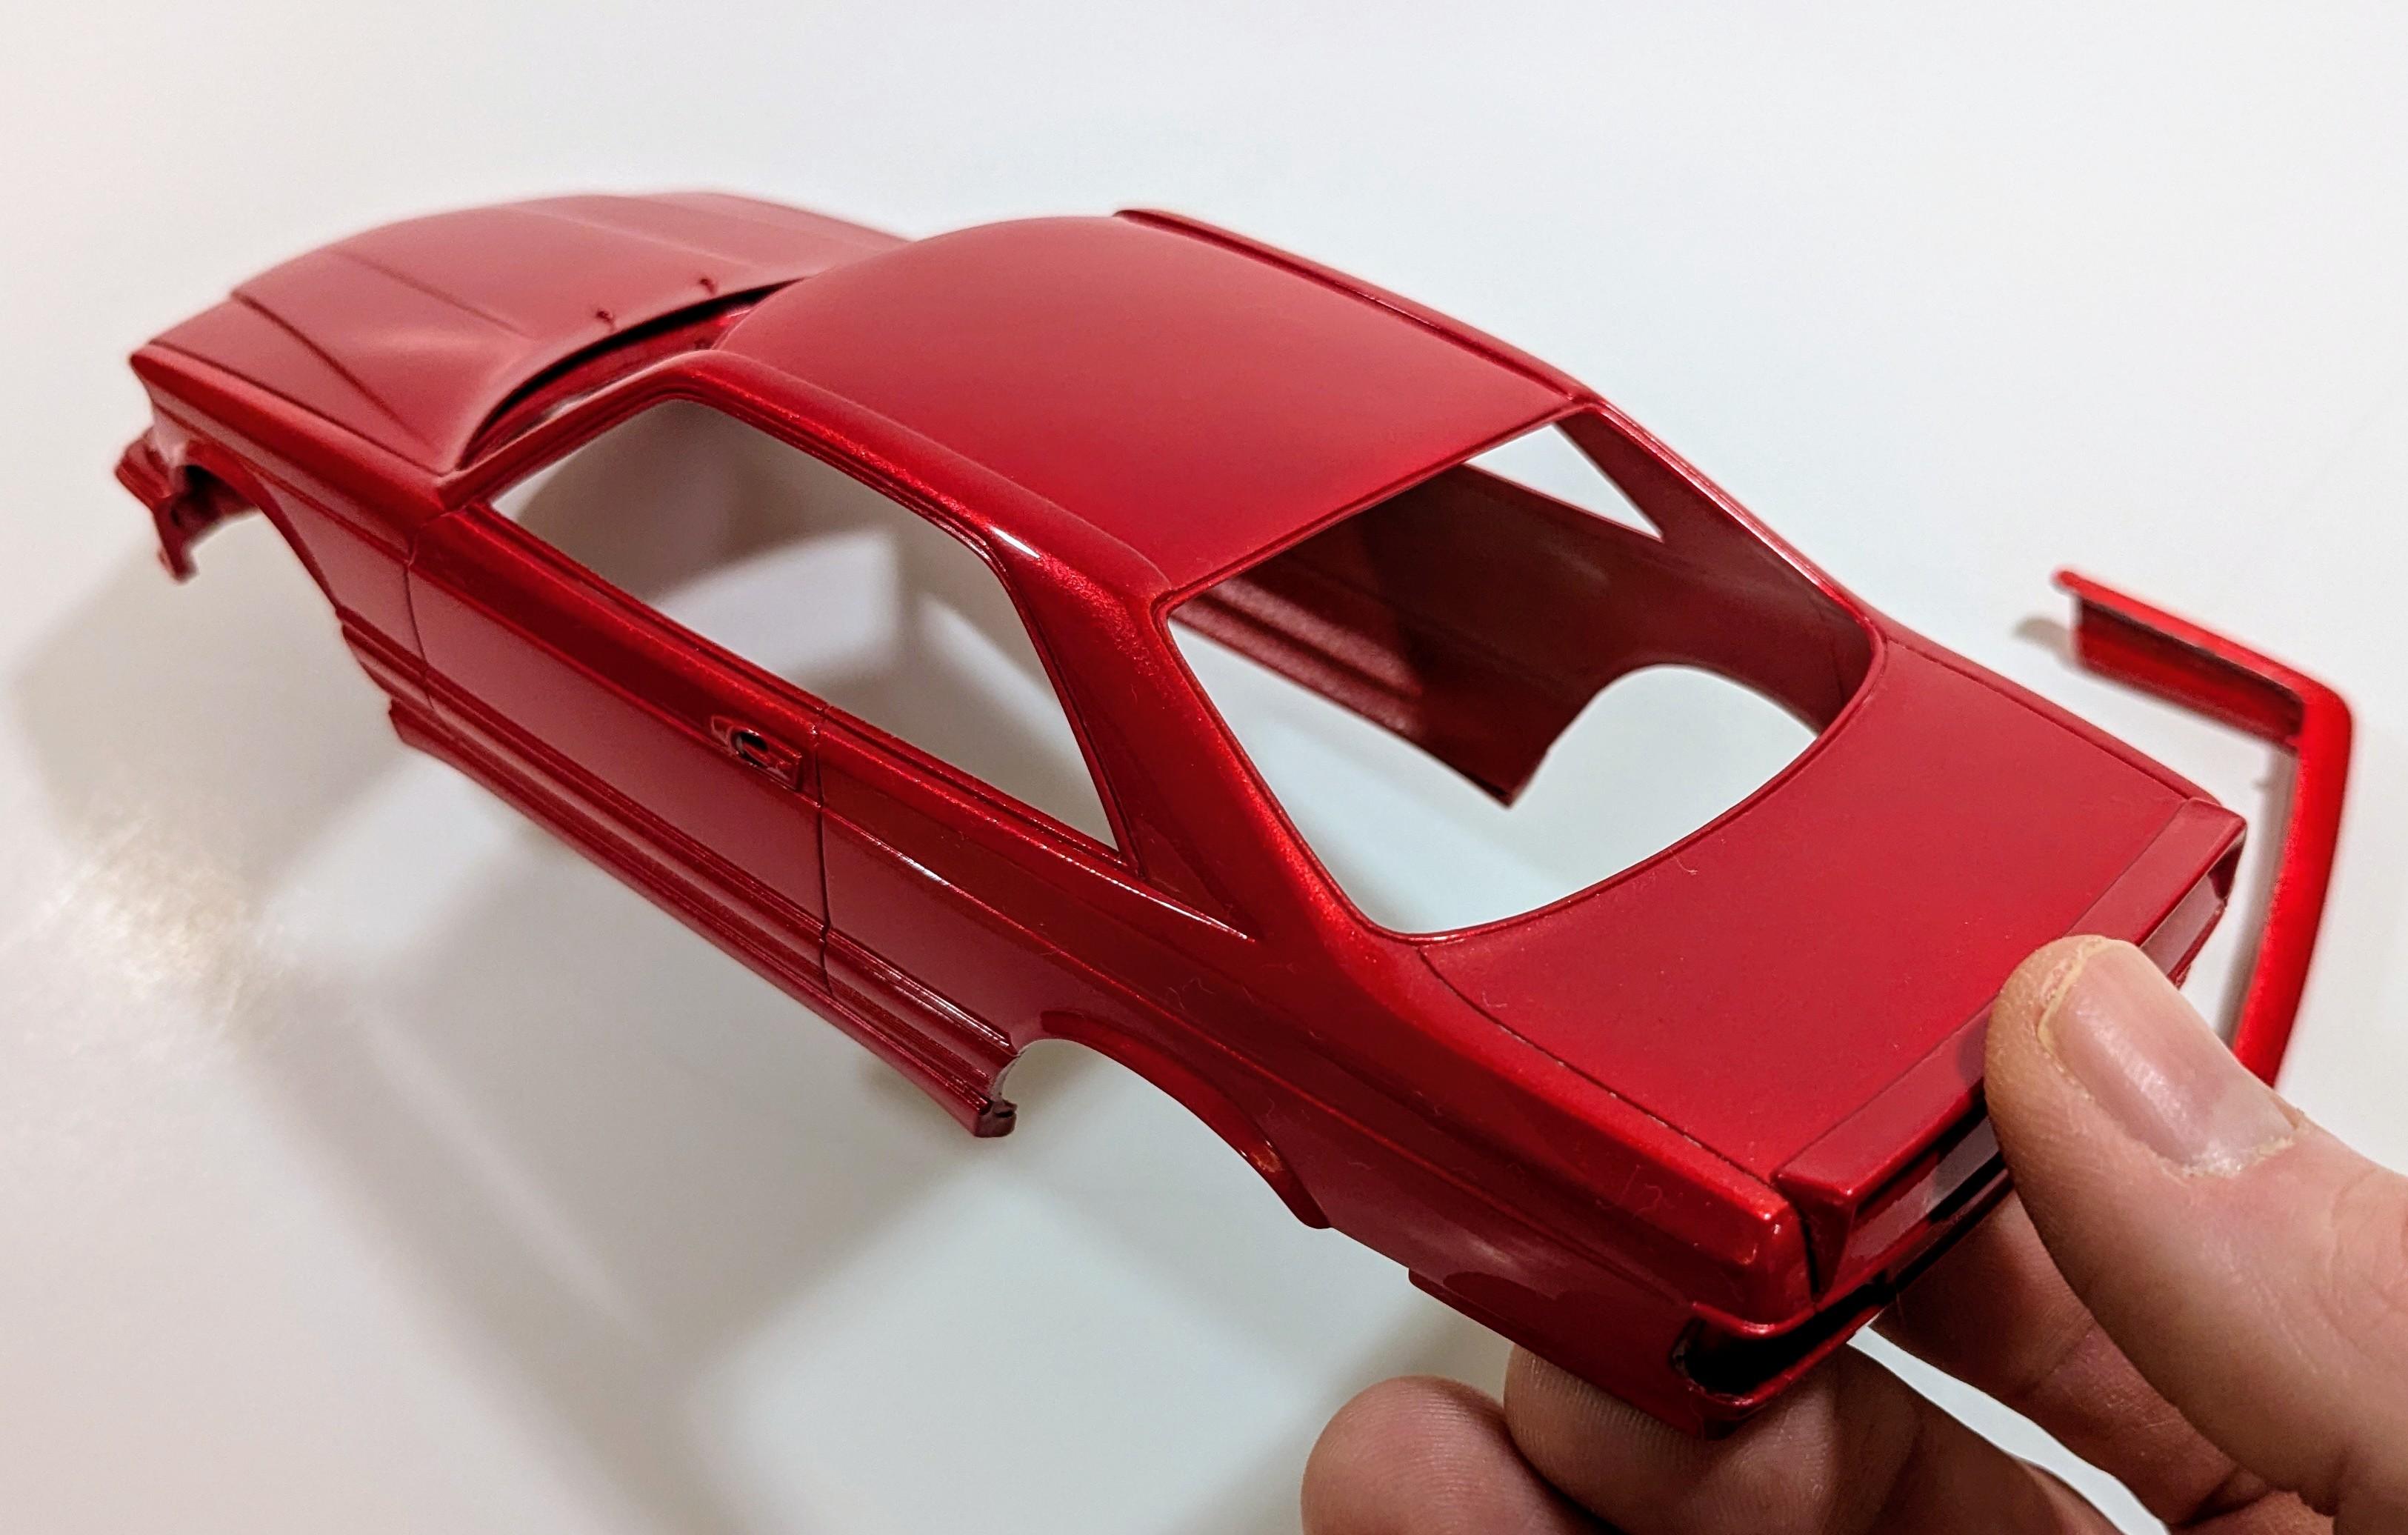
Bodywork is done except for some fragile detail bits that will go on in final assembly. The headlight and taillight buckets were painted in Molotow chrome and the red and orange lighting elements were airbrushed with Tamiya LP clear red and orange. Tamiya did a great job of molding the deeply-louvered taillights, which is a mixed blessing as they were VERY tough to mask! BMF was used for the chrome trim, and the work I put in on the body prep paid off again as the lines are much sharper than they would otherwise have been. Still to be added are the headlight wipers and a PE three-pointed star for the boot lid. I used a mix of thinned red and black Revell acrylics for the panel lines. On to the pics... Next update will be wheels and chassis while I dither about exactly what to do with the interior. Stay tuned!
- 32 replies
-
- 12
-

-
Radwood Ready... Tamiya Mercedes 500 SEC Lorinser
jaymcminn replied to jaymcminn's topic in WIP: Model Cars
Thanks Justin! Agreed that it's a really good kit. I built one when I was 13 or so and was pretty pleased with it at the time. Like most of their 1/24 kits of the time it's an easy box-stock build and not difficult to detail up. The only fitment issue so far is a slightly wide rear track that was easily corrected. Thanks Bob! Not quite RS, the kit wheels are earlier "Mahle" wheels with exposed lug nuts and no bolts around the perimeter. I was toying with a set of 17" RG's I have in the stash but the kit's rolling stock is perfect for what I'm envisioning. More pics soon, foil work and lighting elements are done on the body and the aforementioned wheels have been detailed a bit with valve stems and paint! -
Having built one of these beasts I can give you some insight... the fit issues are REAL. The backbone chassis will need some trimming at the top to bring the ride height down. I also had to move the front spindles up to get the nose level. You'll also want to add positive attachment points for the front and rear bumpers and side skirts as the kit's attachment points are vague and minimal.. These kits are complex and challenging and a nce replica can be built from them, but test fitting is necessary every step of the way!
- 43 replies
-
- 12
-
-

-
Just what winds up under the sofa...
-
Scale Motorsport shutting down
jaymcminn posted a topic in General Automotive Talk (Trucks and Cars)
If you need carbon fiber decals, Wizard "O"s or any number of detail bits, Scale Motorsport is sadly shutting down with 50-75% off of their regular prices. There are some great deals over there while they last. I stocked up on carbon fiber and upholstery decals as well as Wizard Os and PE saw blades. -
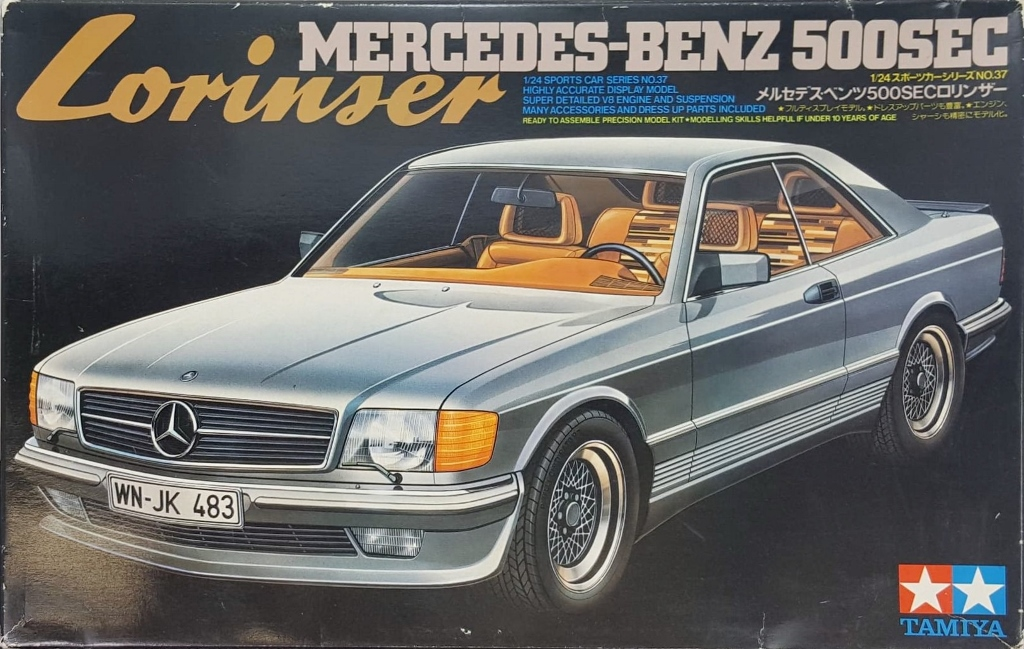
The German tuner scene in the 80s was a time of automotive insanity. While companies like bB and Gemballa made insane custom Porsches, other companies like AMG and Lorinser were designing customs from wild to mild on various Mercedes platforms, with taste being less of an object than the depth of the client's pockets. The most popular Mercedes to customize was the then-new W126 platform, especially the rakish coupe. Lorinser was a tuner that specialized mostly in relatively tasteful cosmetic and luxury modifications. Body kits, nice wheels, flashy paint and luxurious interior upgrades were their stock in trade as opposed to crazy gullwing doors and multiple turbochargers. This kit is Tamiya's venerable 500 SEC kit in the rare Lorinser version. According to Scalemates, it was only released once in 1982. I got this at a swap meet a few years ago complete except for instructions. The kit includes the "early style" Lorinser body kit, a very nice set of BBS "Mahle" wheels and interior upgrades including Recaro mesh-headrest seats and a Telefunken Autorad car phone. My plan for this build is to keep it tasteful but not to ignore the flashiness that went along with these cars. The paint is Tamiya Mica Red that I applied over their pink primer. I was skeptical about the pink primer but I really think it gives the red some extra pop. The paint turned out well enough that I went straight to polishing out the body with my usual Meguiar's Ultimate Compound and Polish without wet sanding. I left the grille body color, but I will be adding the chrome beltline trim and window moldings. The interior will be light tan with Mr. Model upholstery decals for the door and seat inserts. The pattern is a multicolored Mexican blanket pattern, but I think it will work extremely well to represent the funky fabrics that were frequently used in these cars. First, pics of the body after polishing. My tendency is to start off with the bodywork which gives me the motivation for the rest of the build. Even if it is Tamiya, it's still an old kit. The body needed a lot of block sanding, rescribing of panel lines and sharpening of trim and details to get it to the primer stage but the results are worth it. I added the rear lip spoiler and side skirts before paint.
- 32 replies
-
- 17
-
-
I actually have the stock kit as well, so I'm good for the instructions. Thanks though!
-
This is my current project. Getting ready to start a WIP thread. This kit is a modified reissue of the 500 SEC kit and was issued only once in 1982, complete with body kit and Telefunken car phone. I picked it up at a contest a couple years back complete except for instructions... vintage Tamiya at its best!
-
Tamiya spray cans banned in Canada!!!
jaymcminn replied to Bullybeef's topic in General Automotive Talk (Trucks and Cars)
"Sir, why is your trenchcoat rattling while you walk?" -
A couple of enjoyable hours with a heat gun and a wrench would make a world of difference to that car. I'm mostly concerned about the rear fender skirts without 100% knowing how they're attached.
-
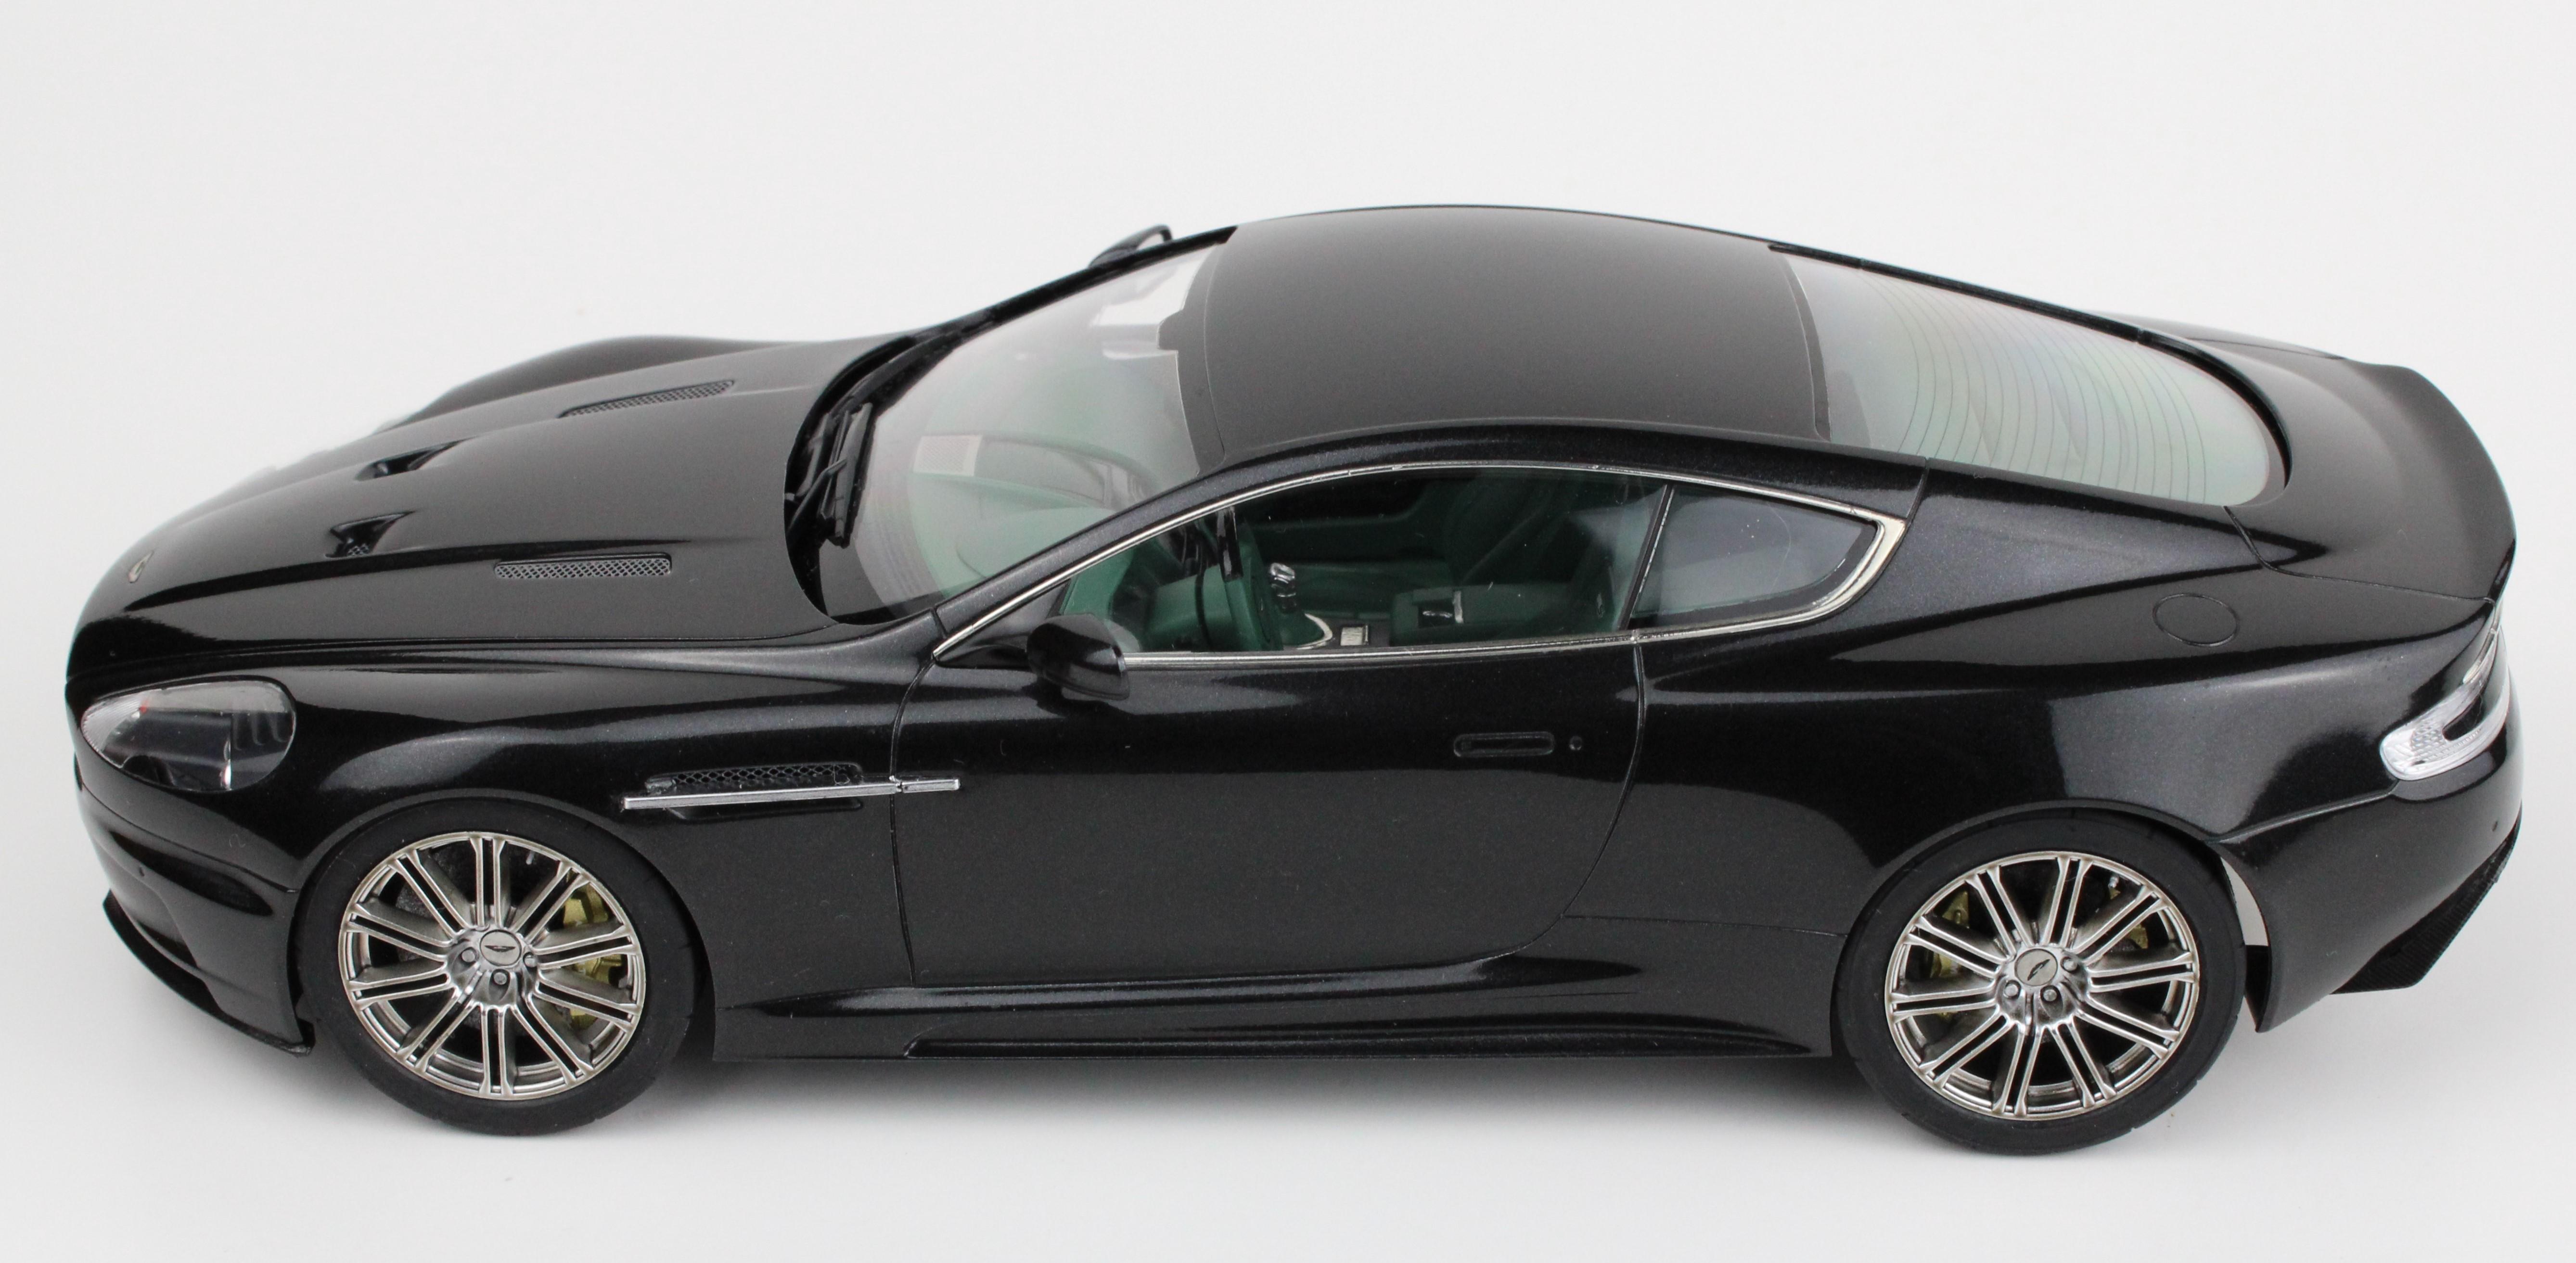
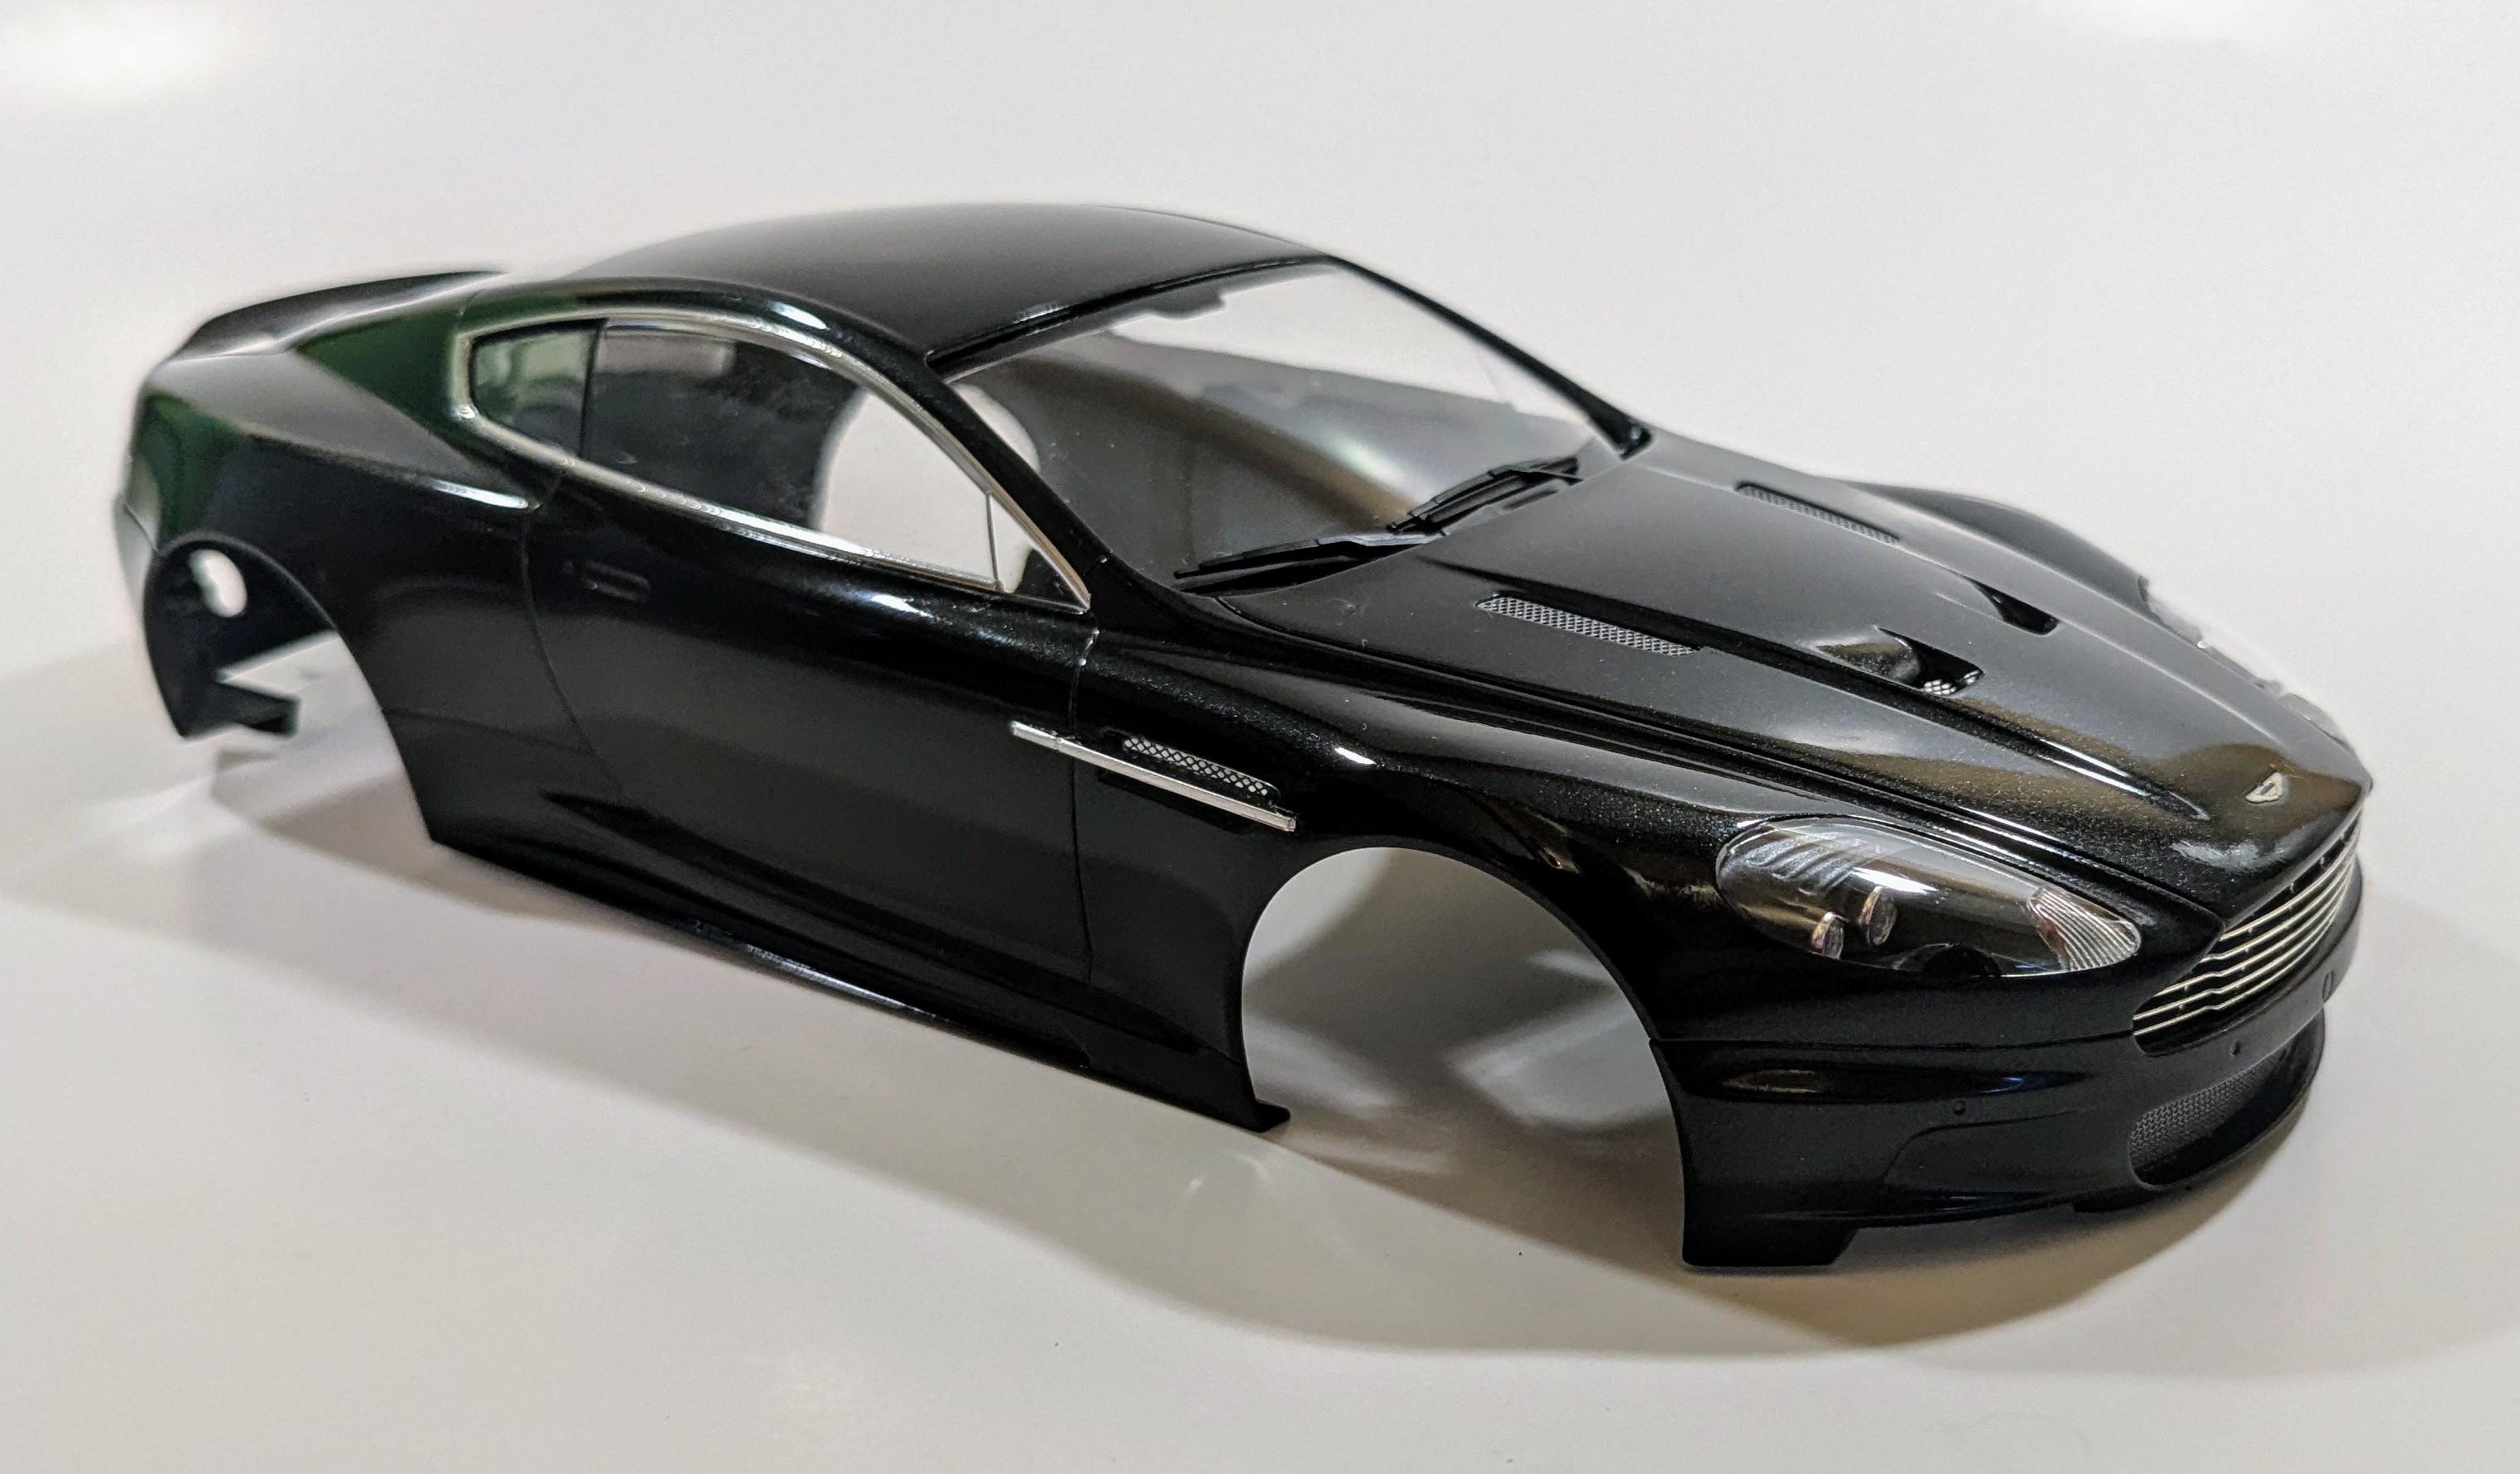
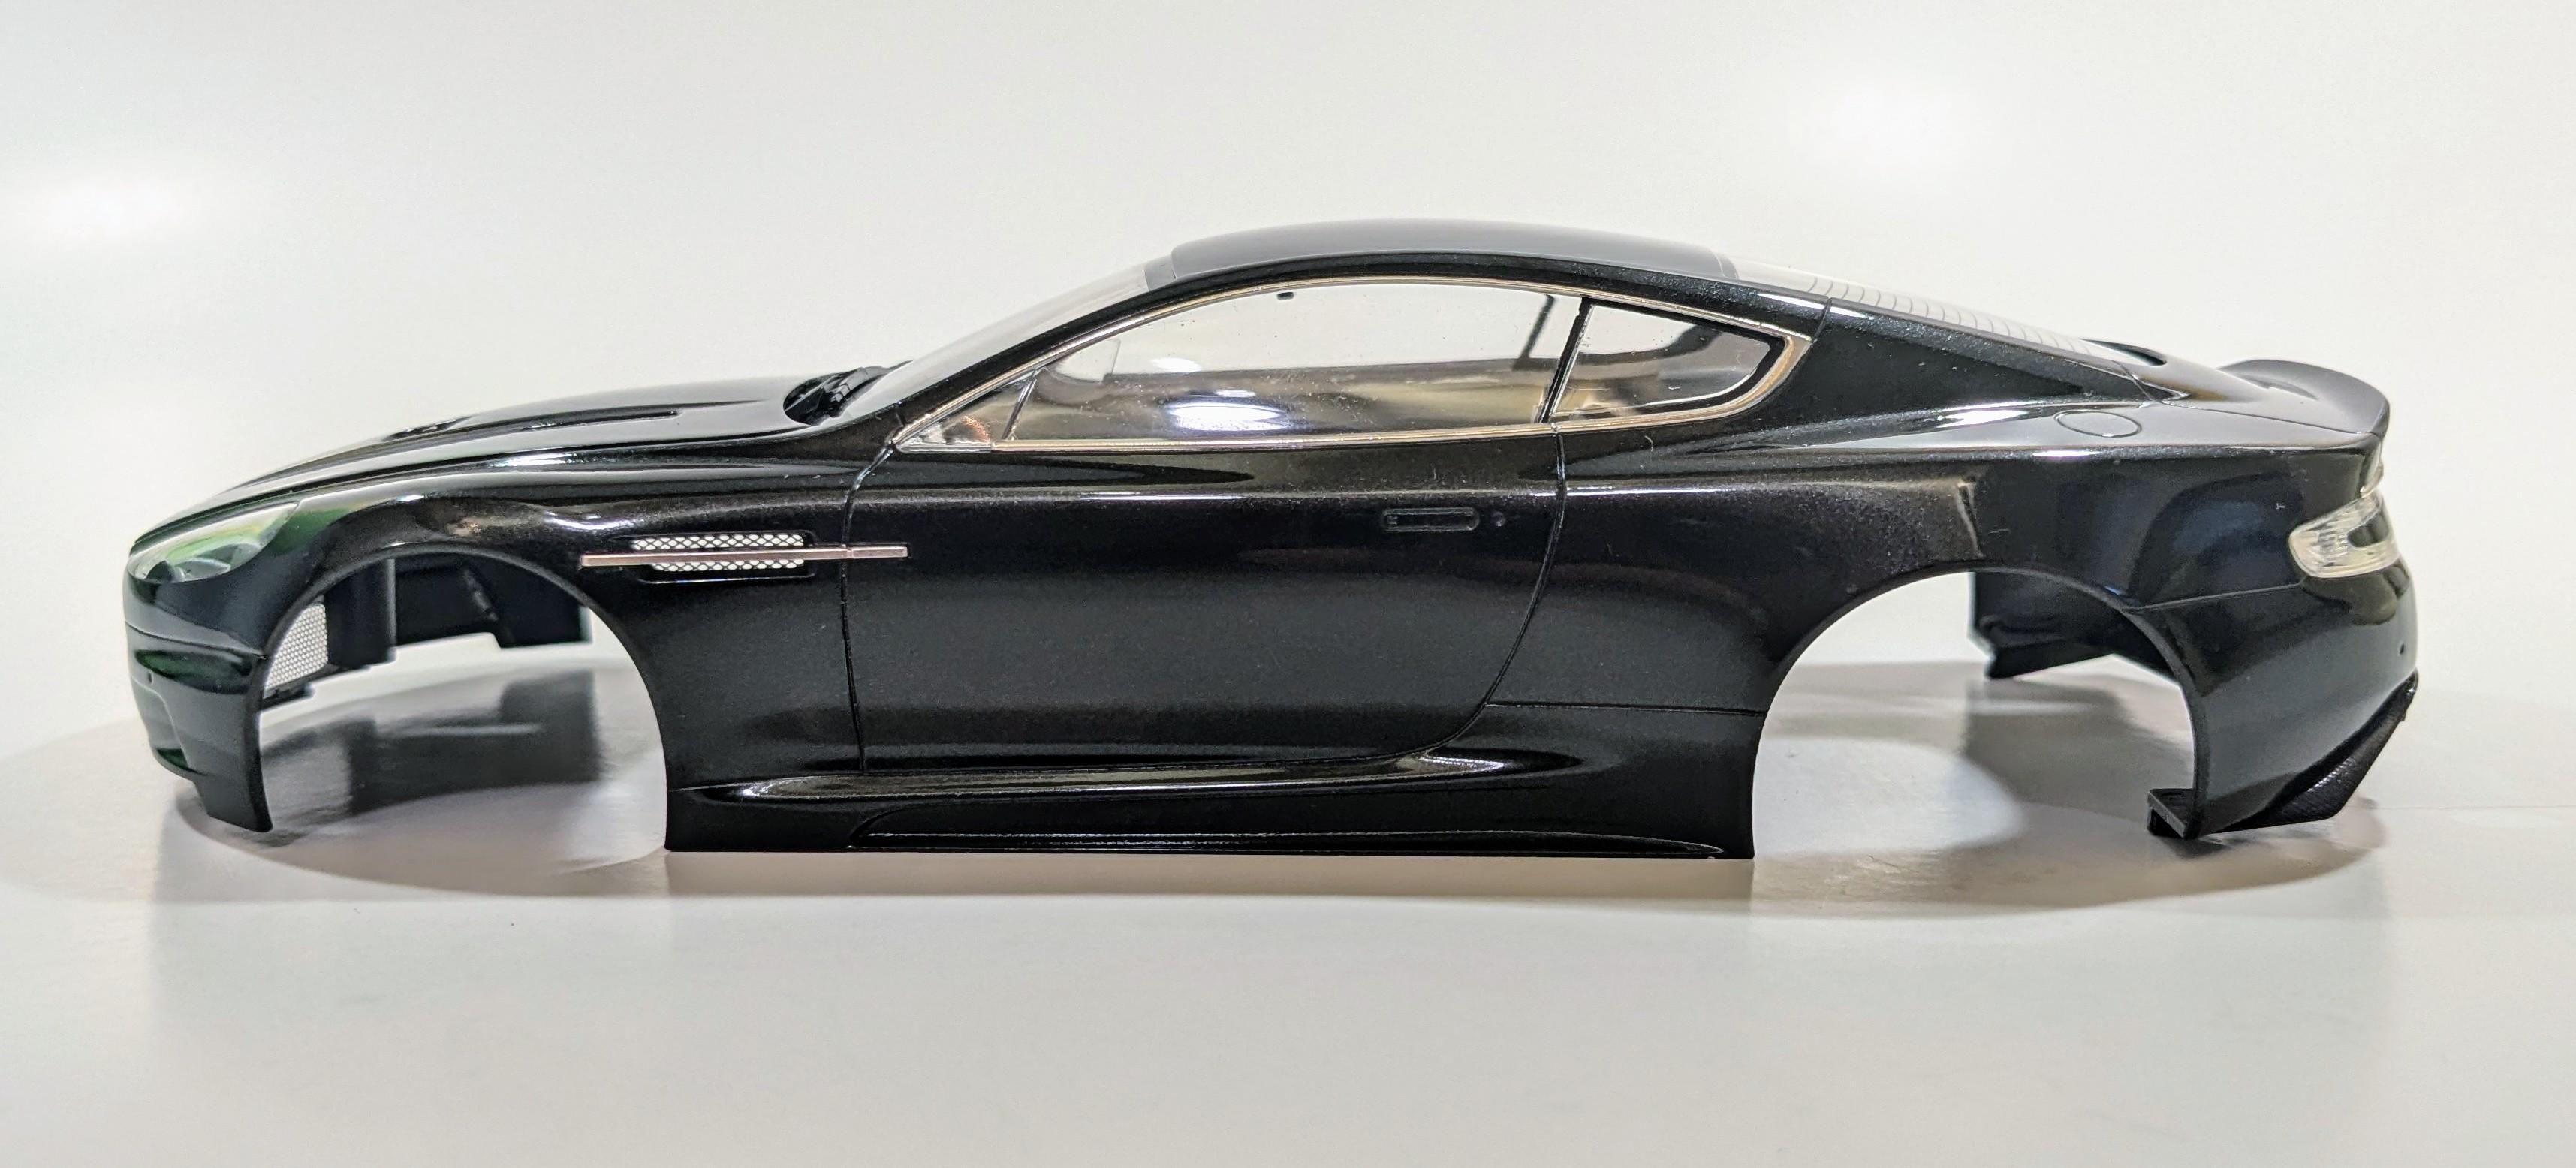
My last two builds were pretty rare models... The Italeri Ferrari 250GT SWB Berlinetta. As far as I can determine, it was issued once in the early 90s and never again. Revell was supposed to rebox it a while back but it never happened. Tamiya Aston Martin DBS. Released in 2010, limited 2012 rerelease with additional PE parts, never to be seen again.
-
Italeri released an update with some test shot pics. Looks like December availability. Starting to get pretty excited for this one! https://www.italeri.com/en/article/840
-
This is one of those cases where buying a kit when it came out worked out pretty well for me. It probably sat in the stash for 10 years before I got around to it. No WAY would I pay silly Ebay money for one now! Thanks Matt! My high-tech lighting setup spoiled because I forgot to turn off the light above the dining table!?
-
A few construction pics... build thread in WIP.
-
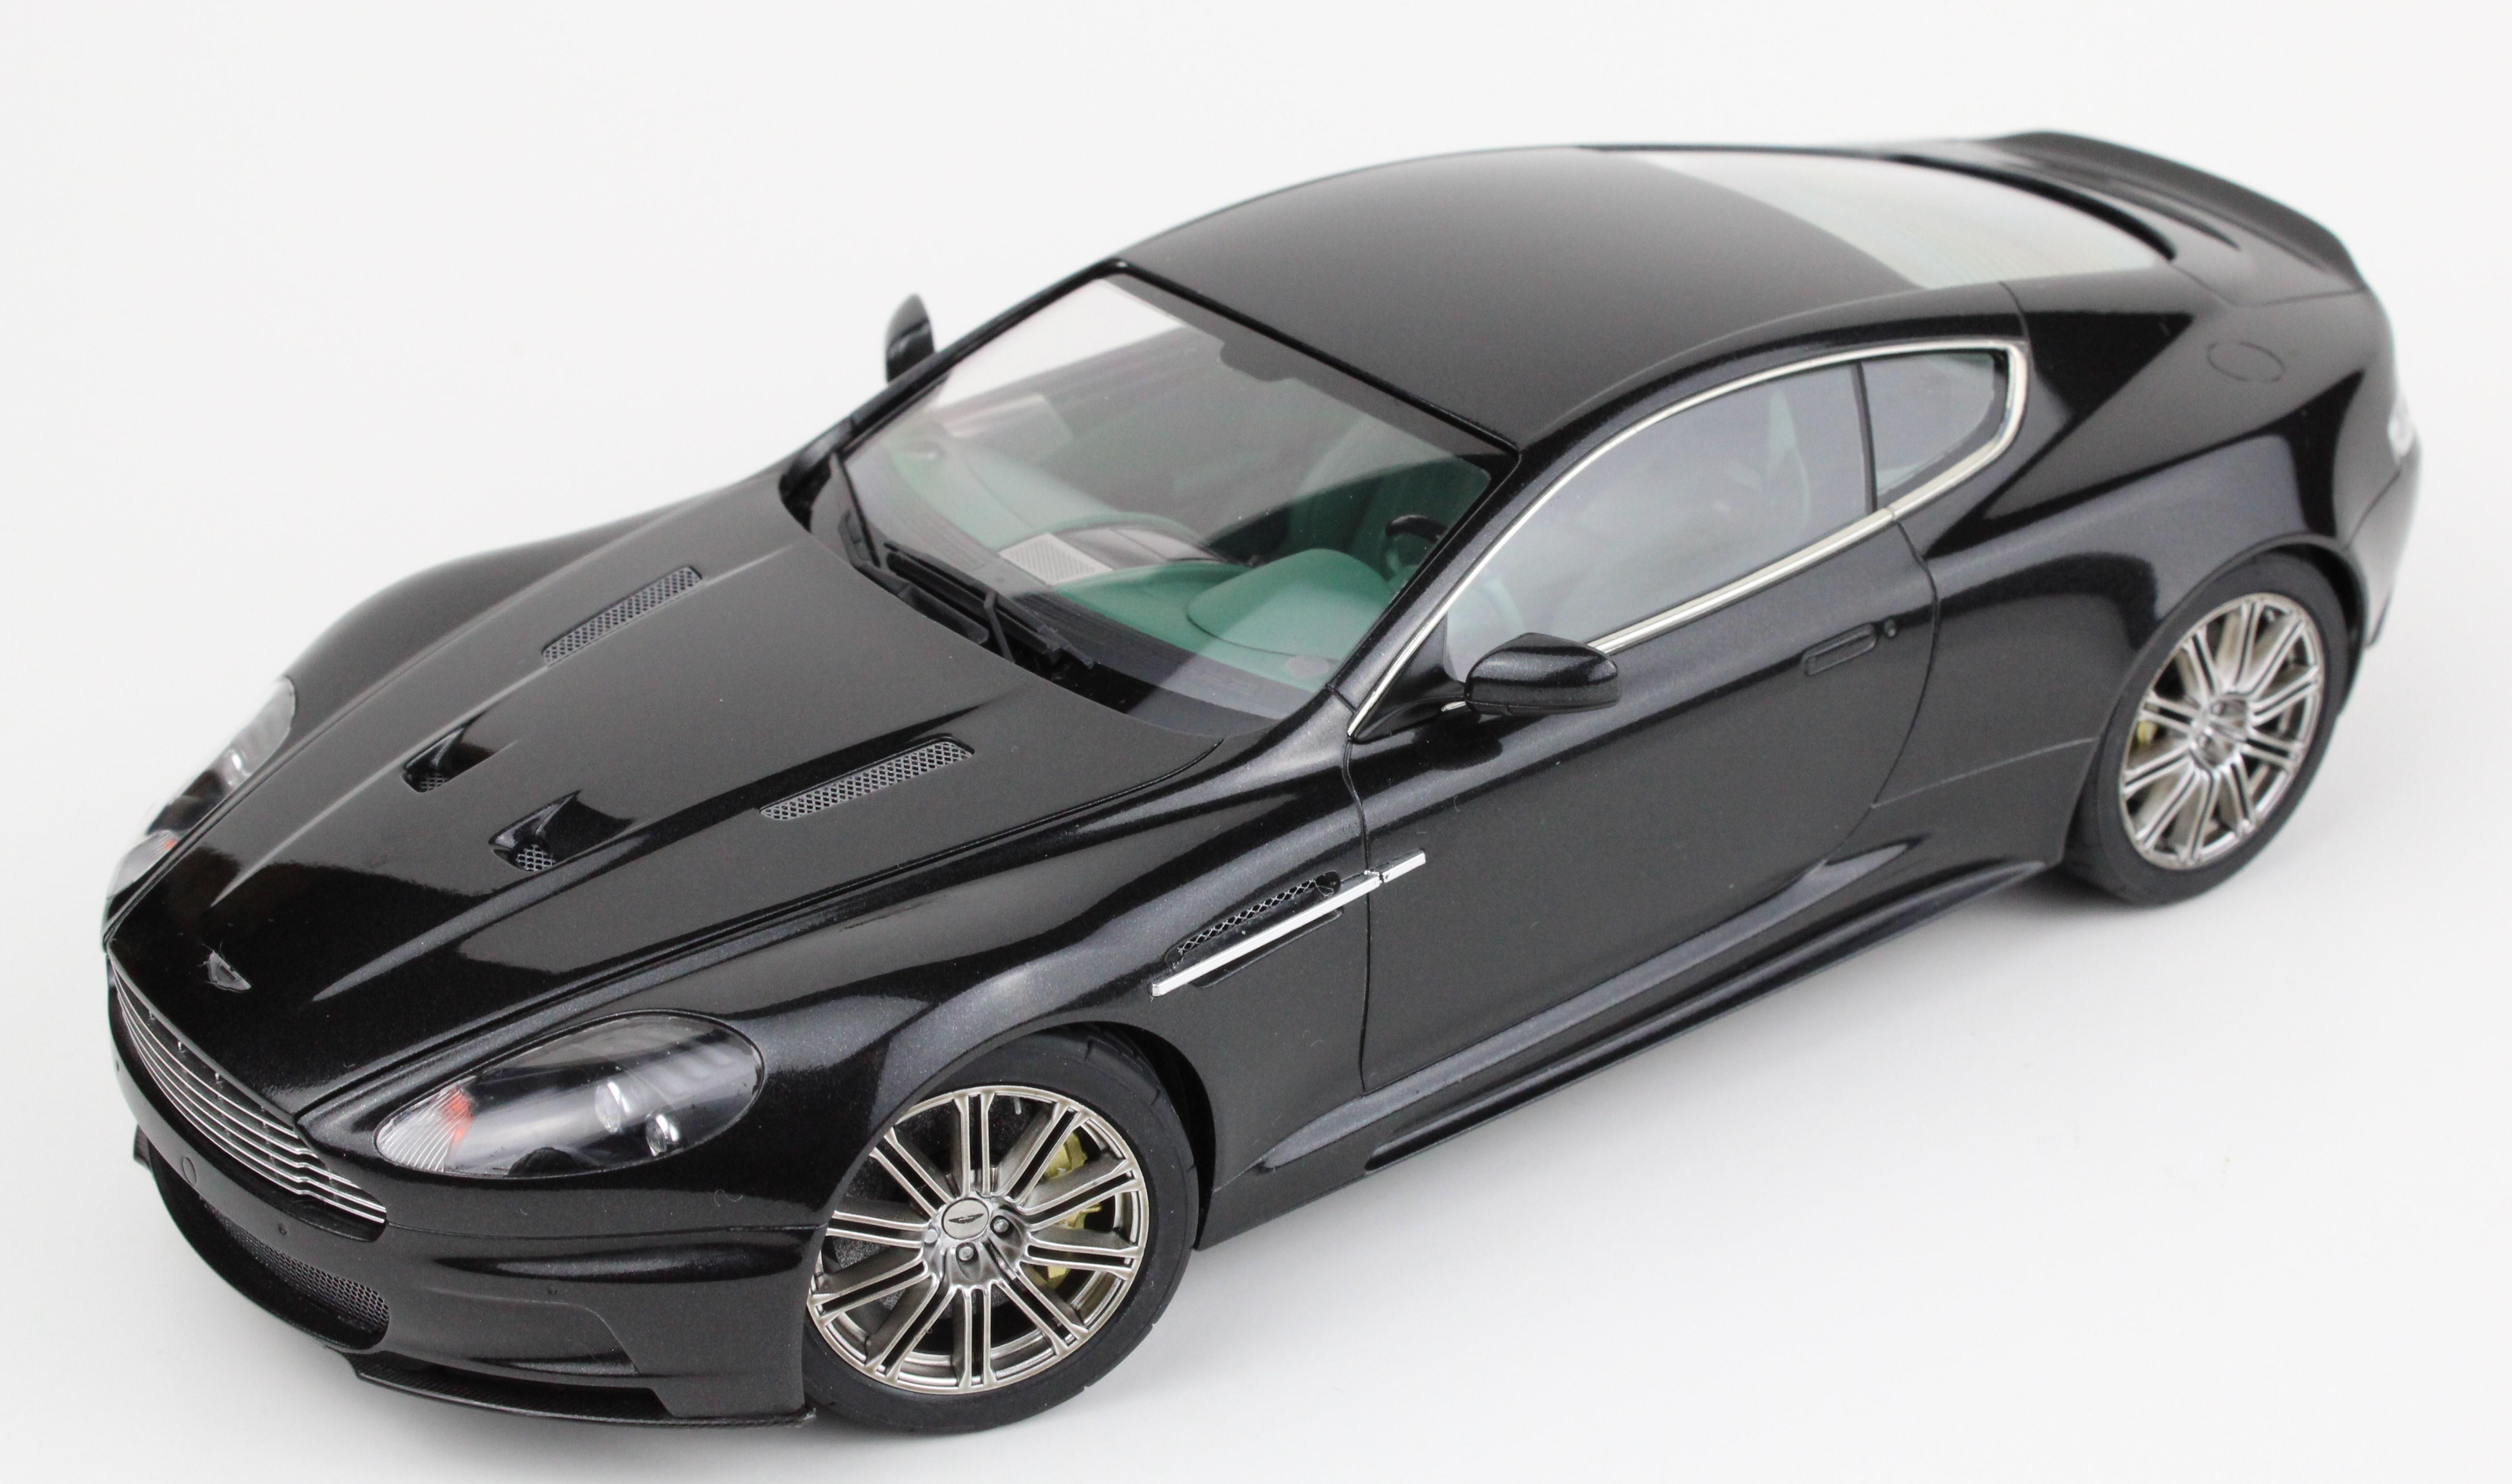
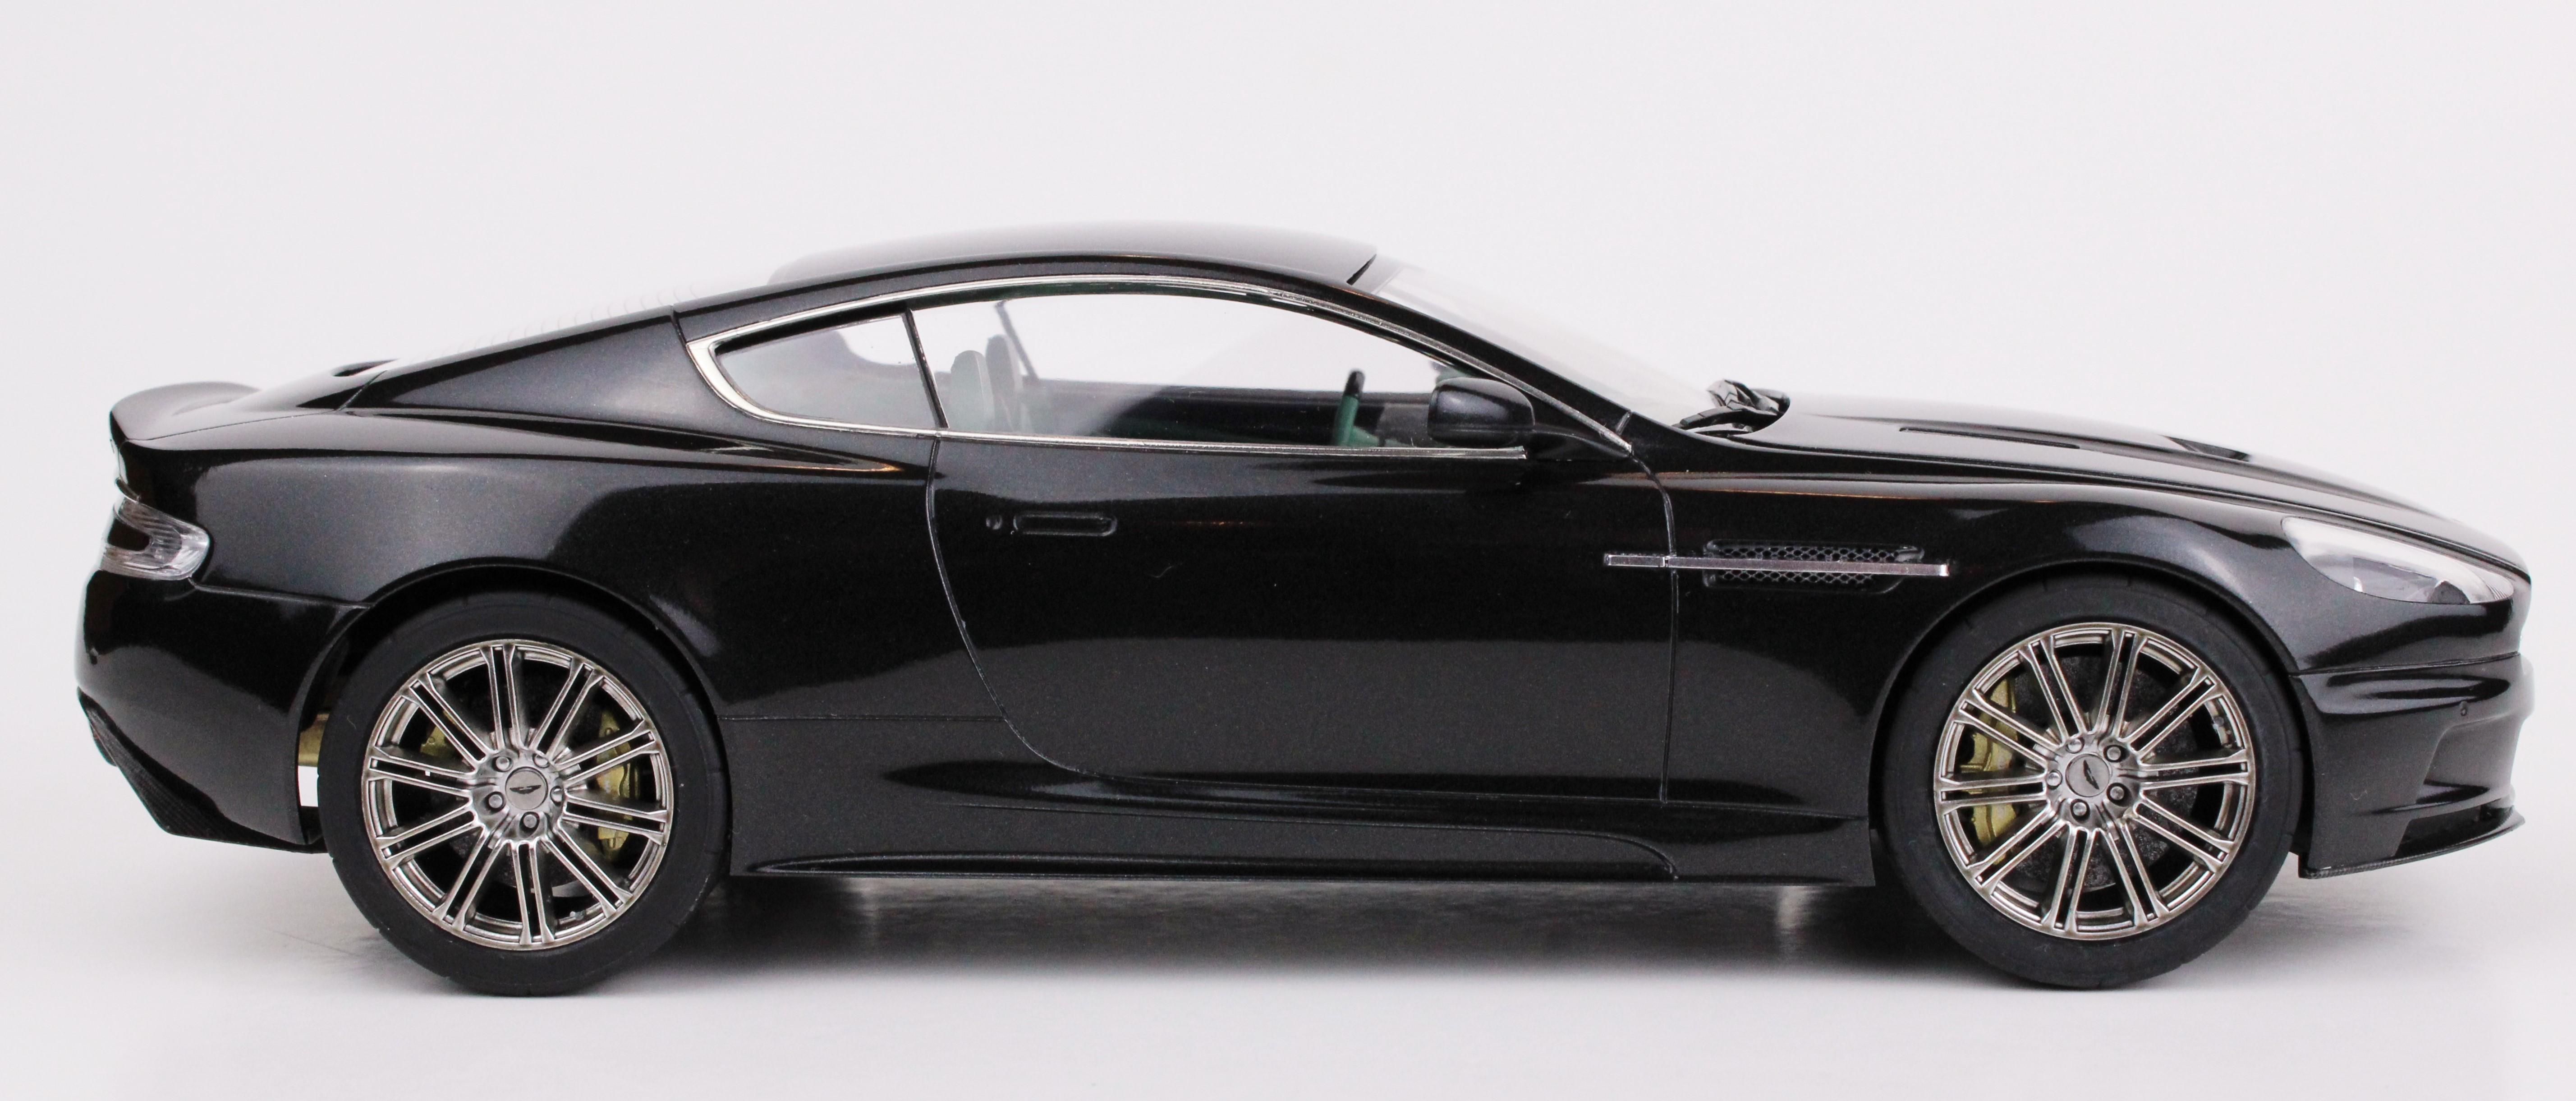
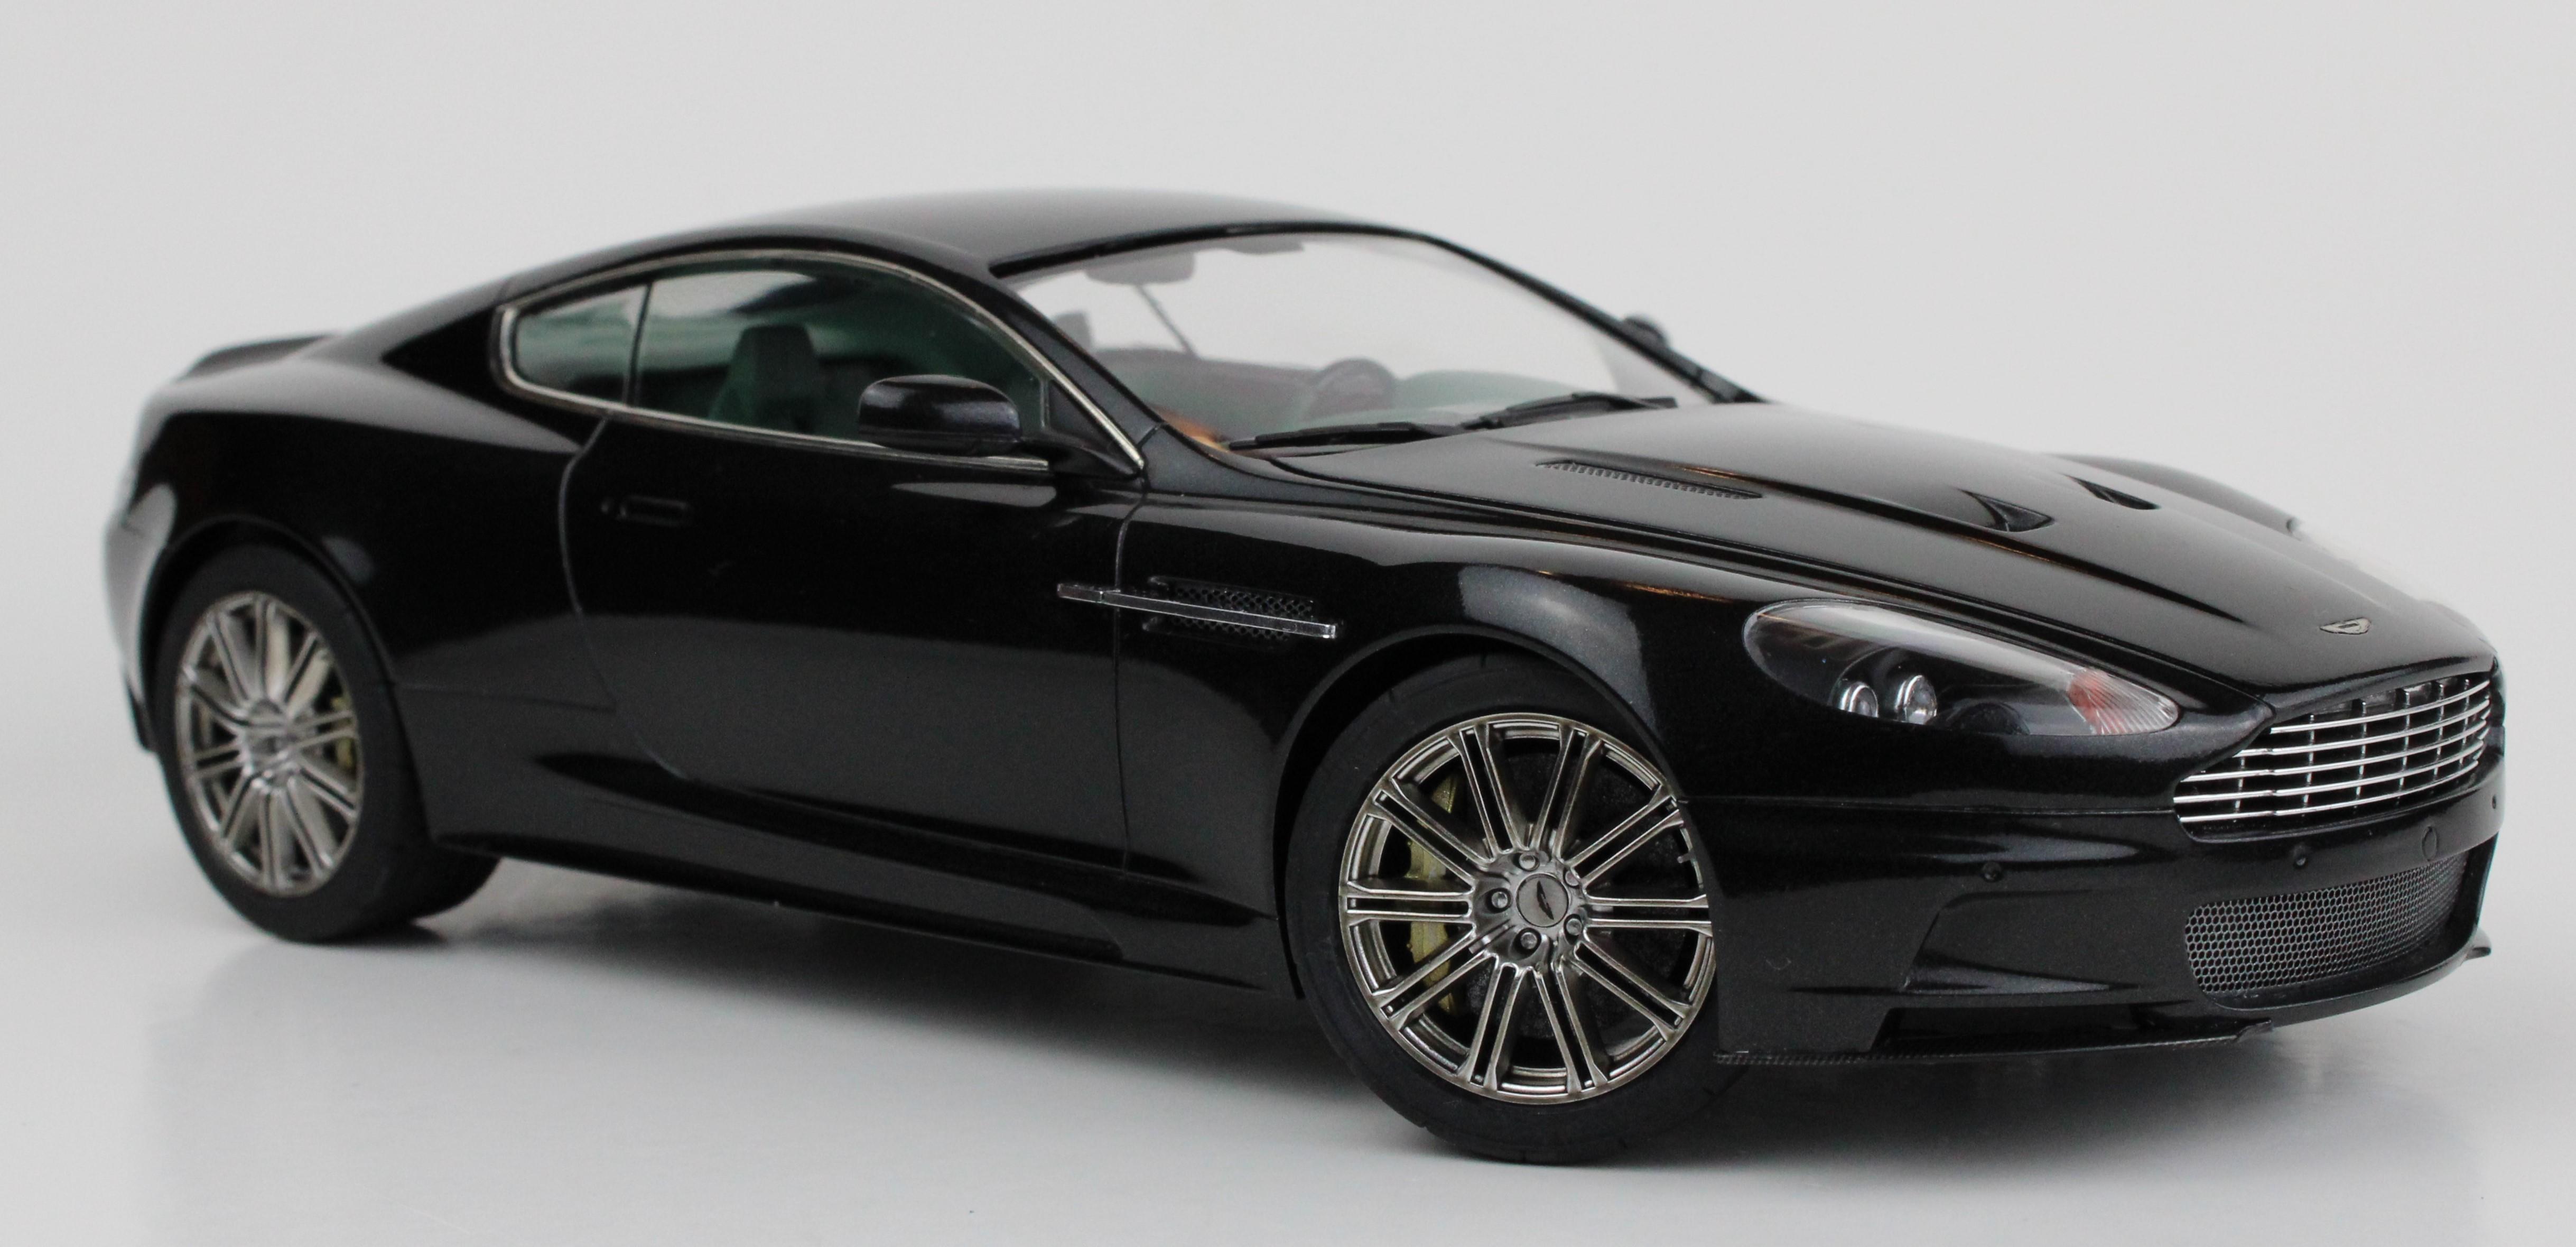
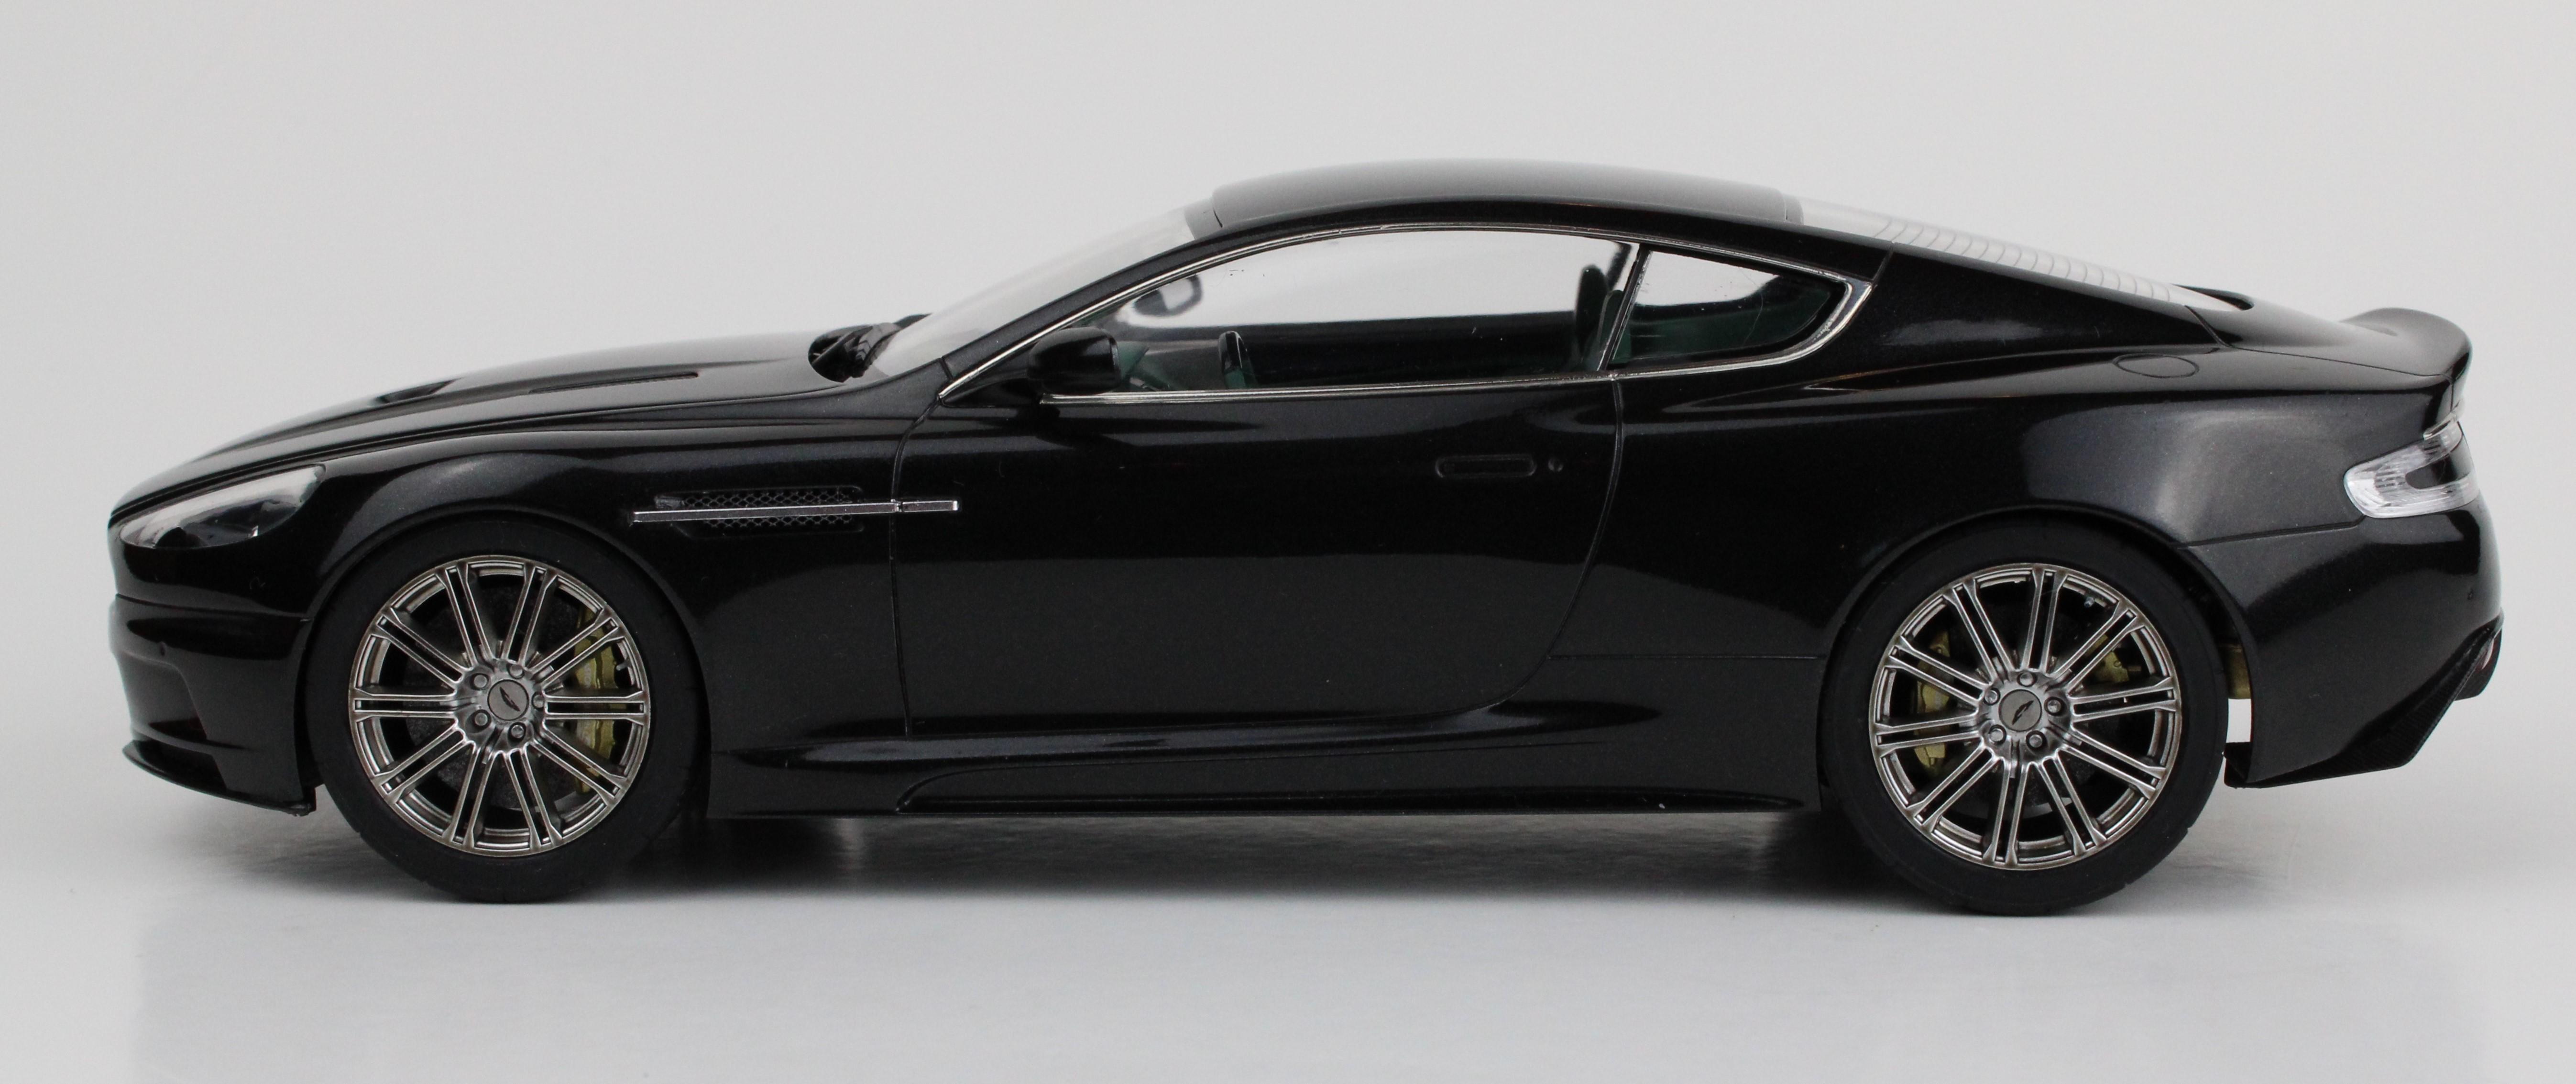
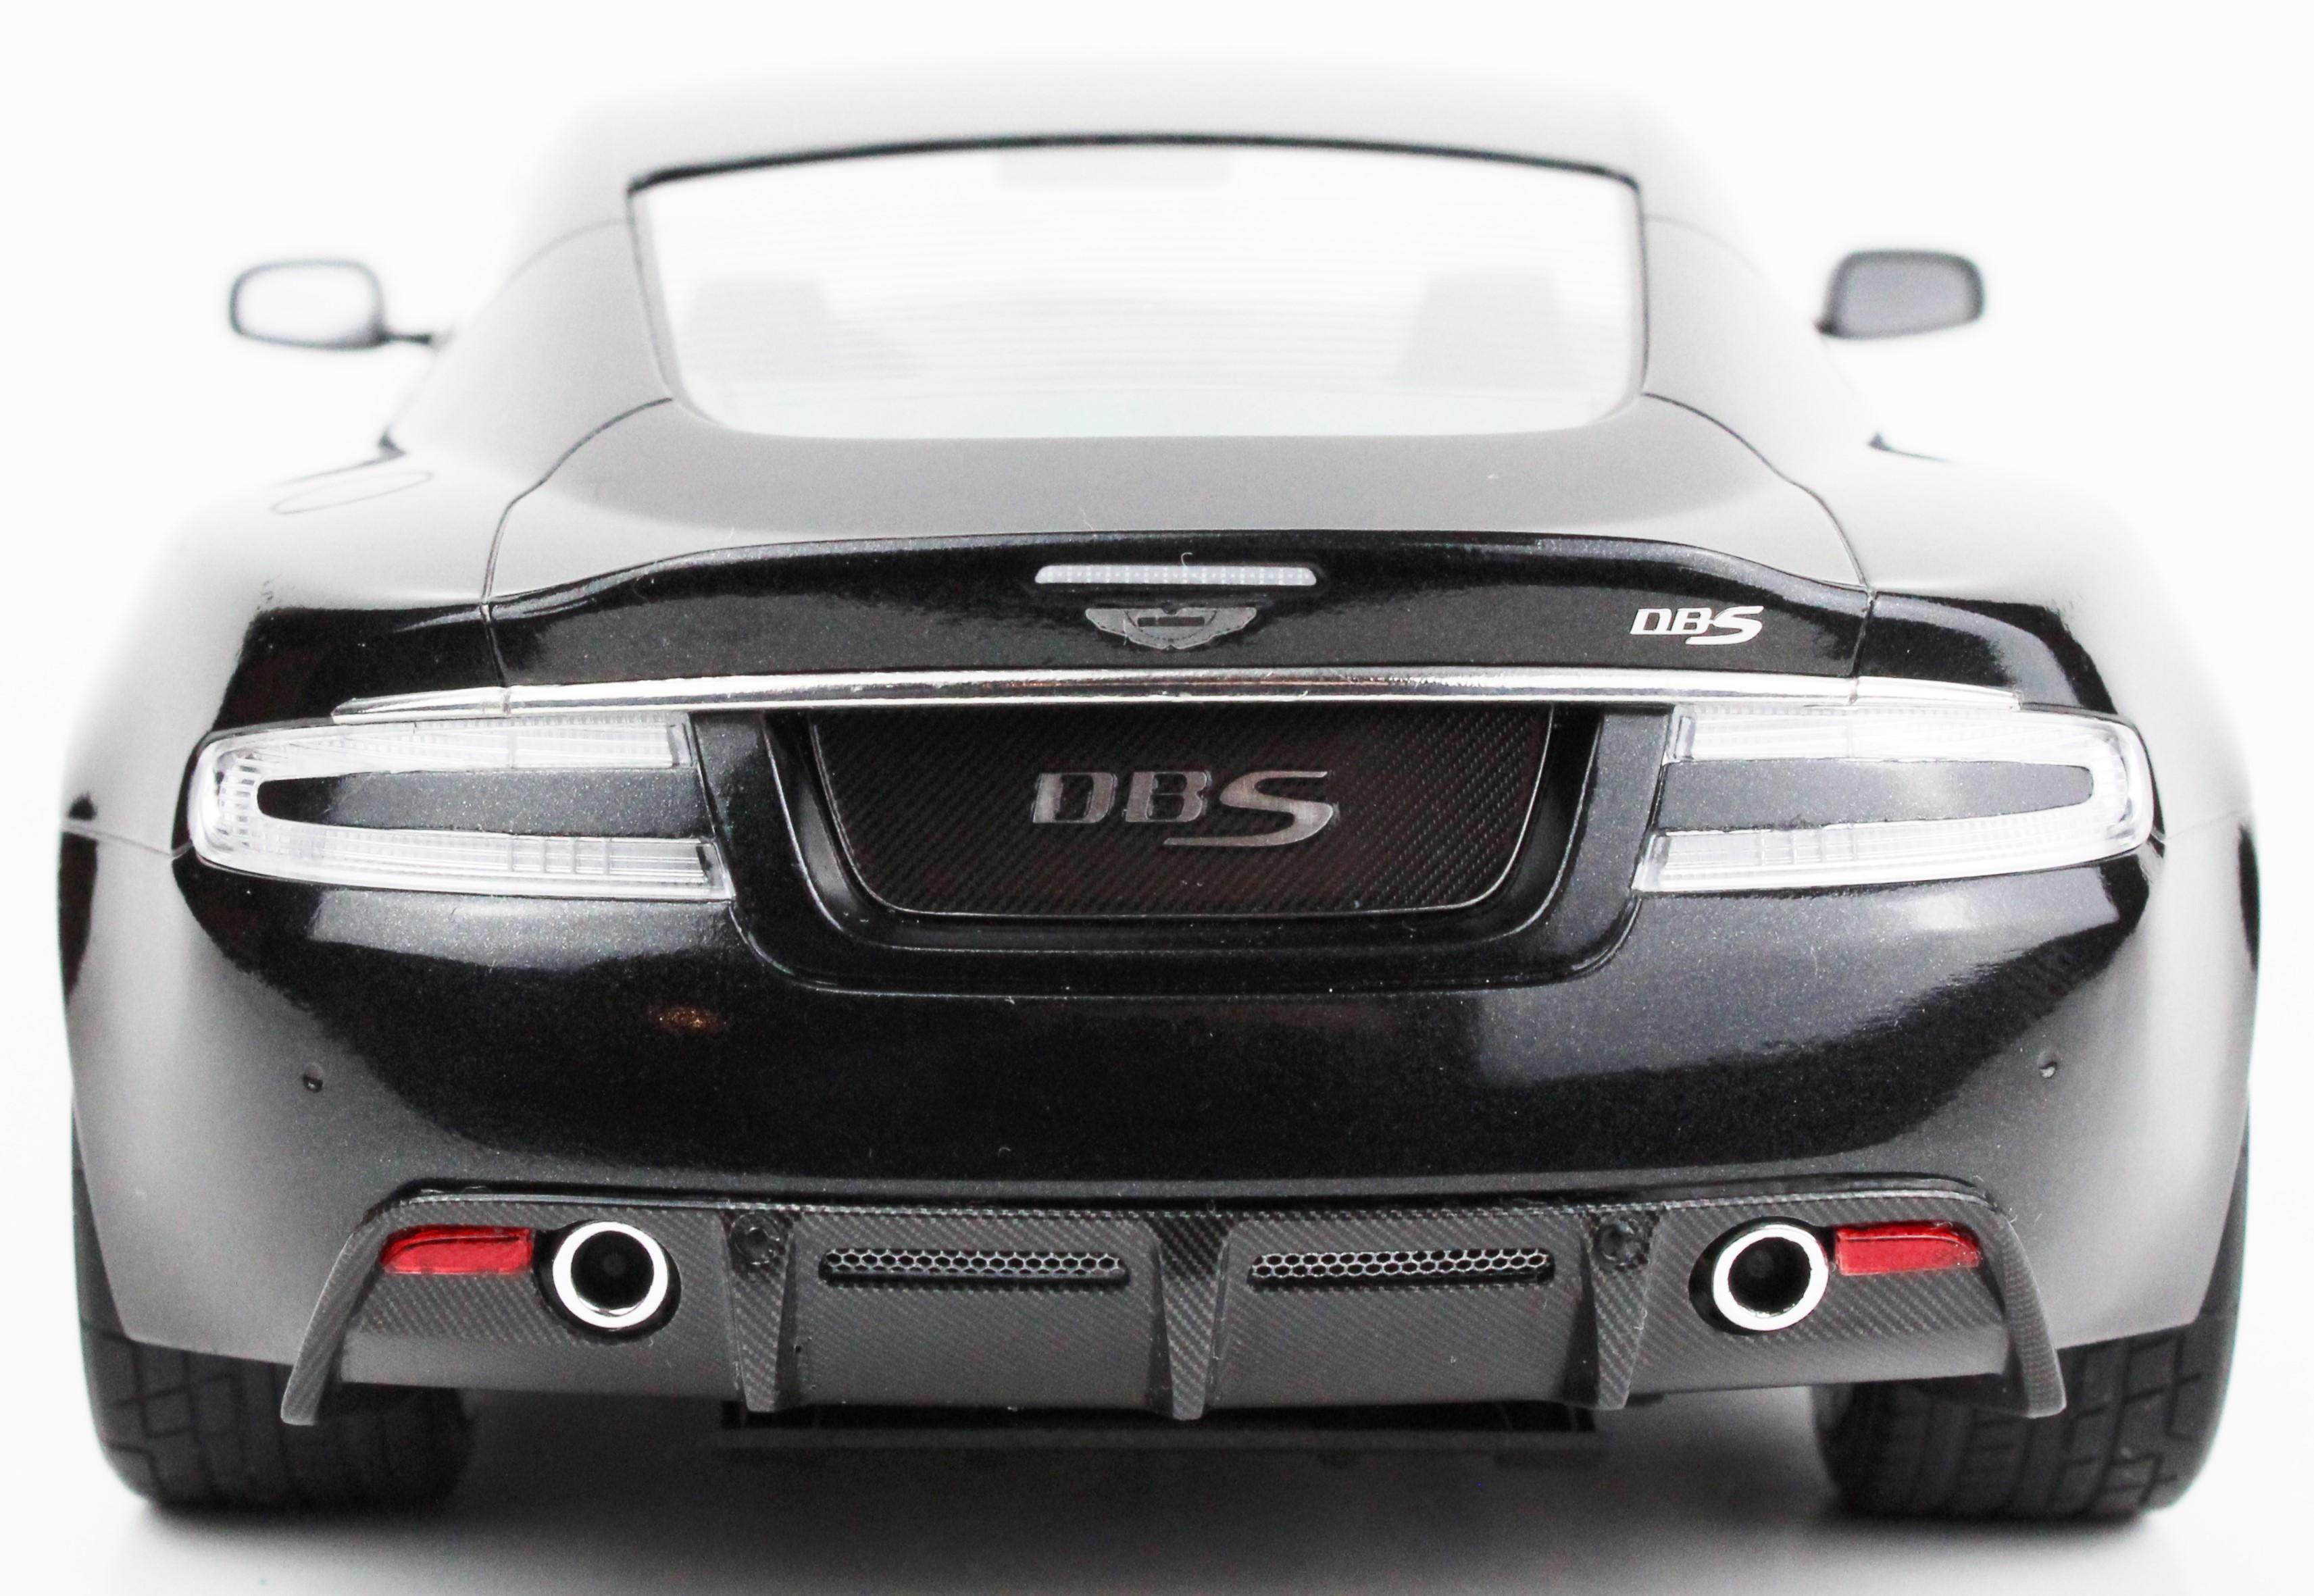
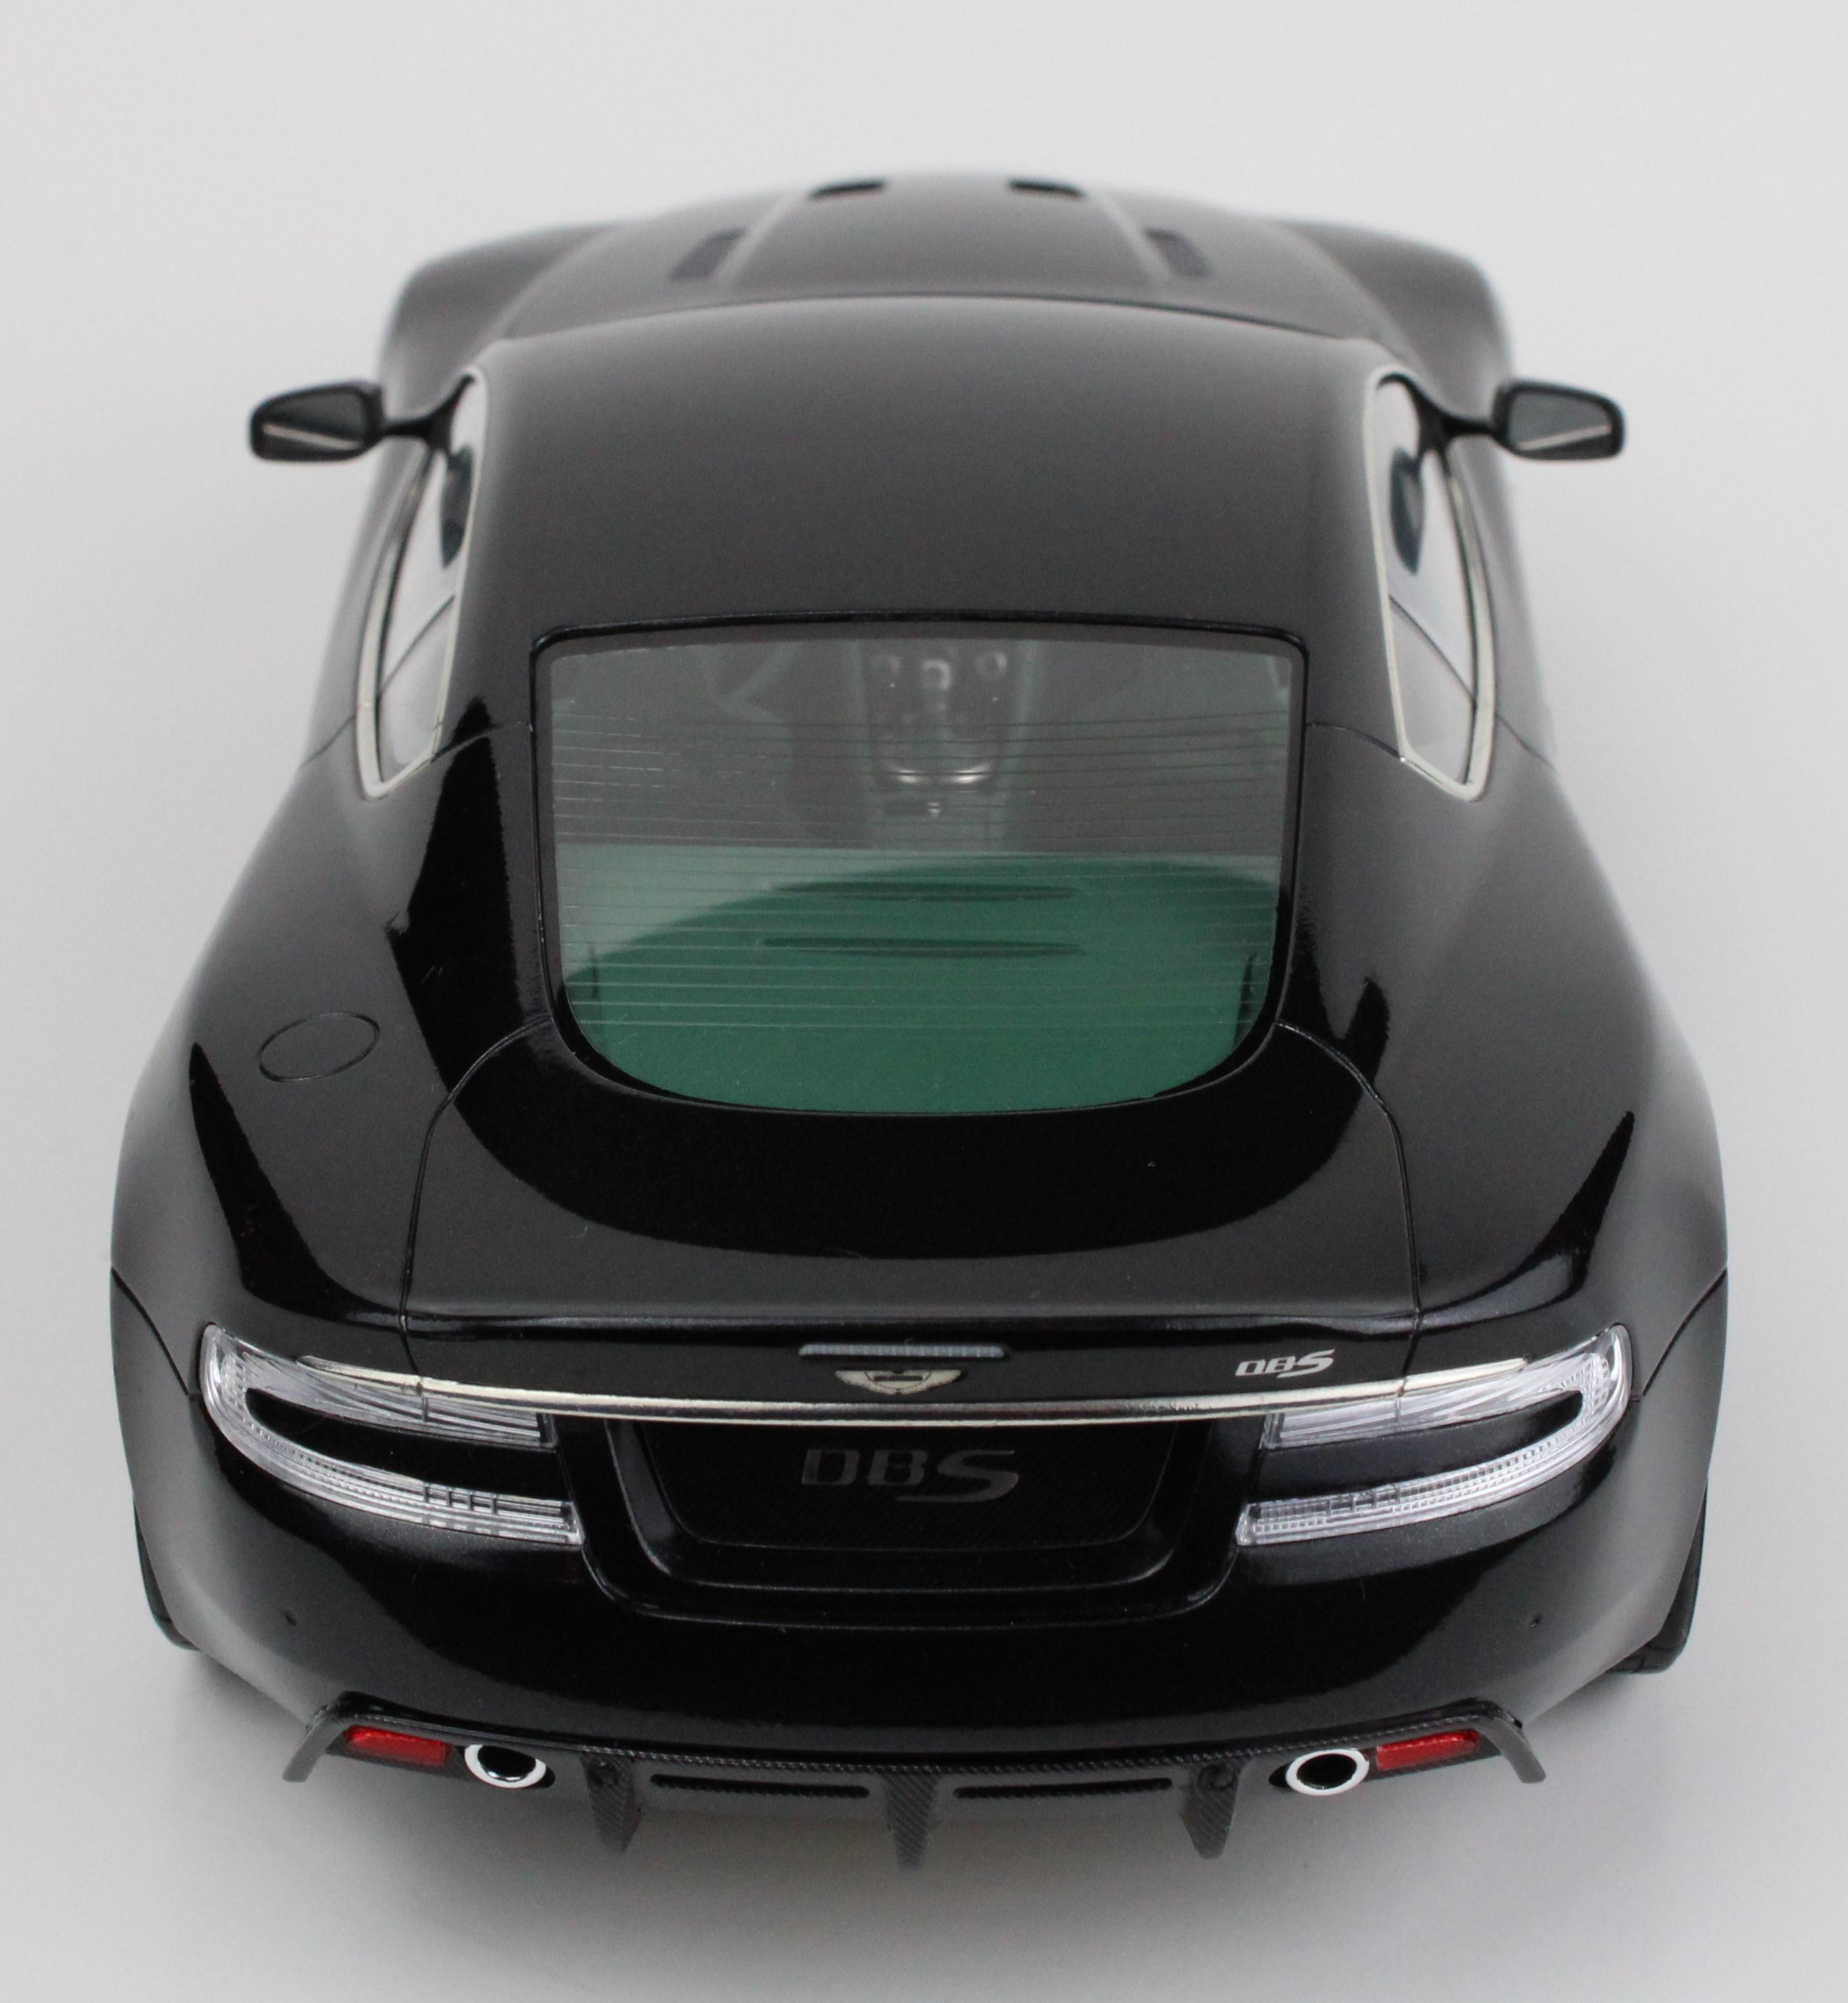
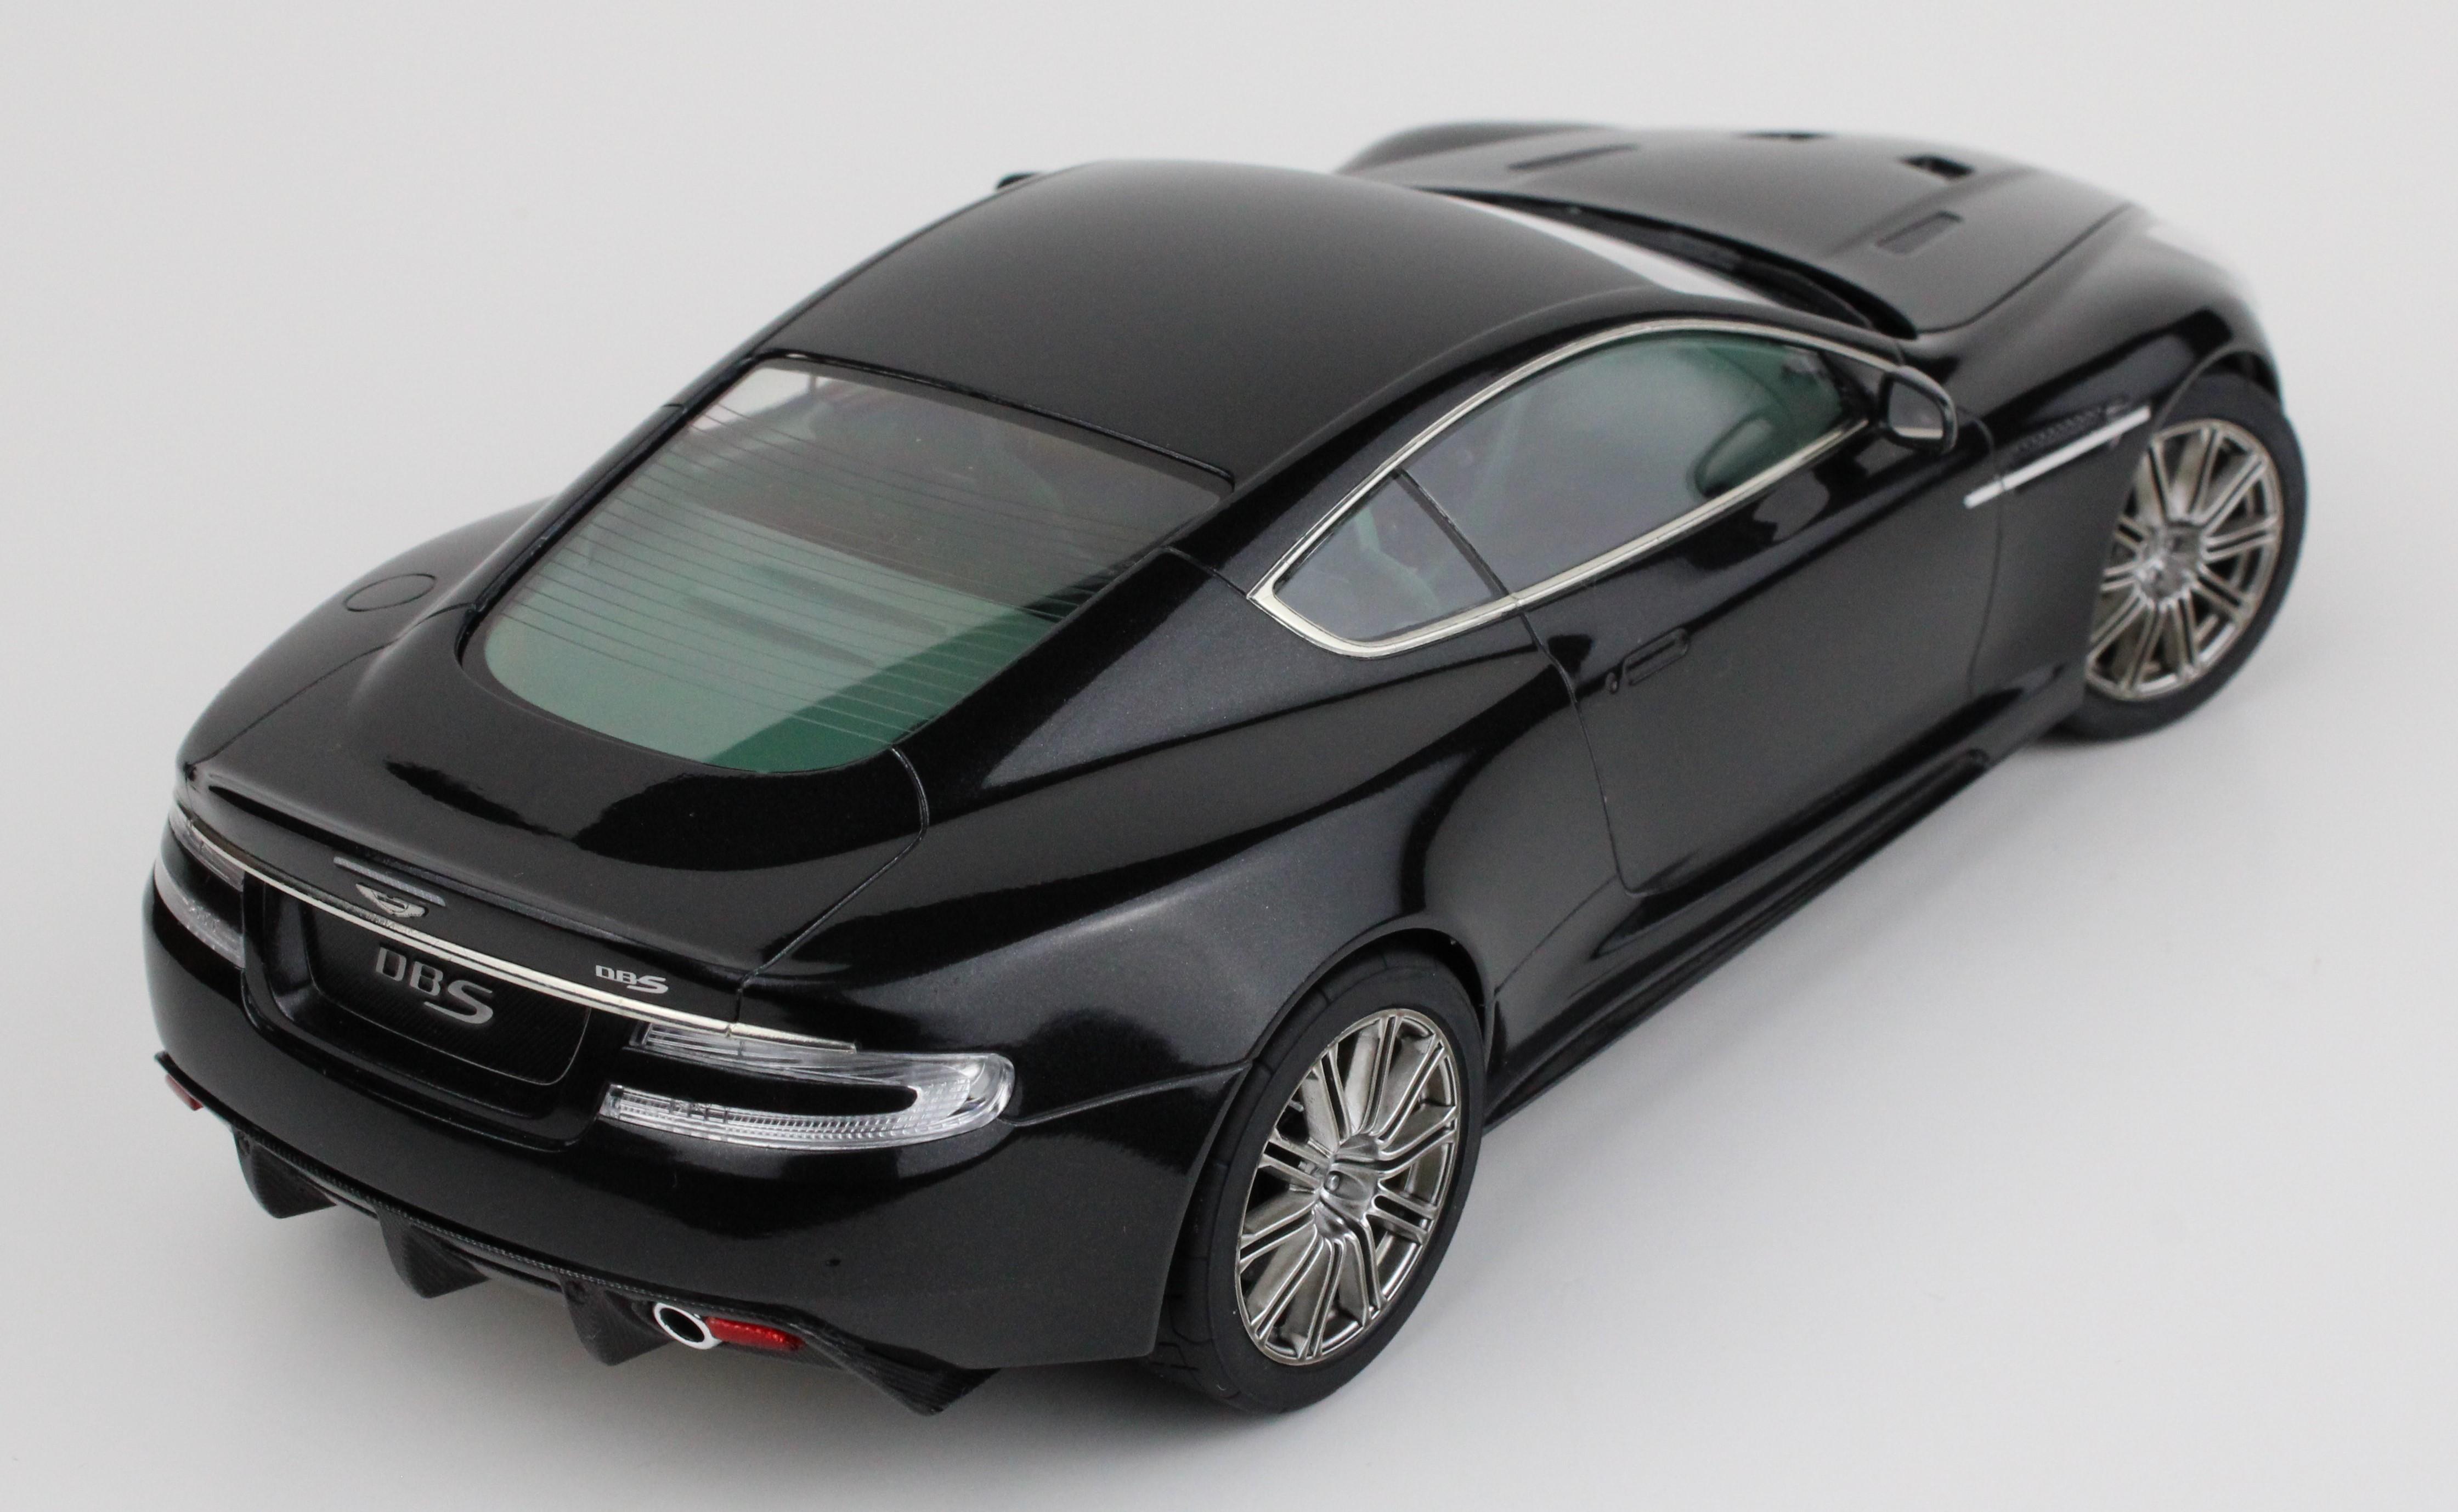
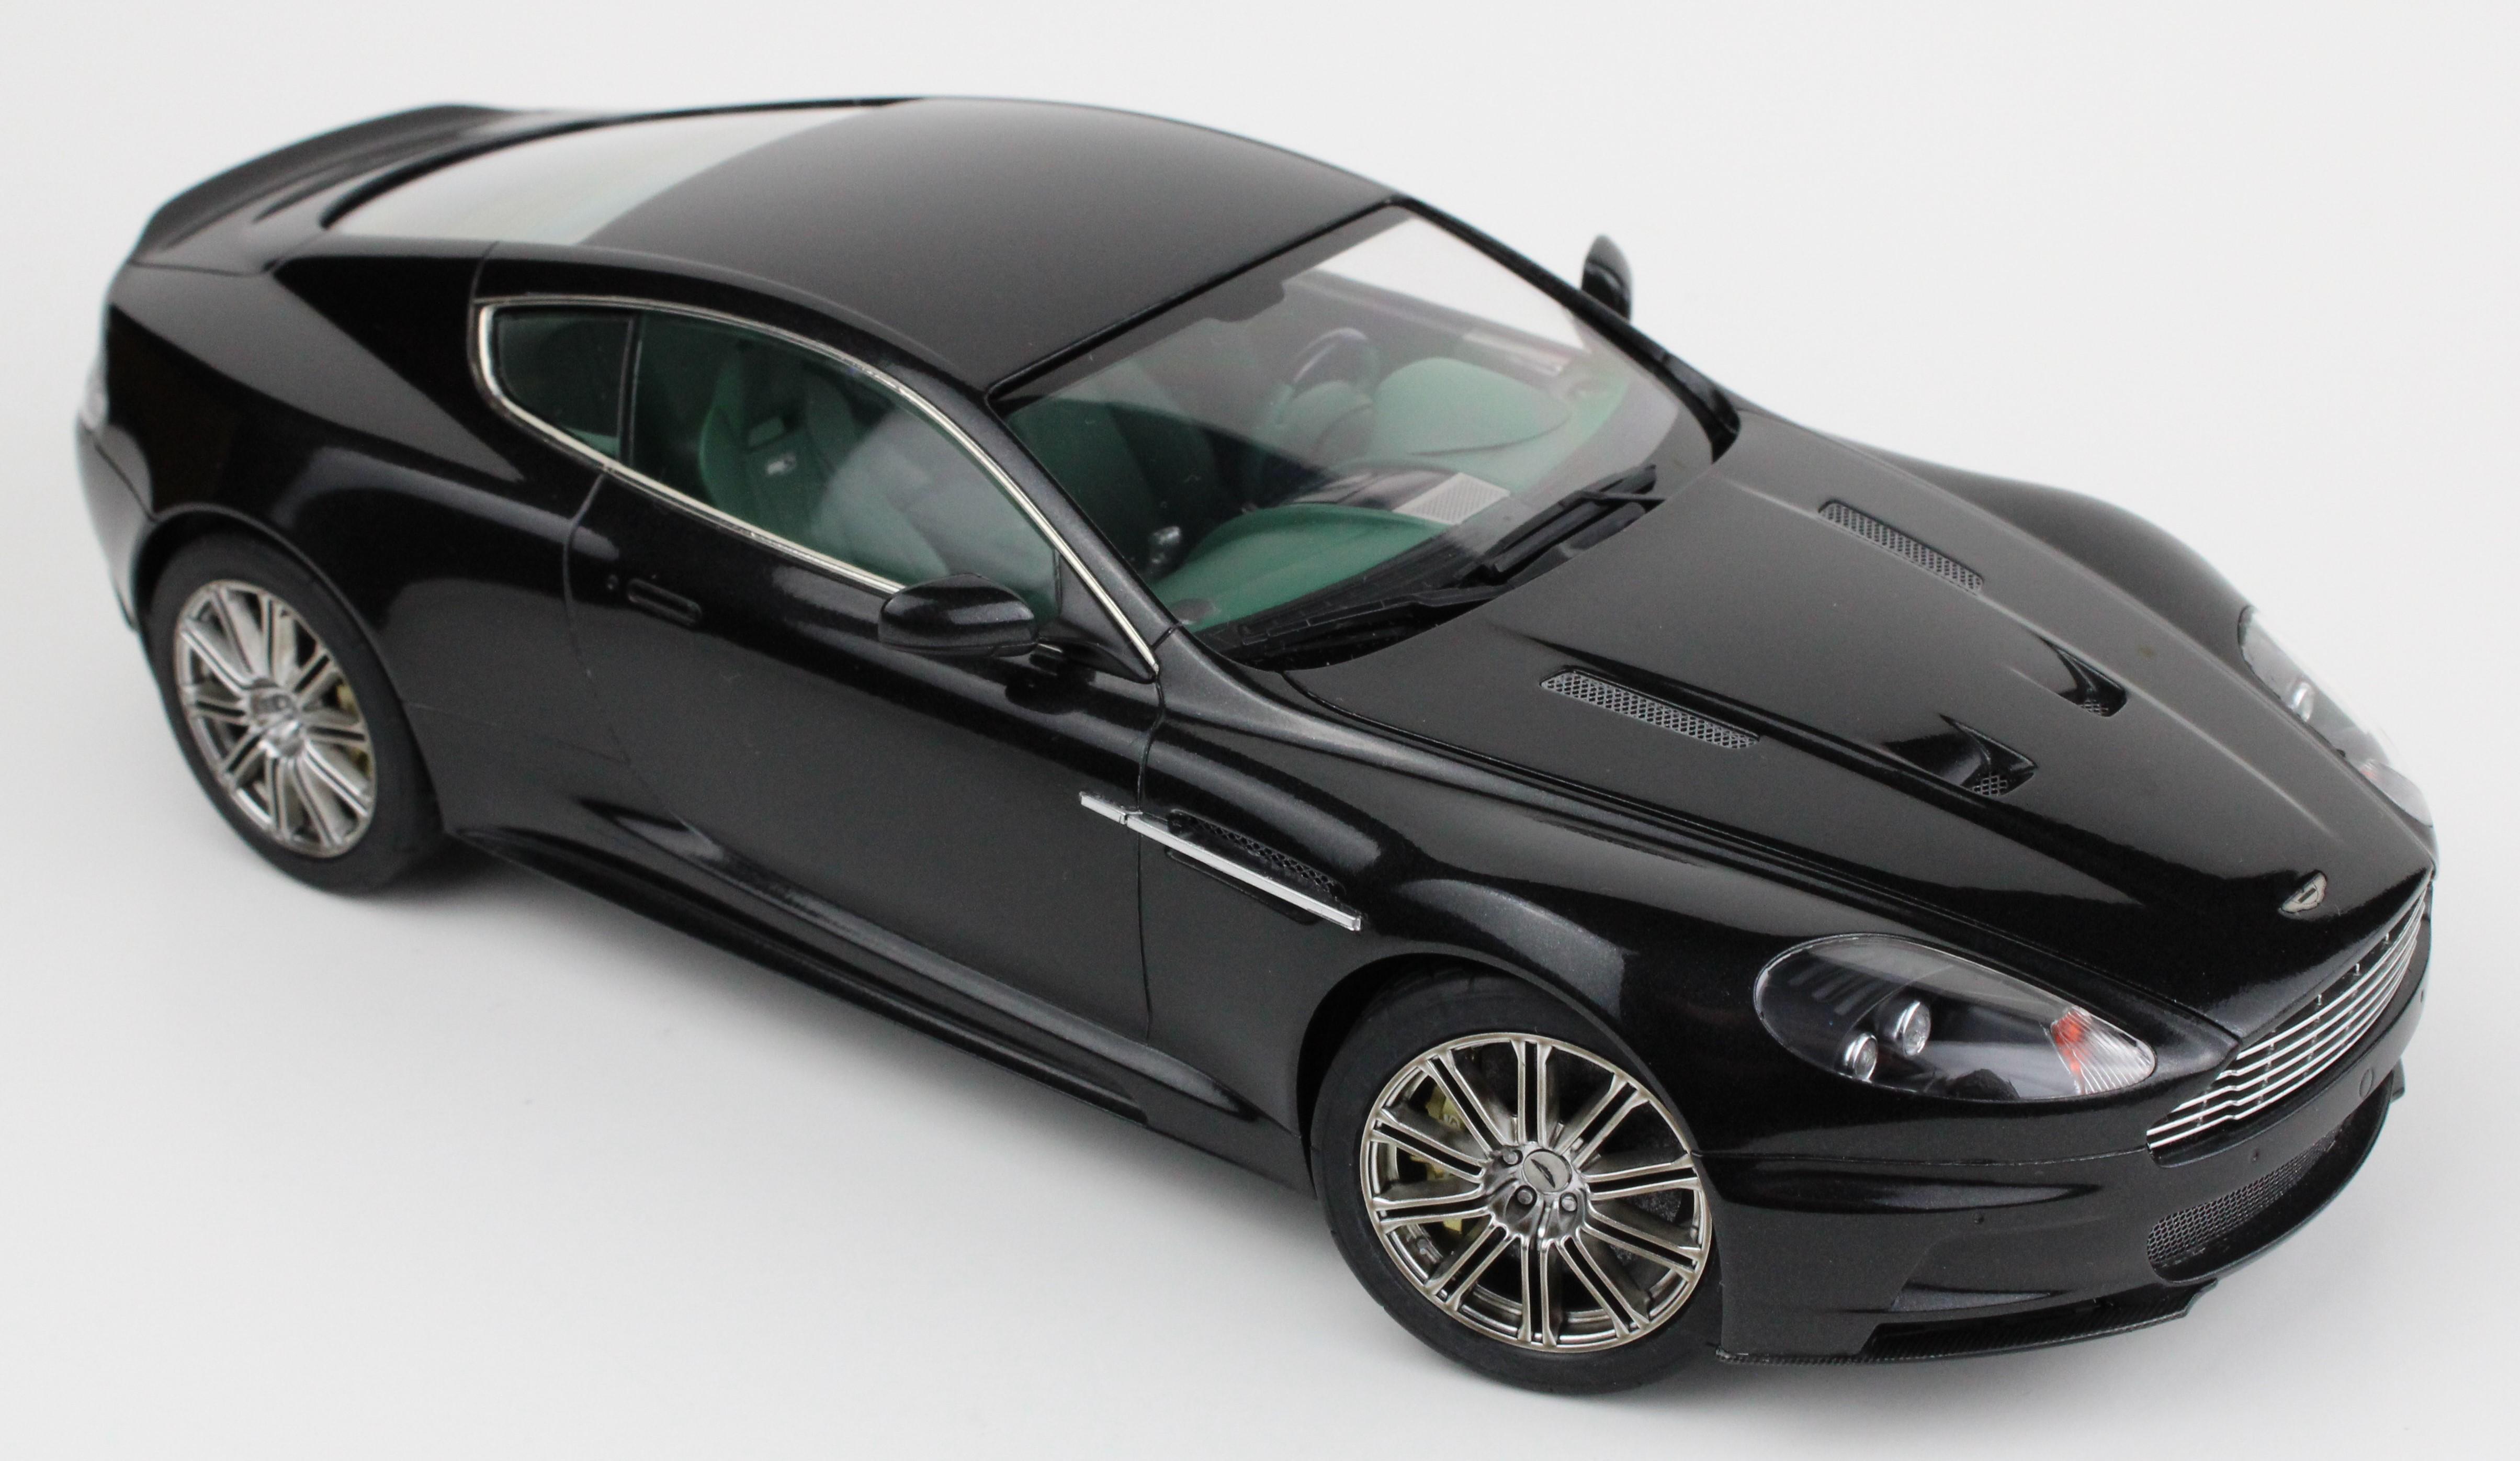
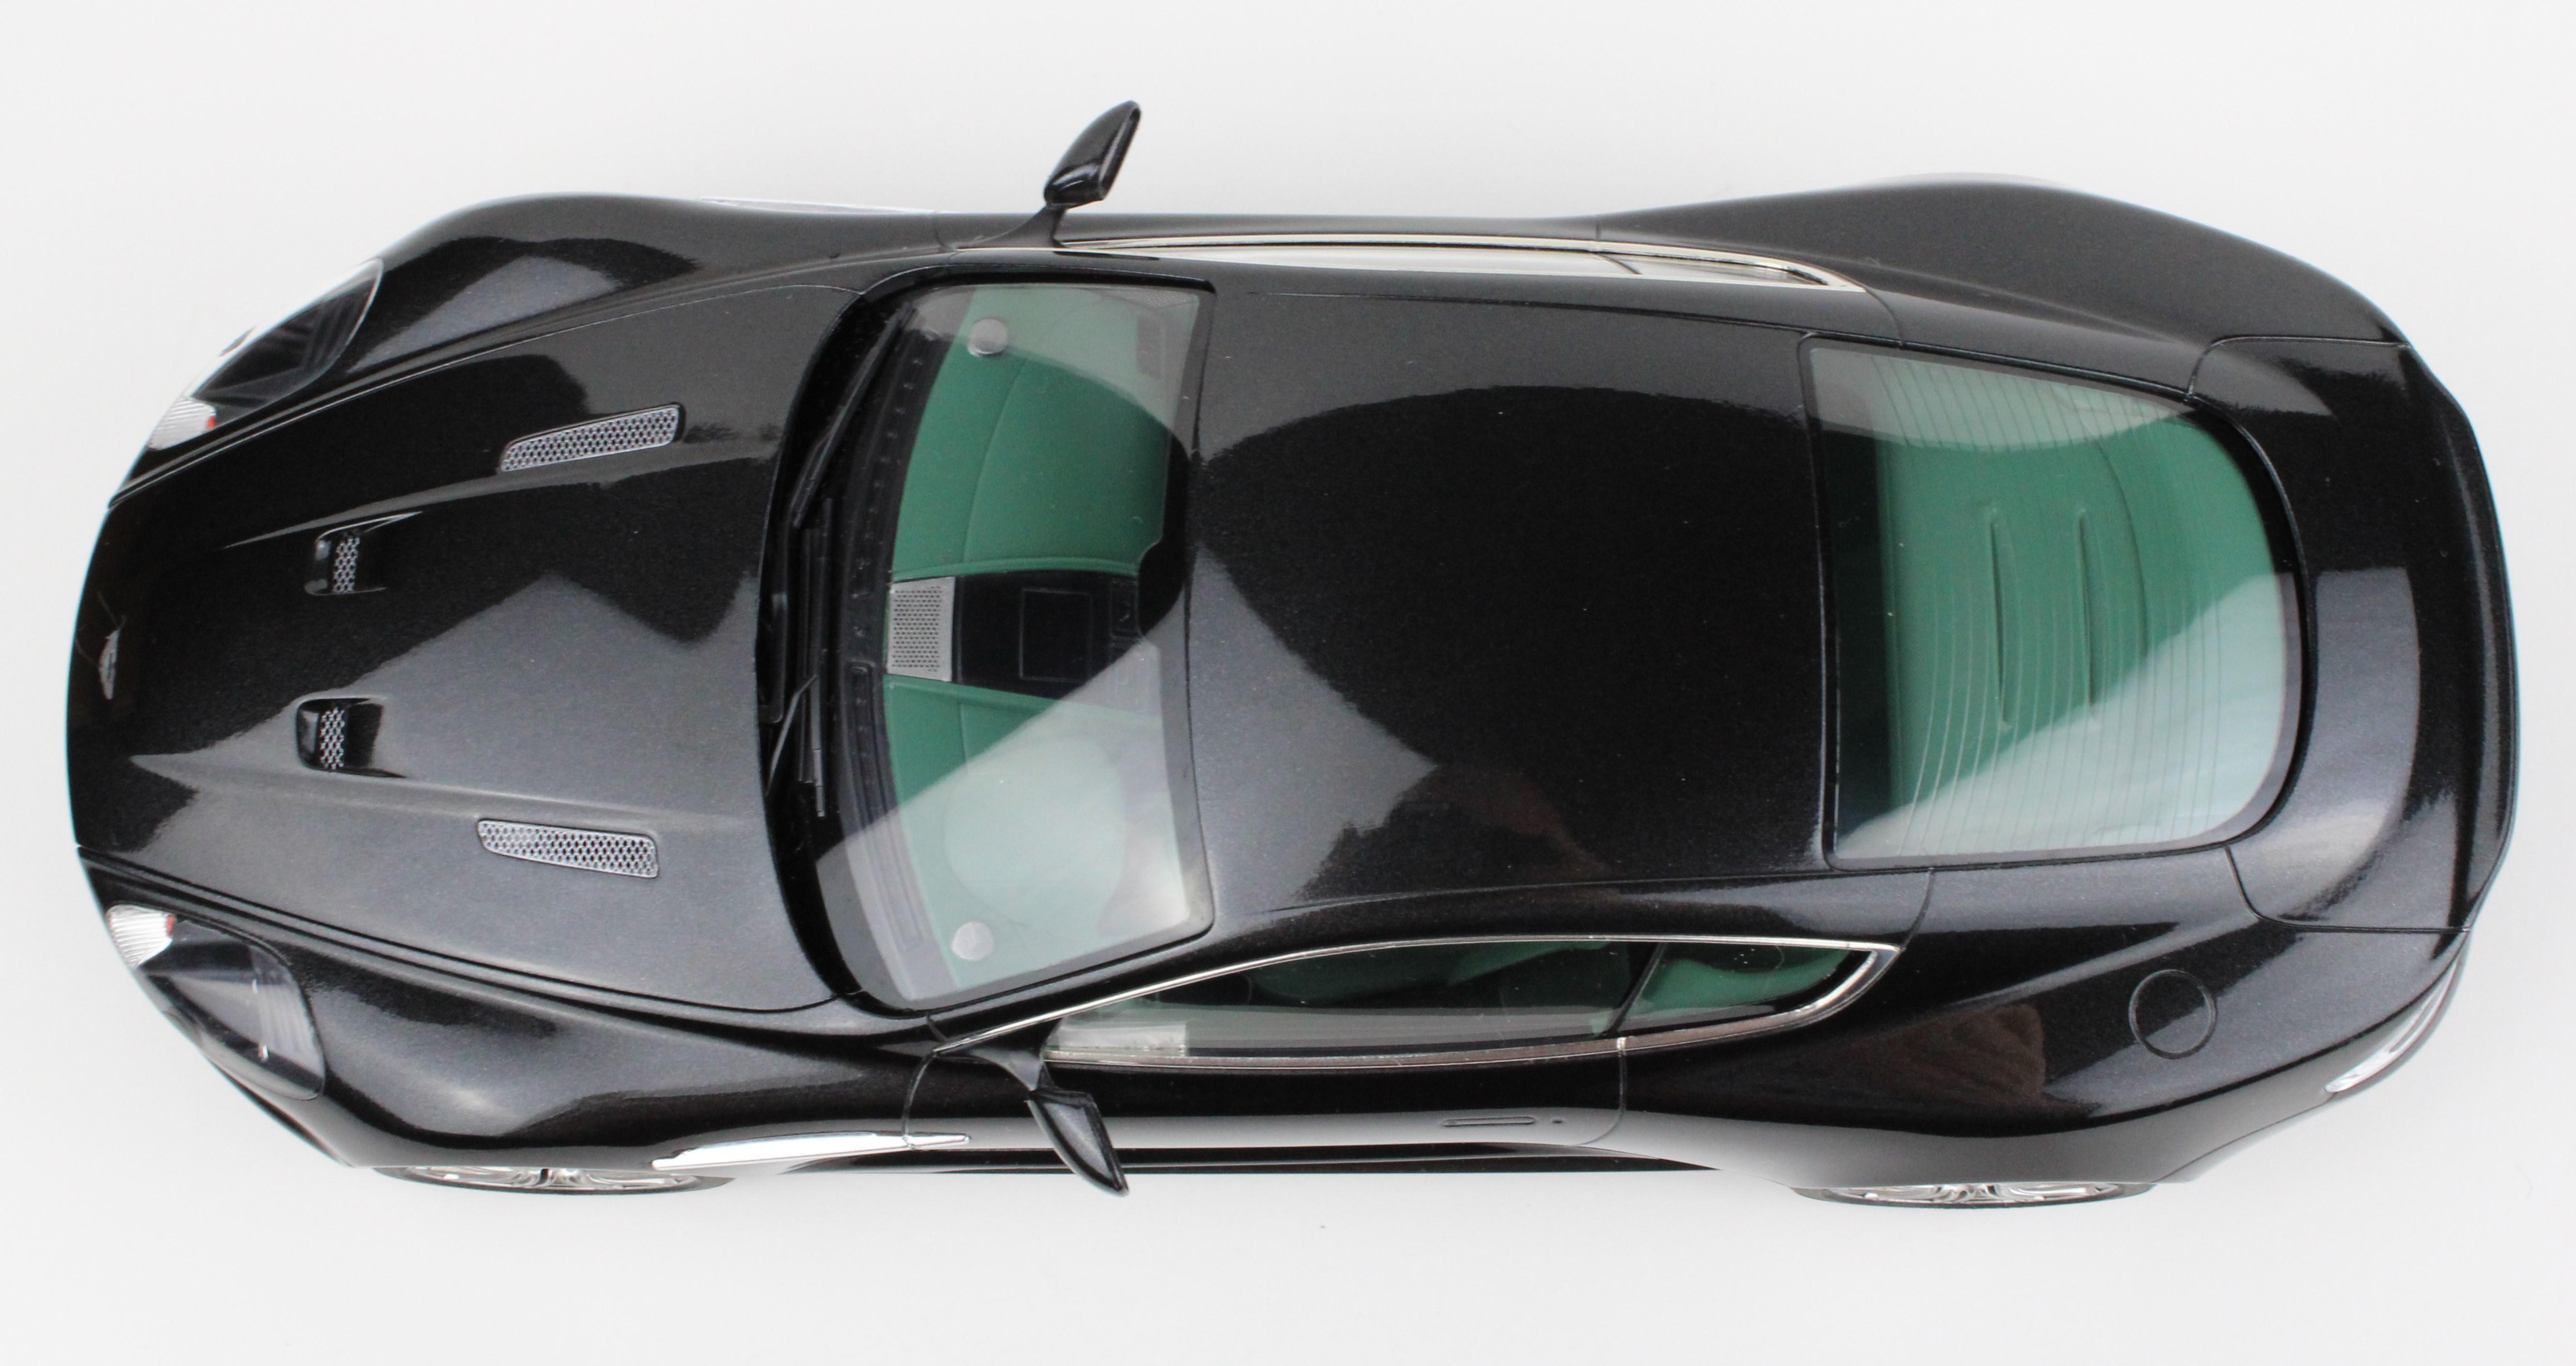
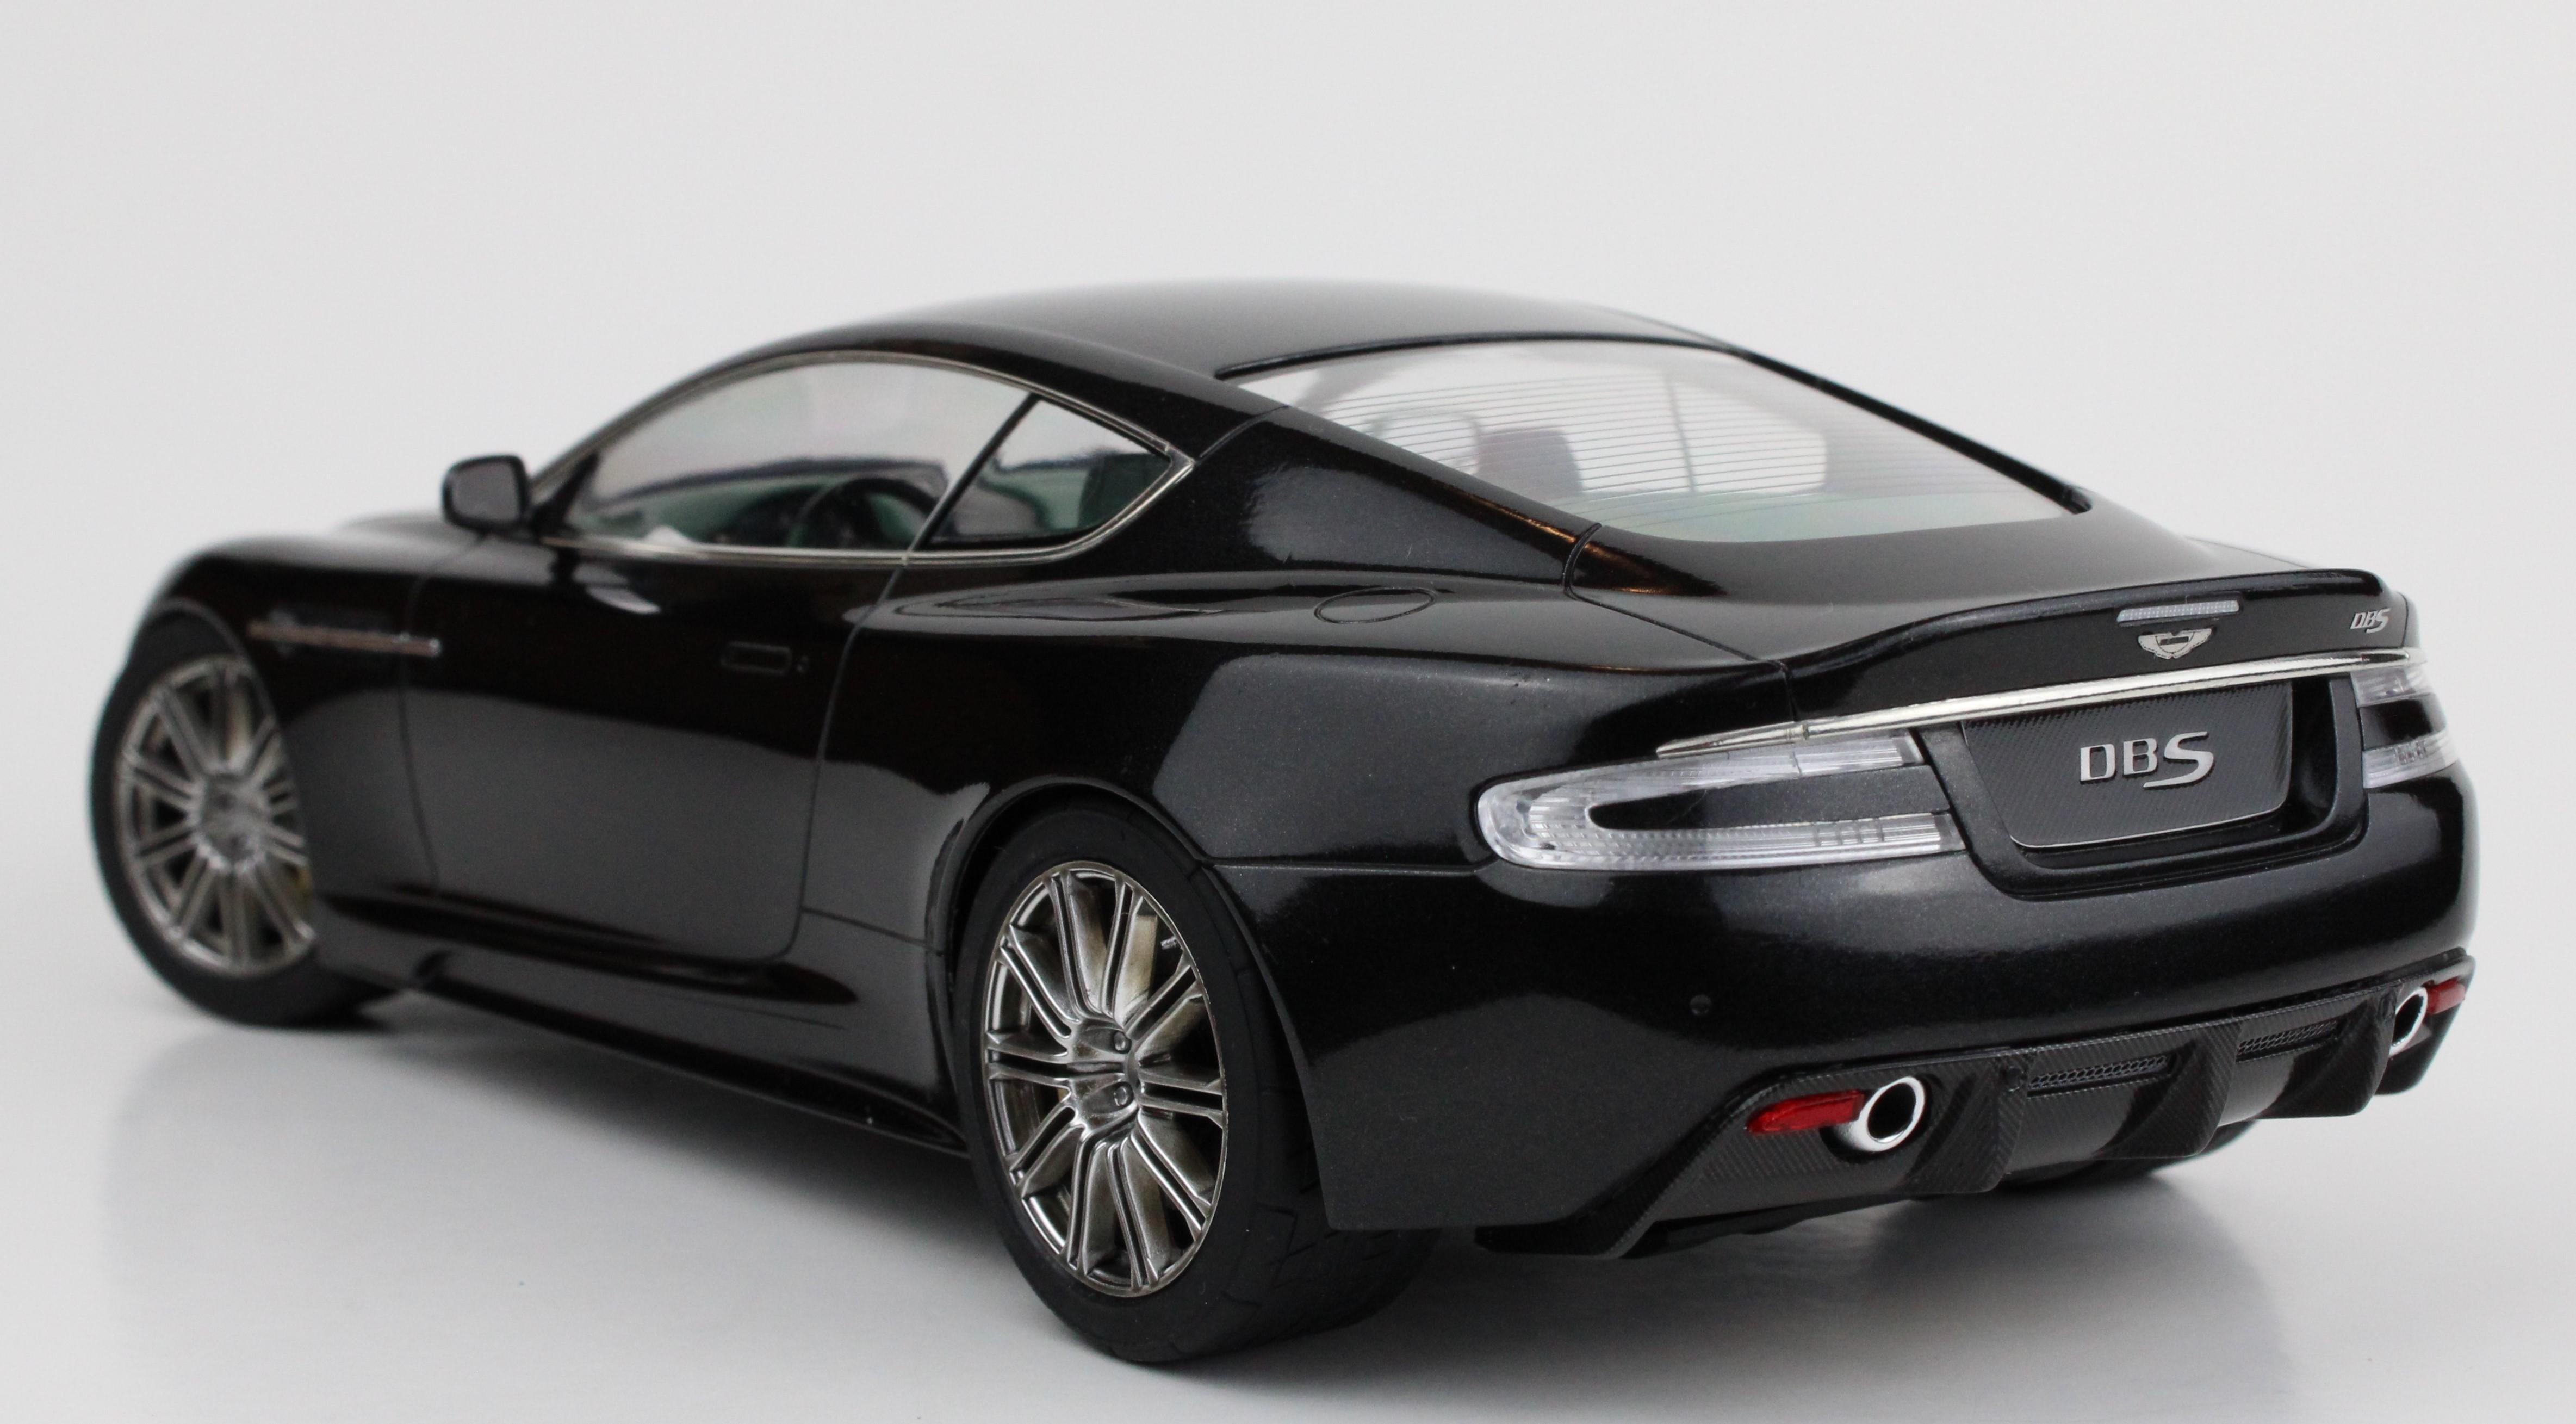
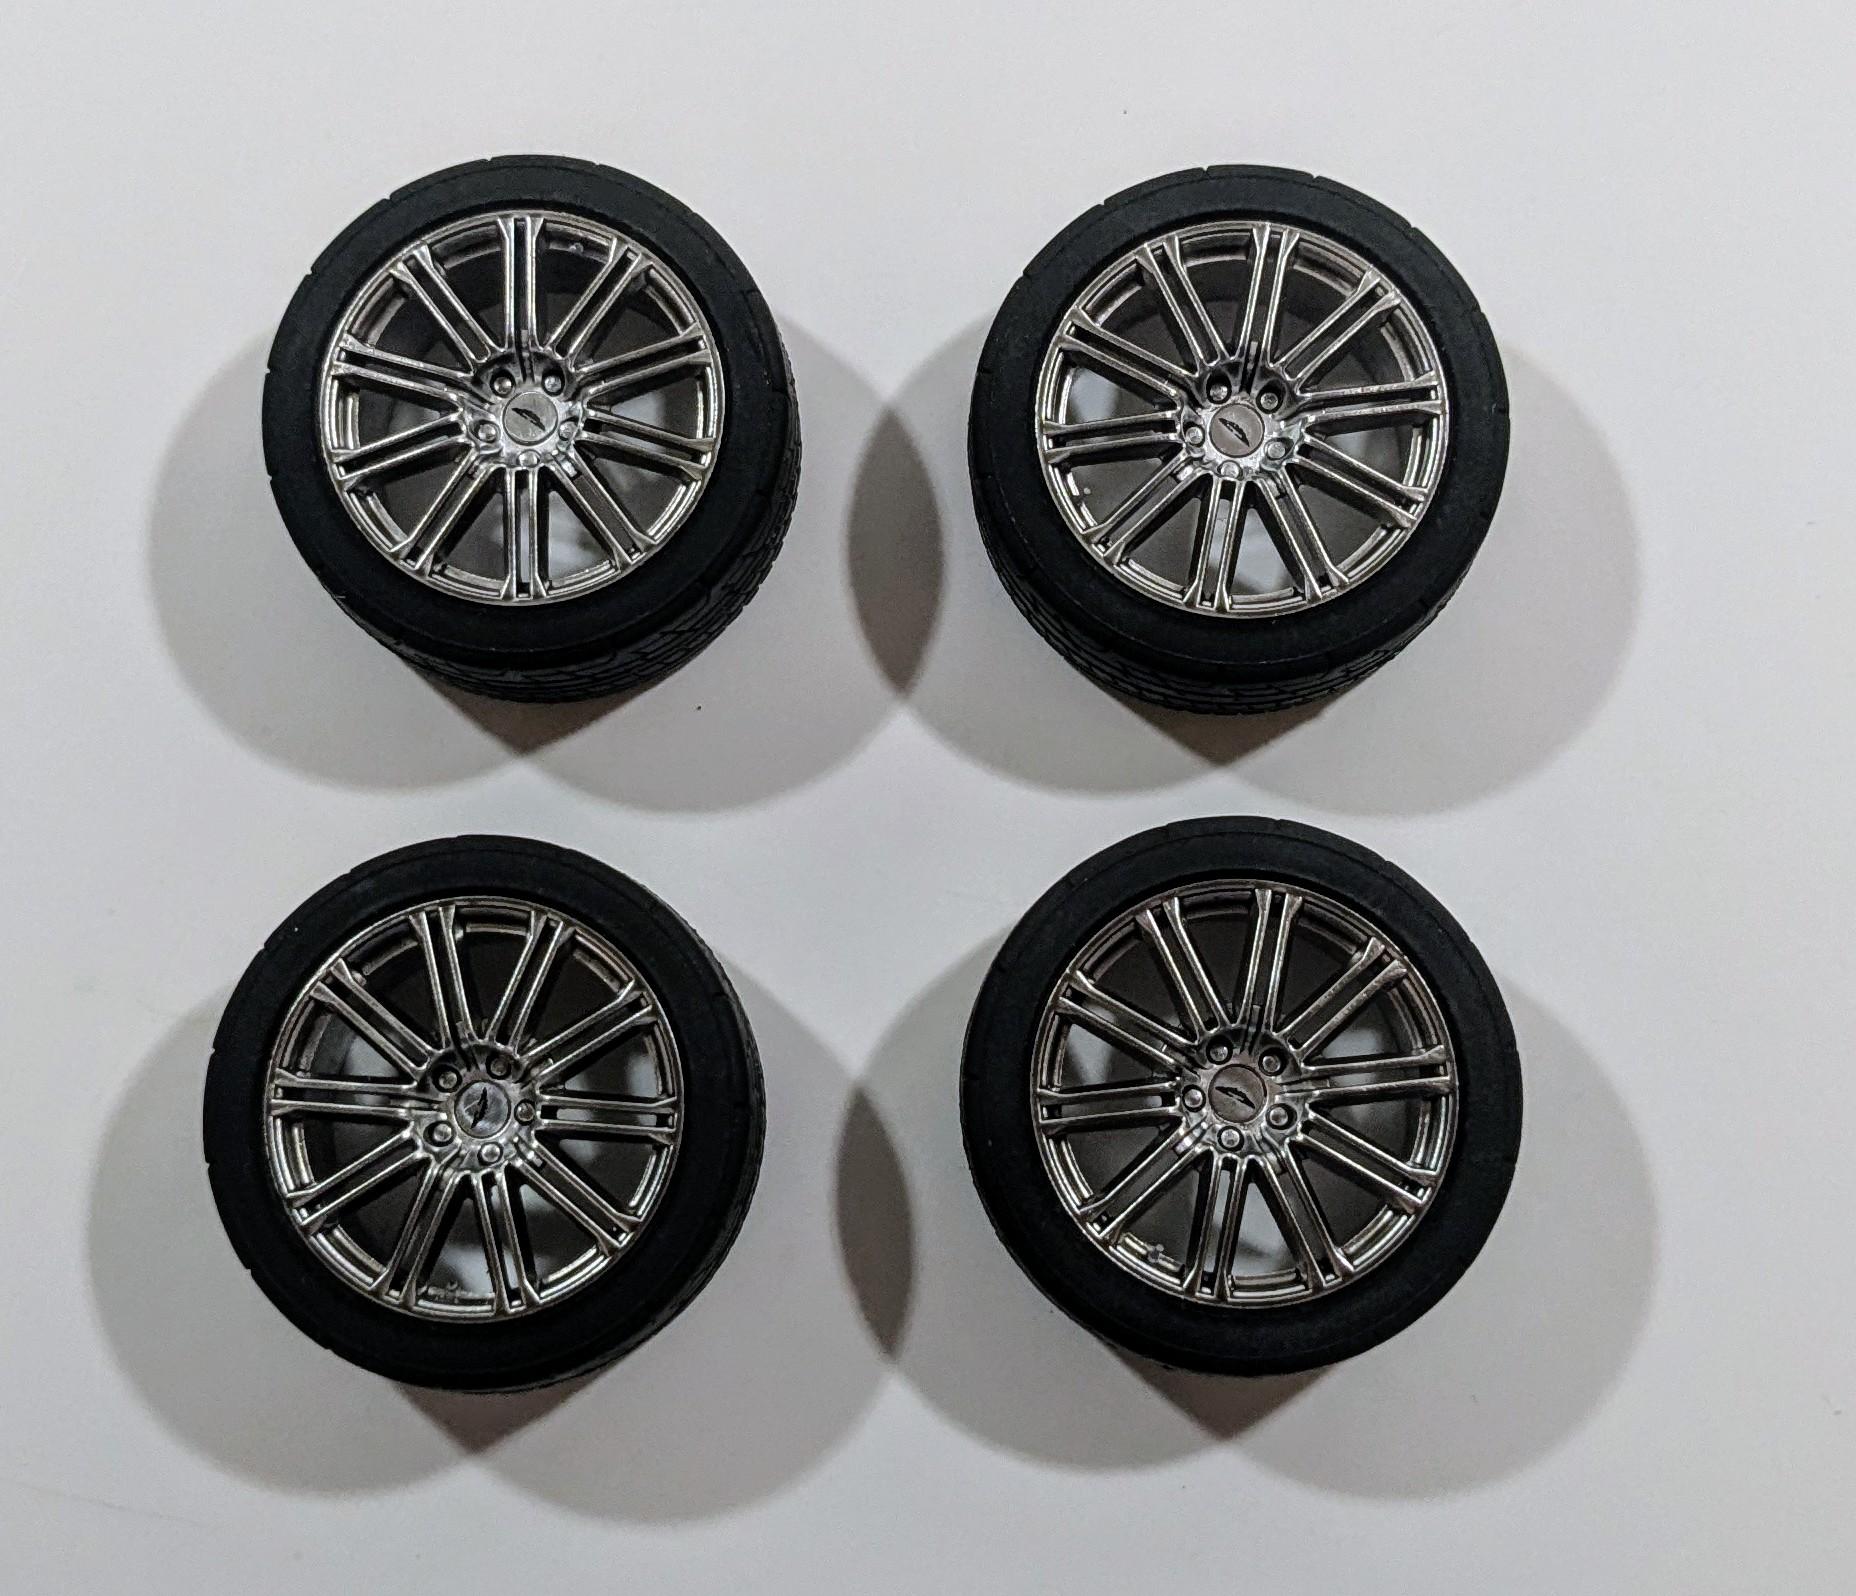
I started this kit a few years ago by painting the body in TS-40 Metallic Black. After clearing and polishing I put it back in the box while awaiting detail parts and carbon fiber decals from Scale Motorsports. I got busy on something else and promptly forgot about it... until now. The interior has been painted in a custom mix of Tamiya flats to represent Aston Martin's "Wimbledon Green" color. It's an unusual combination with the black. I wound up not using much of the Hobby Design detail set... brake disc faces, PE badges and interior bits and wheel centers. The PE mesh grilles were all kit parts. THe fit was the usual Tamiya perfection with a few exceptions... the window glass unit isn't as good as the current offerings and the rear diffuser didn't have good locating points to anchor it. Other than that it really came together beautifully. I sprayed the wheels with Tamiya Smoke and a semi-gloss topcoat. Valve stems are tiny USCP pieces. Overall I couldn't recommend this kit more, even though the market price these days is pretty eye-watering. It's a Tamiya classic! PIIIIIICS!
- 24 replies
-
- 11
-
-
-
Is that Primrose Yellow? One of the best E-Type colors!
-
Gunze Sangyo 1/24 Austin Healey Bugeye Sprite
jaymcminn replied to Justin Porter's topic in WIP: Model Cars
Looking forward to this. It's one of those "I'll pick it up someday" kits for me. Does it have the weird rubbery interior bits that Gunze likes so much? -
Tamiya Aston Martin DBS... One from the Top Shelf!
jaymcminn replied to jaymcminn's topic in WIP: Model Cars
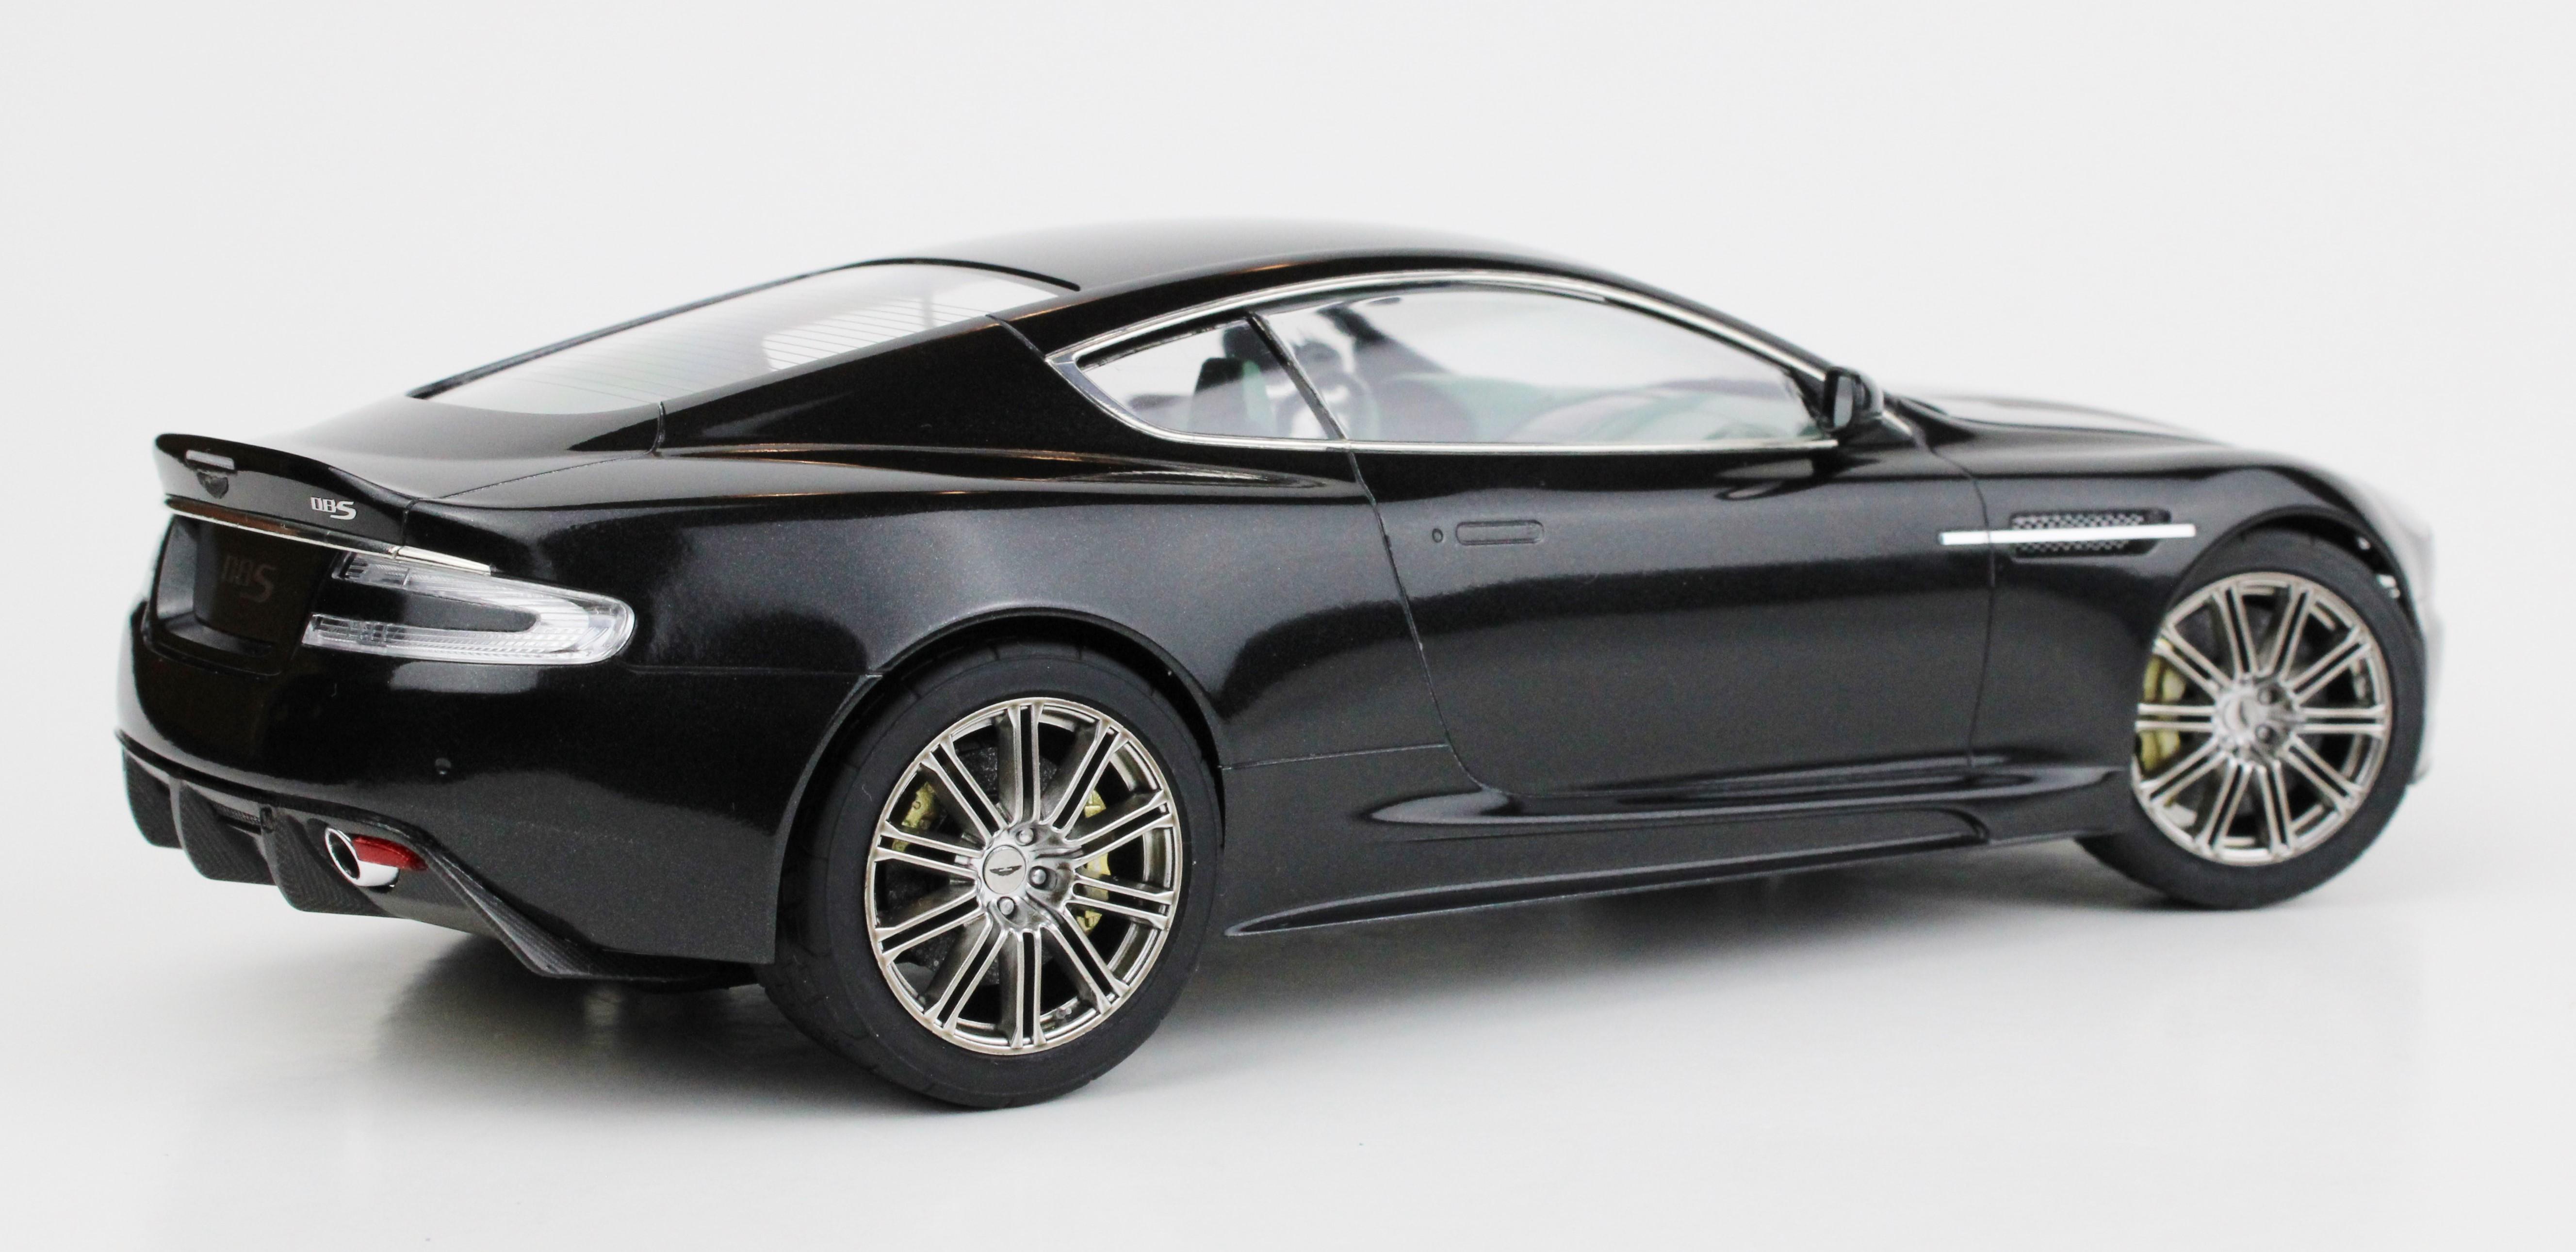
Some finished shots... no surprises during final assembly whatsoever. Overall an incredibly enjoyable kit to build! Many more pics in "Under Glass" tomorrow... it's bedtime!
-
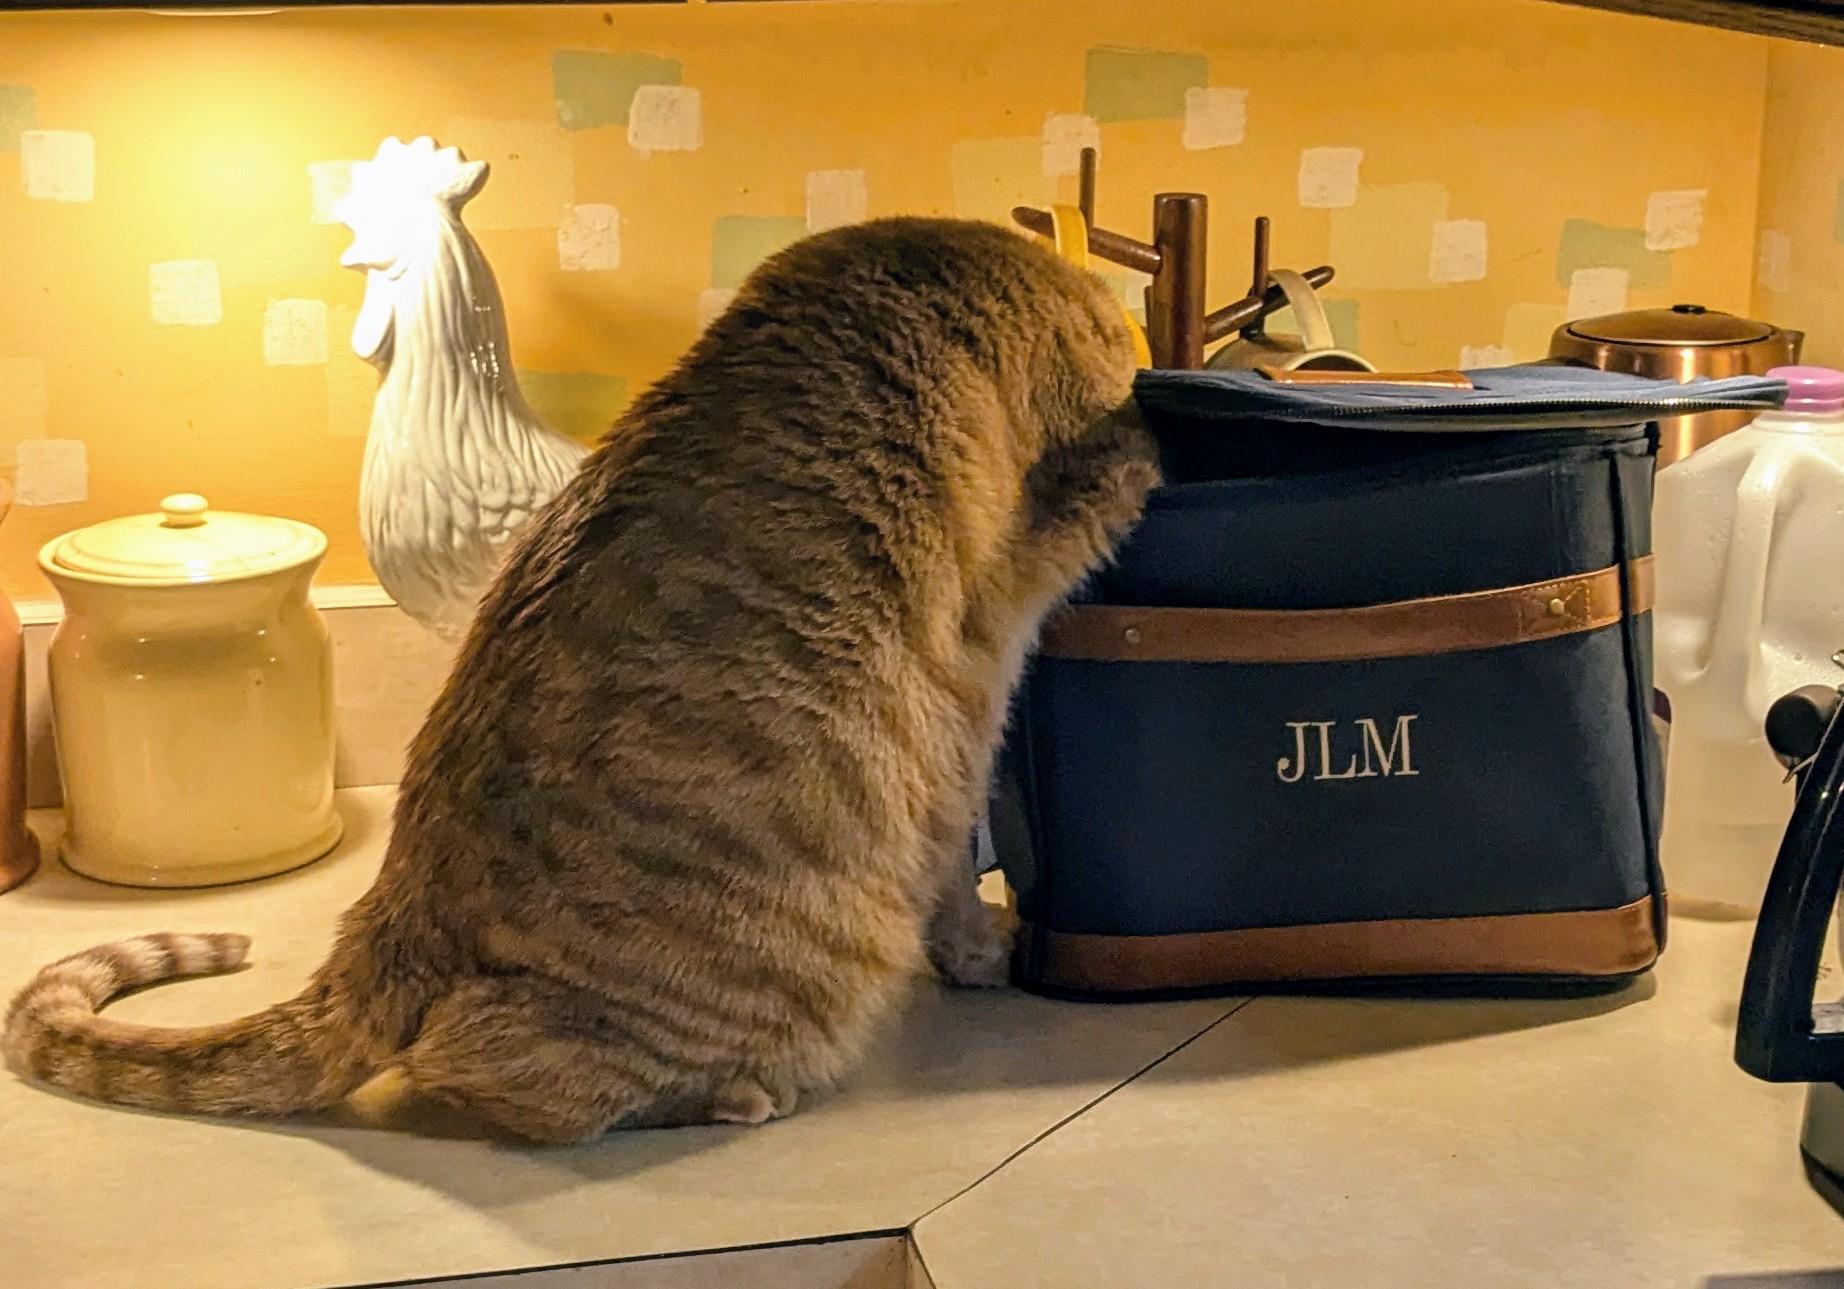
Just making sure I didn't forget anything when I packed my lunch...
-
Tamiya Aston Martin DBS... One from the Top Shelf!
jaymcminn replied to jaymcminn's topic in WIP: Model Cars
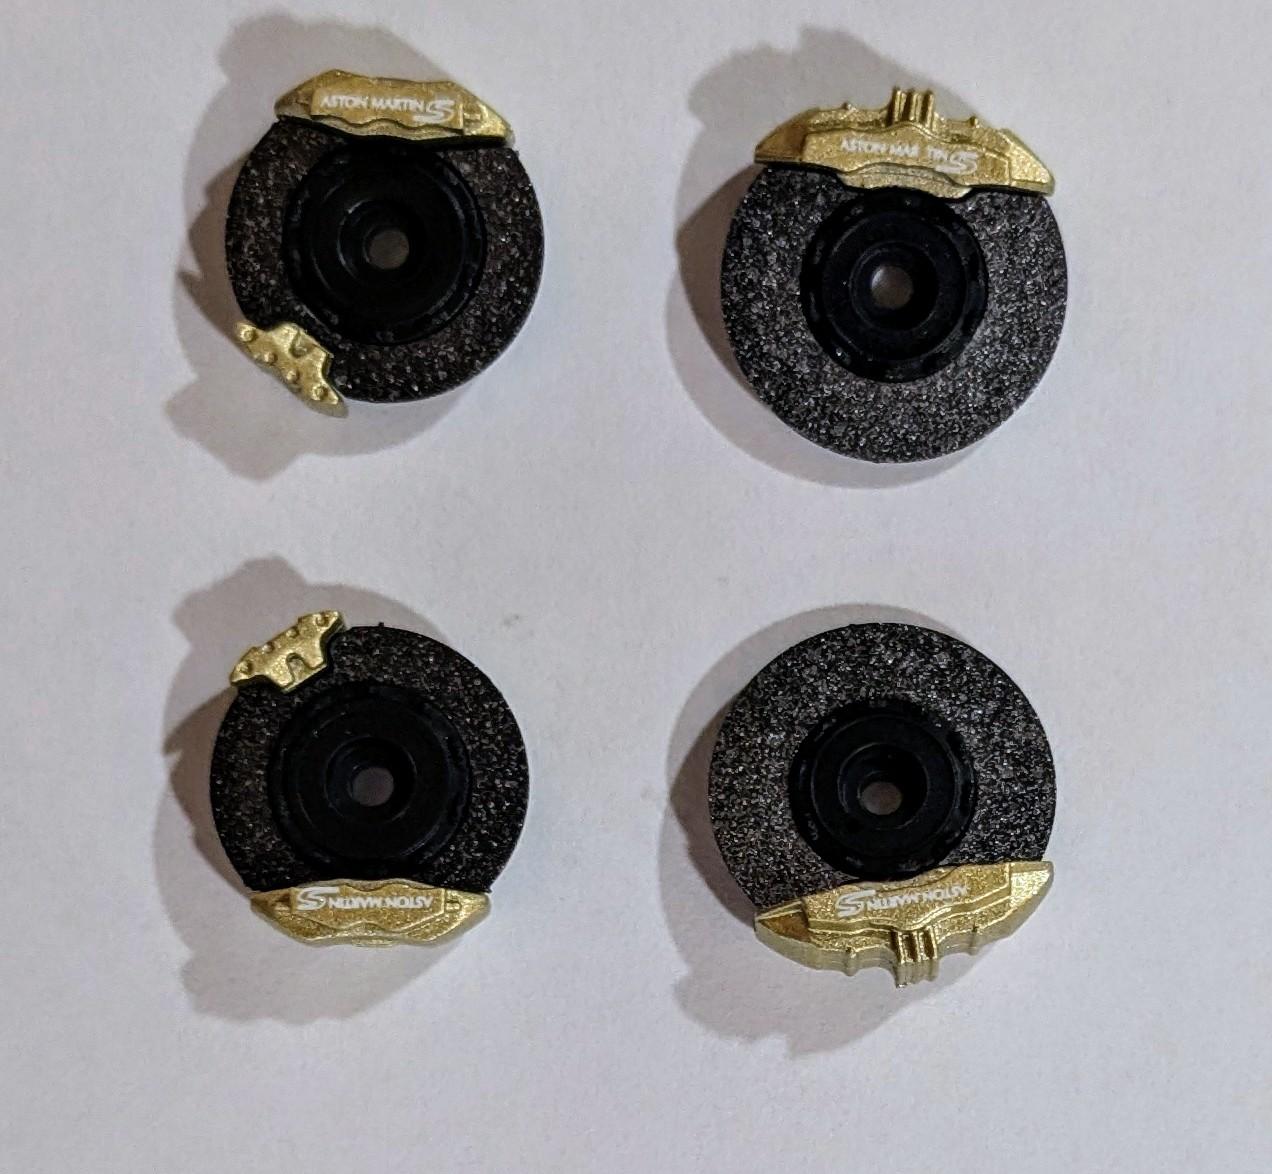
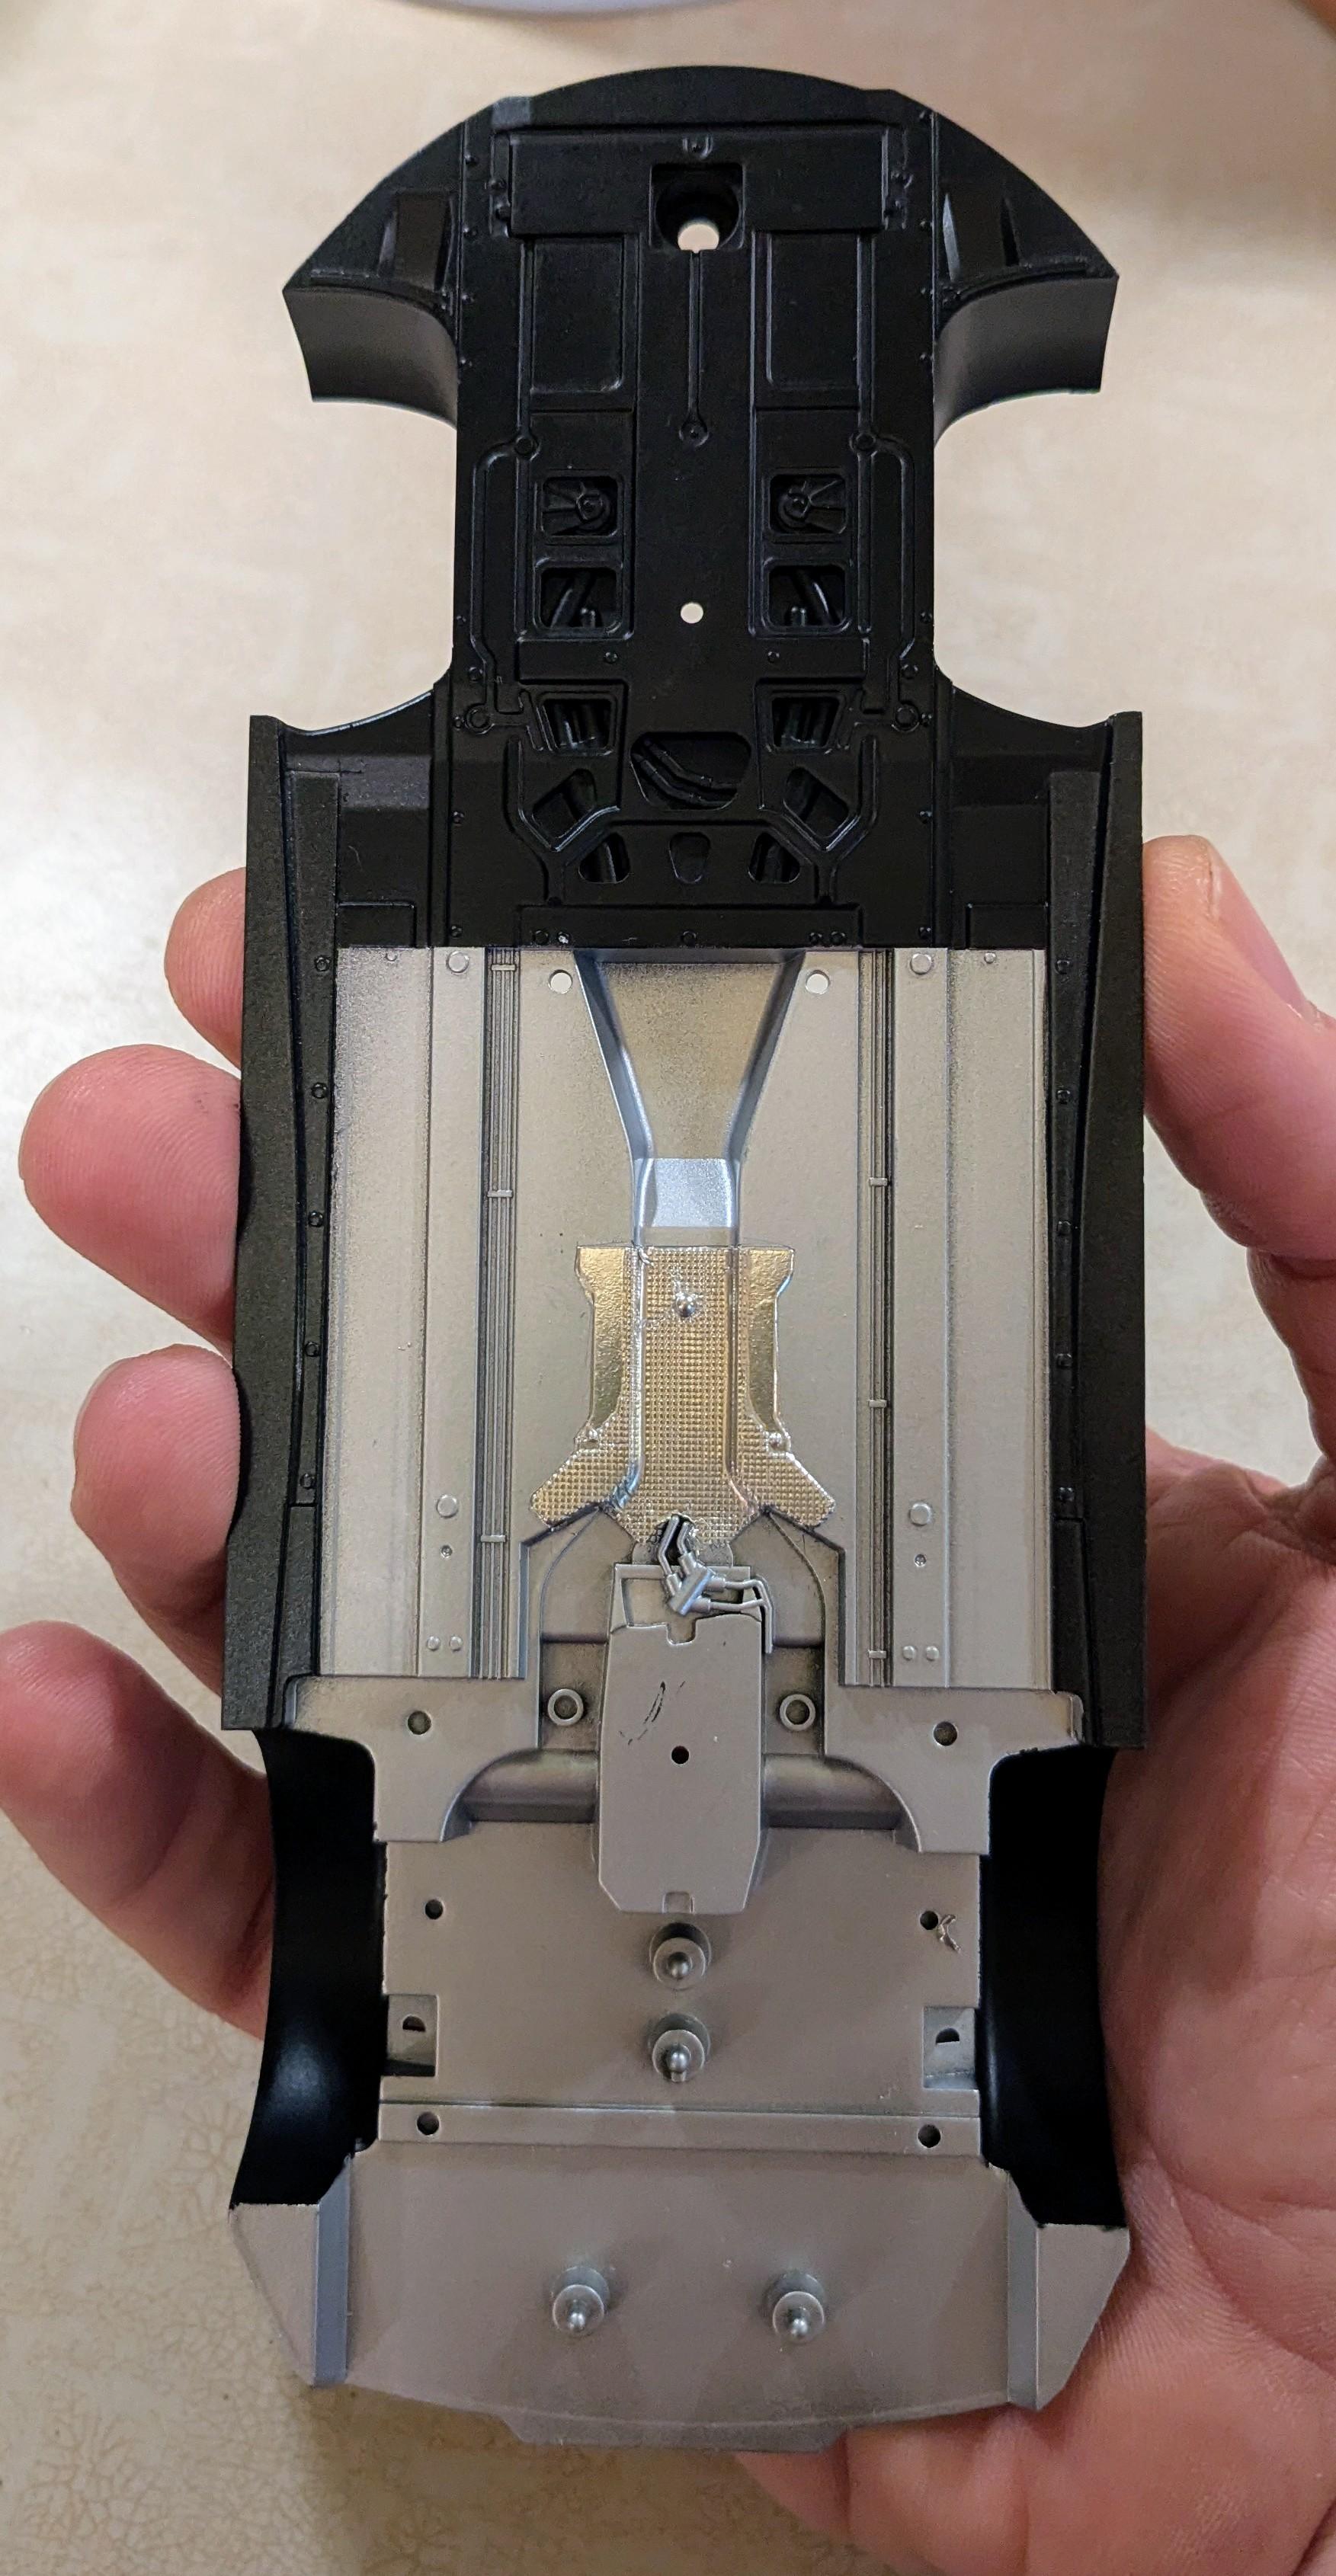
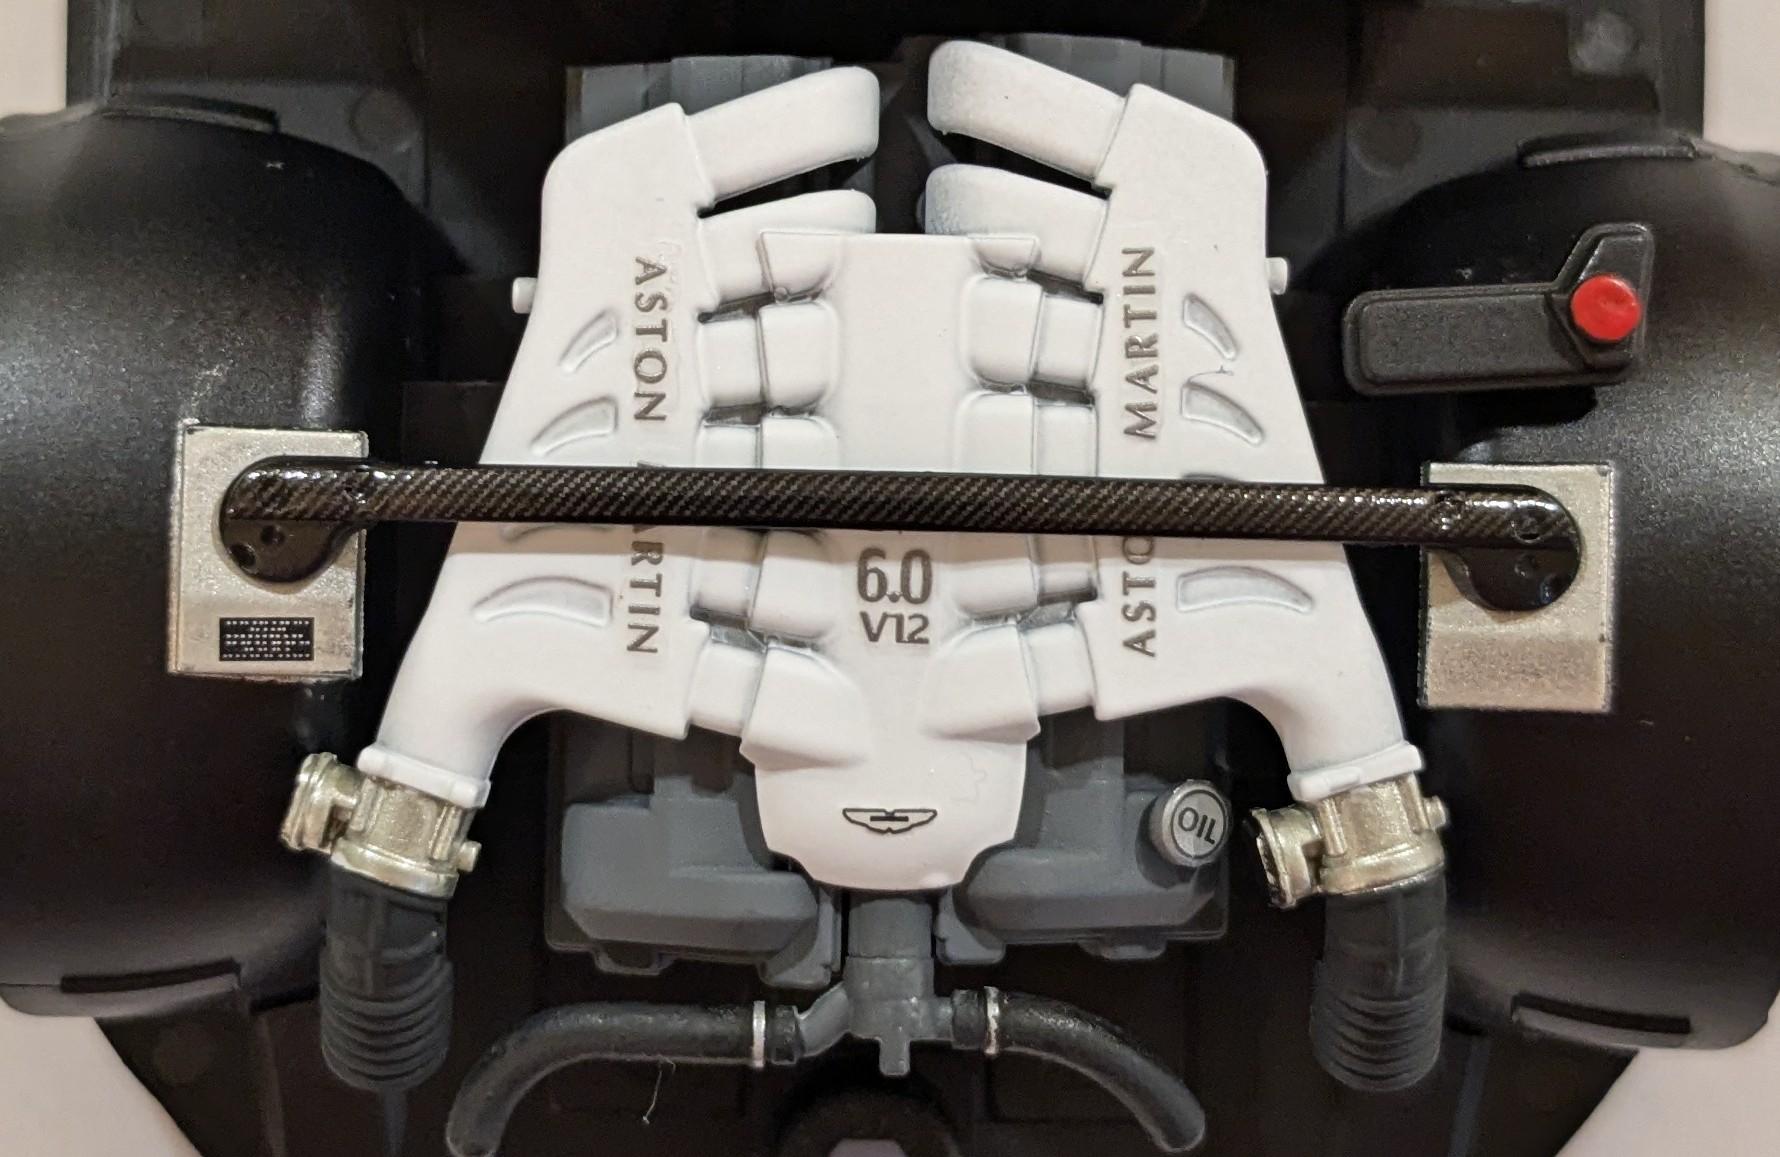
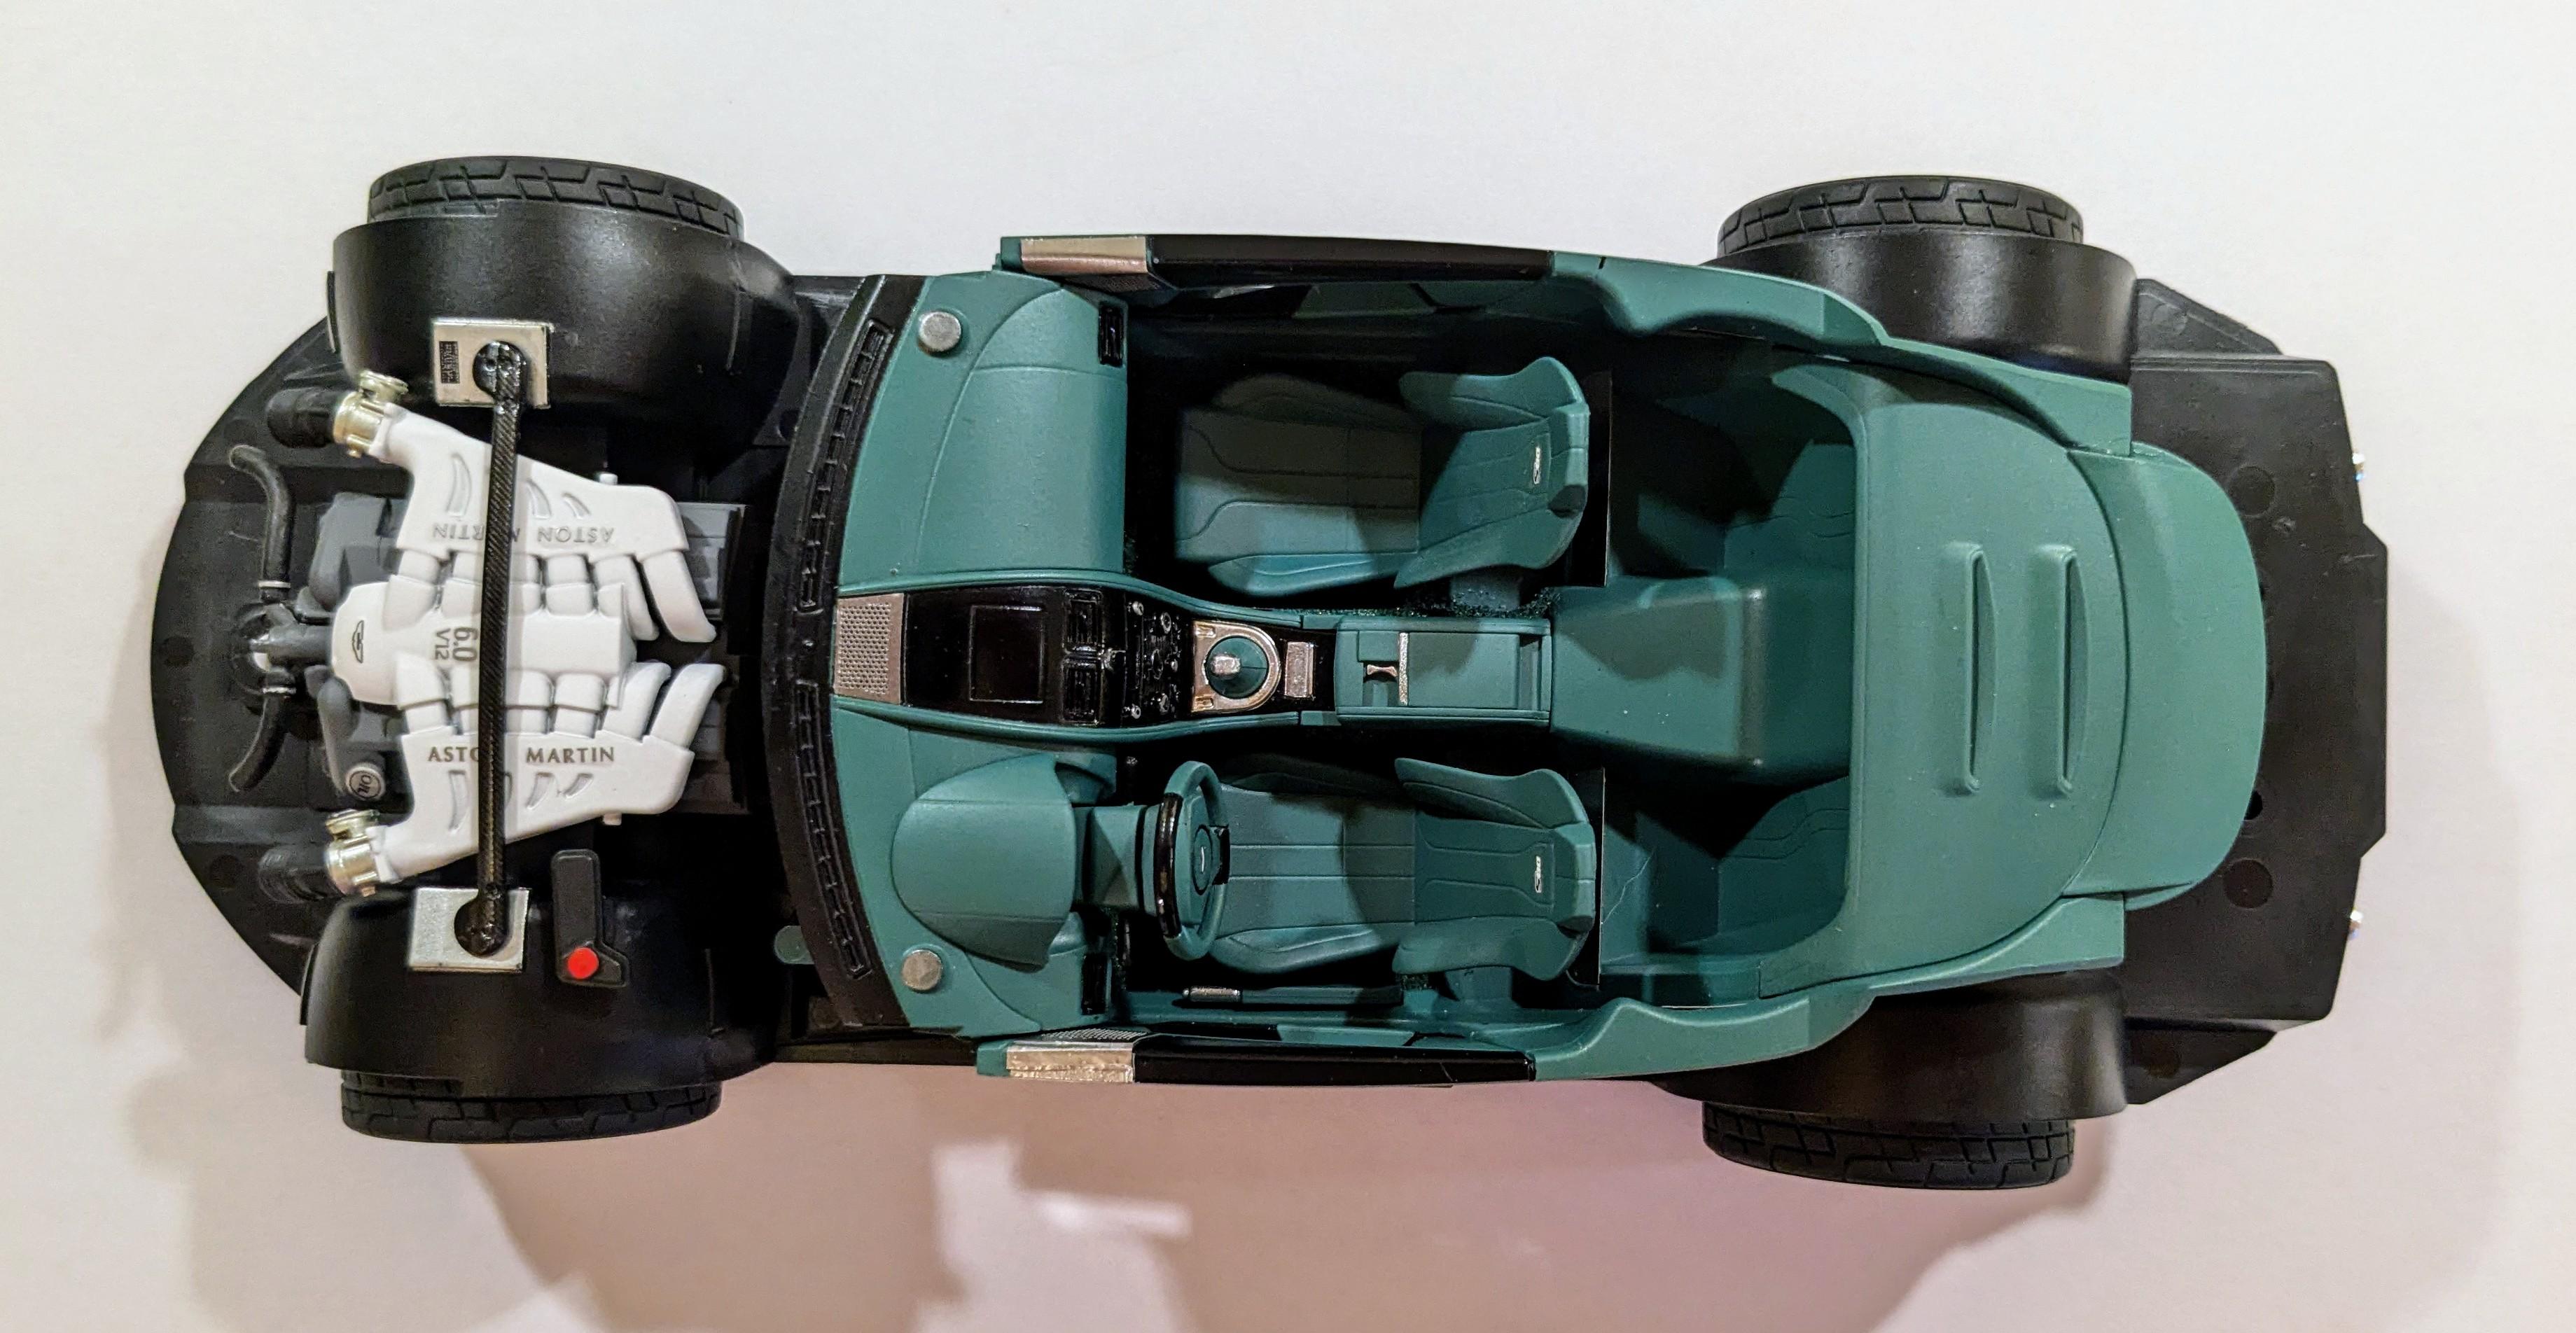
On to the greasy bits. Tamiya didn't go the full-engine route here, instead going with a plate-type chassis and engine top insert. This works well given how little of the actual engine can be seen on the 1:1. Chassis plate after painting and then after weathering with Vallejo washes... And with the suspension and exhaust built up. Everything went together beautifully. Exhaust was painted in Vallejo chrome and top coated with a mix of Tamiya orange clear and smoke. I used the PE brake disc faces from the HD detail set. To replicate the carbon composite material I painted them in semi-gloss black with a mist coat of light gunmetal. Gold calipers were not a factory option but they look right! The engine compartment installed on the chassis plate. Yes, the intake plenum is white on the 1:1! Per Matt Bacon's suggestion, I applied the chrome transfers to clear decal film to allow for repositioning. Once they were in place I gave the whole intake plenum a shot of flat clear. The strut tower brace got a carbon fiber decal to match the corner braces. Interior mounted to chassis plate... And this is where we stand right now. The next update will probably be to close out the WIP with some under glass pics and final thoughts!
-
Tamiya Aston Martin DBS... One from the Top Shelf!
jaymcminn replied to jaymcminn's topic in WIP: Model Cars
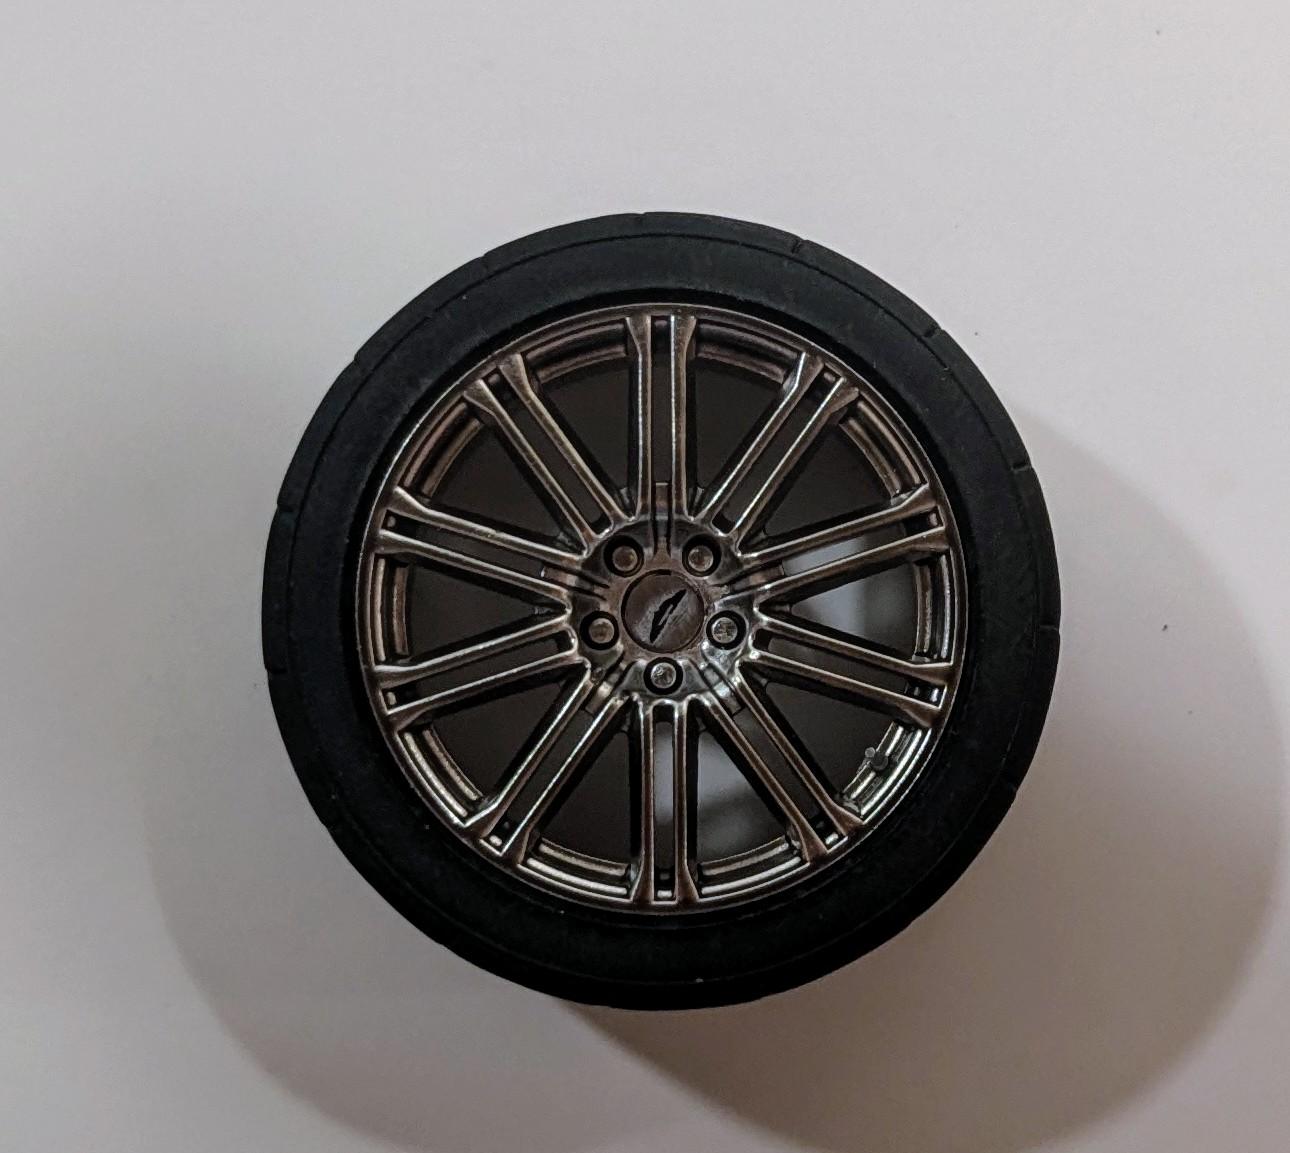
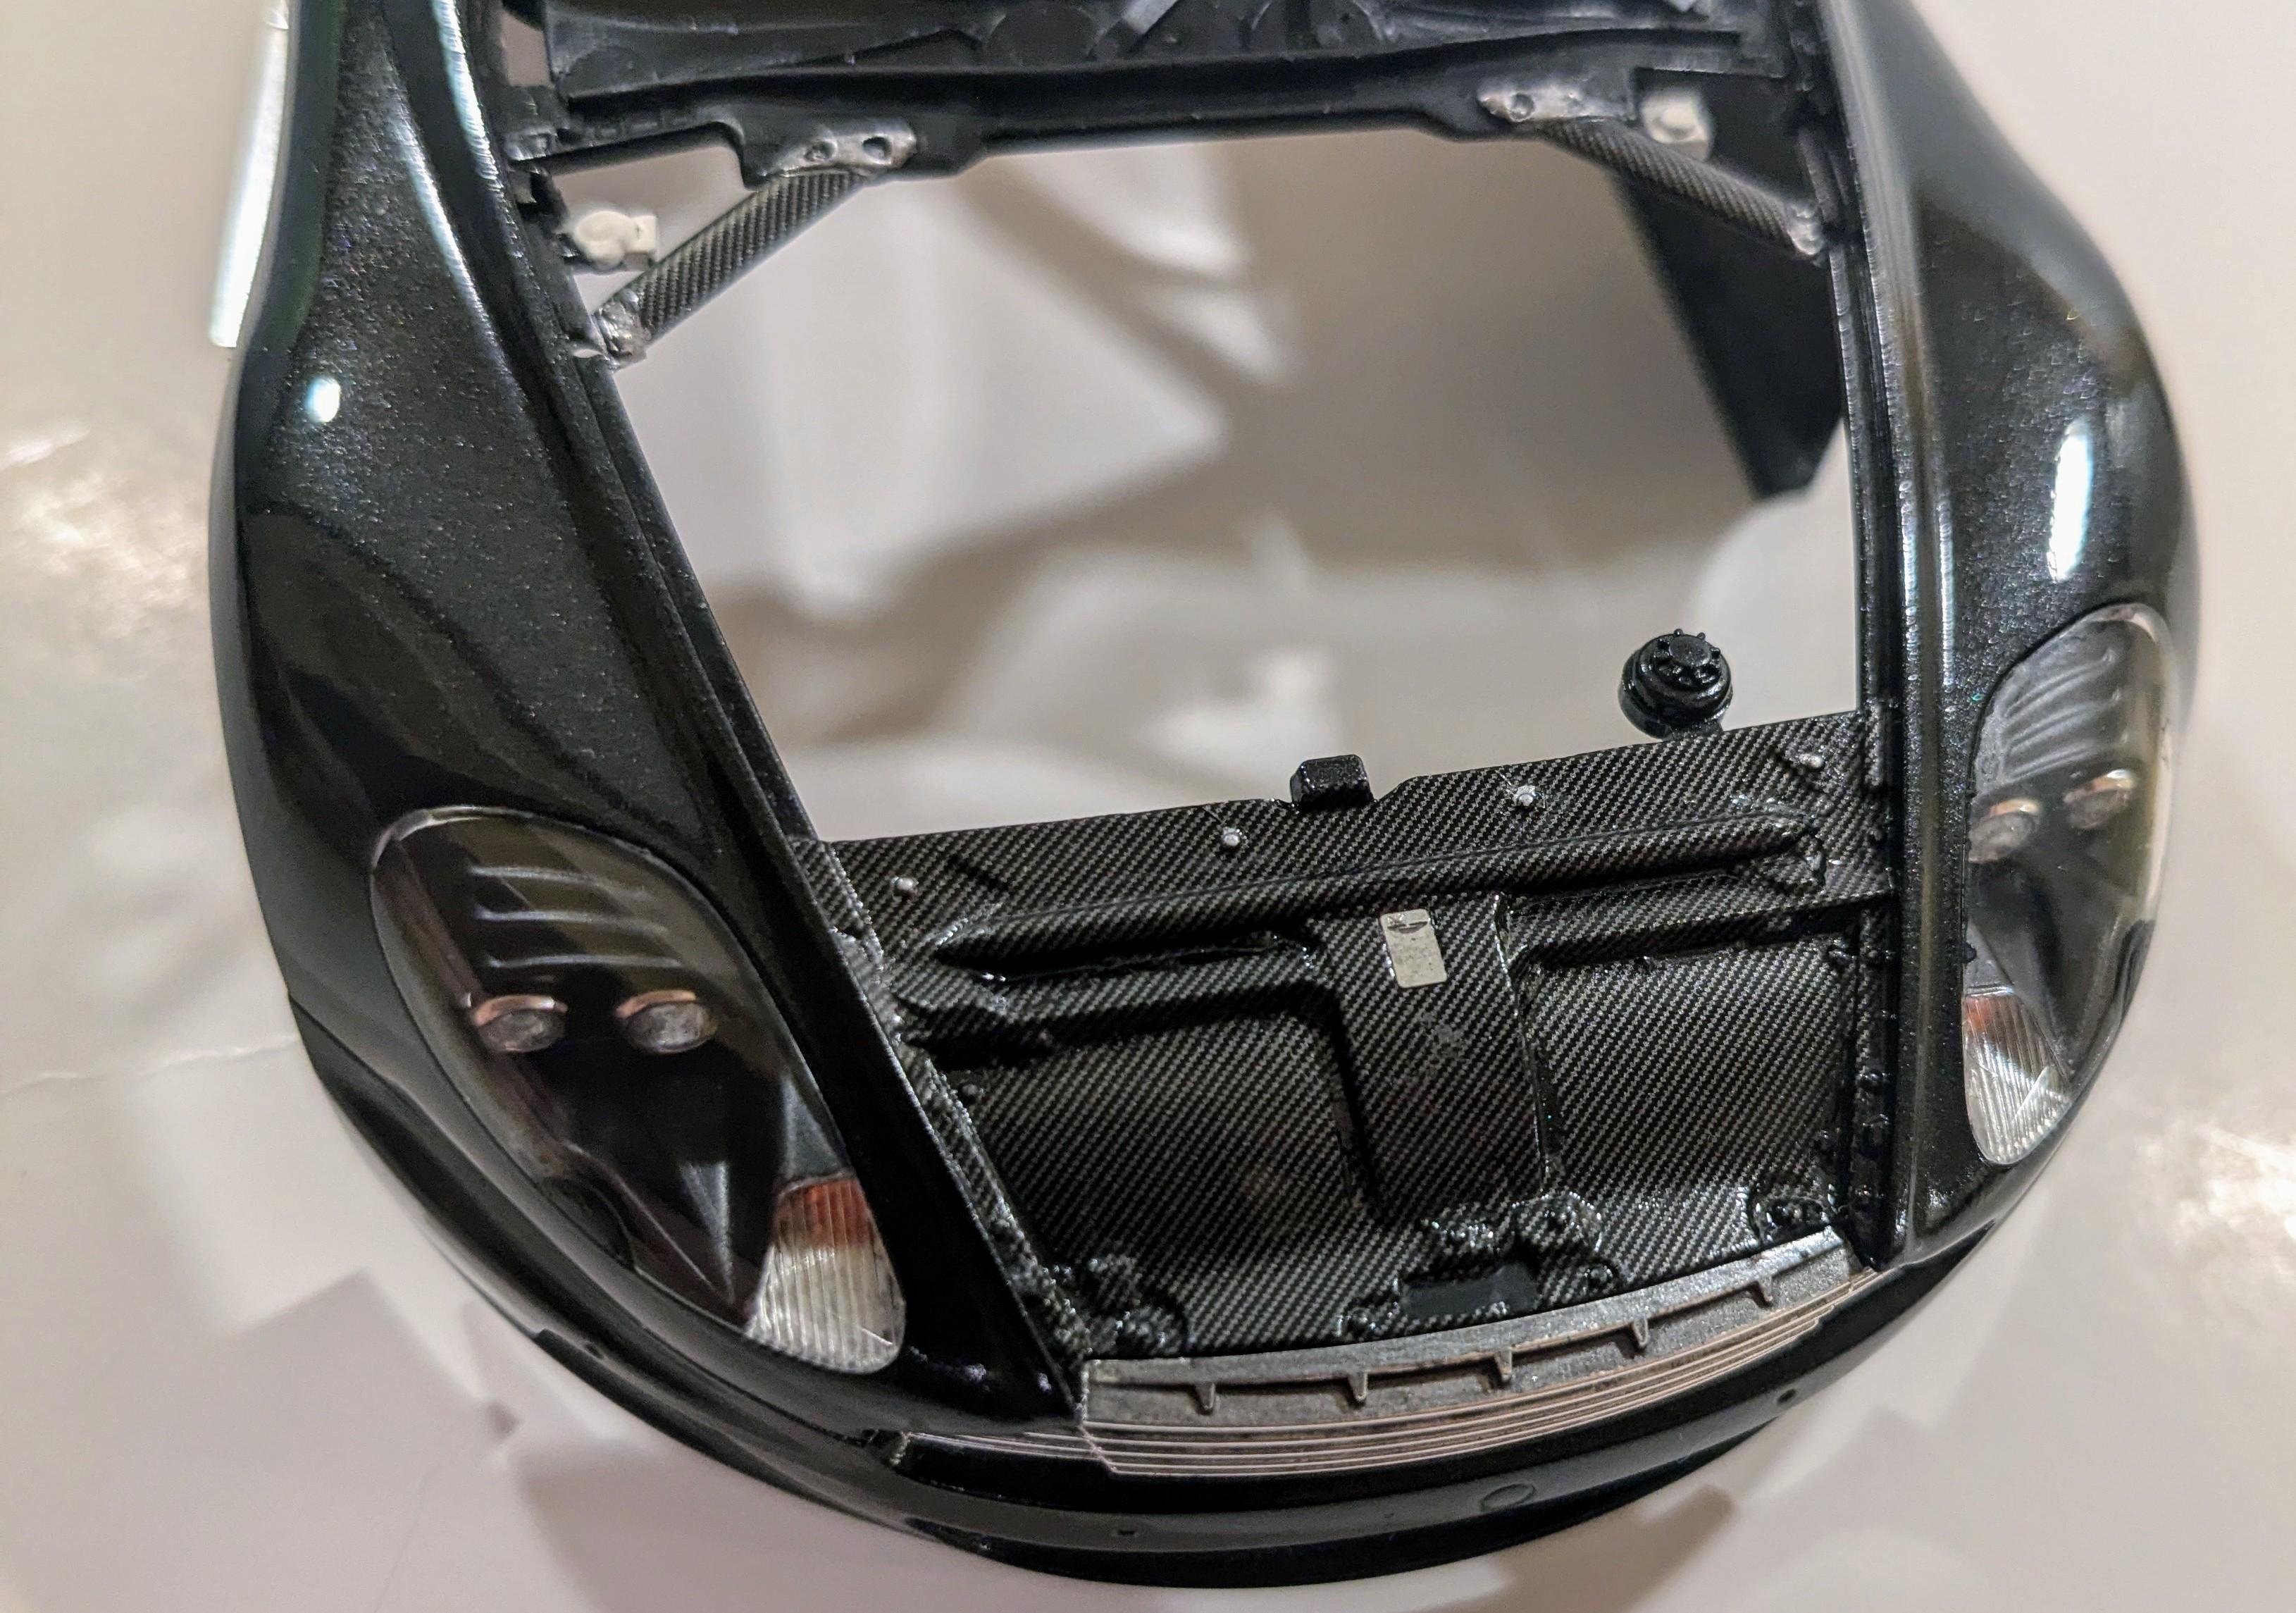
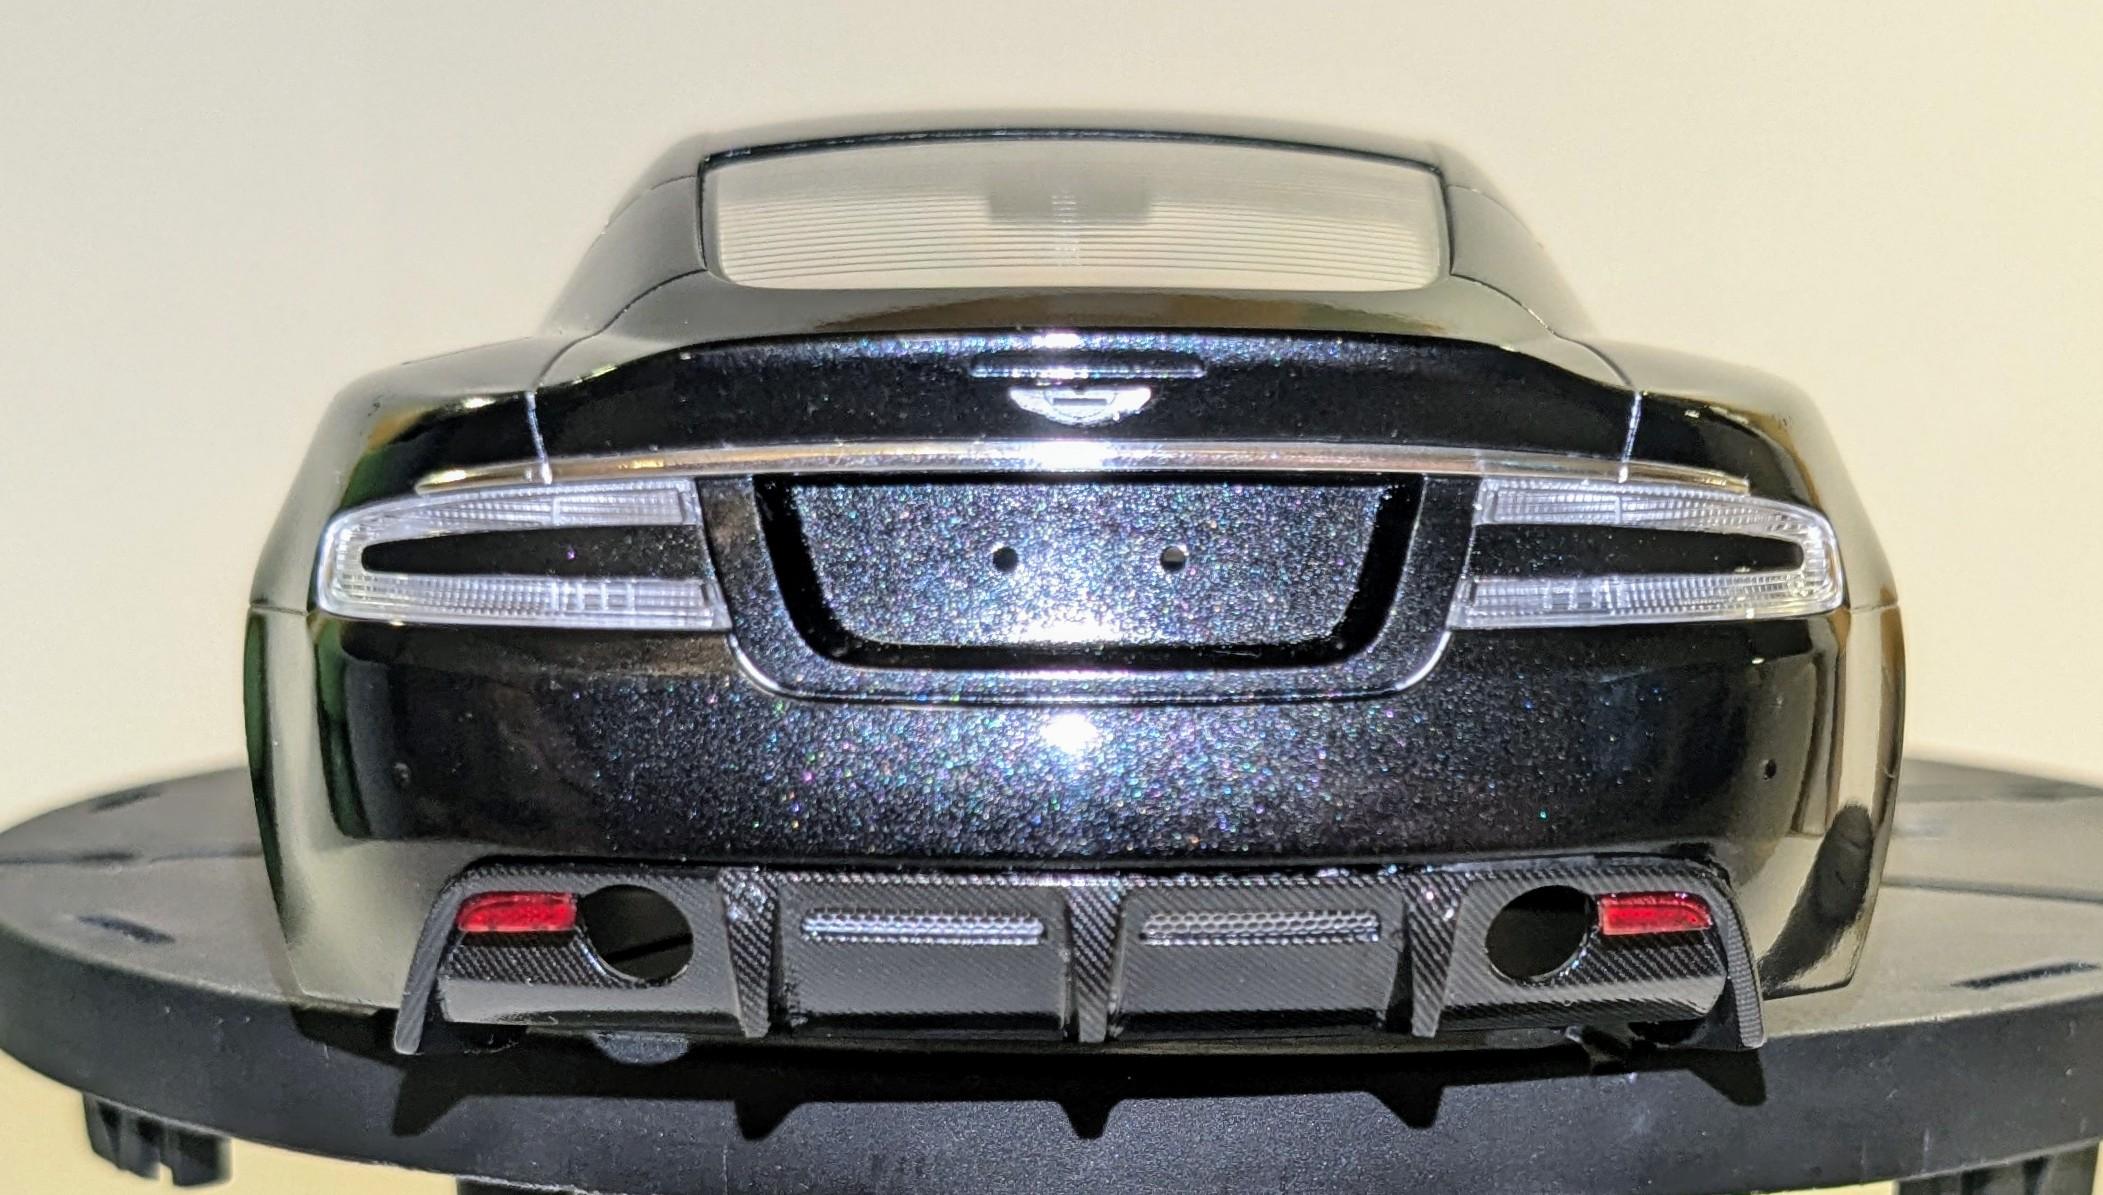
Life has gotten a bit busy in between post-Milton cleanup (minor landscaping stuff, fortunately Naples didn't get a direct hit), work stuff and a road trip to St. Augustine for a Vampire Weekend concert. I did get a fair amount of work done on the body. The glass has been installed, as well as Scale Motorsport carbon fiber decals under the bonnet and on the rear diffuser. The decals are amazing and respond really well to Micro Set and Sol and a blow dryer. I made rough templates for the diffuser decals from Tamiya tape. I haven't done CF since I built my LaFerrari several years ago and it's easy to forget how fiddly it is, but I rather enjoyed it. Of course the CF effect on the diffuser is almost invisible since it's almost exactly the same color as the body! The kit PE grilles fit nicely with a few challenges largely due to my decision to install the front end before painting. I painted the grilles in Tamiya Light Gunmetal for contrast against the metallic black. PE logos are from the Hobby Design detail set. I haven't installed the DBS badge on the boot lid yet as it's in a vulnerable place. It'll be installed as the last detail. Installing the rear diffuser was a bit of a surprise... the fit wasn't great. I had to take a bit off of the body sides where they meet the diffuser to keep it from popping out. Even then there aren't any robust locating points. Surprising from Tamiya. I airbrushed the wheels with Tamiya Smoke with a top coat of semi-gloss clear for a "shadow chrome" effect. Center caps are PE pieces from Hobby Design. The valve stems are teeny tiny USCP 3d printed pieces. The carpet monster ate about five of them. Good thing they give you a lot! On to the pics! A note about the wheels... The center caps are actually polished and the lug nuts have been painted with Molotow chrome. The camera has trouble depicting this for some reason. The bottom left wheel in the pic of all four is probably closest to how they look IRL. Next up is a big airbrushing session for underside and engine compartment parts. More updates soon!
-
New From Platz/Beemax -1/12th Mazda 787B
jaymcminn replied to martinfan5's topic in Car Kit News & Reviews
We should take bets as to whether this comes out before the Italeri 1/12 Stratos that's been "coming soon" for two years now! -
The Scale Motorsport ones are definitely the same as RMCoM. From their site: "Originally created by the genius of Norm Veber at Replicas & Miniatures of Maryland, this set of concentric rings provides unparalleled detail applications. In fact the guys at the Newburgh Model Car Club were so devastated when Norm announced his supplier could no longer manufacture, they immediately turned to Scale Motorsport to see if we could bring this sheet back to model builders"