Anglia105E
-
Posts
3,487 -
Joined
-
Last visited
Content Type
Profiles
Forums
Events
Gallery
Everything posted by Anglia105E
-
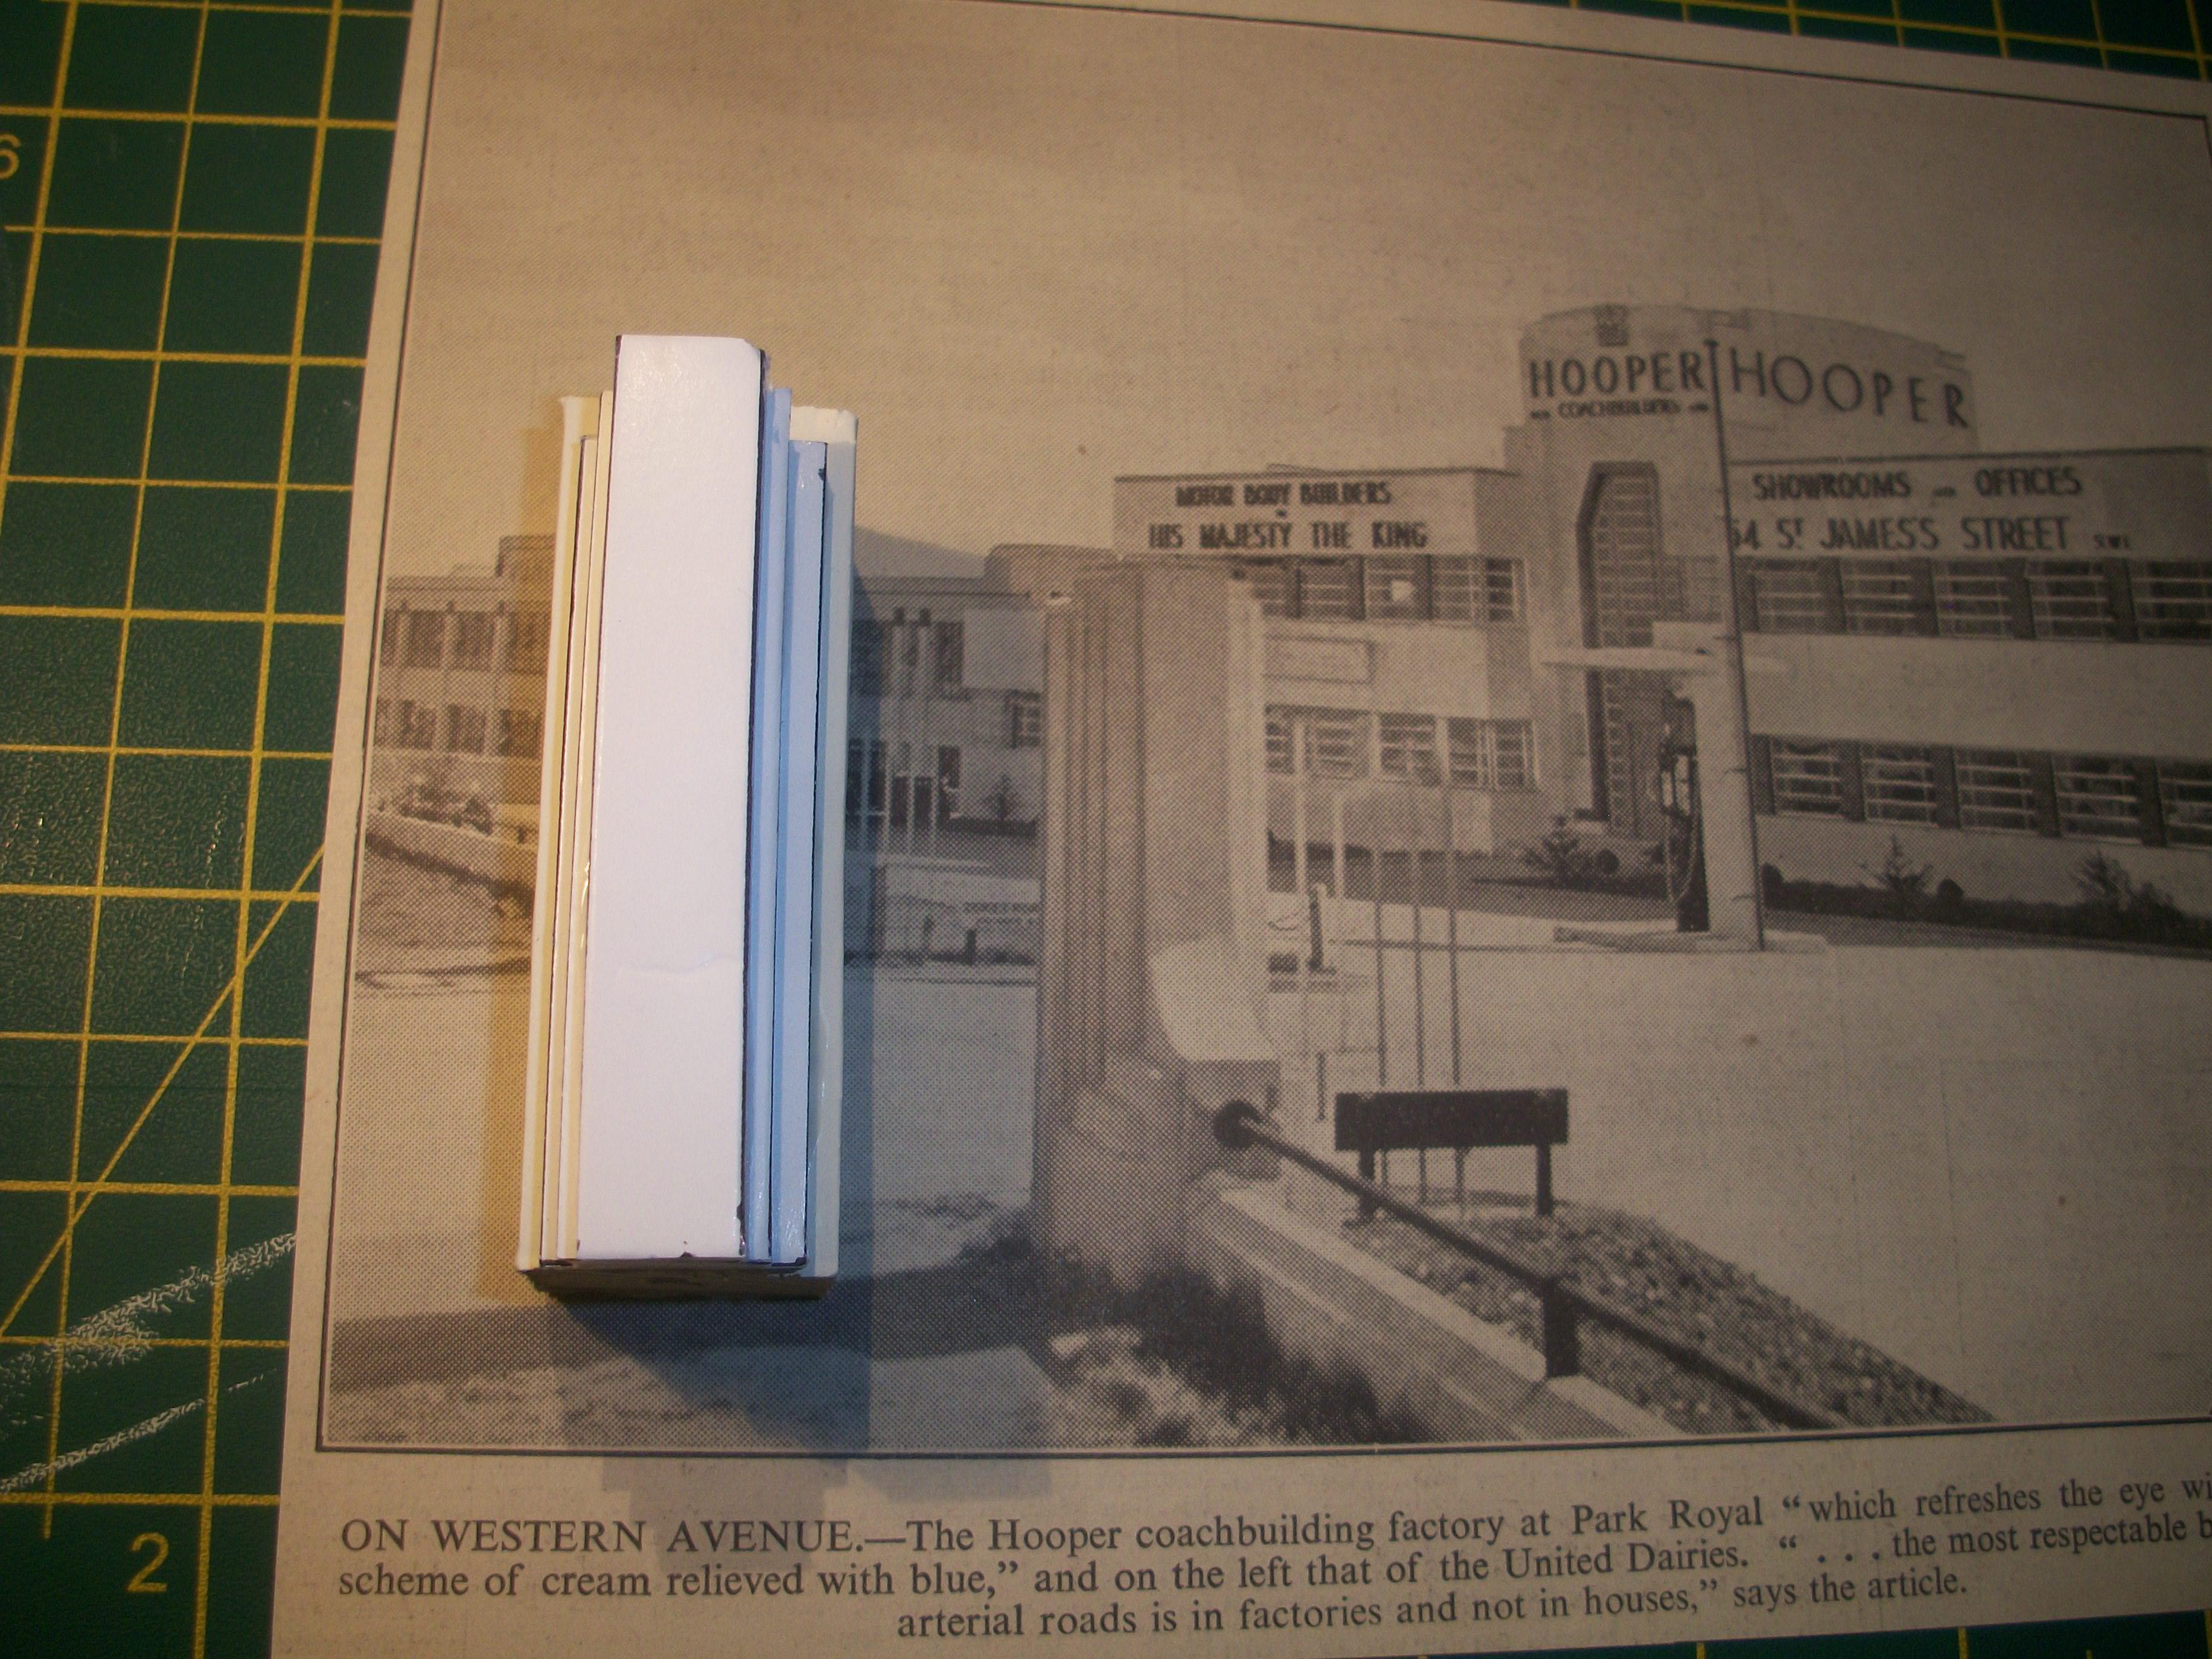
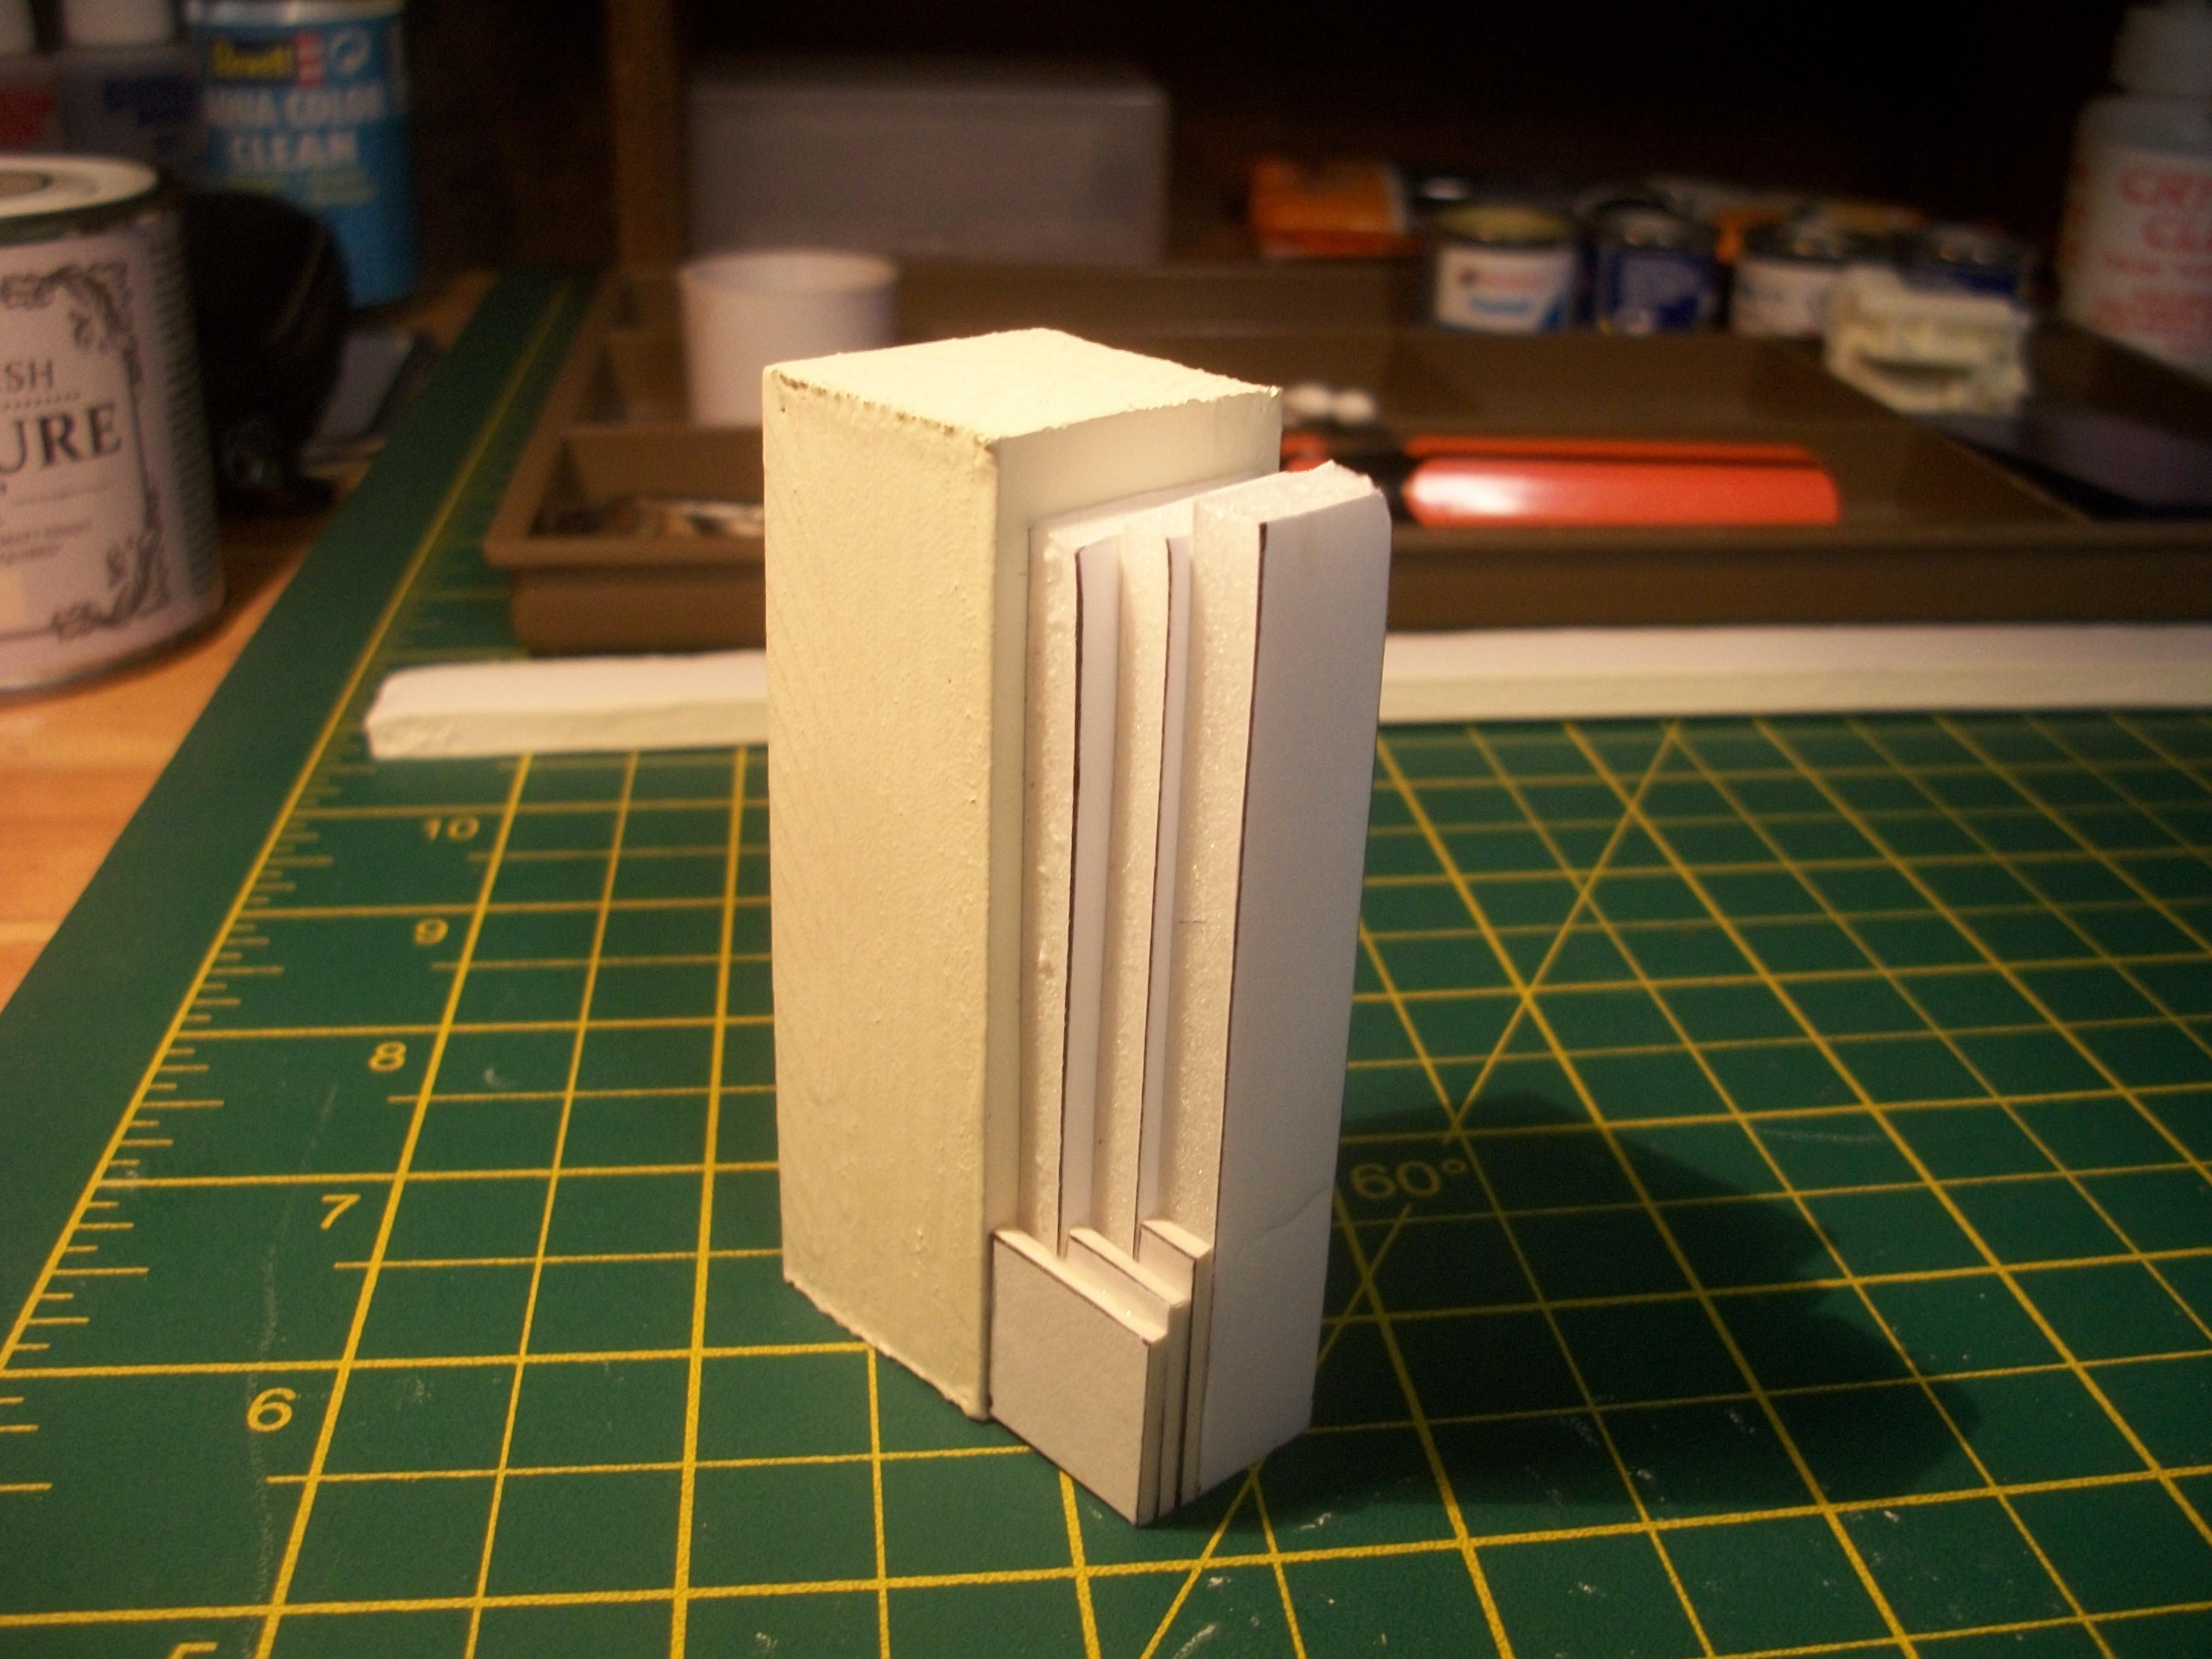
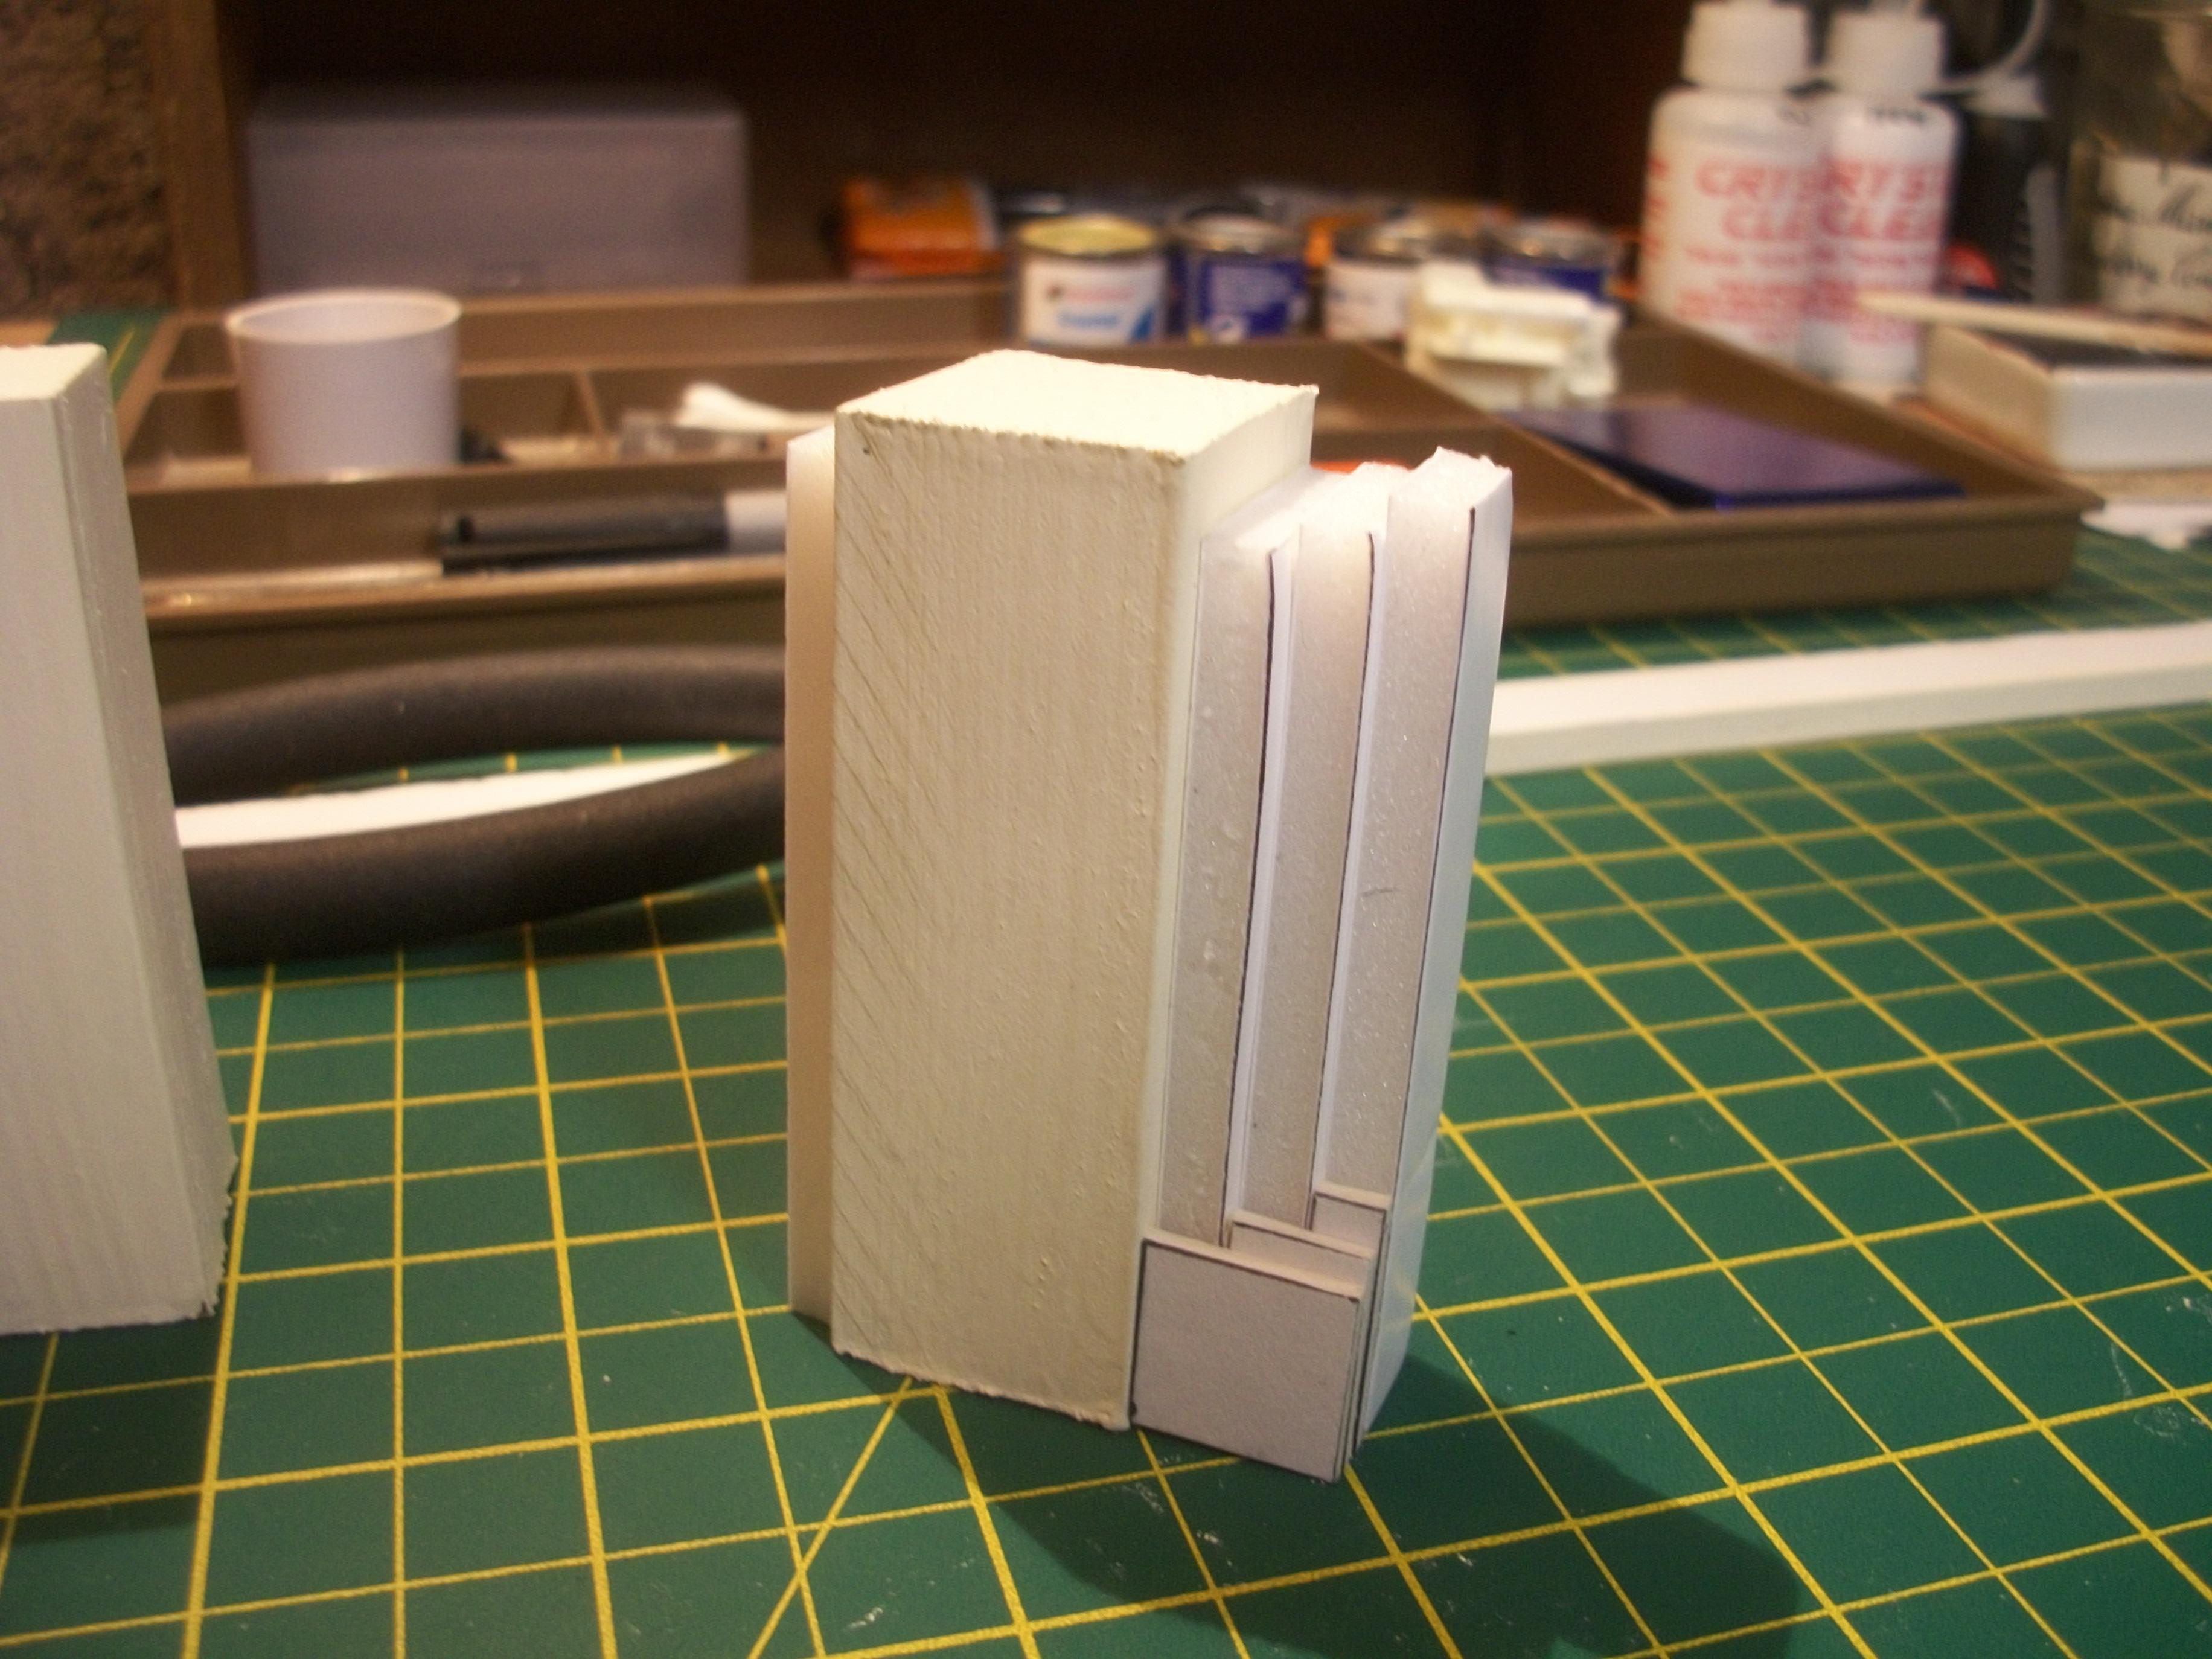
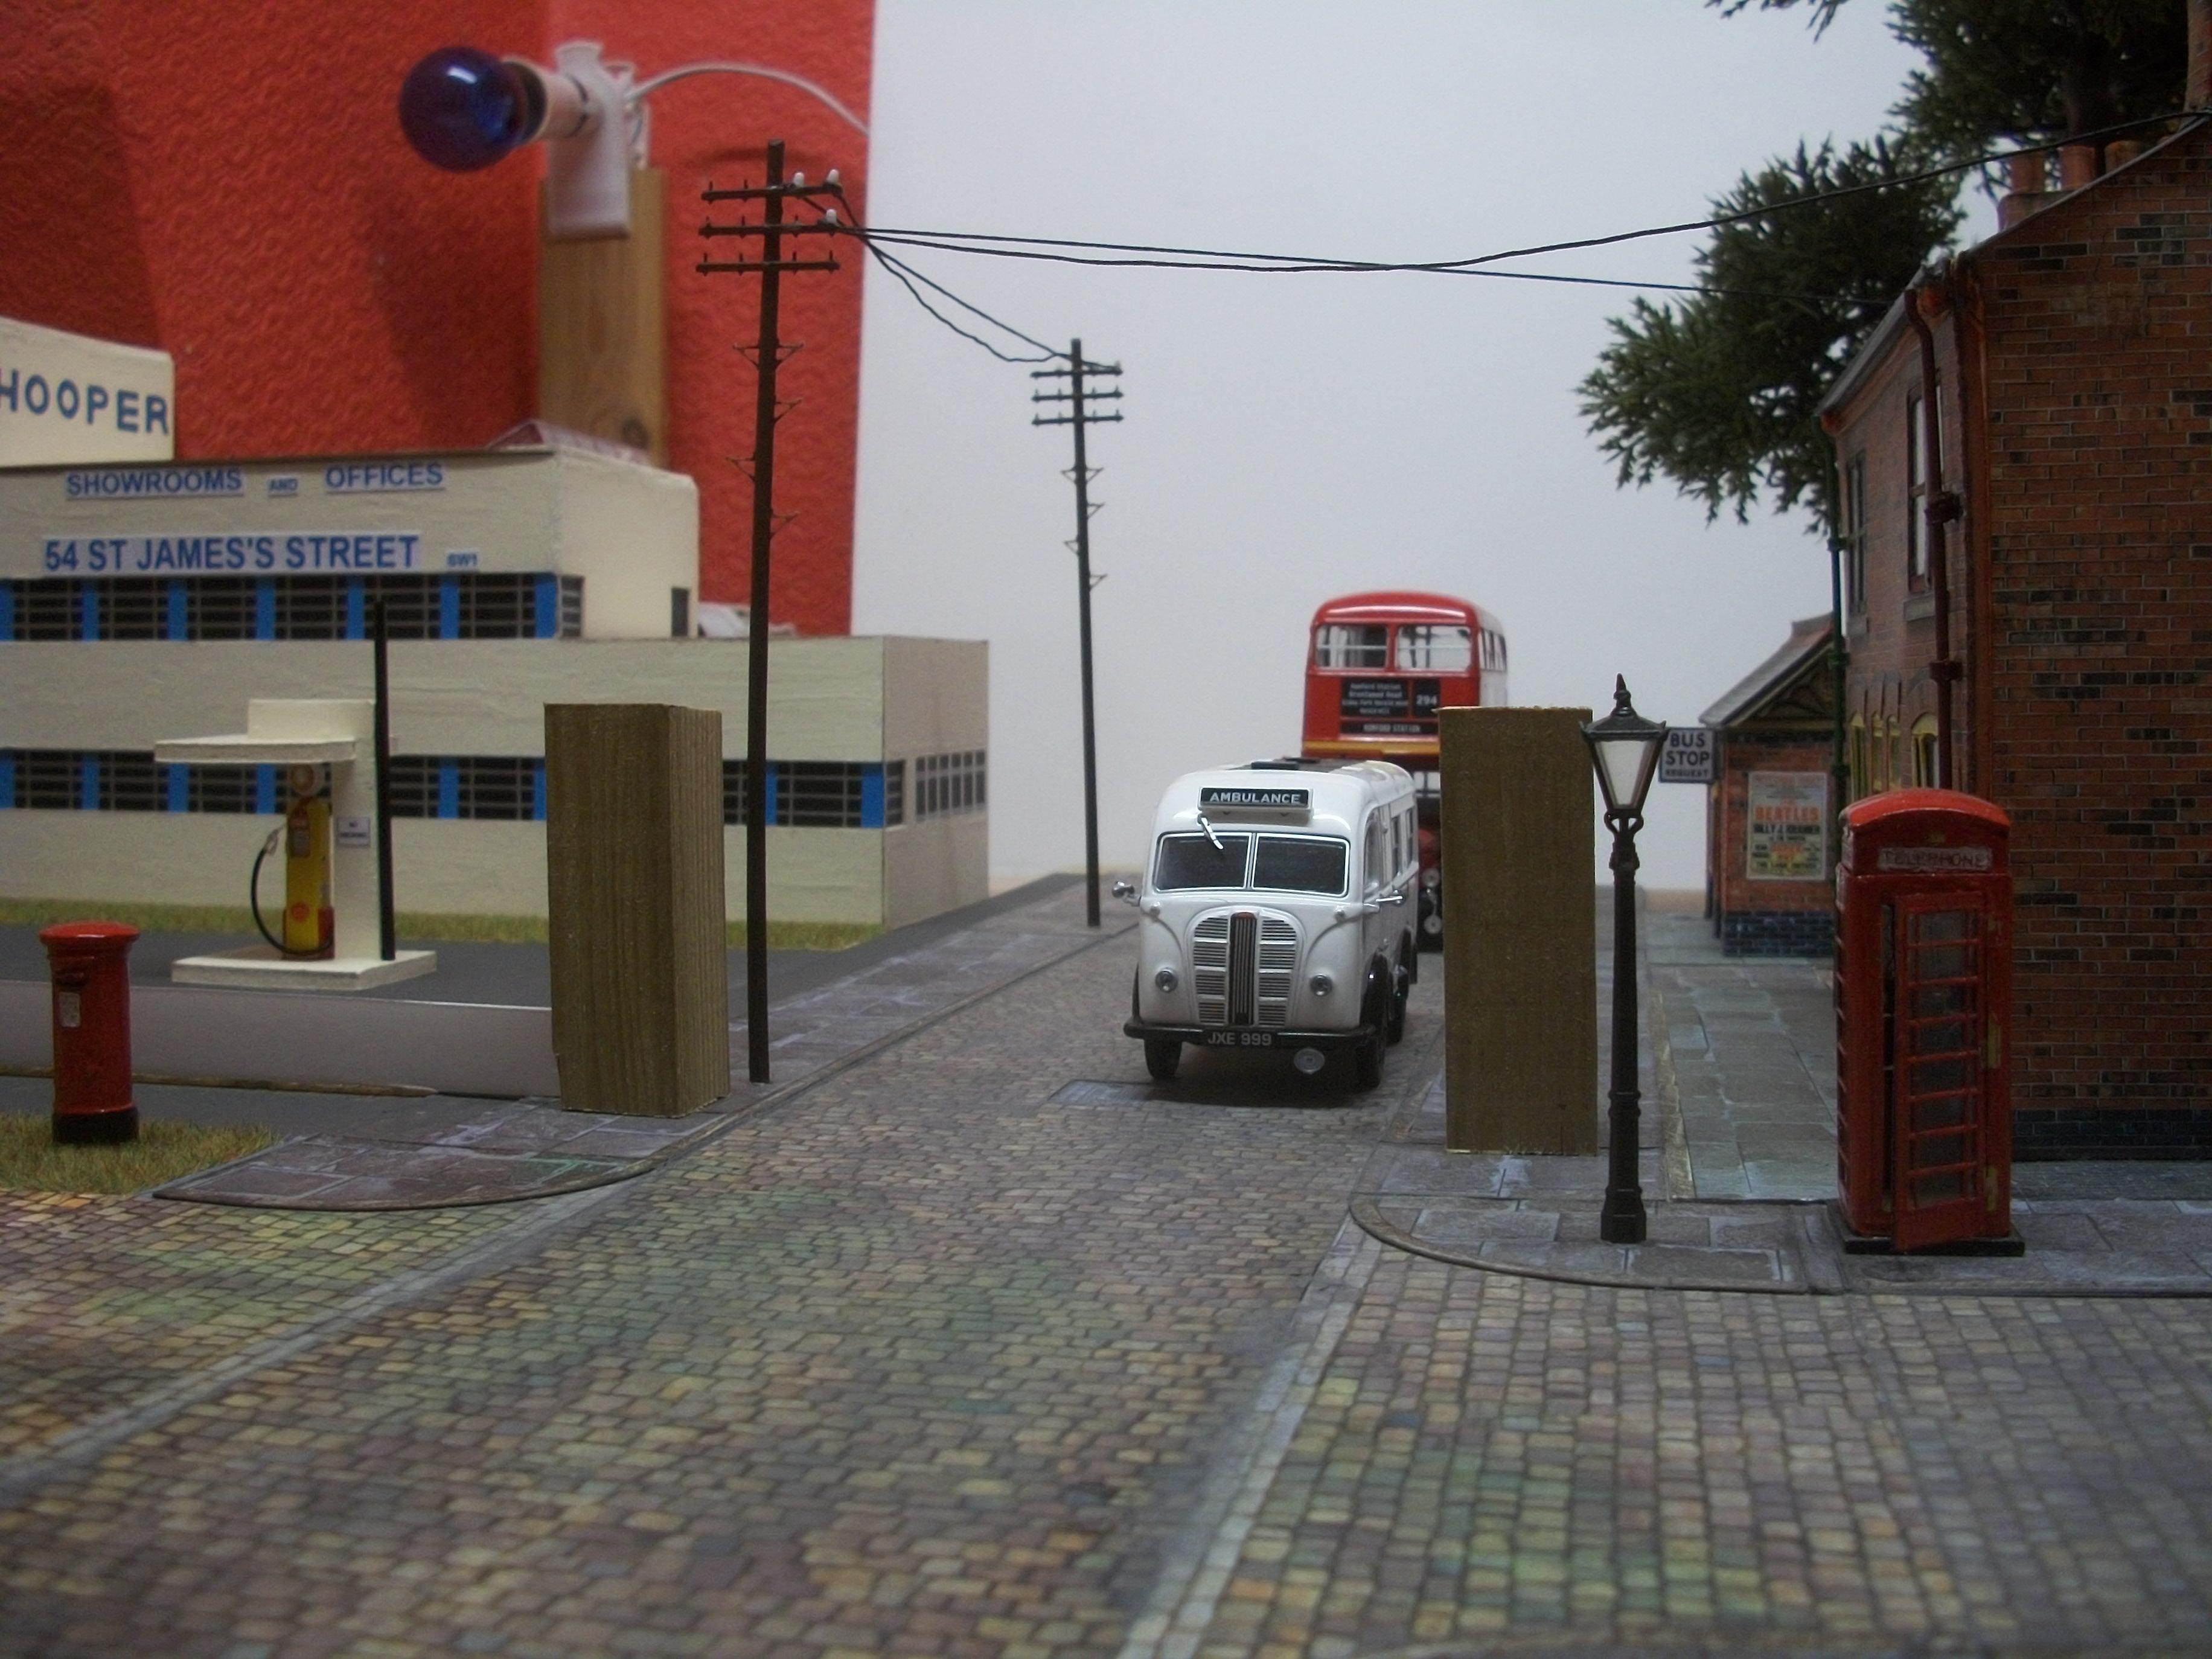
The Art Deco gate posts are under construction, and these structures are quite a complex shape to assemble. I still need to add the curved part of each post that sweeps down to the railing. Using a brass rod painted black for the cast iron railing, and as the reference photo of the Hooper factory building is 1935 the railing would have been cast iron, and not steel. The sides of the foamcore are a bit rough, so these will need to be smoother. I would have liked to sculpt the gate posts using Plaster of Paris..... which I might still attempt? David

-
You could apply for a patent on that tool, Mark....... ? David
-
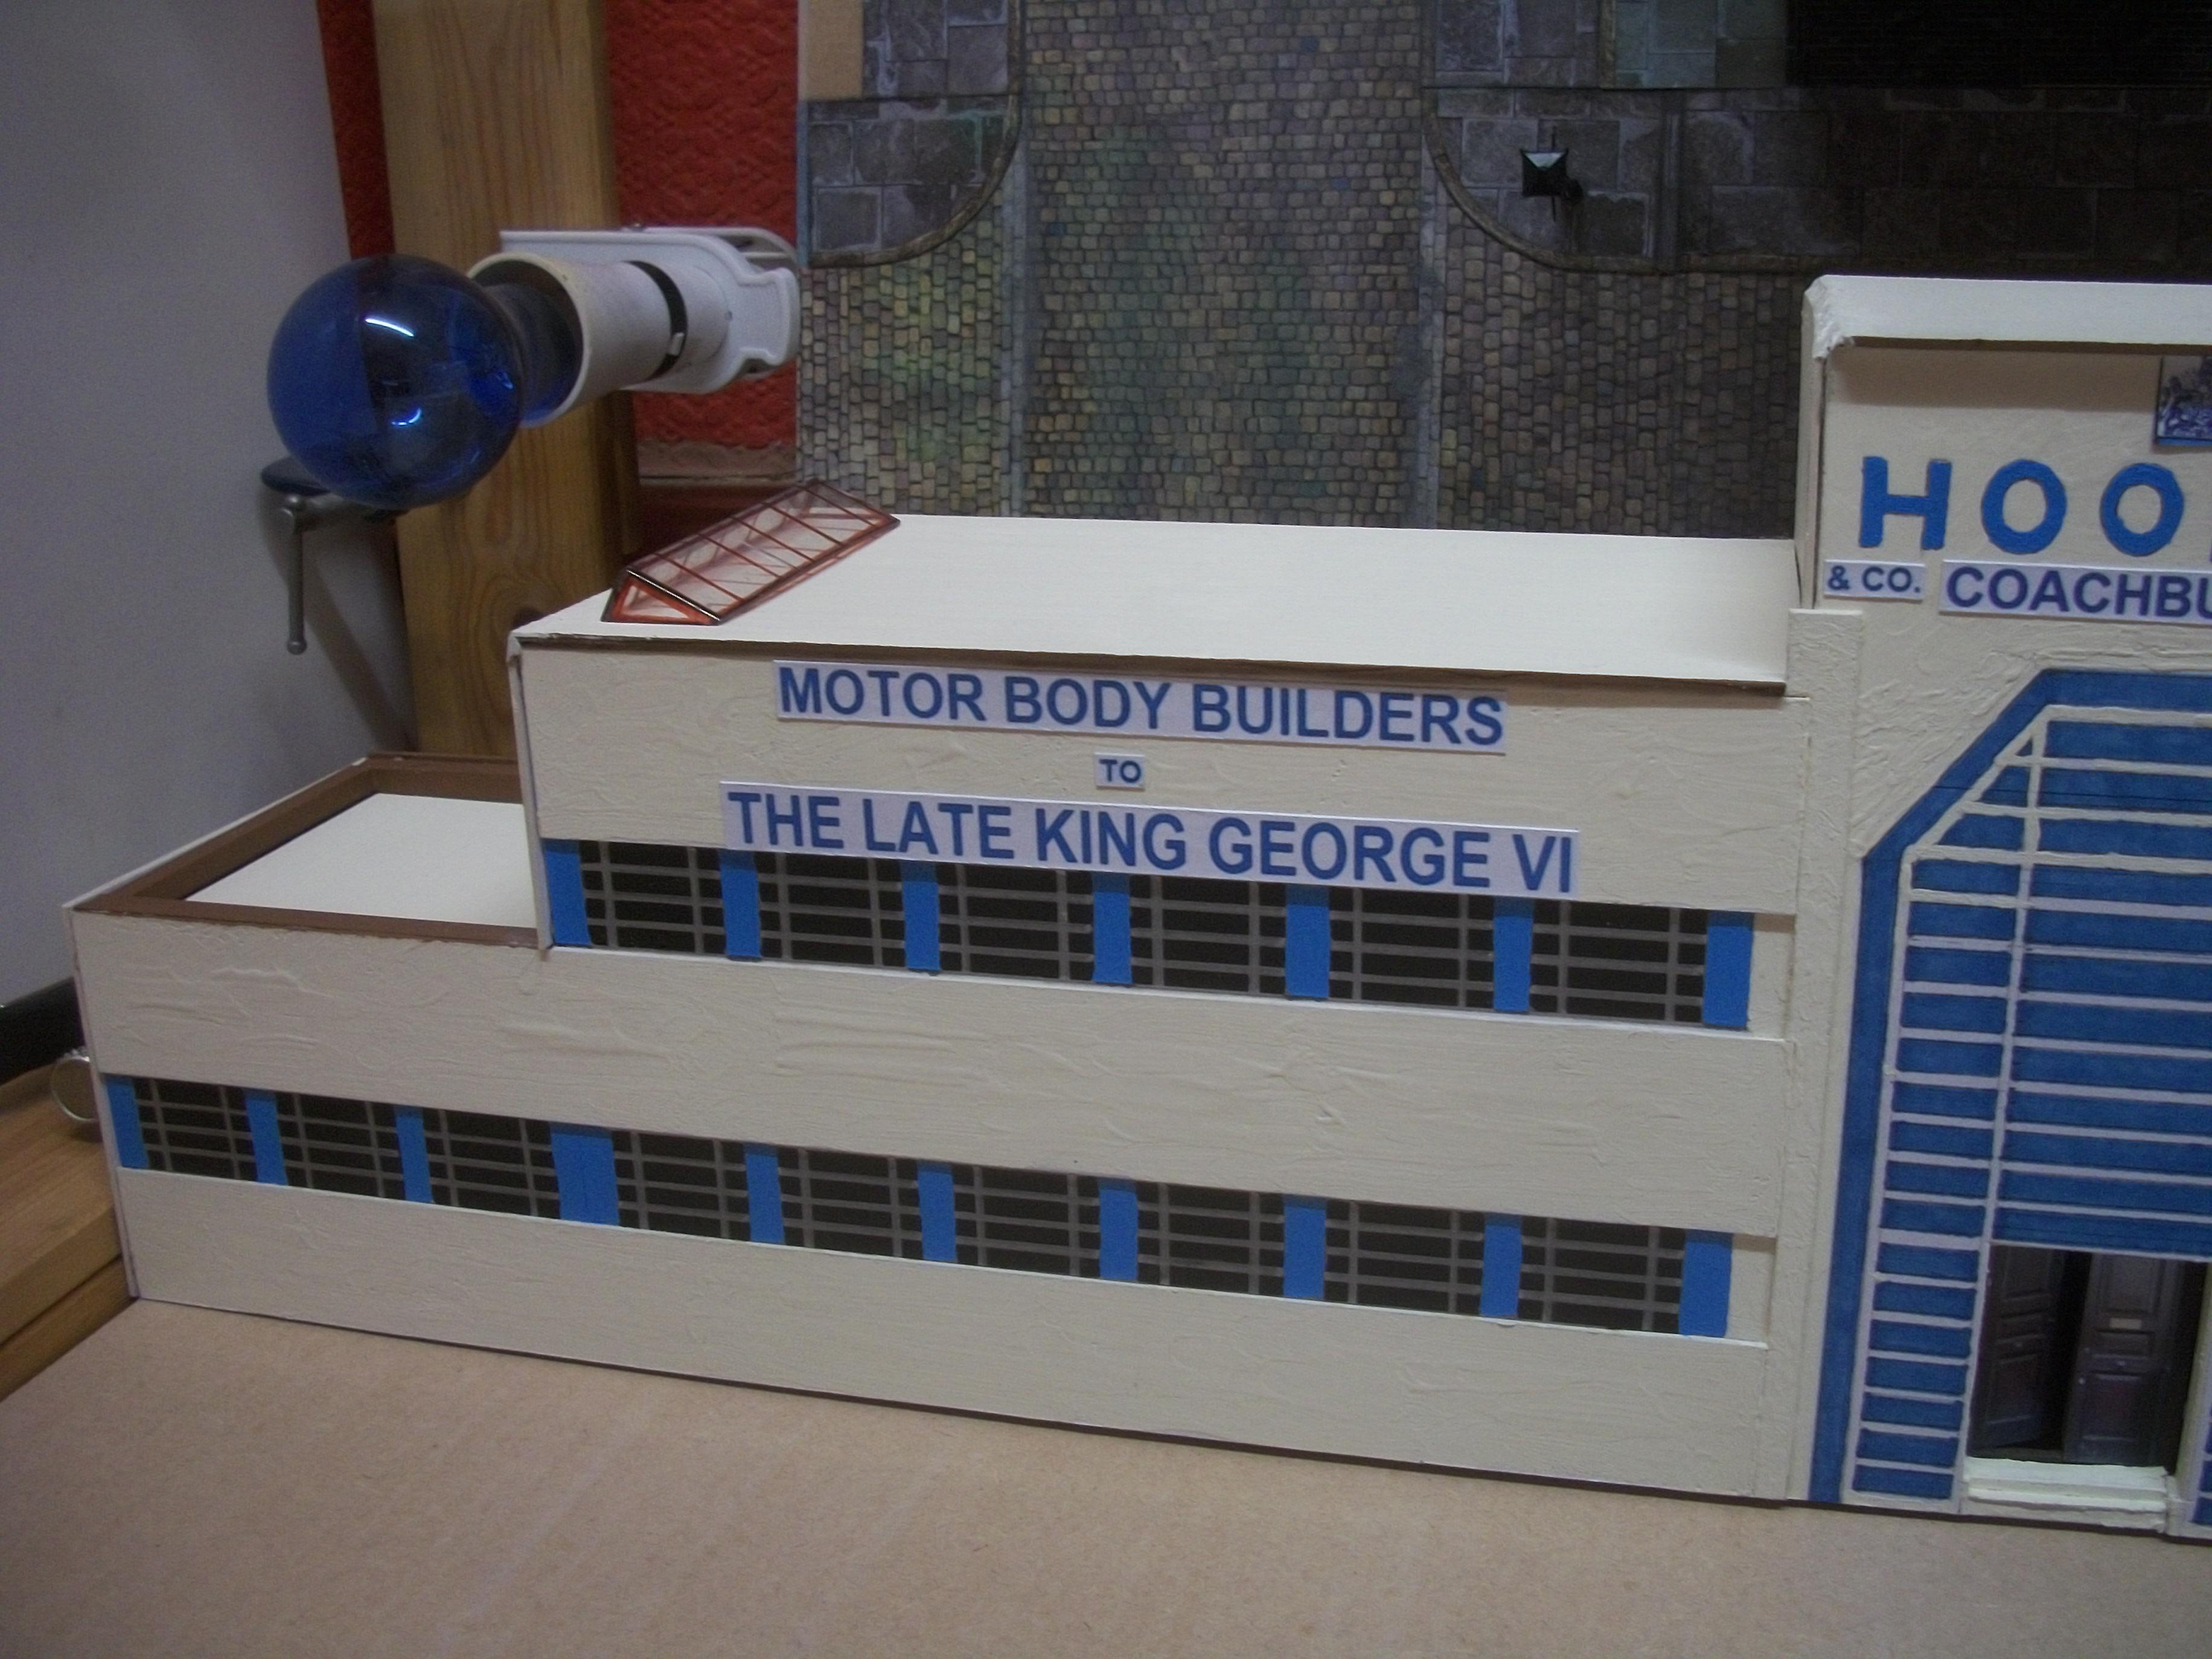
That is a good night shot, Paul........ it is always interesting to play around with lighting for dioramas in any scale. David
-
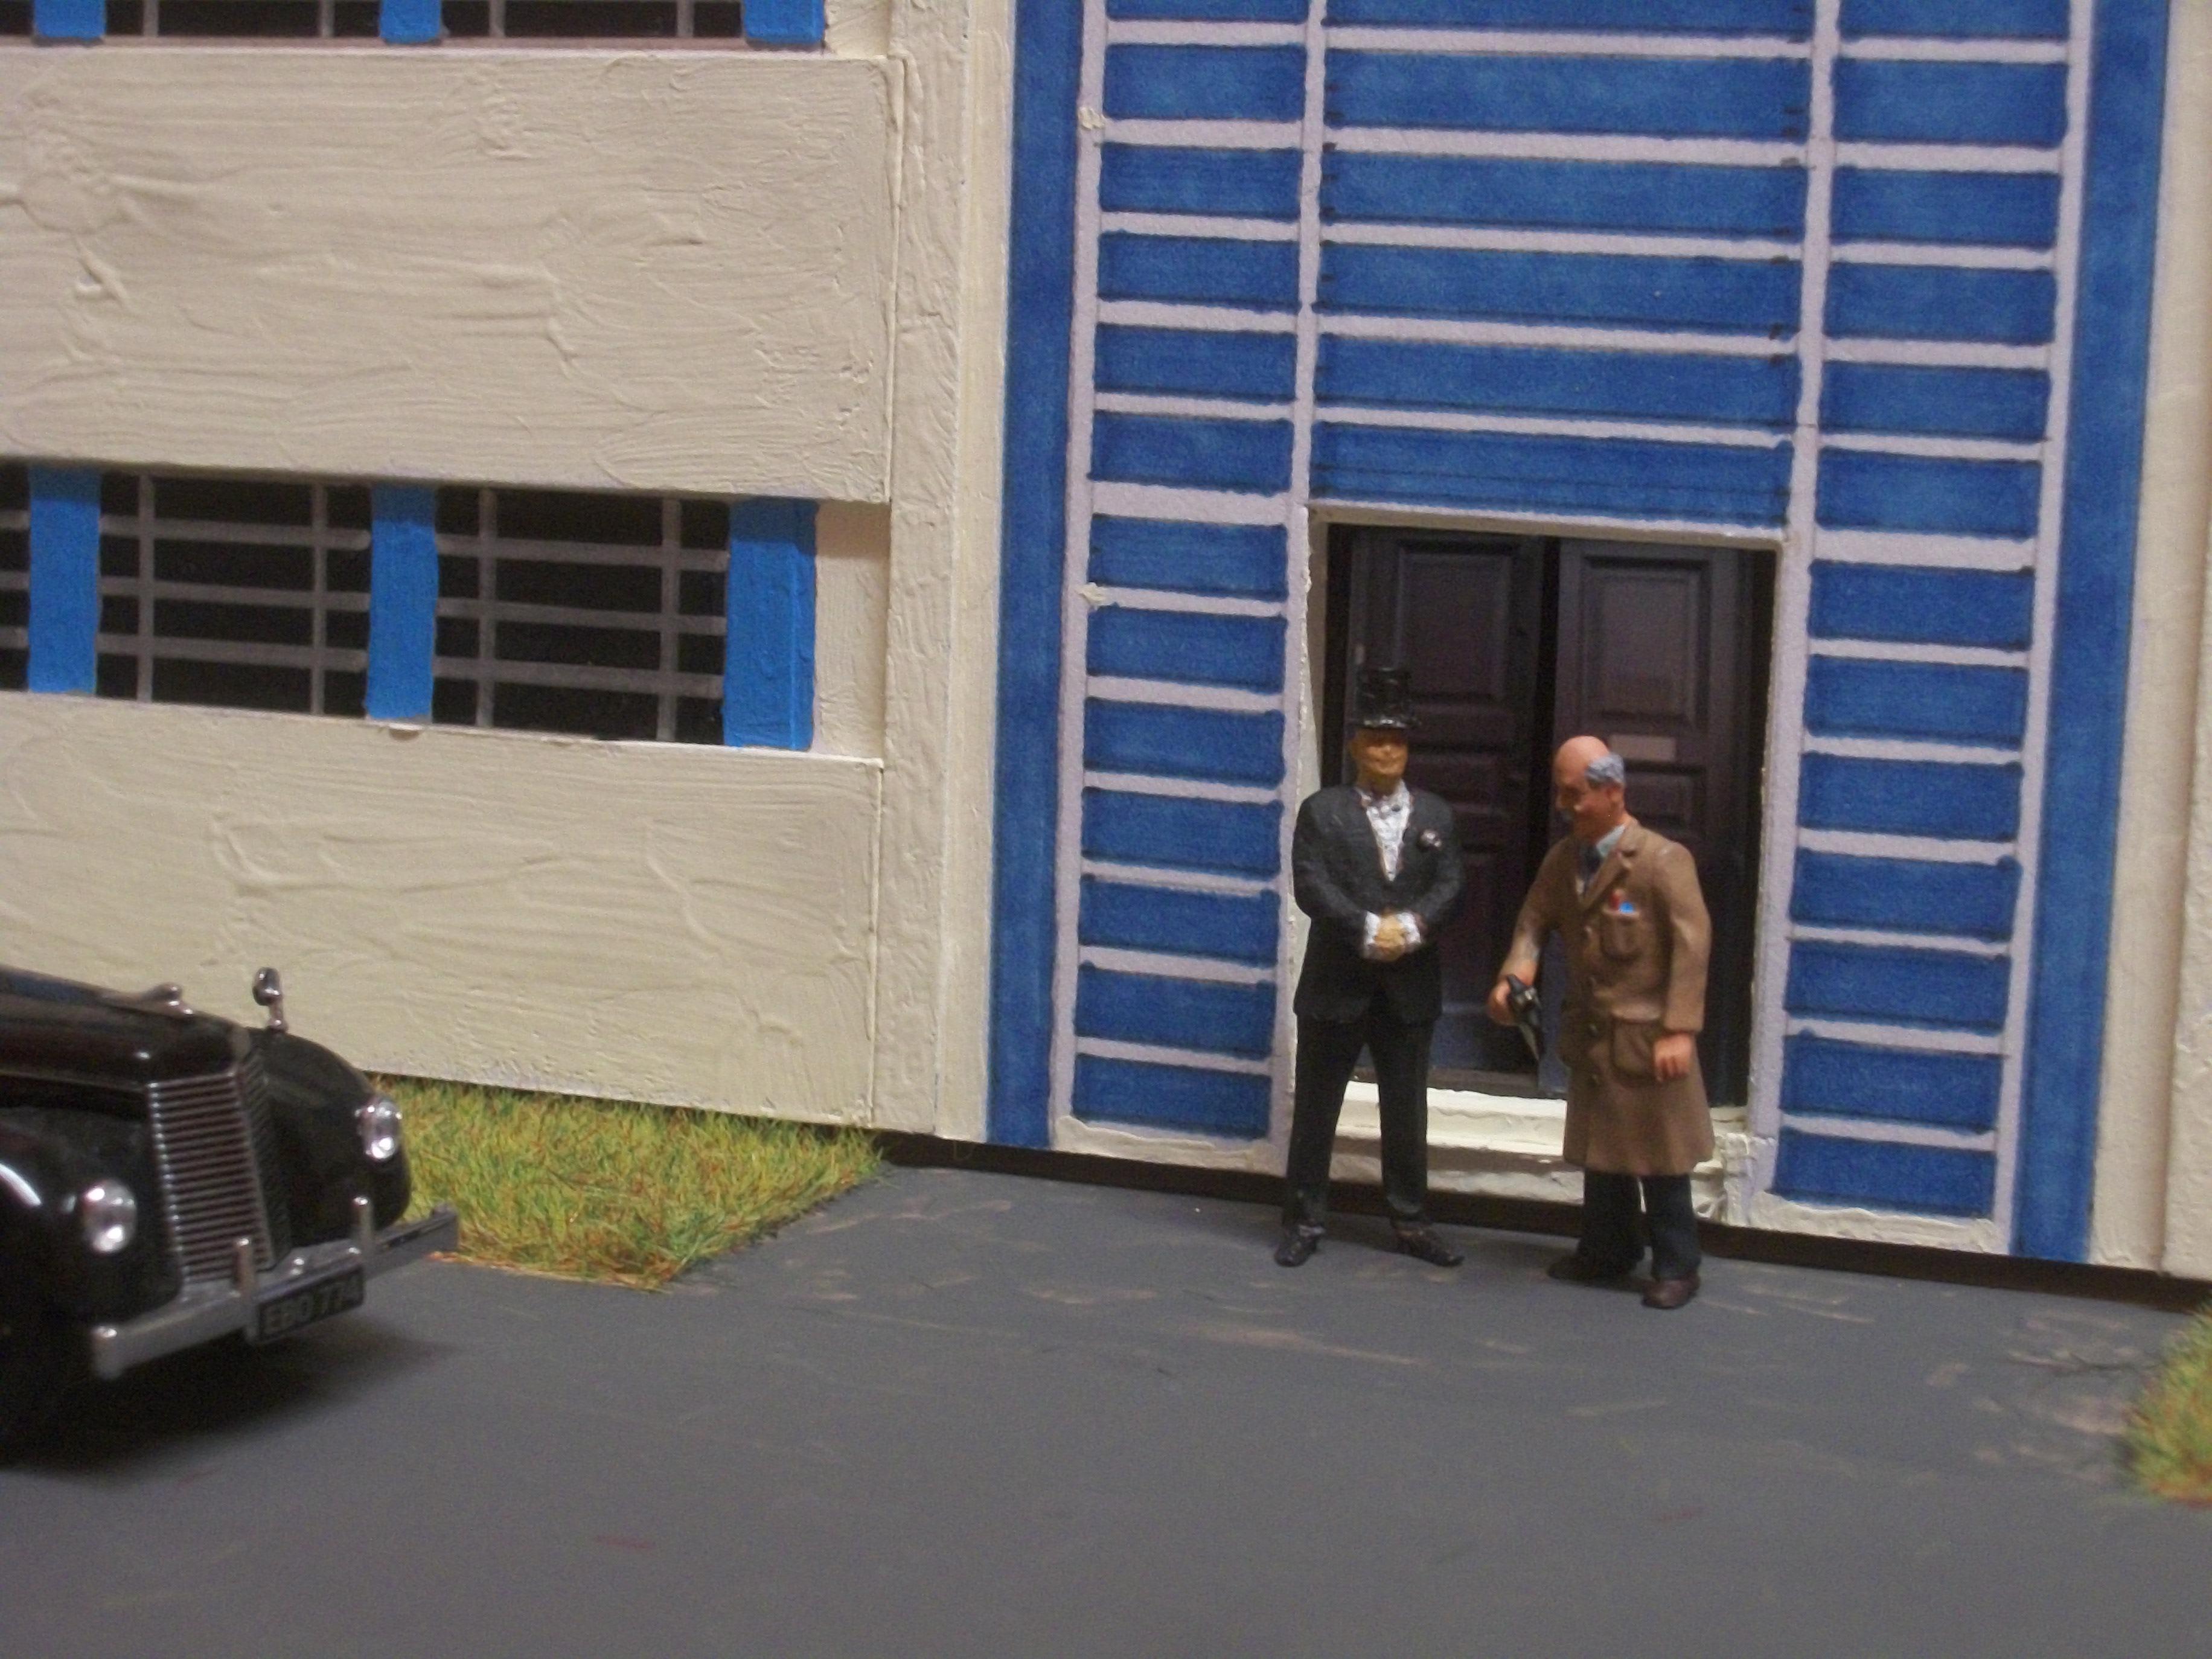
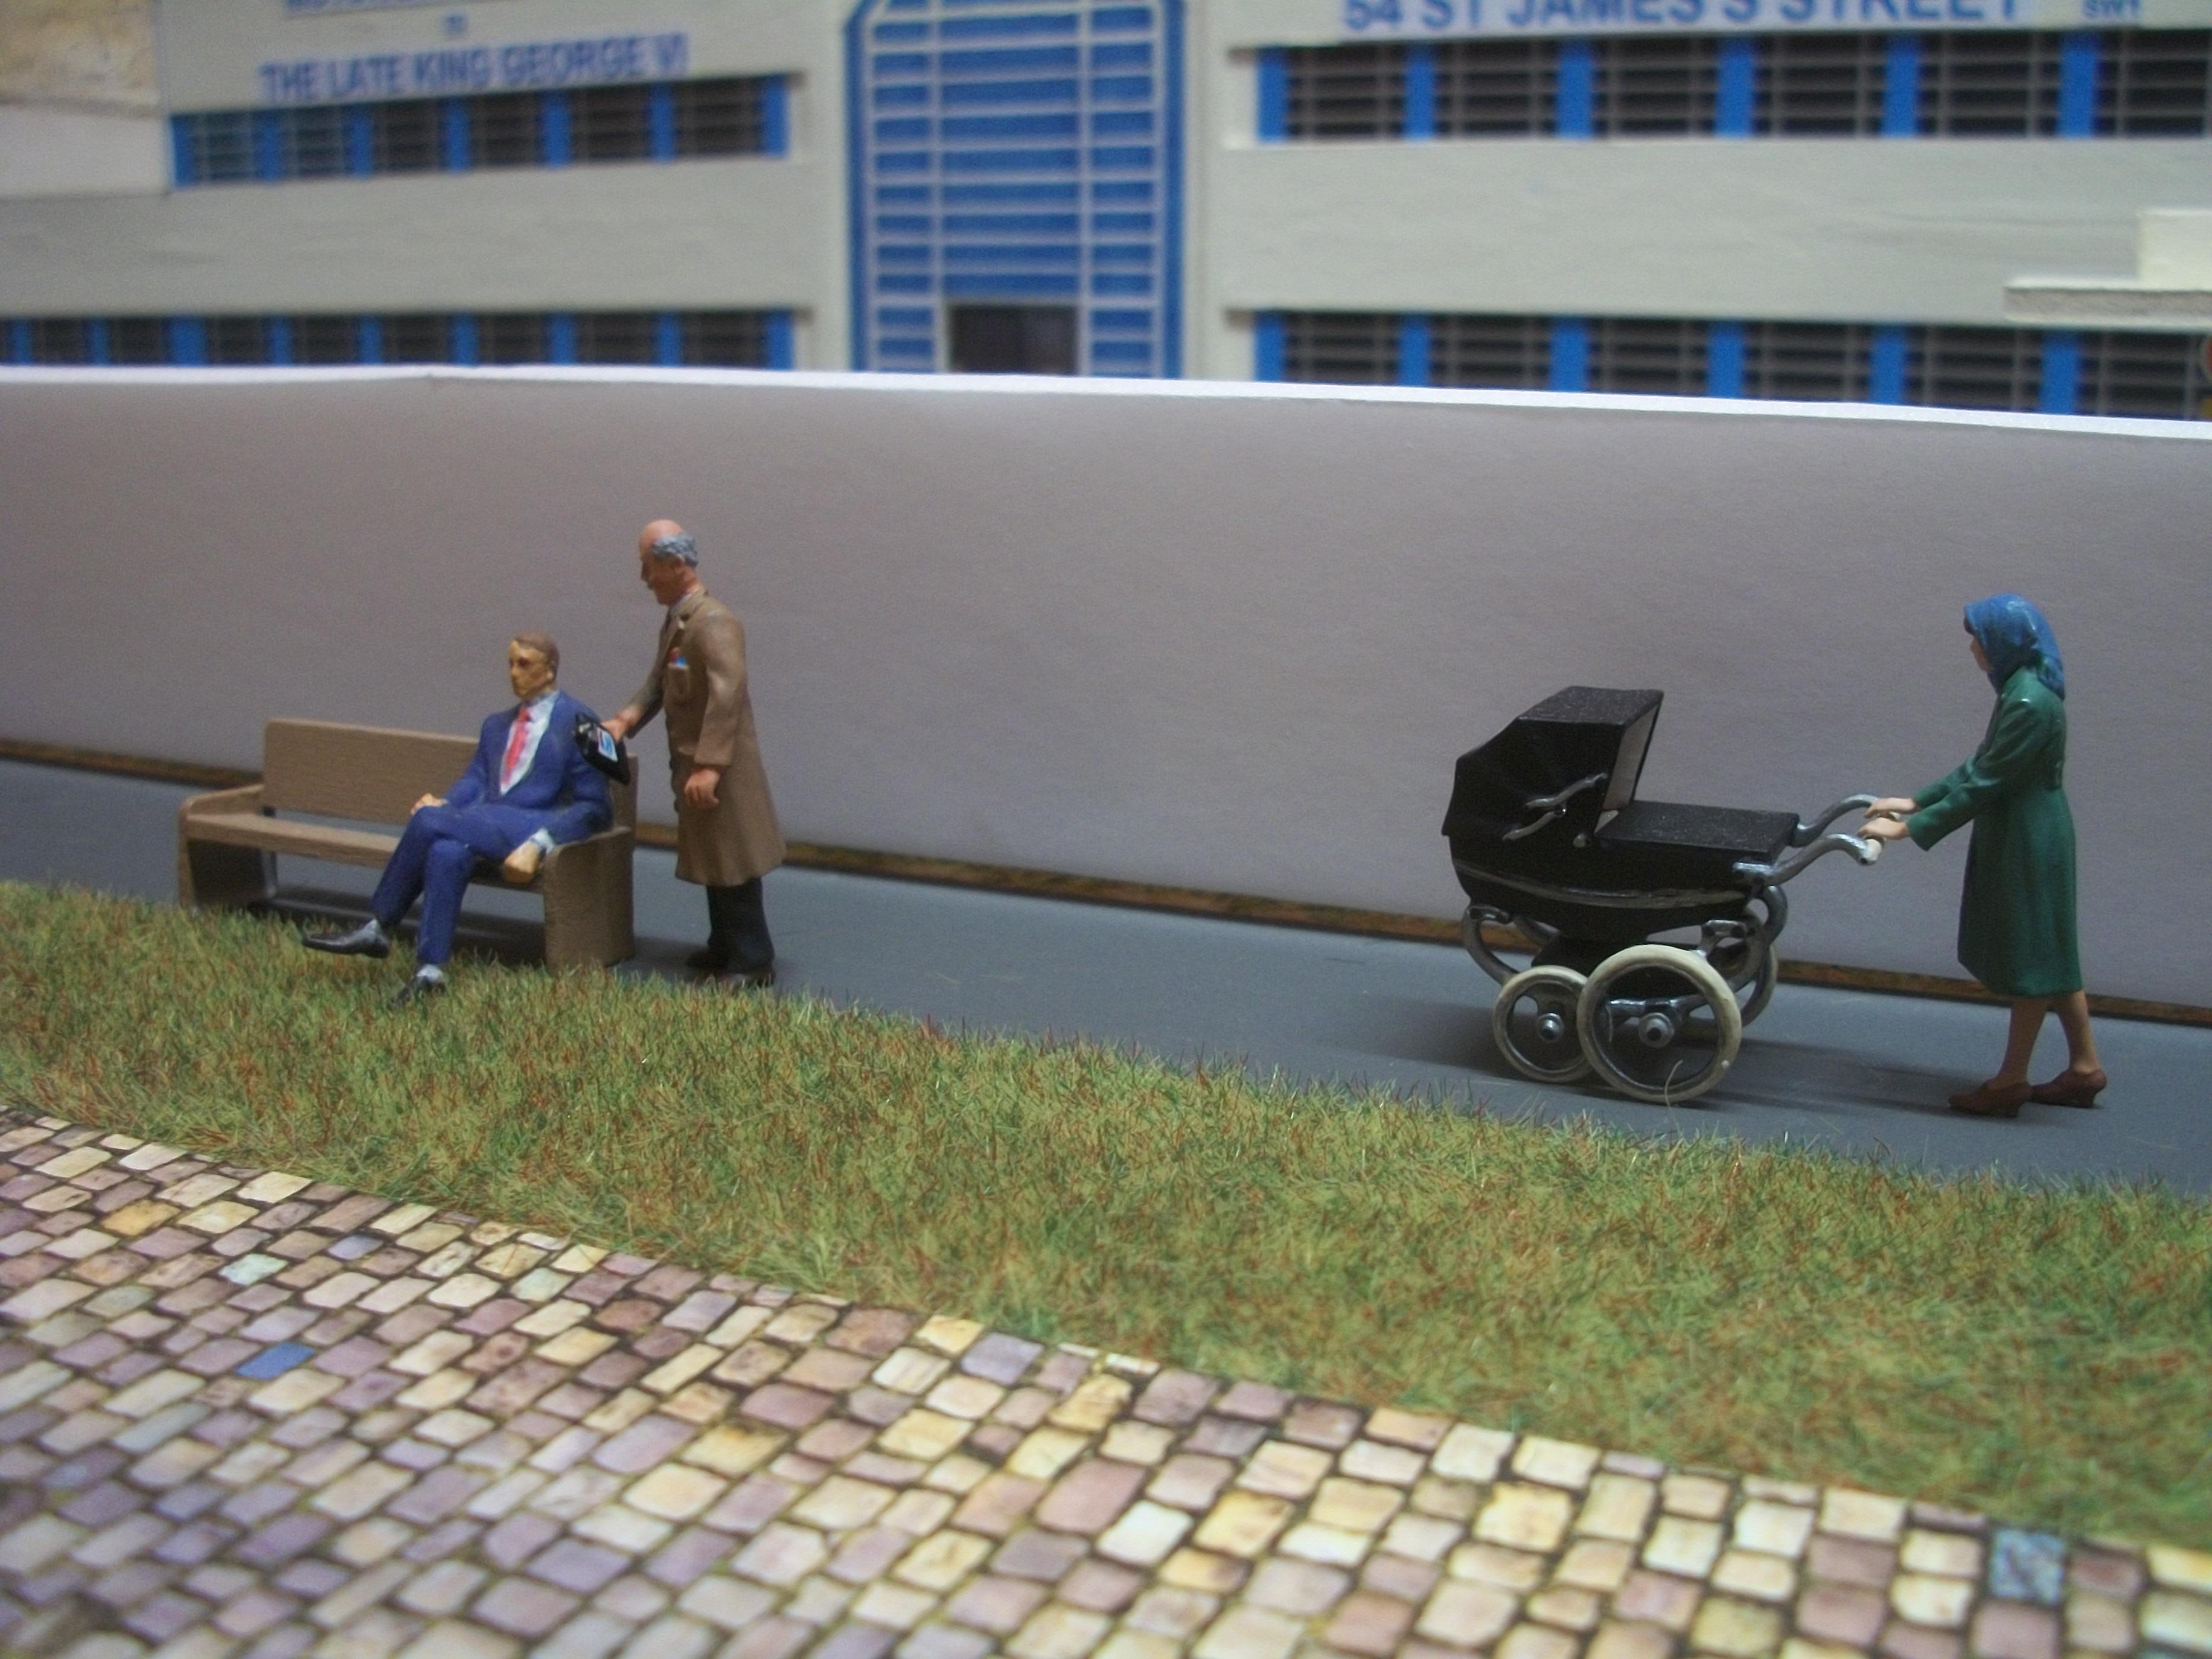
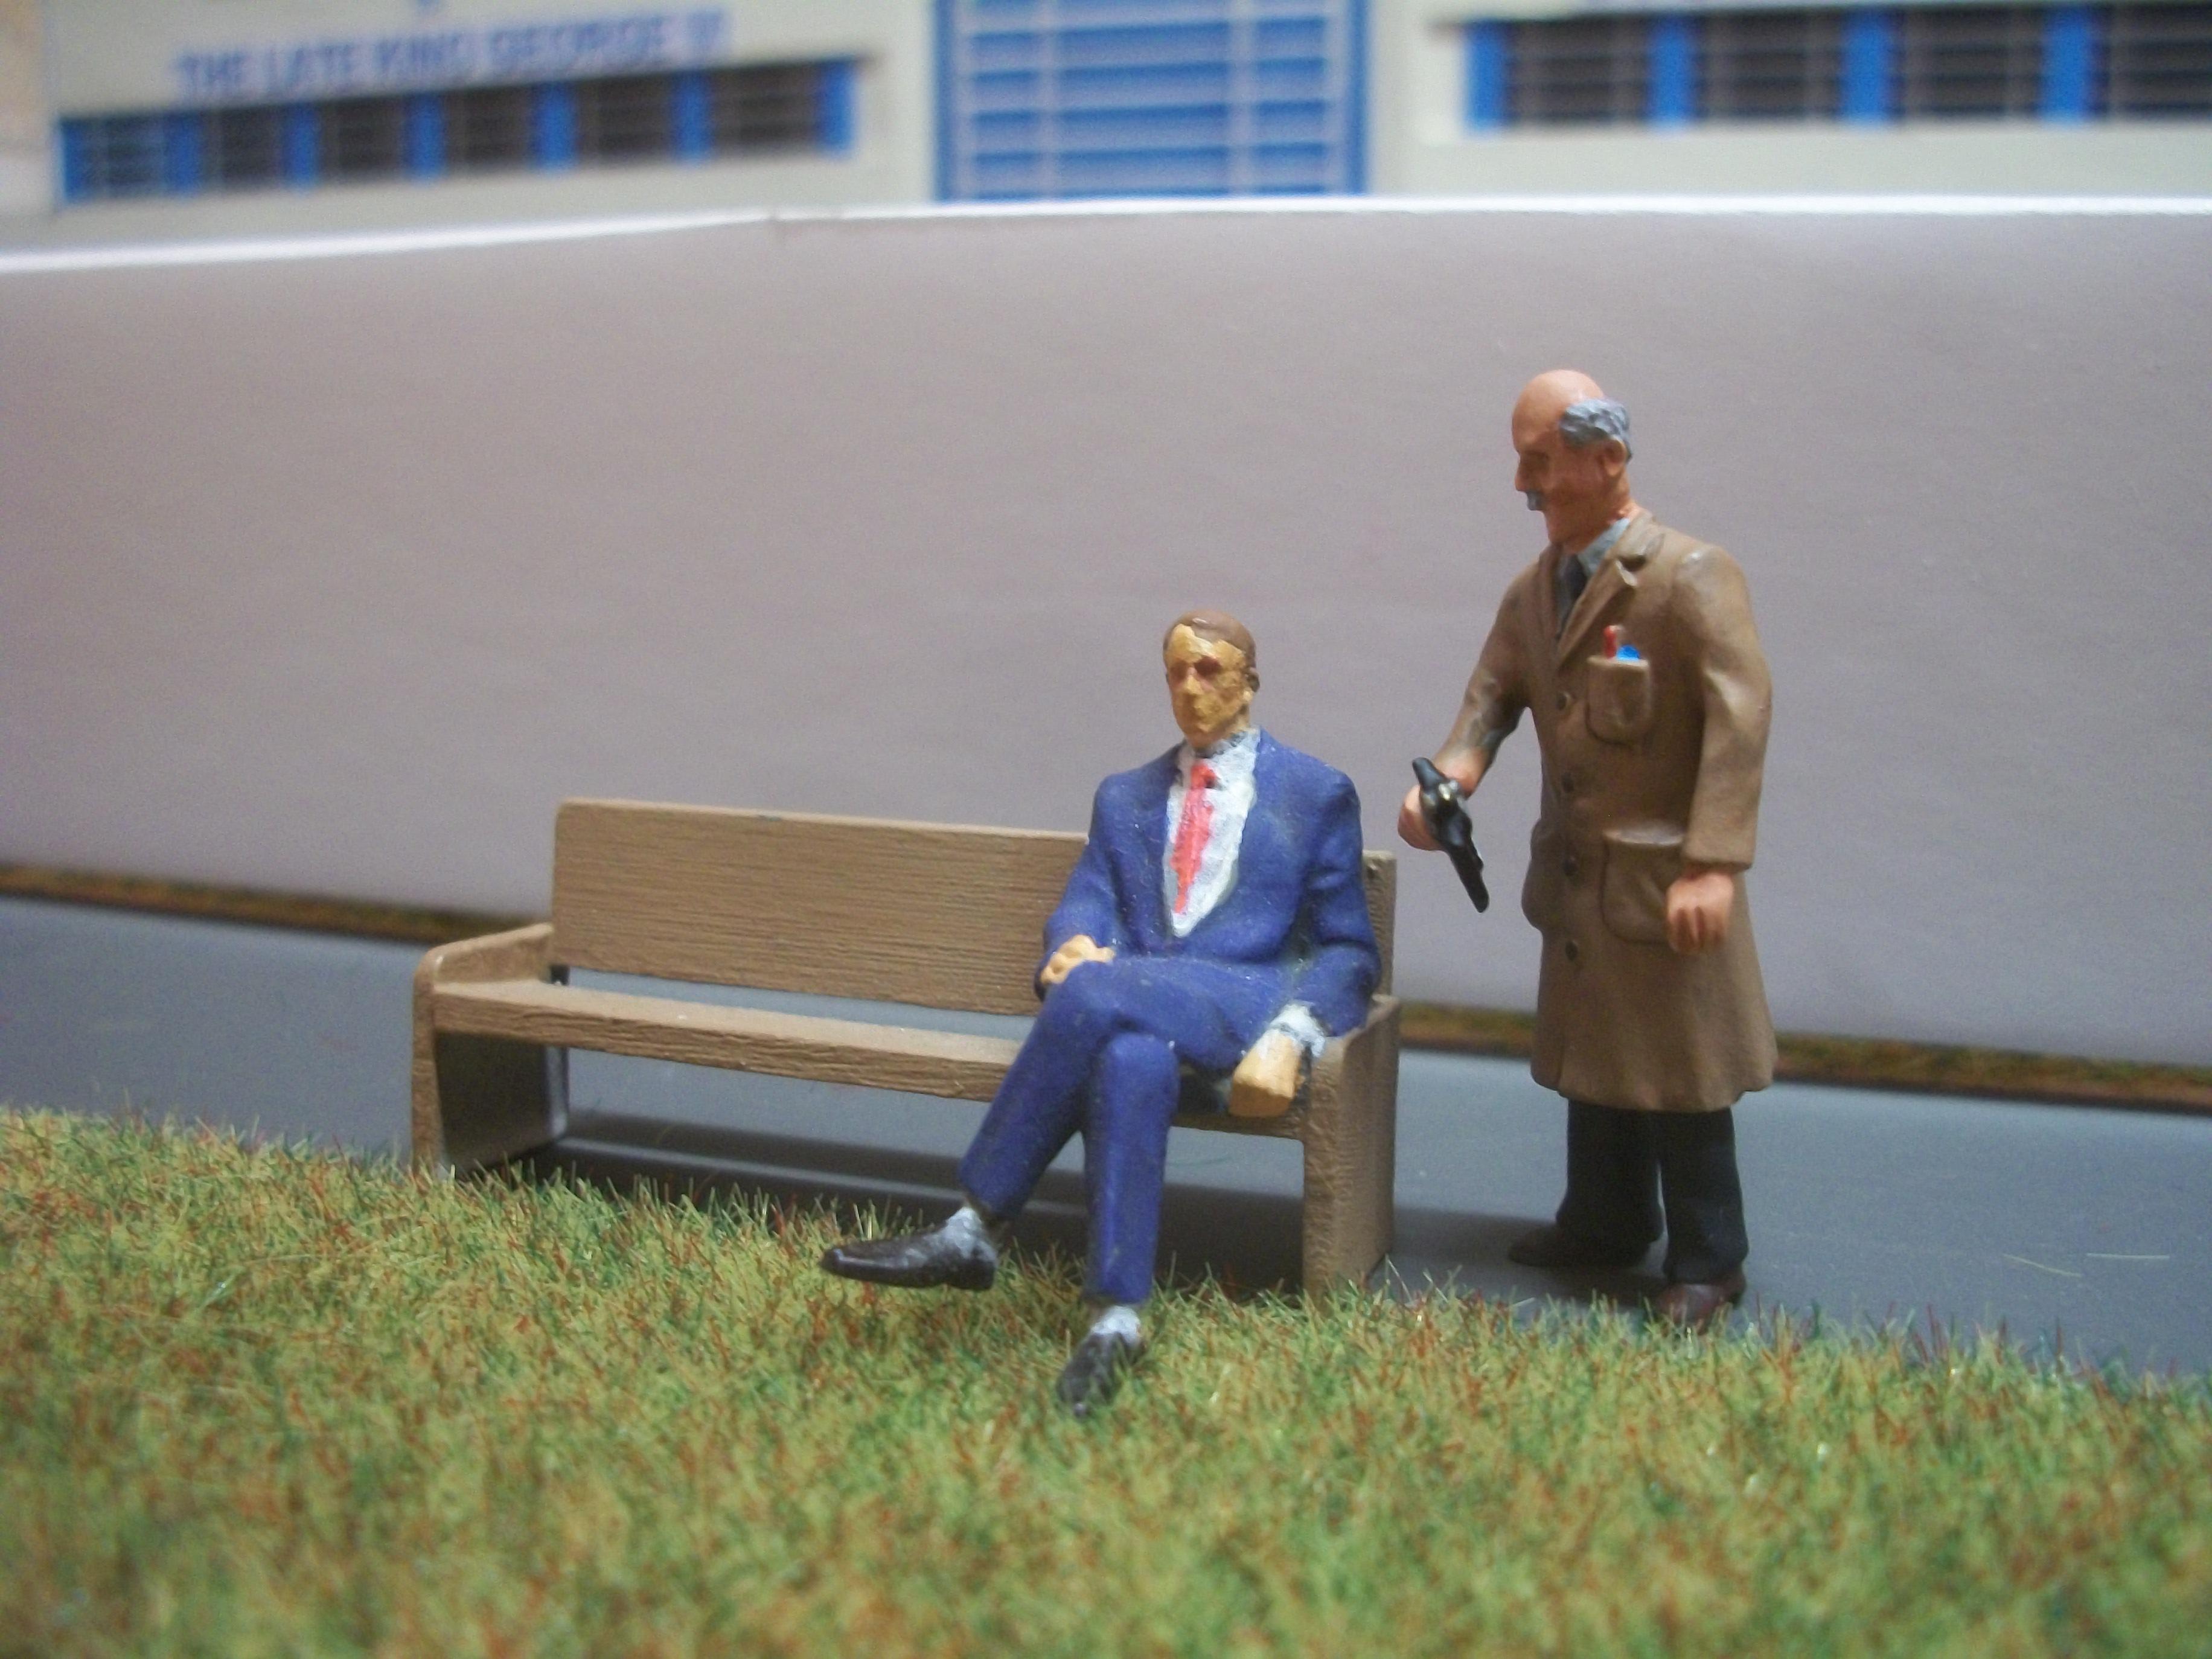
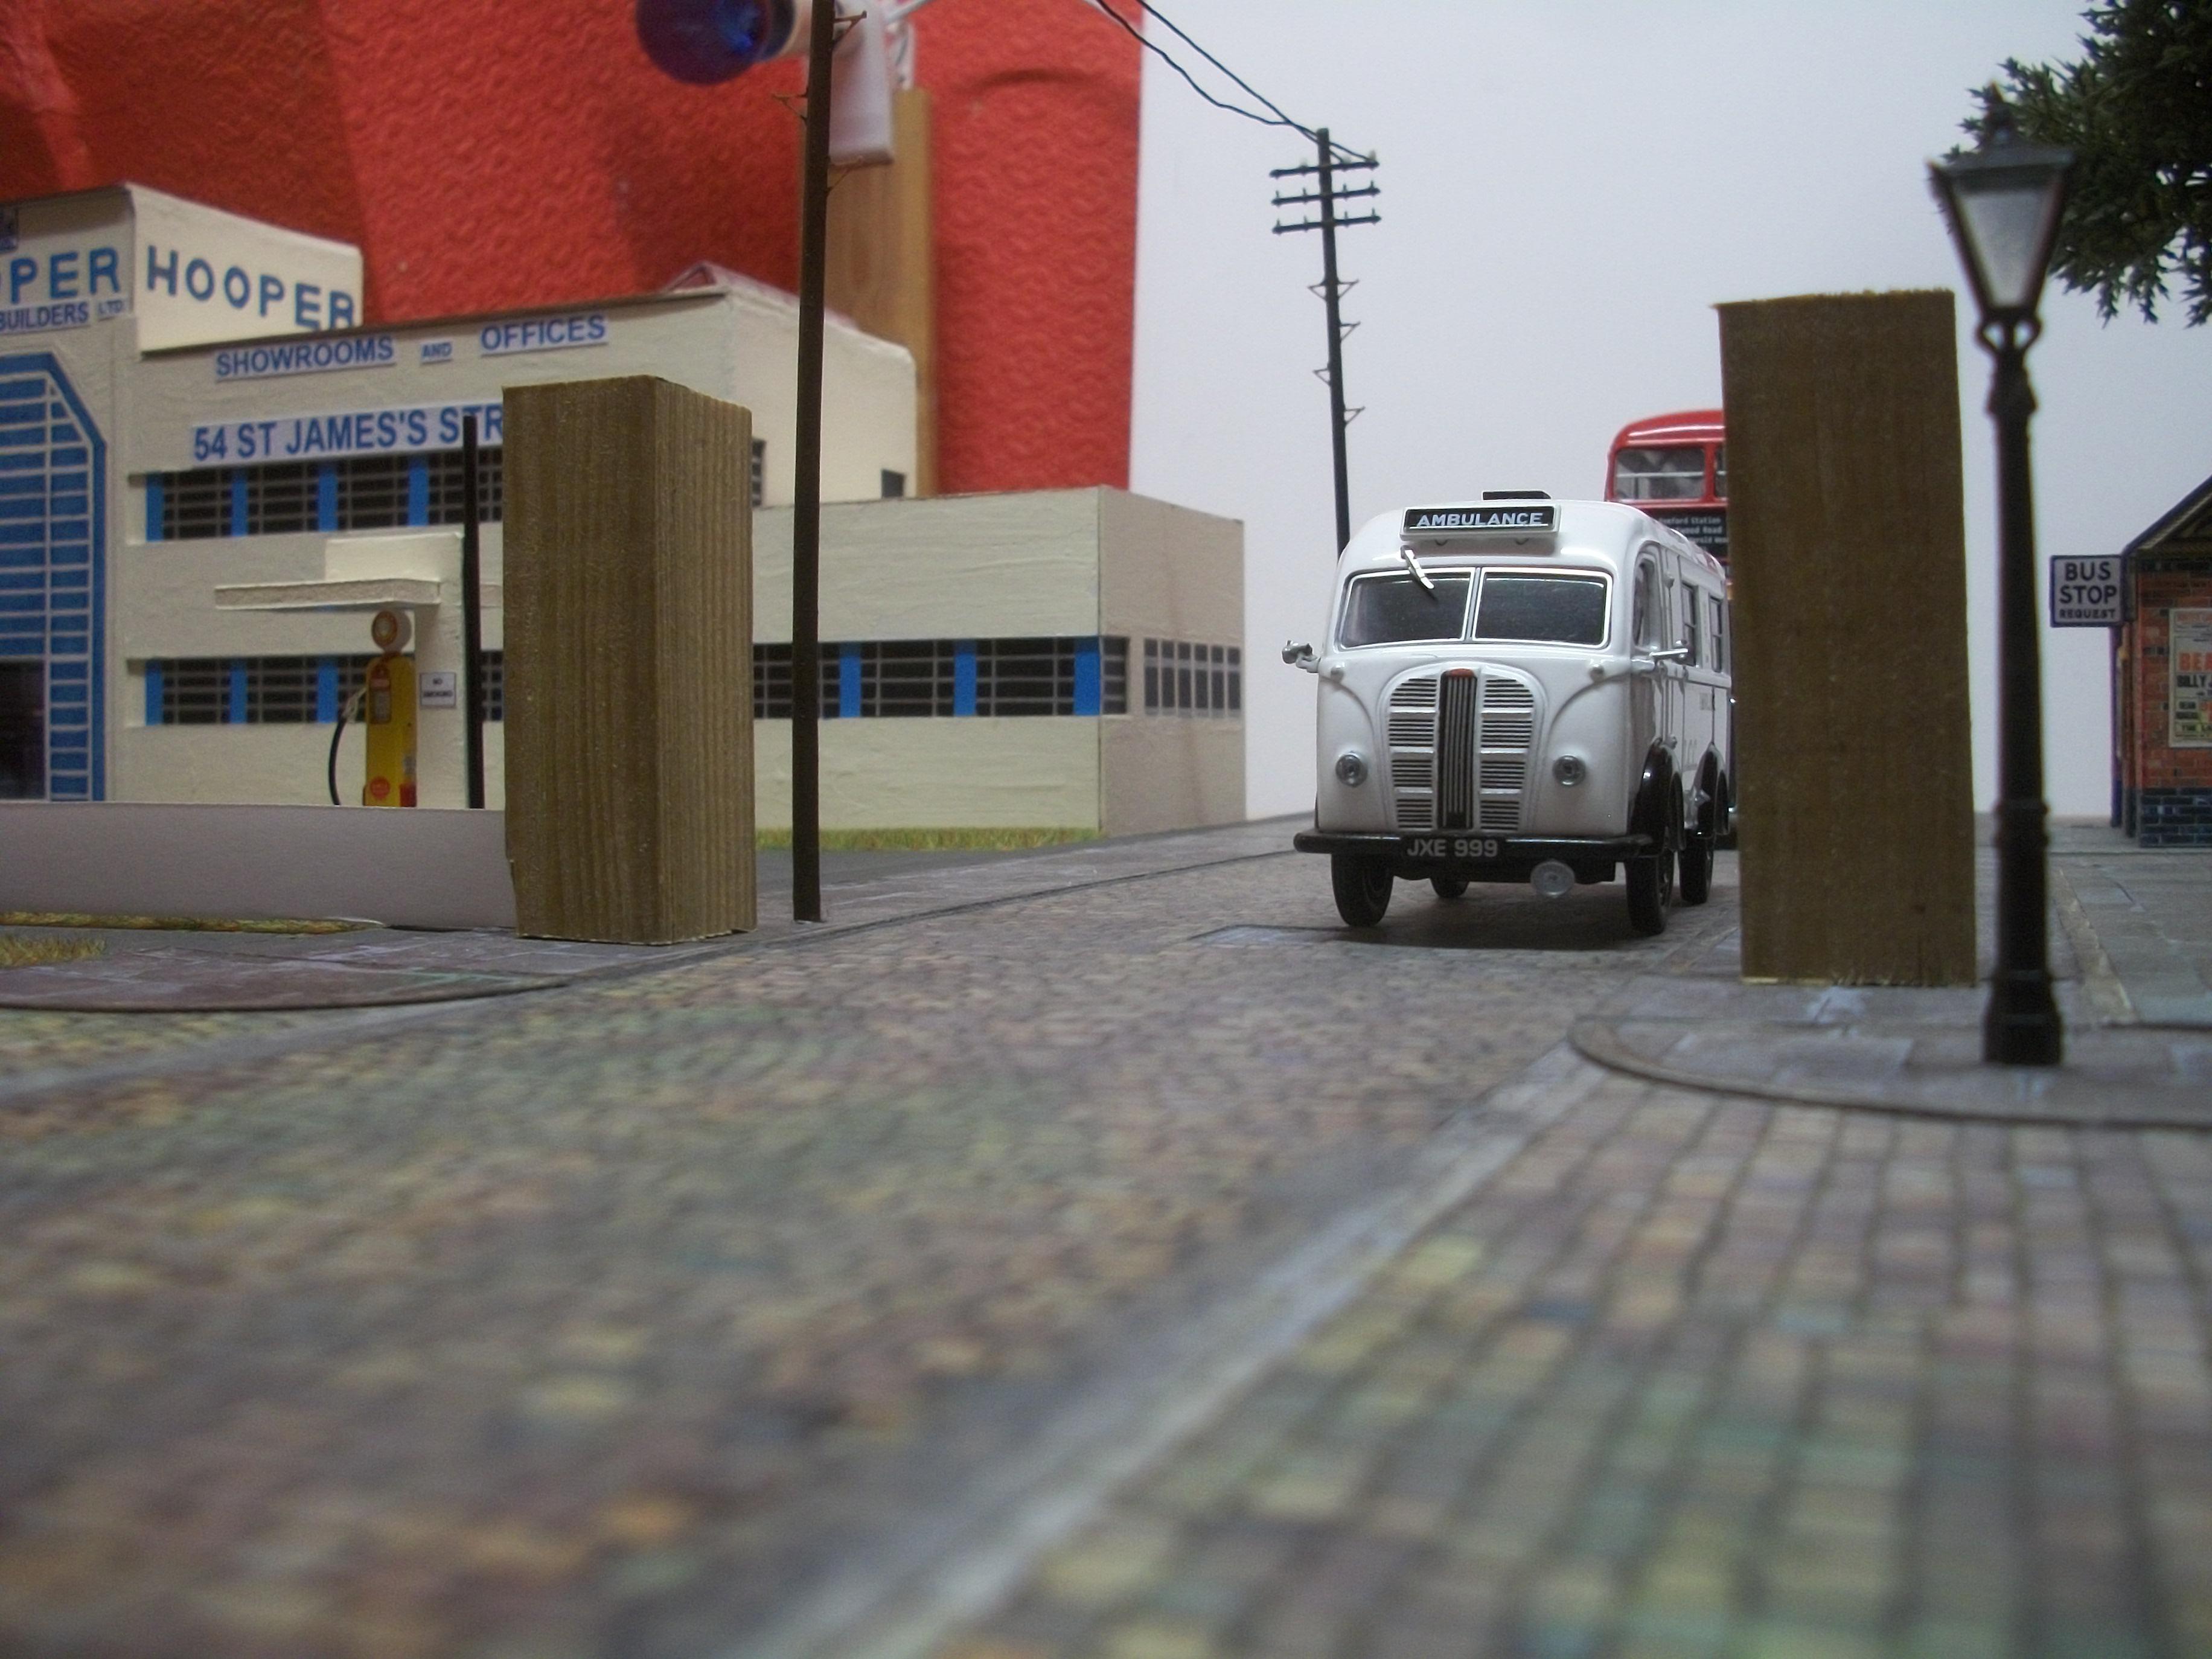
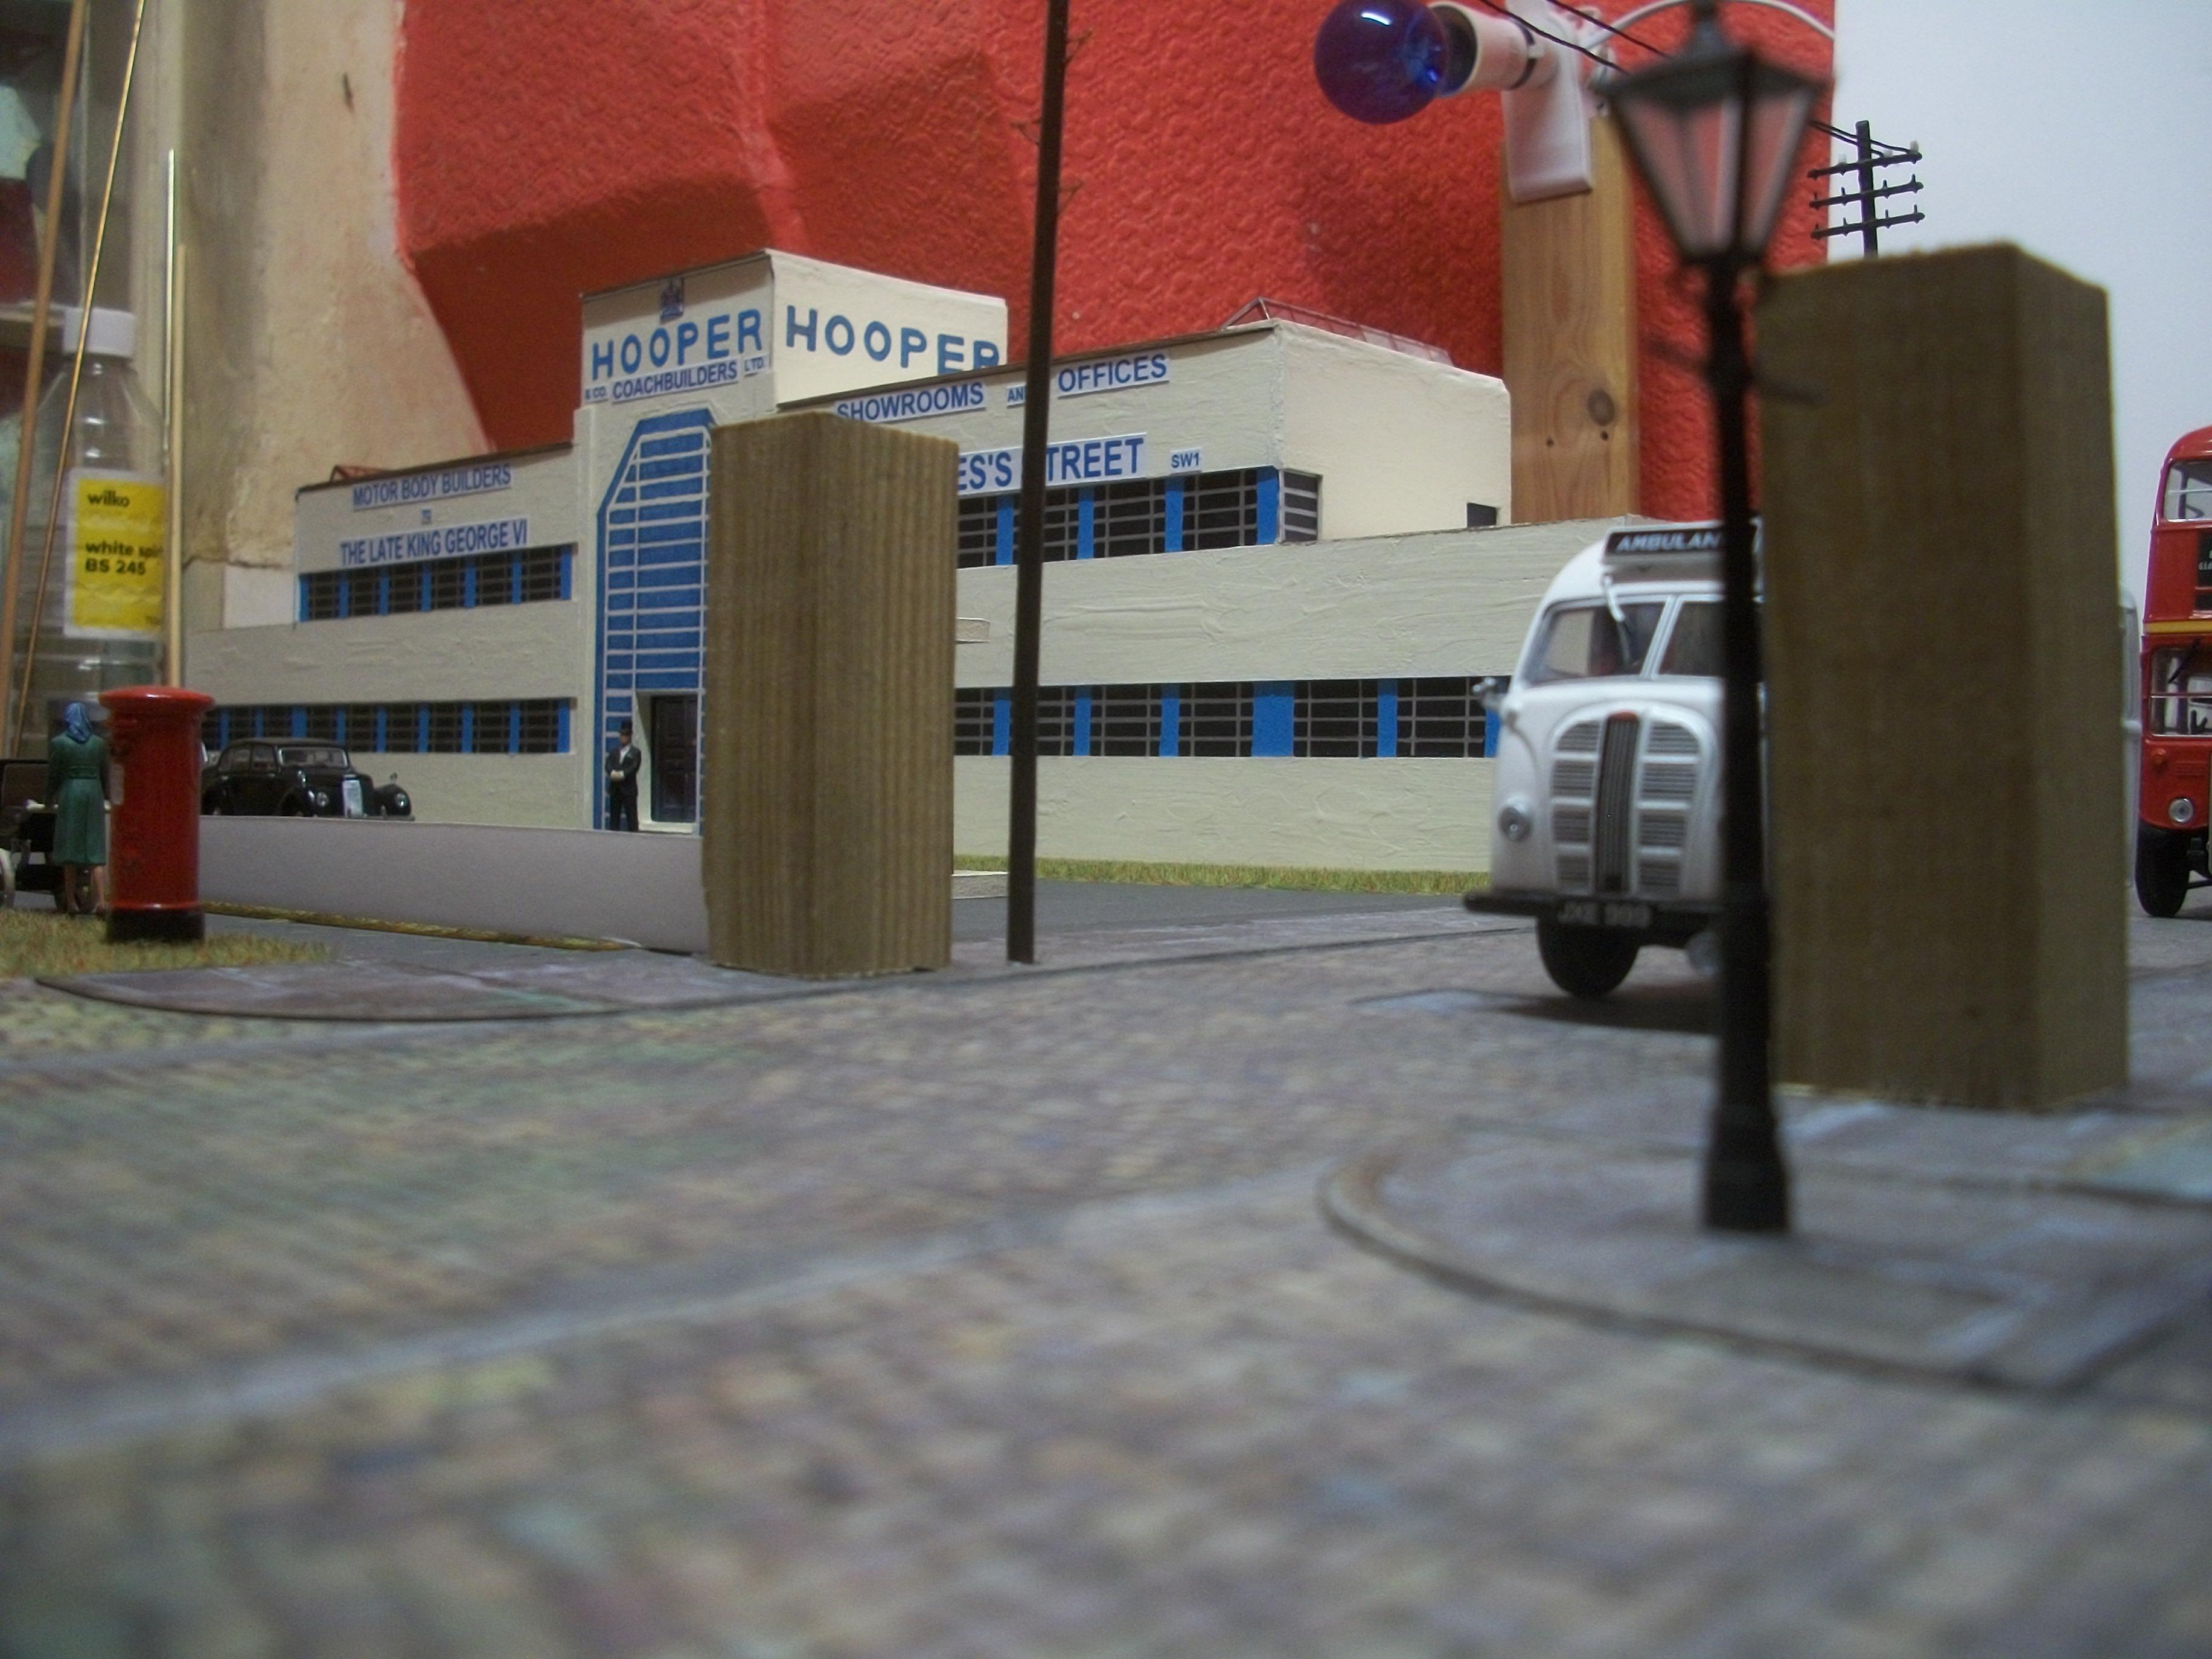
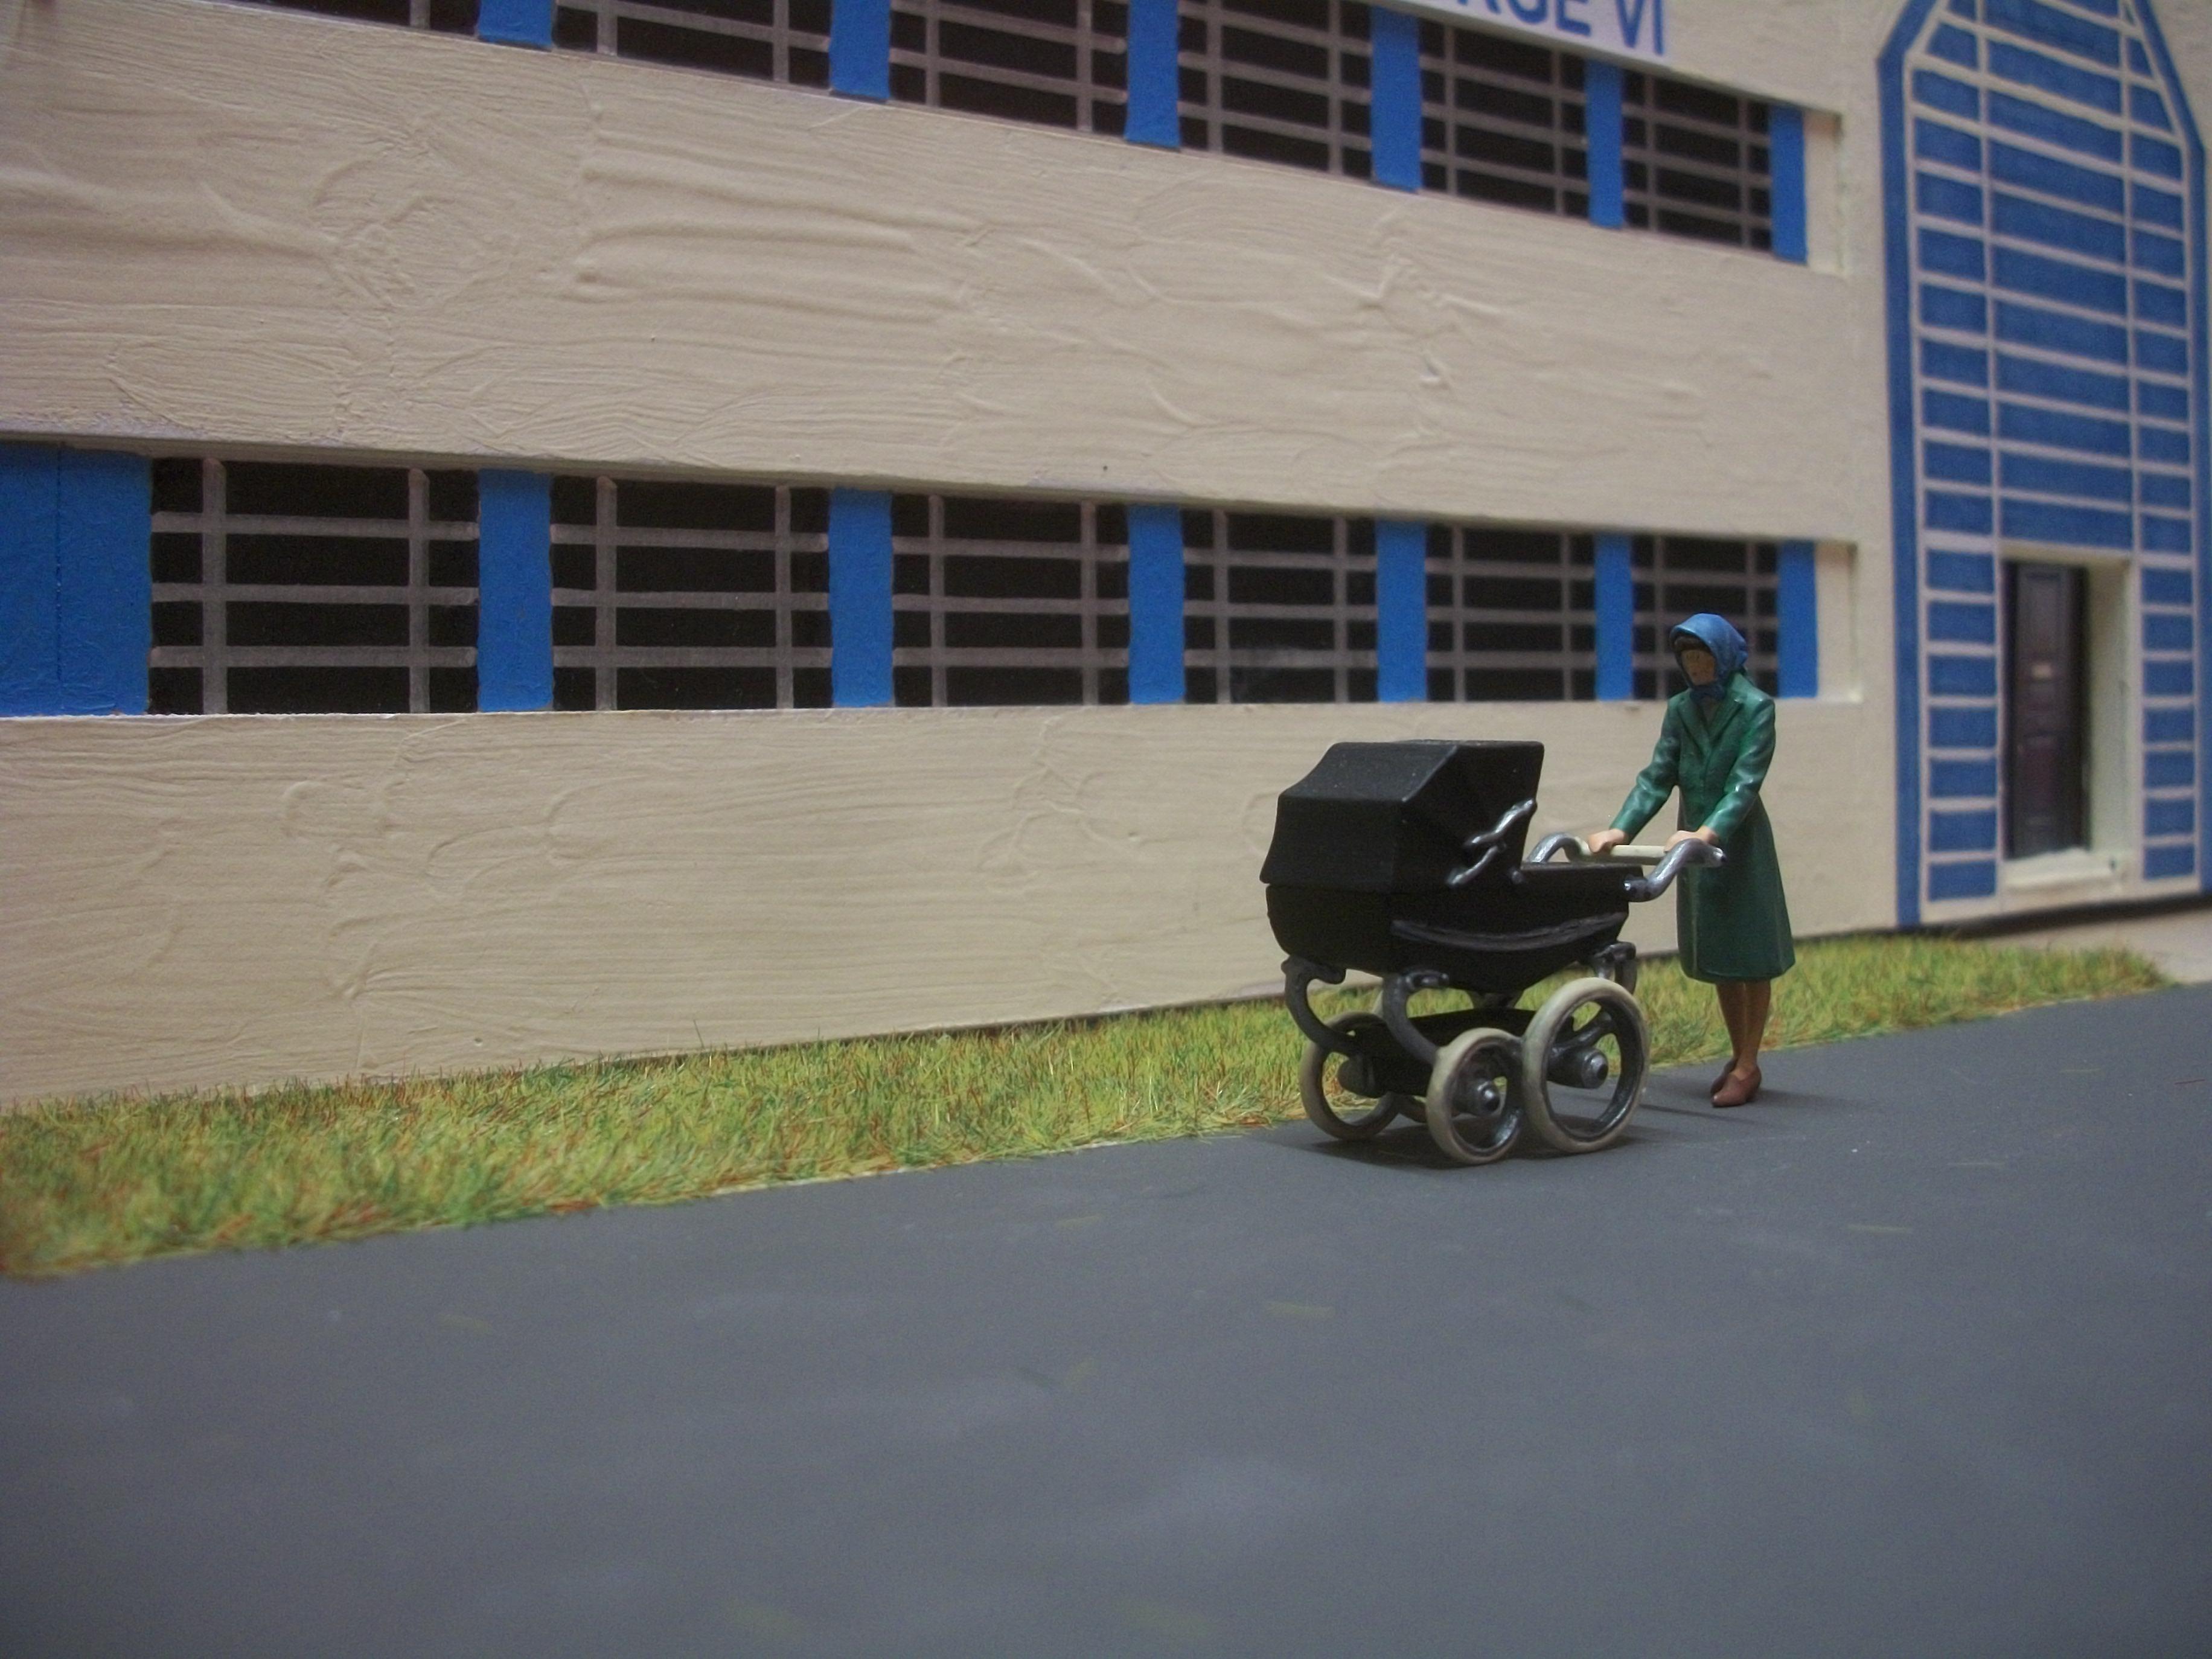
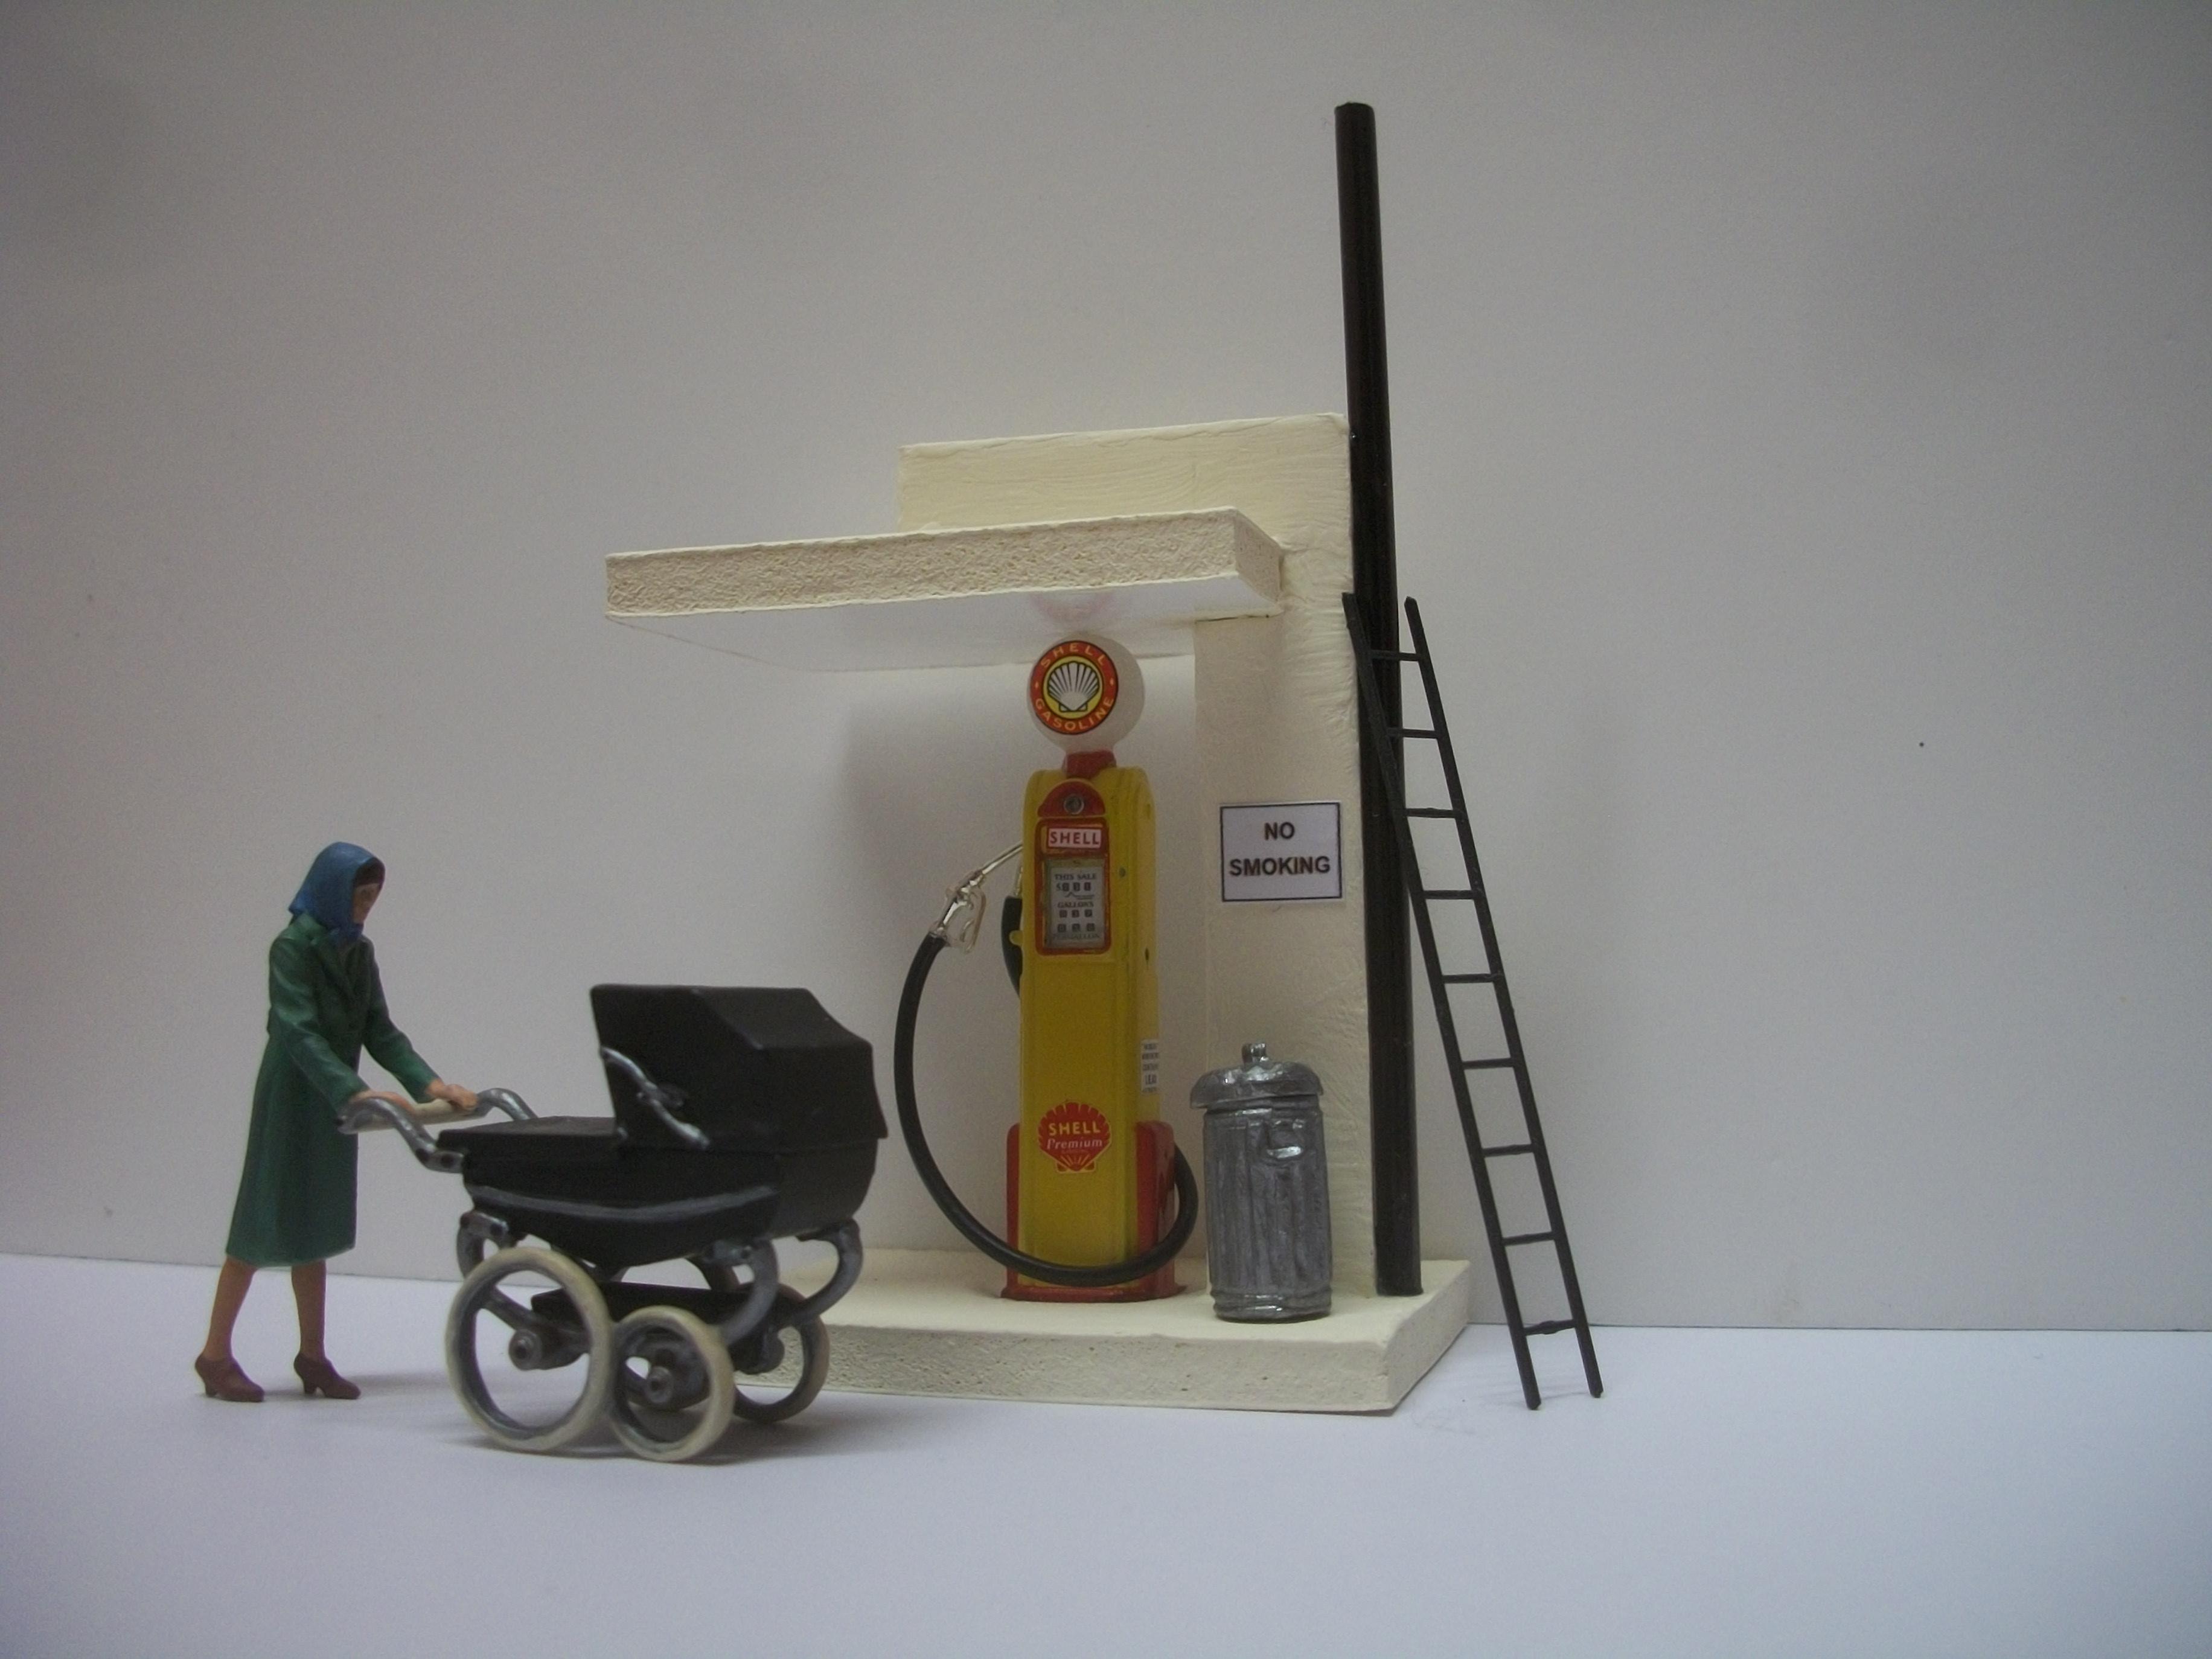
The new figure has arrived from Detailed Miniatures, which is the same company that does the mother and pram figure. I see this chap as the Hooper factory foreman, and he is a white metal figure. The seated gentleman on the bench is a Shapeways 3d printed figure that I painted myself. Abandoned the idea of creating the gate posts out of plaster or clay, and instead I've chosen wooden posts which will have some art deco features and will be painted clotted cream. There will be a brass rail running the full length of the low wall, mounted into drilled holes at the posts. David
-
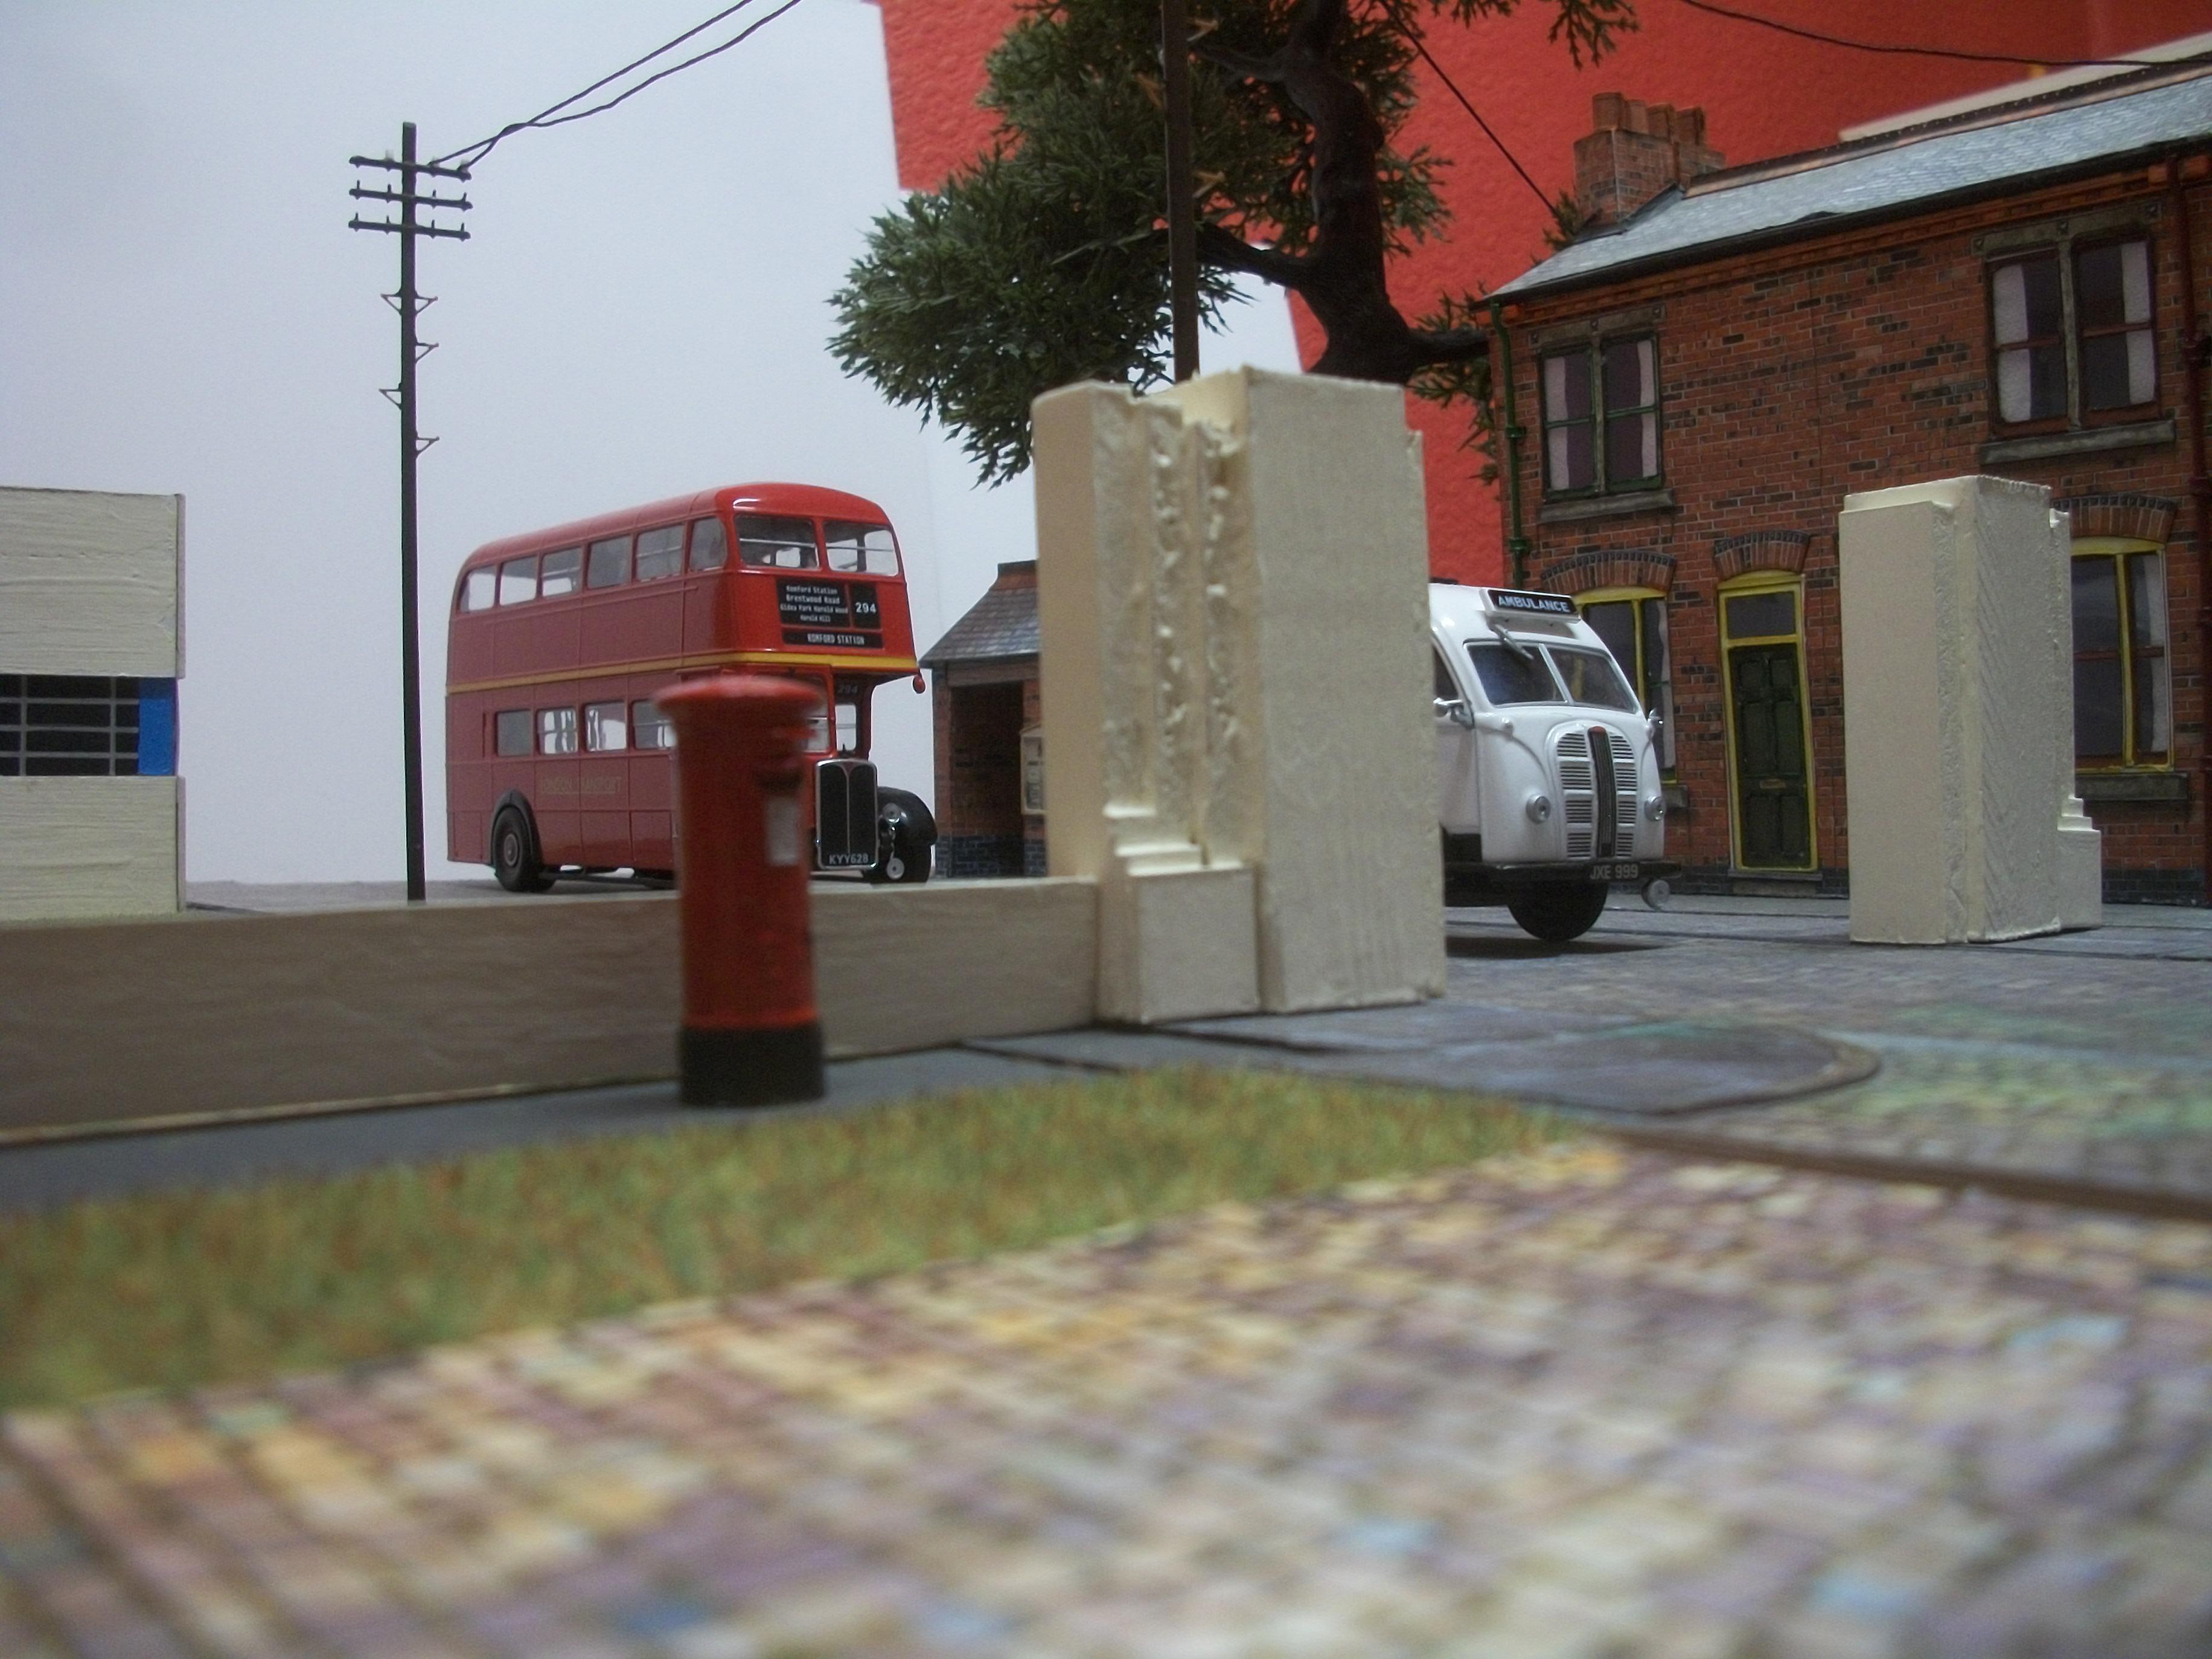
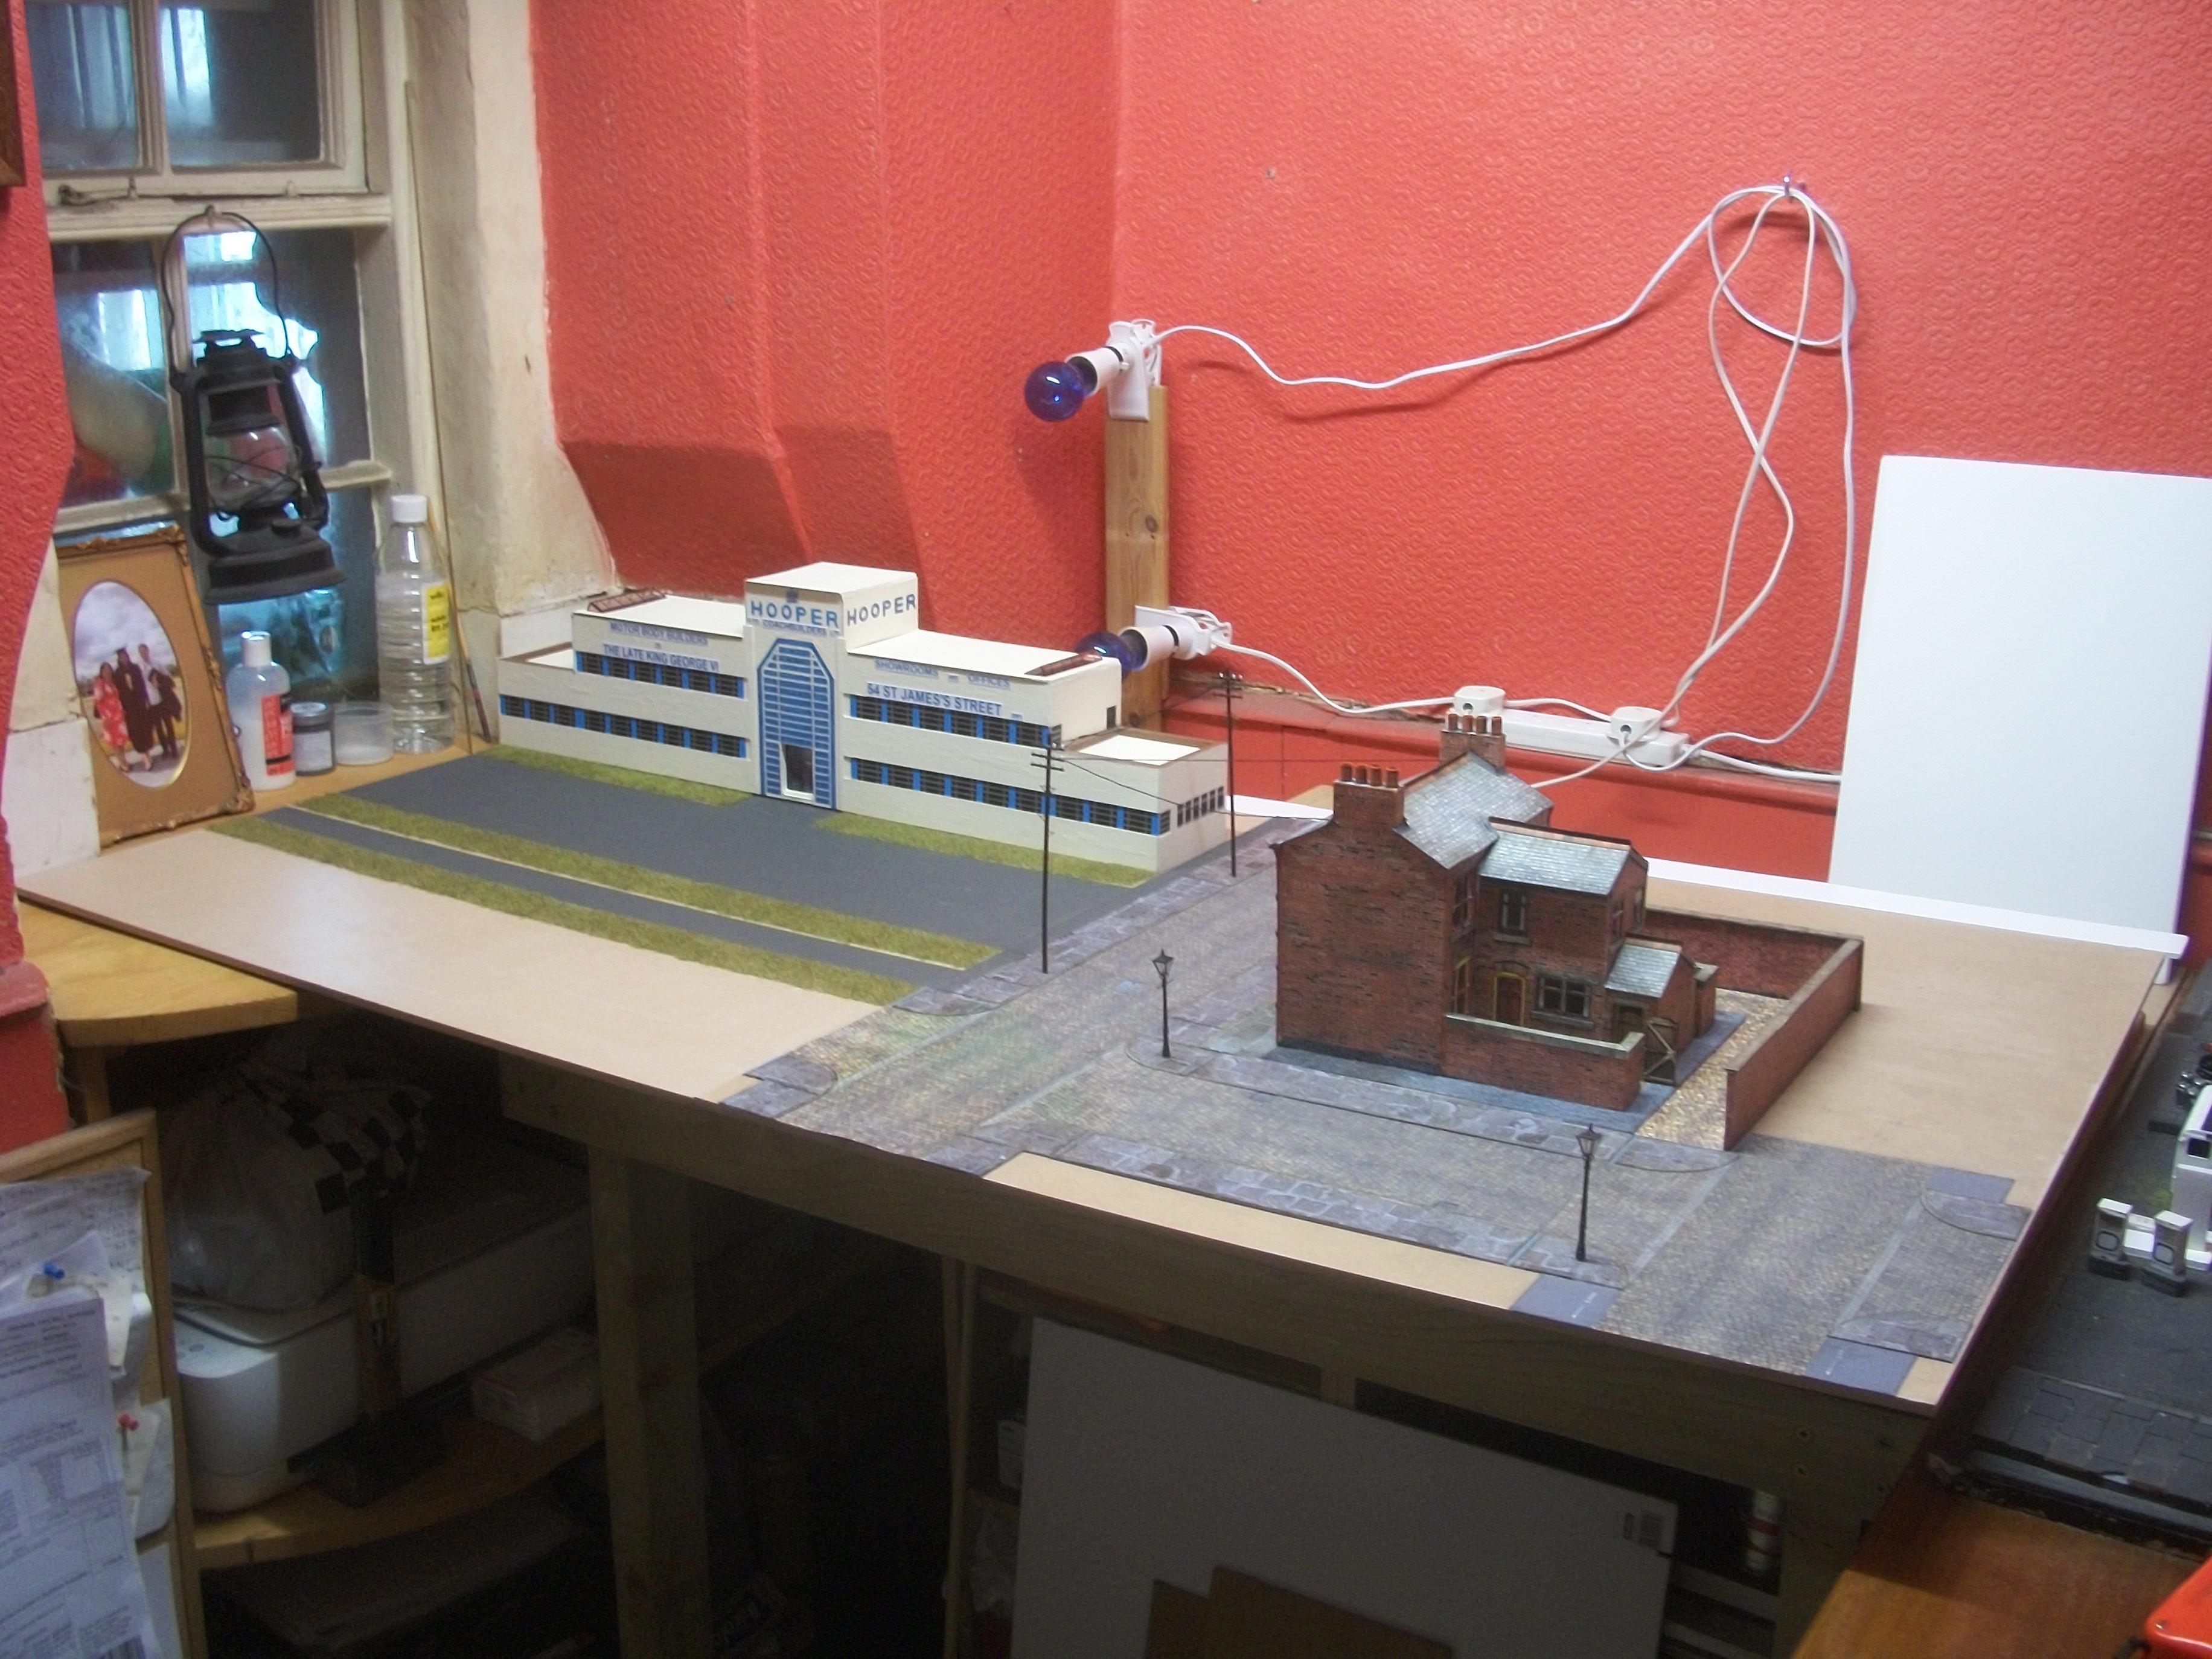
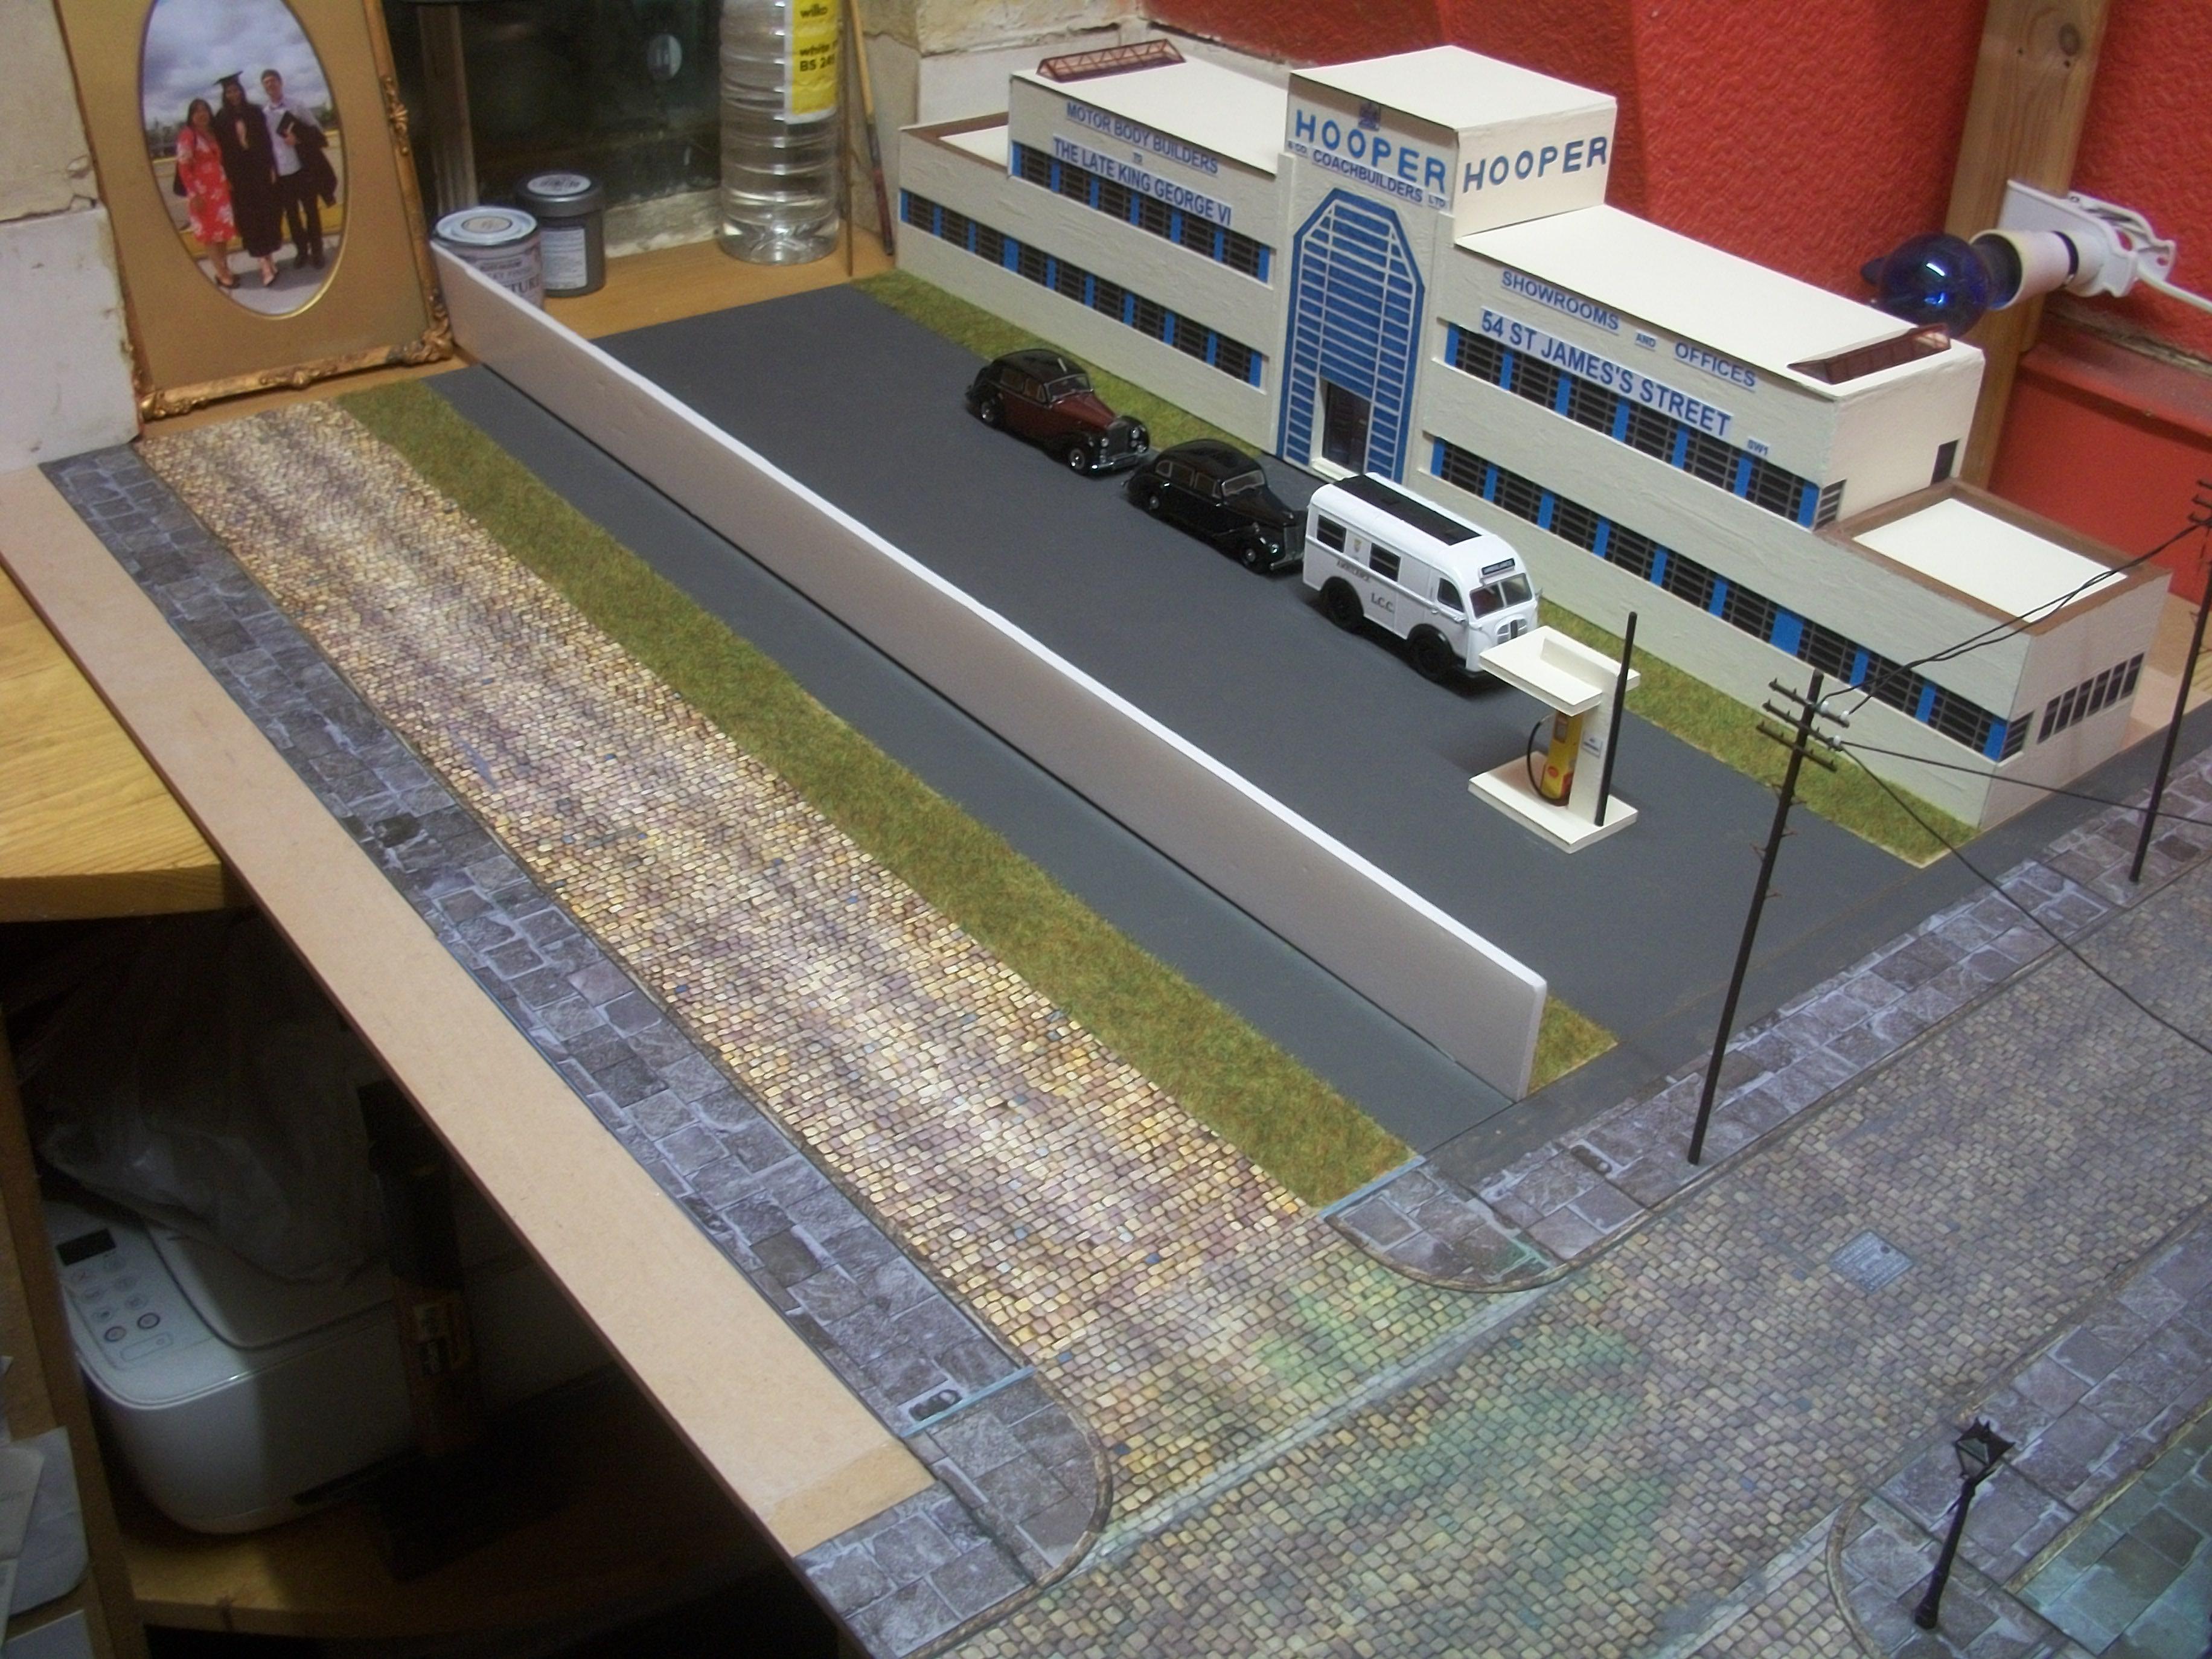
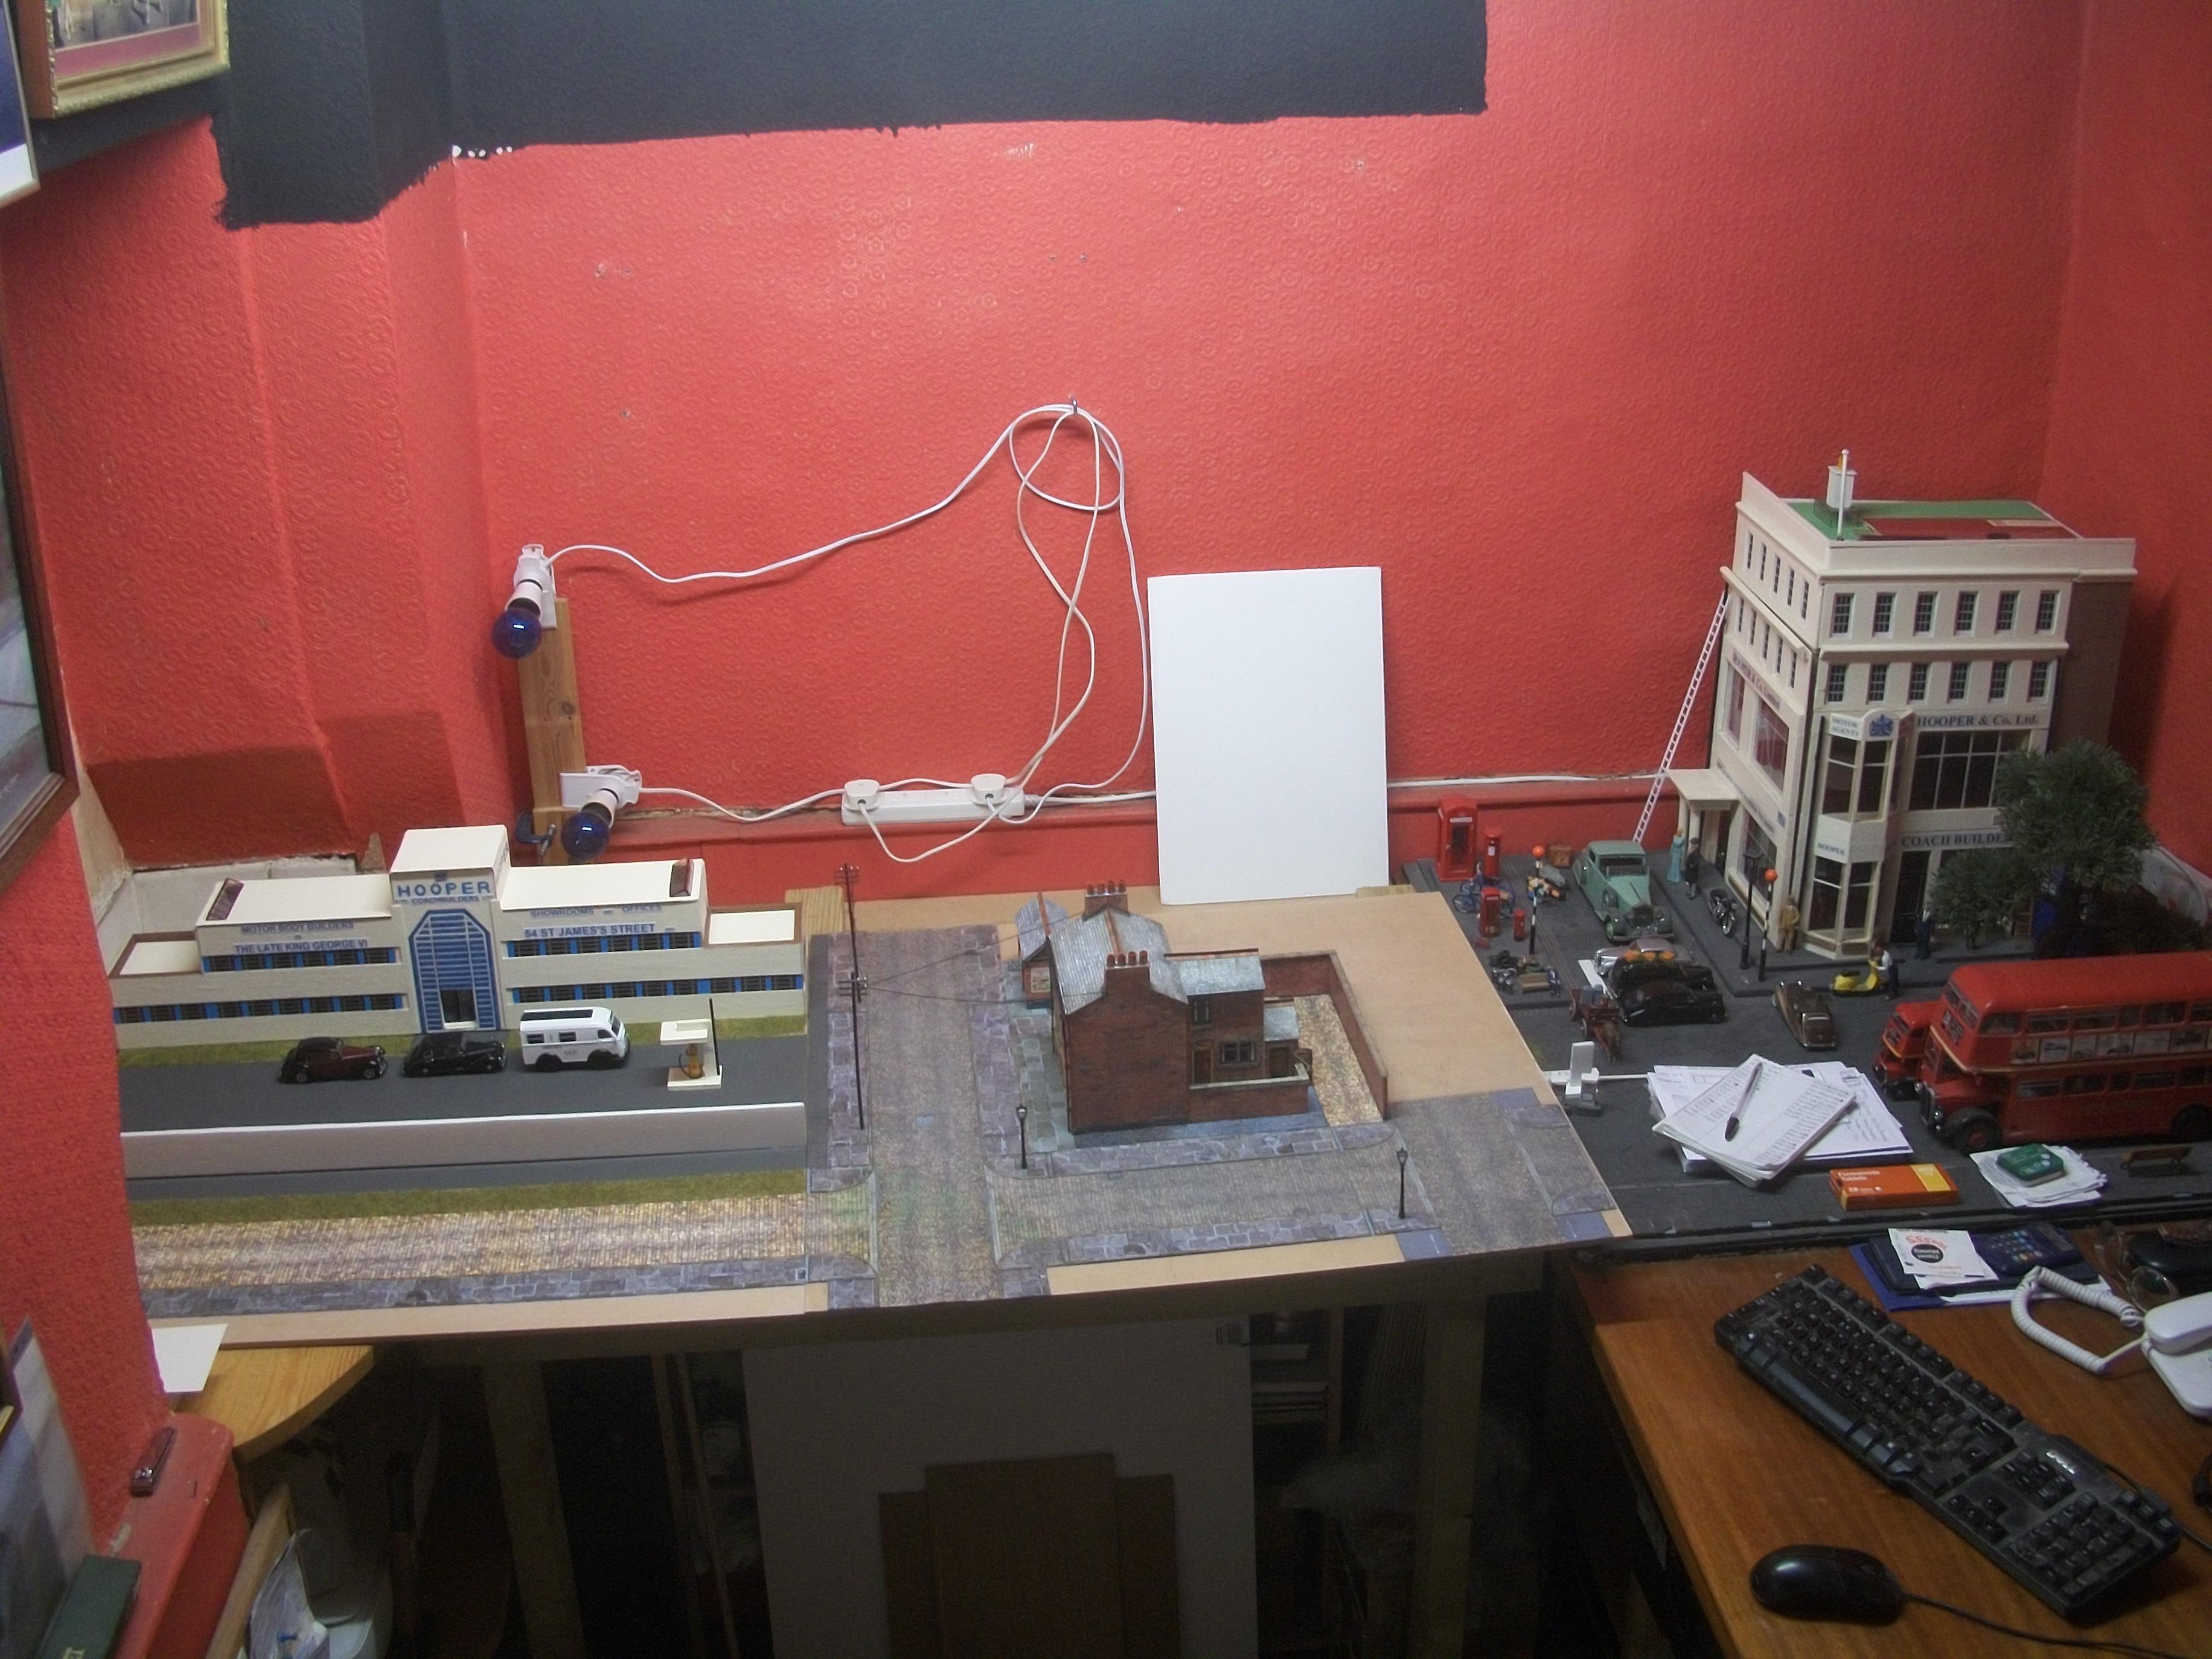
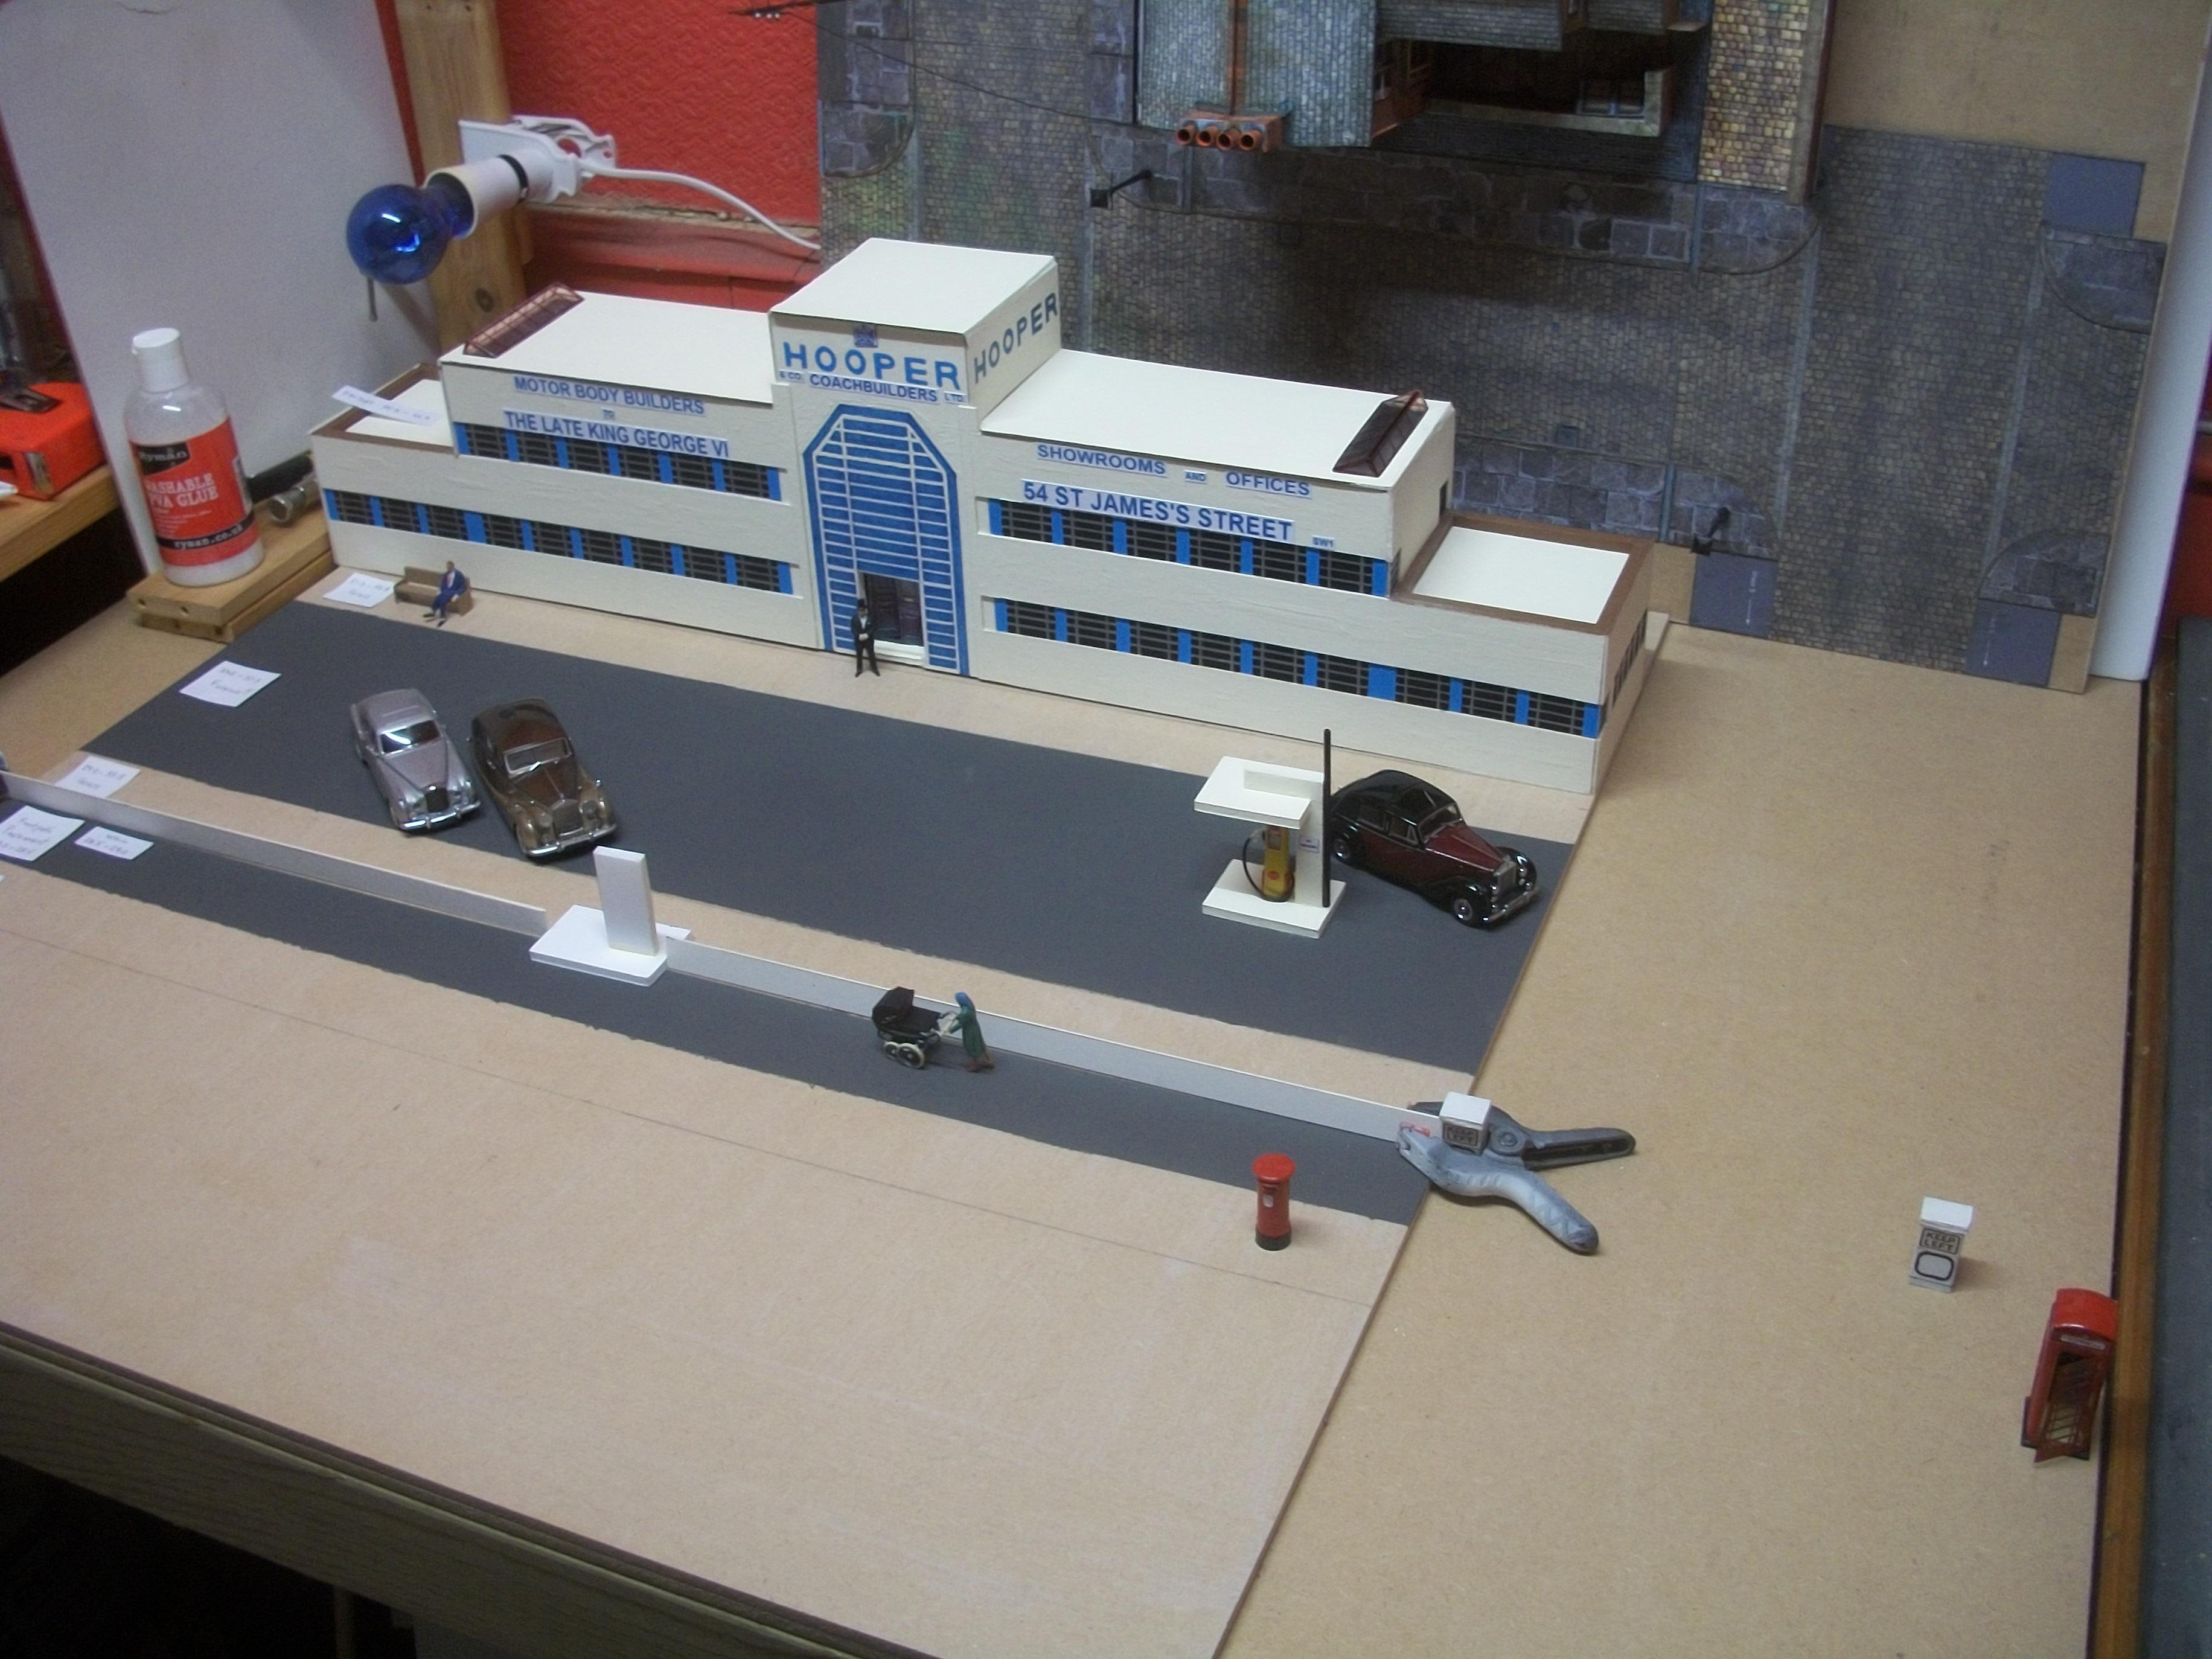
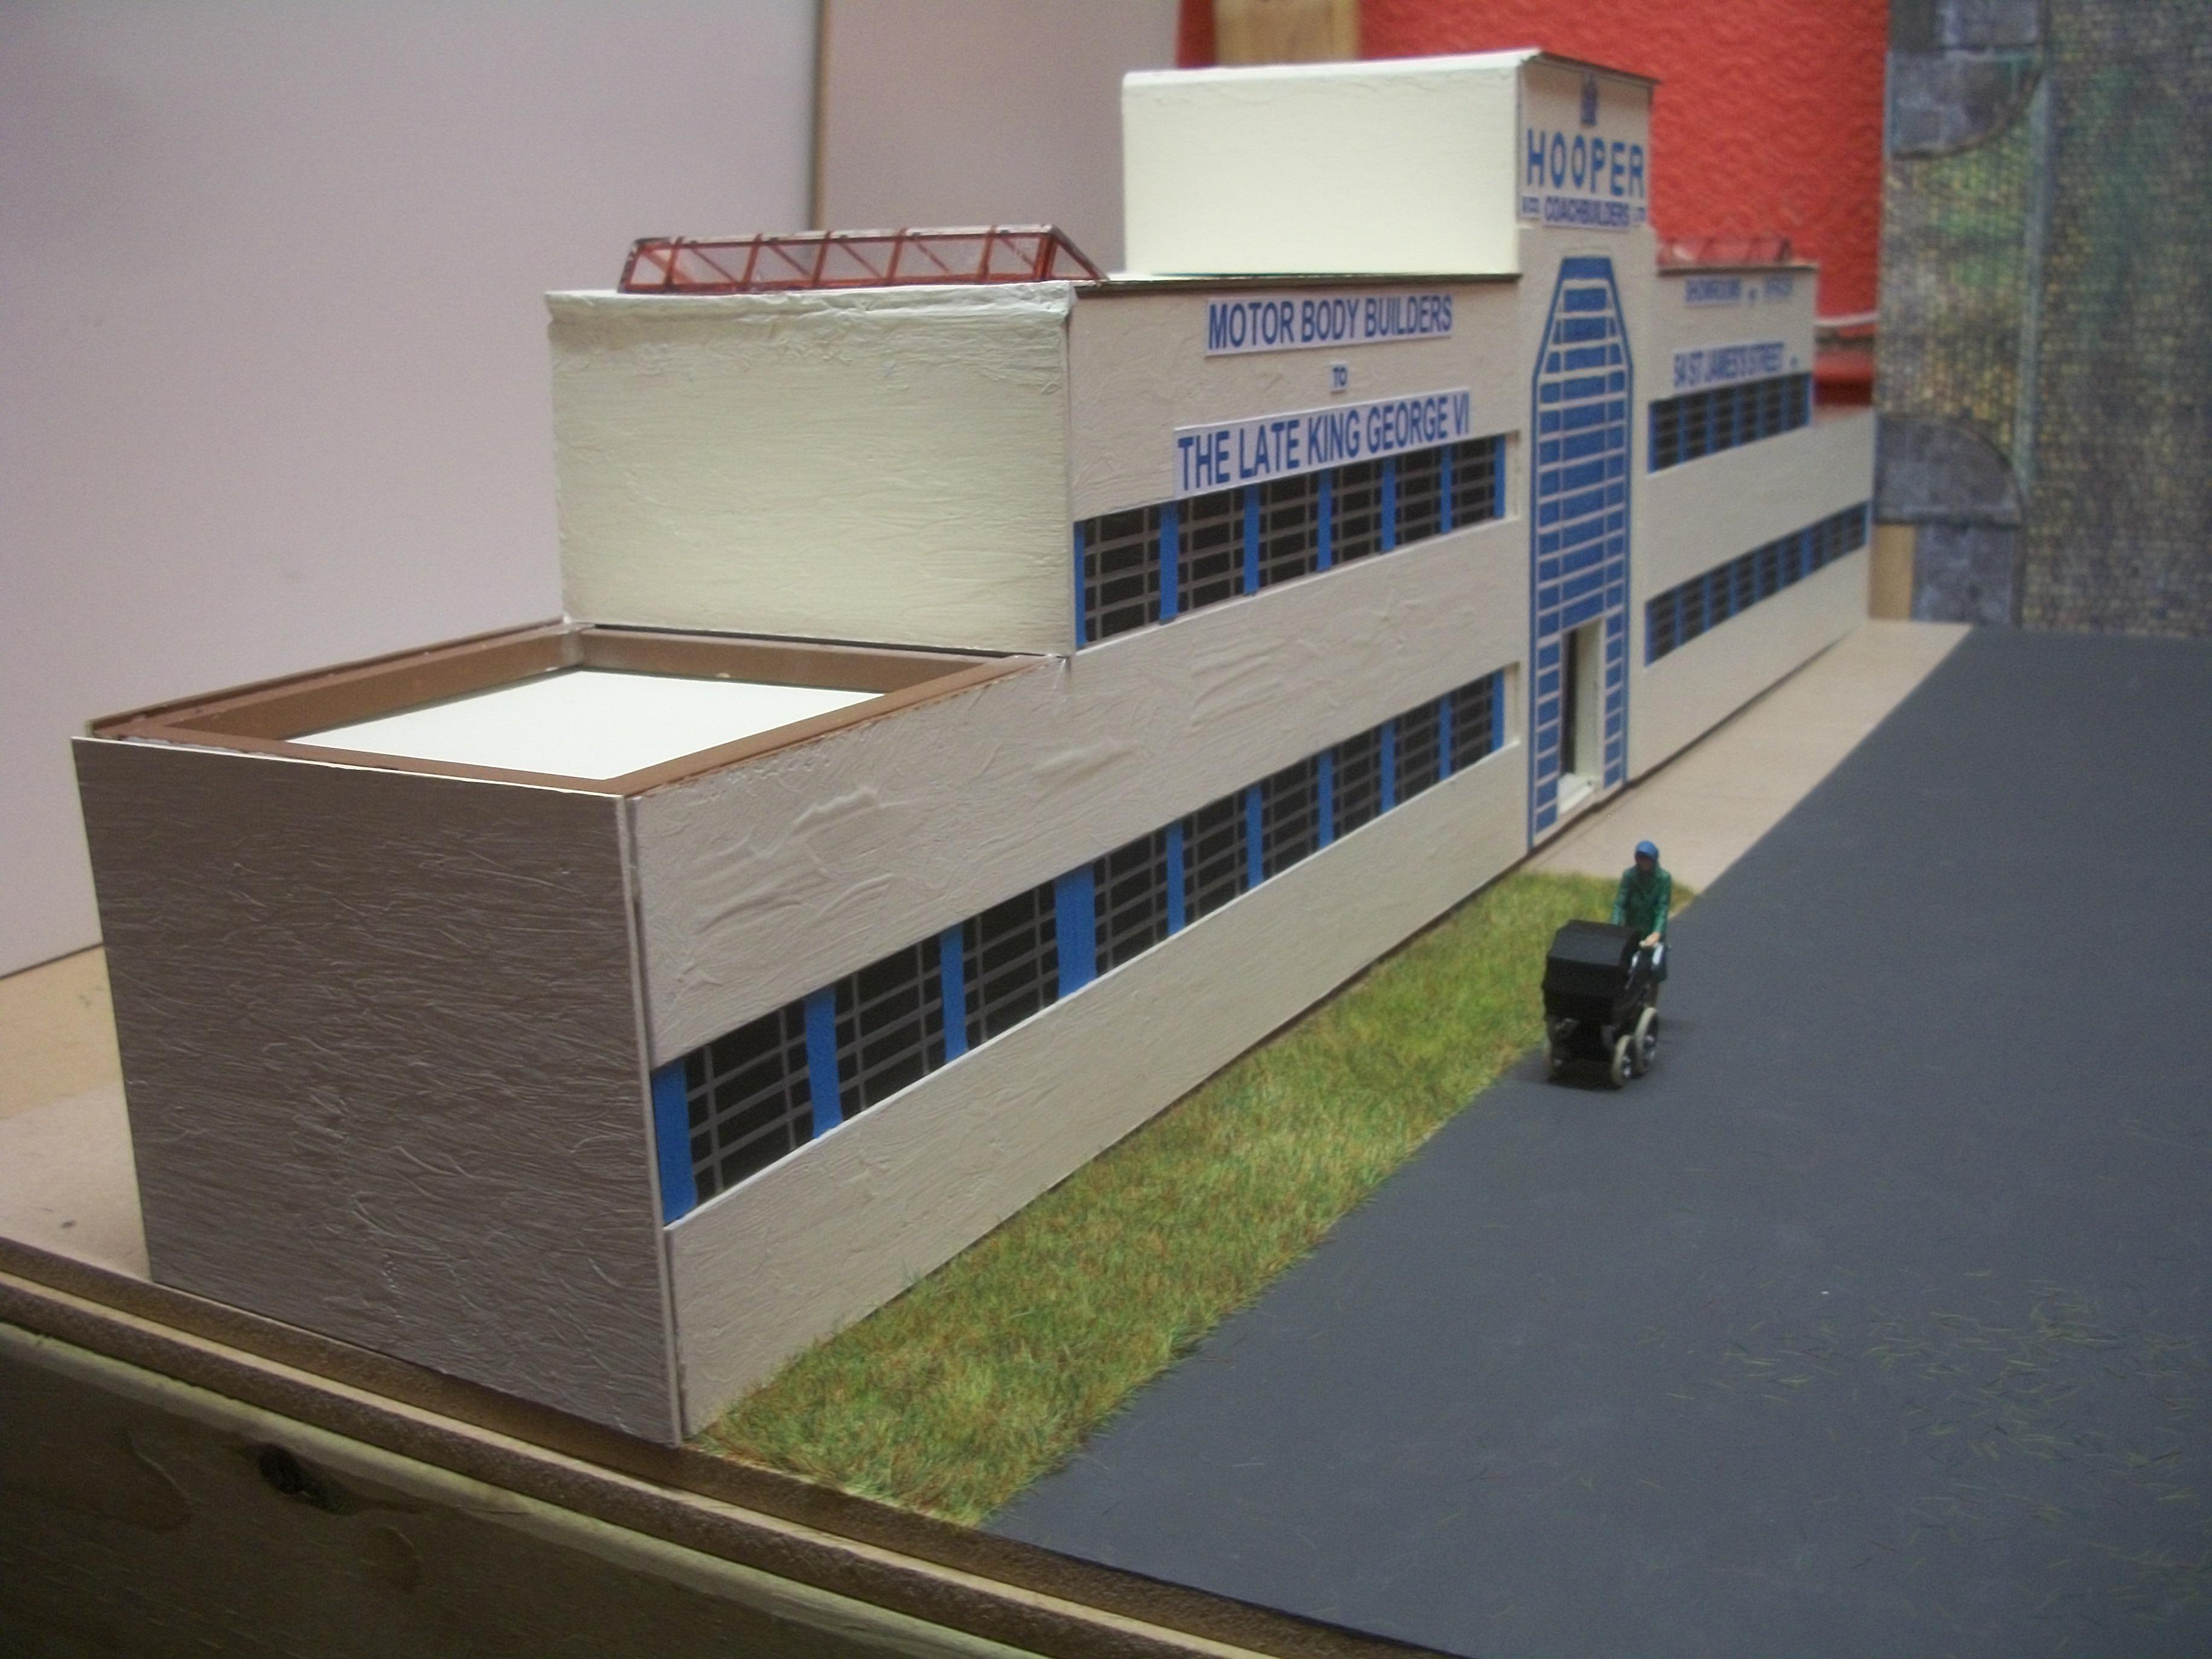
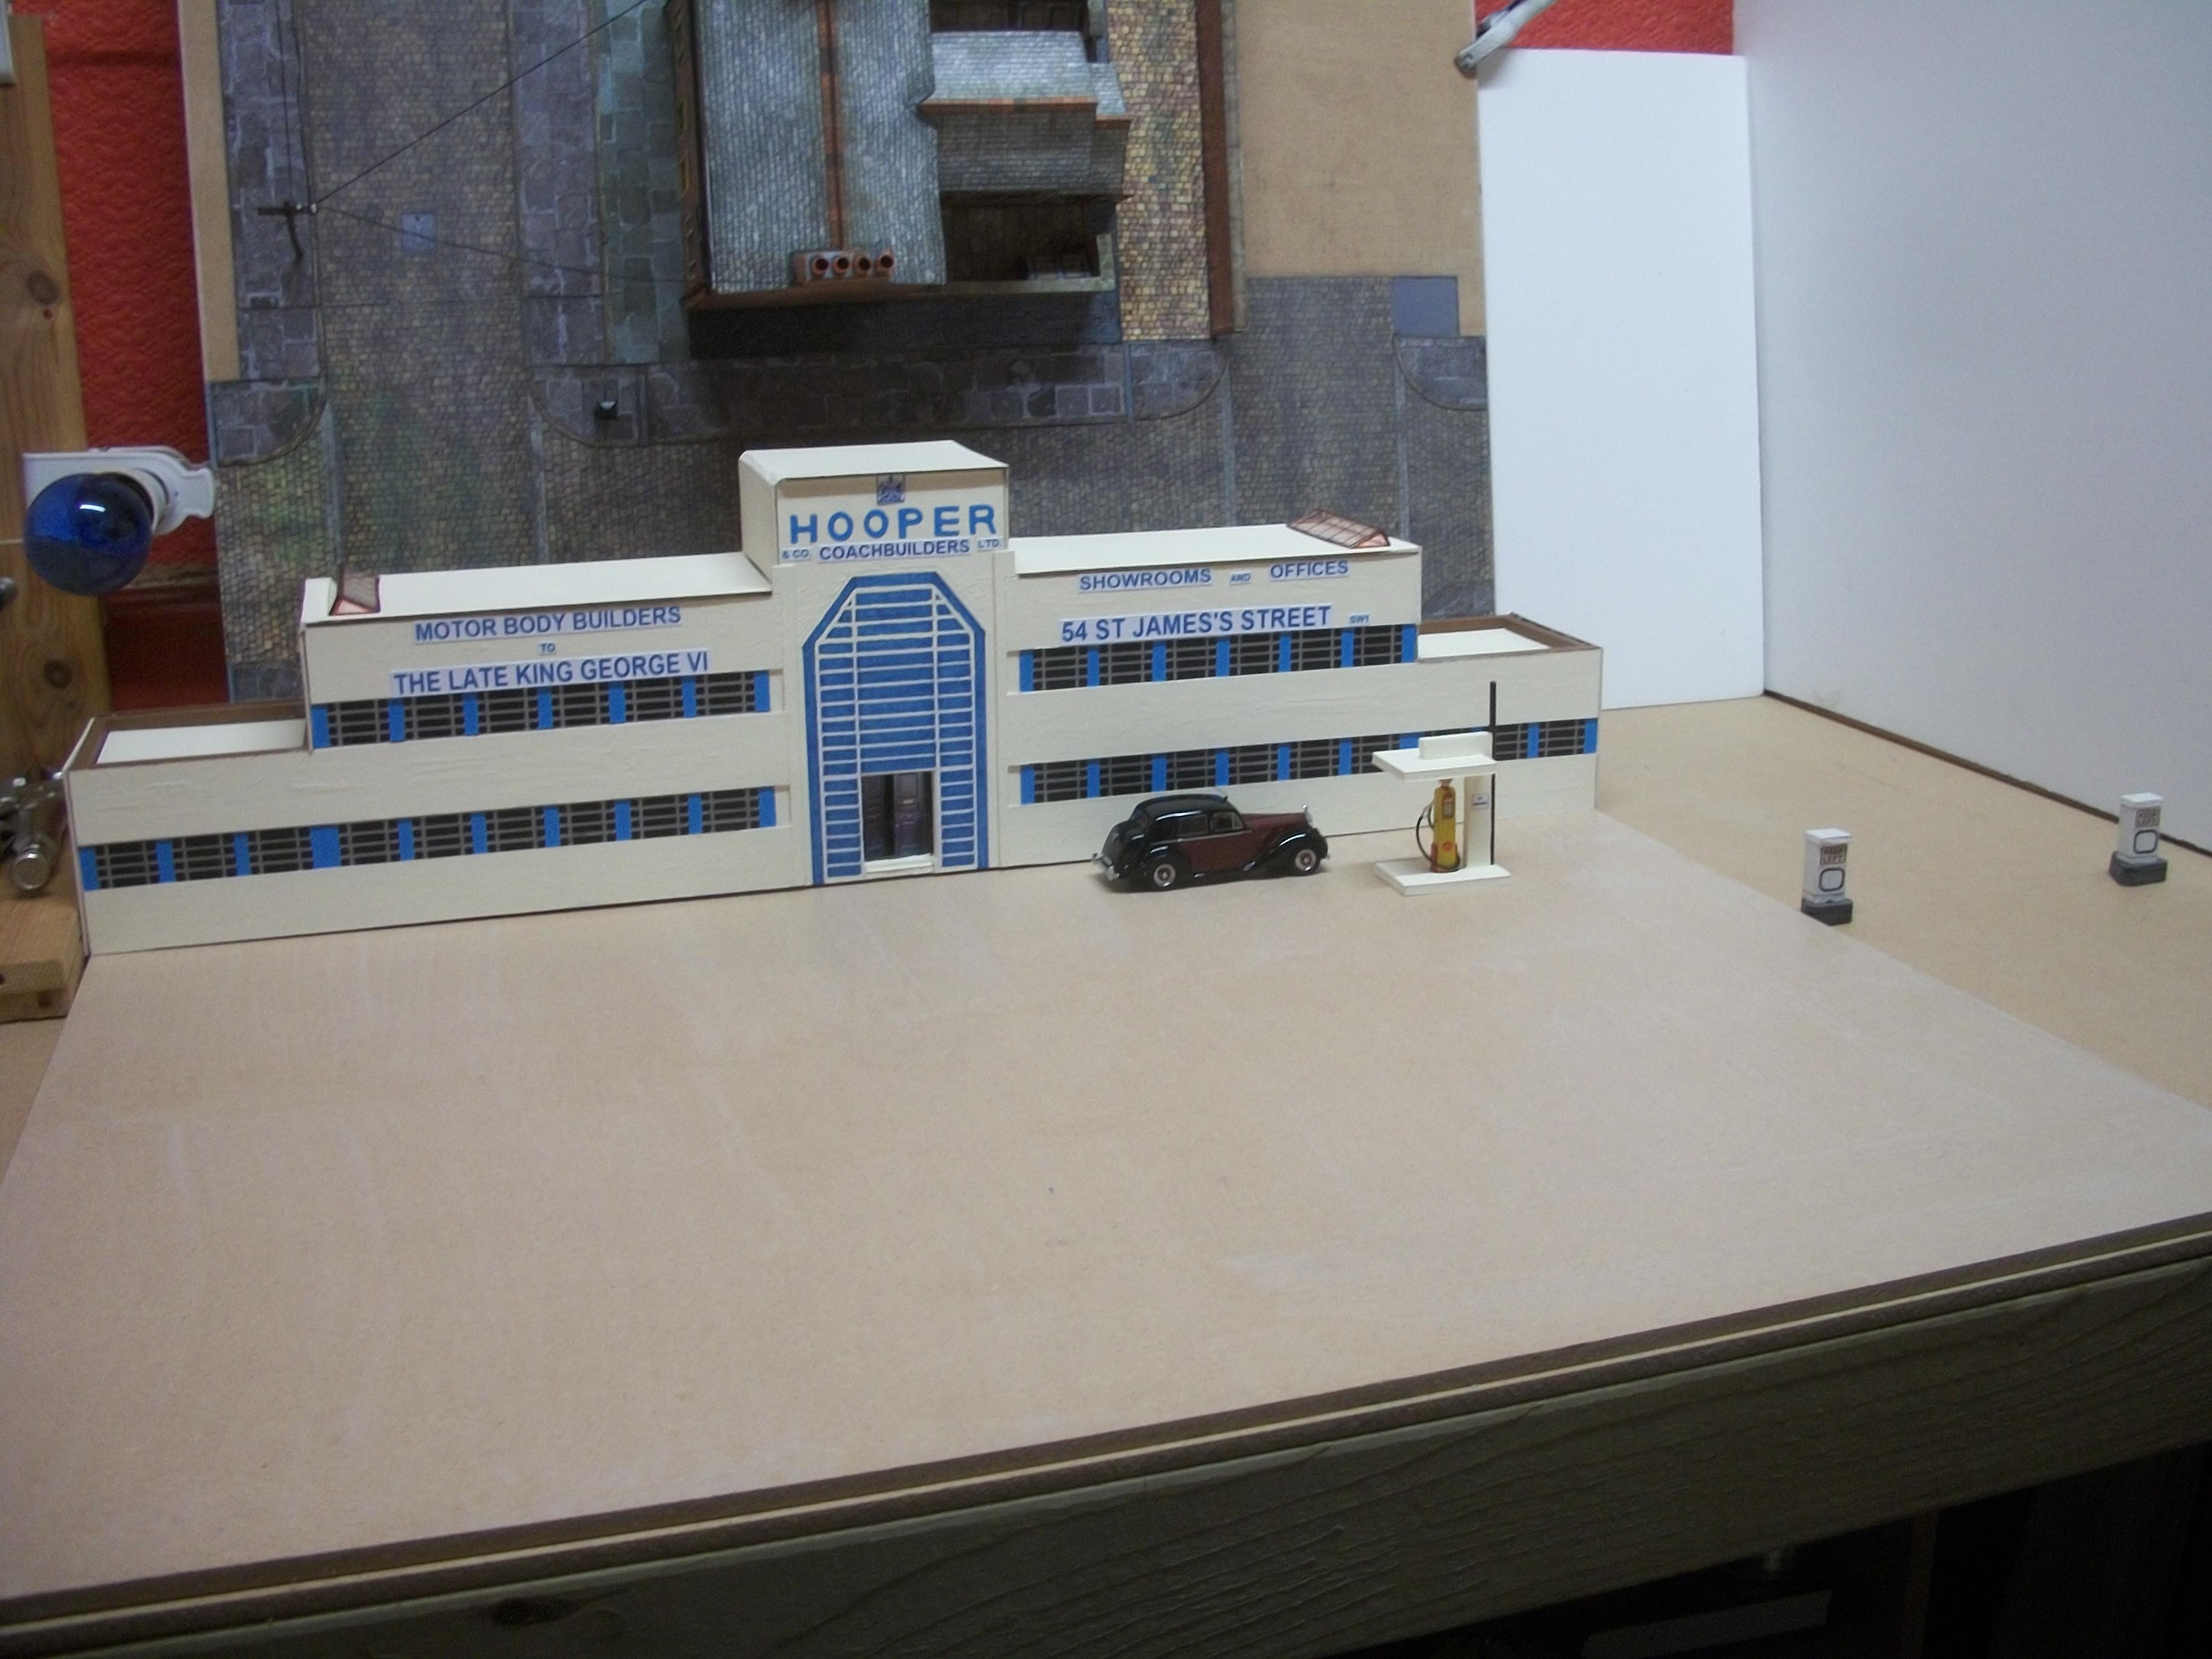
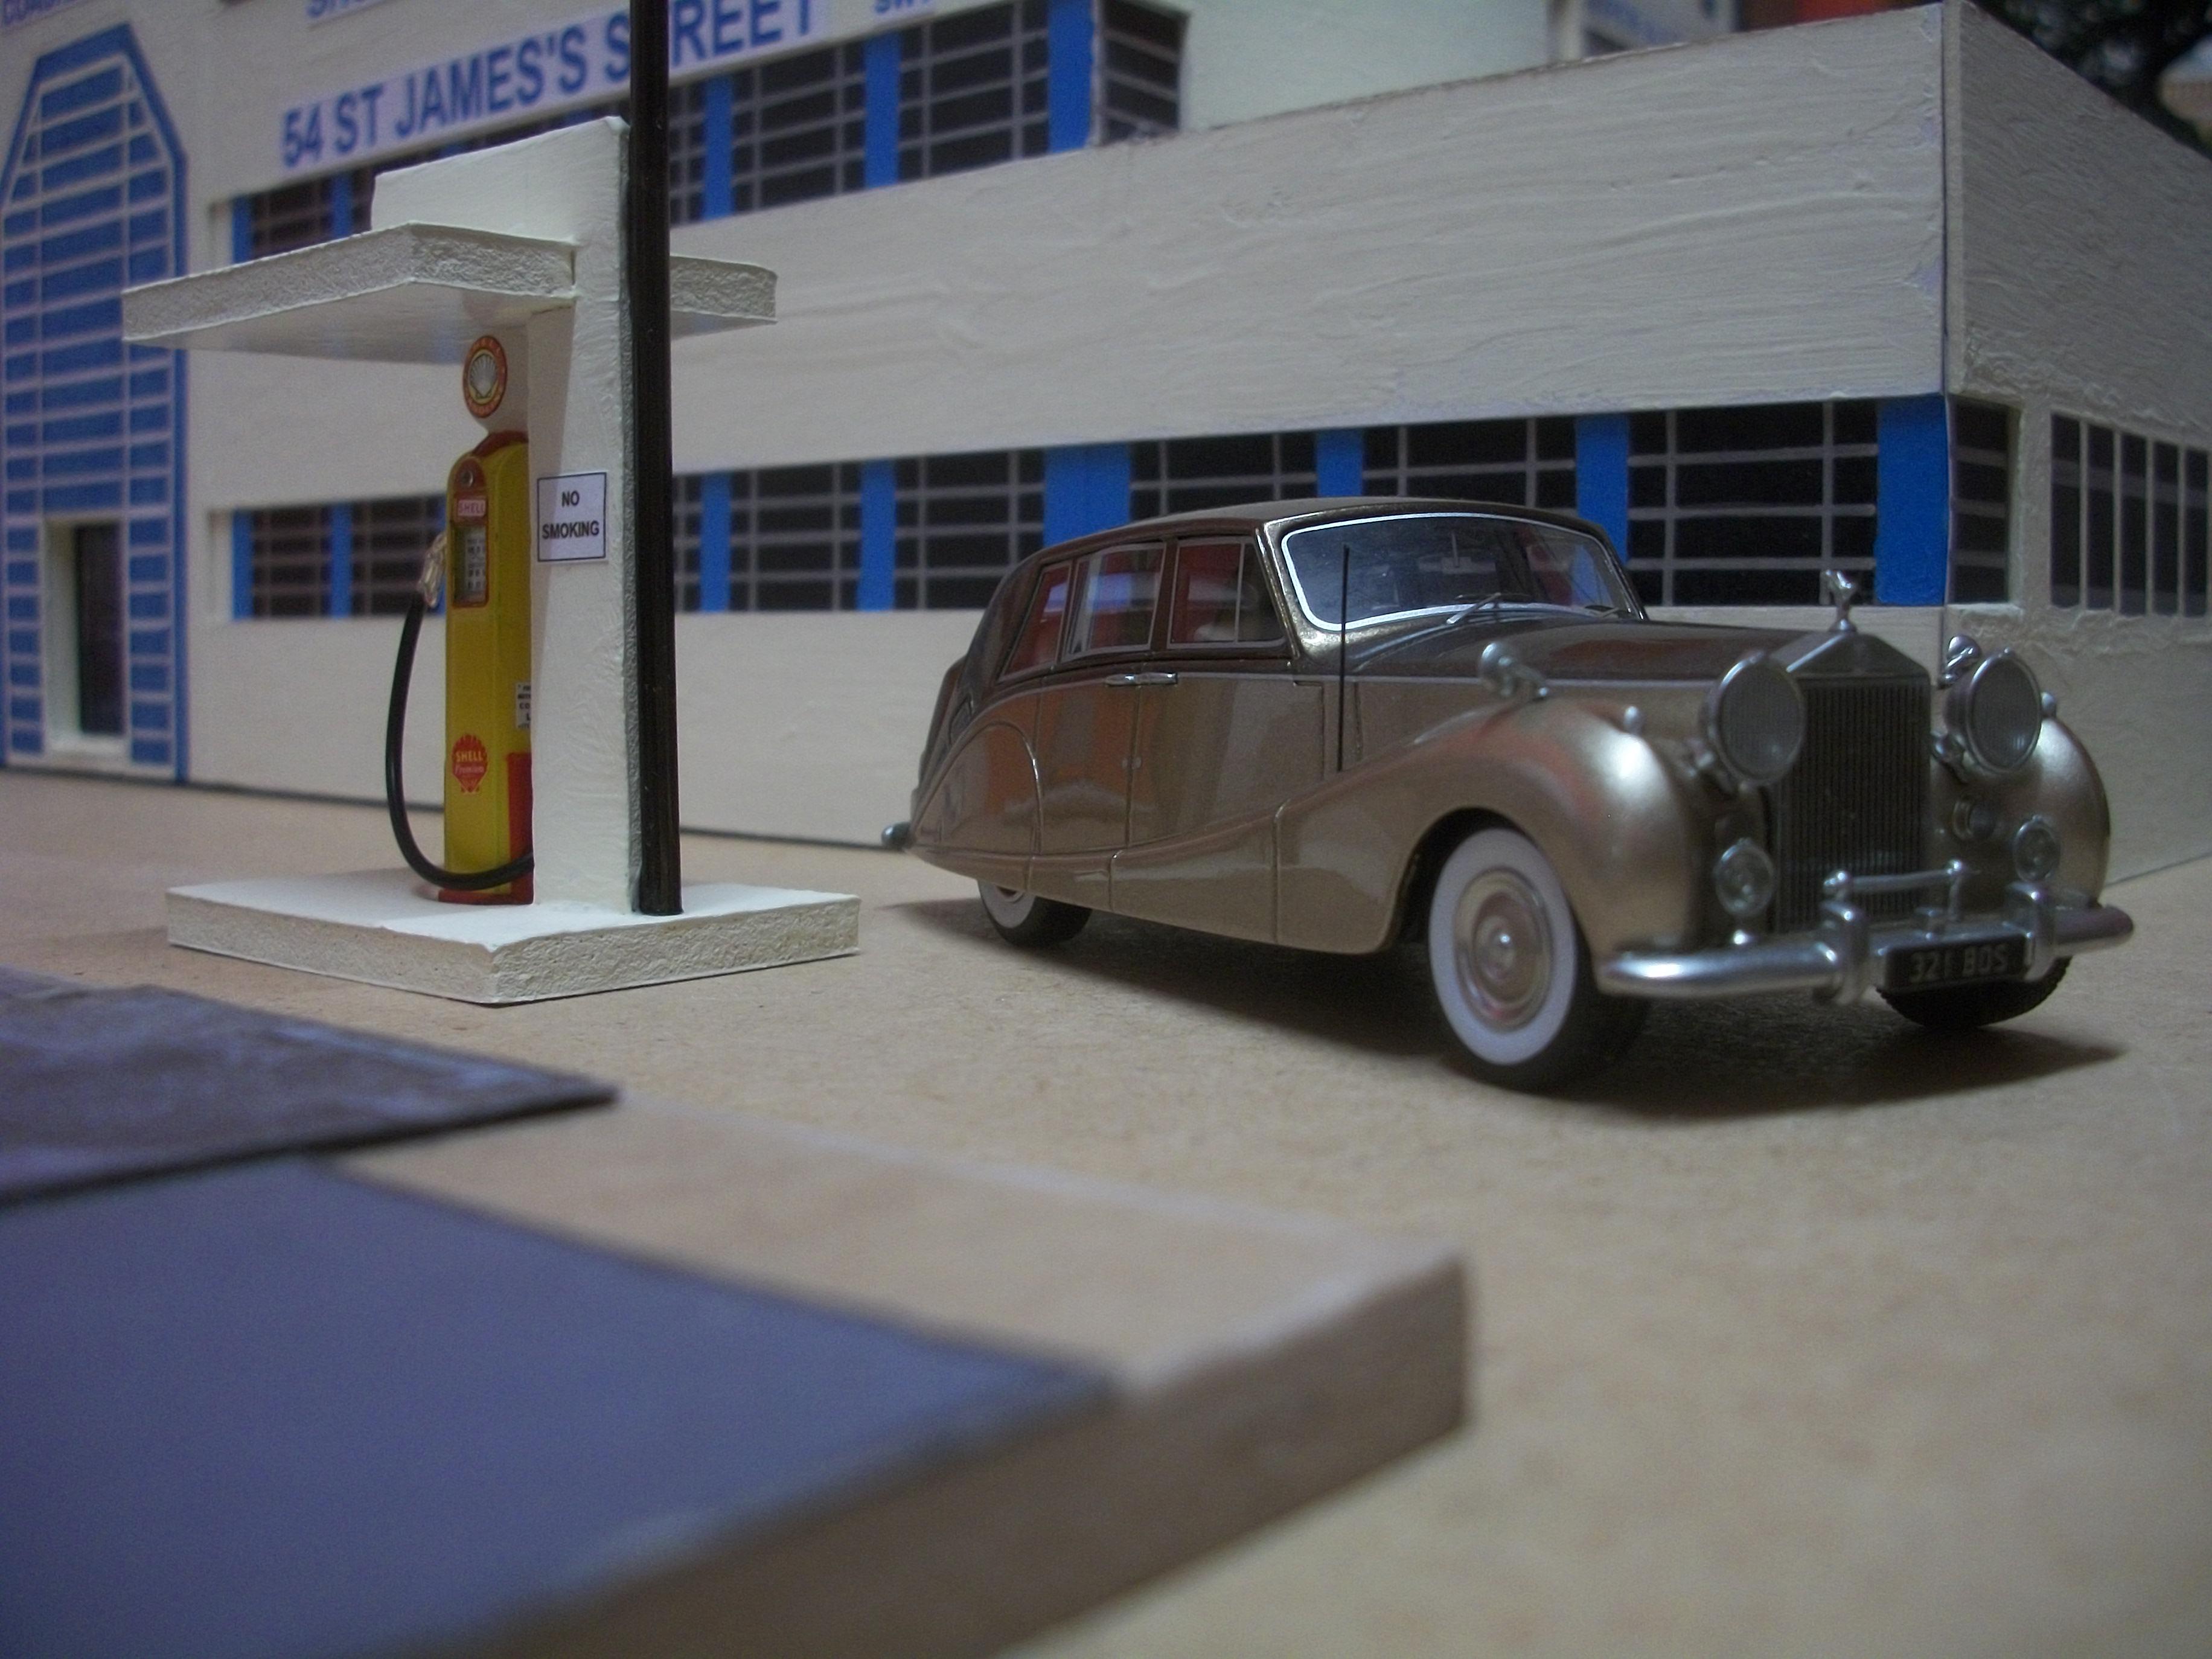
The construction of this diorama is moving forward at quite a pace........ both of the 1:43 scale diorama baseboards have now been brought together, so that I can line up everything precisely. Following the delivery of the road and paving sections, the continuation of Western Avenue has been completed, apart from applying grey pastel powder to the road surface of the factory diorama so that it matches the section of the road on the terraced house diorama. The low wall that will run the full width of the baseboard is nearly ready, and I am experimenting with the idea of plaster cast gate posts for the factory entrance. The wall that you can see in these photos is higher than the cut down version, and is simply there to show how it will be positioned later. David
-
This is the one I watched...... https://www.facebook.com/takecoverterrain/videos/1713940775523256/ David
-
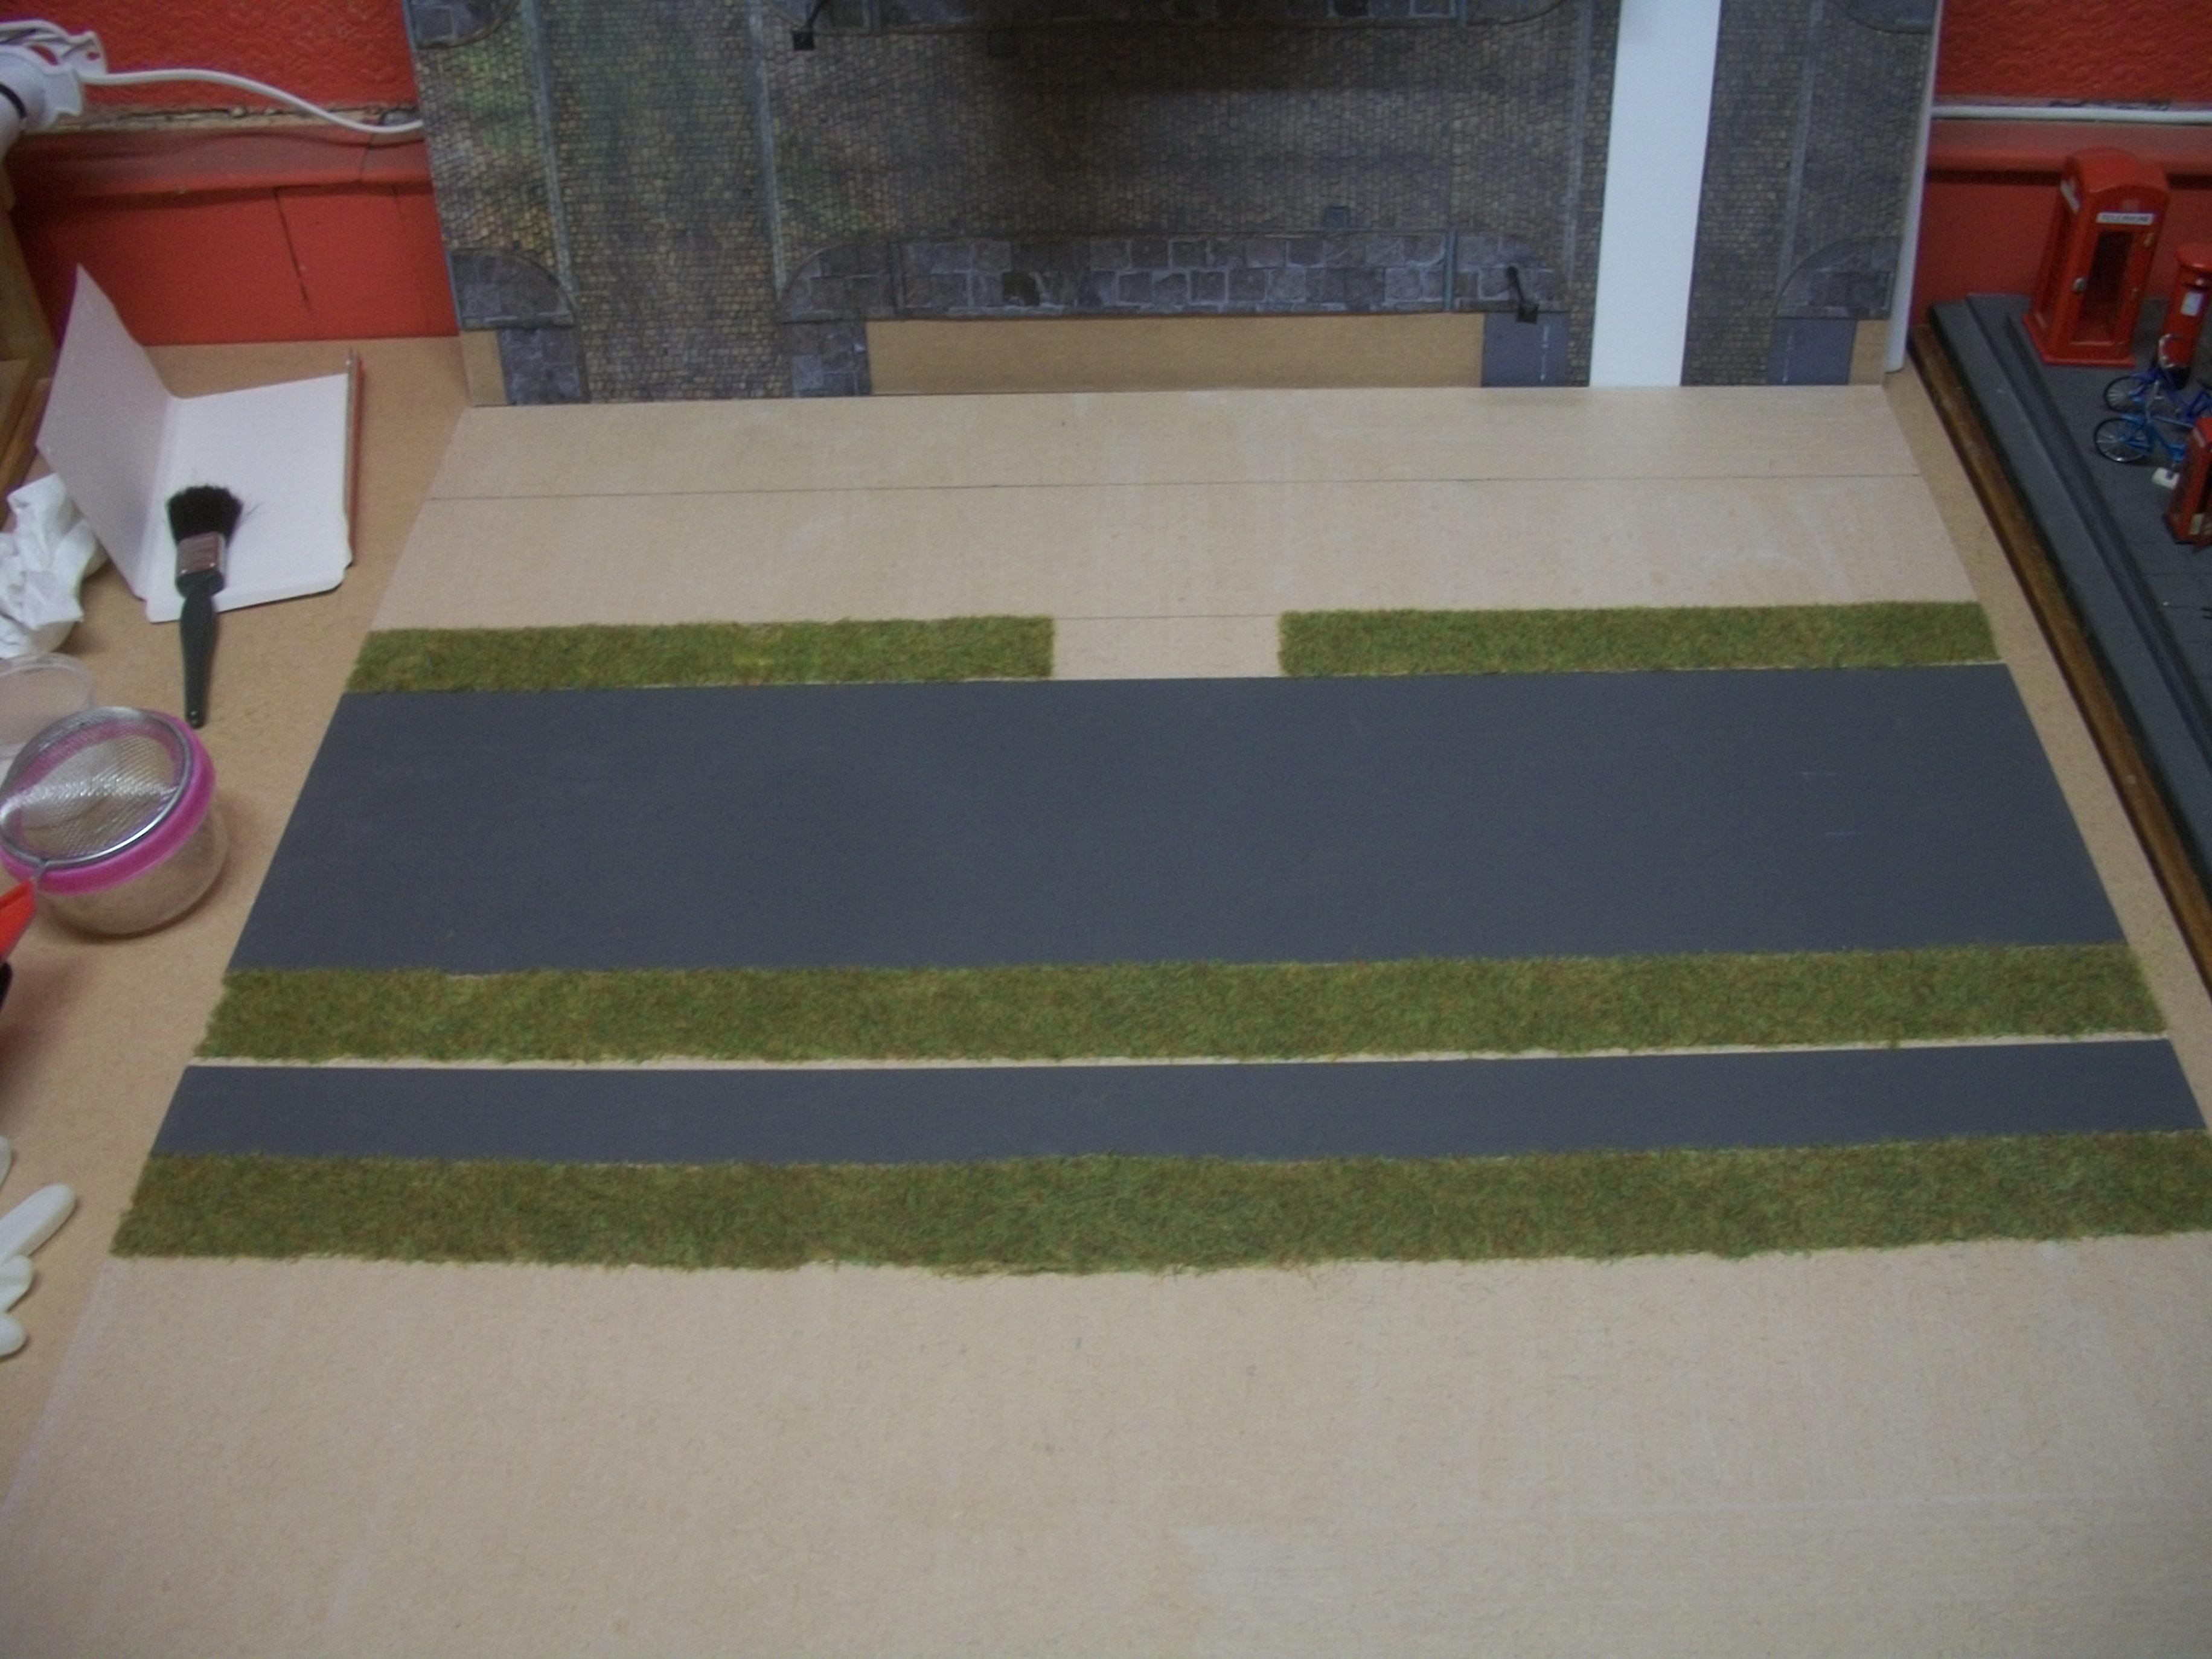
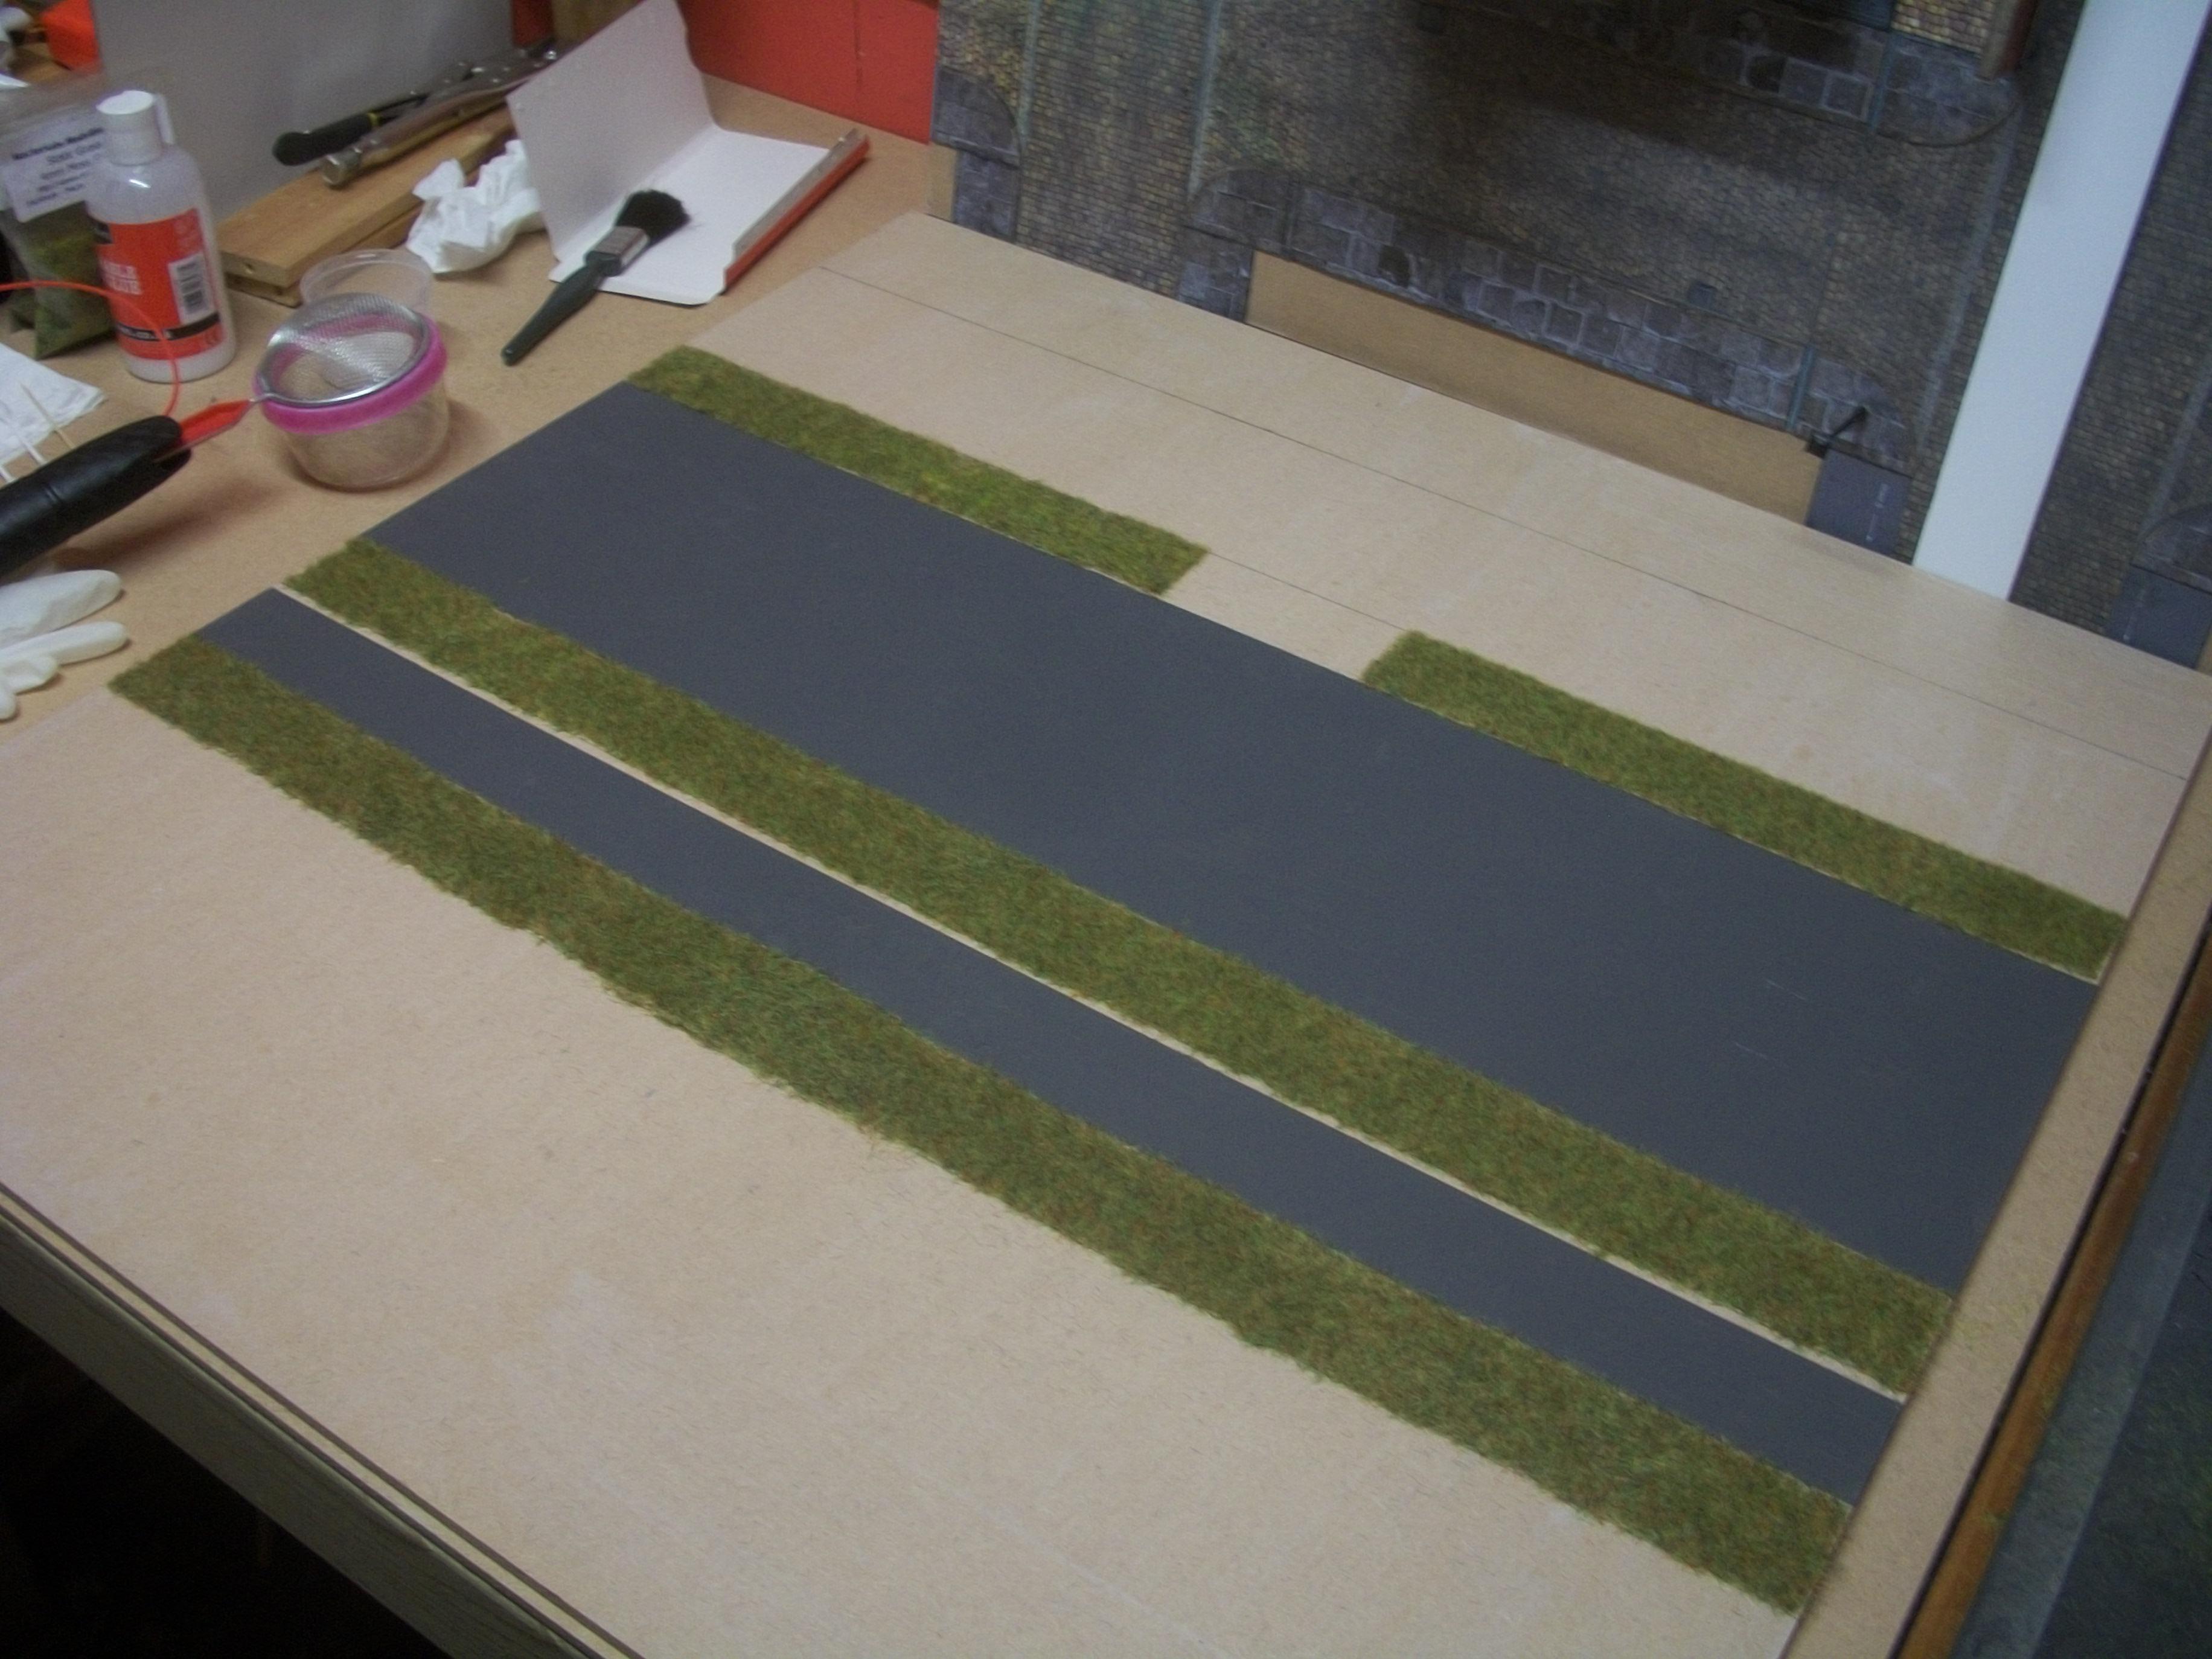
Well, Gary...... I am pleased to hear that I have ' pushed you over the edge ', but in a good way! The static grass applicator is very easy to use, as long as you are careful. The Ebay seller who supplied my applicator, sent me detailed and clear instructions how to use it, along with a link to a YouTube video which shows the whole operation very clearly also. The advice is to wear disposable latex gloves, or rubber kitchen gloves while handling the applicator, just on the off chance that you might touch the crocodile clip on the end of the wire, against the wire mesh of the applicator head. Using the recommended Duracell Ultra batteries this will produce a loud crack, a bright blue spark and an electric shock to yourself. Once I had spread some PVA glue mixed with a small amount of water onto the area that I wanted to be grassed, then I loaded the hopper with static grass flock and with the crocodile clip gripping a nail, it is simply a matter of shaking the grass over the glue area, keeping the wire mesh close to the surface of the baseboard. The crocodile clip and nail must be in contact with the baseboard, and fairly close to the area that you are working on. This process is repeated several times, after tipping off the excess grass before each pass. I used two different colours of the grass flock, and it comes in 2 mm, 4 mm and 6 mm sizes. David
-
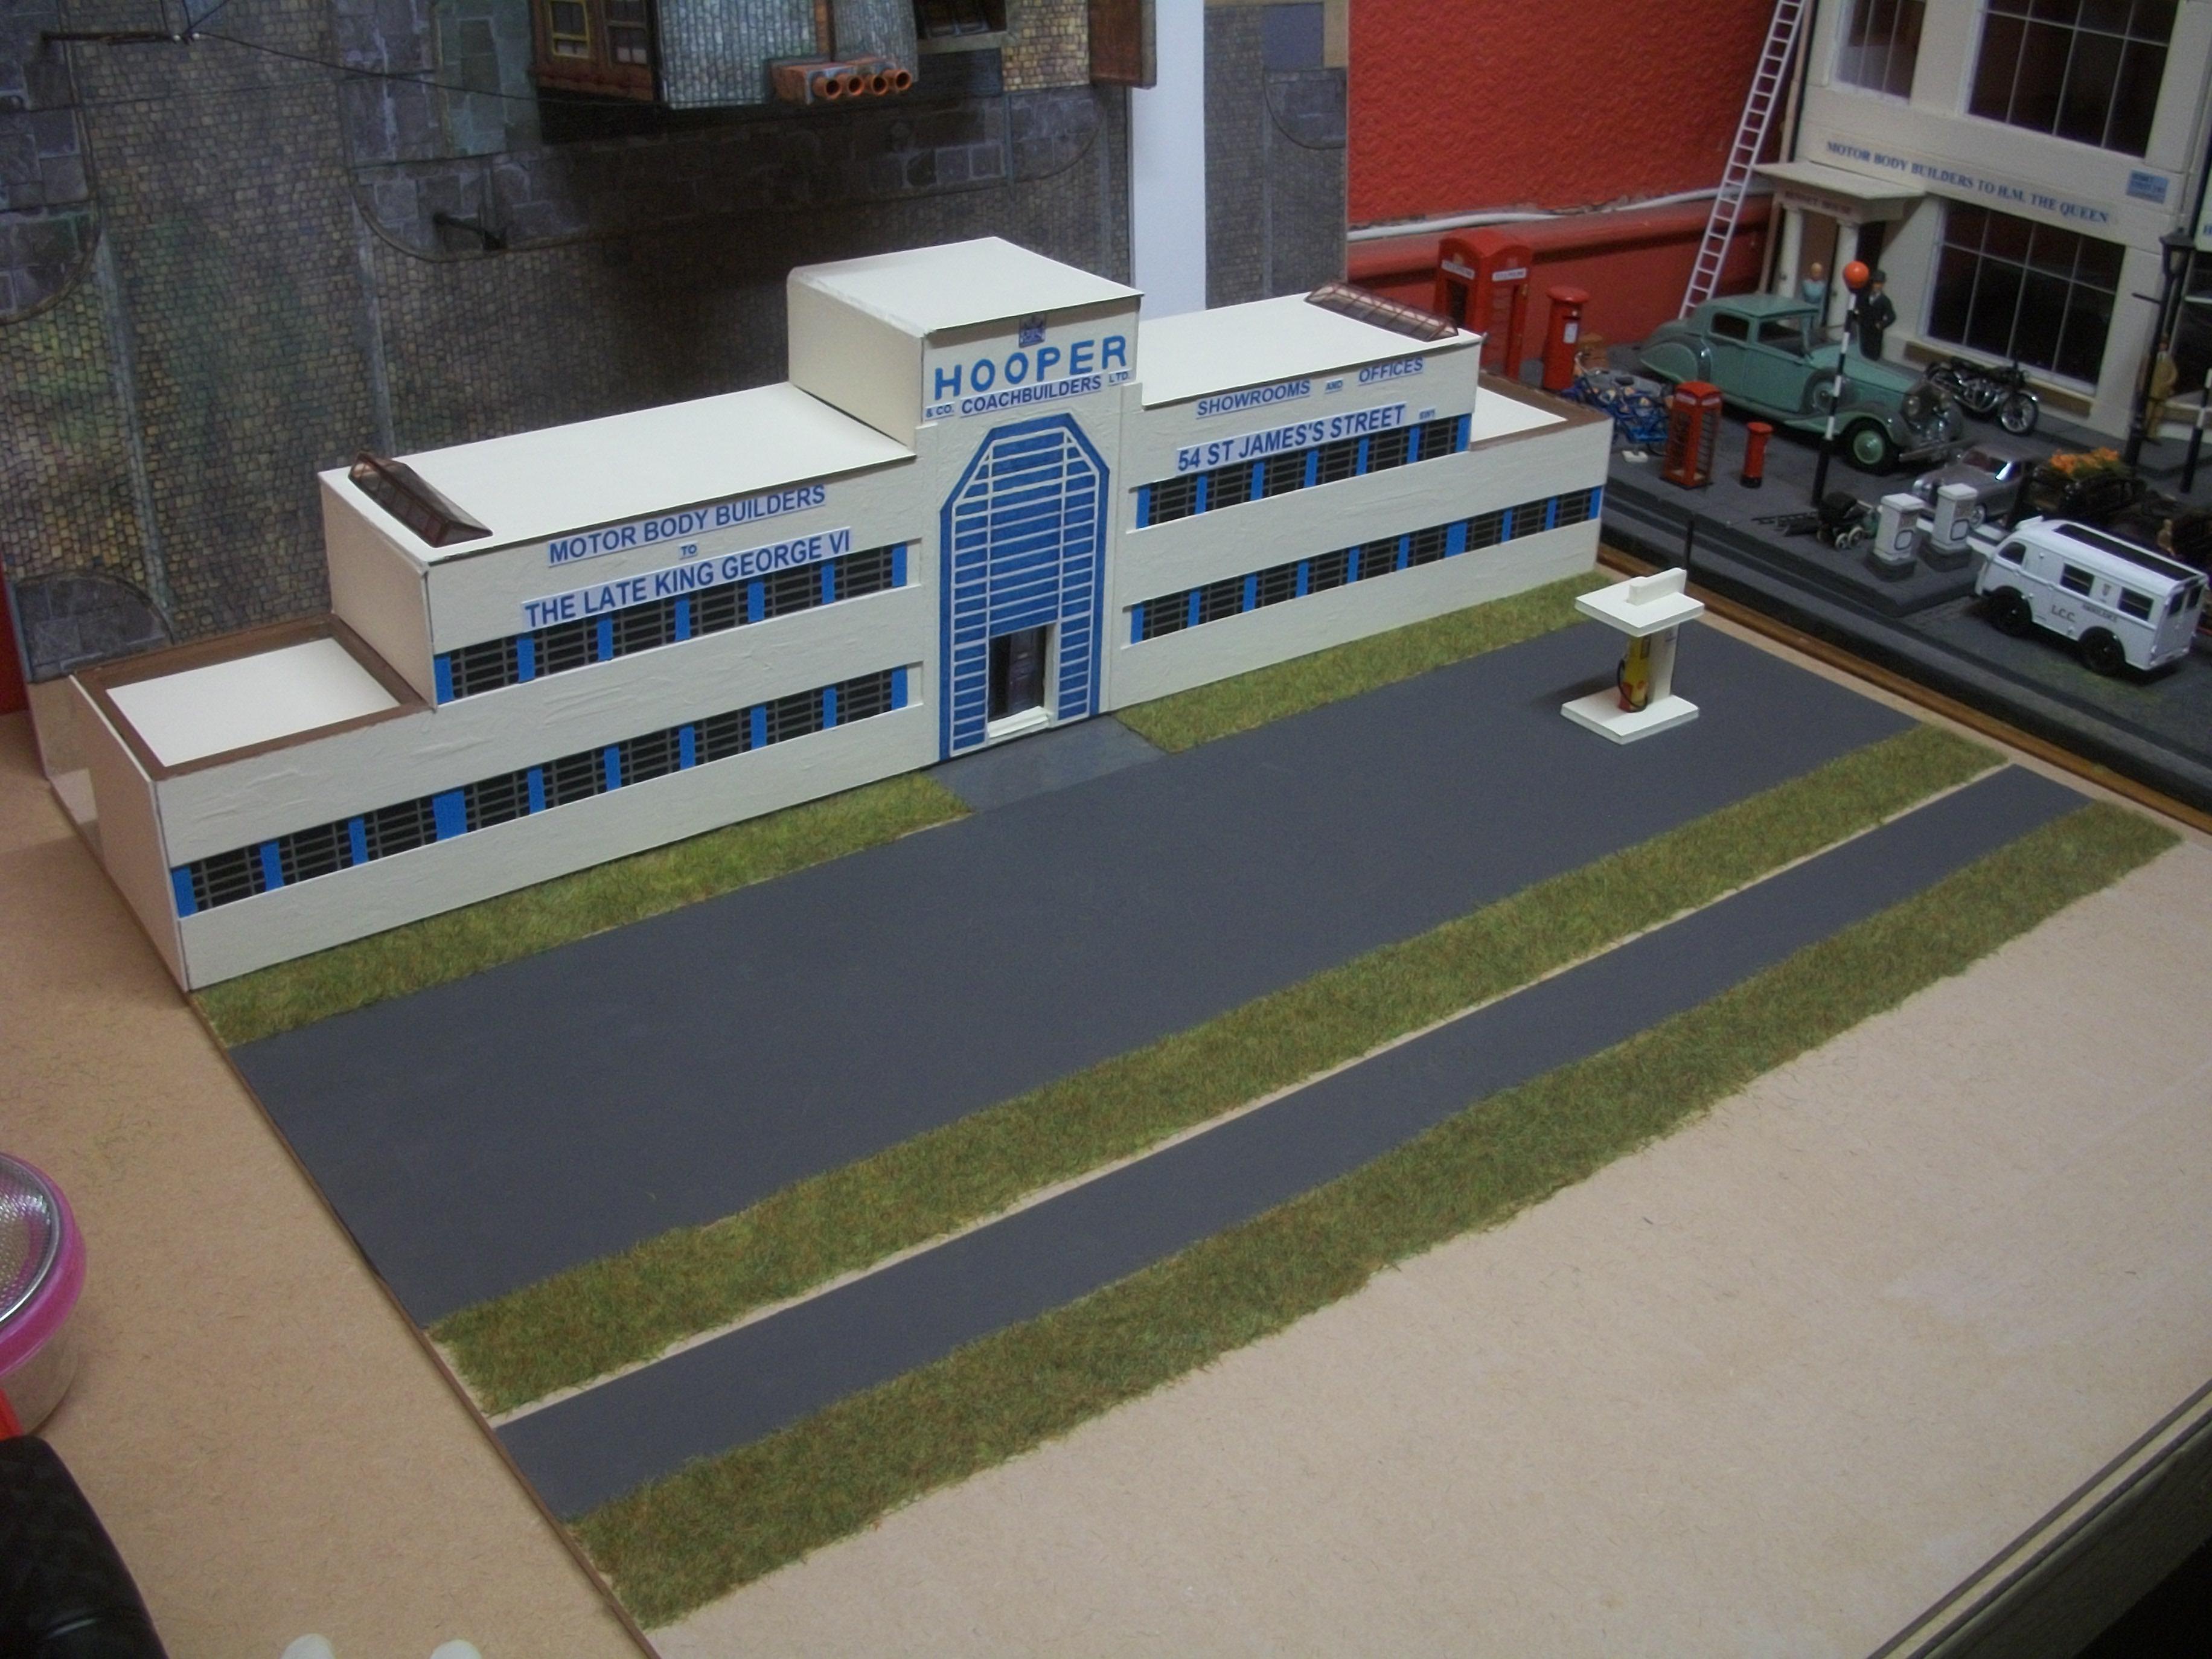
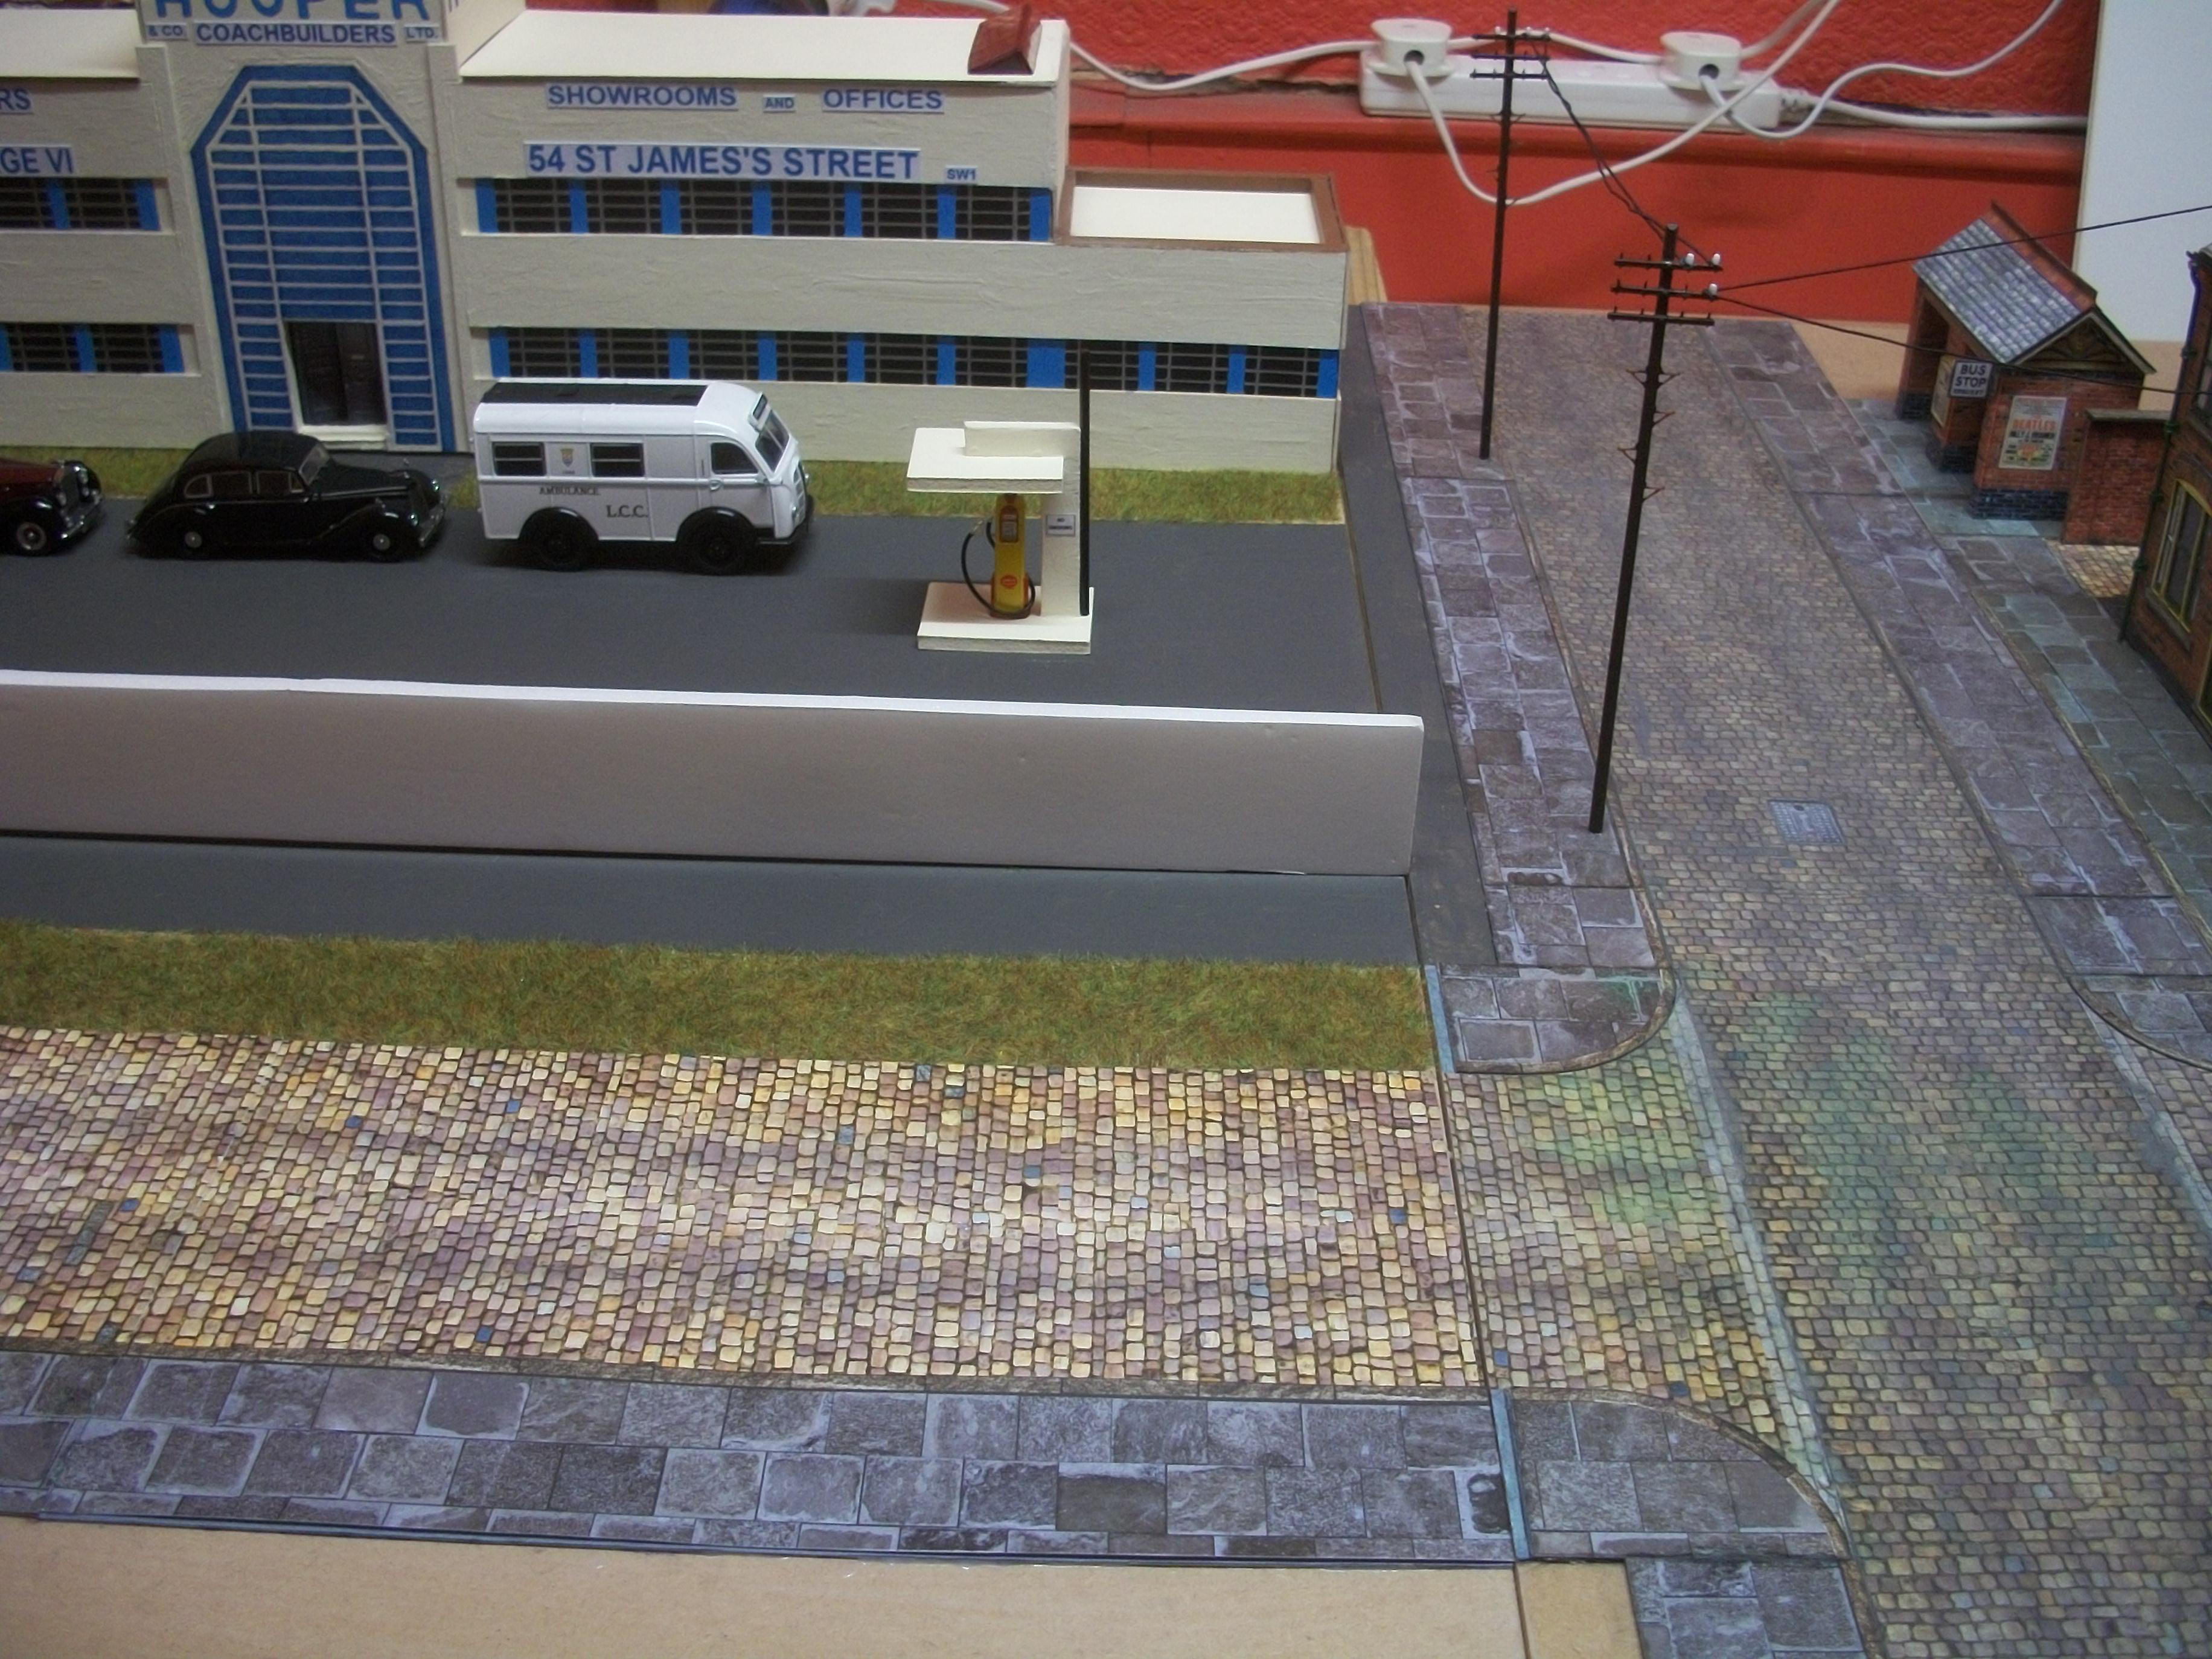
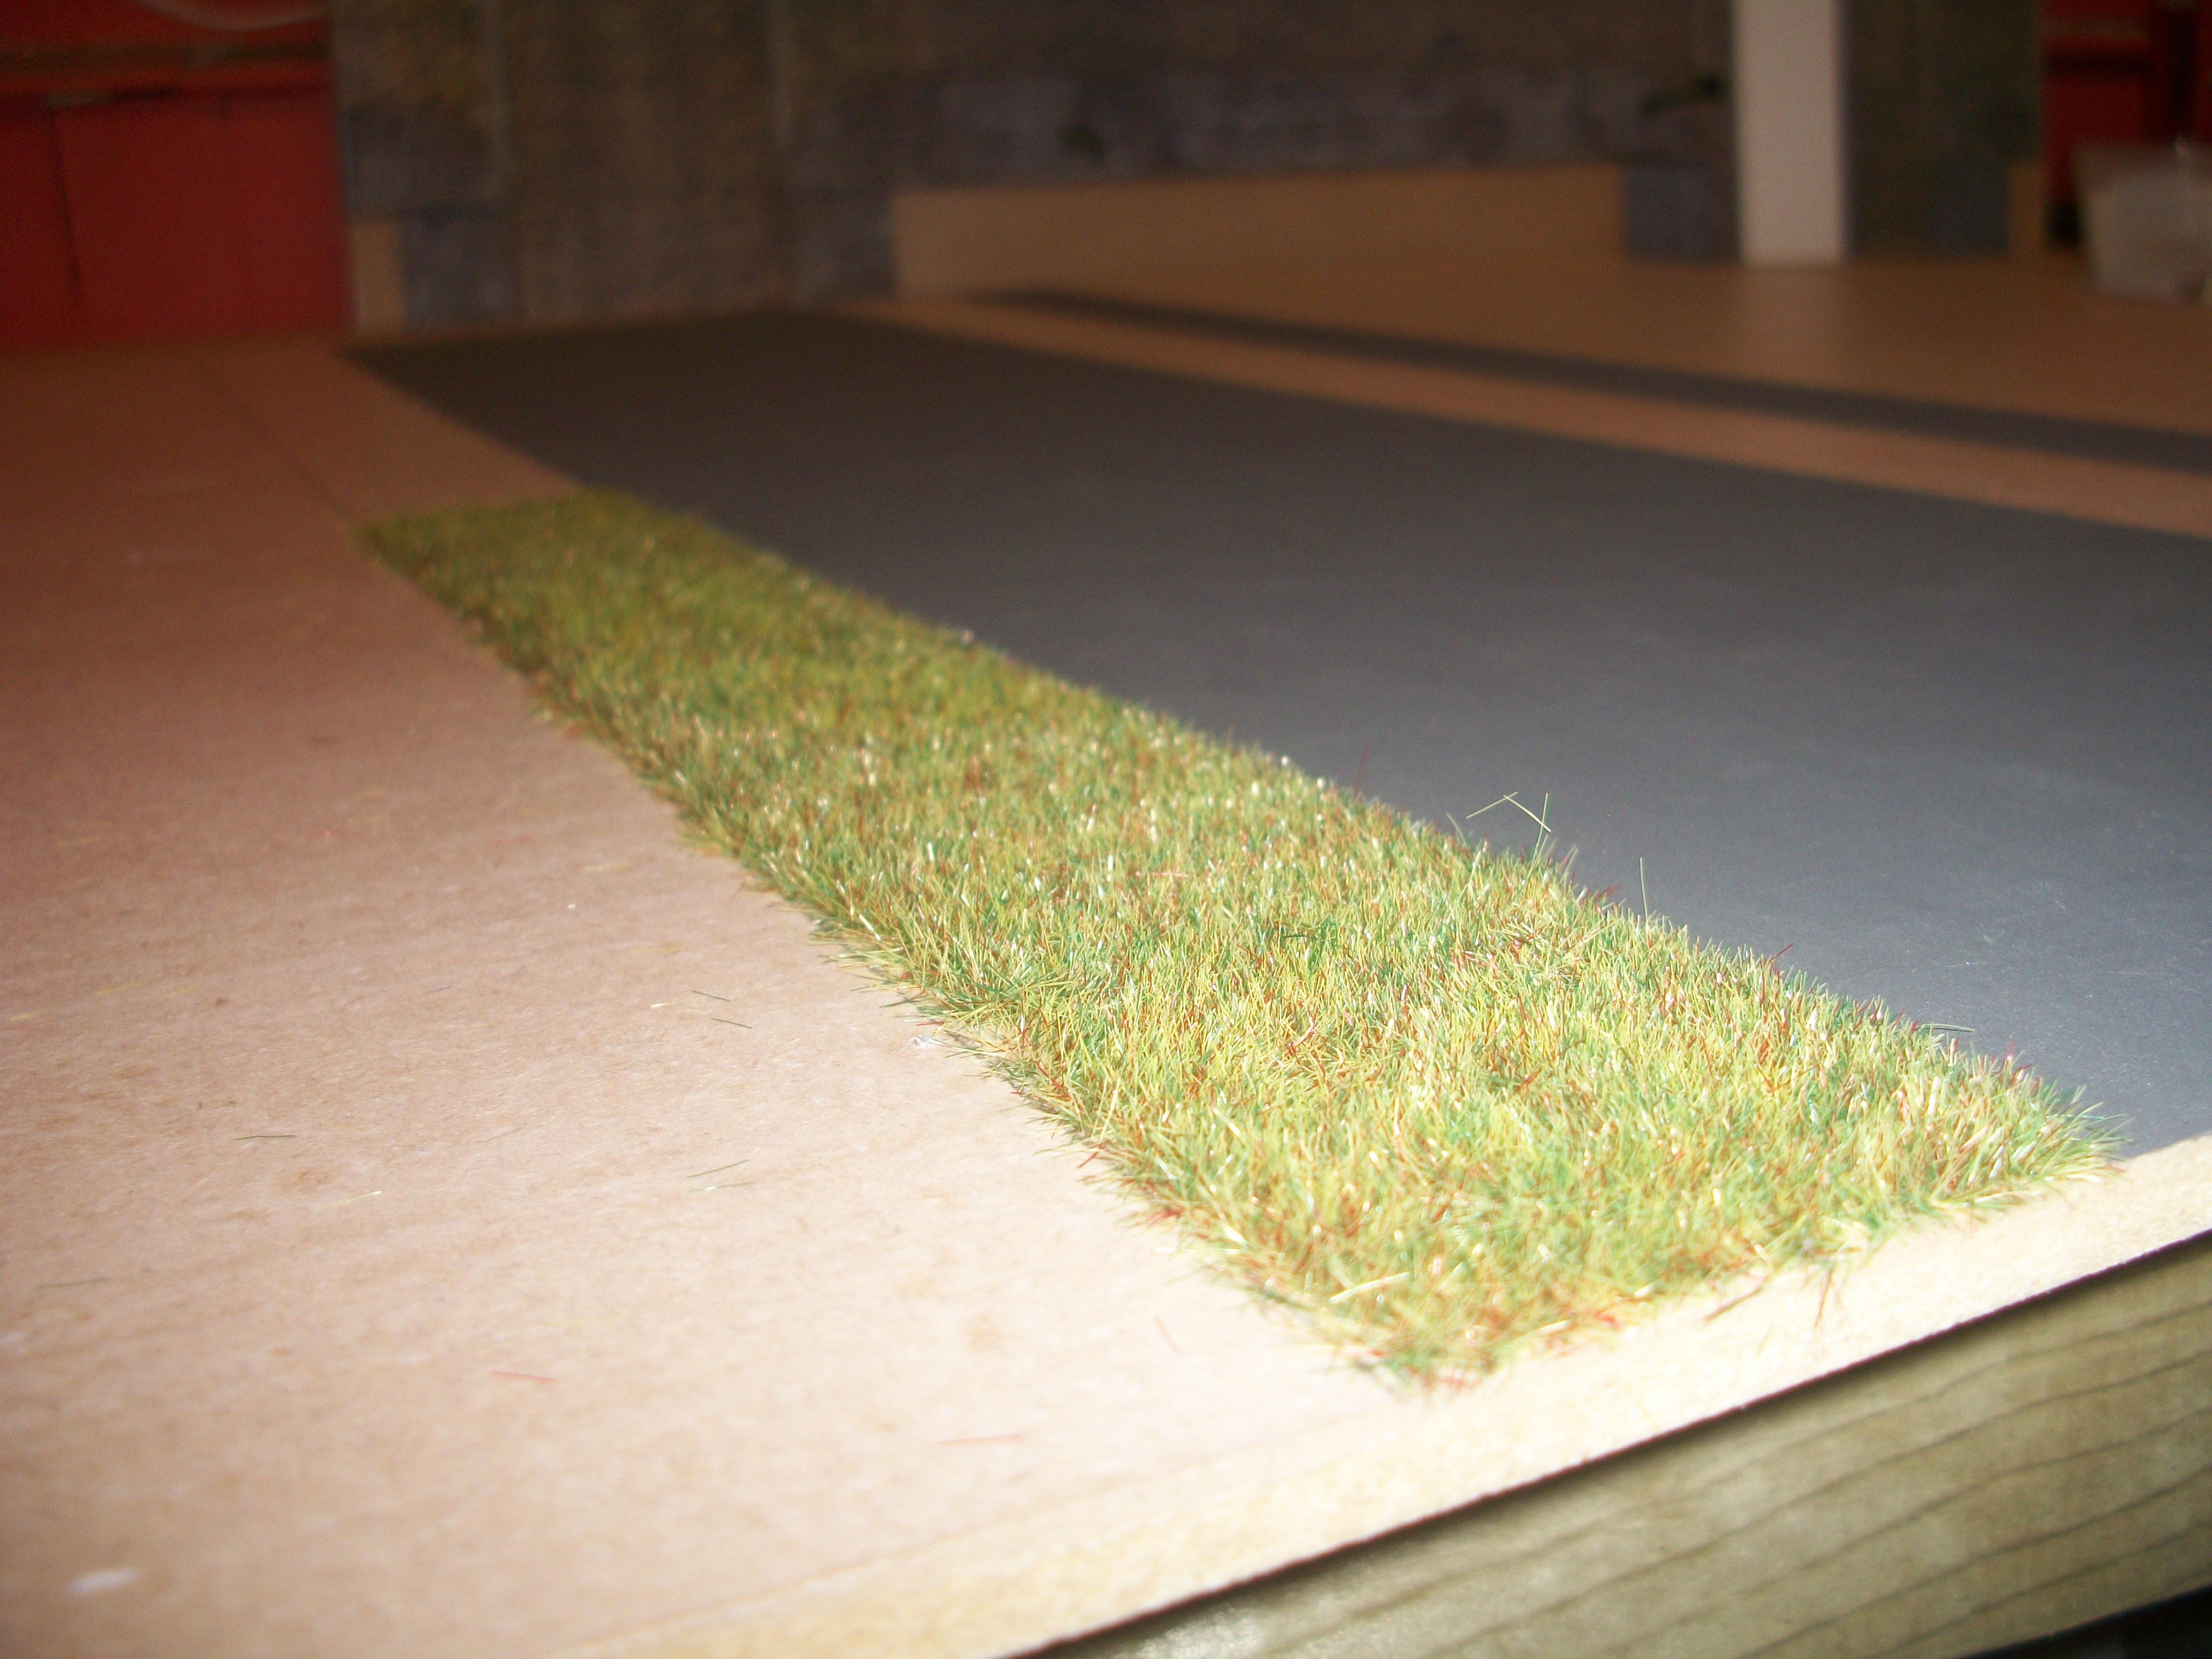
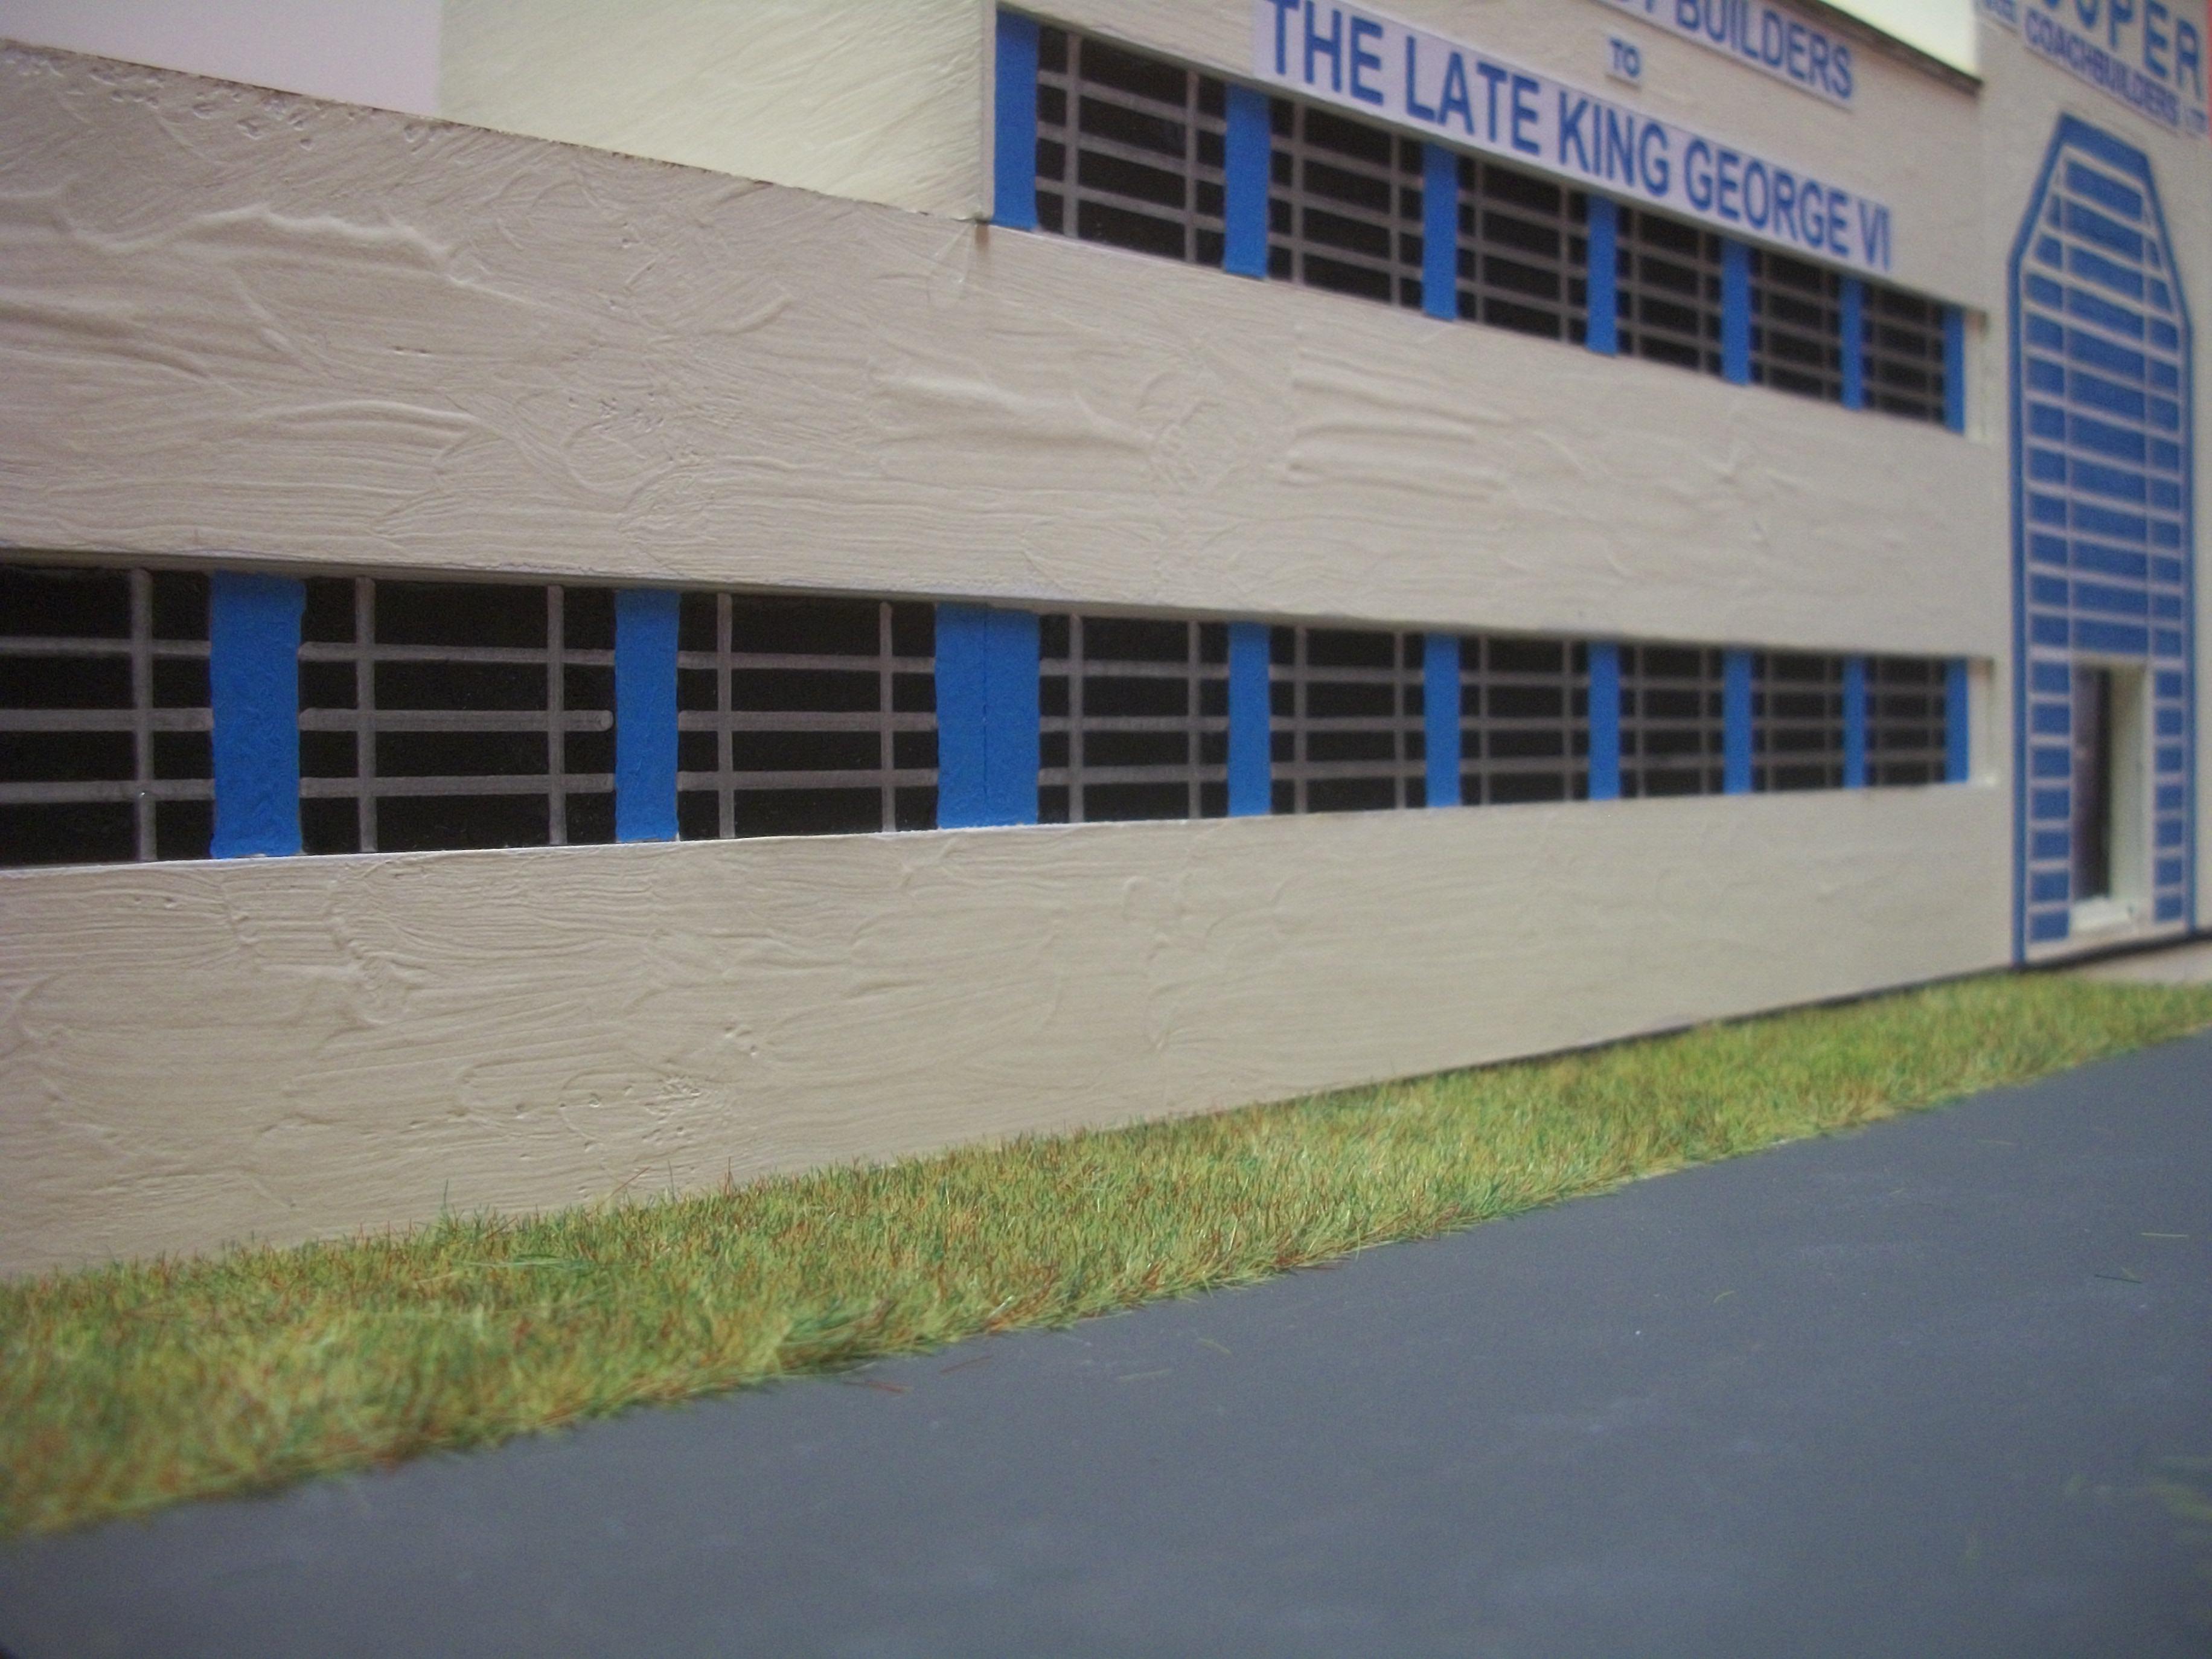
Following the delivery of the static grass applicator, and various packs of static grass flock, I have now applied this wonderful material on four areas of grass strips. Before I began my first experience of using the applicator technique, the forecourt and the footpath were given a couple of coats of pure grey emulsion paint. Having watched a YouTube video showing two different methods of using the static grass applicator, I chose to apply the grass directly to the diorama baseboard, as opposed to using the grease-proof paper and metal foil method. I realised that I could not hammer a nail into the MDF baseboard, so instead I touched the baseboard just to one side of the area I was applying the grass. Seems to have worked quite well, and I am happy with the result. You can see in the following photos there is a long thin strip of baseboard showing through, immediately at the edge of one long strip of grass. This is where the wall is going to be glued in place, which is a low white wall that runs the full length of the baseboard and will link up to the gate post at the gas pump end of the factory forecourt. David
-
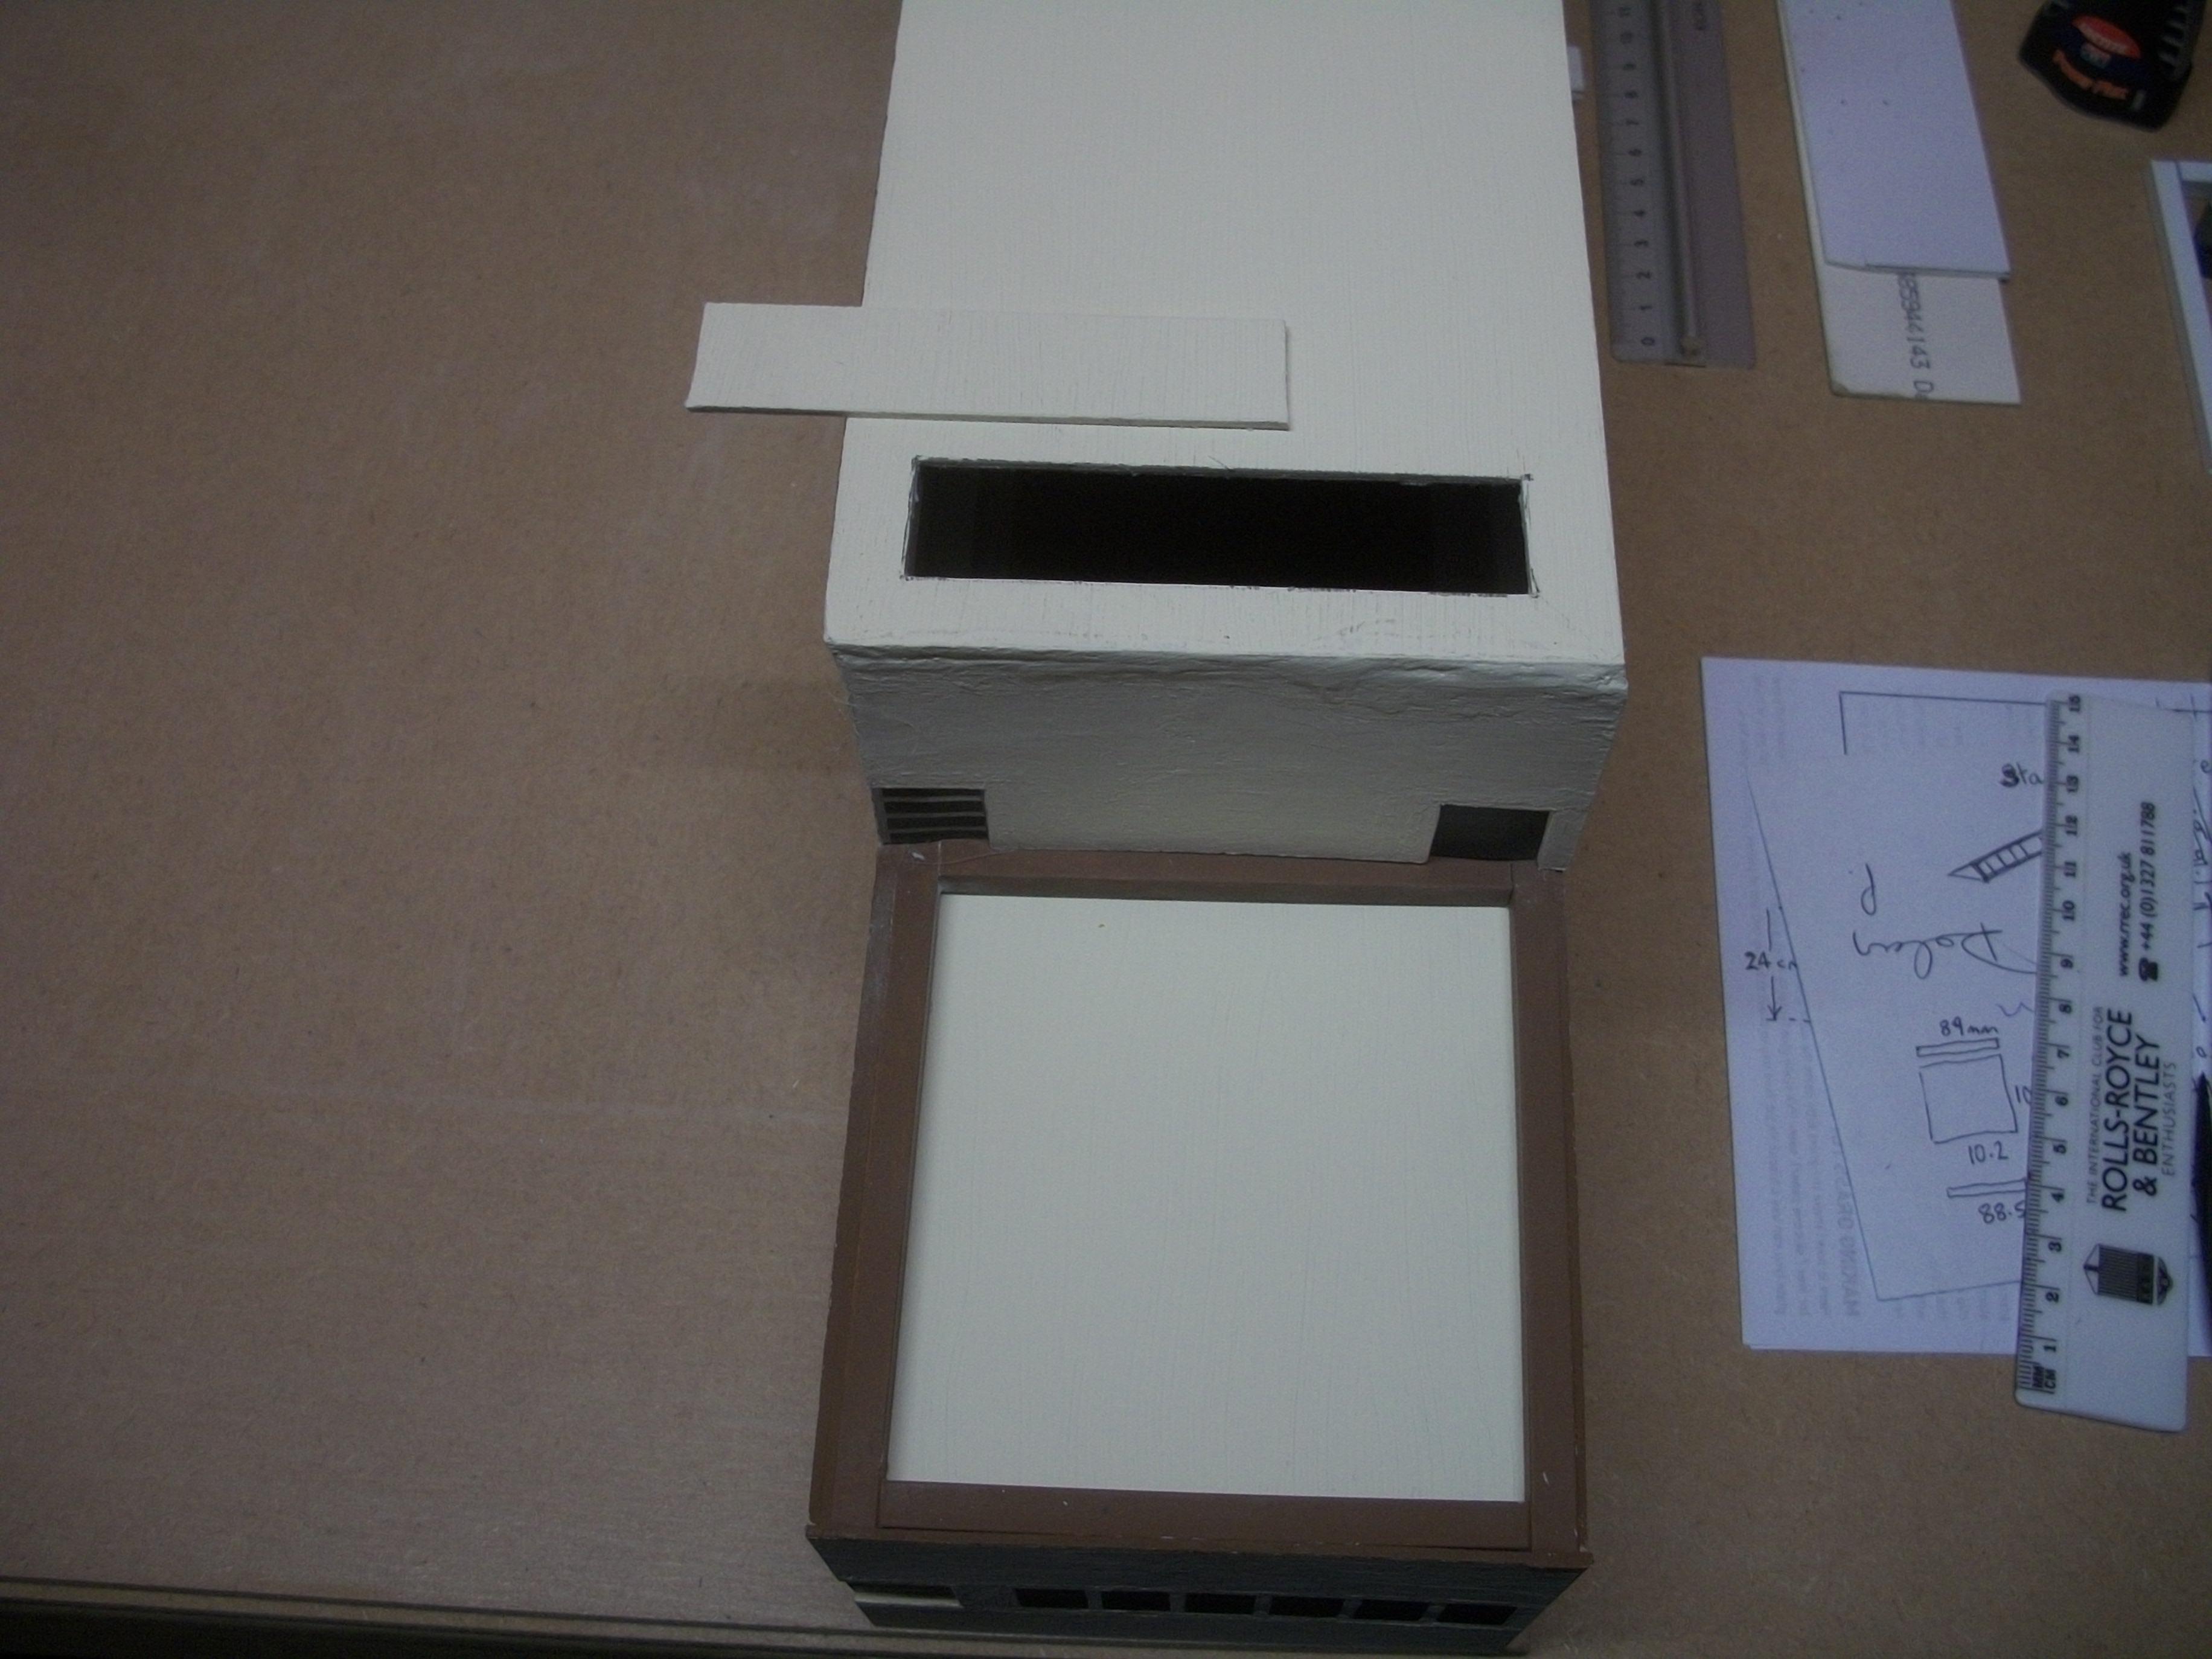
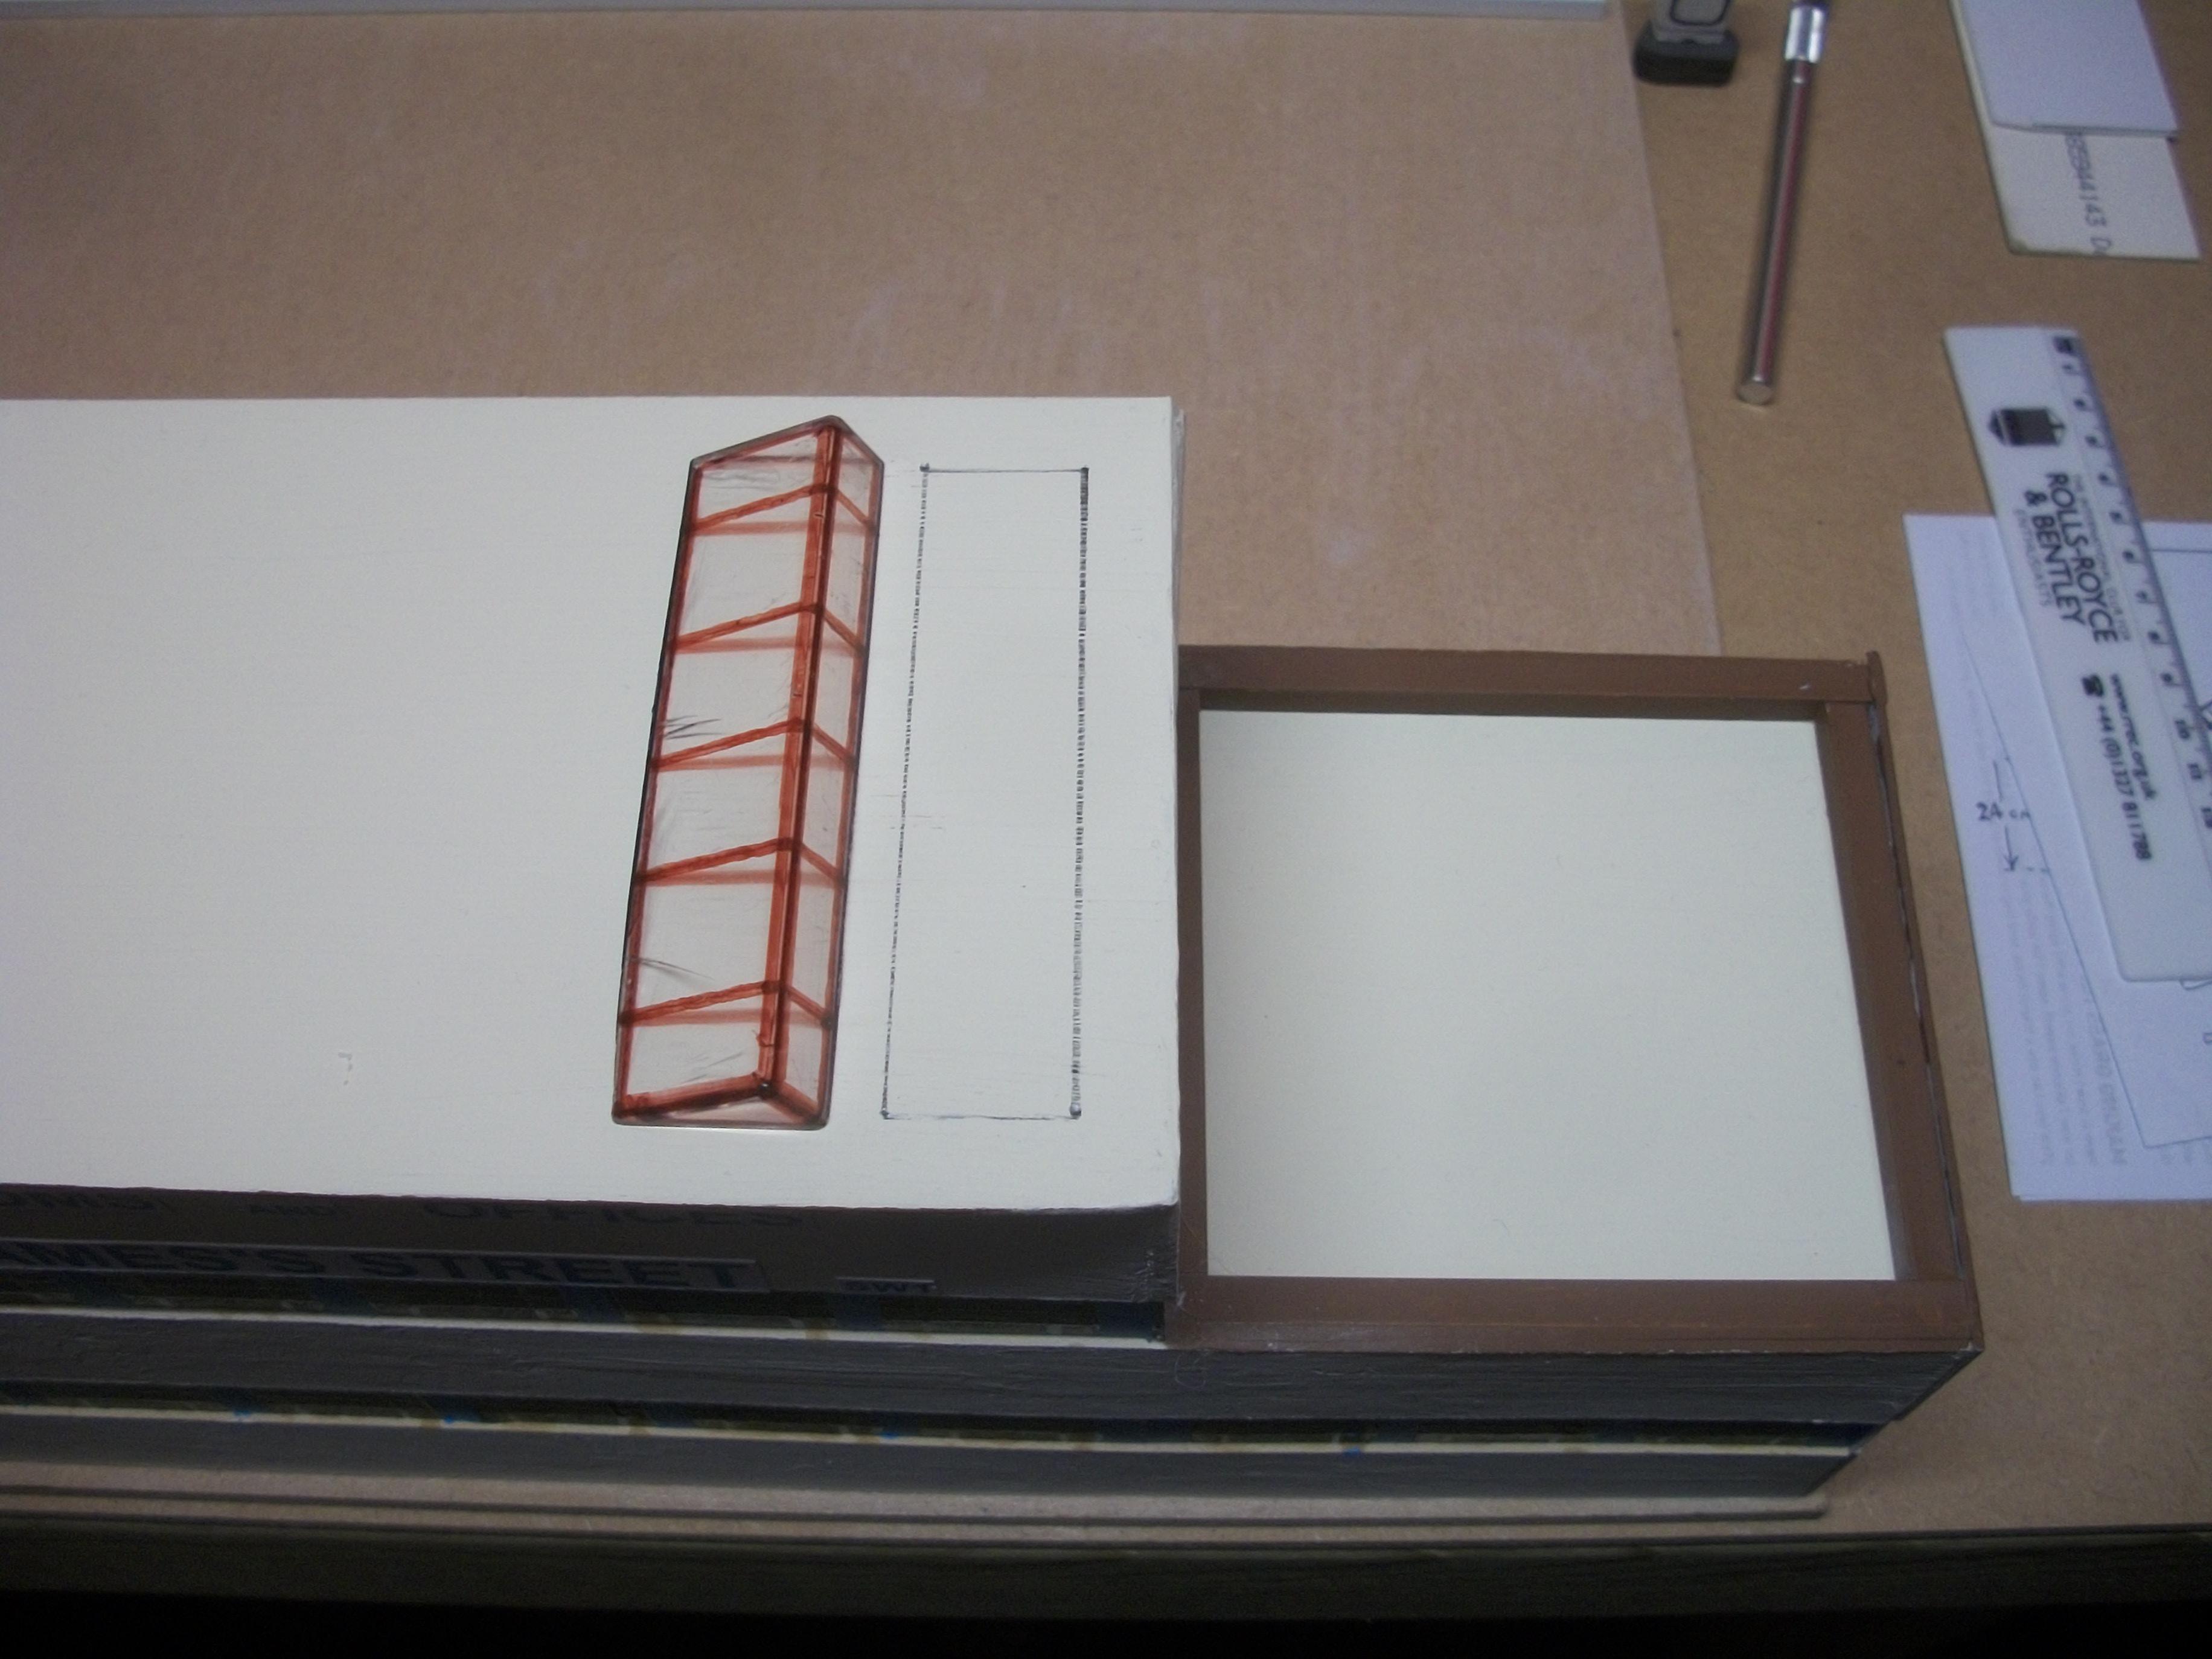
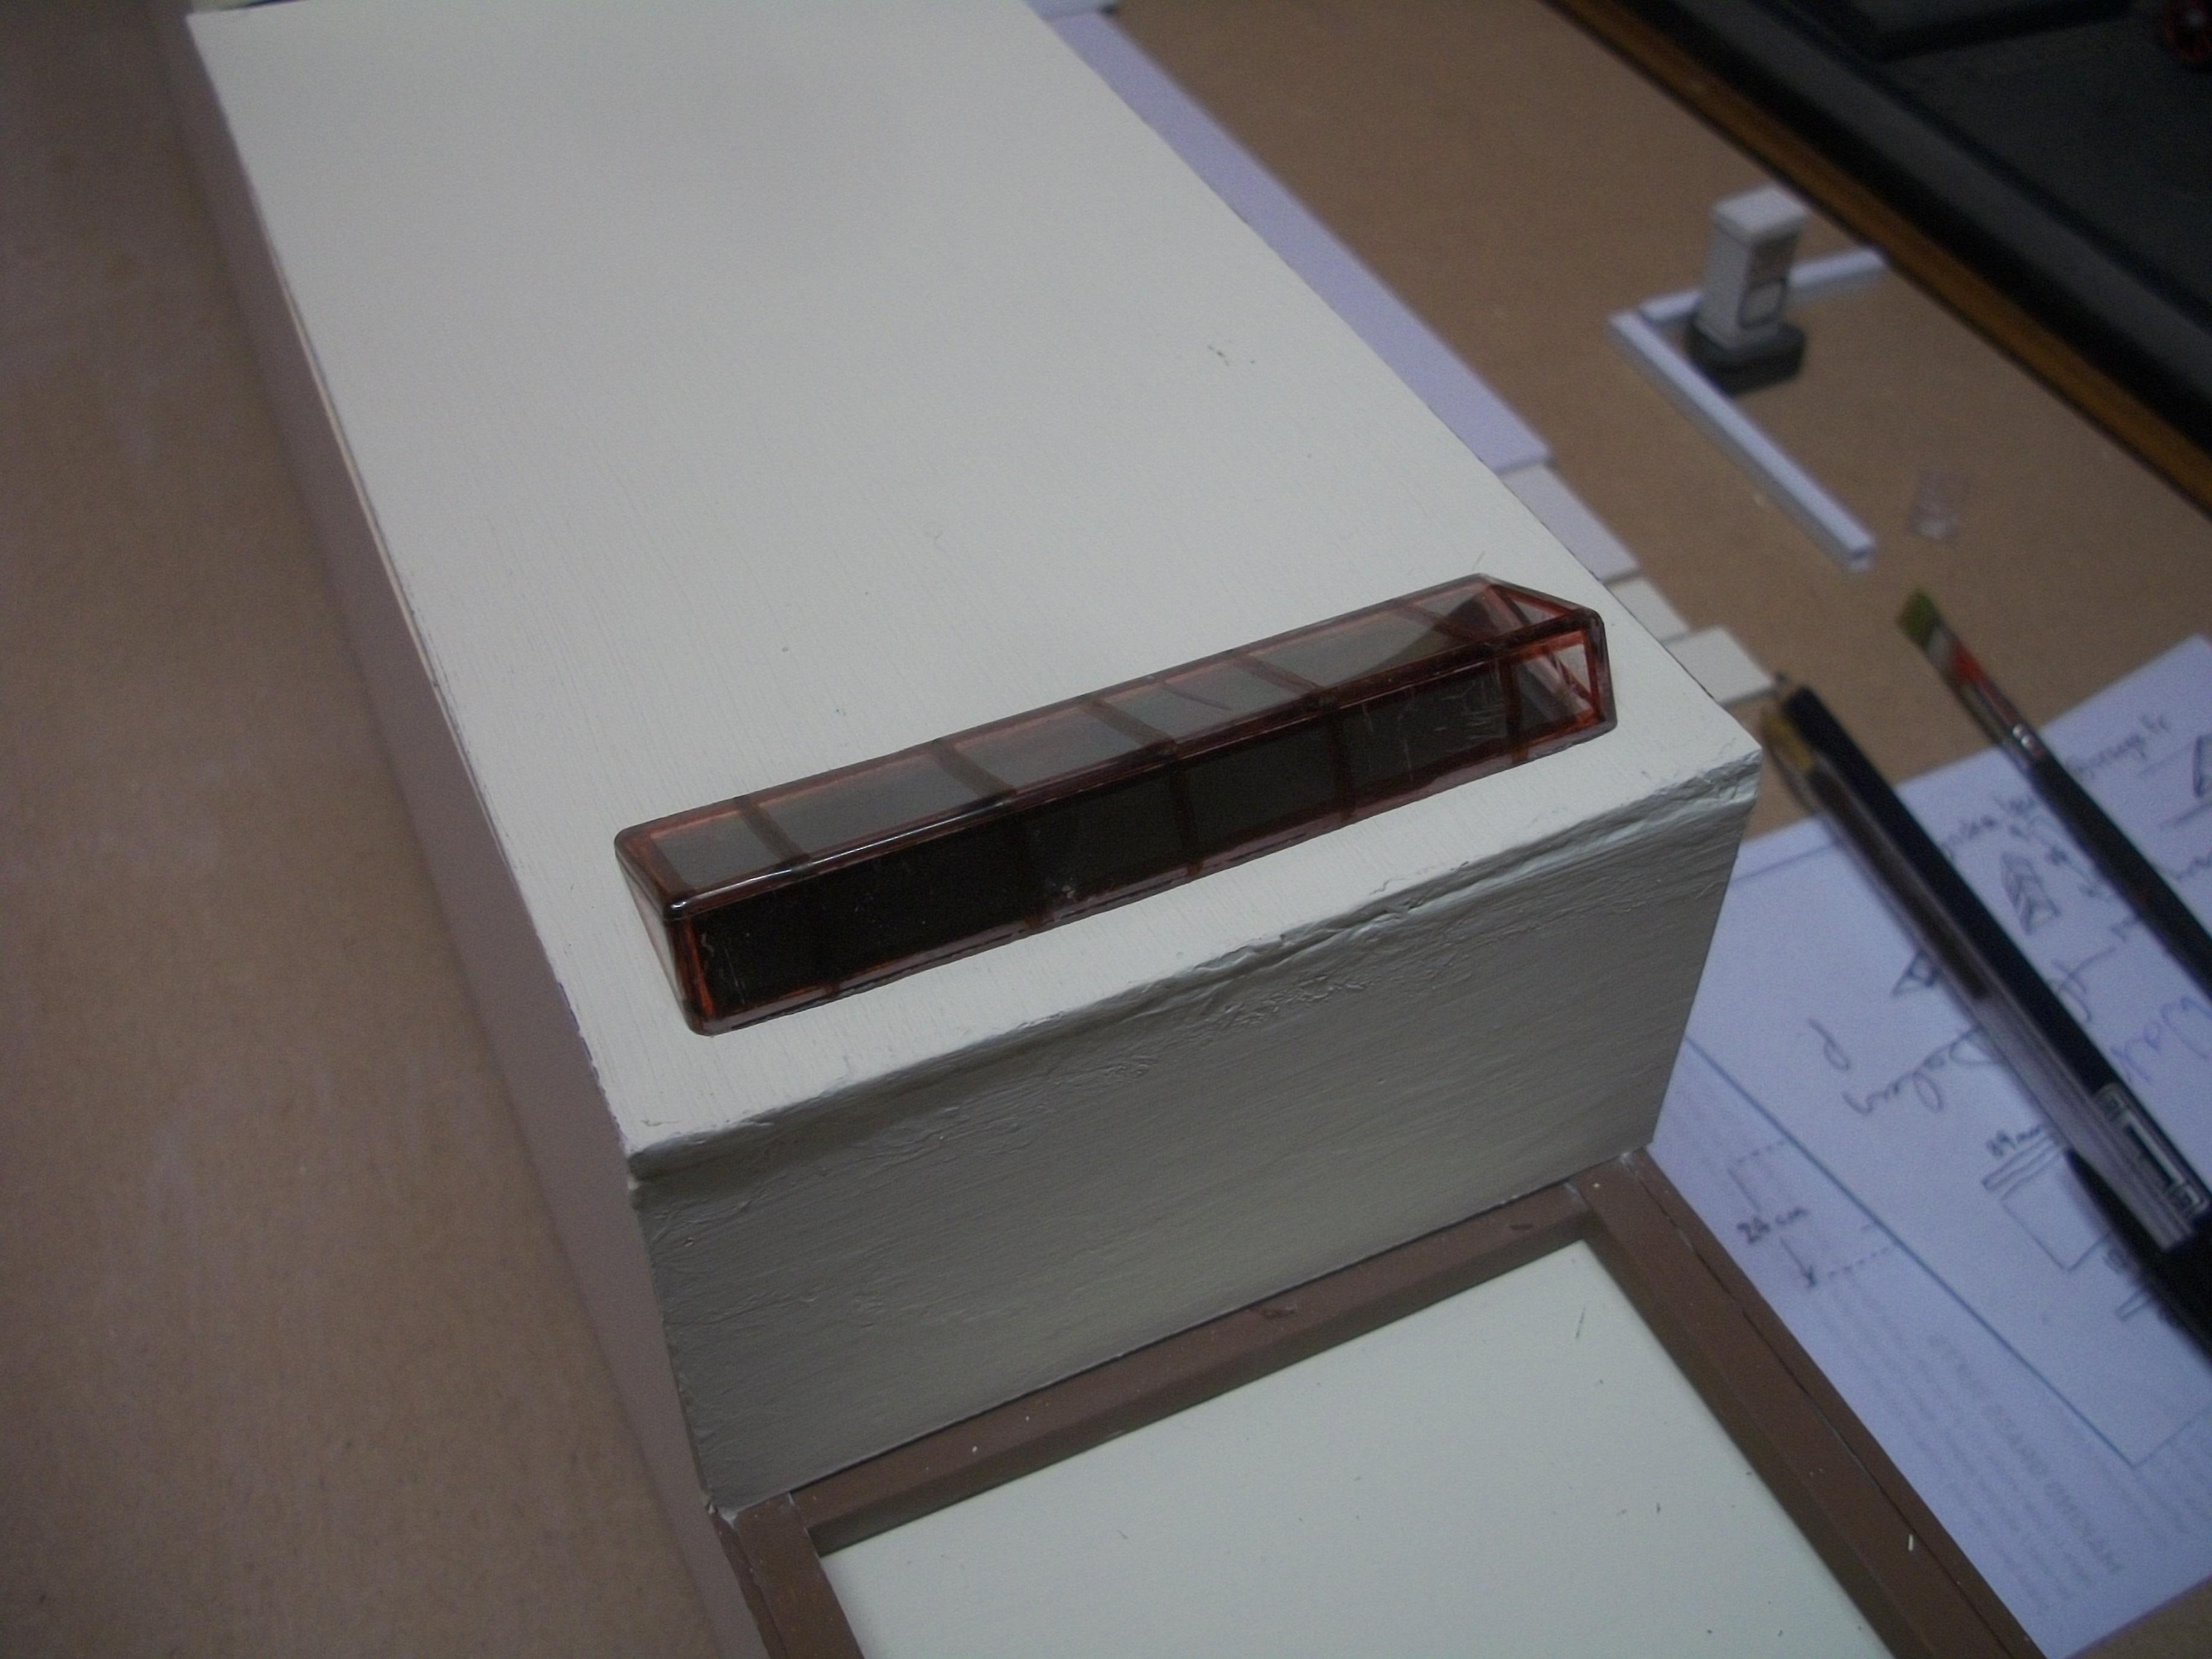
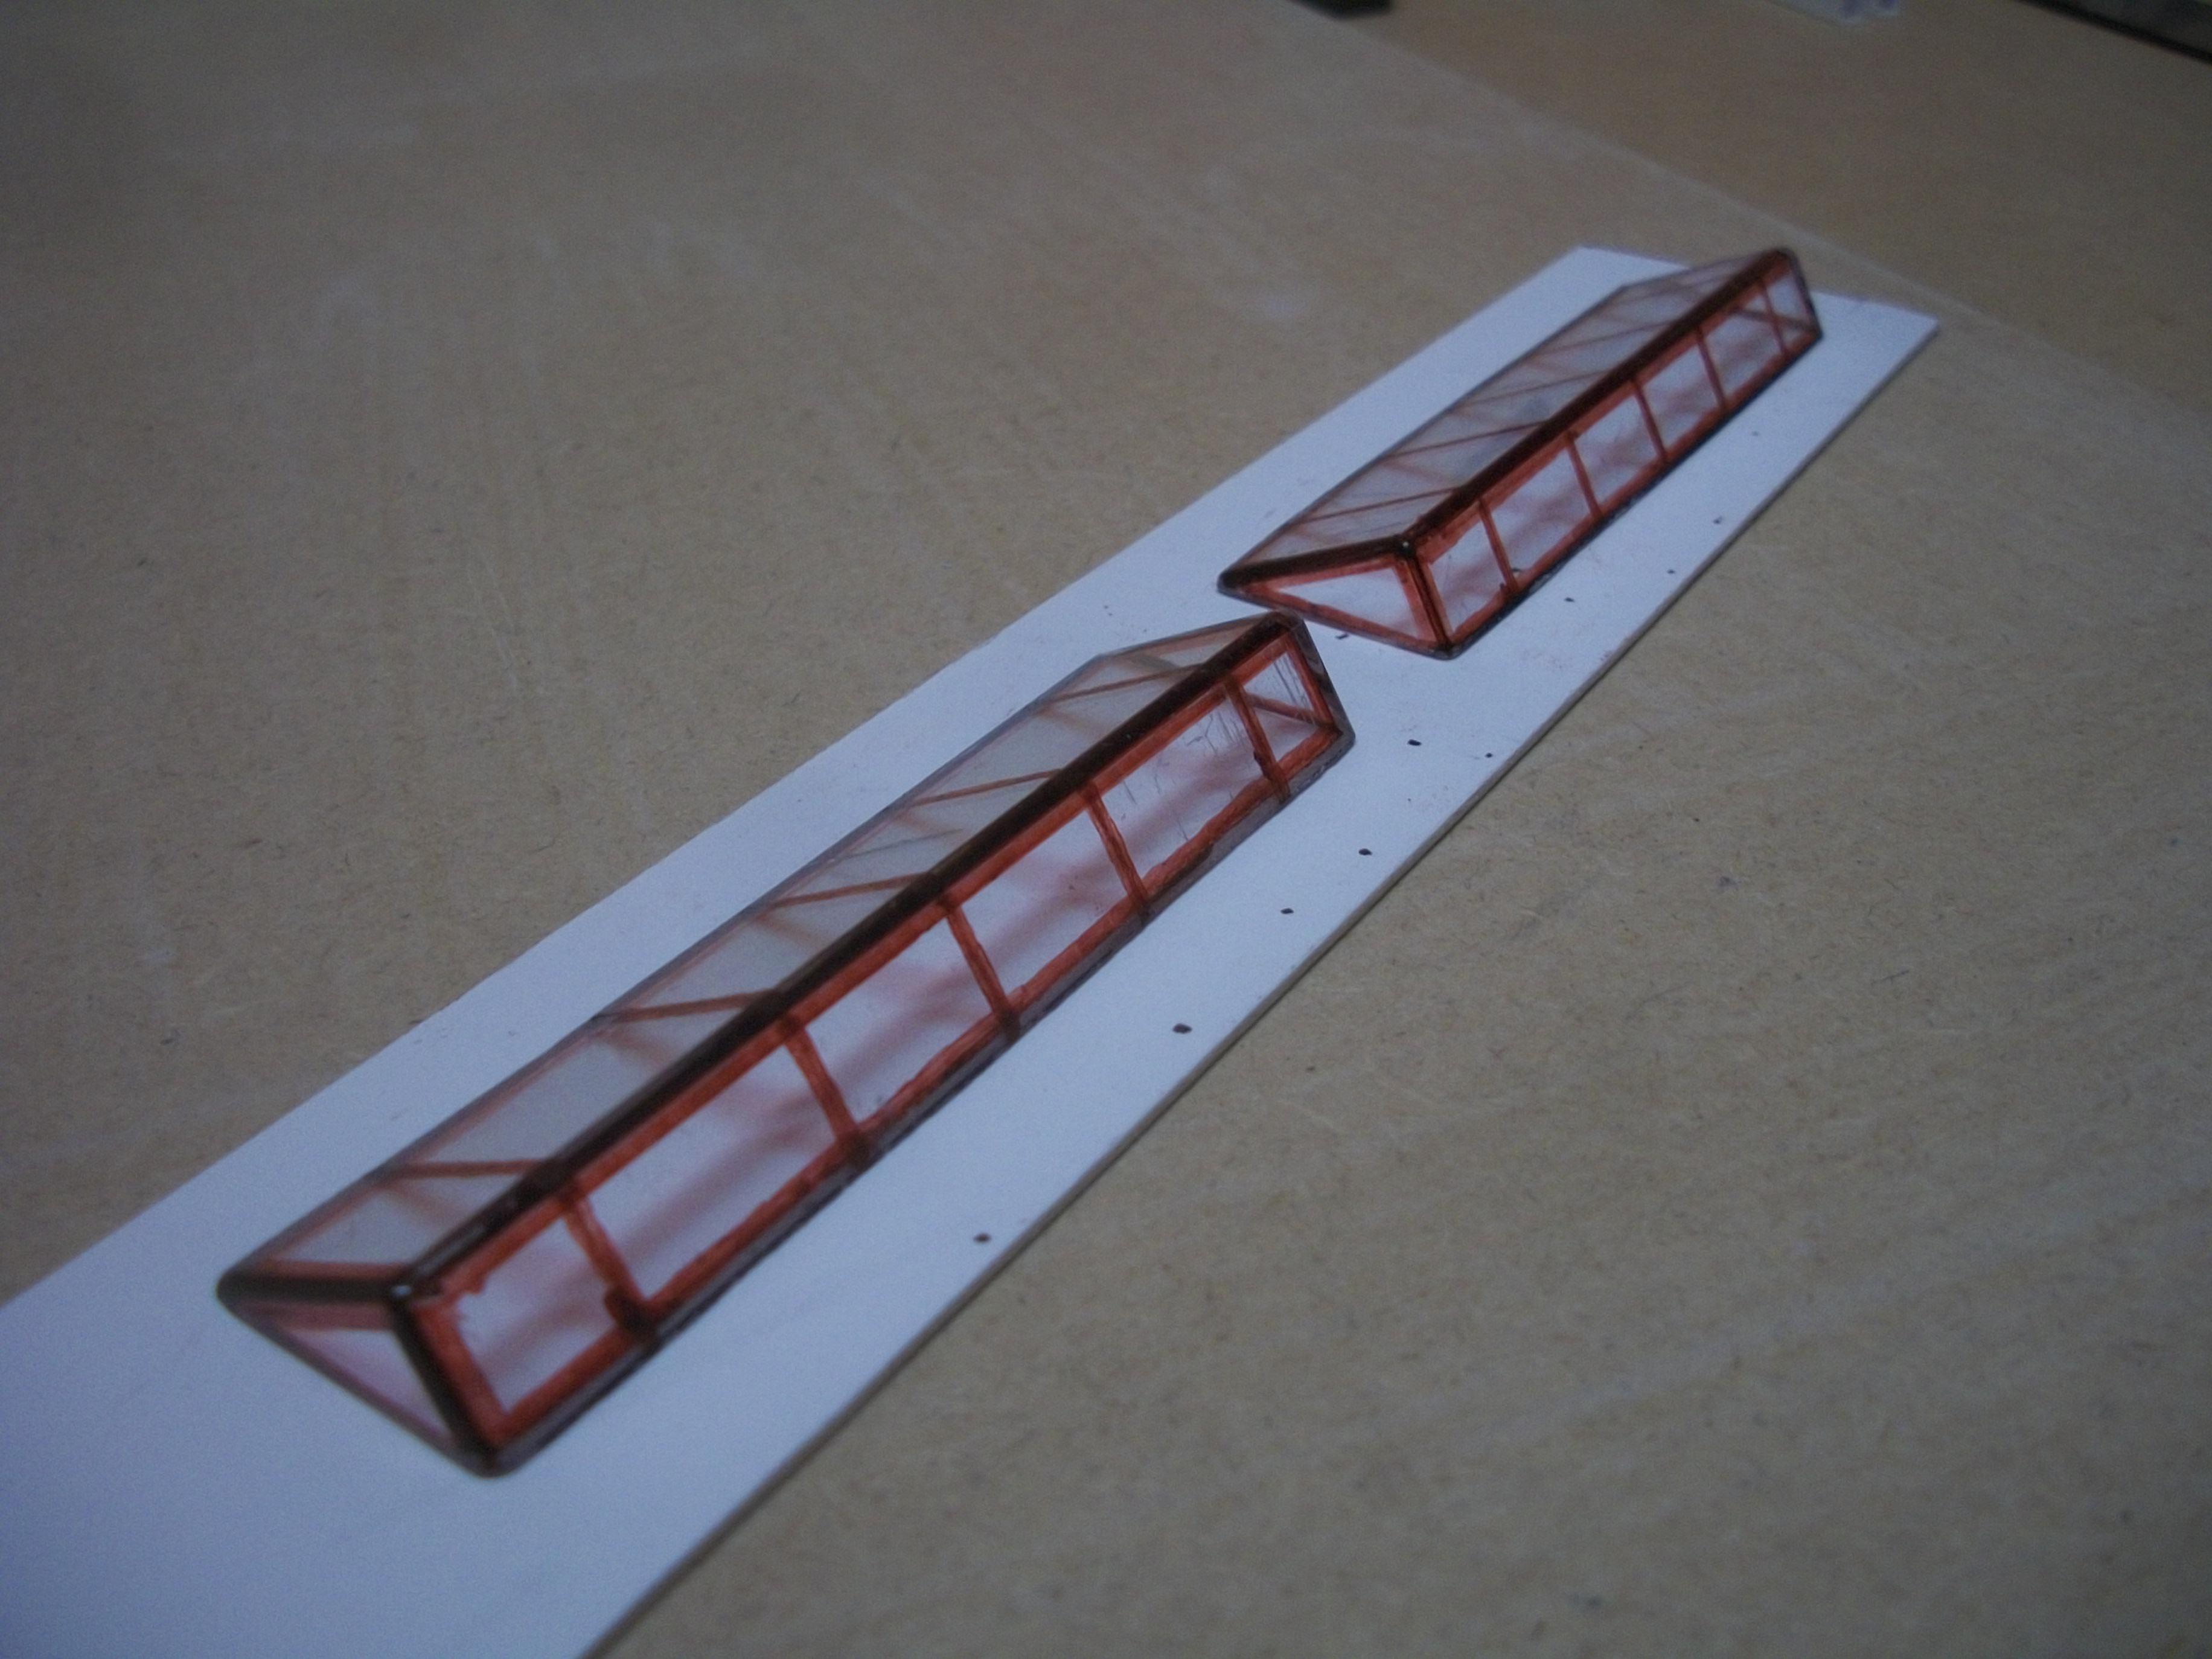
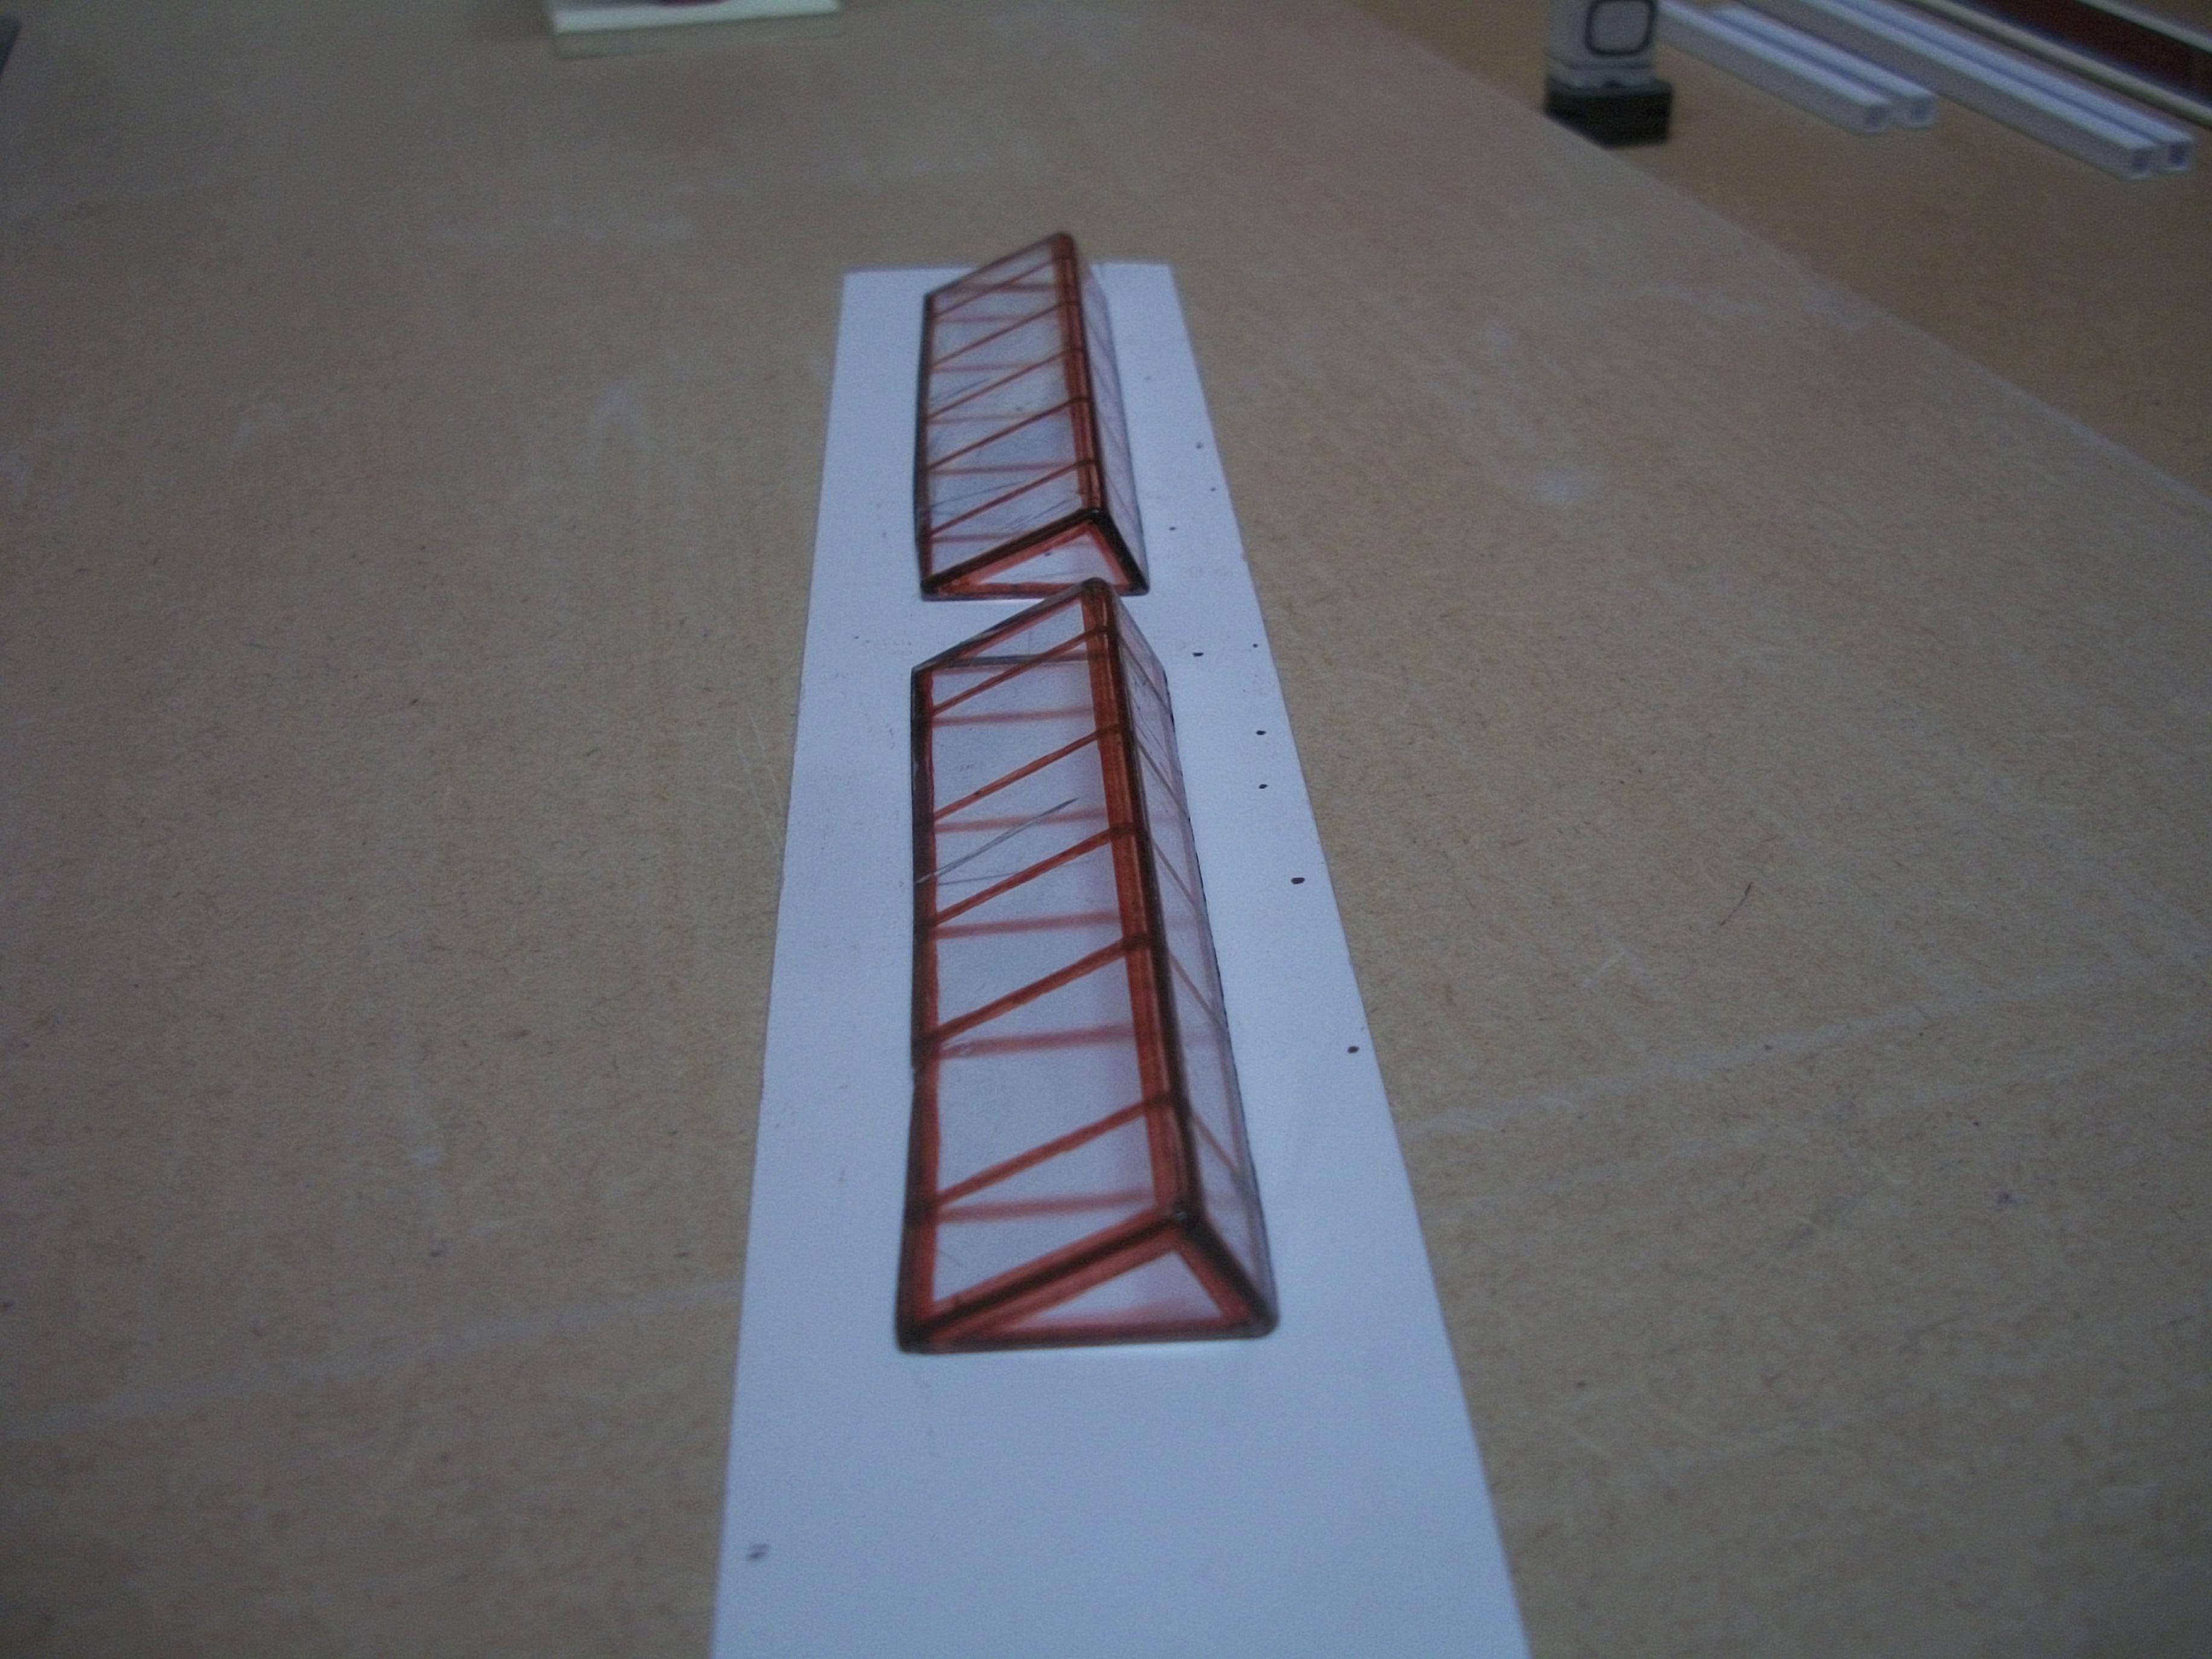
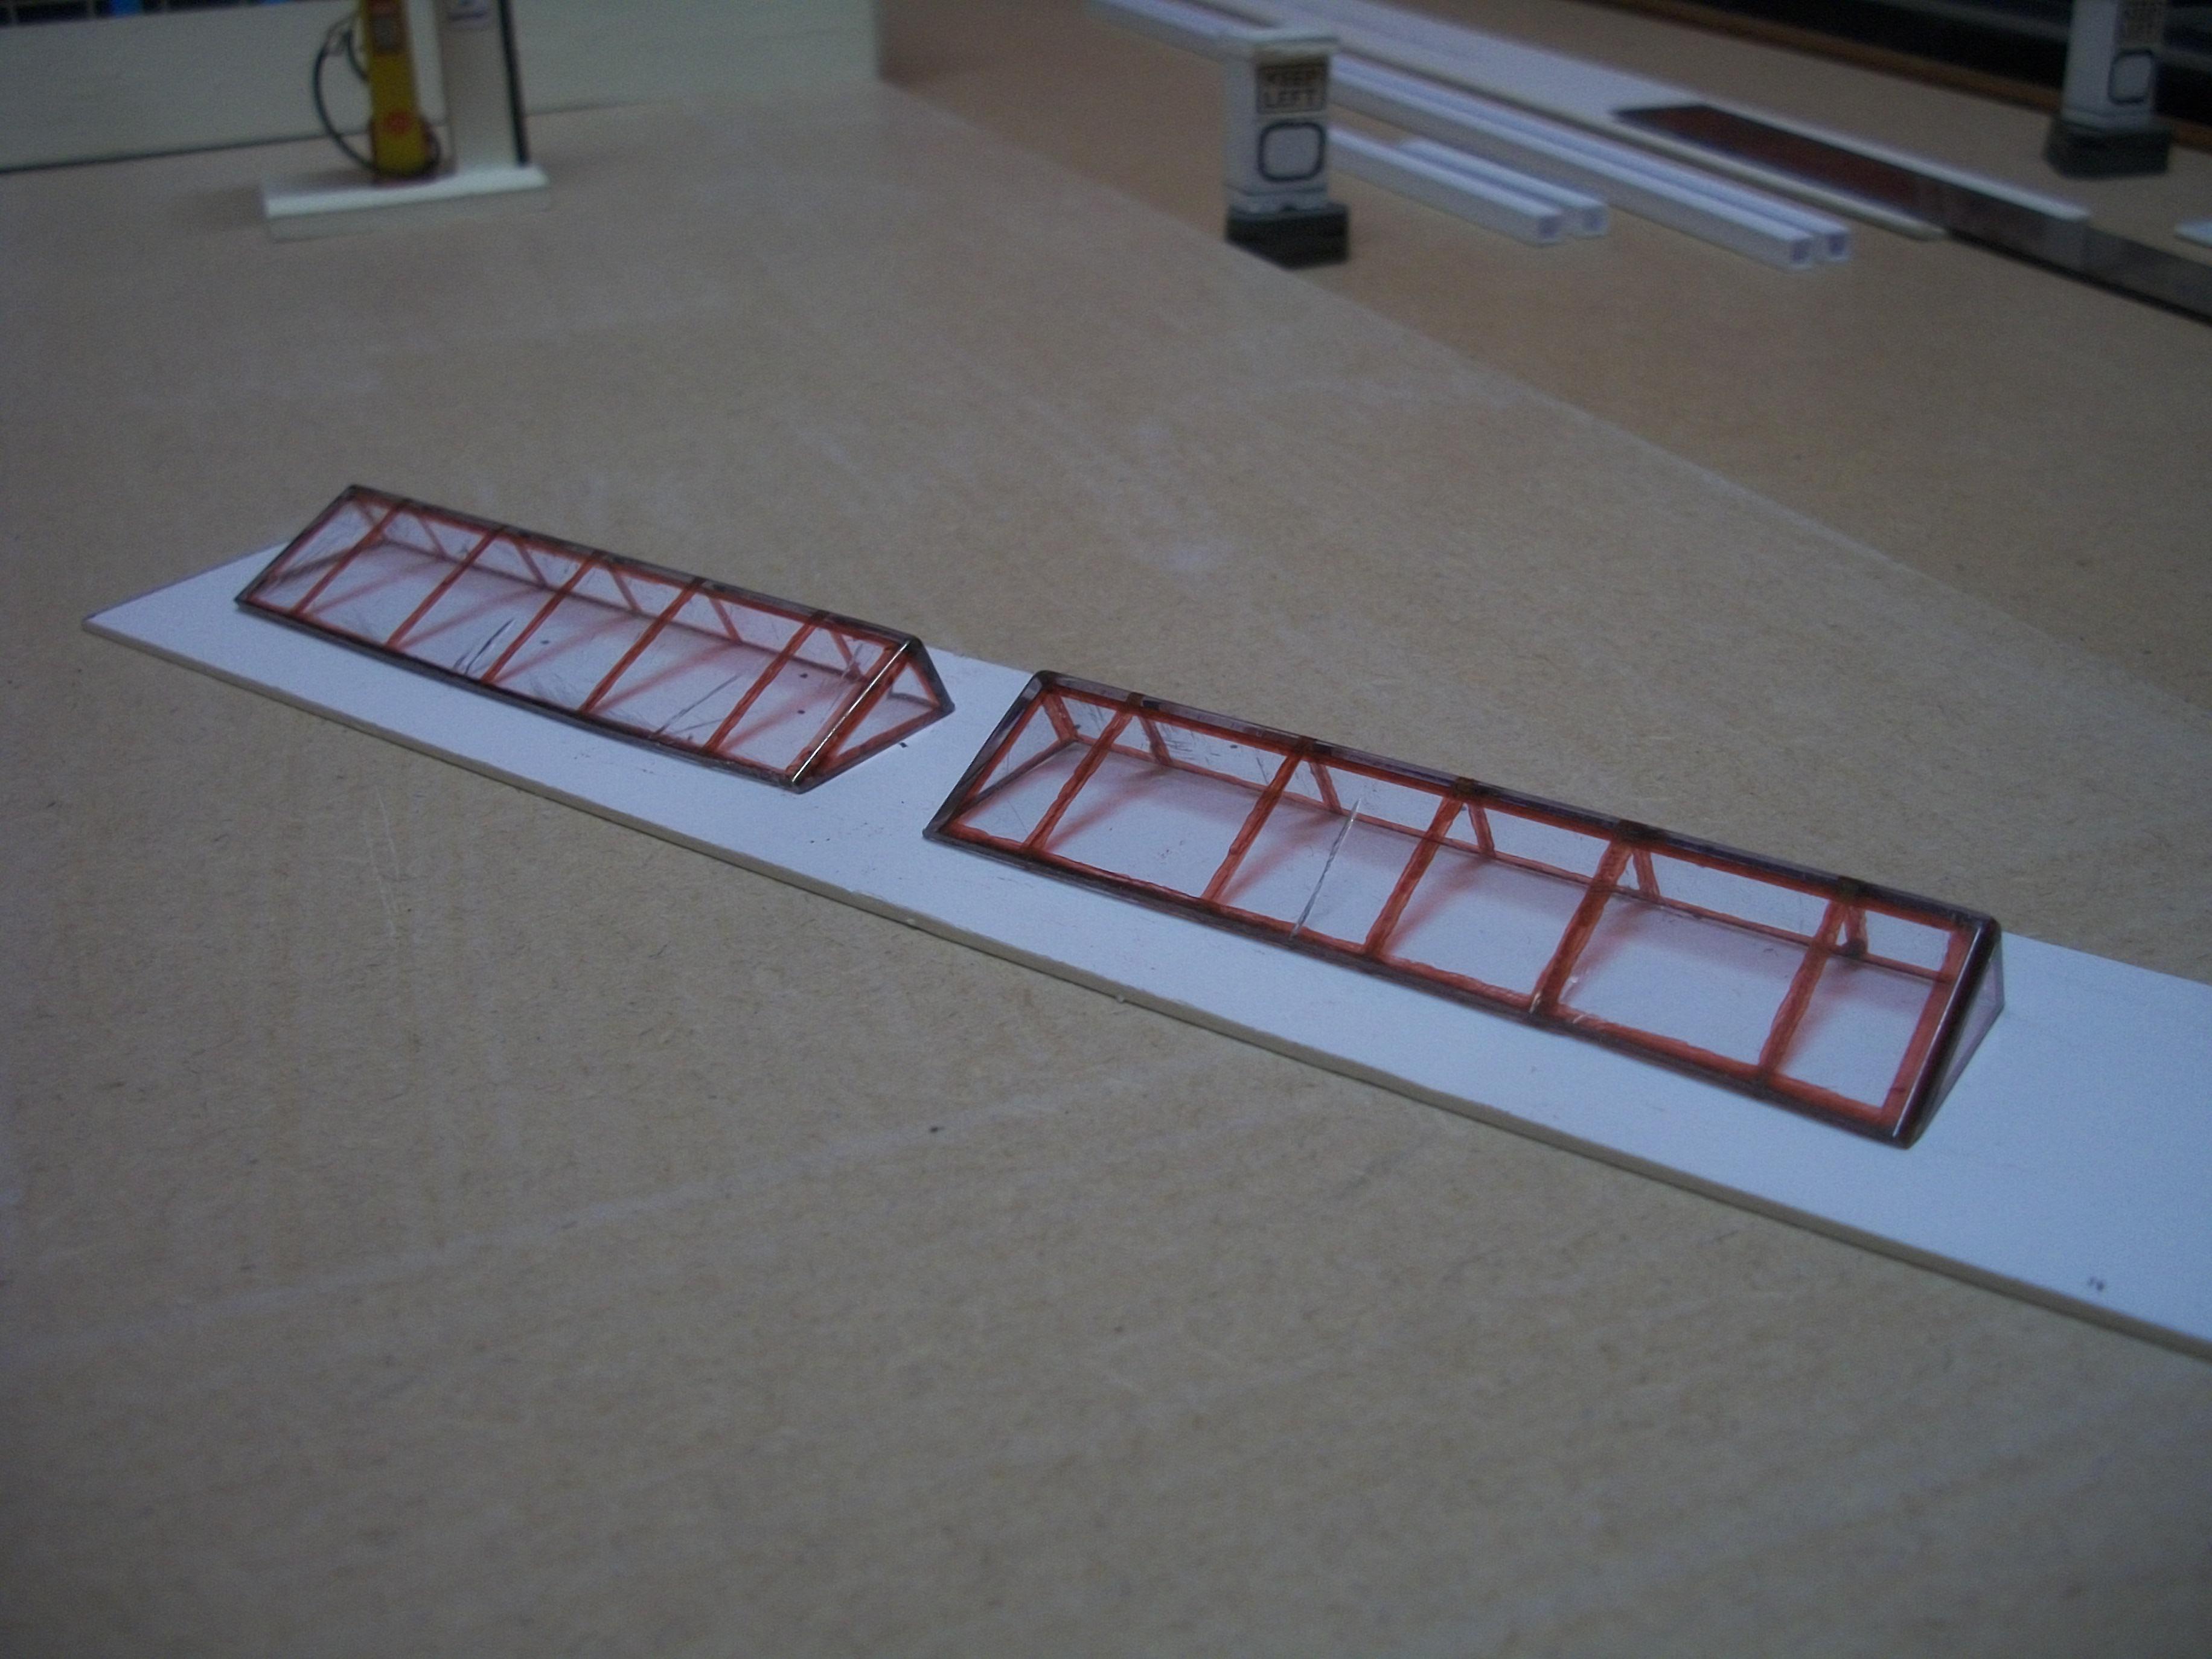
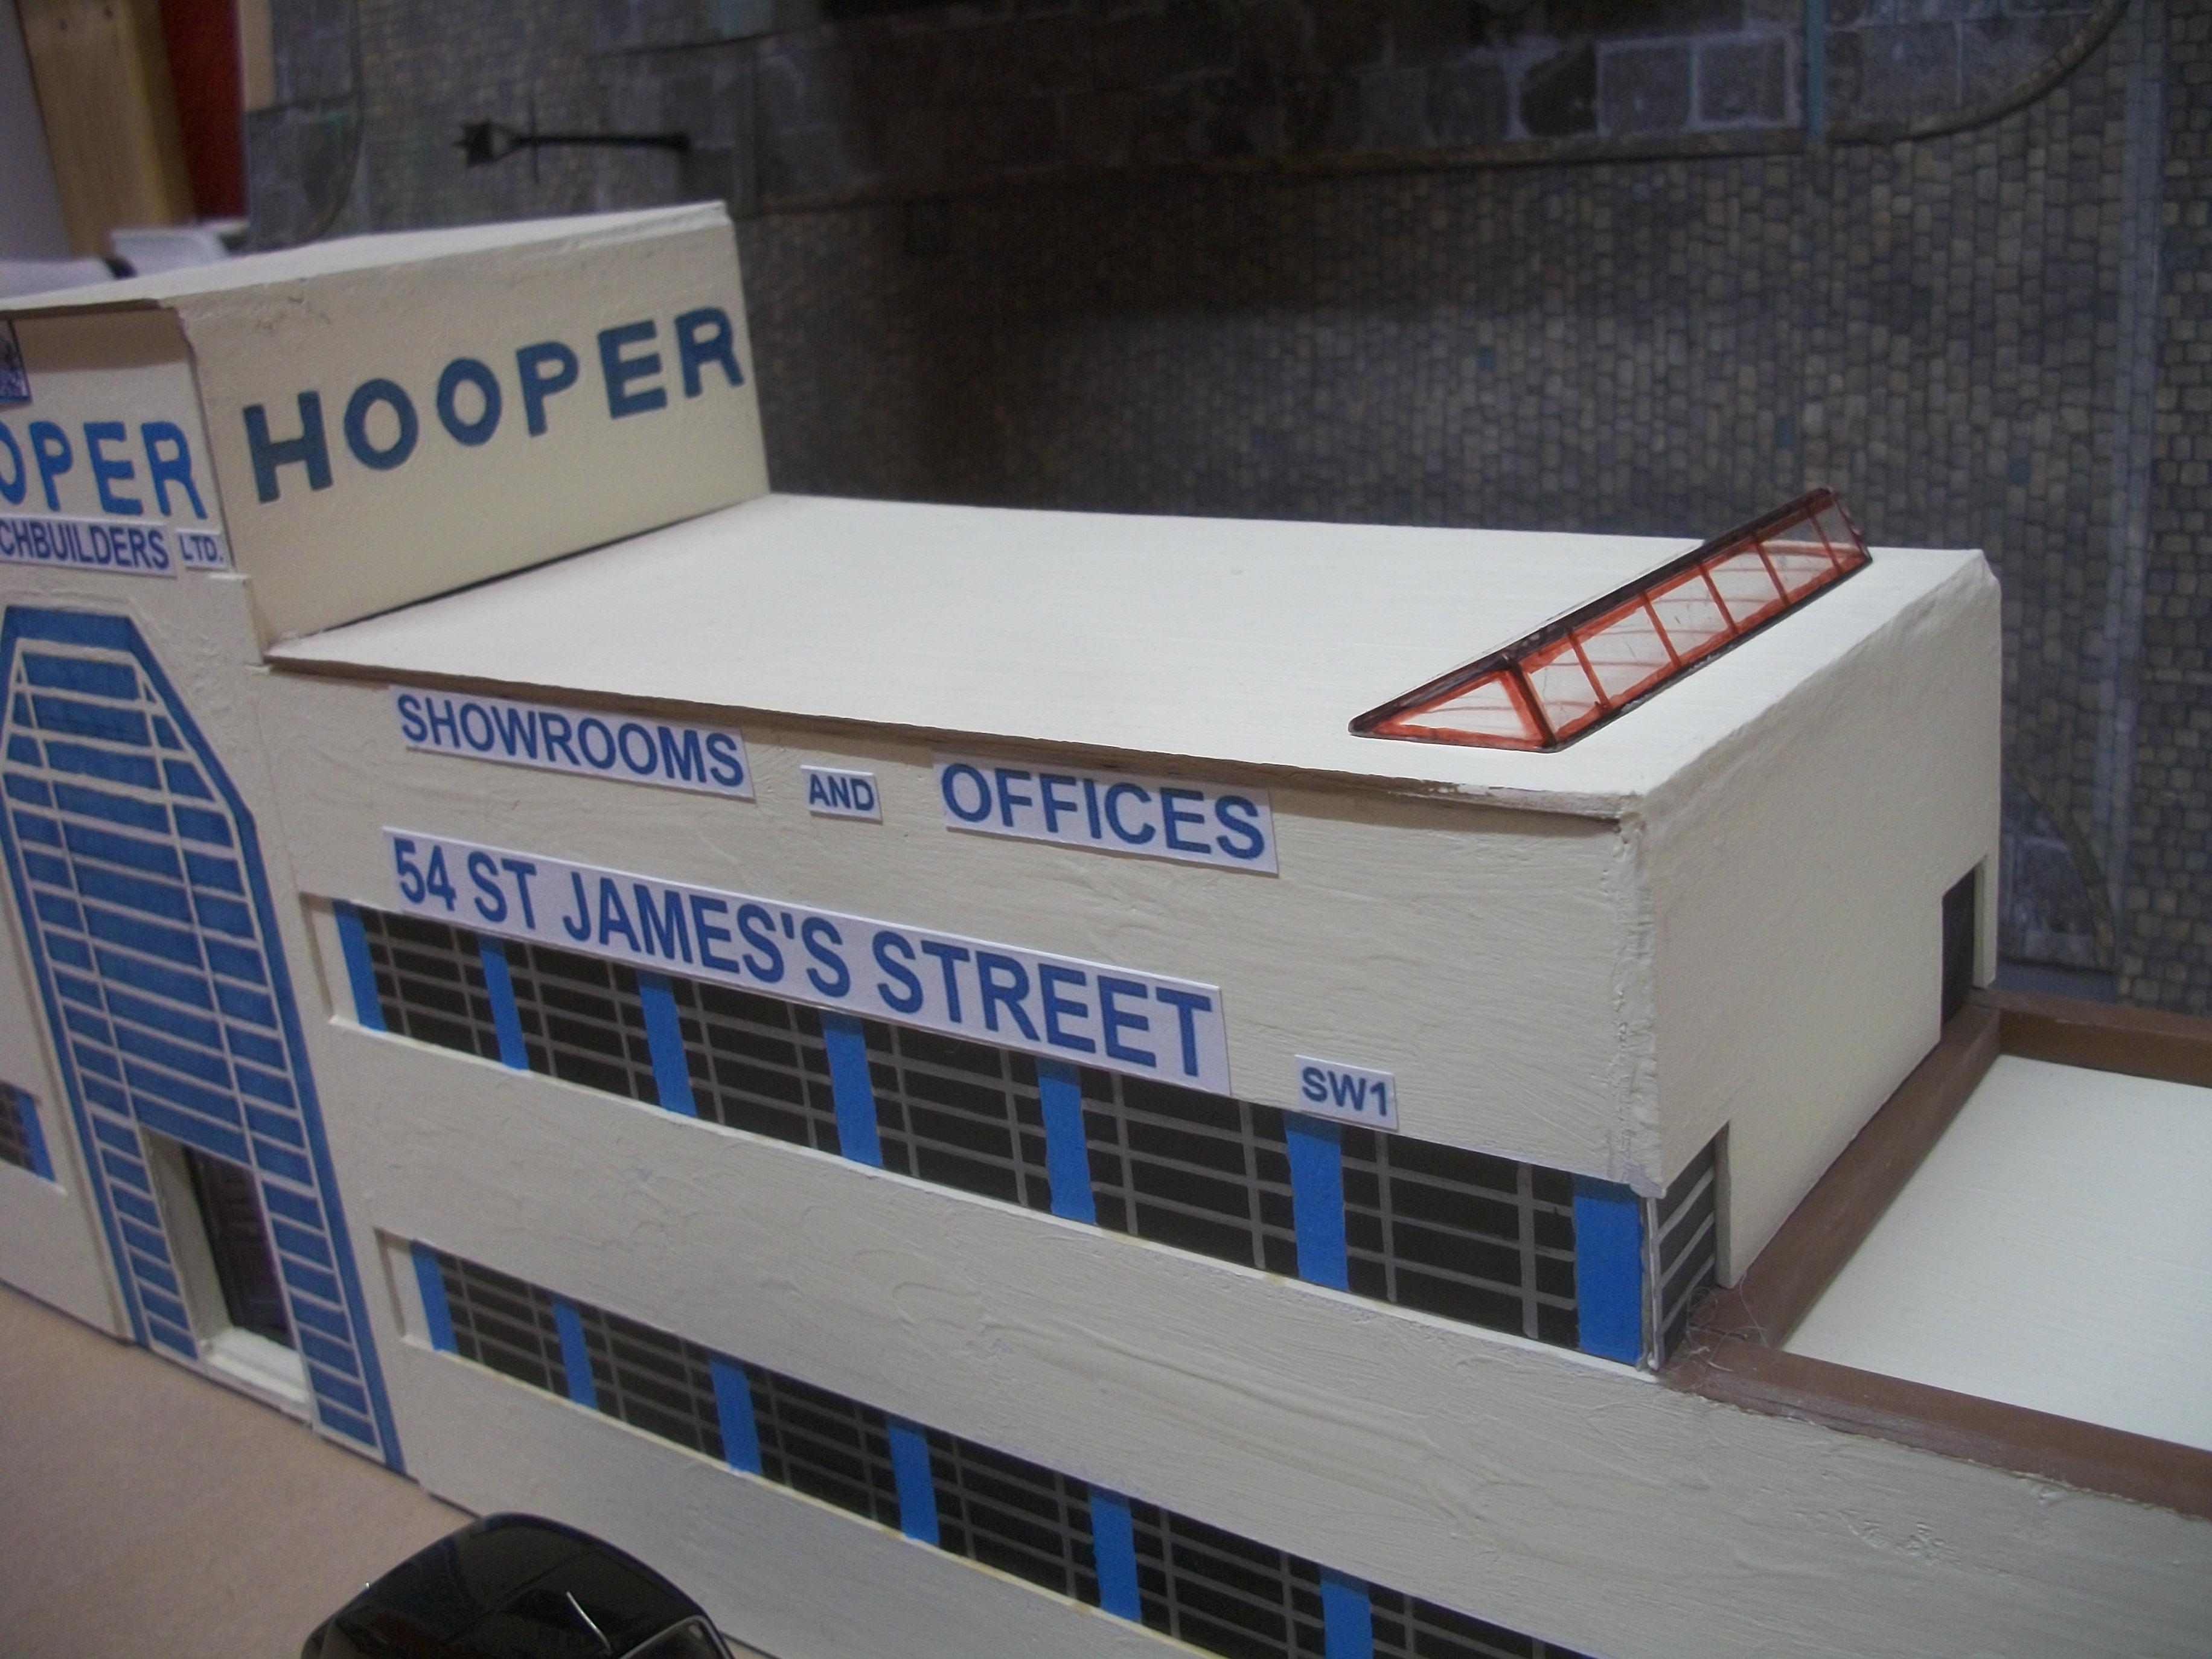
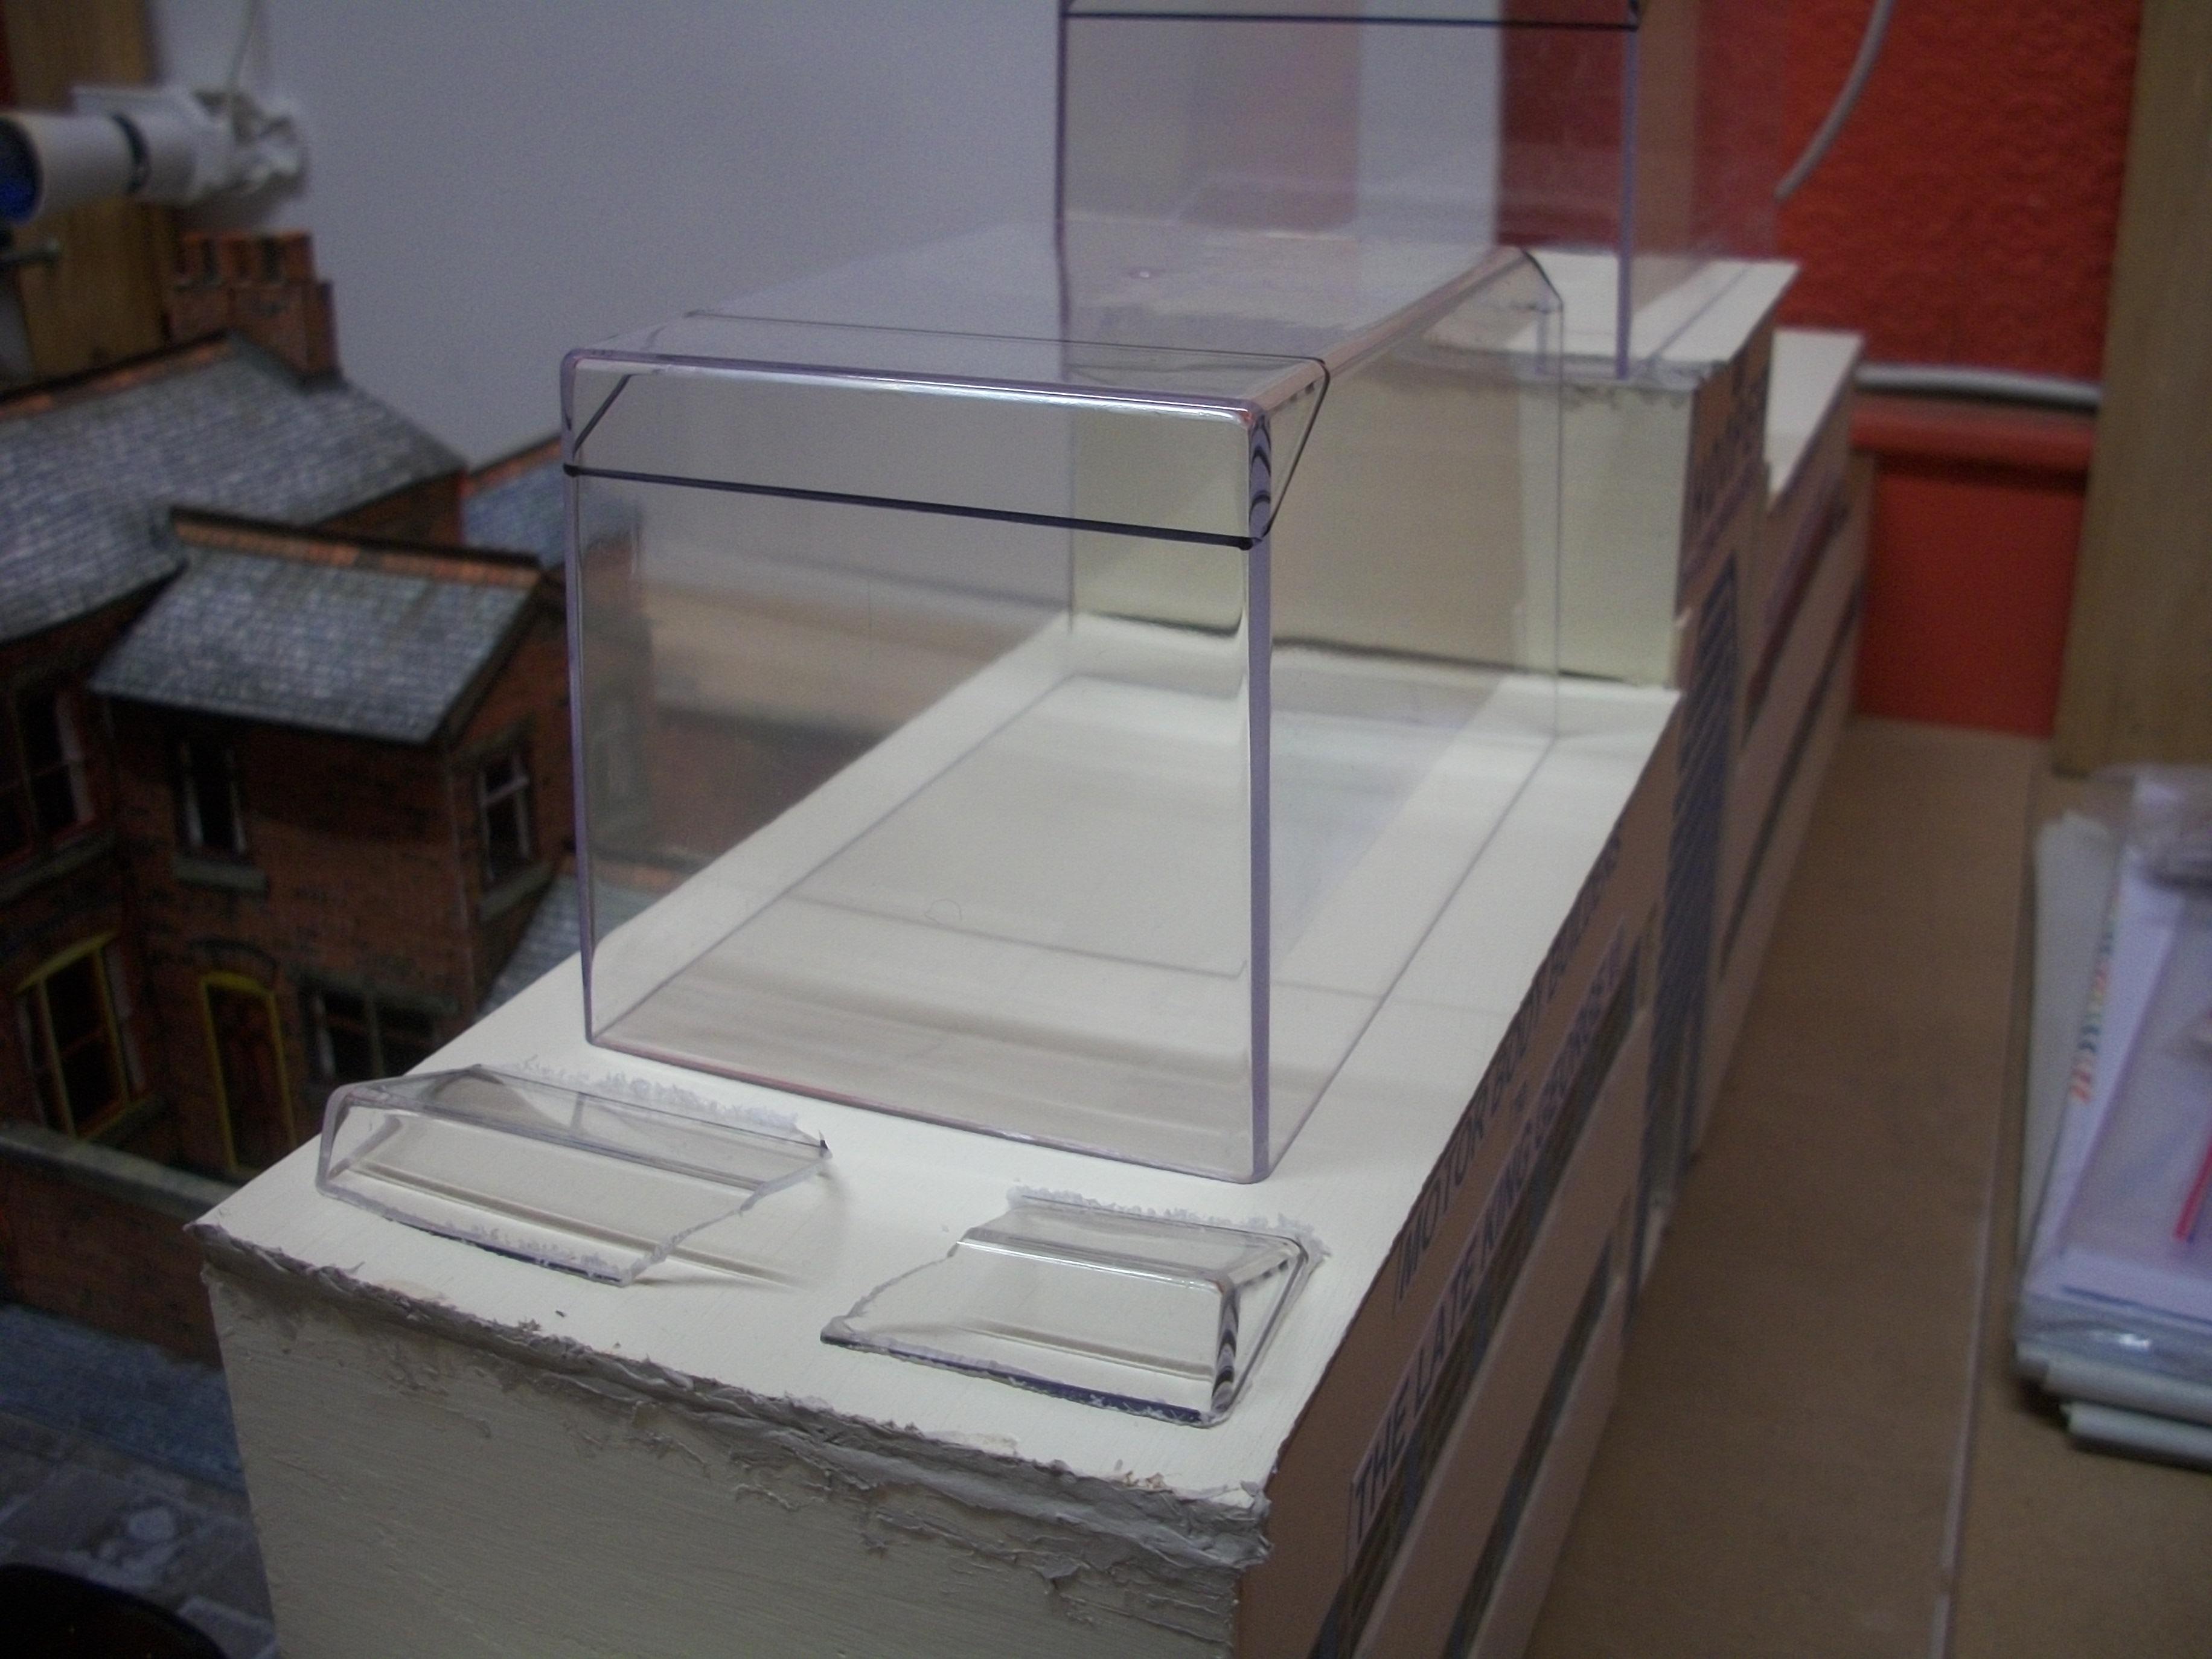
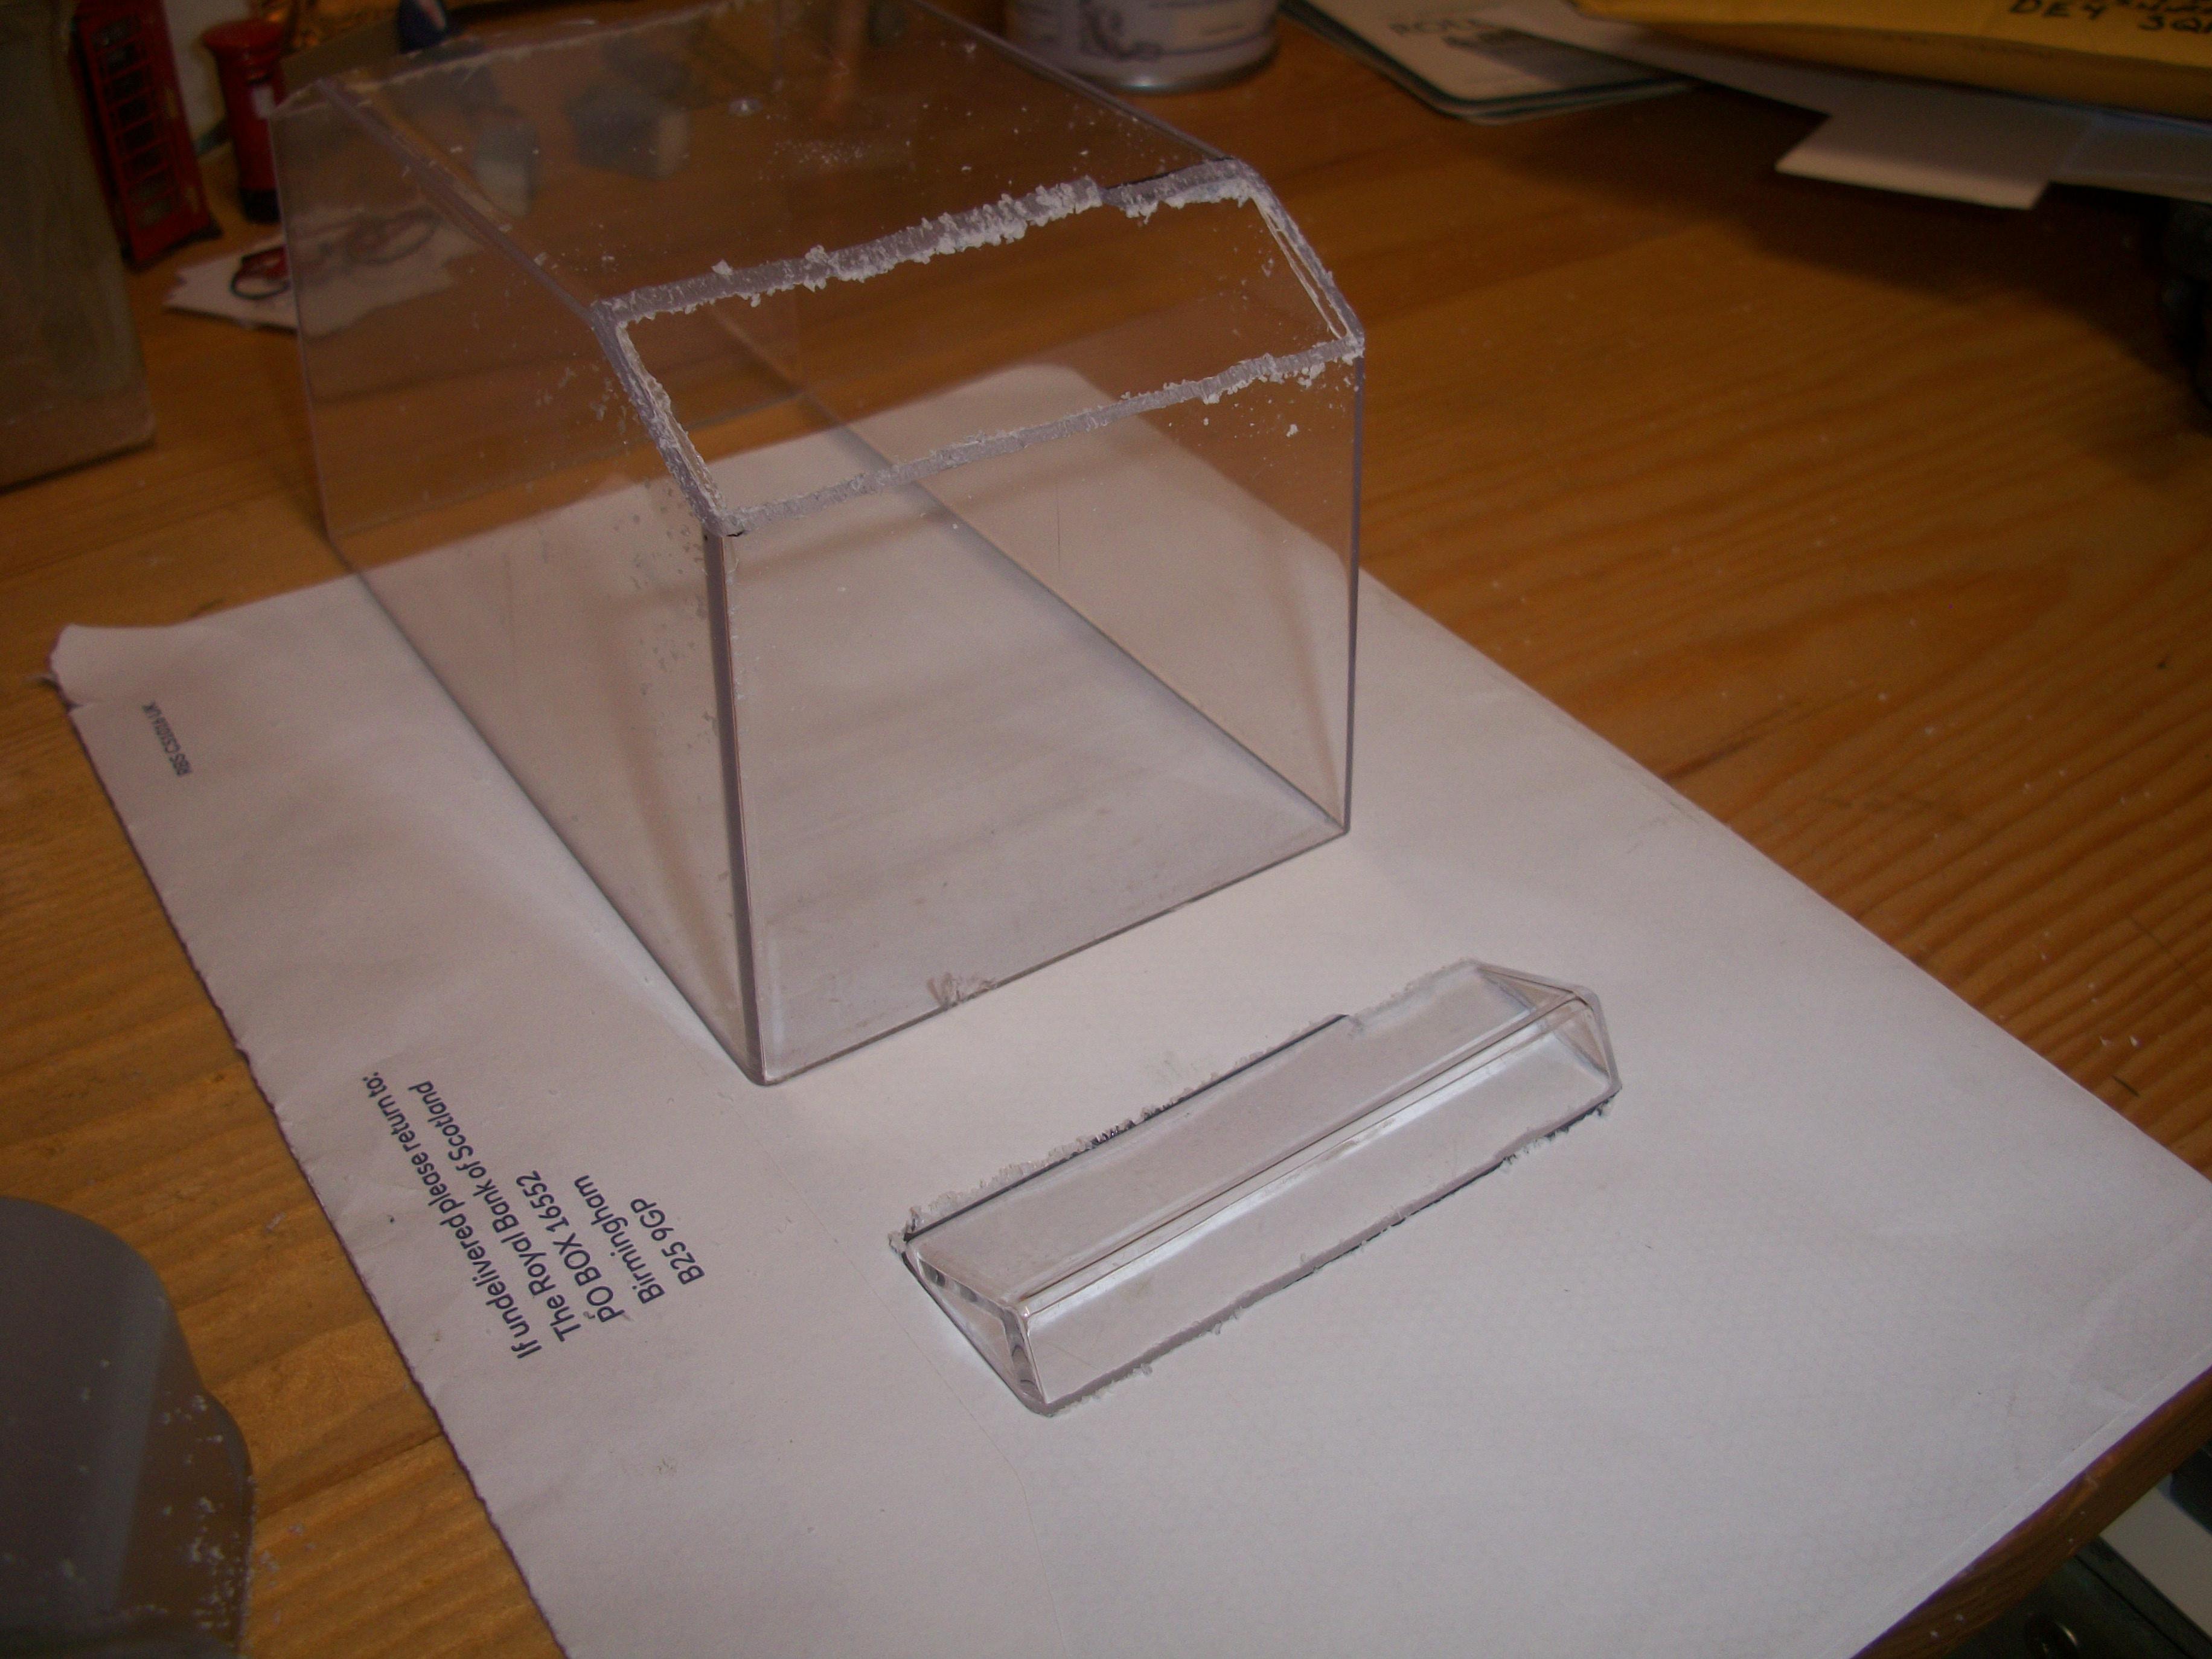
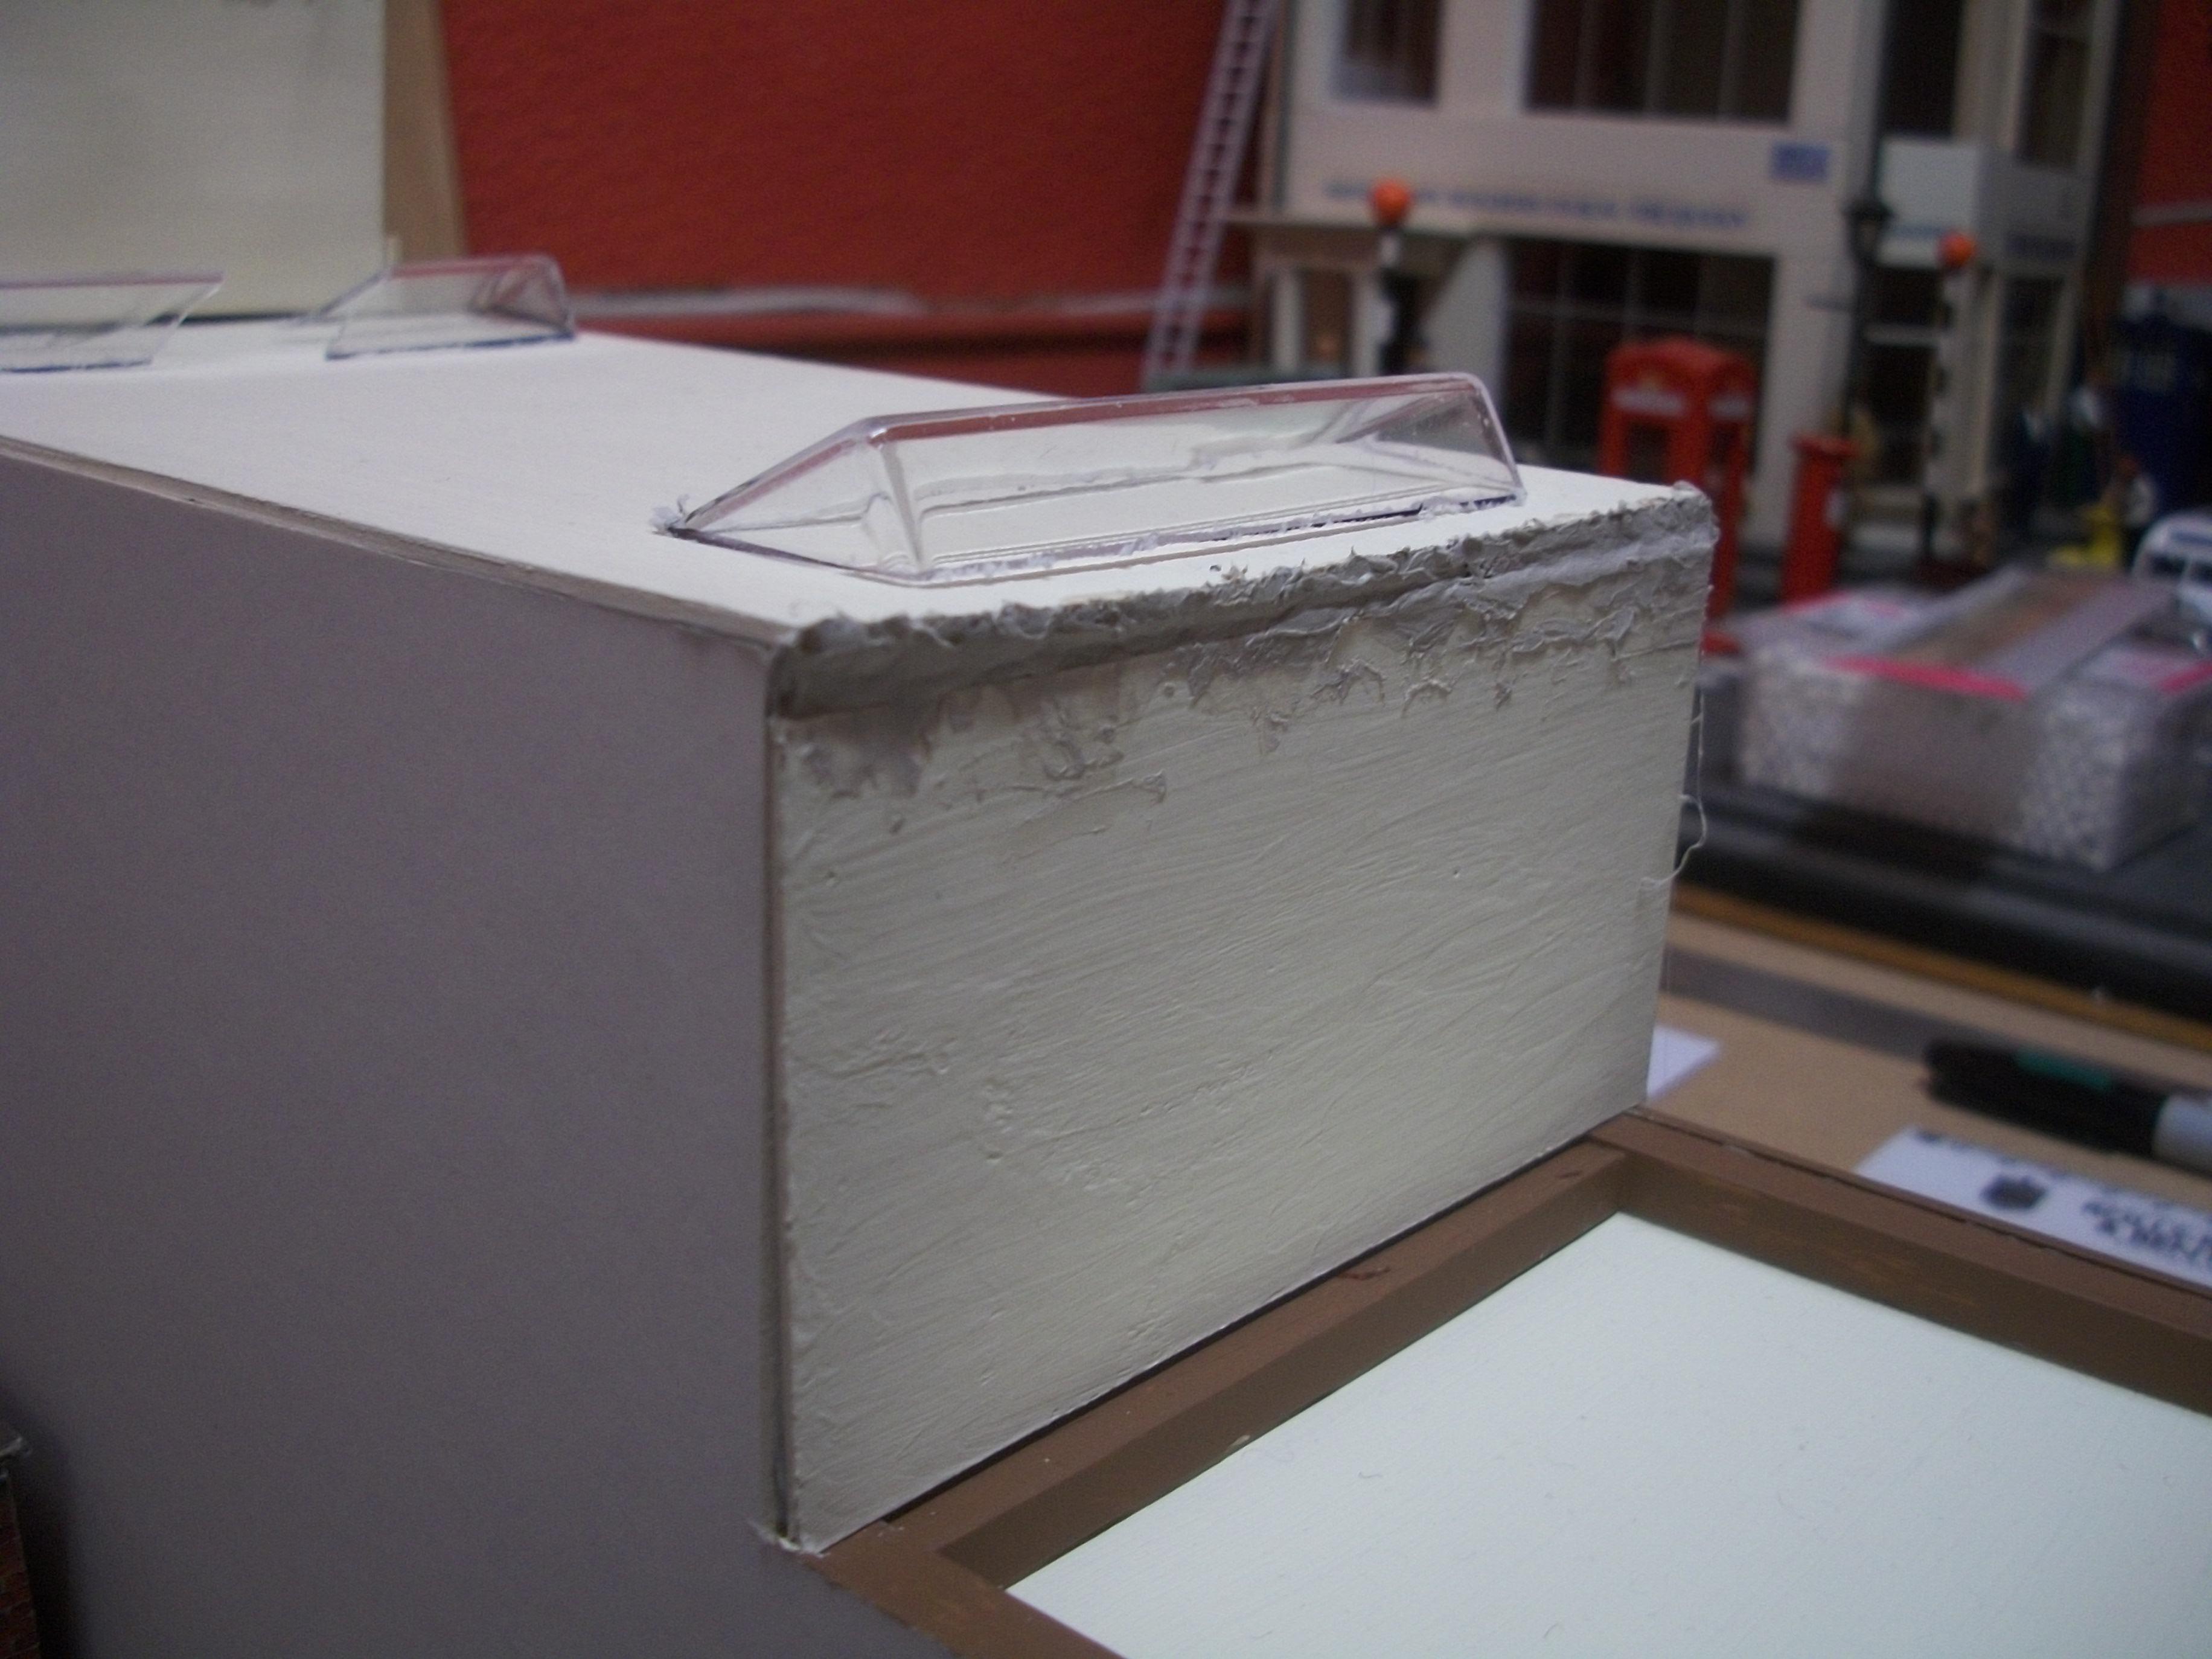
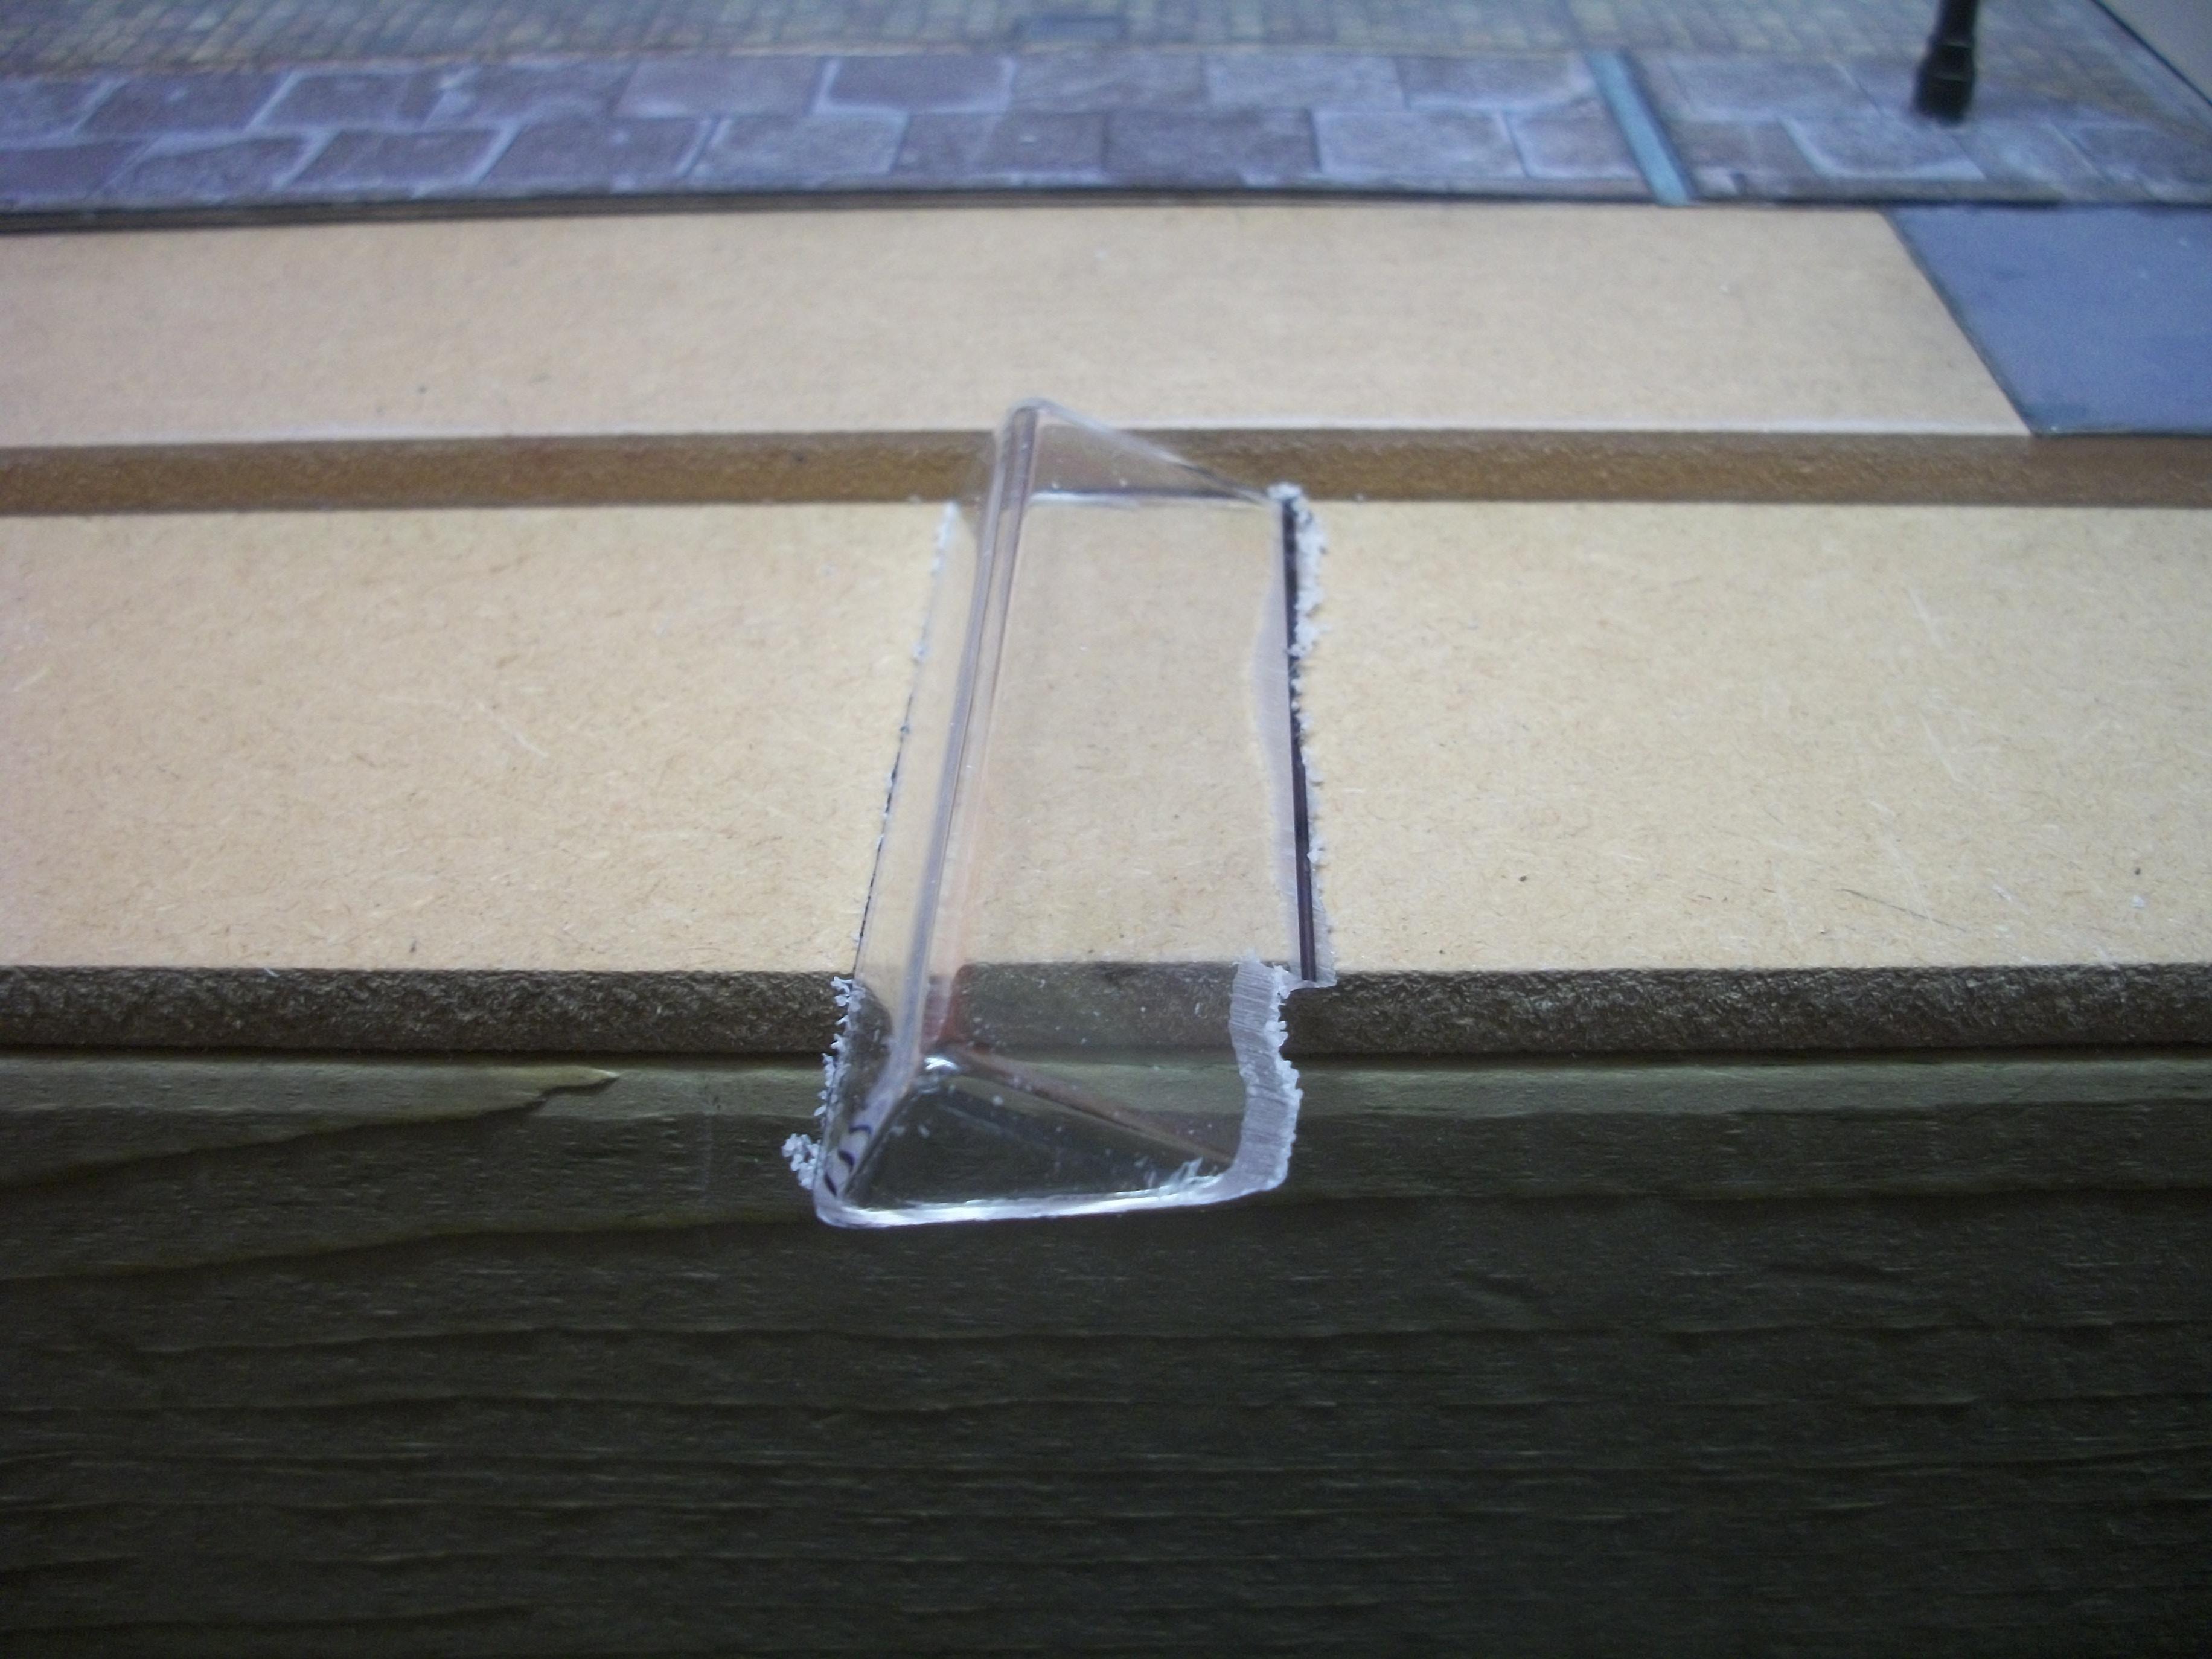
These are two skylights that I scratch built for my 1:43 scale factory building, with the material taken from the top edges of a display case. The wood frames are brown Sharpie...... David
-

I think I enjoy restorations the most
Anglia105E replied to junkyardjeff's topic in General Automotive Talk (Trucks and Cars)
One example that immediately springs to mind, is that I had a very old Wills Finecast white metal kit of a 1933 MG K3 Magnette, which was in it's original box and 46 years old....... now I do appreciate that many collectors would keep this kit in the original box and put it on a shelf, never to open the box or build the kit. That is not how I saw the model car at all, but instead I carefully researched the real car, built and painted this wonderful old kit and proudly displayed the completed model with other 1:24 scale model cars in my diorama at an important exhibition. To me, this build honoured the manufacturer's production of an excellent kit, which would have been wasted as a stored ' in the box ' model. David
-
65 Ford Galaxie R Code or XL...need advice.
Anglia105E replied to Brutalform's topic in WIP: Model Cars
You have done a really good job on those Galaxie headlights, Tom....... it would be a shame to cover them up with those optional headlamp covers..... maybe leave them in the trunk, in a Ford cardboard box? ( 1:25 scale cardboard box, of course! ) David -
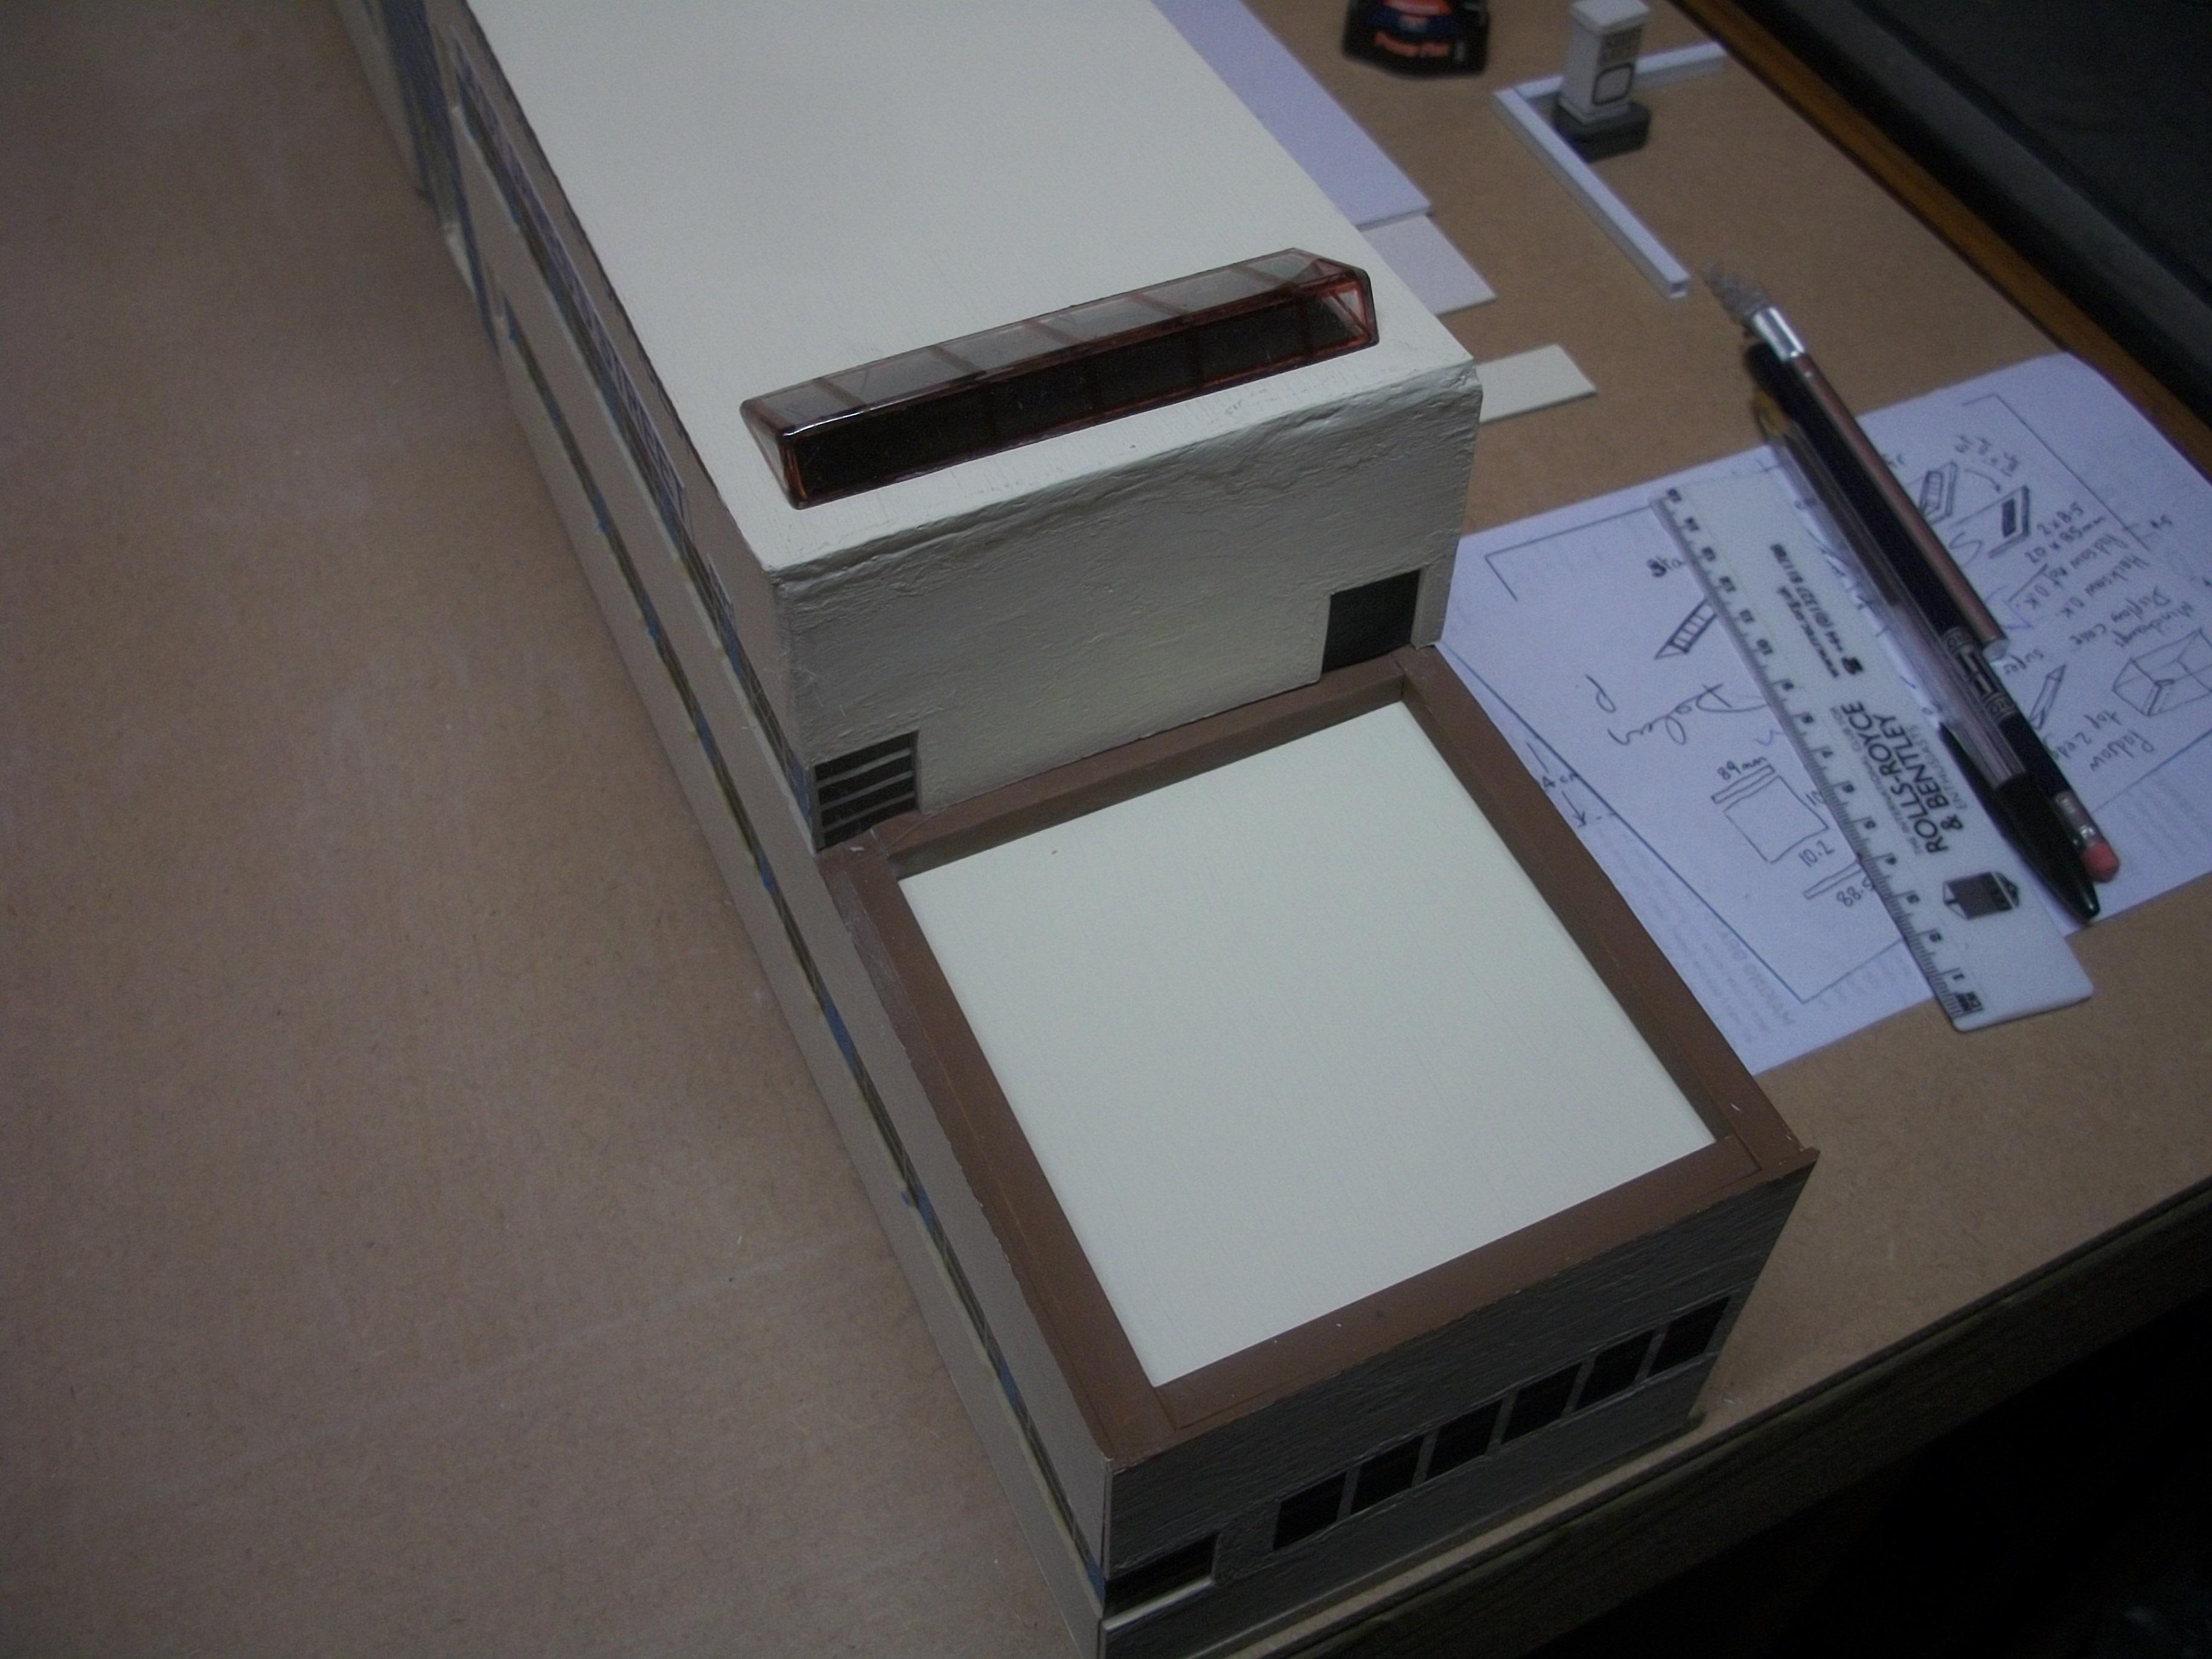
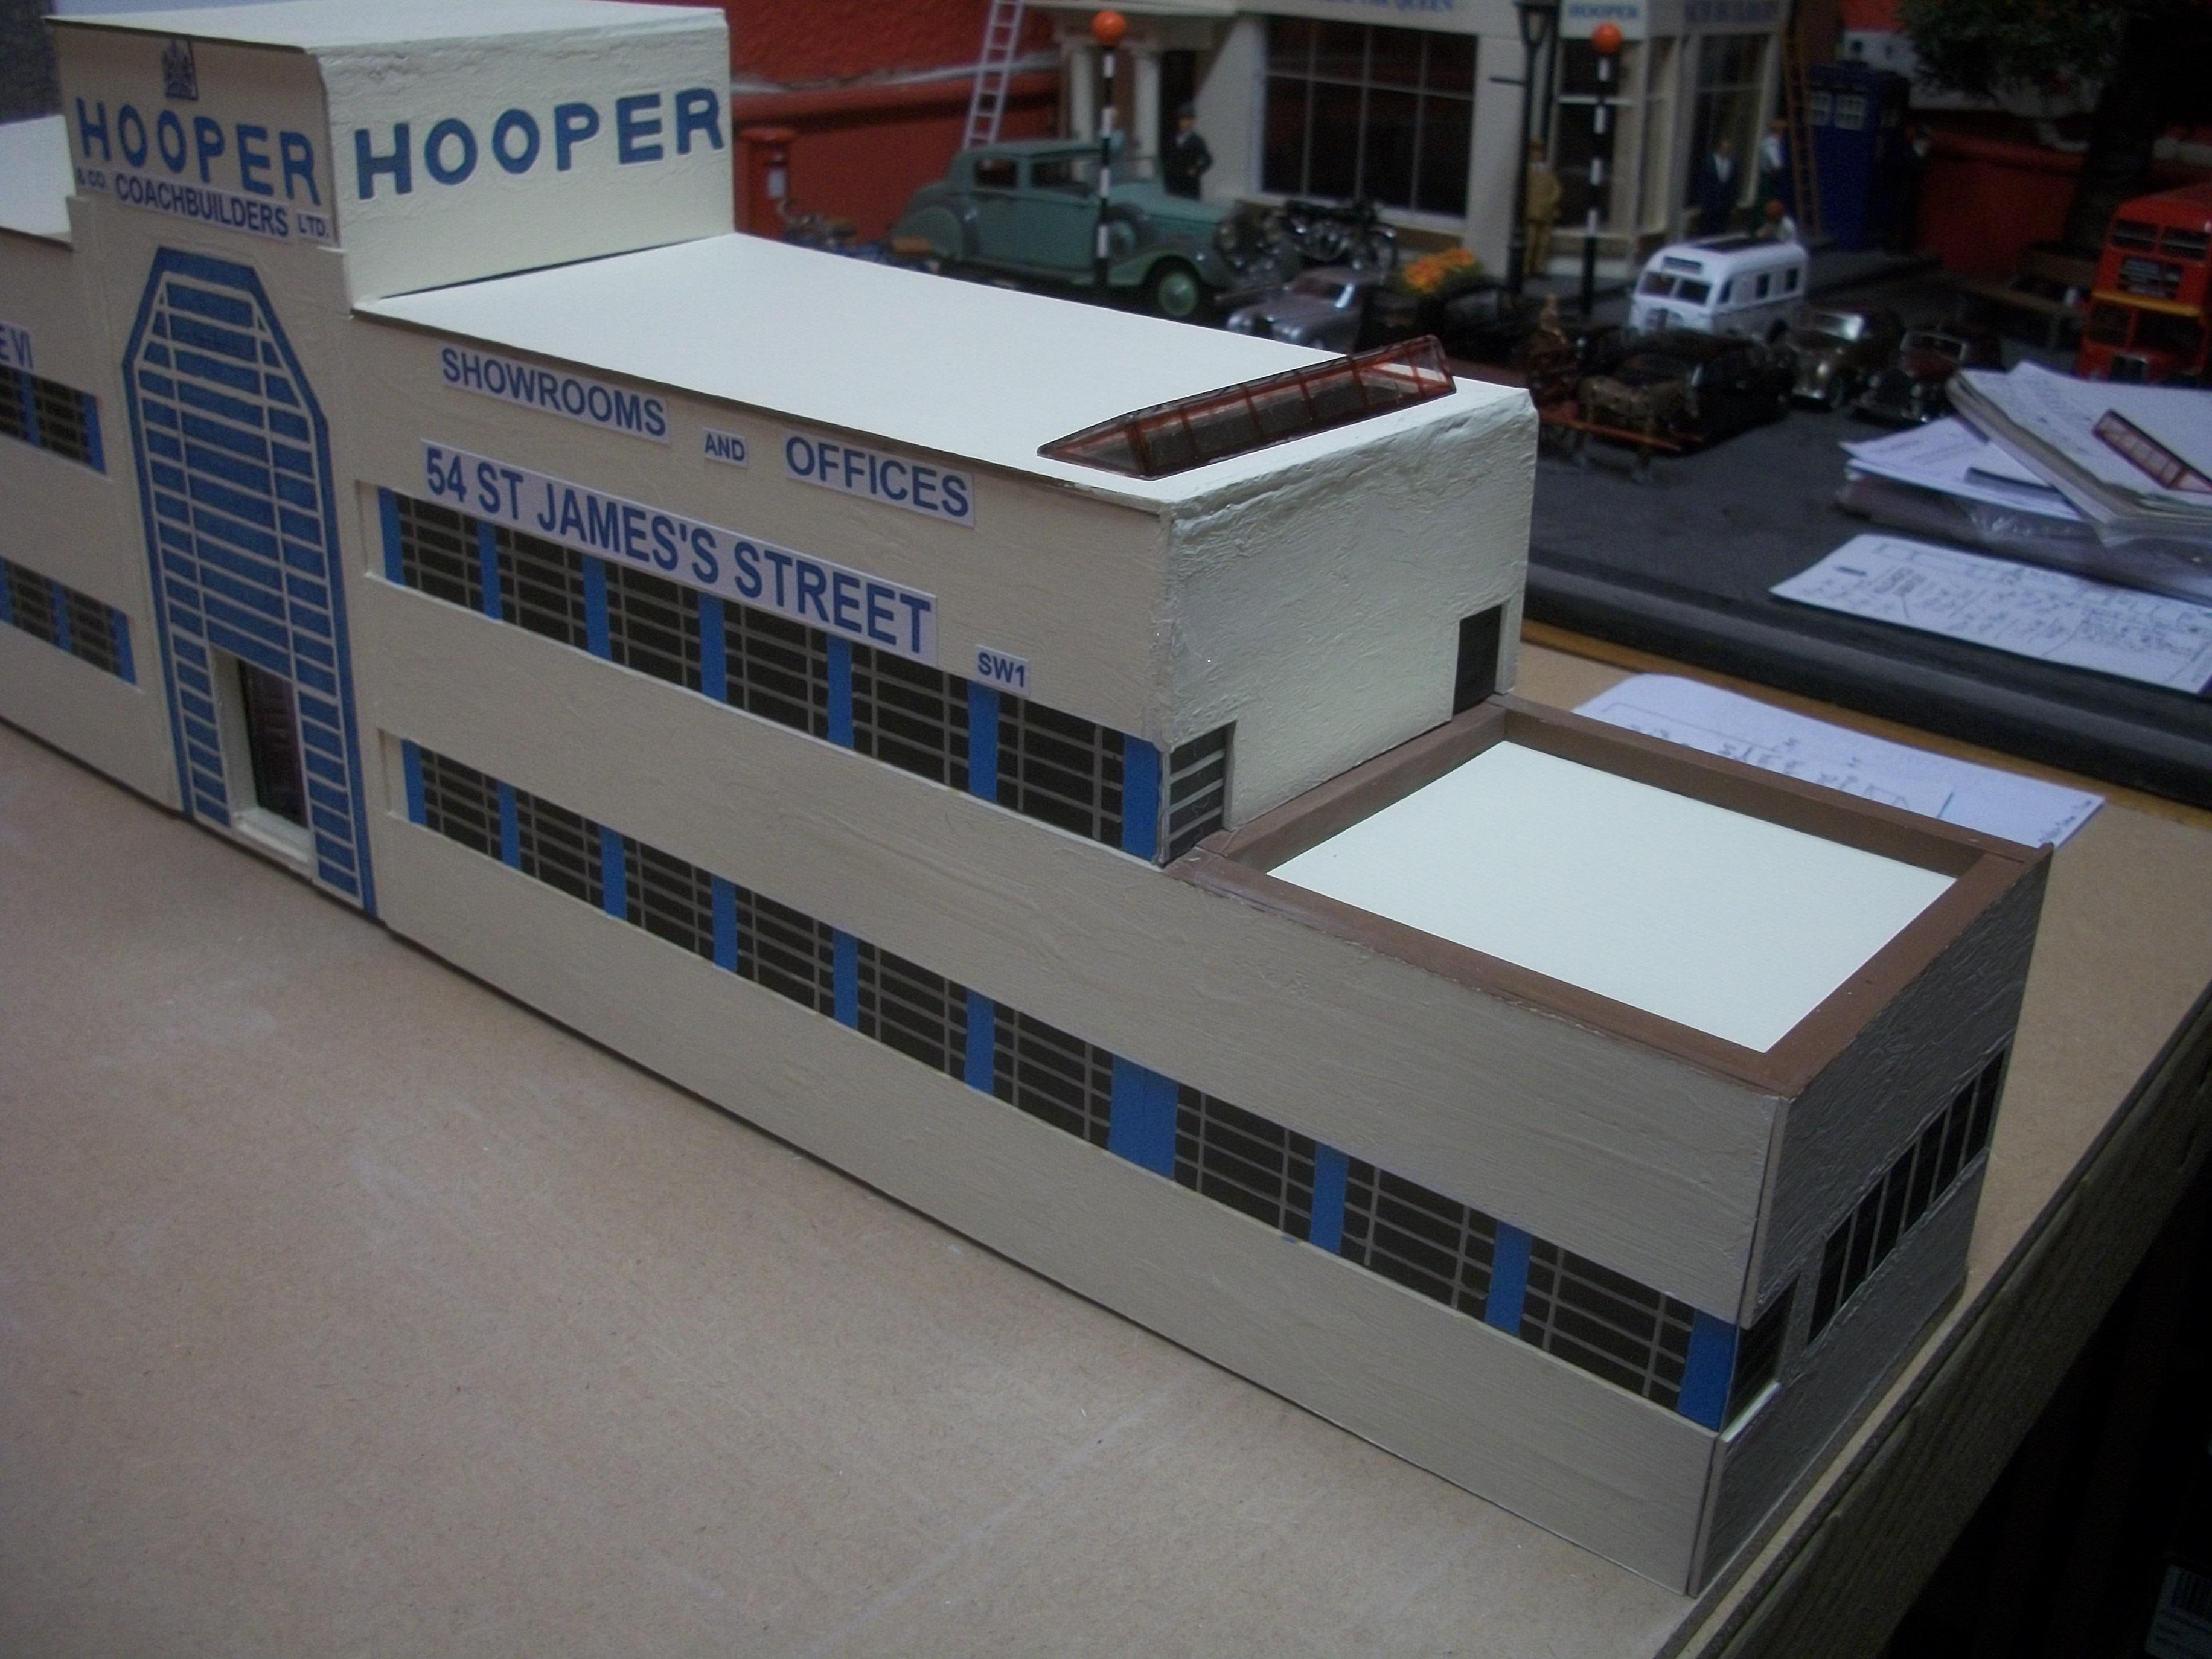
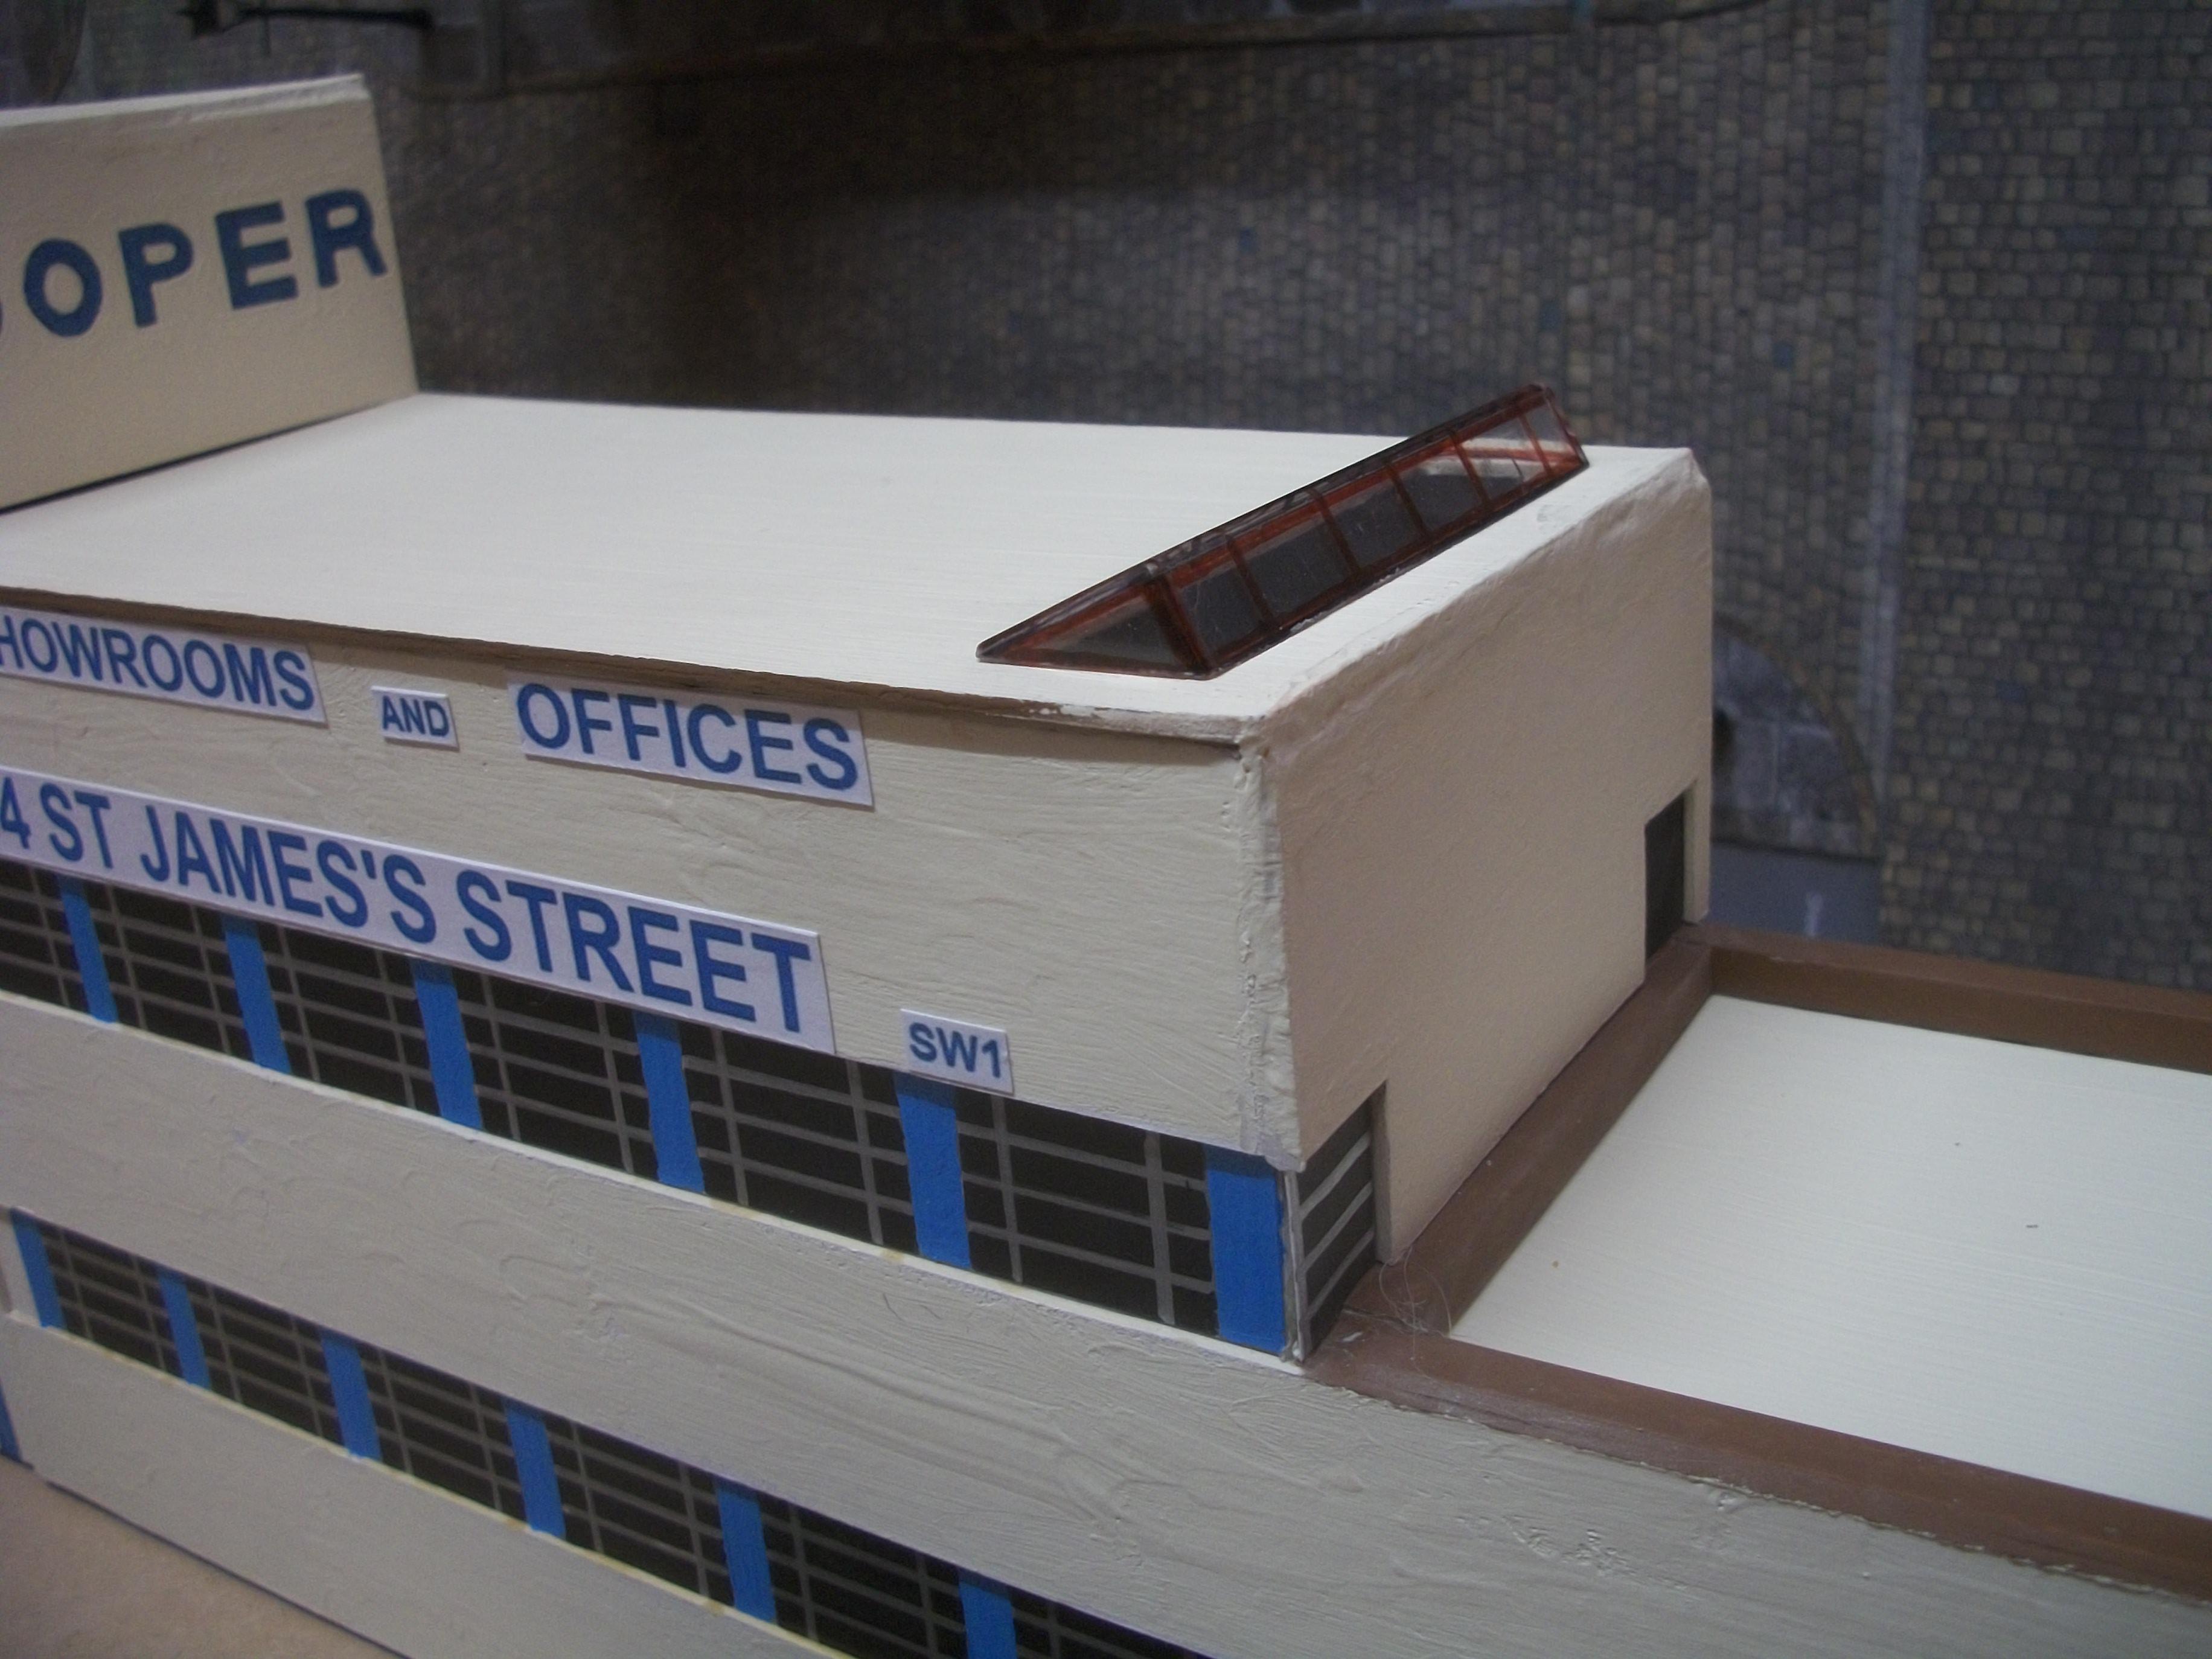
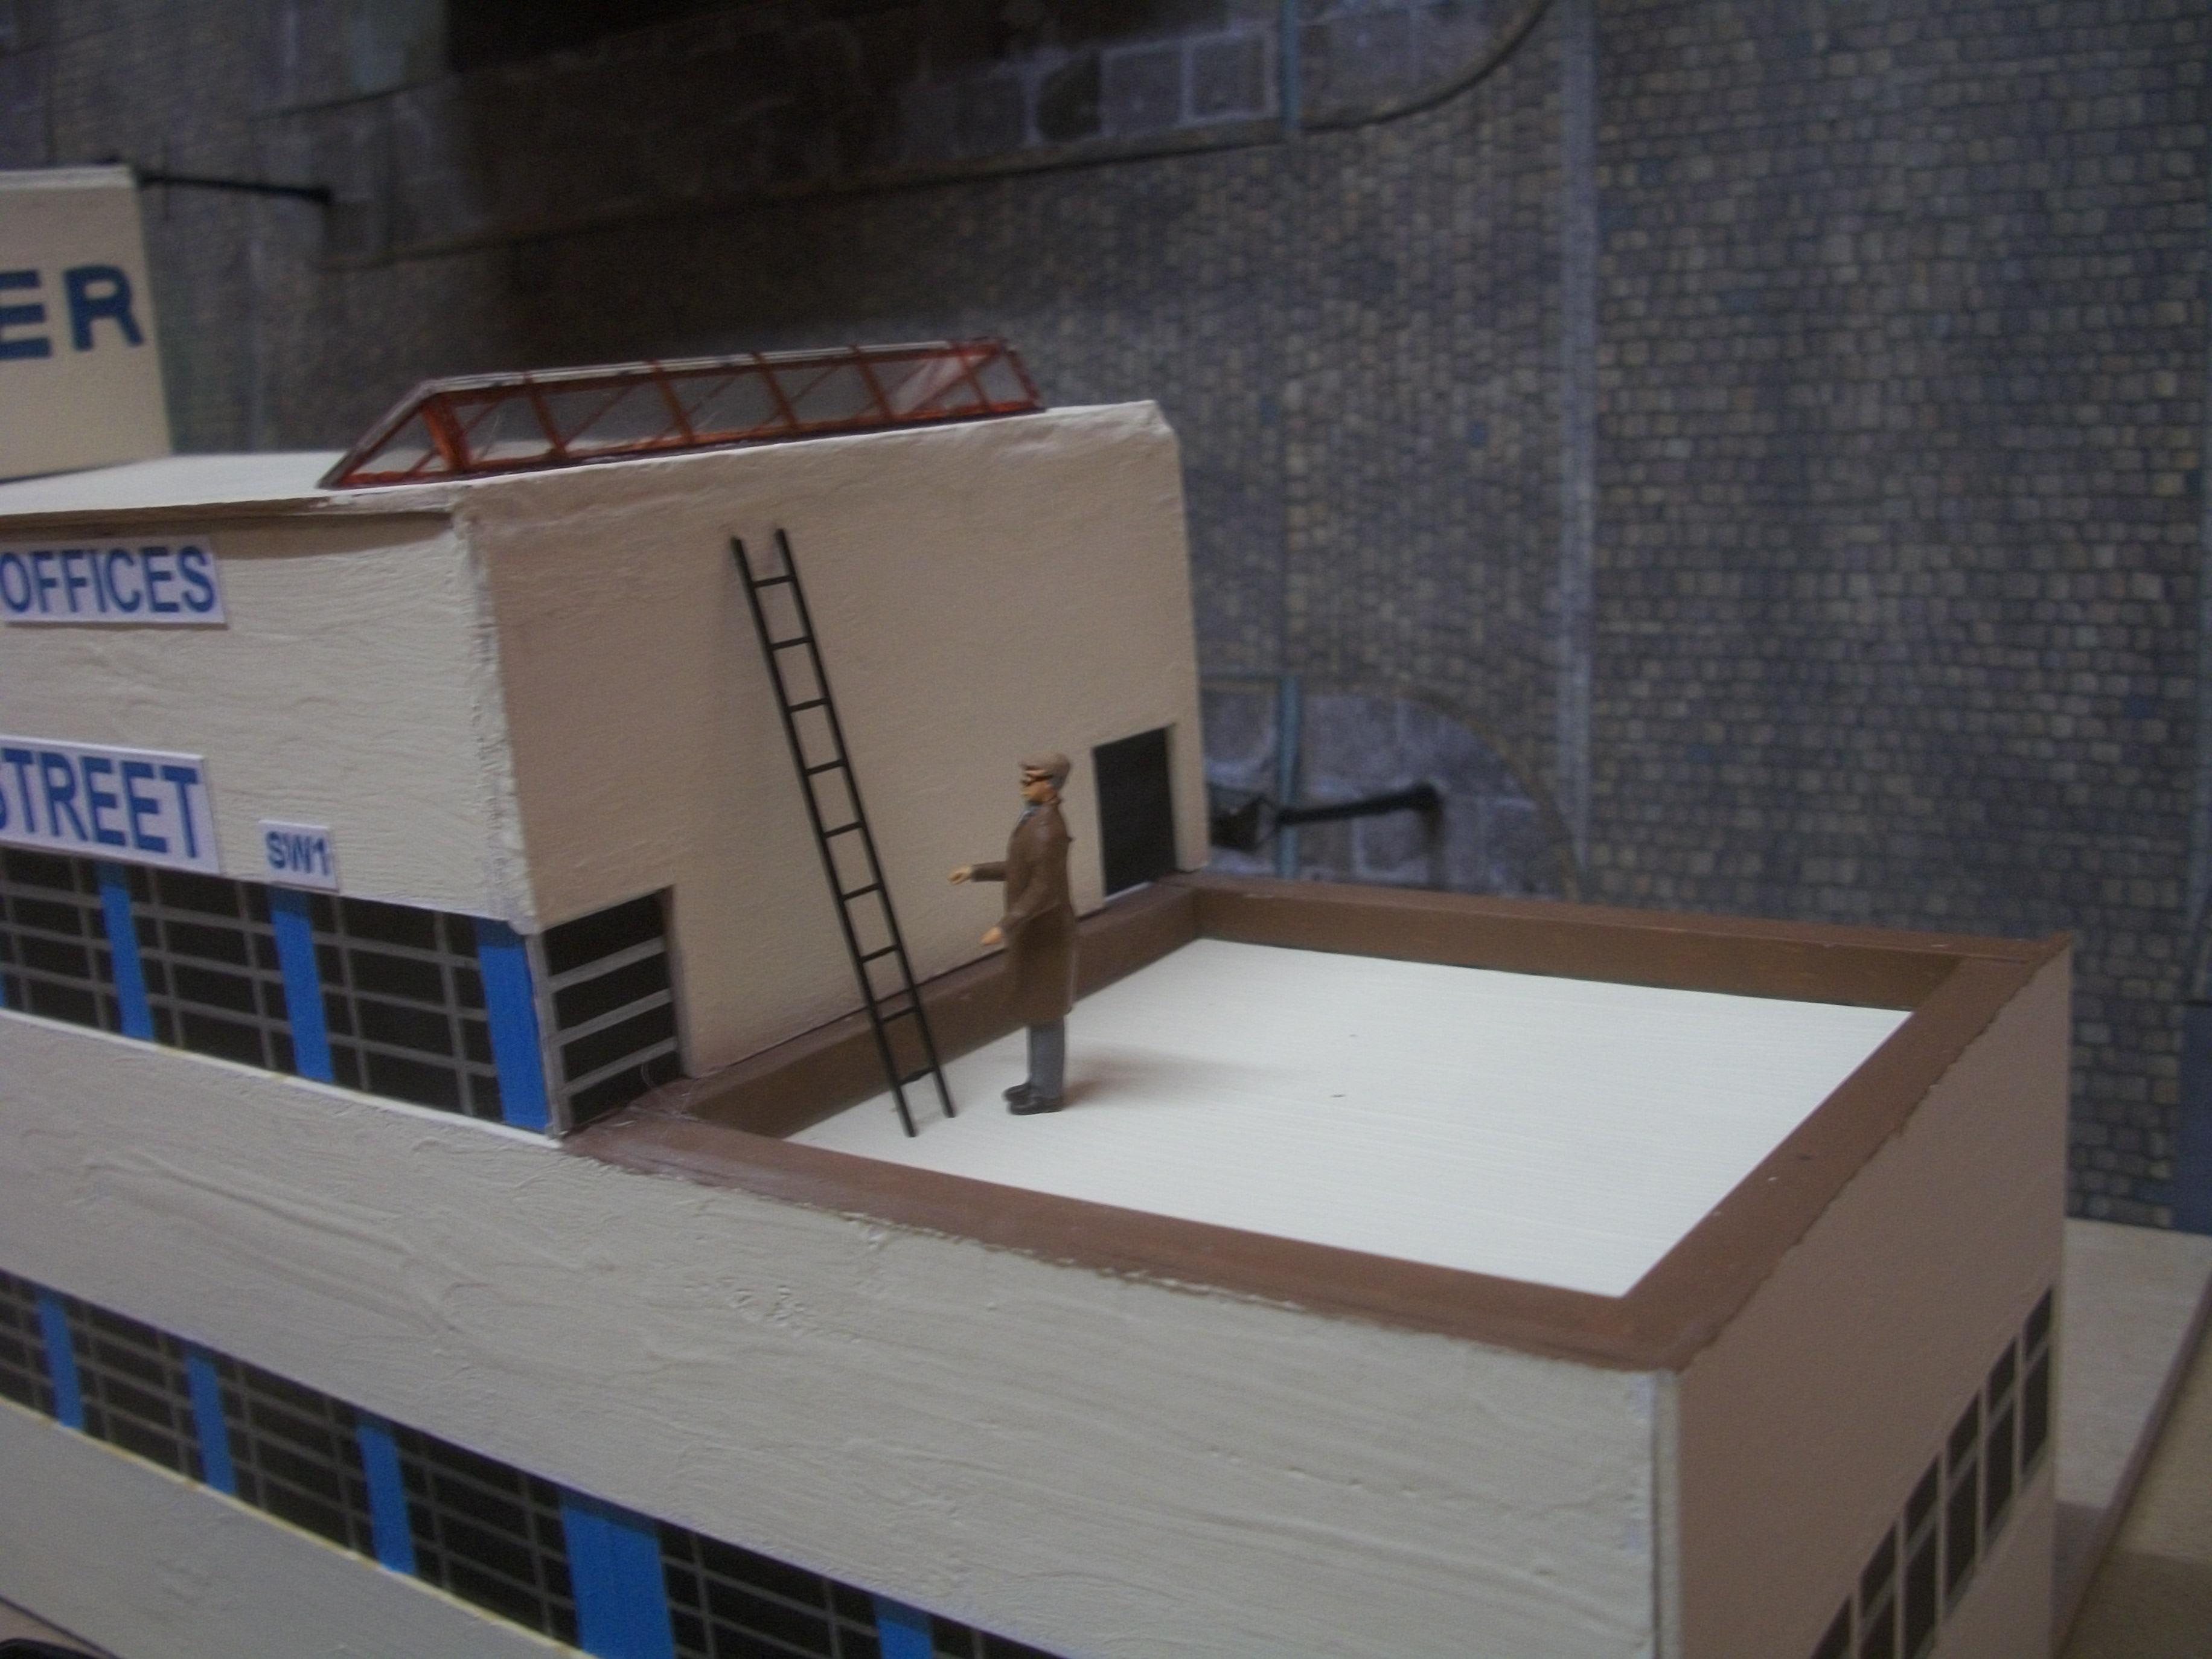
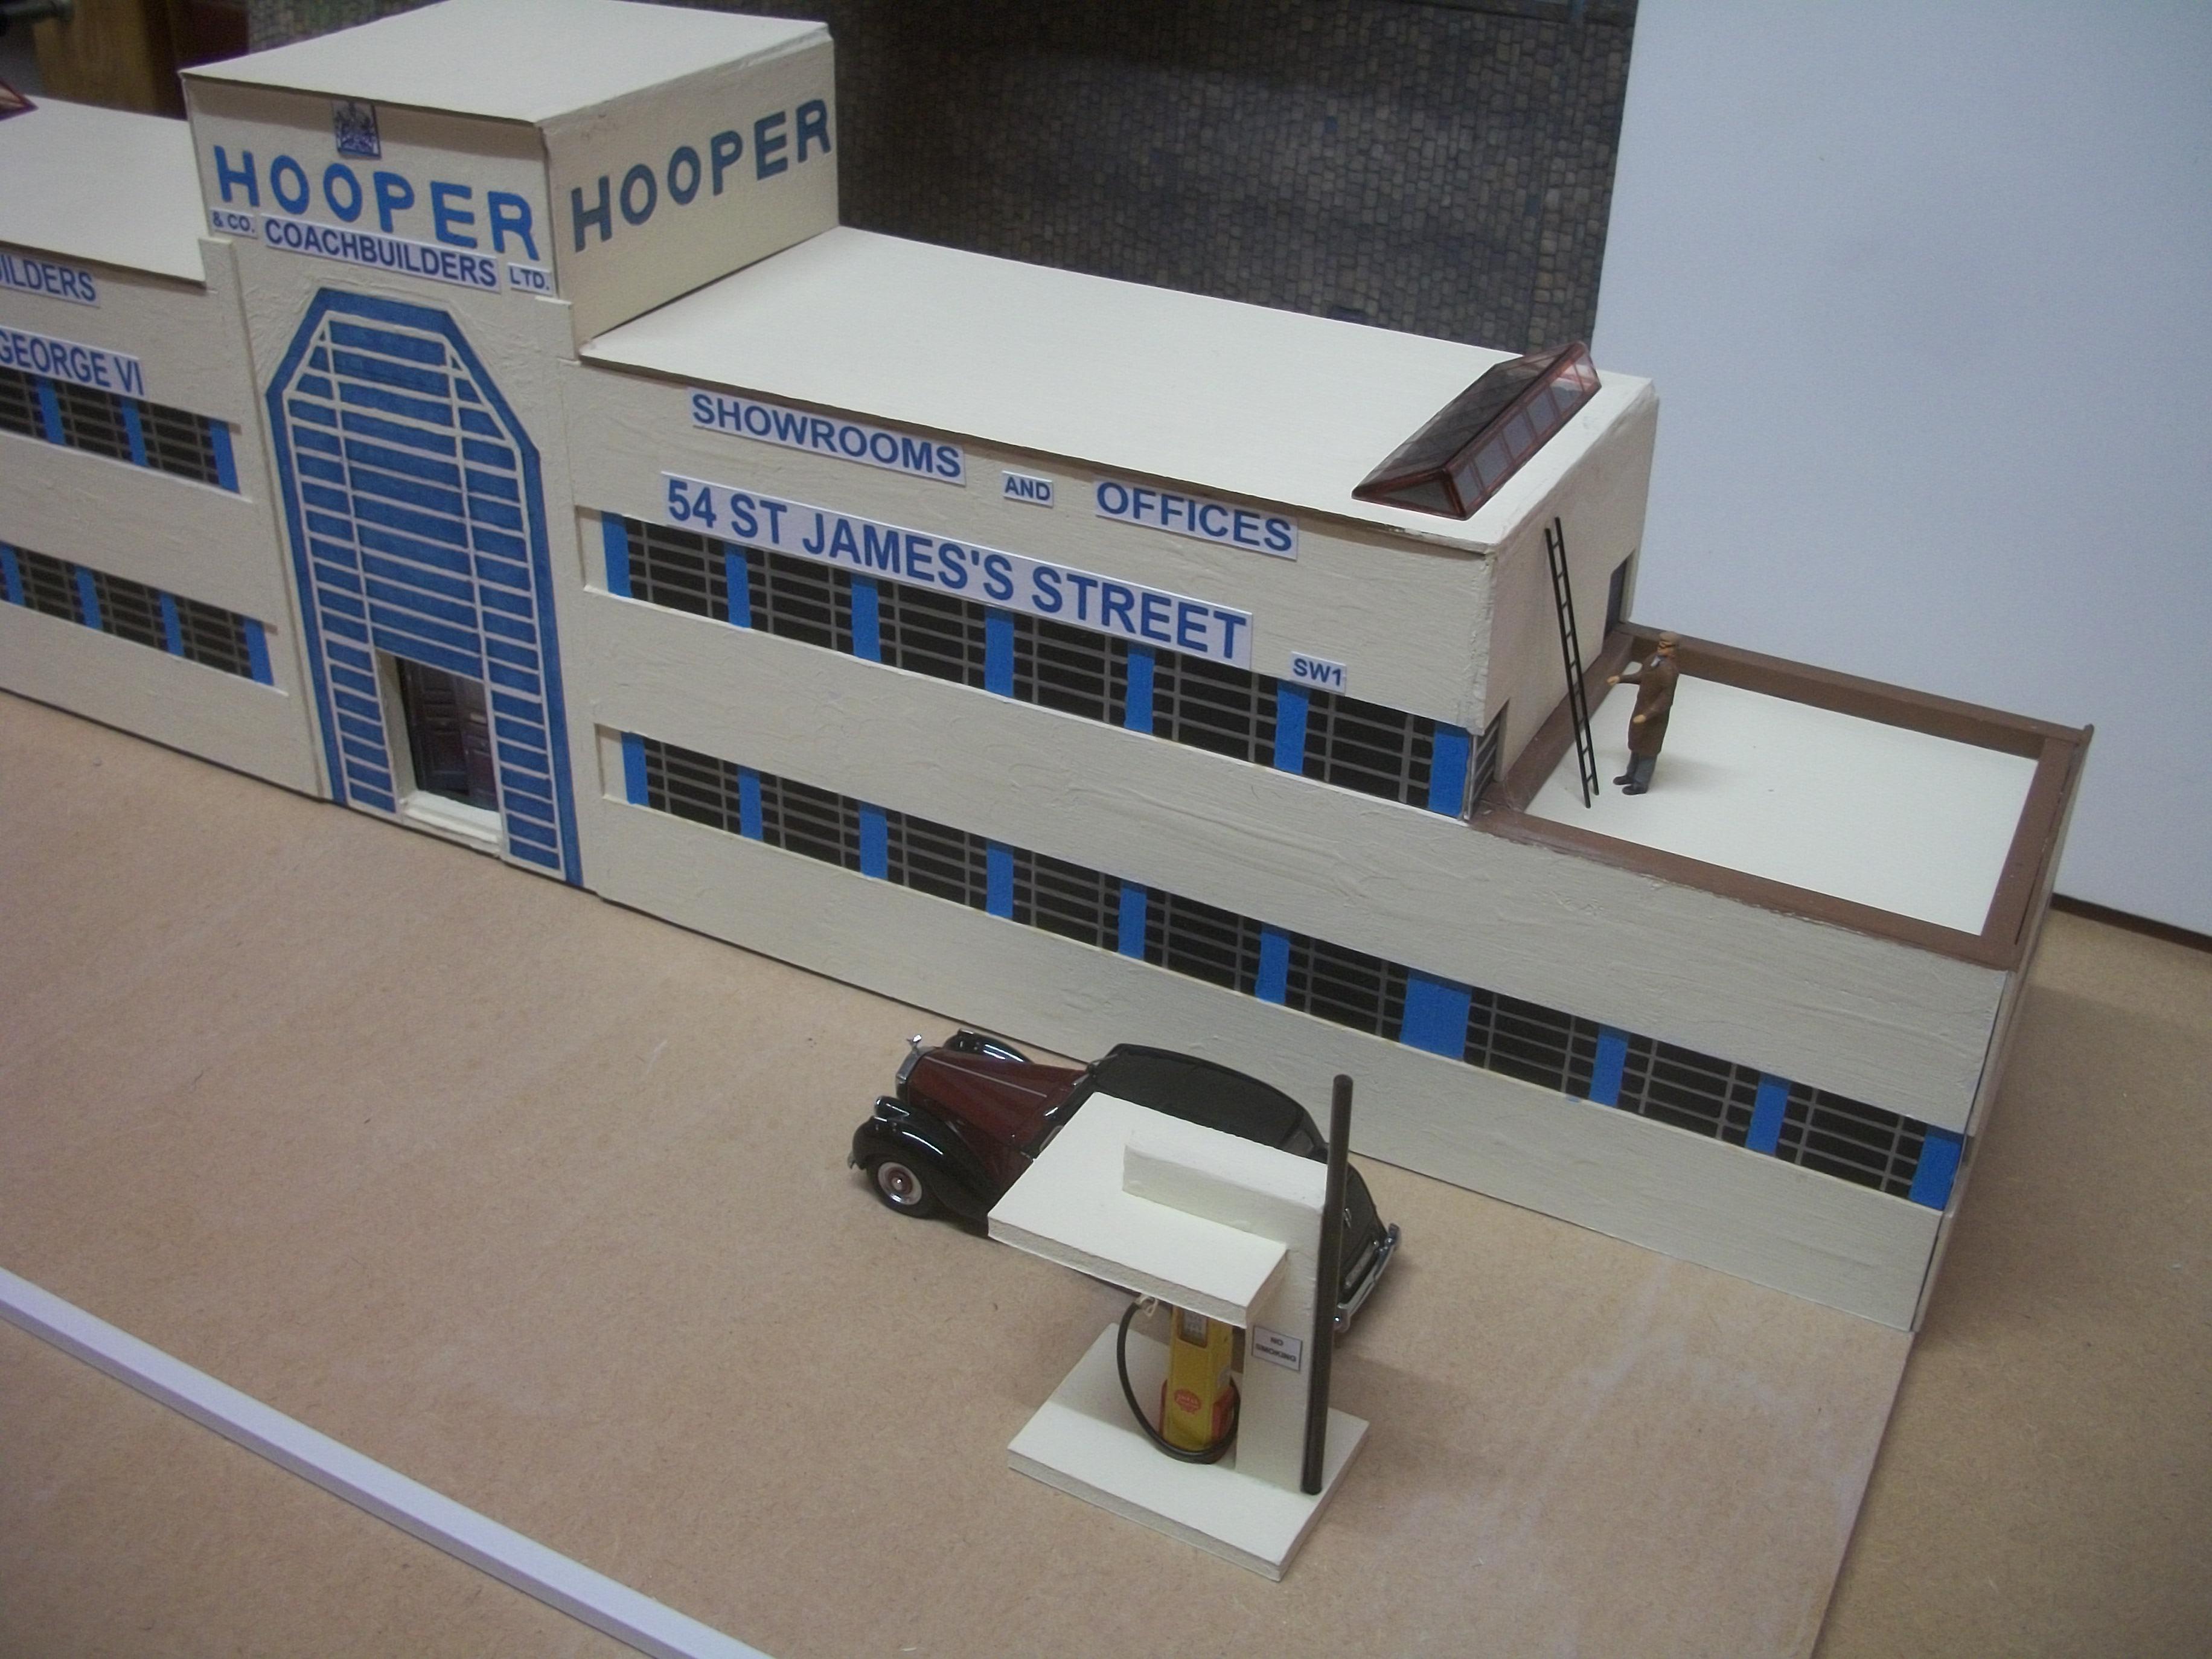
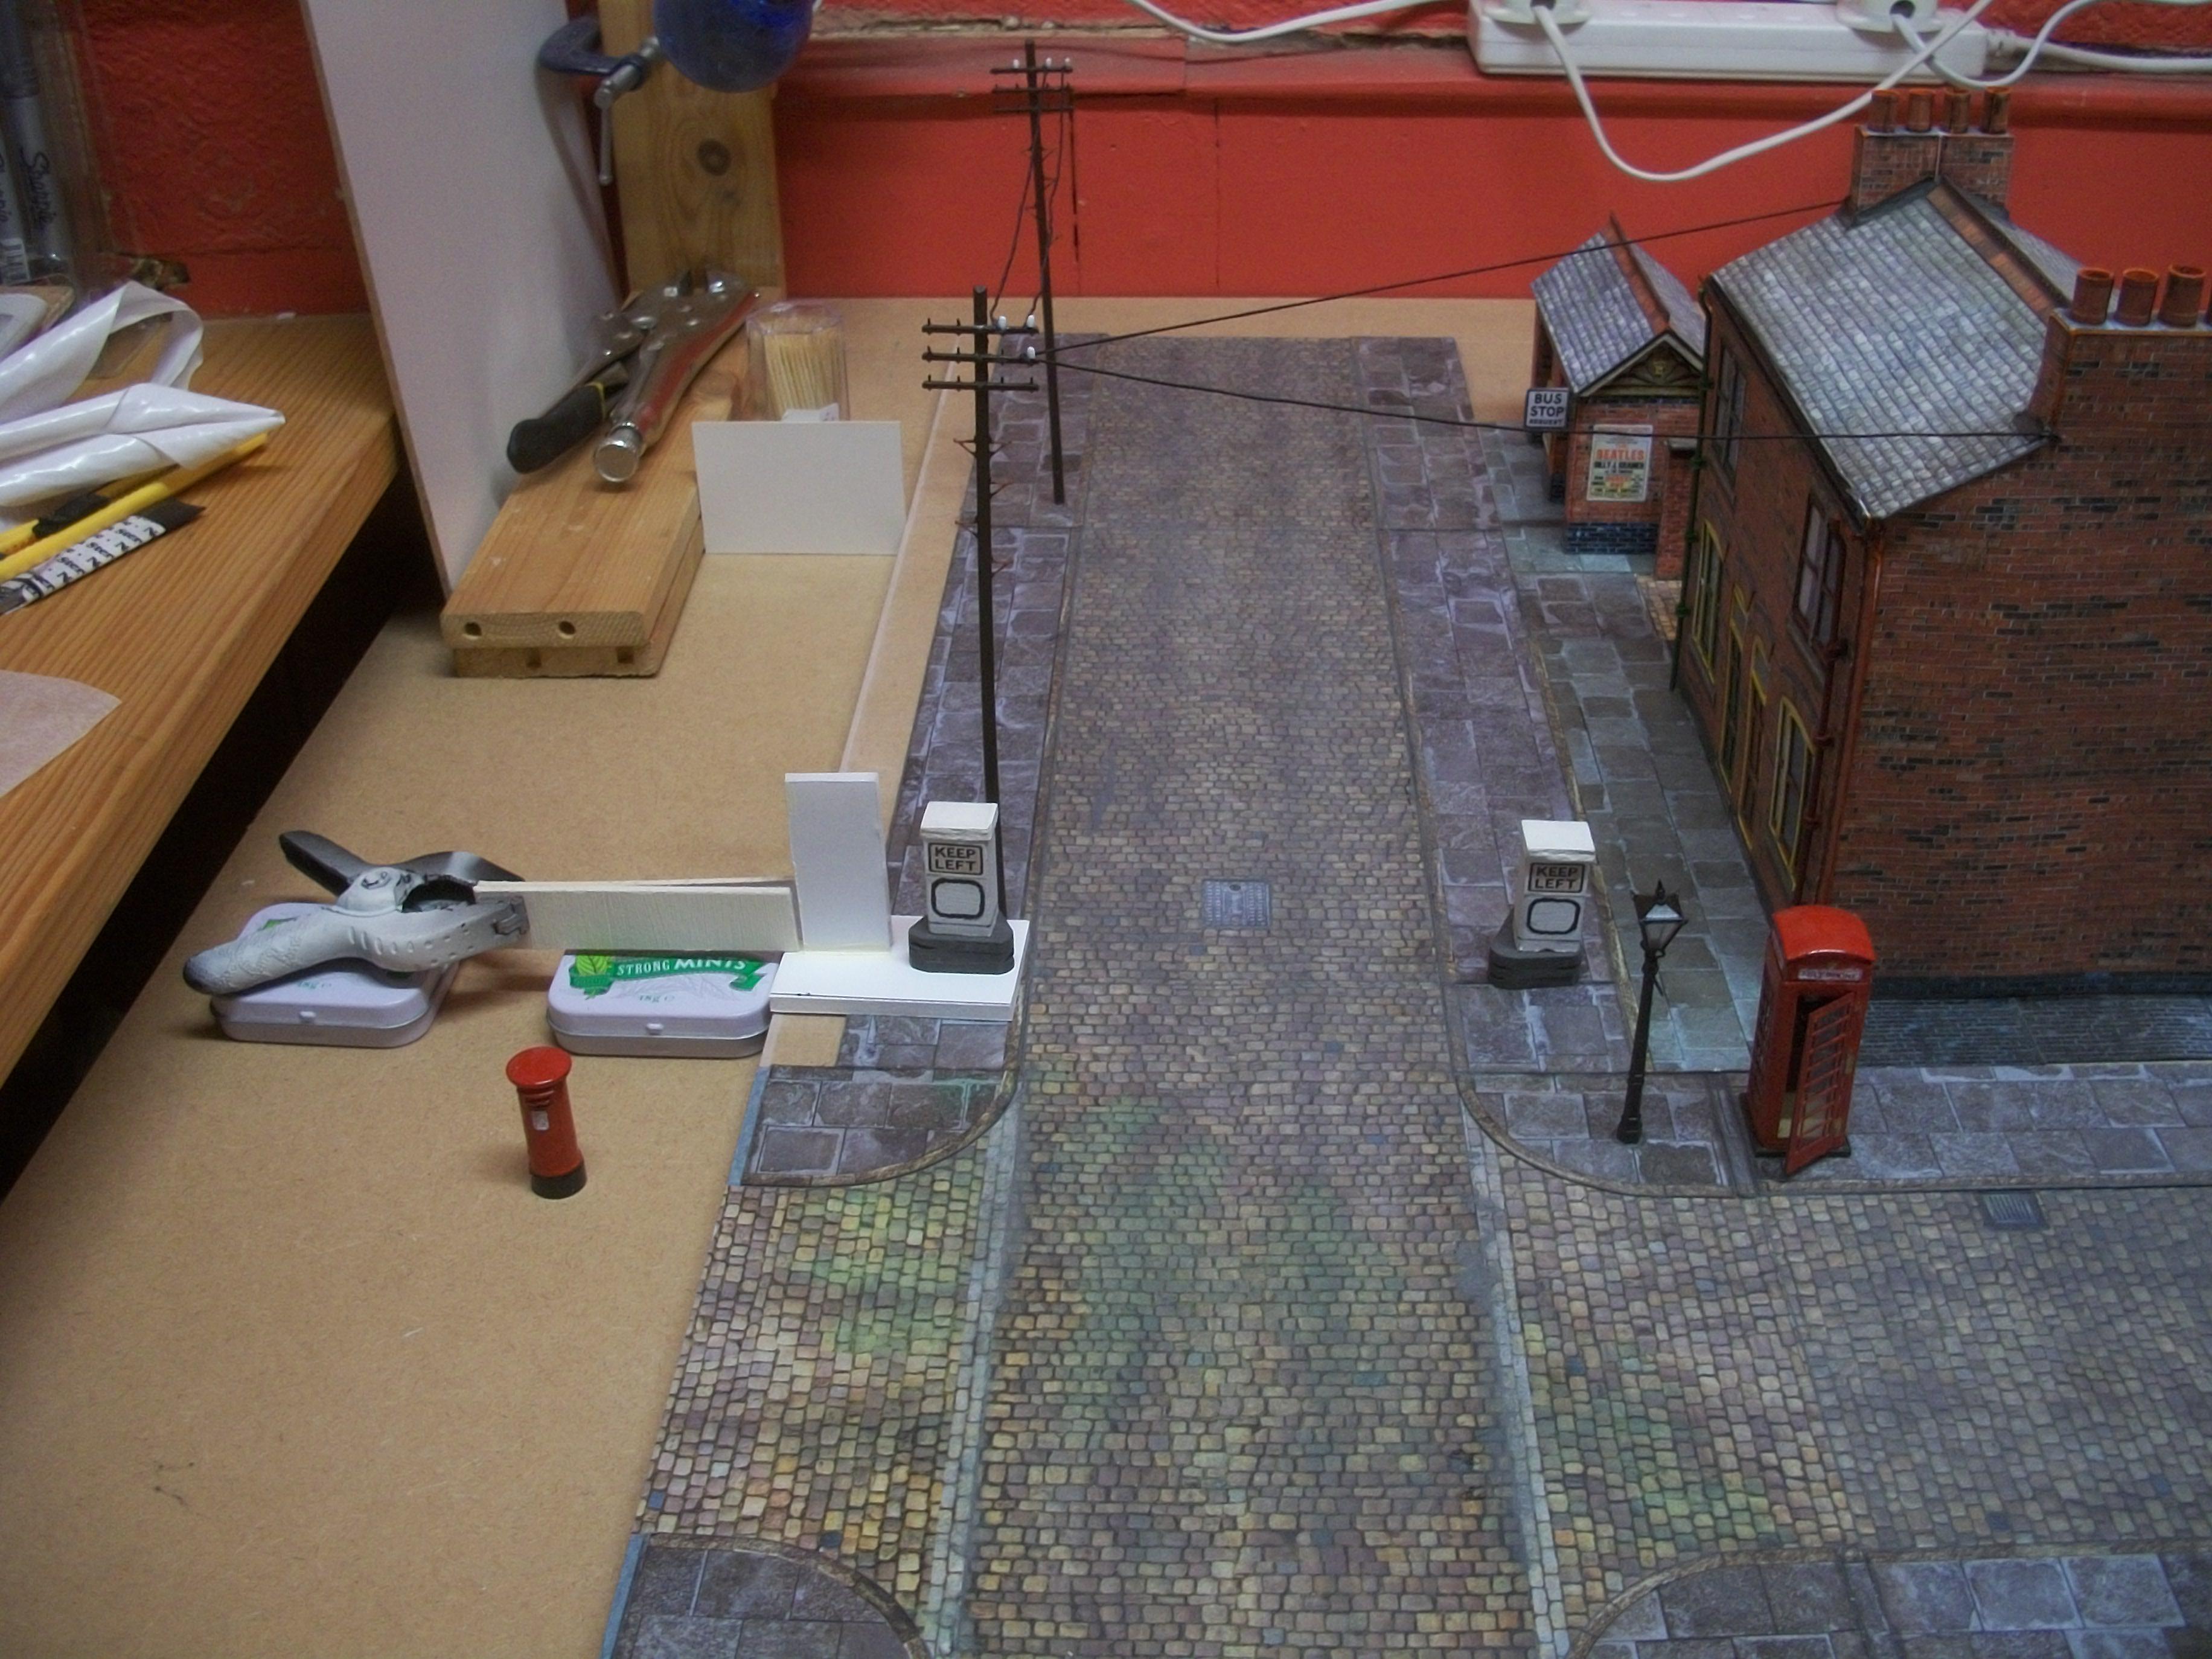
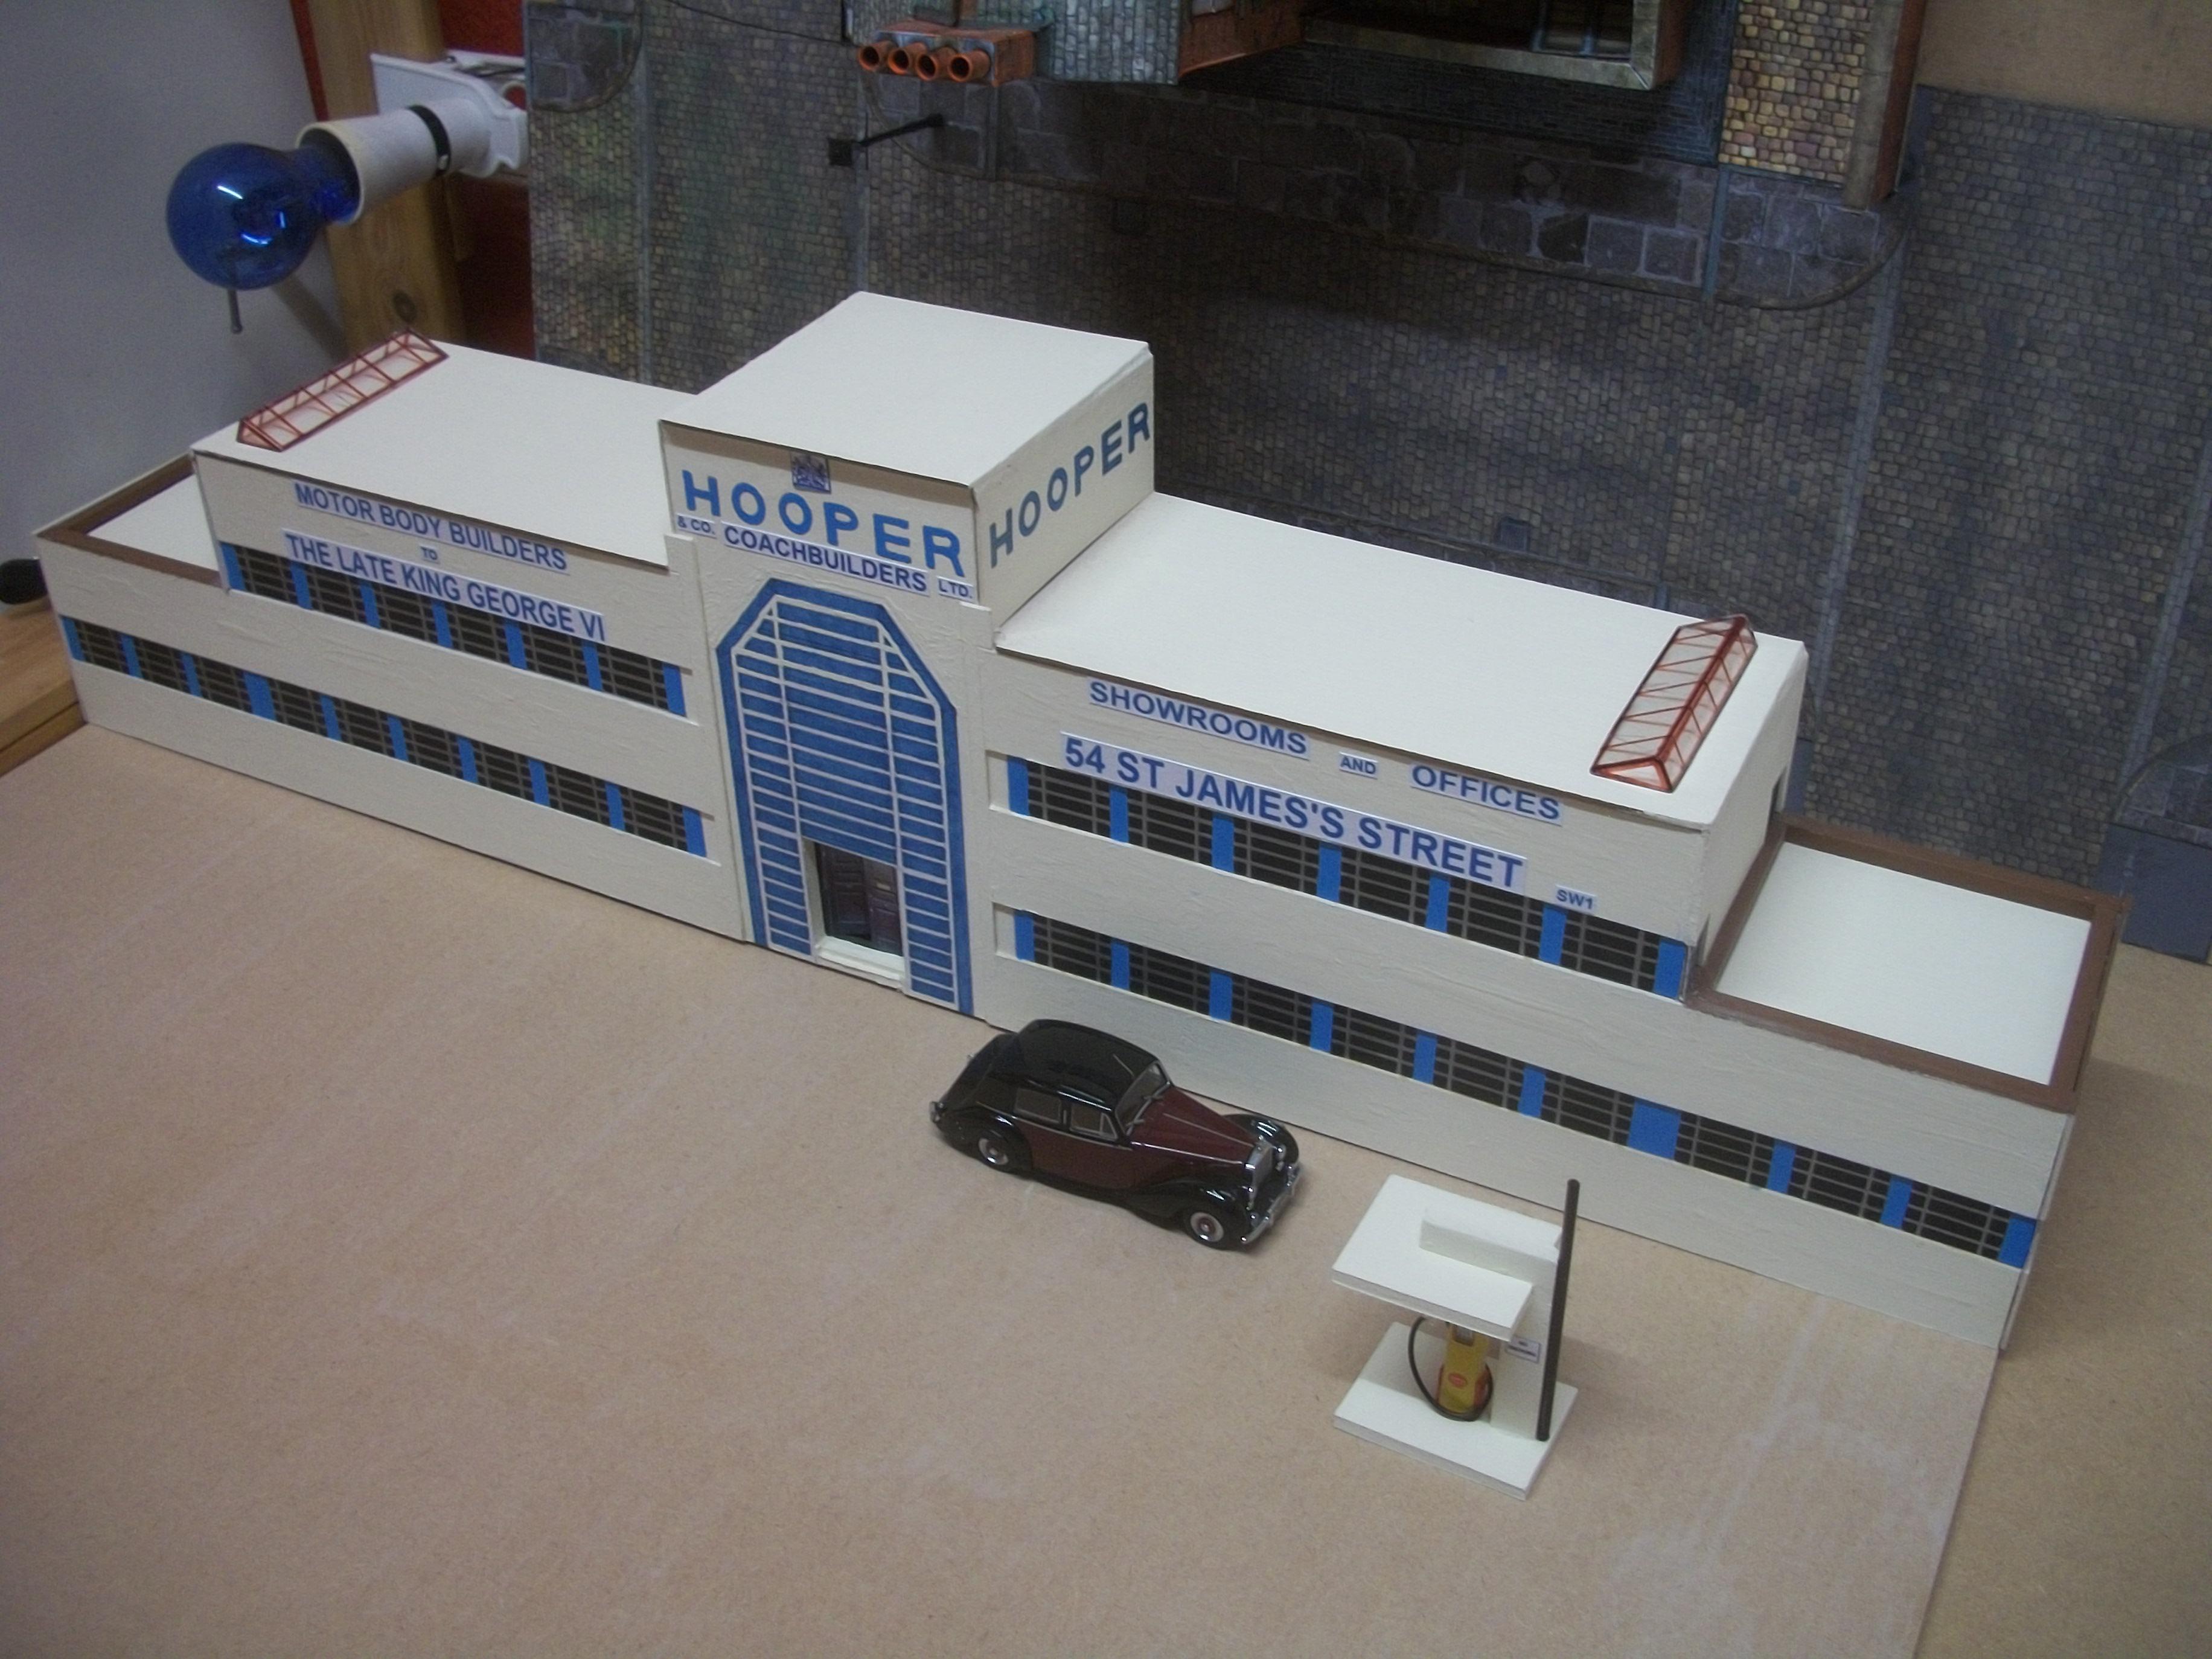
Here are some photos showing the skylights being fitted, now that the rectangular aperture holes have been cut into the roof. A workman has descended his ladder, after completing the job. I have only just realised that the entrance gate posts to the factory forecourt will not be on the factory diorama, but instead they will be at the entrance to Duke's Road, which is on the terraced houses diorama. From these photos you can see the proposed position of the entrance gate posts, shown here by using two 1:24 scale ' Keep Left ' bollards. Work is under way to set out the forecourt of this factory, and to ensure that the two diorama baseboards mate up precisely. This is becoming clearer to me, now that I have established the position of the factory entrance gate. David
-
The first of your two photos is particularly interesting, Pat...... the guy in the blue shirt looks very realistic, especially the hair style. The distance and the angle from your camera has created a convincing composition.
-
Completed the two scratch built skylights for the roof areas of the Hooper factory building today....... I am rather pleased with these two little structures. Having cut off the top two corners of a display case, the rough edges of each skylight were tidied up with an emery board, and then I painted in the wooden framework of both skylights by hand, using a brown Sharpie. My intention was to super glue the skylights to the roof areas, but now I have realised that there needs to be a rectangular aperture hole under the skylight glazing, because otherwise anyone viewing the diorama will see through the glass of the skylight and notice immediately that the top surface of the roof has no opening. This would make the skylight pointless. I can measure up the aperture holes and carefully cut away the rectangular panel so that the skylight can be glued at the four corners of each hole. David
-
Beautiful Alfa engine there, Pat....... and the ' employee ' has no excuse for not working at the workbench, now that his arms are in the right place. The other guy looks like he could be using a mobile phone, or maybe writing something on a notepad..... David
-
This is a really good diorama, Michelle......... the SS Minnow model boat looks just right as you have prepared it, with the holes in the side of the hull, and the background works very well....... I like the group of figures set against the boat on the beach, and also the palm tree is a strong element of this composition. You have put together a nicely arranged scene in 1:72 scale. David
-
Excellent build of this 1965 Pontiac Grand Prix, David....... and I used to own a 1968 Pontiac Parisienne 4-door (RHD) so I like to see a good Pontiac build on here. Your build is nicely done, good engine detail and I like your choice of paint colour. David
-
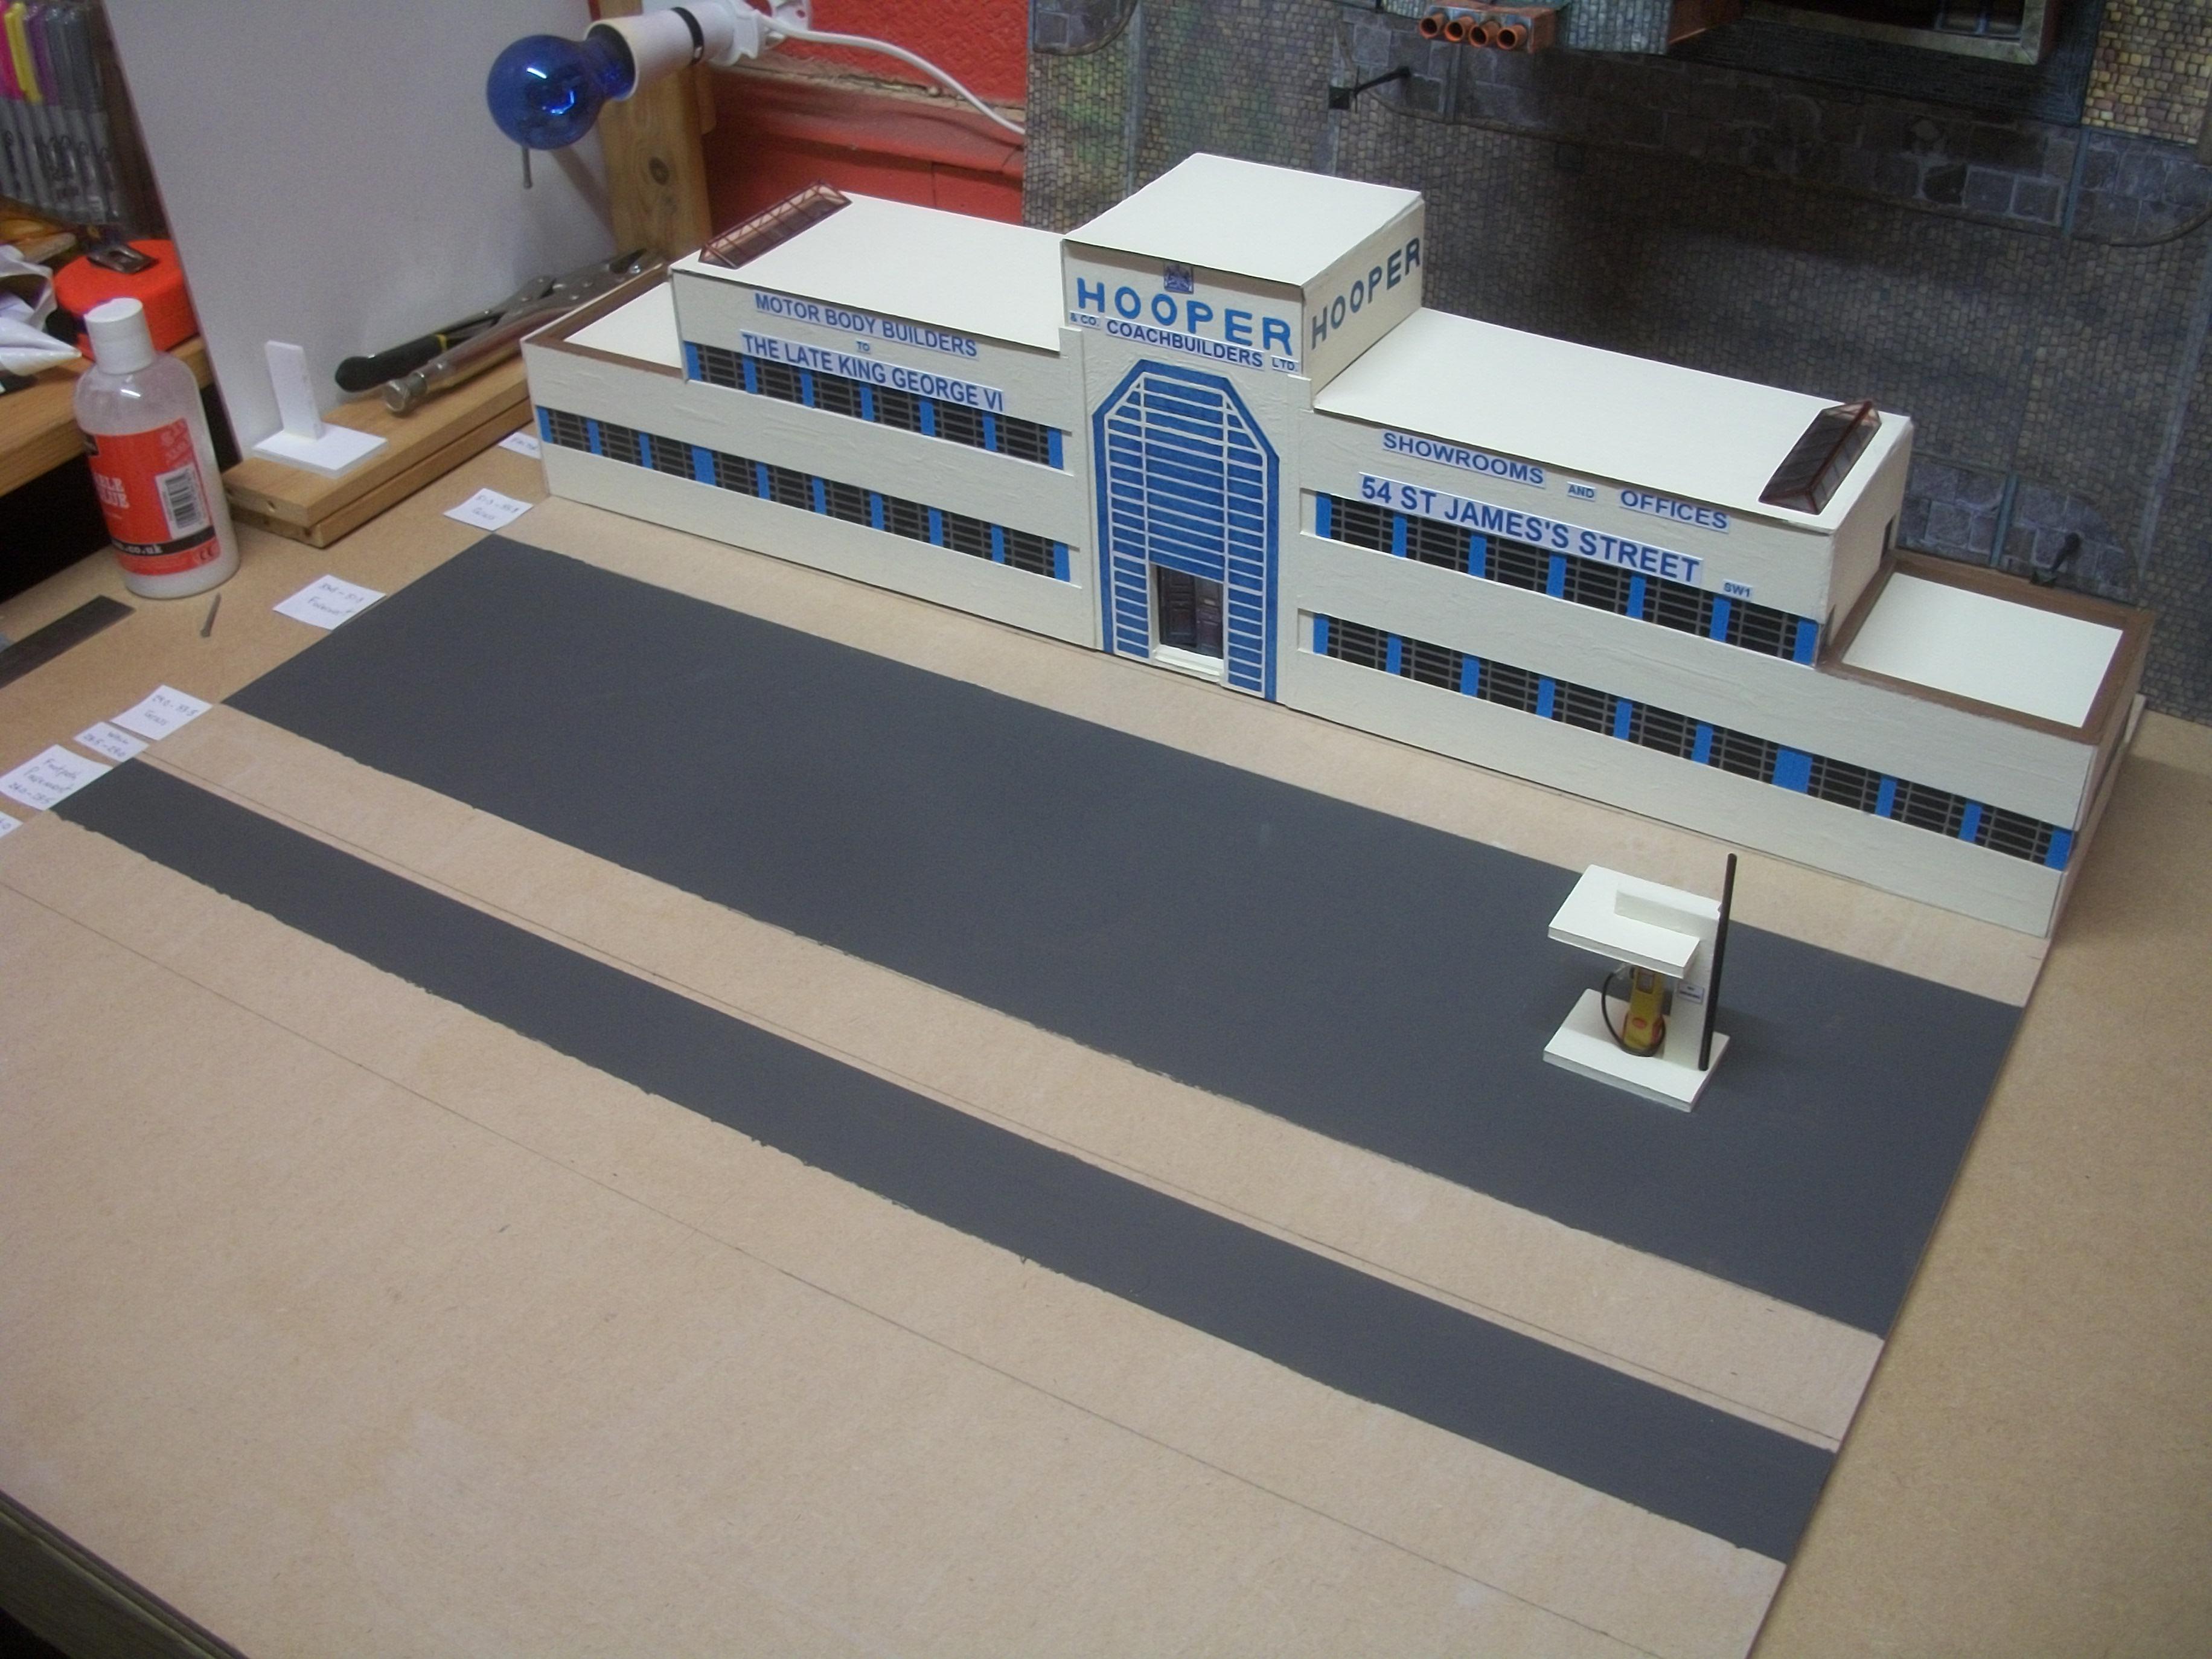
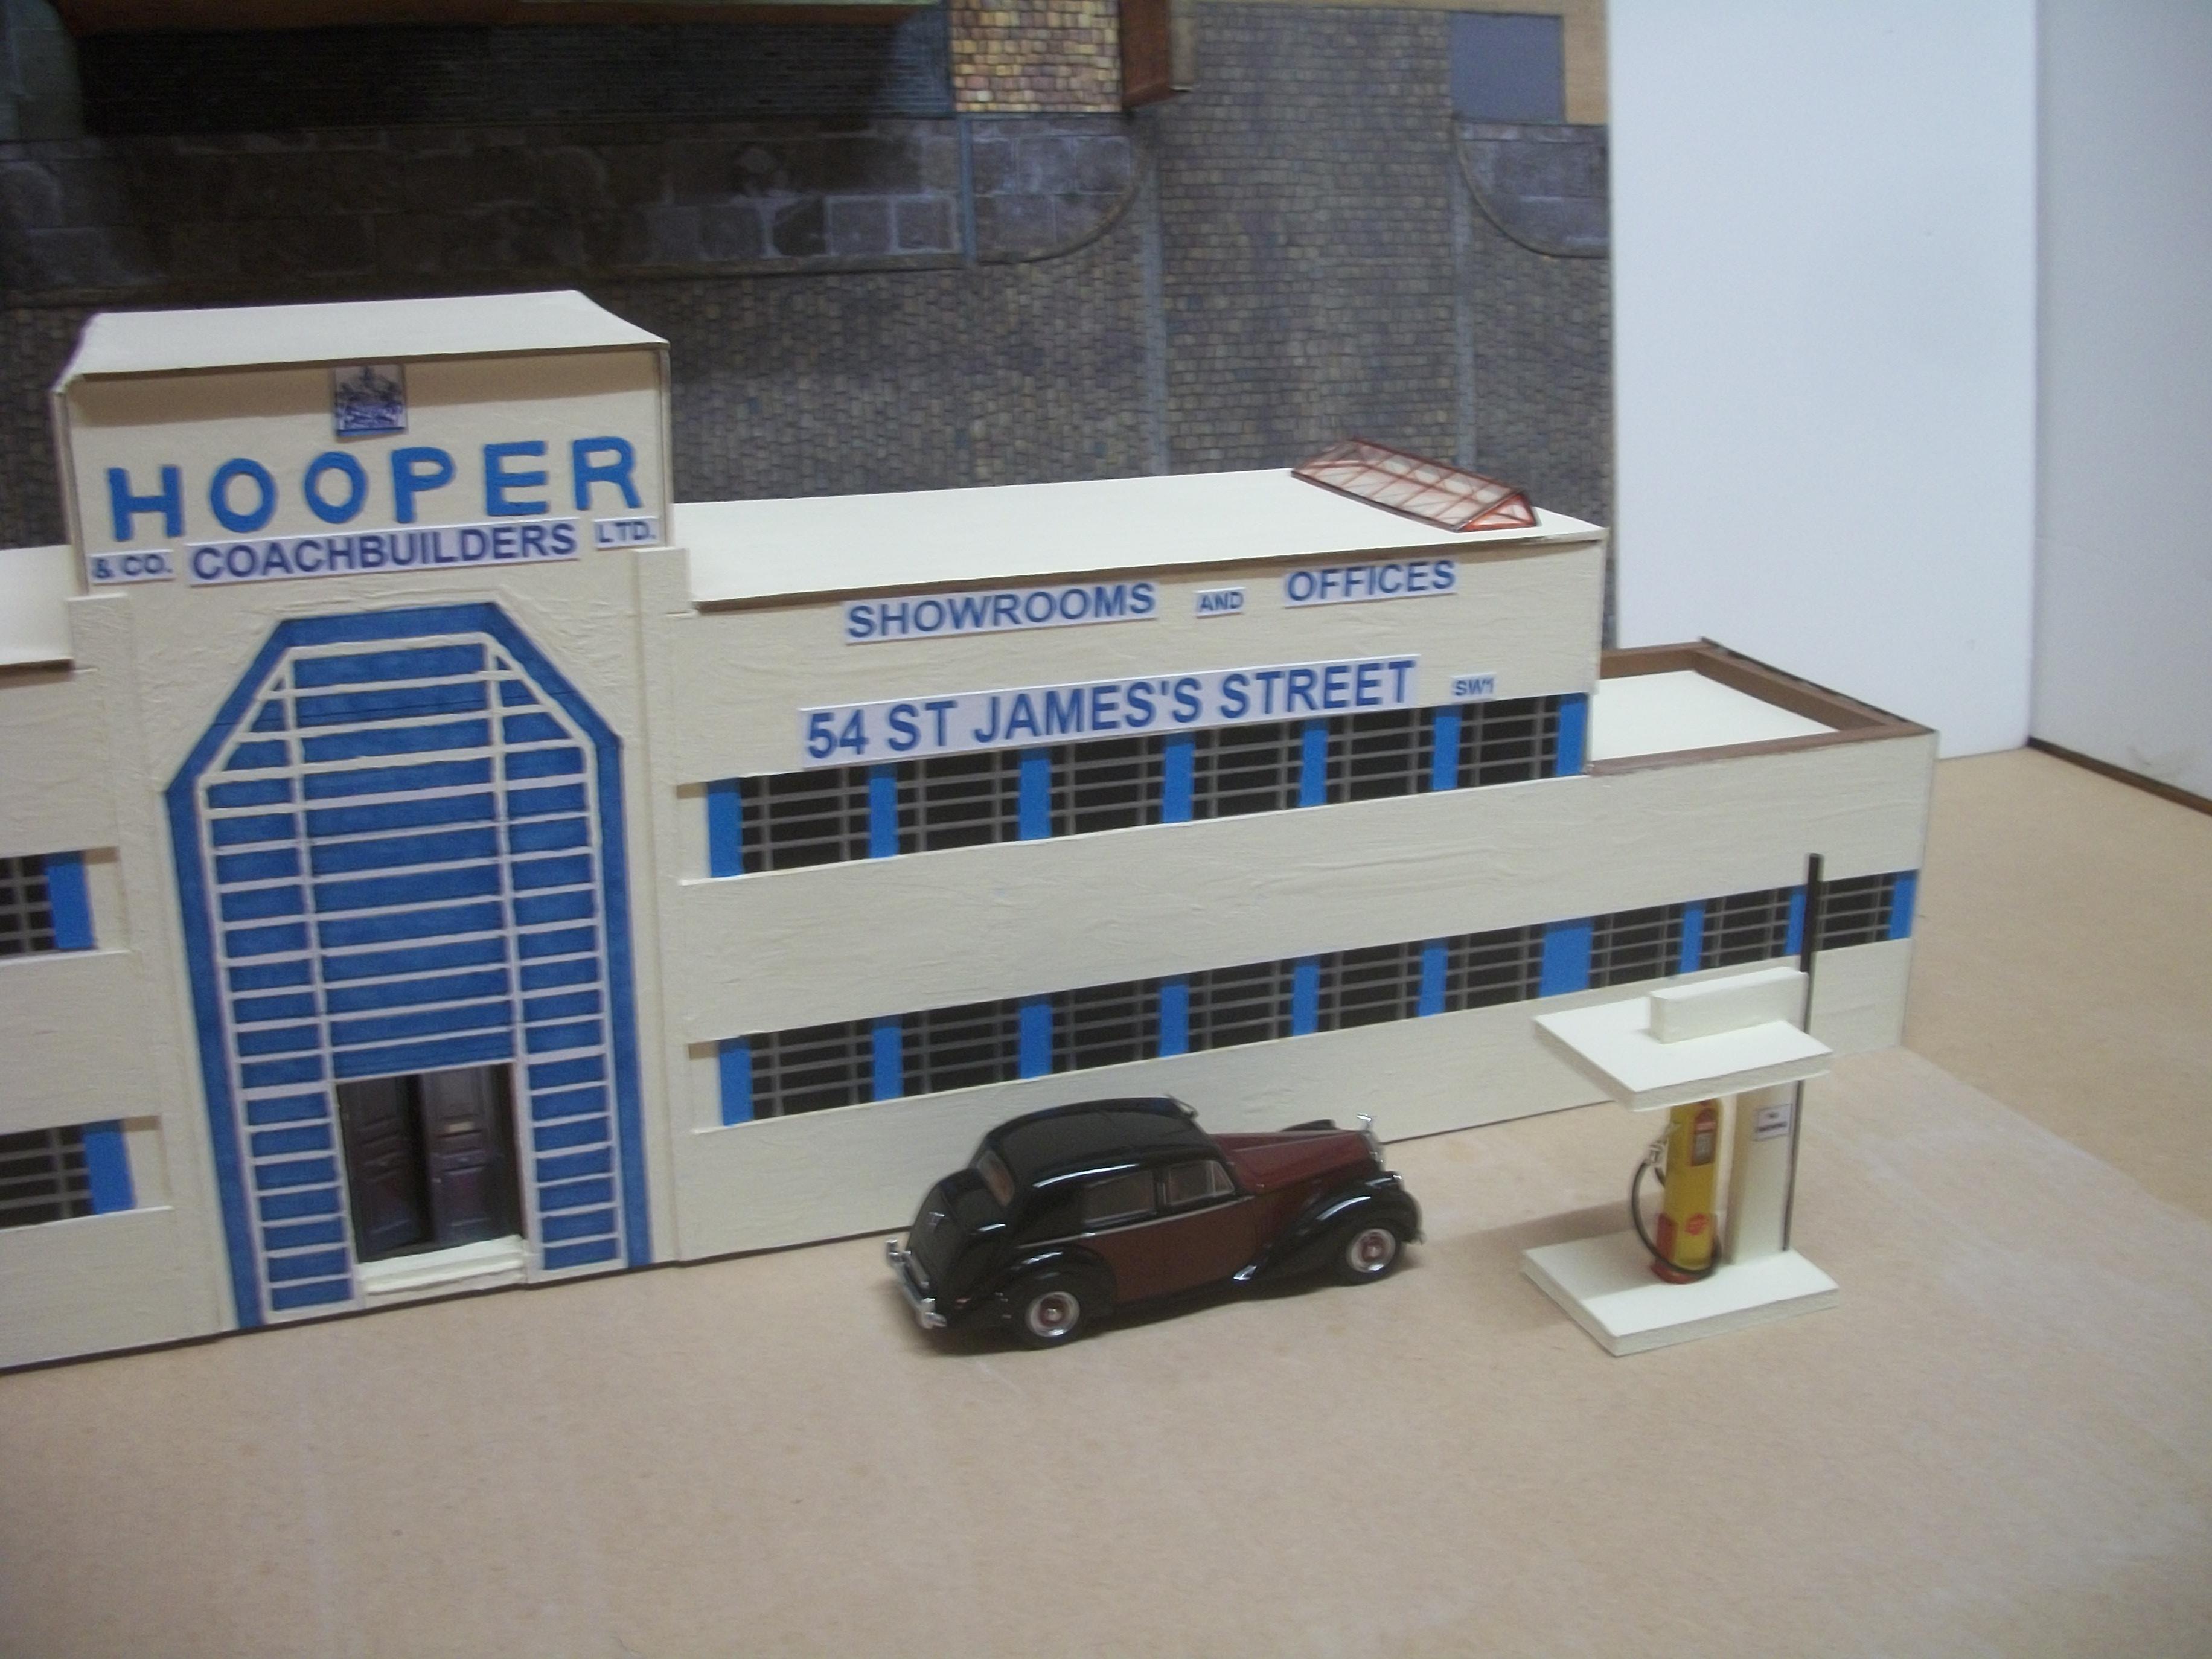
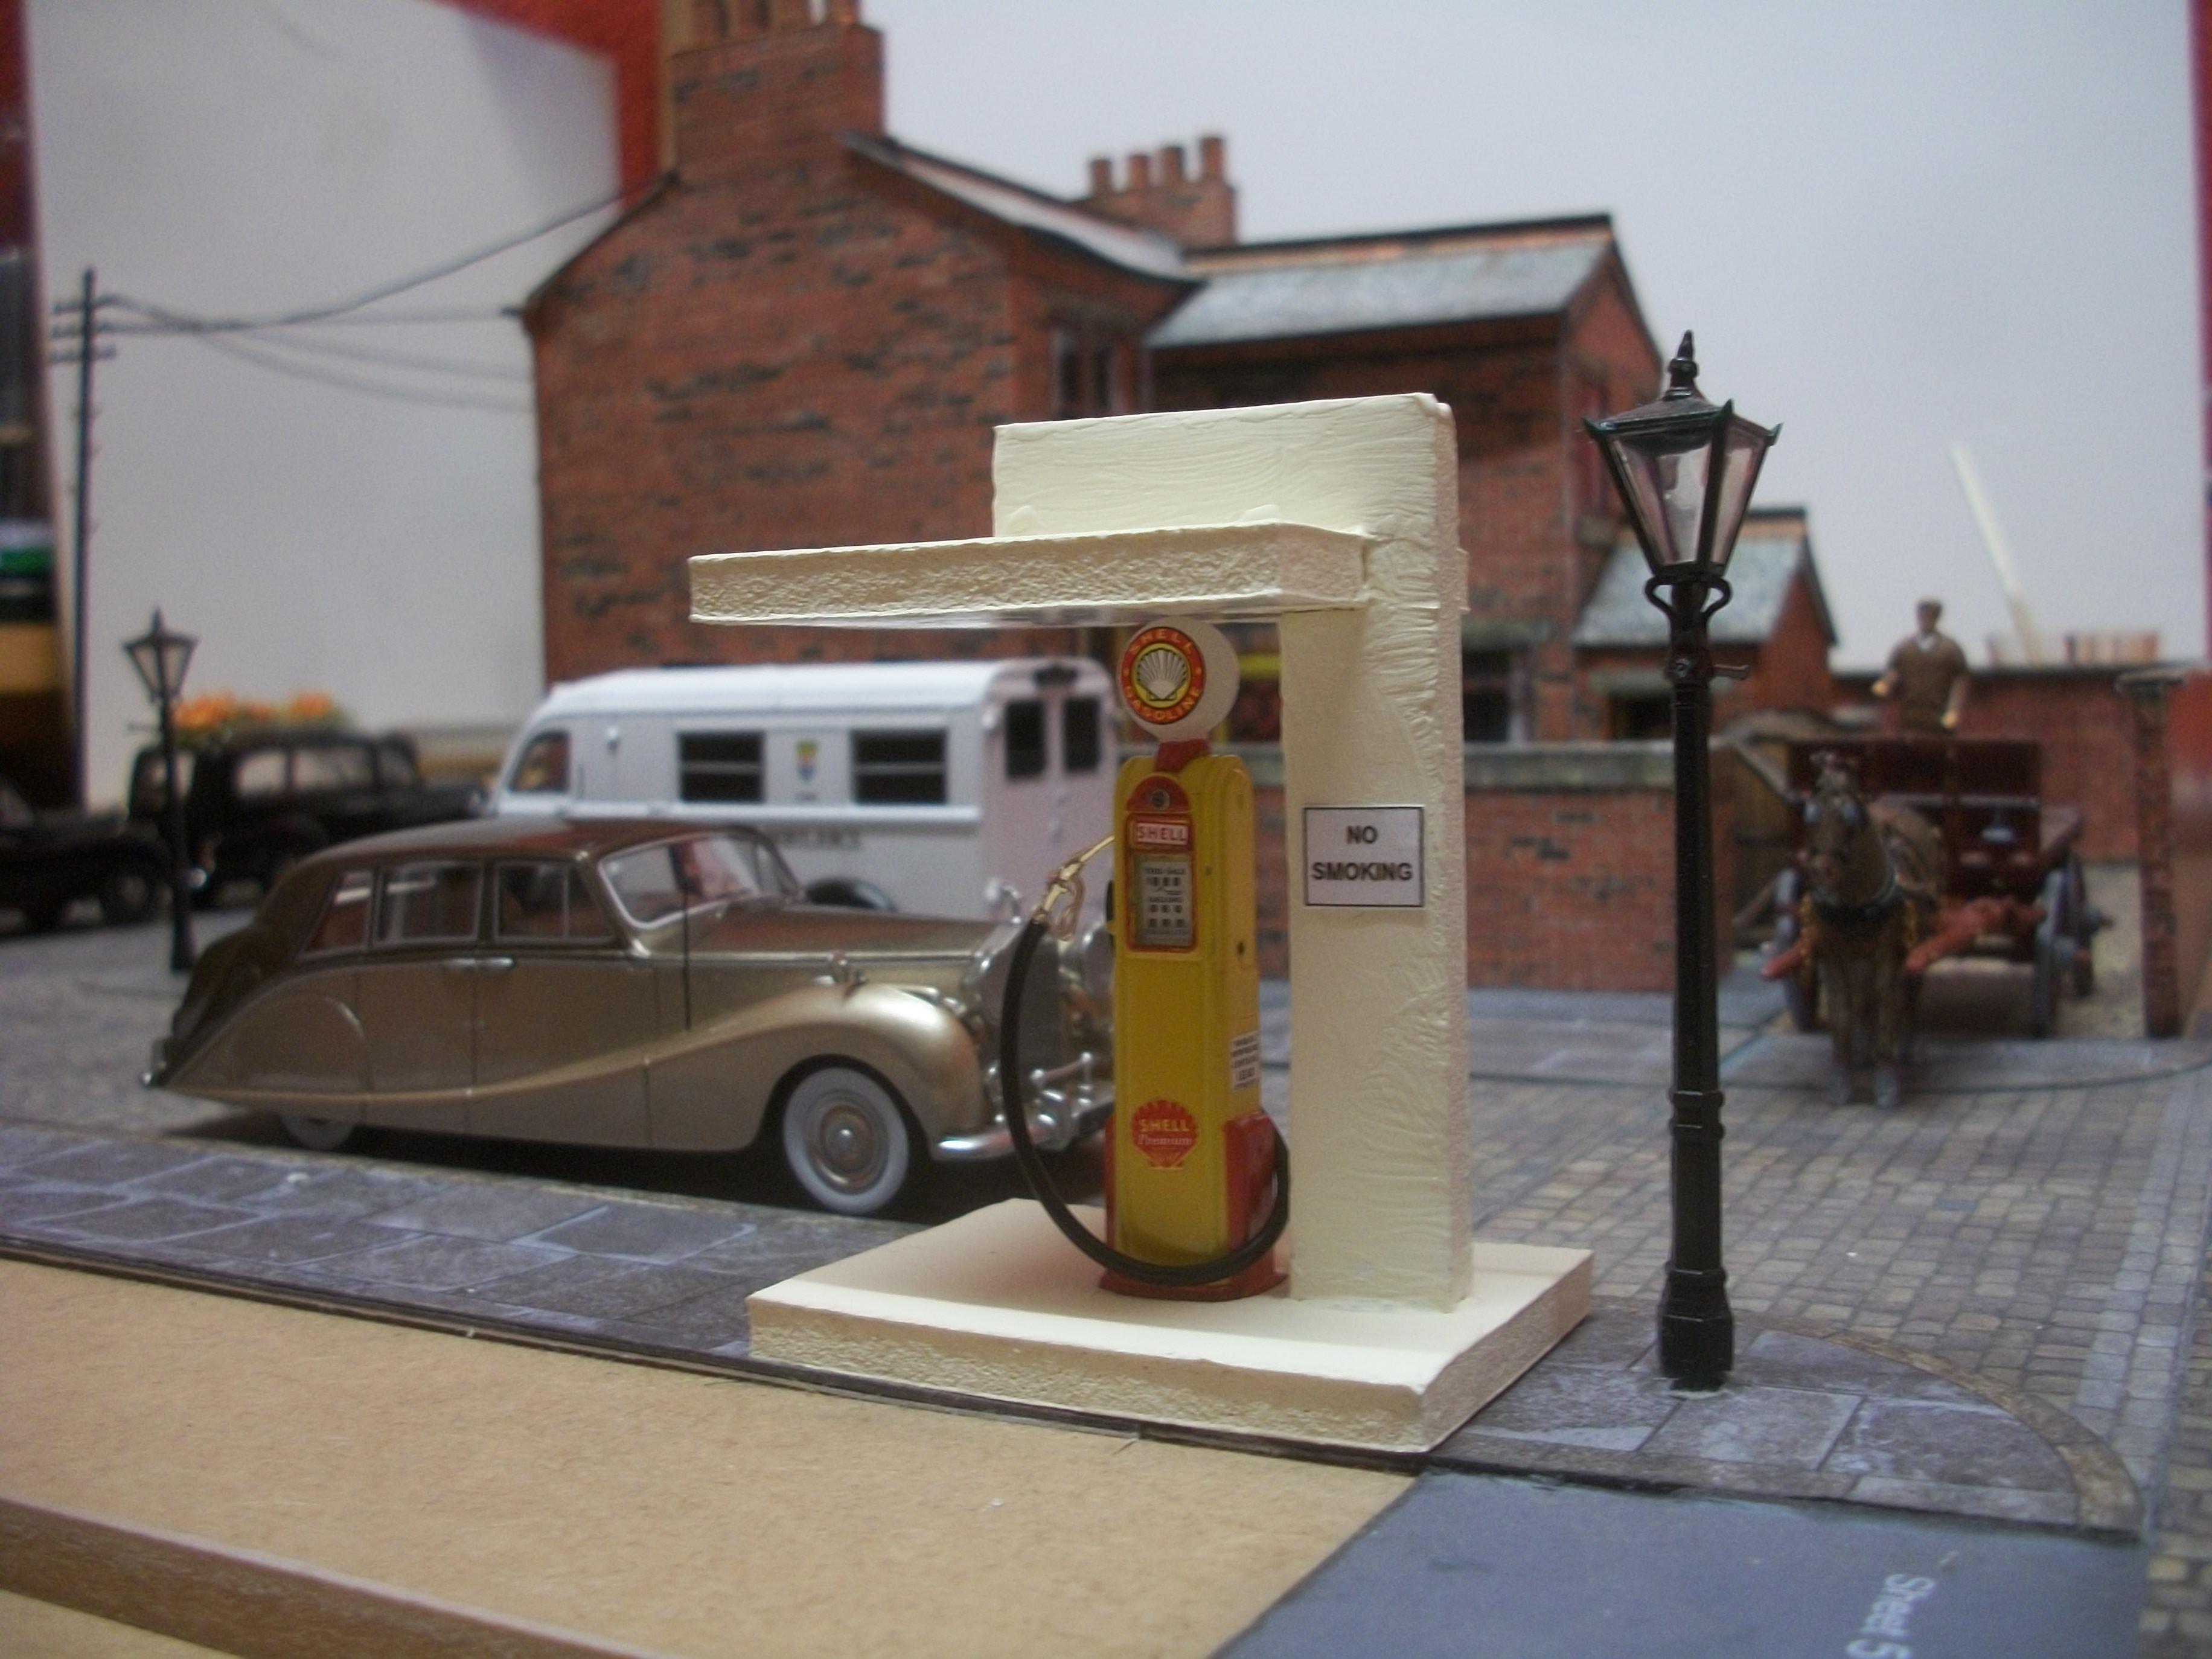
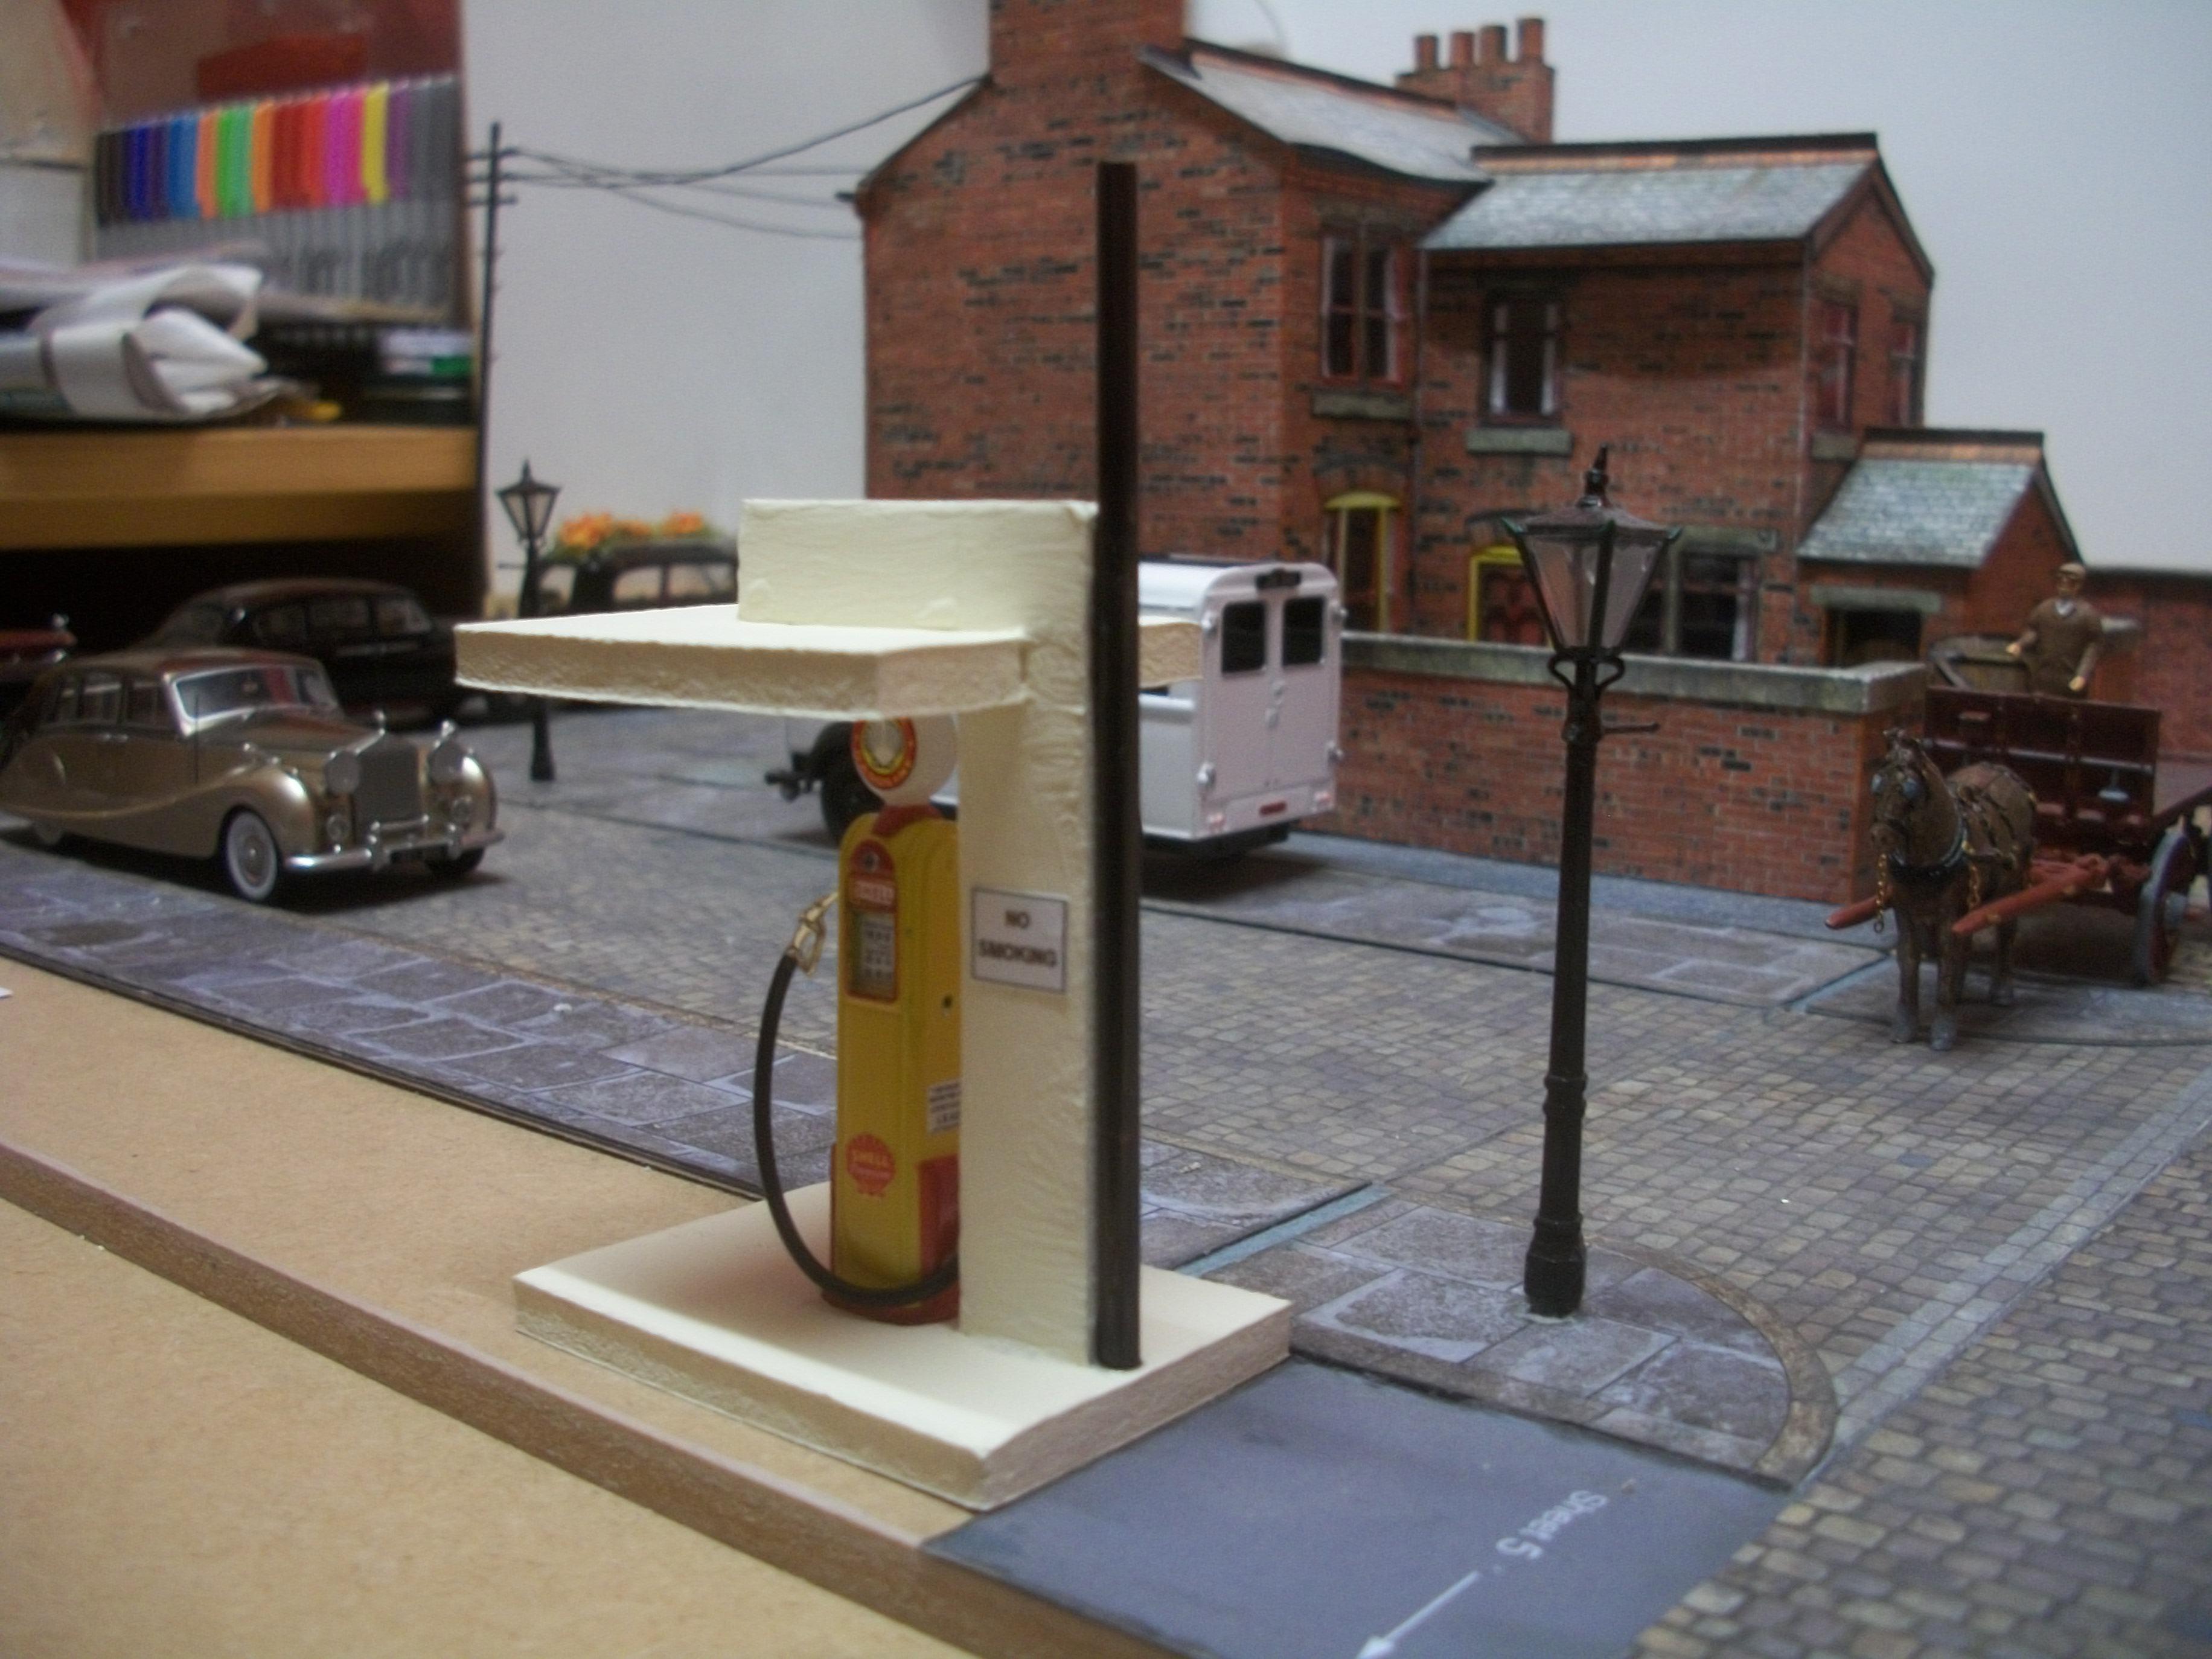
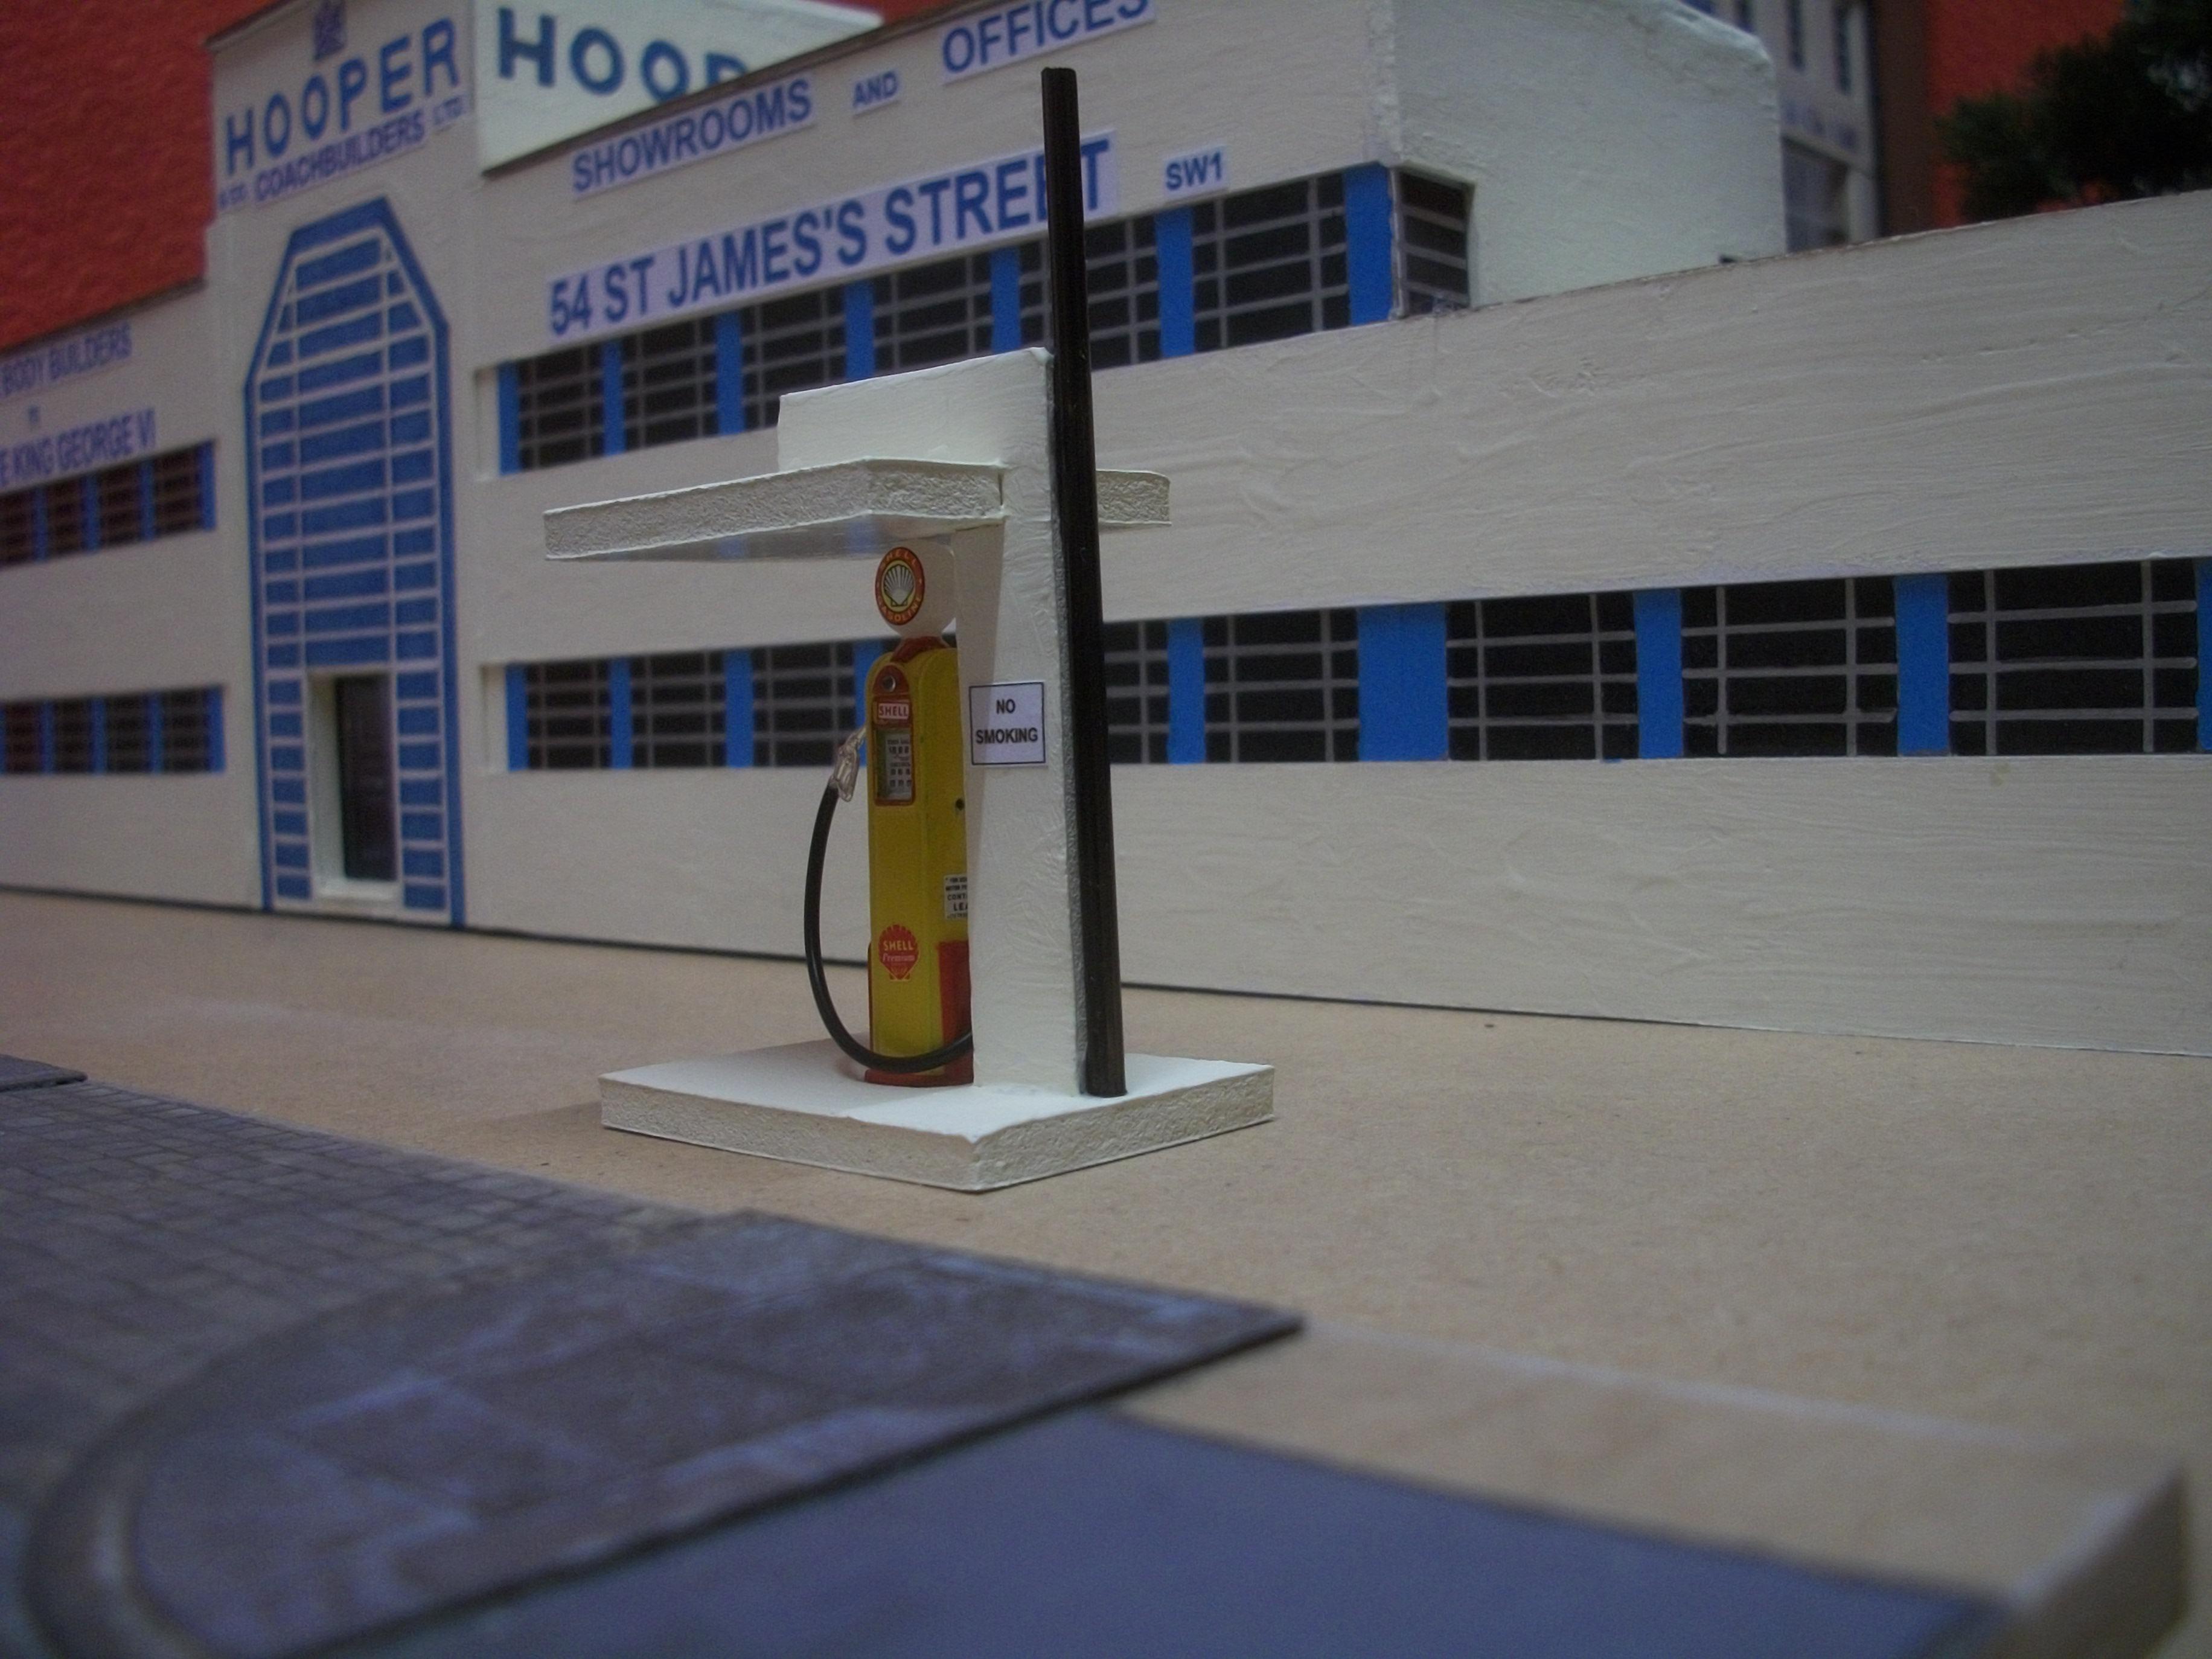
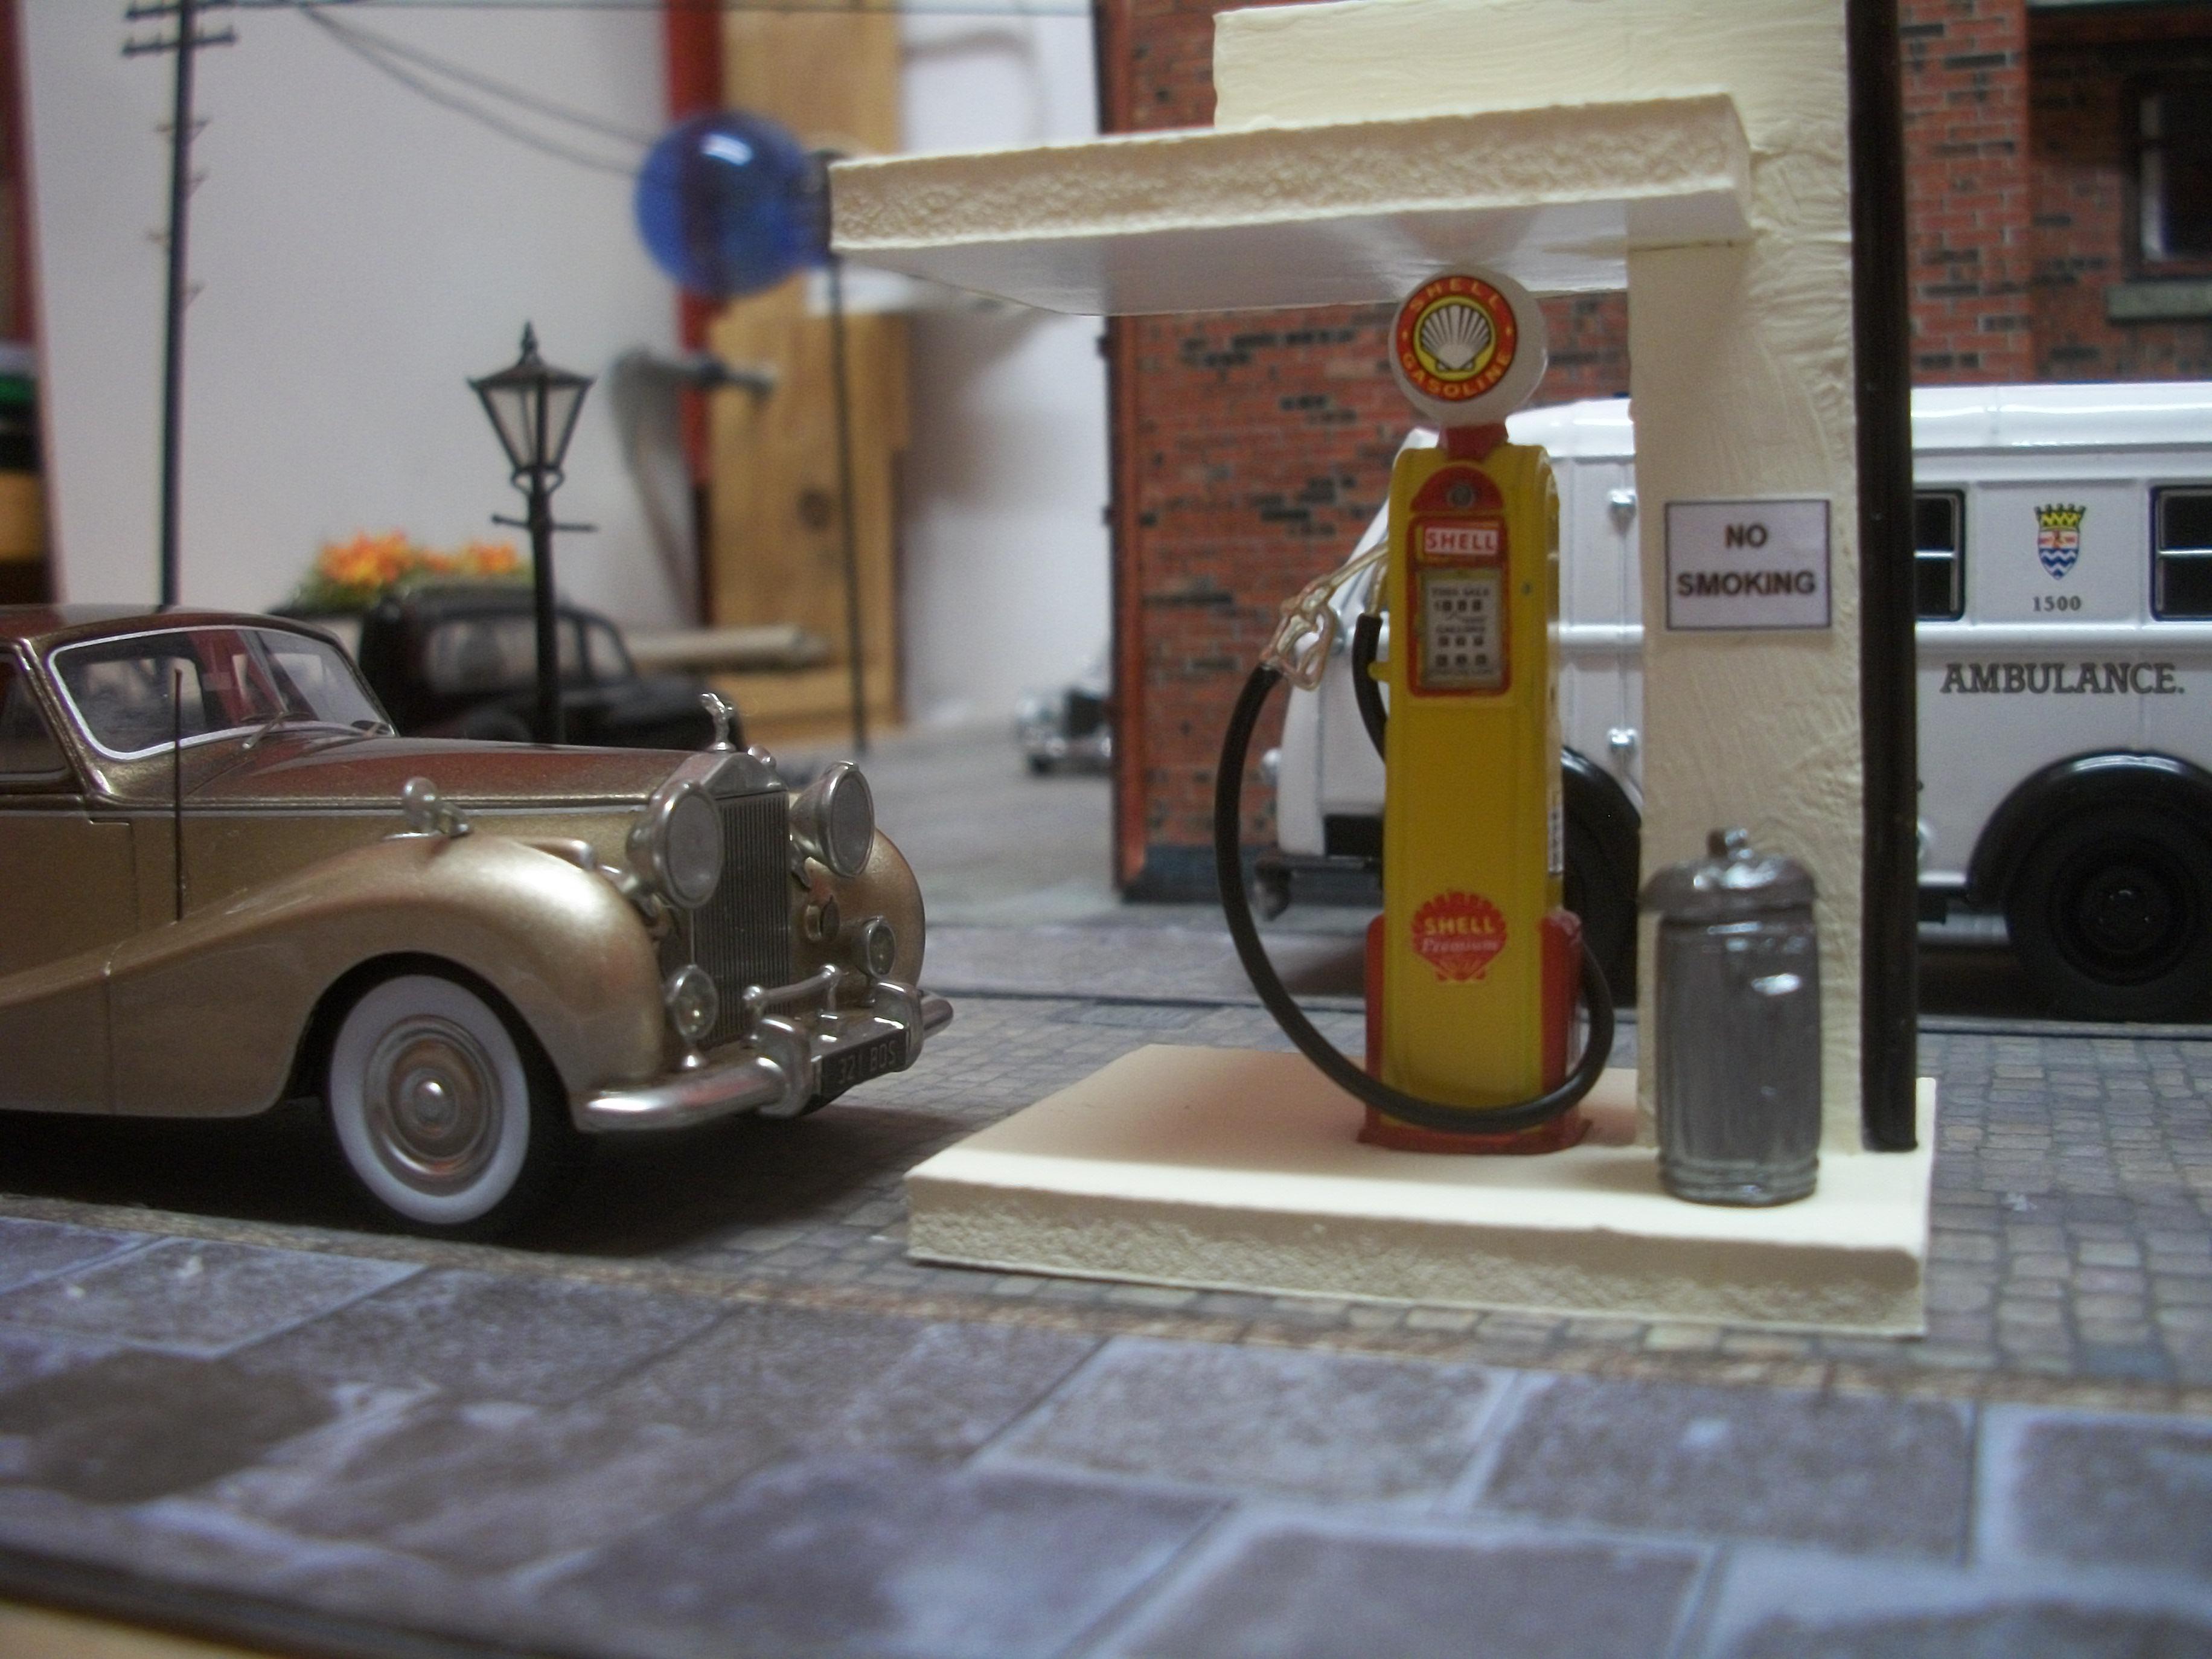
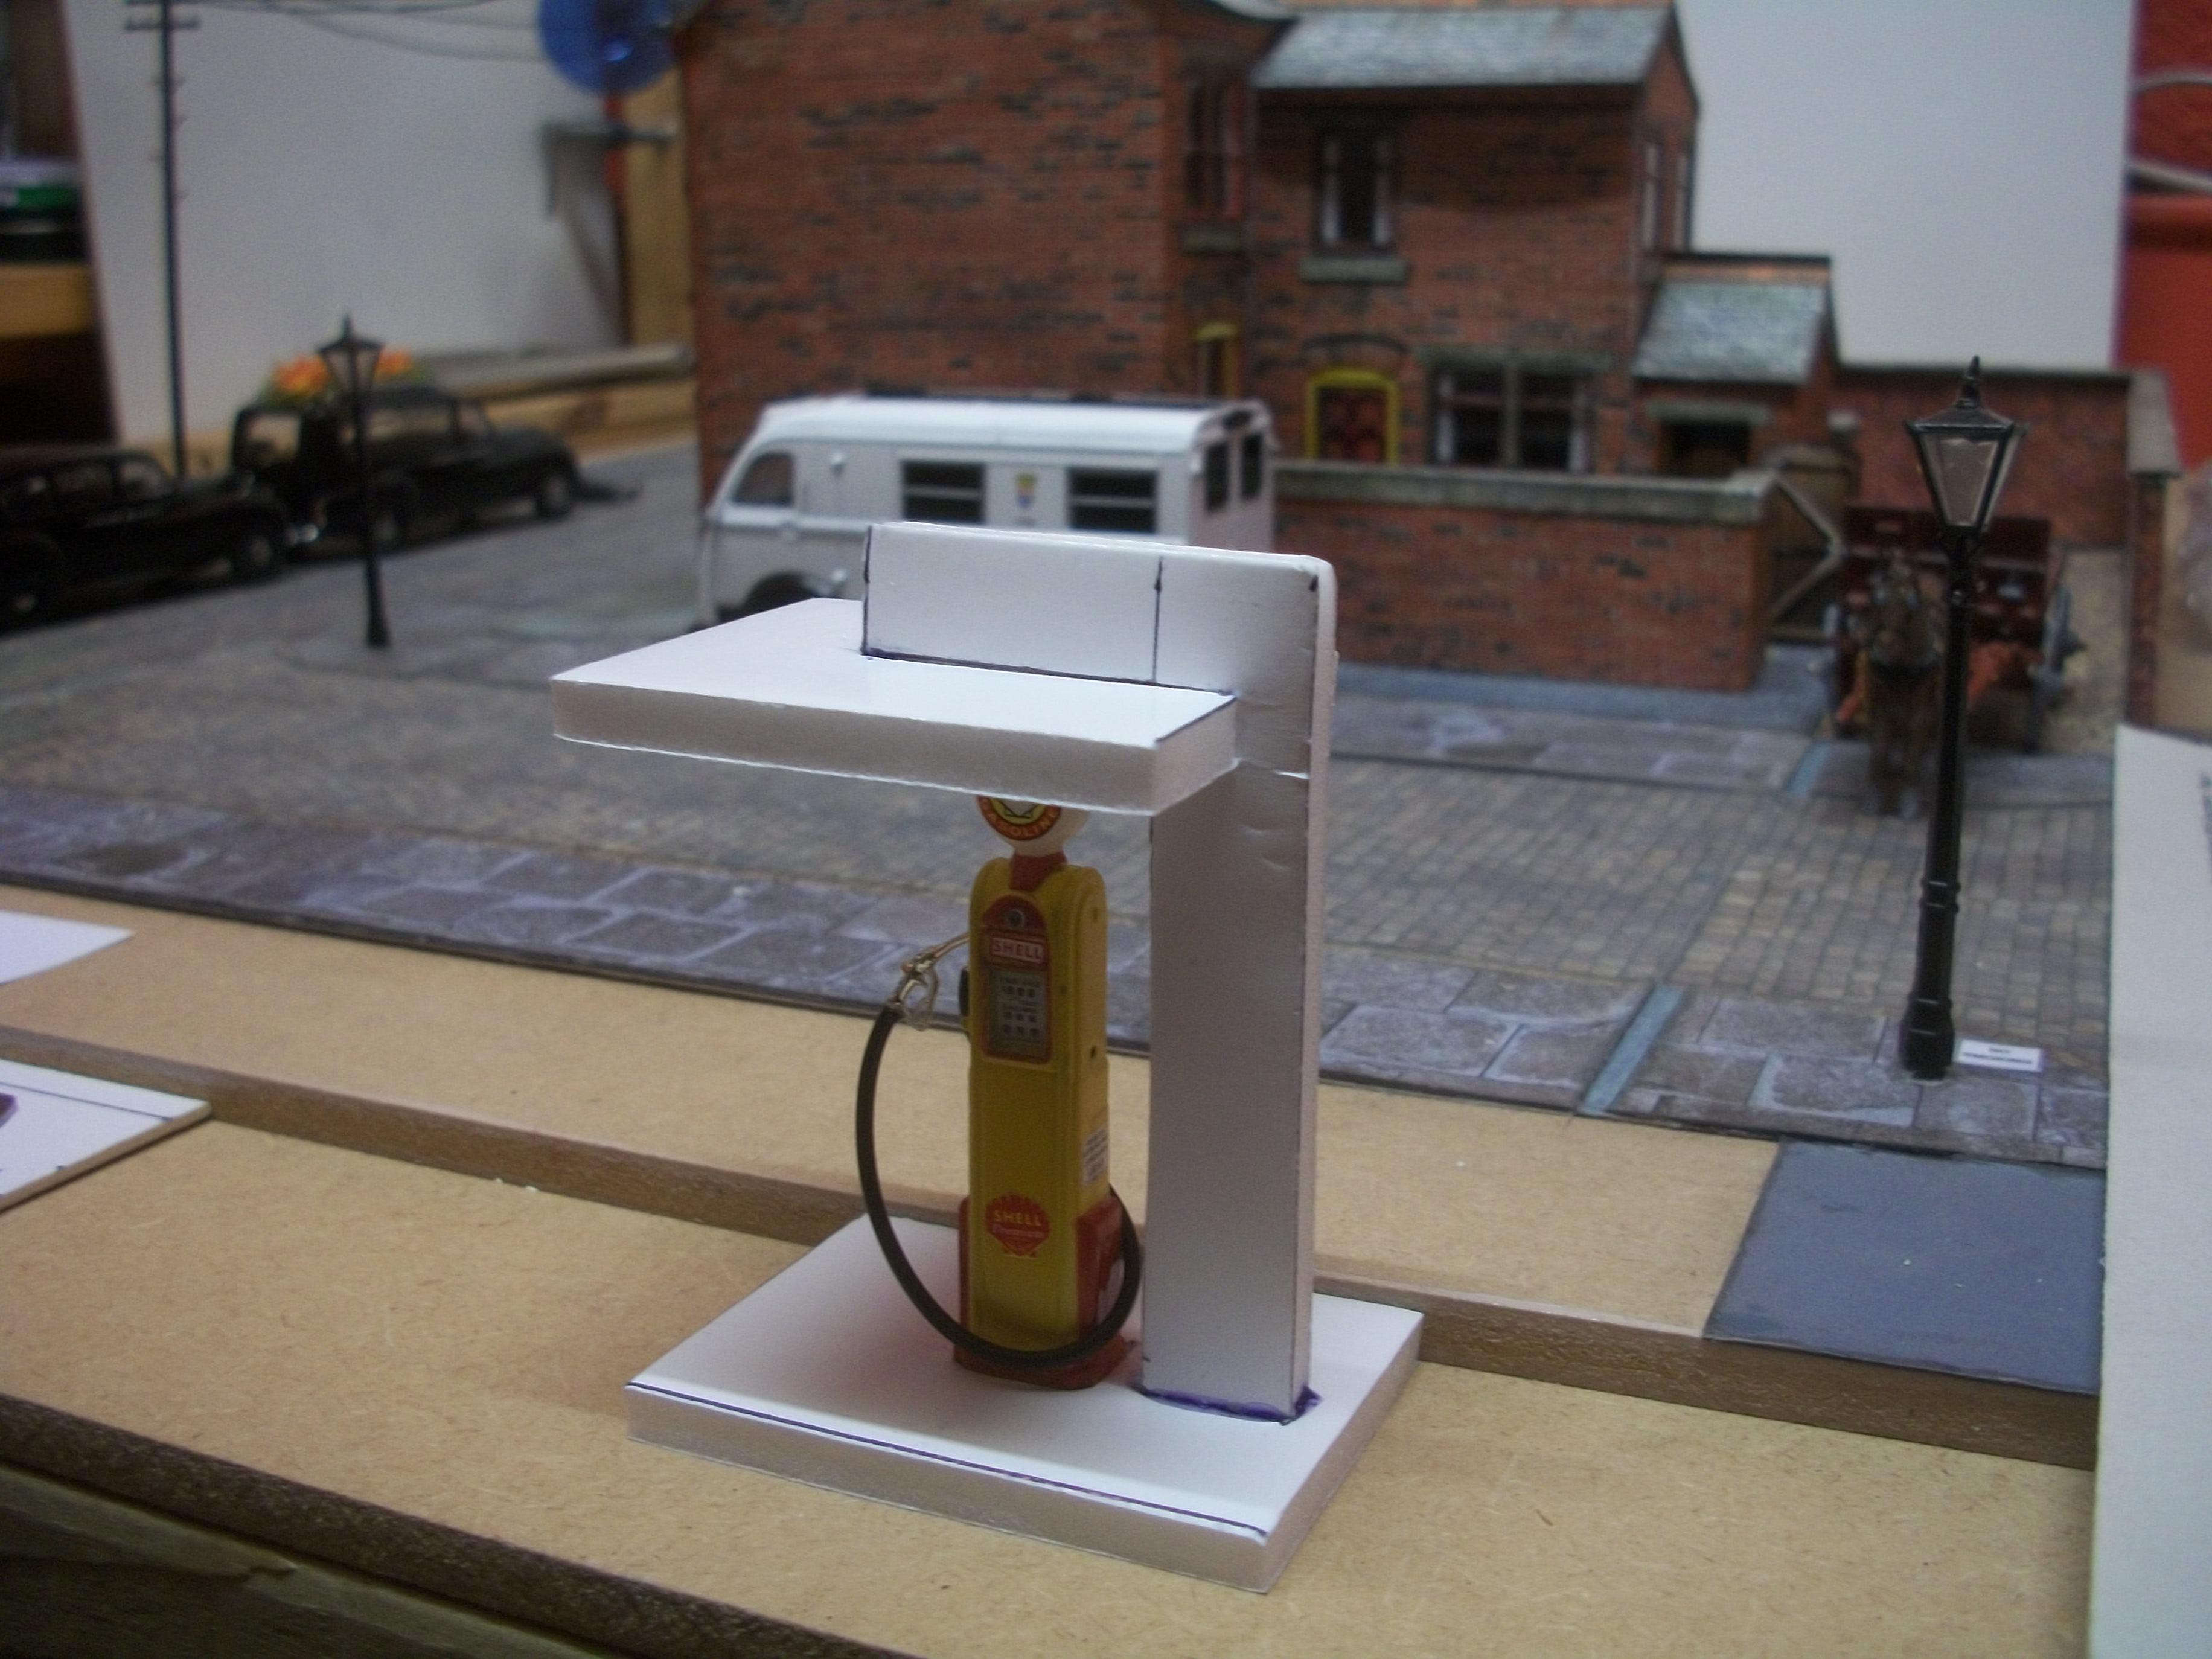
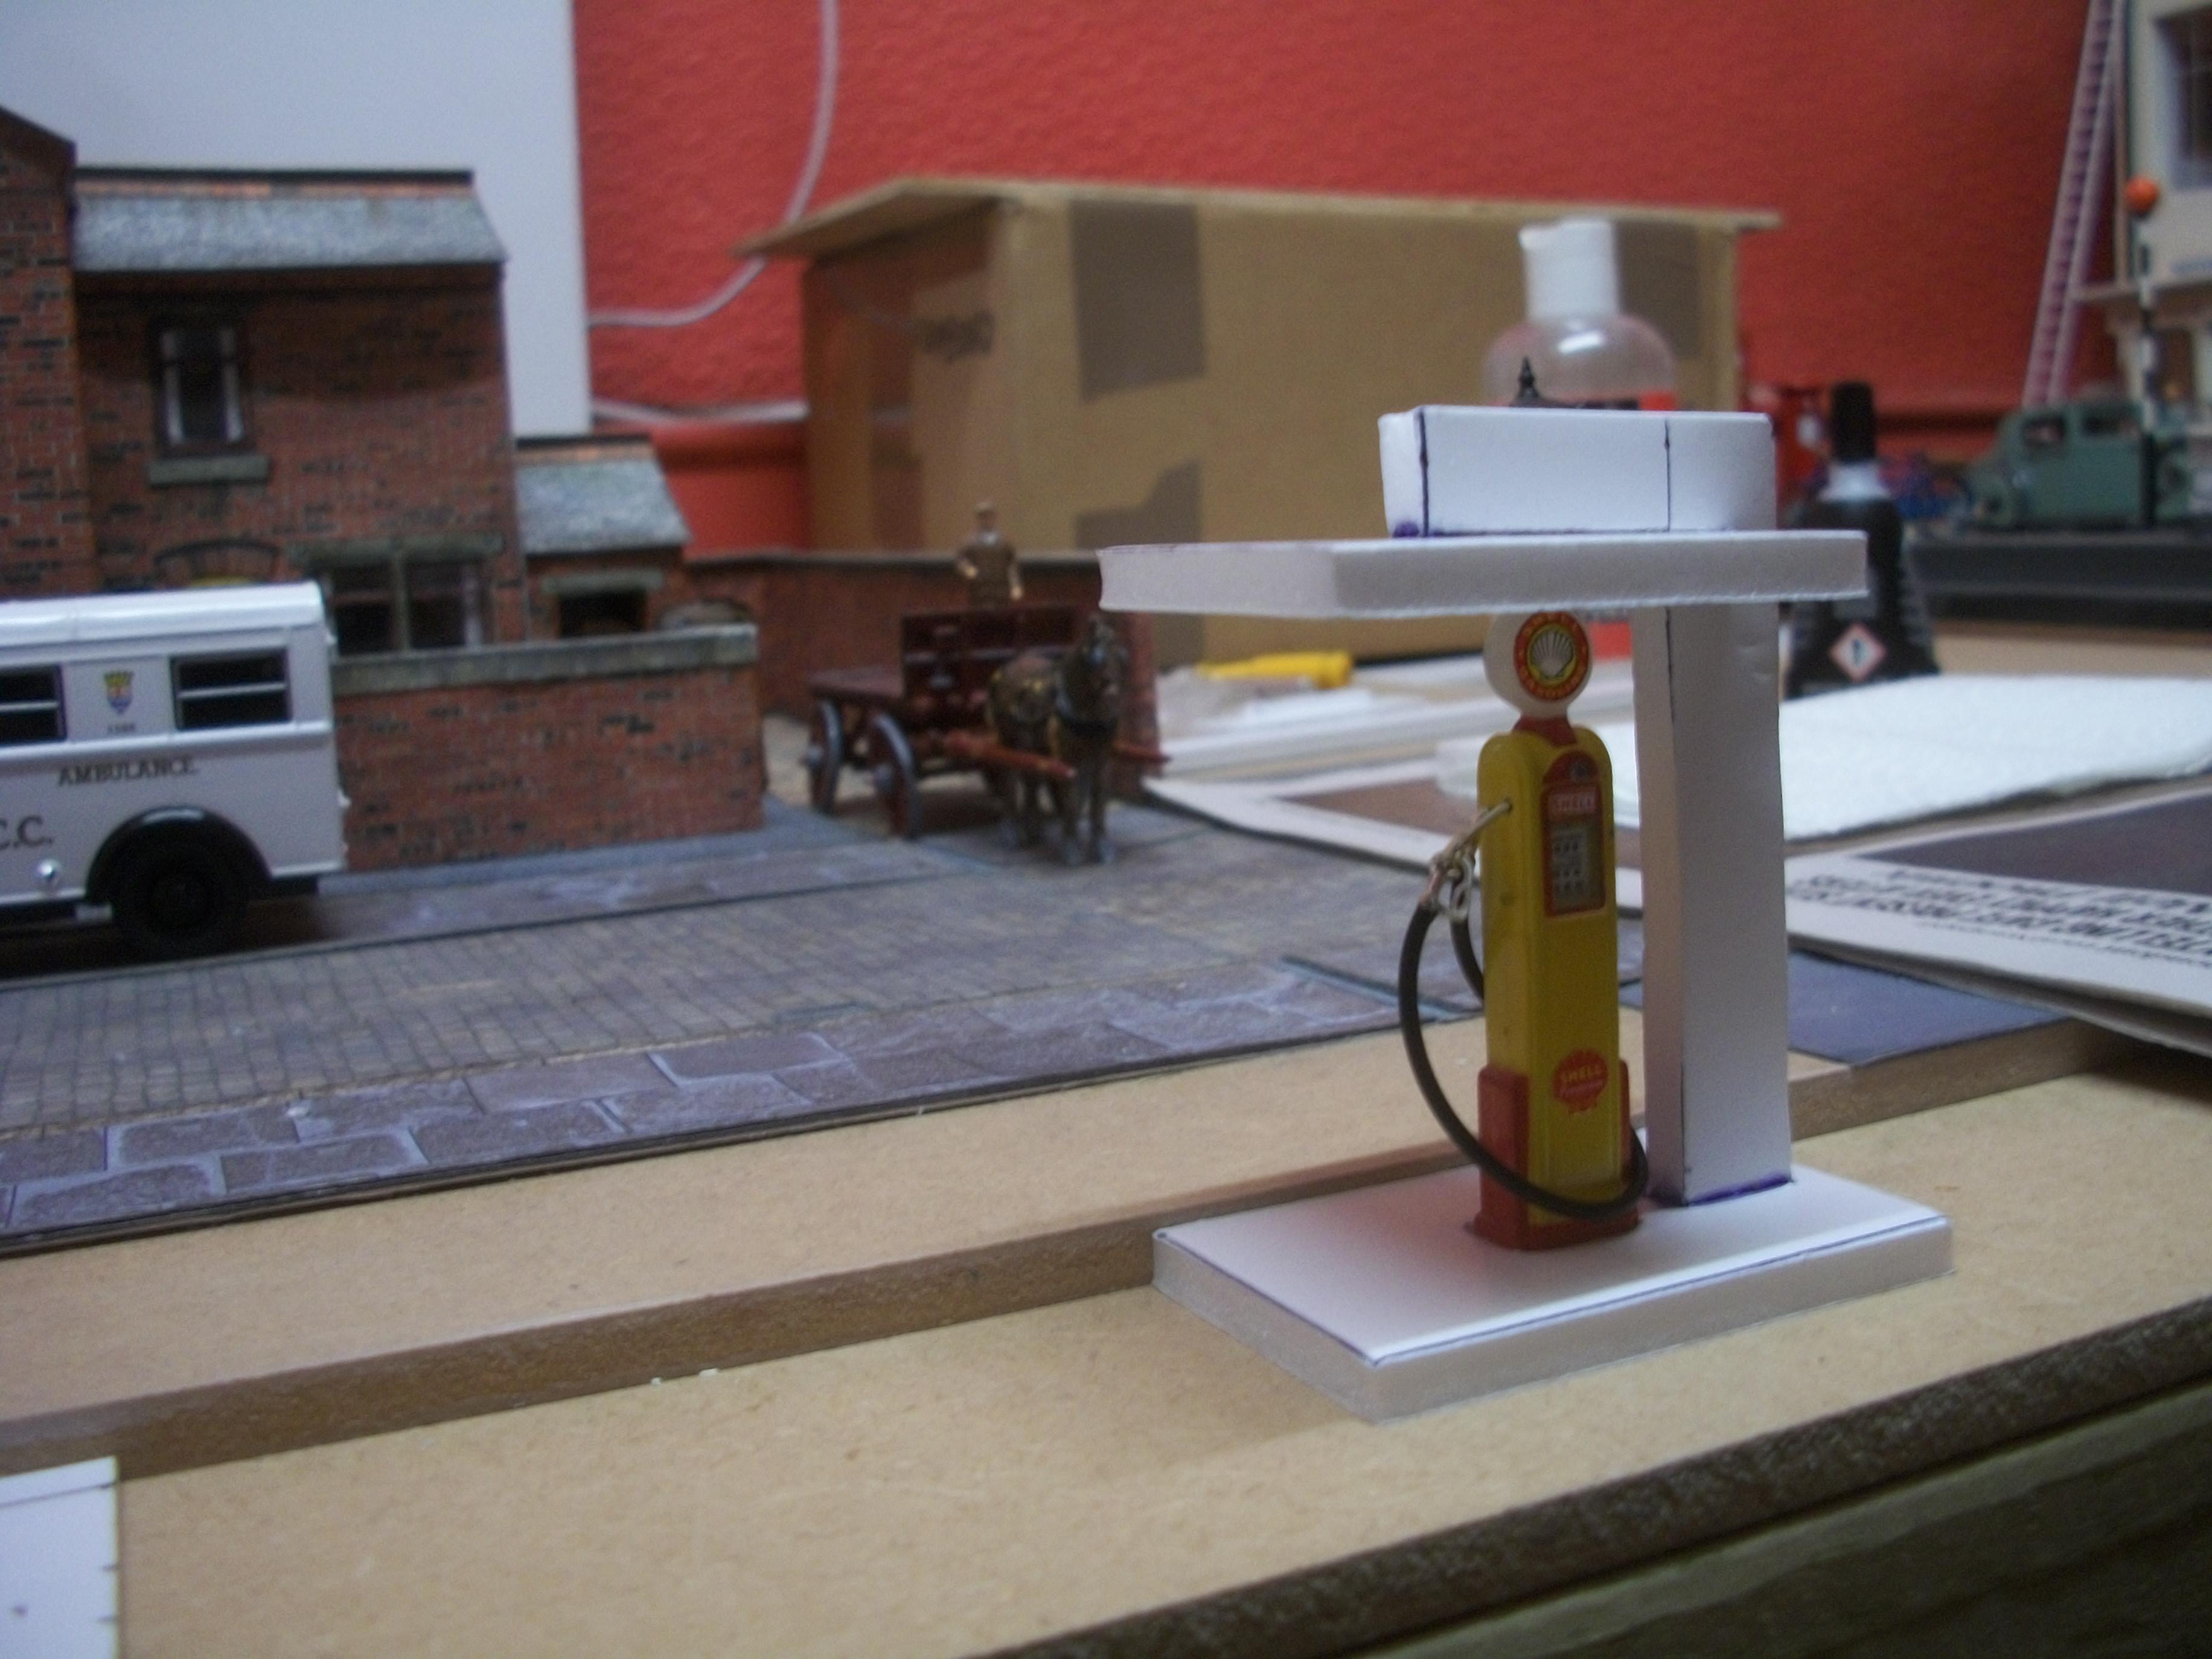
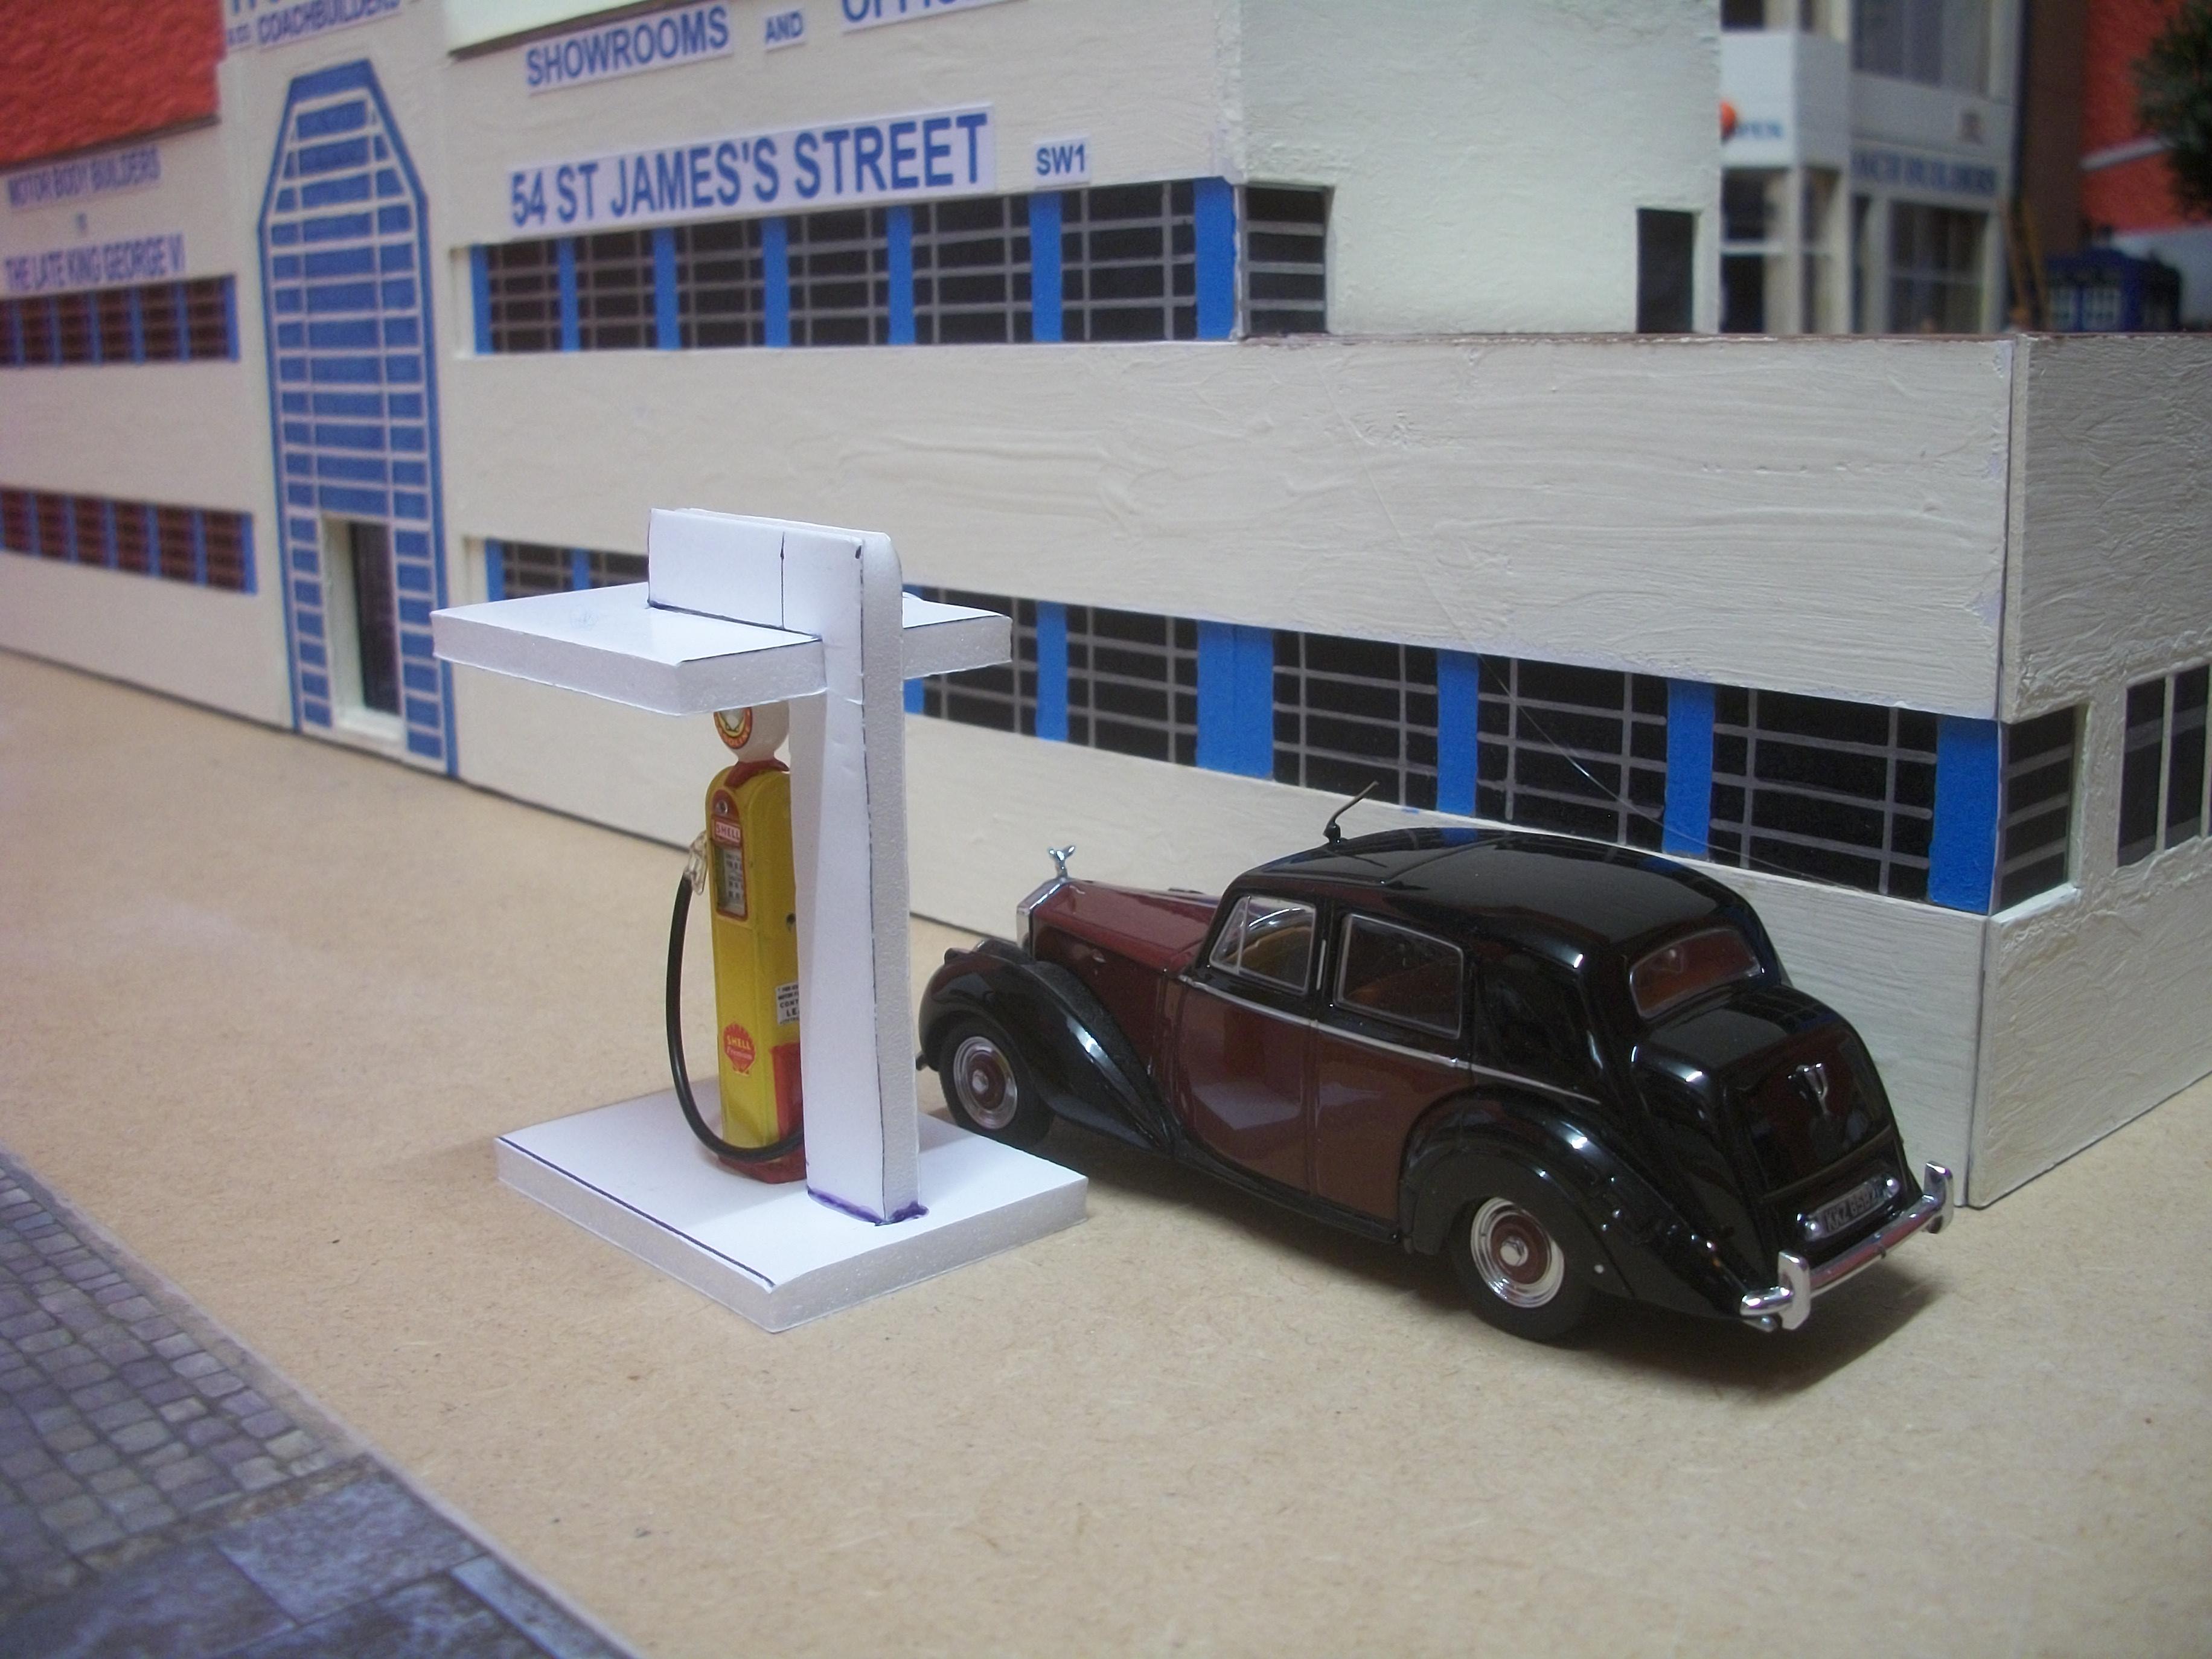
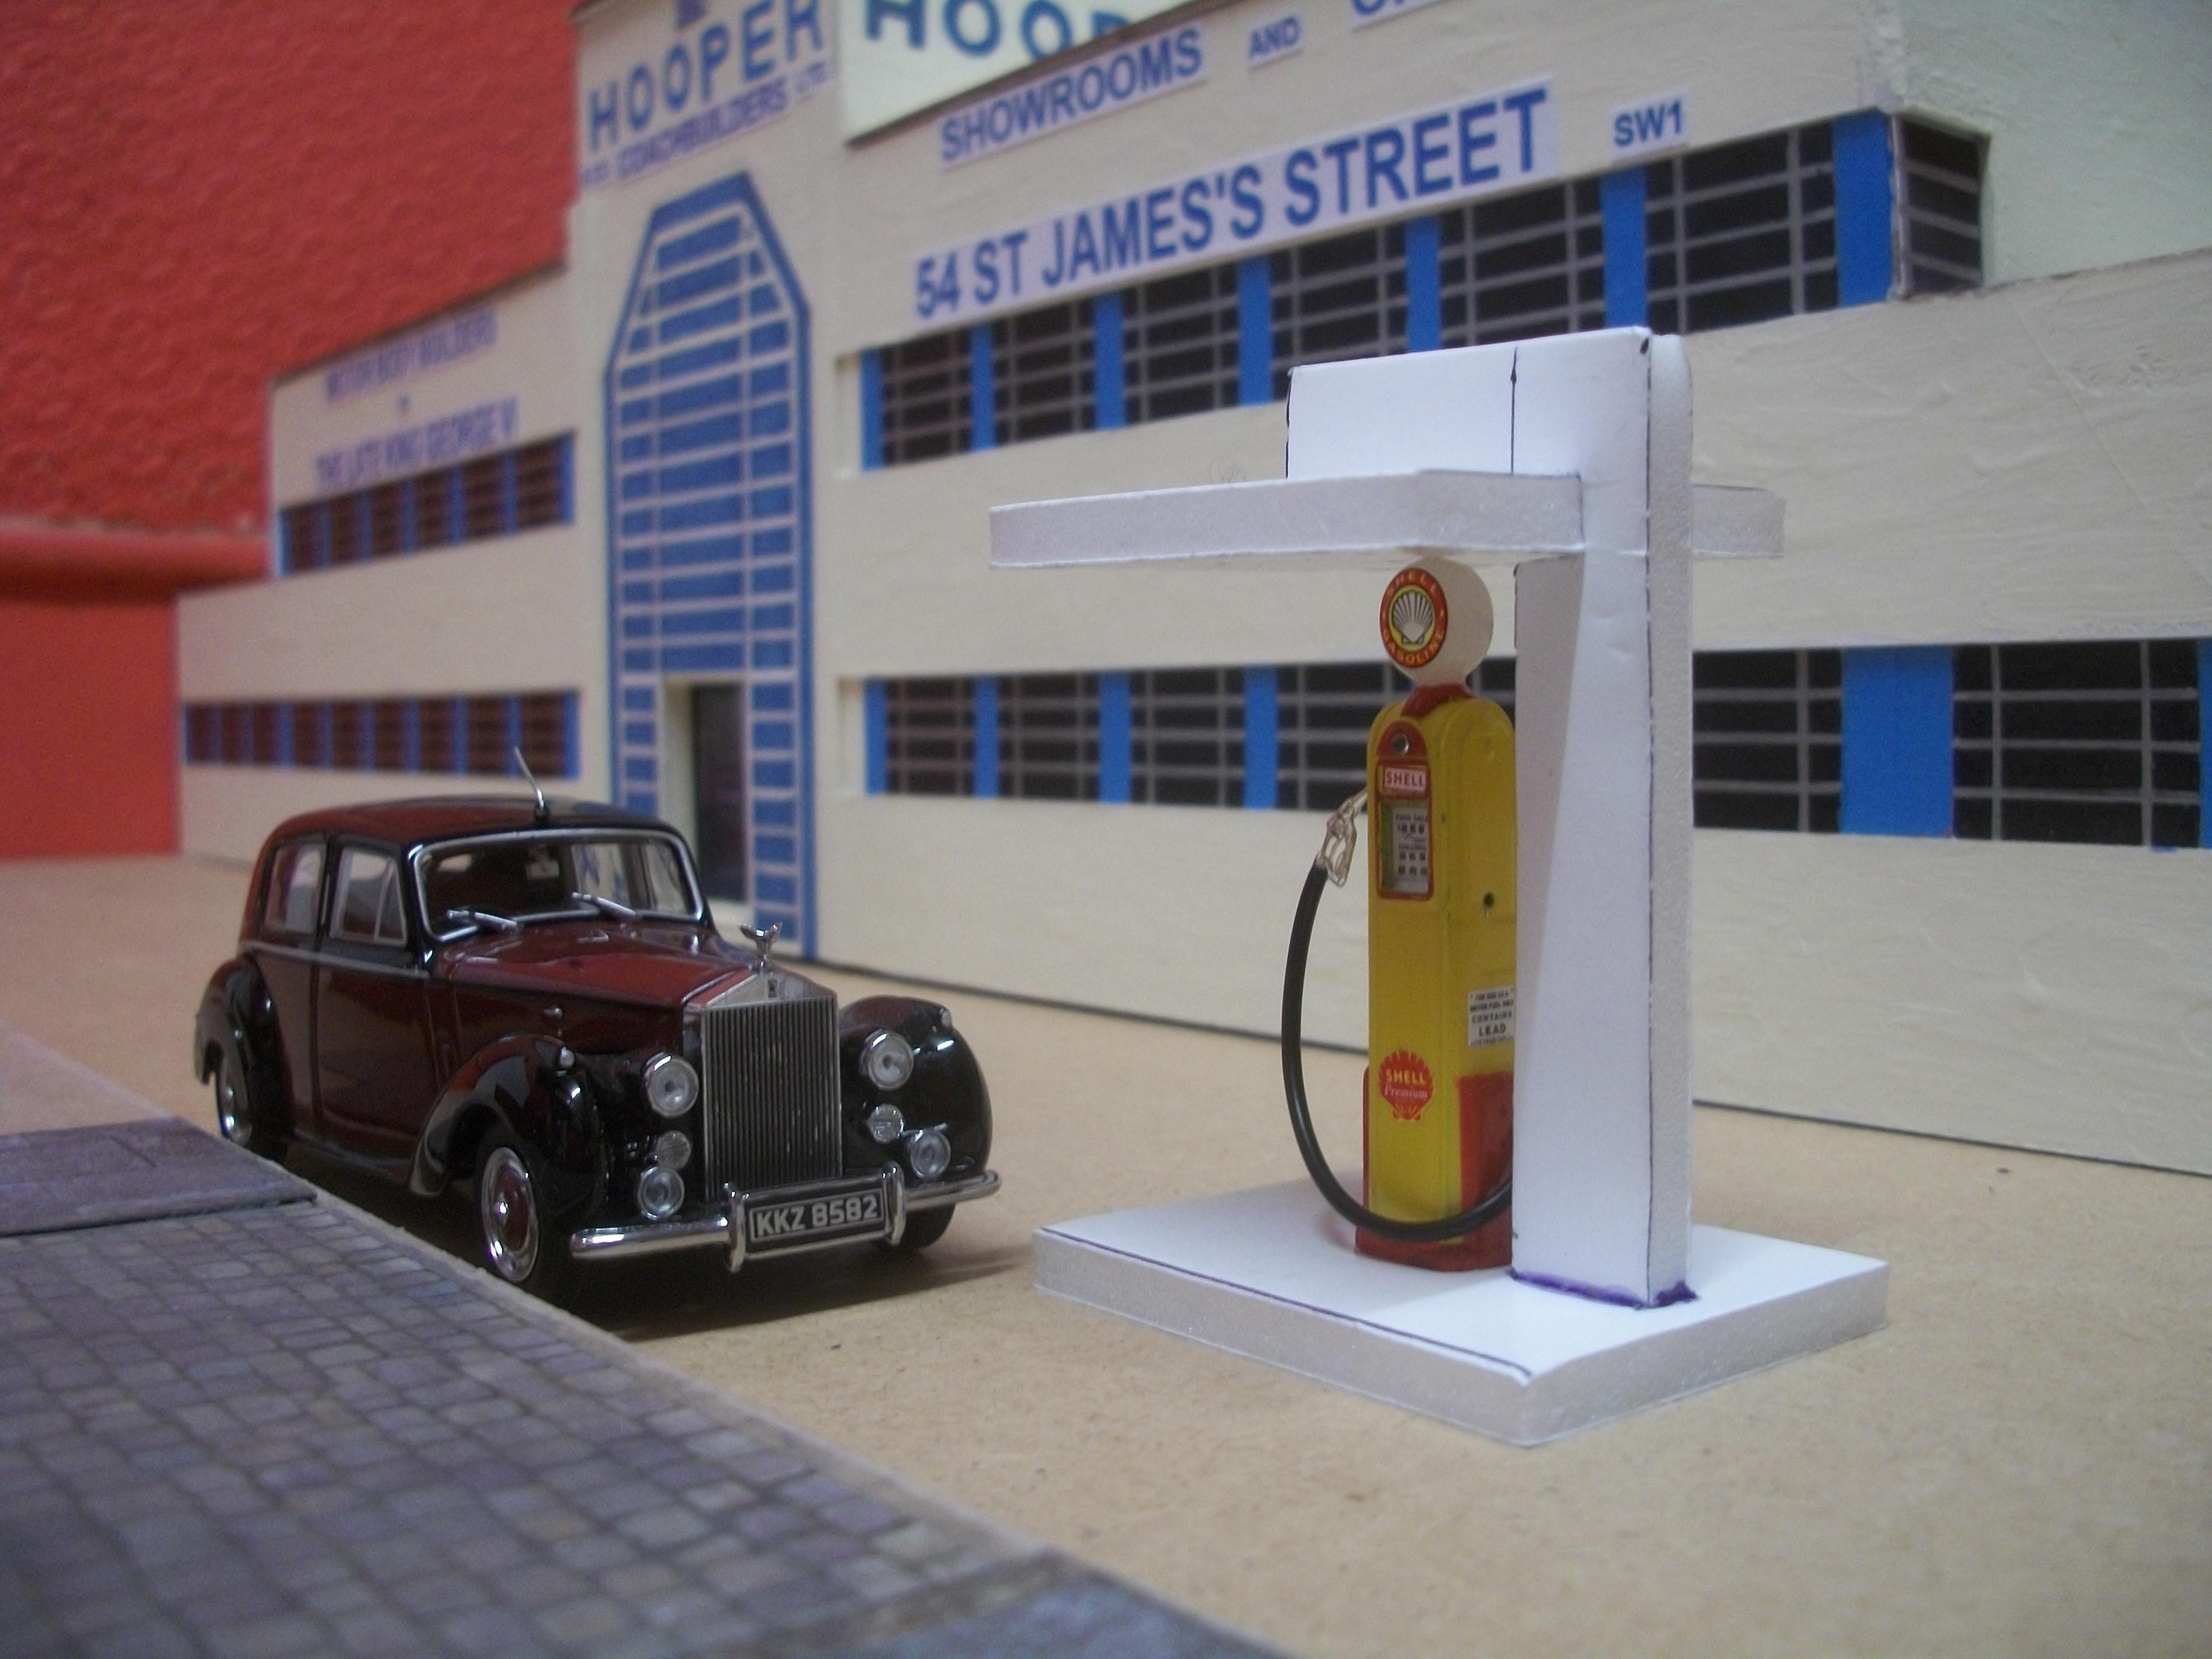
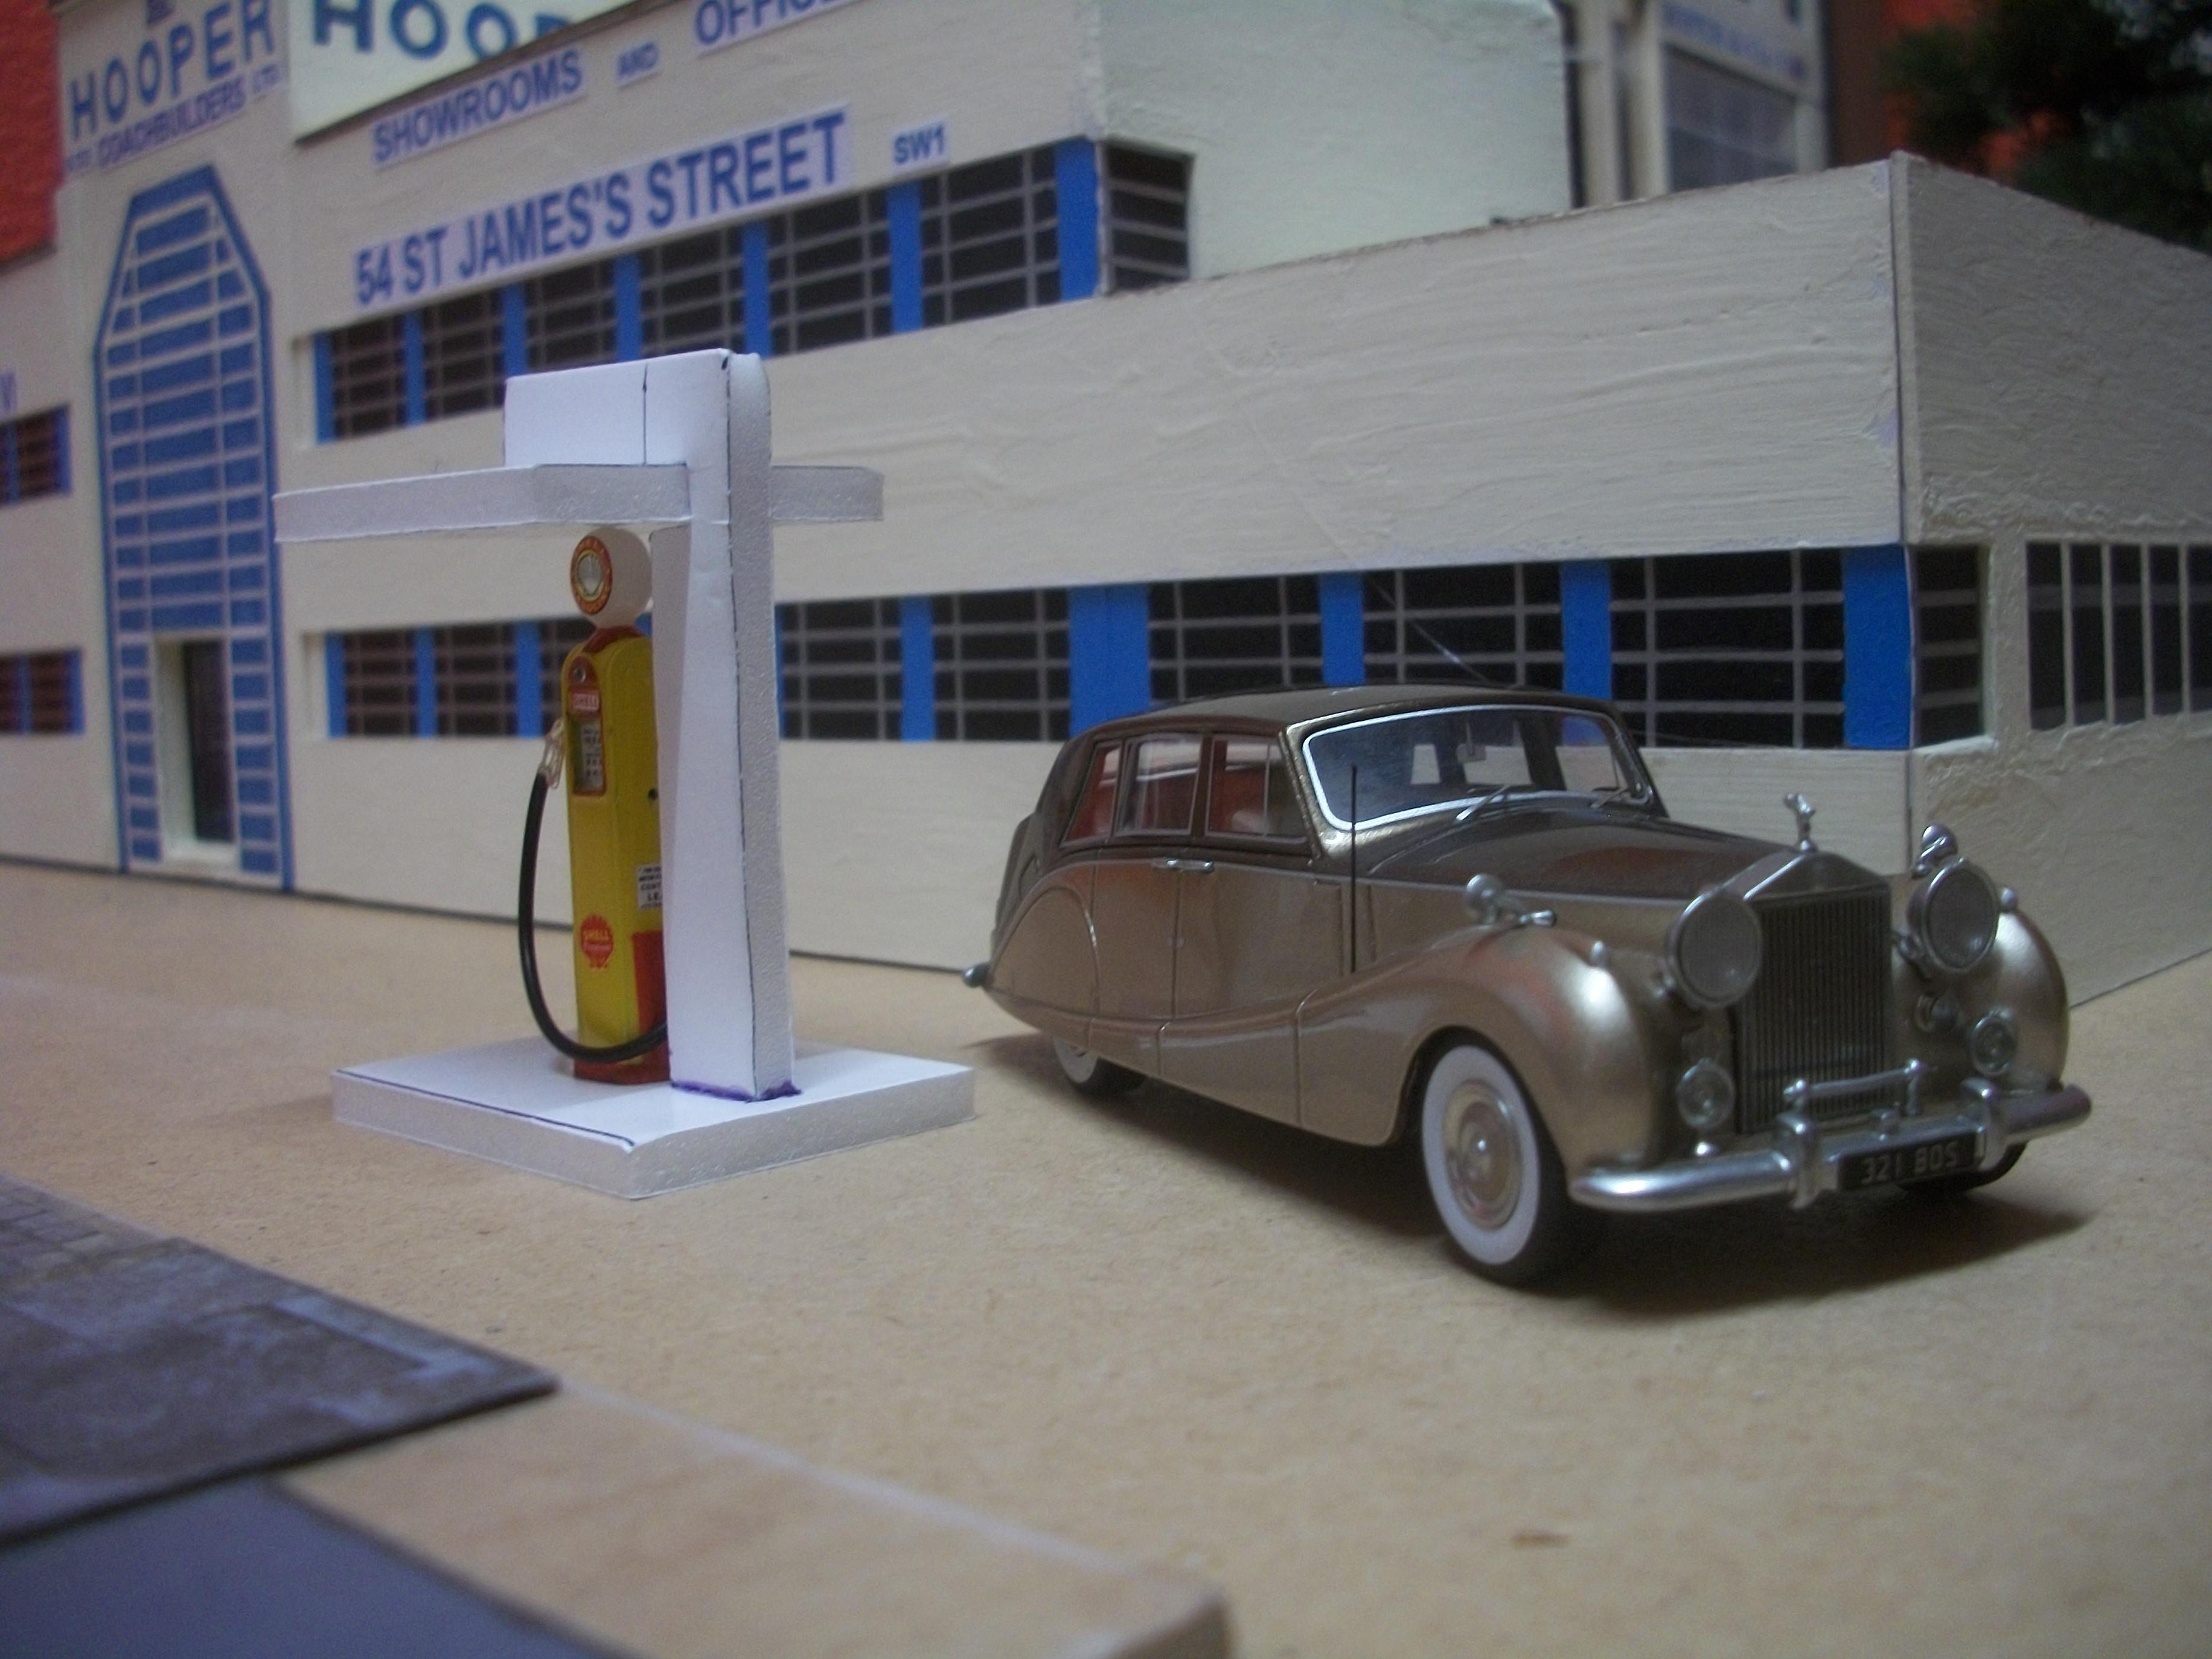
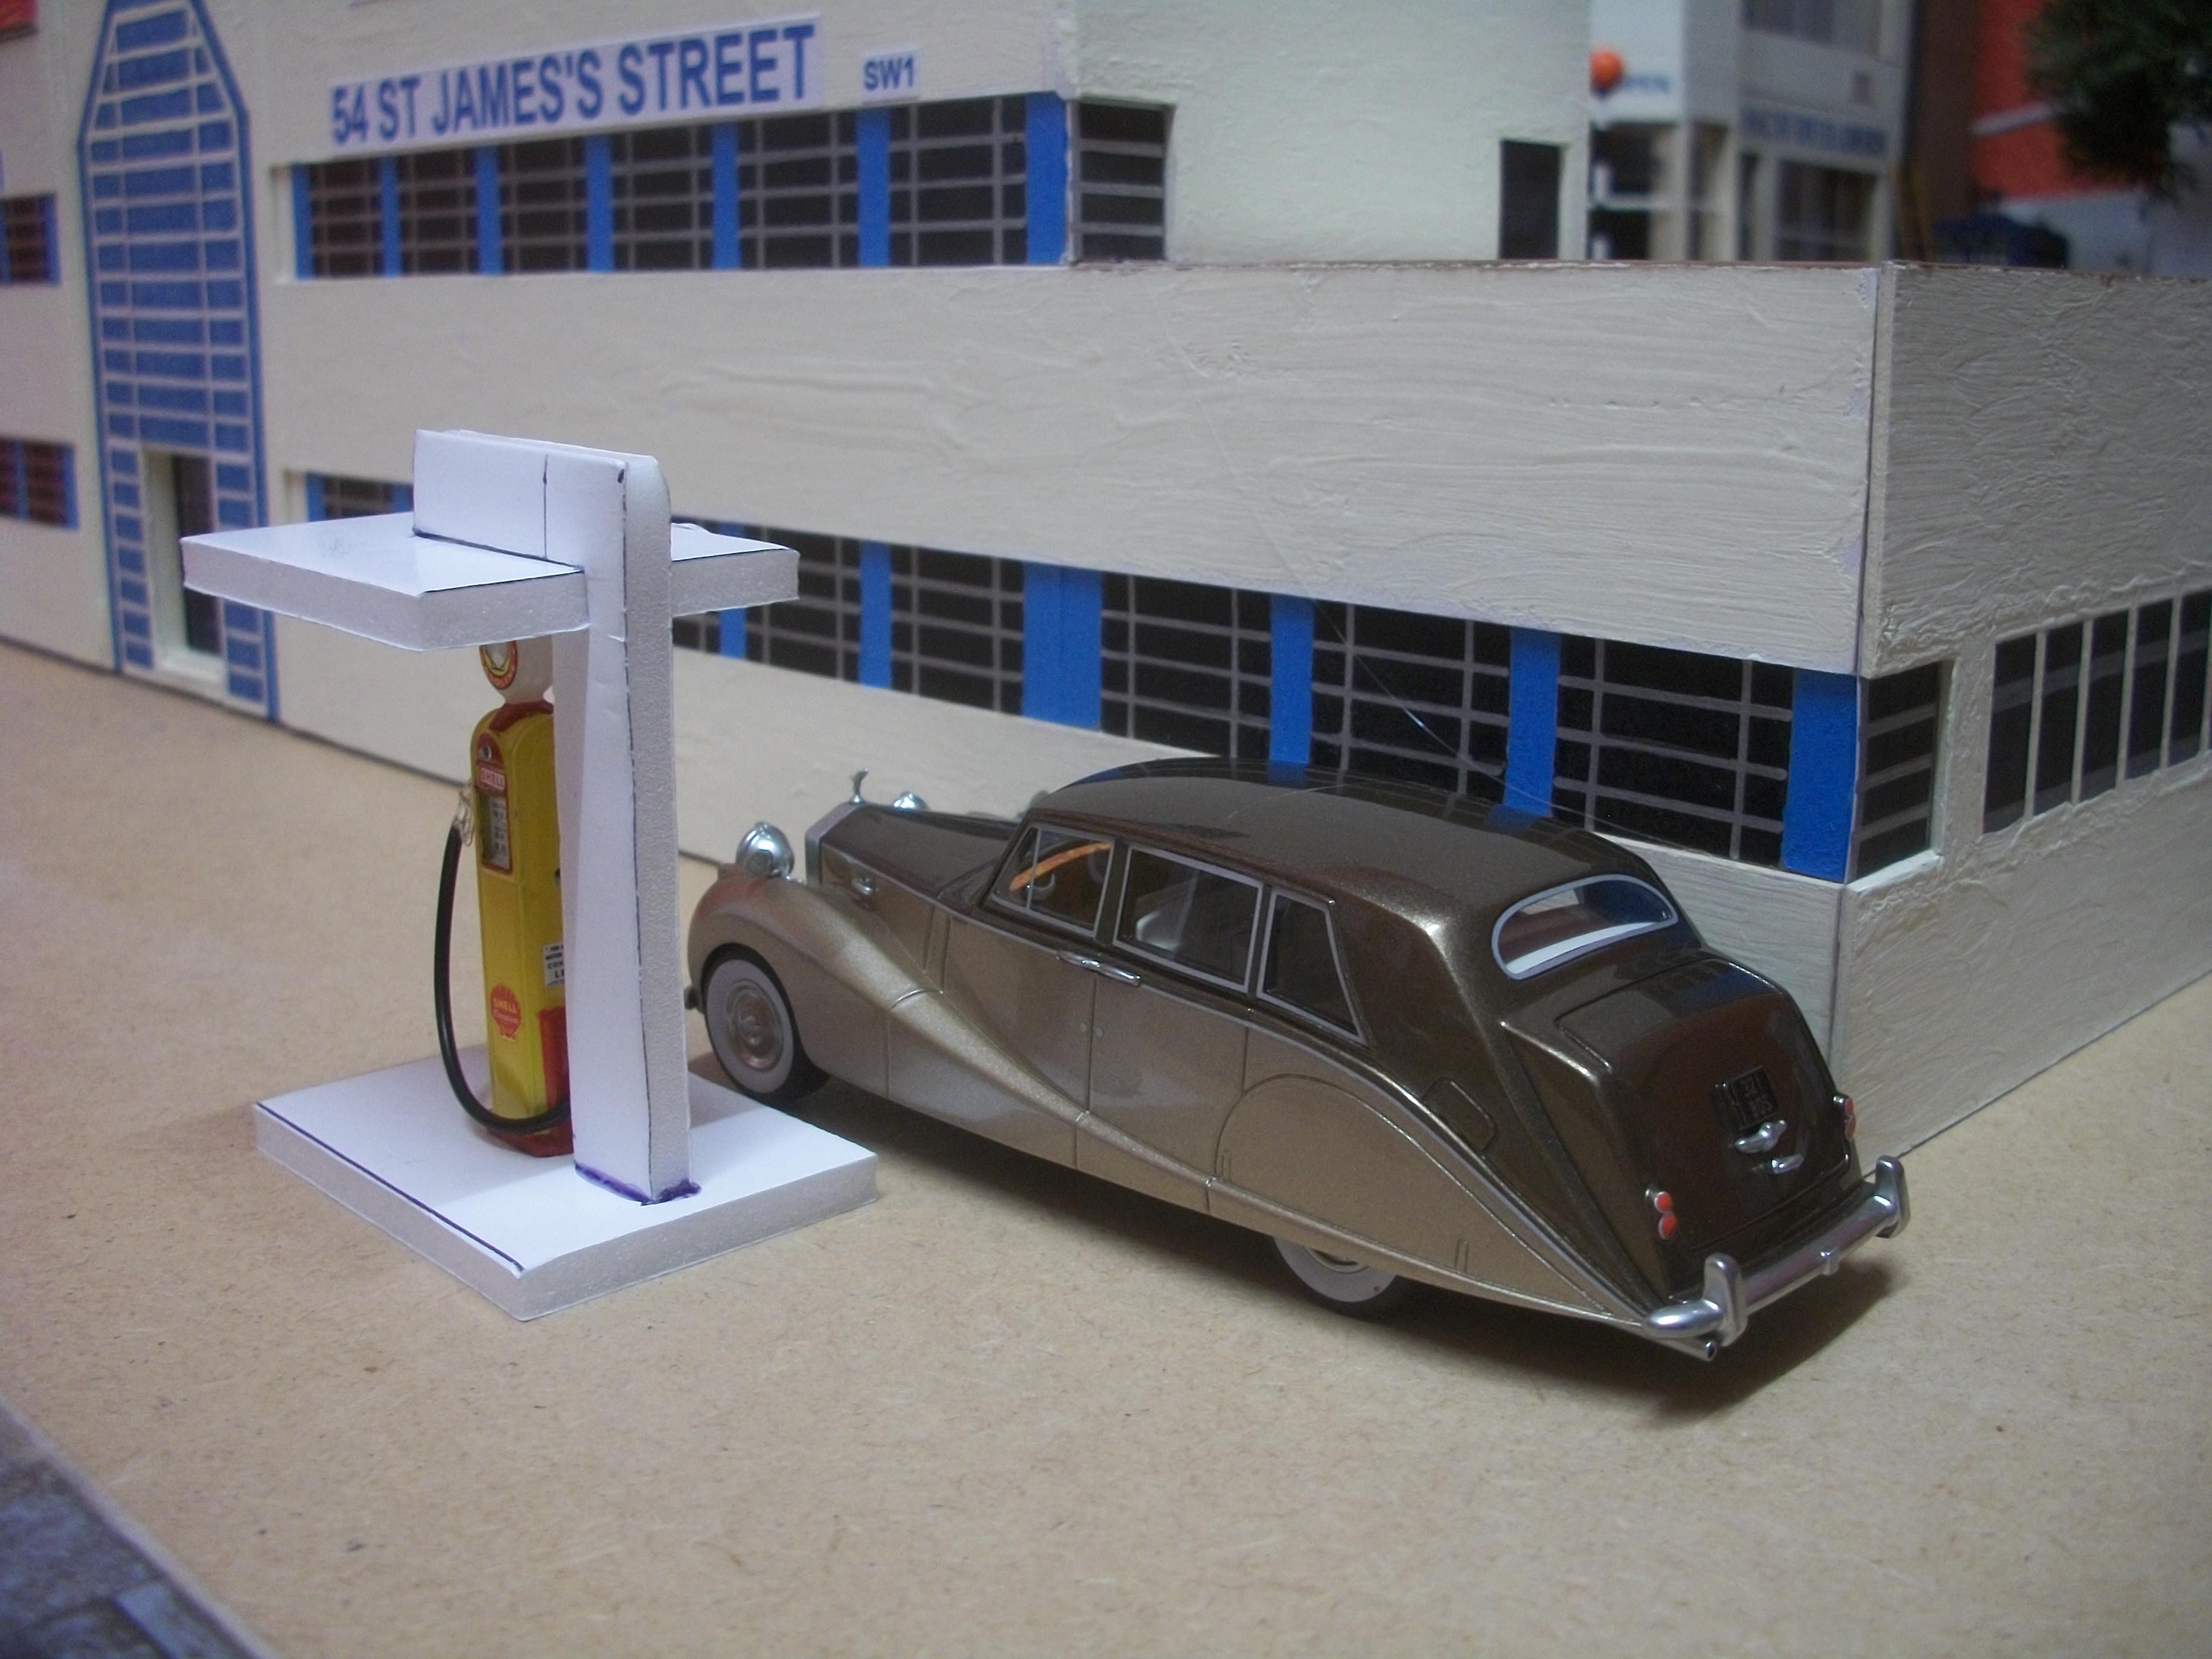
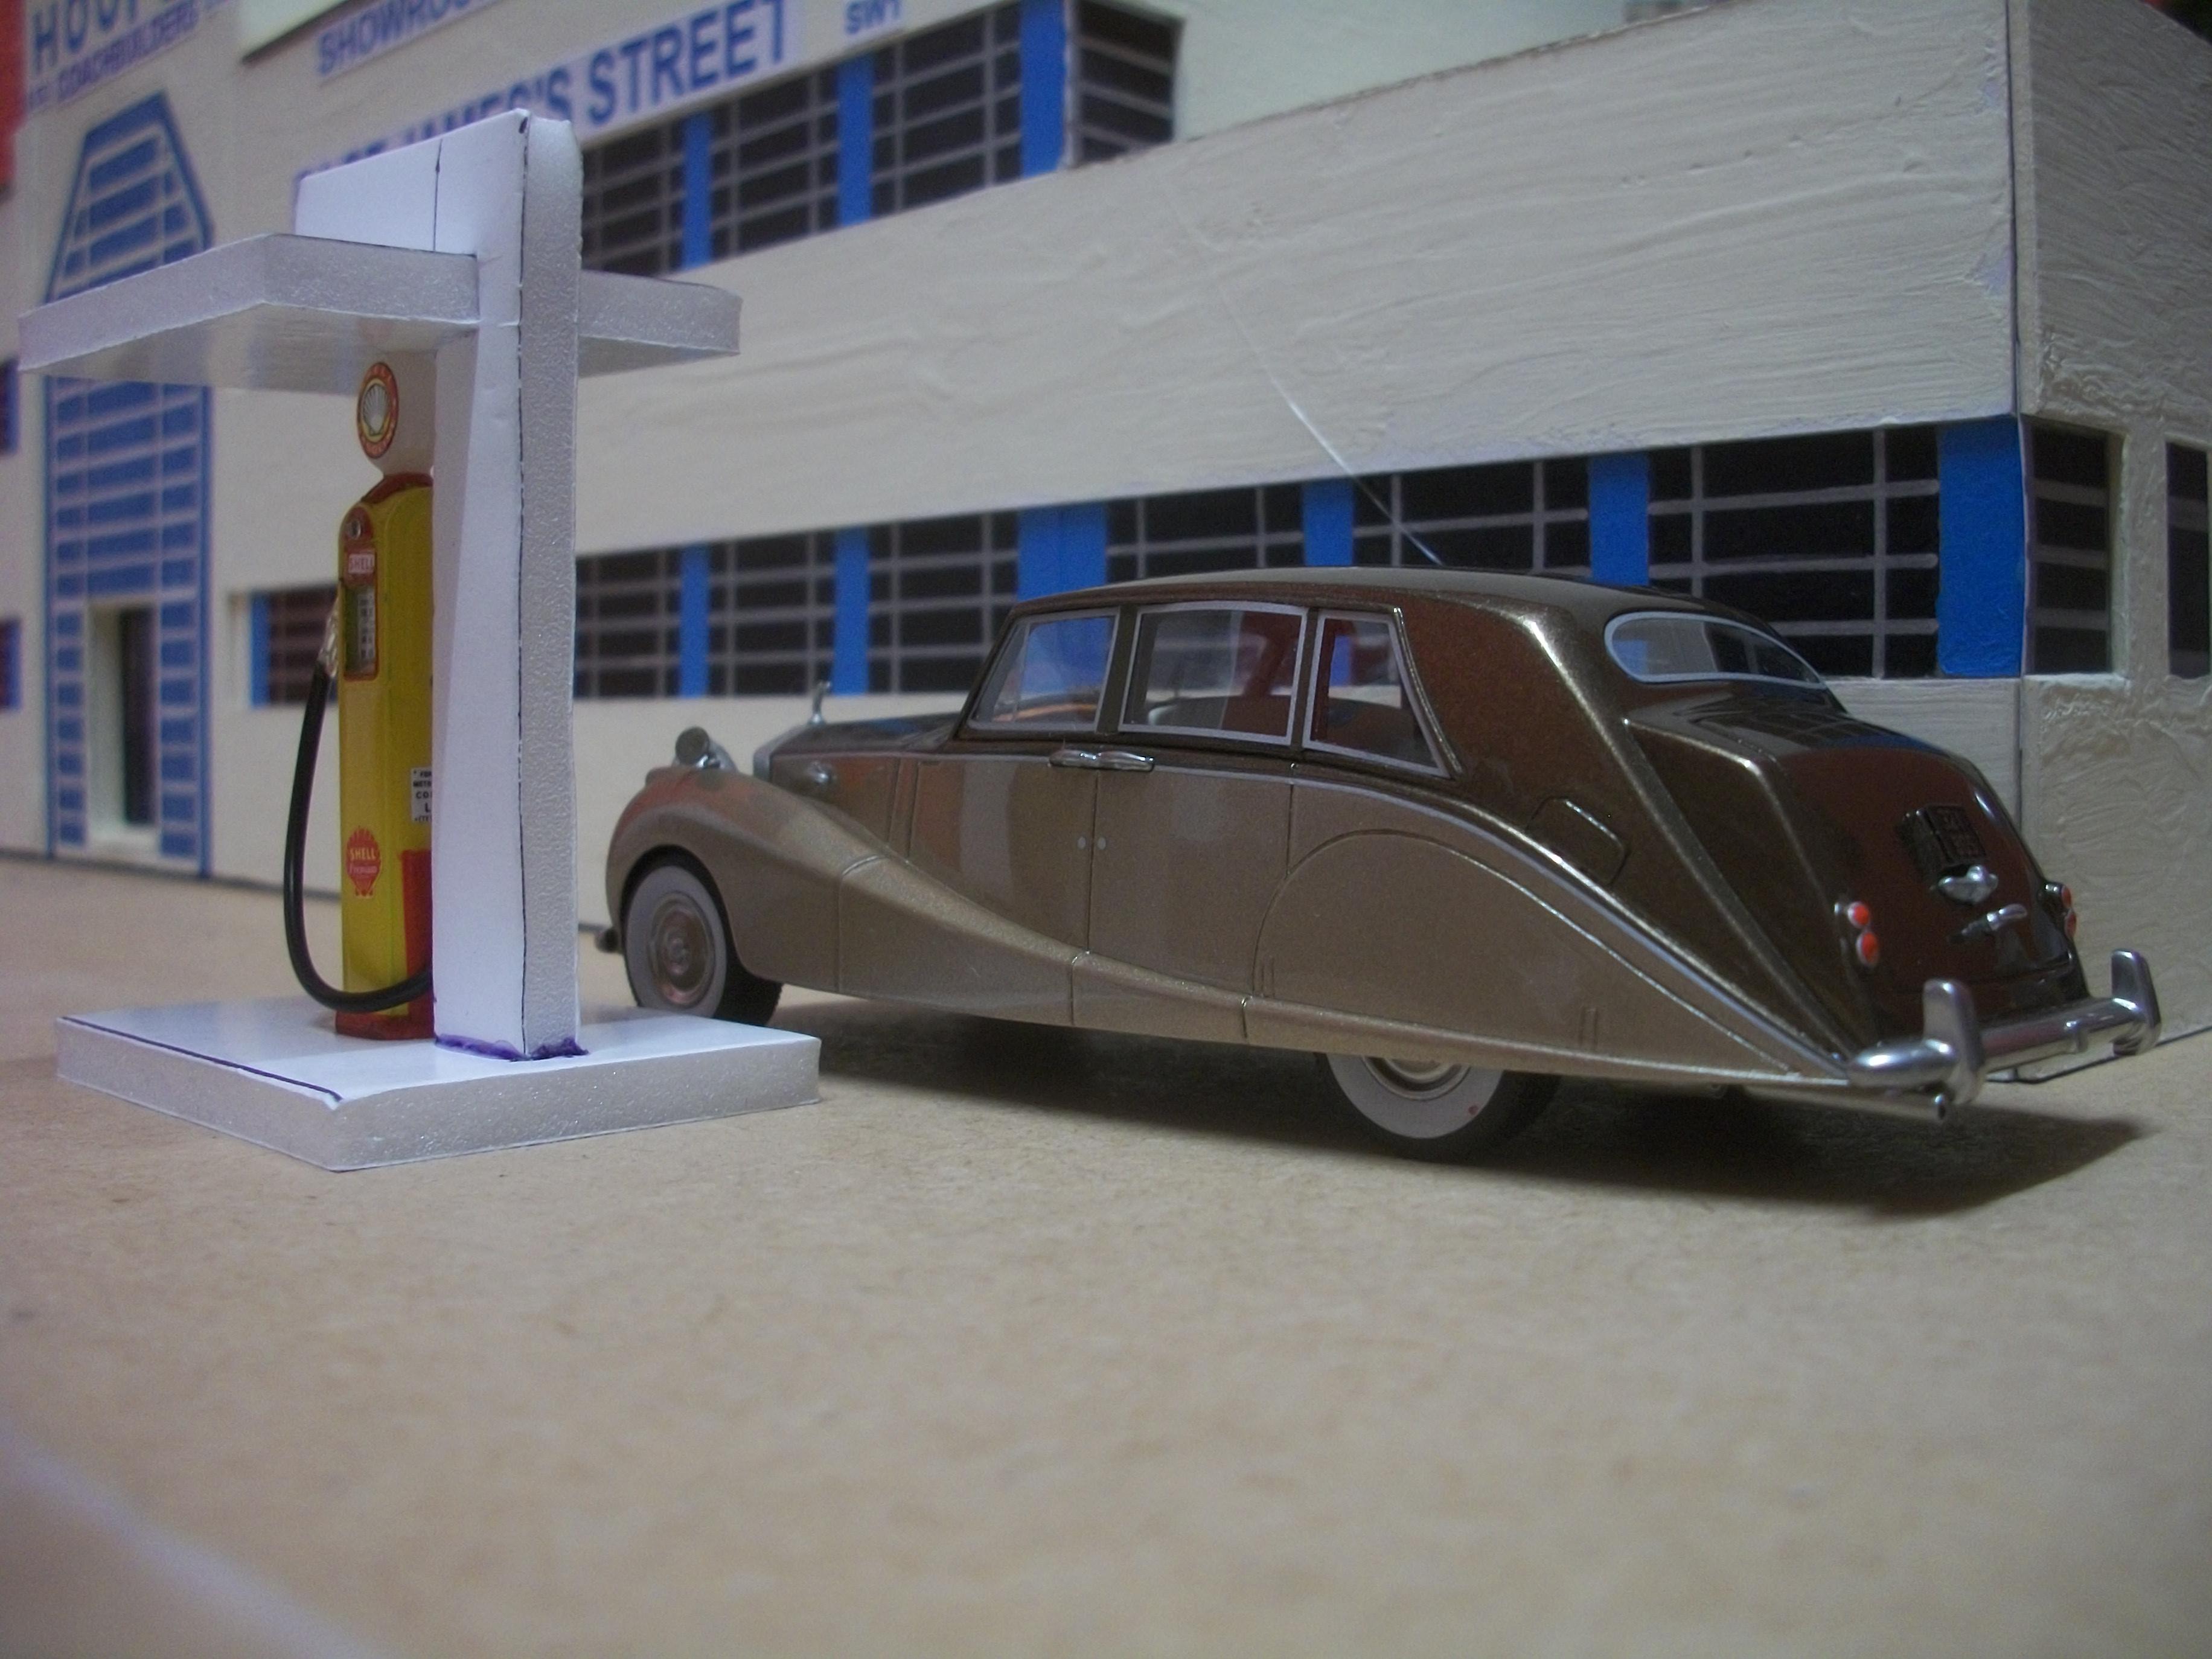
The gas pump island and canopy is now completed, and after closely examining a reference photograph, a tall black vent pipe has been added. This would have been the vent pipe from the nearby underground storage tank. I made the vent pipe from a length of brass rod, which is coated with black marker pen and then super glued in place, both at the base of the pipe and at the top of the upright support post. Ready to start work on the static grass areas of the MDF baseboard, along with the forecourt, the paving, the wall and the road surface. The actual factory building will be further back on the baseboard than I had at first imagined, but this should not present any problems that I can foresee. David
-
I do like foam board, and after watching a very interesting video article by Adam Savage from New York, this seemed to be the medium of choice for building scale models....... but a word of caution; During my most recent Rolls-Royce exhibition last year, the material became very unstable. Basically, the temperature and the humidity inside the event marquee was so high that it caused my buildings, and also the large boards of lettering to warp badly. Much of the background stuff became unworkable and had to be taking down before the show was finished. Having said all that, you can construct some nice structures if you use the right tools and techniques. David
-
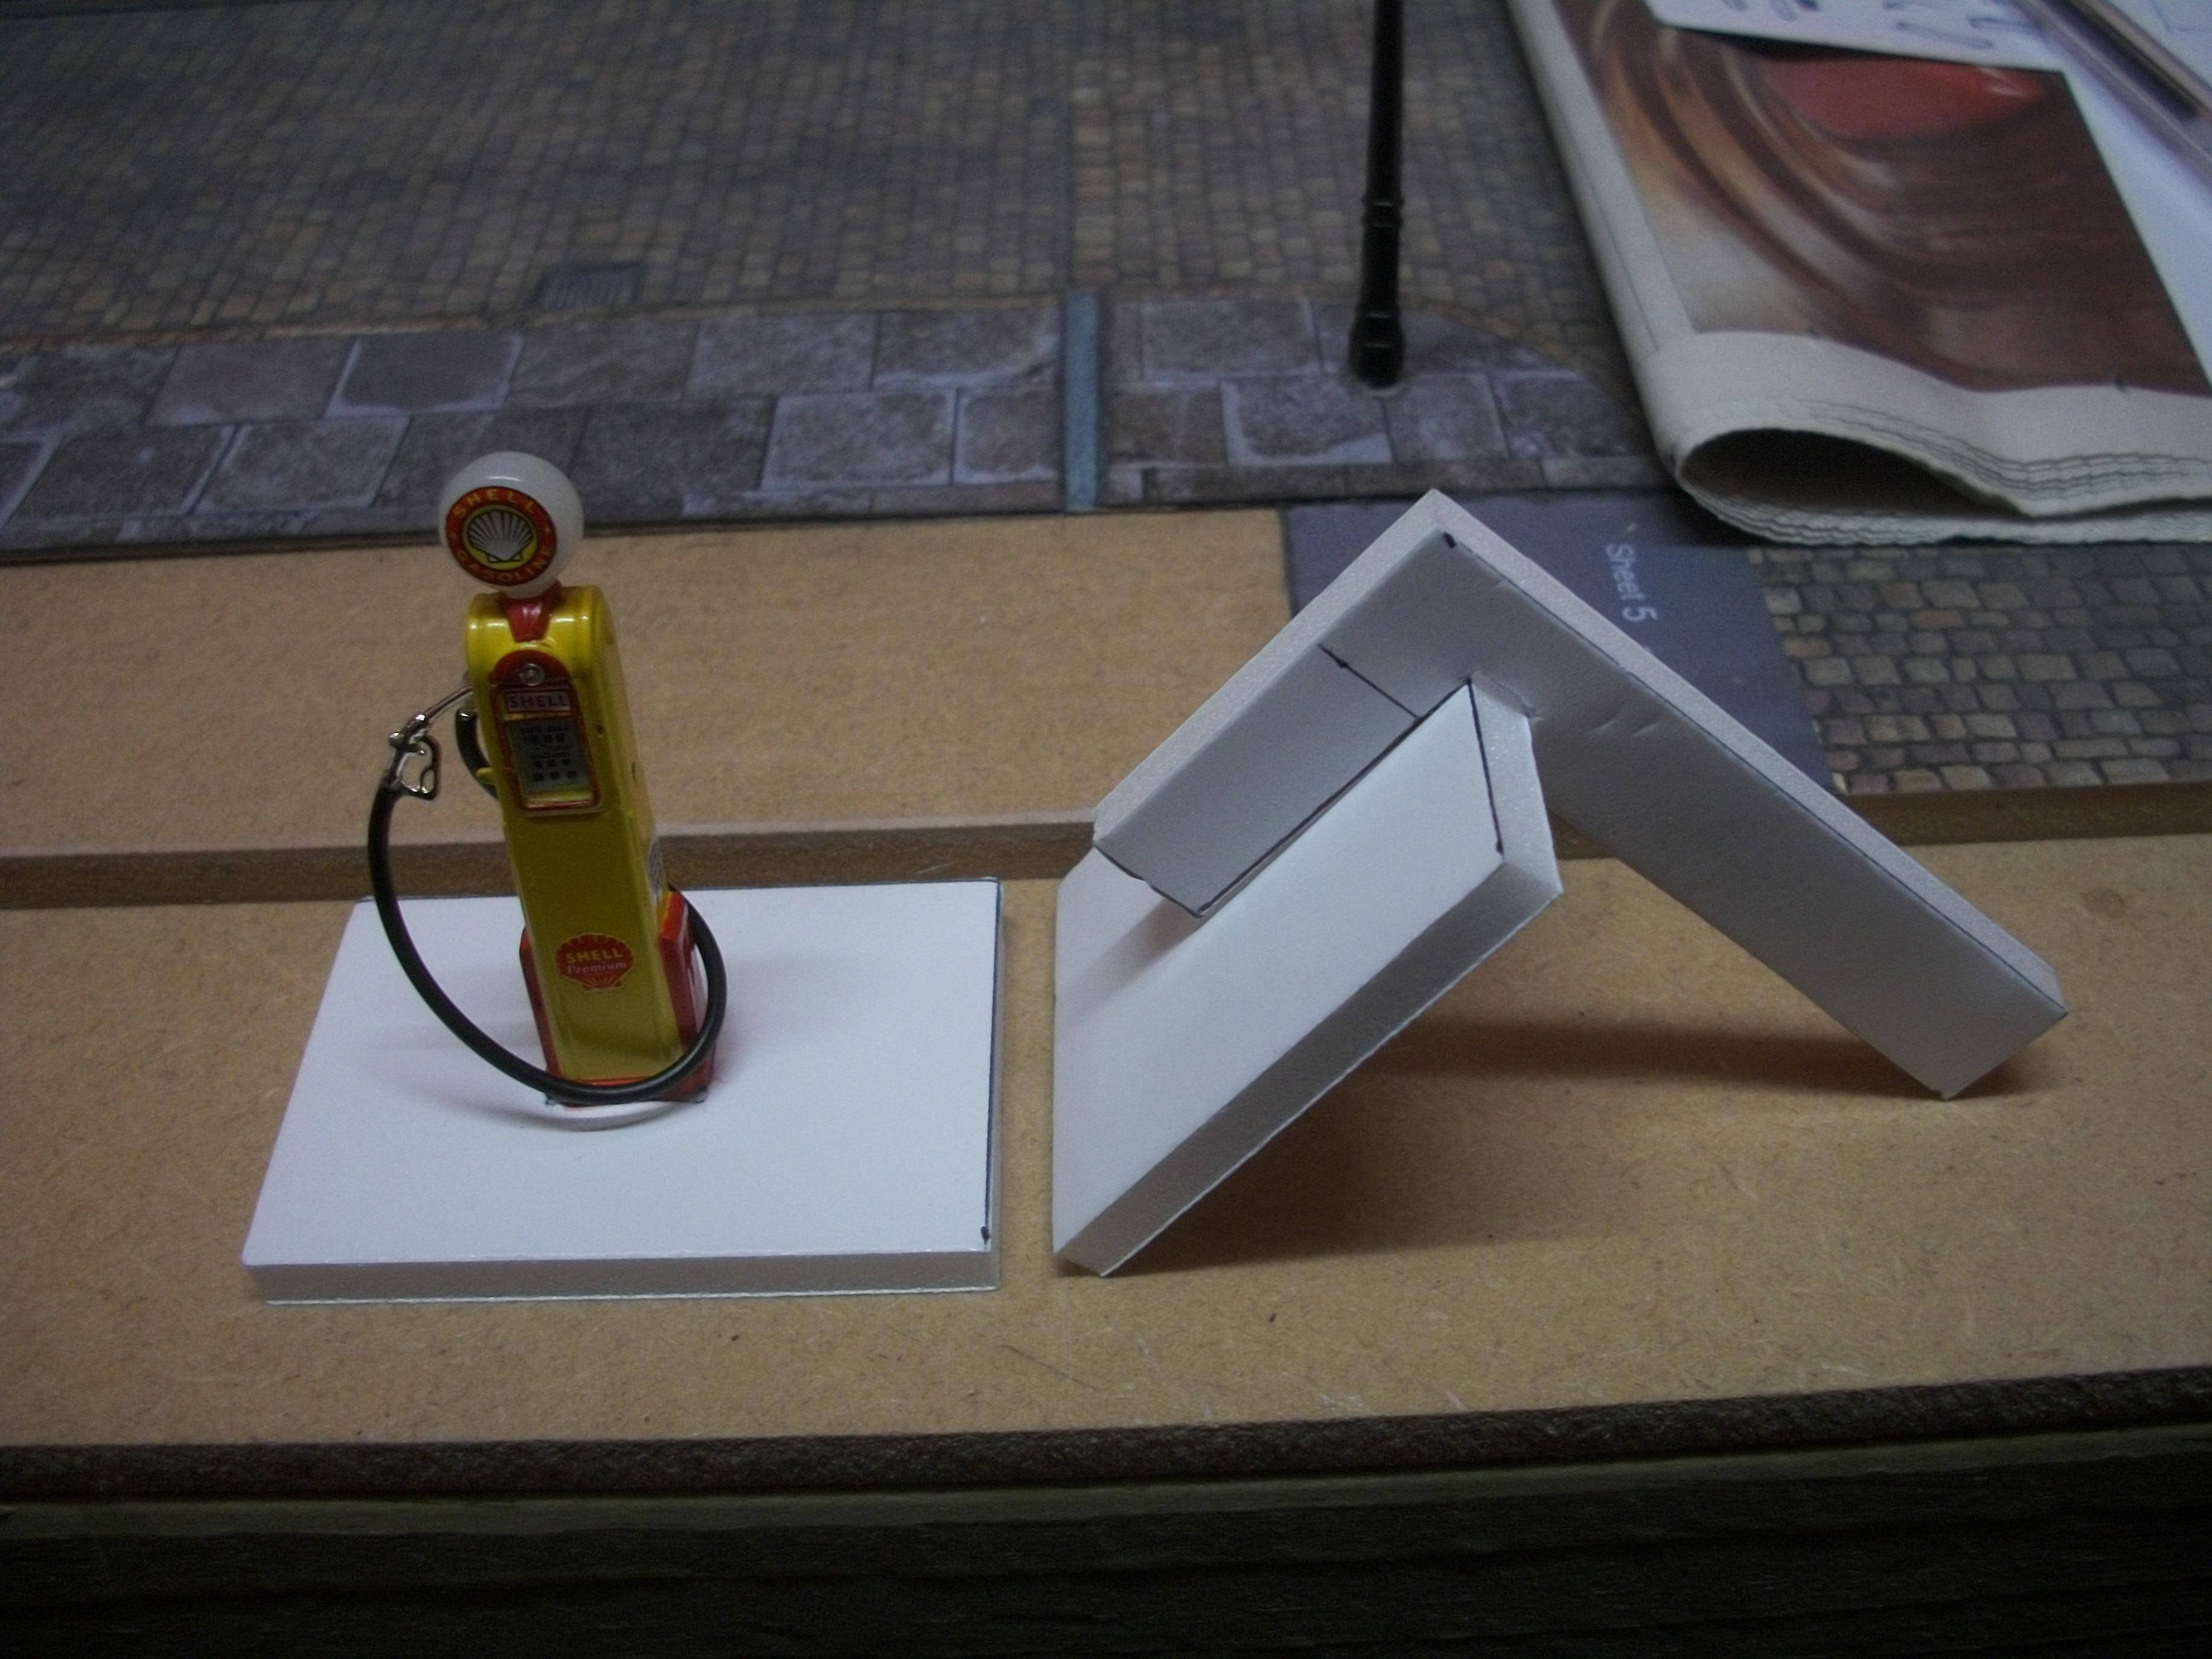
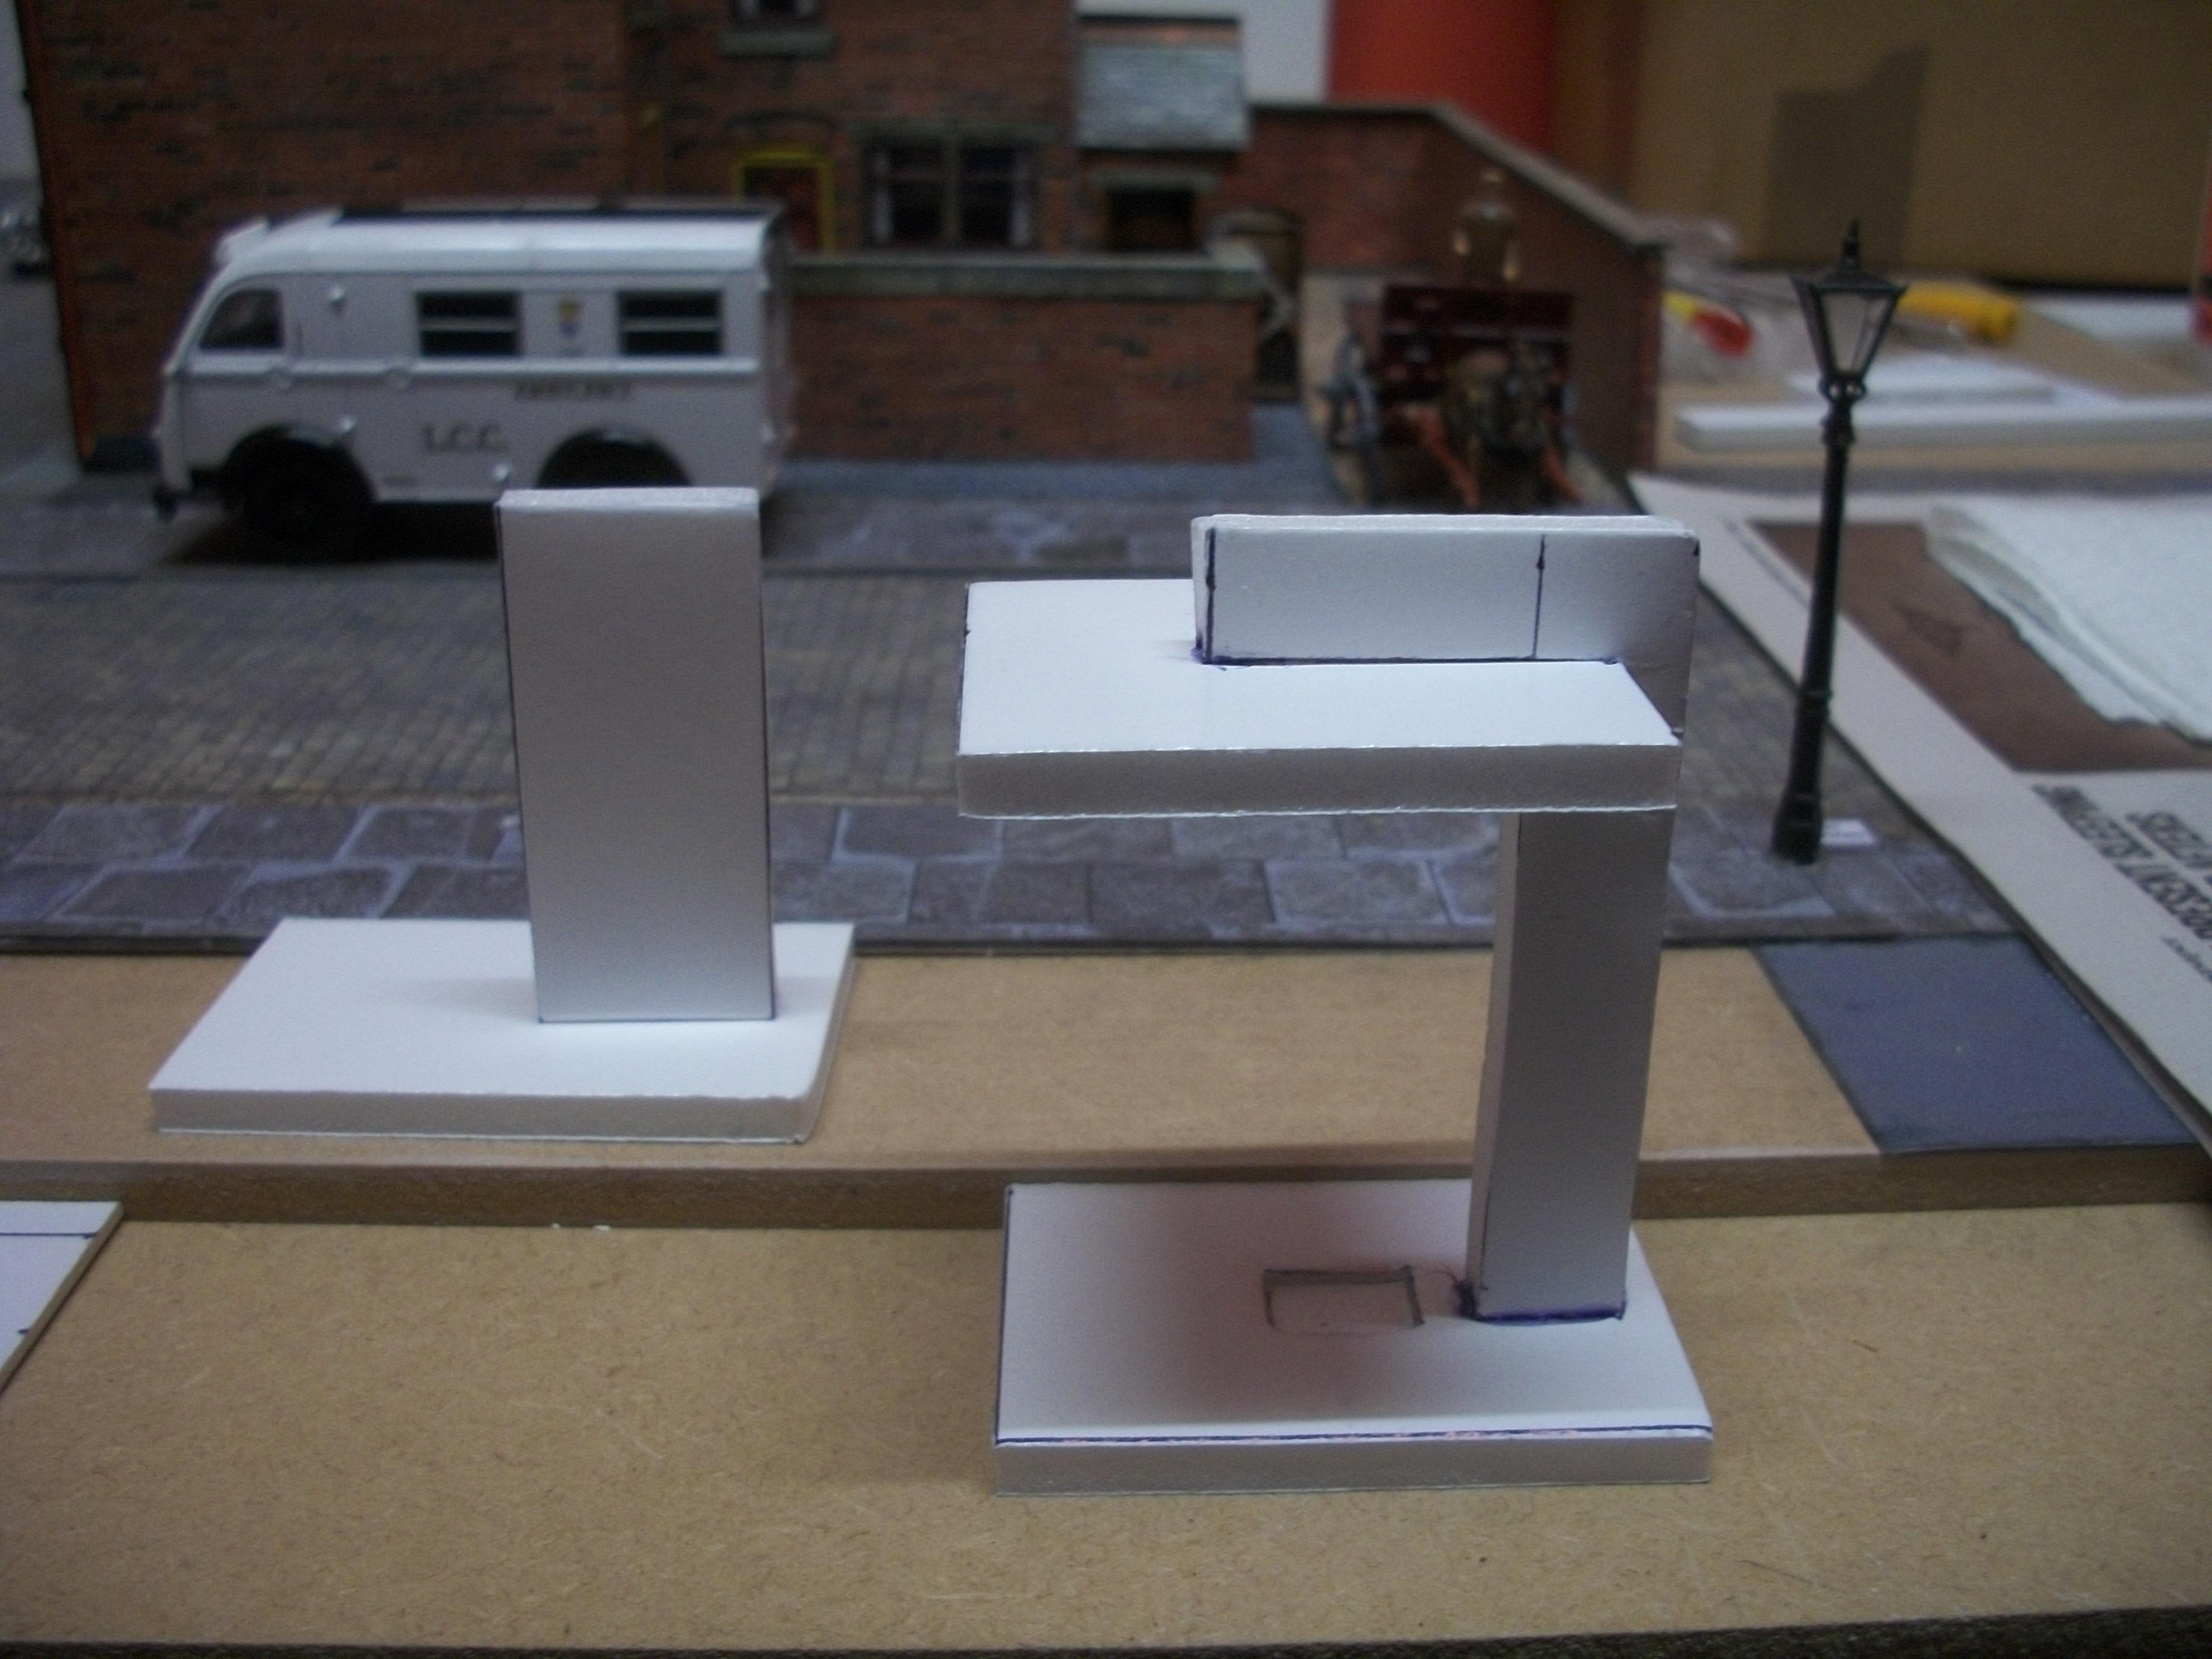
High praise indeed, Tom !........ Most of Wednesday was taken up with scratch building the petrol pump concrete island ( gas pump ). This is constructed from pieces of foamboard ( foam core if you like ), and I tested during the process to make sure that the super glue and also the Clotted Cream water based paint would not react with the internal foam core in a bad way. The diecast gas pump fits nicely under the canopy of the island, and there is a ' No Smoking ' sign to put on later. The small model island is now painted and drying overnight. My intention had been to use either PVA glue or the hot glue gun, but I decided to be brave and used super glue. The fact that it sets so fast usually makes me nervous, and I fumble with these old fingers if things start to go wrong, such as lining two parts up straight. David
-
Many thanks, JT........ there is more to come...... watch this space! David
-
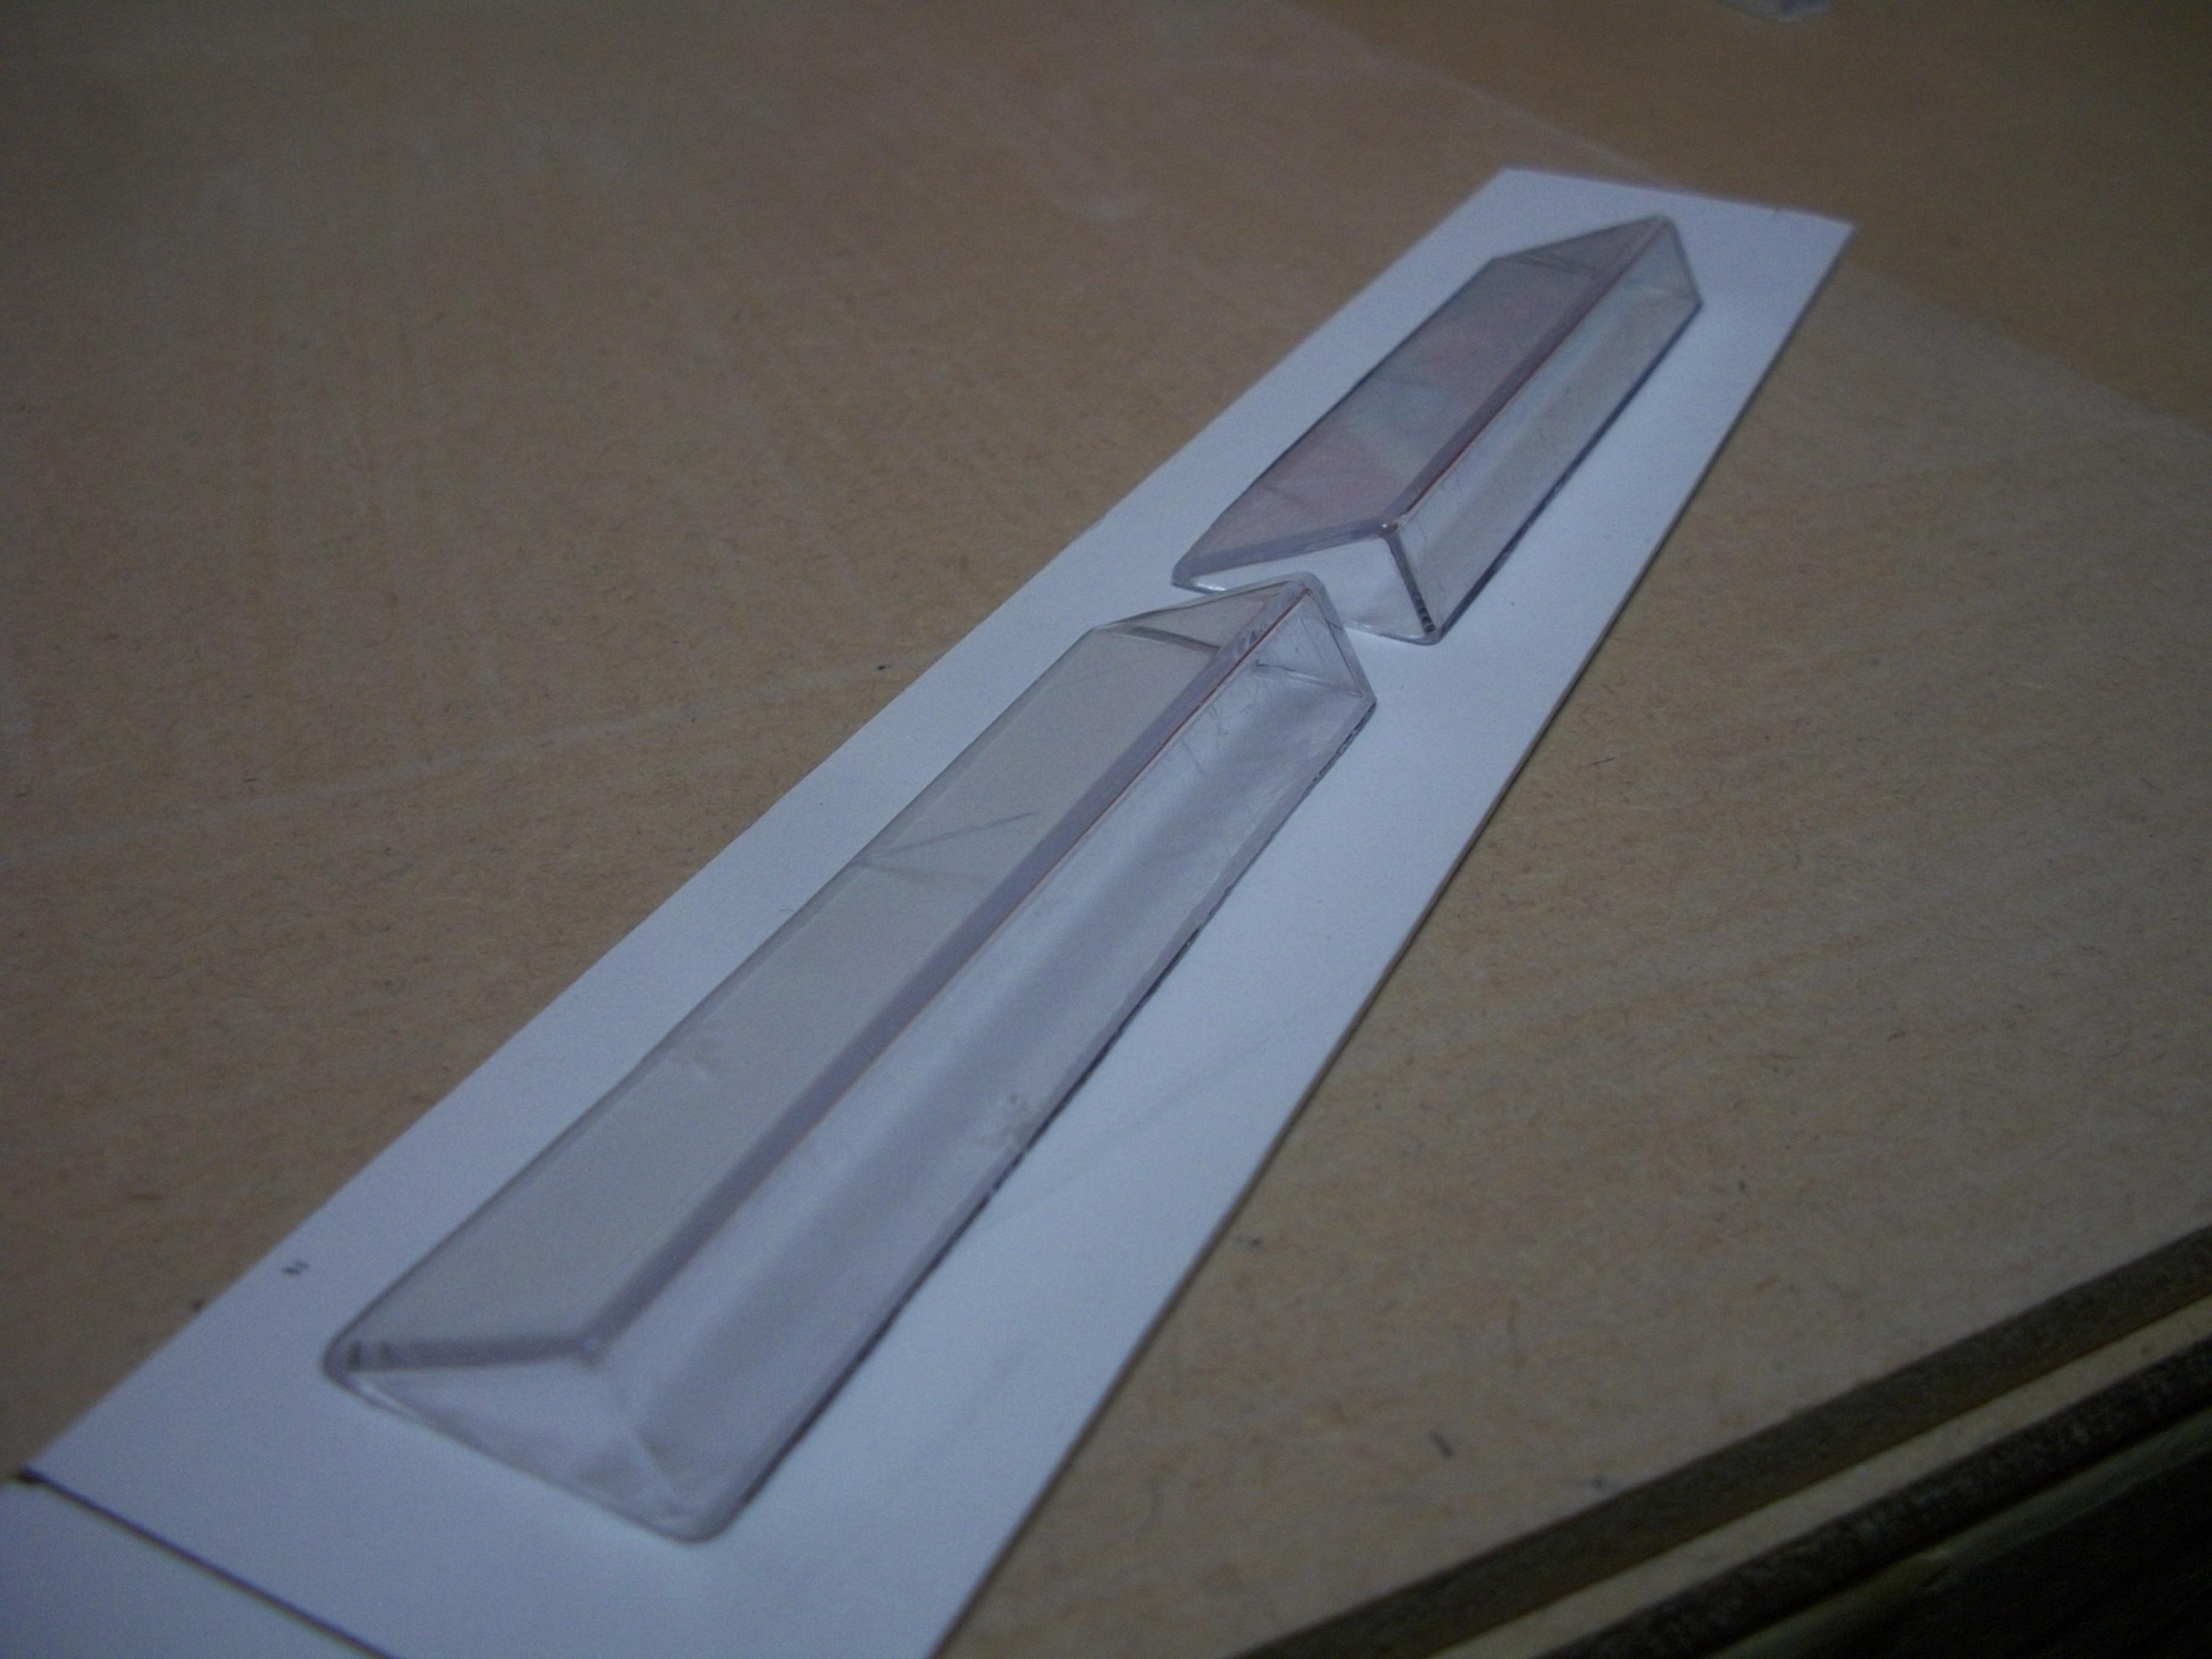
Working on the two skylights for the upper roof ends, and I might be trying to be too clever for my own good! As you can see from the following photos, my idea is to saw off the ridged edges from the top of a display case, which will give me the correct profile for each skylight, if the front face is one centimetre and the rear face is two centimetres....... so far, the padsaw has proved to be the wrong tool for the job, while a junior hacksaw is better, but of course it cannot complete the cut all the way down the display case side. Need to get a coping saw to have a go at the real display case, as I am practising on a smaller case to get this right. You can see from the photo of the Standard-Triumph service depot how these skylights looked on the real factory building back in 1959. David
-
Looks like ' What's-his-name ' is having a coffee, and he doesn't look too busy ! ( nice shop, John ). David
-
Thanks very much, Pat....... and it is surprising what can be achieved with the 1:43 scale models. How marvellous it would be if it could be done in 1:24 scale, although such dioramas do take up a lot more space, as you well know. I could well have been an artist, or a poet or maybe an architect or car designer in a previous life, which would have been great! David
-
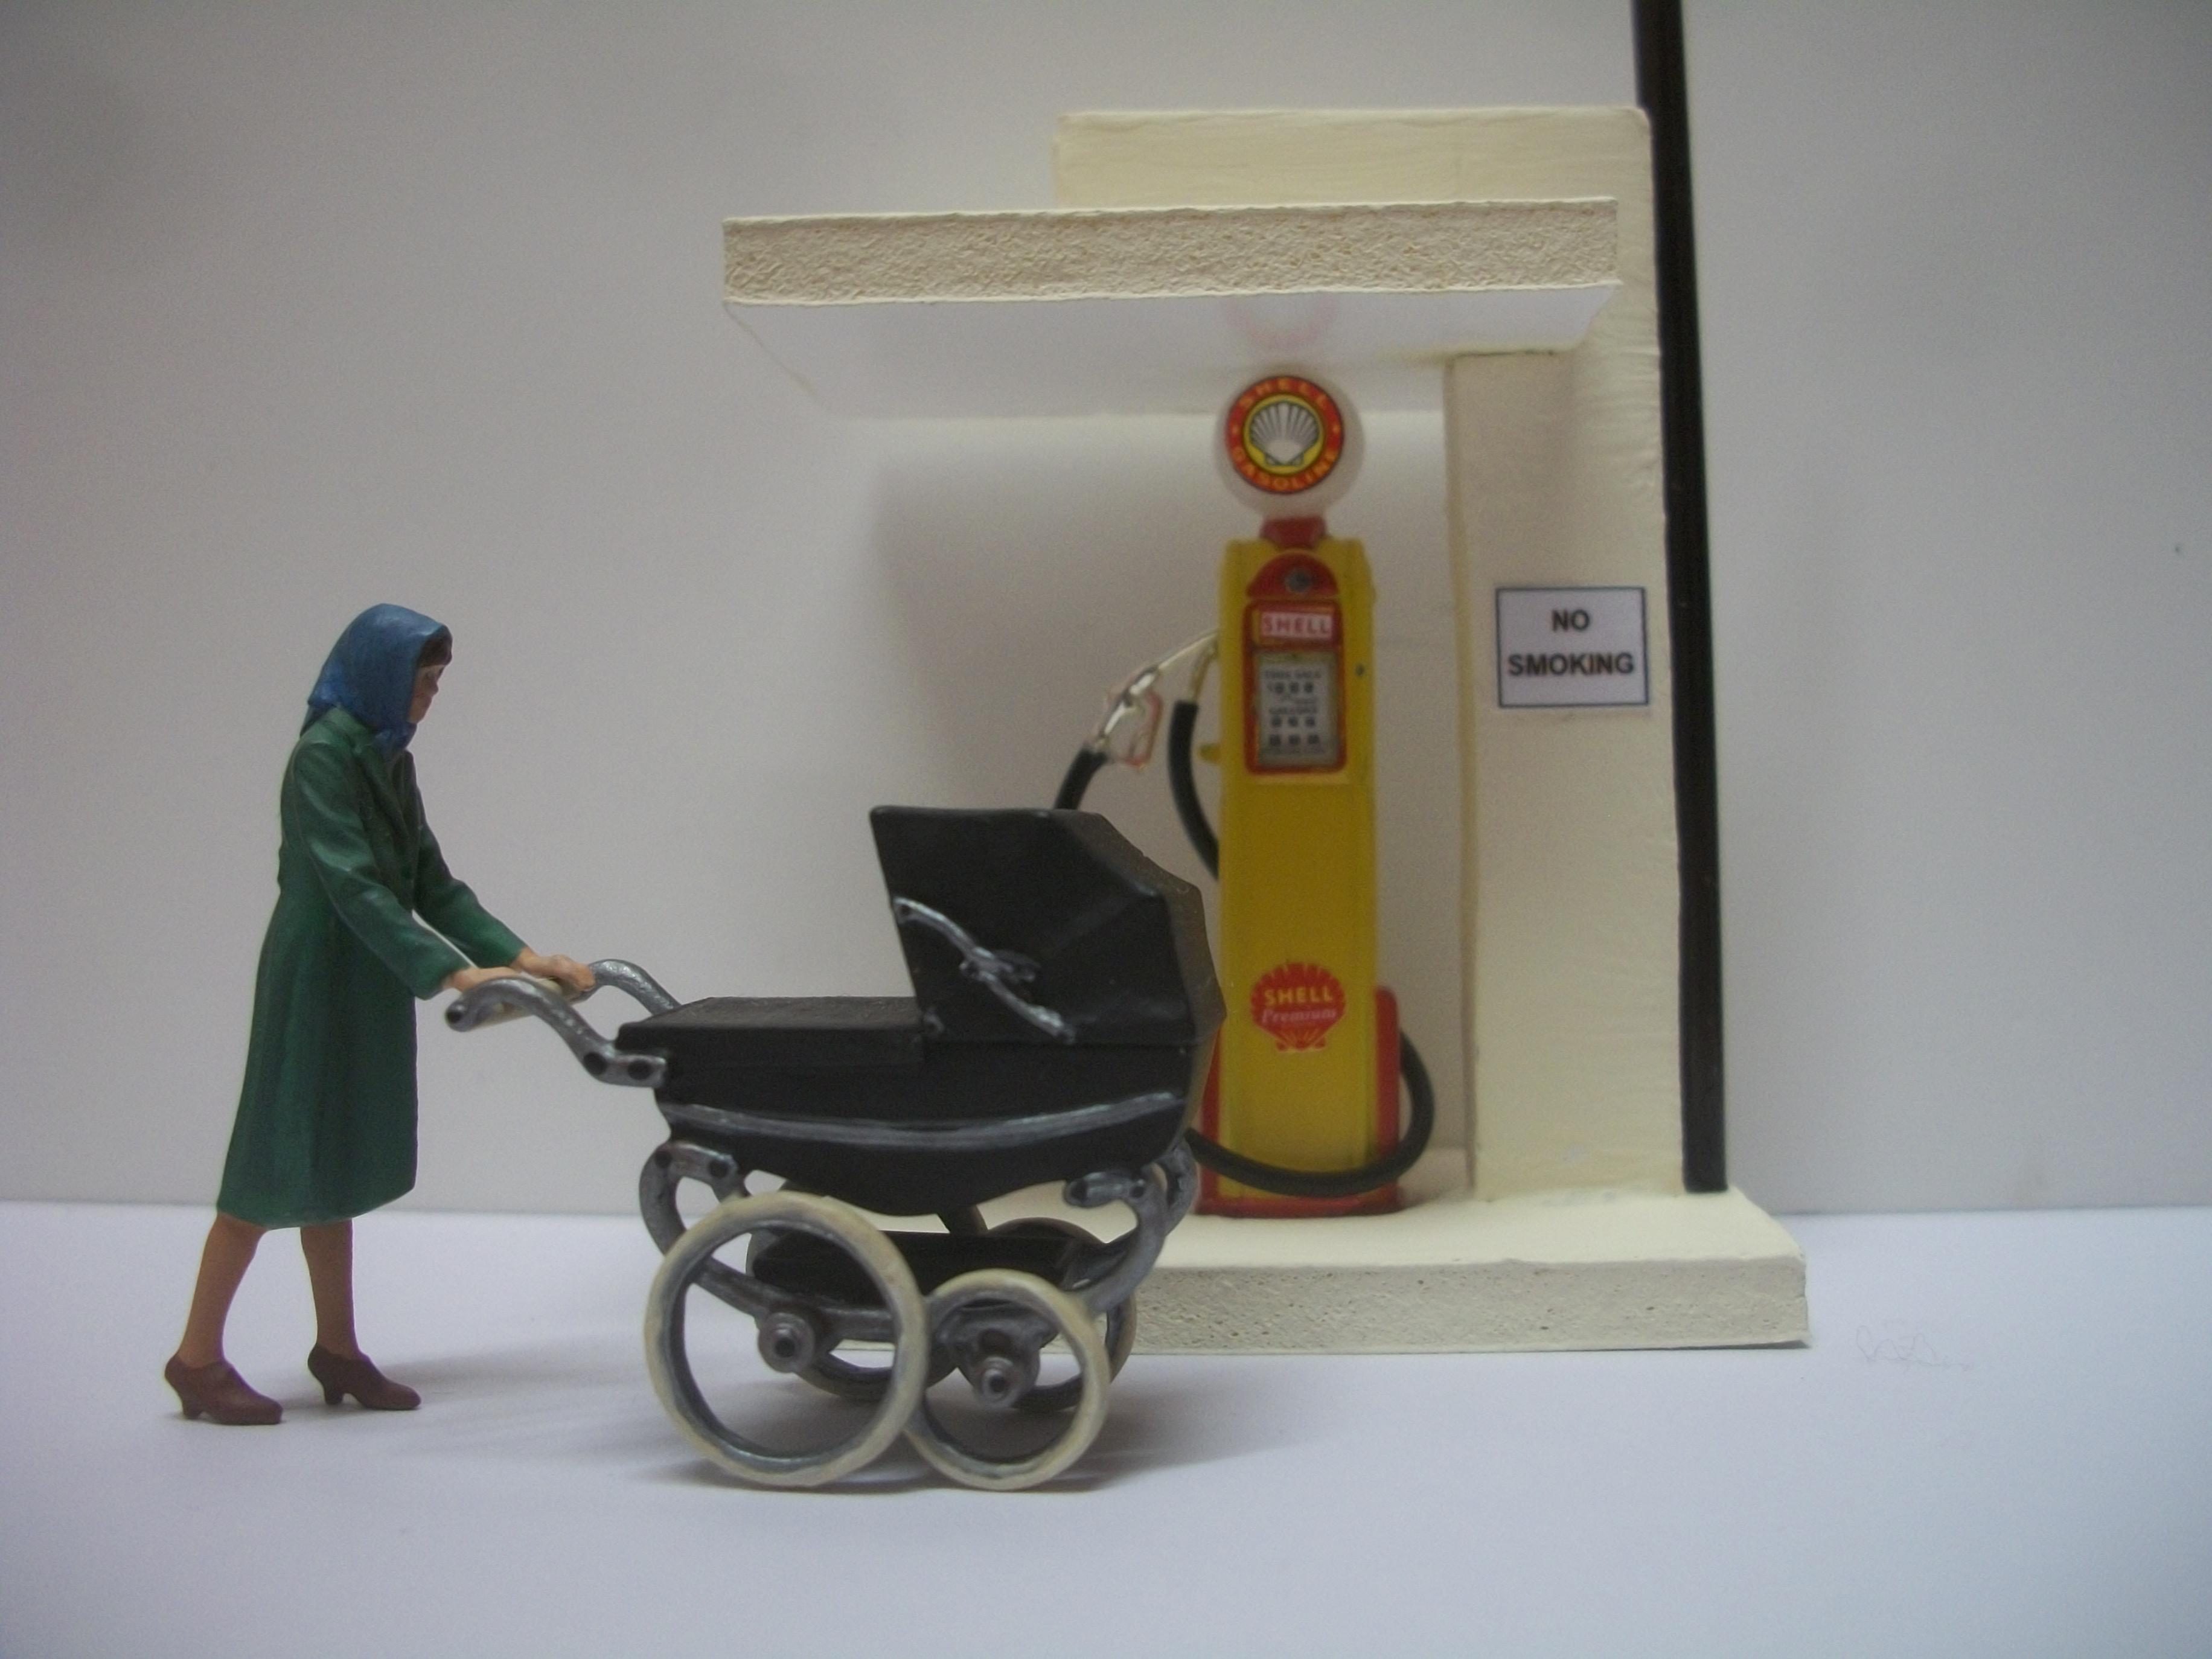
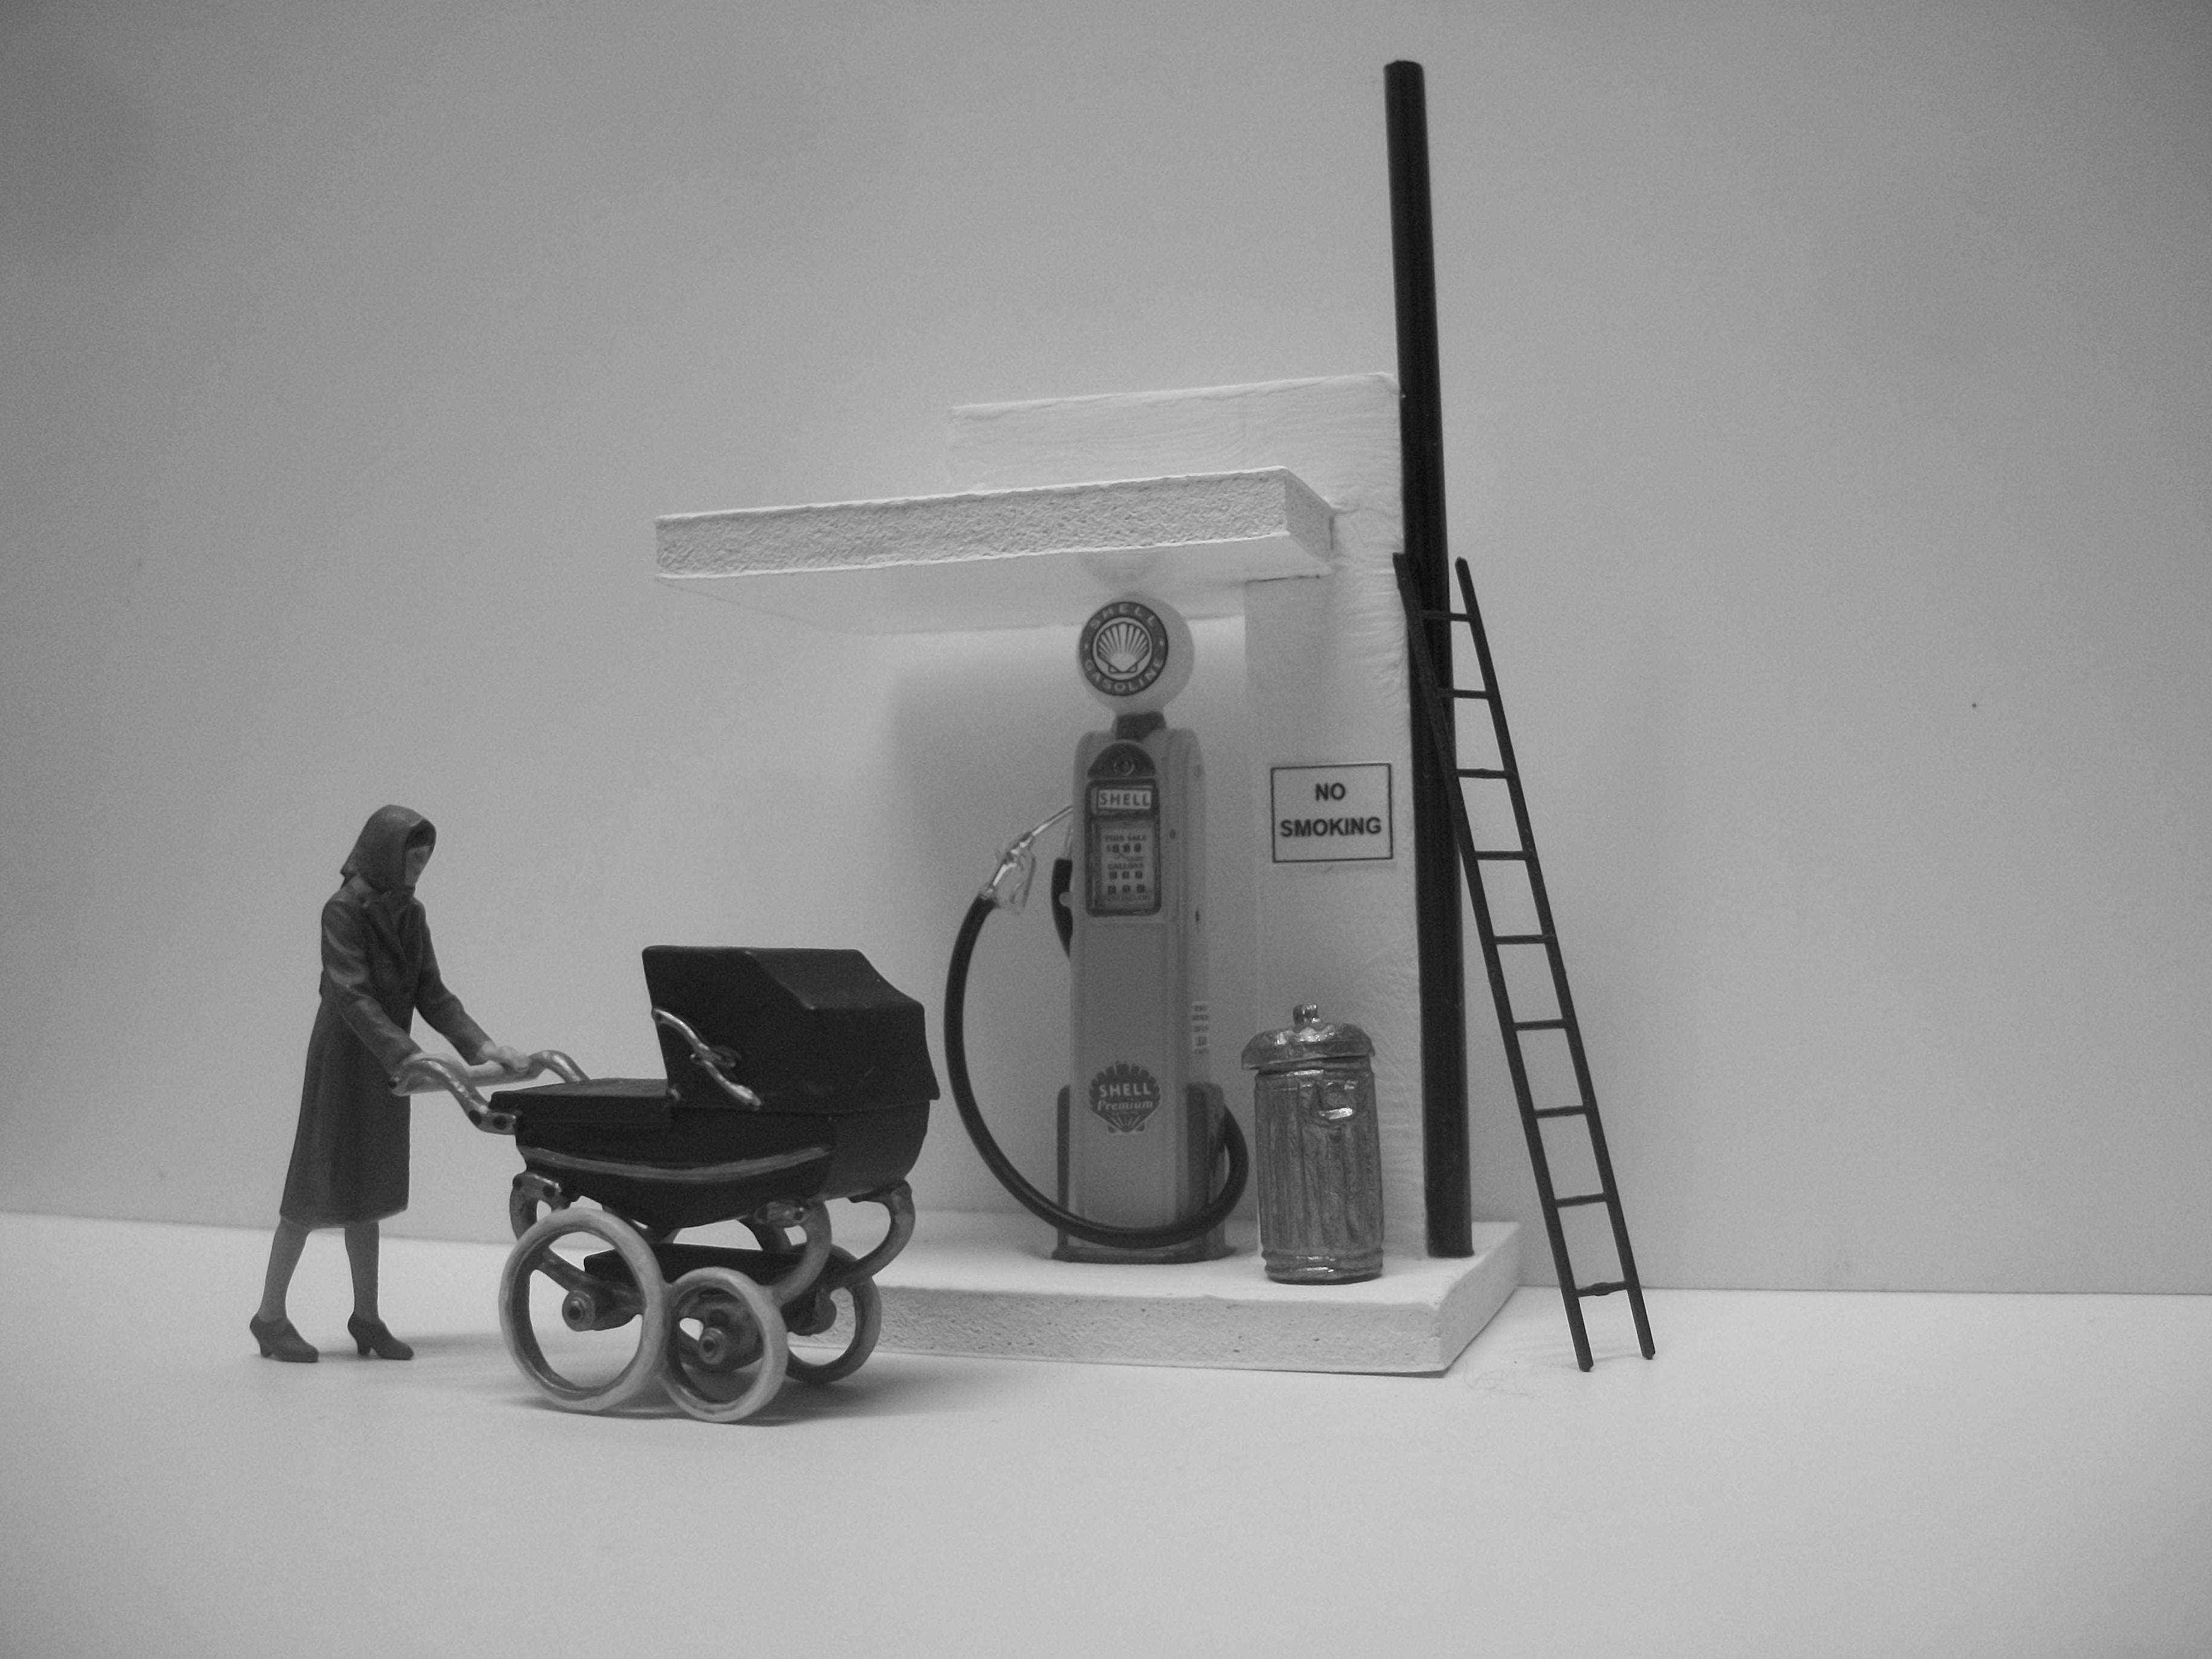
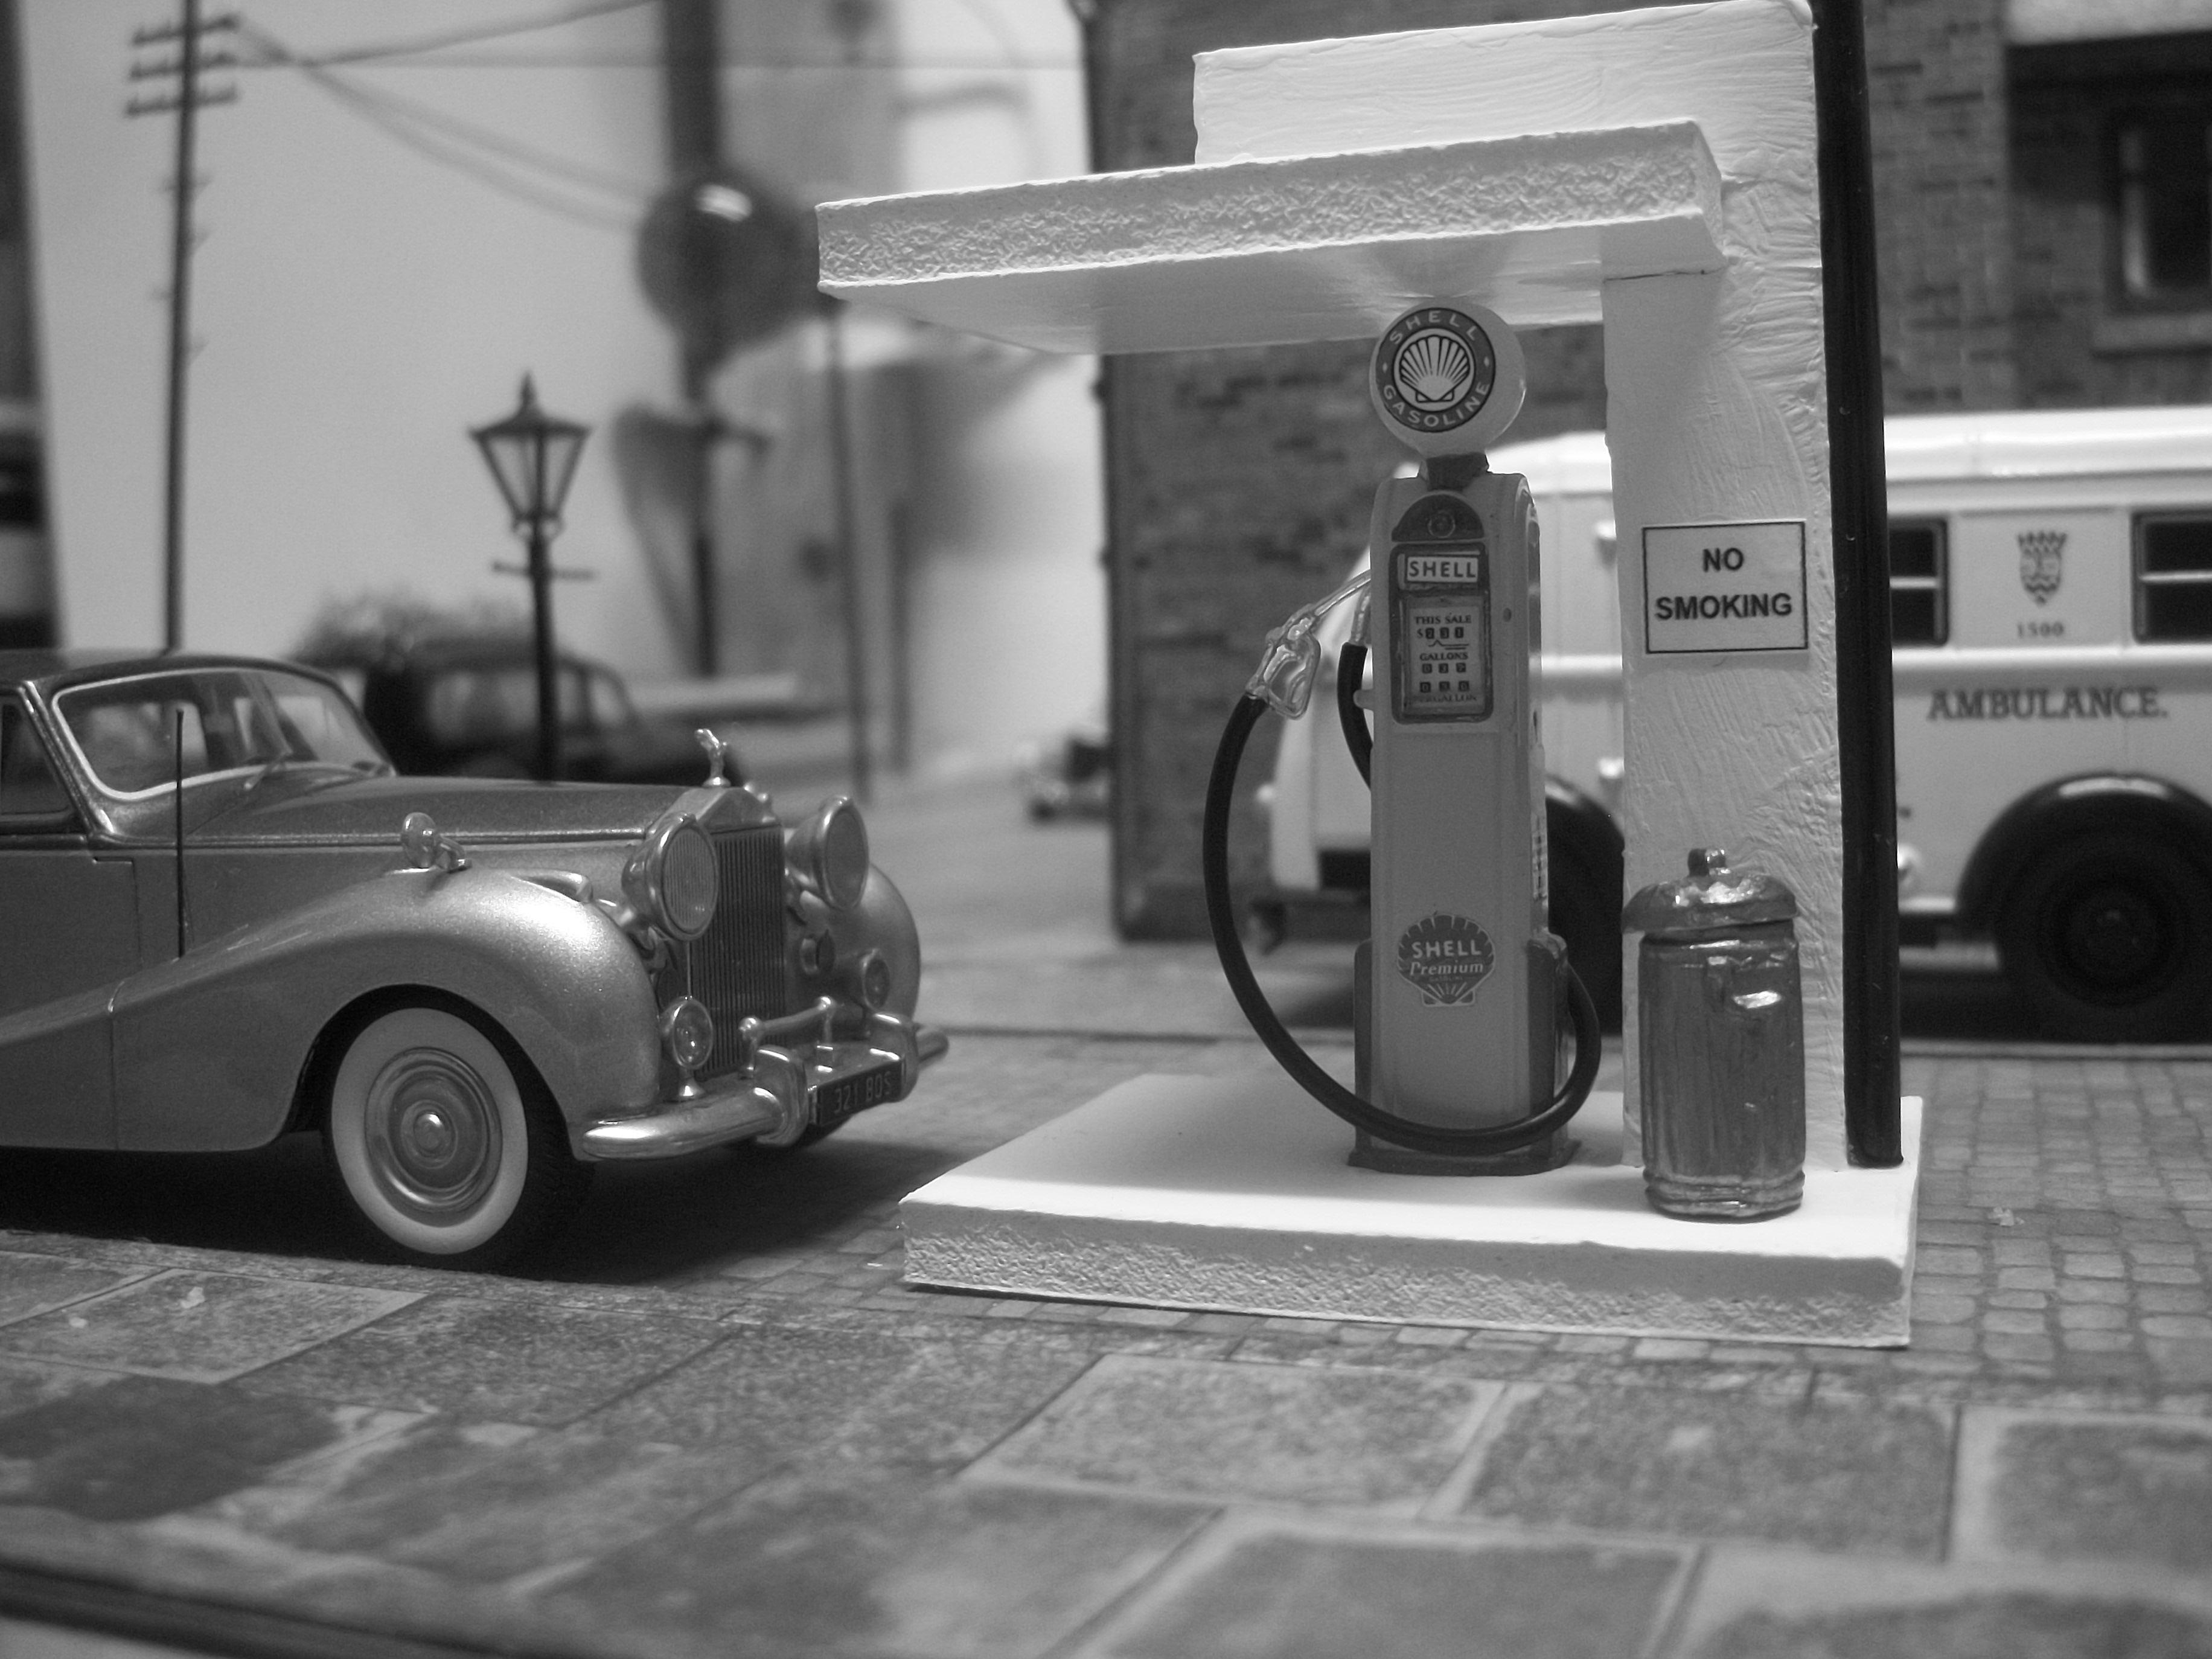
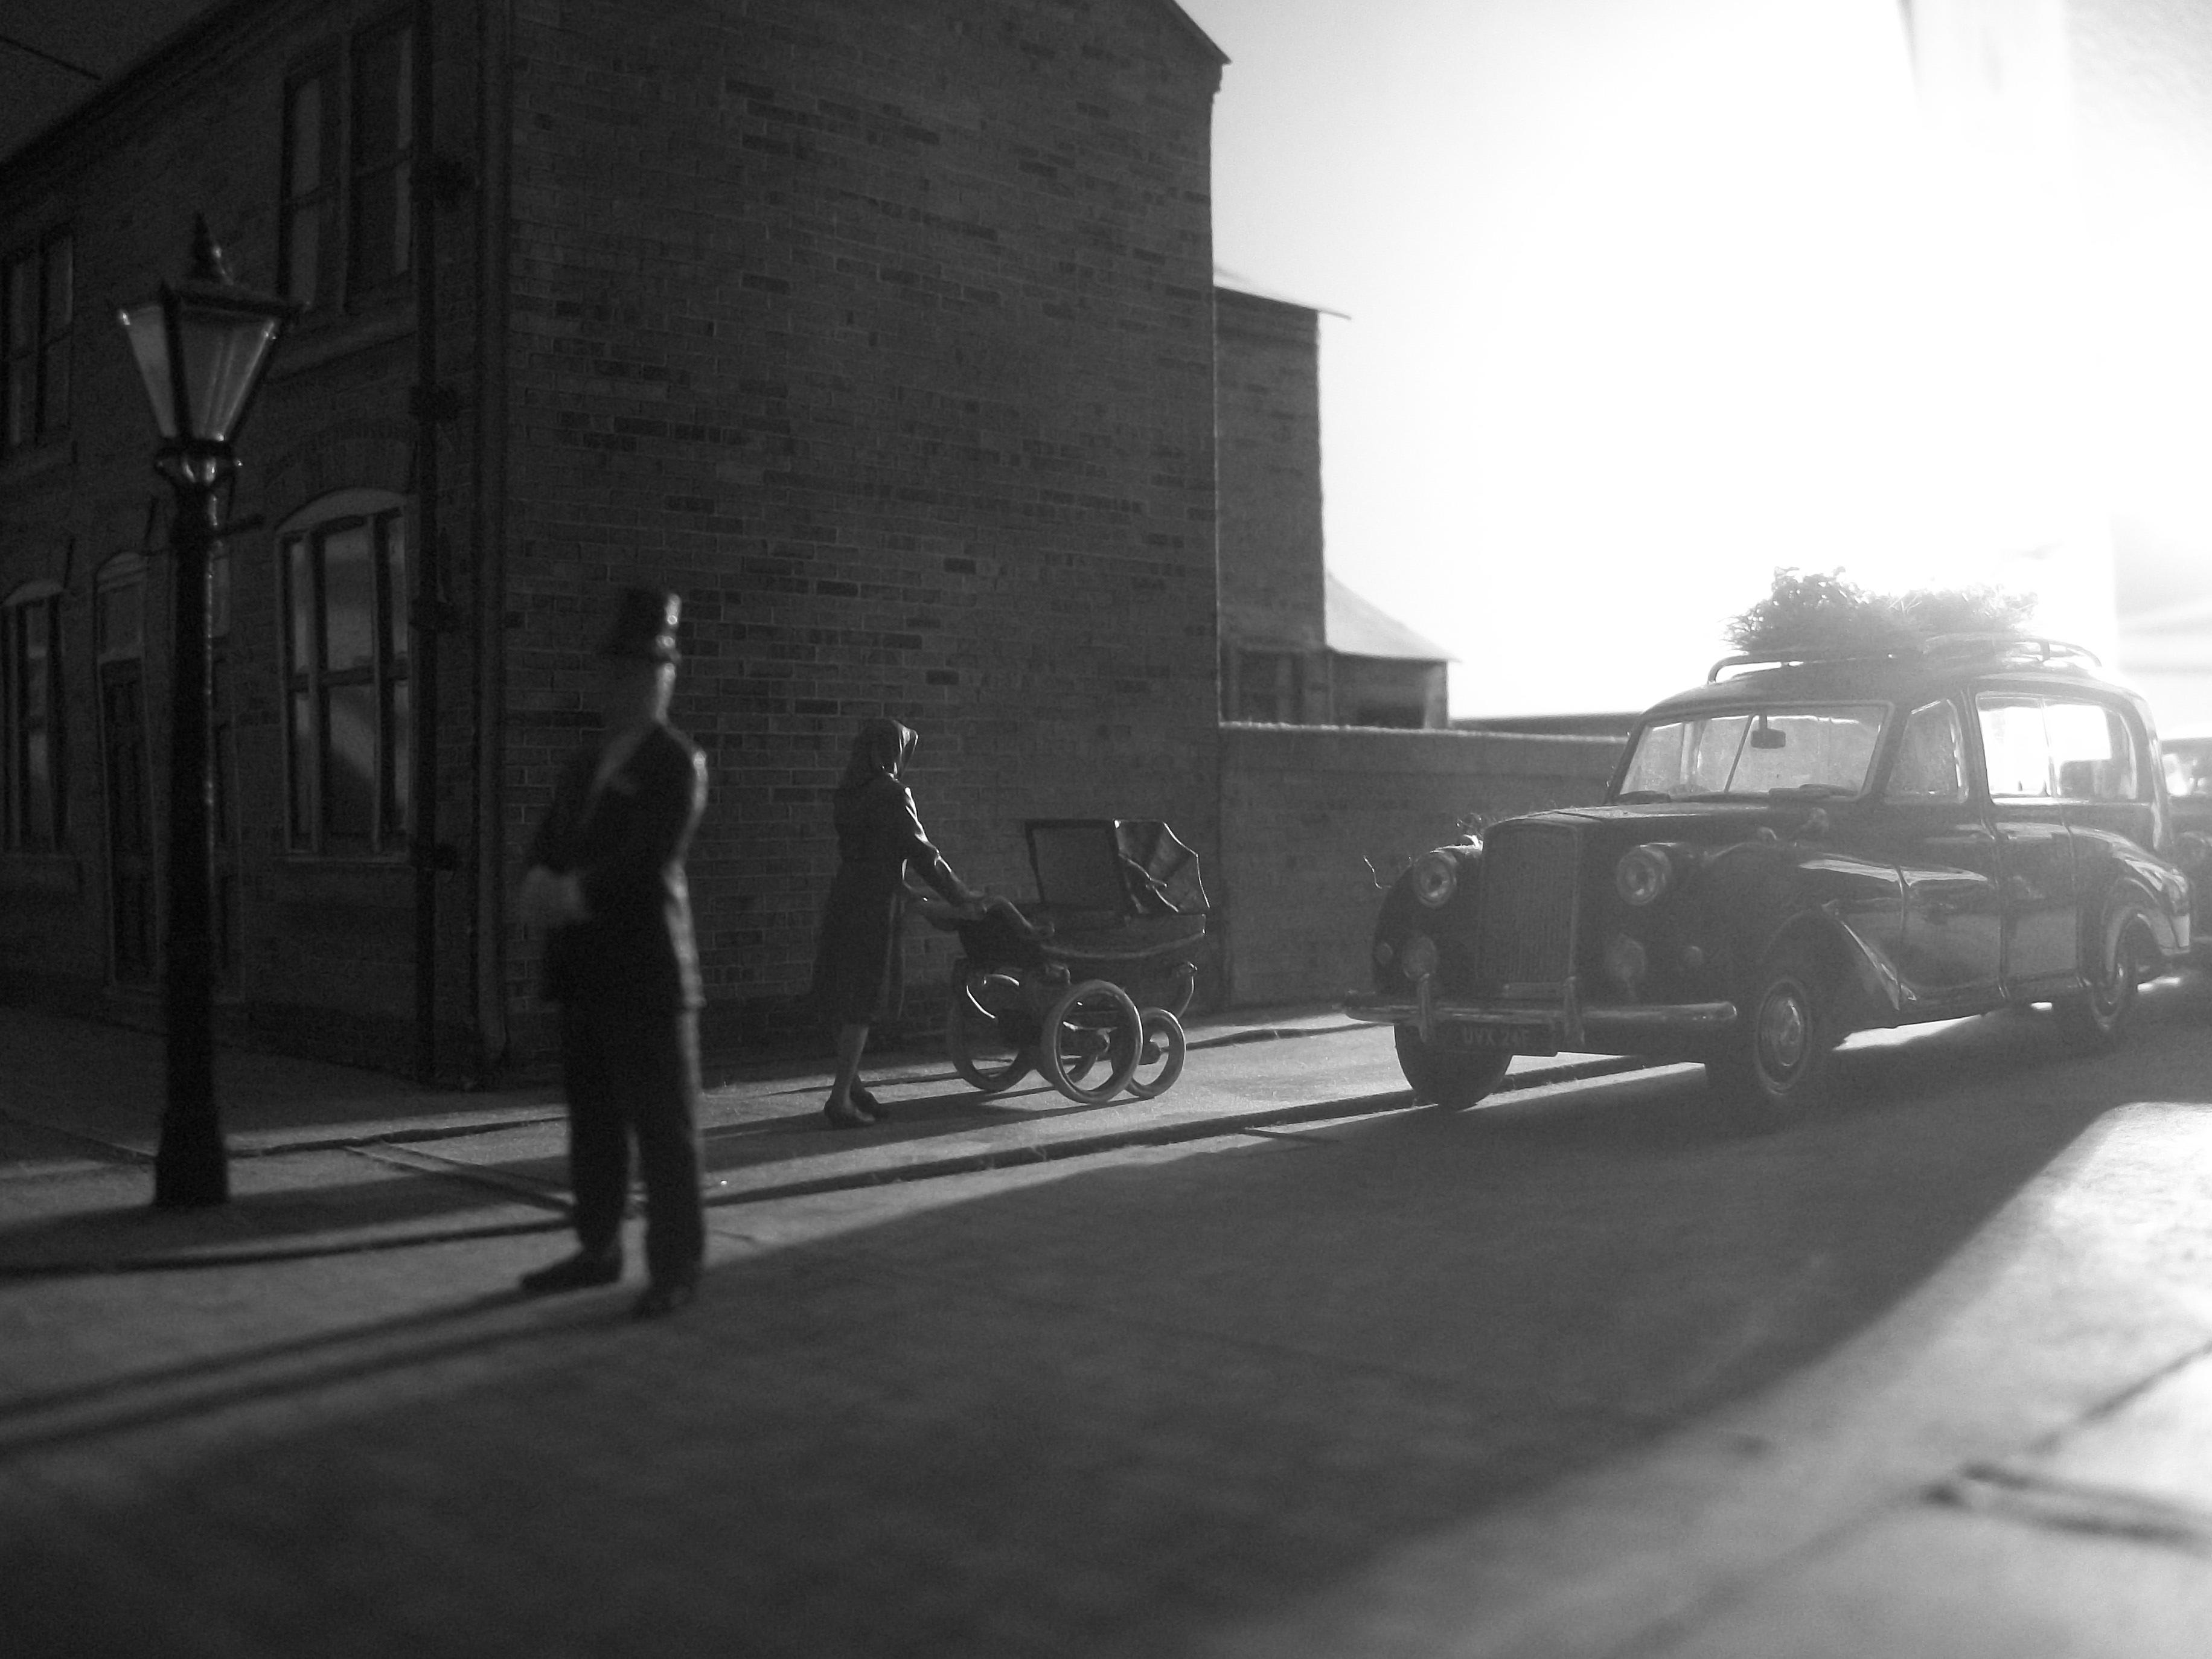
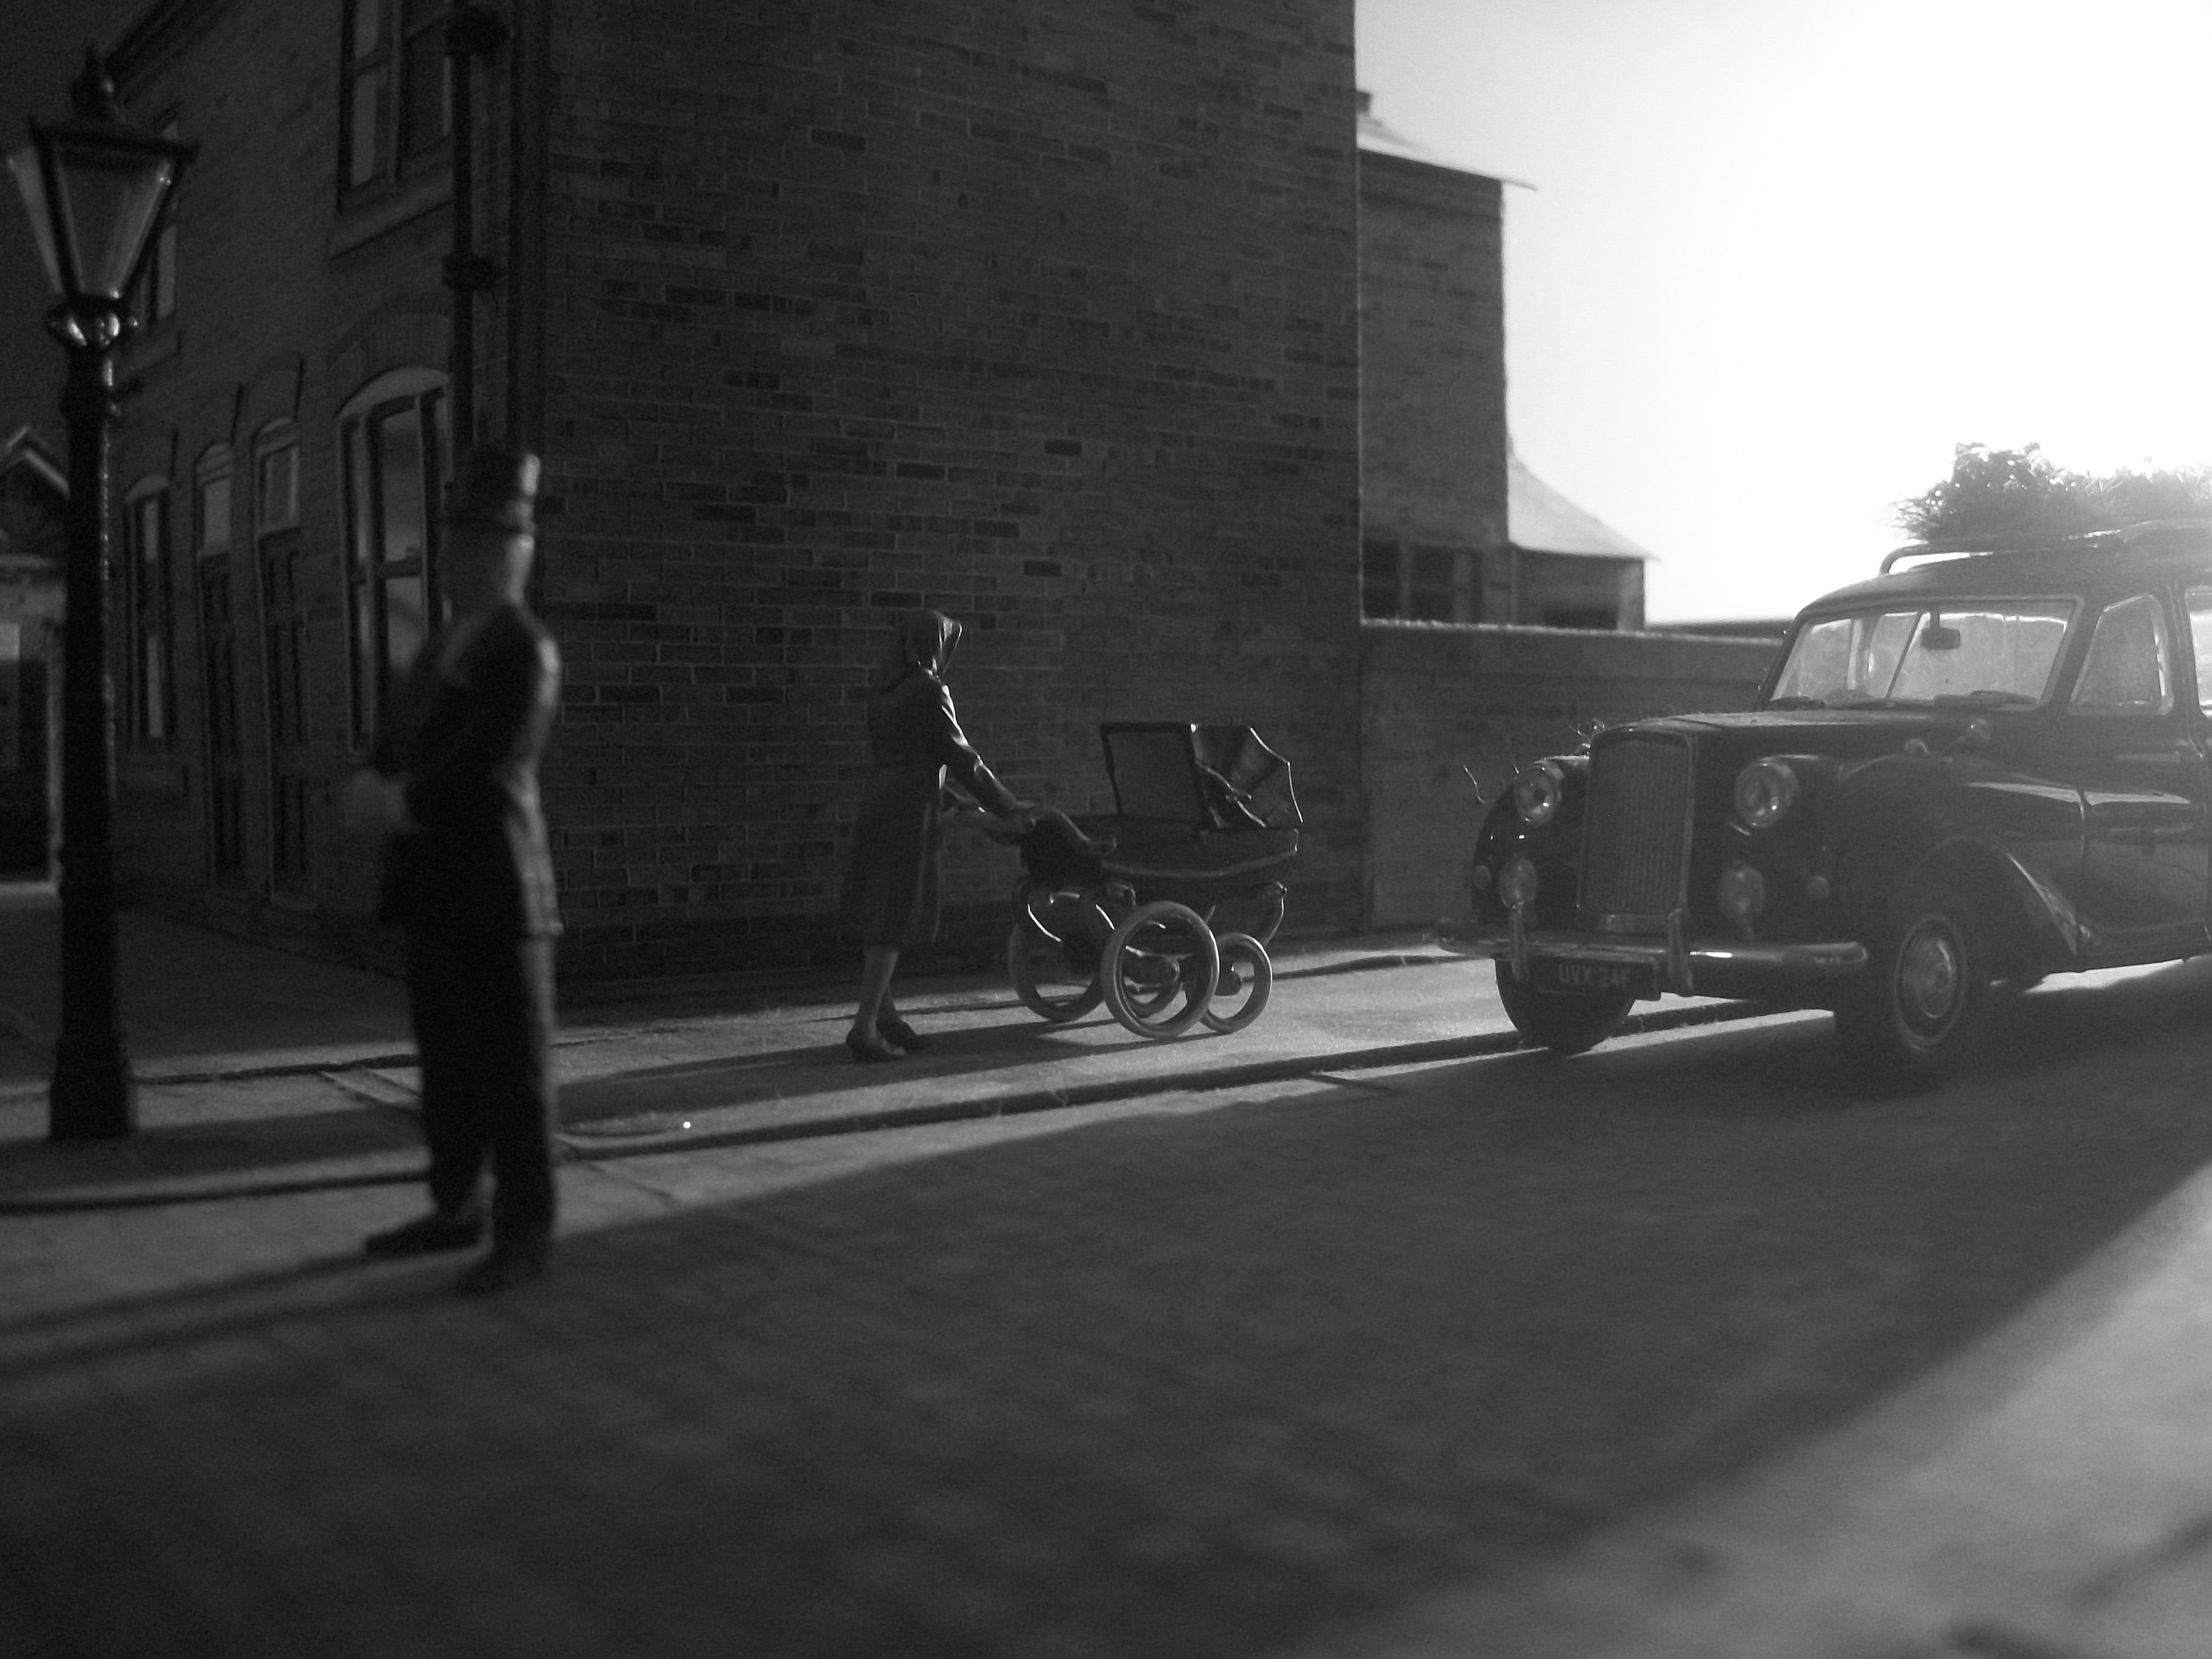
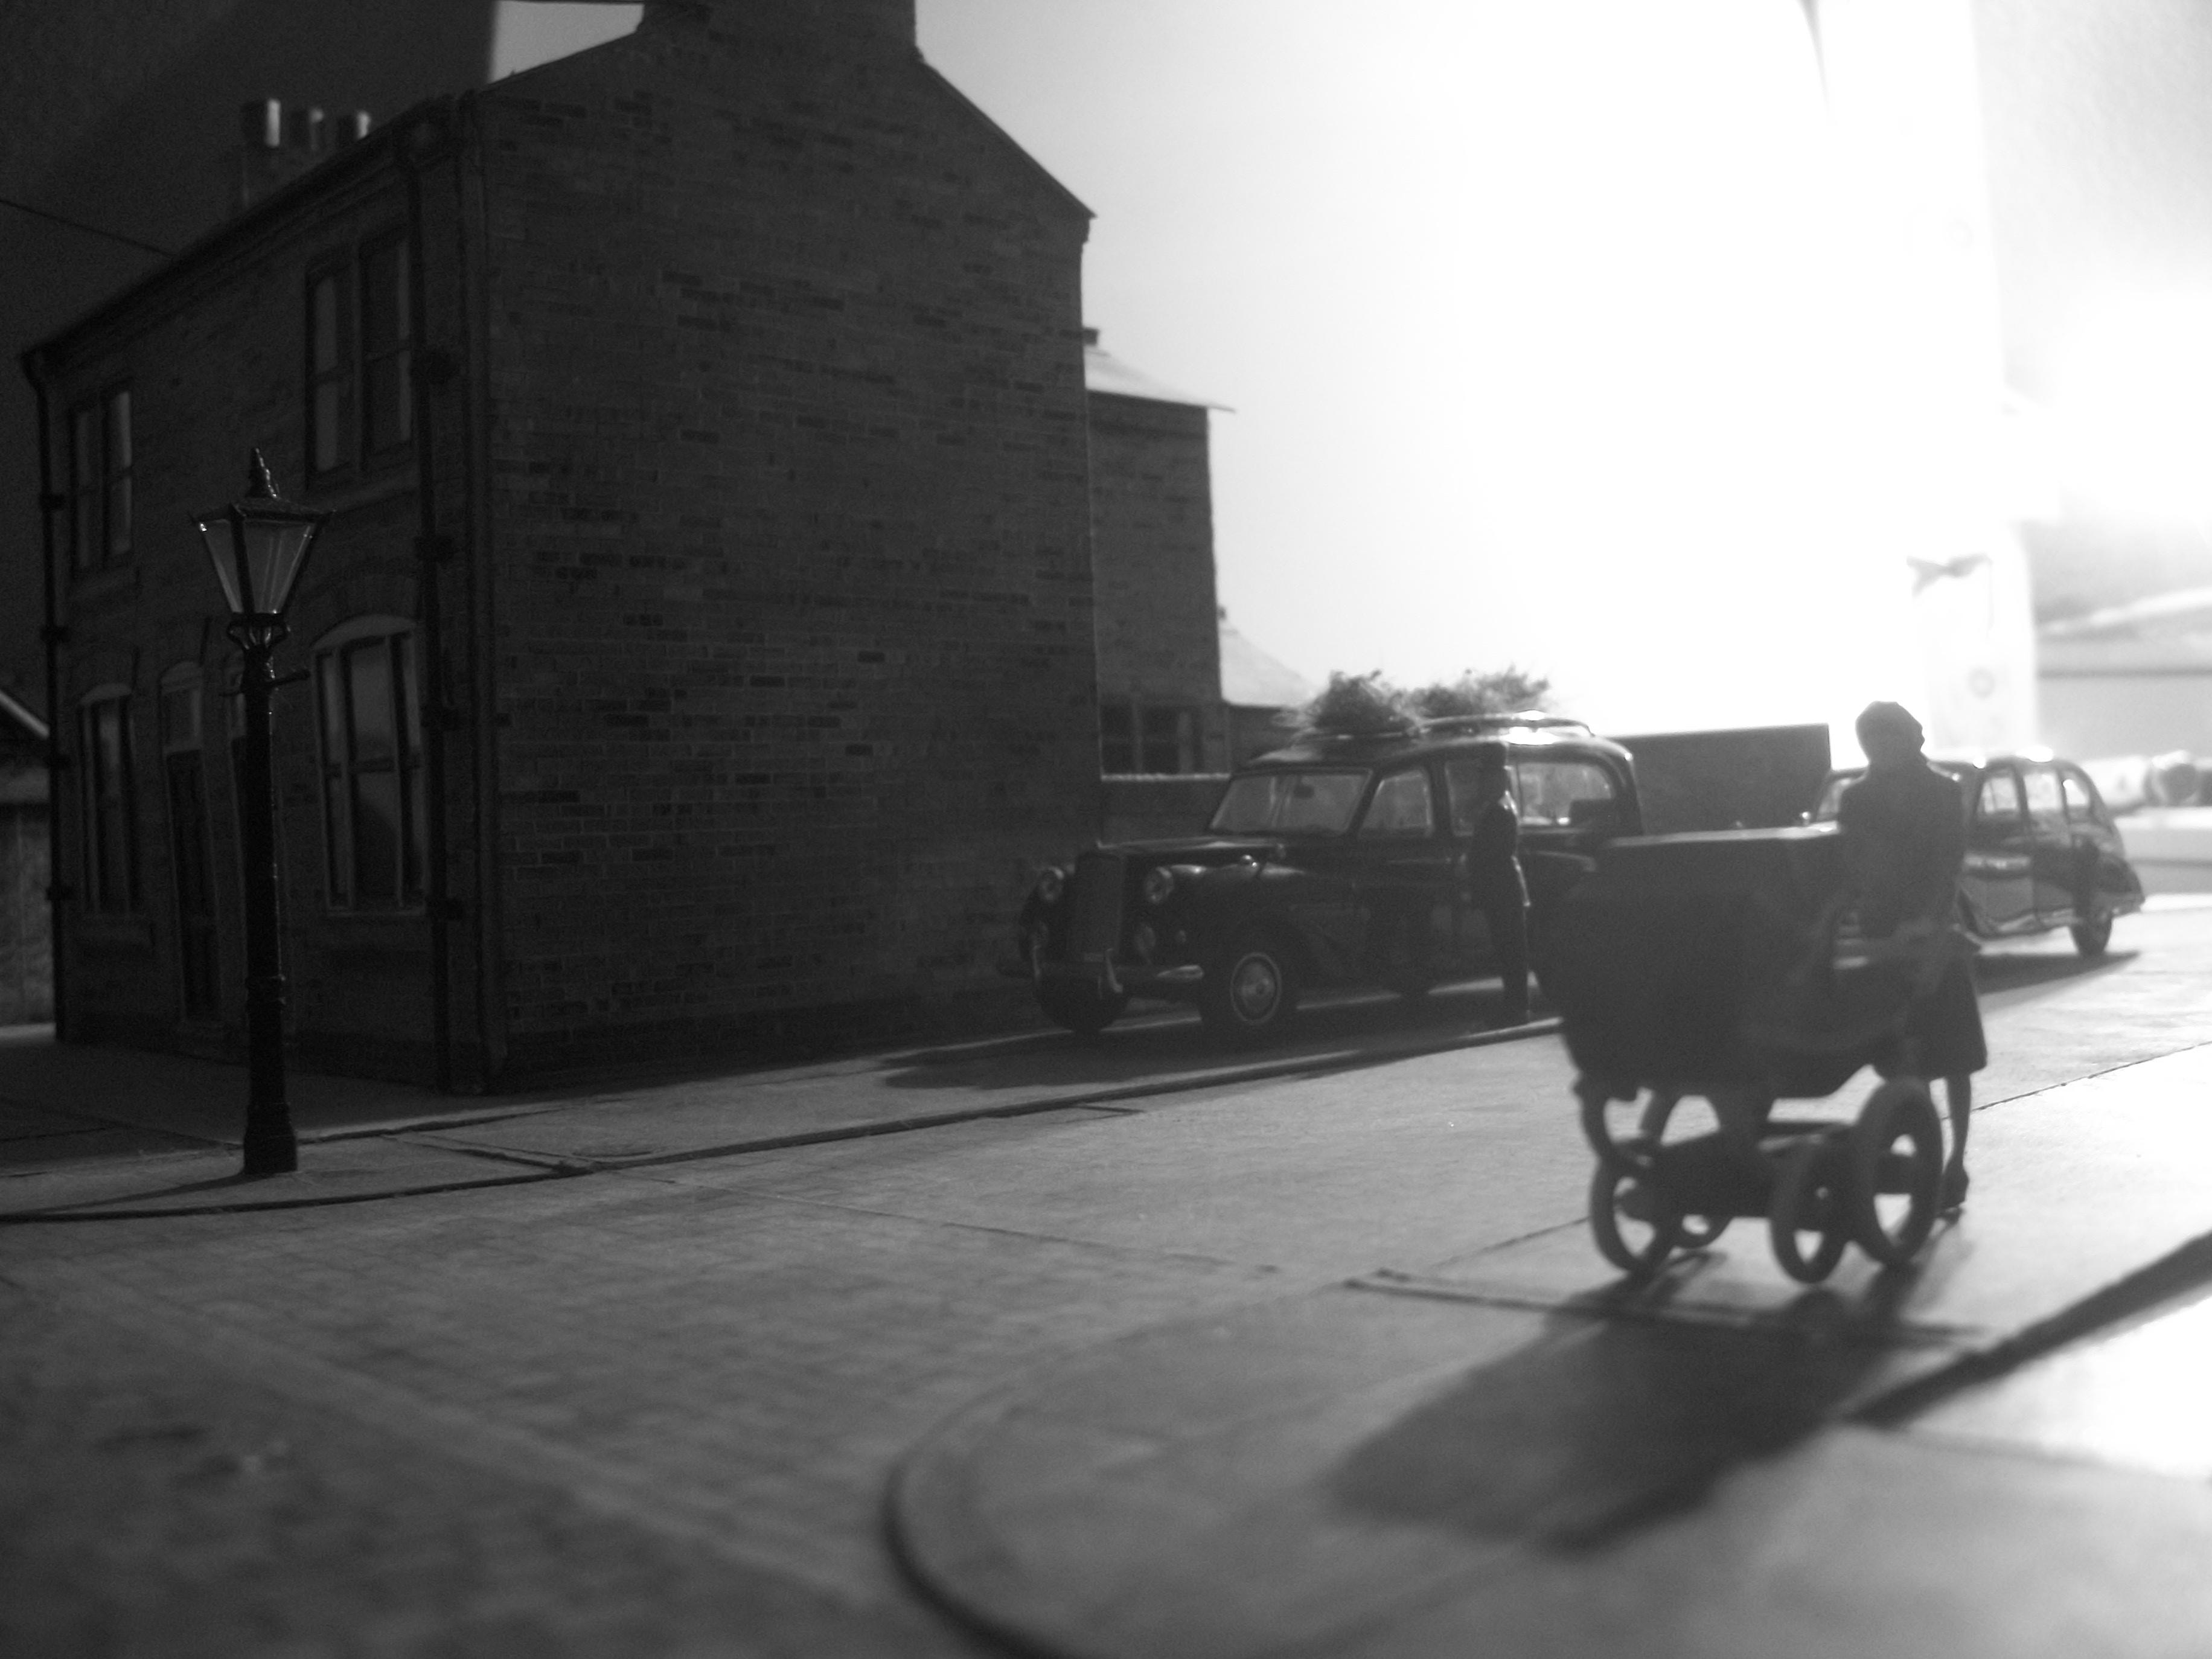
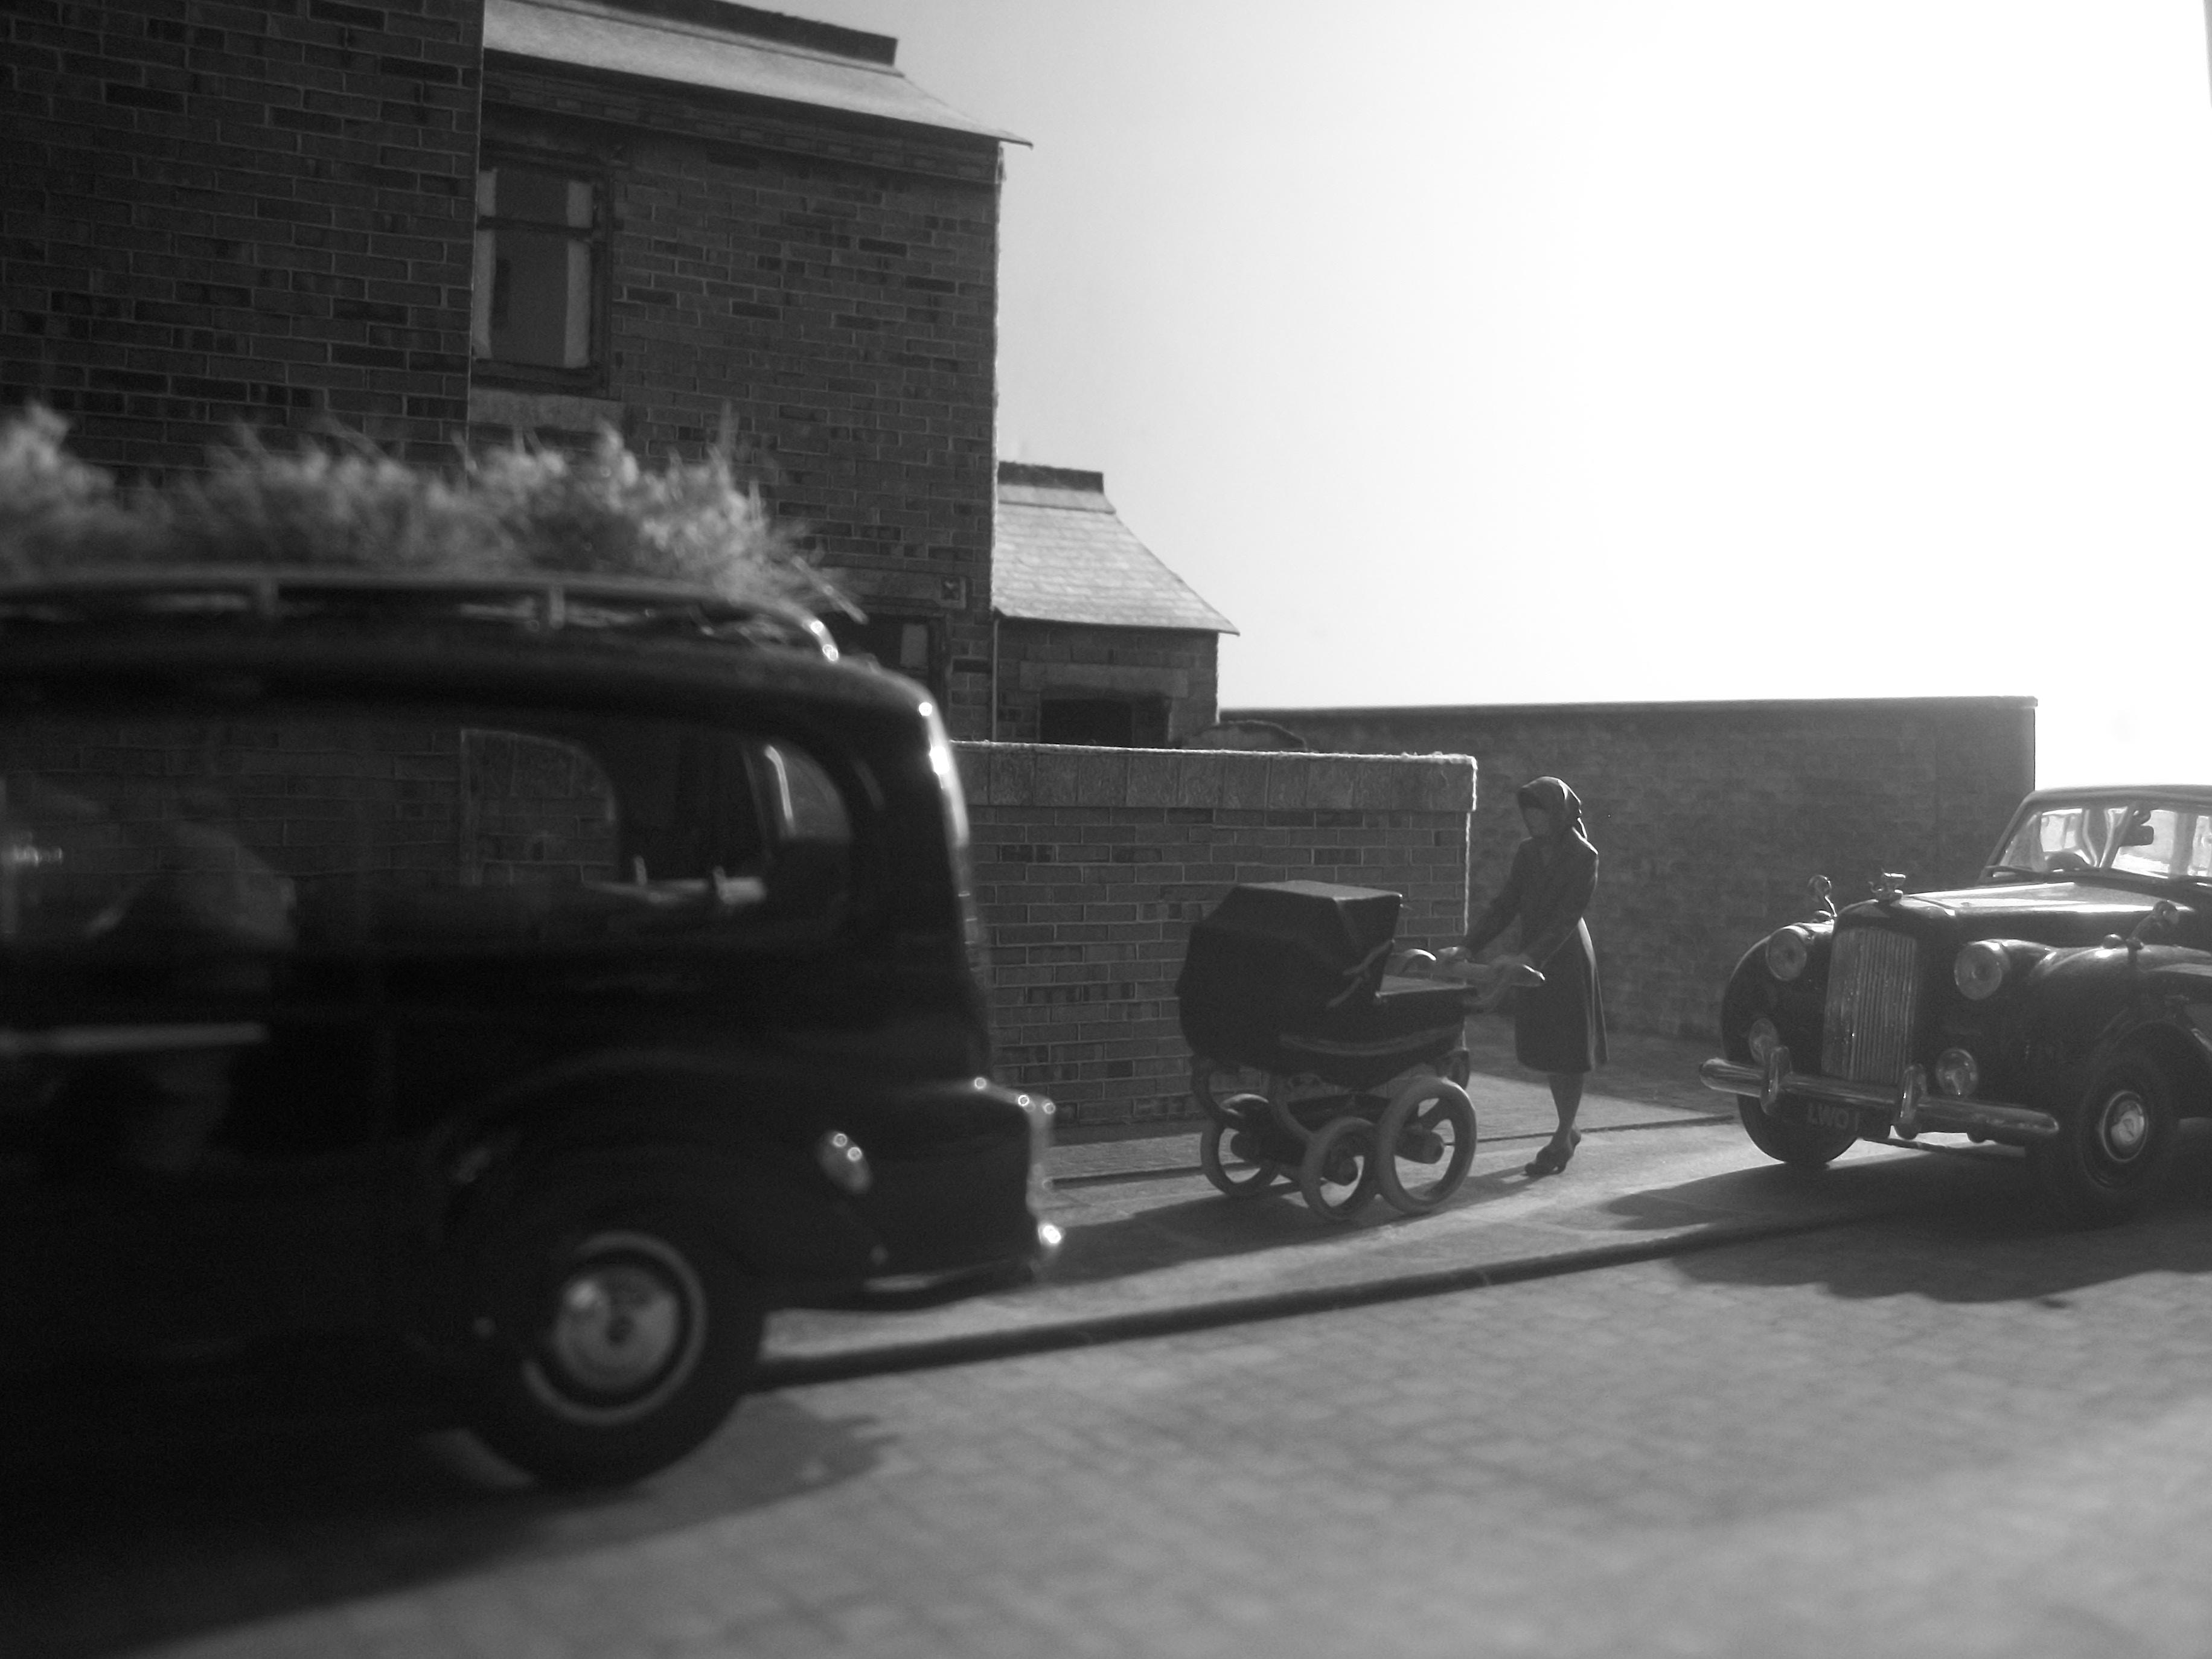
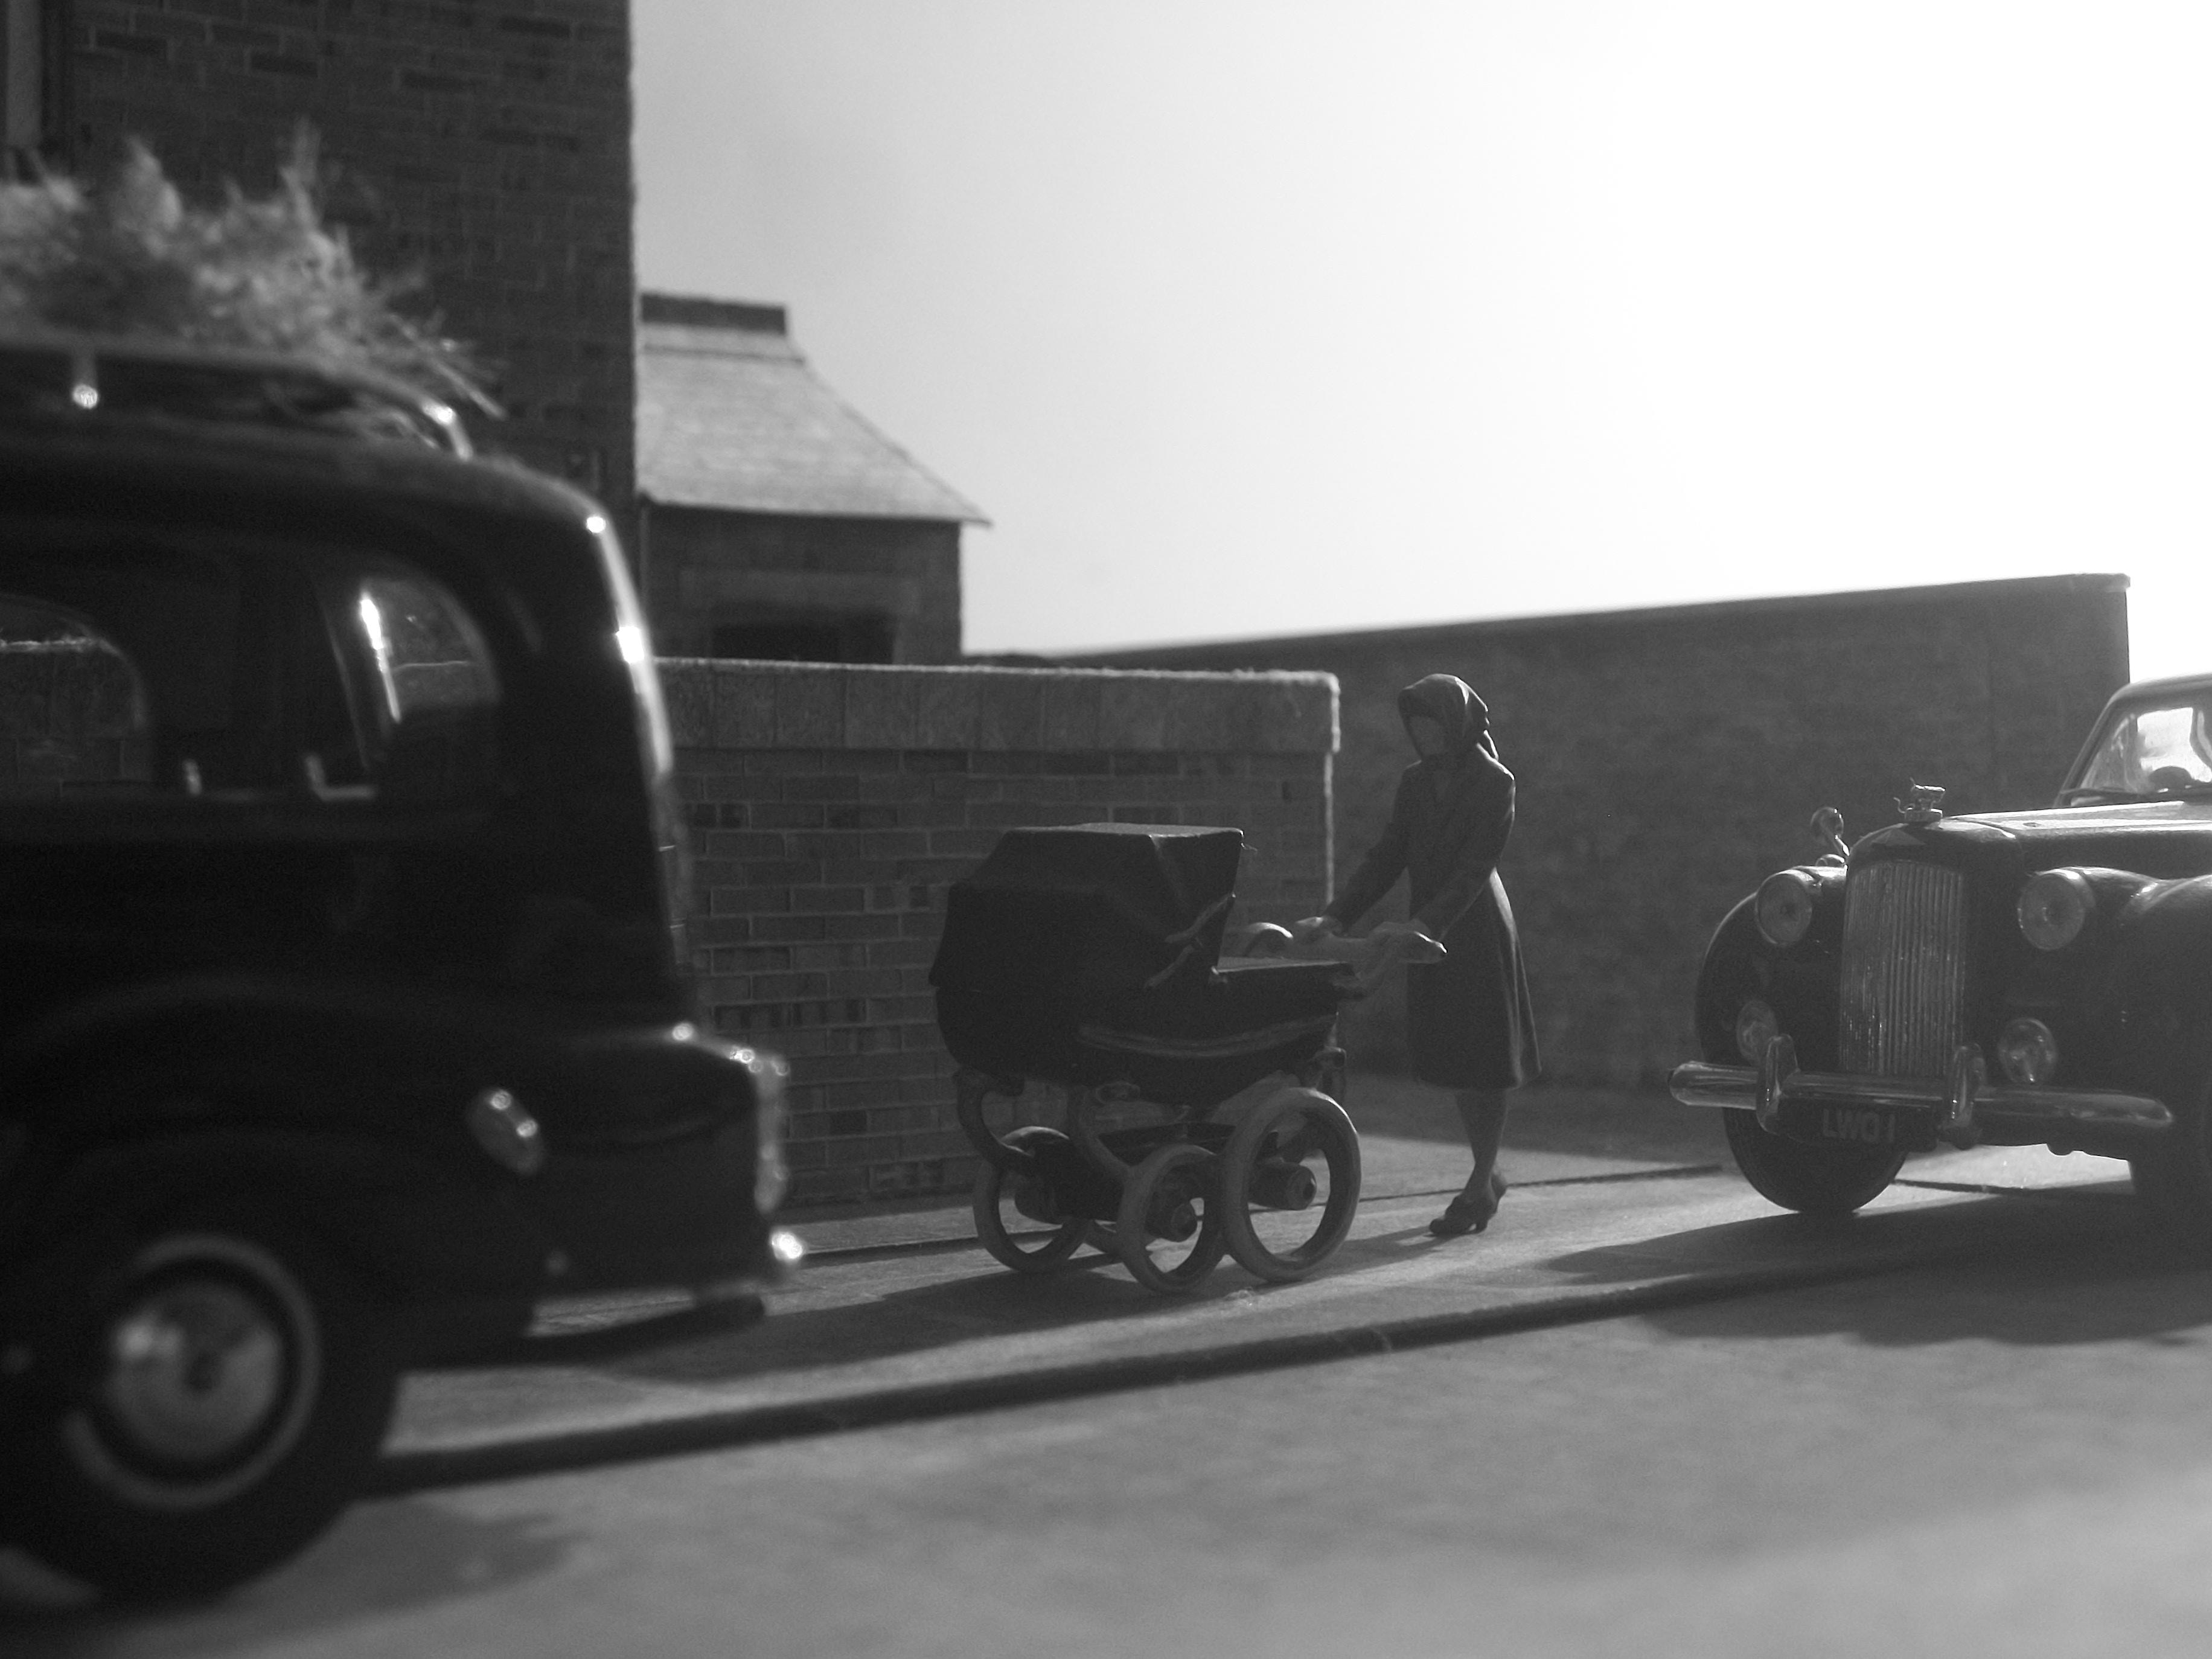
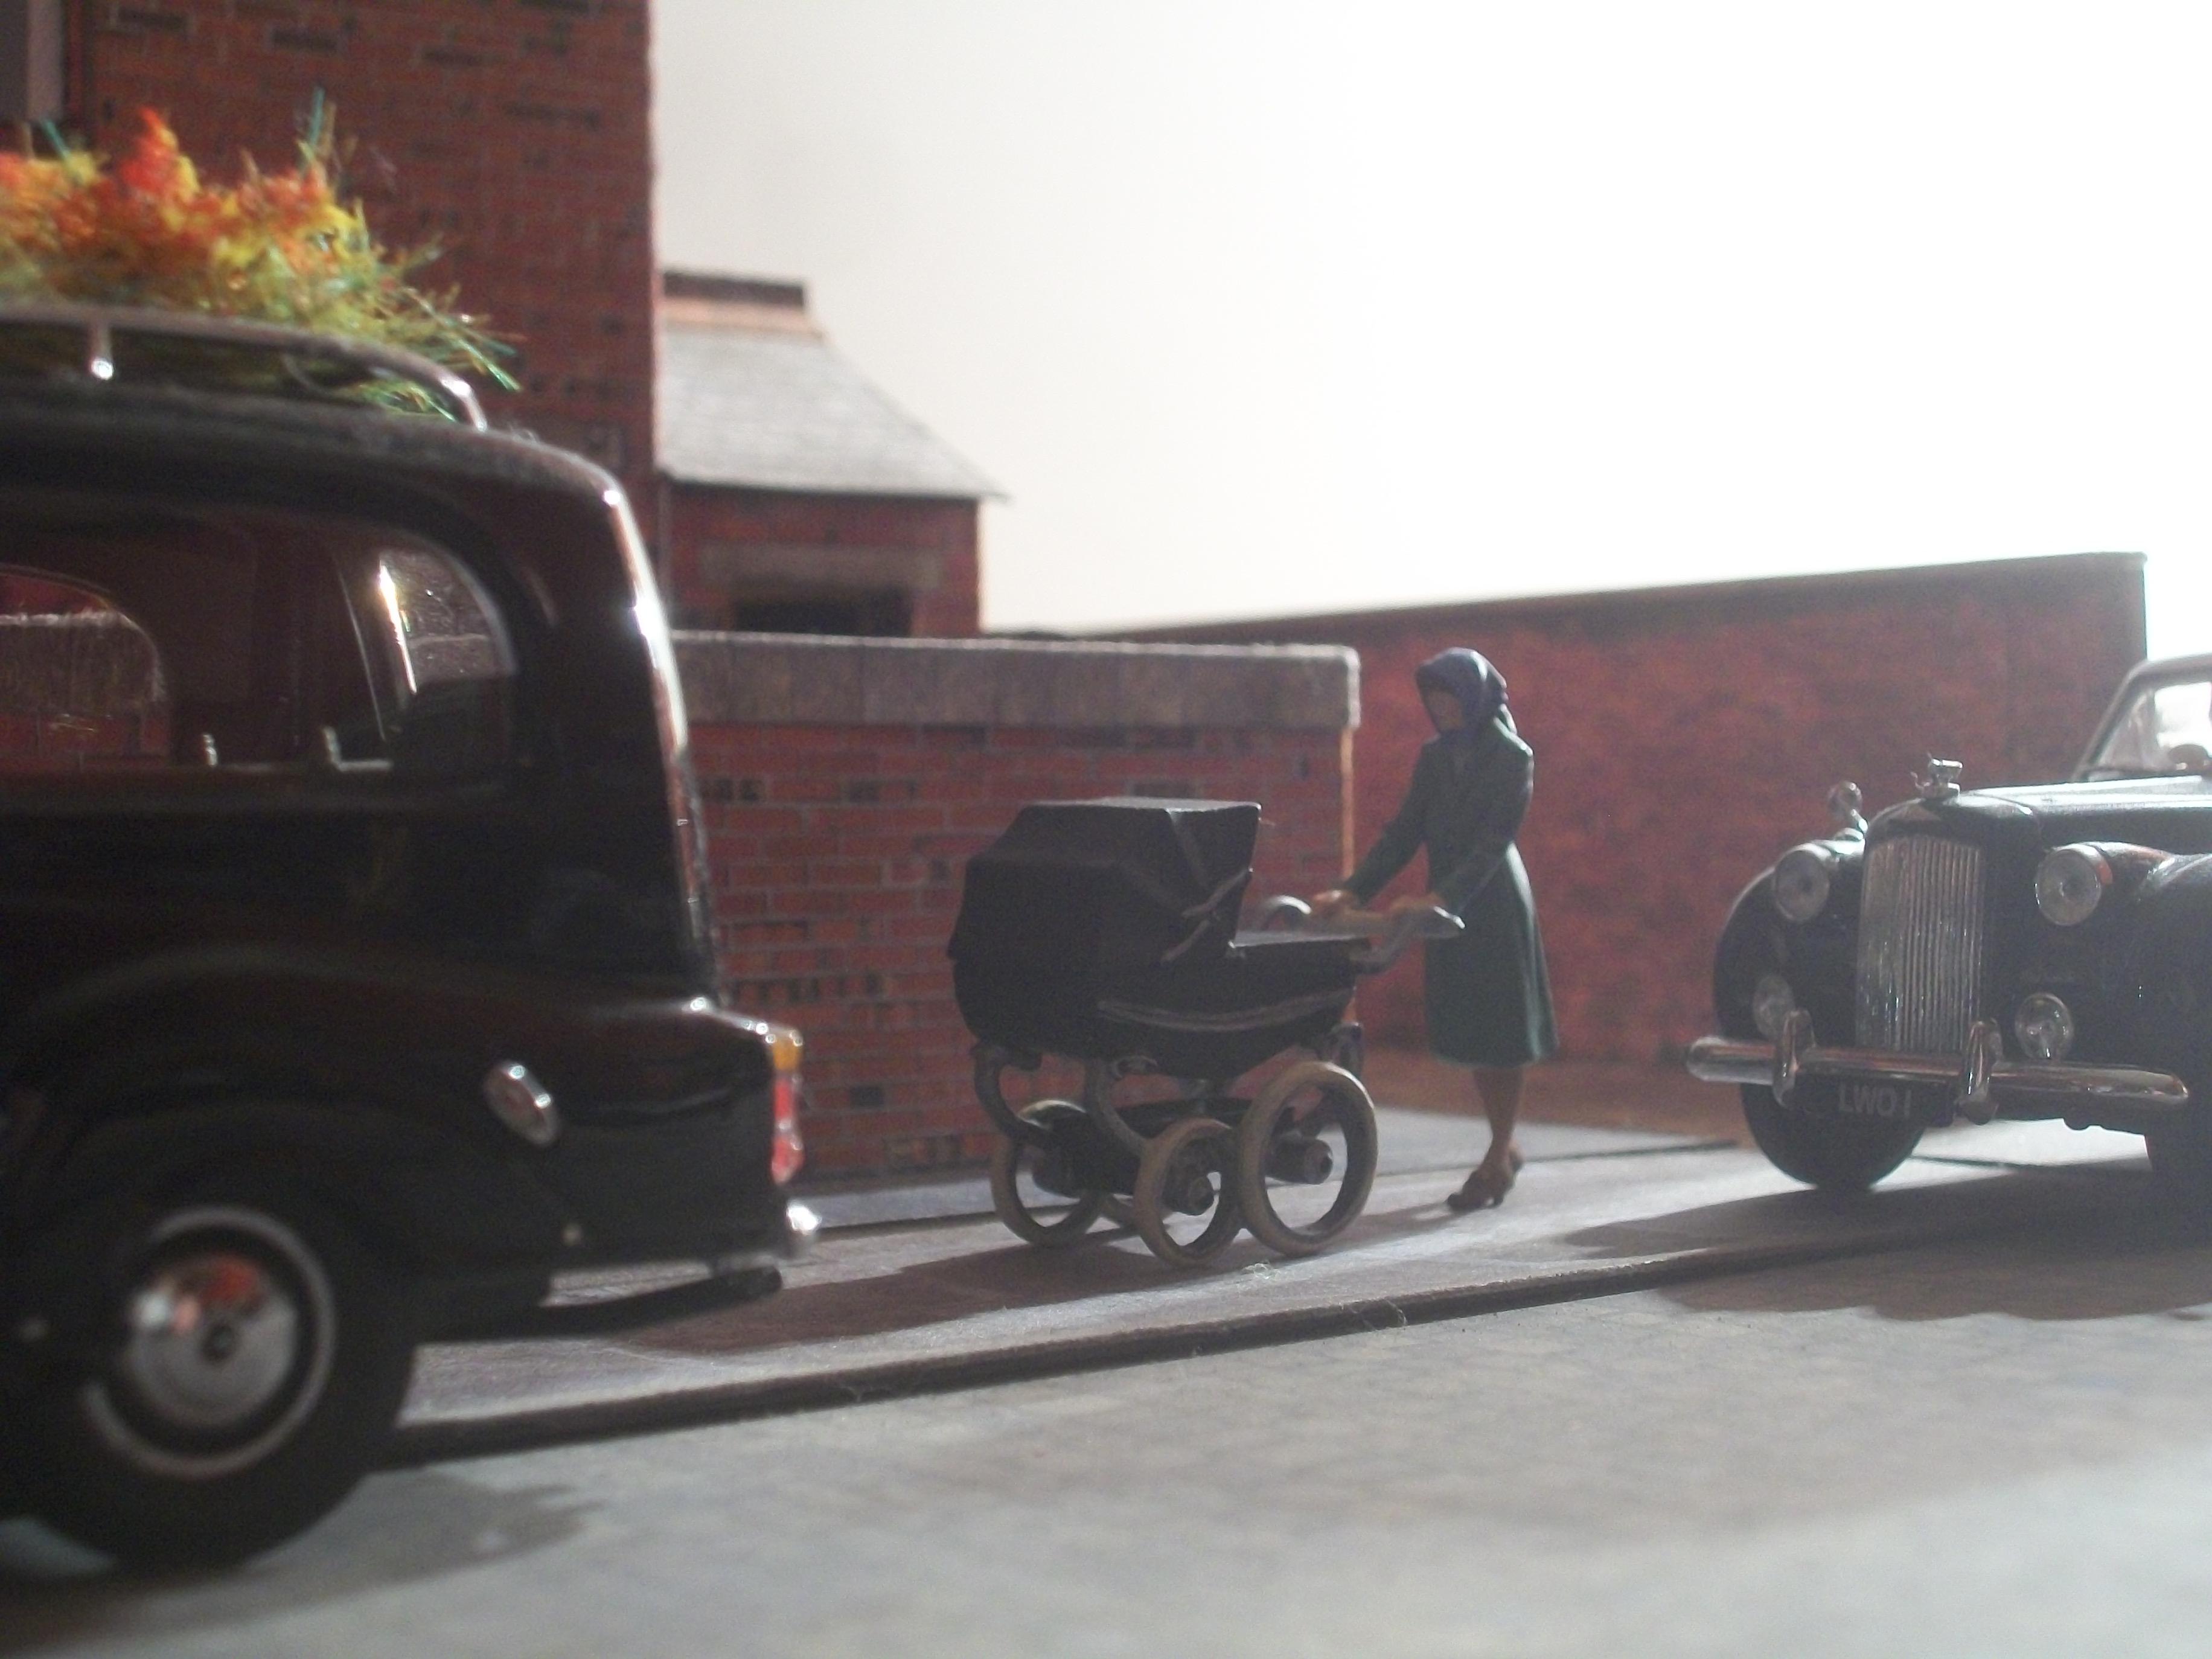
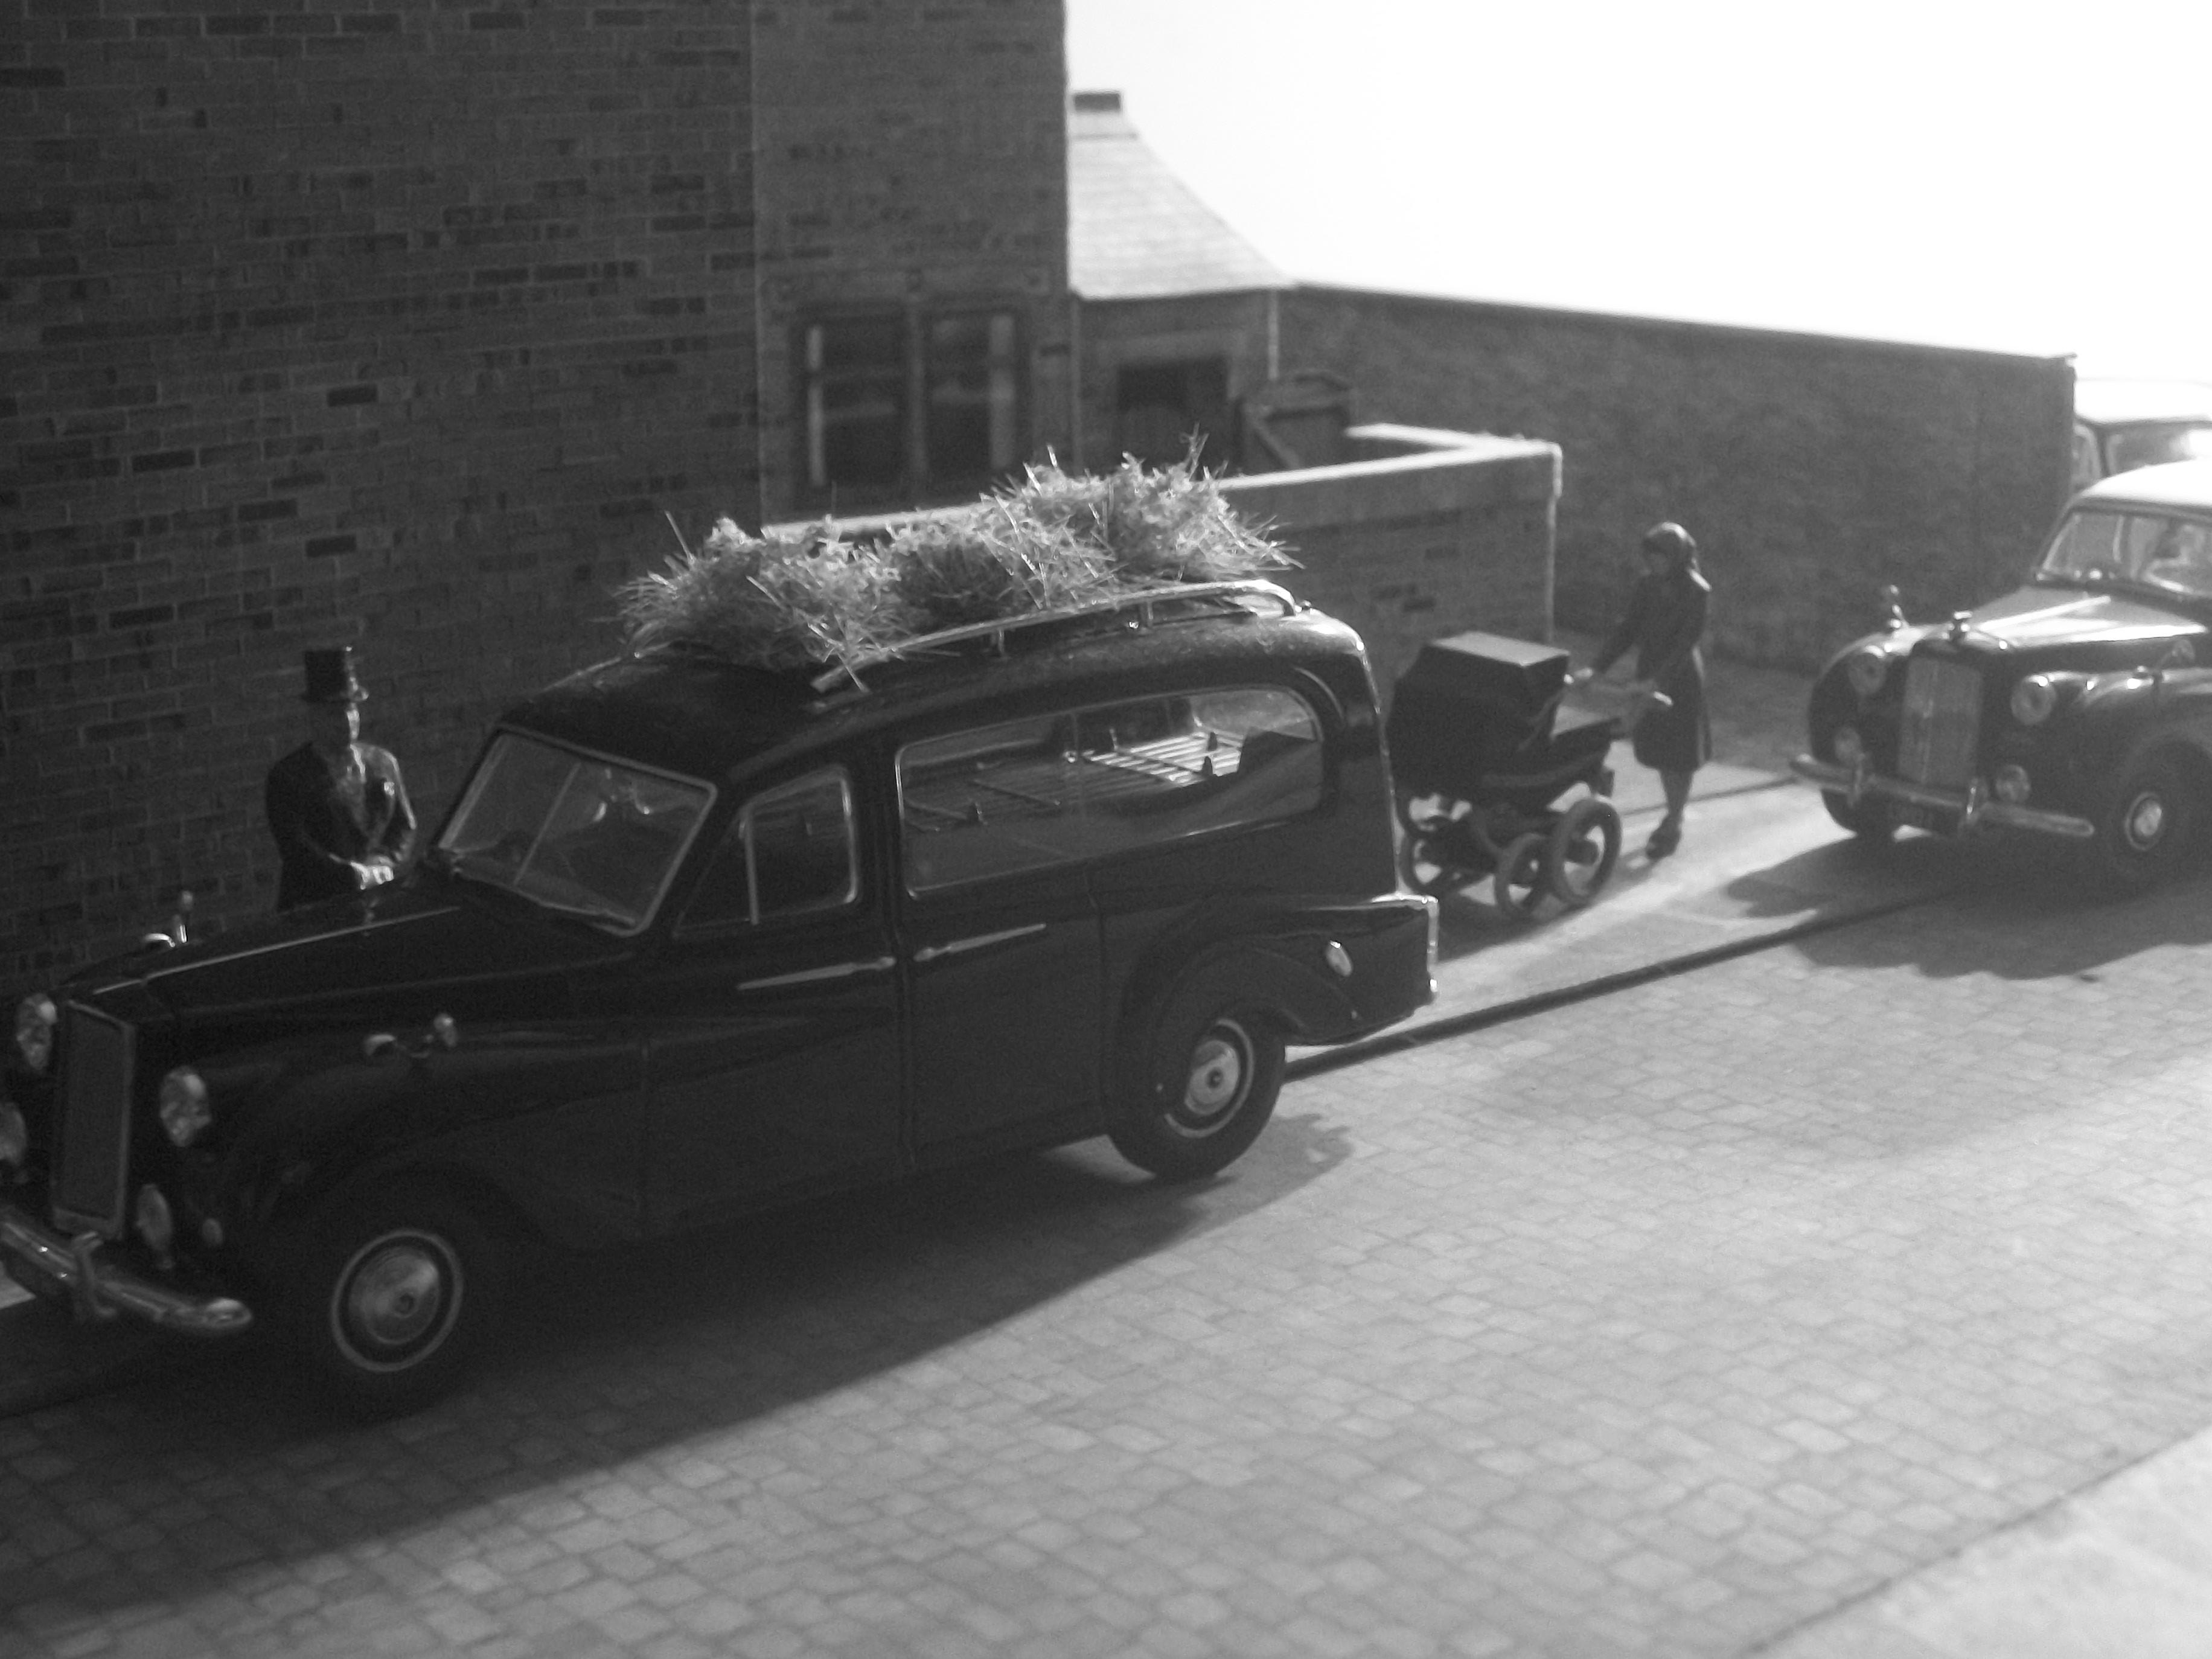
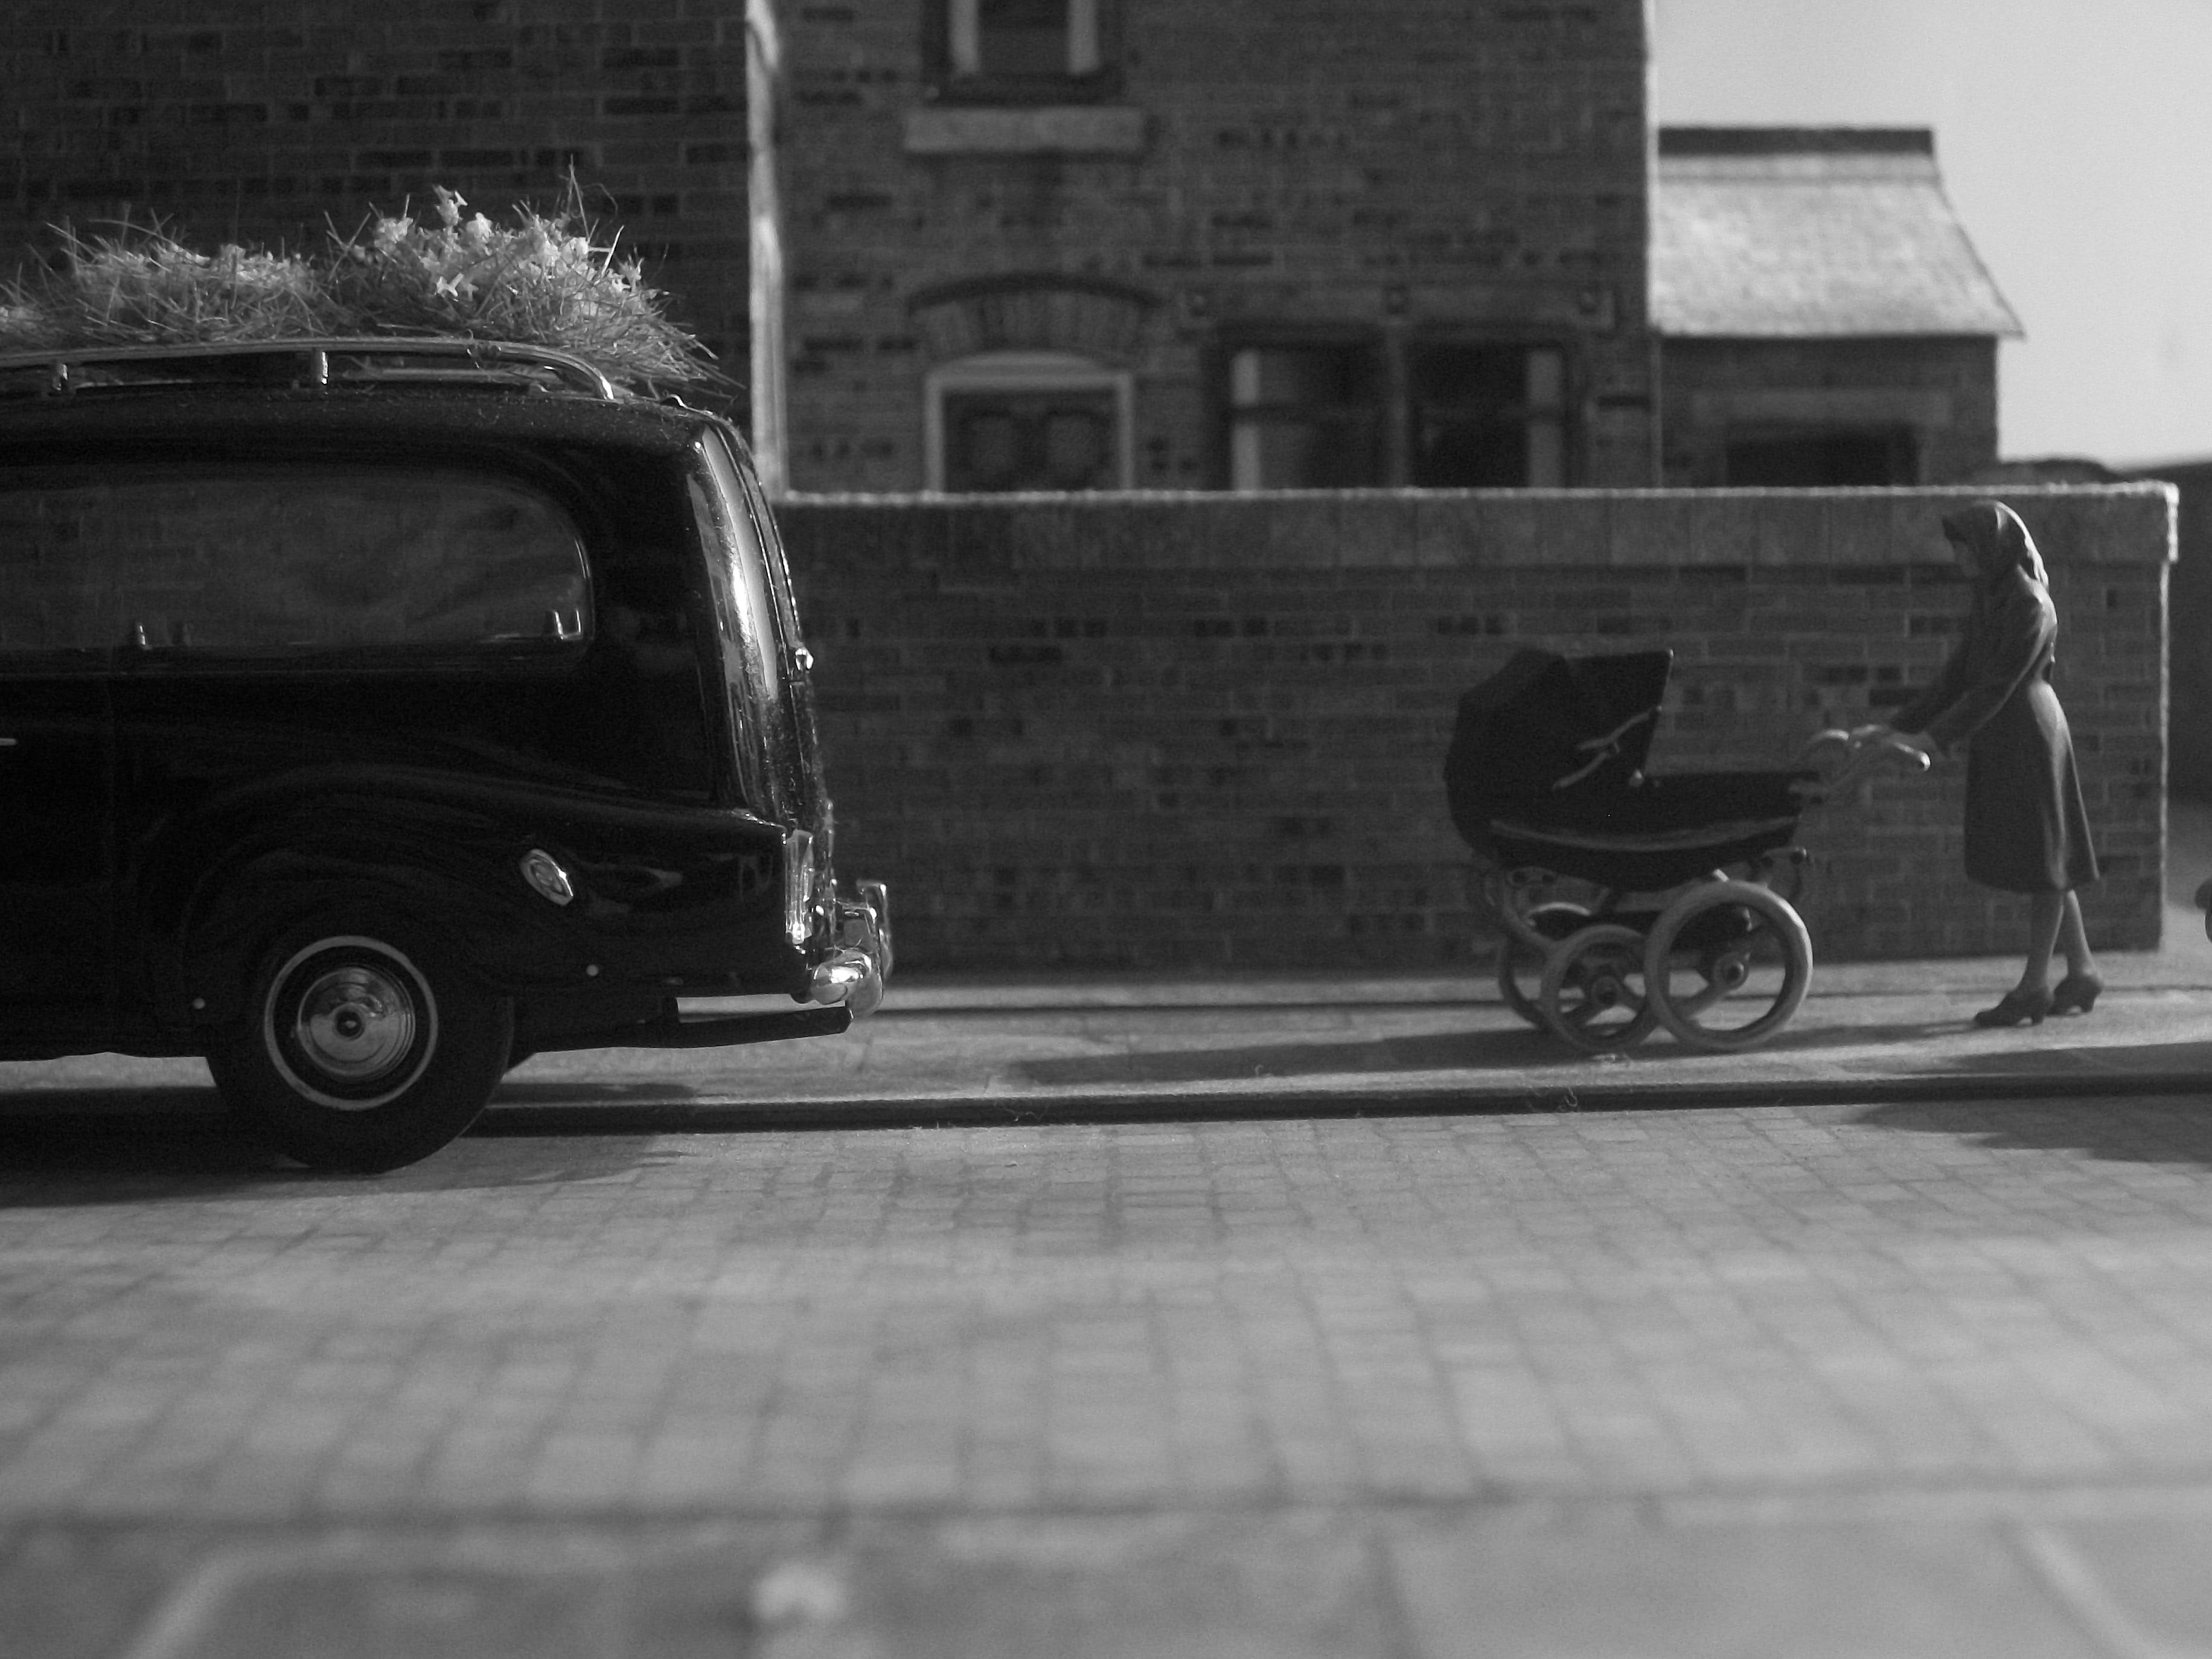
Photo shoot during the early hours of this morning was an experiment with a new idea that is forming..... my thinking is along the lines of a new life beginning, which is symbolised by the Mother pushing a pram, in which there is a new born baby. Then as a stark contrast we see the funeral procession, that portrays the end of a life, symbolised by the black hearse with flowers on the roof, followed by a cortege of black limousines. The end of life procession is moving slowly away from the early morning sunlight...... towards the darkness. At the very same moment in time, a new life is just starting....... moving steadily towards the first light of day. There is more that can be done with this idea, and I feel that it is important to use black and white photography as a dramatic platform on which to develop the scenario. I can examine closely the shadows, the lighting, the angles of viewpoint and the actual composition. Elements of the composition feature the brick built terraced houses and the old street lamps. Later, I may try out the aerosol spray fog and see how that adds to the effect, which is something that I have played around with previously. David