.jpg.0c75d4af58bbe0dcf58c7140c68bb8a7.jpg)
Super28
-
Posts
830 -
Joined
-
Last visited
Content Type
Profiles
Forums
Events
Gallery
Everything posted by Super28
-
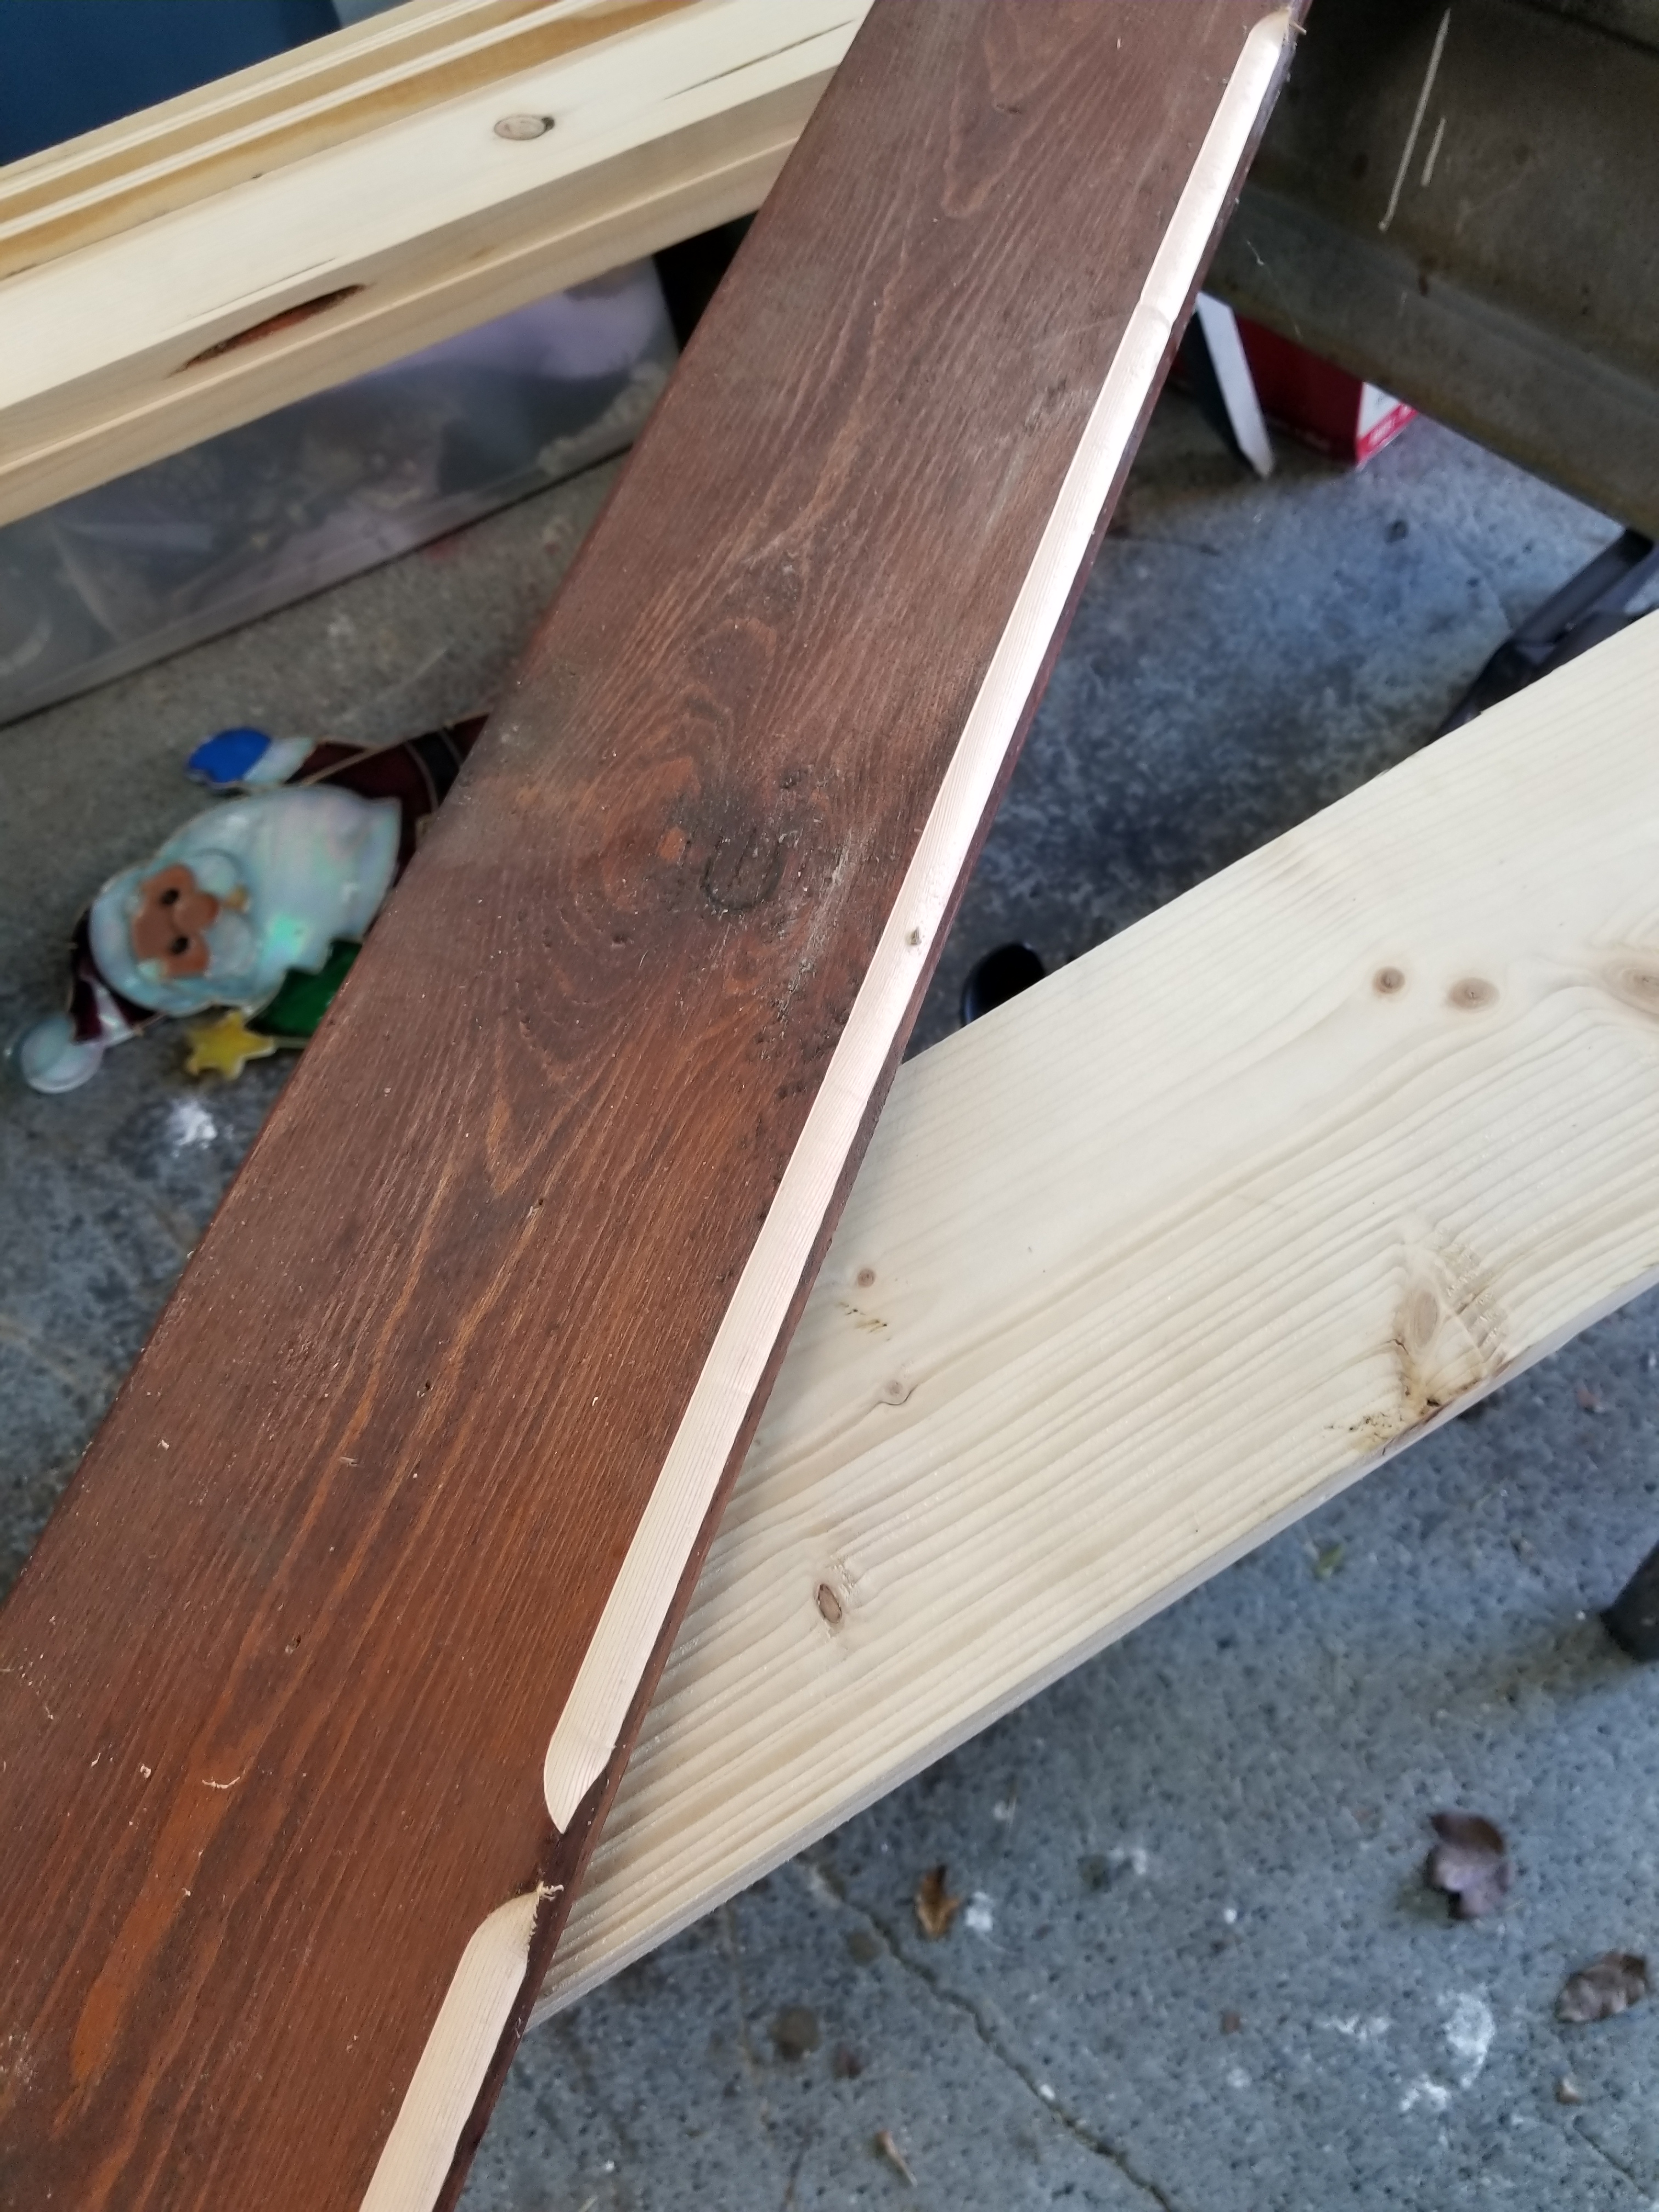
Oh! I bushed on two coats of stain and wiped off the excess between each coat and brushed on two coats of clear. That works for Me! Including the brackets! Got more on me and my hands than the self! Not a professional! That kind of mess I don't want to be either!
-

-
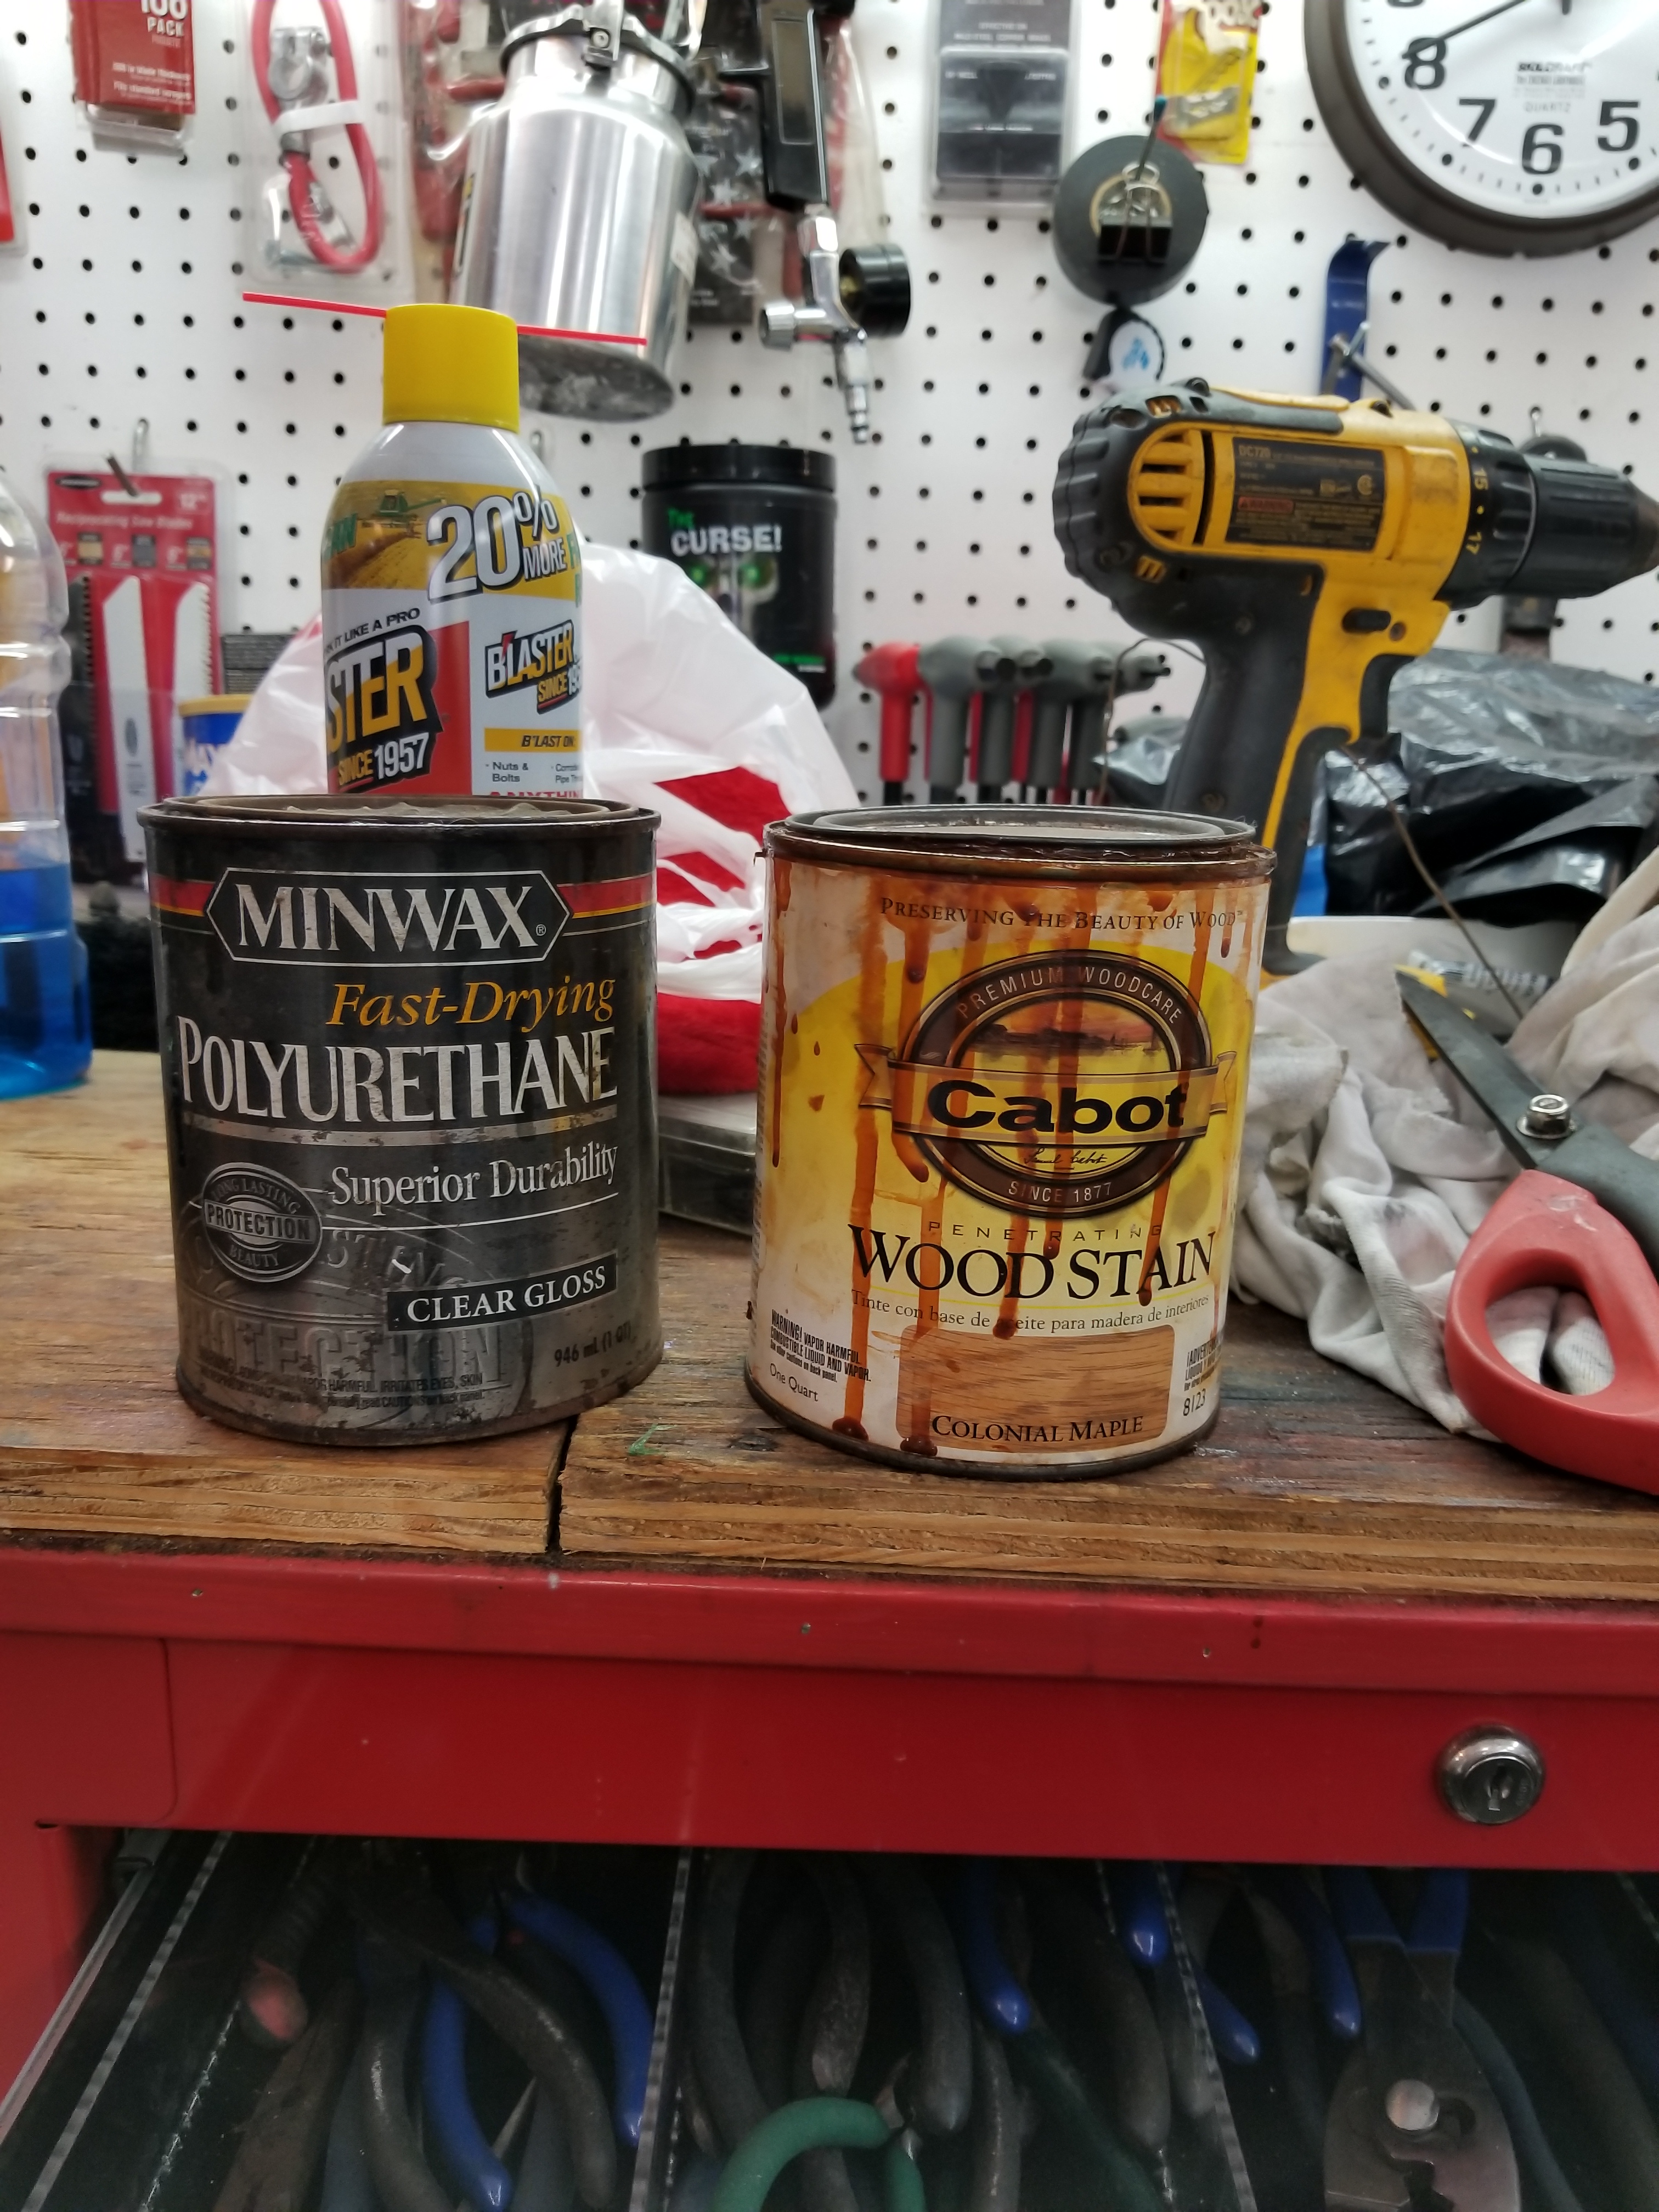
Ok. Stained and cleared the shelf today. I used "Light Maple" stain from Cabot and Polyurethane clear from Minwax! Good reason for using them. Open my paint cabinet, and there their were! Sometime in the past I apparently used them! Works for me now!!! See pics below!
-
Been working on it since 2000. Work in progress. Still long way to go!
-
I assure you, if I can do it, ANYBODY can! Even if it's not perfect, it's good enough for me! Remember that!
-
-
-
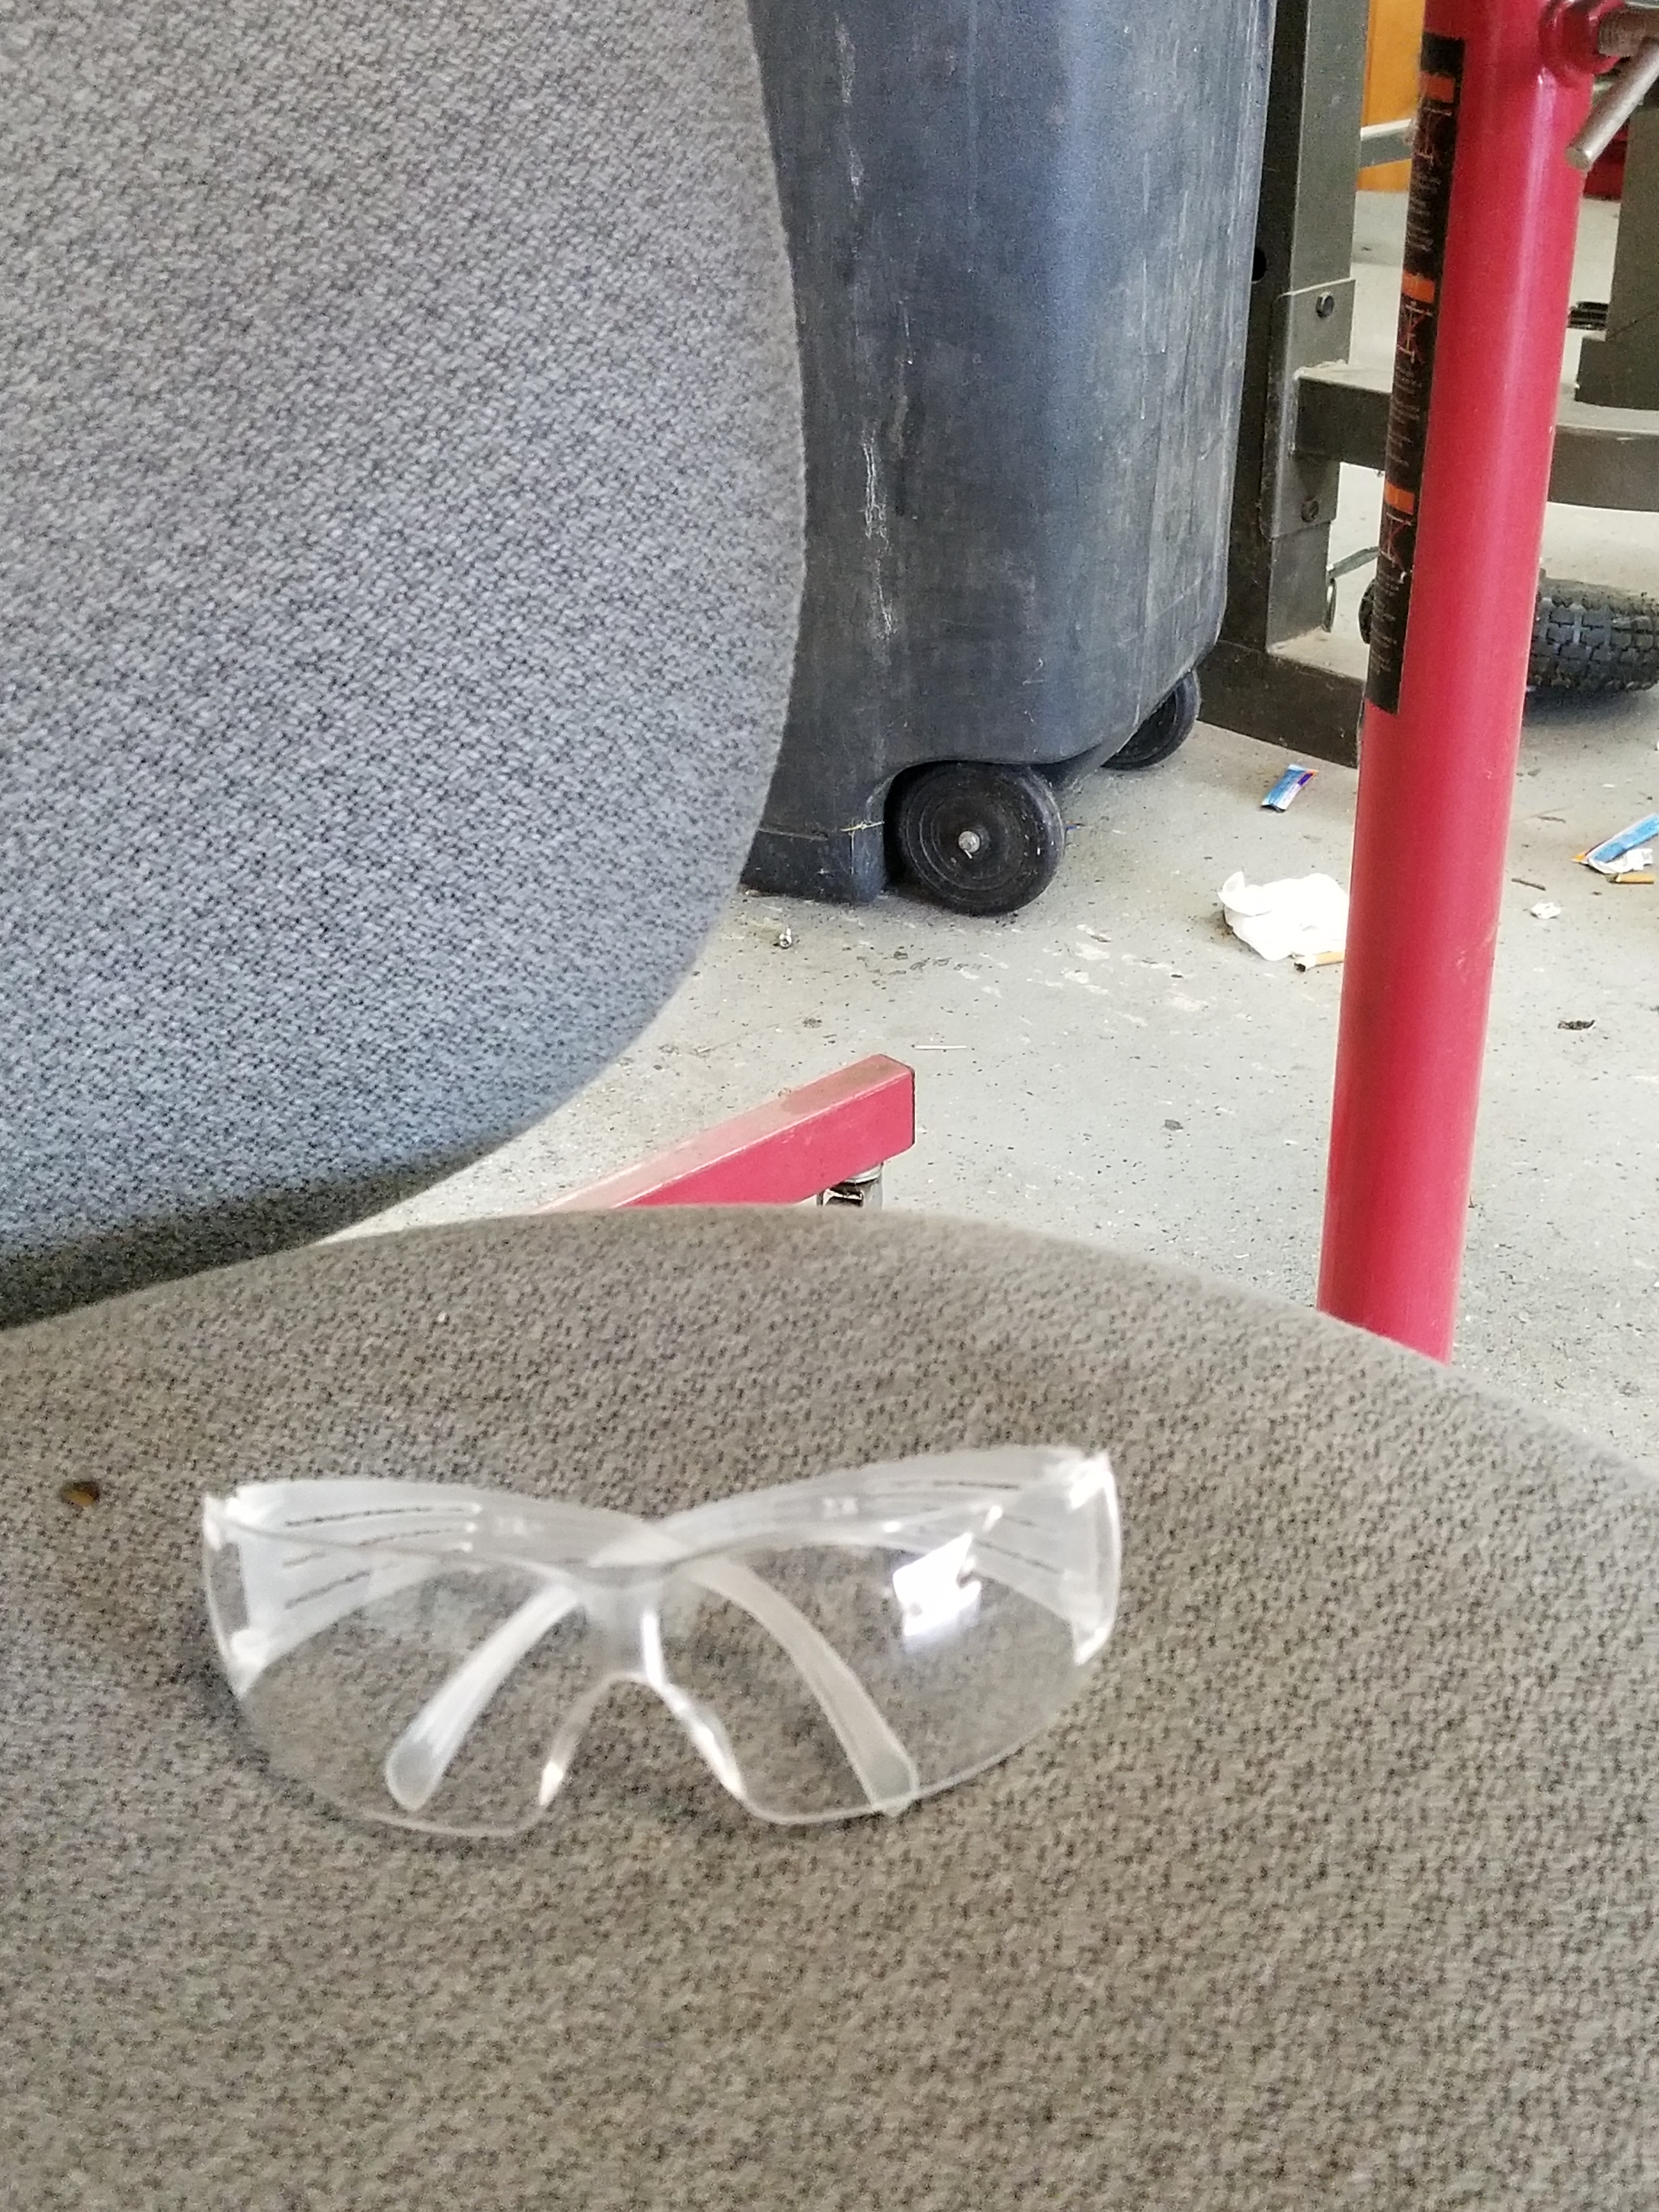
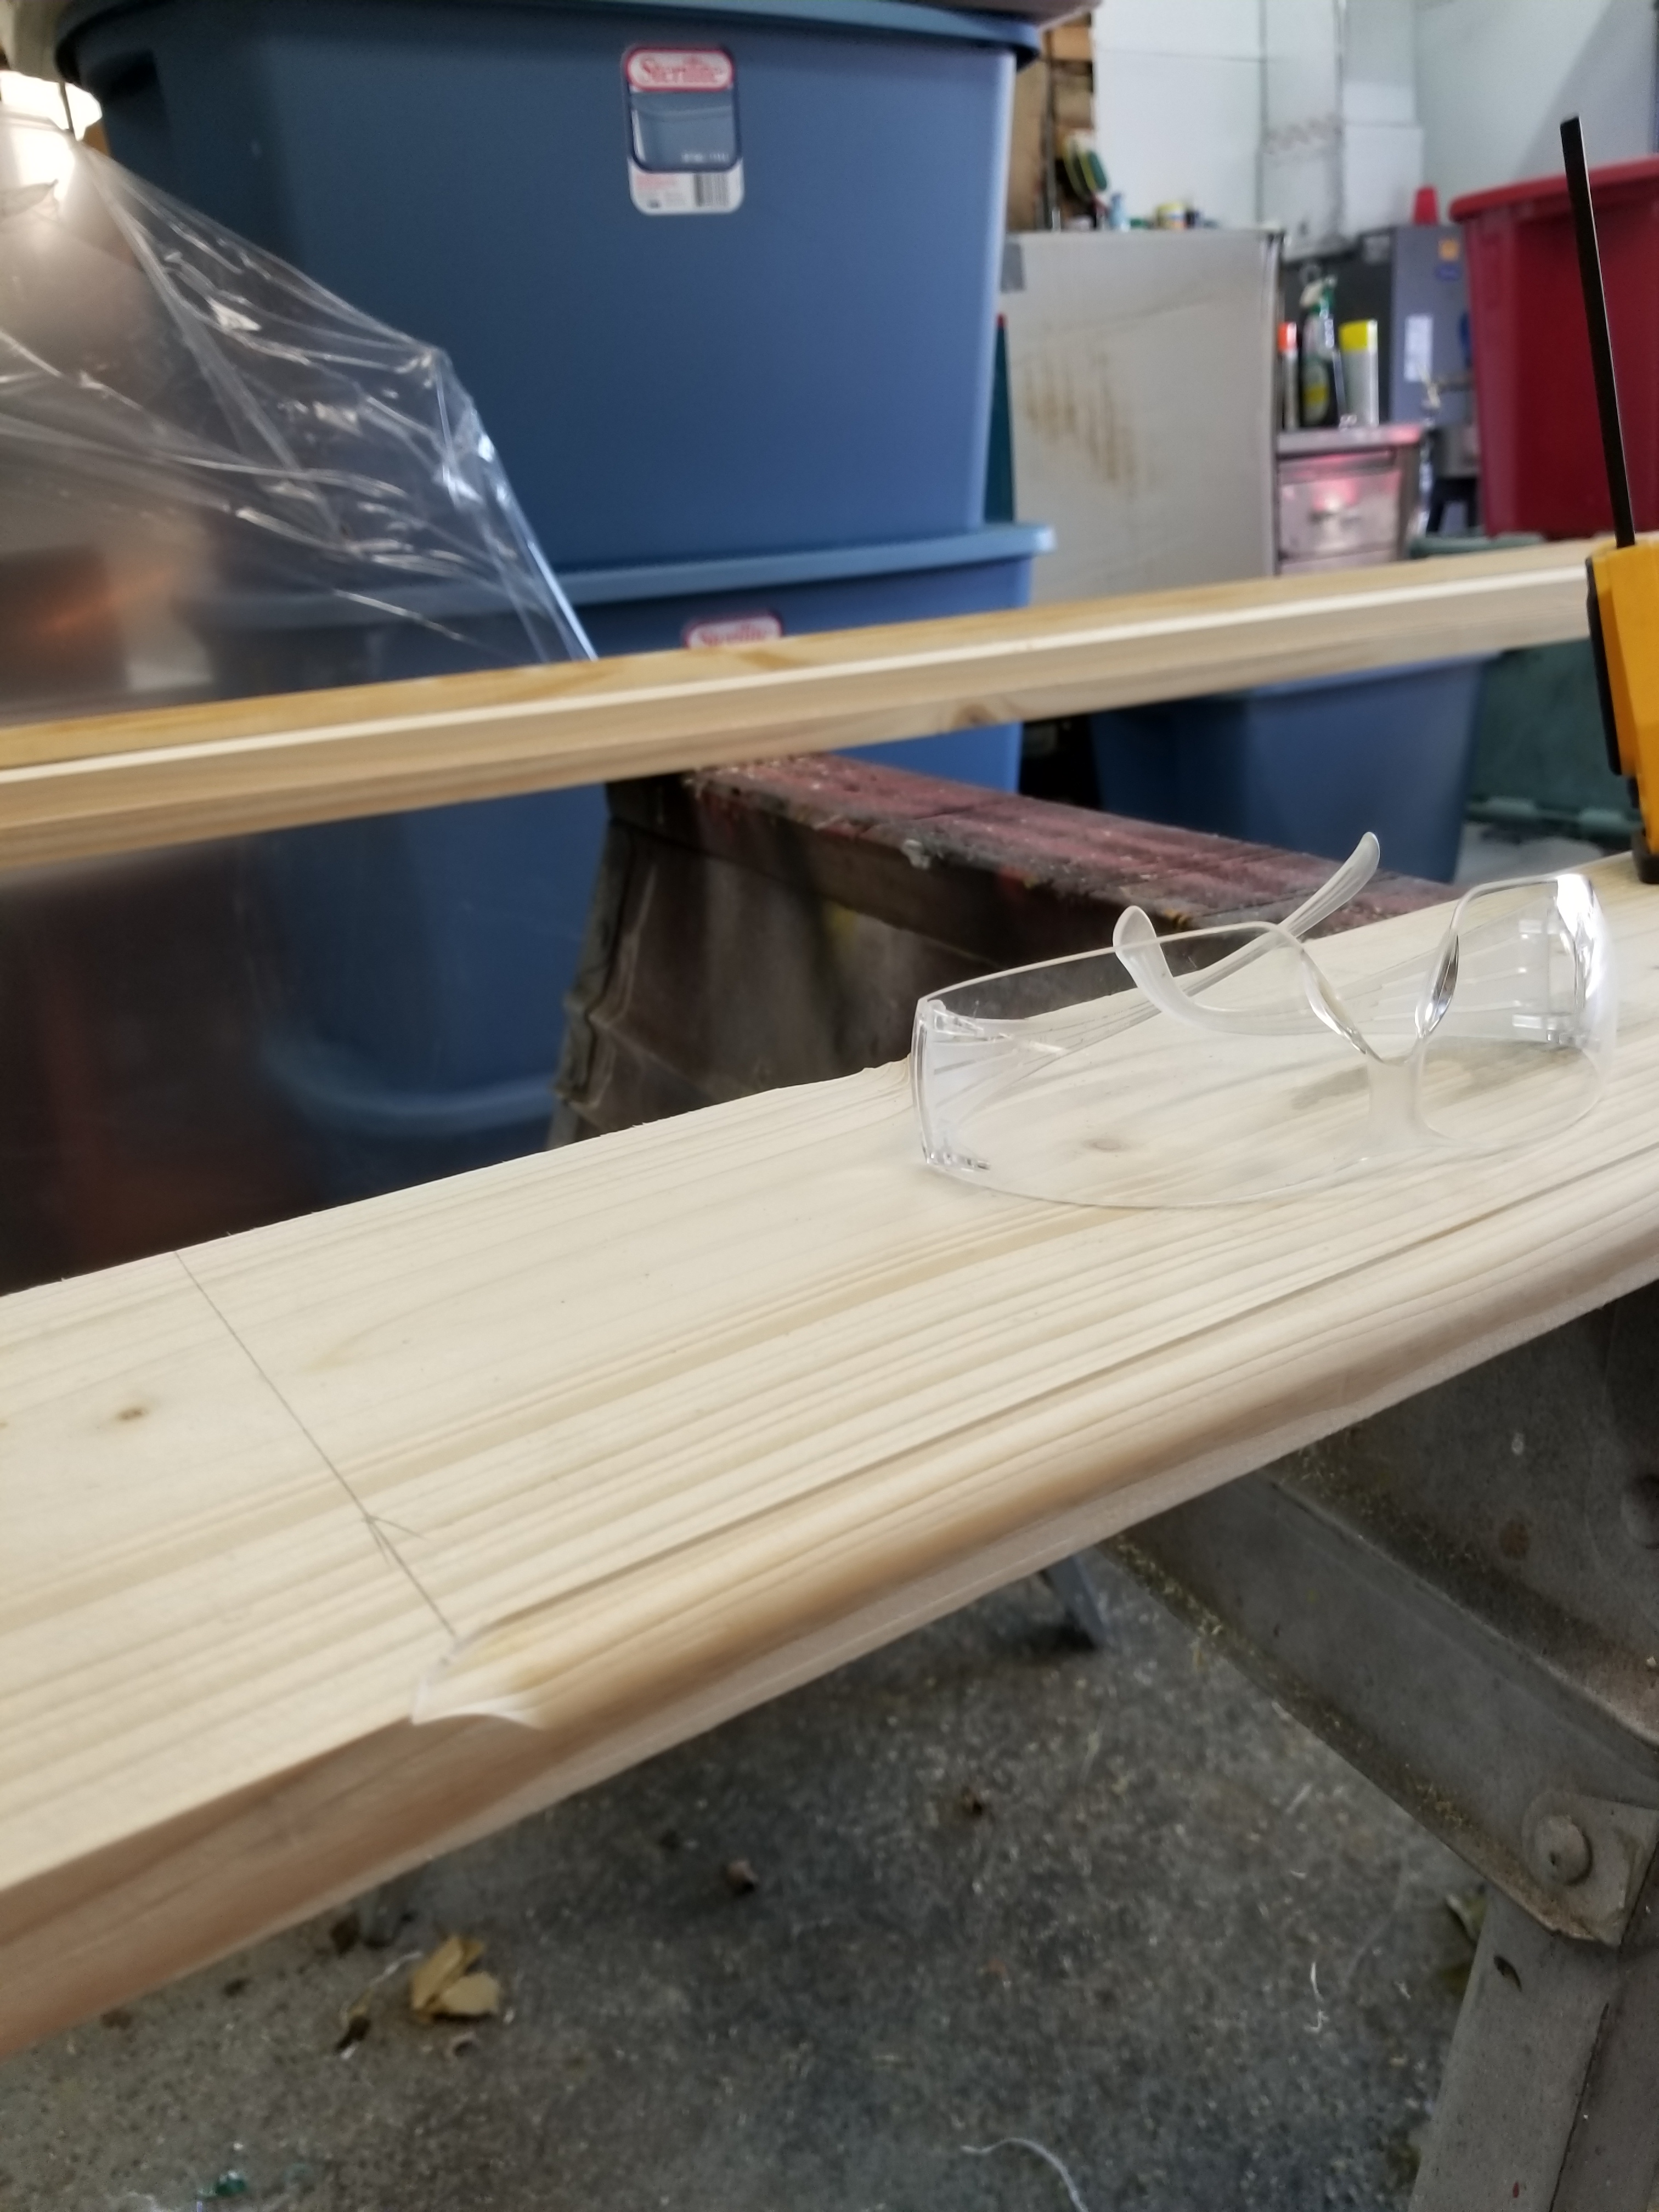
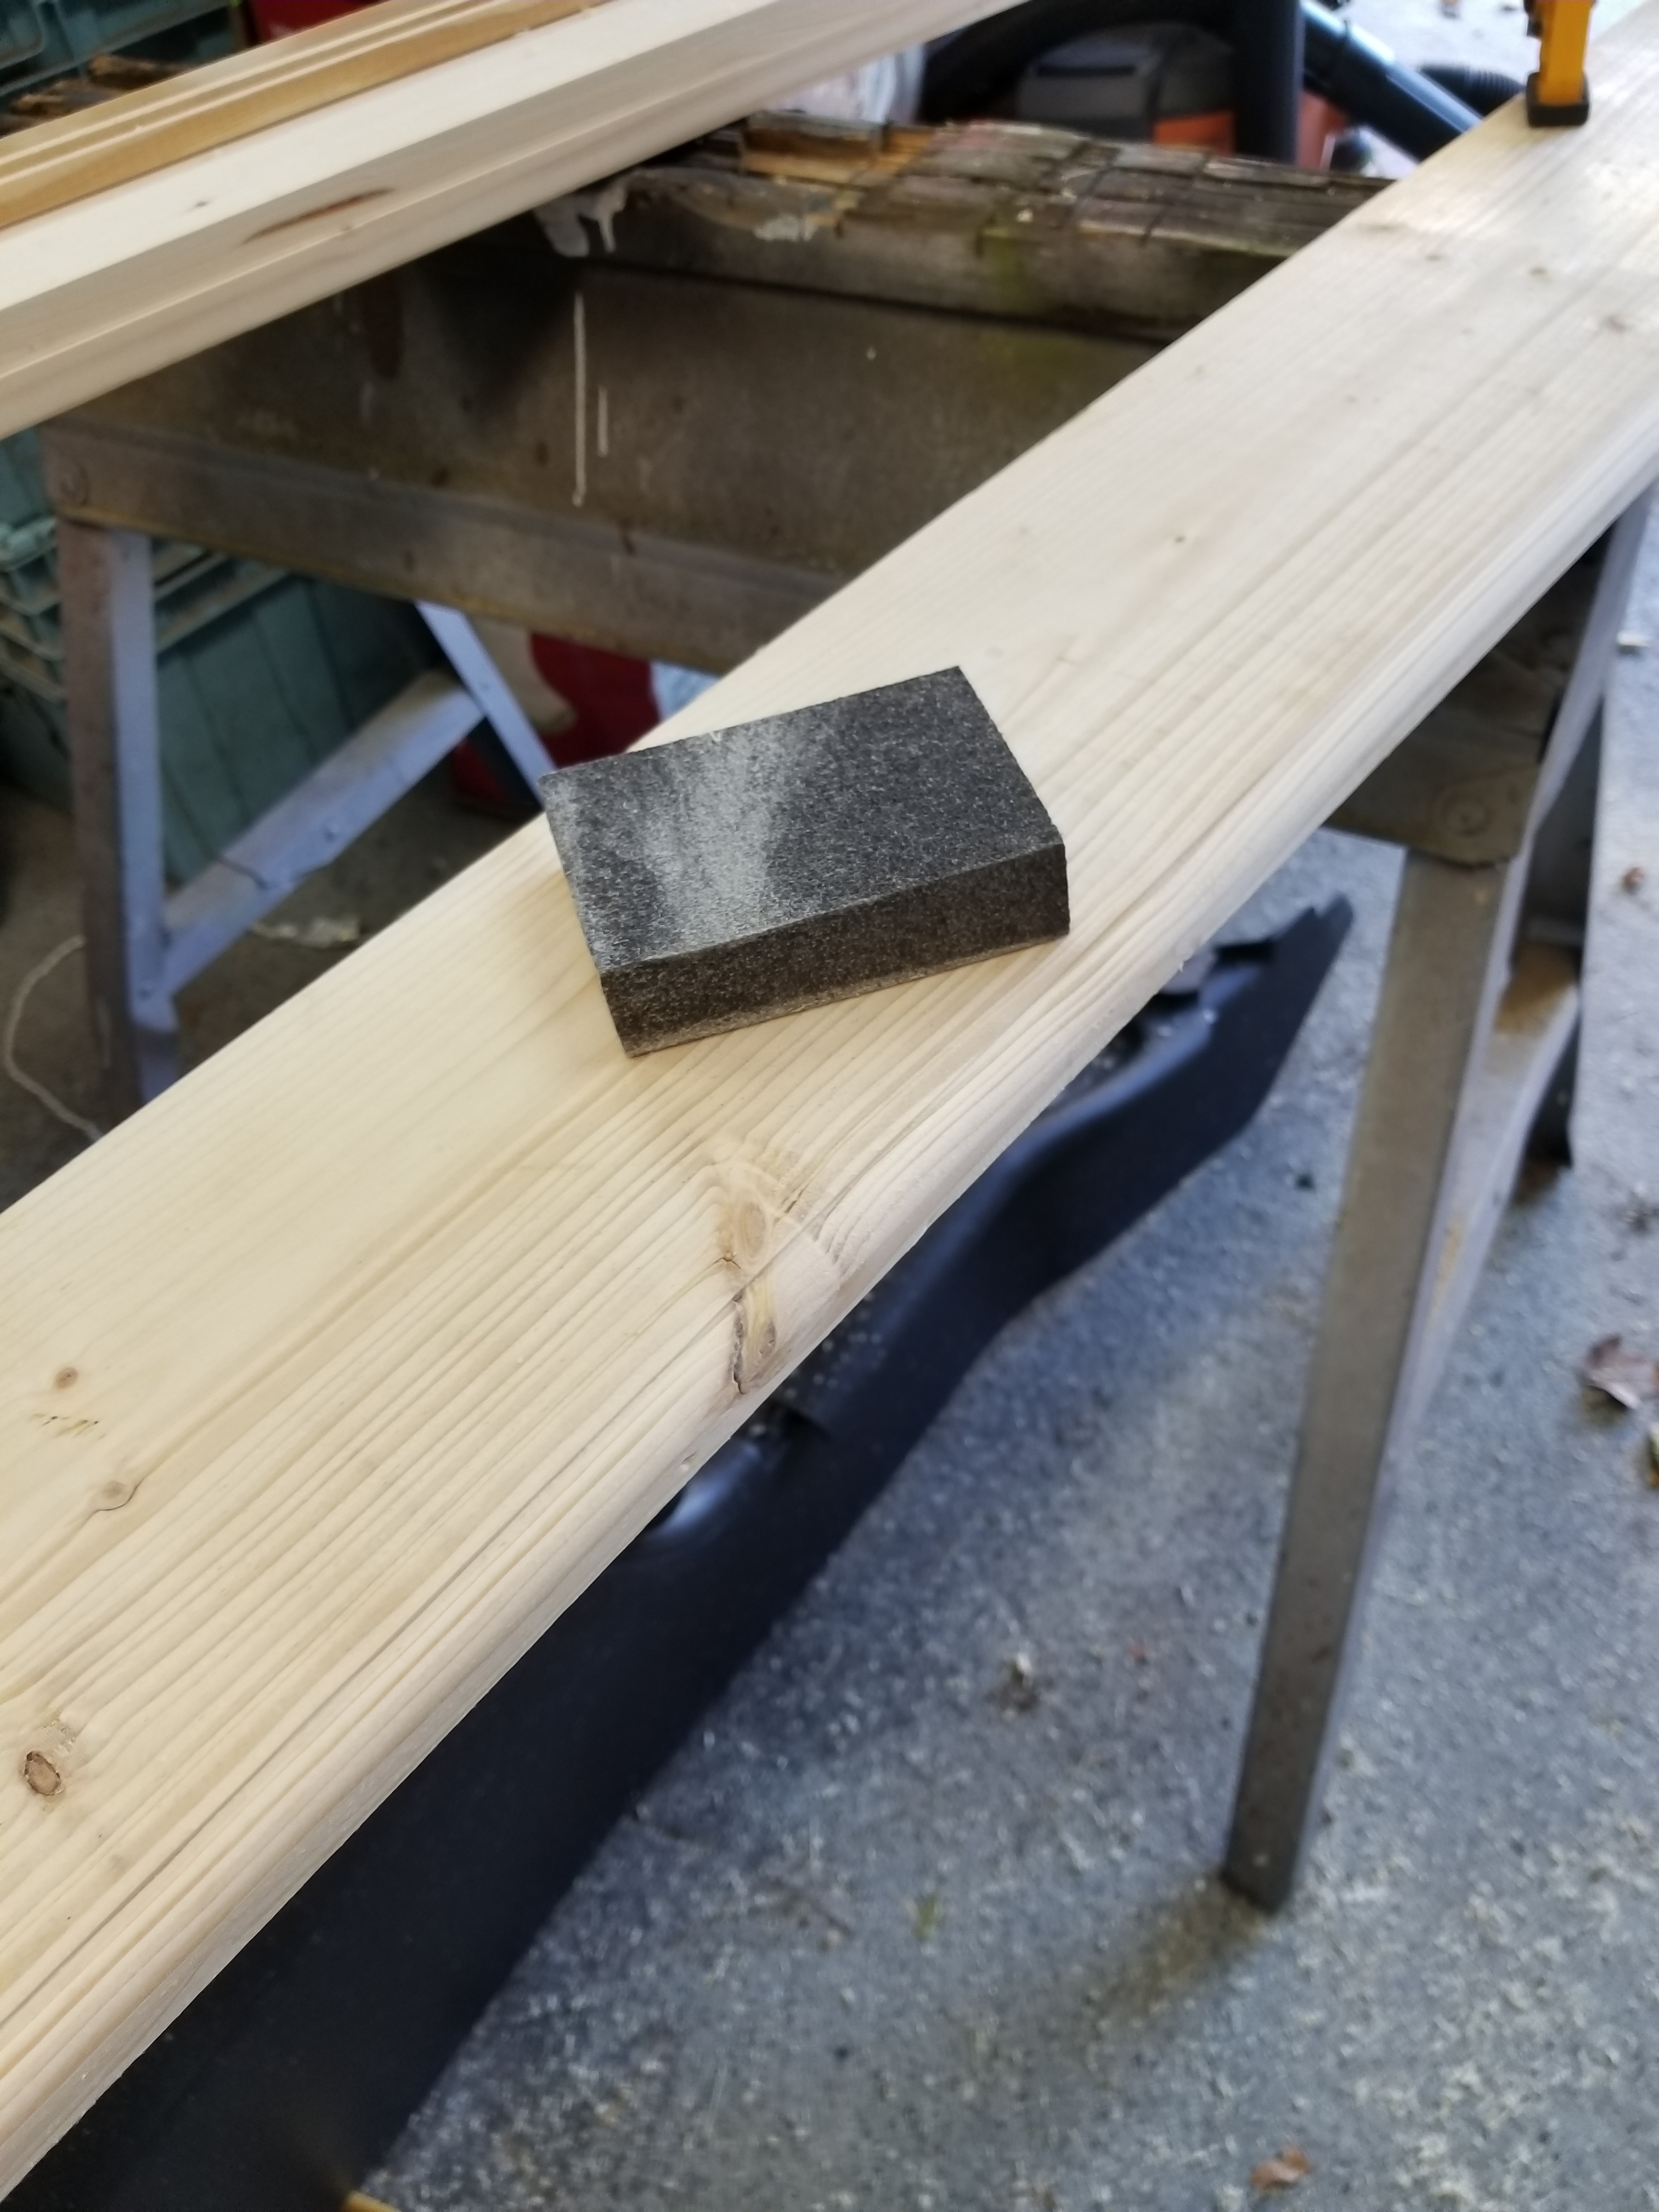
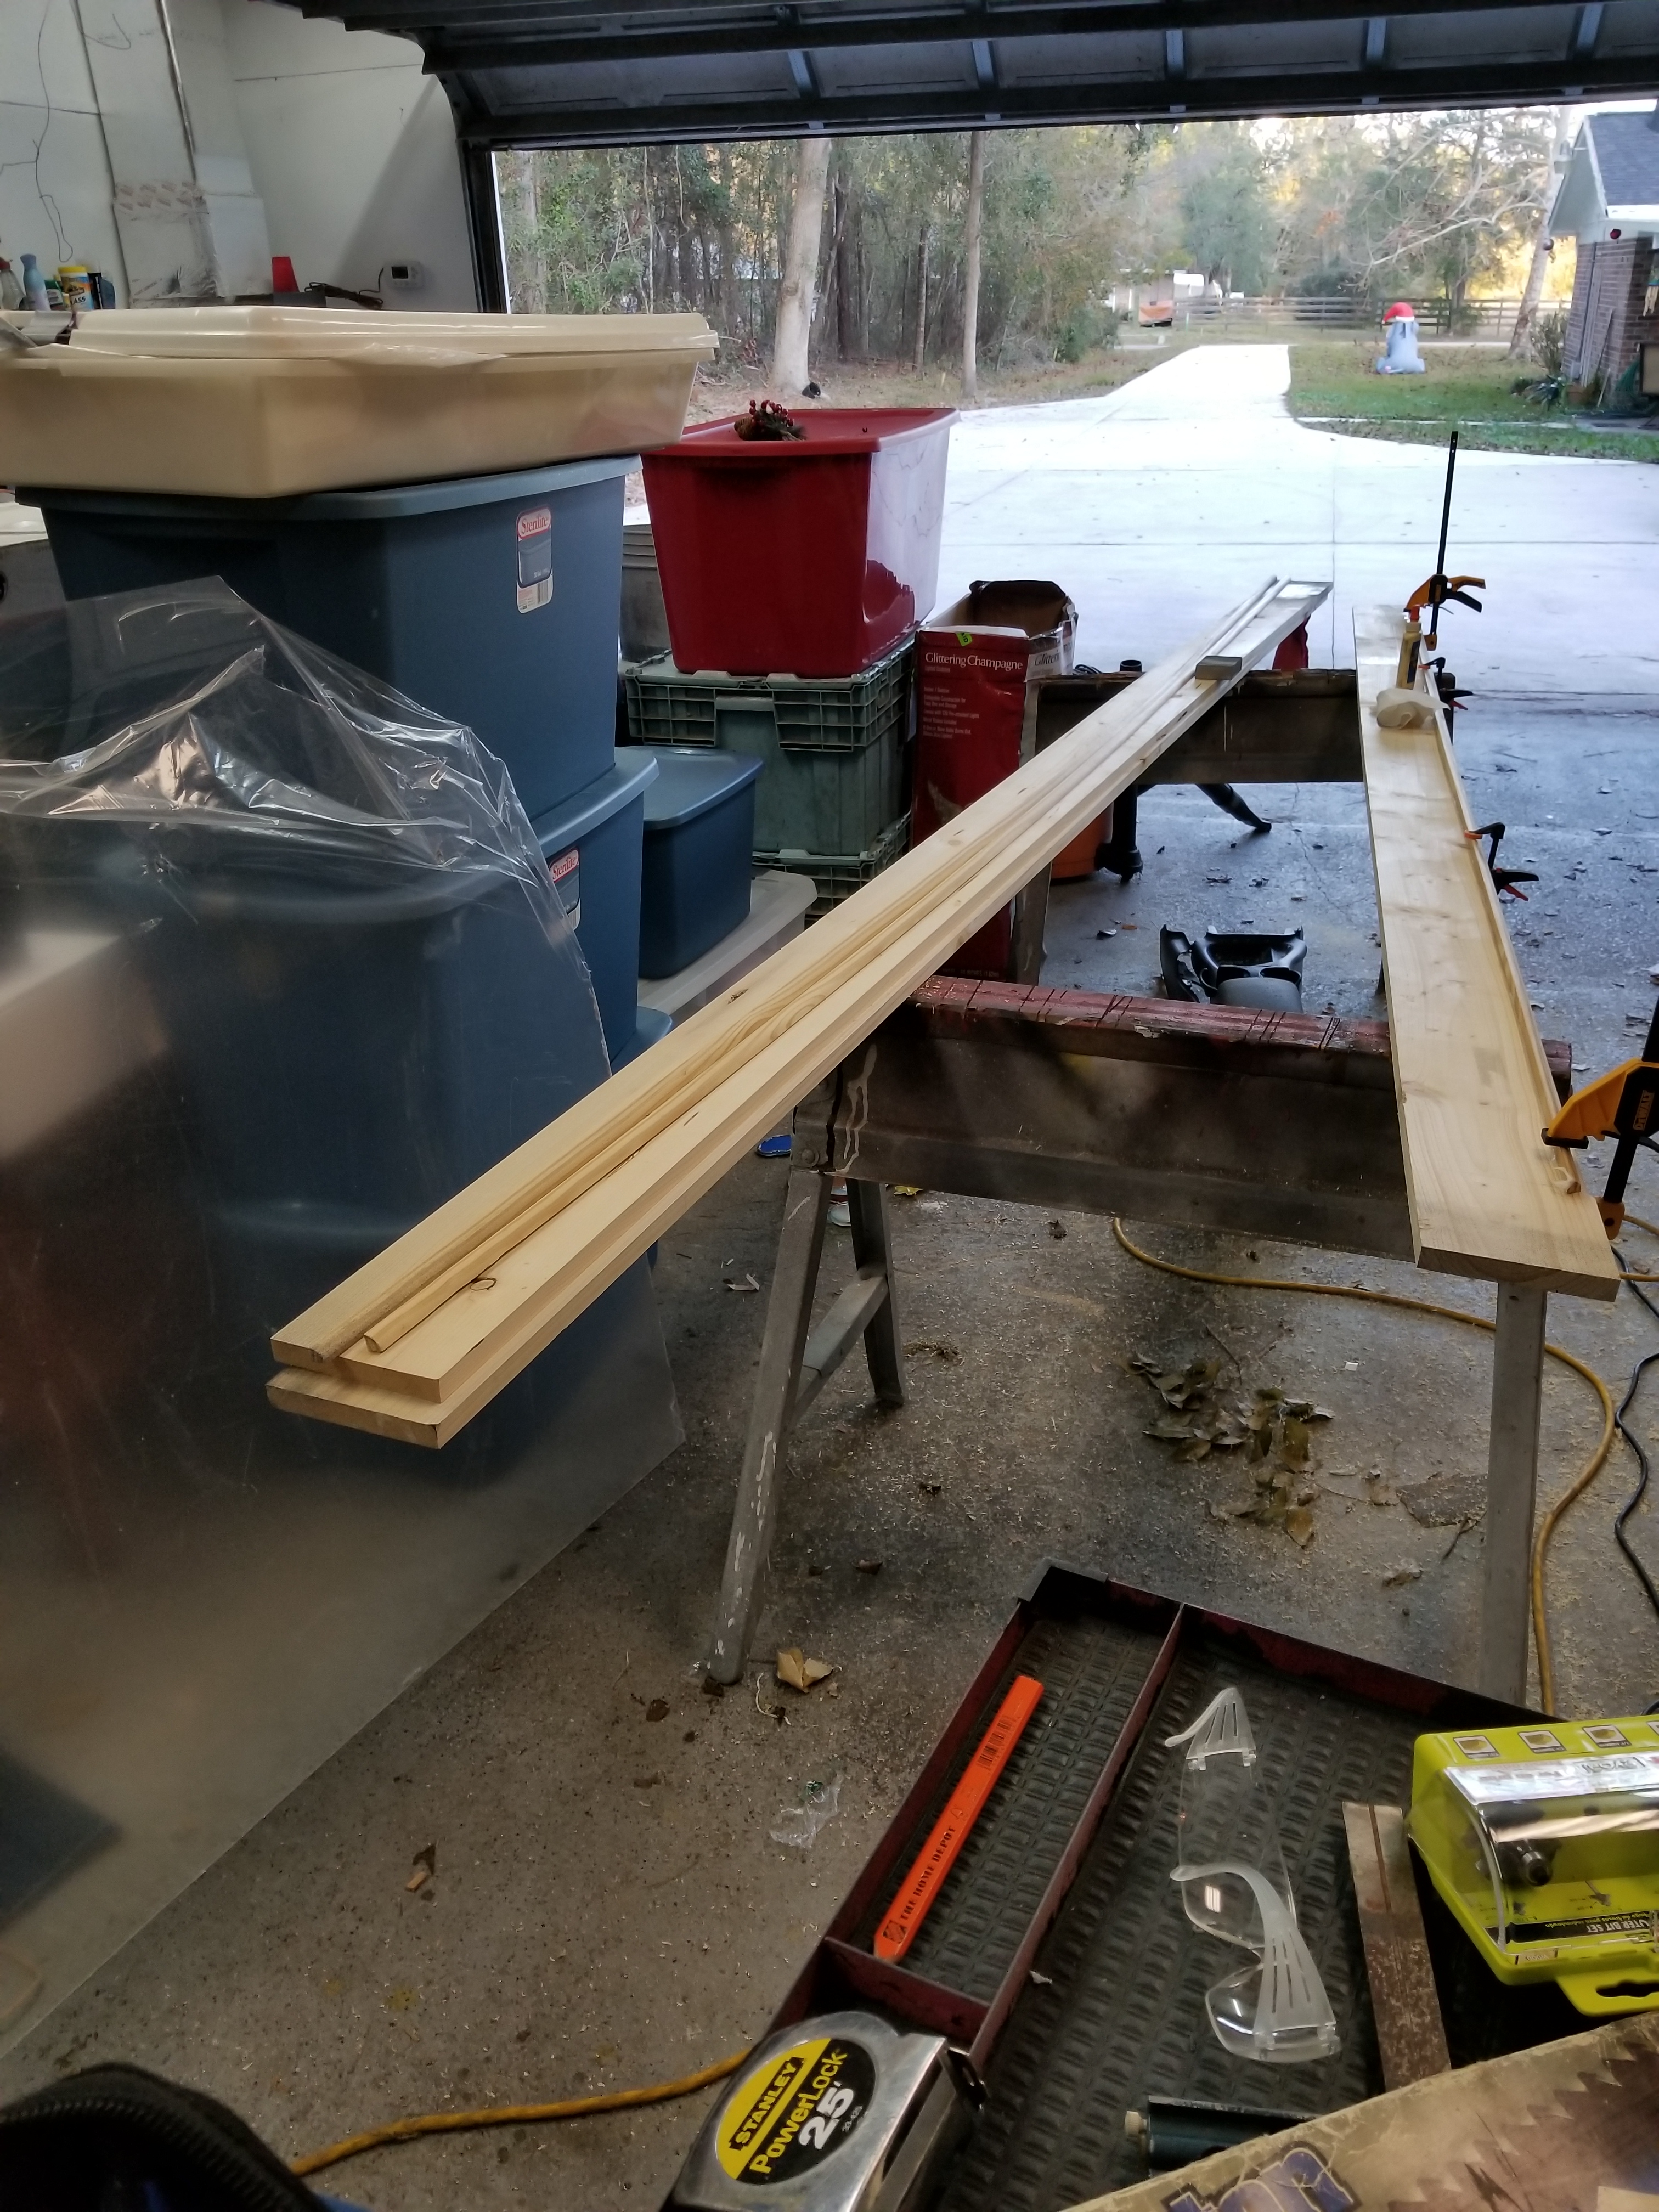
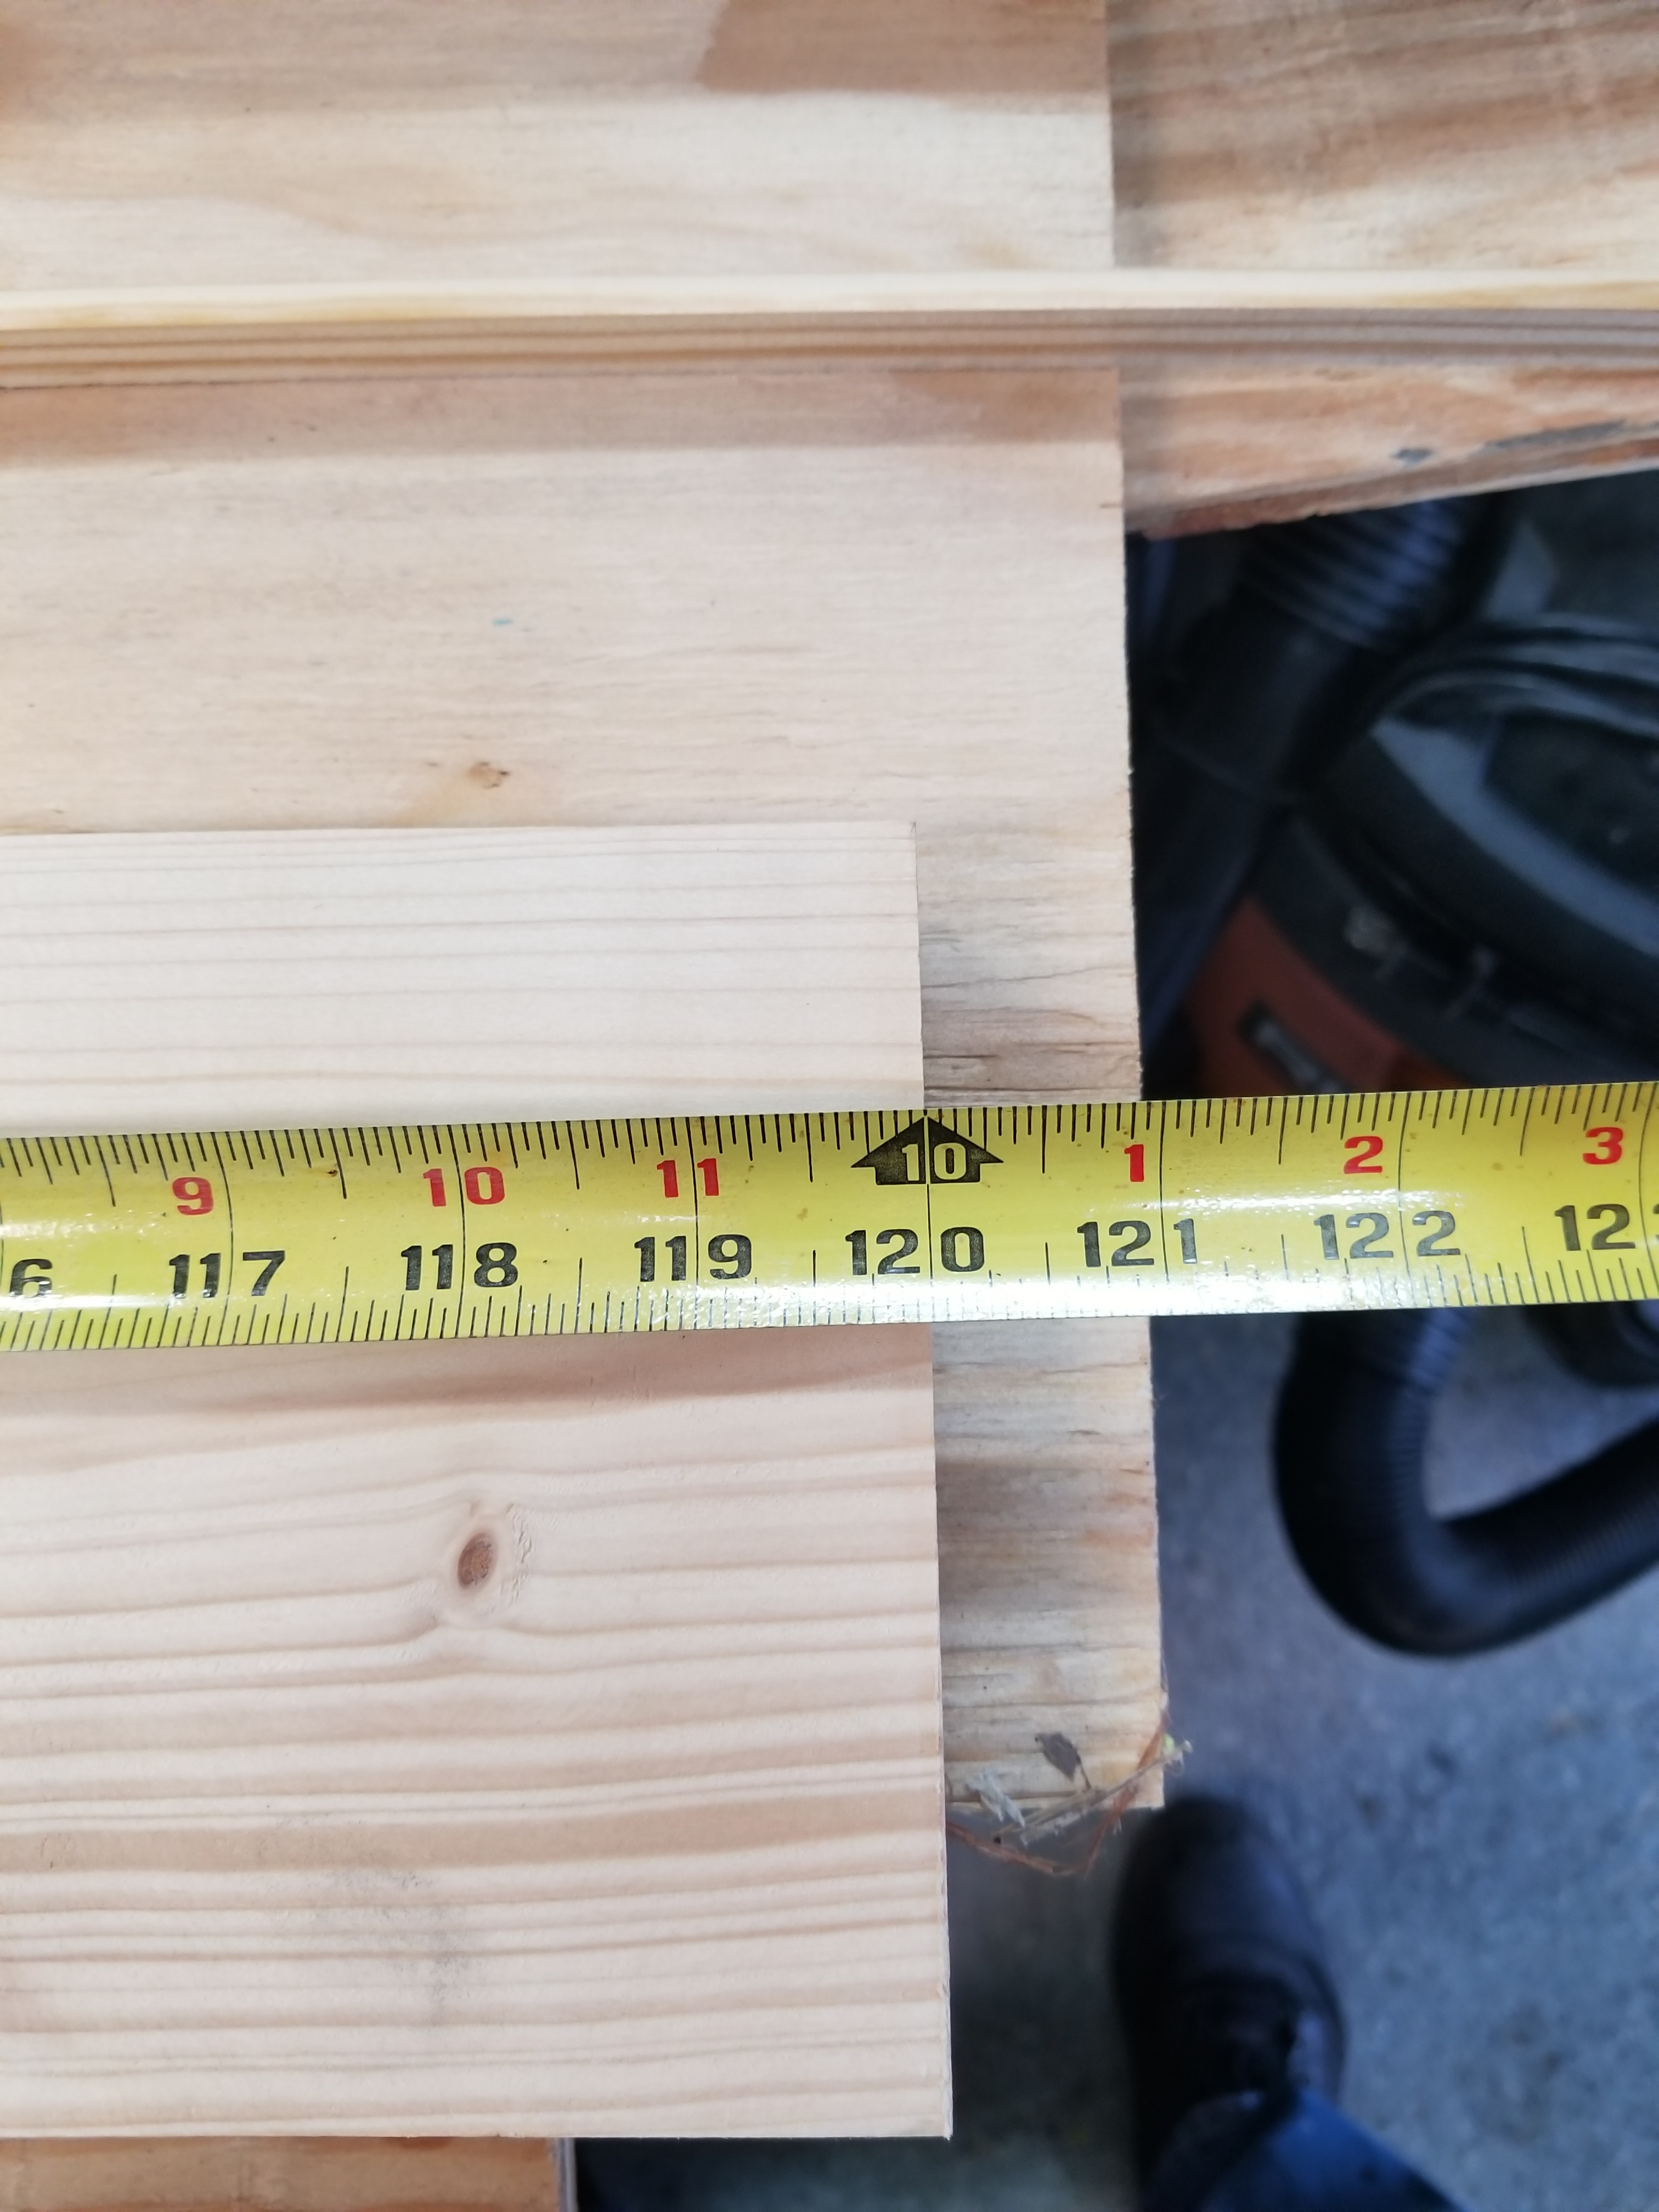
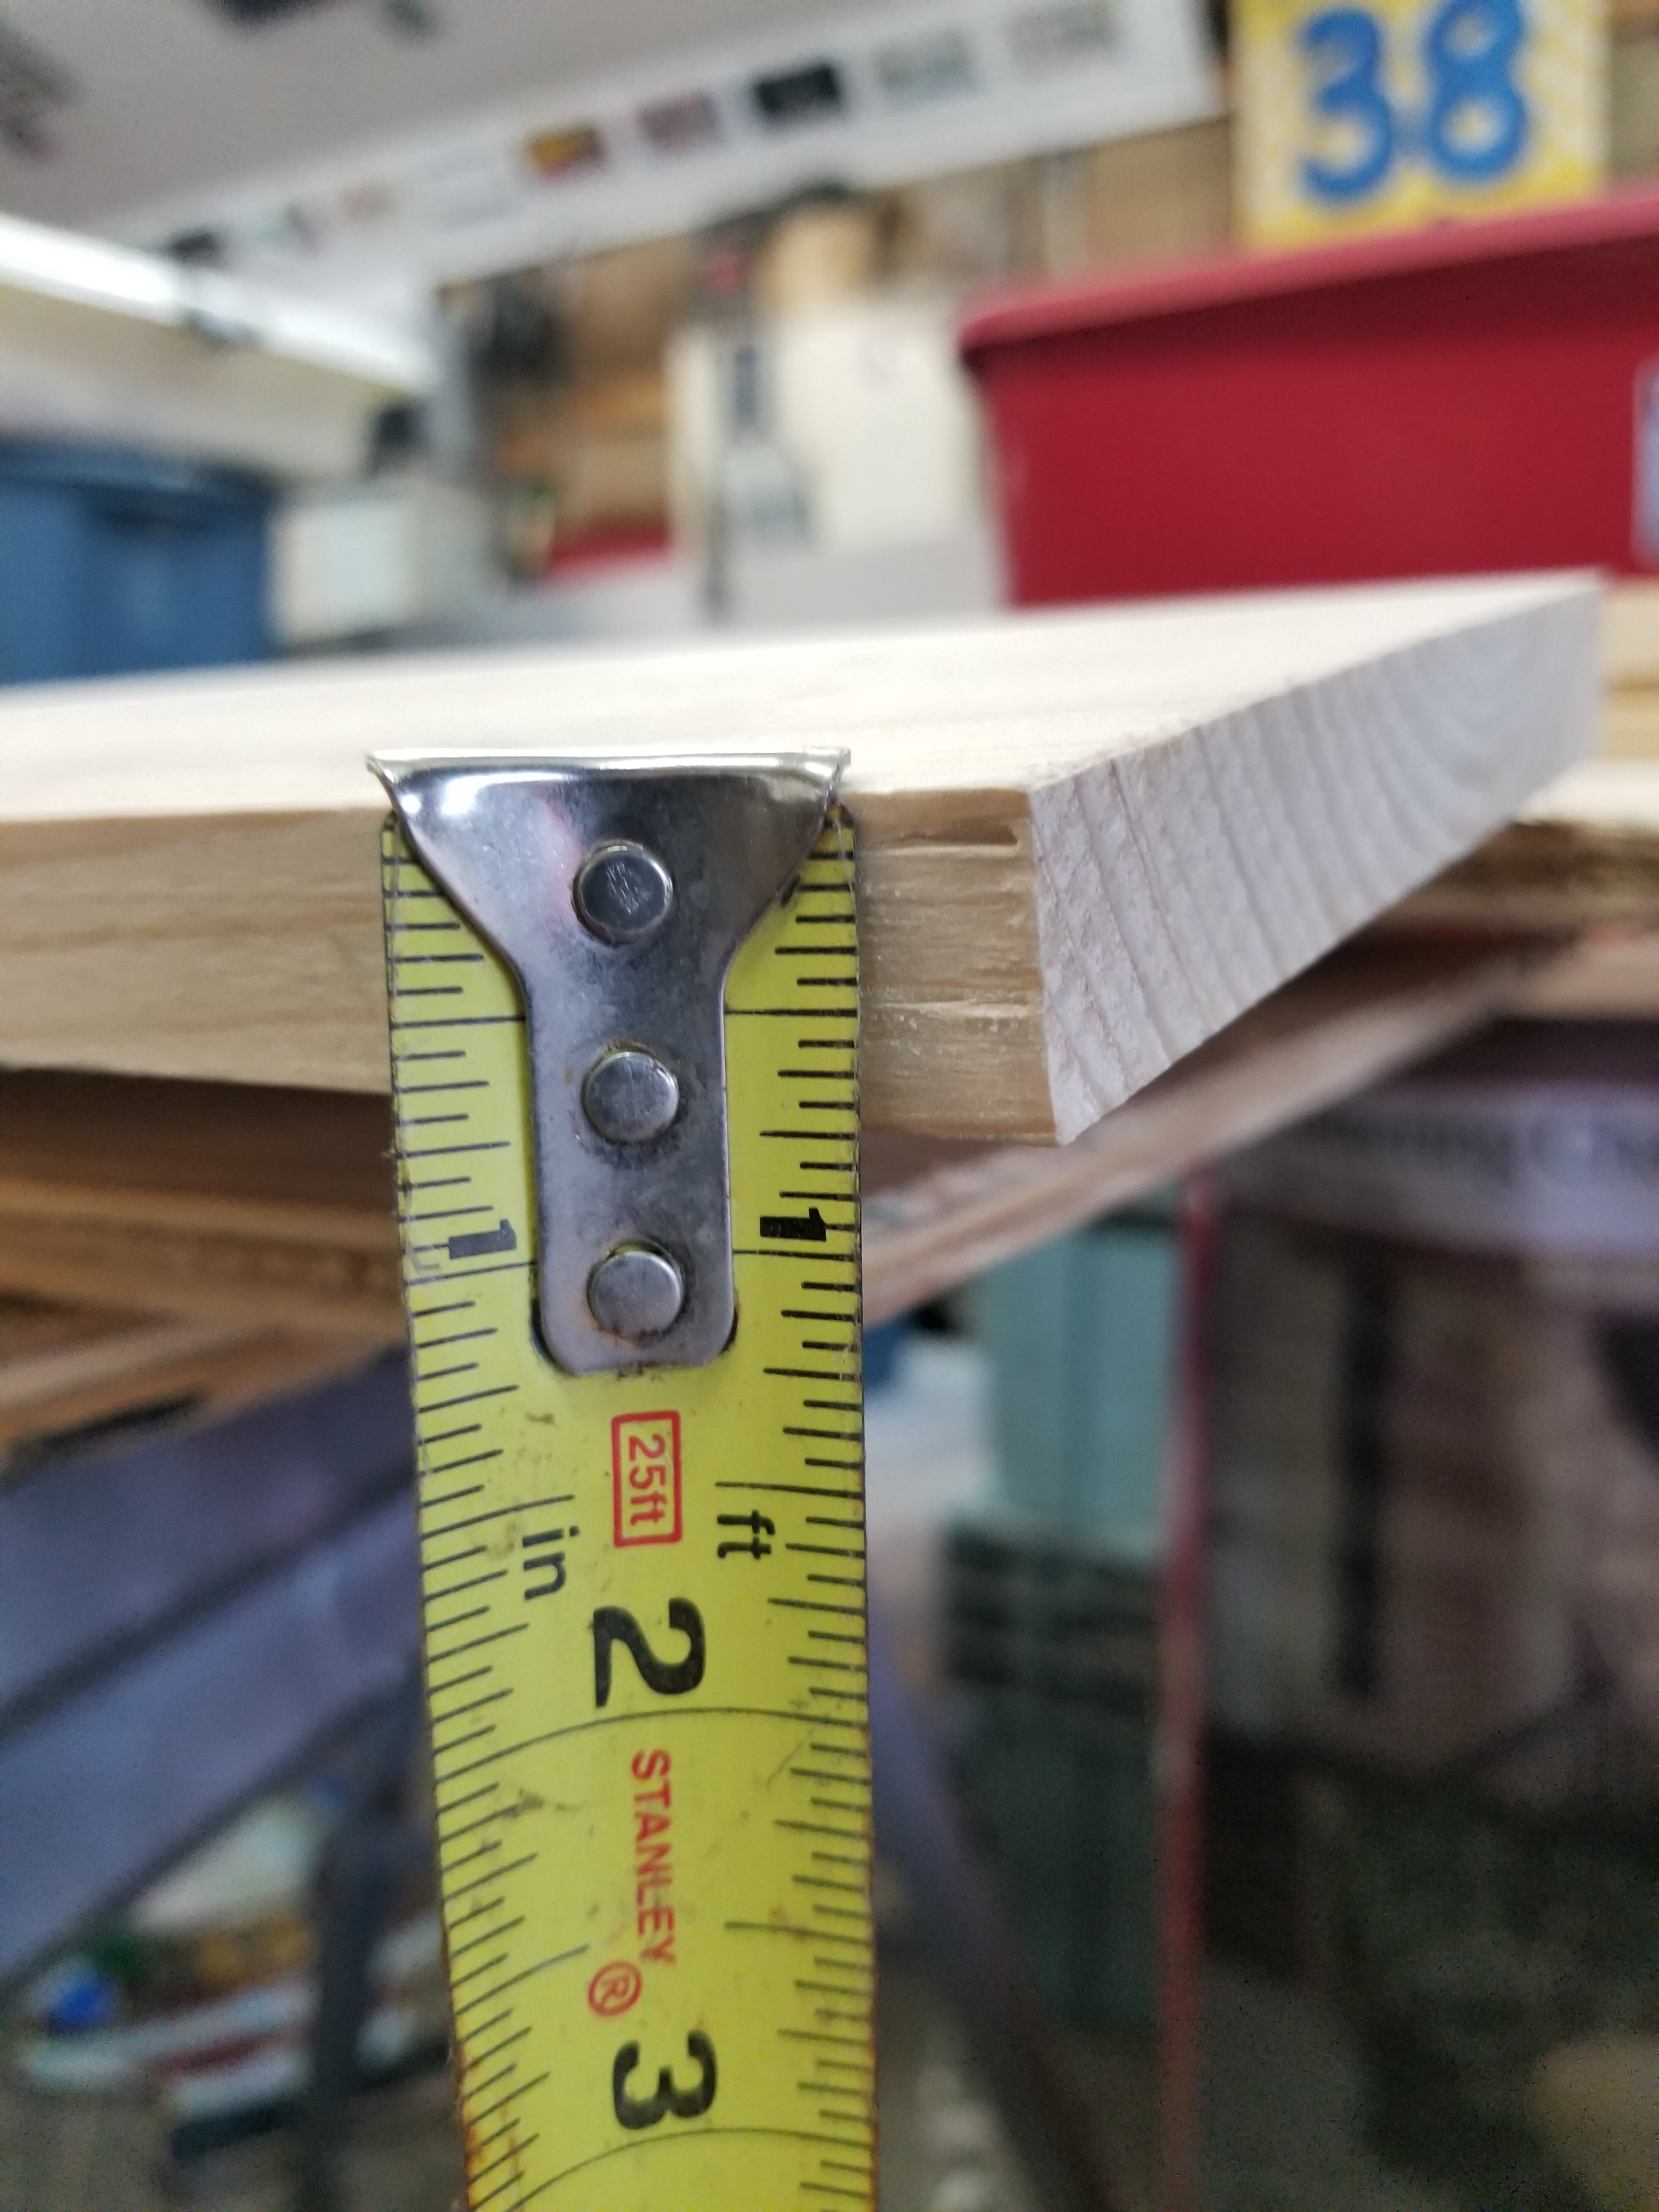
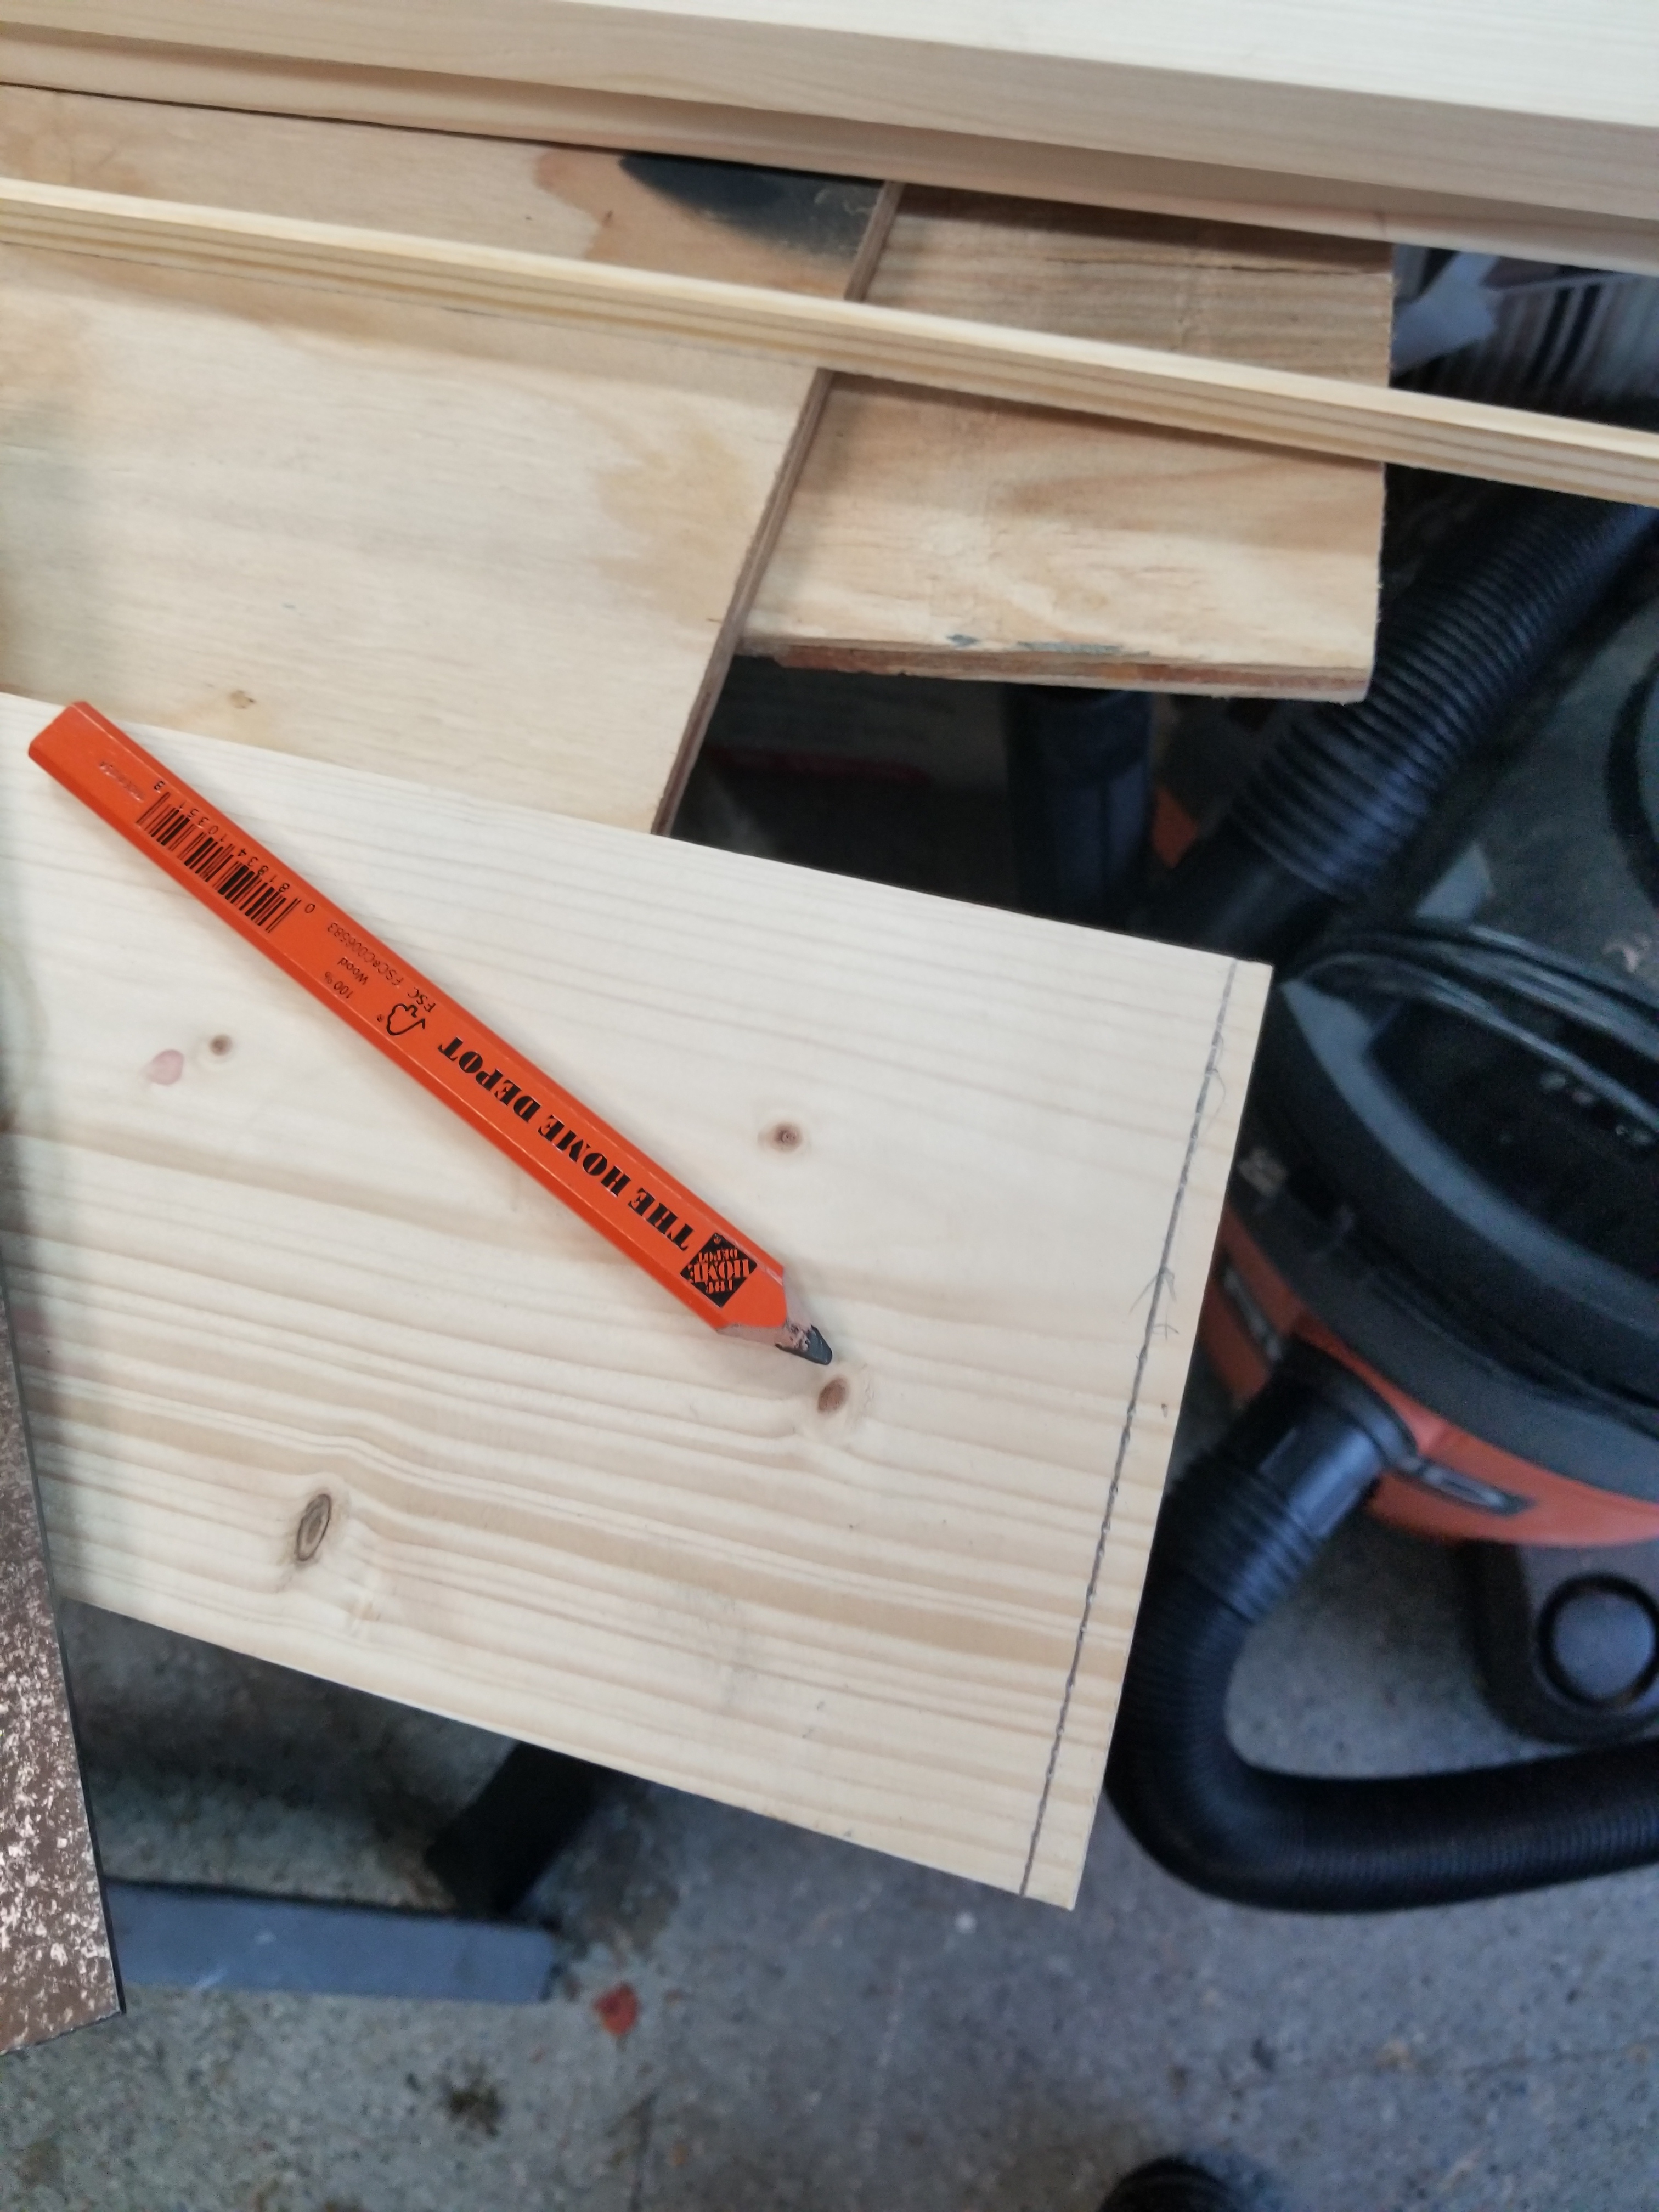
OK. Need to add shelves. Front one is full. Following pictures show how I do it. Remember , I'm not a carpenter . What I do anybody can do! #1 , Shelf full. # 2 Back wall. which is 120 inches, 10 feet. . Bought a 1x6 from Home Depot. Note a 1x6 is actually a 3/4 x 5 and 3/4. Important to remember that later! Pics 4 and 5. I cut a quarter inch off the board so I wouldn't have to "jam" it in the space. The 1/4 inch won't matter. No one will ever see it. If they do , tell them to get the hell out of your shop! You don't need that kind of negativity. I didn't route to the end because the side shelves will meet up with the back shelf and that 5 and 3/4 inch will come into play there. (pic 7). I use a 3/8 round over bit in my Ryobi Router. Why? Cause that's what the hell I wanted tp use! Ryobi Router? Cheapest one I could find. Once again , I'm not a professional. Want perfection? Hire a professional! (pics 8 & 9). I used a scrap piece of wood to make sure the depth is right. Not a big deal, (pic 10). Safety first! Safety glasses , will need them! I started routing a % and 3/4 on each end., (pic 12). I used a sanding sponge to knock off rough edges. I had a sanding sponge there, sand paper will work.. Took all of 2 minutes! Glued the quarter round down with wood glue and 4 clamps. Anything will work as long as it holds the quarter round down. Use rocks, blocks, metal. Doesn't matter. Had the clamps. Lucky me! Dumb butt Home Depot only had four brackets, so I can only do the one shelf at this time. Screw Home Depot! Rot Bastards! Have to wait on the other two shelves. Will stain and clear the shelf, starting tomorrow!
-
Will be watching. Share comparison pics when done. That would be cool
-
Very nice. Glad you put it back stock. Thanks for sharing
-
Rare , cool build. thanks for sharing
-
.jpg.0c75d4af58bbe0dcf58c7140c68bb8a7.thumb.jpg.c6d2fb89398aad96d0499ef8532bcefc.jpg)
2017 Daytona 500 Winner
Super28 replied to martinfan5's topic in WIP: Stock Cars (NASCAR, Super Stock, Late Model, etc.)
Great build/job! -
Really like these. Cool builds
-
Nice build. I got some old kits from 80s and 90s I'm going to build. Following, taking notes and stealing ideas! Thanks
-
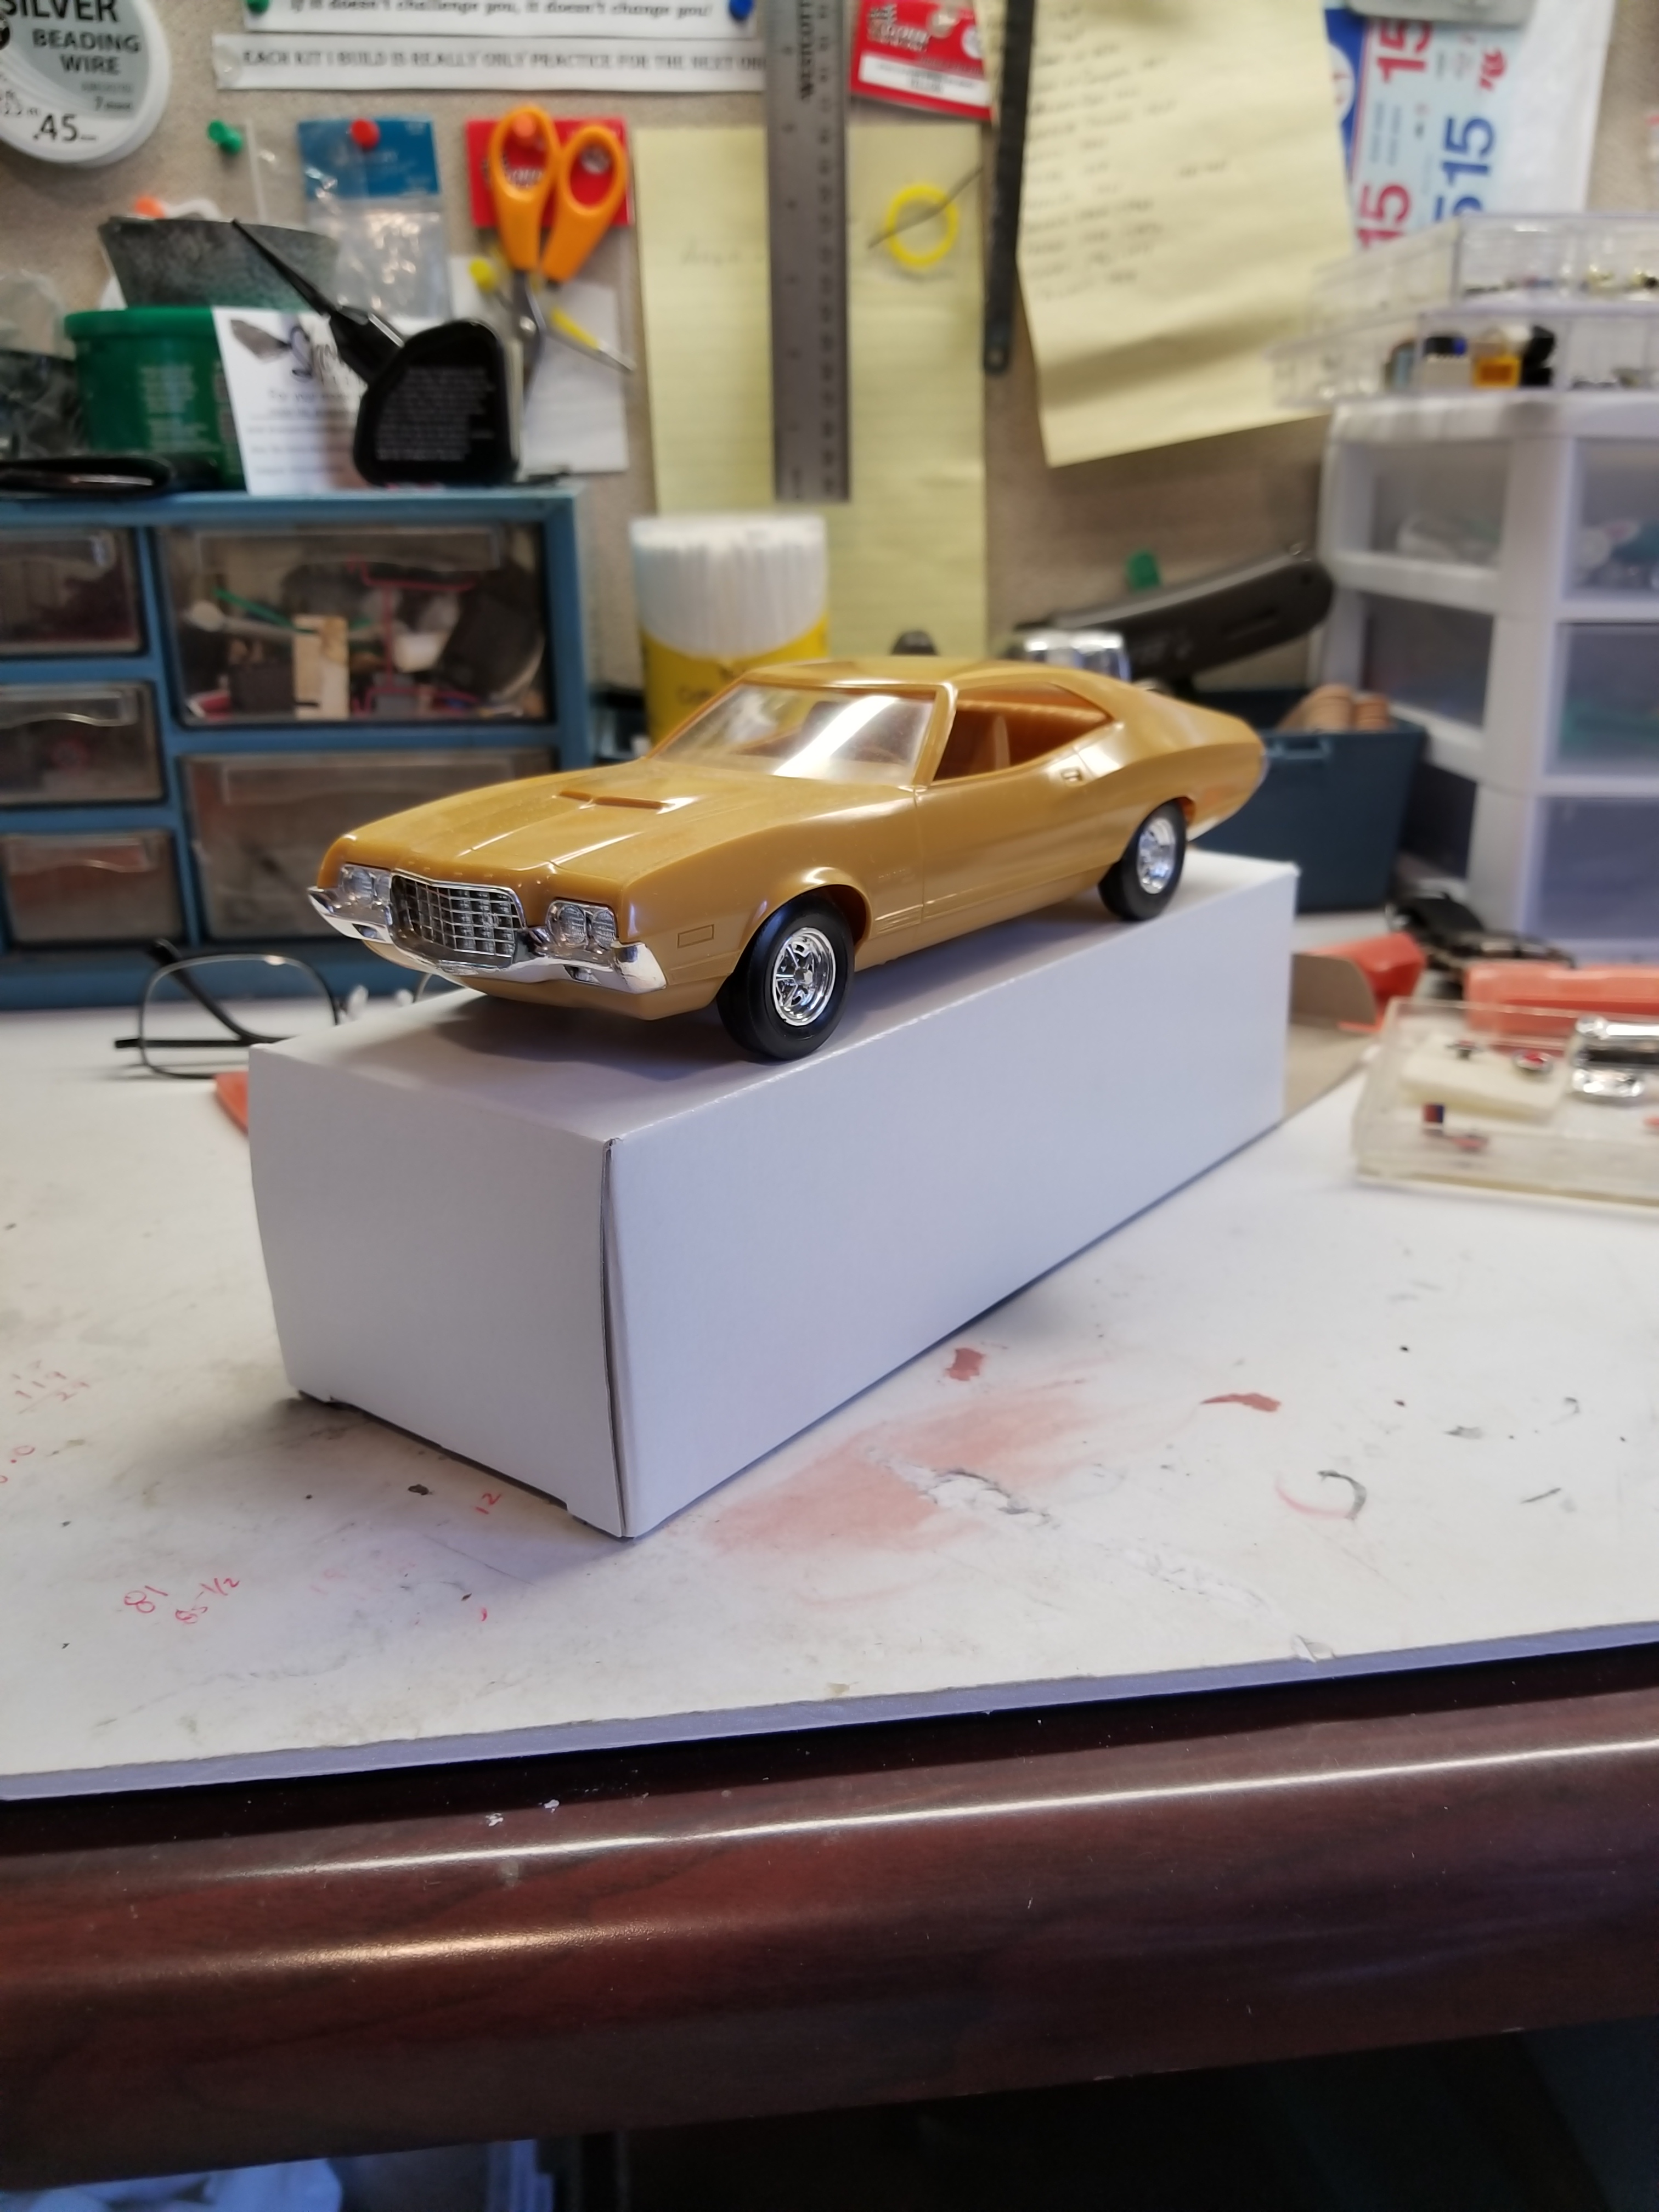
I would really like to do it as a "Squire" again, but the trim around the wood grain seems impossible to find
-
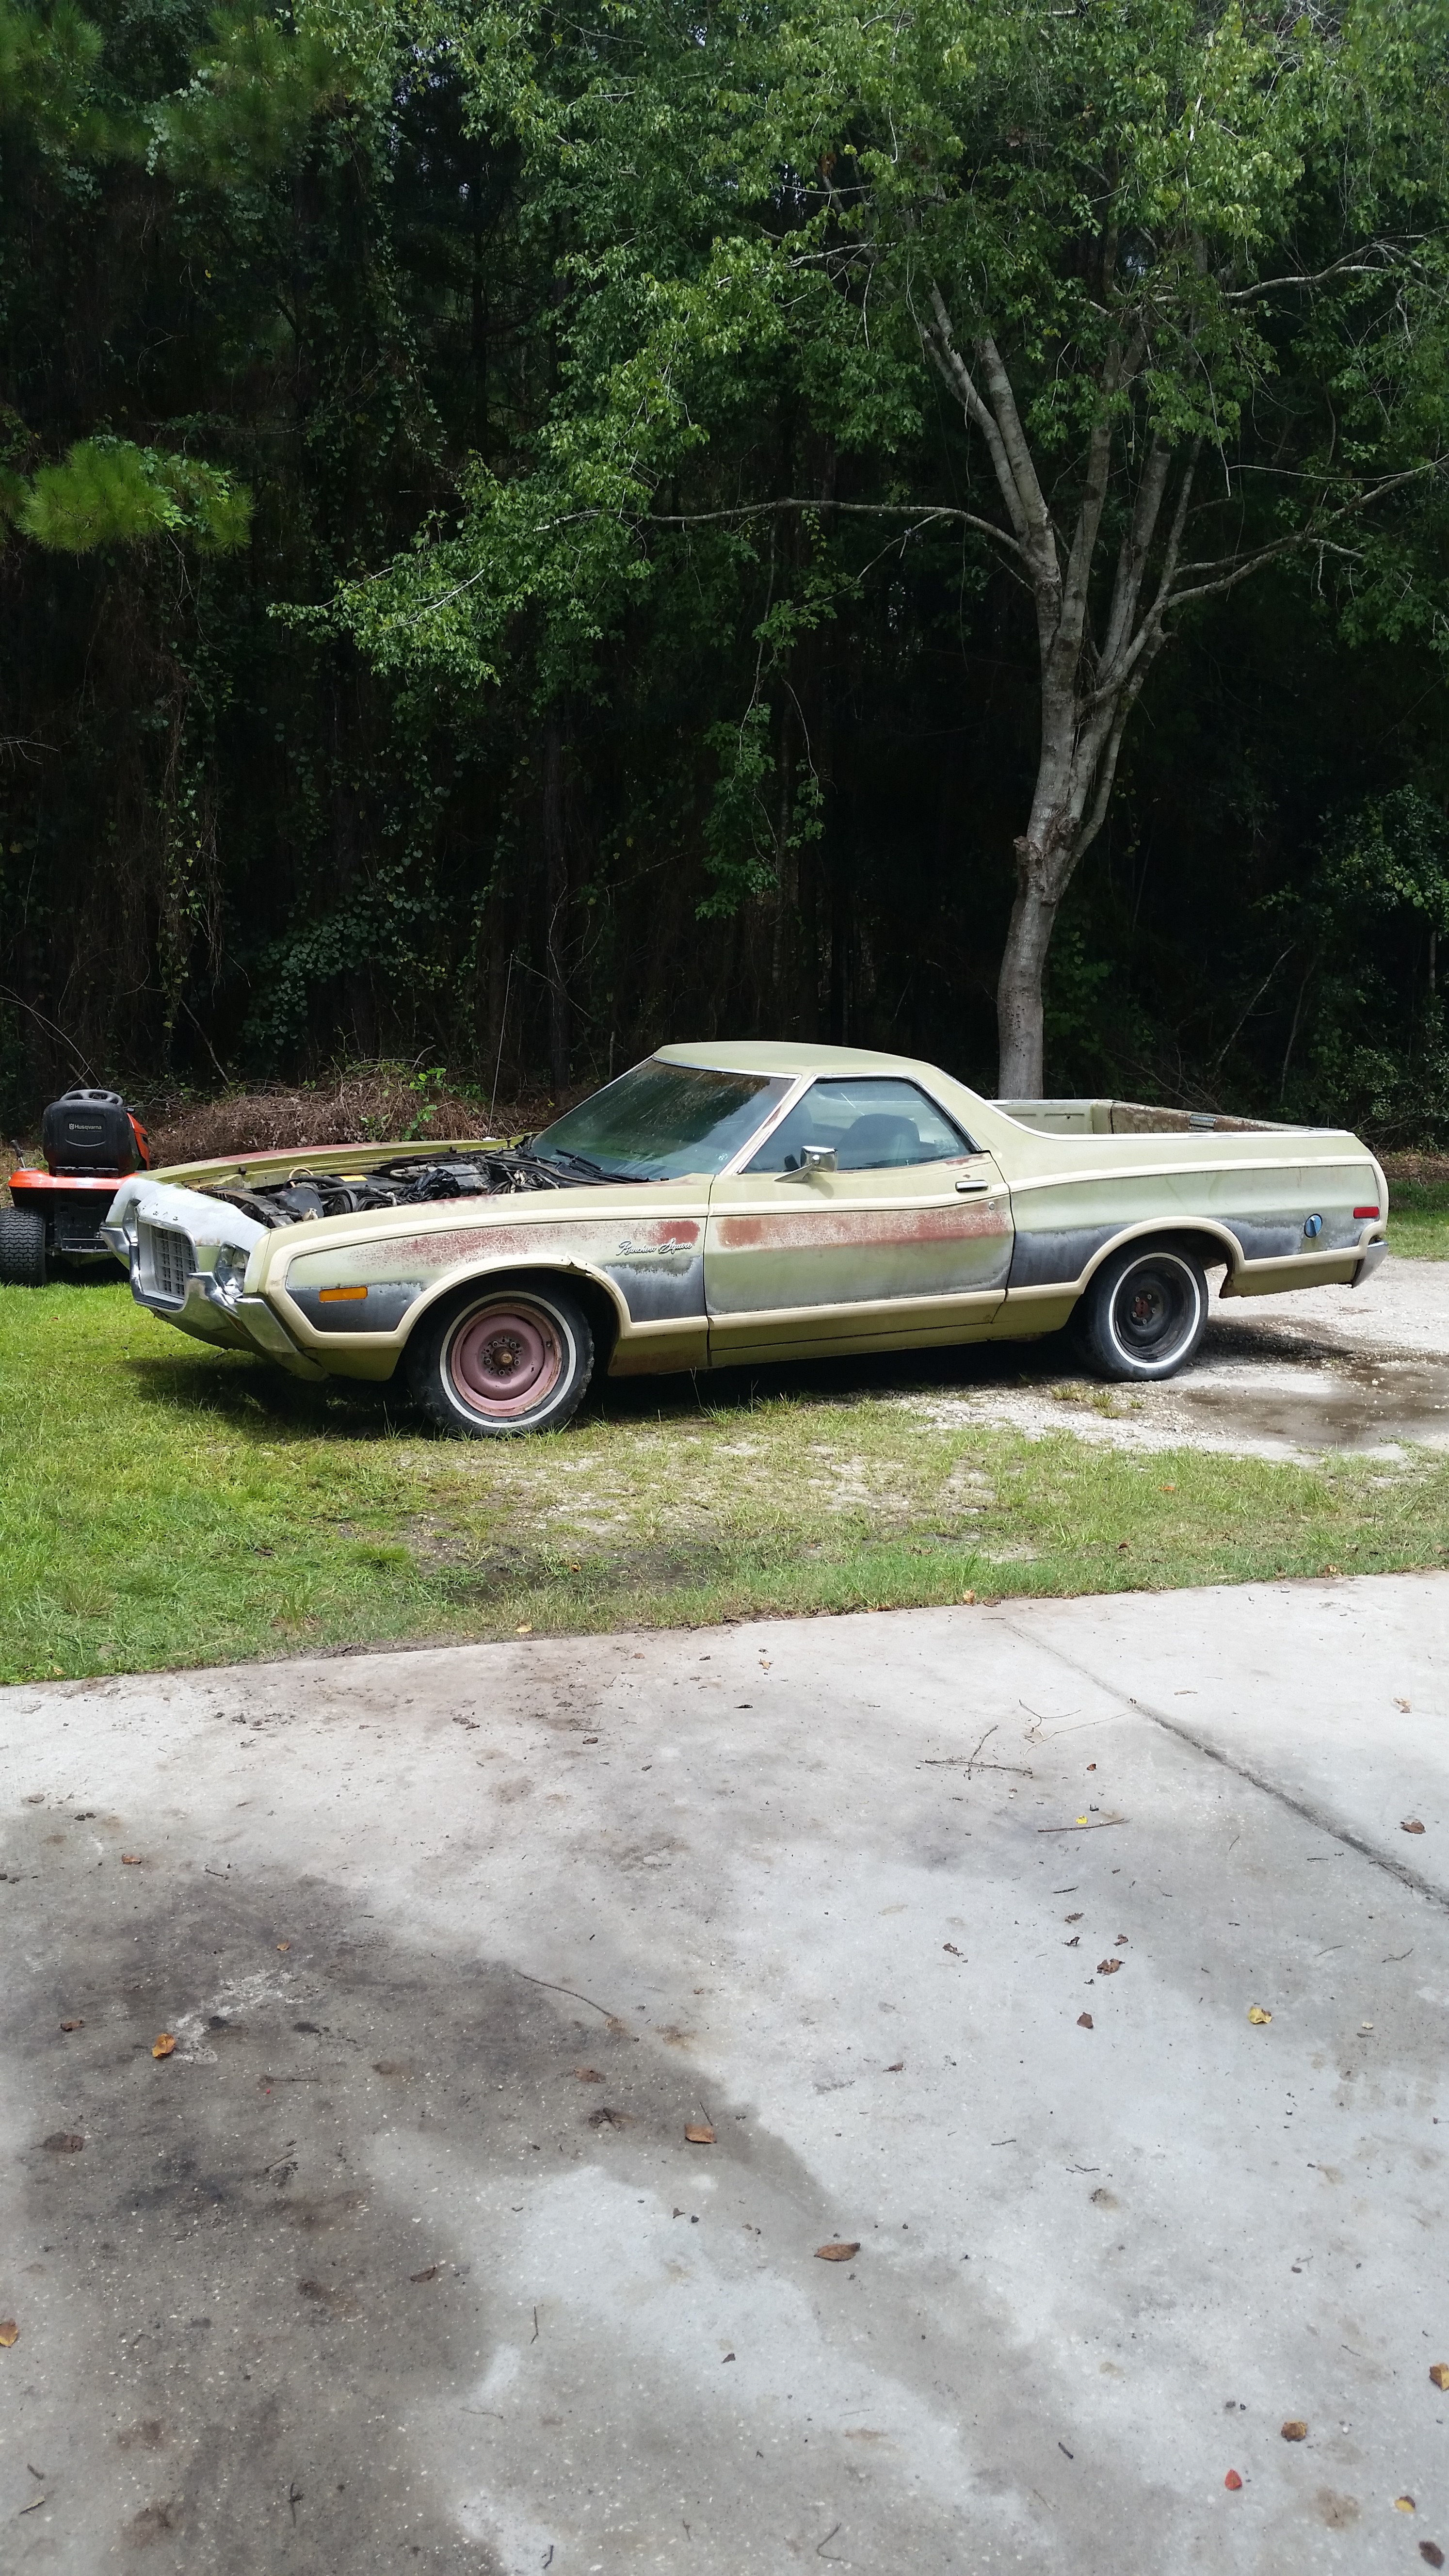
Starting point on Dory, Like two years ago
-
Going to build these together
-
Looking good. Run with it. Like where going with this
-
Nice build. Watching, stealing ideas...lol
-
Looking Good! Love the restore on this!
-
Got this today
-
Got this from Motor City Resins. Going to build them together
-
Will try that. Thanks
-
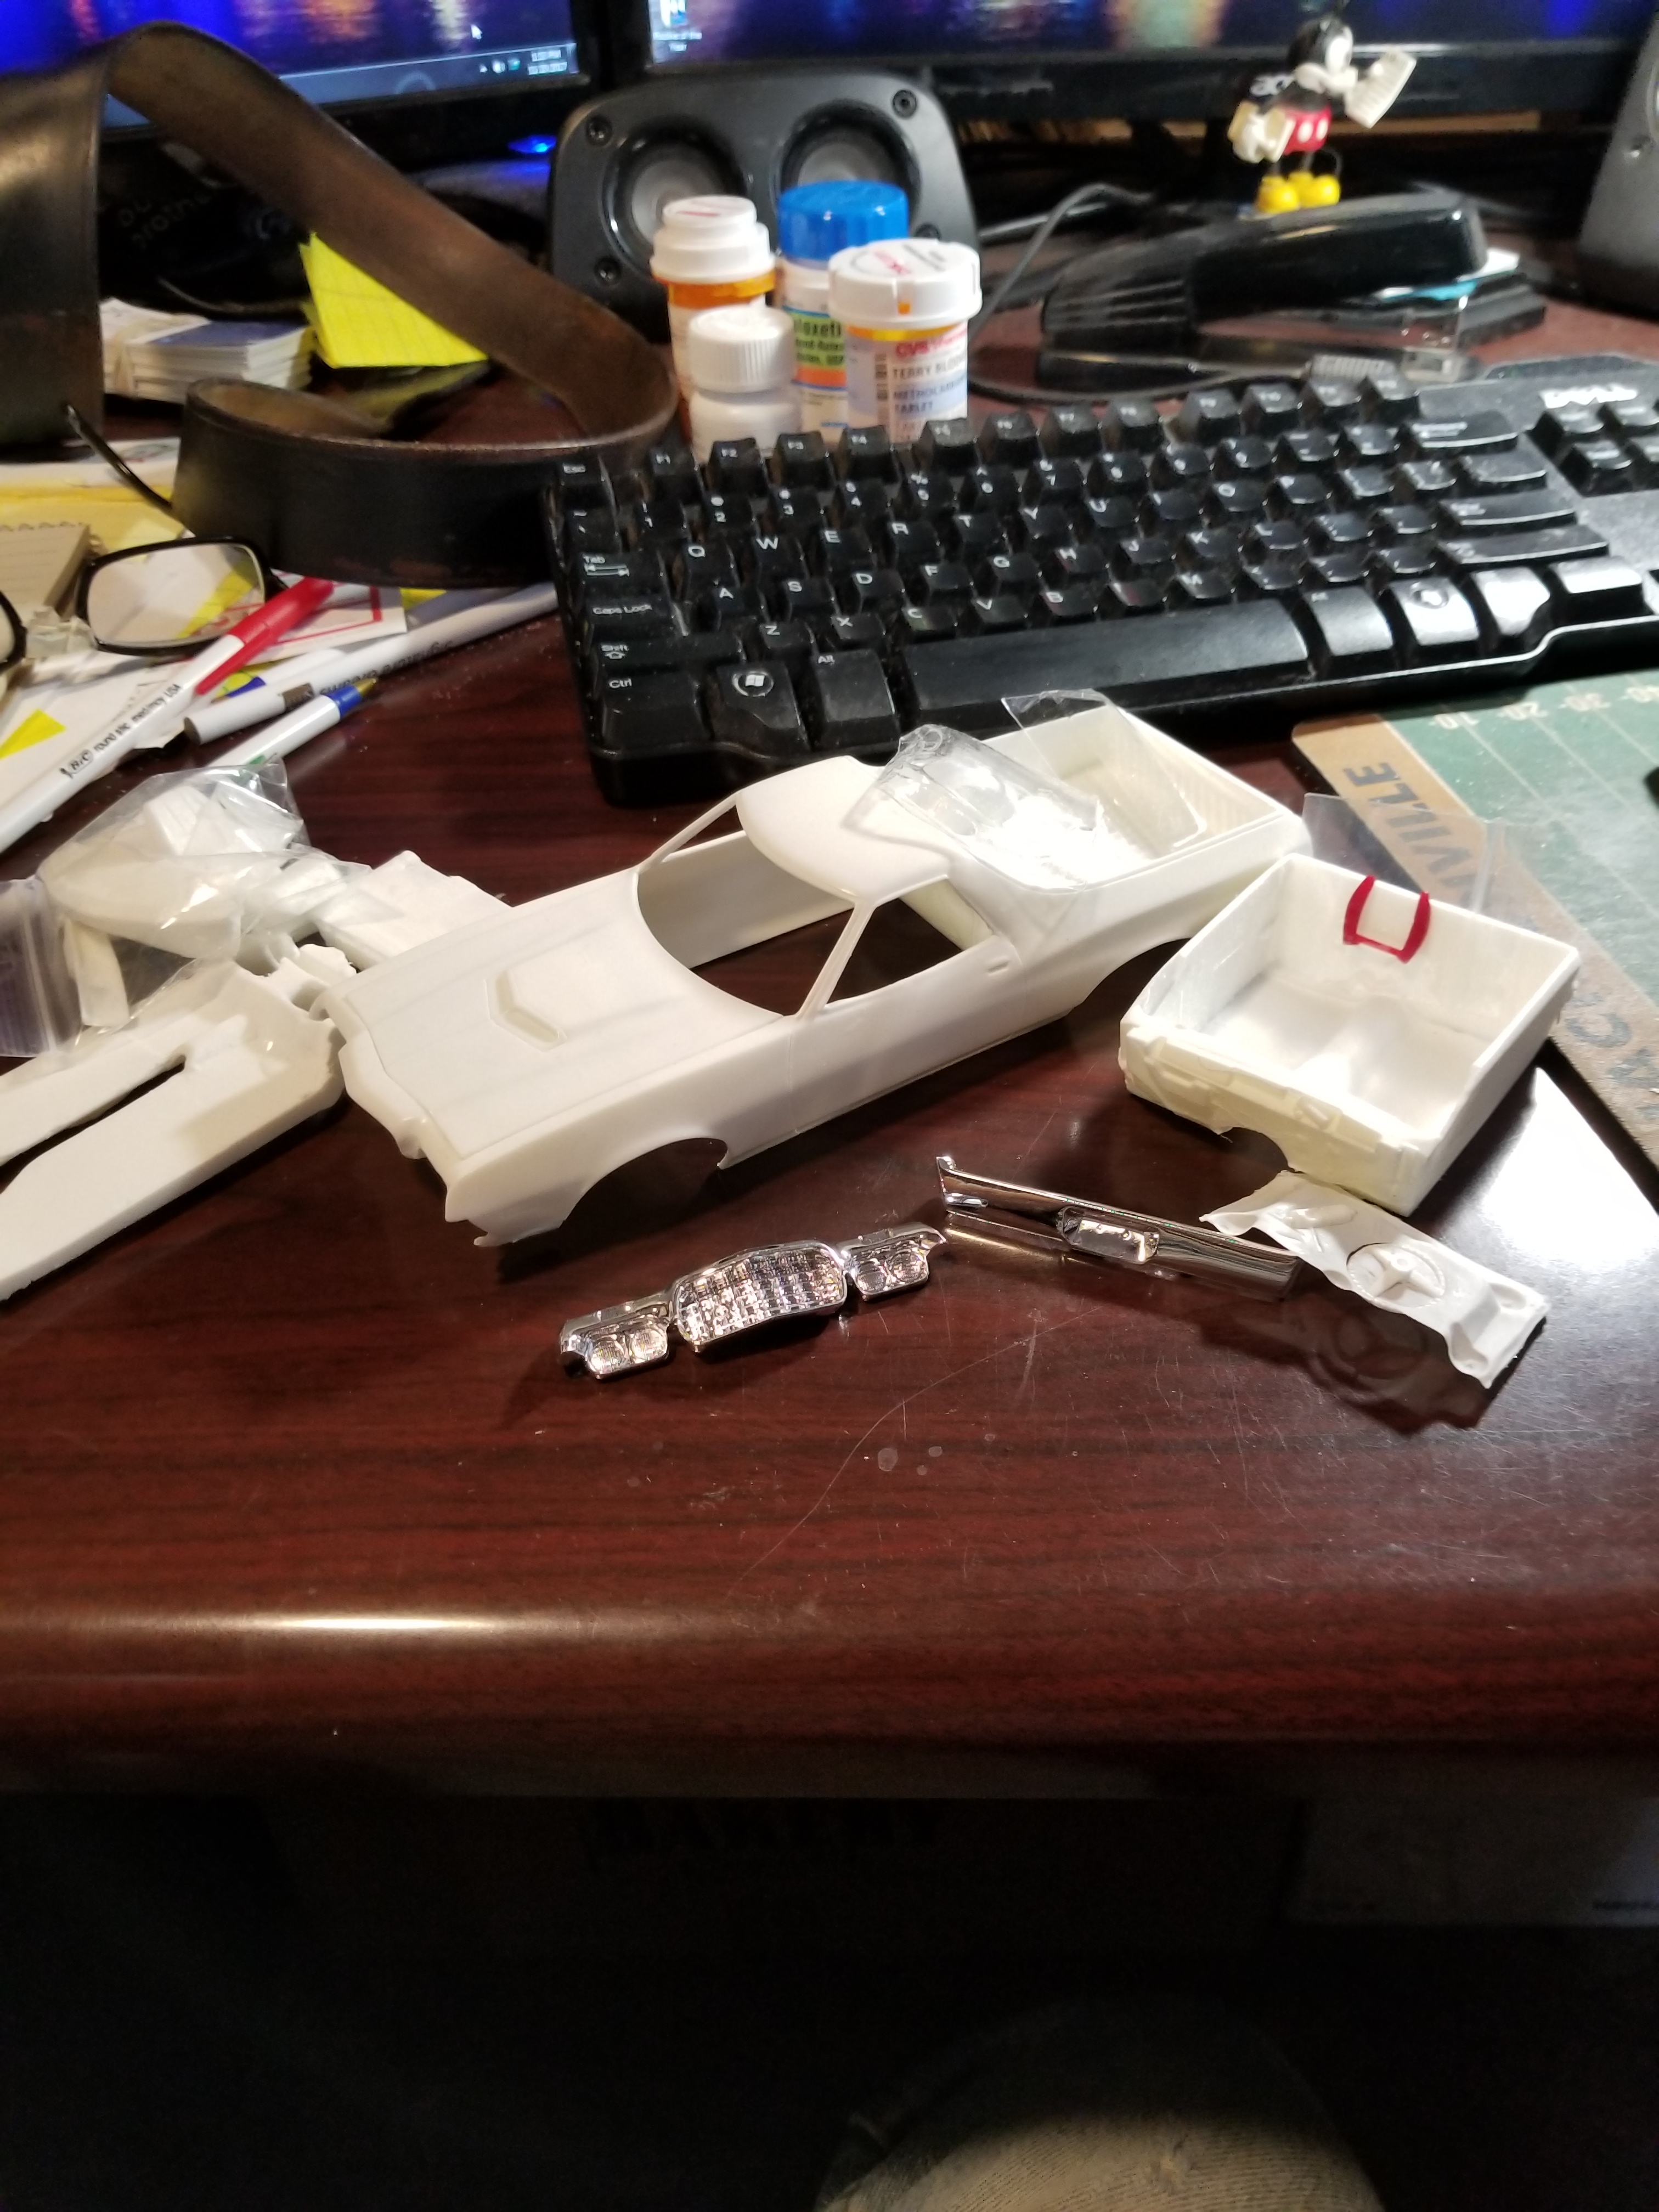
Got a 1959 Ford Galaxie "Flip-Top" that I built over 20 years ago. Got knocked off the shelf and broke. Going to re-build it. Screwed up headlights in original build with glue. Got out headlights out. Filled holes with "Kyrstal Klear", and t/u up with chrome pen. Now, the question. I need to redo the grill. Want to try a "eash" in it , rather than paint , like last time. If I remove paint, I'll remove the chrome plating. Should I just remove all plating and send off to be re-chromed? Suggestions?


.jpg.ddc035b1de62904a335fad1c8bcd01c7.jpg)