Rocking Rodney Rat
-
Posts
1,995 -
Joined
-
Last visited
Content Type
Profiles
Forums
Events
Gallery
Everything posted by Rocking Rodney Rat
-
That's well done. I have several of these kits for parts, I've never built this one. Very clean. Drag on! -RRR
-
 Kool project! I like those 3D printed tires. Your cab needs more chop, IMHO! -RRR
 -
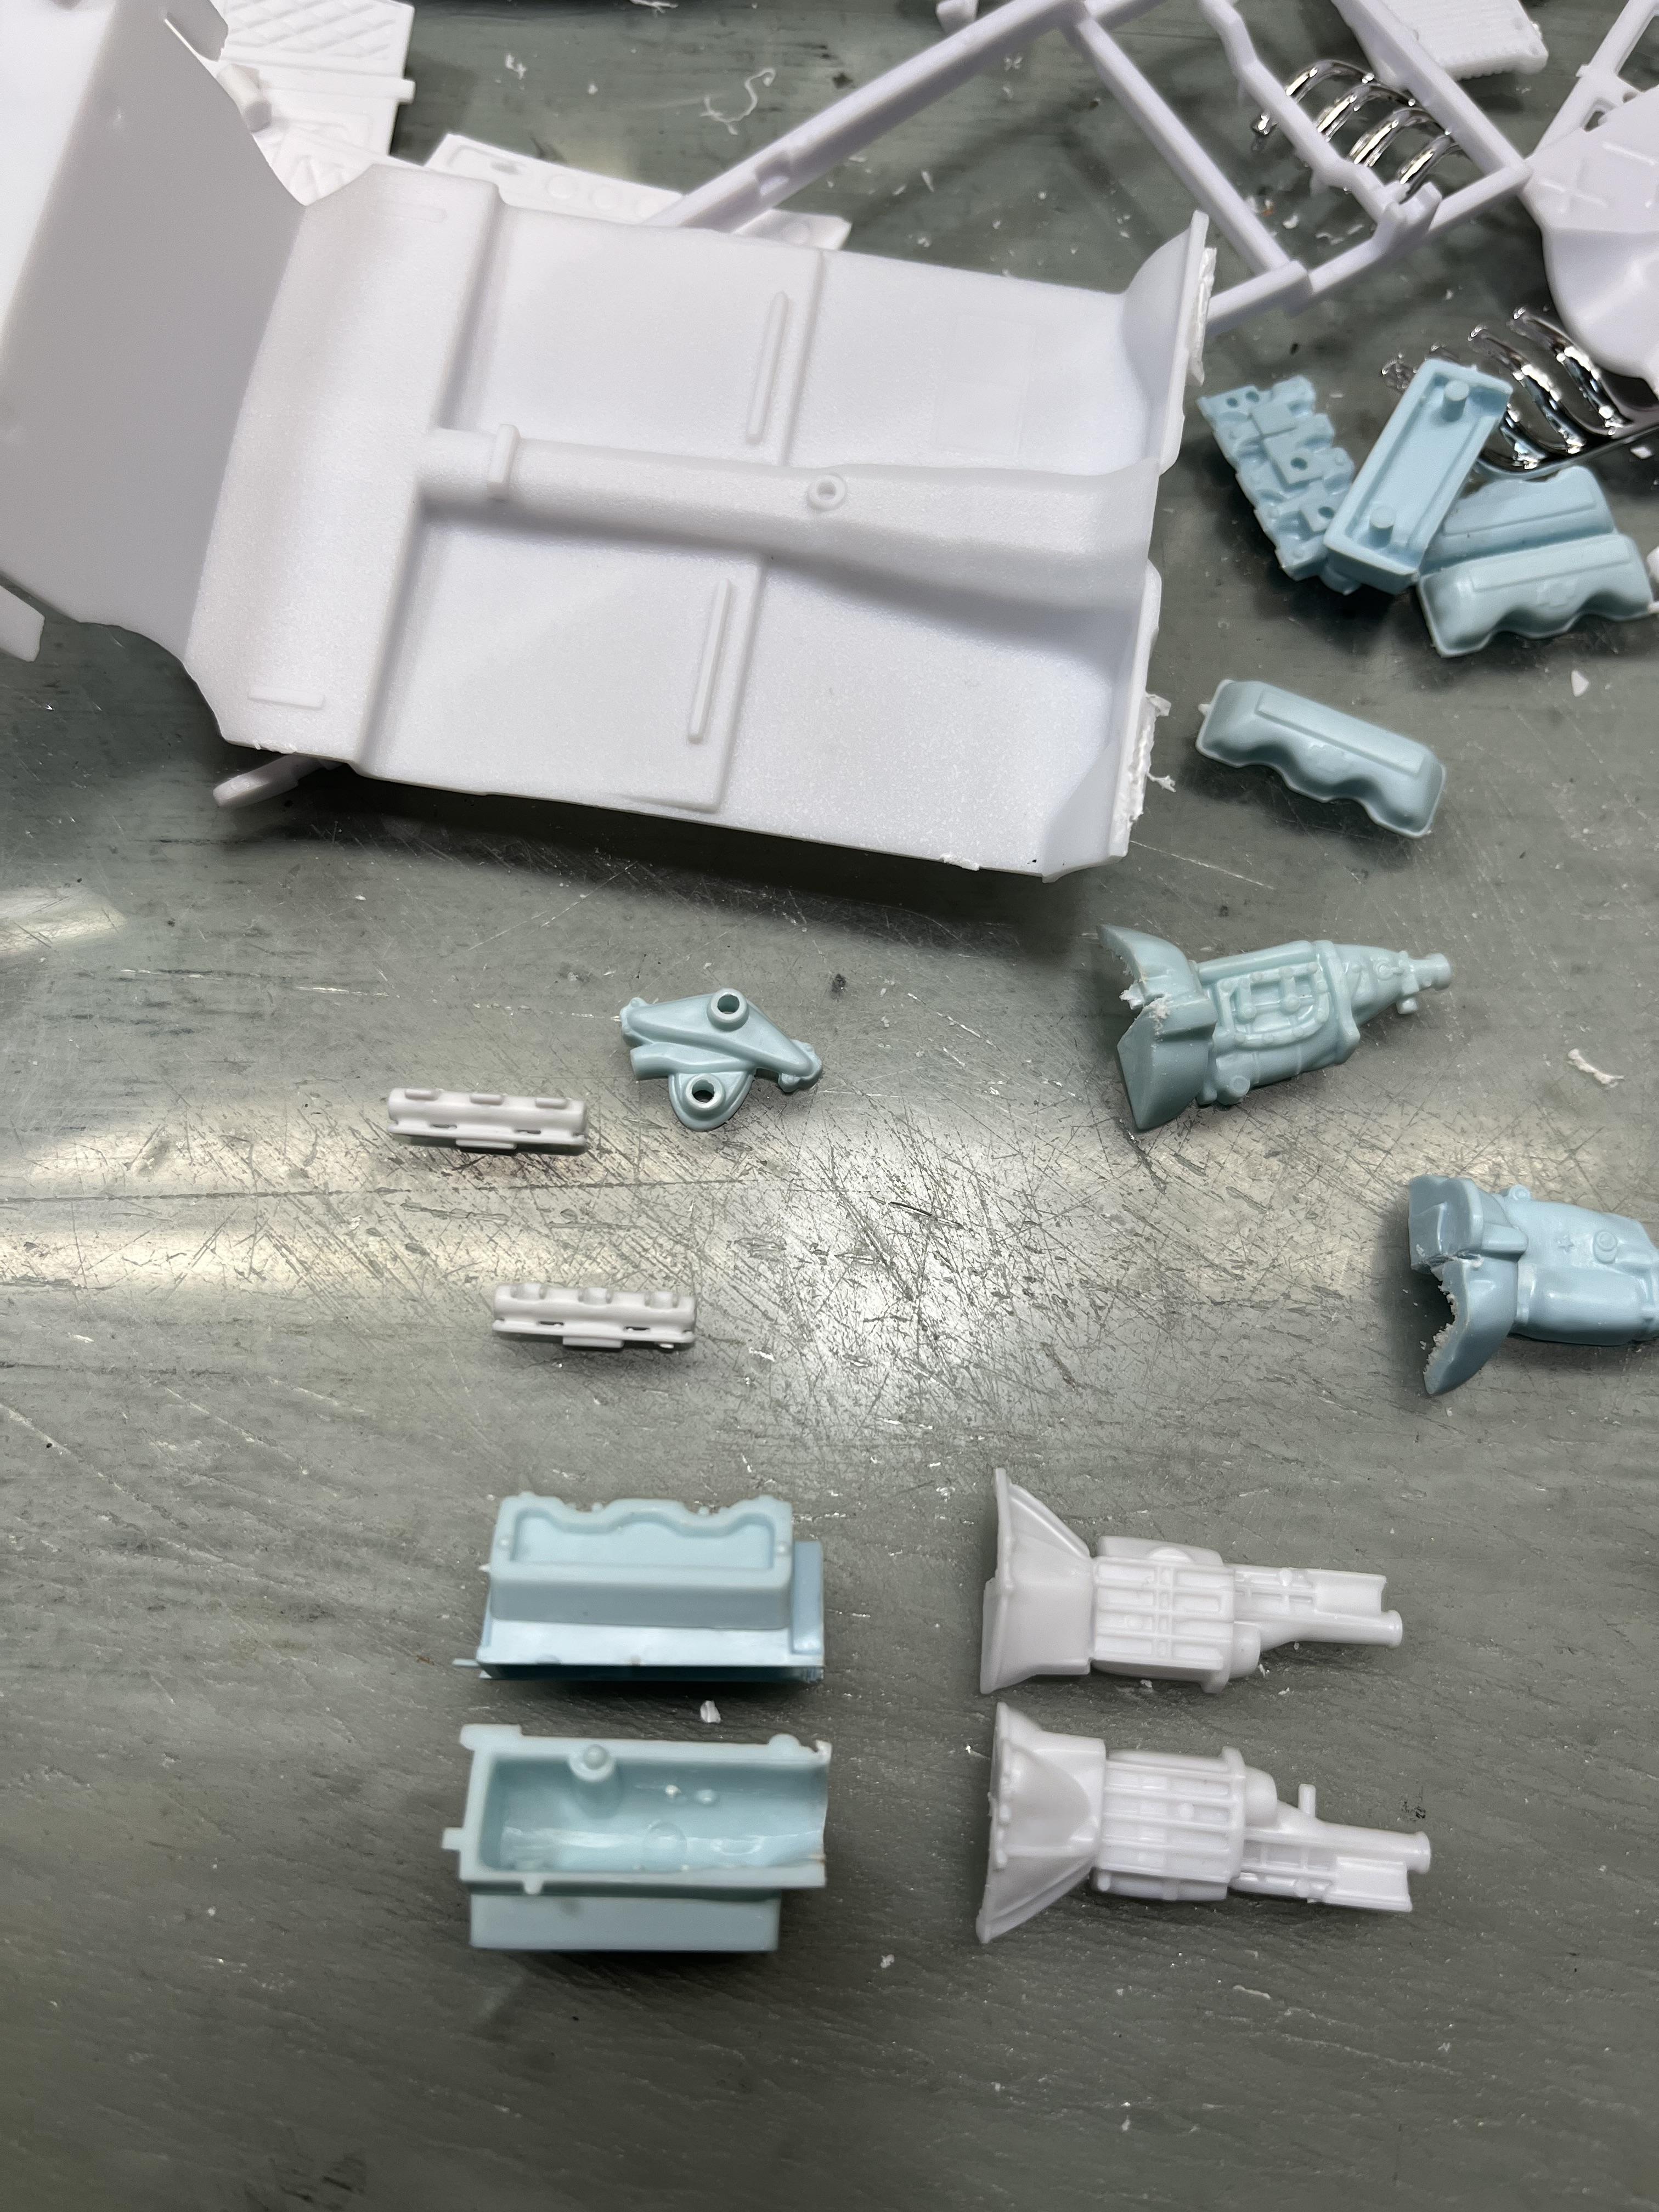
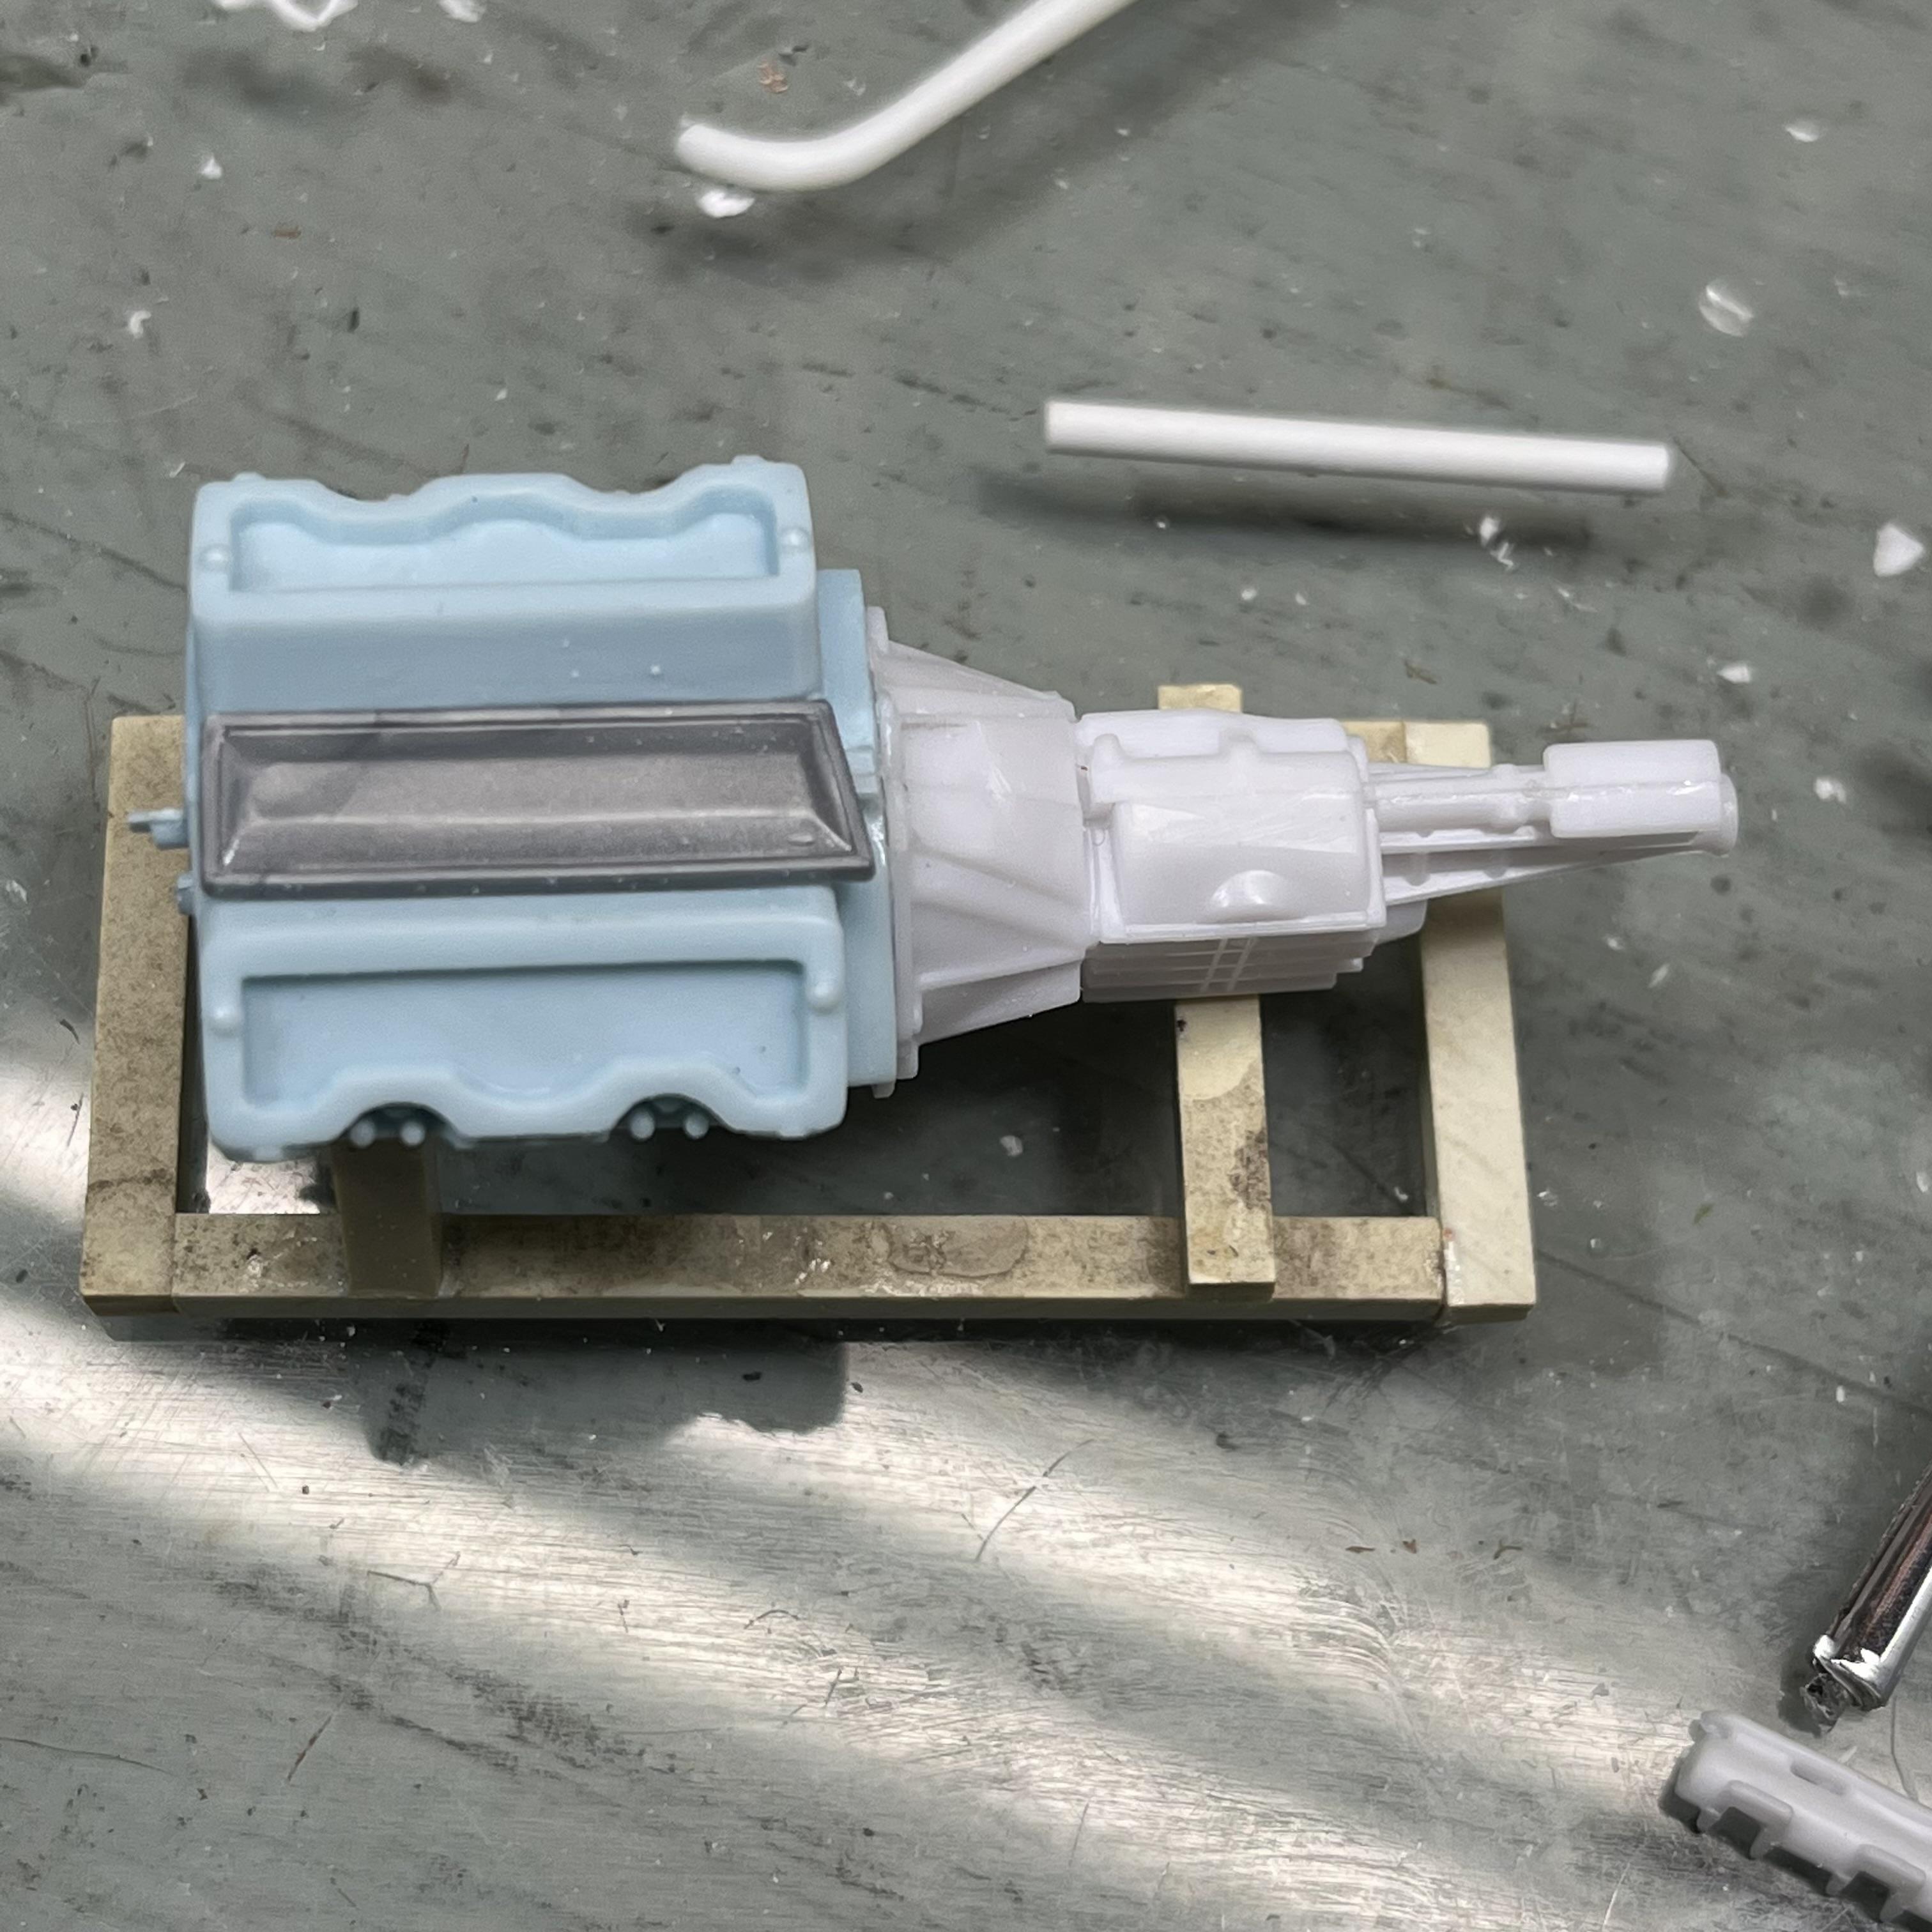
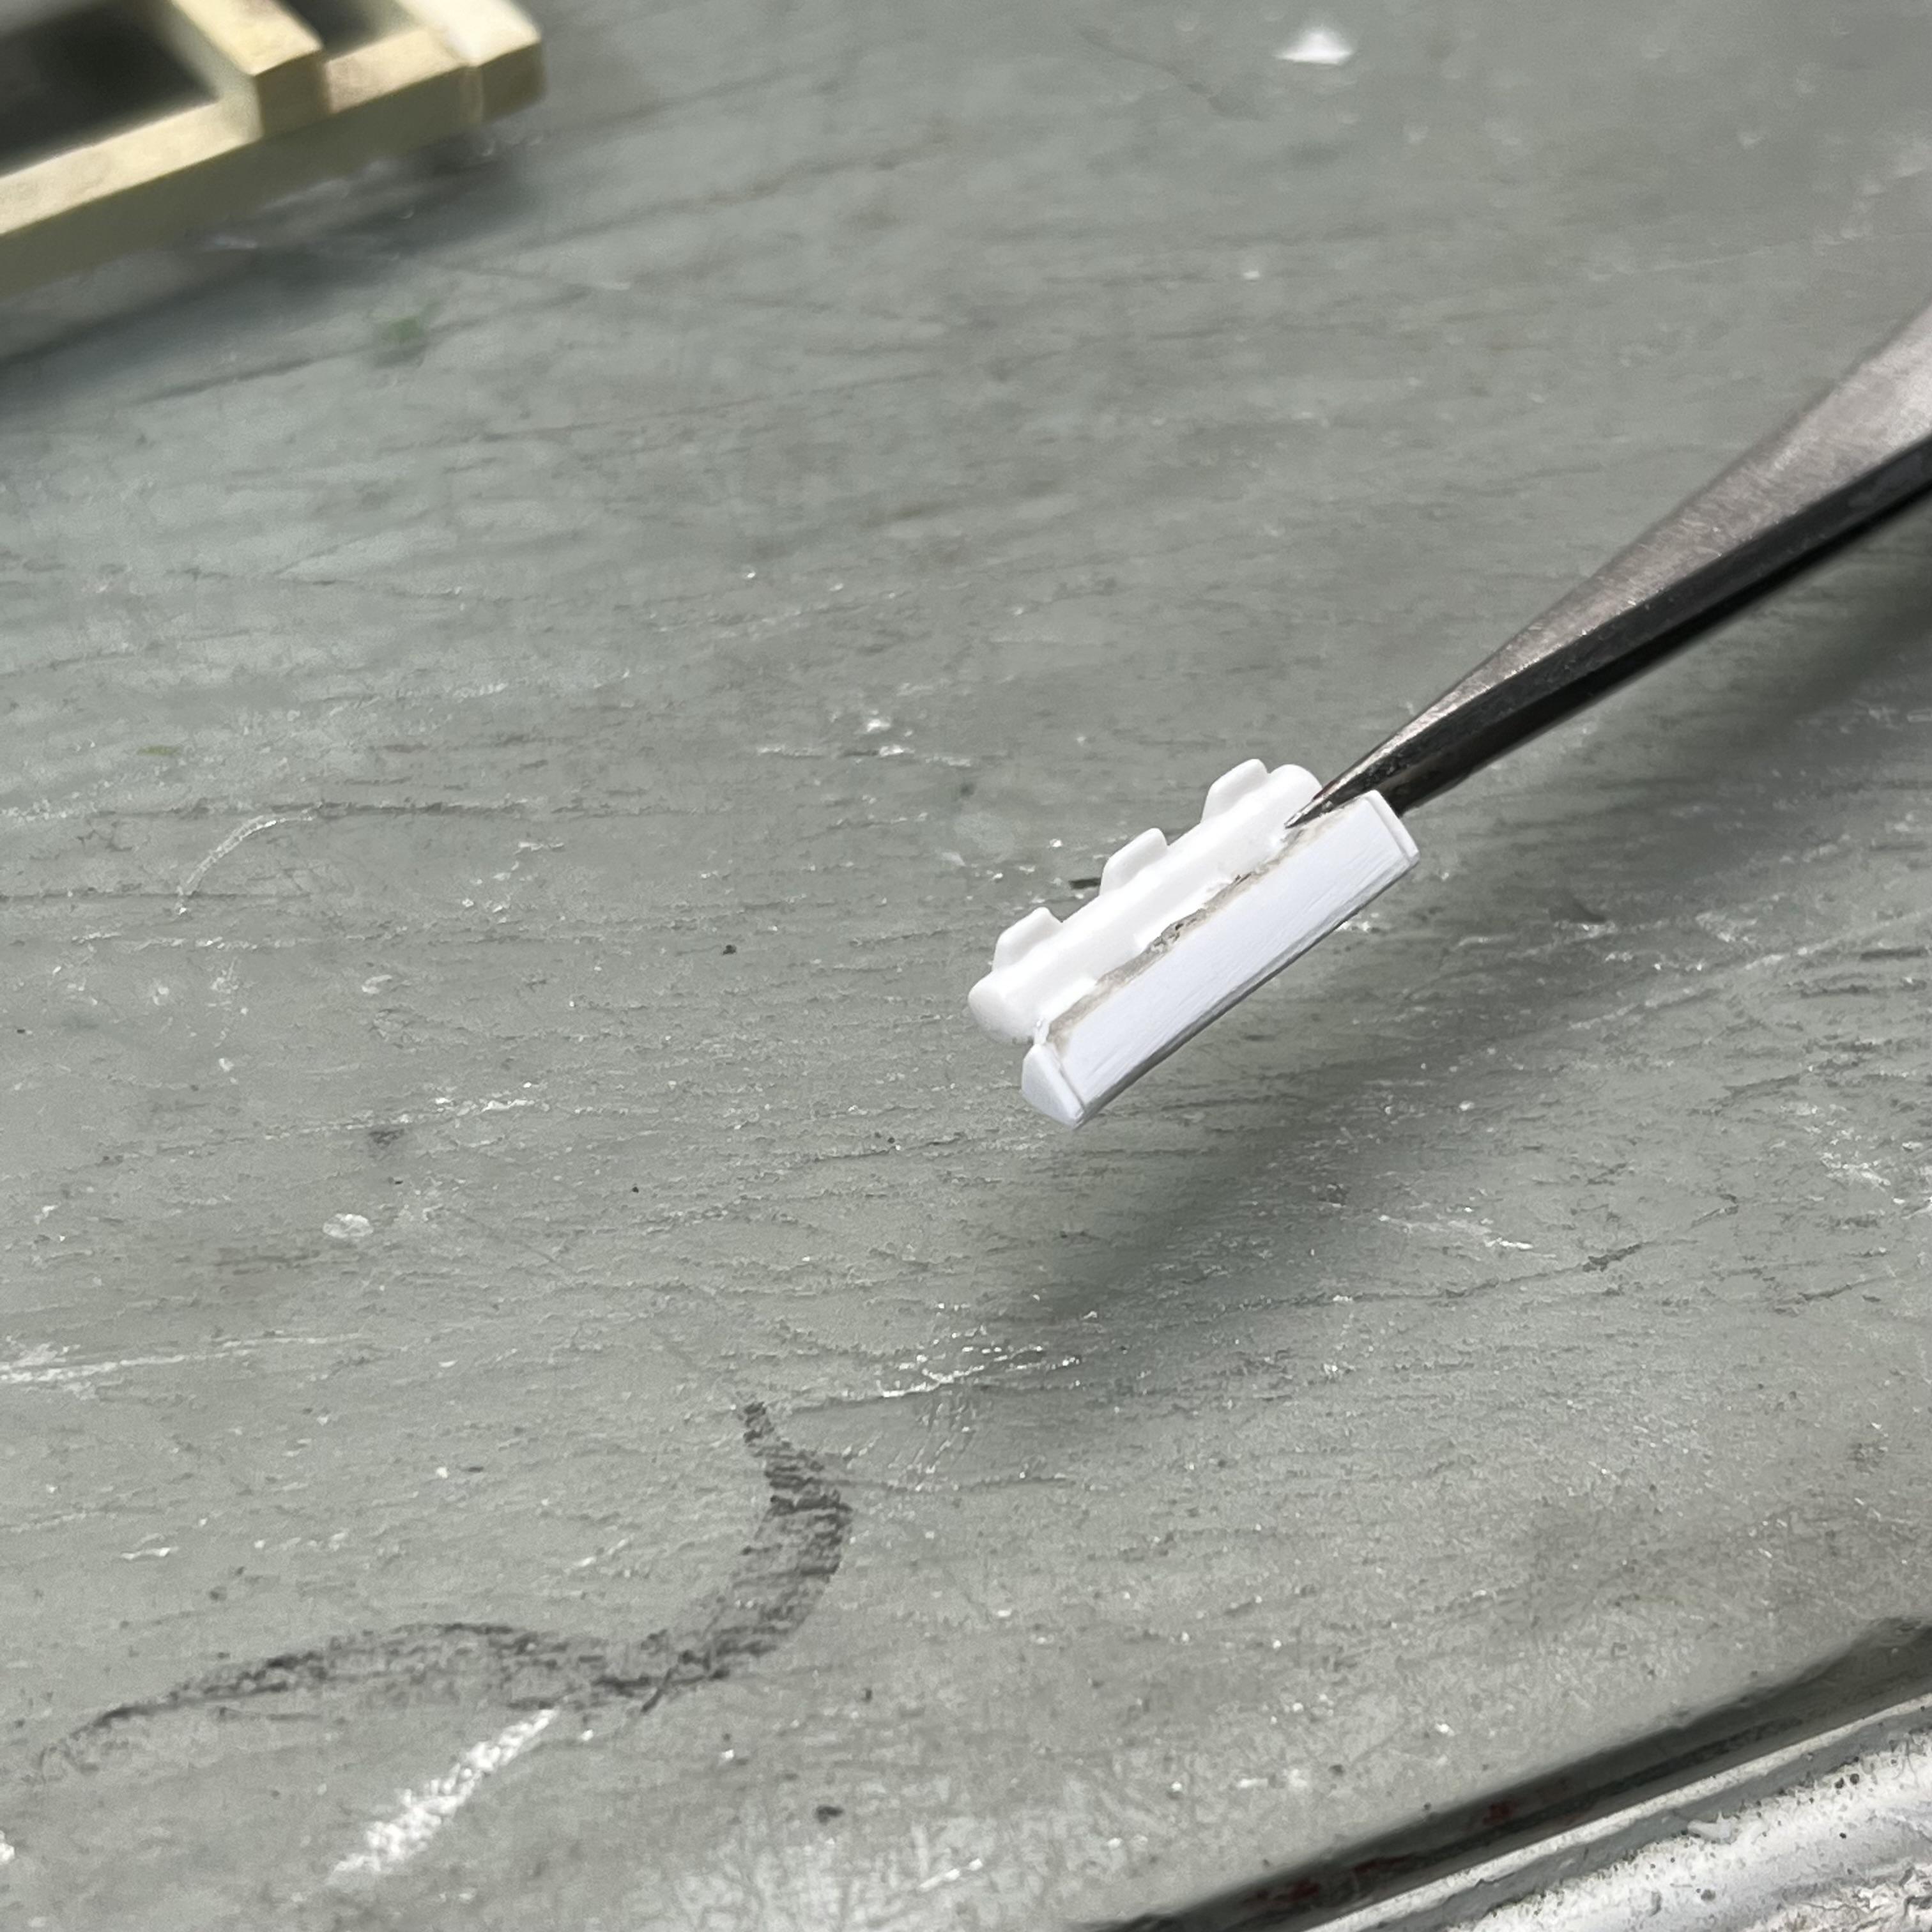
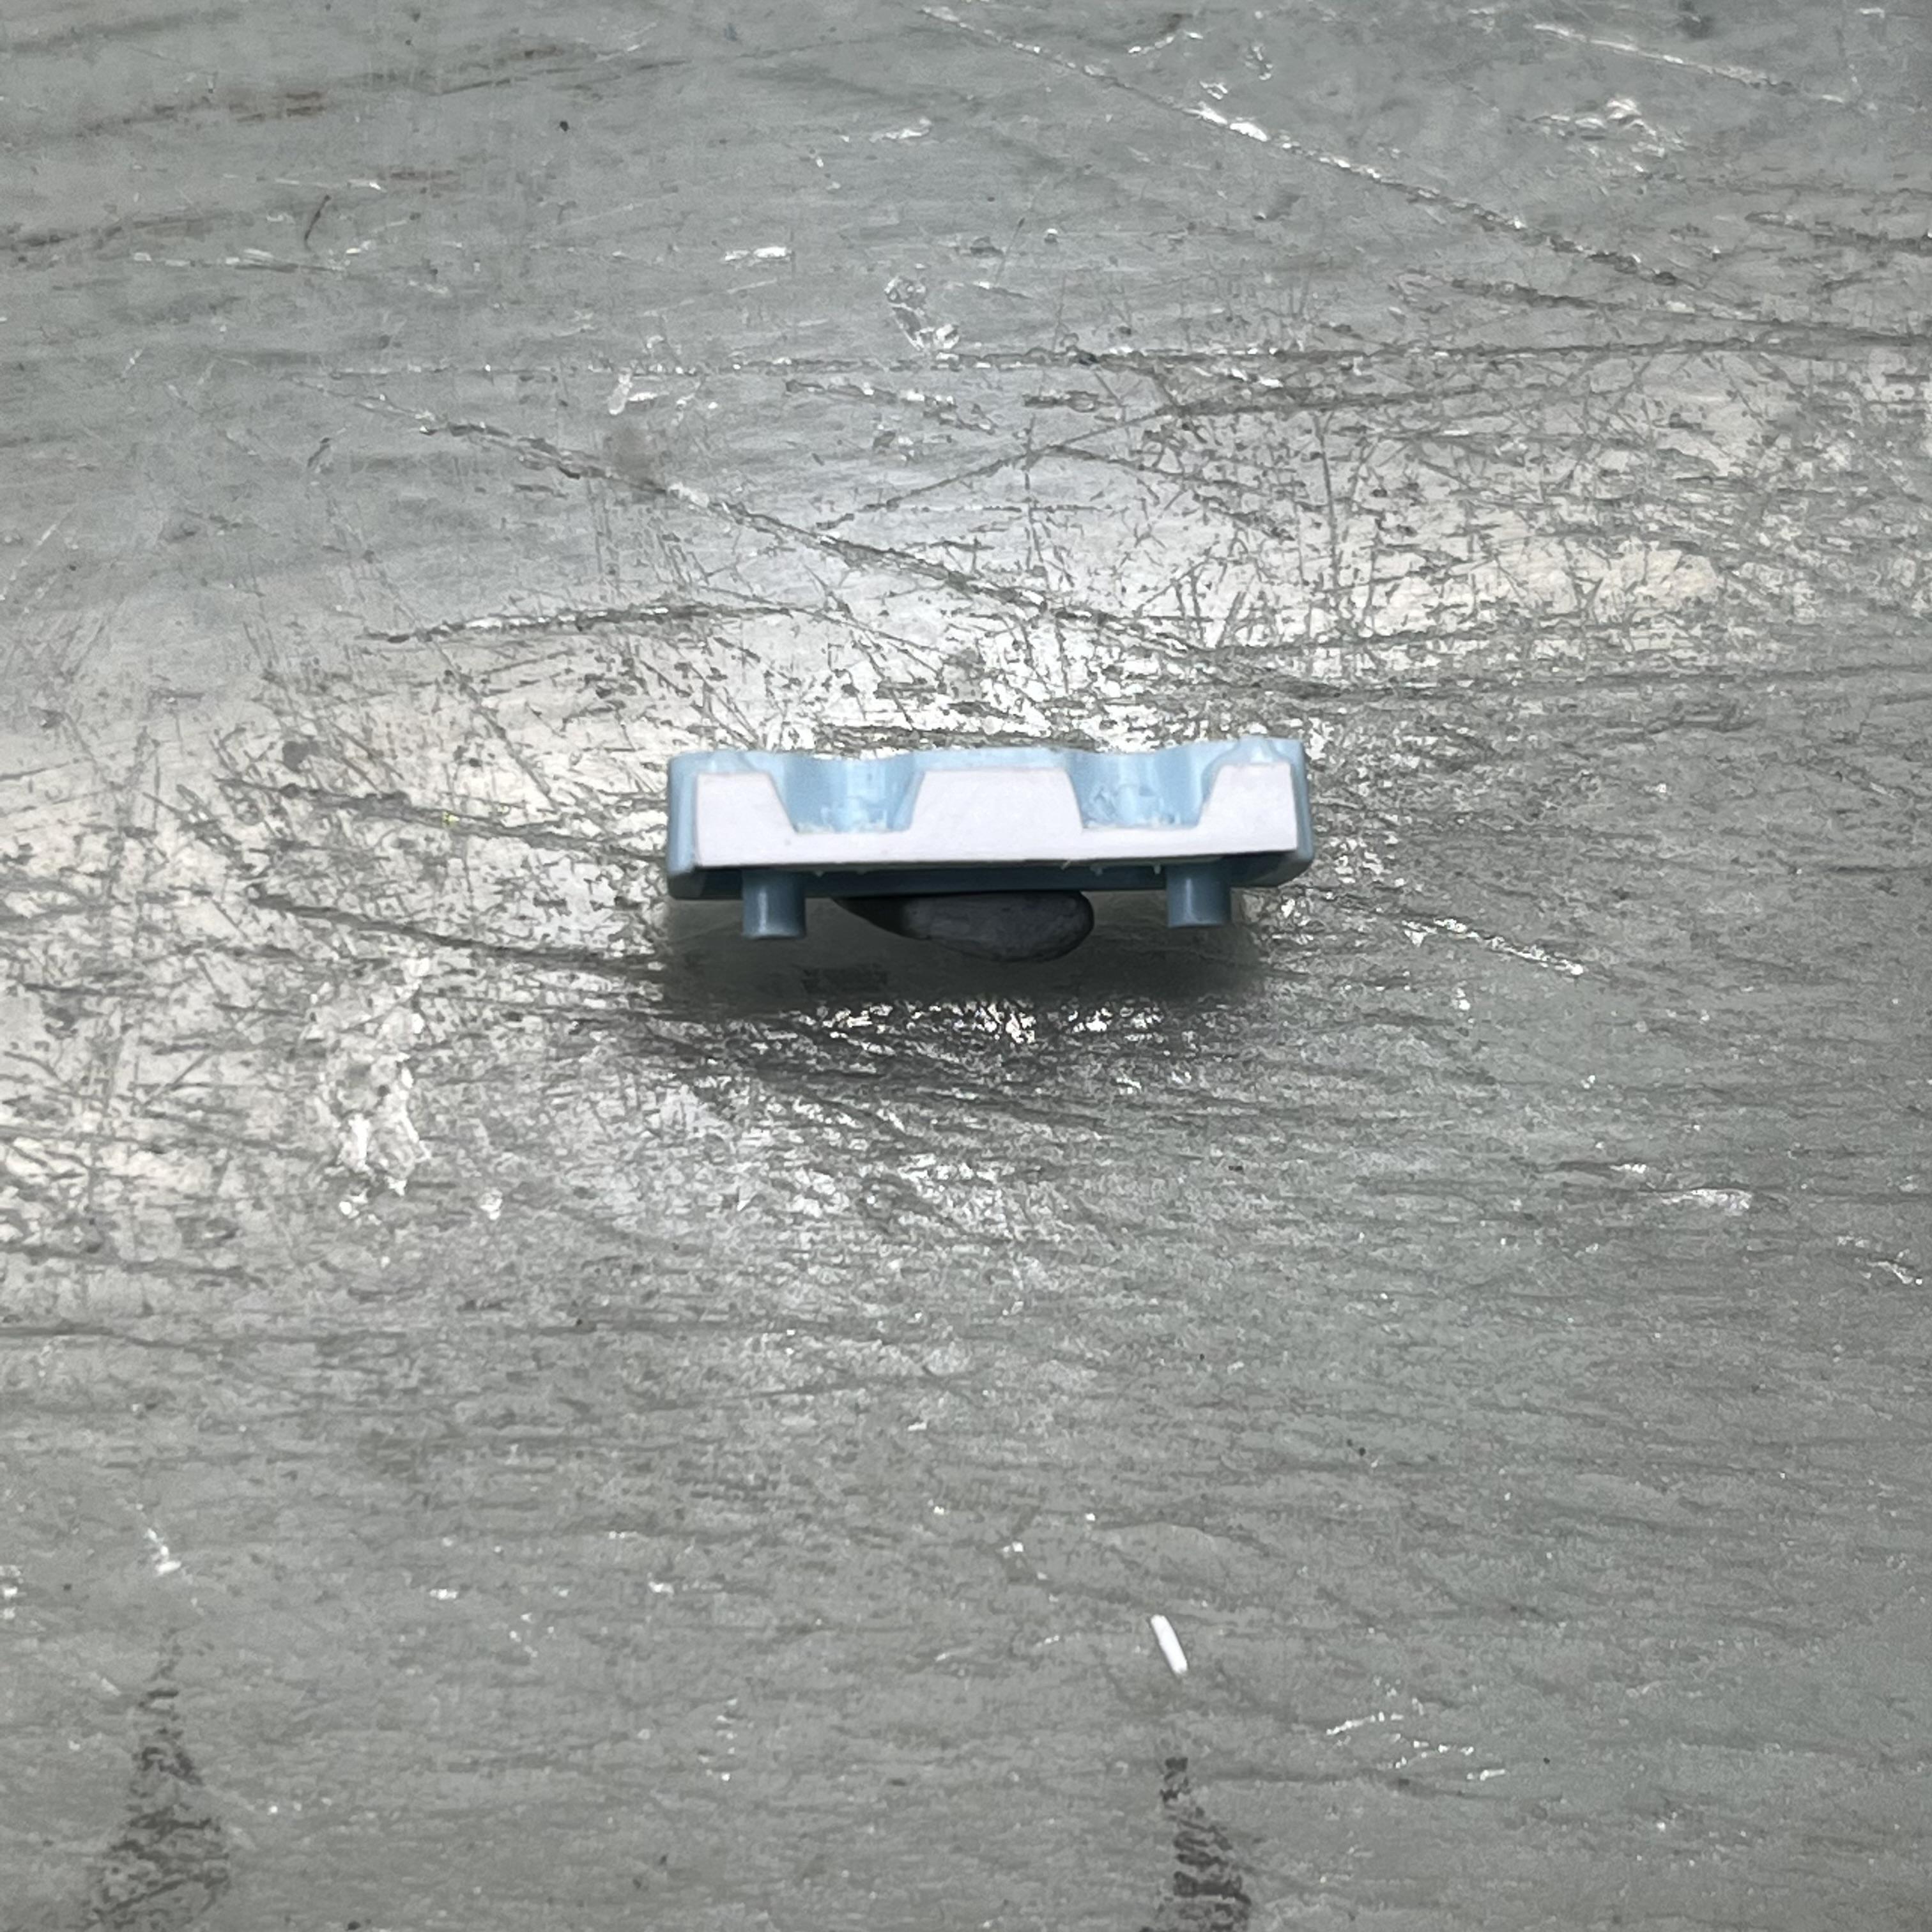
On to the engine!!! My good friend KK dropped a W motor (a Chevy 348 or later 409 cubic inch displacement big block distinct from the W shape of the heads) on me for use on this project. The bellhousing and transmission was jettisoned in favor of a T5. Here's some pix of the progress... I'm using two of the 3x2 log manifolds from the Buick Nailhead out of the Revell Model A series. The side of the intakes that mate to the heads will be reconfigured to fit the W motor. -------------------------------- The valley pan out of the Revell Tony Nancy 22 Jr drag kit fits (close to) perfectly. ---------------------------------------- I added attach points for the upper radiator hose and the breather tube on the front and the distributor in back. ------------------------------------------- Here's a pic of the triangulated pieces added to the bottom of the 3x2 intake (along with some putty yet to be sanded smooth) to mate to the heads. ---------------------------------- A quick mock-up. The heads have been treated to Molotow for a reasonable chrome look. The intakes will set a tad higher once they're glued in place. ------------------------------------ I'm making limefire style headers. I started with the headers out of the AMT Model T kit AMT. I snipped off the piece as shown, smoothed out the corner area and sanded off the chrome. --------------------------------- Here's a mockup of how the headers will be made. The other three tubes are .070" styrene. Yes, I could have used the headers out of the SBC in the Revell Model A kits but they seem a little too skinny, especially for a big block. I cut a piece of sheet styrene to size and made a header flange. Next up, making the headers. Thanks for looking.... -RRR

-
Who doesn't love a mock-up? Let's see yours!
Rocking Rodney Rat replied to Belairconvertable's topic in WIP: Model Cars
-
Thanks for checking out my build. More to come..... -RRR
-
Nice chop and weathering. Give it a Rolling Bones treatment.... -RRR
-
Thanks, Chris. I found a better grille shell and front radiator piece to use, minor detail.... -RRR
-
You gotta finish that thing, dude..... -RRR
-
Thanks for the comments, guys. And yes, I am a HACK!!! I'm getting pretty good at it, too! -RRR
-
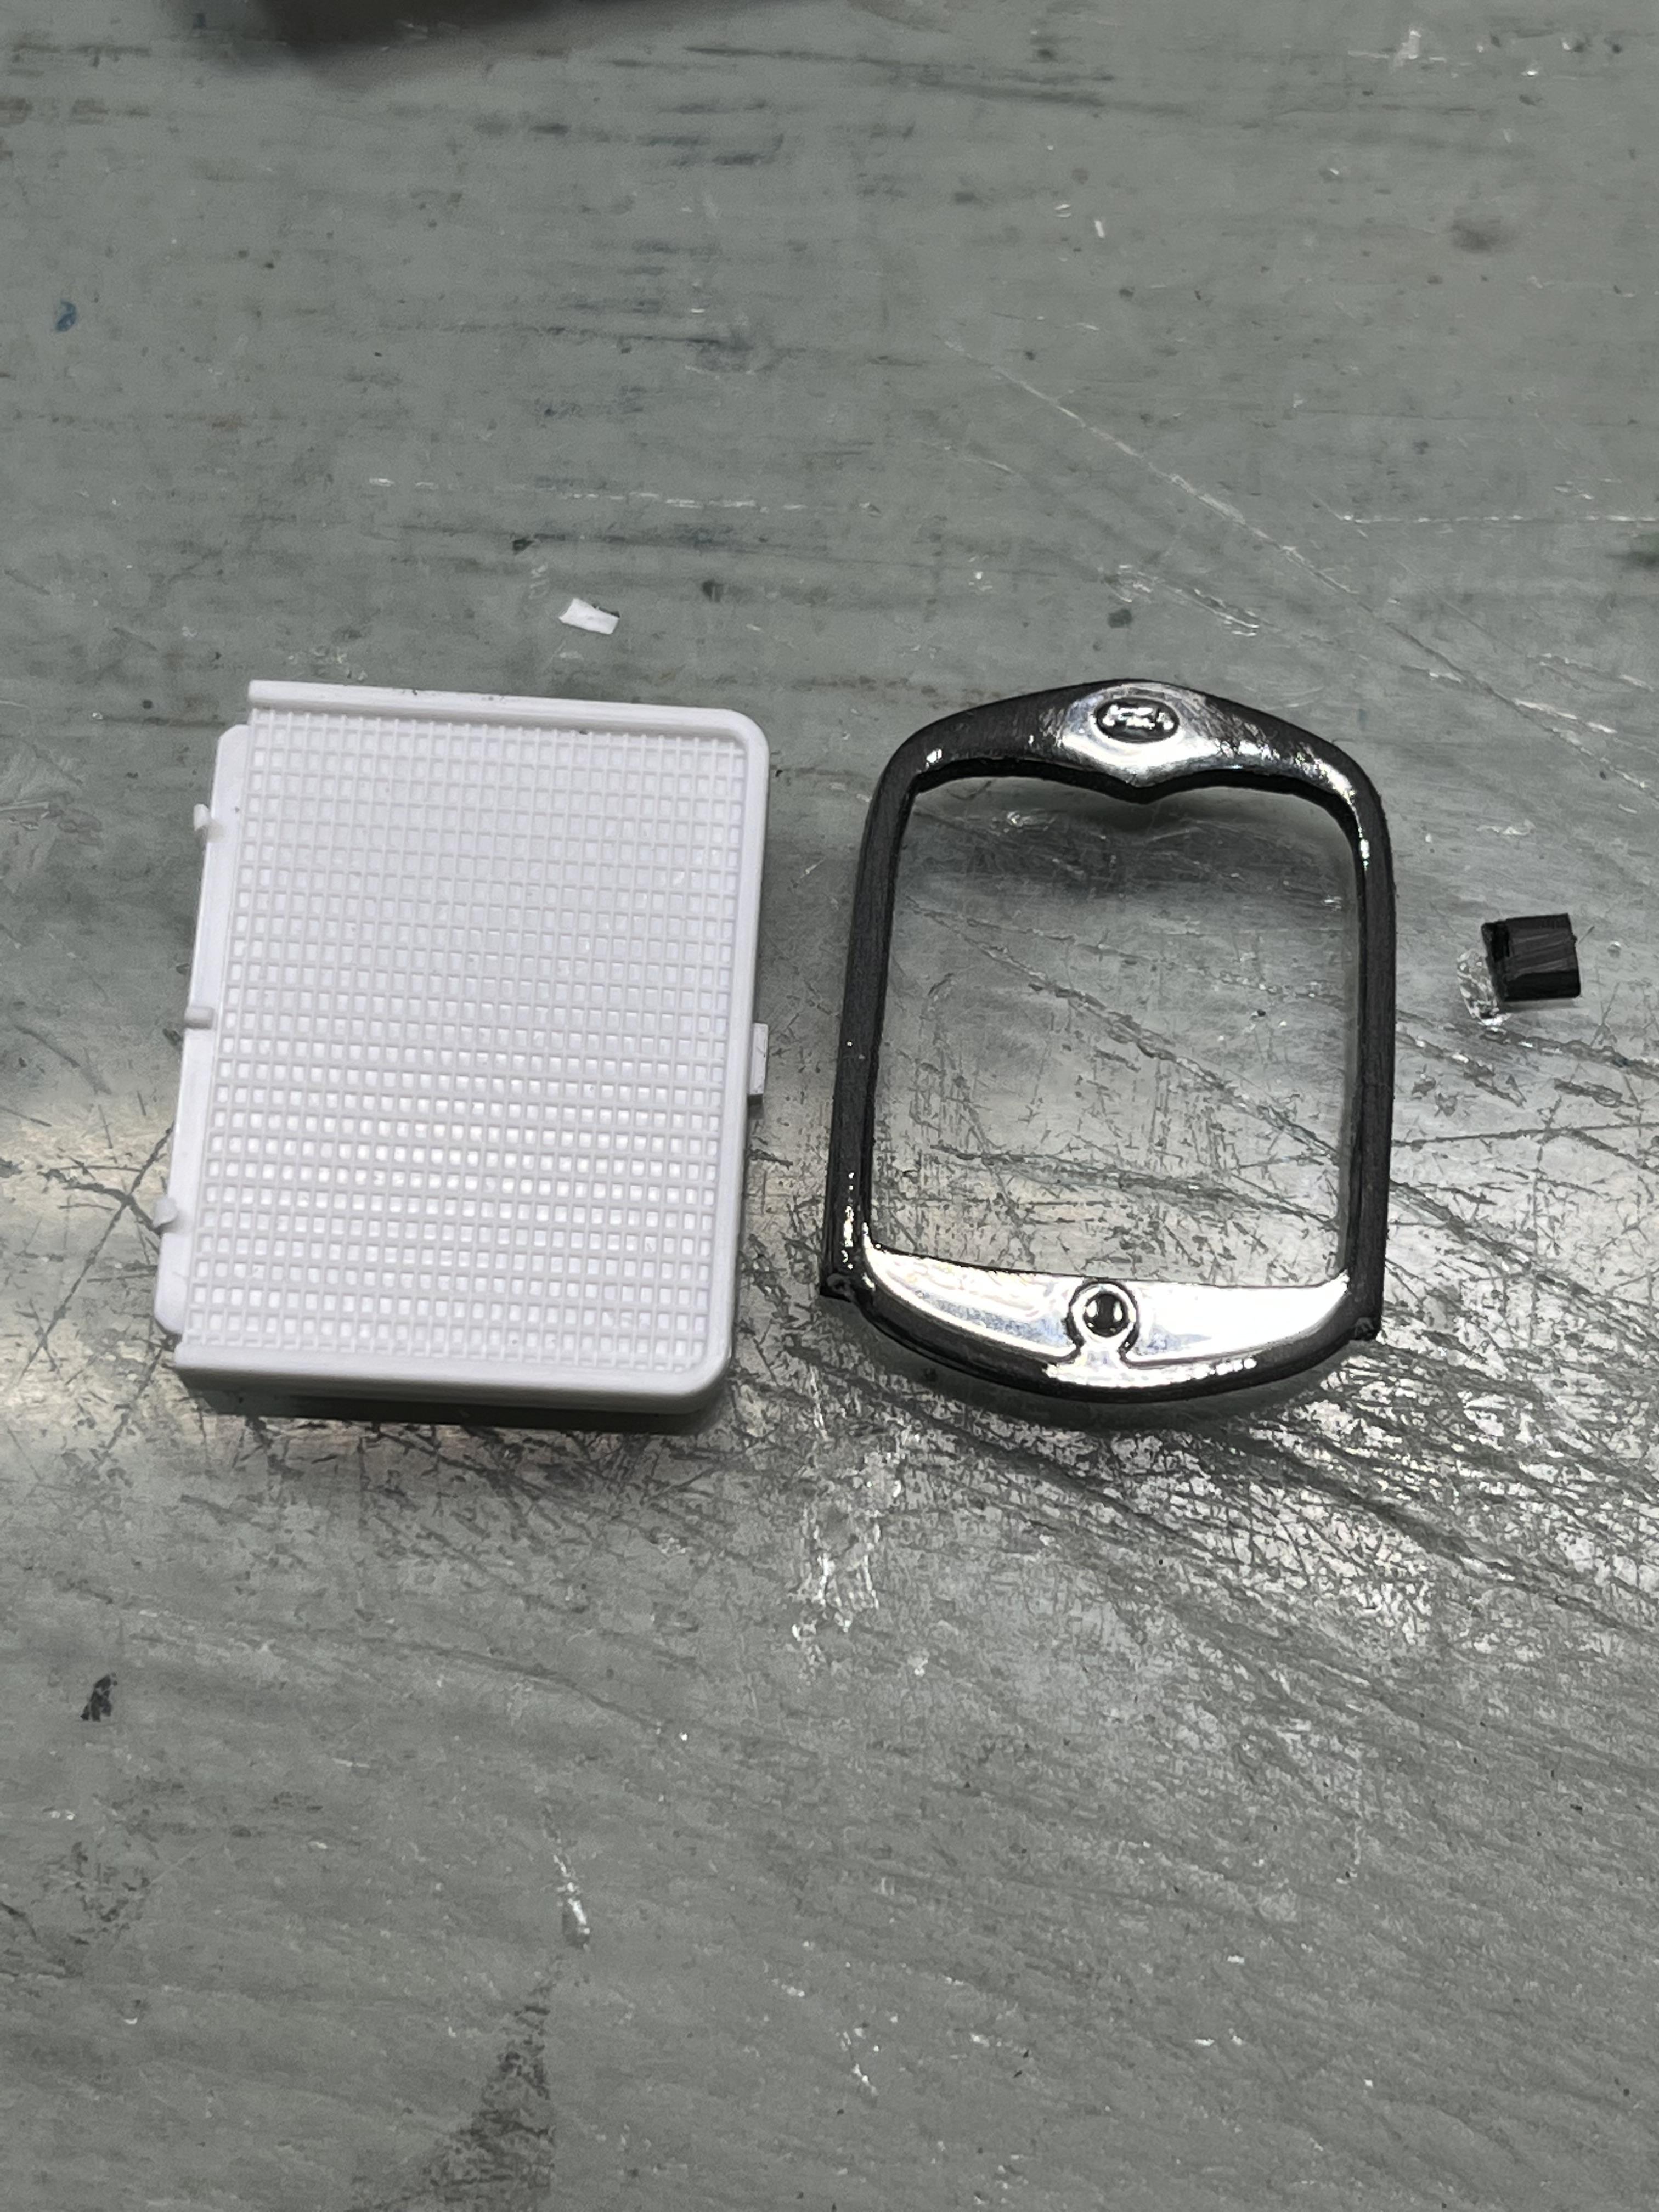
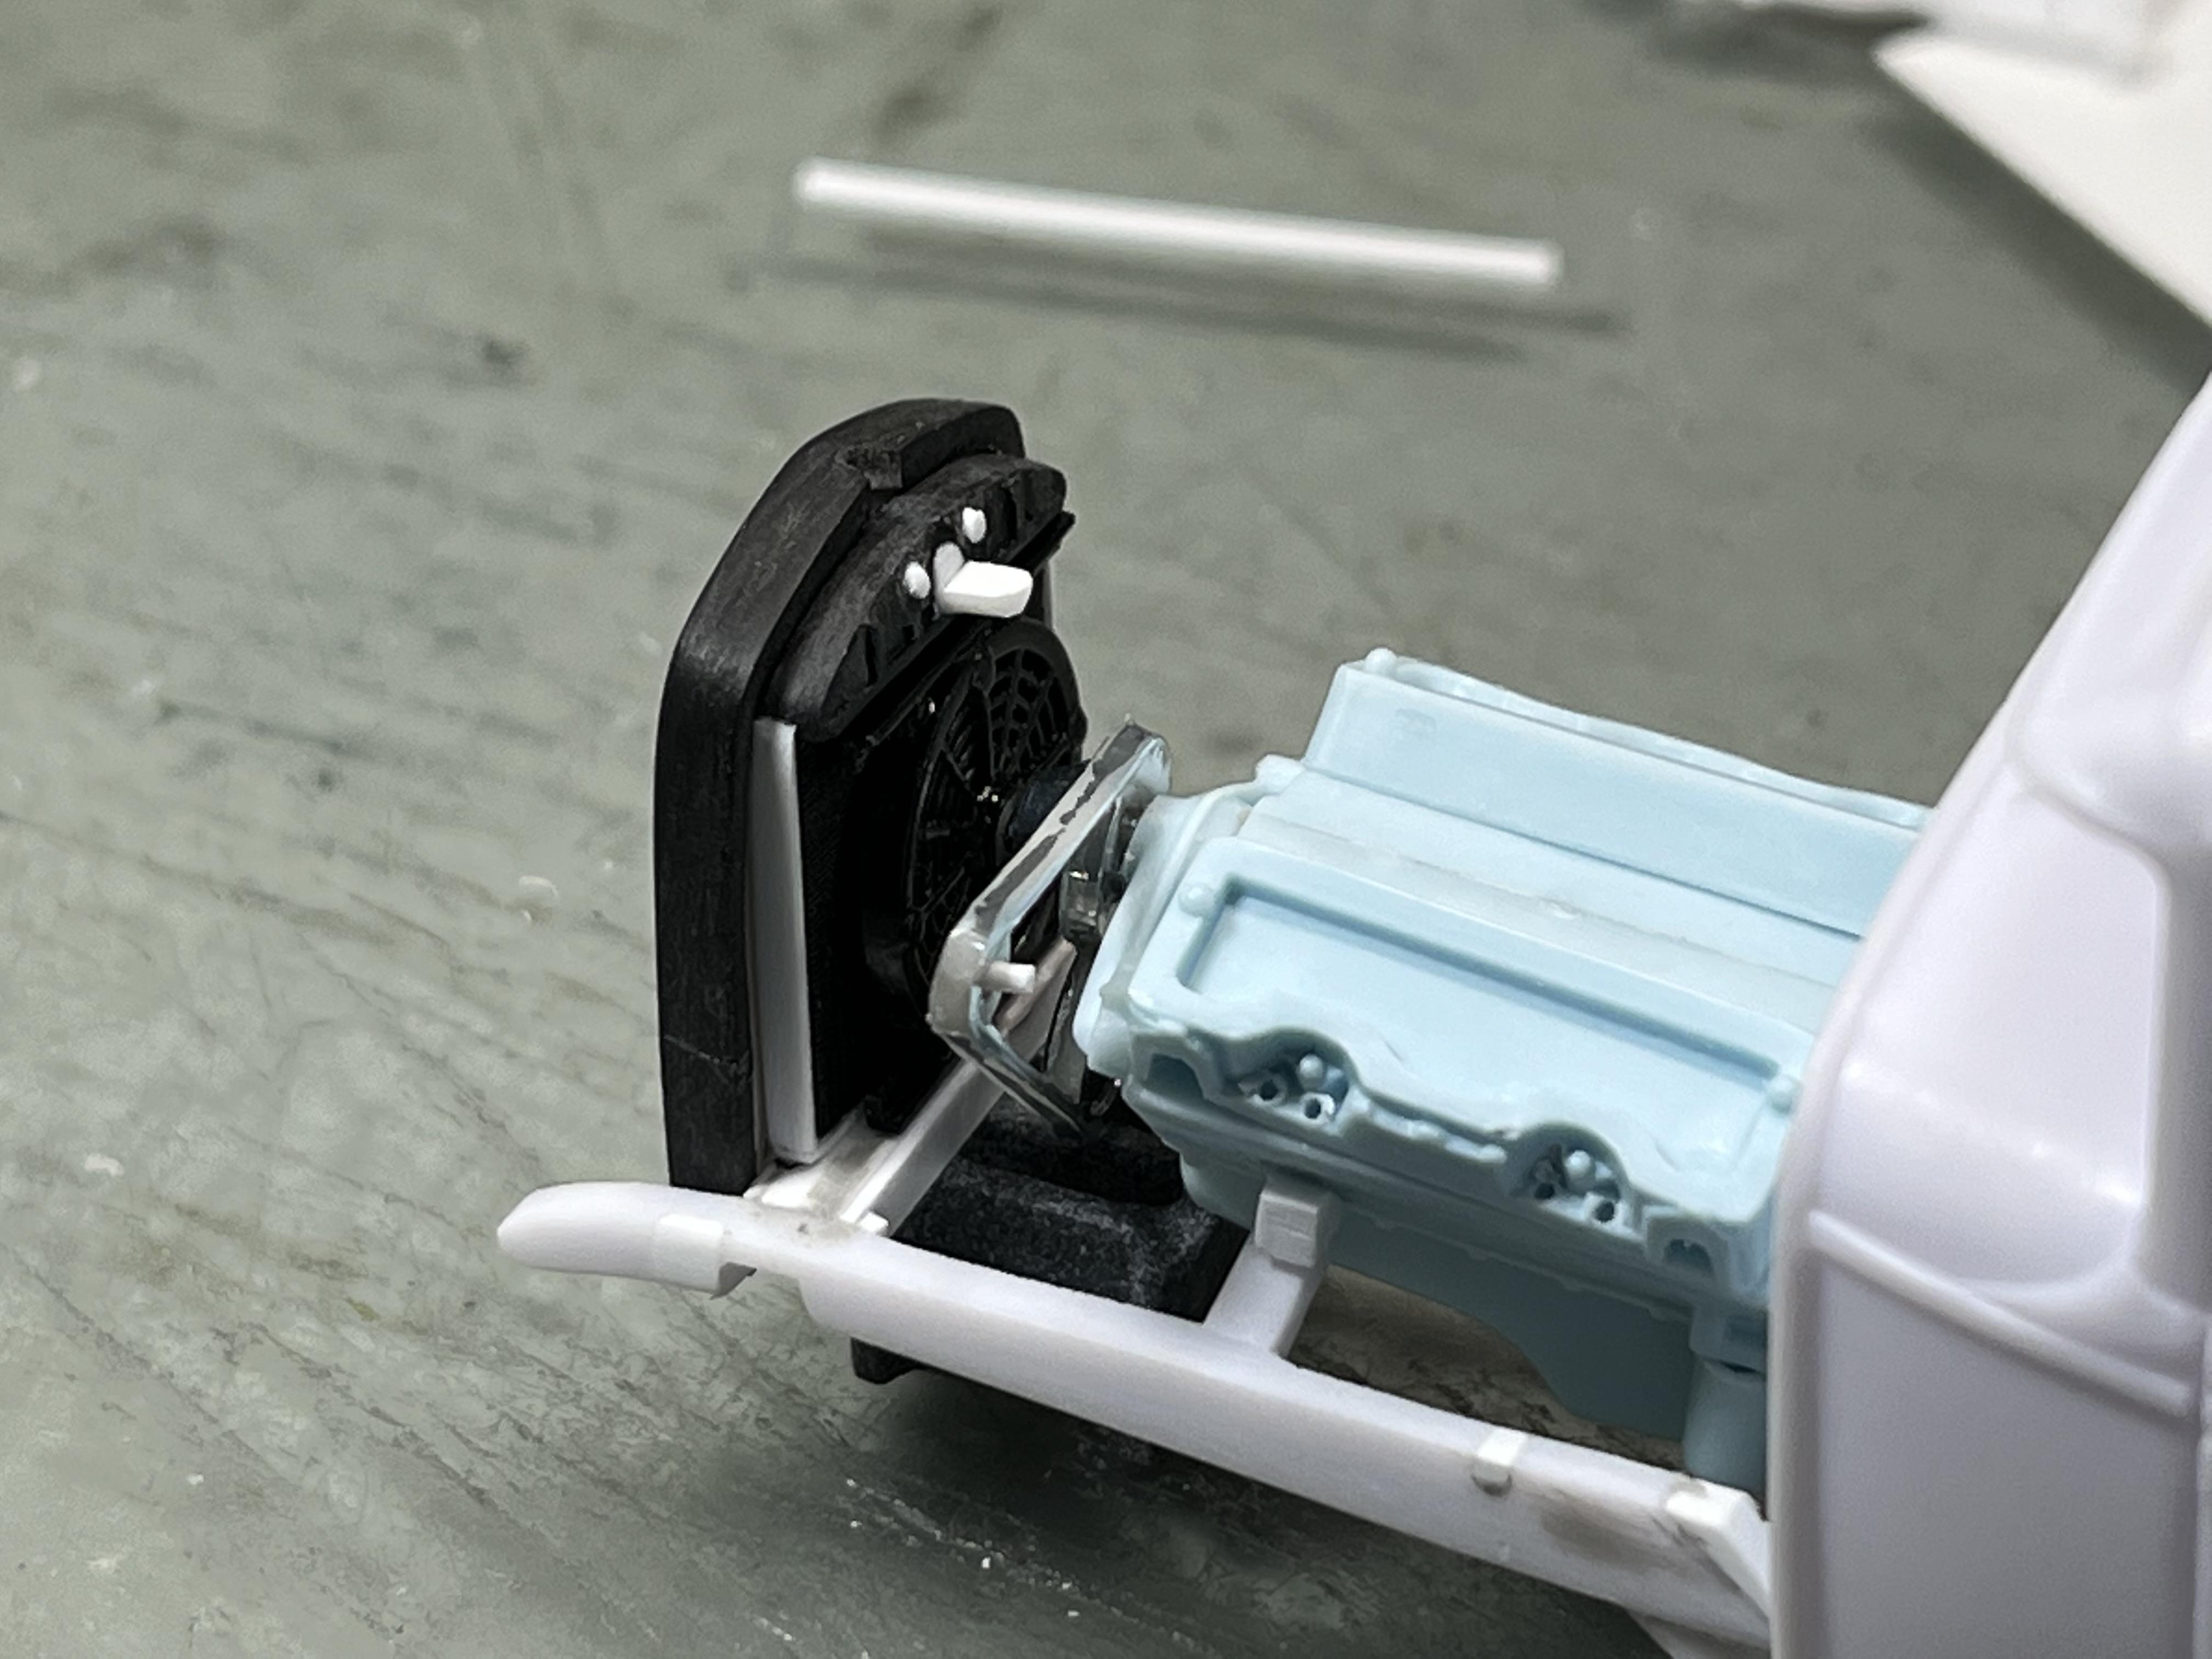
Now that I have the frame setup, final ride height could be determined. With the car this low, a stock height grille and shell was too tall. I really don't like the look of a grille taller than the cowl, it's just not proper. The solution was to chop a grille. A '32 grille would be the usual suspect, but I decided to keep it '30 and chop the '30 shell. To that end, I grabbed my trusty Dremel and carefully ground out the radiator from the shell, a little cleaning up with the X-Acto, files and sandpaper dialed it in... The chop is subtle, an RCH less than 1/8th of an inch. I didn't want a squat grille such as the goofy looking American Graffiti coupe overdone grille shell chop (no offense to anyone, an iconic car...but that chopped down, dropped down grille?)... ----------------------- The next order of business was to find a piece of radiator to fill in the opening. Not as easy as I figured. I finally found a big enough (and thin enough) radiator in the Revell '49 woody wagon (ya just never know where one will find the right part)...cut, cut, slice, slice, sand, sand some more, NOT TOO MUCH!!! ------------------------------------ It's going to look about like this...the shell will be slightly notched over the crossmember and will a bit further back... ----------------------------------- The engine side of the radiator with the fan is dropped in place. Obviously, it will be tightened up once it's all put together. Next up are modifications to the intake and output side of the W motor... Stay tuned... -RRR
-
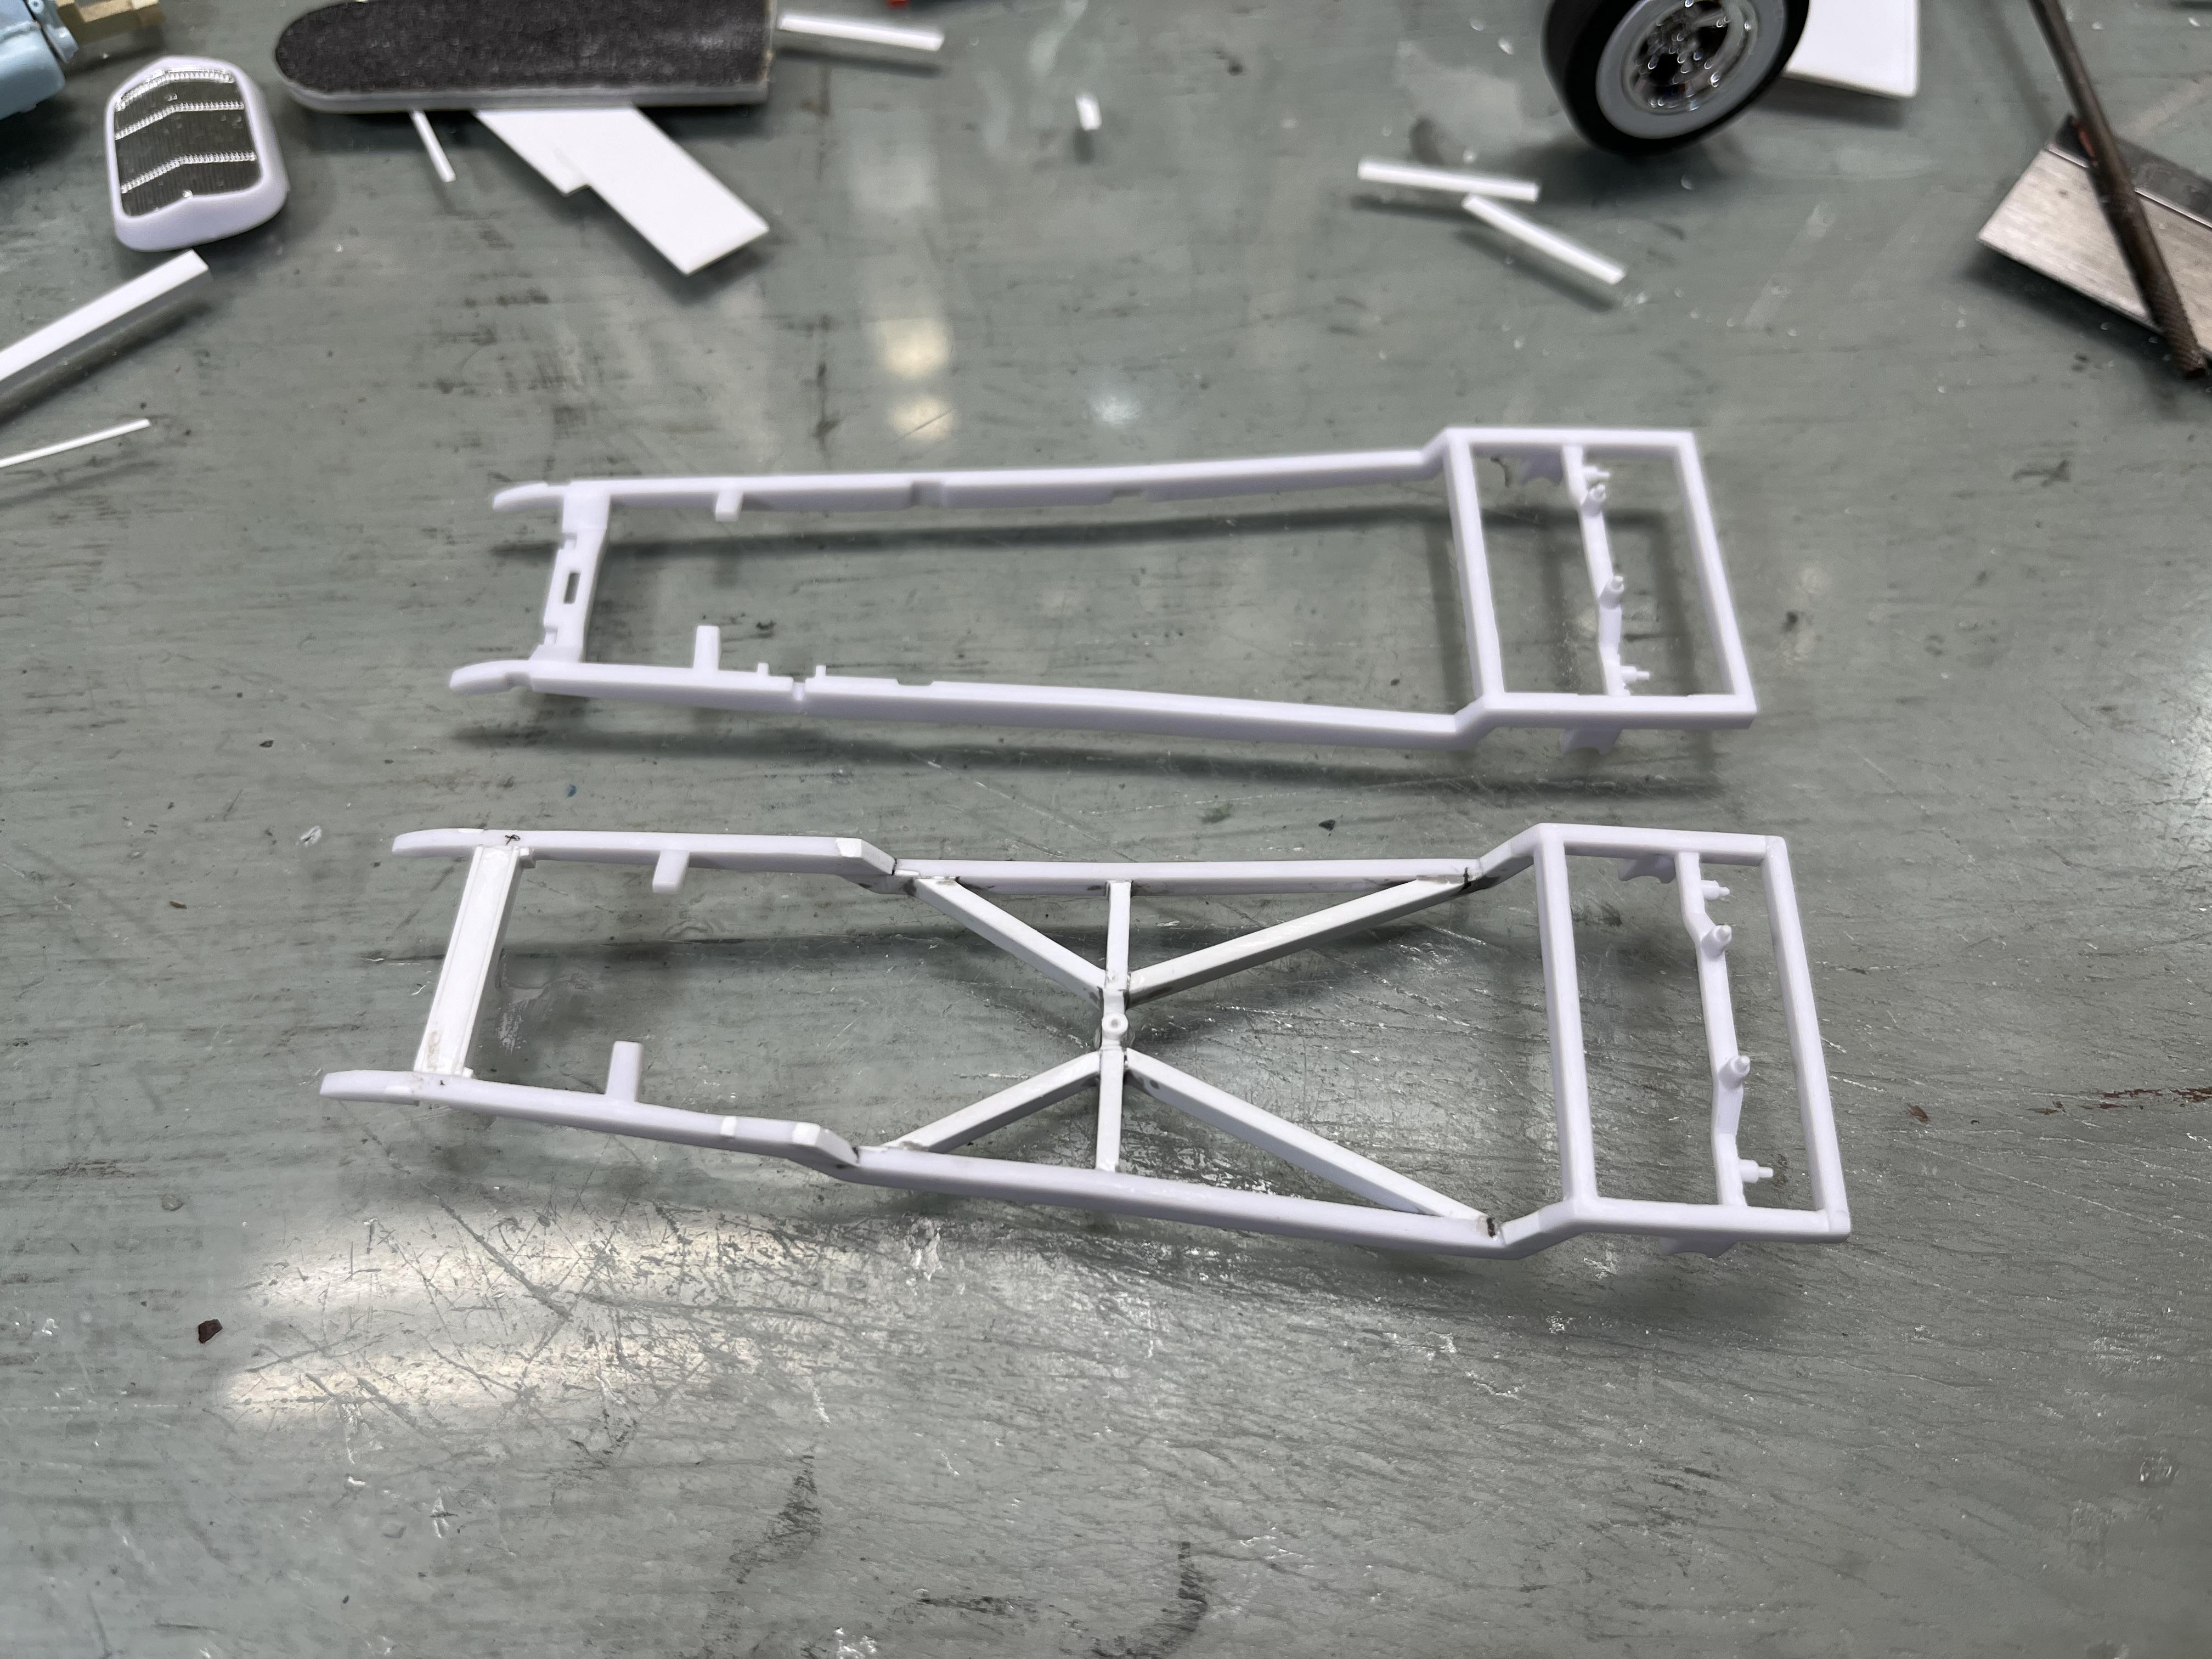
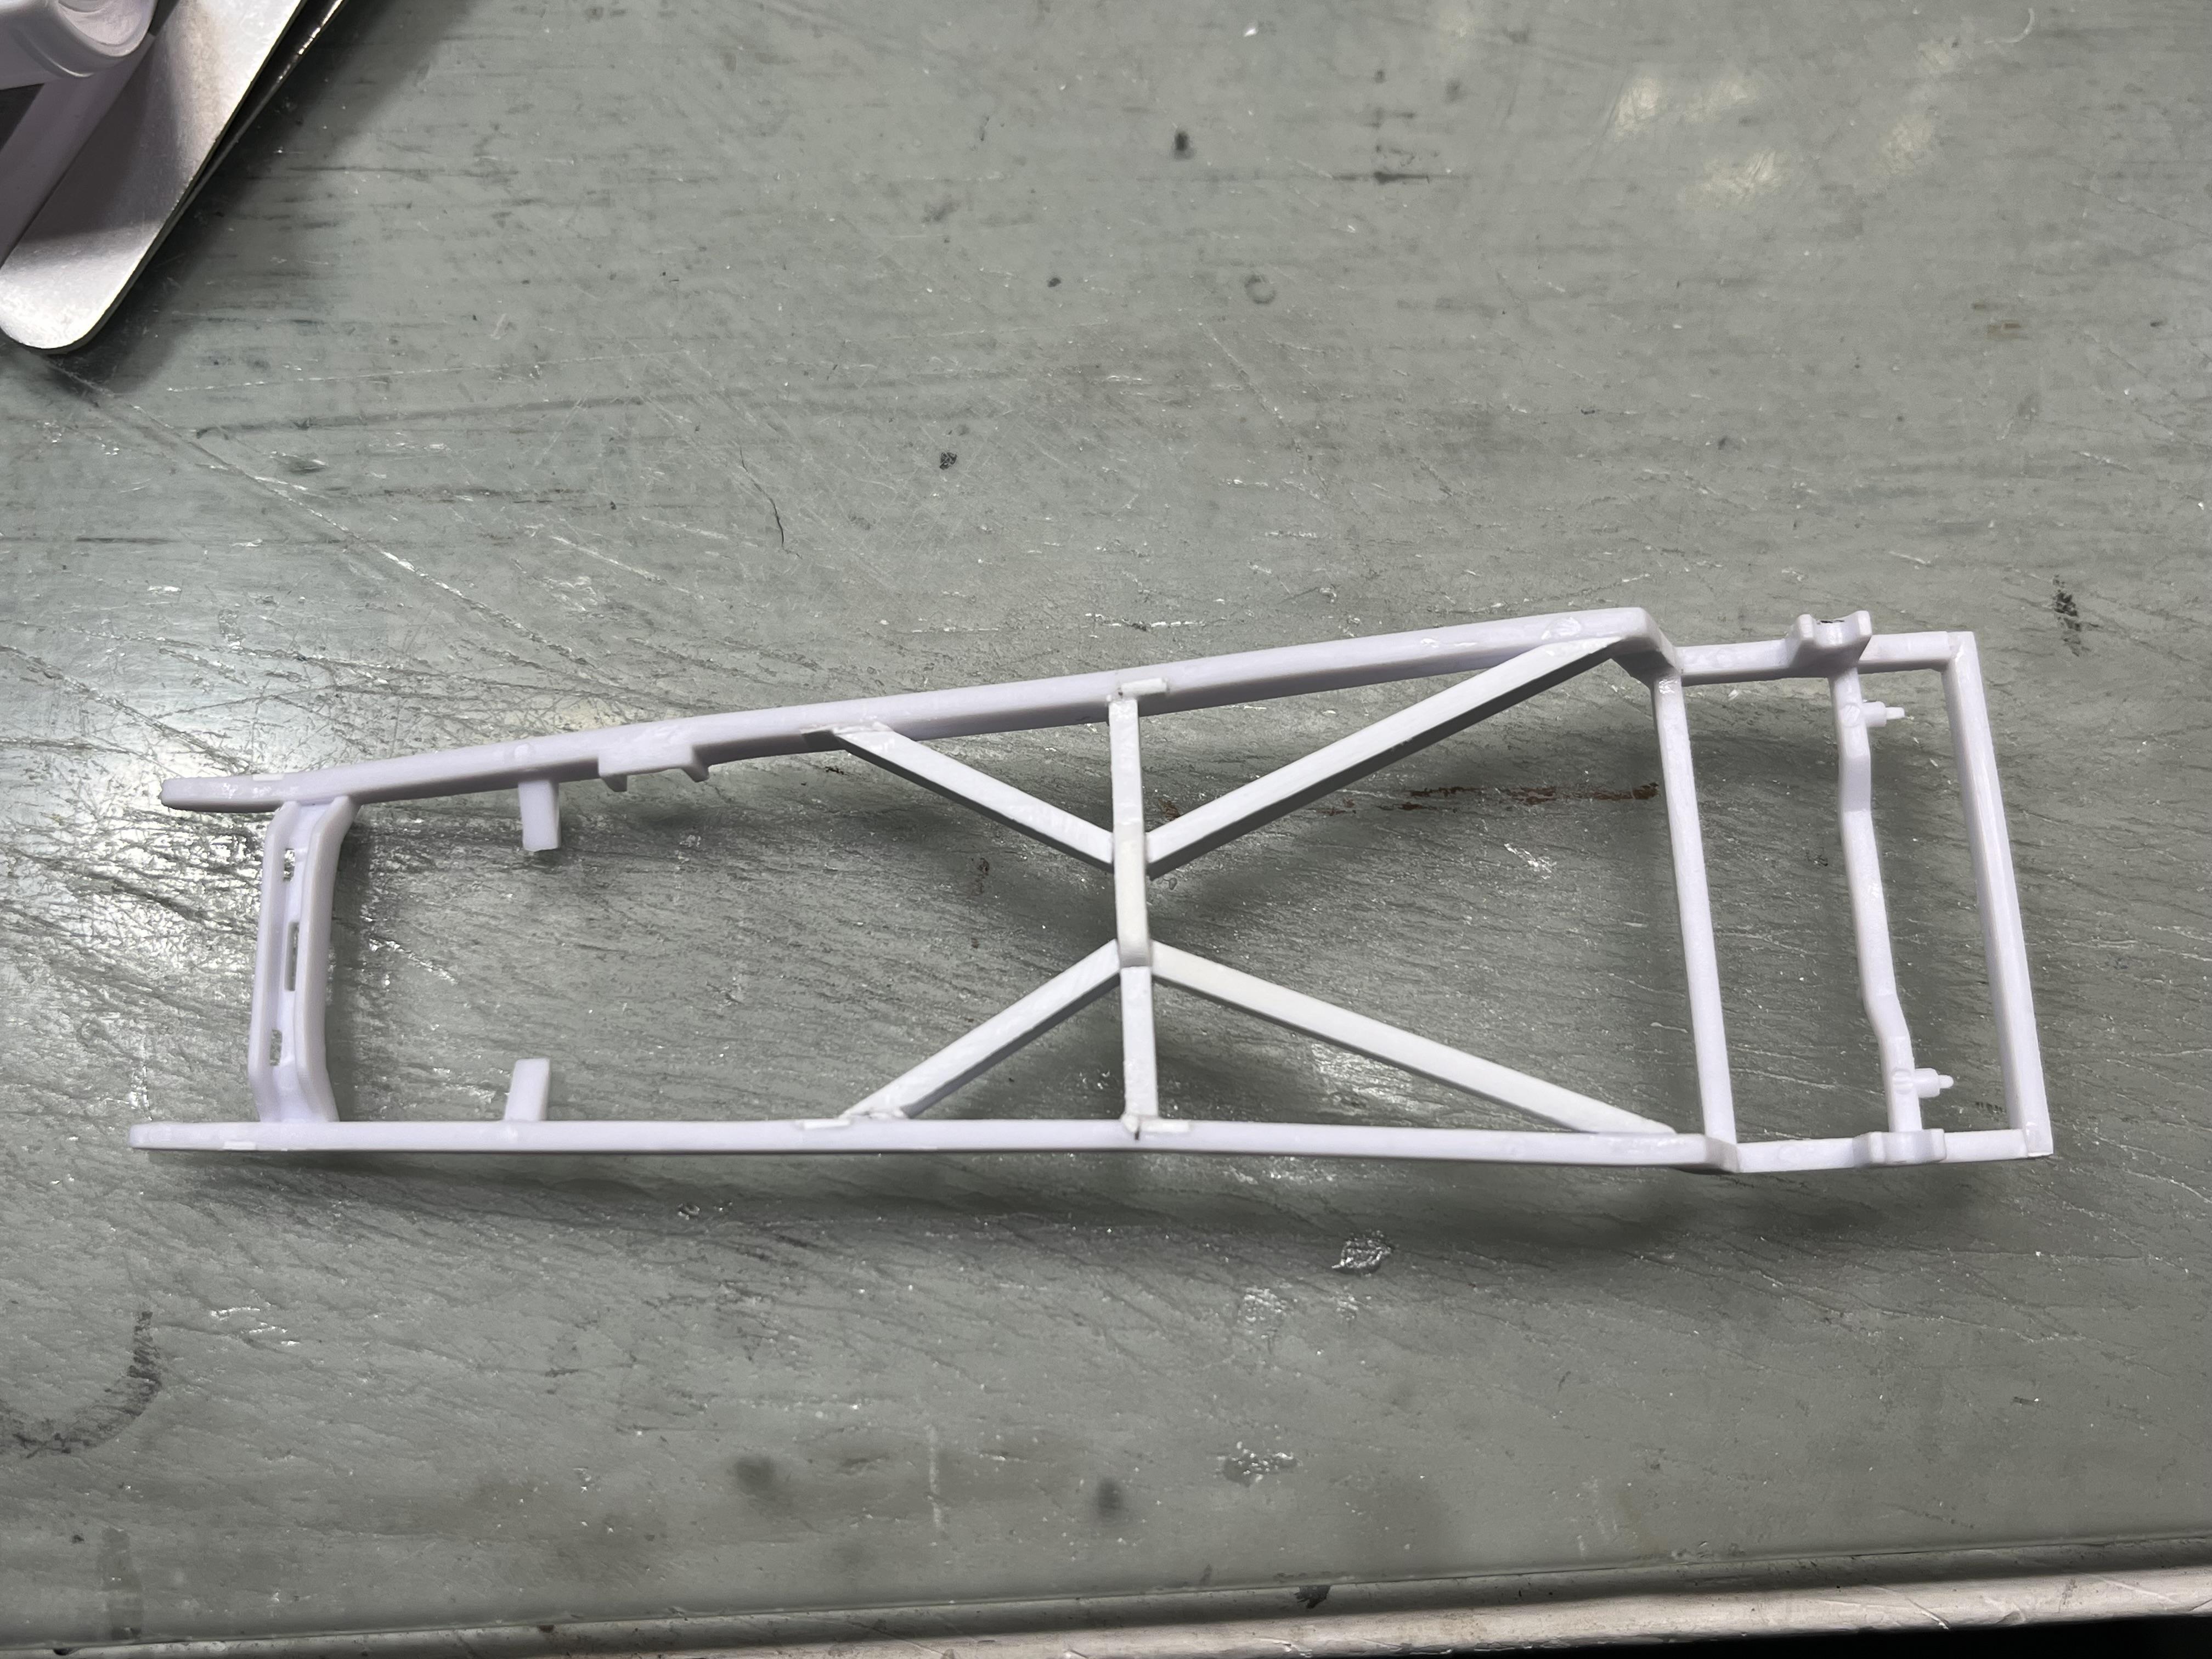
I decided to Z the front rails as well. I also flattened the front crossmember to get the ride height wanted. Here's the finished frame as compared to the box stock kit frame... -RRR
-
A far superior Mustang than I had! The ole Fox unibody wasn't built to handle a V8... -RRR
-
Very well done, I especially like the subtle weathering, not over done... -RRR
-
Looks good!!! -RRR
-
This gets more interesting every day!! Go, Man, go!!! -RRR
-
I haven't posted up too much lately. Now that I have the interior figured out, I can turn to the frame. The height and placement of the interior side panels (and thickness of the floorpan) determined how much the body would be channeled over the frame. This is how much of channel, notice that the wheel wells have been filled in and the rear axle centerline has been marked.... ------------------------ Next I took some length out of the frame behind the rear axle location. Since I'm going to Z the rear frame rails, the frame would have interfered with the inside of the trunk... ------------ Frame Z is completed. Notice the temporary brace on the frame to keep the rails the right width while the frame is put back together...... -------------------------- I used some Evergreen rectangle to make the frame braces... -------------------- Here's a quick mockup of the body on the frame with the rear axle in place.... Thanks for checking in. More later..... -RRR
-
It's a pleasure to watch the master at work.... . . . . -RRR
-
Hellcat Gremlin X
Rocking Rodney Rat replied to 1930fordpickup's topic in General Automotive Talk (Trucks and Cars)
They ruined a perfectly good Gremlin!!!! -RRR -
Some really nice work going on here. I could build twice the number of models that I do if I had an organized bench like that! -RRR
-
Not one of my prouder moments. Remember kids: Speed (can) Kill. I know I'm older, I'm hopefully wiser.
-
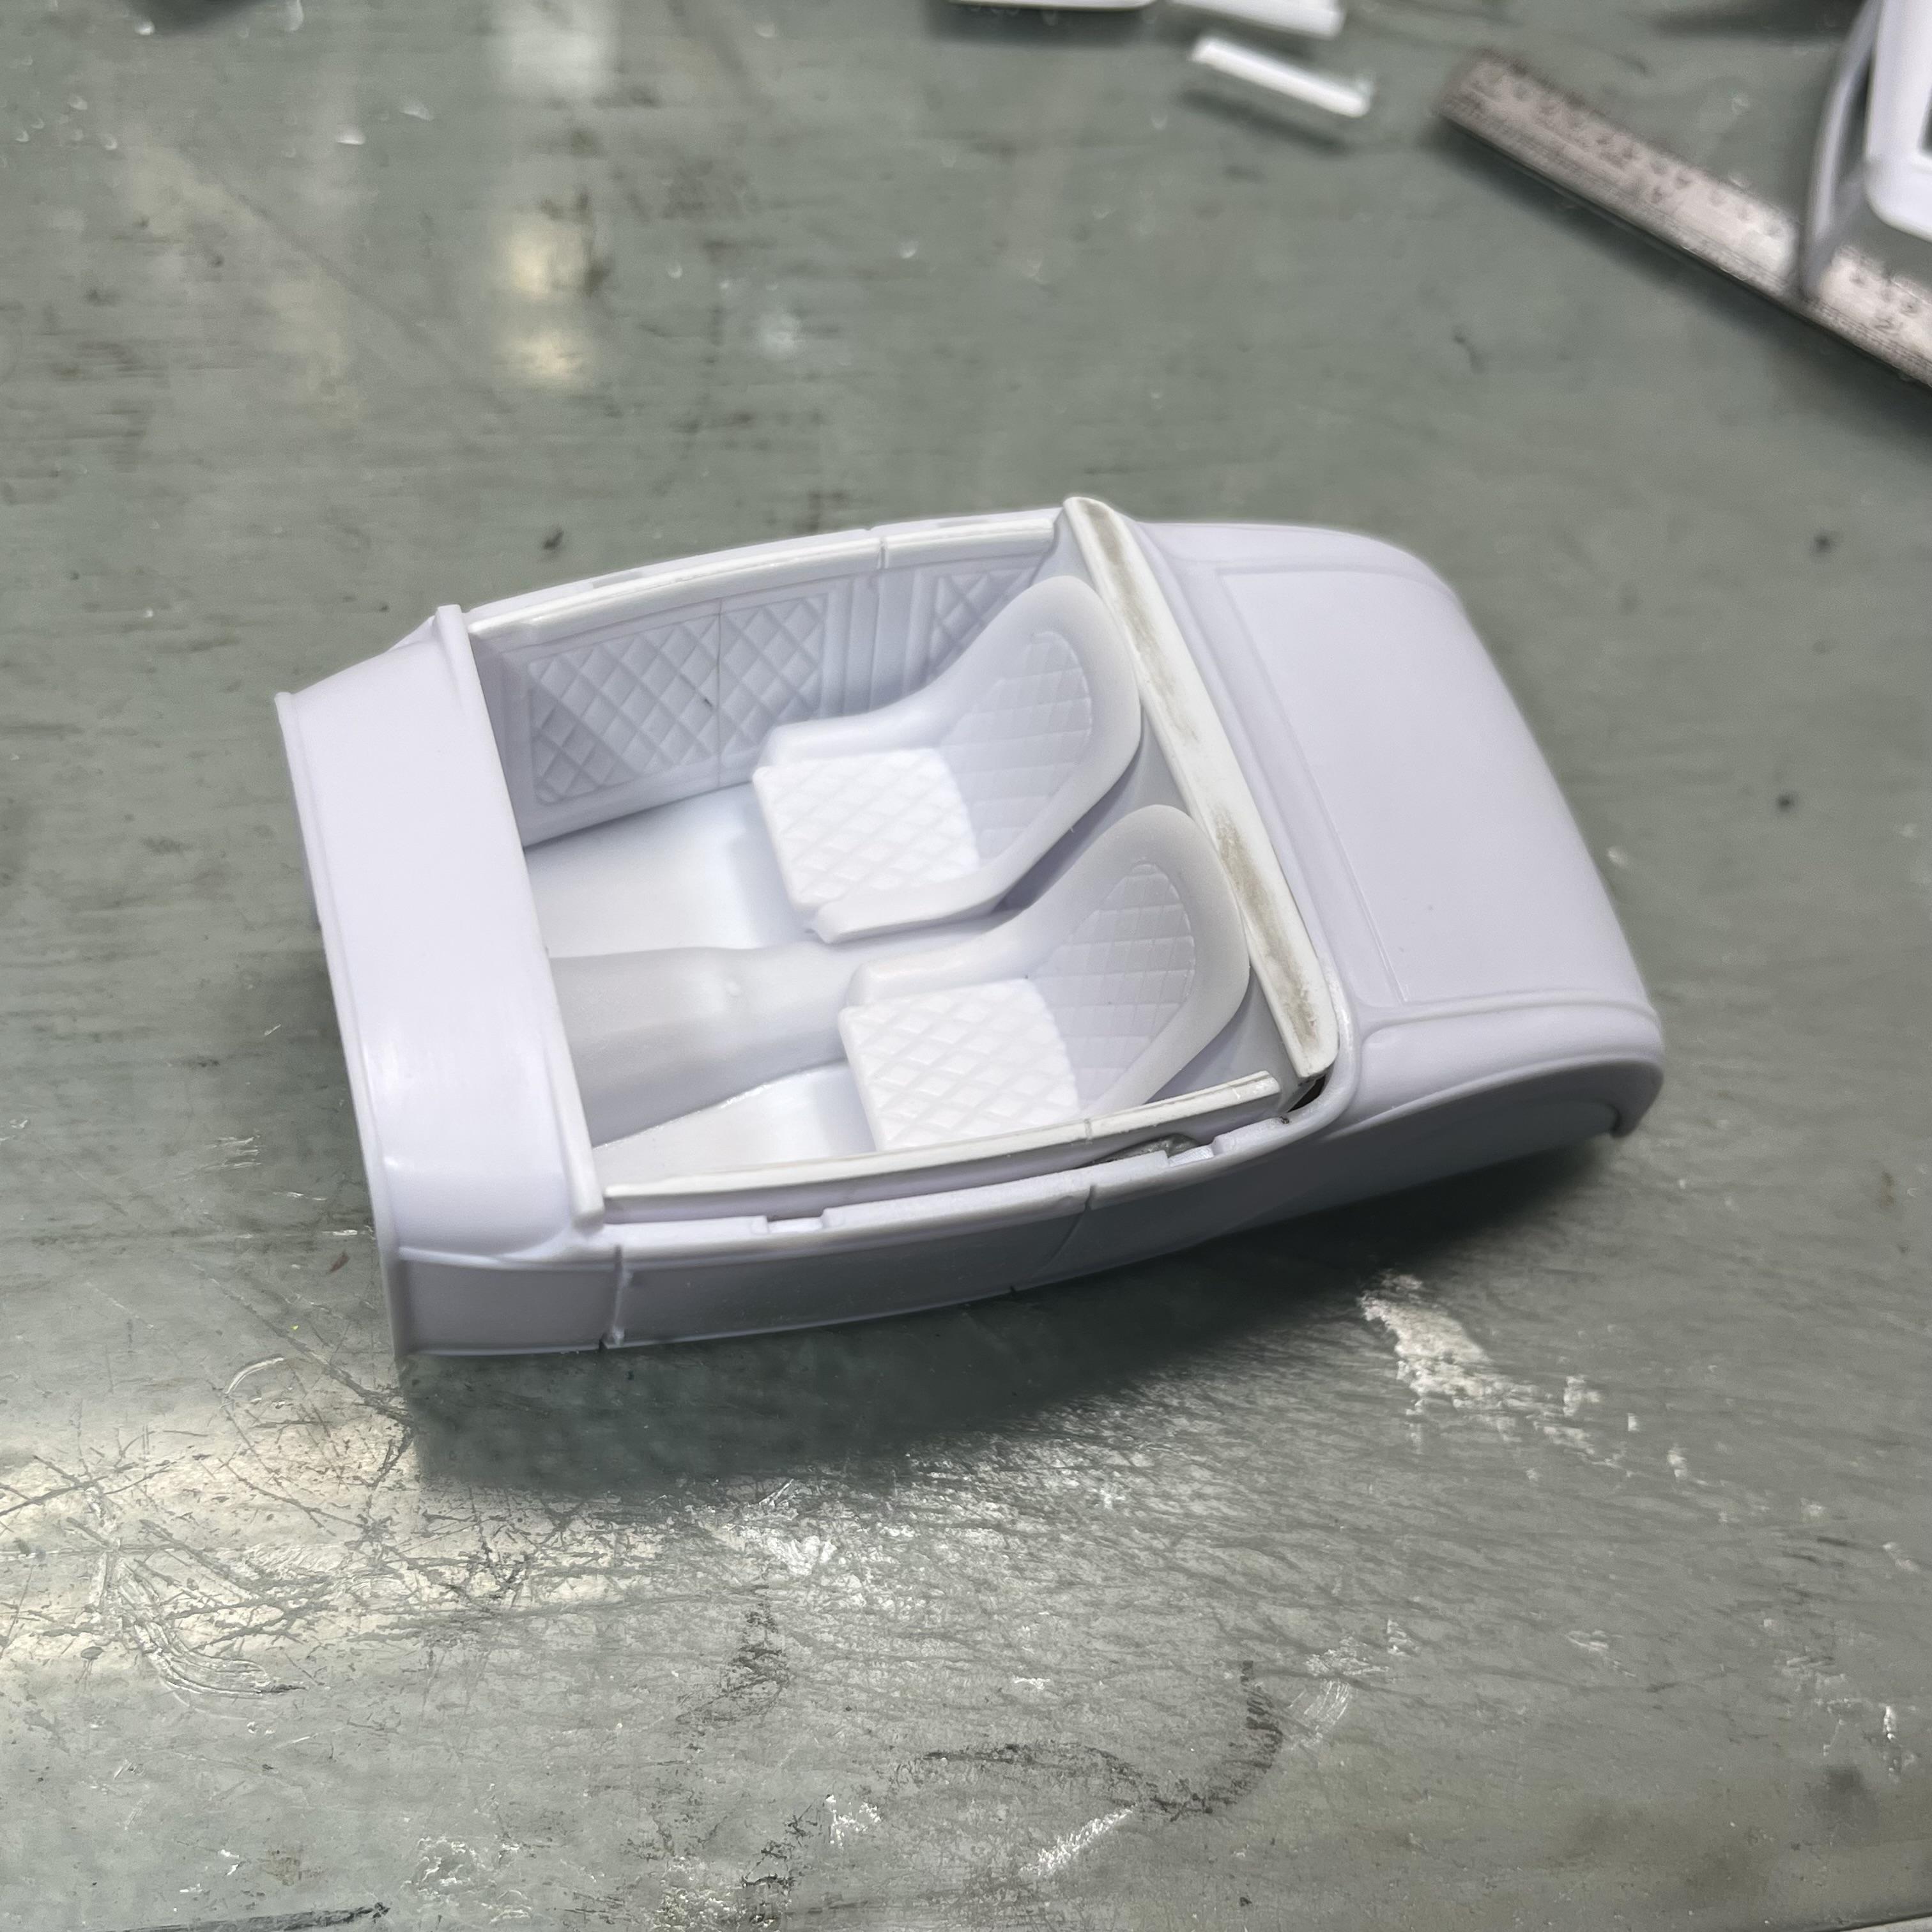
Thanks, I have had it in the back of my mind to use the RR interior for some time. The 'porthole' look was a bit over the top, but once that was deleted, the rest of it's quite nice. I still have some work to smooth out the seams on the diamond patterned parts, but it should look cool once I finish it off.... -RRR
-
The interior has been pretty much dialed in. I made a rear wall/package tray unit and sliced off a bit on back end of the door panels to fit... ------------- I cut out tunnel notch at the base of the rear wall and got the dash snugged into place... Next up, putting a 'Z' in the rear frame rails and support bracing... Stay tuned.... -RRR
-
I like it! -RRR
-
Make it so.... -RRR
.jpg.9afc6fe6daa097b4920c8f82ef07b8cb.jpg)