Rocking Rodney Rat
-
Posts
1,995 -
Joined
-
Last visited
Content Type
Profiles
Forums
Events
Gallery
Everything posted by Rocking Rodney Rat
-
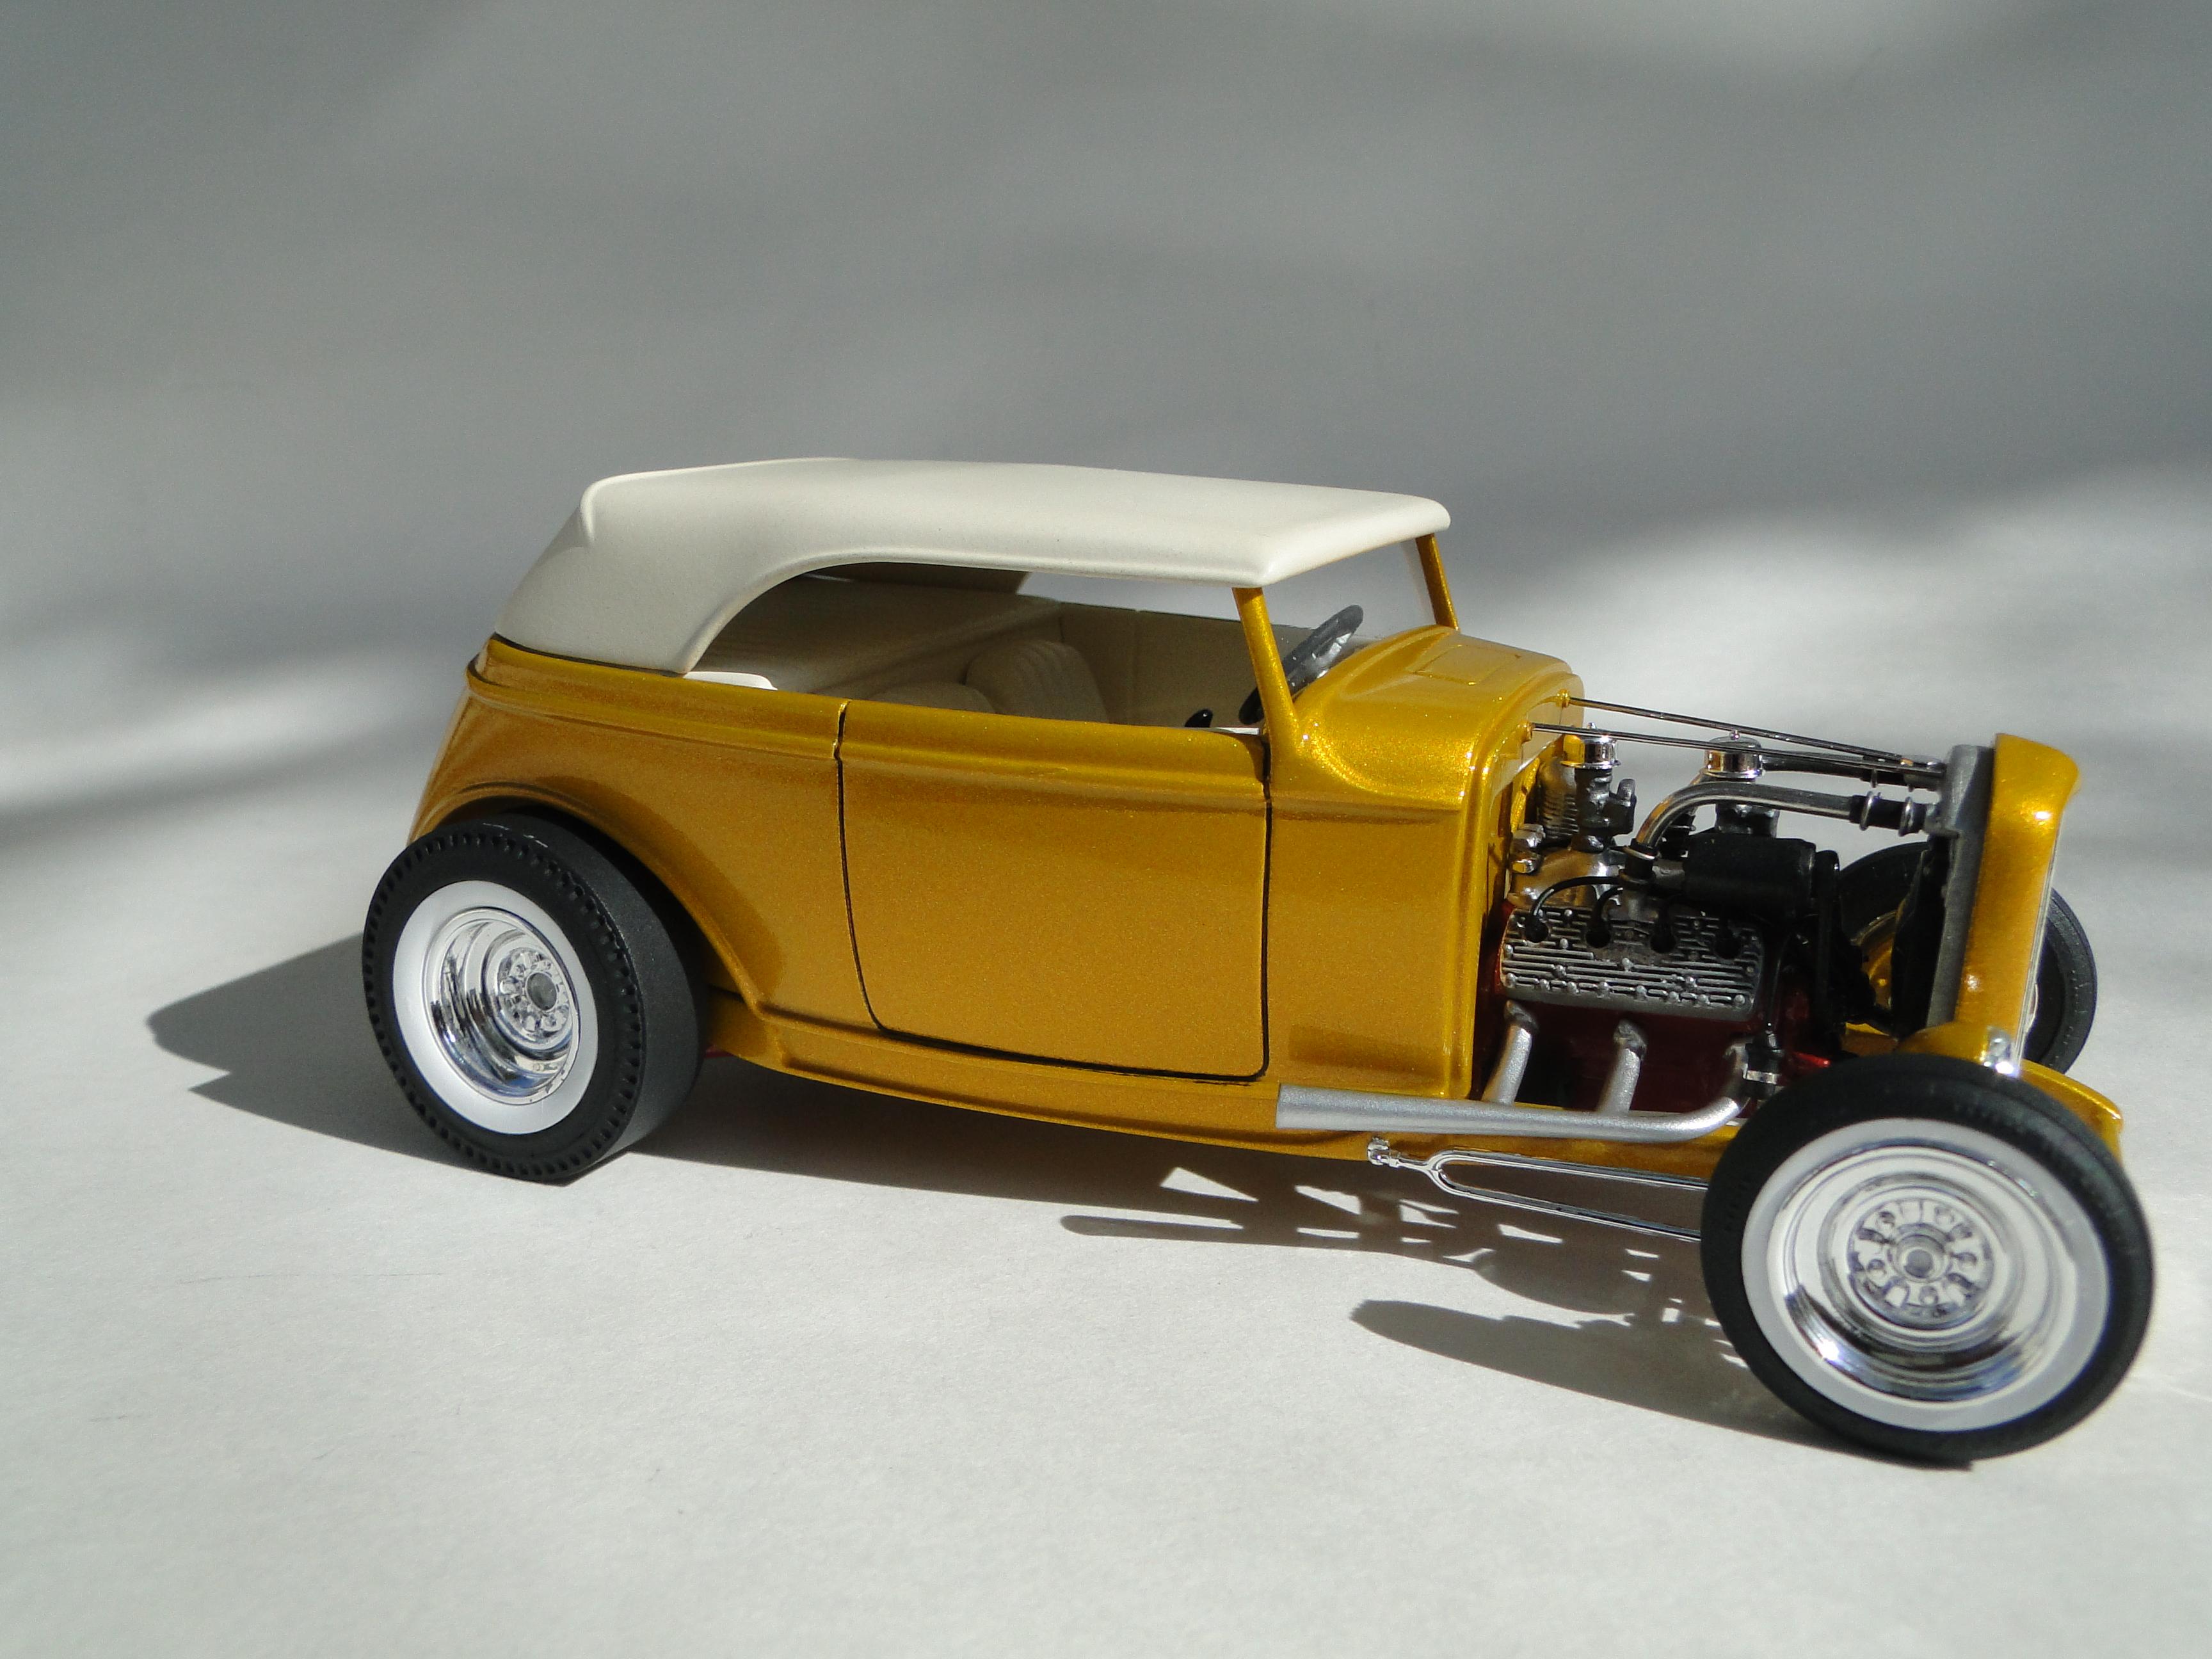
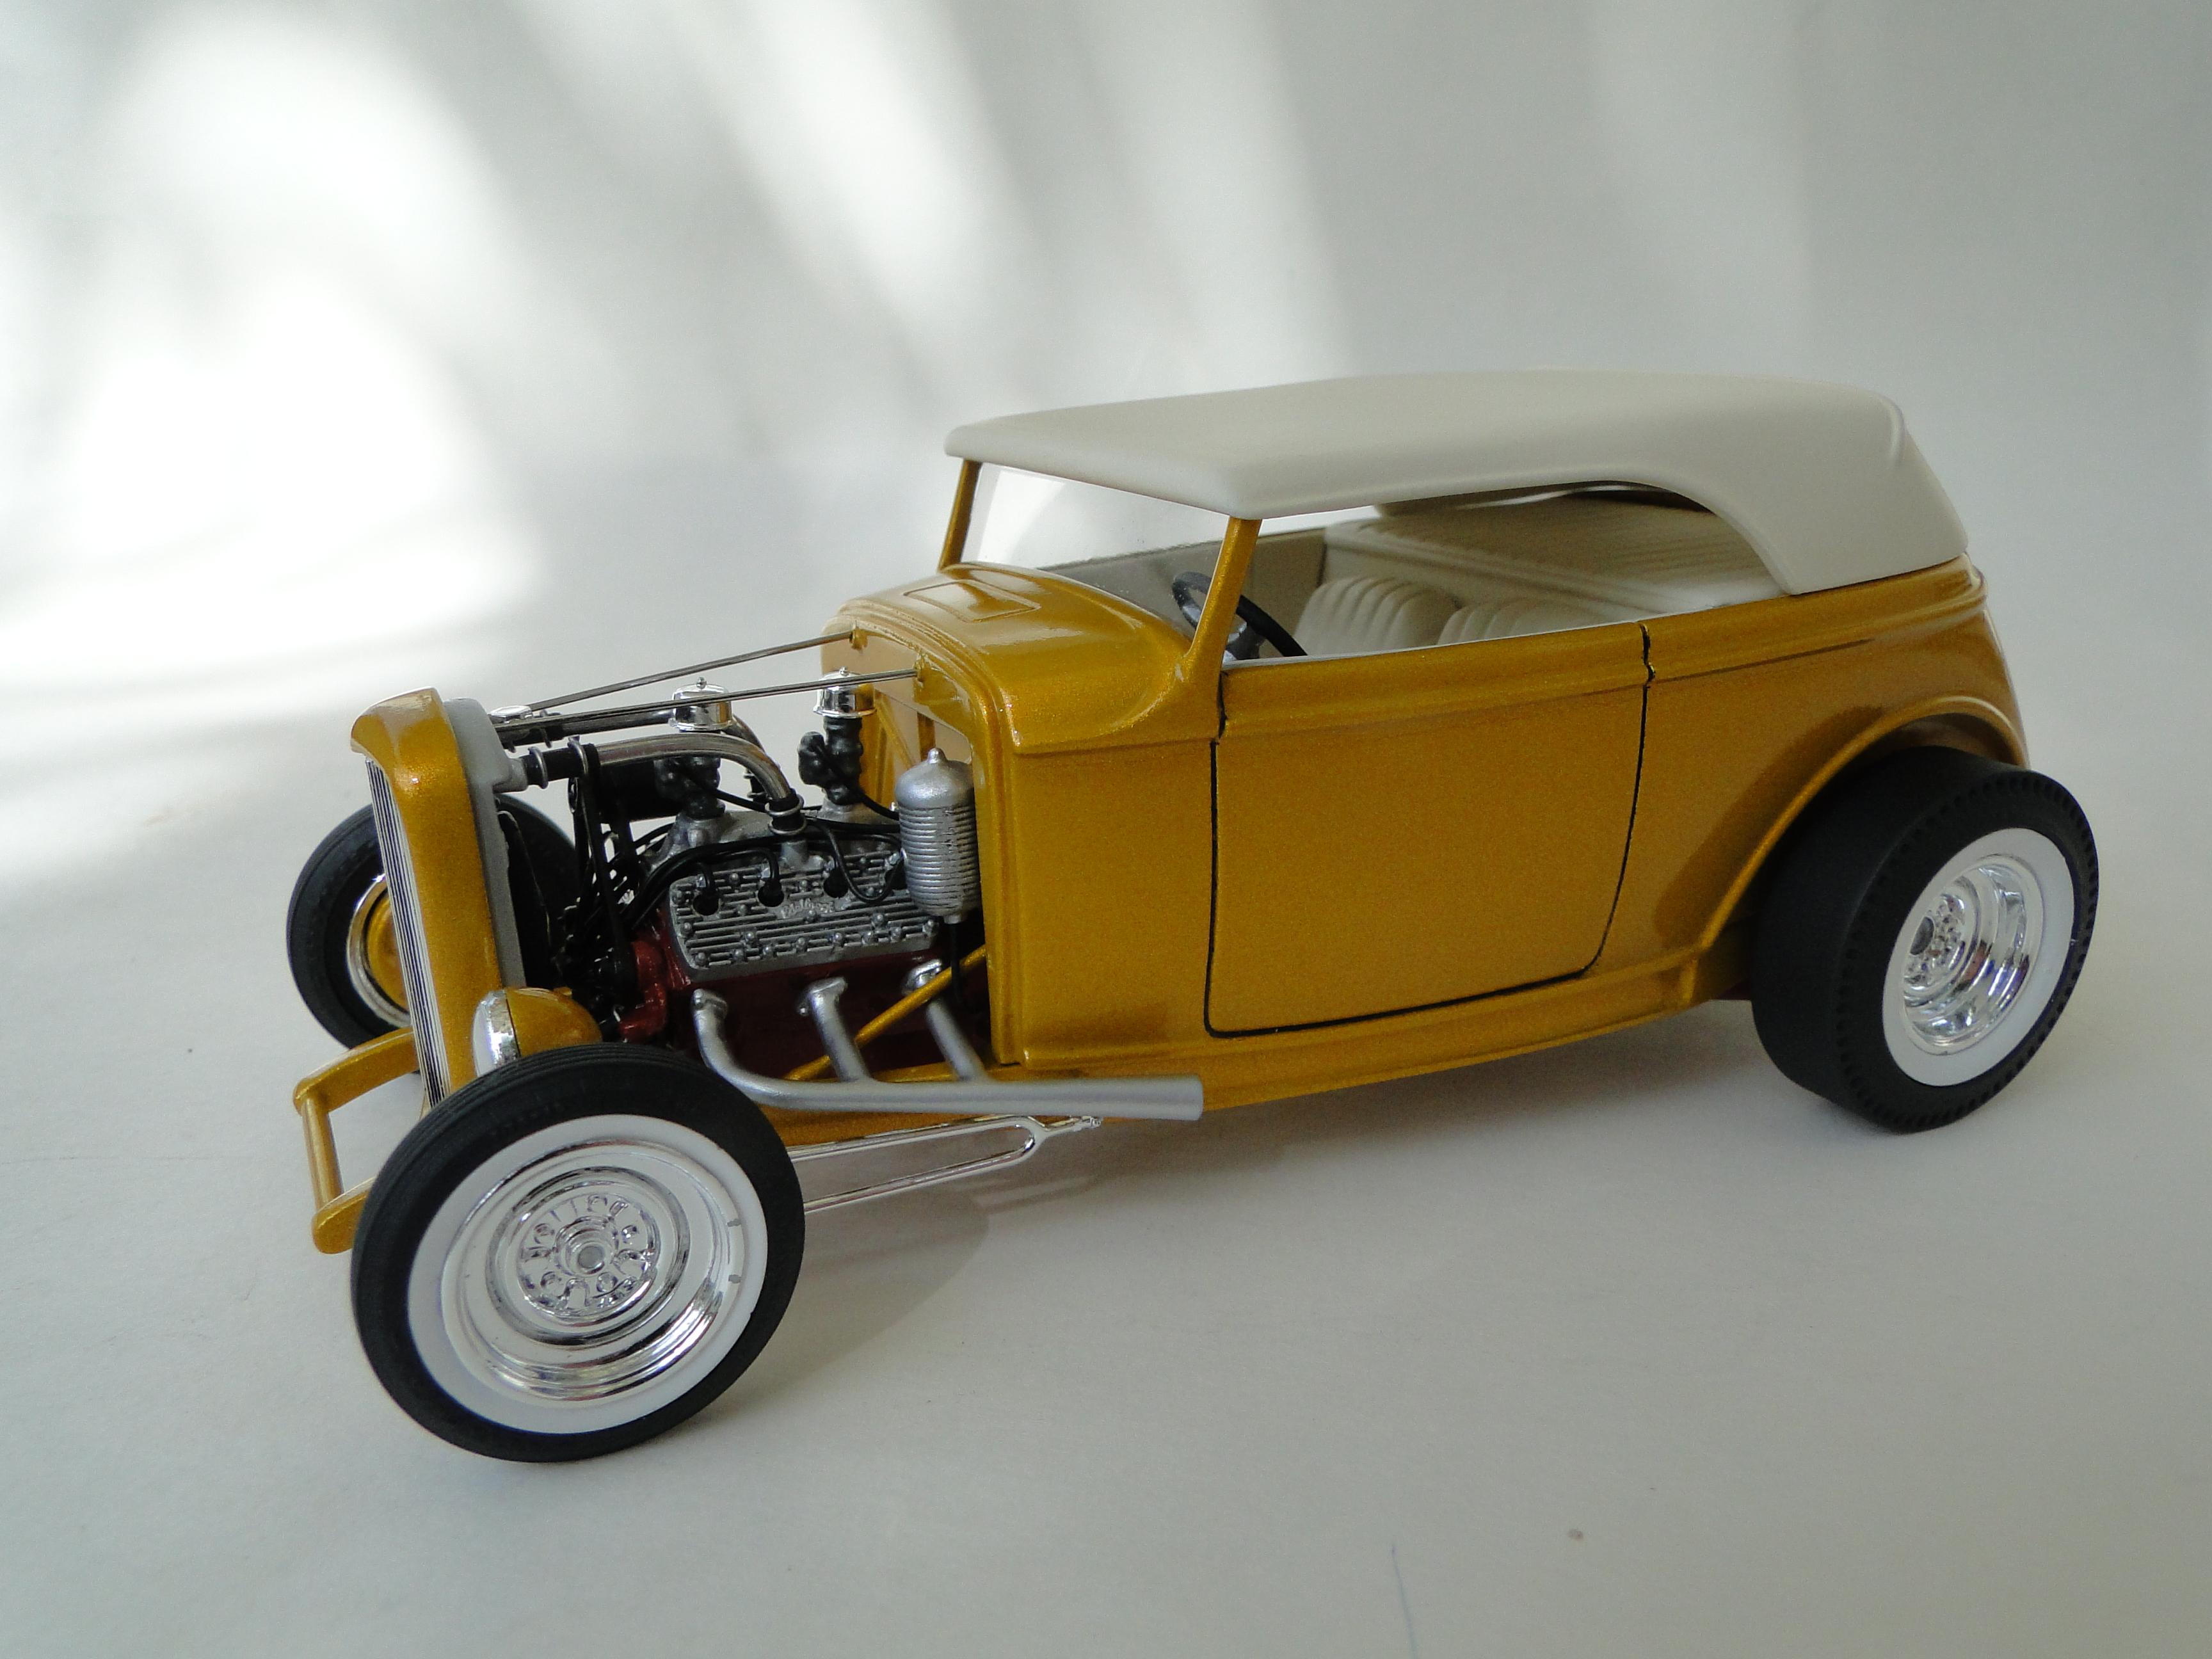
 Here's a phantom '32 Vicky Cabriolet....
-
1963 Chevy Nova Wagon: Early 90’s Street Machine
Rocking Rodney Rat replied to Dennis Lacy's topic in Model Cars
The red and black body works perfectly, the detail on the interior is impressive, even though it doesn't have a cup holder (and the Weiand decal is missing on the blower)?.... -RRR -
Yeah! That scoop fits perfectly! Carry on.... -RRR
-
Who doesn't love a mock-up? Let's see yours!
Rocking Rodney Rat replied to Belairconvertable's topic in WIP: Model Cars
Cut up from the Revell Model A coupe. I sent it to ADL, I don't believe he's done anything with it.... -RRR
-
1963 Chevy Nova Wagon Street Rod FINISHED 3/20/22
Rocking Rodney Rat replied to Dennis Lacy's topic in WIP: Model Cars
Nice! It looks like you forgot the cup holder?!!! -RRR -
I throw a dart of my wall of stuff and start with whatever it hits...collect bits and pieces from there. I just build whatever strikes my fancy, often times I get inspiration from a 1:1 car... -RRR
-
I'll get it in post post haste! -RRR
-
Got nabbed for going 50 in a 30 zone when I was living in New Zealand in 1974. -RRR
-
What did you learn to drive in?
Rocking Rodney Rat replied to slusher's topic in General Automotive Talk (Trucks and Cars)
1973 International Travelall. Split pea green with faux wood. I used to beat the blah-blah-blah out of that thing. I'd put it in neutral at a stop light and when the light turned green, I'd drop it into D and punch the gas. It was the only way to get a chirp out of the tires! Good times!!! LOL!! -RRR -
Where can I buy undamaged new kits
Rocking Rodney Rat replied to louie's topic in General Automotive Talk (Trucks and Cars)
I buy almost all of my kits on line (no decent hobby shops in one of the largest metropolis's (metropoli?) in the country) and I don't think I've ever received a shipping damaged kit. If I received a box as mangled as the one shown above I'd either refuse it or take it back unopened to the shipper and request they return it. That's just wrong. -RRR -
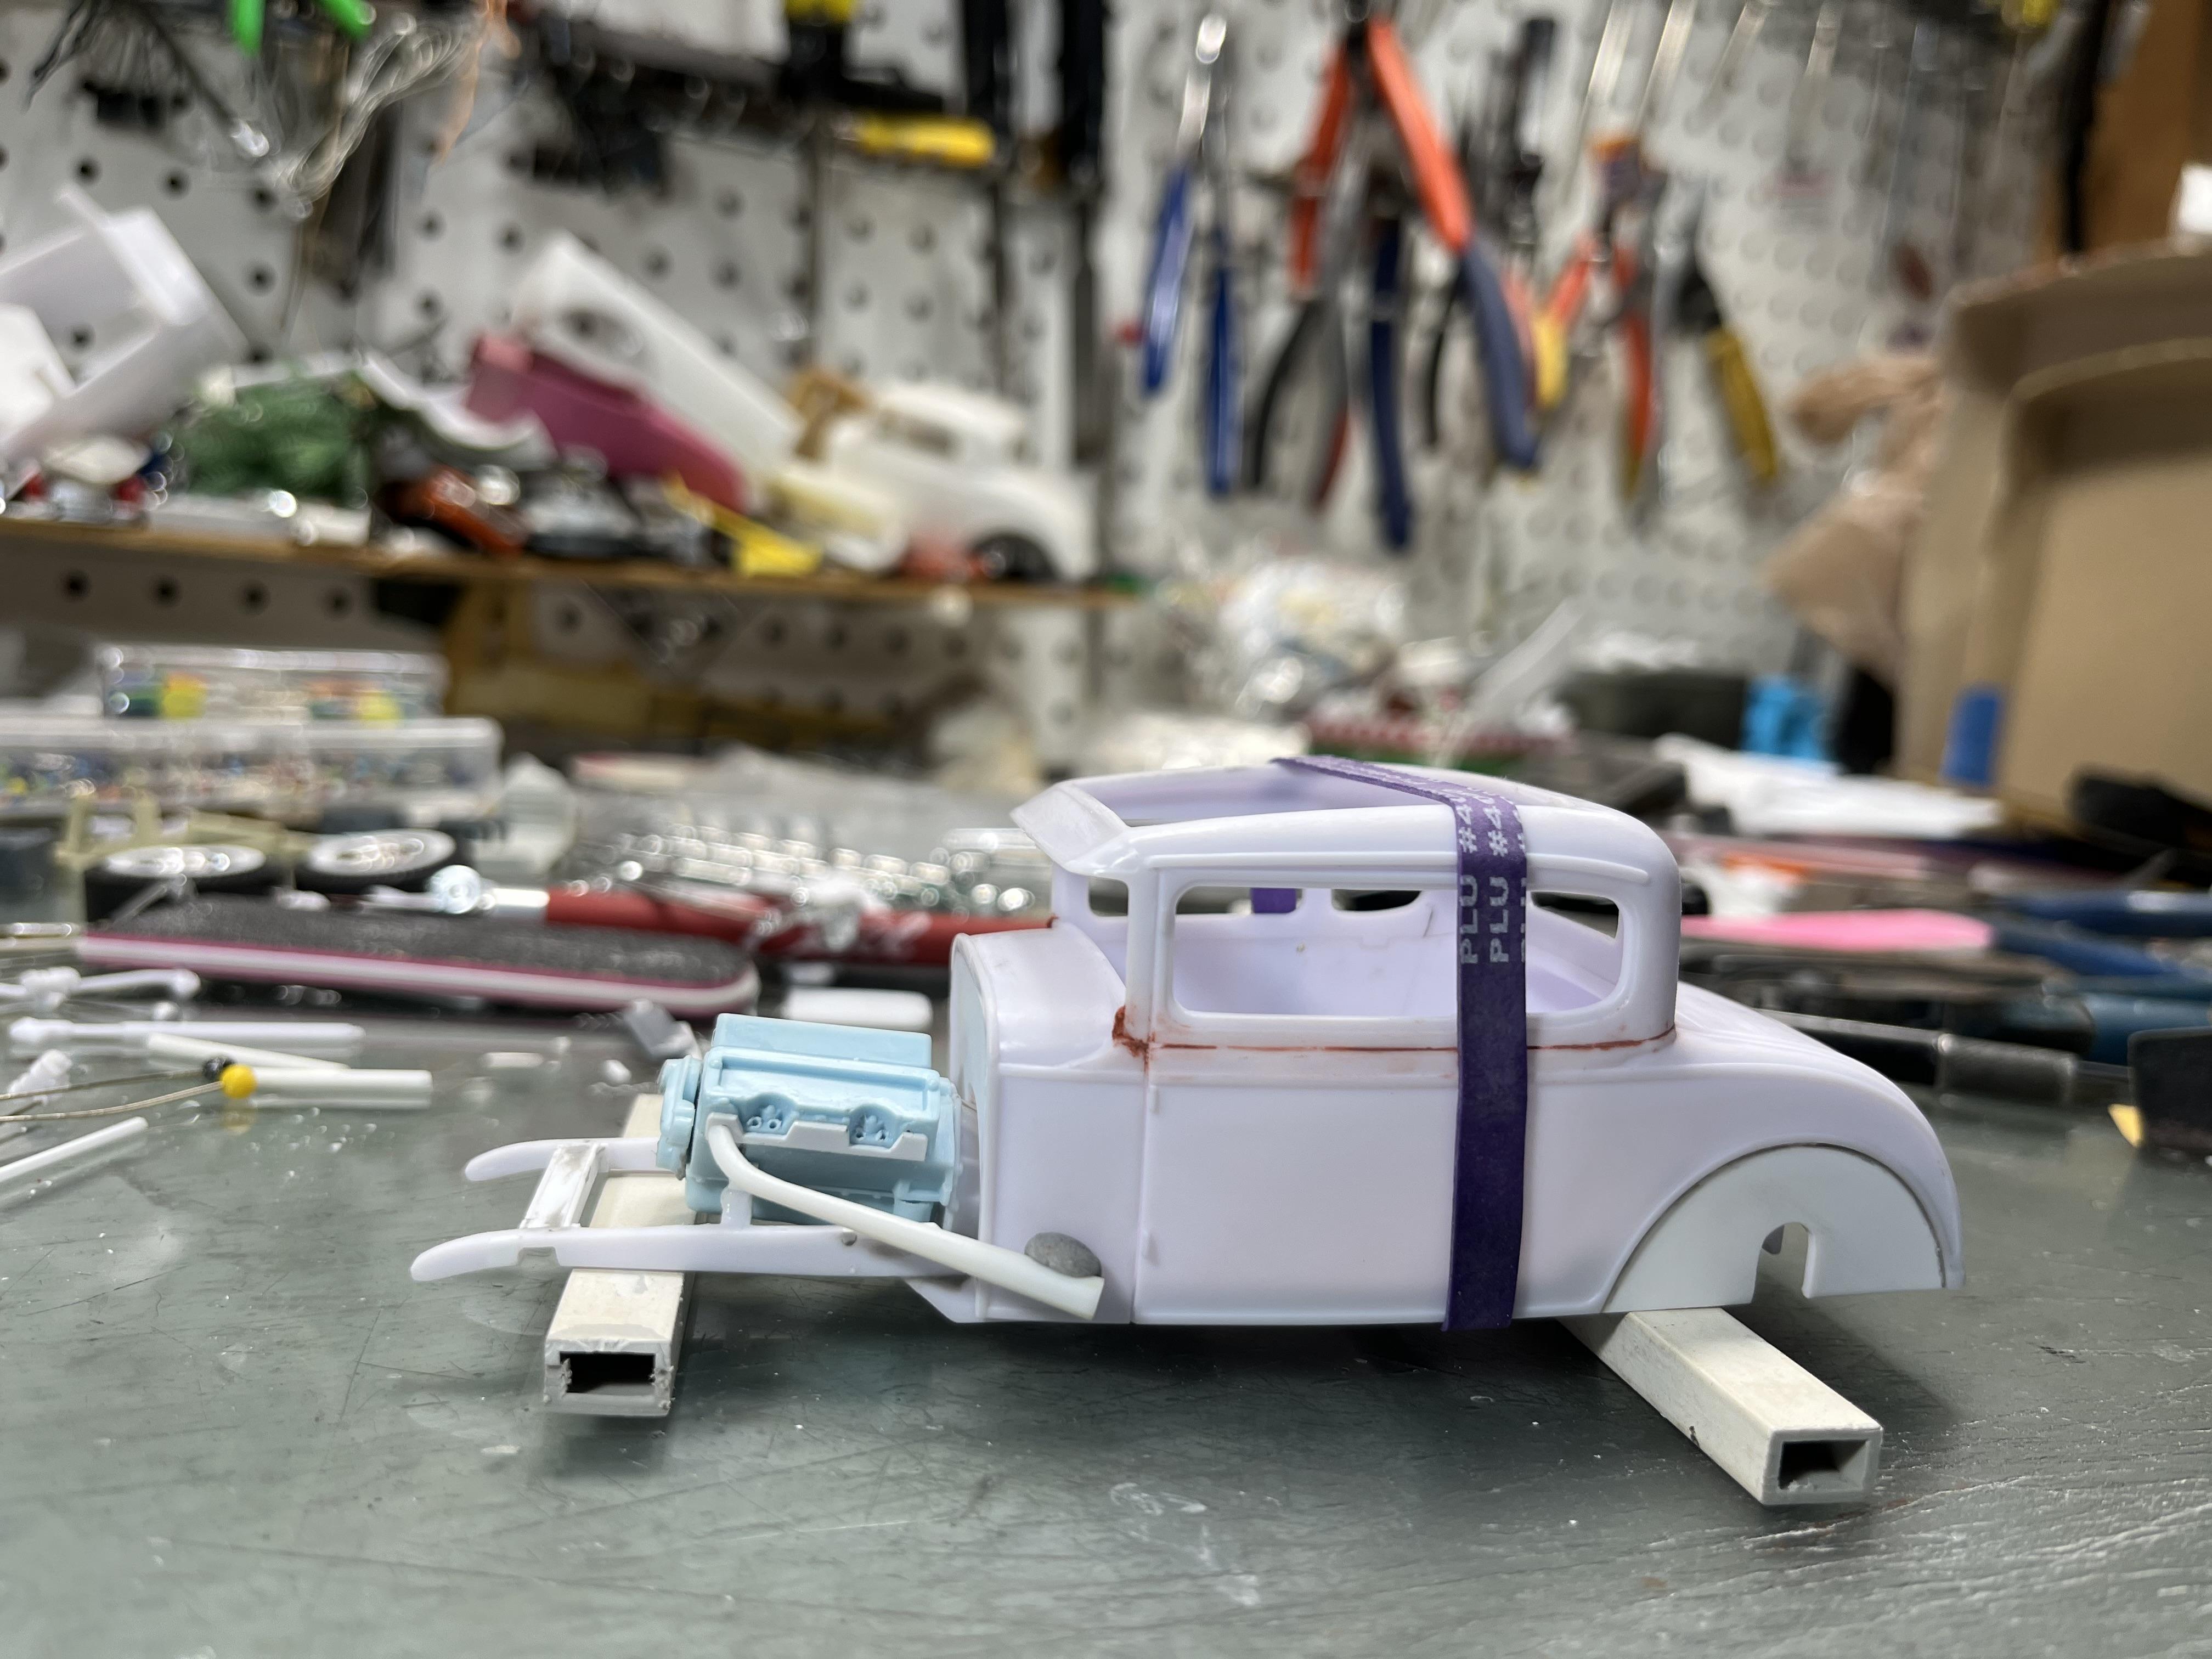
I'm starting to put the exhaust together. I figured the best way get them right is to build them on the car. To that end I white glued (think Elmer's) the header flanges to the heads and then glued the engine to the frame. As you can see I used a rubber band to keep the body attached to the frame. I drilled out the skinny end of the primary tube and inserted a pin glued into the hole. I drilled a hole in the header flange and inserted the pin. I next attached a blob of Blu Tack https://en.wikipedia.org/wiki/Blu_Tack (if you don't know about this miracle putty, get some. Great for mockups and it easily peels off with no residue. Use it over and over) to the big end of the header and the body. This gives me the ability to figure out how far up and down and in and out the header tube should be in relation to the body. When that's all figured out I will first glue the primary tube to the flange with super glue and then measure and cut the other three tubes and glue them on while the Blu Tack holds the main tube in place. Turn the car around and do it again. When that's all done, dunk the frame and engine in water to soften up and remove the white glue. That's a bit too low.... ------------------------------------ That looks better.... More later.... -RRR
-
Every time I see Molotow, I think of a cocktail... -RRR
-
Most of them.... -RRR
-
1963 Chevy Nova Wagon Street Rod FINISHED 3/20/22
Rocking Rodney Rat replied to Dennis Lacy's topic in WIP: Model Cars
looking good!!!! -RRR -
Maybe it's got a hemi?
-
Who doesn't love a mock-up? Let's see yours!
Rocking Rodney Rat replied to Belairconvertable's topic in WIP: Model Cars
-
Who doesn't love a mock-up? Let's see yours!
Rocking Rodney Rat replied to Belairconvertable's topic in WIP: Model Cars
KK and I started on a build of the iconic Barry Setzer dragster after checking out the original car at Don Garlits' Museum of Drag Racing in Ocala, FL....maybe some day? -RRR
-
I'm glad you're along for the ride. A few more destinations before we reach our journey, but we're getting there.... -RRR
-
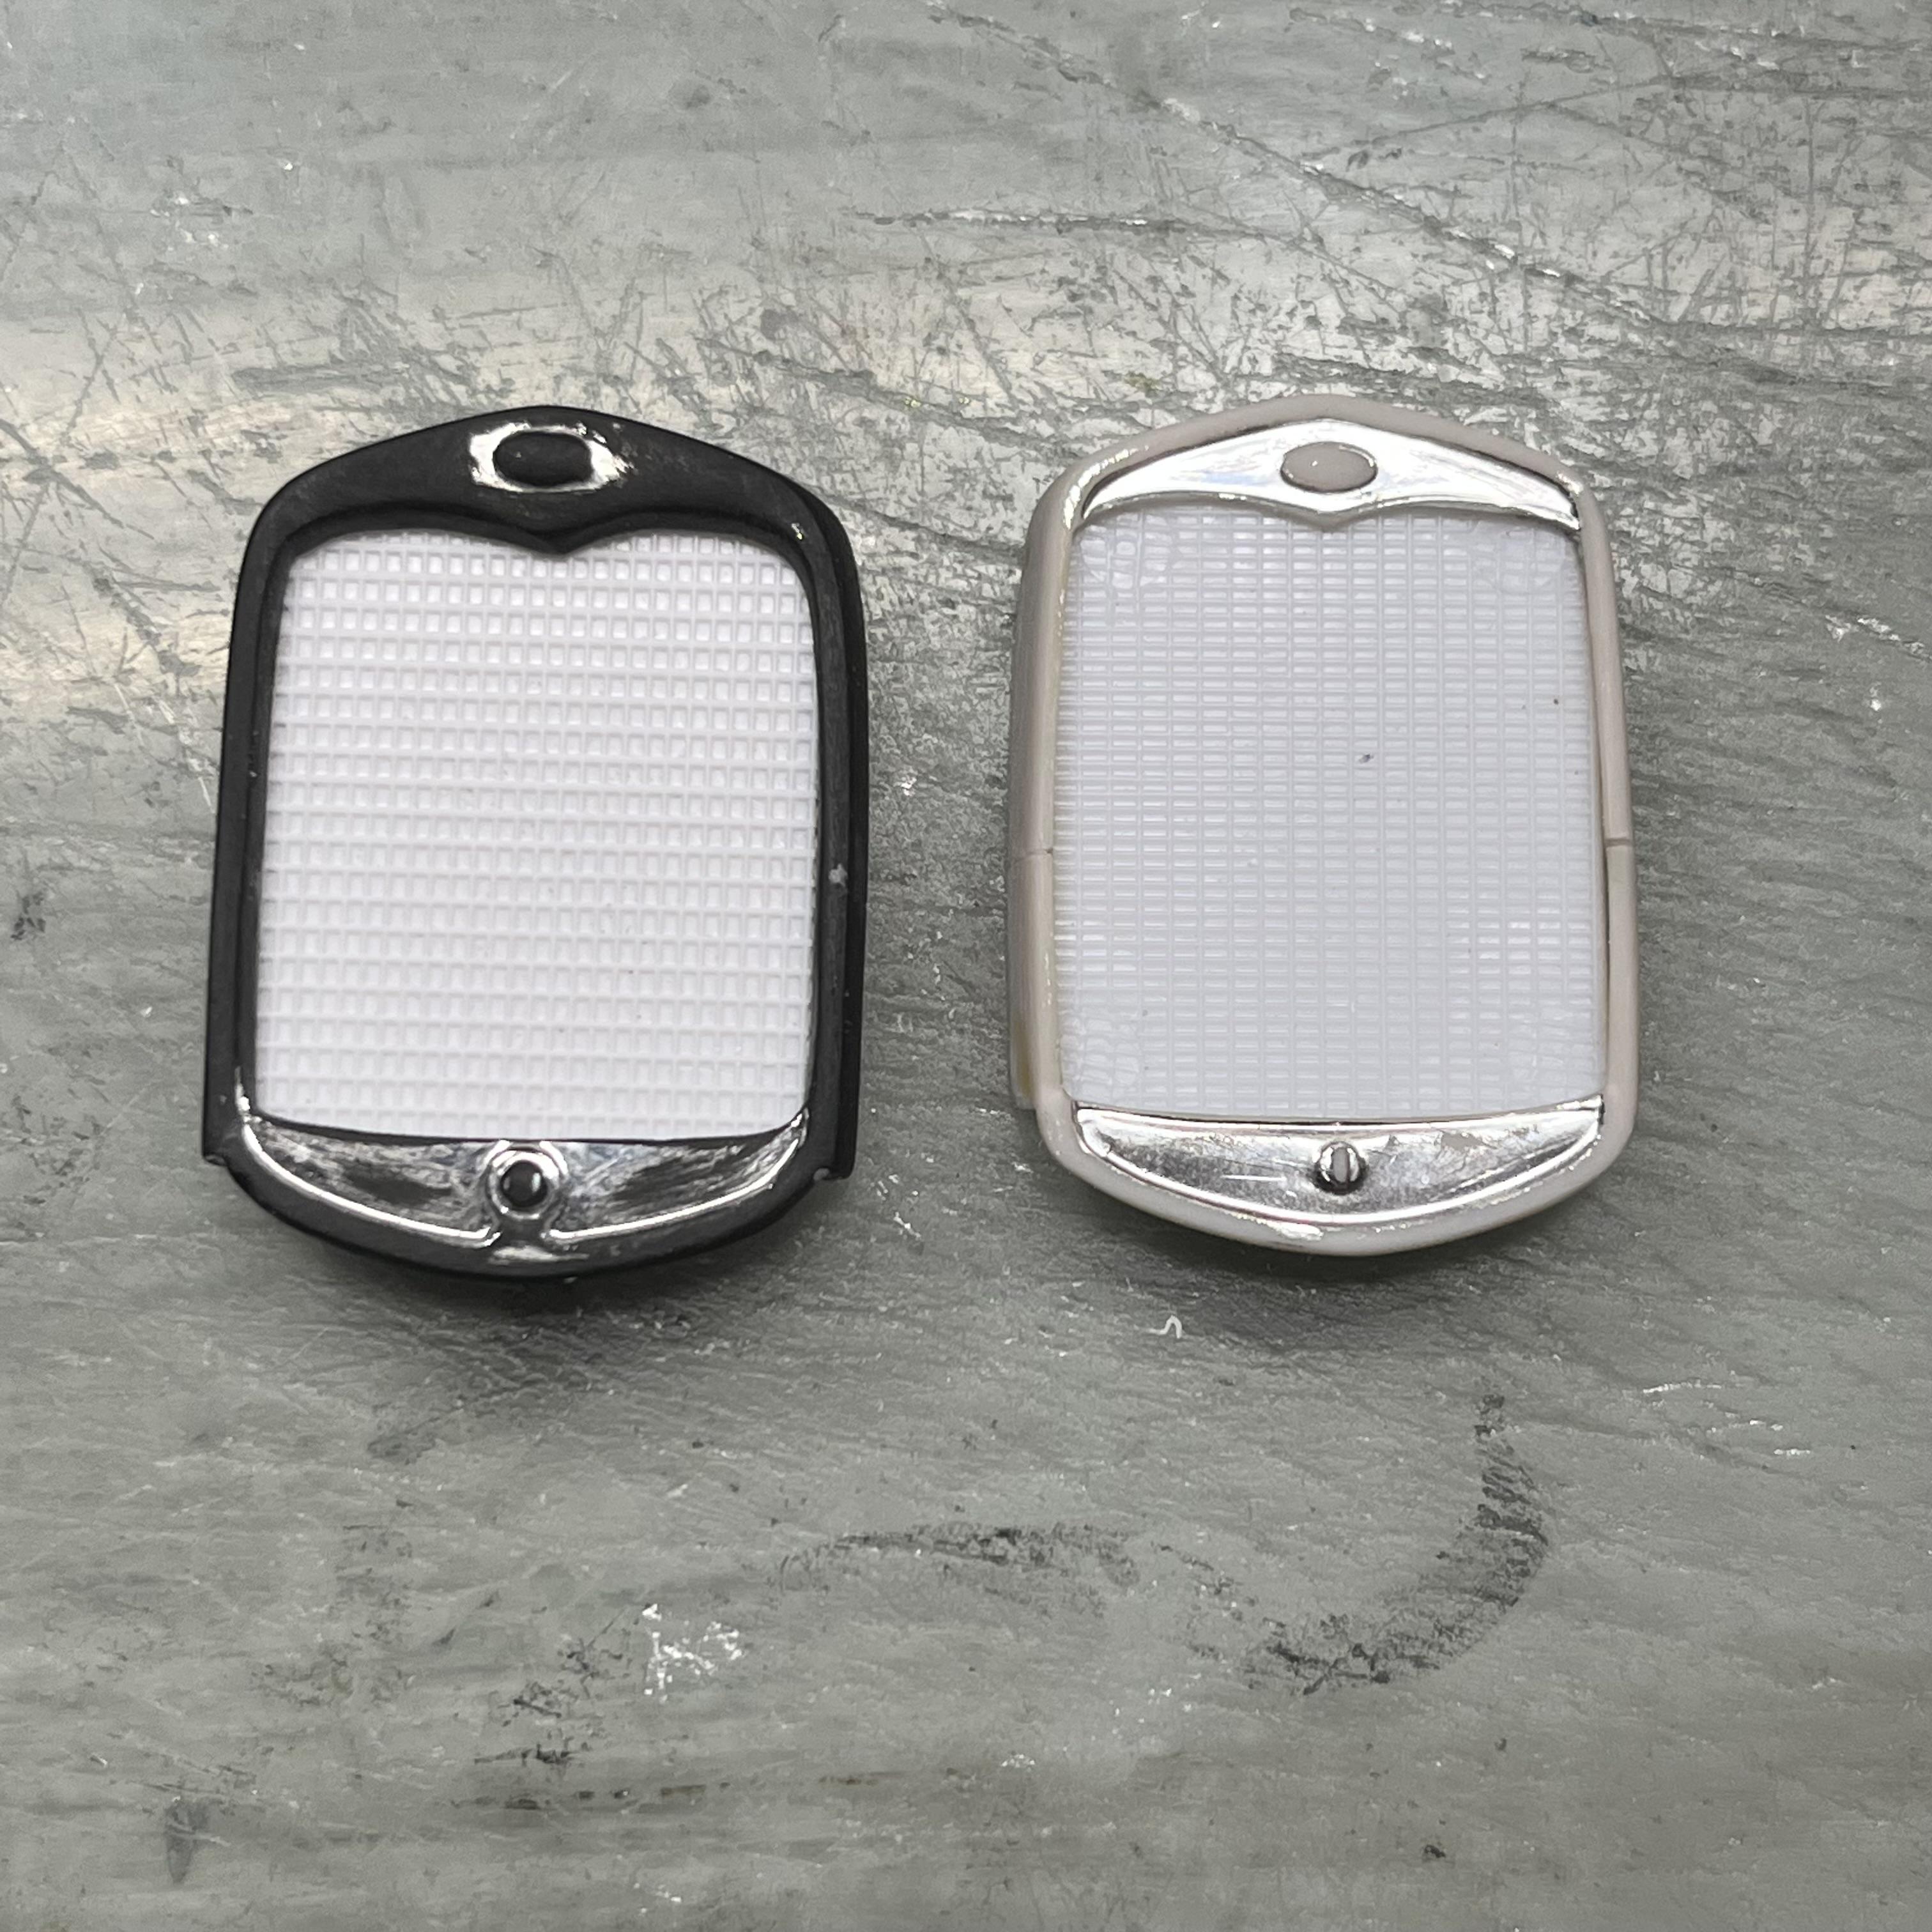
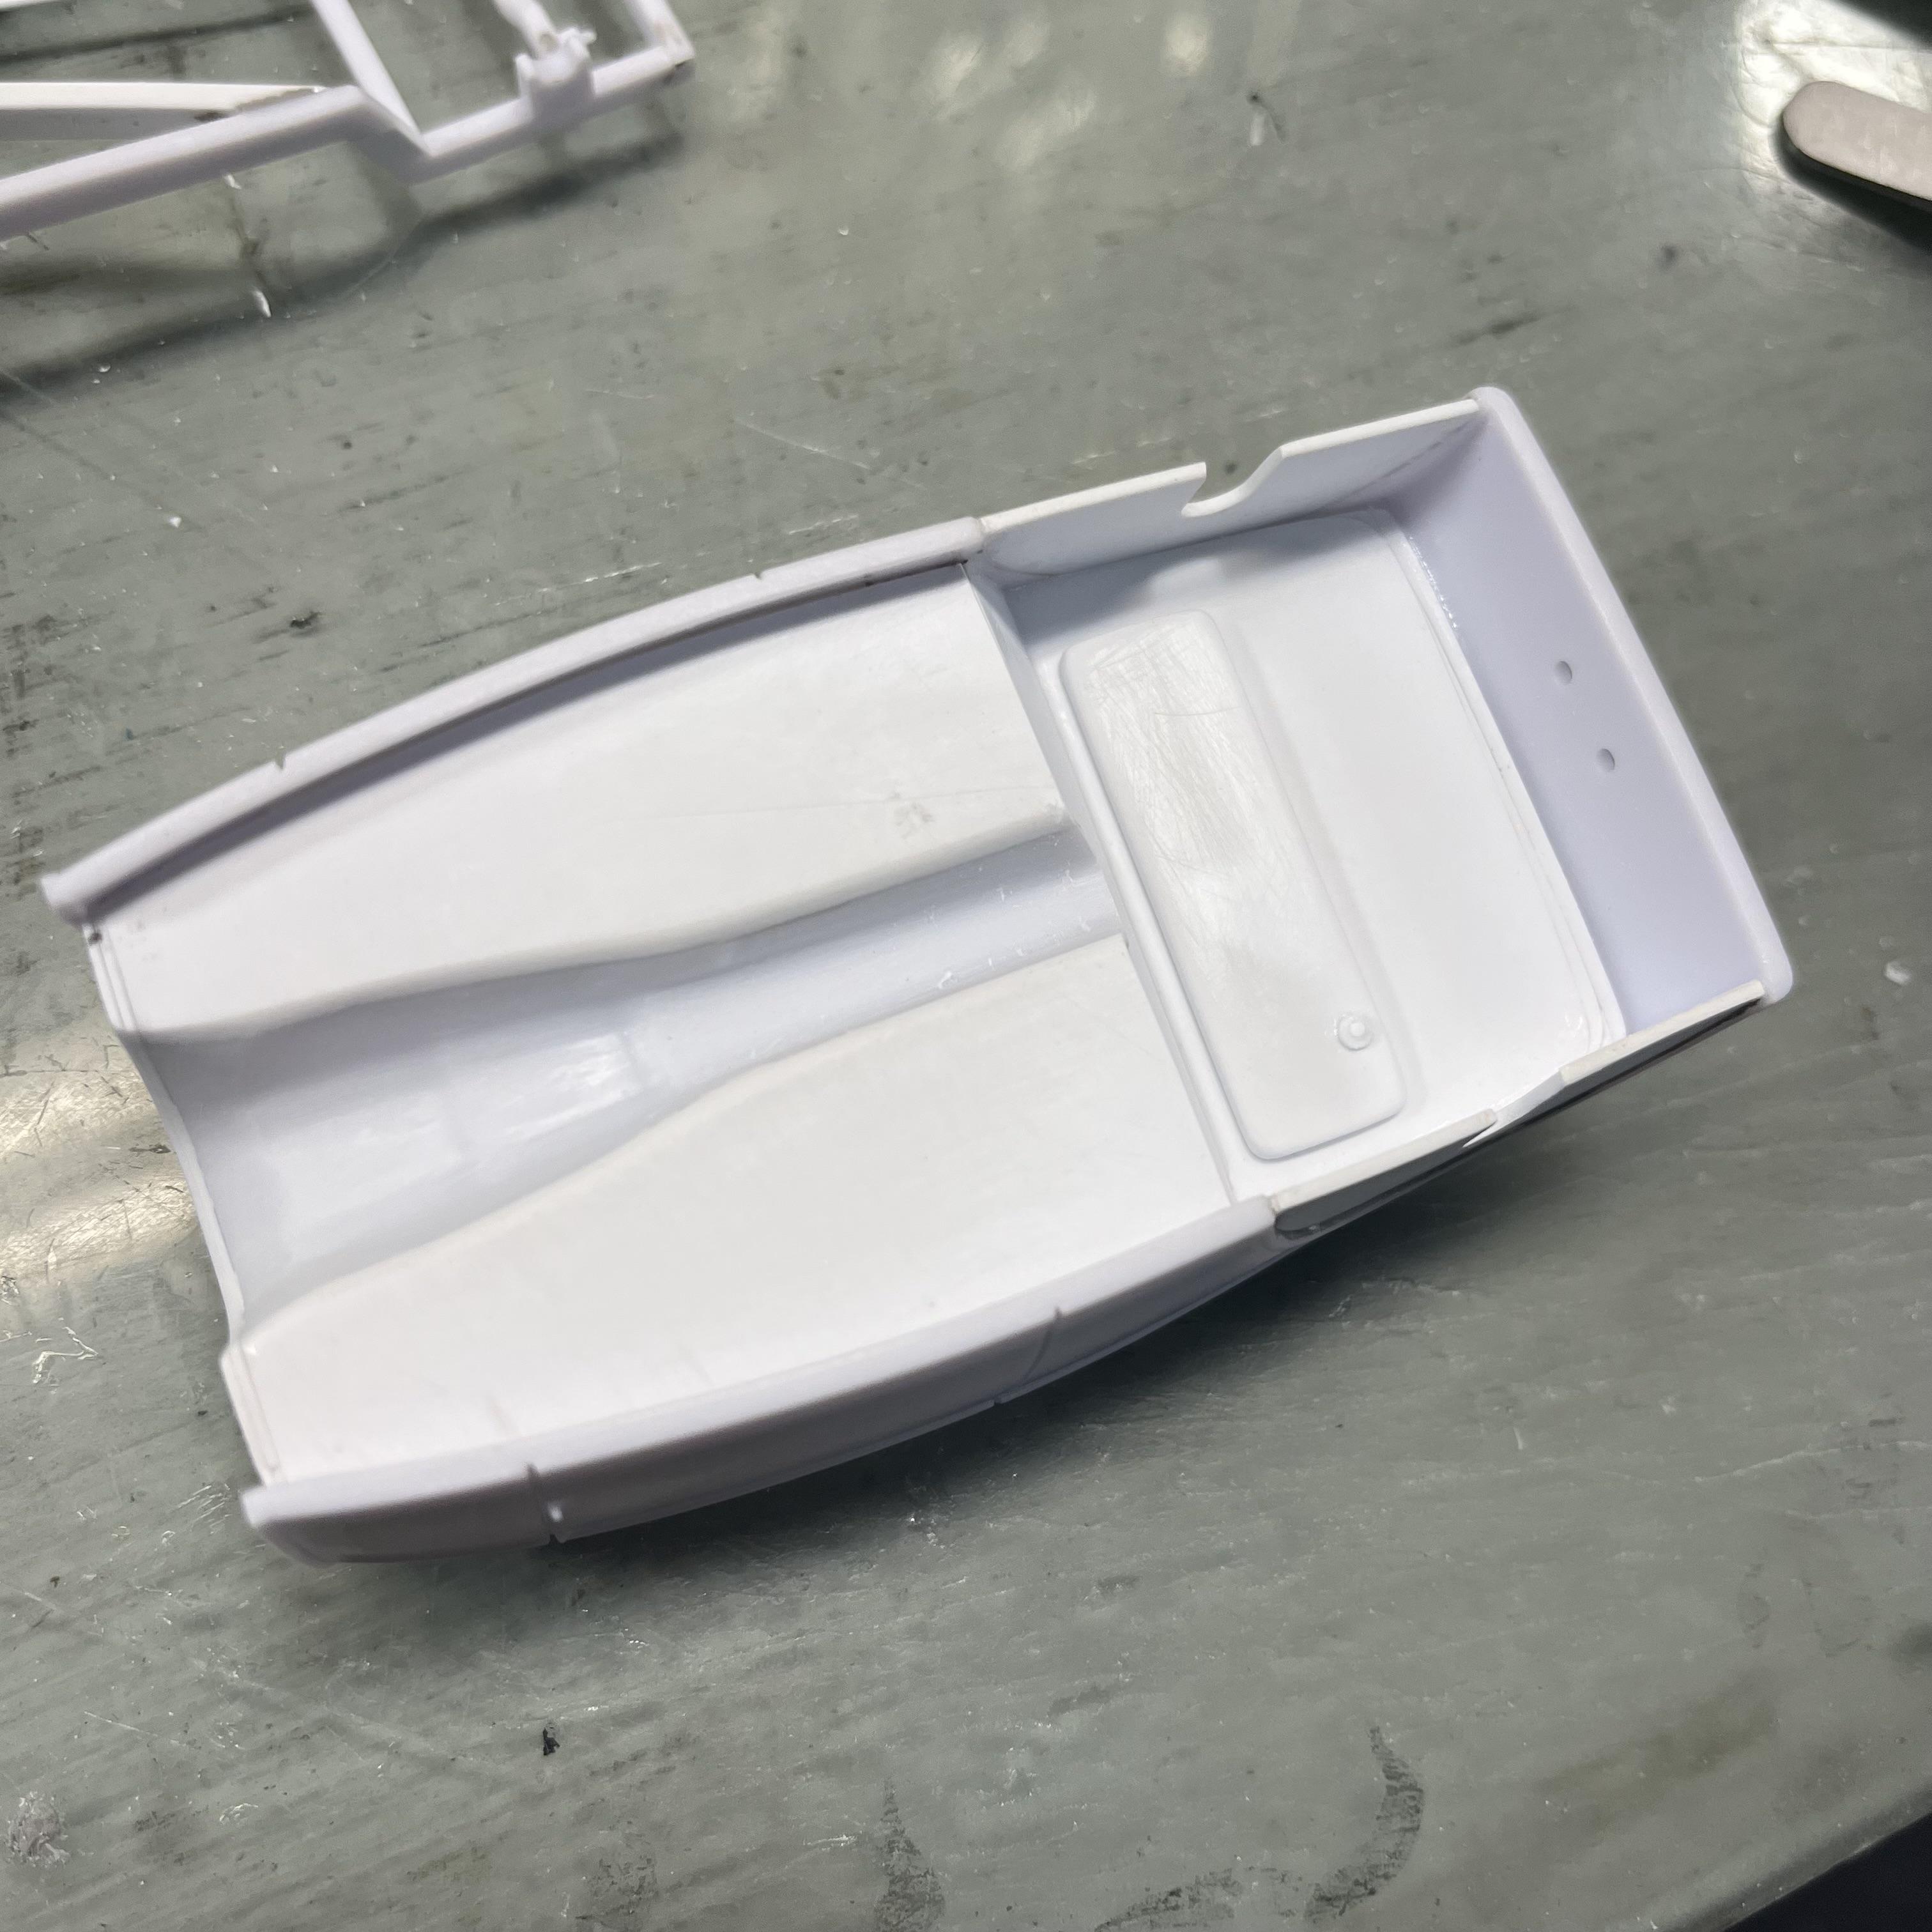
A slight detour on the engine to re-do the grille shell and radiator. I found a '30 grille shell with a separate radiator while looking for a specific tonneau cover KK needs (still haven't found it, sorry bud). The first attempt on the left, where I ground out the attached radiator, that left too much of a lip and set the radiator too deeply into the shell, usable but not ideal. The new shell with radiator on the right, with less of a depth between radiator and shell. Subtle, but much better... ------------------------ Here's a comparison to the chopped shell on the left as compared to the stock height shell. Not much taken out, but with a channeled body it makes the proportions much more pleasing to the eye. It's eyeball engineering... ------------------------- I also made the back end of the floor. This took me a few hours of cutting, fitting, modifying and futzing...I glued in in place as I didn't think I could get it in place without mishaps once it was all painted up. That should work okay. Way too much time spent on an area that will hardly be seen... ---------------------------- I added a gas tank that's supposed to be partially sunk into the floor. -------------------------- The gas tank is kinda hard to see now, but once painted silver against the planned green body color it will look good. It's a tight fit against the frame... More later, campers...... -RRR
-
Thanks, Mark...trying to get it wrapped up soon... -RRR
-
Removing the Rat from the Roaster
Rocking Rodney Rat replied to Rocking Rodney Rat's topic in WIP: Model Cars
Happy to be of assistance! There are many build-up pix of mine as well as my good friend Kit Karson have done here: https://public.fotki.com/jferren/ -RRR (& KK) -
Very well done. I've always loved that chassis... -RRR