Rocking Rodney Rat
-
Posts
1,995 -
Joined
-
Last visited
Content Type
Profiles
Forums
Events
Gallery
Everything posted by Rocking Rodney Rat
-
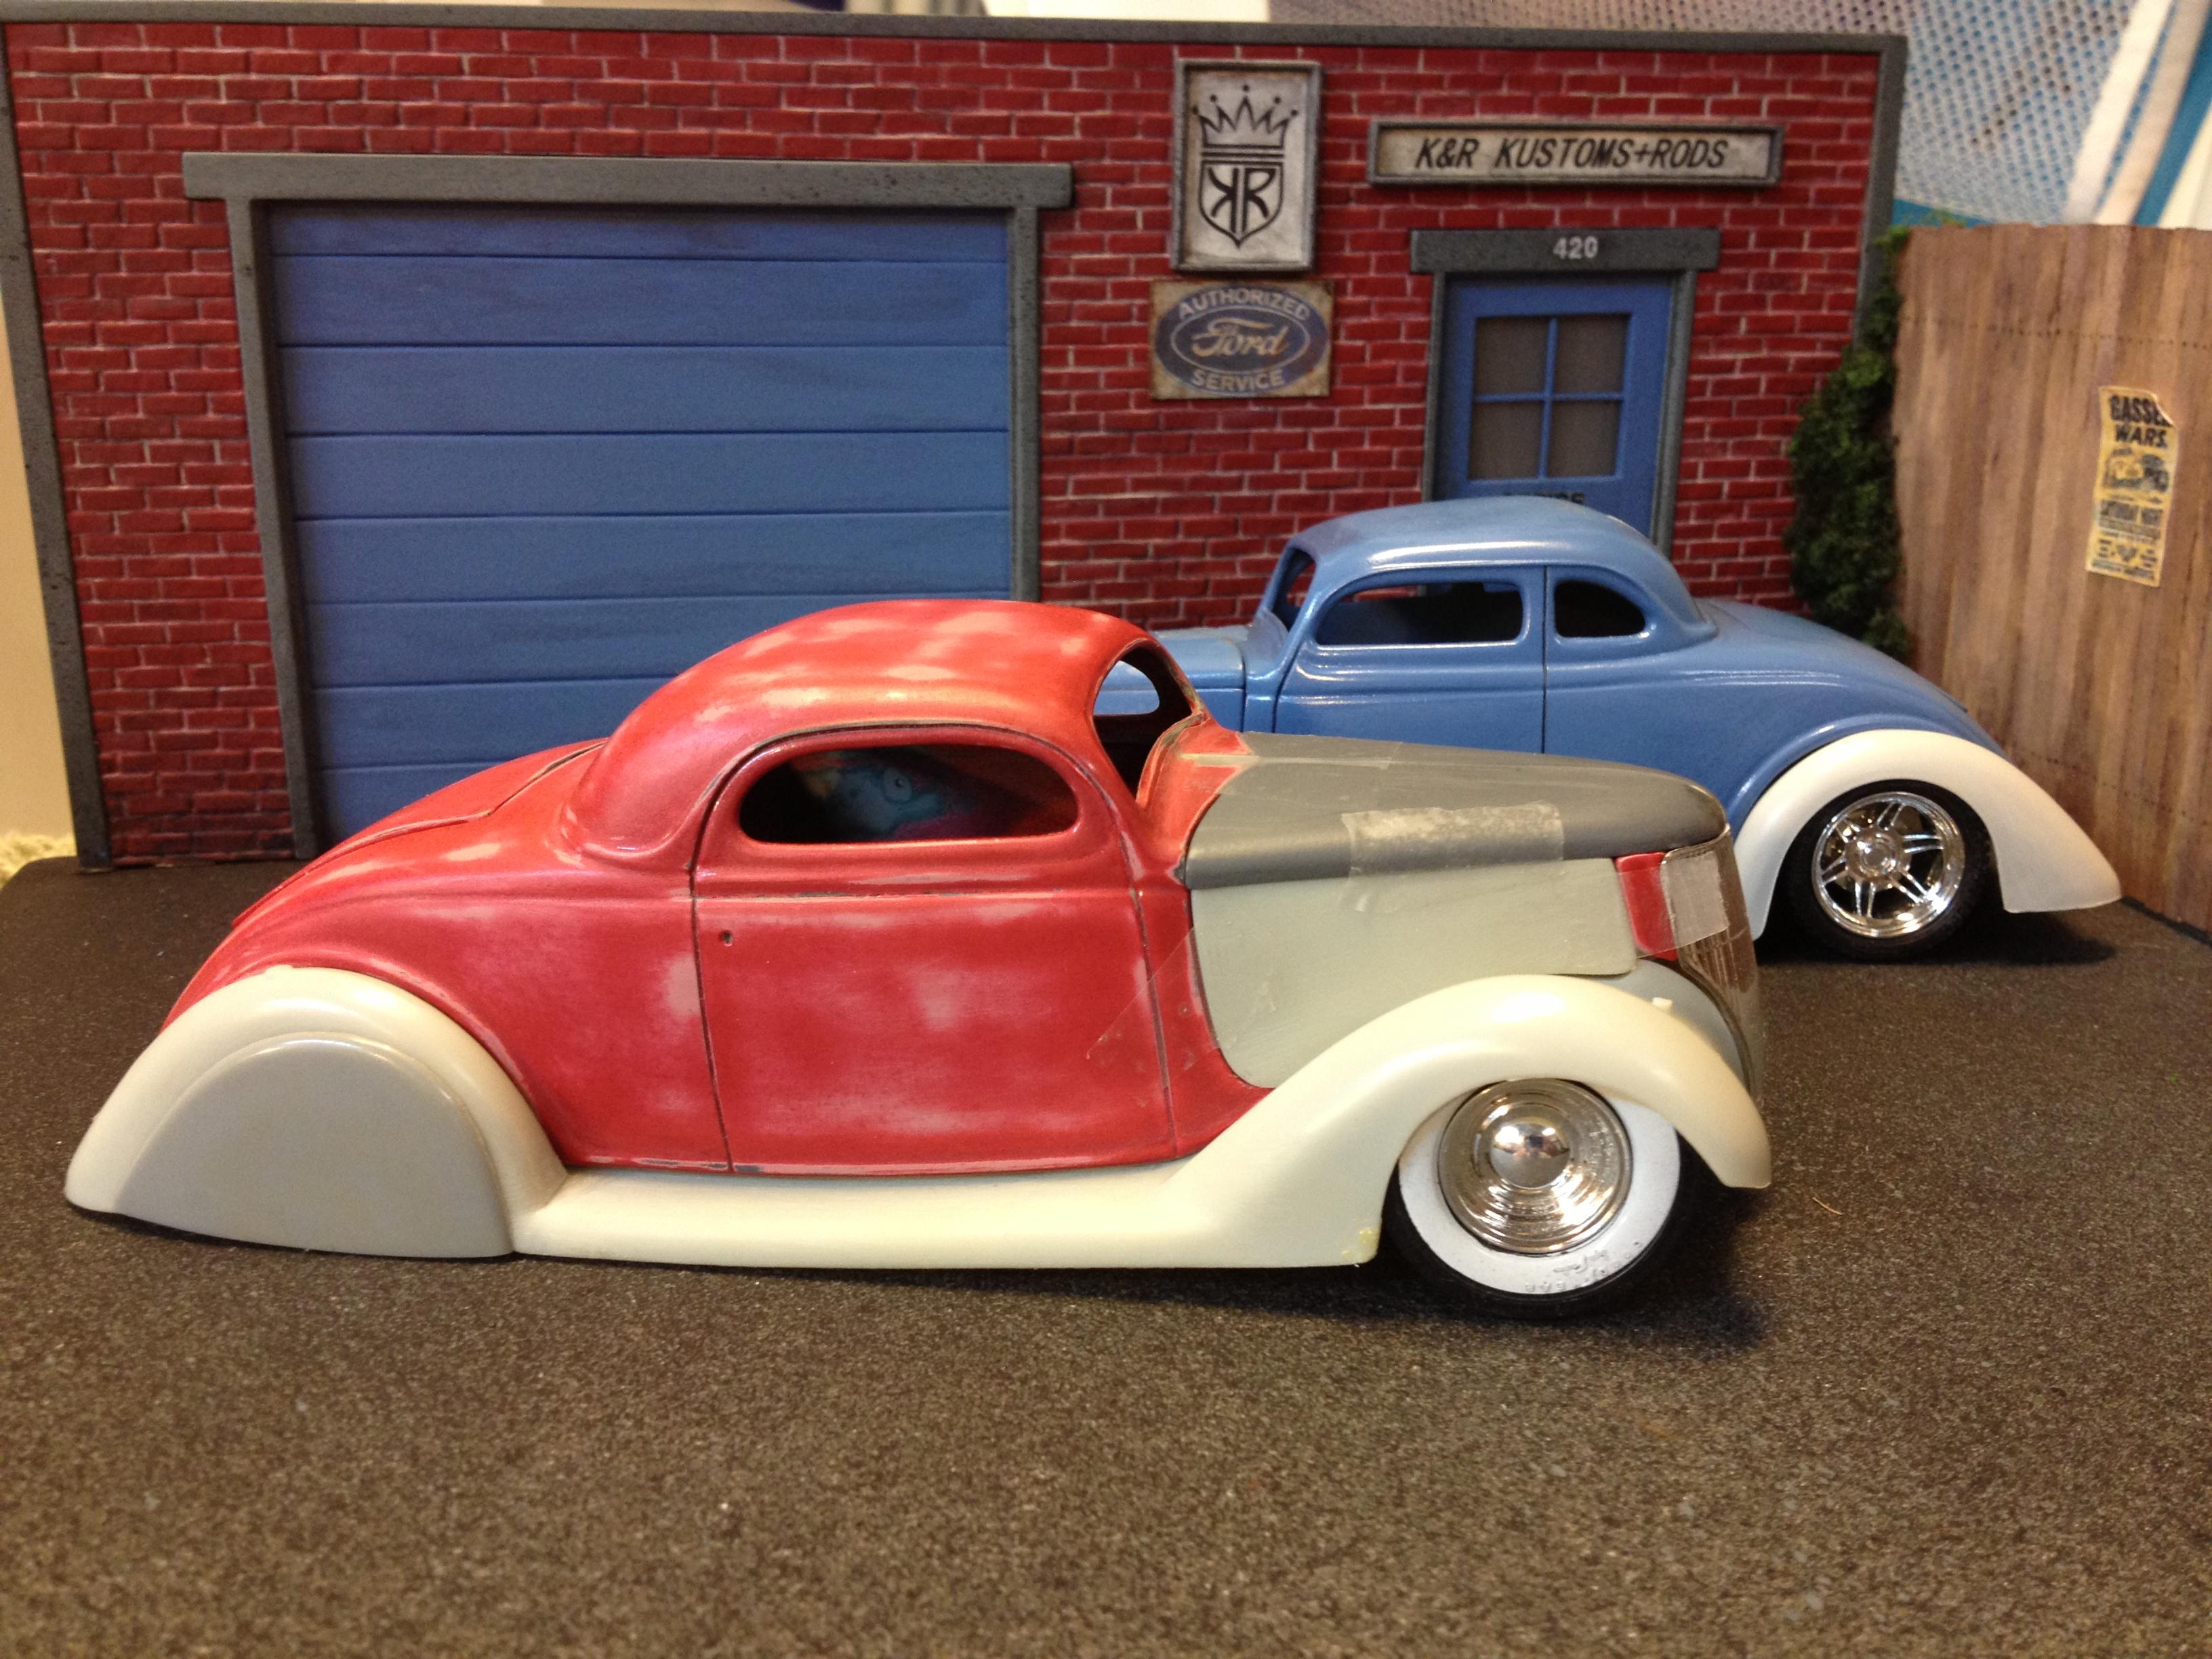
 I was scrounging around in a few old boxes of who's-know-what's-in-any-given-box the other day. I have a few hundred boxes that have partial kits, parts from other kits, started builds and whatnot all jumbled together. It's a treasure hunt every day here. This old started build of a '36 coupe caught my eye and I decided to bring it back to the bench. This story started about 20 years ago, when I was living in the Pac NW before I moved clear across to the opposite corner of the country. I swapped chilly humidity for hot humidity.... The original idea for this was to build two '36 coupes, a chopped 3 window and a chopped 5 window (a Jimmy Flintstone body, I know, it has some issues with the door side of the A pillar and the misshapen quarter windows, I'm overlooking that, I don't like to mess with resin too much, it's soft and hard to work with...) This pic was taken about 10 years ago or so. This was posted on another forum I used to frequent. Bryce Michelmore from Australia, who was on that forum at the time, had expressed some interest in the 3 window coupe. This was before that chopped 3w greenhouse was re-issued. So, I sent the body to Oz. (My sometimes building partner, Kit Karson and I have a 'thing' about sending stuff to other people that express interest, why not?). I haven't had much correspondence with Bryce since I dropped out of the other forum, so I don't know if he's ever done anything with that body. In any case, the 5ive window is back on the bench. I had done some work on it in the past including cutting out the floor pan integrated into the frame. This will be built as a street rod, not a kustom. The body was originally painted with a light blue hue with Krylon (I used to use that back in the day, what did I know?) I sanded it down and shot a coat of brown primer on it. The IFS (in blue) from the Revell '37 convertible should drop into this frame, once the original front crossmember is cut away. Power will be a 5.0 Ford with EFI from the Speedwagon. Wheels and tires are from Reps and Mins of MD (I hope you're recovering well, Norm) with the baby moons aftermarket chrome plated. These narrow tires lend themselves to snugging into the narrow fenders. The seat is a bench from the AMT Phantom Vickie [sic] narrowed to fit, door panels from that kit will be used. I'm planning on a two-tone paint job in the red color spectrum. You can see my original handiwork as I was lowering the front edge of the running boards with some Evergreen strips molded in. That theme will be continued...also note the smooth running boards. Much work ensues, I hope you follow along.... -RRR
-
You had me at 'A'...looking good! -RRR
-
I'm glad to see your stick to it on this one. First post in '15! Bring it on home! One of my fave body styles, the '26/'27 T. Nice color combo... -RRR
-
It doesn't have to be shiny.....
Rocking Rodney Rat replied to Rocking Rodney Rat's topic in Contests and Shows
Show date change due to pandemic was inevitable, I suppose. The weather this time of year is certainly better than April for outdoor activities including a car show. I hope they keep this time of year, sure was most comfortable. There were a surprising number of vehicles from up North in attendance. -RRR -
Good to see you back at this oldie but hopefully not moldy! Coincidently, I just dragged out a 20 year old stalled build and started messing around with it this week. I will post up soon.... -RRR
-
Great work. Don't forget the triangle gussets between the roll bars and the frame.... -RRR
-
Nice hot rods!! Looking forward to seeing more. Perfect patina.... -RRR
-
It doesn't have to be shiny.....
Rocking Rodney Rat replied to Rocking Rodney Rat's topic in Contests and Shows
Hey Jim- The show went well. I though we'd see you there. About 175 models on display. Pat and David helped with the judging. Kit Karson drove down in his '34 pickup so we actually participated in the 1:1 portion of the show. Smaller turnout overall as expected, not many vendors in the building which gave the model car show plenty of room to stretch out in. Tim K was absent as well. -RRR -
It doesn't have to be shiny.....
Rocking Rodney Rat replied to Rocking Rodney Rat's topic in Contests and Shows
now, THAT cracked me up! I might change my signature to that statement... -RRR -
I love the angle chop, that came out really well! Nice job all around. -RRR
-
Nice job on one of the most slippery body styles of all time. The pix do look good, maybe I should break out my digital camera! In any case, can you shoot a pic or two of the rear suspension? I'm considering an IRS for a street rod project and I'm wondering if it's worth the investment. Thanks! -RRR
-
That came out great! It's so good to see this kit back!. -RRR
-
Looking good! -RRR
-
Gasser with a chop! Get hackin'!!!! -RRR
-
Here's another Mooneyes Dragster
Rocking Rodney Rat replied to Bill Eh?'s topic in WIP: Drag Racing Models
Good to see another one coming together.... -RRR -
I did have the X-Acto knife roll off of the desk and stab me in the thigh. Only once.... -RRR
-
I seem to cut my fingers more often with the X-Acto blade and the saw than I used to....does that count? -RRR
-
...to win 'Best Paint', also awarded first in the category of Nostalgia Race.....-RRR
-
Have you assembled them? It's hard to tell if the frame is warped before you put it together. -RRR
-
I think all of those frames have always had a warp. I don't think Atlantis is charging any more for that warp, as far as I can tell. When I made my Mooneyes dragster from one of the original parts packs, the frame had a warp. I made a base and tied down opposite axles to keep all four tires on the ground at the same time... Glad to see of these being built from the new issue... -RRR
-
Removing the Rat from the Roaster
Rocking Rodney Rat replied to Rocking Rodney Rat's topic in WIP: Model Cars
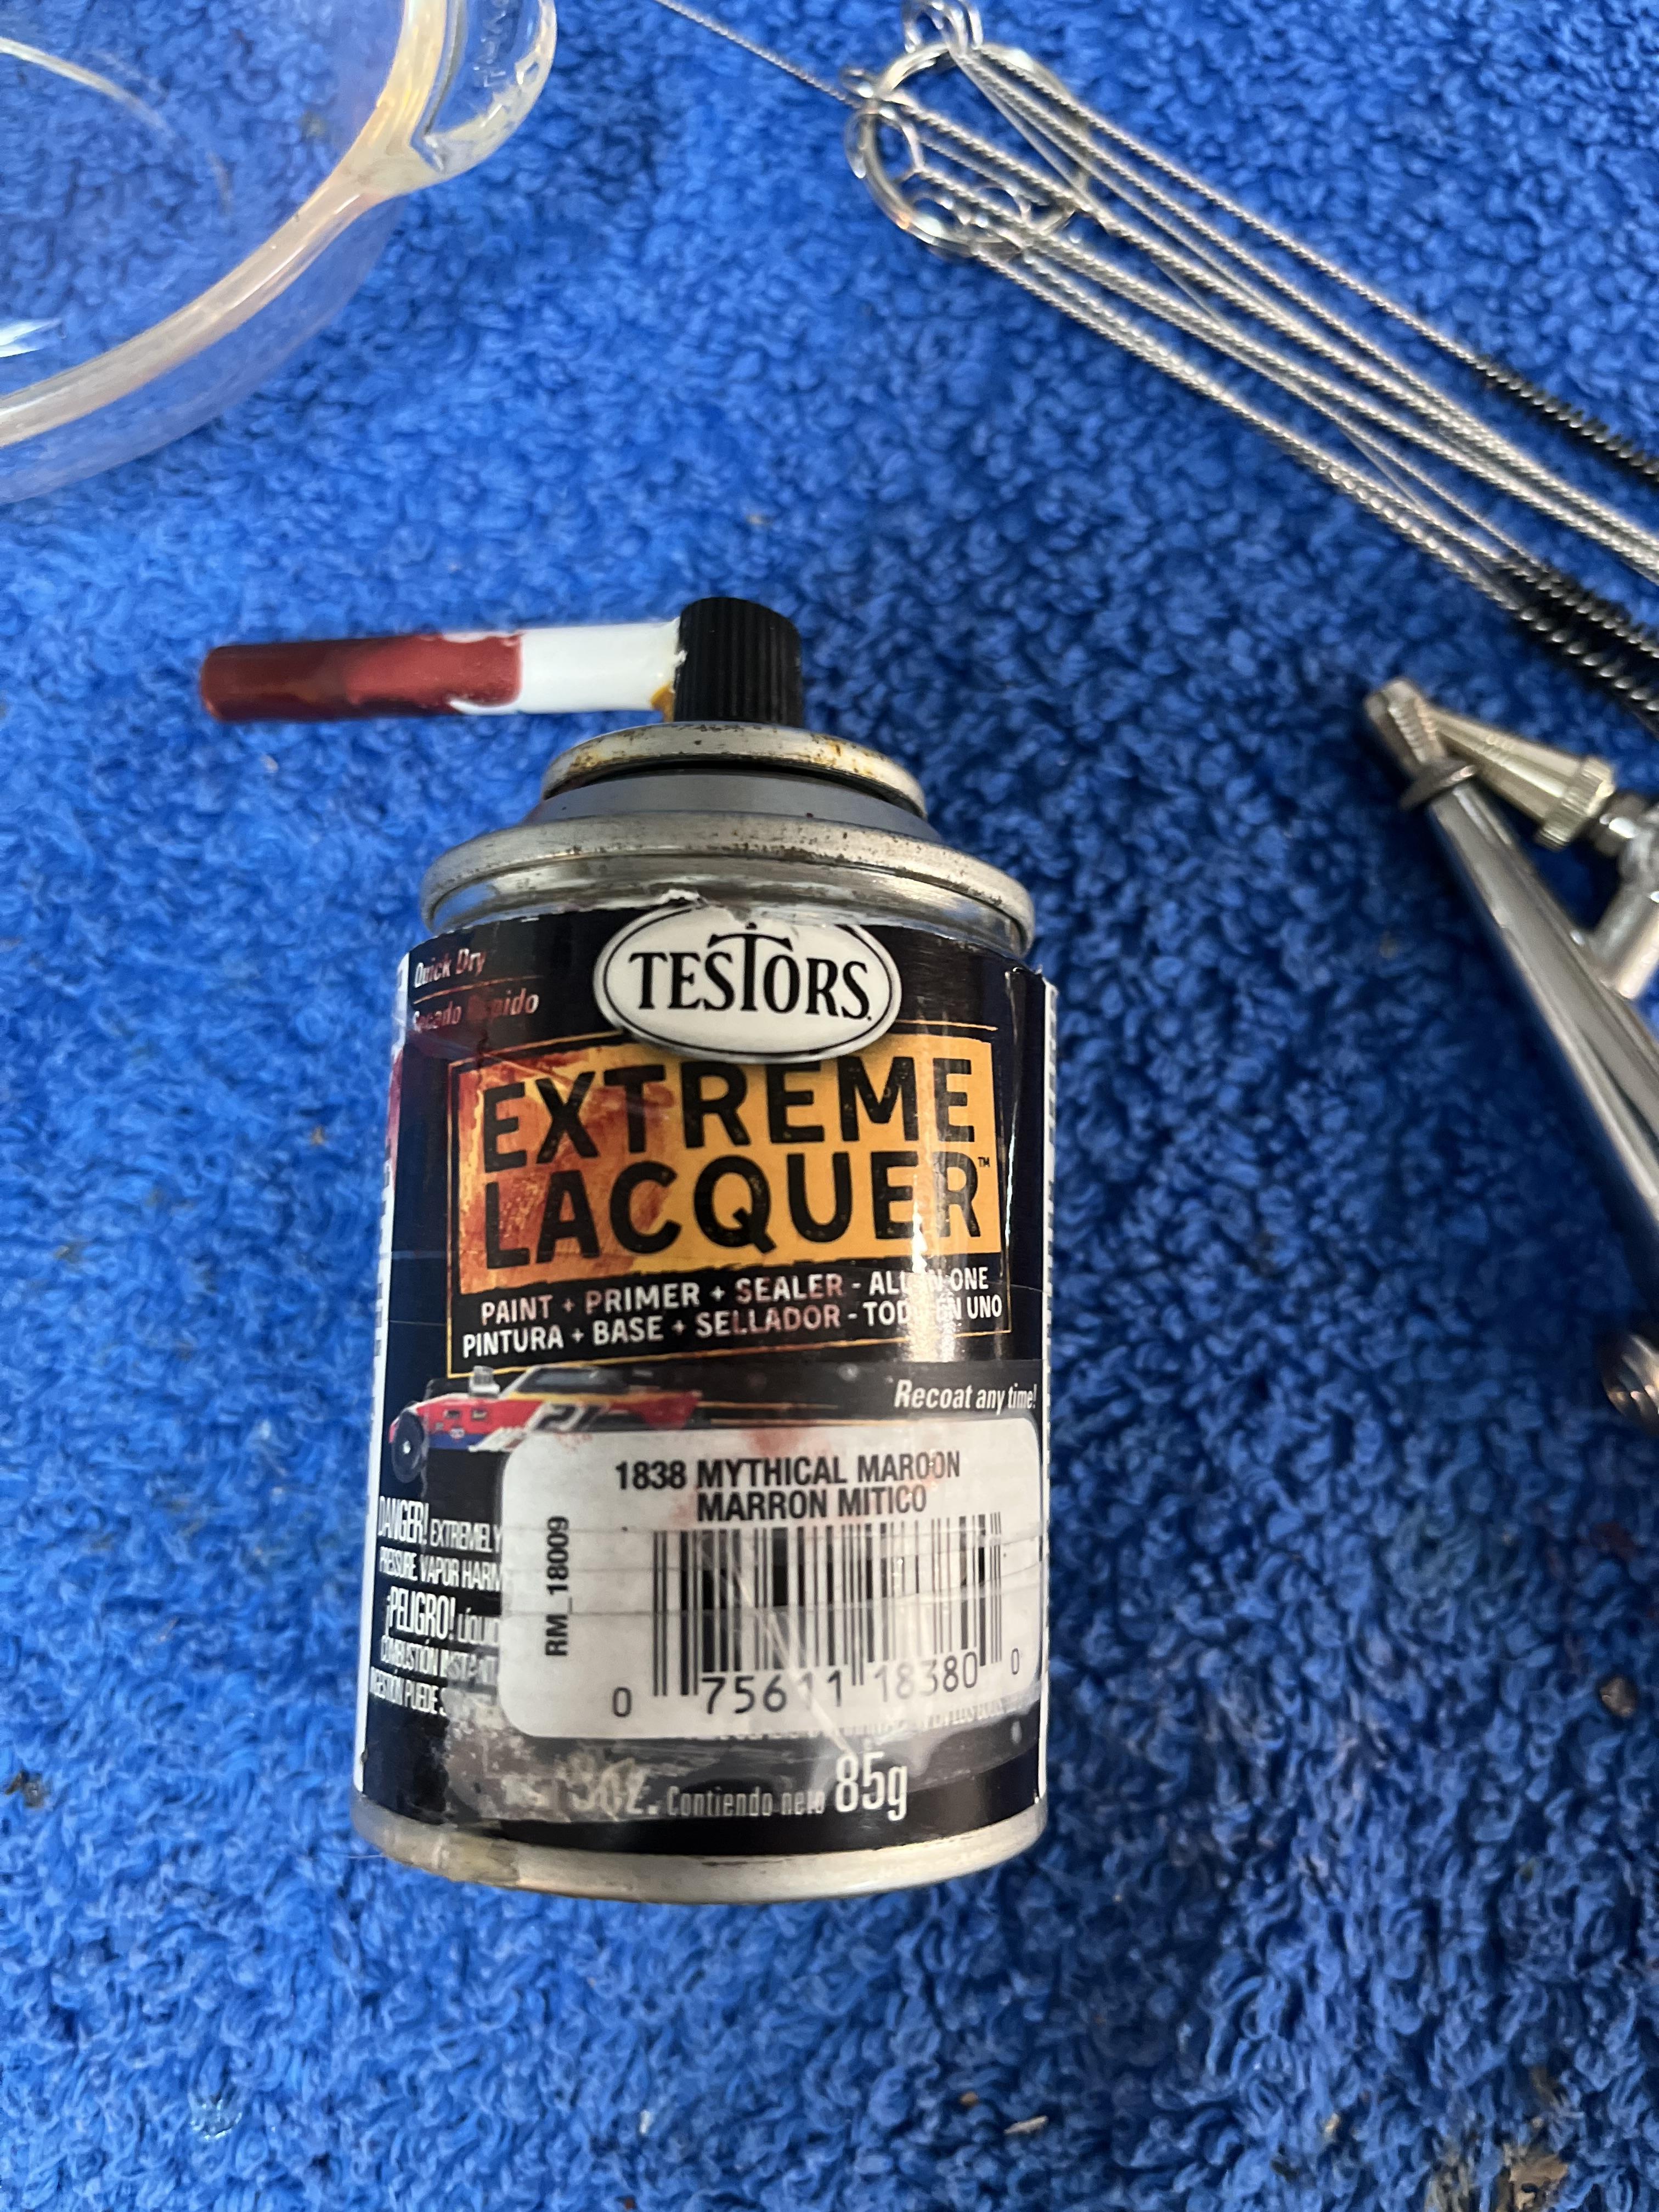
Paint, Testors "Extreme", works very well when used through an airbrush as described above . I use the DAP line of Duplicolor primers available at your favorite auto parts supply store. the DAP1699 is a light gray that sands well, the DAP1700, a darker color, doesn't sand as well. The red primer from Duplicolor, I don't recall the part #. Looks great after Minwax polyeurathane clear gloss. -RRR
-
Removing the Rat from the Roaster
Rocking Rodney Rat replied to Rocking Rodney Rat's topic in WIP: Model Cars
I got the '32 in the paint booth... First order of business is to grab the strainer from the kitchen (wifey didn't see me...whew!) and wash all of the parts to get off any dust and finger grease, then toss them in the dehydrator to thoroughly dry... Next attach sticks to hold parts while painting. The body has already been primered as you see in the pic... I decided to go with Testors "Extreme" Mythical Maroon as the main color. I decant this paint into and spray with my airbrush. This paint comes out of the can so heavy, it will often bubble up. Shooting it through an airbrush eliminates this problem. I glue a piece of Evergreen tube to the spray nozzle and shoot the paint through the tube into the jar. This makes decanting without a big mess..... More later.... -RRR
-
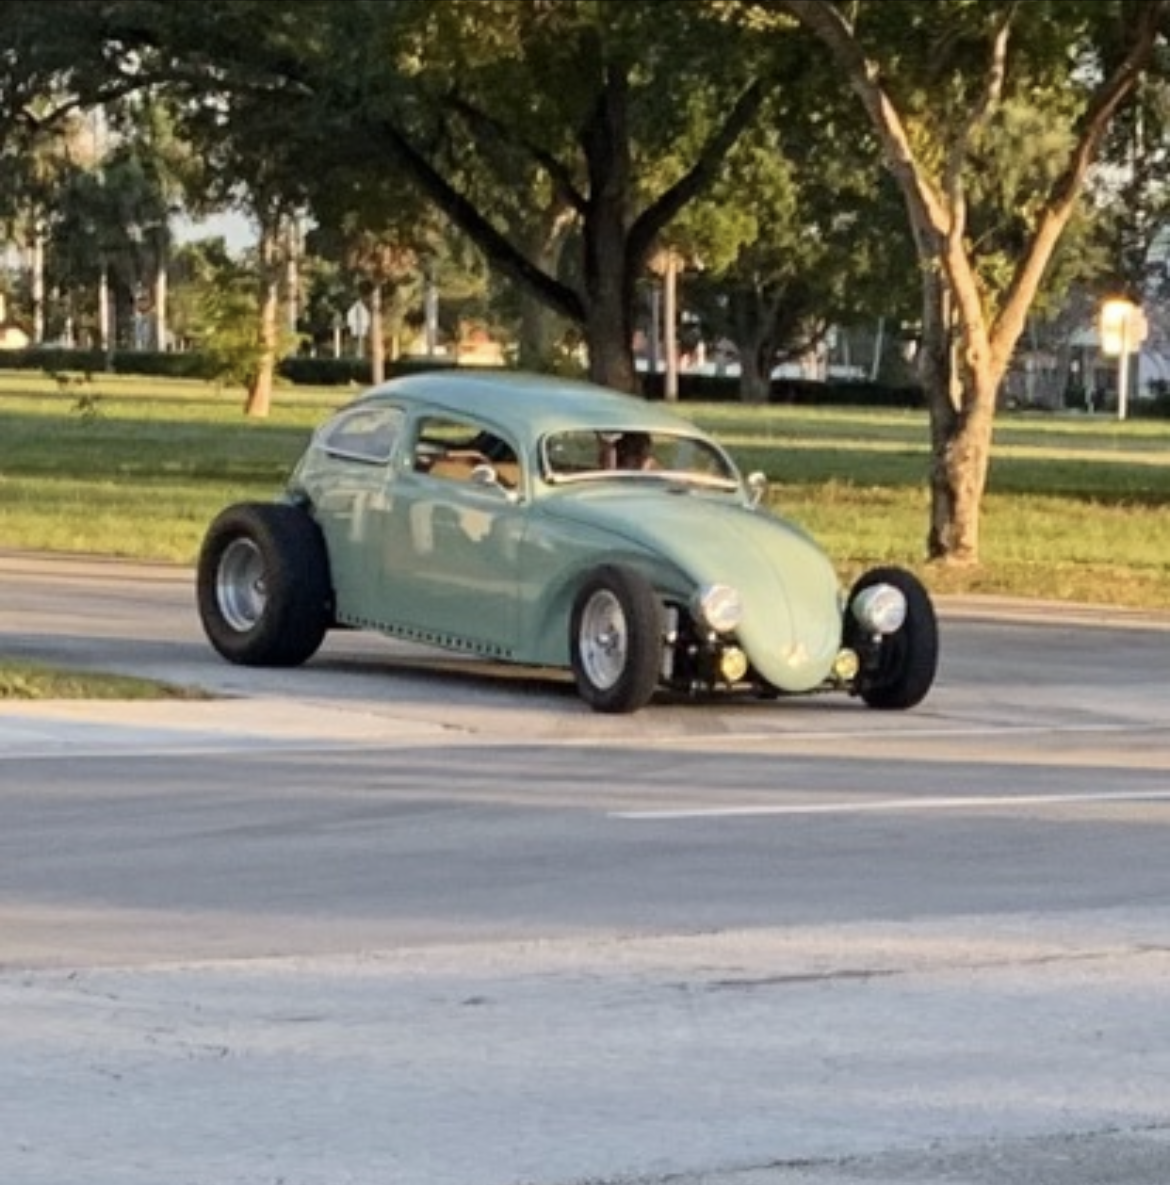
Thanks for that. Chopped Bugs are kool.... -RRR
-
Removing the Rat from the Roaster
Rocking Rodney Rat replied to Rocking Rodney Rat's topic in WIP: Model Cars
I haven't posted up too much in a bit, but work is progressing. The last area of construction before the roadster goes to the paint booth is the front upper shock mounts/headlight stands. This consists of one of the headlight bars from one of the '32 kits and a few pieces of Evergreen. The shock mount is cut at 90 degrees to go over the frame rail and is then drilled out to hold the headlight bar.... The two ends of the headlight bar are cut off as shown and discarded. The bar is turned 90 degrees, so the headlight attach points are pointed up and the bar is curved like this to pass in front of the grill and shell... Here's another view. The whole area is sanded down and smoothed over. I dabbed on a schmear of putty and carefully sanded the two mated areas to blend it all together. The base of the headlights will be drilled out and dropped over the points. More later... -RRR