absmiami
-
Posts
4,772 -
Joined
-
Last visited
Content Type
Profiles
Forums
Events
Gallery
Everything posted by absmiami
-
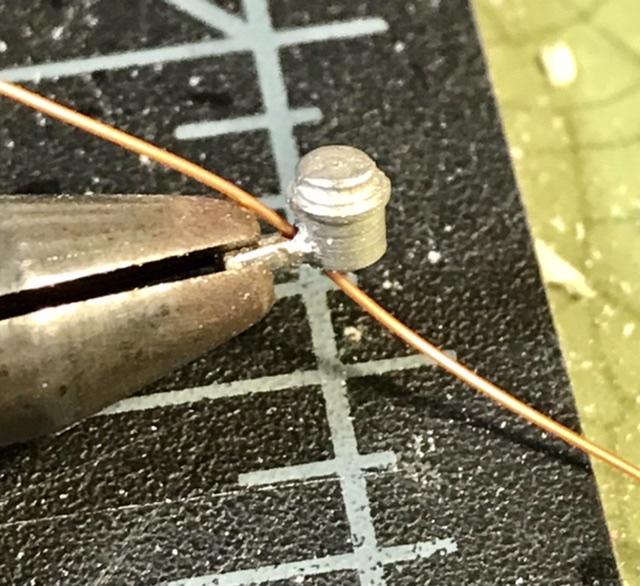
 The fluid reservoirs have .040 “stems” - just large enough to accept small drilled holes for the brake and clutch lines ... the steering rack is .047 brass tube with some plastic “ears” and attachment brackets... and I’m making the housings for the springs from some spare renshape ... still lots of adjustments needed - including added width to the pivot points for The rocker arms ... lots to do ...
-
Well. Now we know what’s on the workbench - pl give it a coat of primer so that we can see the lines better ...
-
Well done ...
-
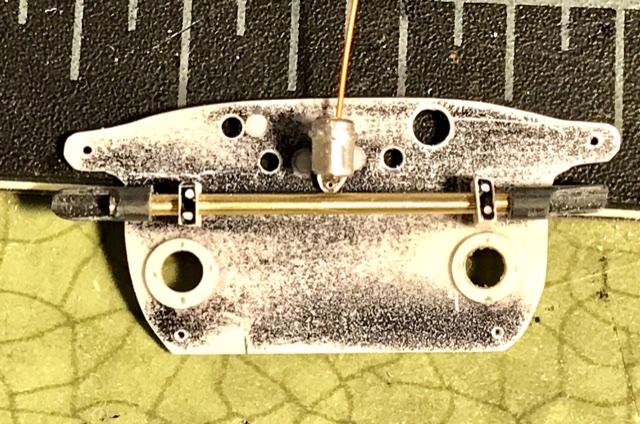
The clutch and brake fluid cylinders are spare white metal parts from another - older - project. Got to add some flanges - The steering rack will be attached below these bottles. On the real car - the rack sits level with the pivot brackets for the rocker arms - can’t do this in 24th scale. - not enough room under the shell - MFH was able to do this in 20th scale - don’t know how they did it - they’re pretty good ! Steering rack and oil tank next - I think ... unless I’m distracted and wander off again ...
-
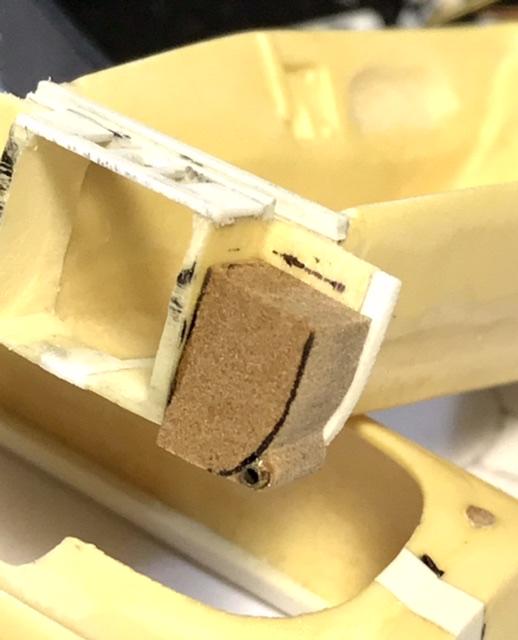
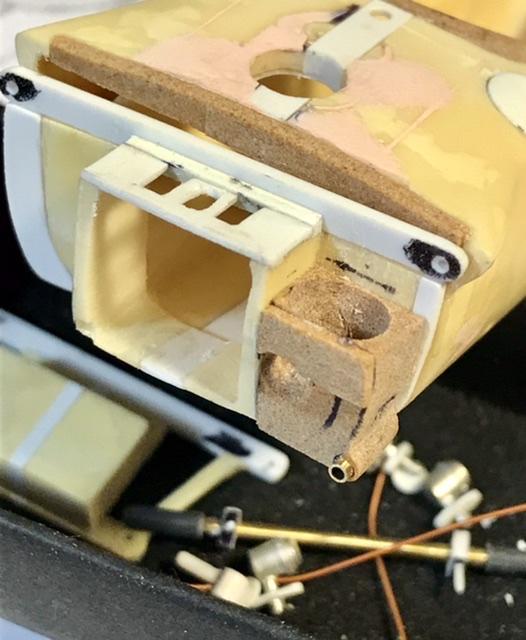
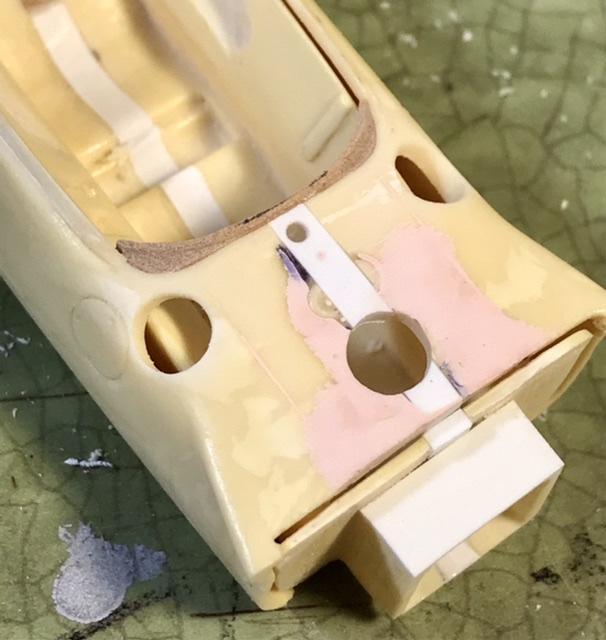
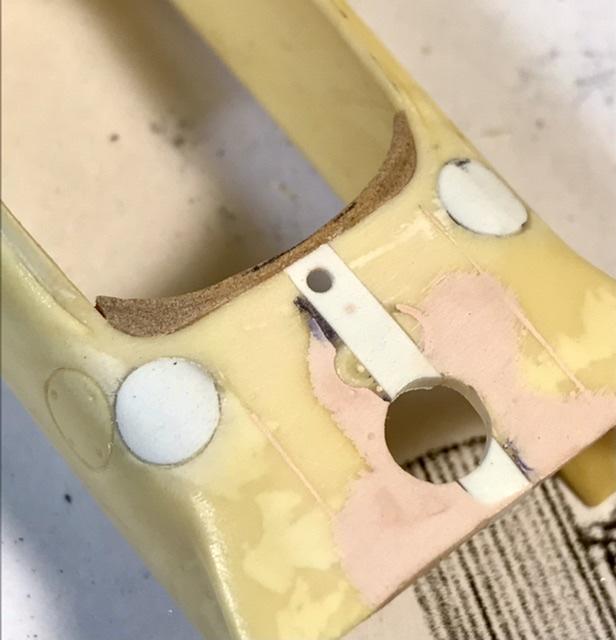
The resin kit bulkhead is replaced by the one in black - cut and sanded from evergreen sheet. Can’t quite locate all of the accessories to spec because of the scale - even after thinning the nose shell to about .040 or so ...
-
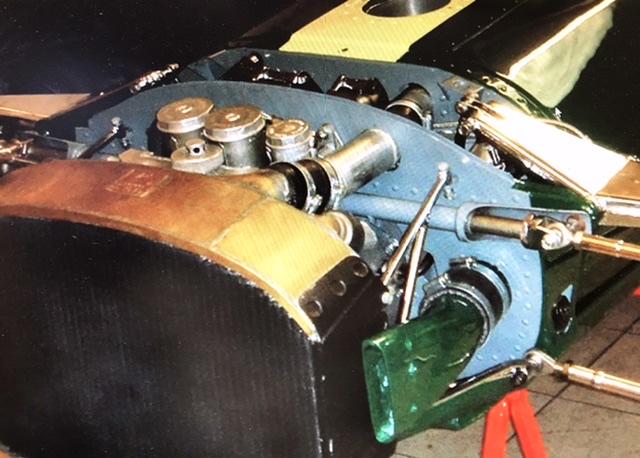
Bangin’. away on the front. suspension and oil tank bulkheads - first a shot - borrowed - of the 43 during its restoration ... these bulkheads were similar to the 49 ‘s - but there are some differences ...
-
1949 Ferrari MM Le Mans Winner
absmiami replied to Gramps46's topic in WIP: Other Racing: Road Racing, Land Speed Racers
Some more brief - limited news - GPMA posts from Cali members indicate that Mike Q has been moved to a rehab facility for what I assume will be a lengthy rehab. But I’ll take this as some promising news ... -
Warning. The IMC Lotus is under scale. Closer to 1/26 ... the Heller Lotus 49 would be a better starting point - I’m modifying - an old Japanese resin kit of the ‘67 Lotus 49 - that “borrowed” some Heller kit parts - recasting them in white metal - repeating all of Heller’s many errors ... the engine - won’t be making mine til I finish some other stuff - get LOTS of Evergreen plastic. All shapes and sizes - and some razor saws and a mitre box and your favorite liquid glue - and away you go - and please post you progress - on your own thread - or even on this one - no objection whatsoever from me ...
-
(HRM) Shelby Cobra Daytona Coupe
absmiami replied to Venom's topic in WIP: Other Racing: Road Racing, Land Speed Racers
It worked ! -
Not yet
-
1:12 scale Ferrari 312T
absmiami replied to JohnnyK's topic in WIP: Other Racing: Road Racing, Land Speed Racers
Gracias -
That’s funny. If you tap the drawings of the BRM engine posted by big John - on your i phone - they are nearly the exact size of the engine in 24th scale ...
-
1:12 scale Ferrari 312T
absmiami replied to JohnnyK's topic in WIP: Other Racing: Road Racing, Land Speed Racers
Not stamps. Stump. Can’t read ... what’s a paper stump ??? -
1:12 scale Ferrari 312T
absmiami replied to JohnnyK's topic in WIP: Other Racing: Road Racing, Land Speed Racers
Stamps? That’s a neat trick ... -
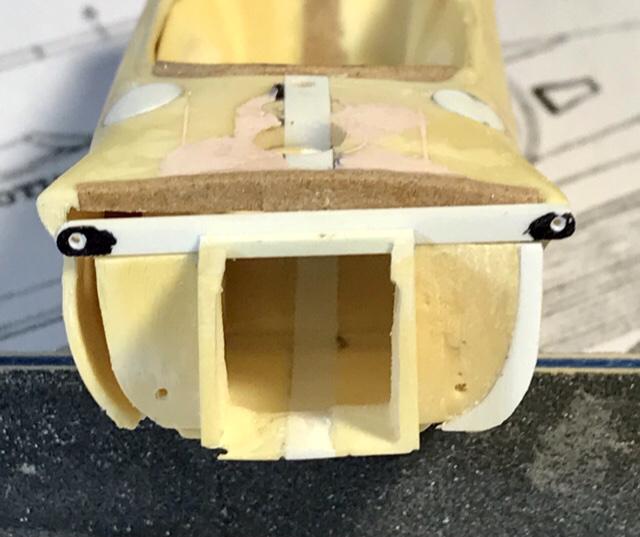
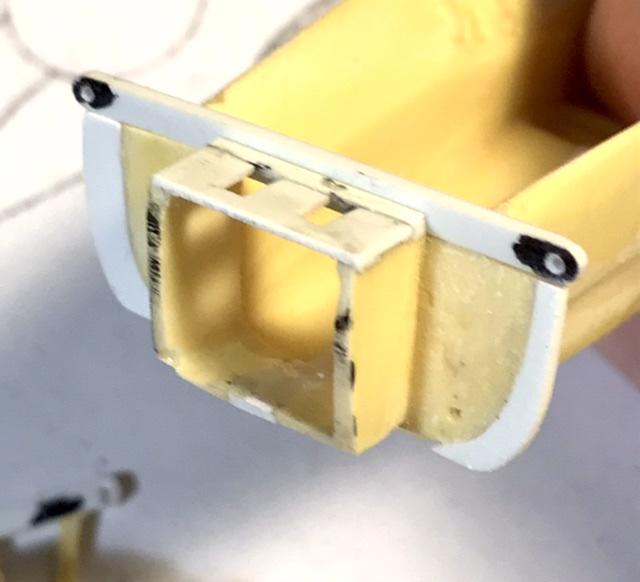
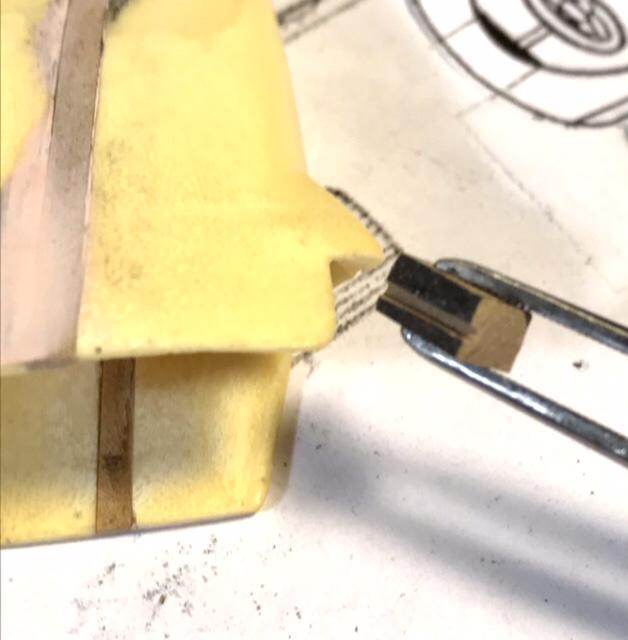
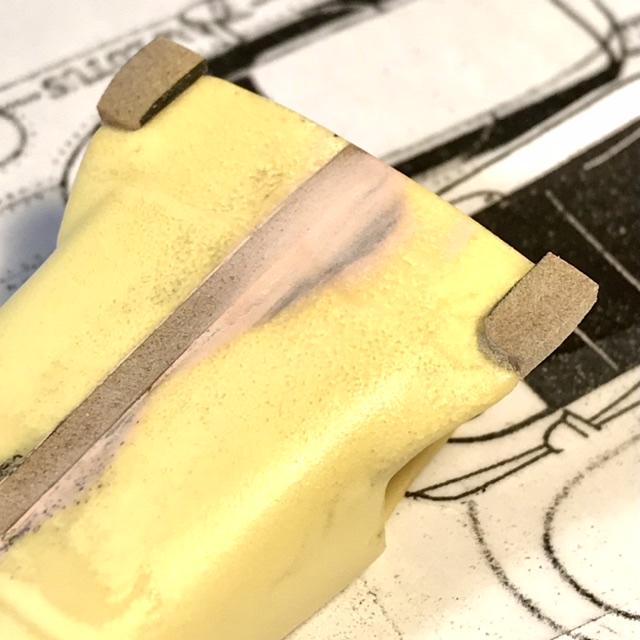
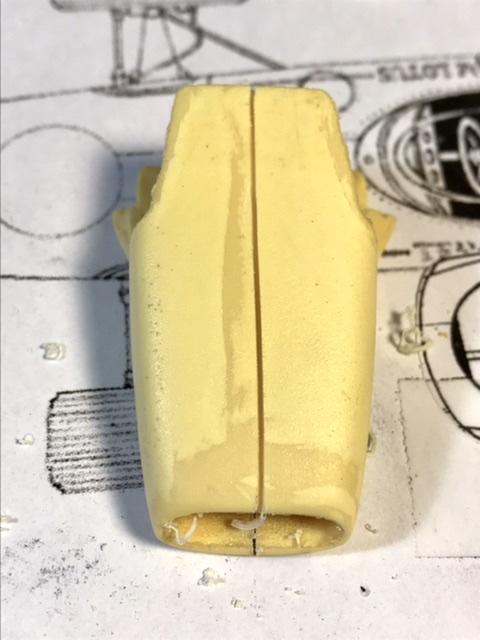
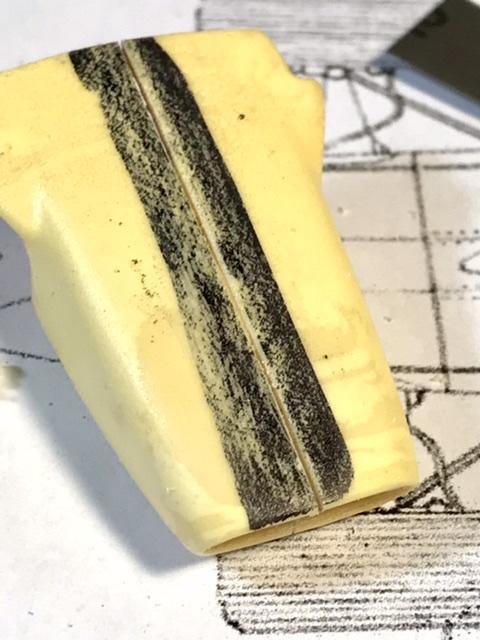
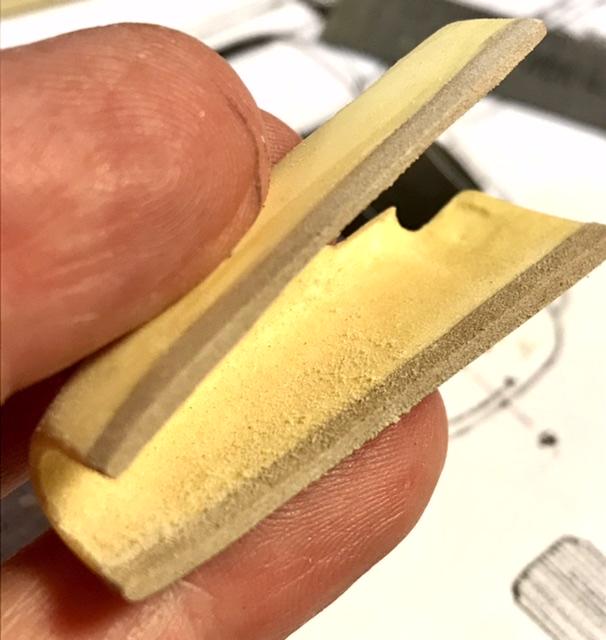
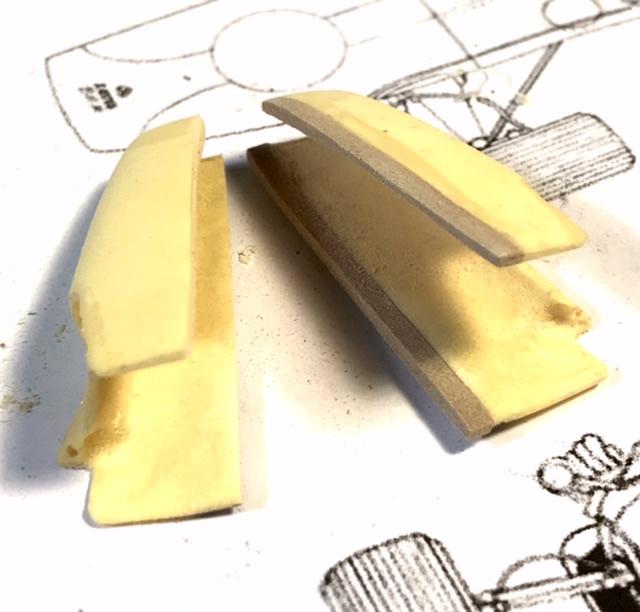
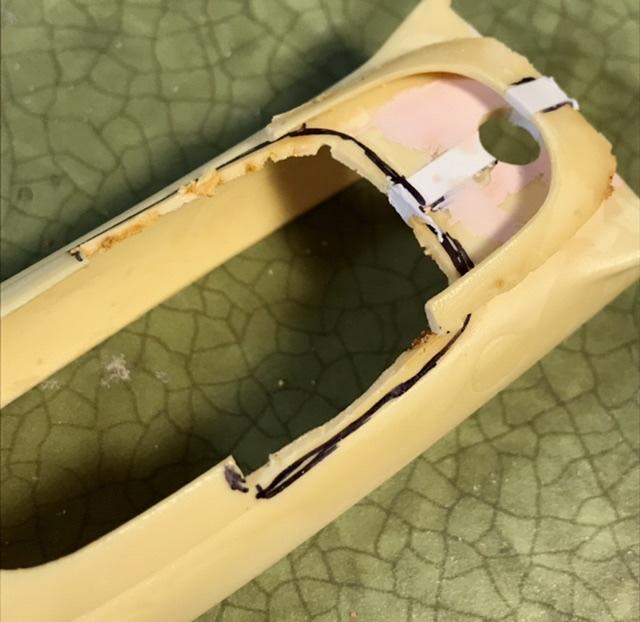
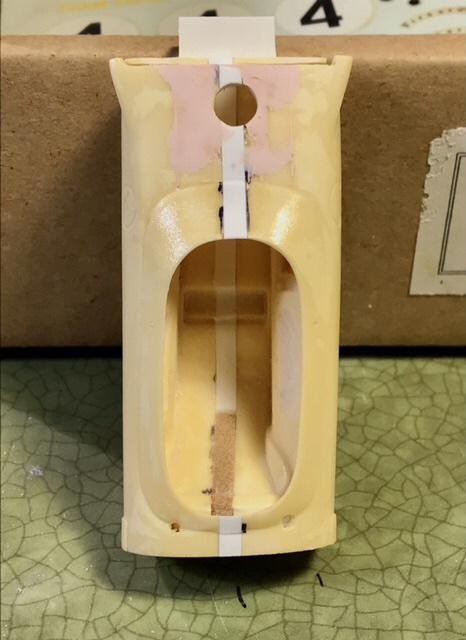
When I widened the body last summer I never got around to the nose - widened this morning with a couple of pieces of renshape - it’s about 2 scale inches wider with the renshape inserts - pretty close to the scale drawings ... the castings are fairly thin - so that there will be room for a radiator - which is nice ... the surgery was performed with razor saws, PermaGrit flat files, diamond burs, and sanding drums and sticks - and a Little putty...
-
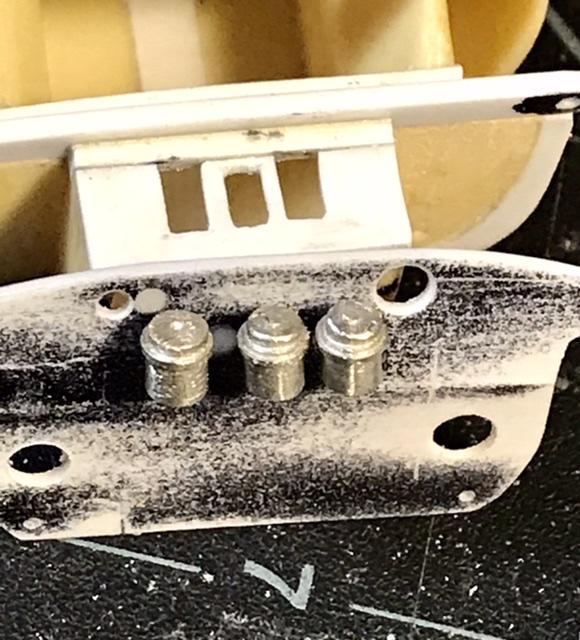
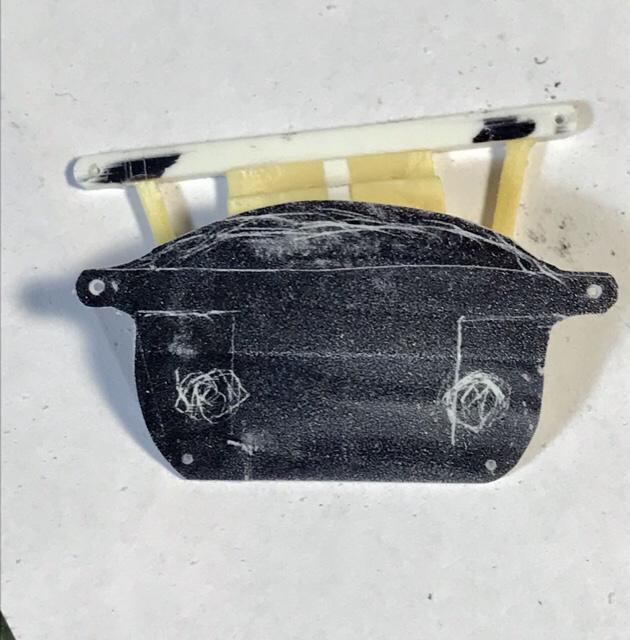
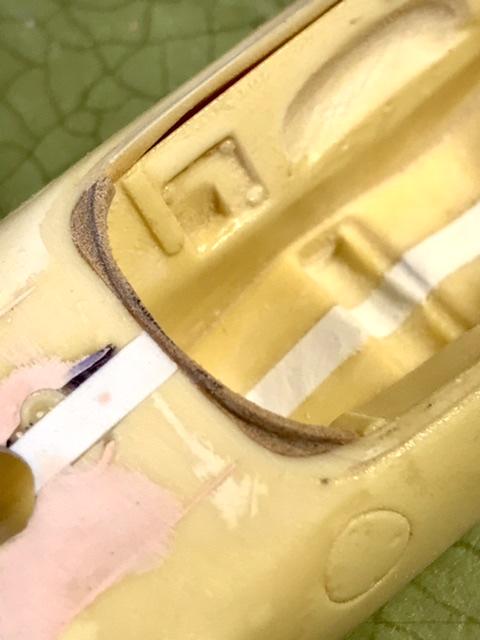
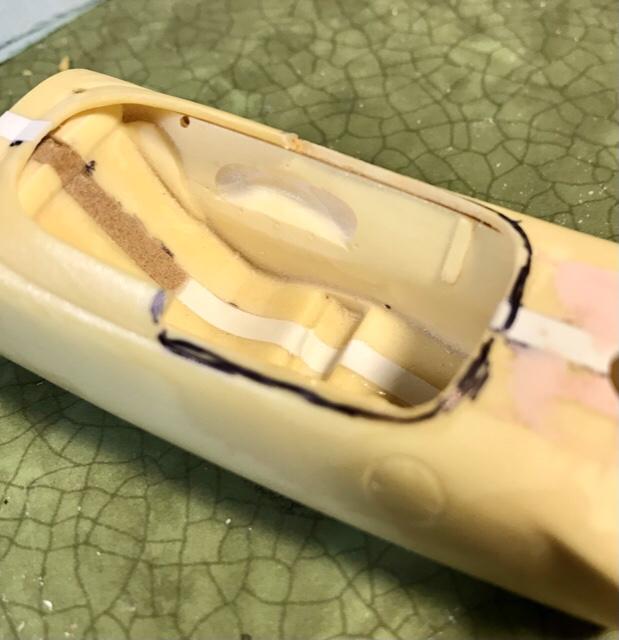
The hatches in the monocoque used for the fuel bladders sit up higher on the Lotus 43 ...
-
(HRM) Shelby Cobra Daytona Coupe
absmiami replied to Venom's topic in WIP: Other Racing: Road Racing, Land Speed Racers
“I’ll probably wind up cross- eyed” so then we’ll call you Mary ... -
(HRM) Shelby Cobra Daytona Coupe
absmiami replied to Venom's topic in WIP: Other Racing: Road Racing, Land Speed Racers
Magnifiers ? -
(HRM) Shelby Cobra Daytona Coupe
absmiami replied to Venom's topic in WIP: Other Racing: Road Racing, Land Speed Racers
Love those switches ... -
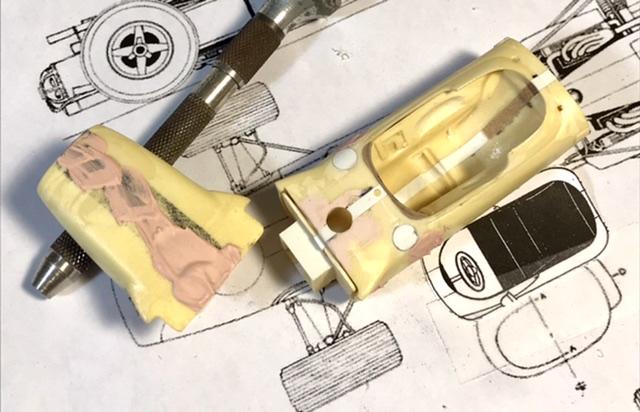
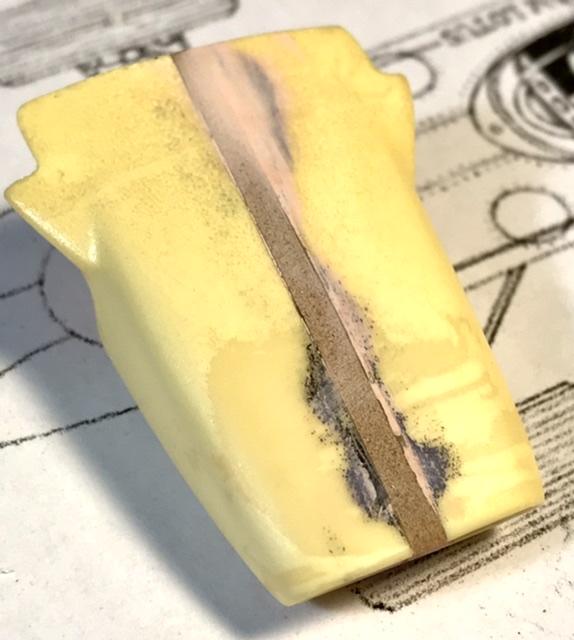
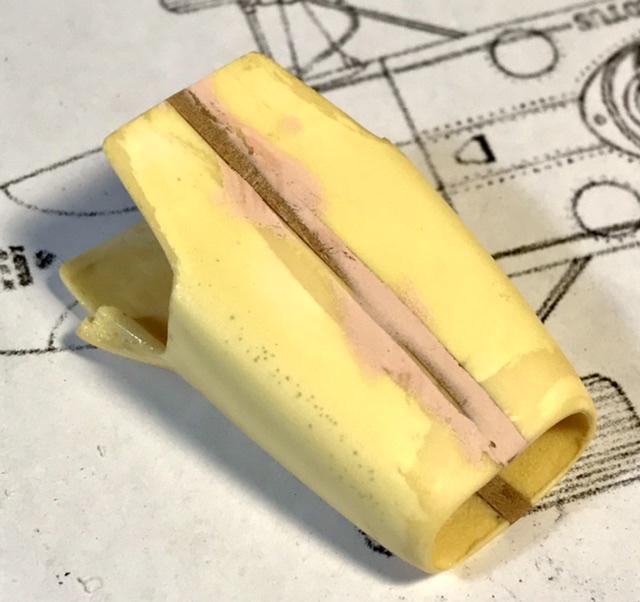
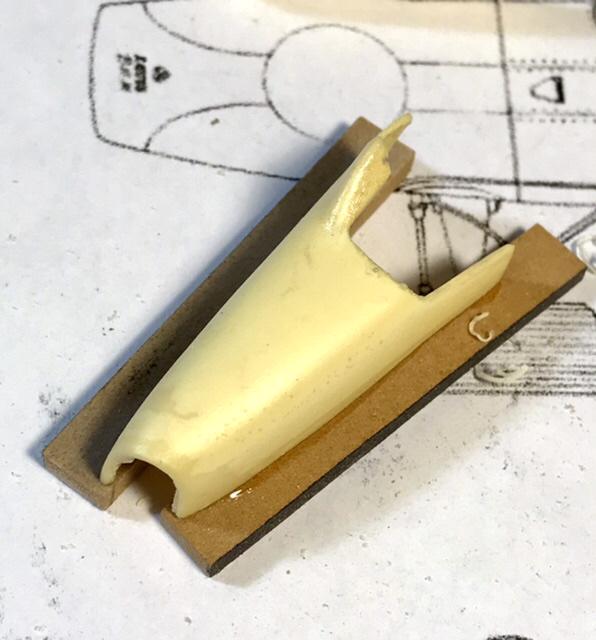
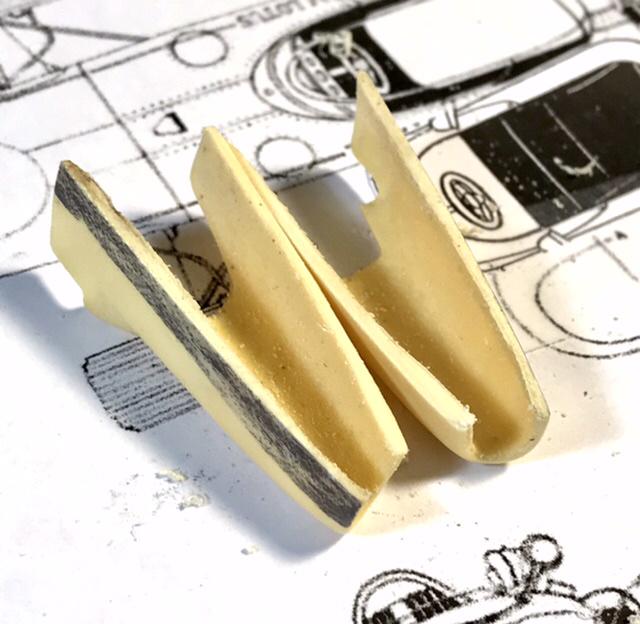
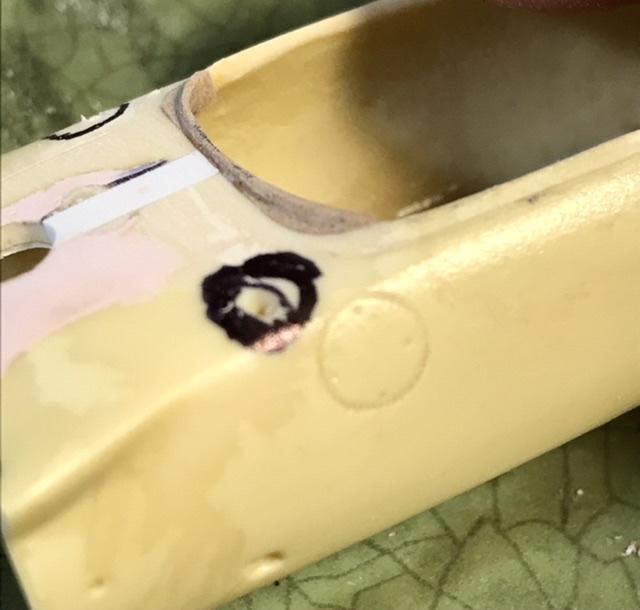
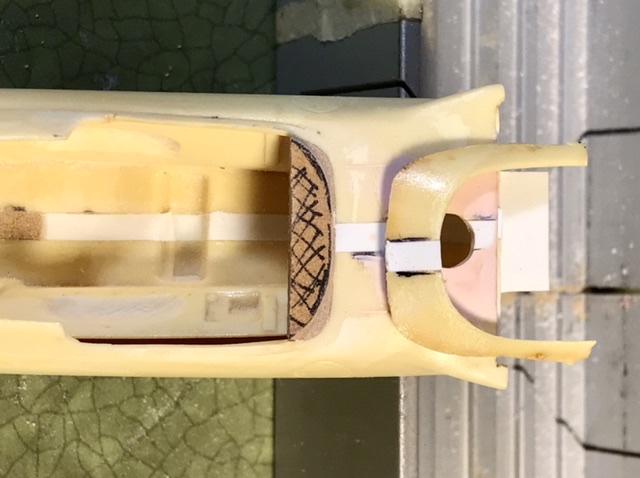
Those of you who have wandered thru this thread will recall that I am converting a Lotus 49 Japanese resin kit from long, long ago. One of the changes is to reshape the leading edge of the cockpit cowling - the 43 has a rounded leading edge or lip. Whereas the 49 had a more squared profile....
-
There is a momentary clearing on the workbench - which is an excuse to return to the Lotus 43.
-
I somehow missed your Offy drawings - rather nice! This is my petition to resurrect these drawings for a 24th and 25th scale engine - oh - and a Novi - because you could twin the cyl heads on a crankcase and away you go...
-
Airtrax 1/24 Ferrari 330 GTC - The Beauty and the Beast
absmiami replied to Italianhorses's topic in WIP: Model Cars
Hurricanes ... and now blizzards ... so much for “don’t mess with ..... “. -
1907 Rolls Royce Silver Ghost, 1/24 Finecast metal kit
absmiami replied to Matt Bacon's topic in WIP: Model Cars
Running board hell. ... I knew there was reason that I stick with race cars ... no fenders and no running boards ...