absmiami
-
Posts
4,772 -
Joined
-
Last visited
Content Type
Profiles
Forums
Events
Gallery
Everything posted by absmiami
-
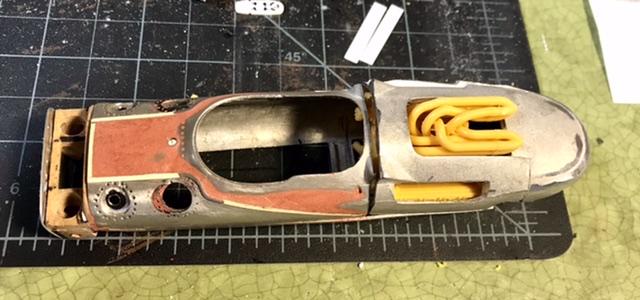
 The Finecast kit has minimal bulkheads and chassis detail ... so a lot has to be made and a lot has to be changed ...
-
I am a fan of all of the Finecast kits . But as I’m sure you know - the Grand Prix kits were designed as curbsides . As for the Lotus 38 - I’ve been messing around with it for years - I tend to do a little work - and then it goes into hibernation - It may be possible to build this kit with the 25th scale DOHC - but only with numerous mods - massaging - and some incantations - the Finecast kit is nominally 24th scale - it’s actually a bit over-scale - about 1.5 scale inches too wide - which actually will be a blessing - I’ll drag this out of hibernation and we’ll see ...
-
Since you asked ...
-
That’s the plan. The Webers on the 289 were I think 54 mm. The Webers on the 255 were actually slightly larger but identical in scale. The restored 29 will use smaller Weber’s that are easier to maintain - those are the ones with the intakes closer together - nearly touching - ... but there is so much source material on the car as raced that you can make a race day replica - including some color photos taken in Gasoline Alley - which were rare in 1963 ...
-
And one last thing - research - the Henry Ford Museum has excellent photos of the 29 at Indy that month - and there are additional very good pix accessible on Rev’s online research library ... plus the already mentioned resto videos from the Museum ... the Gurney 29 restoration will probably be finished this summer - and I hope to study it down the line - but I’ve got enough research to do this up right ...also the Ferguson book on Lotus at Indy is a great source book too ...
-
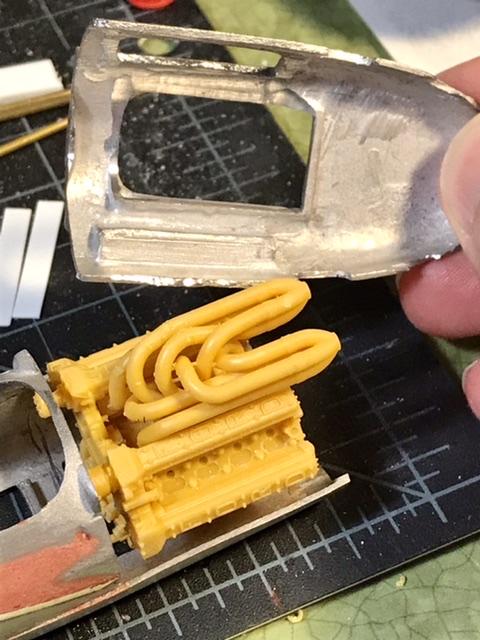
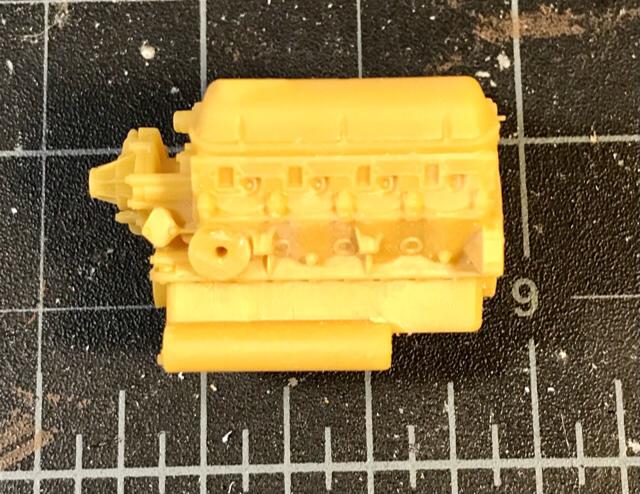
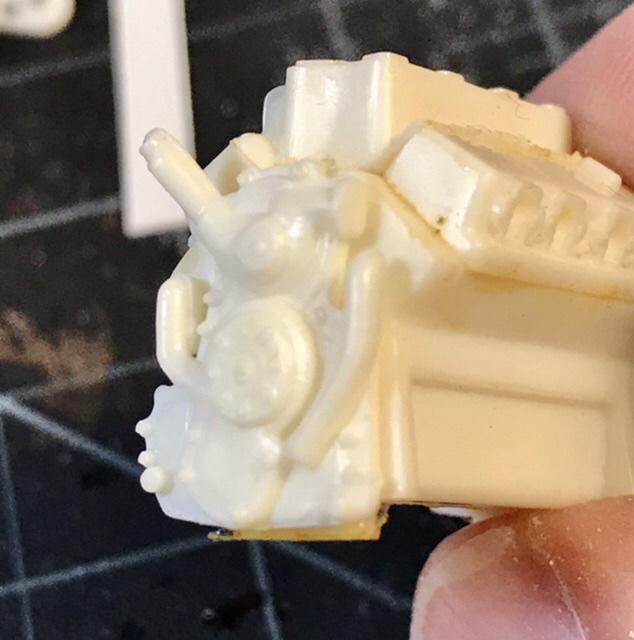
This is a photo of the engine built - from Randy’s website ... it’s super accurate for the Fords used by Shelby - and Chapman used one in his Lotus 30 ... it’s the best starting point for my build of the 255 Fairlane engine - but with some important mods ... thing 1. The sump has to go - see the videos on the Indy Museum Gurney 29 resto - with some excellent views of the sump on the Fairlane engine ... thing 2 - the Fairlane 255 was raced in the 29 without an oil filter - no, really - read the Car & Driver article ... Thing 3 - the engine cover is different on the Fairlane engine - shaped and designed to both serve as the forward engine mounting and also routing the oil and radiator lines ... thing 4 - the engine Manifold is different - because the carbs in the 29 were in a line - front to back - like soldiers ... so when I’m done the Fairlane engine will look a lot different than the 289 - but it’s worth starting here because the engine will have accurate block features and the correct dimensions ...
-
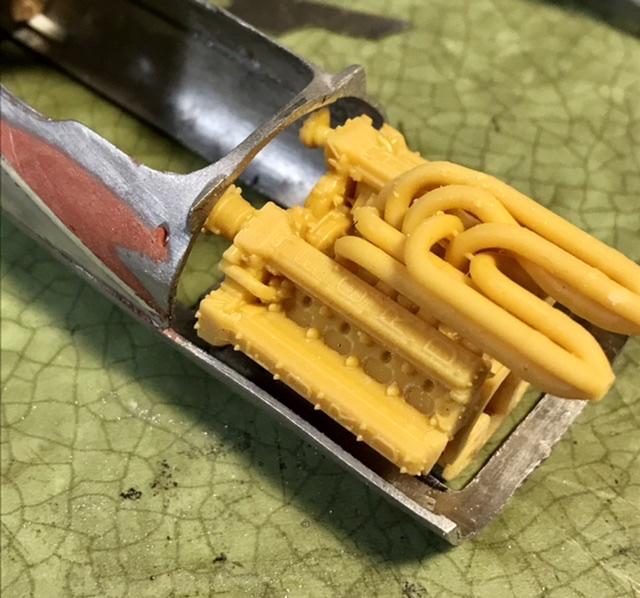
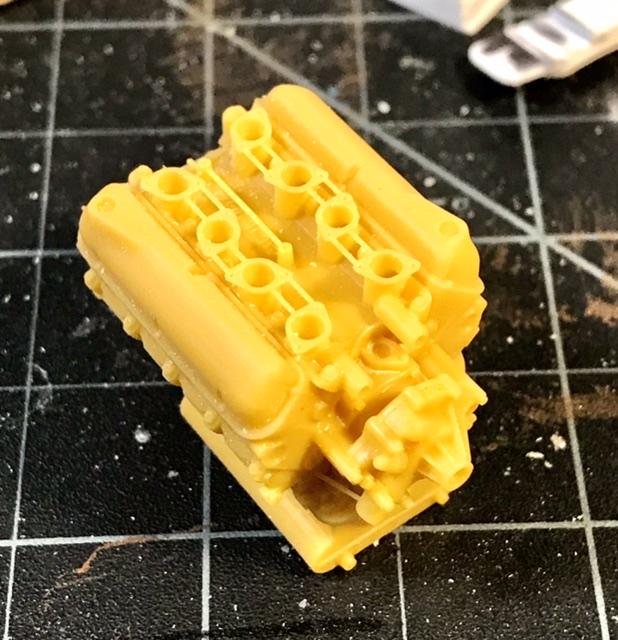
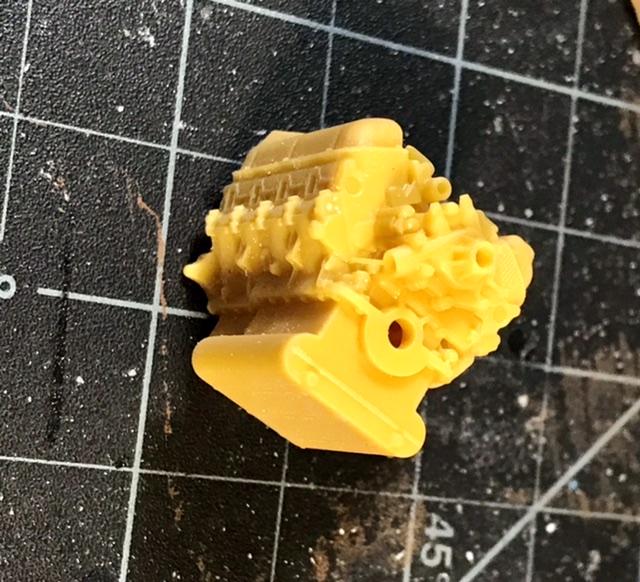
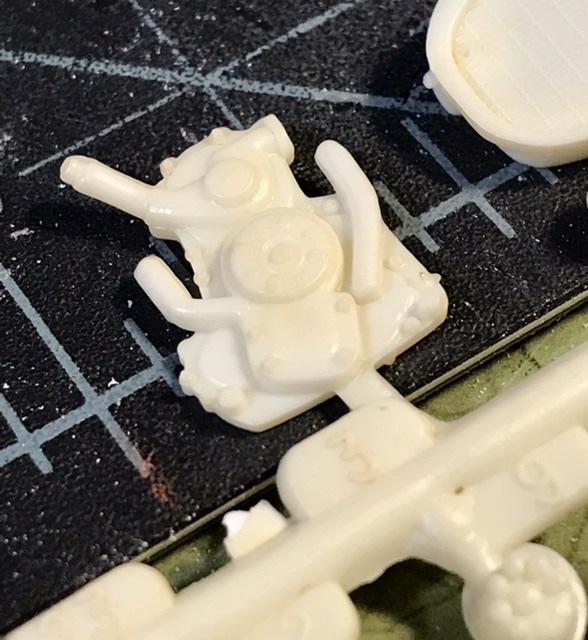
This is the Mad Mike 24th scale Ford 289 engine with Webers. ...
-
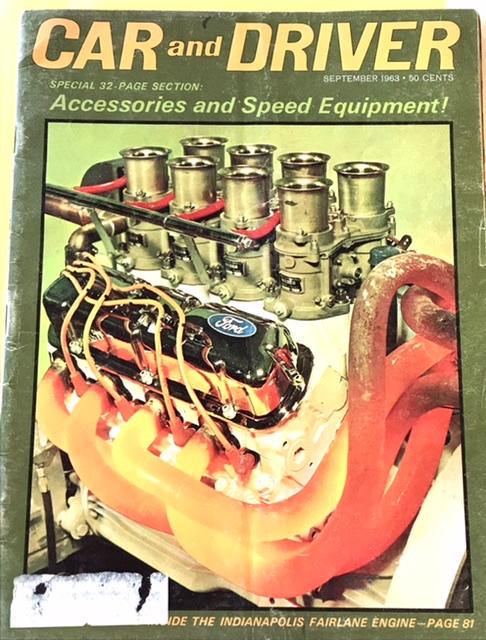
The Car & Driver cover shot of the 29 engine is the best (contemporary) that I’ve seen. Buy a copy of this issue if you are playing along at home - excellent article on the engine - a 255 Fairlane based engine used for the 29 Indy project.
-
AMT almost certainly had access to the 29 when they did their design work for their 25th scale kit - but their engine as cast is under scale... a compromise to the scale ... but there are some features on the castings that are good. - example - the engine cover - it has the correct features and shape - it’s just too darned small ...
-
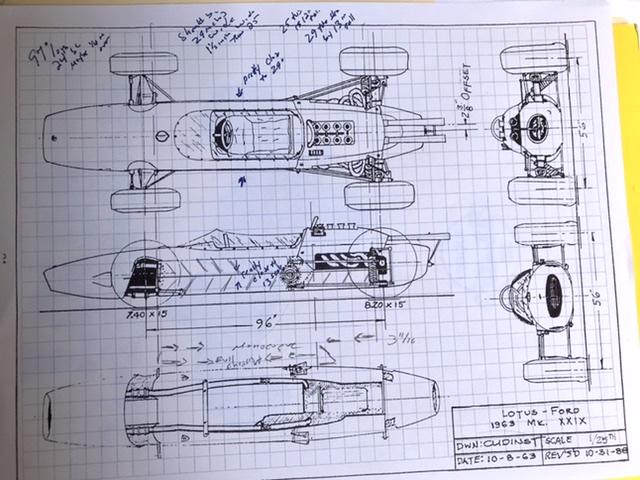
Clidinst lived ten minutes from the Speedway and volunteered there - he was given access To the Museum cars and he measured most if not all of the cars that he drew - I’m pretty sure he got the 29 dead to rights - all of the published measurements correspond with the drawing ...
-
Drawings first- the late Bob Clidinst drew many Indy cars - this is a copy of his 29 drawings on grid paper - to 24th scale ... the notes are mine ...
-
1966 Ford J Car Prototype
absmiami replied to Gramps46's topic in WIP: Other Racing: Road Racing, Land Speed Racers
Semi-gloss will do just fine -
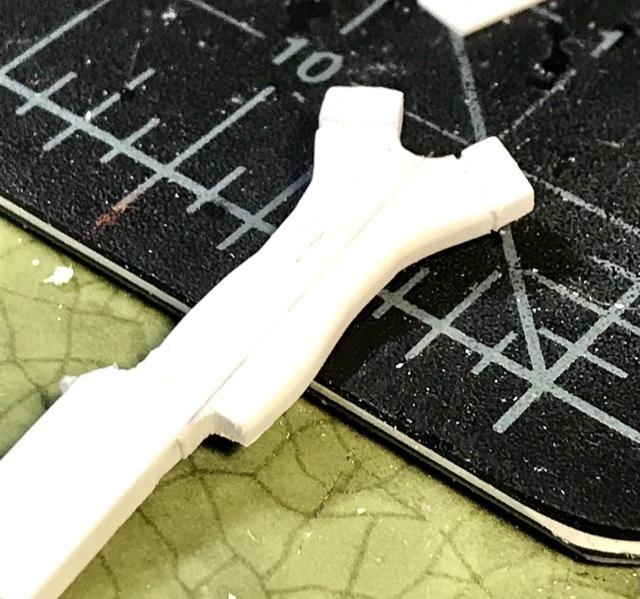
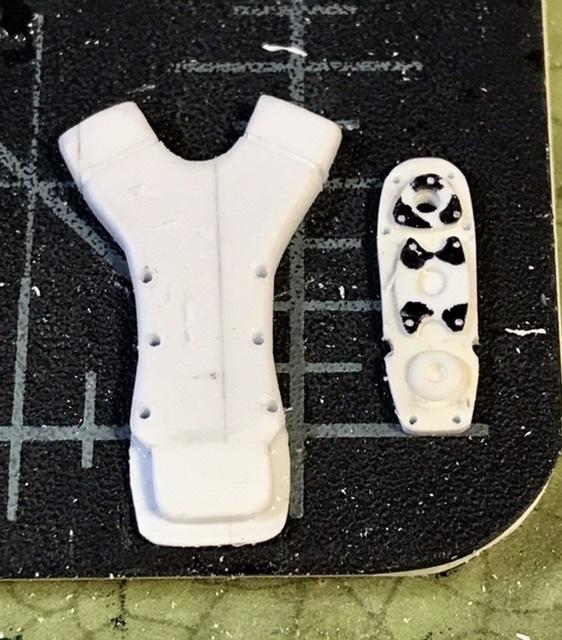
Hope is eternal - the combustion engine is ... not .... the gear casing at the front of the engine is a one piece casting with an accessory drive bolted on its top half ... the drawing was traced from the Roger Taylor Vanwall 3 view profile drawings - they are really good - and they are at Least 50 years old - then ground and filed the profile on some .080 thick Evergreen - made the accessory drive from some .030 strip - and added Details and bolt holes ...
-
I shot these at the Barber Museum in 2016. They have what i believe is a spare team car - which was restored years ago to Gurney Lotus 29 specs - the real one is currently being restored by the Indy Museum. If you havent been to their site - check out the restoration videos - its sort of like one of our build threads - except that there's will make lots of noise when its done ...
-
Been thinking about the Lotus 29.. has anyone ever tried to scratchbuild one in 24th scale ? now that we have the Mad Mike Ford engines I think it is doable - I’m bound and determined to over-complicate this ... the restoration of the Gurney 29 by the Indy Museum has given us all enough info on their videos to get us into some “good trouble” . ..I’ve been convinced for some time that the 25th scale AMT kit is simply not salvageable - but maybe that’s just my scale bias ... ... the Made Mike engine to start with is the Ford 289 w Weber’s - although this is not the correct engine for the Lotus 29 - it’s a reasonable staring point ...
-
1966 Ford J Car Prototype
absmiami replied to Gramps46's topic in WIP: Other Racing: Road Racing, Land Speed Racers
This is like an archeology dig ... who built the clear body J ?? -
1966 Ford J Car Prototype
absmiami replied to Gramps46's topic in WIP: Other Racing: Road Racing, Land Speed Racers
Andretti and McLaren. ?? Those are two pretty good race car drivers .... -
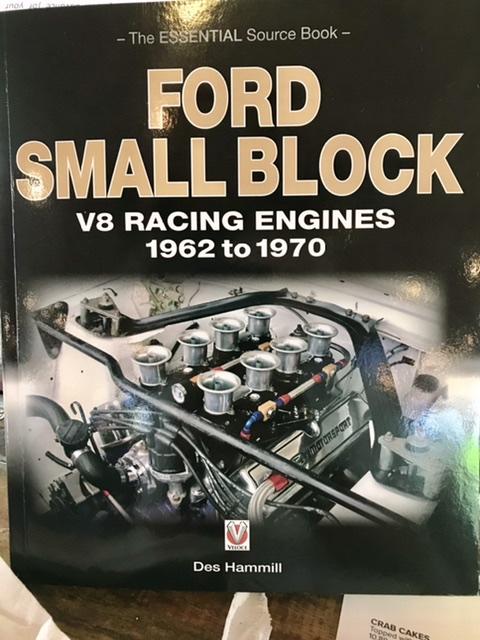
Pleasant surprise in today’s mail ... Veloce’s Ford Small Block source book has a reprint of the 30 page Ford Motor Company publication on the 65 Ford Indy DOHC engine - page for page - very nice - I had pined about getting a copy of this pamphlet on this thread last year - it hasn’t been re-produced in some years - but Author Des Hammill found my cure ... book also has some good info on the hi performance engines used by Shelby ... so maybe I should complete that DOHC Indy engine ?? ??? ya think ?
-
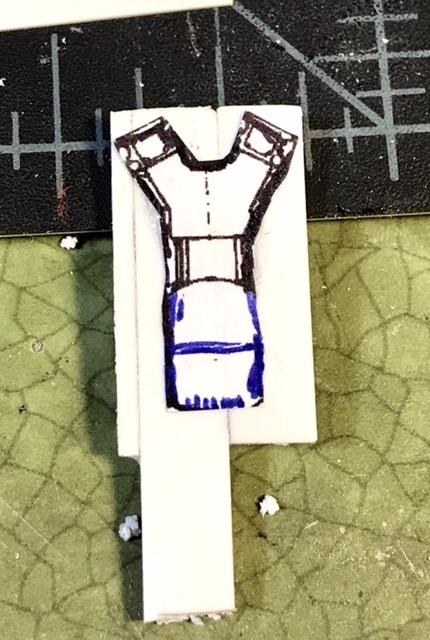
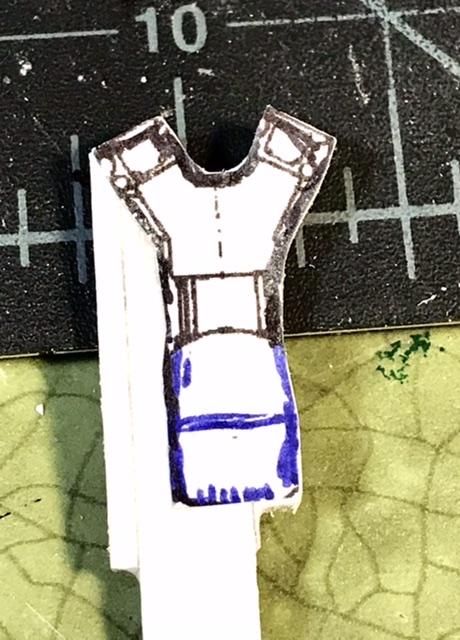
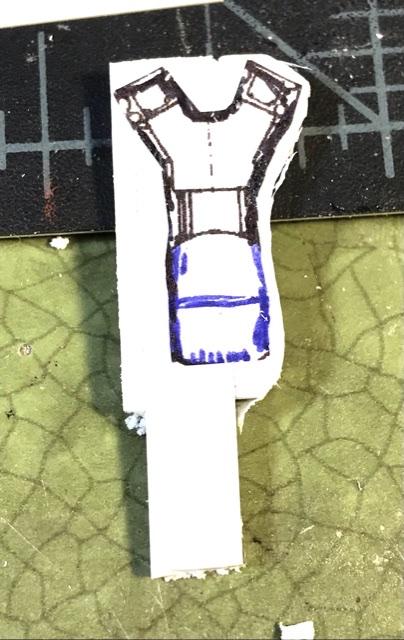
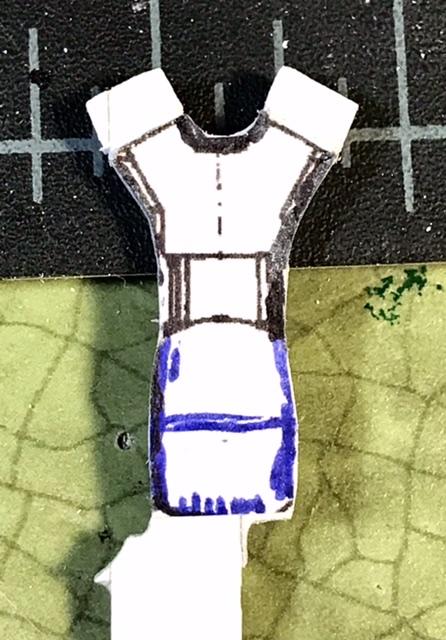
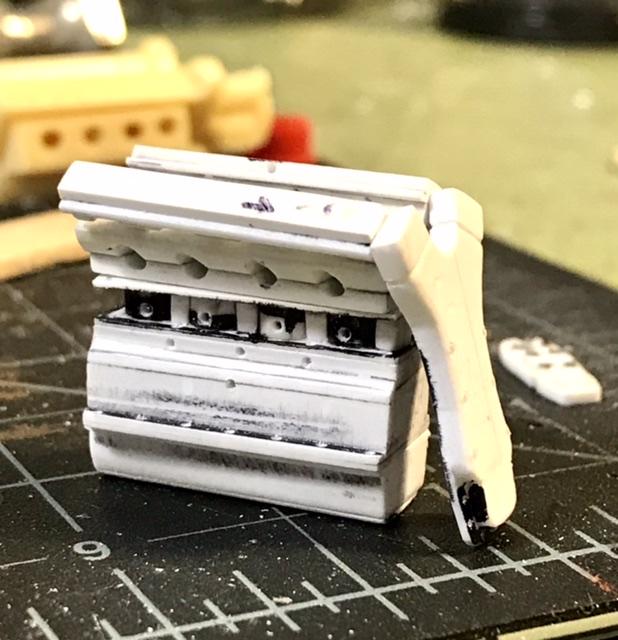
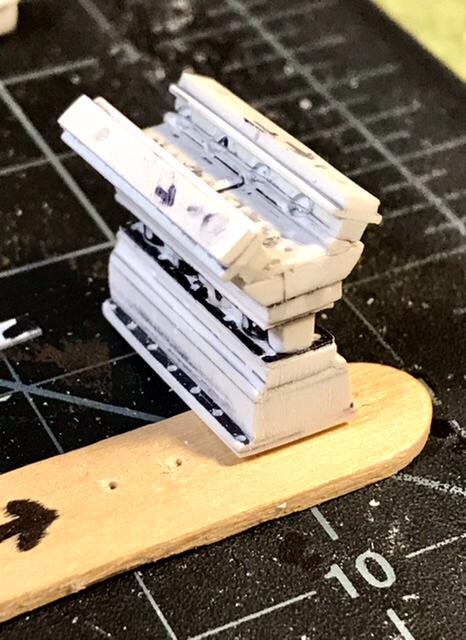
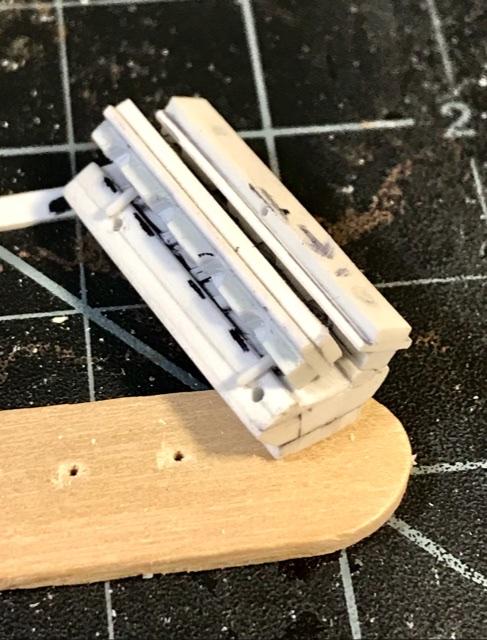
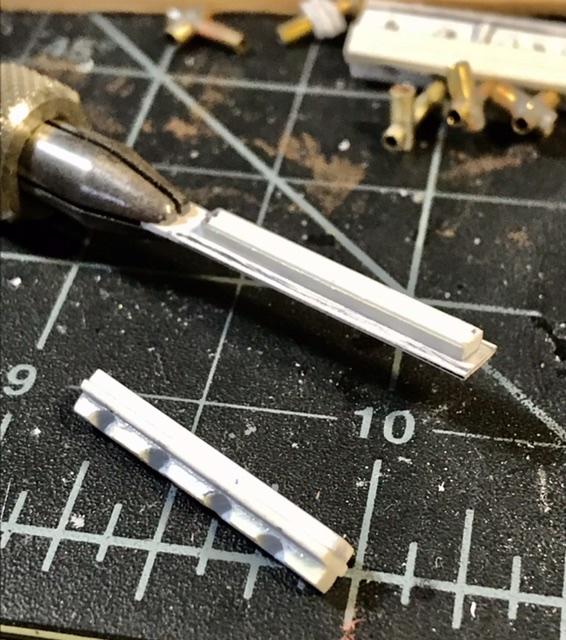
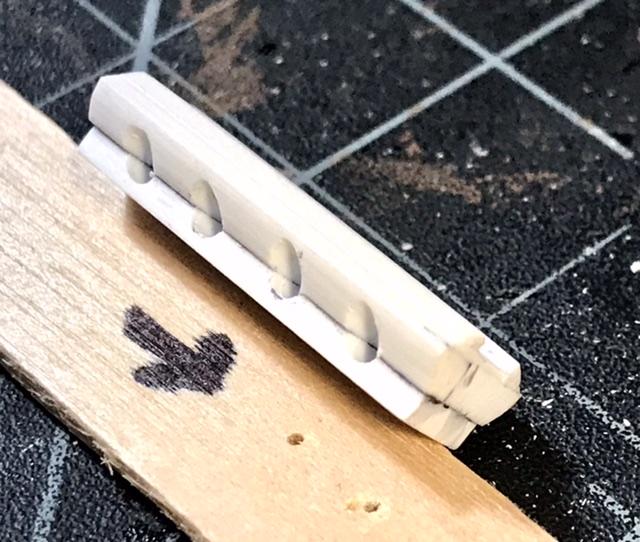
The camshaft housings were made from three strips of Evergreen liquid glued together to get the profile / Shape correct ... then added some .025 plastic pegs so I’ll get a solid attachment to the cyl head once the parts are painted ...
-
If I spend my spare time building model cars and Going to baseball games that means I’m older than _______. ???
-
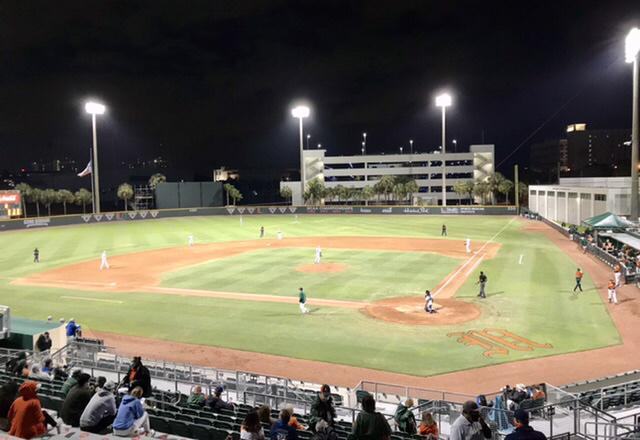
If my postings start to spread out - it’s because I can finally go to some ball games. Yeah ... actually posting this on my I phone in the bottom of the 4th ... Canes are beating the Blue Devils ...
-
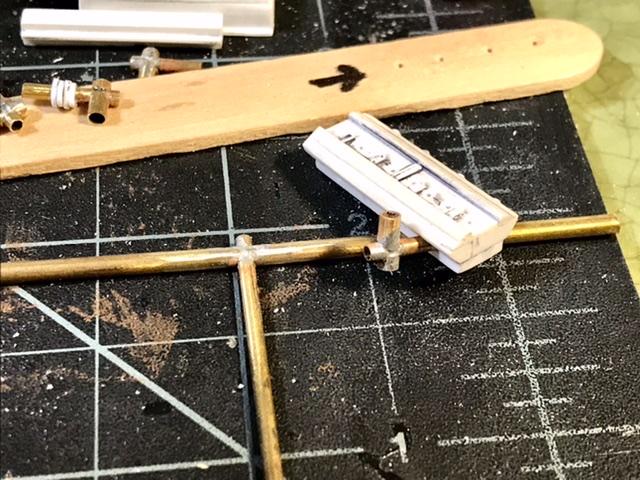
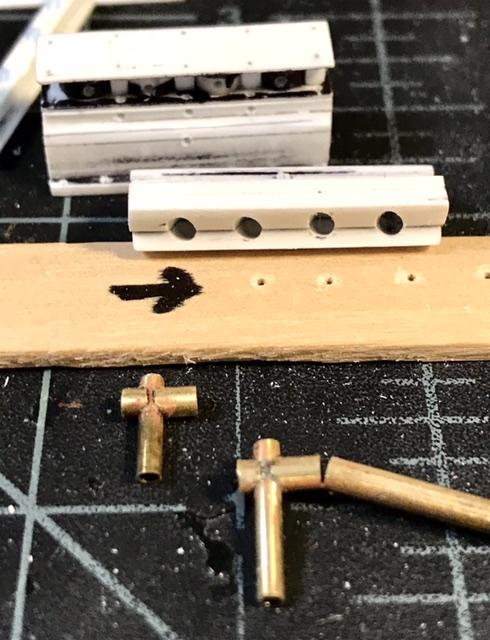
The carbs will get some aluminum caps and horns. ... time to clean up the Sherline workbench ... maybe I’ll post a photo before the cleanup. Just for laughs ... the cyl head has plug holes drilled at angles - this was a duel plug / cylinder engine - the distributor sits in front of the engine - below the fuel pump and above the water pump ...
-
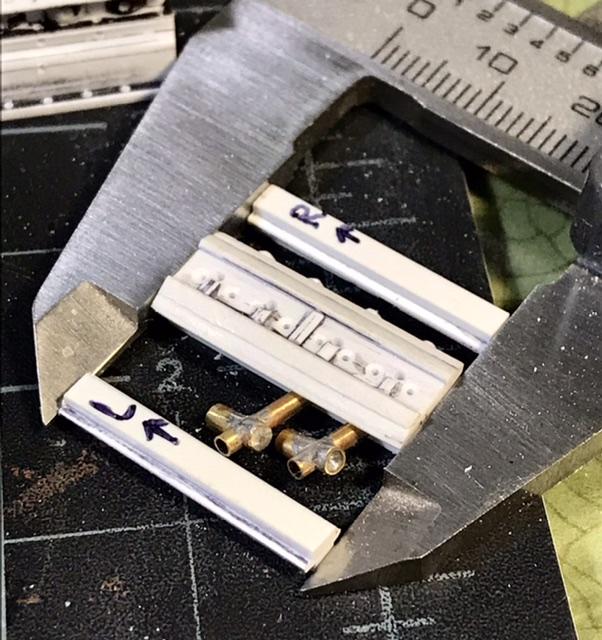
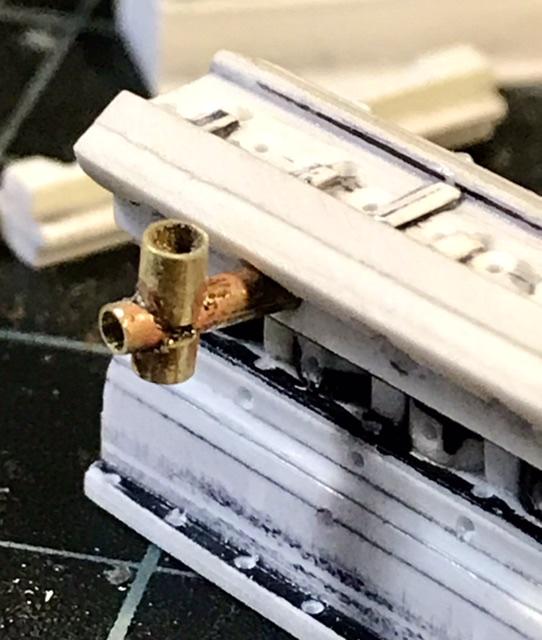
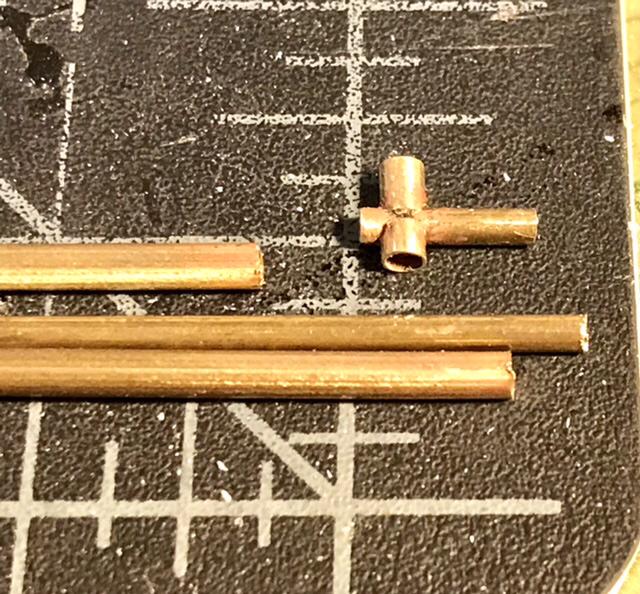
The other side of the cyl head gets angled holes for the carbs... the Amal carb bodies are soldered up from 1/16 thin tube and some .078 tubing scrounged from the back of one of my STUFF drawers ... Next is some work on the cam housings ...
-
Cooper barn find
absmiami replied to absmiami's topic in WIP: Other Racing: Road Racing, Land Speed Racers
Gracias. Saw several running together at the Barber track in Alabama a few years ago. Yes they are small and they sound like a huge swarm of ANGRY bees ... -
1966 Ford J Car Prototype
absmiami replied to Gramps46's topic in WIP: Other Racing: Road Racing, Land Speed Racers
You’re markings on the body ... was the body too wide up front but scale at the rear ?! That’s a pain ...