absmiami
-
Posts
4,782 -
Joined
-
Last visited
Content Type
Profiles
Forums
Events
Gallery
Everything posted by absmiami
-

Tamiya McLaren MP4/6 build
absmiami replied to Josie's topic in WIP: Other Racing: Road Racing, Land Speed Racers
Nice! what paints did you use or mix for the gearbox ? and where did you see Senna ?Montreal ? I saw him at Montreal early in his career - in a Lotus - had the impression that the driver was better than the car - he was driving the wheels off it ... -
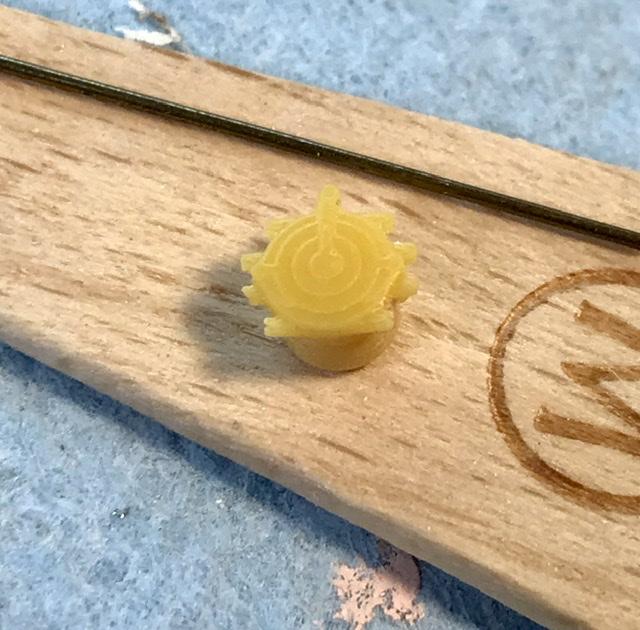
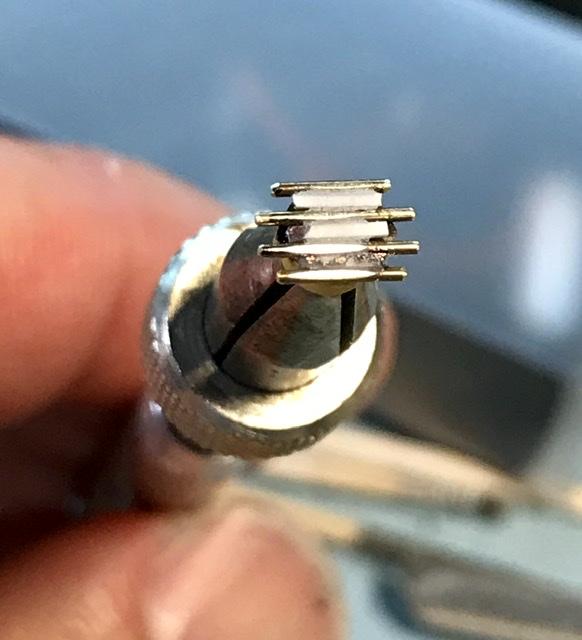
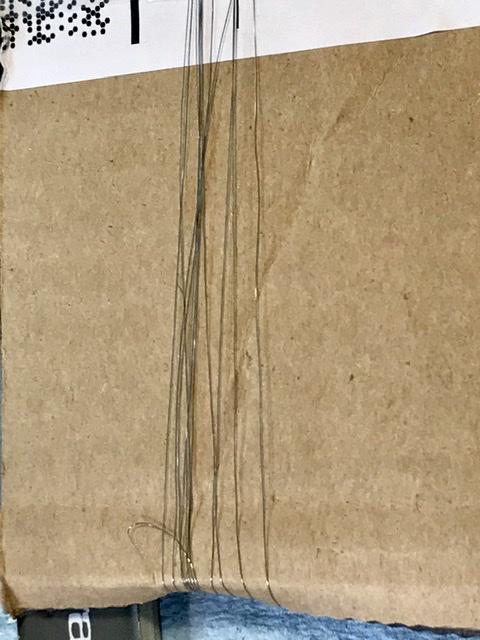
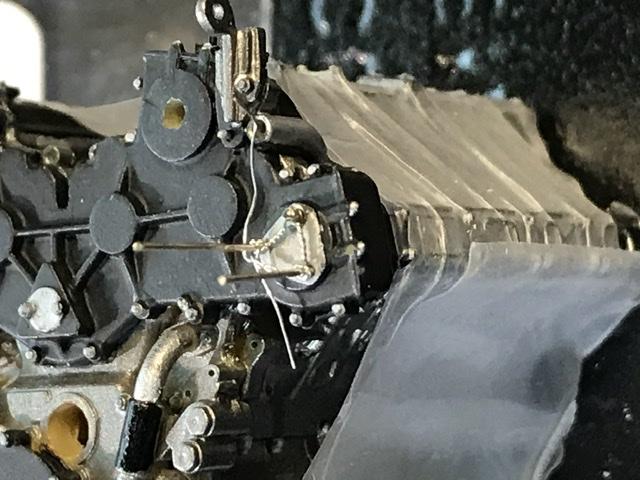
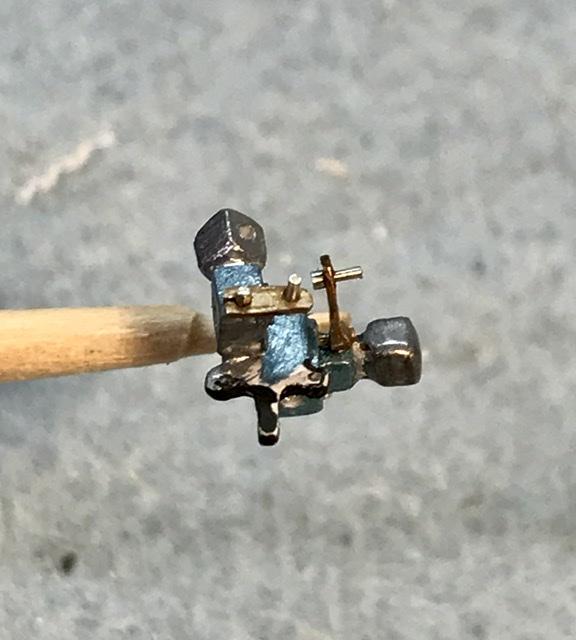
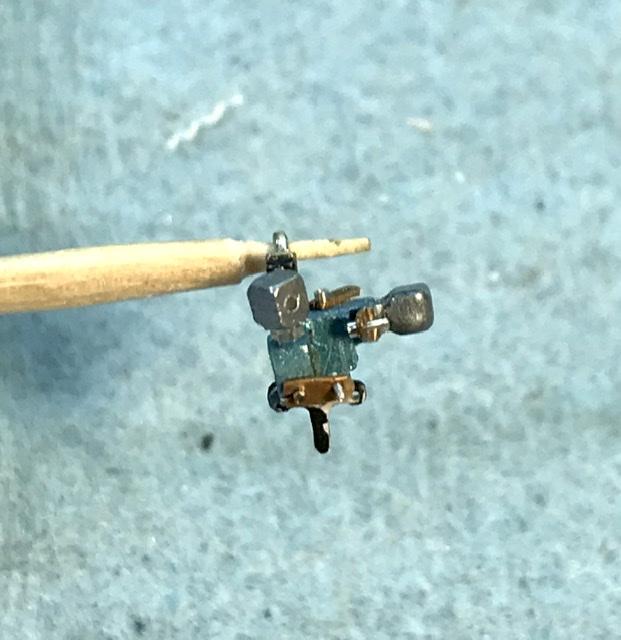
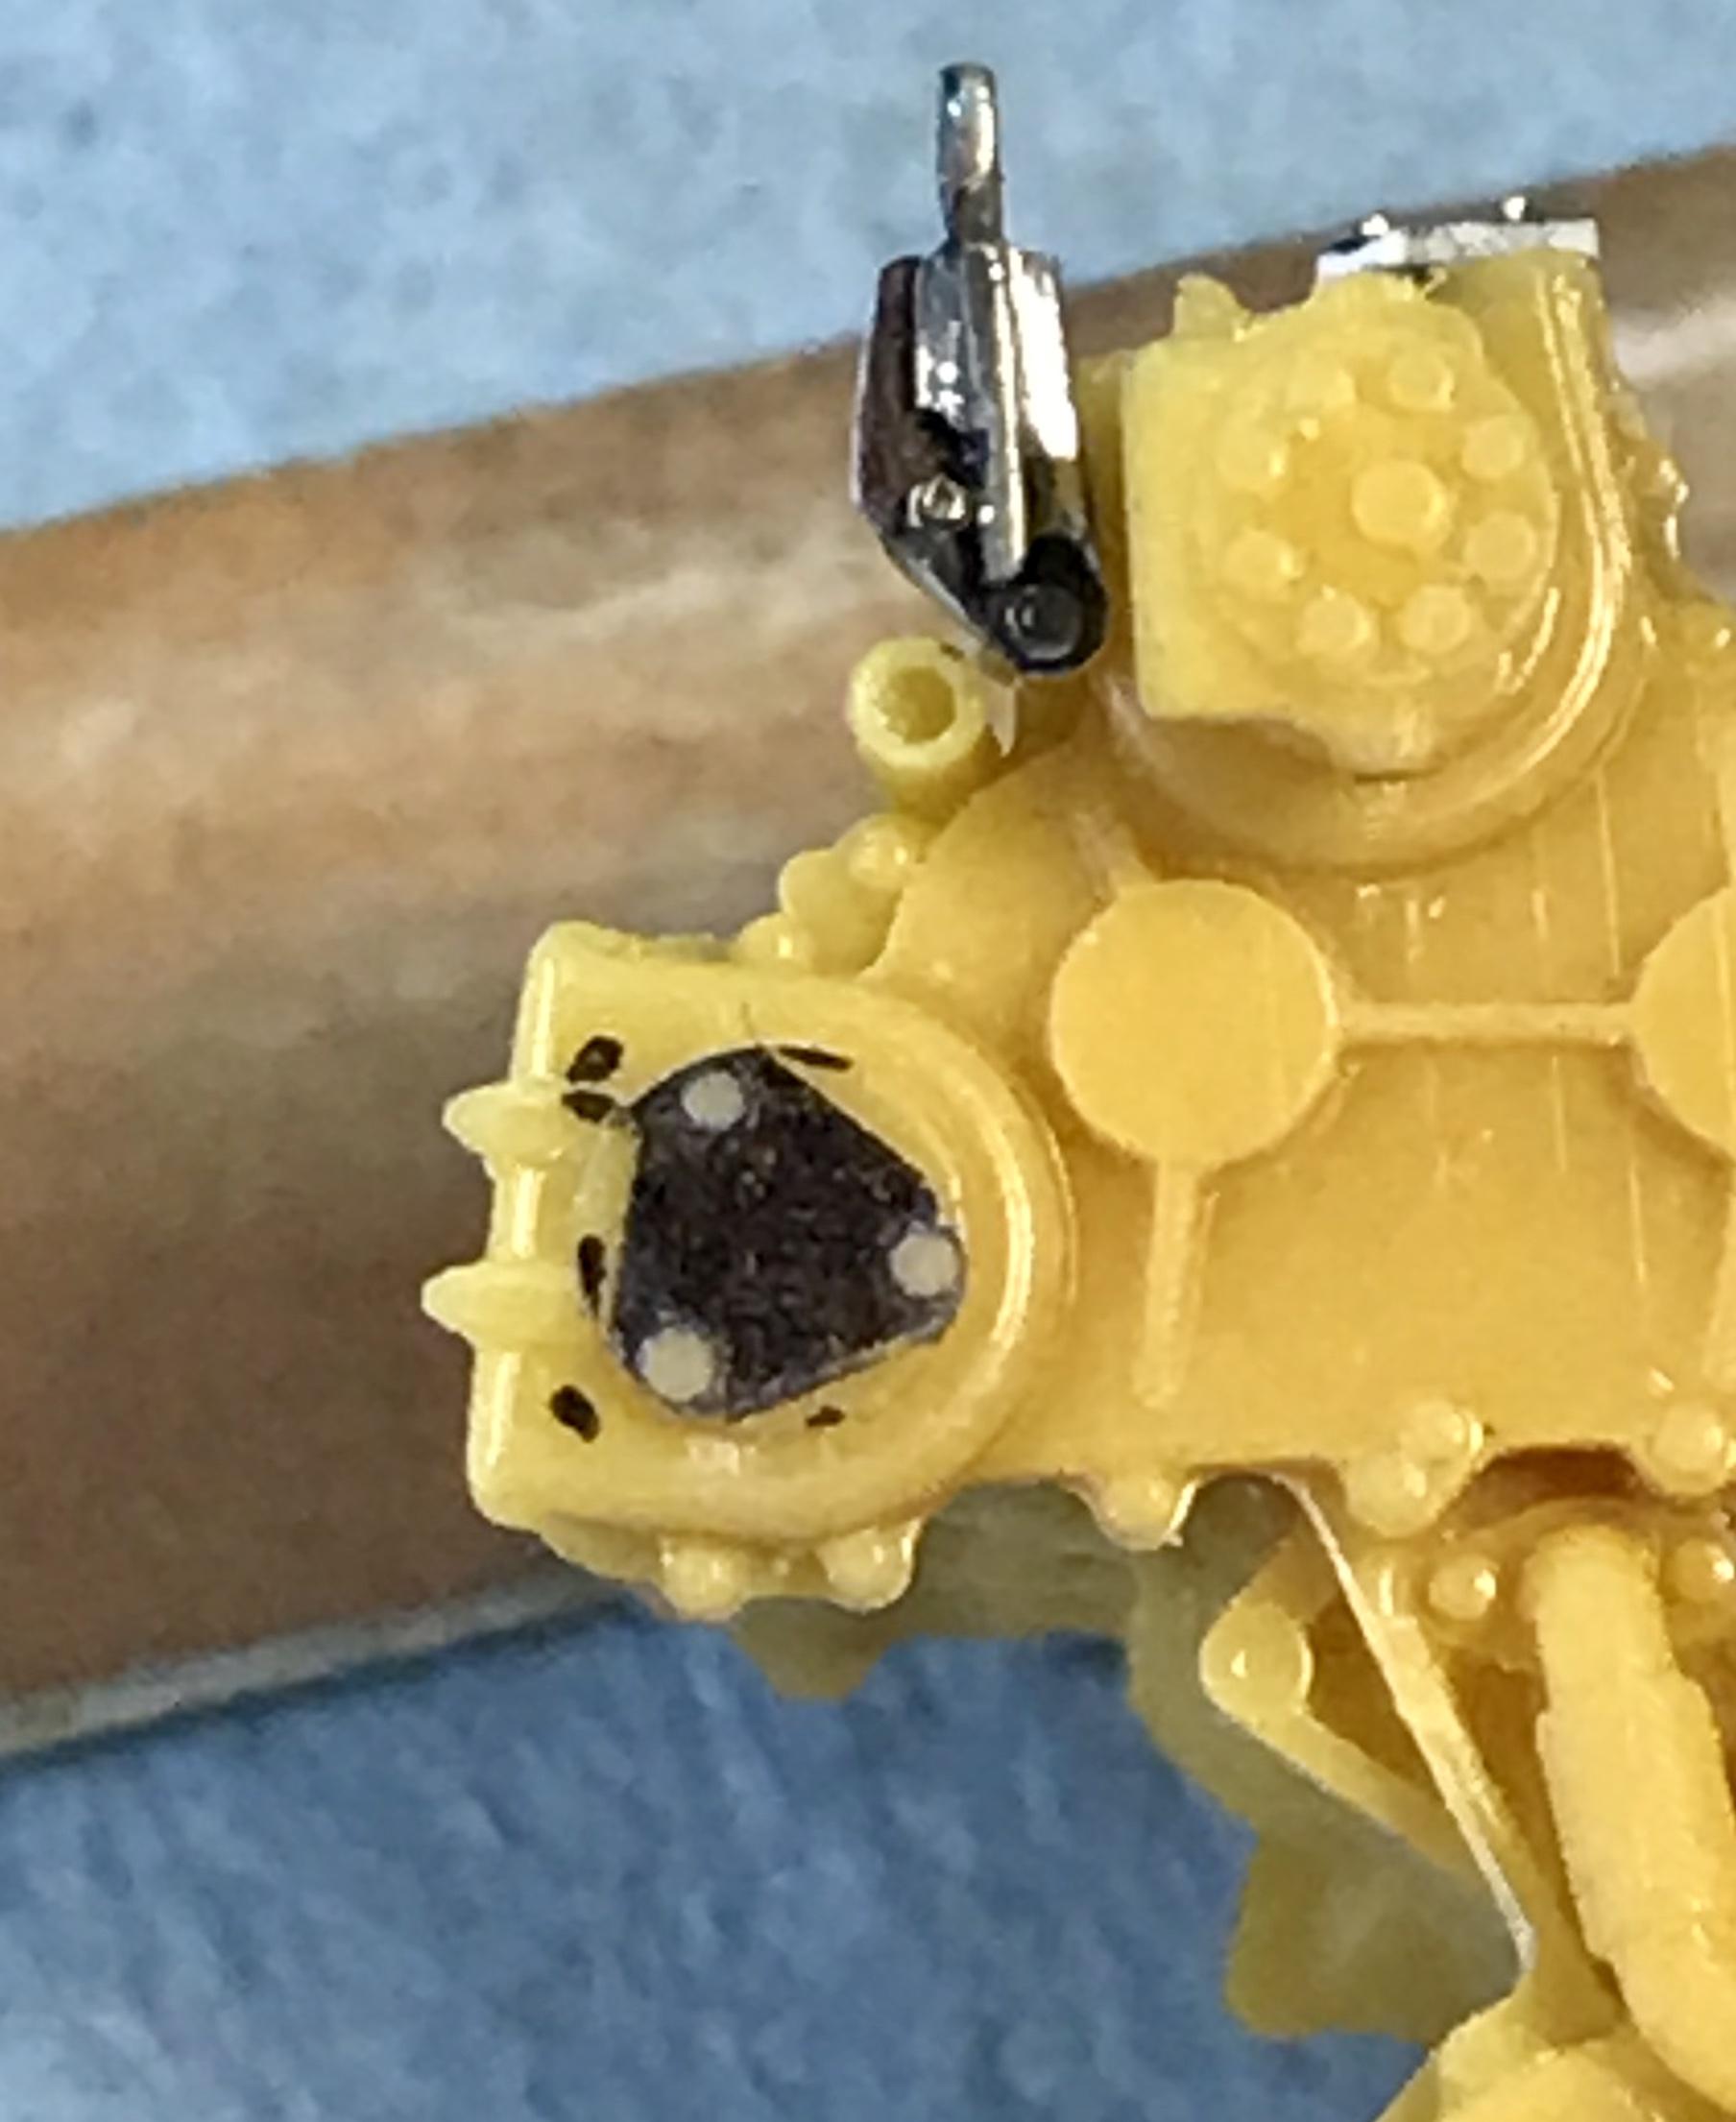
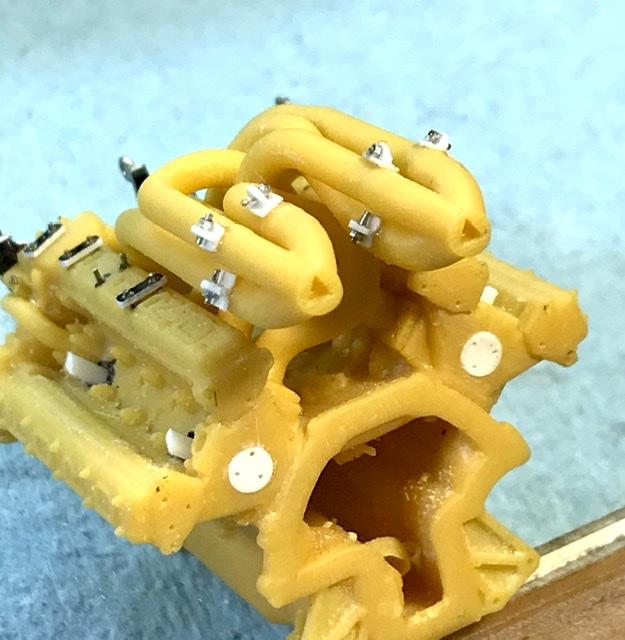
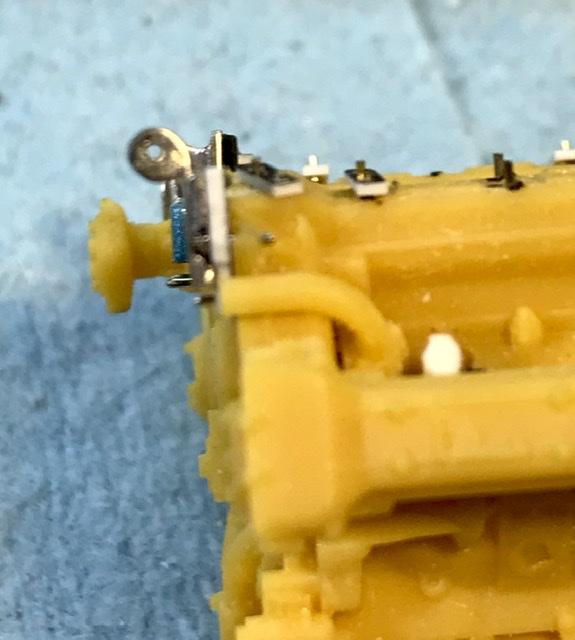
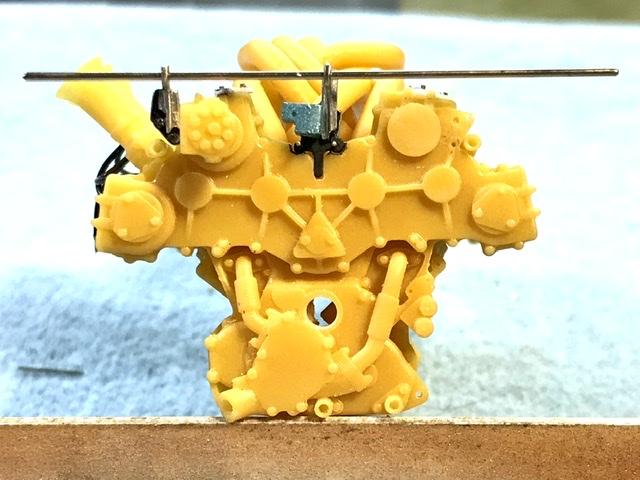
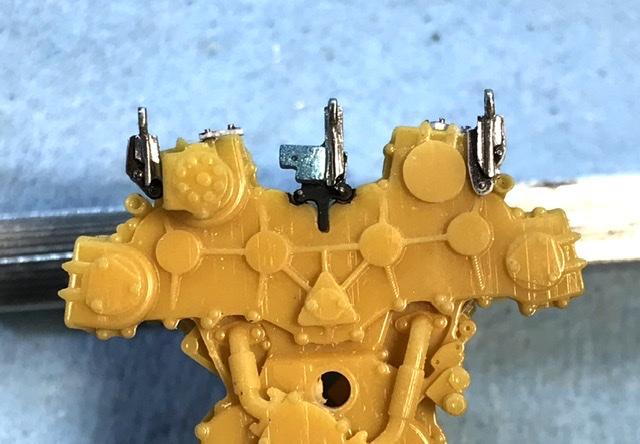
Should I build the frame in evergreen plastic or brass ??? whilest I ponder ... work on the DOHC distributor and some safety wire on the gear cover passages. I replaced the terminals on the distributor to get a more secure attachment point for the distributor caps that Norman Veber makes/sells ... the safety wire is twisted.005 wire. Think I bought it in amazon - yrs ago.

-
Should I build the frame in evergreen plastic or brass ???
-
Oh dear. You’re sending me down another rabbit hole. The stokes build was featured earlier this yr in Motorsport - I think- with an awesome overhead shot of the completed chassis. But these additional shots are great and they are by my favorite author. Mr Nye. Well my second favorite. Hunter Thompson is numero uno. I do plan to build a frame for the Alfa engine And I must decide if I’m going to build it into the Merit kit body or just display as a stand alone. I change my mind every time I think about it .... And now you’ve made me think about it again
-
So actually the engine block and valve covers had a “machine turned” Finish. Which gave them a bright silvery appearance. You know what plans I have for the body. Don’t think I can do that for the engine I’ll damage too much of the bolt detail. So I’ll just wing it. And find some deep blue color for the cyl head ...
-
Take a bow: Mad Mike ...
-
Magnesium for the Delage engine block? Maybe just a shade darker? Or what ?
-
I usually get mine fr Micro-Mark are they out? Toilet paper. Para-film. What’s next ??
-
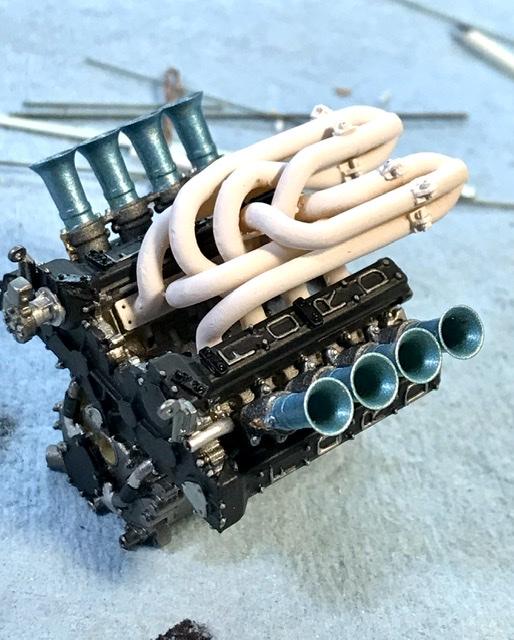
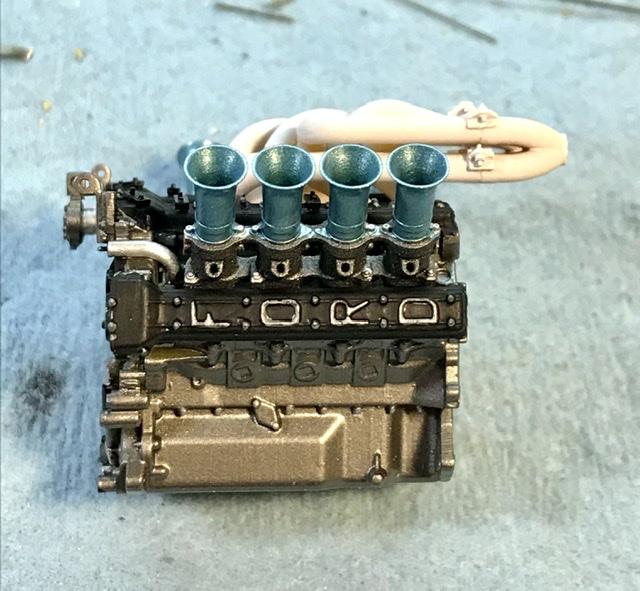
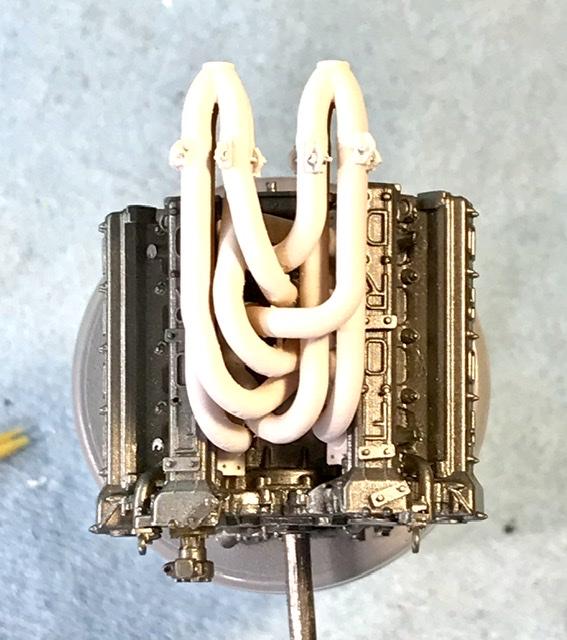
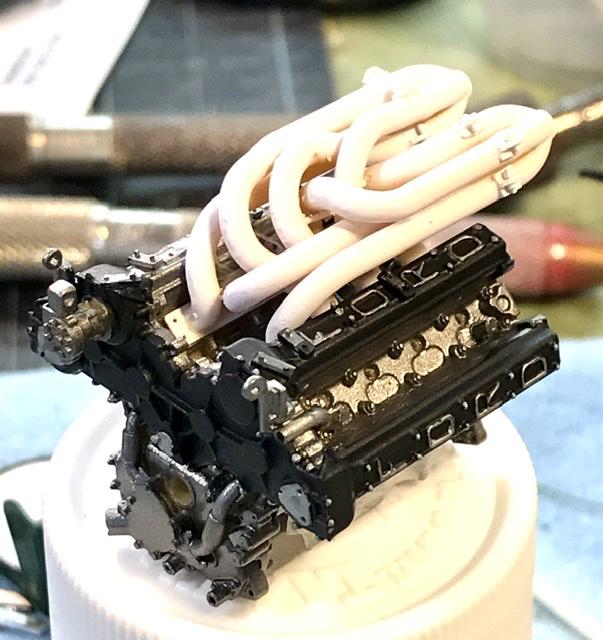
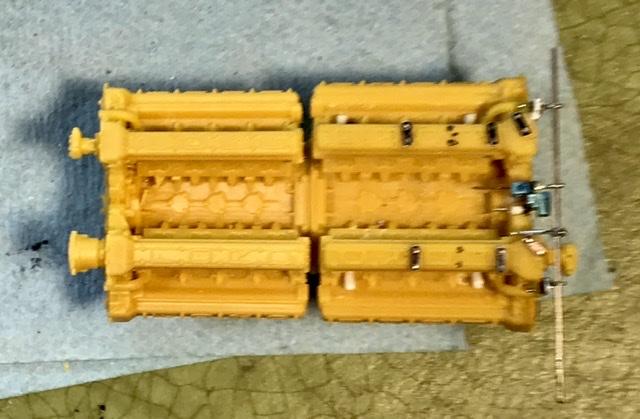
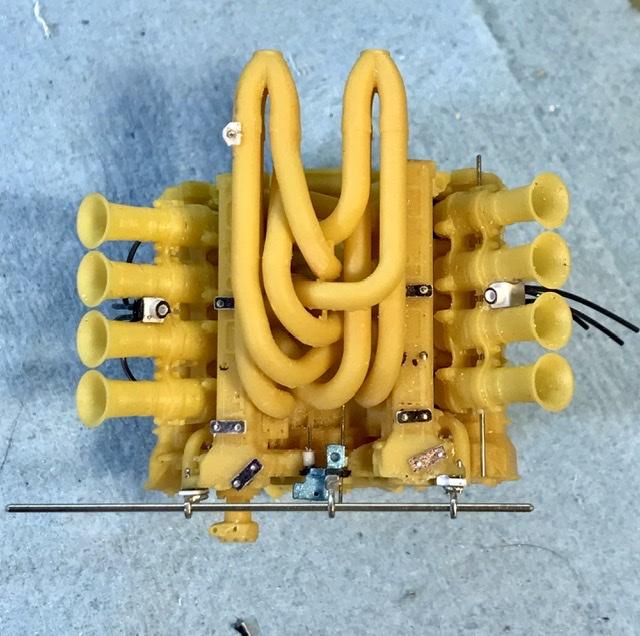
Fuel inj trumpets are painted with a nice anodized blue by Polly S . Using my old double action Paasche airbrush after managing to clog and then ruin the paint cup in my go-to single action airbrush. I’ve spent so much time messing around with these engines that I almost forgot how to paint things ...
-
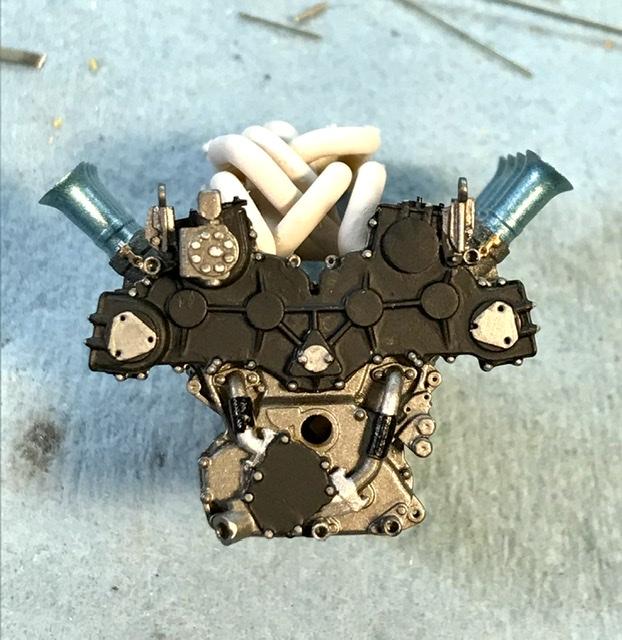
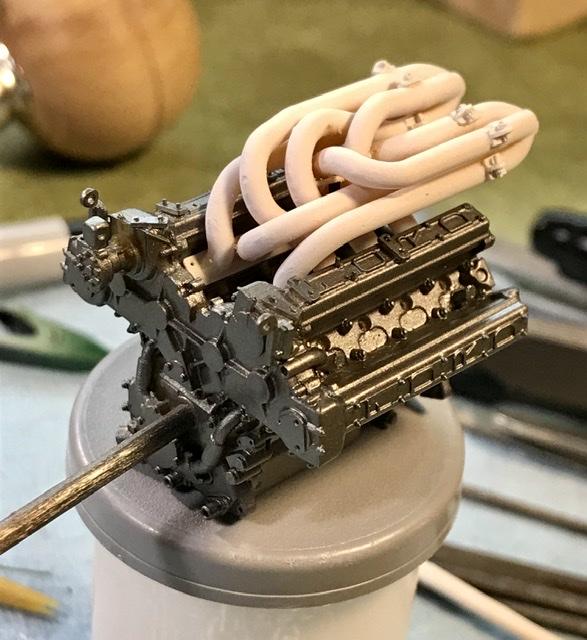
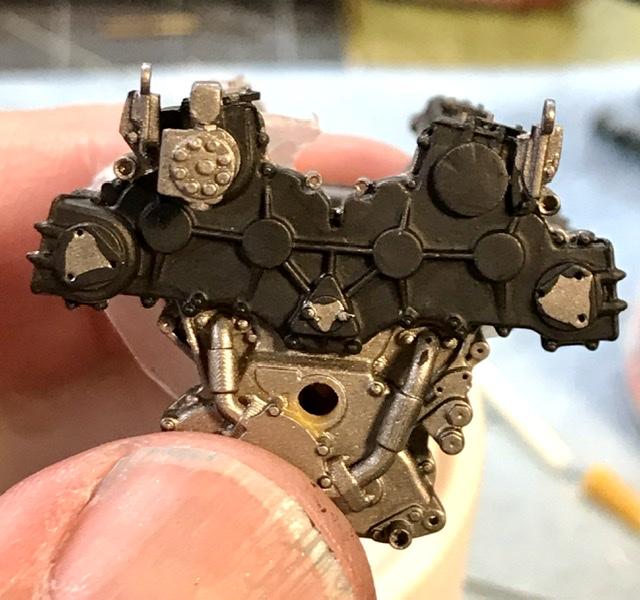
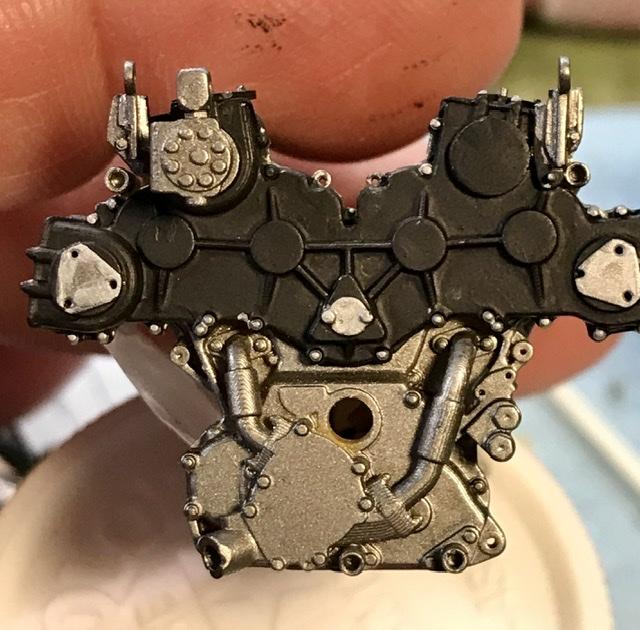
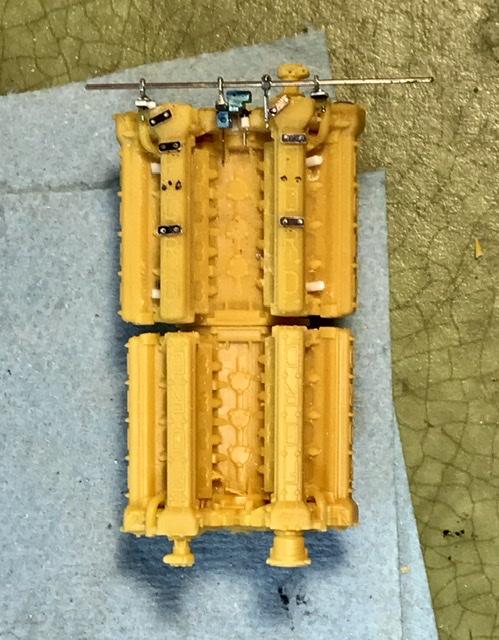
Painting. First Alcad’s magnesium for the block. Then floquil steam power black brushed on the valve covers and the gear assembly cover and Tamiya fl white for the exhaust pipes . The silver hi-lites on the valve covers and most of the bolts were picked out with a marker .
-
Doors ... ??? ... ... .. .
-
Q1: what airbrush do you use? I’m fussing with my pasche - cleaning And using my dual action for the first time in a few years ... well done the createx is pre-thinned - right?
-
well - what if you shrunk yourself ?? does your printer have that function ??
-
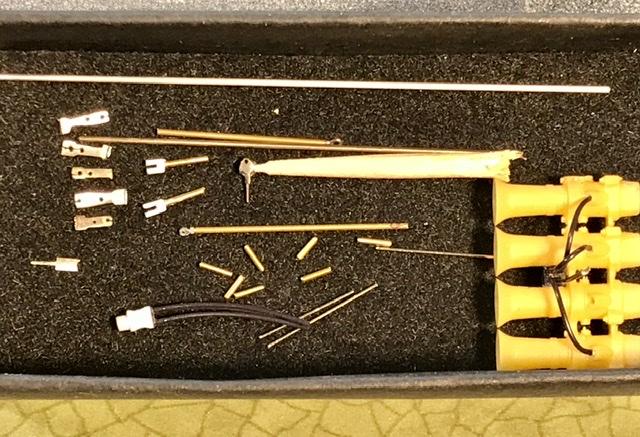
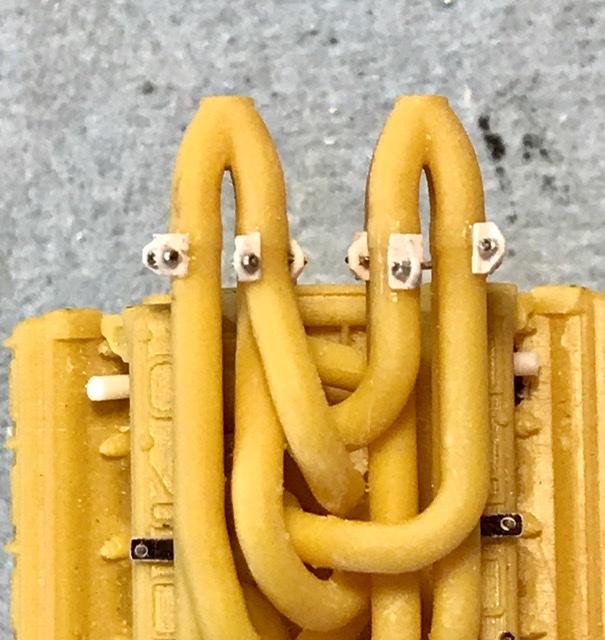
The challenges of scale have caught up with me. I made some nice nickel elbow fuel fittings. Real close to scale - but I couldn’t figure out how to make a good attachment to the .024 fuel lines - so I scrapped the nickel fittings- they will be useful some day - and made some plastic fittings that I can slip the ends of the fuel line in with some epoxy. Than painted them with some floquil gun metal. So they look okay - but they over-scale. Oh well ... also attached the nickel links.... with some cap screws fr RB motion ...
-
Is anyone else following the restoration of the Gurney Lotus 29 at the Indy Museum w/site ?? Great stuff ...
-
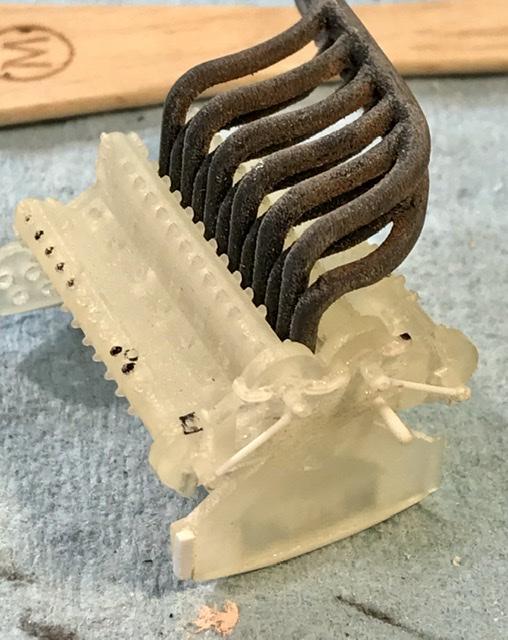
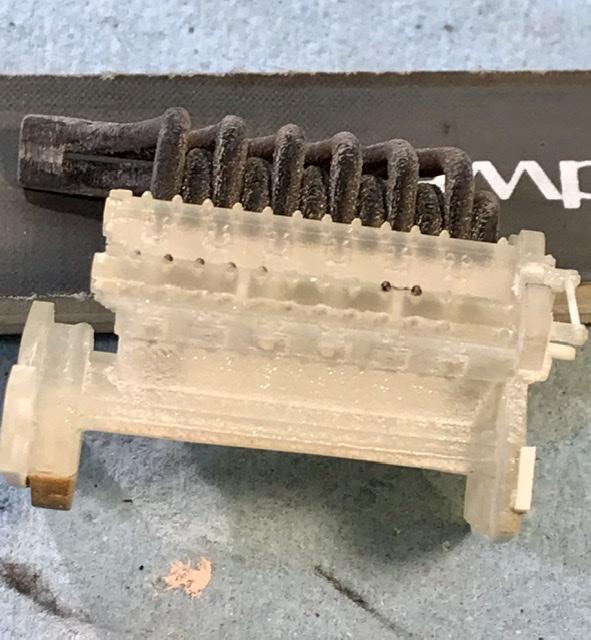
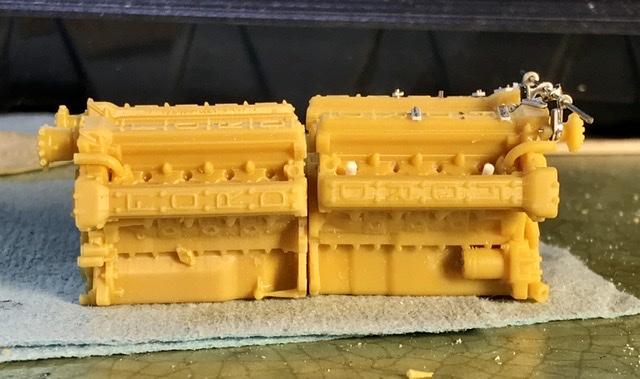
In case anyone was curious about the size difference in scale. 1/25th vs 1/24th. It is visible .... and the 25th scale engine is a little larger than the Gurney Eagle kit DOHC engine although both are supposed to be 25th scale ... I do not think that the Mad printed 25th sc engine will fit into the Gurney kit without some major mods. But I do suspect that the exhaust headers could be modified to use with the Gurney kit DOHC ... and that would be a big improvement.
-
Vintage Formula 1 Heavy Metal Models
absmiami replied to Gramps46's topic in Other Racing: Road Racing, Salt Flat Racers
That kit sounds familiar ... I wonder if it ever .... traded places ??? -
Vintage Formula 1 Heavy Metal Models
absmiami replied to Gramps46's topic in Other Racing: Road Racing, Salt Flat Racers
You’ve posted a build of one of my holy grail kits - the Western Alfa 158 wh metal kit .... the search goes on .... -
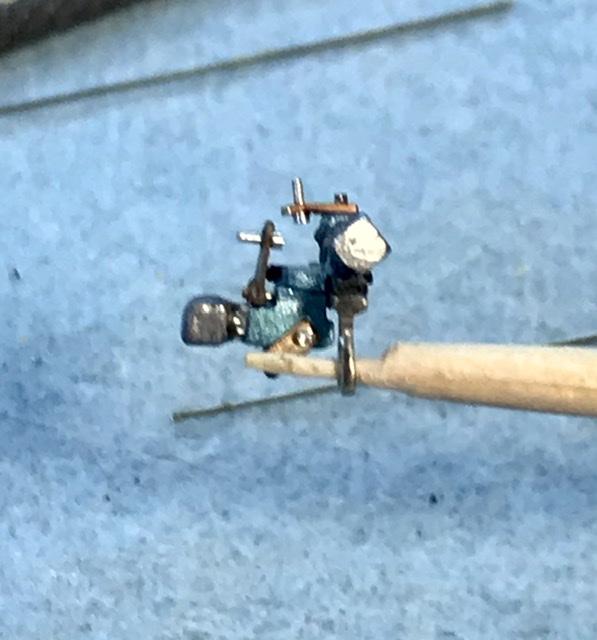
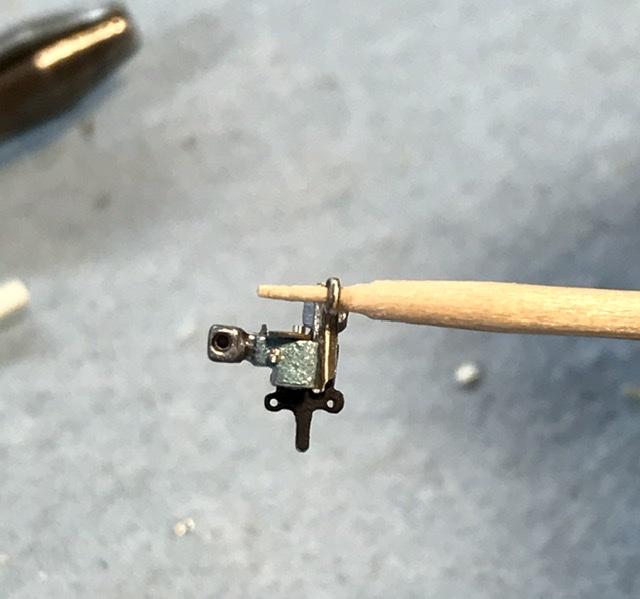
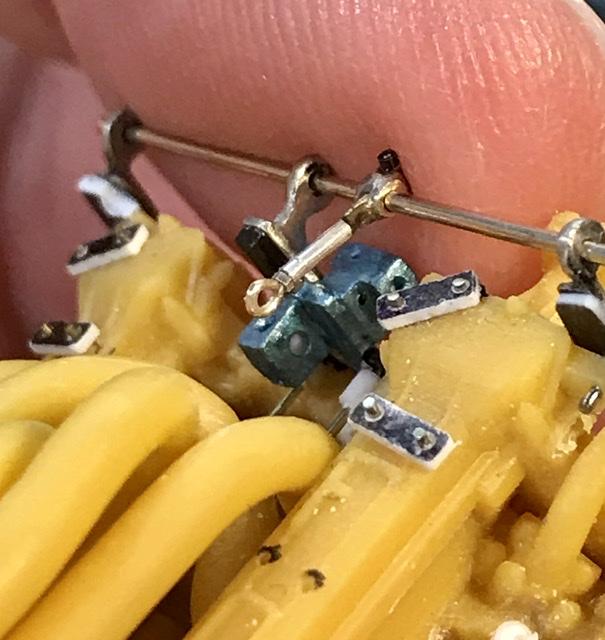
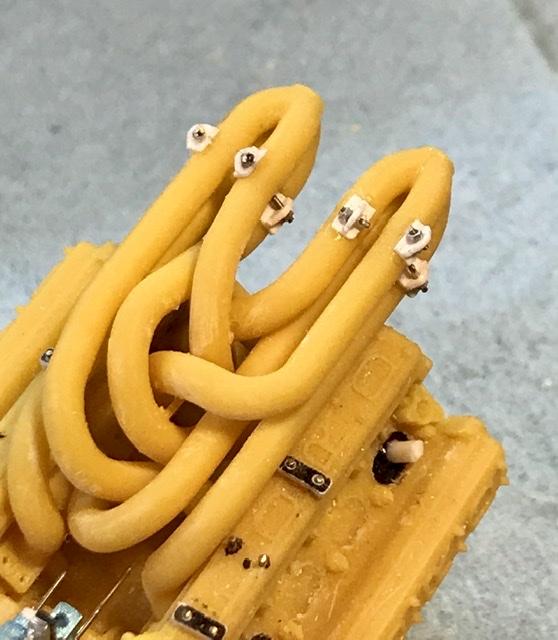
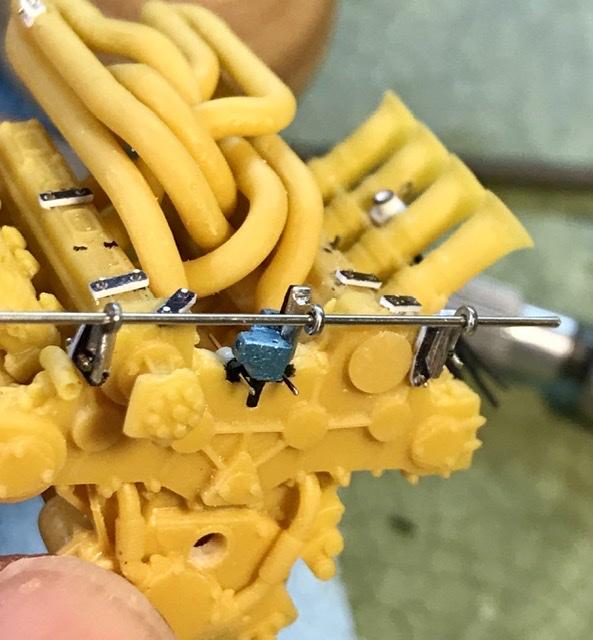
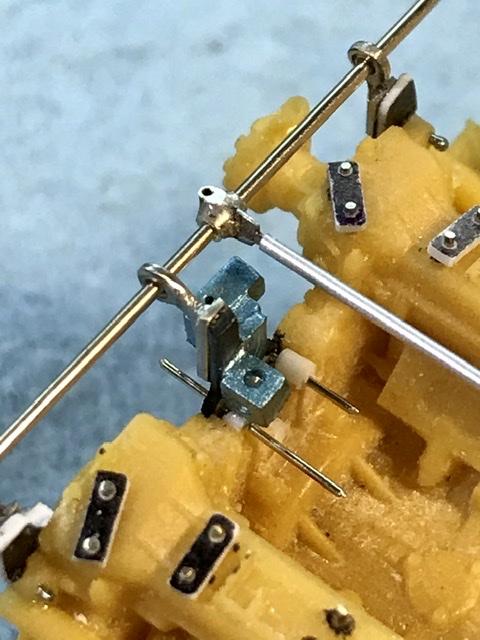
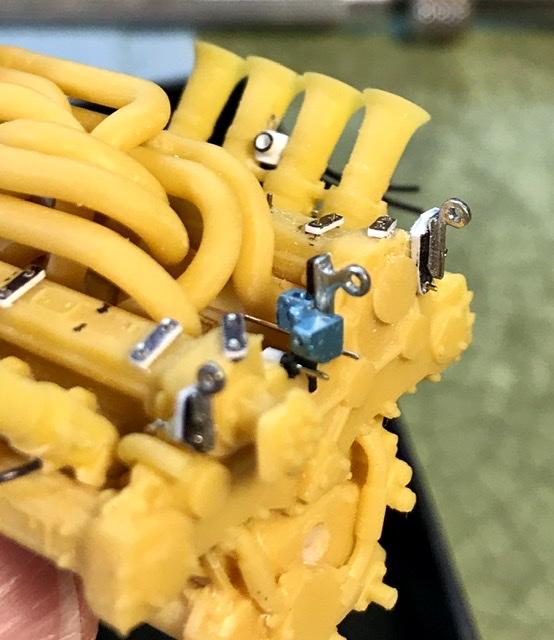
Now back to The fuel distribution links ...I’ve made some links from nickel silver and I soldered up some .047 and .024 Brass tube to make the knuckle of the first of two central links ... And there is a .022 cap screw at the leading edge of the knuckle fr RB Motion painted black. That’s the screw that secures this part to the cross rod. ... on the real engine ...
-
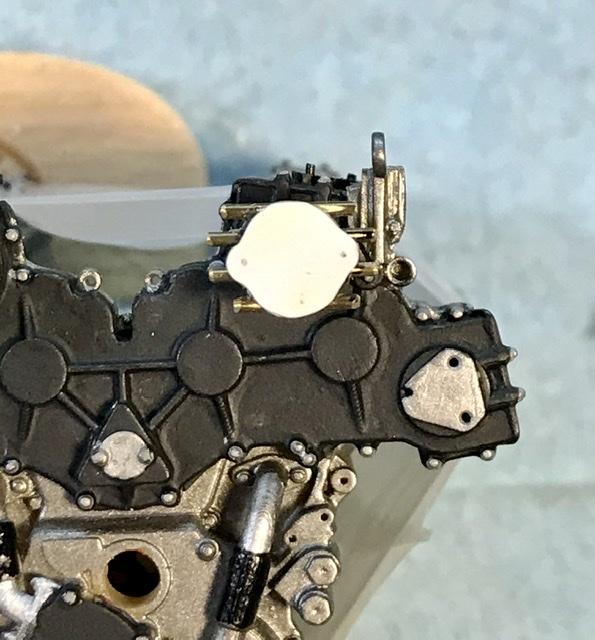
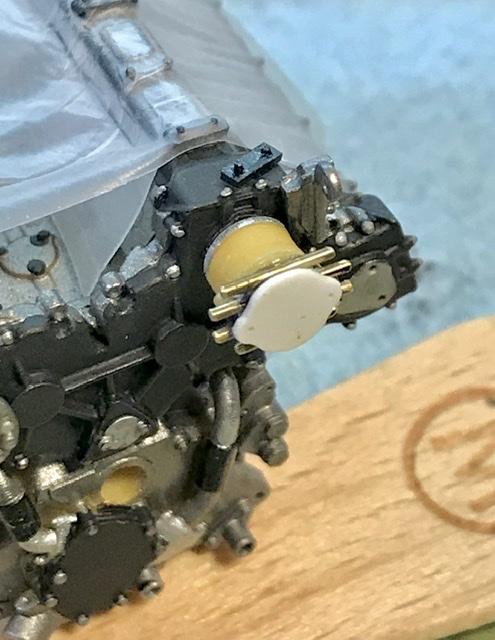
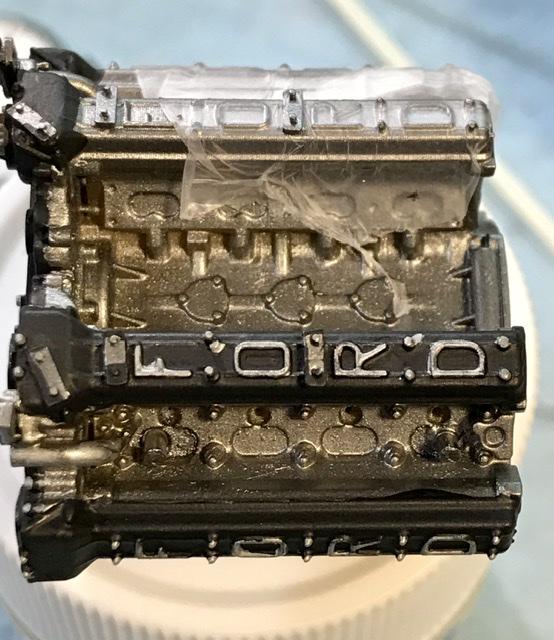
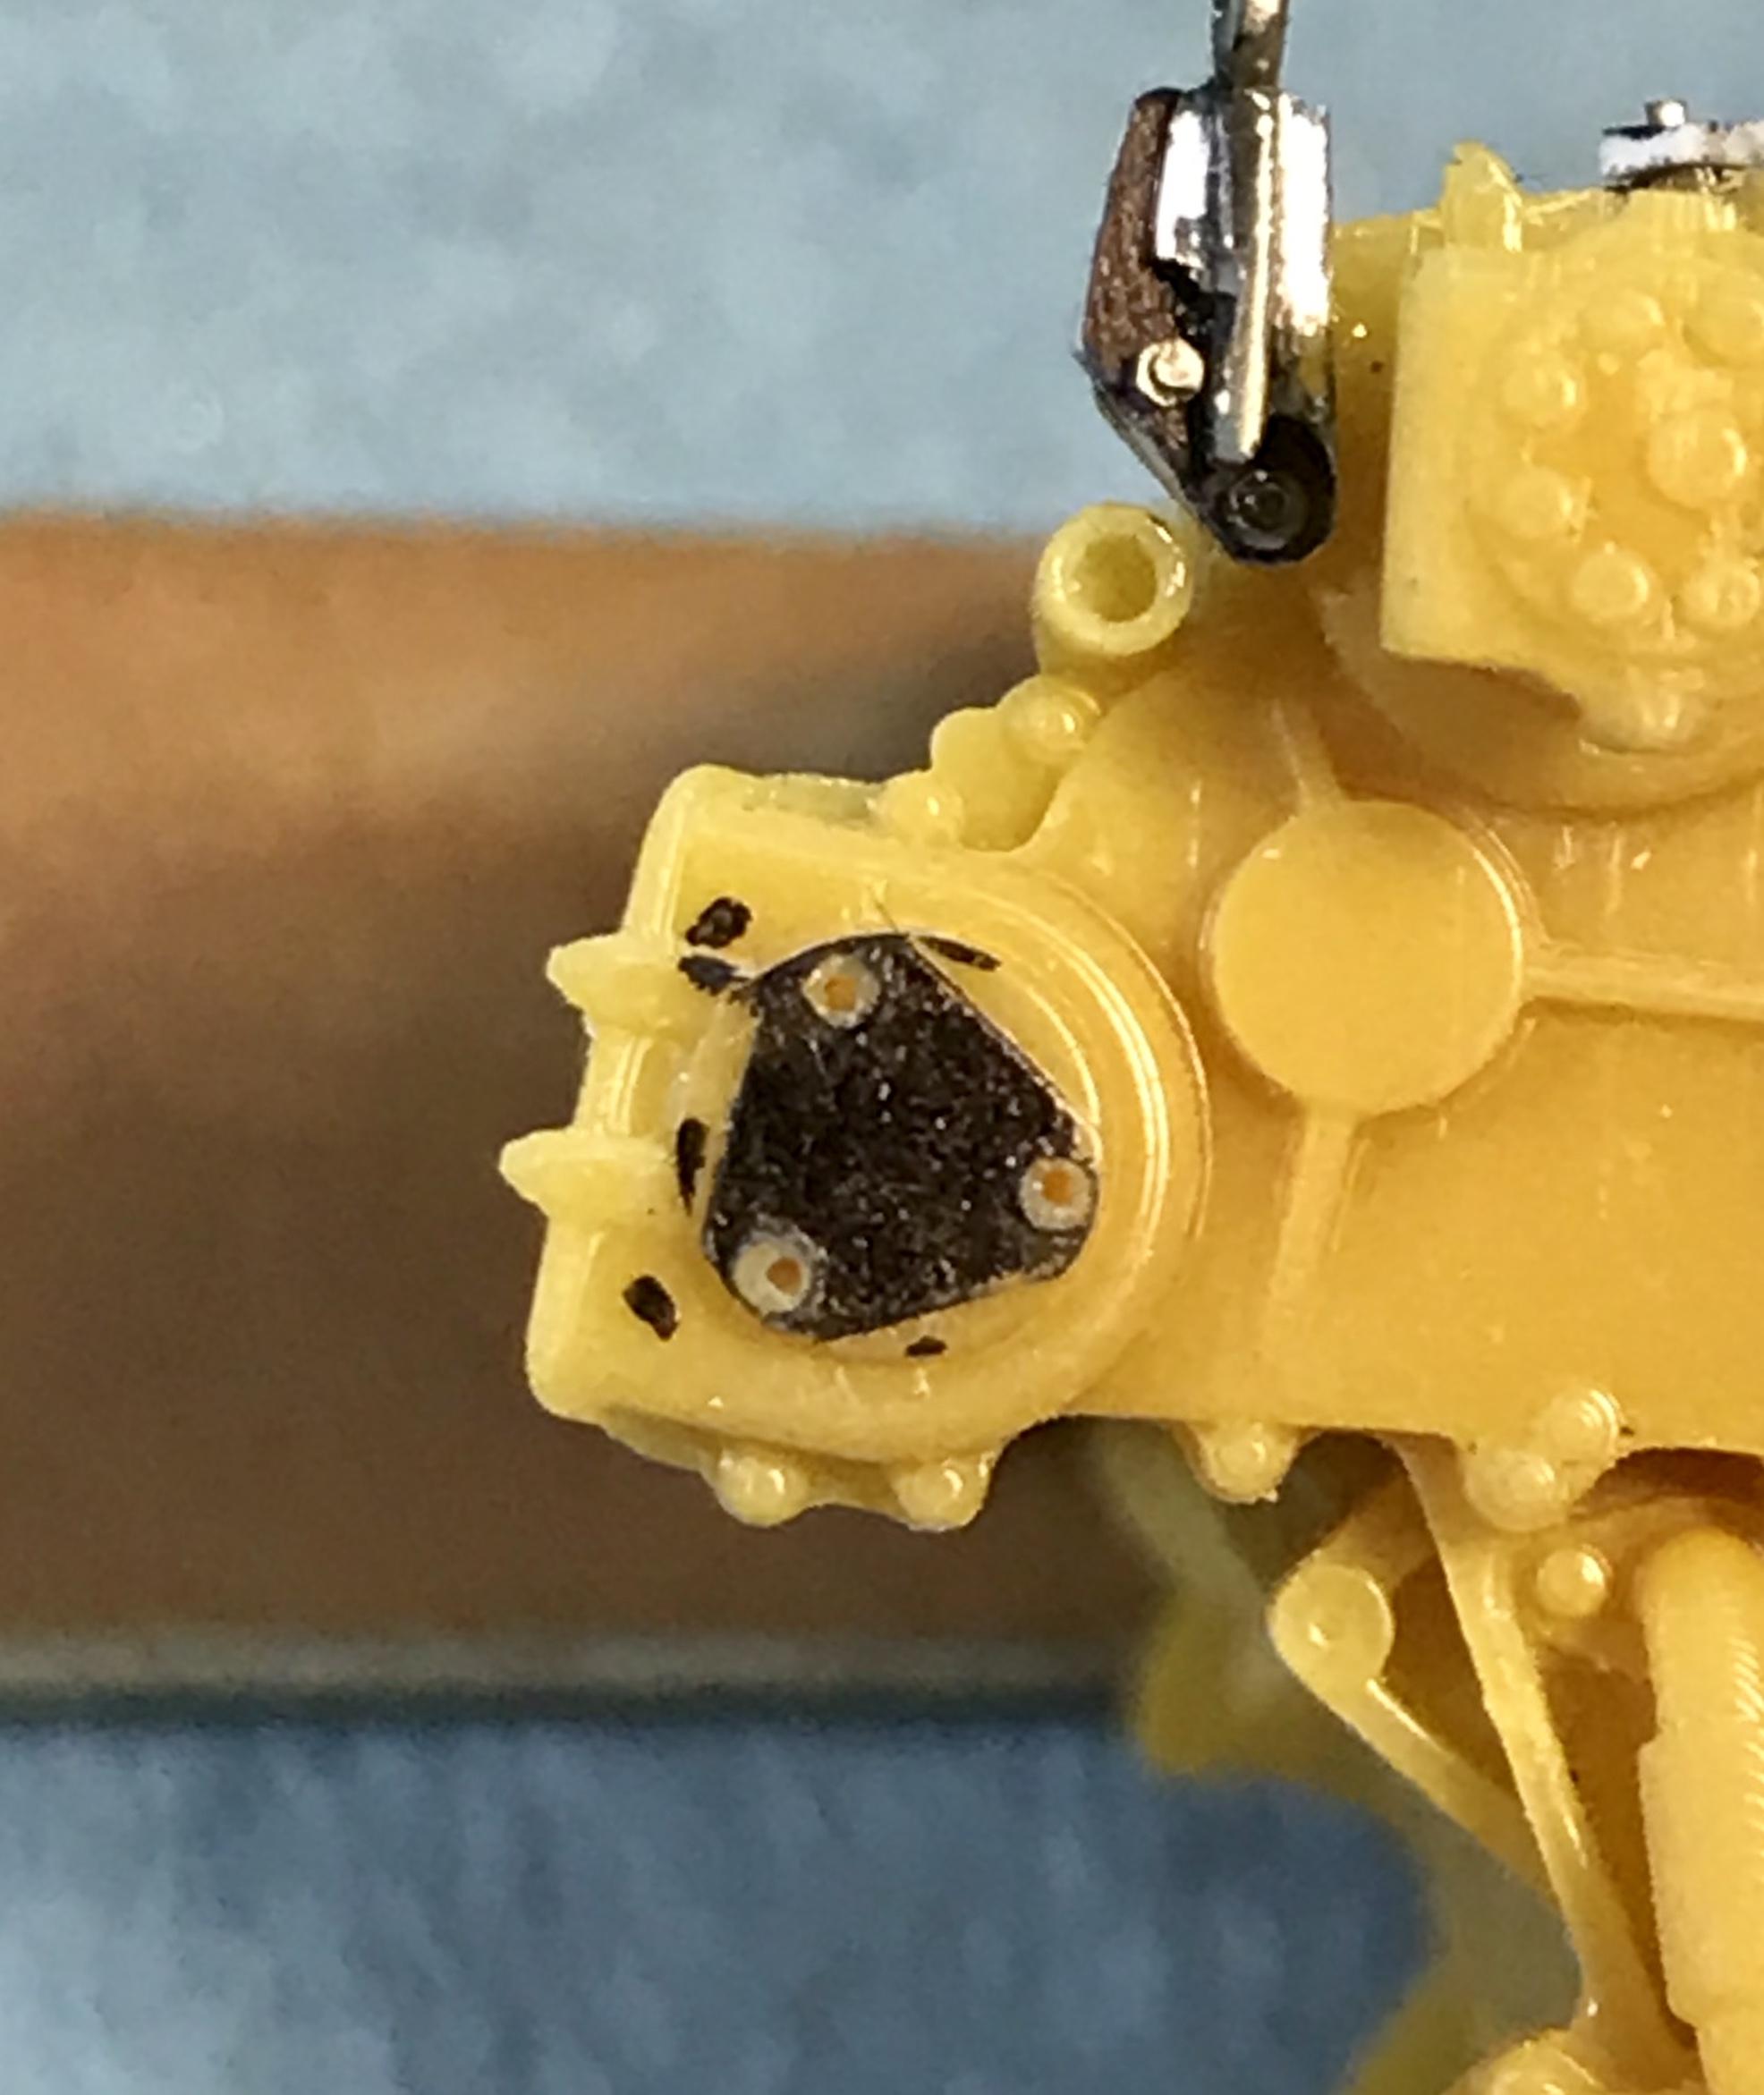
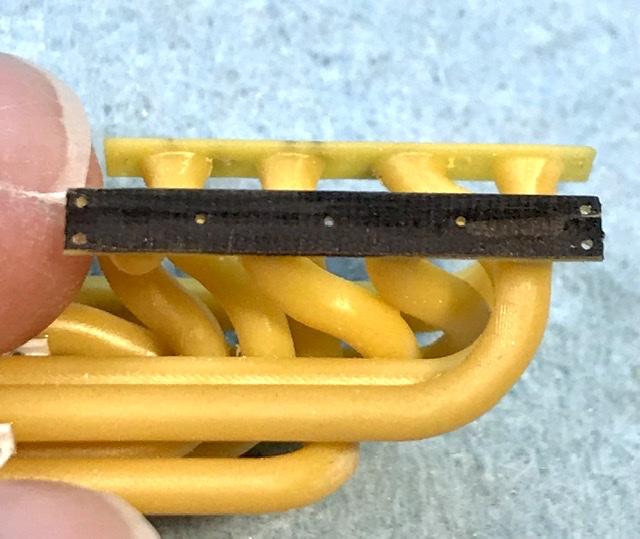
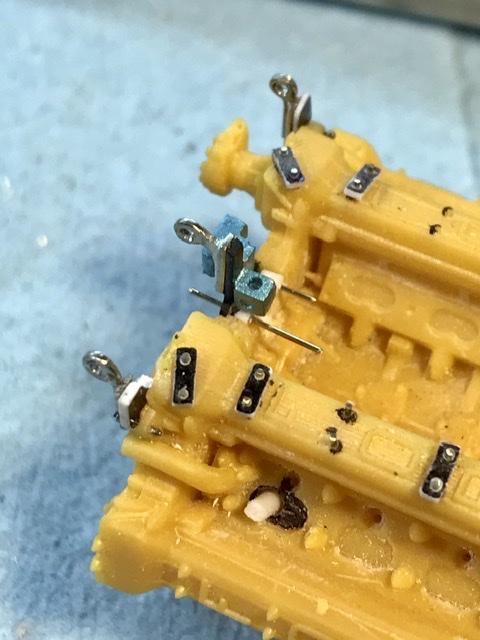
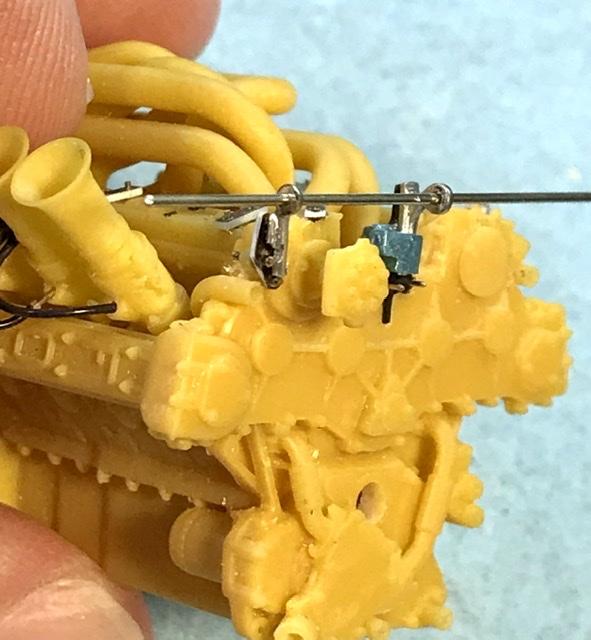
2 of the The inspection plates on the valve train cover Are safety wired. So I have removed the printed bolts and drilled some .012 holes for bolts. Gonna see if I can add the safety wires Would never bother with this except that this is going to be a display engine.
-
Hey simon pagenaud wins the Indy 500 again !!! Oops ... header tabs galore ...
-
And and and do you have/recall details of the engine ????? and yes. Photos would be really cool ... there are some good photos of the restored car from its display at the Amelia concourse in 2012 ...
-
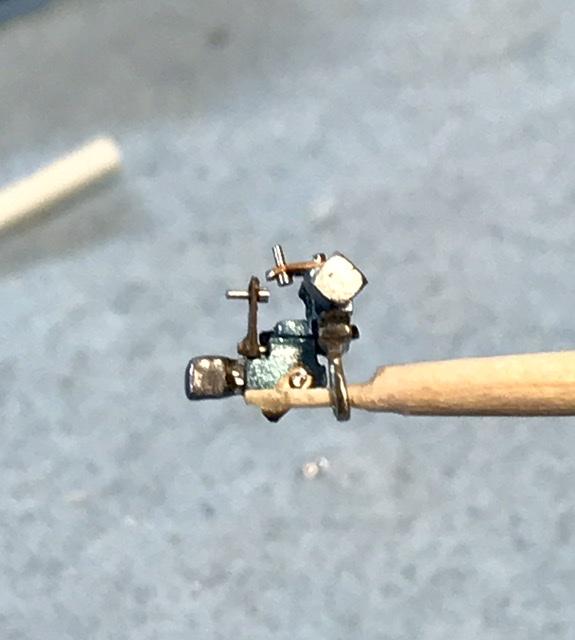
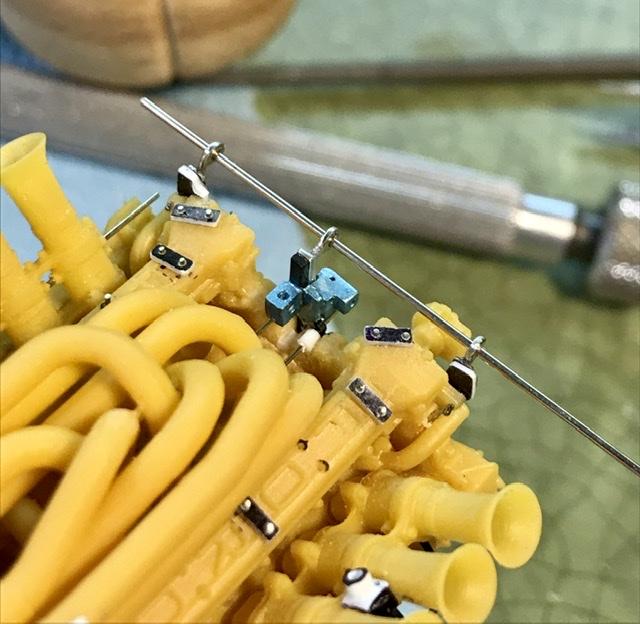
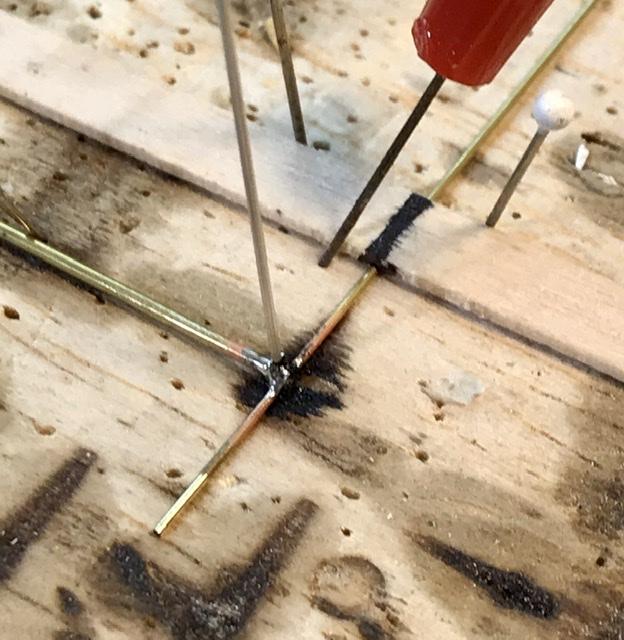
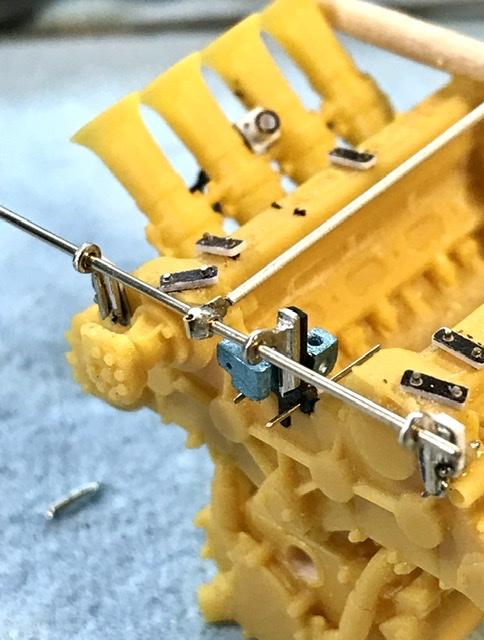
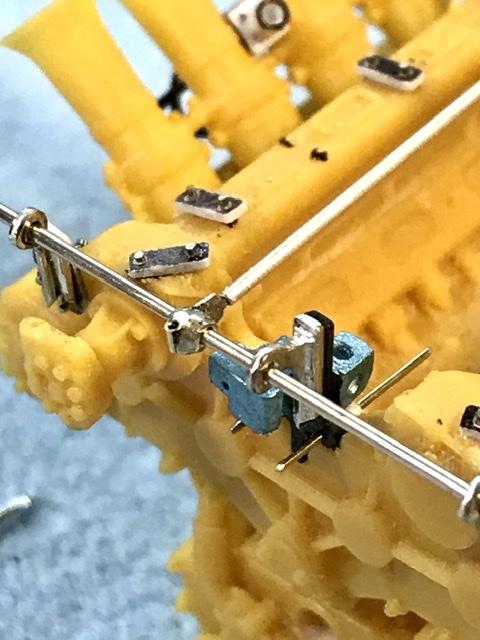
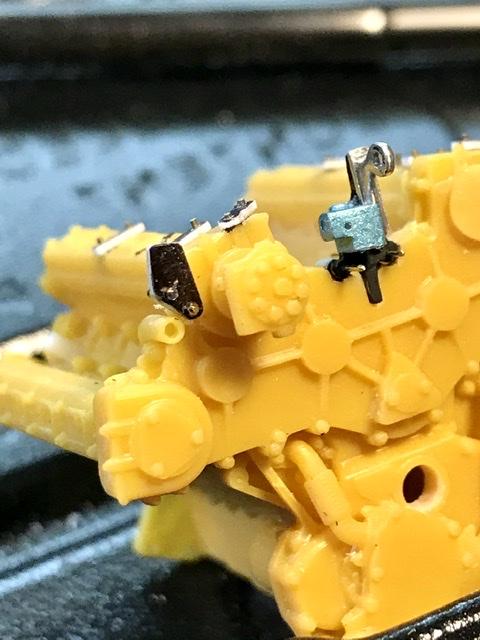
Once the linkage bar is on I took a shot at the leaver or crank or whatever it’s called. There are - per the drawings - 2 in the center of the cross bar - made fr .040 brass tube soldered onto .024 tube and then soldered to a small piece of .010 nickel strip - the tip of the strip will slide into a short length of .024 alu tube...
-
-
Right cyl head post main thing is to align the linkage rod ... then the left hand cyl head post ...