-
Posts
4,781 -
Joined
-
Last visited
Content Type
Profiles
Forums
Events
Gallery
Everything posted by absmiami
-
Cooper barn find
absmiami replied to absmiami's topic in WIP: Other Racing: Road Racing, Land Speed Racers
time for a beer run not much open here - but the local breweries are still - as is my business - which I appreciate [both...] -

Cooper barn find
absmiami replied to absmiami's topic in WIP: Other Racing: Road Racing, Land Speed Racers
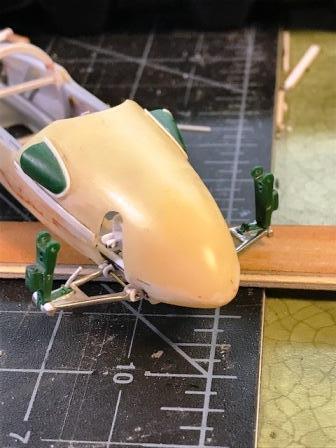
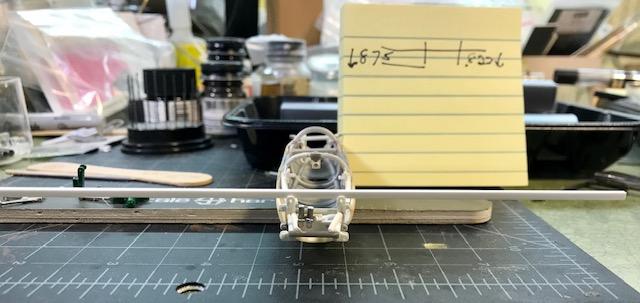
the front susp leaf spring will be made - soldered - from 3 strips of nickel silver bar - 2 scale inches wide - about .080 and .010 thick the mounting points are not quite perpendicular - but the suspension arms in white metal can be bent a little - just enough to give me left and right mounts that are reasonably correct should look good when painted and reinstalled still have to make the hub carriers and the tie rod - hope to have posable steering …. -

Cooper barn find
absmiami replied to absmiami's topic in WIP: Other Racing: Road Racing, Land Speed Racers
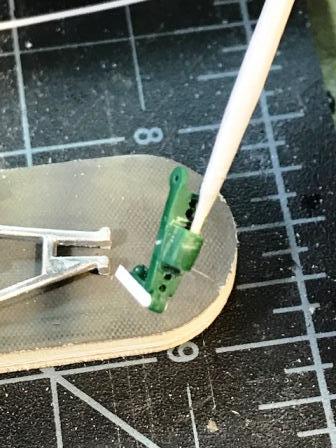
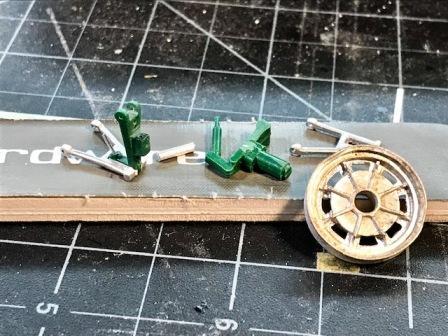
the suspension uprights from the kit are sort of vague - as you would expect from a kit that is almost as old as me …. but with some files, sanding sticks, and pin drills I end up with something that is close to accurate …. the white metal is sanded with progressive standing sticks to get the look of polished steel the uprights will be painted steel uprights are glued - epoxied - to the susp arms before painting so that I can mock up the location and length of the leaf spring ... -

Cooper barn find
absmiami replied to absmiami's topic in WIP: Other Racing: Road Racing, Land Speed Racers
working on the front suspension the mounts for the leaf spring and the shock absorbers are glued to curved chassis tubes so naturally - this is where the Cooper becomes Un-Cooper-ative nothing is in its rightful place - so I am replacing a shock absorber mount and tweeking some things the green plastic is the original Merit kit suspension uprights - with a few mods the white metal are the Deeks kit replacements for the Merit plastic parts ... including the cool wheels ... -
Don’t forget to wash your hands before you post .....
-
Thanks We’re making the same parts - because the cooper was designed with so many pre WW2 features lm mocking up the front lower suspension arms so I can determine the length of my front leaf spring - which is next on my fabrication list Coopers used leaf springs until 1960 - which seems odd - but they kept winning - so ....
-
GOOD STUFF !!
-

Cooper barn find
absmiami replied to absmiami's topic in WIP: Other Racing: Road Racing, Land Speed Racers
-

Cooper barn find
absmiami replied to absmiami's topic in WIP: Other Racing: Road Racing, Land Speed Racers
Now with all of this home time I’m learning how to post from my phone go ahead younger forum members laugh you a s off ... and don’t worry i washed my hands first just in case can you catch the thing from the internet ? -

Cooper barn find
absmiami replied to absmiami's topic in WIP: Other Racing: Road Racing, Land Speed Racers
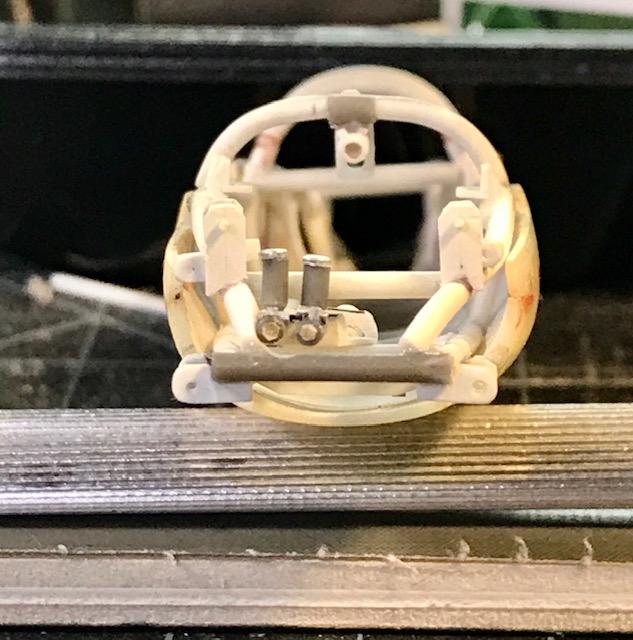
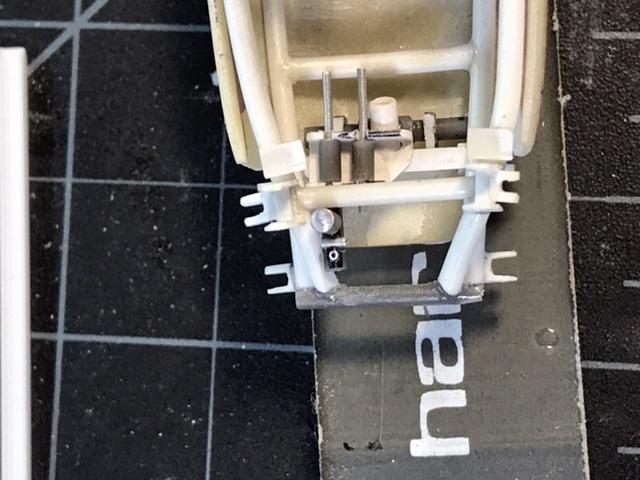
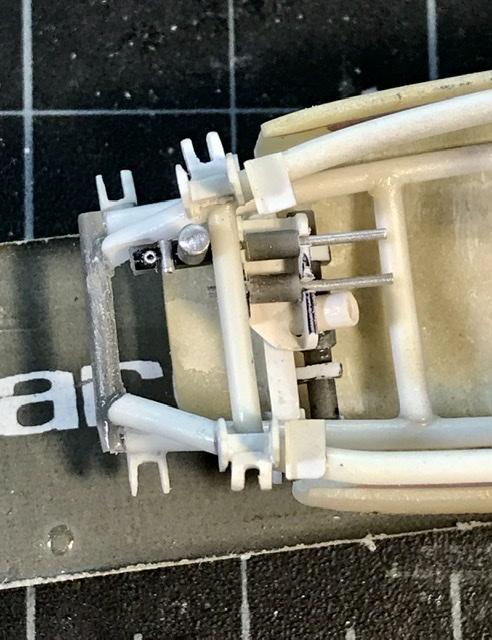
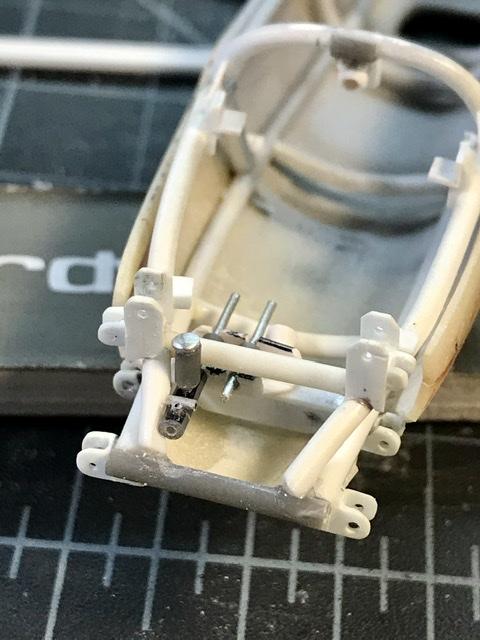
Glued the bracket to the cross chassis brace before painting because it’s crowded in the front section of the chassis and I had to do some chassis rail grinding to make room for the cylinders casualty of the scale that’s ok -

Cooper barn find
absmiami replied to absmiami's topic in WIP: Other Racing: Road Racing, Land Speed Racers
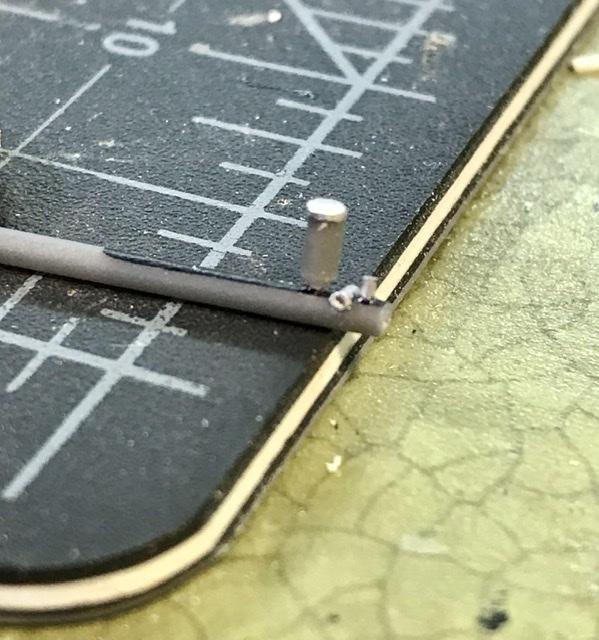
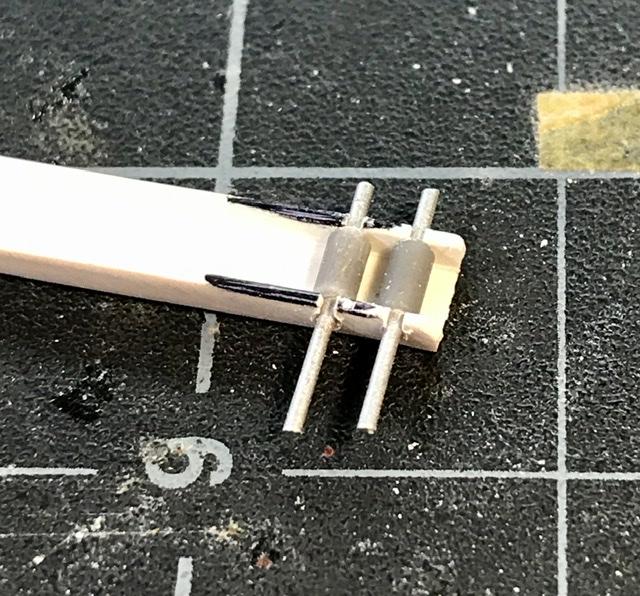
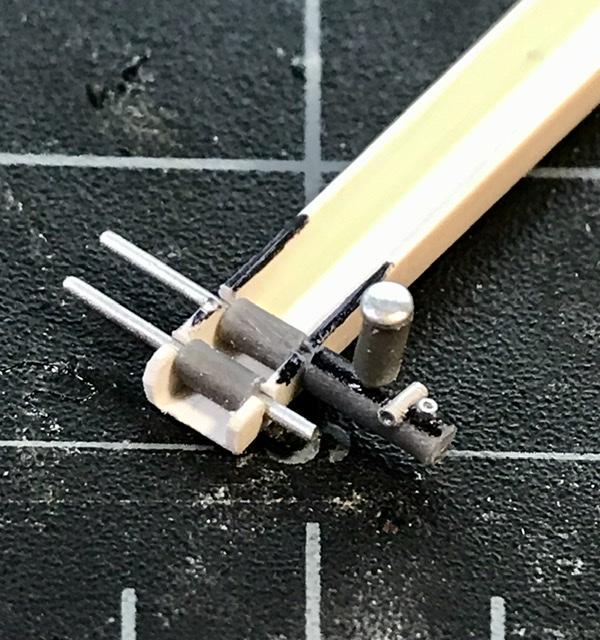
The first of two master cylinders one serves the back and the second serves the front brakes contrail tube - love this stuff - no longer made ? with some bits of small diameter aluminum tube and a nickel fluid cap second one will be the same -

Cooper barn find
absmiami replied to absmiami's topic in WIP: Other Racing: Road Racing, Land Speed Racers
This is the bracket that will hold the brake master cylinders it sits under the fuel tank i don’t have a good photo of it - so I’m winging it with some evergreen channel, plastic tube and aluminum rod -

1949 Ferrari MM Le Mans Winner
absmiami replied to Gramps46's topic in WIP: Other Racing: Road Racing, Land Speed Racers
Ummm well done I'm the fortunate owner of one of these great kits still unbuilt - but hey - I've all of a sudden got all of this free time ….. please ask William how he finished the seats ? oil based paint ??? thanks for posting this, Gary -

Cooper barn find
absmiami replied to absmiami's topic in WIP: Other Racing: Road Racing, Land Speed Racers
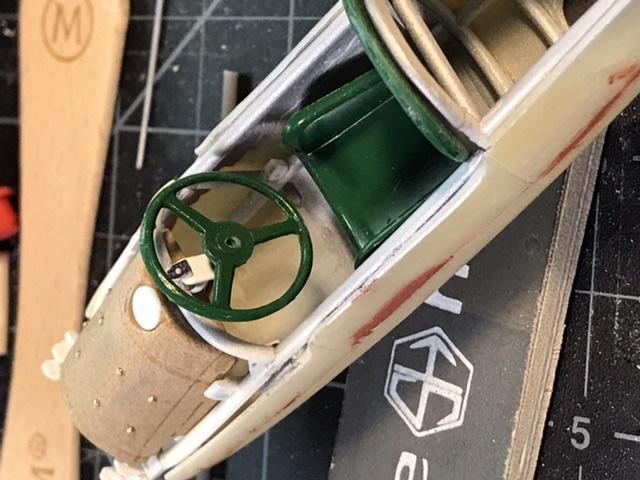
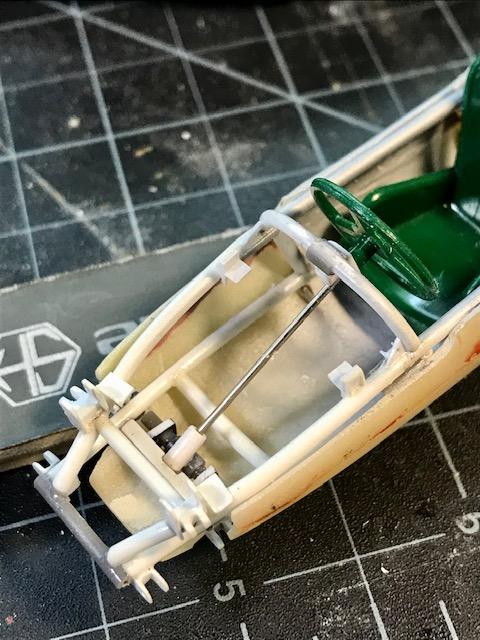
the rack is glued to the chassis brace - liquid glue - Tamiya and glued to the chassis - have to do this now so I can determine the run of the steering column and position of the steering wheel - By doing this now I will leave off some details and features and have to make some finishing and painting compromises but I gotta do this now so that everything fits properly - the tie rod will just barely fit through and under the chassis rails …. anyway - once the gas tank is in place - it will be hard to see this stuff …. now for the pedals and brake fluid cylinders …. It seems that I somehow have a lot of extra weekend time to build and post ….. Looks like we'll all have some extra workshop time …. for a while - maybe I'll actually finish something ! -

Cooper barn find
absmiami replied to absmiami's topic in WIP: Other Racing: Road Racing, Land Speed Racers
the resin opening for the front suspension pickups has to be ground back where marked for openings for the tie rod the car had a classic race car steering rack - a feature in all of the Cooper open wheelers made from contrail plastic tube - about .050 and some evergreen bits and pieces for the attachment braces and chassis support … - hope to have steerable front wheels I think - maybe ... -

Cooper barn find
absmiami replied to absmiami's topic in WIP: Other Racing: Road Racing, Land Speed Racers
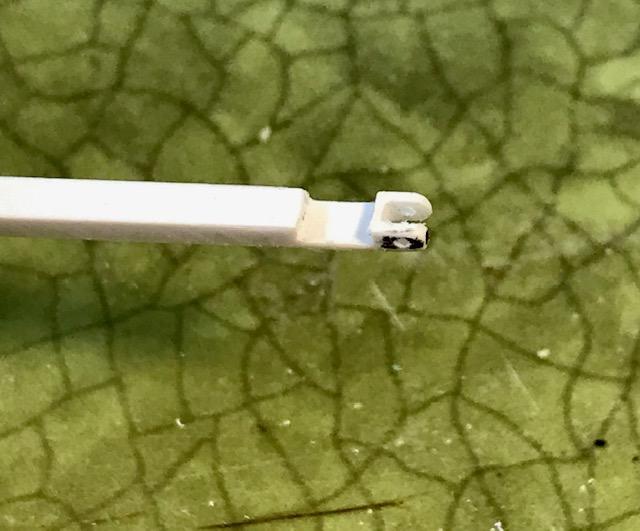
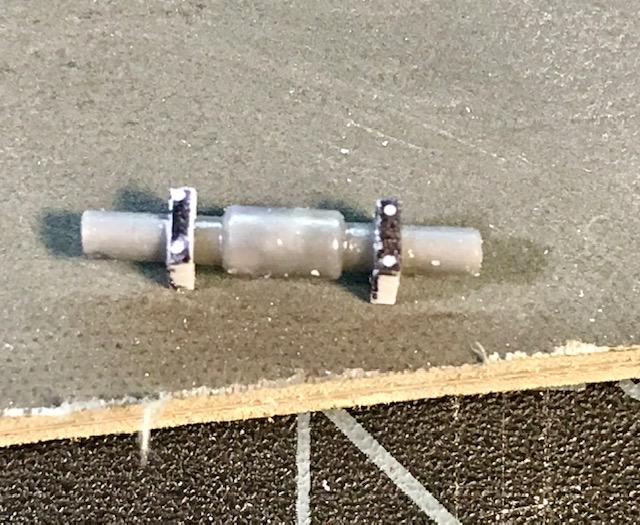
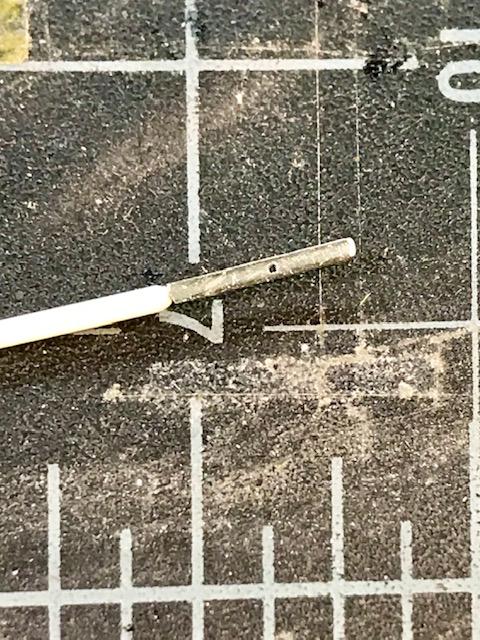
the linkage back to the clutch case is a three part thing made from .024 nickel tube, and two connecting ends made from fine - 0.15? brass rods bent round, soldered, and drilled for the connecting pins to the stick shift and the clutch housing linkage -

Cooper barn find
absmiami replied to absmiami's topic in WIP: Other Racing: Road Racing, Land Speed Racers
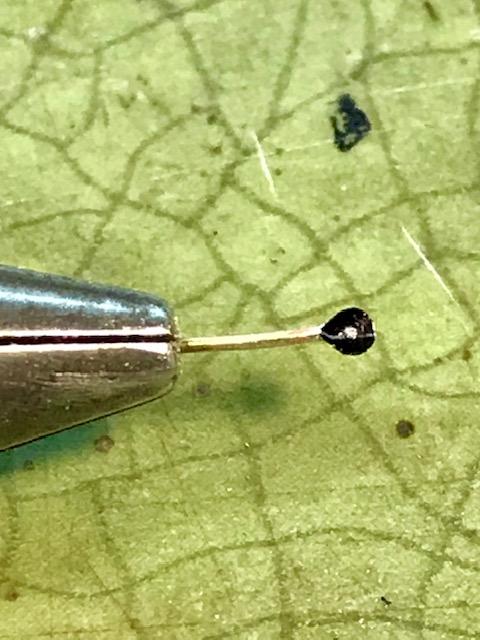
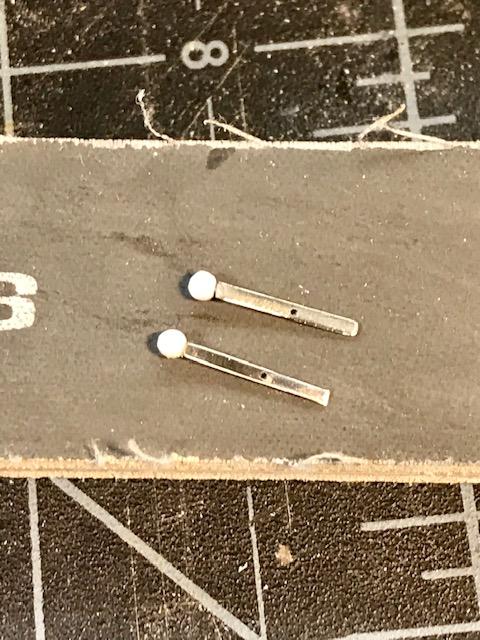
watch making …. thanks - but I don't think so watches are supposed to run - bet I could make one from a kit [do they make those?] it would run about five minutes and then stop - and the minute hand would fall off - or something ... the driving compartment only has a few features levers made from nickel silver - one of the stick shift and one for a hand brake that hangs from a chassis joint on the cockpit left side - the knobs are 1/16 plastic rod sanded round -
I do not does anyone else ? maybe someone who frequents the Indy car forum?? ?? did you ever see his 24 scale Maserati 8CTF body ?? he probably never finished it - the lines detail and shape were excellent .....
-

Cooper barn find
absmiami replied to absmiami's topic in WIP: Other Racing: Road Racing, Land Speed Racers
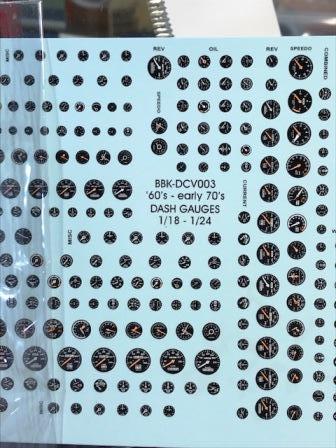
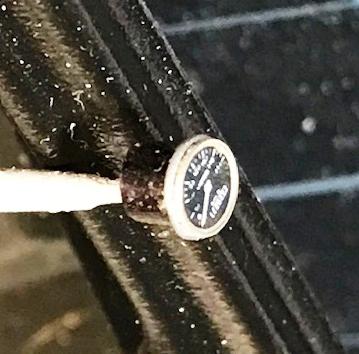
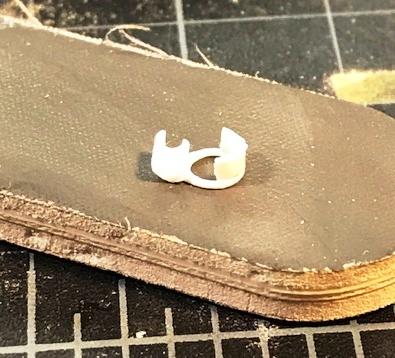
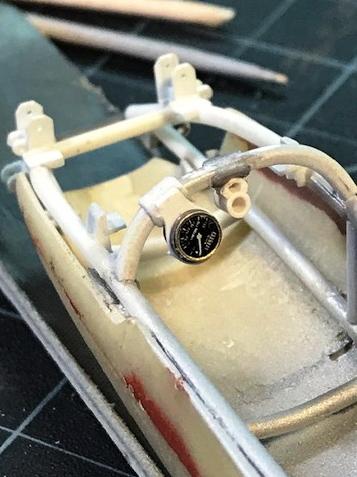
you never know - maybe the old man will pay us a visit when this is almost done ... best balsa vintage gauge sheet - used the medium sized tach evergreen tube and rod a stray photo-etched gauge ring bracket from filed/sanded evergreen .020 strip and tube that's about all there is to the instrumentation on an FIII cooper ... -
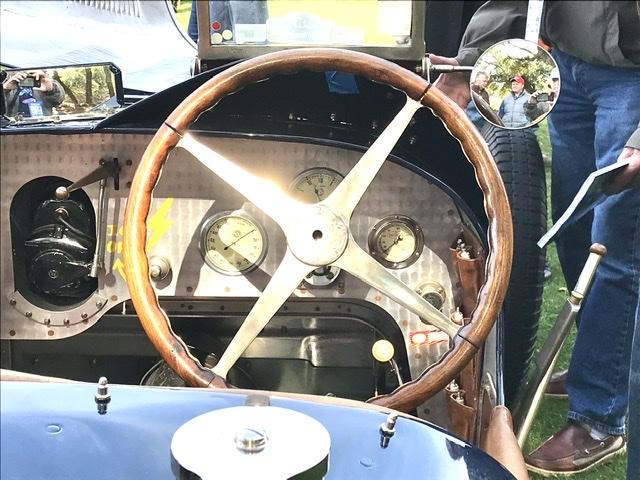
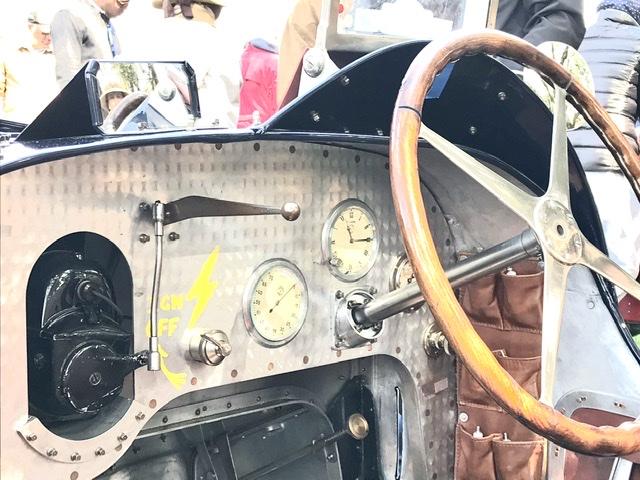
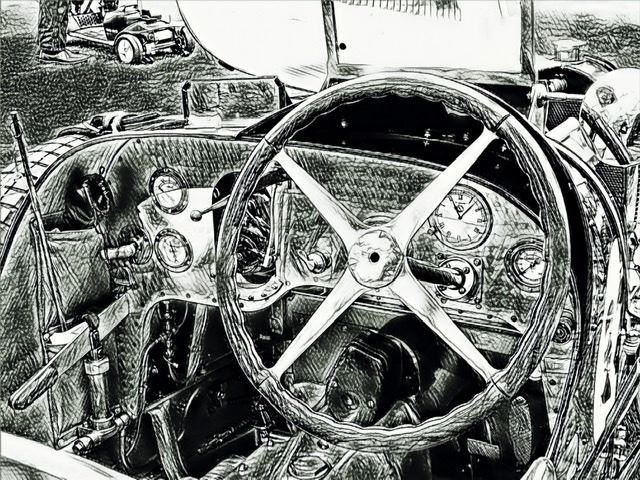
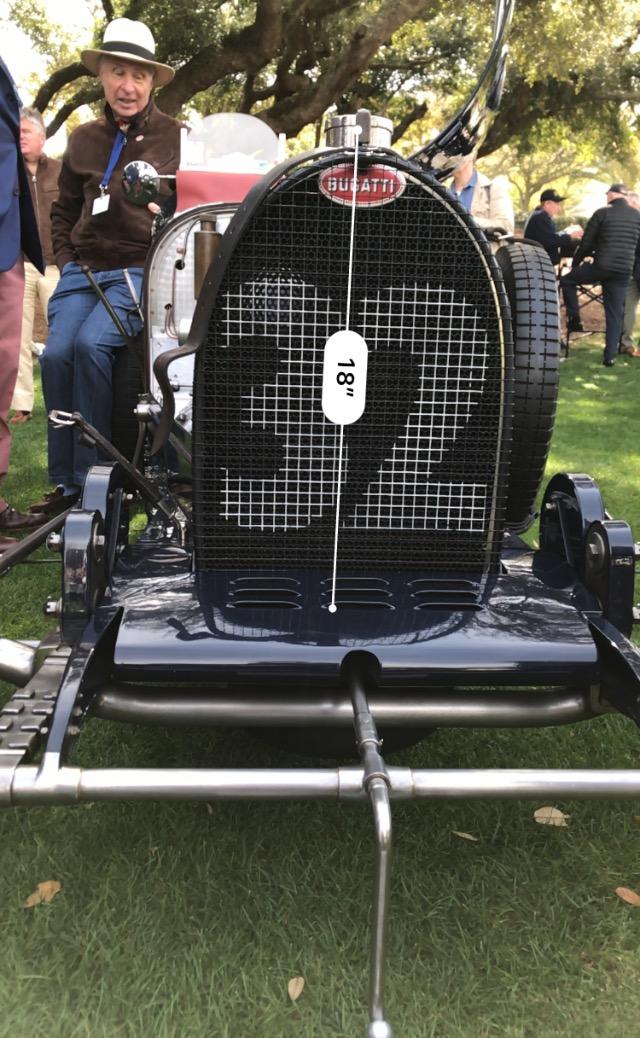
Deciding whether to begin a Bugatti 51 thread ..... the best starting point is the Conway Bugatti Grand Prix book with drawings of features of the type 51 and the 35 and 37. Published about 40 years ago It is still THE book on the Bugatti GP cars
-
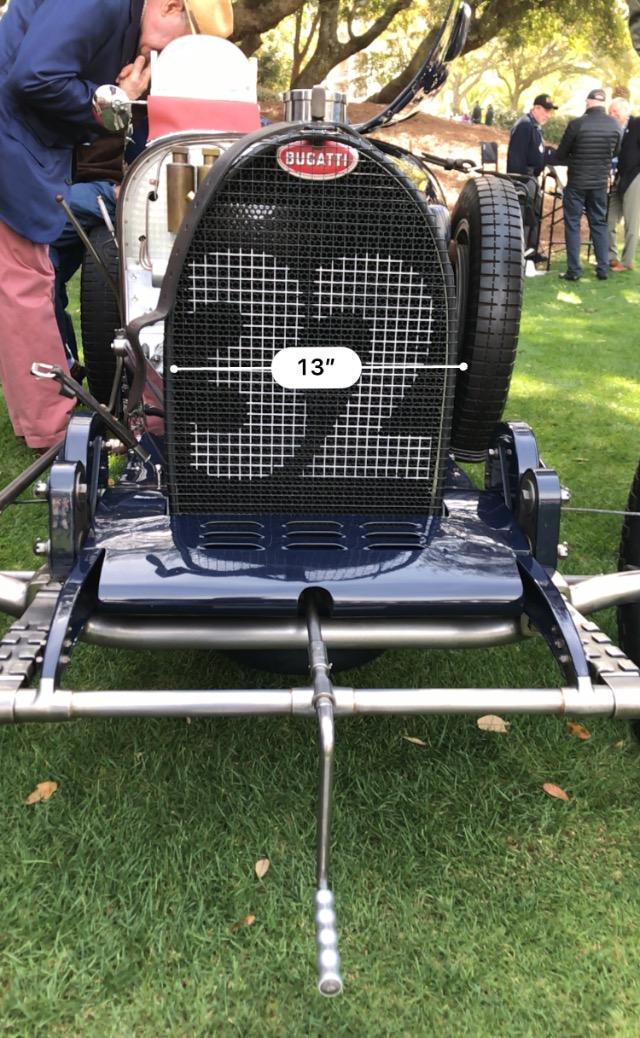
There were no 35’s at Amelia today to compare but the 51 radiator is a little wider ... taller ? Don’t remember but I do have the great Bugatti 35 book published years ago that has both drawn to scale ....
-
well, then .....?
-
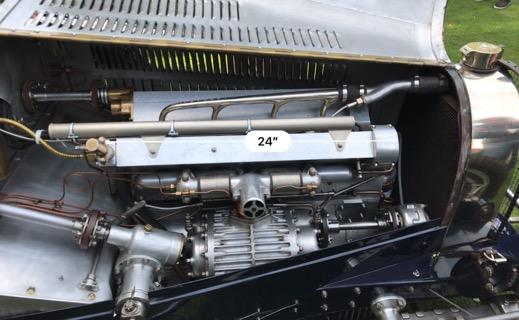
It’s a twin cam in a bugatti type 51 Fun fact the owner says that - excepting the size of the radiator - and of course the engine .... the body work is basically the same as the type 35 .....


