absmiami
-
Posts
4,781 -
Joined
-
Last visited
Content Type
Profiles
Forums
Events
Gallery
Everything posted by absmiami
-
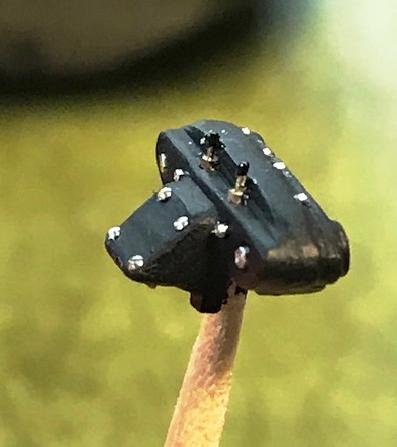
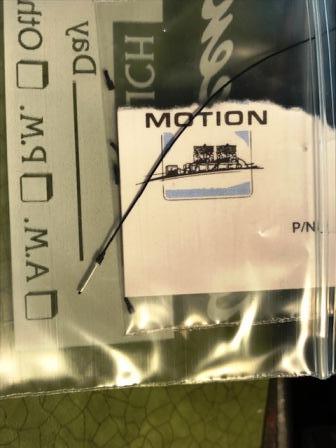
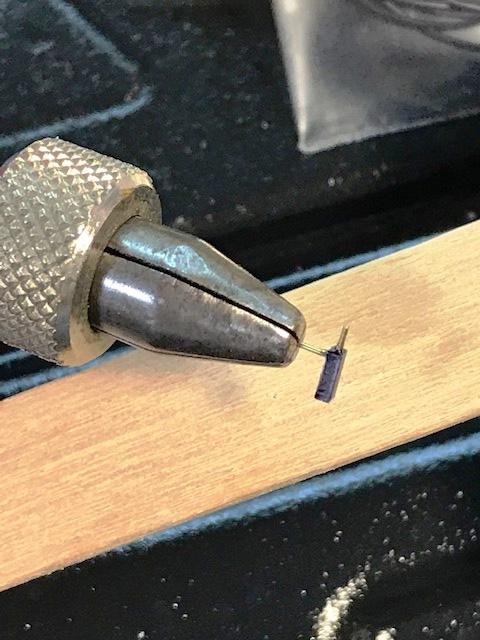
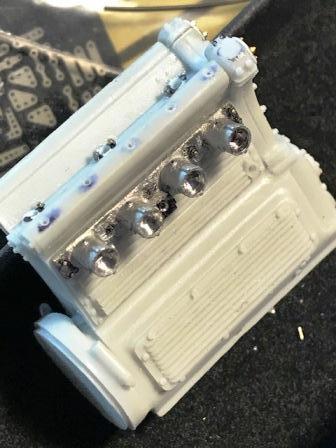
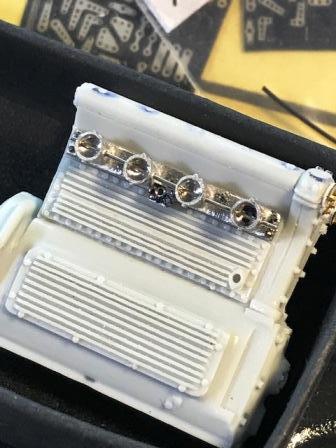
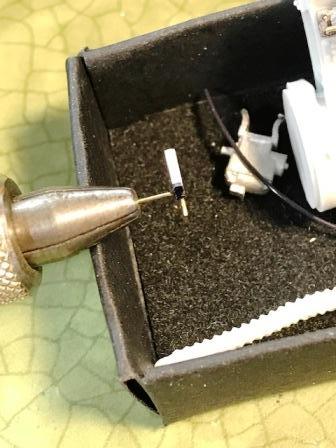
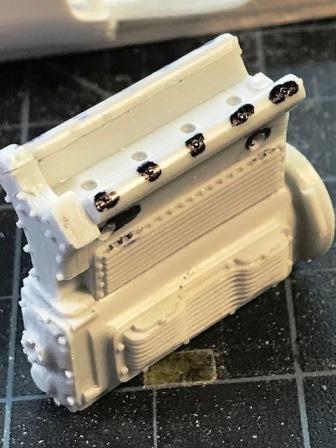
back to the Cooper F III engine briefly ... I had ordered the RB Motion 20th sc DFV valve cover detail set - which includes some absurdly tiny cap screws for the outer rim of the valve covers... they are 0.12 across -- with stem size is about .0010 …. anyone who orders these things and intends to use them needs professional help …. which is why I ordered two sets …. before tackling the DFV engine again I decided to use four of these things on the Cooper Norton cylinder head - which was sawed apart from the engine fin casting - which I discarded - and drilled/modified for bolts screws and other stuff the hardware is from RB Motion, Scale Hardware, and other random sources - the .060 MM screws have been sitting inside a small plastic box for years - can't remember who produced them ... - and brush painted w Floquil steam power black there's more to add - but this is a start - this part sticks up out of the engine bay - completely exposed - so I am adding as much detail as I can the small cap screws need special handling - and magnification installation was done over a black tray - because you WILL drop these things several times - so when the cap screws fall onto a black tray you just tweeze them up and try again …. - if you don't use a black surface the dropped screws will leave the planet - you will never see them again ... in case you were wondering what to do with those neat black plastic sushi trays that you get with your supermarket sushi - you can wash them first - but that is optional …..

-
Richard C ….. as I am chasing shadows and scattered projects - is it time to get to work on our Lotus / Ferrrari build blog ??? ??????
-
the renshape part ….
-
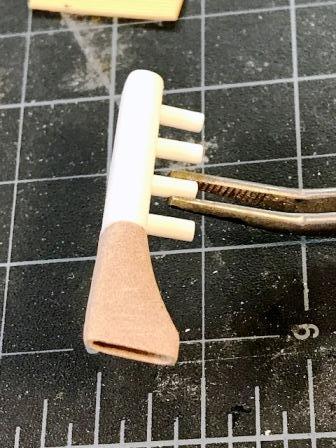
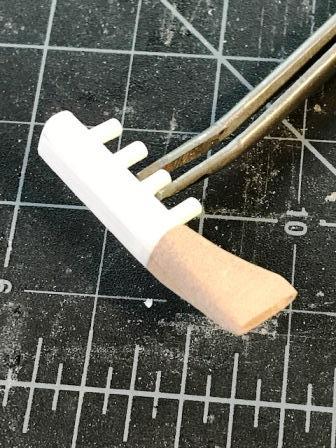
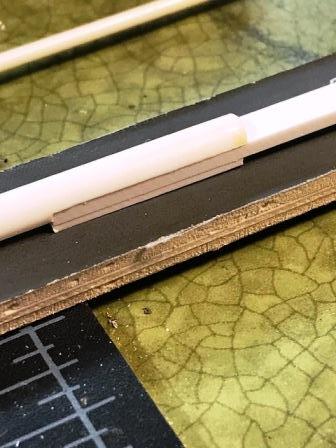
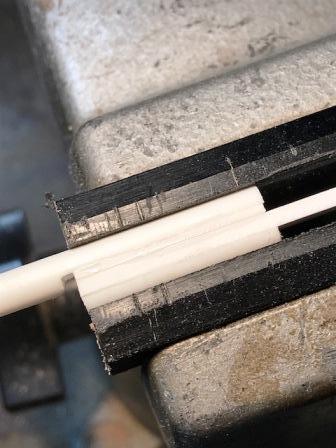
there are only a few photos of the engine intake plenum used by the Willard Battery team and the car was restored w/out it - so there is some guess work on the size and shape the white parts are Evergreen shapes and tubes - liquid glued -the ram tubes are .093 and just in place for measurements - to be glued later the intake "horn" is made fr renshape - shaped by random toothed files and bars and sanding sticks
-
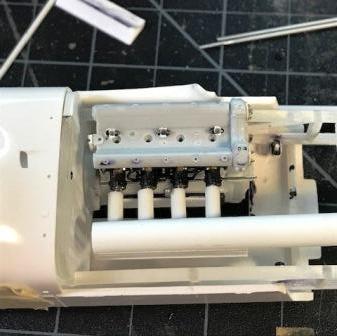
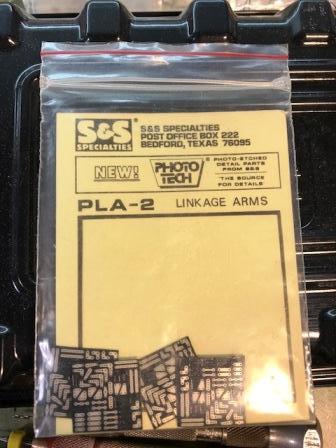
below the fuel block I glued a small piece of plastic with a .012 post to mount a fuel injection arm using some modified linkage arms from my old sets of S & S photo-etch always liked this stuff - its at least 25 yrs old … but I'm running out of my favorite parts ... then some .031 banjo RB Motion parts and .06 MM alu tube - see Randy Ditton - to complete the supplemental linkage running to the fuel block so how does the throttle linkage reach the fuel inject unit ? not sure - I think it runs from the throttle pedal directly up the bulkhead to a crank at the end of the rod …..
-
the back of the engine casting has moldings on the bell housing that are drilled for support struts I used .022 nickel silver rod then I removed that wonderful crank case detail outlined in black - hated to do that but the 255 engine blocks were modified from the 270 engines - and as the racing years went by - those intricate crankcase covers were replaced with much simpler - and probably cheaper - covers will have to do this on the left side of the crankcase too …..
-
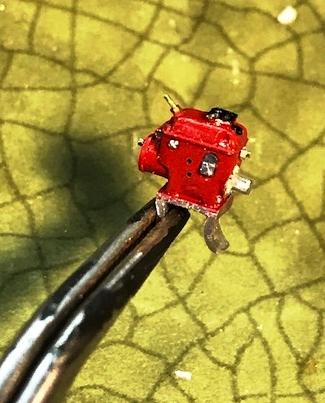
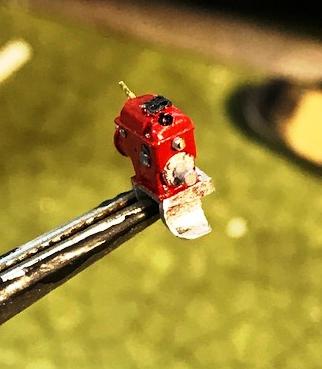
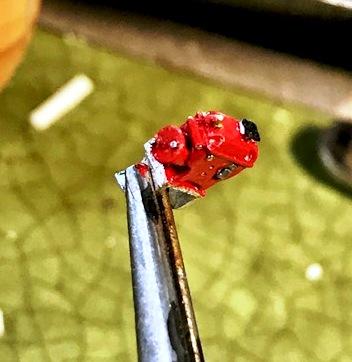
here's where I get to break some more of those .0012 drills ….. the Etzell casting for the Joe Hunt magneto is super I've got some good photos of the mag and am adding some features - holes, nuts, clips, and screws ... paint is old fashioned Tamiya gloss red - brushed on ... thinking about the Joe Hunt decal - clearly visible on all restored or vintage magnetos - not sure if the Jones car would have had the sticker on its mag - contemporary photos are not sharp enough to pick this out … anyone know ?? … did I mention that I have a magneto fetish ??
-
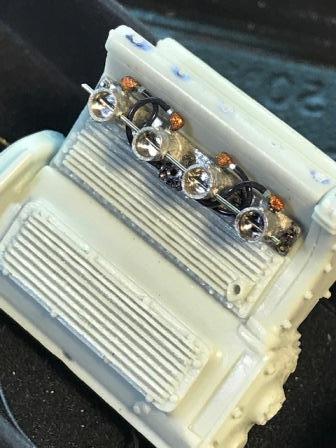
Does anyone within the sound of this internet have current contact info for the two gentlemen that operated American Racing Miniatures ?? As some of you know - they had obtained the Etzell line at one point in time ….. got some brass color onto the fuel line junctions and on to the spark plugs wanted to use RB Motion's wonderful spark plugs - but I need a secure attachment for the .013 plug wires so I am sending them into a 0.06 MM alu tube and using a corresponding nut and the RB distributor caps a little over-sized - but not much - and it will be secure ...
-
 wait a minute you're printing carbs ?? hmmm ….
 -
thanks ace - and I too was around at the tail end of the roadster era - saw my first Indy car race at Trenton in '69 [I think] - I was rooting for the rear engine cars / revolution - but I was a fan of Jones - I respected his willingness to jump from the roadsters to the radical turbines ….
-
the fuel line is the black Model Factory Hiro line designed for their 1/20 sc kits it's a little oversized - but close enough slow going - and a lot of oops, that didn't work ... the fittings are filed to a sort of square shape, added a small nut and coaxed the fuel line on to the end and to the junction box the fuel fittings will be painted a shade of brass - gonna try a sharpie have to do something for the linkage for the butterflies - not sure what yet once this is done I'll get to work on the plenum - which is attached to the manifold ….
-
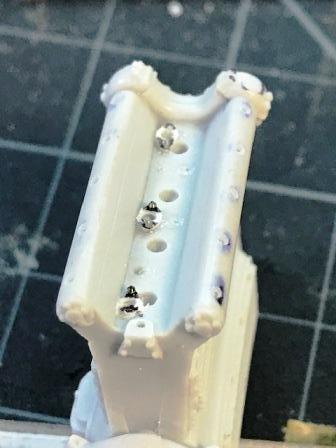
ok 24 holes later …. some more bolts glued into the holes at the base and then I'm making some fuel fittings from bent .012 brass rod and a small strip of evergreen sawed a 45 degree opening or slot into the end of the plastic and glued it to the bend on the brass
-
Looking at the carb linkage... brass or silver? and material sizes? .012 wire with .022 tube ? and the nuts ?
-
Velcome back have you seen the printed resin Webers from that German site ? ??? got some very nice ....
-
thought this was worth posting it's a racing engine history run-down - beginning with the 3 litre Peugeots thru GP engines to 1994 https://www.f1technical.net/forum/viewtopic.php?f=4&t=27760 very nice …… great way to waste an hour …..
-
And thank you , Mr. Driver ….
-
the bolts will just barely be visible with the water pipe in place the Etzell white metal casting for the Hilborn unit is really good starting to drill holes for the fuel lines and will try to open the throttle valve holes to run a throttle body rod and linkage and per the Ludvigsen photo - I'll make an intake plenum that this team used - the Foyt car would have had a different set-up
-
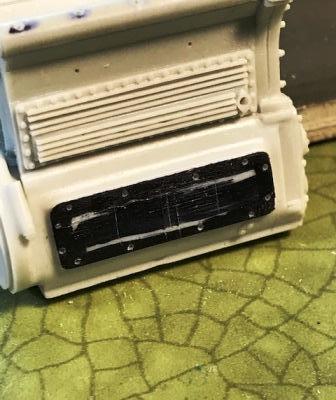
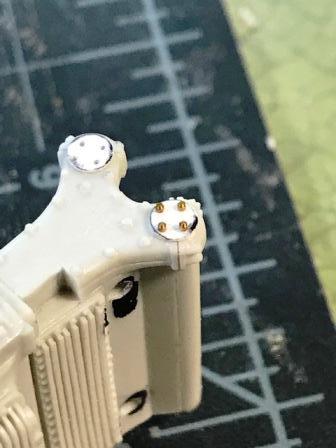
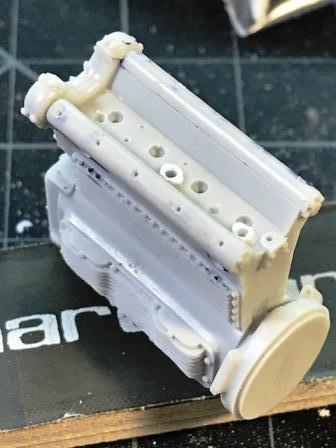
the gear case cover has circular plates to inspect or maintain ? the gears driving the camshafts I had to grind them off of the Etzell casting to change the height of the cover so then I tapped out some .015 plastic replacement discs - glued them on - drilled four .0125 holes [not three - but four - on this engine] and glued in some replacement bolts - these are fr Scale Hardware - size is .020 - which is probably just slightly over-size - but will look right then added some bolt detail to the flanges in the cyl head - not enough material on the sides of all of the flanges - but I managed to get four out of six - that'll do ….
-
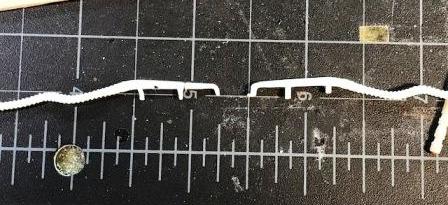
the exhaust side gear train cover is sawed off and height reduced per the first photo so both sides are now about the same height and I modified the AMT kit water pipe and added some flanges - evergreen strip drilled and filed - to dress up the cylinder head
-
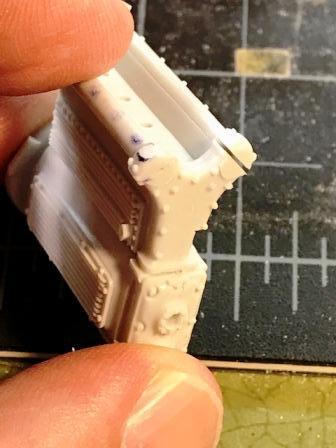
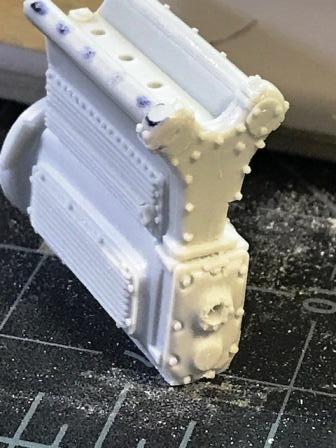
interesting factoid - the photo fr the Ludvigsen 60's Indy car book clearly shows that on this car - the peek of the intake side valve cover has been ground down slightly to clear the engine bonnet hinge so I'll do the same - which will give the kit engine a bit more clearance it will seem to be some modeler's deceit - unless you've seen the ludvigsen picture ….
-
forgot to post a picture of the Etzell engine next to the kit engine What a difference !! the Etzell engine also came with a much better trans - which can be used with nearly no mods …..
-
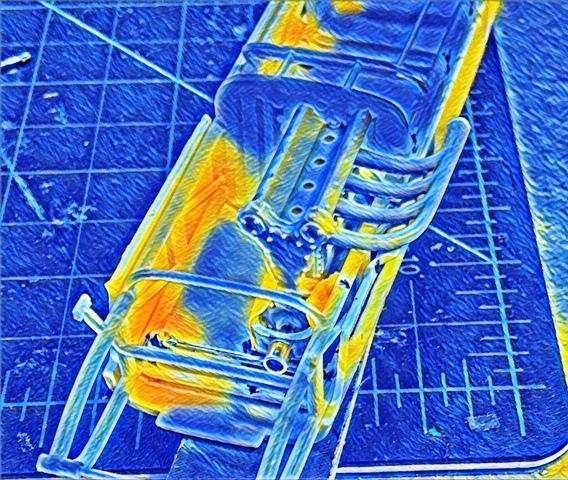
my son's glfriend - who knows all things cellphone - downloaded a camera app onto my iPhone that modifies photos with all sorts of different artistic applications …. called becassa so it's a blue world today - as I'm learning how to use the app ….. neat ...
-
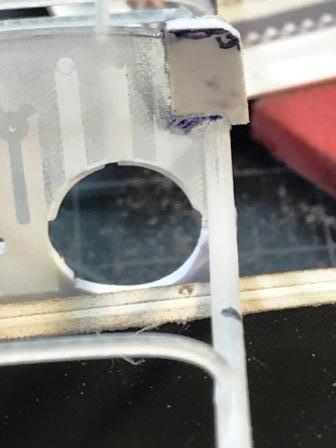
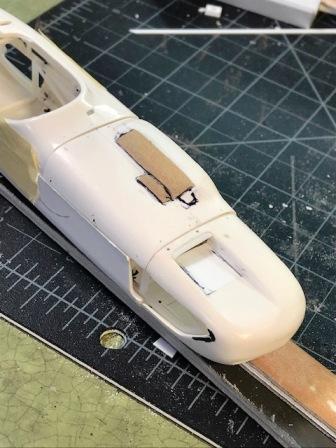
the engine bulkhead on the printed frame leaves a gap between the edge of the bulkhead and the cowling so I cut back a section of the bulkhead and added and shaped some evergreen strip - .060 - thick - to eliminate the gap will do the same on the left /driver's right …. - I found a very good bl/wh photo of the Willard Bat Sp engine bay in one of Ludvigsen's photo library books this is critical - because there are some clearly visible differences between the Sheraton Thompson's engine bay and the Willard so armed with this info I can get back to the engine ...
-
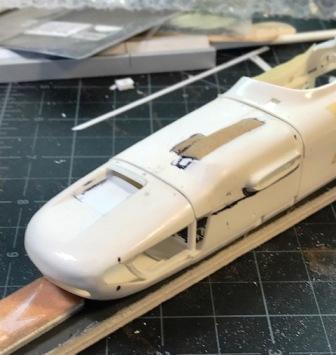
there is a brace - or a molding - that the nose and the leading edge of the engine bonnet are attached to with screws I think that the cross brace that is visible in the third picture is supposed to represent this part on the printed frame I'll remove it because it is not far enough forward. and I have glued a lip to the trailing edge of the nose with .015 x .156 evergreen strip to serve this purpose - the fit will not be precise enough to line up all of the screw holes but that's okay …..
-
Something else .... the Rev’s Museum in Naples fl formerly the Collier ..... has a searchable on line research archive. I think the best on the planet If you do a search for the’64 Indy race you’ll find some good photos of the frames of the Watsons. Mostly Foyt’s car but that was very close to the Willard Battery Special Great resource.....