absmiami
-
Posts
4,779 -
Joined
-
Last visited
Content Type
Profiles
Forums
Events
Gallery
Everything posted by absmiami
-
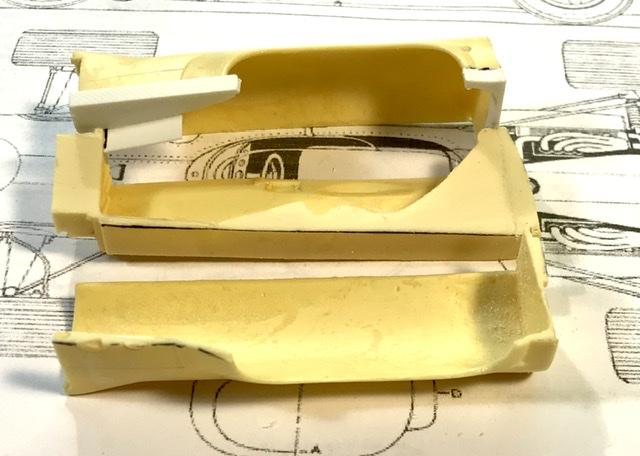
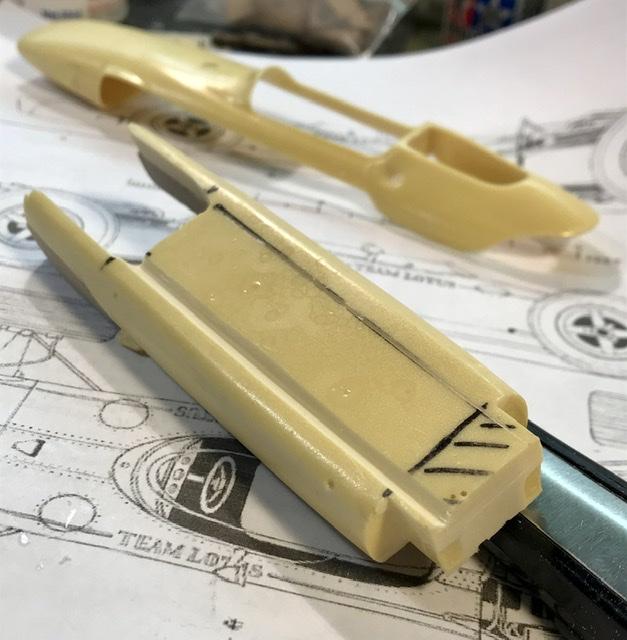
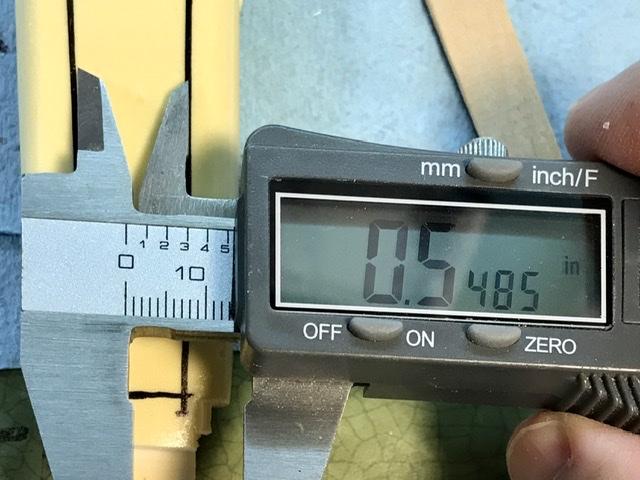
 Now I can saw apart the casting of the driving compartment to add the needed width. Again with a strip of evergreen ...
-
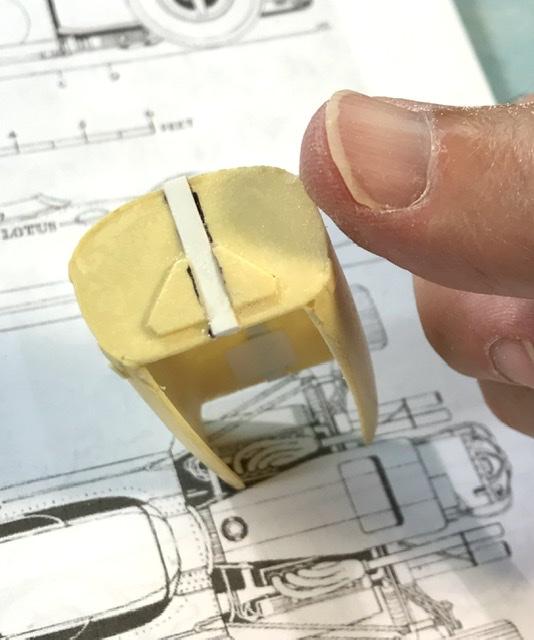
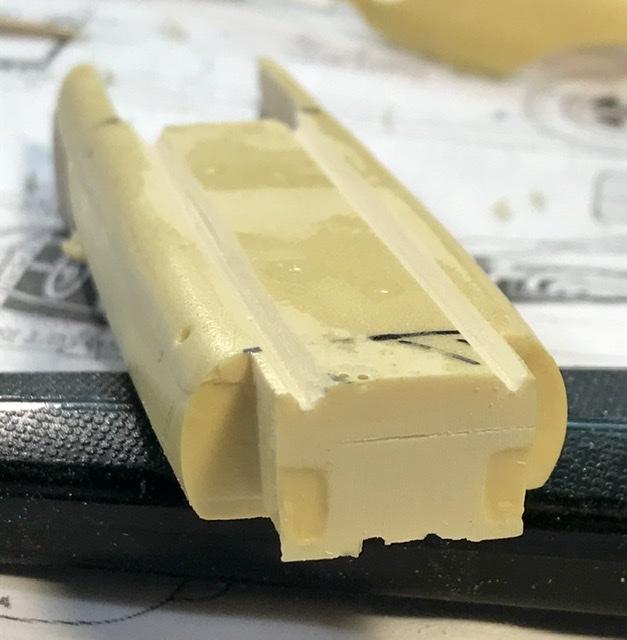
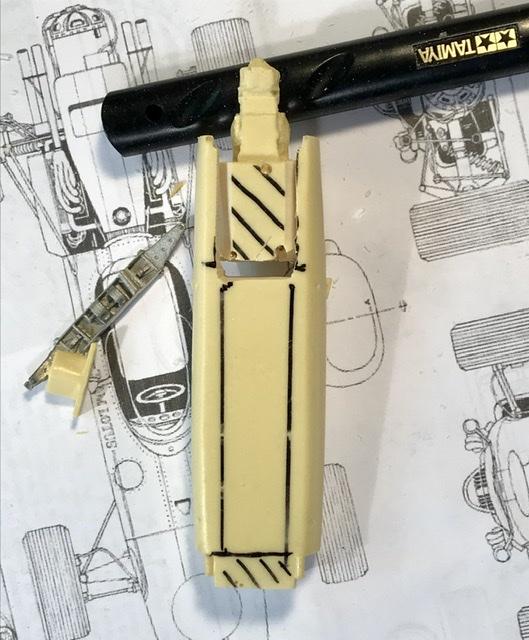
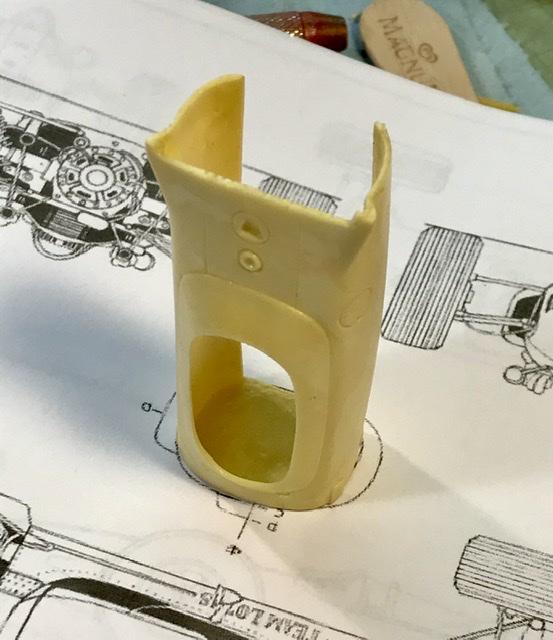
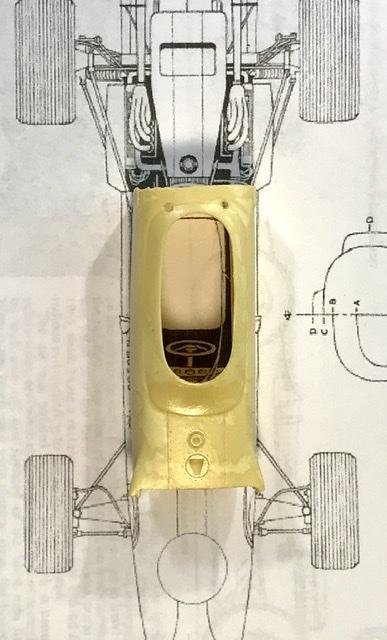
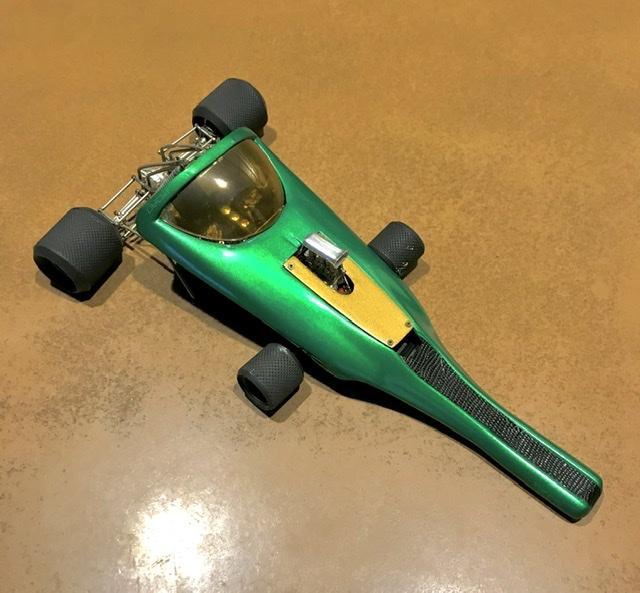
A sharpie is used to prep the patient for surgery the body casting is sawed apart and the a strip of evergreen is super glued to one side The will recover the missing body width and it won’t change the shape of the monocoque in any way that can’t be corrected . The details casted into the center line of the casting will be created again once the width of the casting is corrected.
-
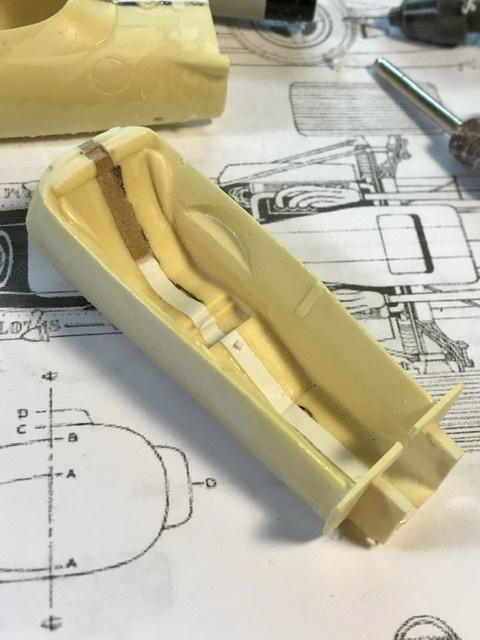
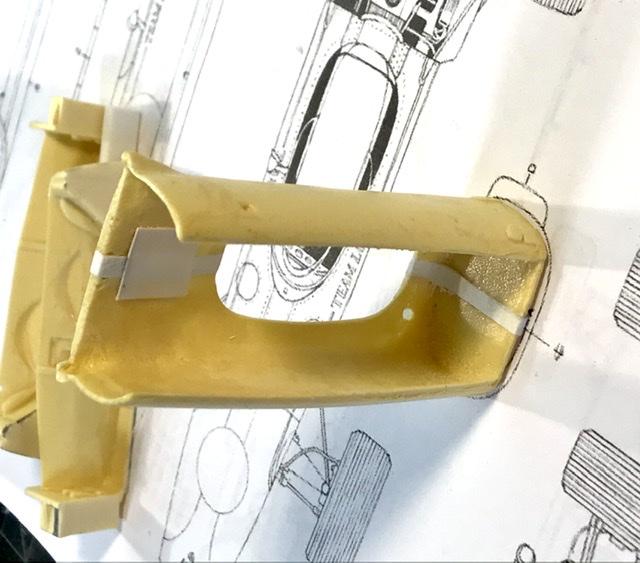
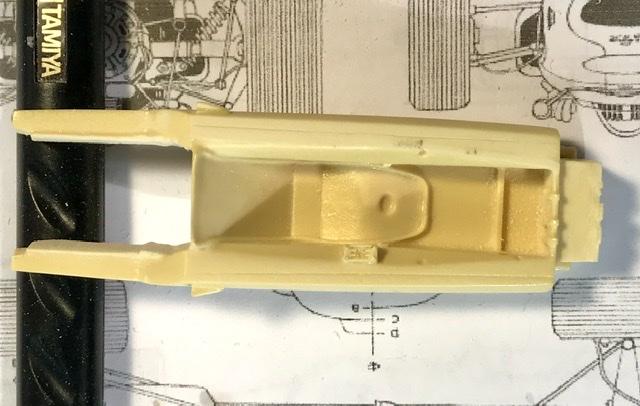
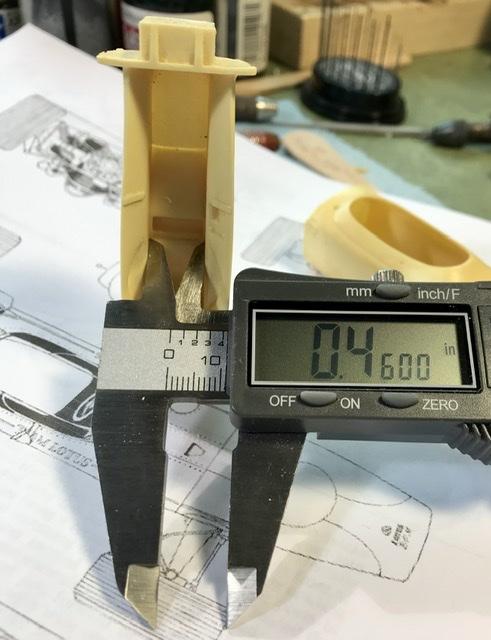
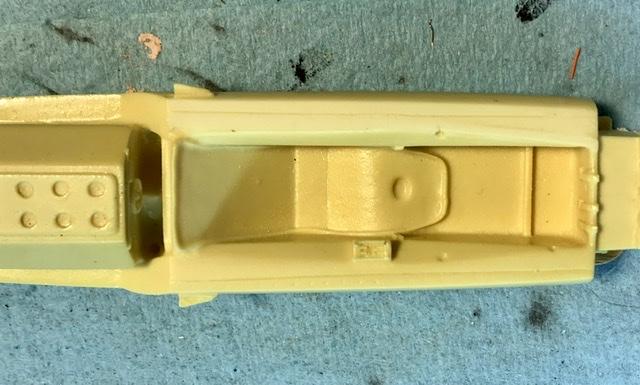
Next is some more scraping and filing to open Channels in the bottom of the chassis - for oil and water lines . And opening the solid block of resin where the foot box is located ... the white metal casting from the kit serves as an assembly for the suspension arms and the brackets from which the pedals are suspended. It’s a pretty good casting I’ll probably use it ...
-
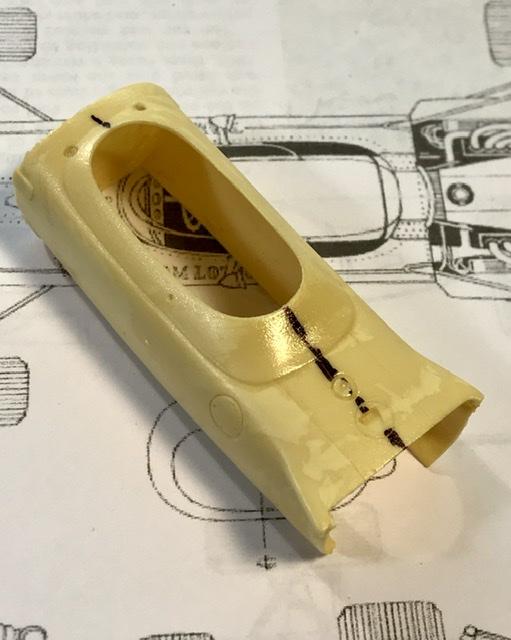
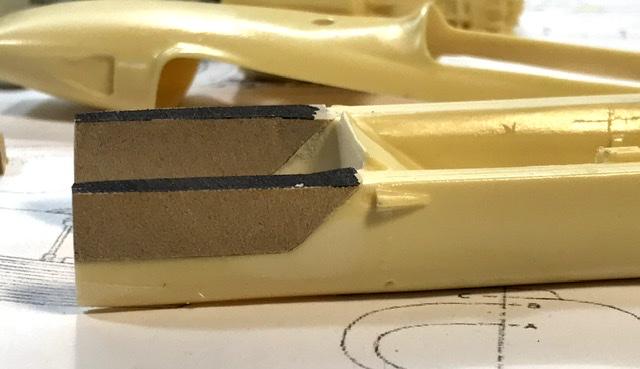
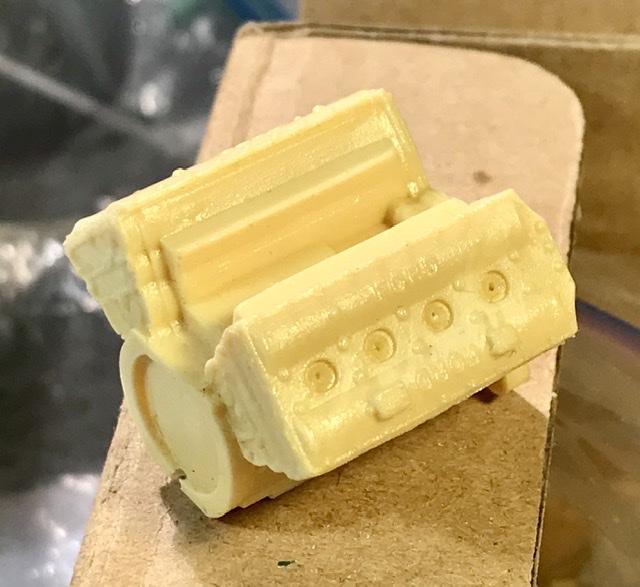
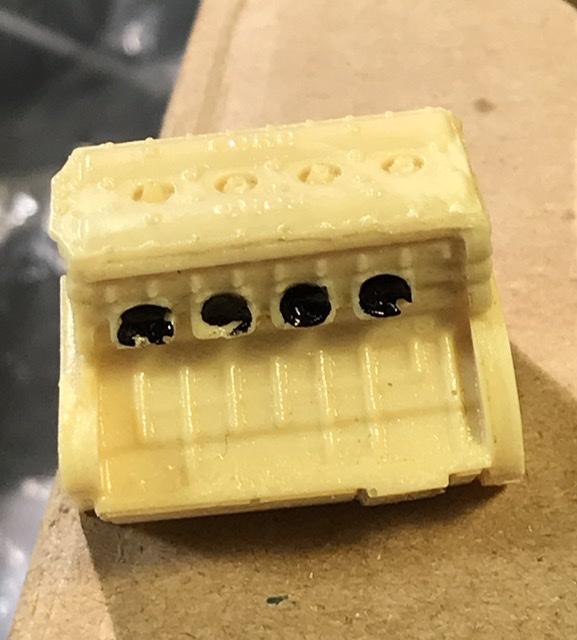
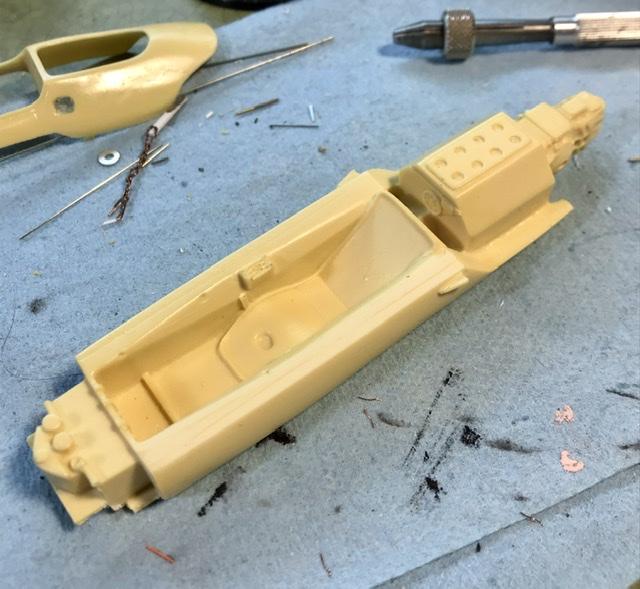
Surgical theater. the Engine block is sawed Away using a Tamiya saw and a series of holes drilled into the resin casting in a cavity in front of the engine after some filing I glued pieces of renshape to the chassis sides and shaped them. The Lotus 32 and 22B did not have the tapered engine bay chassis sides because they used Four cylinder engines - there was no need to shape the sides of the chassis for the exhaust pipes - as was necessary with the Climax eight ... more space for fuel and a little easier to construct ...
-
Yeah renshape ...
-
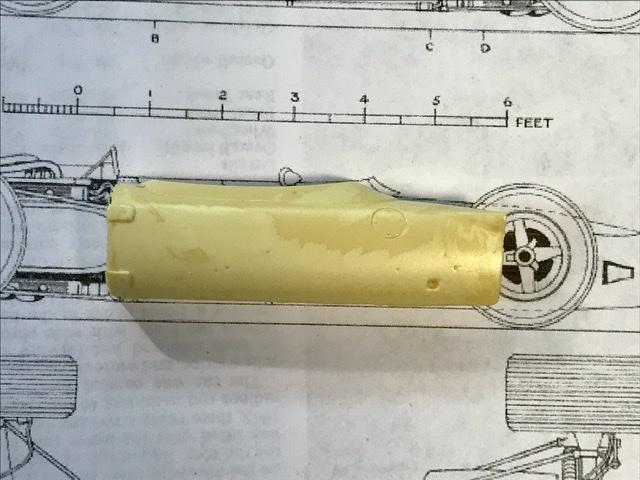
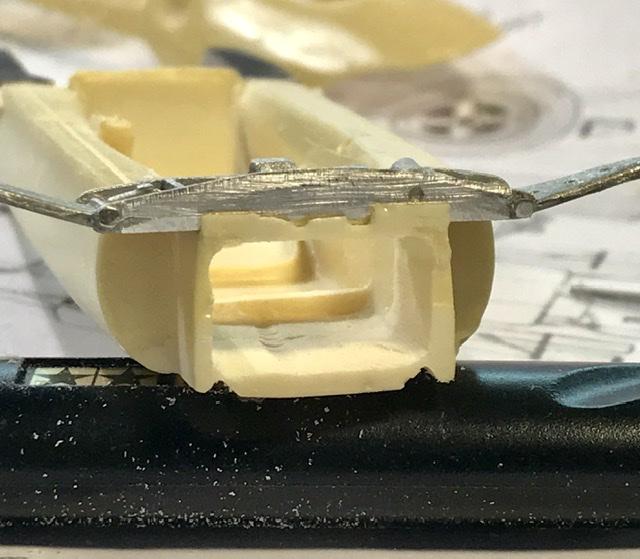
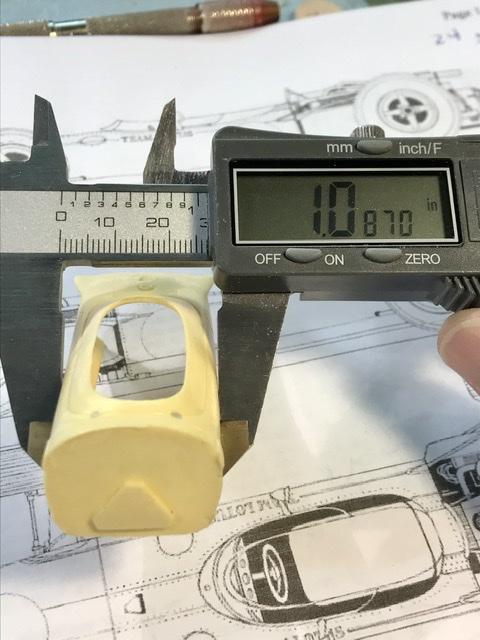
Flaw II the body casting is a little too narrow . And the driving compartment is way to narrow ... the 49 was about 28 inches wide . The driving compartment was between 12-13 inches wide. The 43 body was about an inch wider than the 49. Because the BRM engine package was wider than the Cosworth that came along in ‘67. so the body casting width scales out to 26 inches. Which is too narrow for both the 43 and the 49. But that’s why the modeling Gods created Evergreen styrene ...
-
Flaw one the Cosworth engine casting is a knock-off of the Heller kit engine. Assembled to make casting a little more practical ... well the Heller engine is a mess. I’ll spare the details - because we don’t need it for this build anyway ...
-
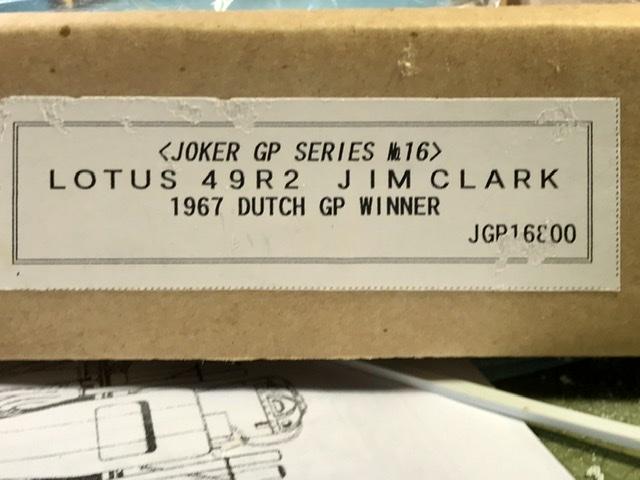
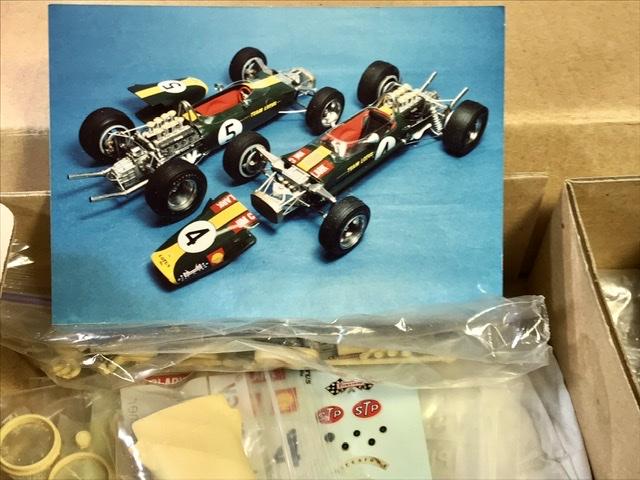
Now. How to do the car in 24th scale ... The Joker ‘67 Lotus 49 resin kit is the starting point. The 49 followed the design of the 43 with a few tweaks. The joker kit is - like It’s relation - the Lotus 33 kit - pretty good but not without flaws ...
-
For more info and some great pix: ultimatecarpage .com carmrades- blog.com flickr - Search for touluru ‘s page. He is BRM obsessed. And has posted some wonderful shots of the 43 taken in GB vintage events following the Classic team Lotus restoration a few years ago.
-
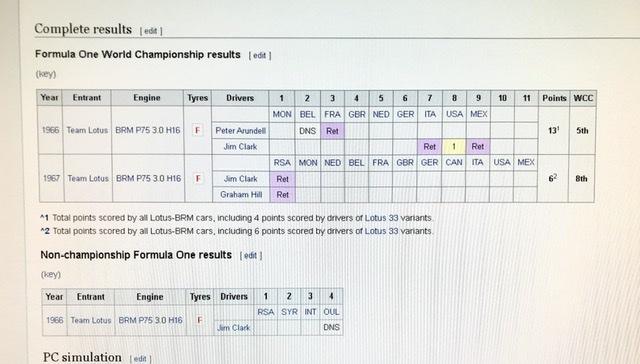
Here’s the racing record of the 43... another wiki screen grab... you will note a rather unique race history - probably Chapman’s least favorite GP car. The words most frequently heard in the Lotus paddock in late ‘66: sorry Colin - I broke your car - again. Only Clark managed to finish one race. Watkins Glen. Of course, he won...
-
Ok Ok. So I’m the only forum member obsessed with arcane GP chassis development. That’s fine... the Lotus 43 BRM was the first GP car to race with a chassis using the engine as a fully stressed design member - for which we can thank Chapman and Len Terry . LT was tasked with creating the full monocoque - bathtub chassis for the Indy Lotus type 38. This design was sort of “kit bashed” the following year for the Lotus 43 - which took Chapman and Lotus into the 3 liter Formula 1 era . This is a screen grab fr Wikipedia ...
-
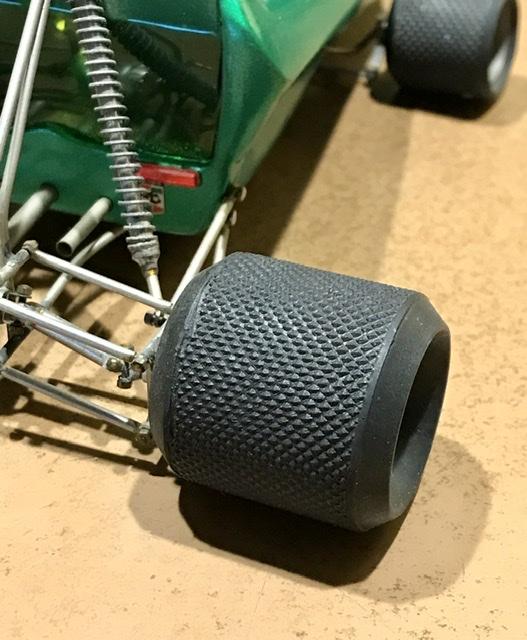
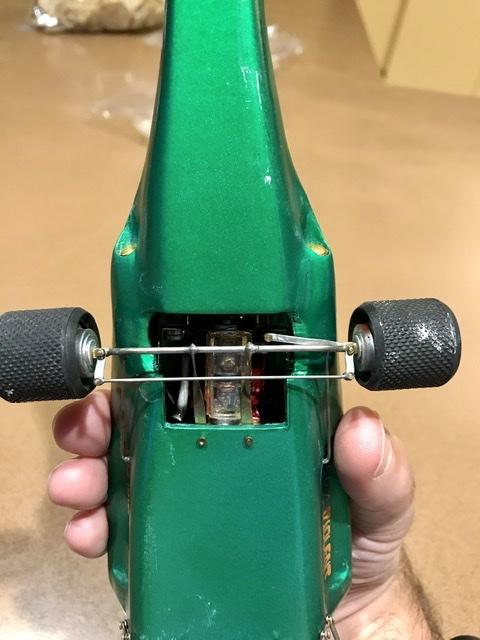
Ding Ding Ding Richard Carroll’s tires ... here they are - something I built over. Xxxxx years ago ... you can tell that I was influenced by Richard Carrol’s models a wheel came off - I stuck it in a box - and almost Forgot about it - but I keep everything - so here it is. Wish I had another set of these ...
-
Got a use for that putty ... thanks ...
-
You are half right ...
-
I thought the red guy was a display by Merrill Lynch ...
-
you've posted it - no turning back ...
-
rule 43: once you are certain that you've lost that part - you've looked everywhere ... - you are certain that is lost ... - and you've made a replacement ... - you will then find that part !
- 599 replies
-
- 3
-

-
- open wheel
- jim clark
- (and 1 more)
-
There’s a Lotus there somewhere.. once the workbench reaches critical mass - new projects just seem to appear ... So here’s another Joker kit ... and another riddle ... Name the First Grand Prix car credited with having an engine as a stressed member of the chassis .... You’re first guess will probably be wrong. - unless you grab your Doug Nye and/or Karl ludvigson books ... Go for it ...
-
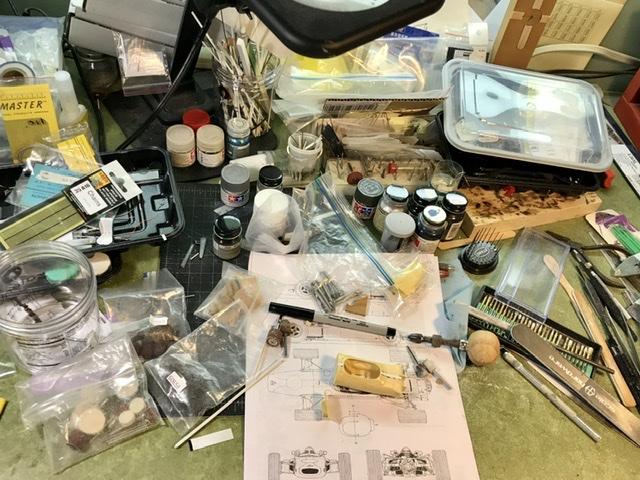
Did I mention how important it is to have a clean well ordered workbench ????
- 599 replies
-
- 1
-
-
- open wheel
- jim clark
- (and 1 more)
-
Thank you Sir May I have another ....
-
About the engine ... the 32B had a Climax four - 2.6(?) liter - instead of the Smaller Climax 8 used in the Grand Prix cars. But I got that covered. So I’ll remove the engine casting and away we go ....
-
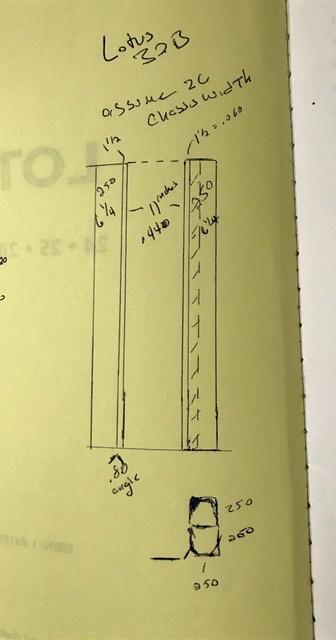
Now to the Lotus 32B ... this car was built by Team Lotus for Clark’s ‘65 Tasman series entries. It looks like a 33. But it’s chassis was based upon the design of the Lotus 27. Which had perpendicular chassis sides - no taper - and it was about an inch narrower than the 25 and the 33. So if you create some channels on the underside of the chassis casting - the water and oil lines located in these channels - like the 25 and the 33 - you’ve got the makings of an accurate Lotus 32B chassis. Not what Joker had in mind - but hey - that’s OK. ...
-
Very good cutaway. But only chassis photos will show the mistakes. The driving compartment openings on both the Lotus 25 and the Lotus 33 were Tapered. The footwell was about nine inches across and the seat opening was just a wider - maybe 12 or 13 inches wide. Just wide enough for Clark. Too narrow for most of us. There is a reason why there are no pictures of Chapman in a 25 or a 33 - he didn’t fit... the chassis sides were kinked or bent half way back - see the great chassis photos for the restoration of Gurney’s Indy Lotus 29 on the IMS museum site . The chassis sides on the 33 tapered in a straight line - without the kink ...so the error on the kit chassis casting is - there is no taper - the chassis sides are about 13 scale inches apart front to back ...
-
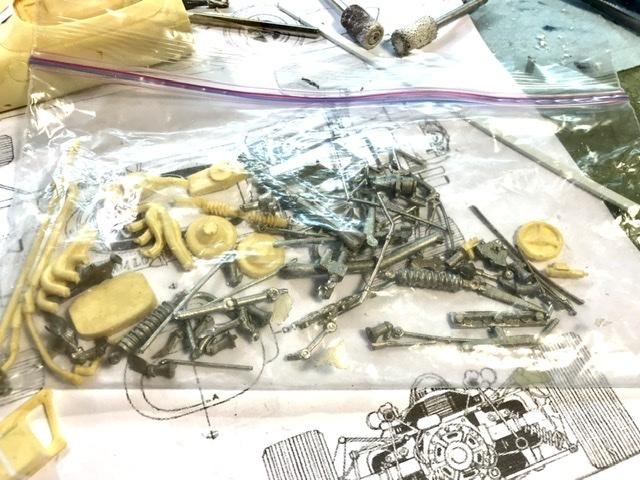
Darn it. The tires werent where l thought they were. Will look some more. Apologize if I cant find them. We’ll see. ...
-
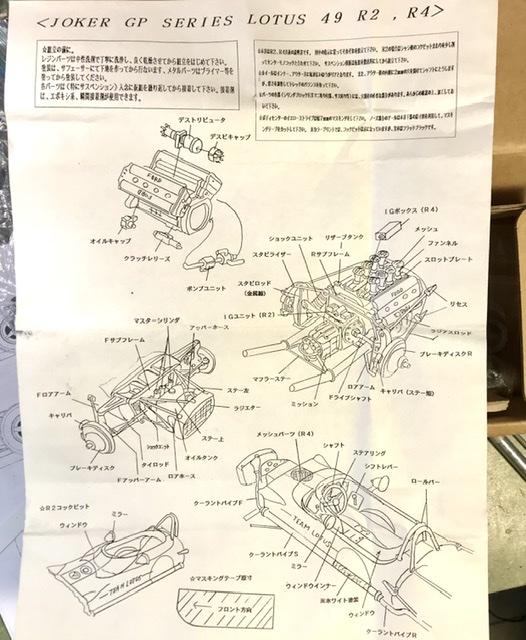
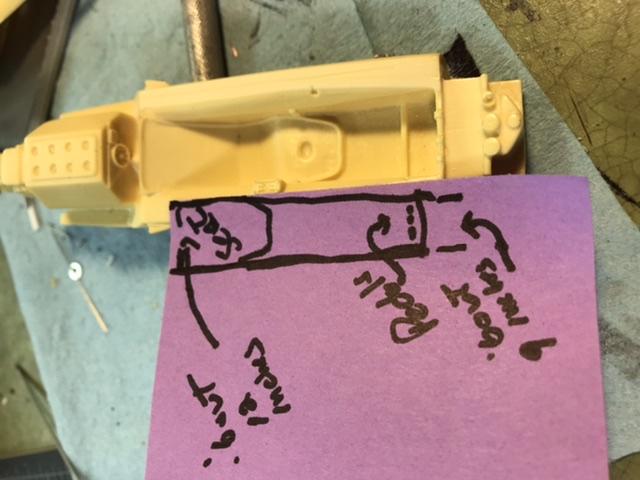
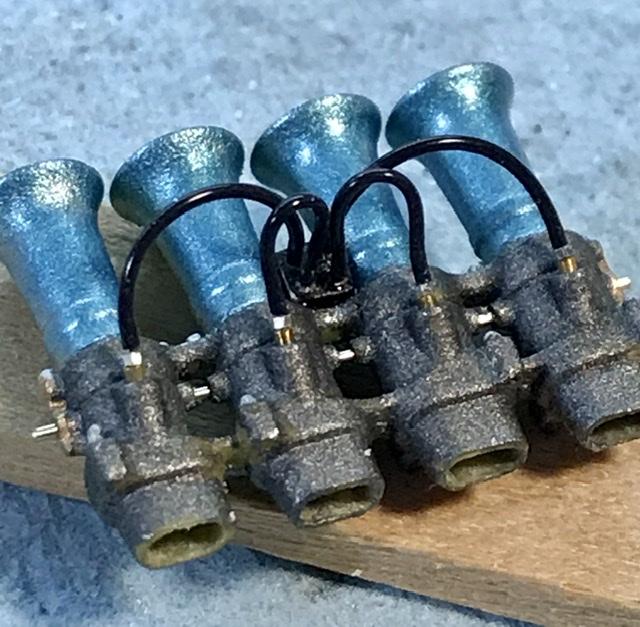
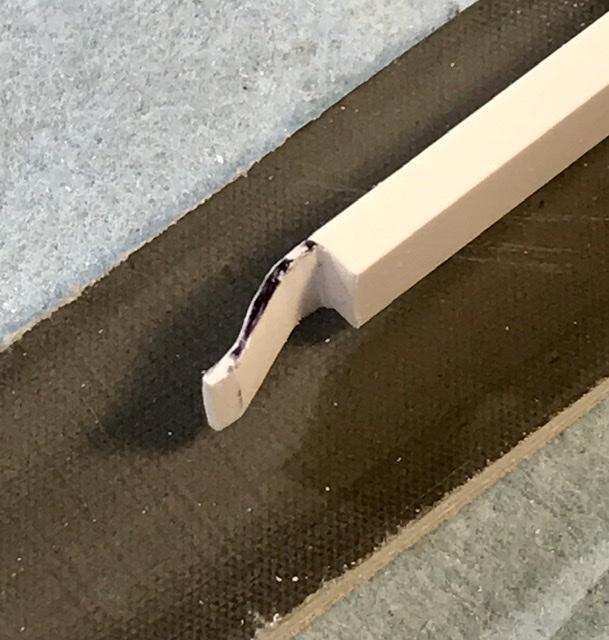
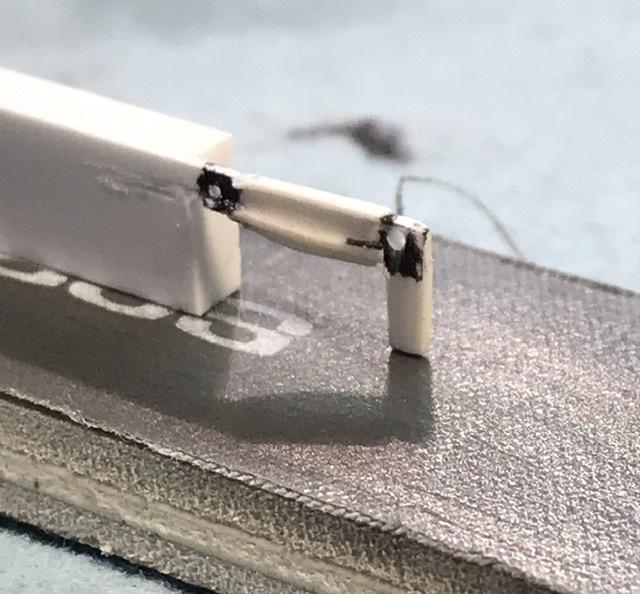
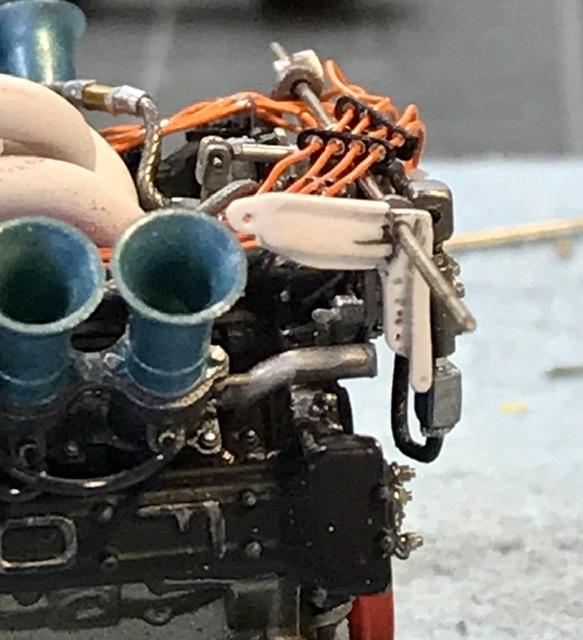
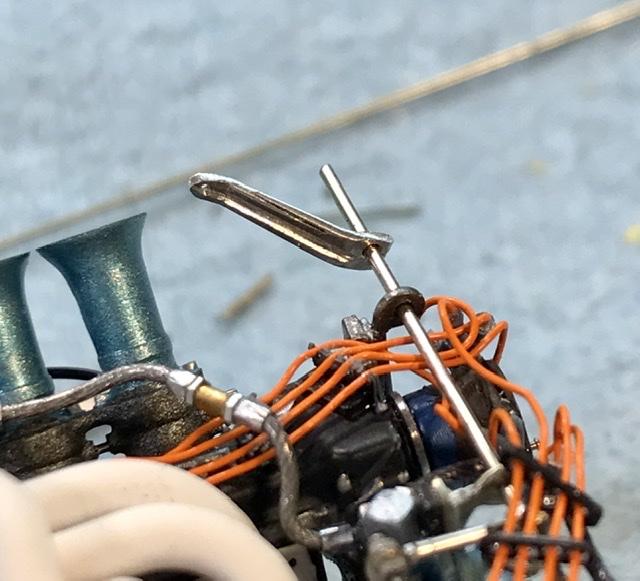
Just a few more parts ... The fuel injectors get some MFH fuel line with some RB .020 nuts on .013 nickel rod. And the other pix show the making of the throttle hardware. The right side has the lever for the throttle wire and the tension/return springs. So that was made from bits and pieces of evergreen strip and bar. To be painted silver. The left side is less complex - made from a strip of .032 aluminum : bent, filed, drilled, sanded etc...if you refer to the drawings contributed by Mad on page 7 you’ll see what I’m trying to do ...