absmiami
-
Posts
4,779 -
Joined
-
Last visited
Content Type
Profiles
Forums
Events
Gallery
Everything posted by absmiami
-
 Exhibit A ...
-
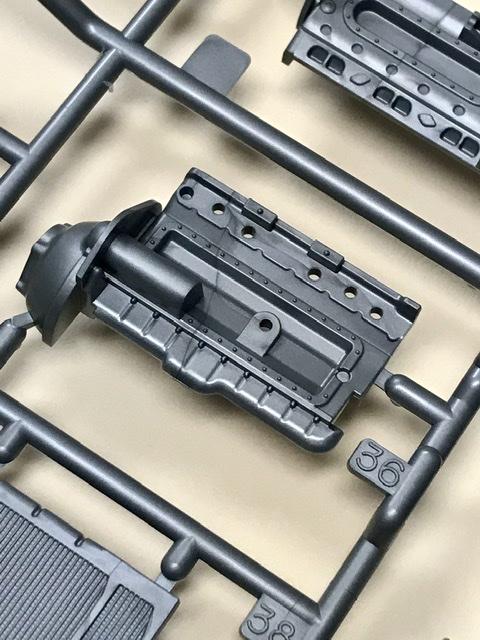
Yup don’t you hate the castings that have 3 or 4 parts cast as one - with each part intended it have a different color or finish how many engine blocks do you own that have a lump cast into it that is supposed to be the starter motor ...?? that’s how scratch building starts - but you probably already knew that ...
-
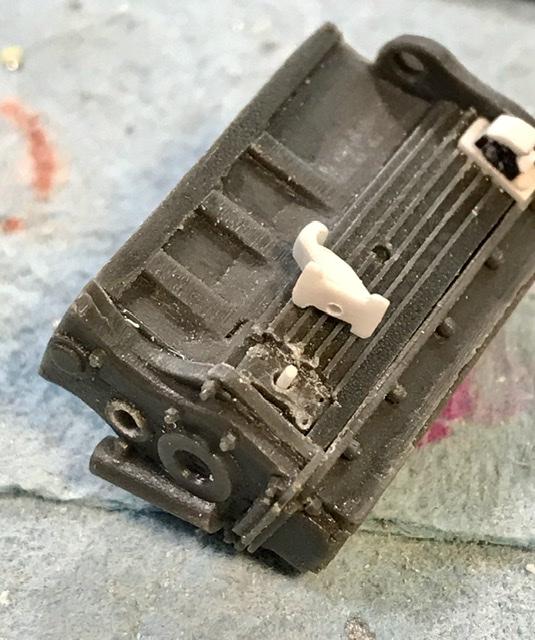
Most of!these parts will get a few changes but everything will fit and all of these parts have pegs that will hold them in place after painting And glueing ... and thanks to mr L ...
-
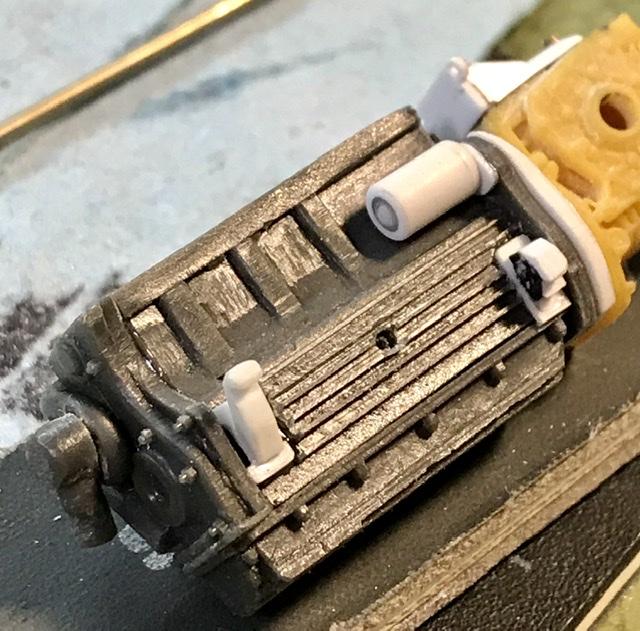
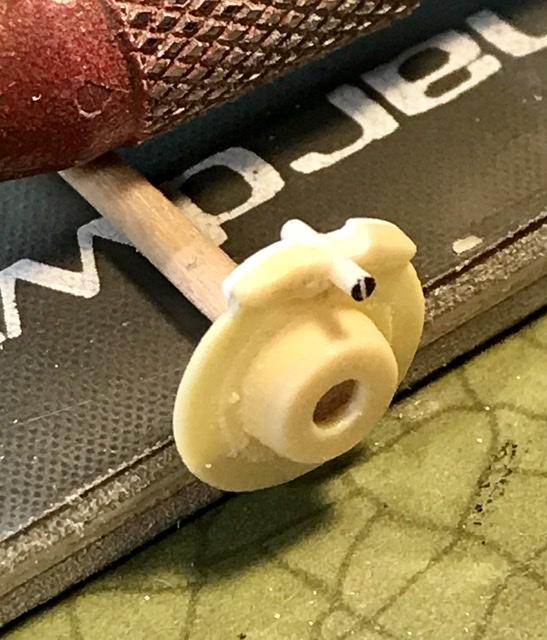
Water pump swirl pot starter carb intake pipes next ...
-
The engine mounts were epoxied to the block and came off while I worked on the block - better now then later ... the fronts were re-attached with .020 plastic pegs and re-epoxied. They’ll stay put now. looks like there is room for the distributor. Which will be attached later ...
-
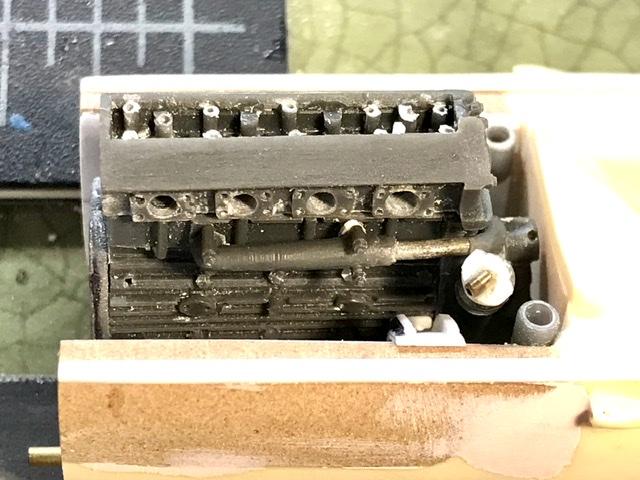
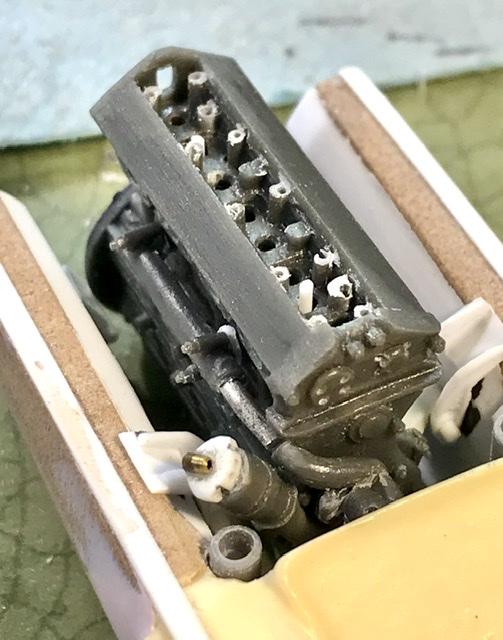
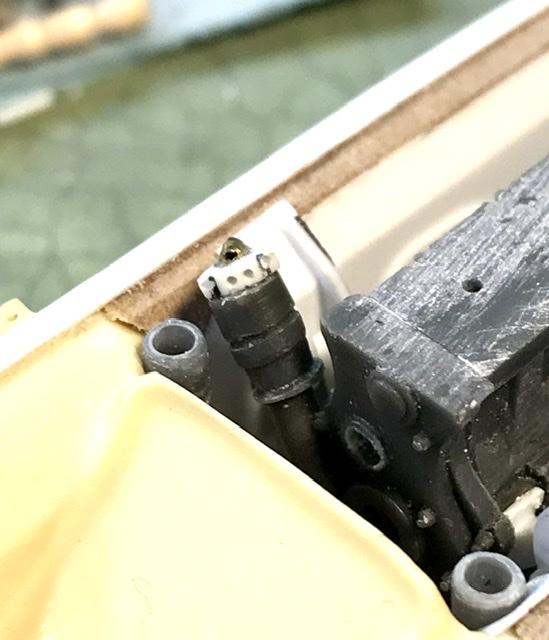
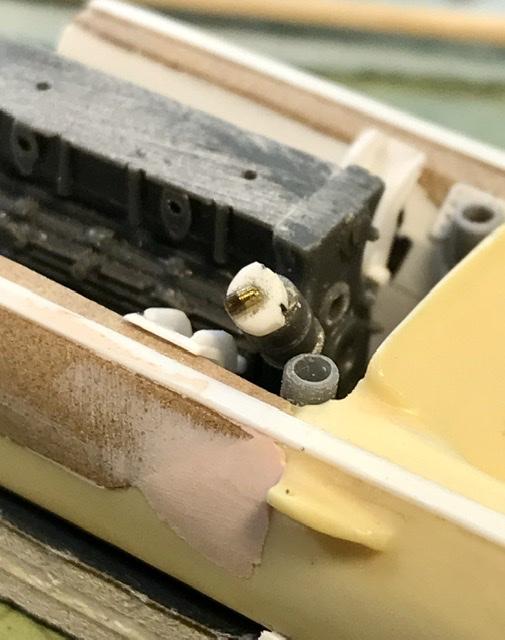
Work on the cylinder head and the coolant/water return pipe as usual - drilling grinding sanding. And some more drilling - pegs are drilled into the block so I can position everything ...
-
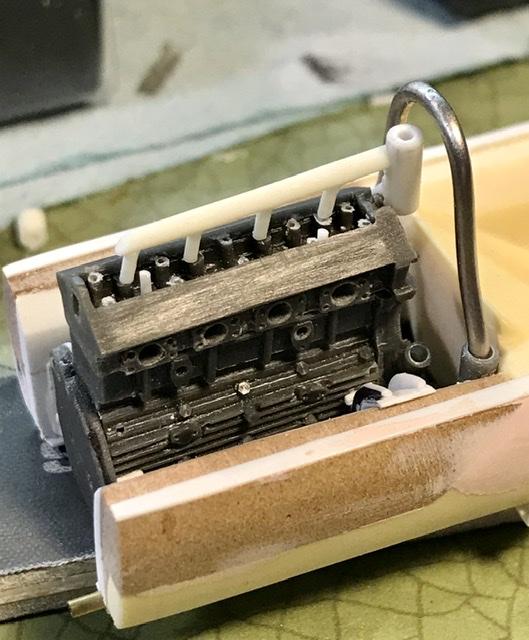
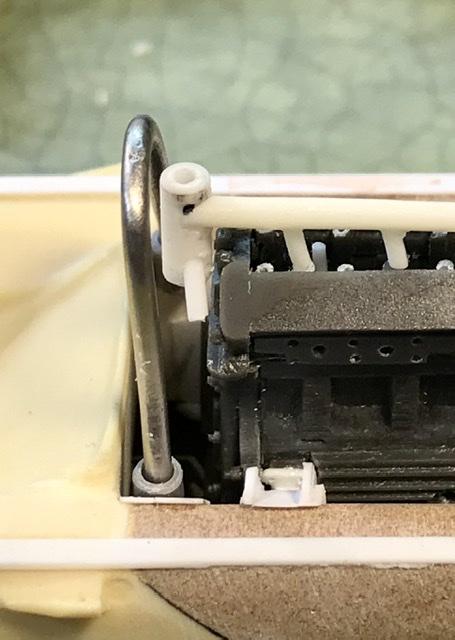
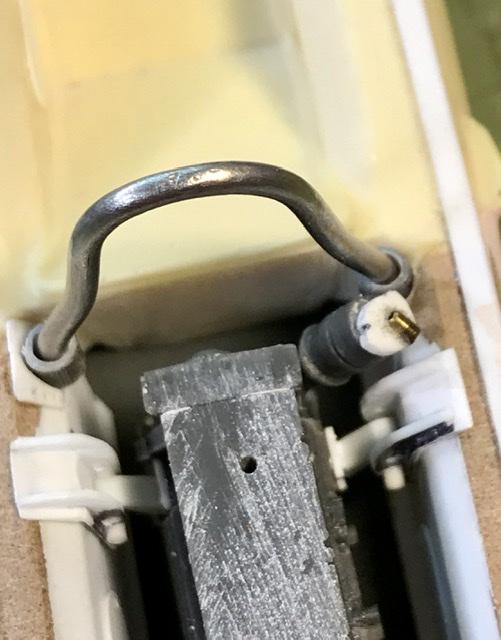
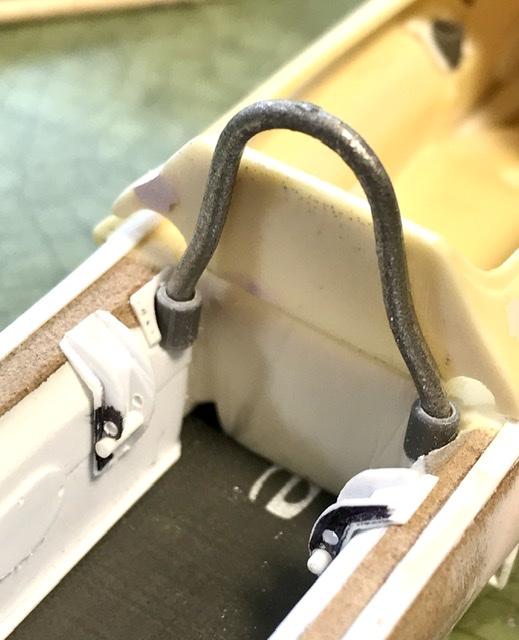
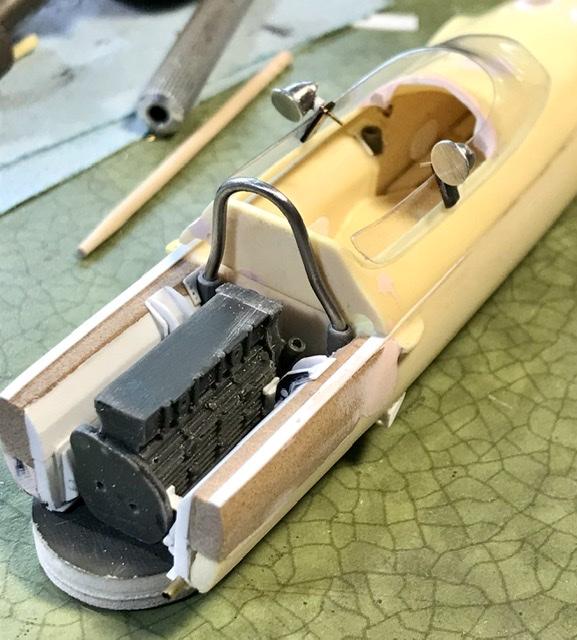
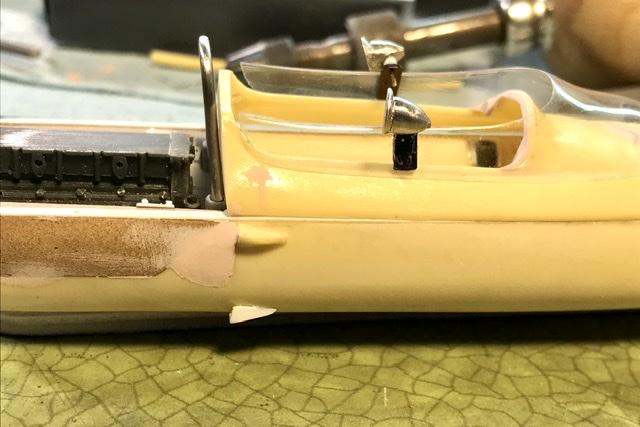
Roll bar. The joker lotus 33 kit comes with an ok white metal roll bar - the 32B used a matt black roll bar that tucked inside the engine cover - the restored 32B has a taller - safer - grey roll bar - since I’m making the car as raced in the ‘65 Tasman Season I modified the white metal part and made left/right attachment bases in the monocoque. Just enough room left for the radiator return pipe on the left and the distributor on the right - I think .... probably time to make the engine accessories - like the swirl pot and return water pipe ... and per the last picture. Works been done on the windscreen and the mirrors ...
-
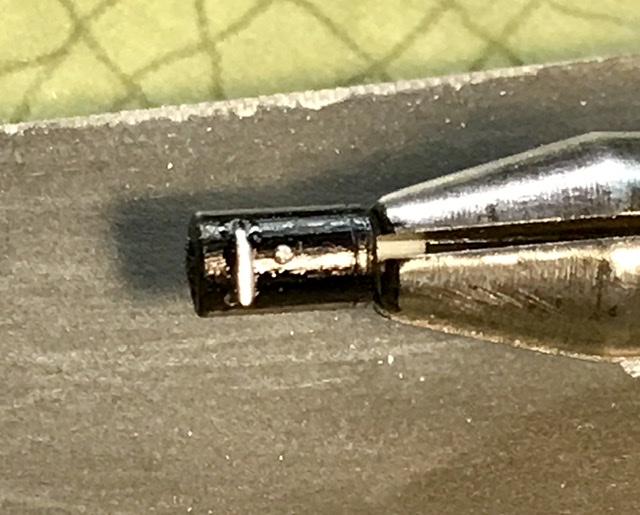
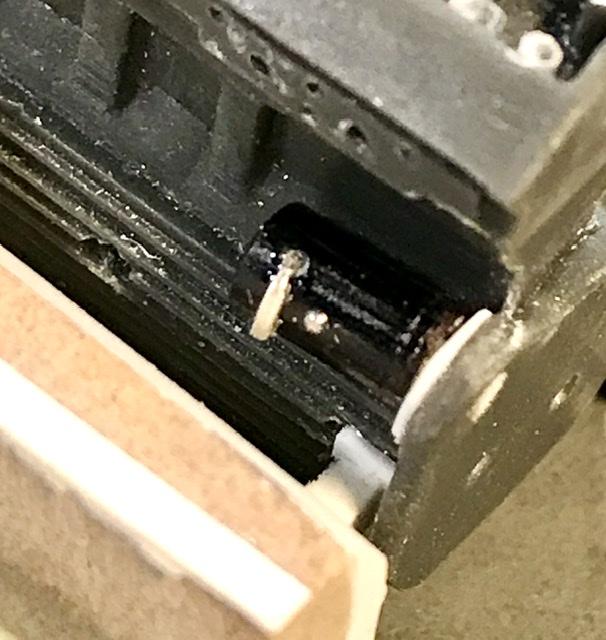
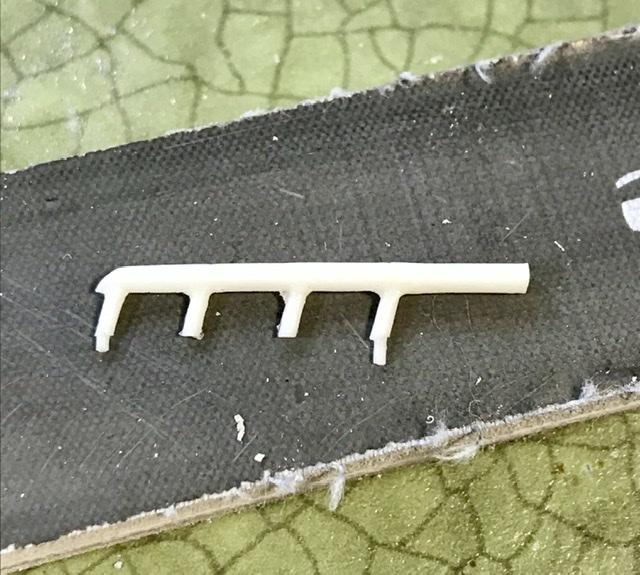
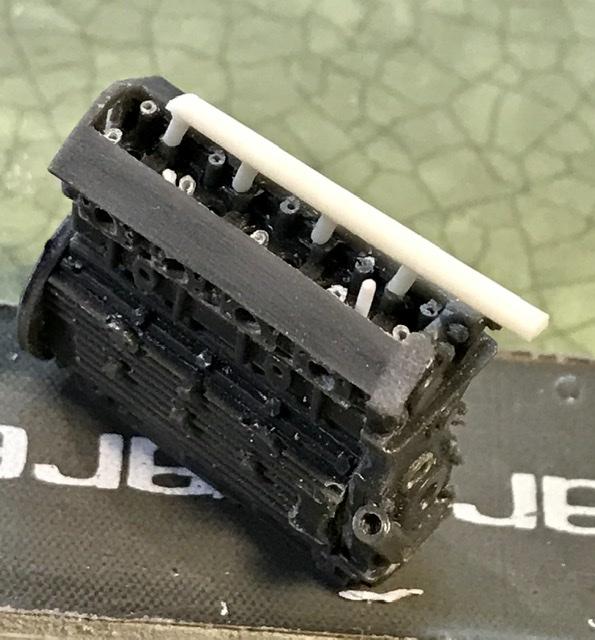
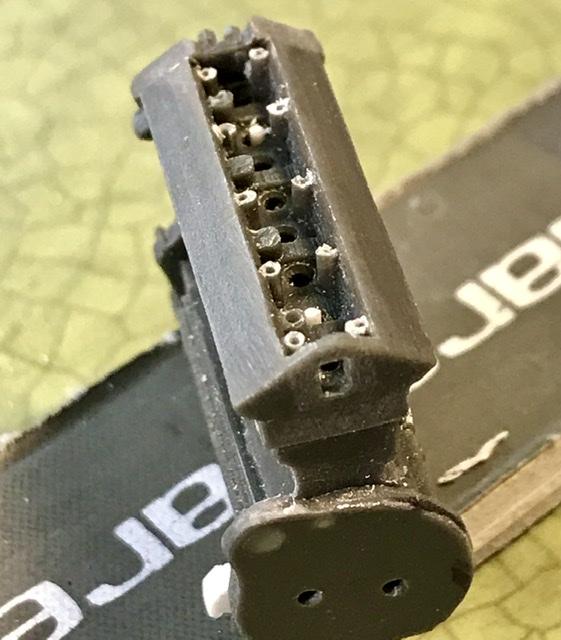
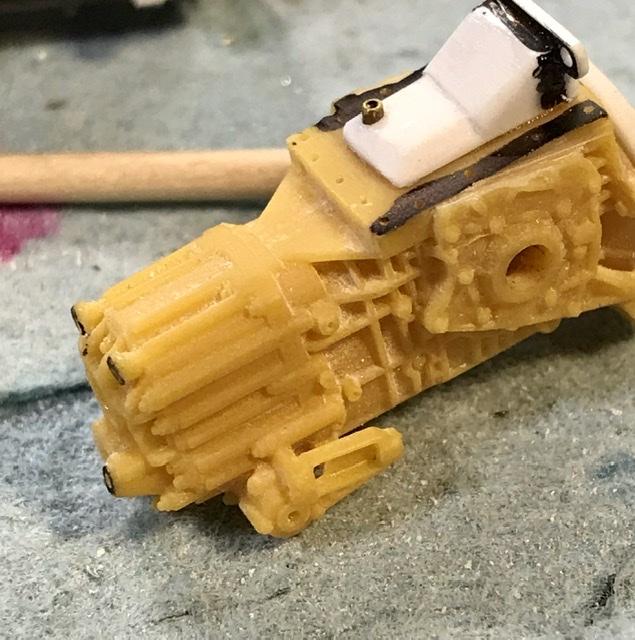
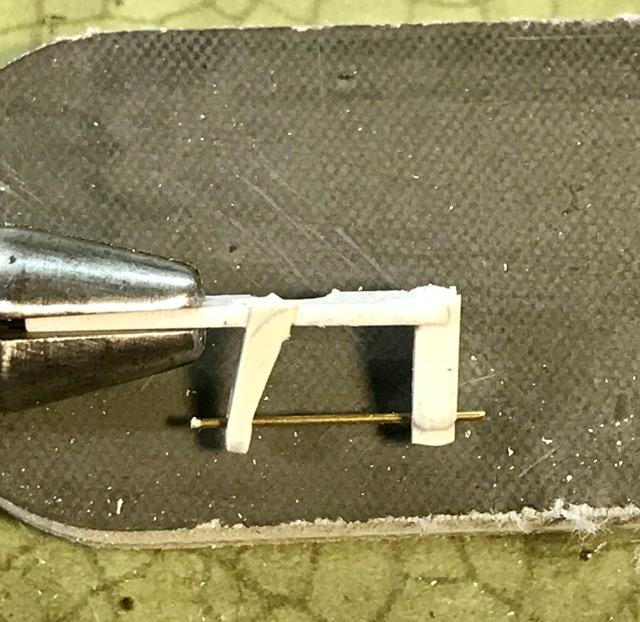
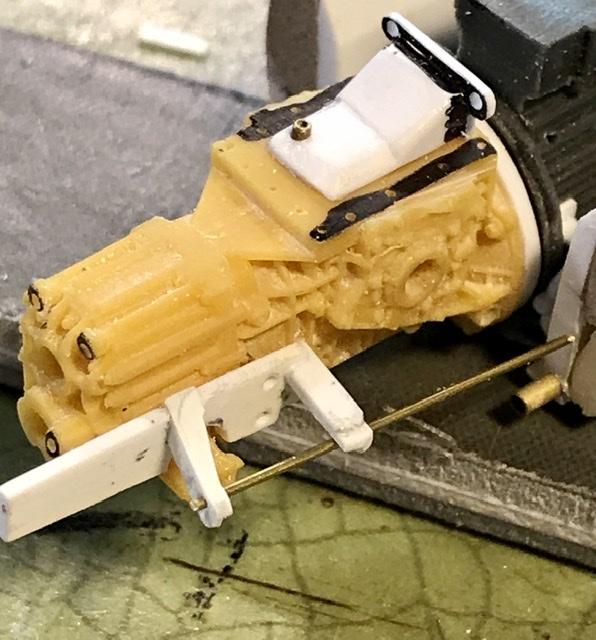
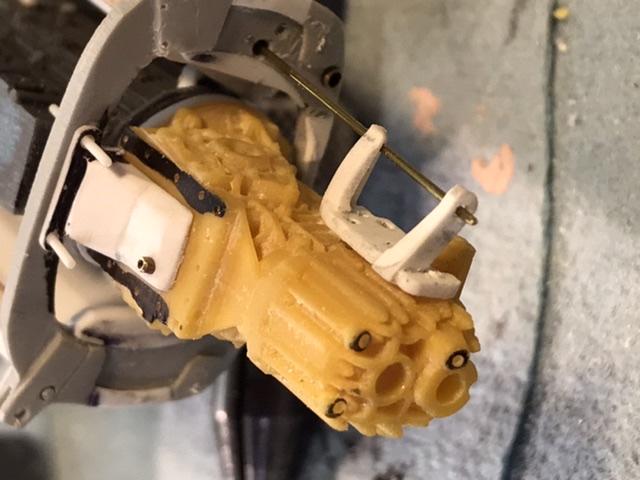
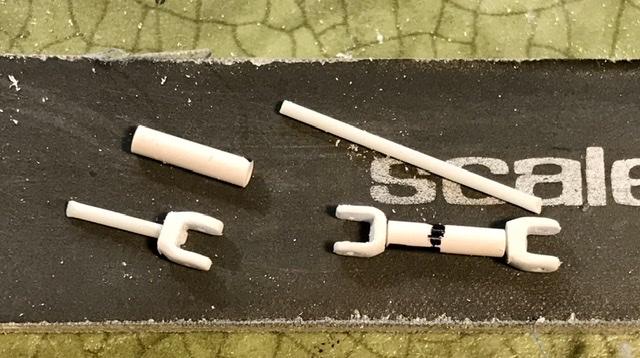
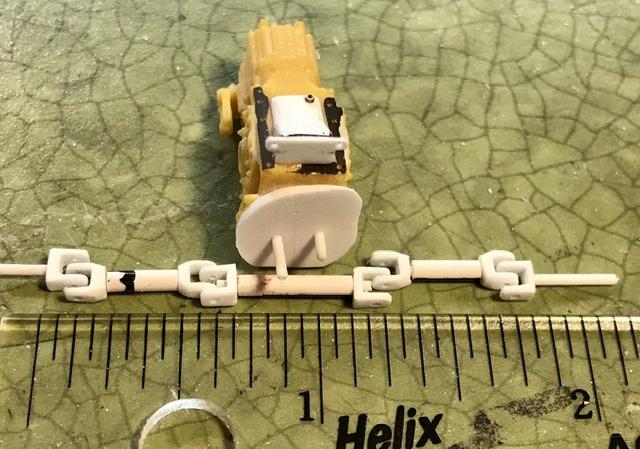
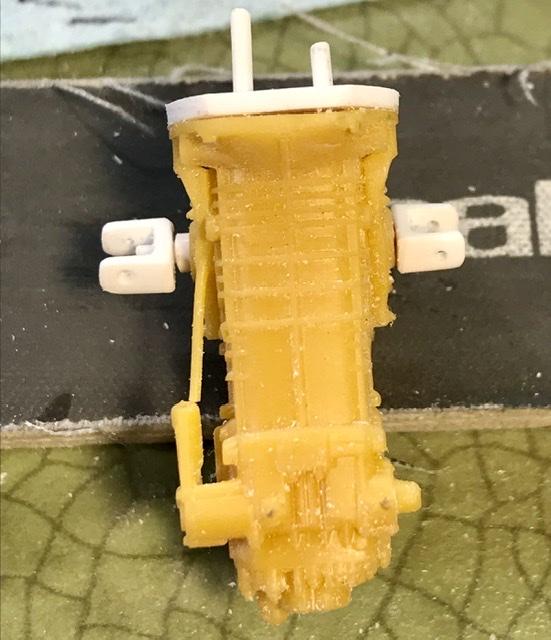
The ZF transmission uses a compact linkage assembly for the gear shift rod - in the Ford GT 40s. It is well represented on the printed trans. But Lotus used a different assembly for it’s ZFs ... It features a steel plate and one or two forks that hold the gear shift shaft out away from the side of the trans casing. So this was made from some evergreen stock this part will be attached with some brass pins. The part will be somewhat fragile. I’ll place it late in assembly.
-
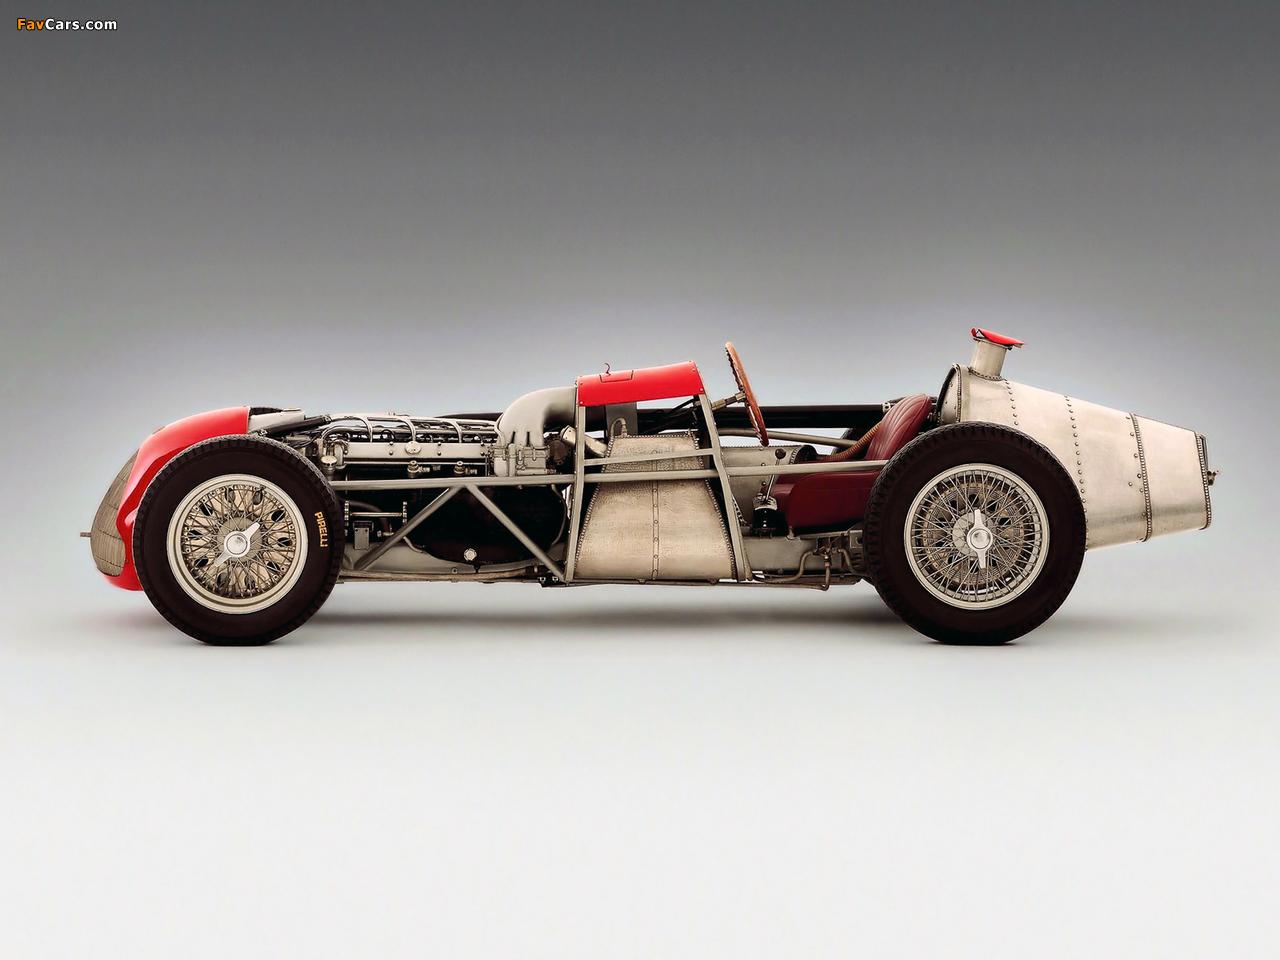
just for fun …. here's a shot of the real thing - to compare with the shot just above pretty good !
-
MFH Ferrari 488 GTE
absmiami replied to Gt fan's topic in WIP: Other Racing: Road Racing, Land Speed Racers
Clean Clean Clean Cleannnn ....... -
Well. Actually 20 parts. Plus the brass knuckles ... file. Sand. Drill. Sand some more saw. — Rinse and repeat ...
-
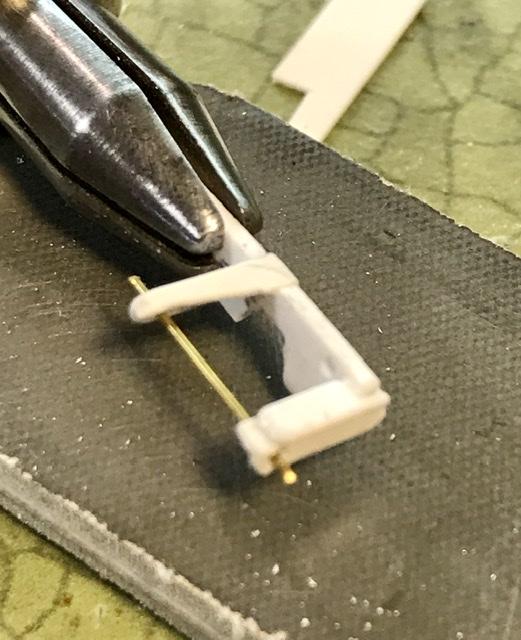
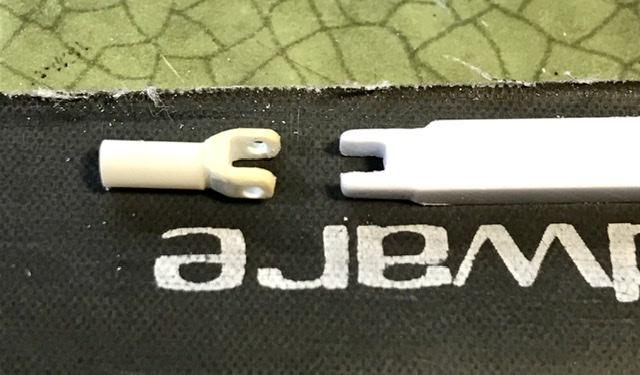
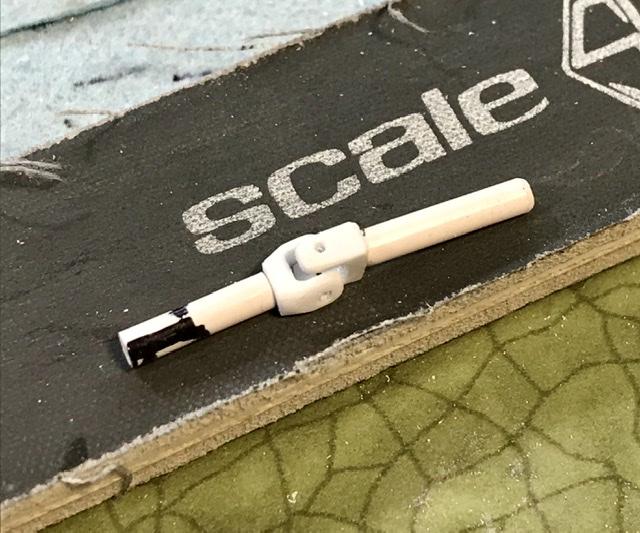
8 parts the joint is glued to a .40 rod that slips into an .80 tube
-
Using this evergreen strip to make the U joints. Notice that it cost just over 2 bucks a package 16 yrs ago ...
-
You might be too far along. - but would this be a good kit for some mini-magnets ? Say. For the doors ? ??
-
And ANY excuse to build an Aurora kit. ... is a good excuse ...
-
That’s okay its a custom ...
-
Tamiya McLaren MP4/6 build
absmiami replied to Josie's topic in WIP: Other Racing: Road Racing, Land Speed Racers
So does this mean that the trumpets are blackened on the real engine ? I think I would have done the same thing - left them unpainted ... Looks great on my phone. - Gonna have to fire up a laptop and really check this engine out ... -
Sorry that I missed the MCM article ... but you answered my next three questions. I would have really enjoyed spending a couple days looking over Wingrove’s shoulder .... the Napier .... the finish sure looks like aluminum. - tell us more ...
-
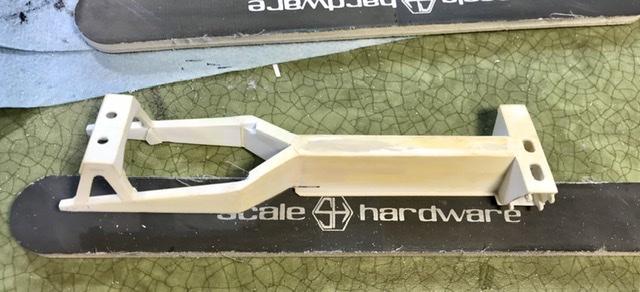
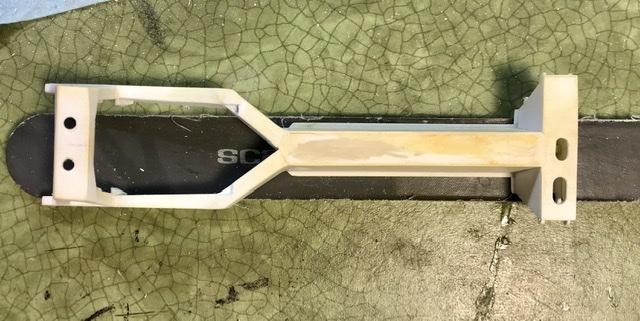
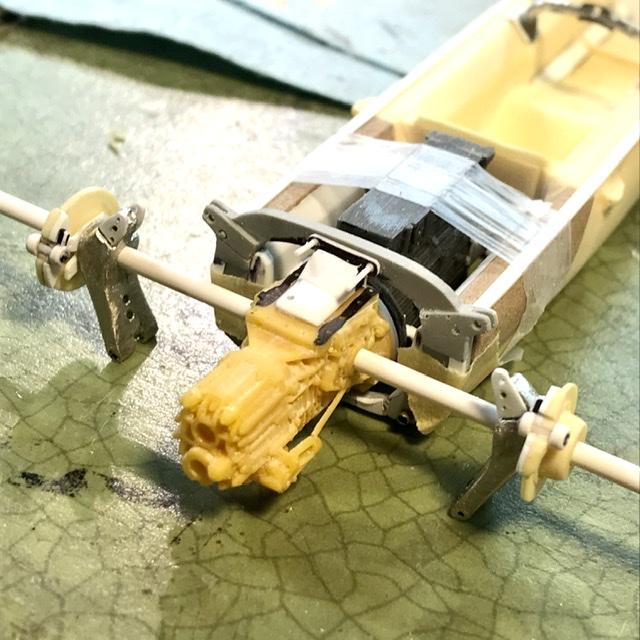
Not a wishbone chassis its a backbone chassis ... So the Mad Mike Indy Ford fits rather nicely into the frame. Although I had to remove the engine oil filter - Team Lotus may have used a more compact filter - not sure now gotta figure out the motor mounts - but I do have good pictures of the chassis mount structures ...
-
And one of my fav 962 liveries ... reminds me - when’s the last time you used your radar detector ... ???
-
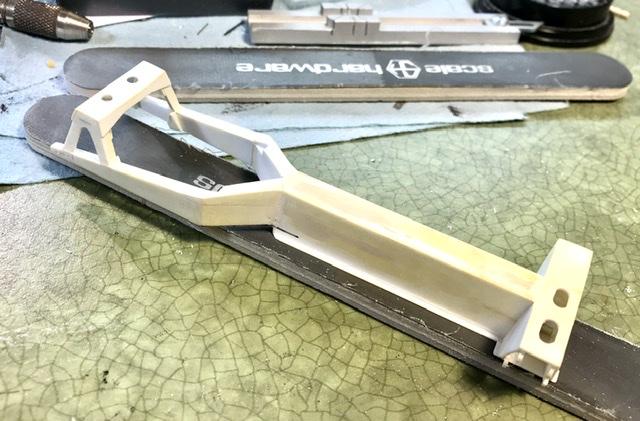
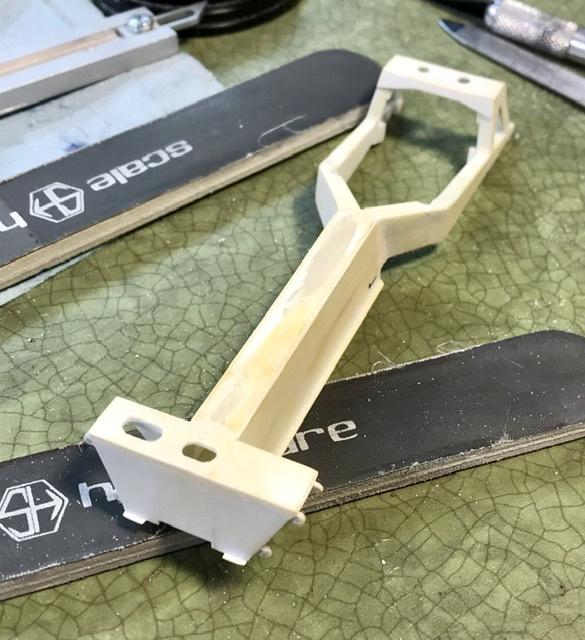
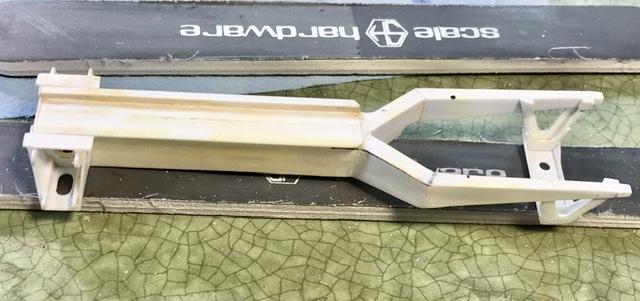
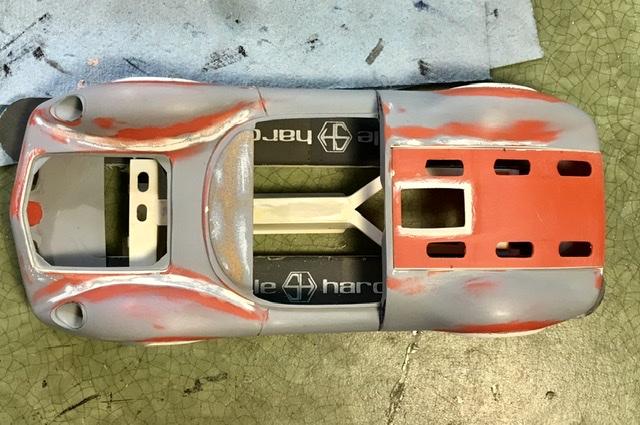
Hiding under the body shell - which of course began life as a 24th scale slot Body - is the famous wishbone chassis - made from plans provided by a Lotus 30 owner - years ago. Evergreen strip and sheet the project got stuck and has languished in a box for years - but now that Mad Mike has created the perfect engine for this project I’ve decided to shake off the cobwebs.... The other thing that woke this thing up are the great articles on Peter Windsor’s site on Clark’s amazing 1965 season. And the online Chapman Museum articles - they have begun to explore the Lotus 30 and the family of Lotus Ford engines - highly recommended....
-
Lotus 30 anyone ?
-
well - you've got my attention I see that you joined this forum years ago way before me did you ever do build threads for any of these ?? betting that you are the proud owner of all of Wingrove's books ... how many questions could you put up with ?? ???
-
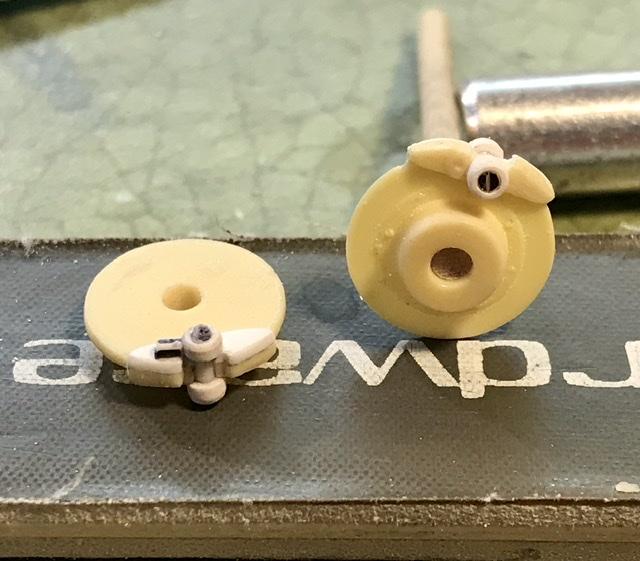
Incidentally - the restored 32B wears great looking wobbly webs - but I have decided to build the car as raced - and all of the Tasman season photos show this car with star shaped wheels ... working on the rear brake disc and rotor assemblies - Girlings ... modified kit parts with evergreen strip and rod and tube ...
-
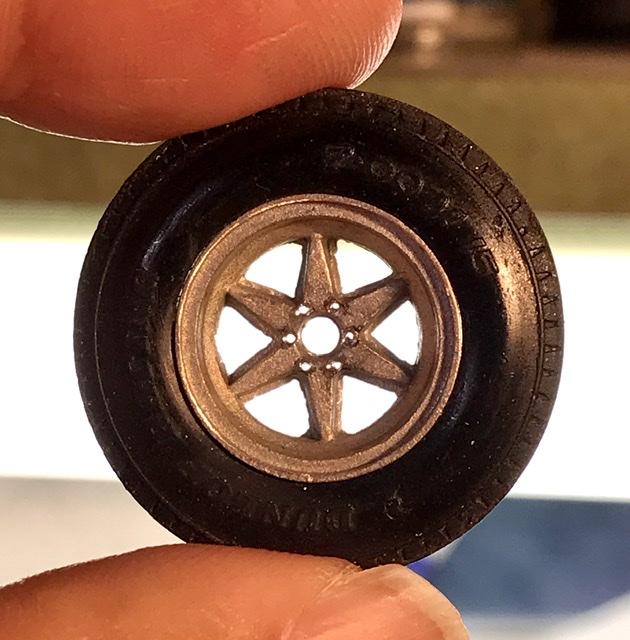
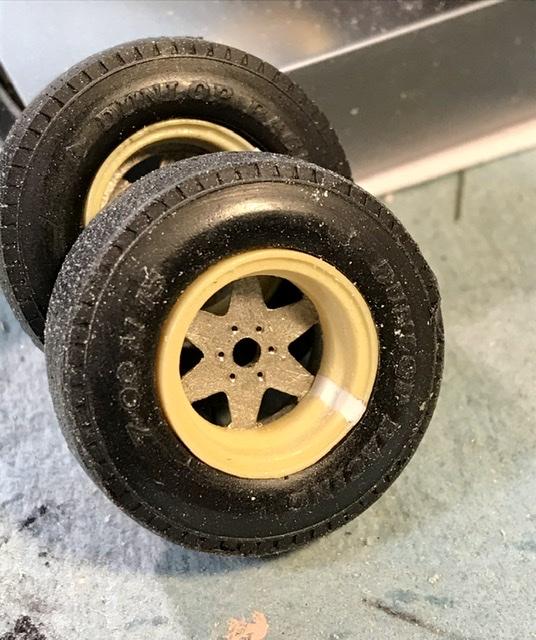
Perry’s Resins [Oh Canada ...] made some very nice rubber Dunlop’s years ago - they are just the right dimensions for this project - a little more accurate than the Joker kit tires - so I’m using with the kit wheels - the 32B raced with the same wheels as the Lotus 33 - so they are fine - but I enlarged the inner rims - and all of the wheels need bolt holes for the lug nuts .