absmiami
-
Posts
4,777 -
Joined
-
Last visited
Content Type
Profiles
Forums
Events
Gallery
Everything posted by absmiami
-
 that's what happens when you let an old guy use an I phone - above was intended as a text to a friend ... oops ... I guess I could remove it - but hey - we need a laugh, right ?
 -
Yes I think my wife saw it but I haven’t yet ... assigned times To pee ????
-
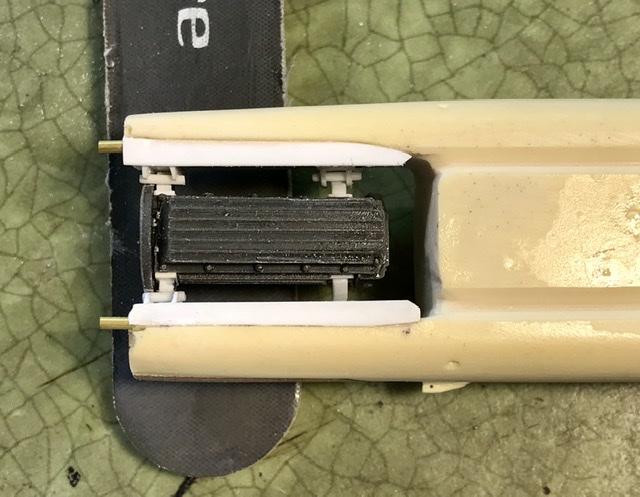
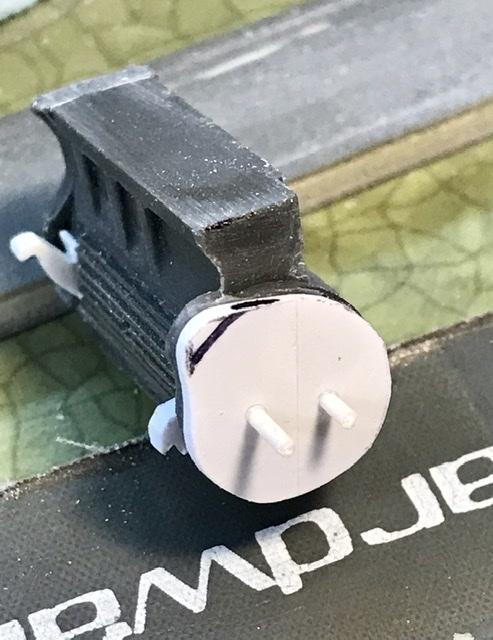
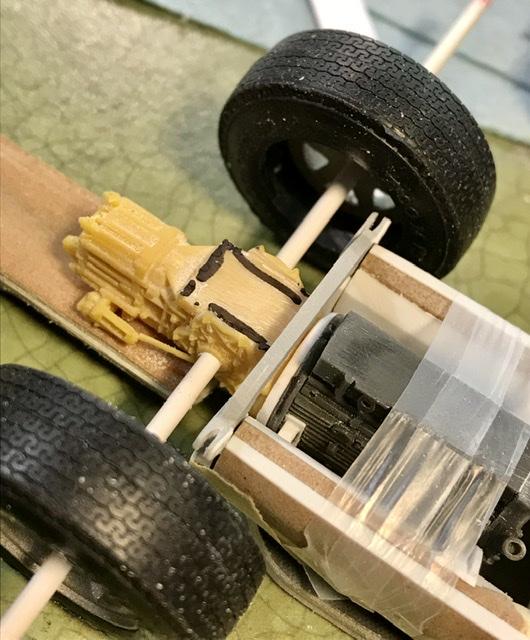
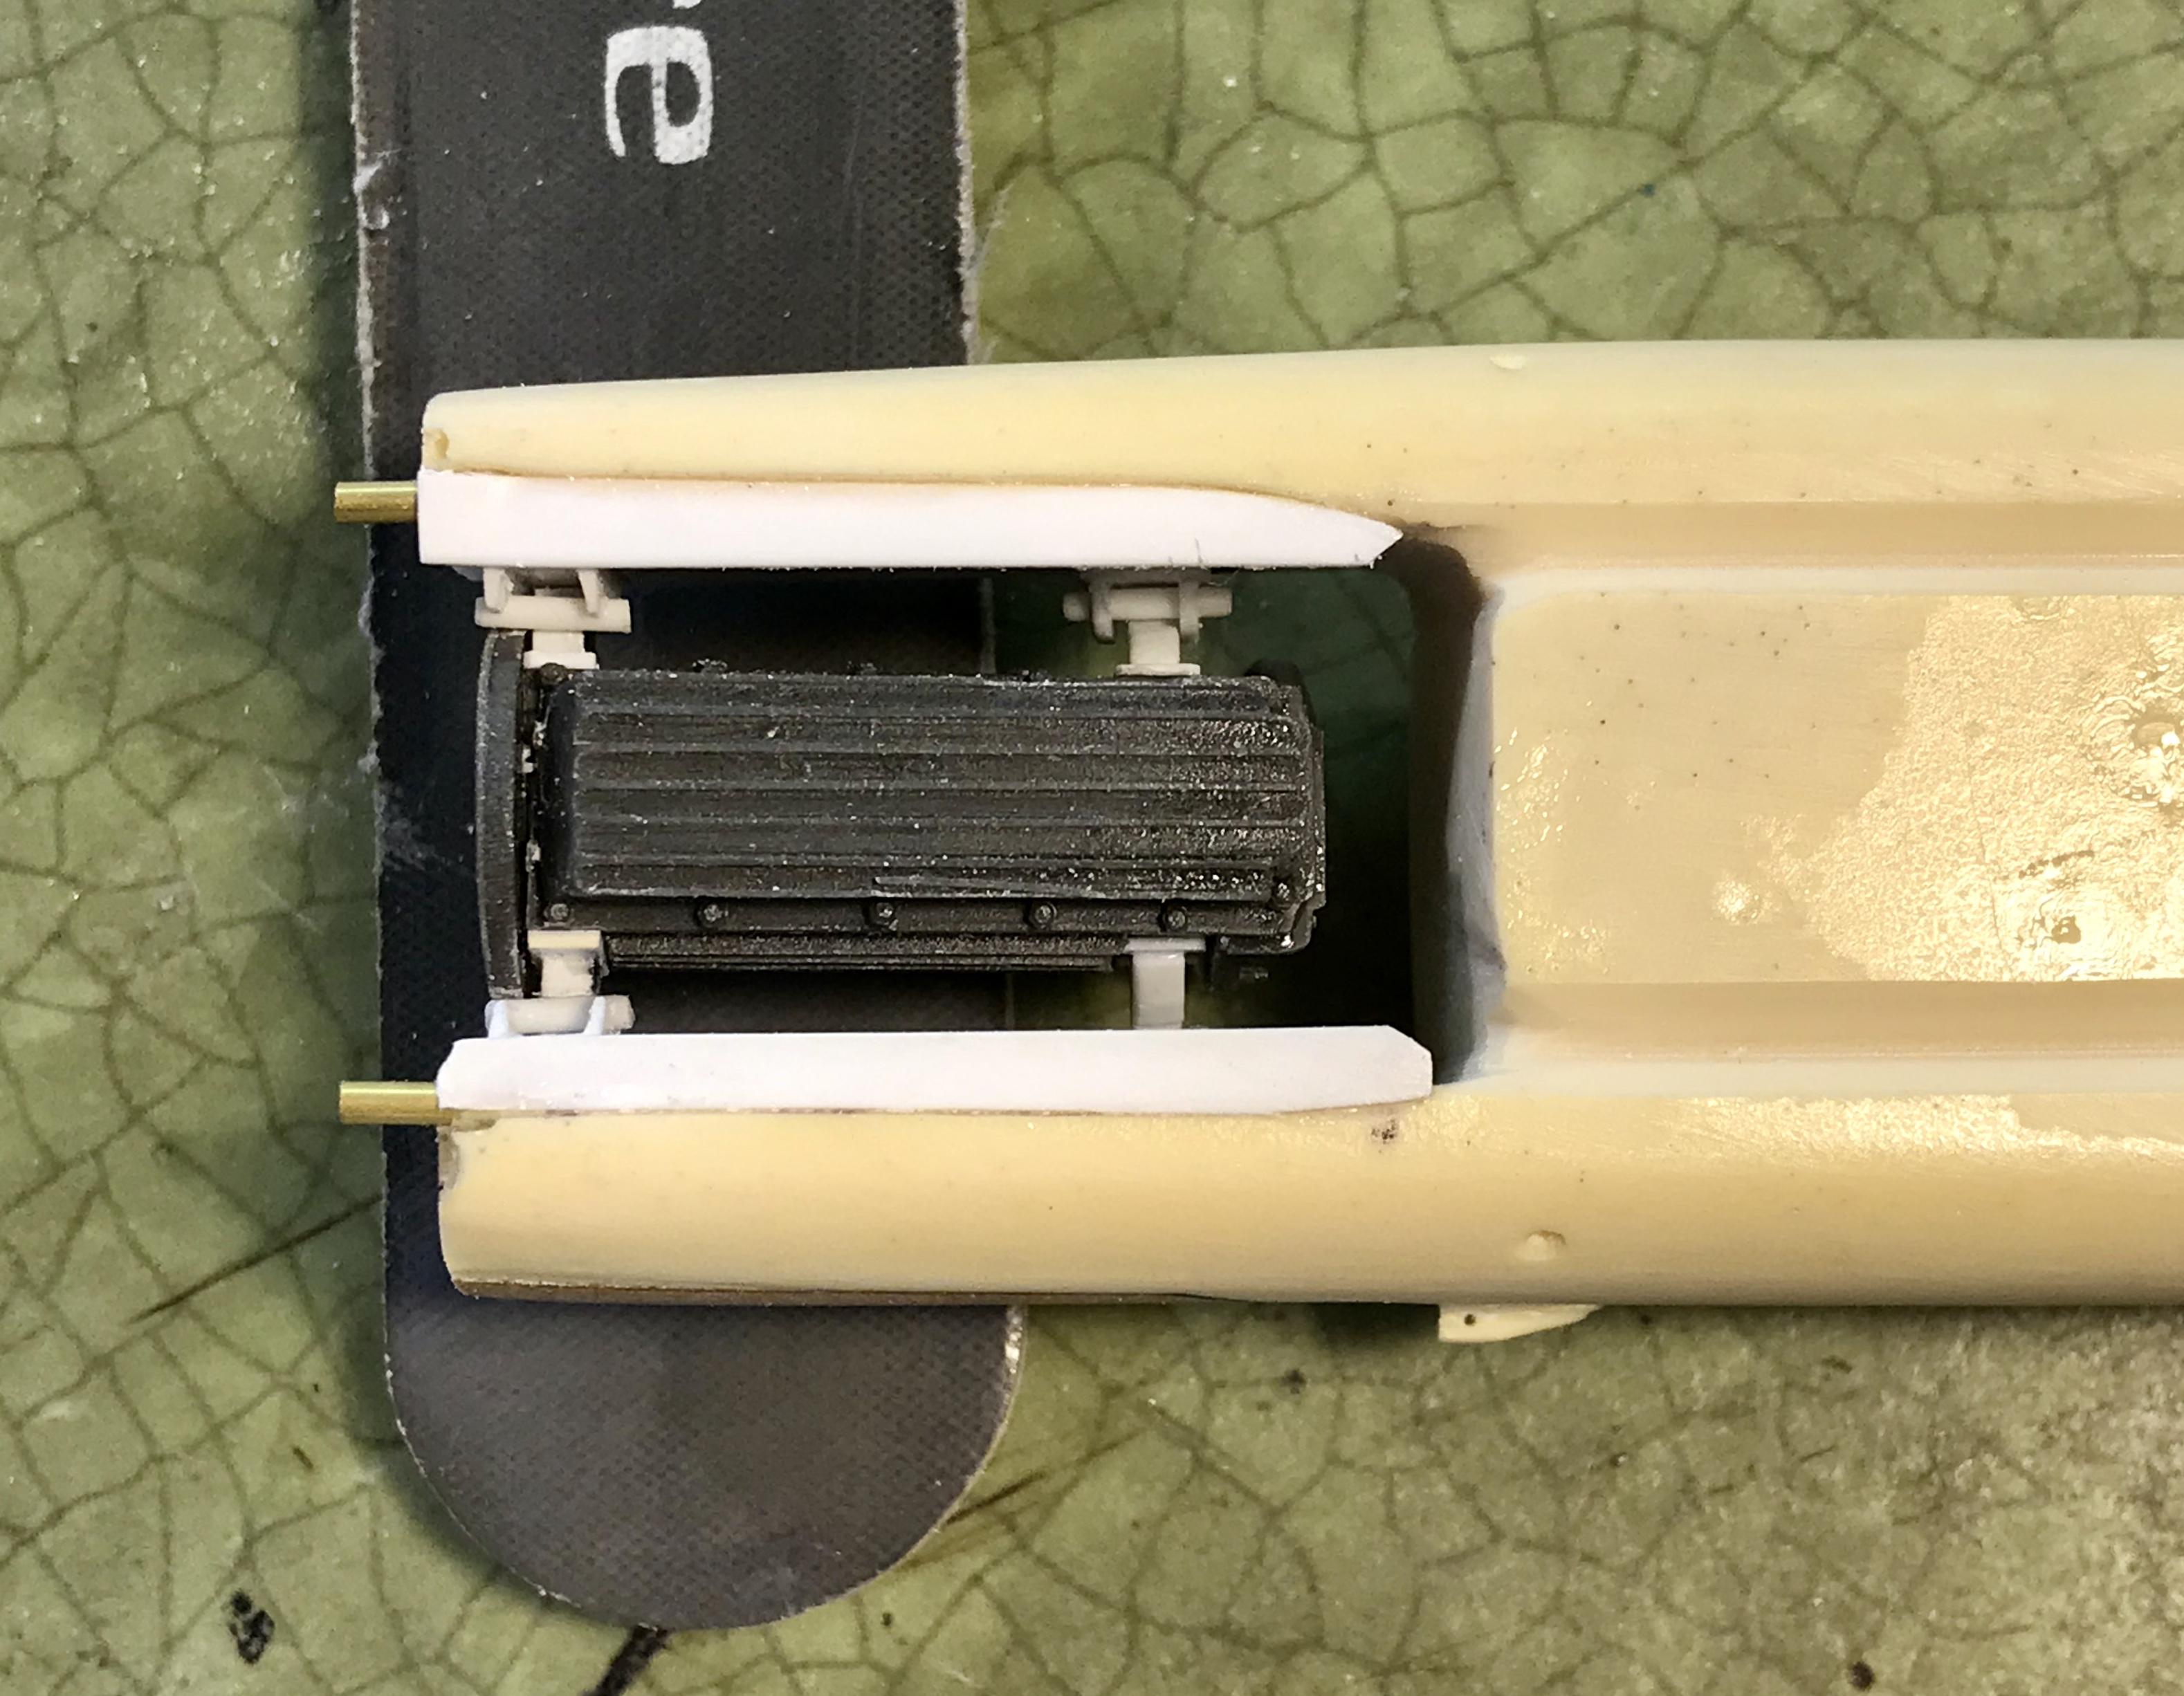
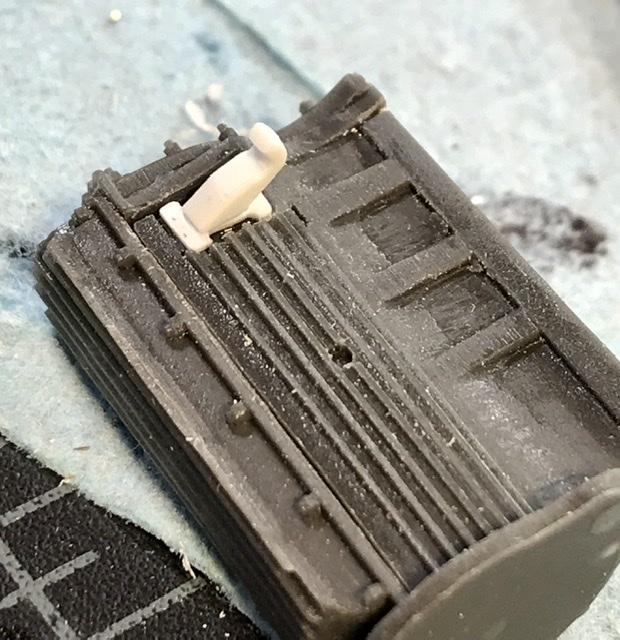
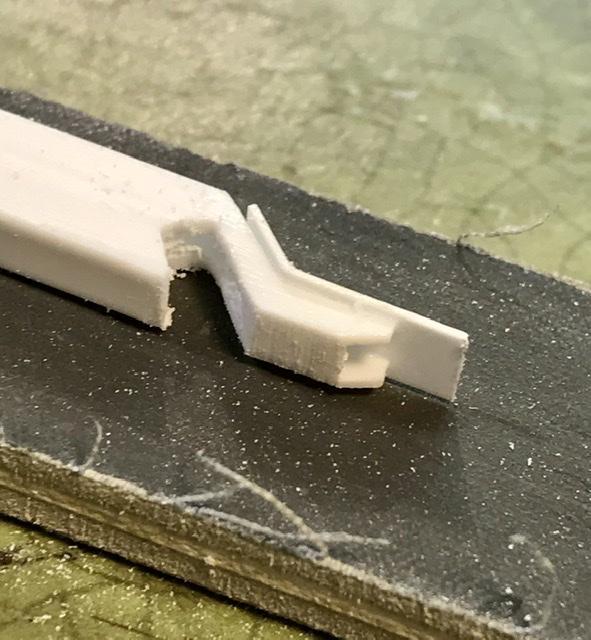
The bell housing on the ZF is designed for the V8 Ford engines used In the GT 40’s. The housing for the Climax four is much smaller.... so the housing comes off and is replaced by a part made from .40 evergreen - with locating pins . This part is glued to the ZF transaxle while the part is lined up with the help of a rear wheel and axle mock up. The body is sitting on a sanding stick - so that the 1/1 ground clearance height is about 5 inches - and that’s pretty close to scale accurate. Part is glued with epoxie so I can tweak it’s position while the glue sets. Next I’ll create the mounting for the transaxle - which is pinned by two bolts onto the bulkhead ... Still some lingering questions about some chassis details - such as whether the engine used 2 or 4 engine mounts - does anybody have Team Lotus mechanic Bob Dance in speed dial ?? ?? No. I’m serious ! ....

-
Accurate or not - I know they are there - so here are some pix of the installation ... once again - these parts are made from evergreen strip, bar, and rod ... now I can work on a flywheel cover and mate the ZF transaxle from Mad’s Indy Ford kit ...
-
Some of the components remain a mystery - the 32B competed entire ‘65 season with the same engine [cue those were the days rant]. So ther are only a limited number of contemporary photos... so some of the work on the engine is based on limited info - example - I’m winging it on the engine mounts at the rear of the engine ...
-
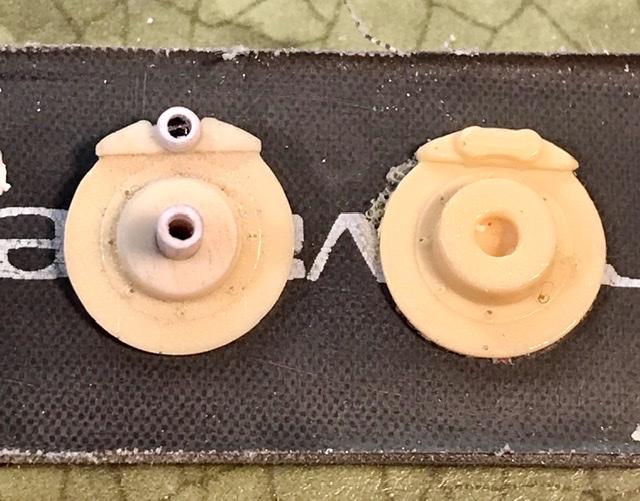
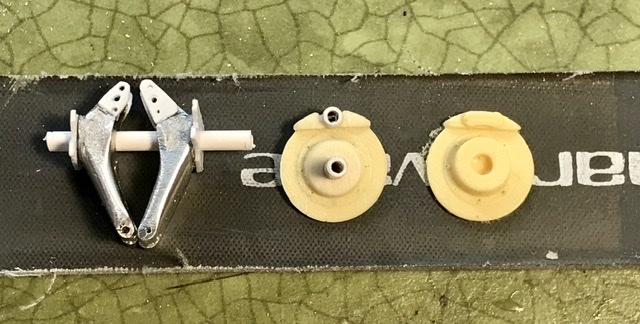
Uprights - hub carriers - disc bells - brake discs. - the kit brakes are resin cast knockoffs of something - definitely not Girlings - which is what Lotus used in the sixties -so what was there Was modified with evergreen to make some Girling disc brakes ...
-
Tazio drove the D type. But per Wikipedia - not the C. Think this is correct ....
-
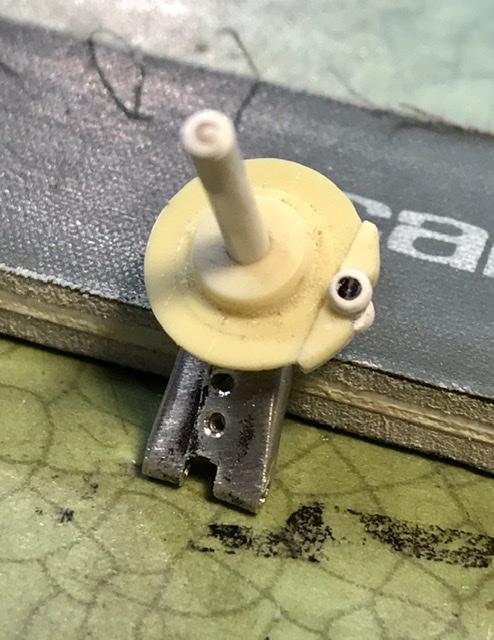
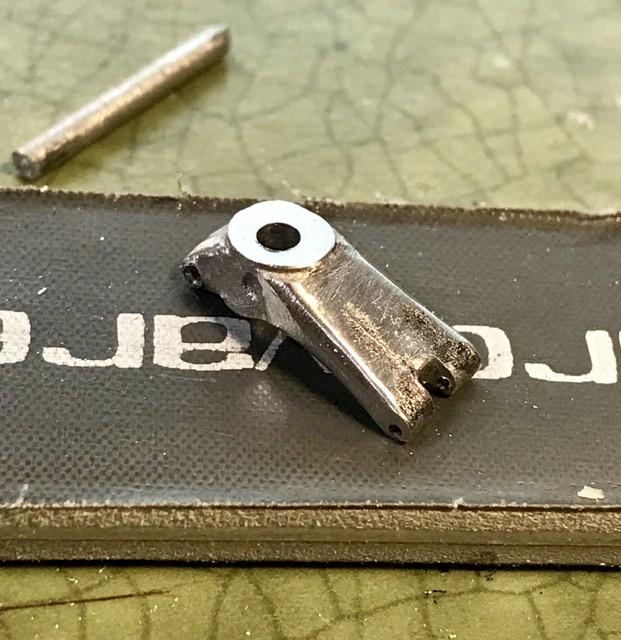
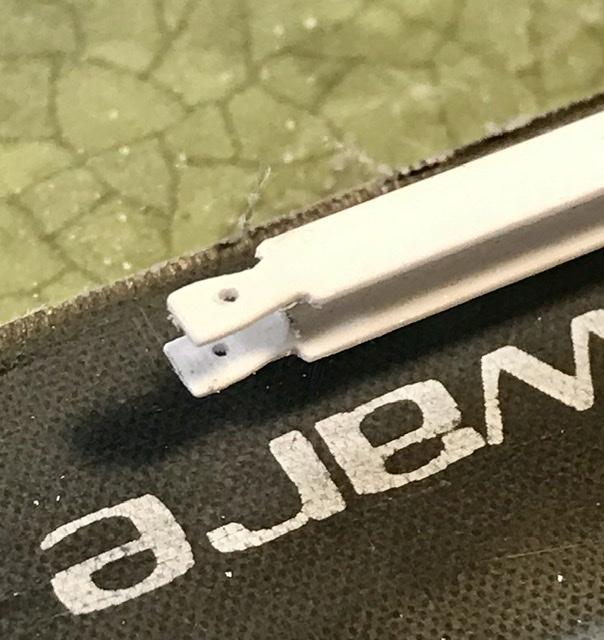
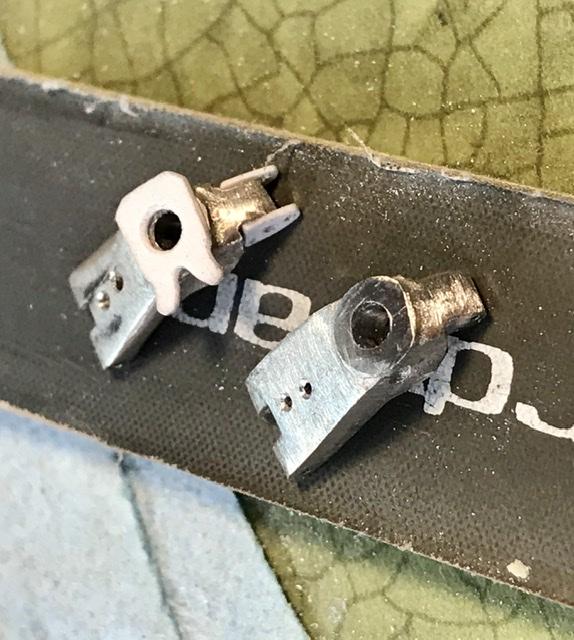
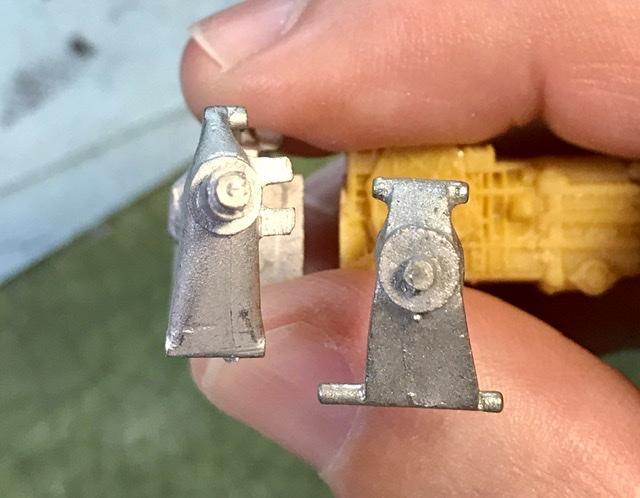
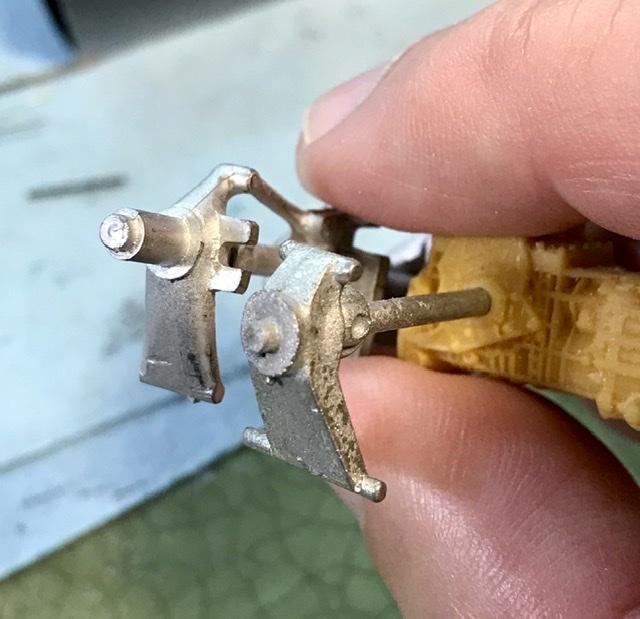
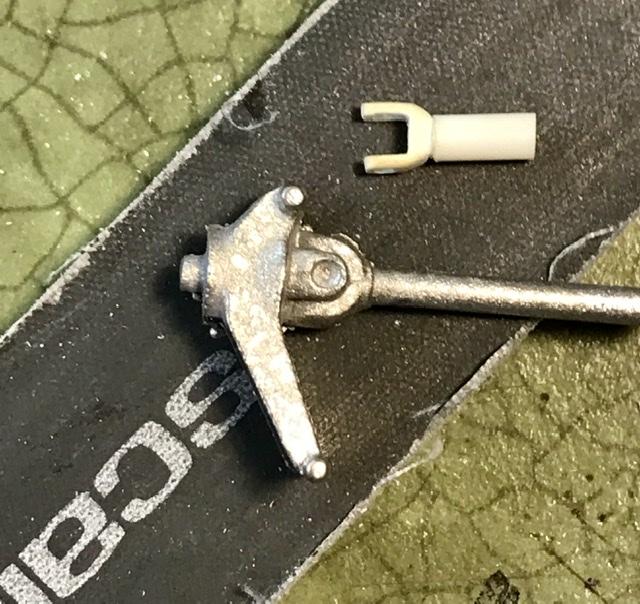
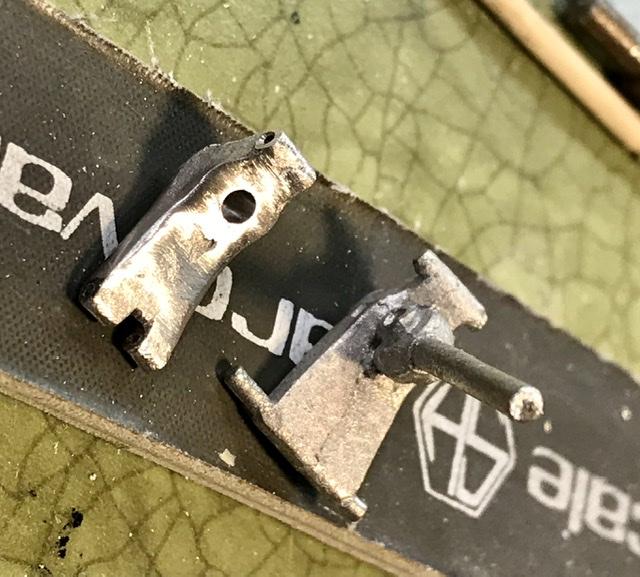
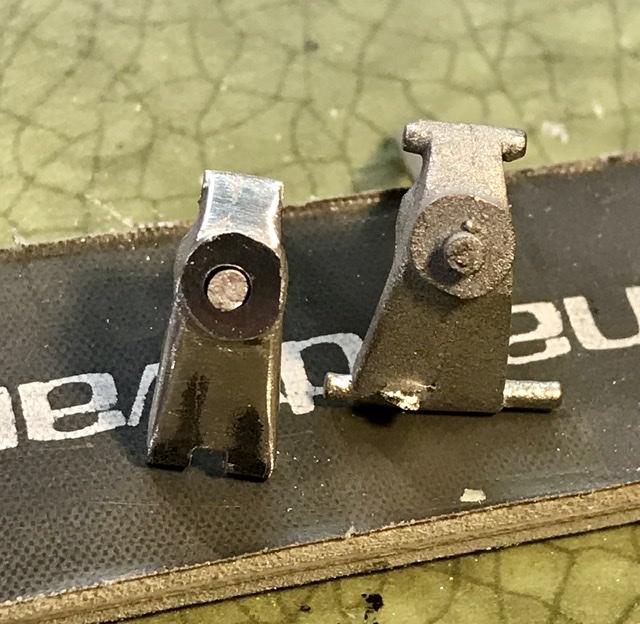
The suspension uprights need some love. In the first picture is an upright from the old white metal Finecast Lotus 25 kit - pretty accurate size and shape . On the left is the upright in the Joker kit - which appears to be a knockoff of the uprights in the Heller Lotus 49 kit. The upright on the 32B is close to the 25/33 upright - with tabs at the top to widen the profile of the trailing arms. So I gotta fix these. - when I’m done they’ll look a lot like the Finecast uprights- and the U joints are too big. So they gotta go ...
-
Wow did you really build a model in 13&1/2 minutes ...?? just kidding. Very good. Why don’t you do a video on keeping your workspace clean. I needs a little help ...
-
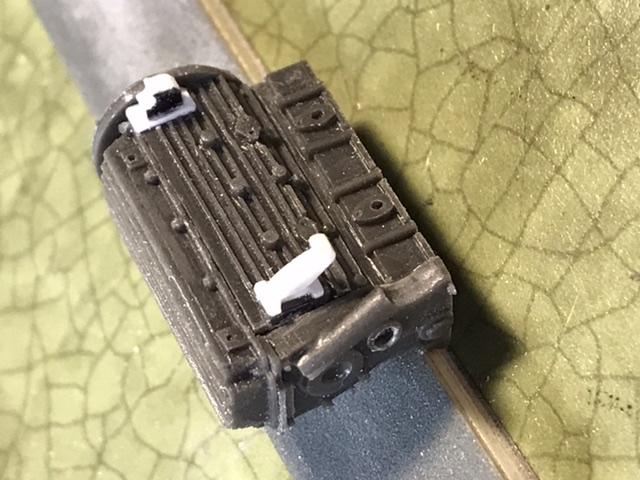
Engine mounts and the cradles for the mounts glued to the chassis. Everything made fr Evergreen strip and bar and rod
-
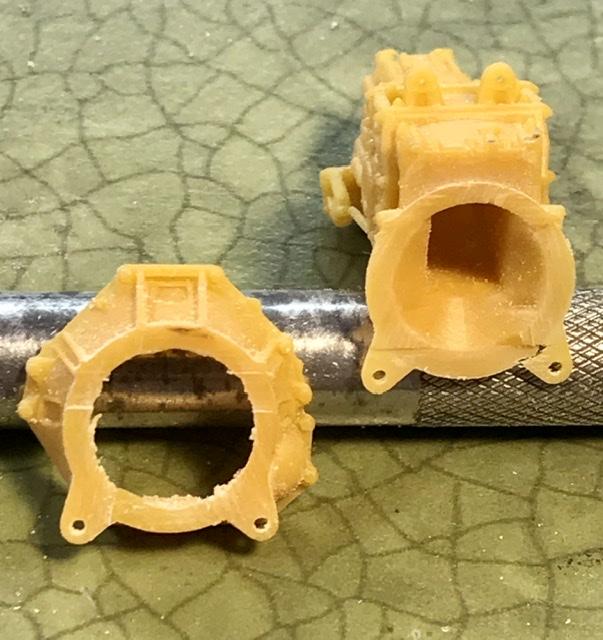
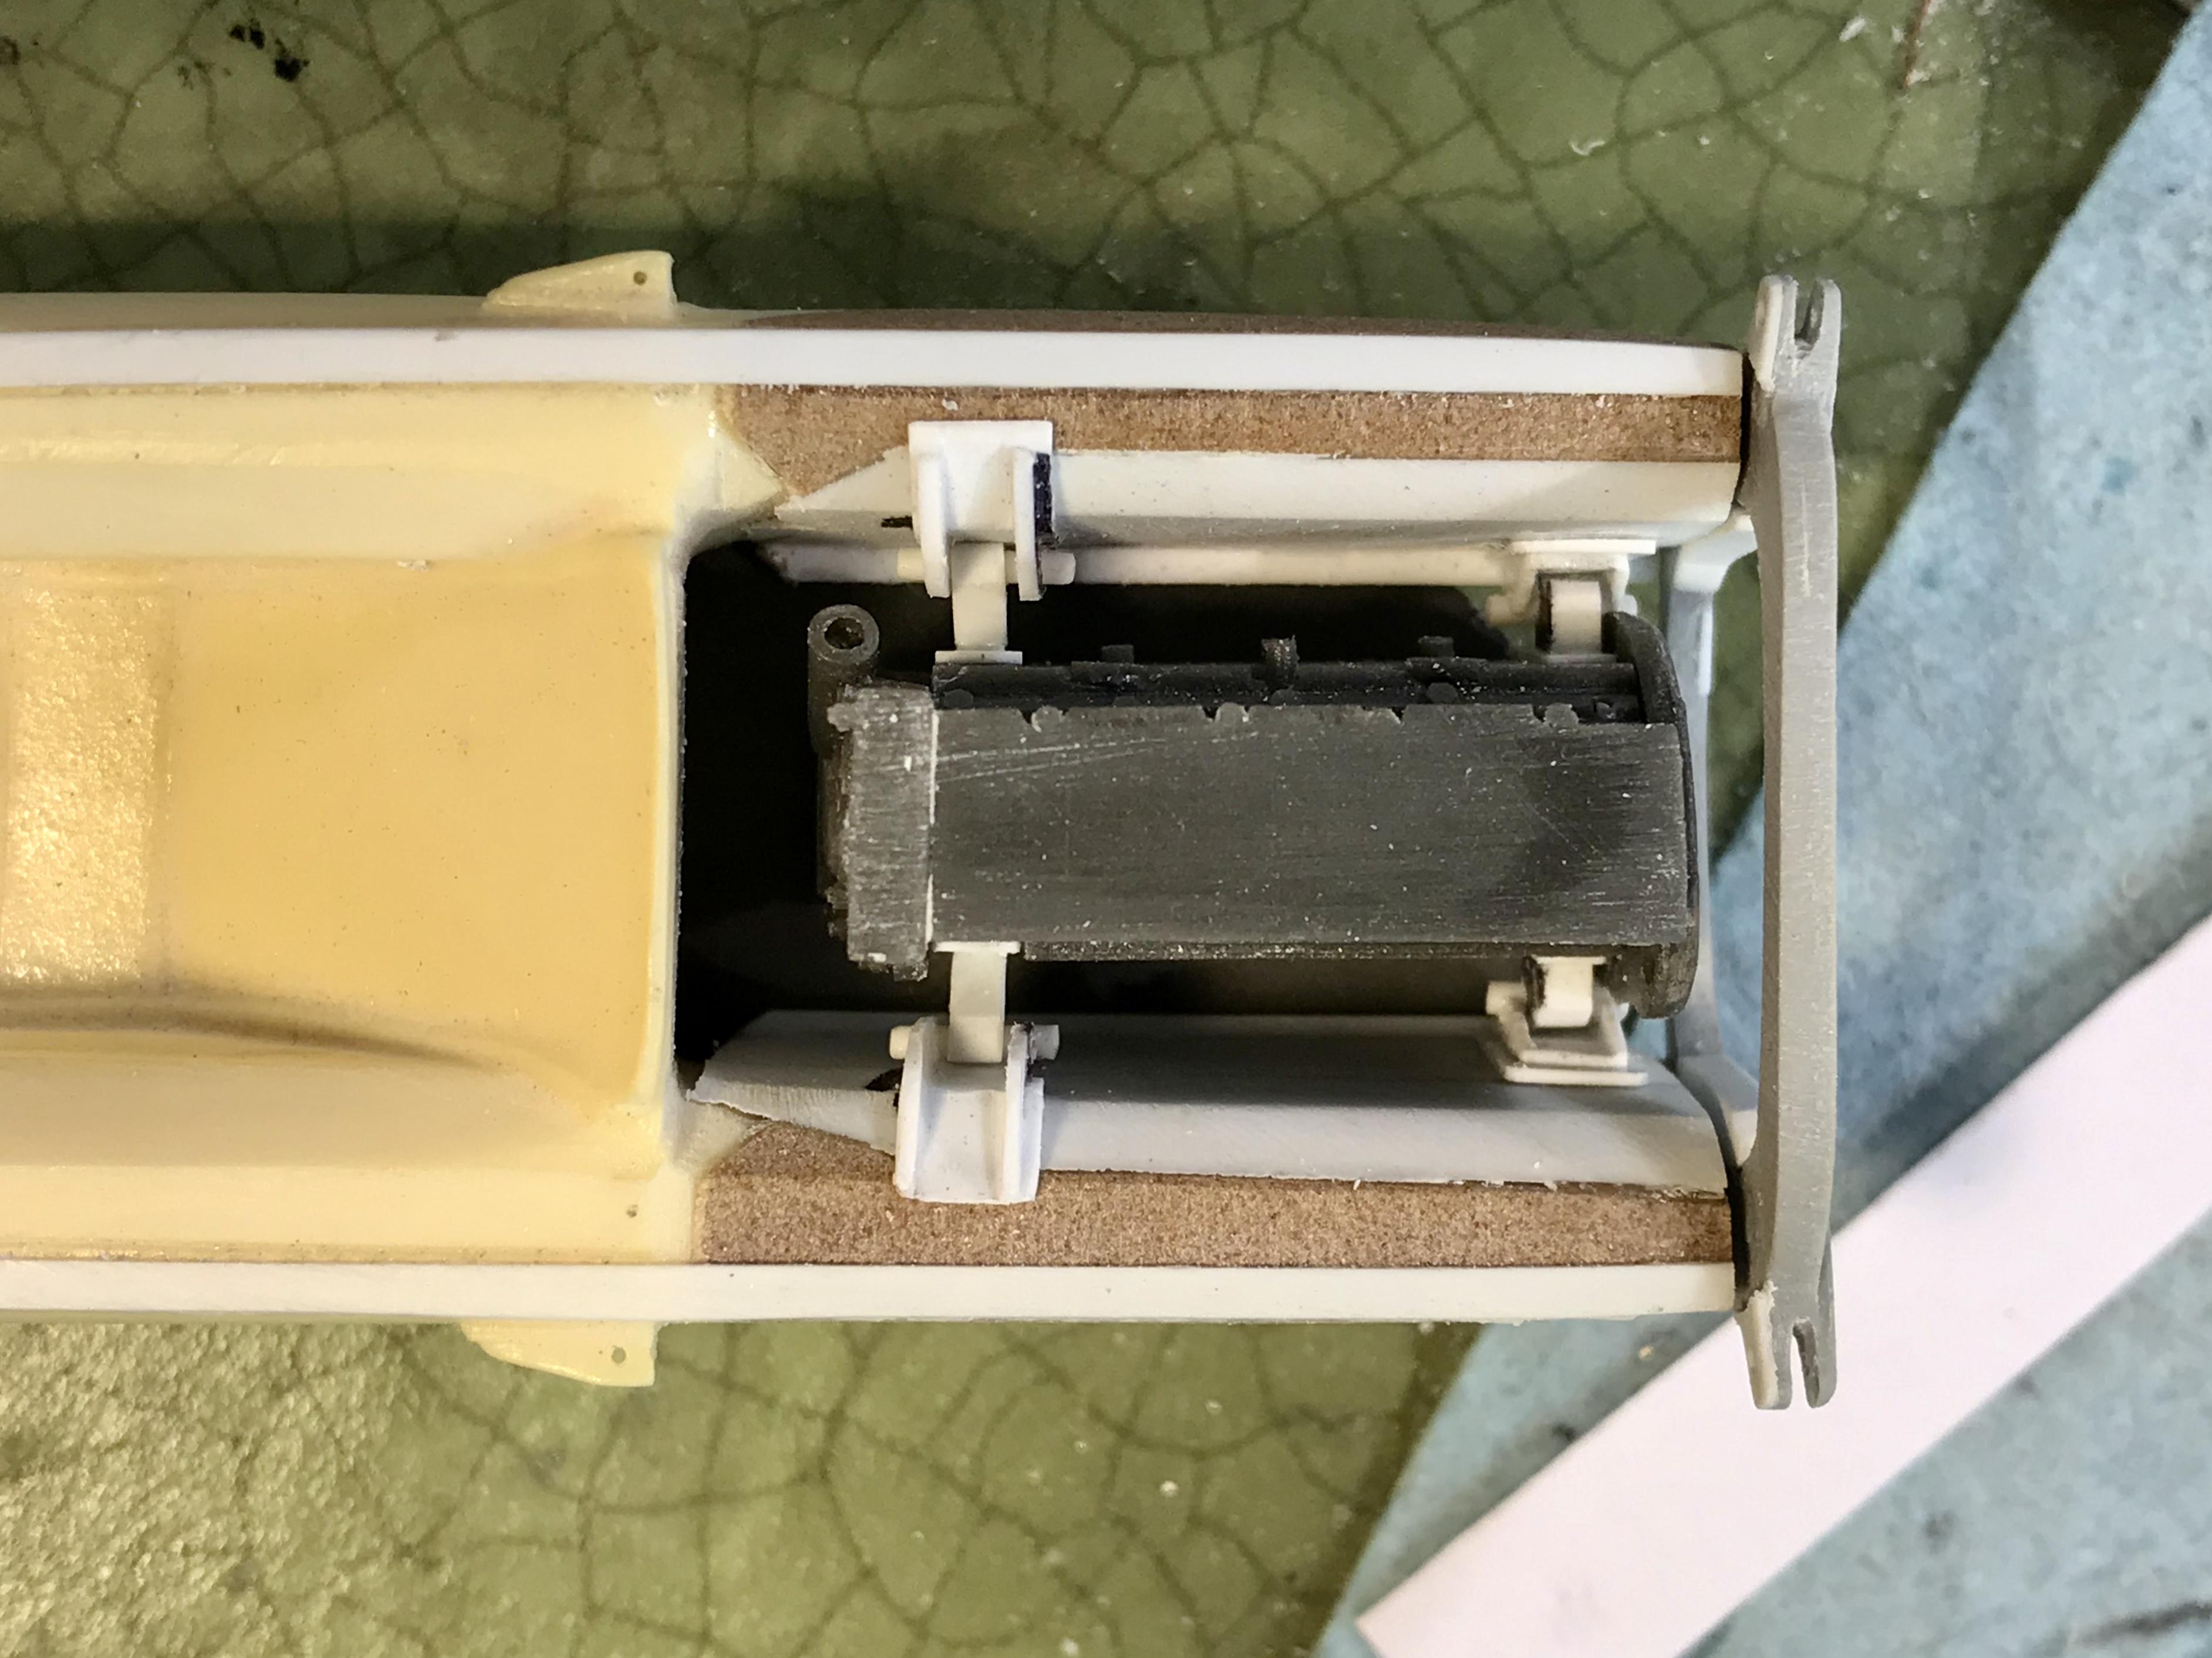
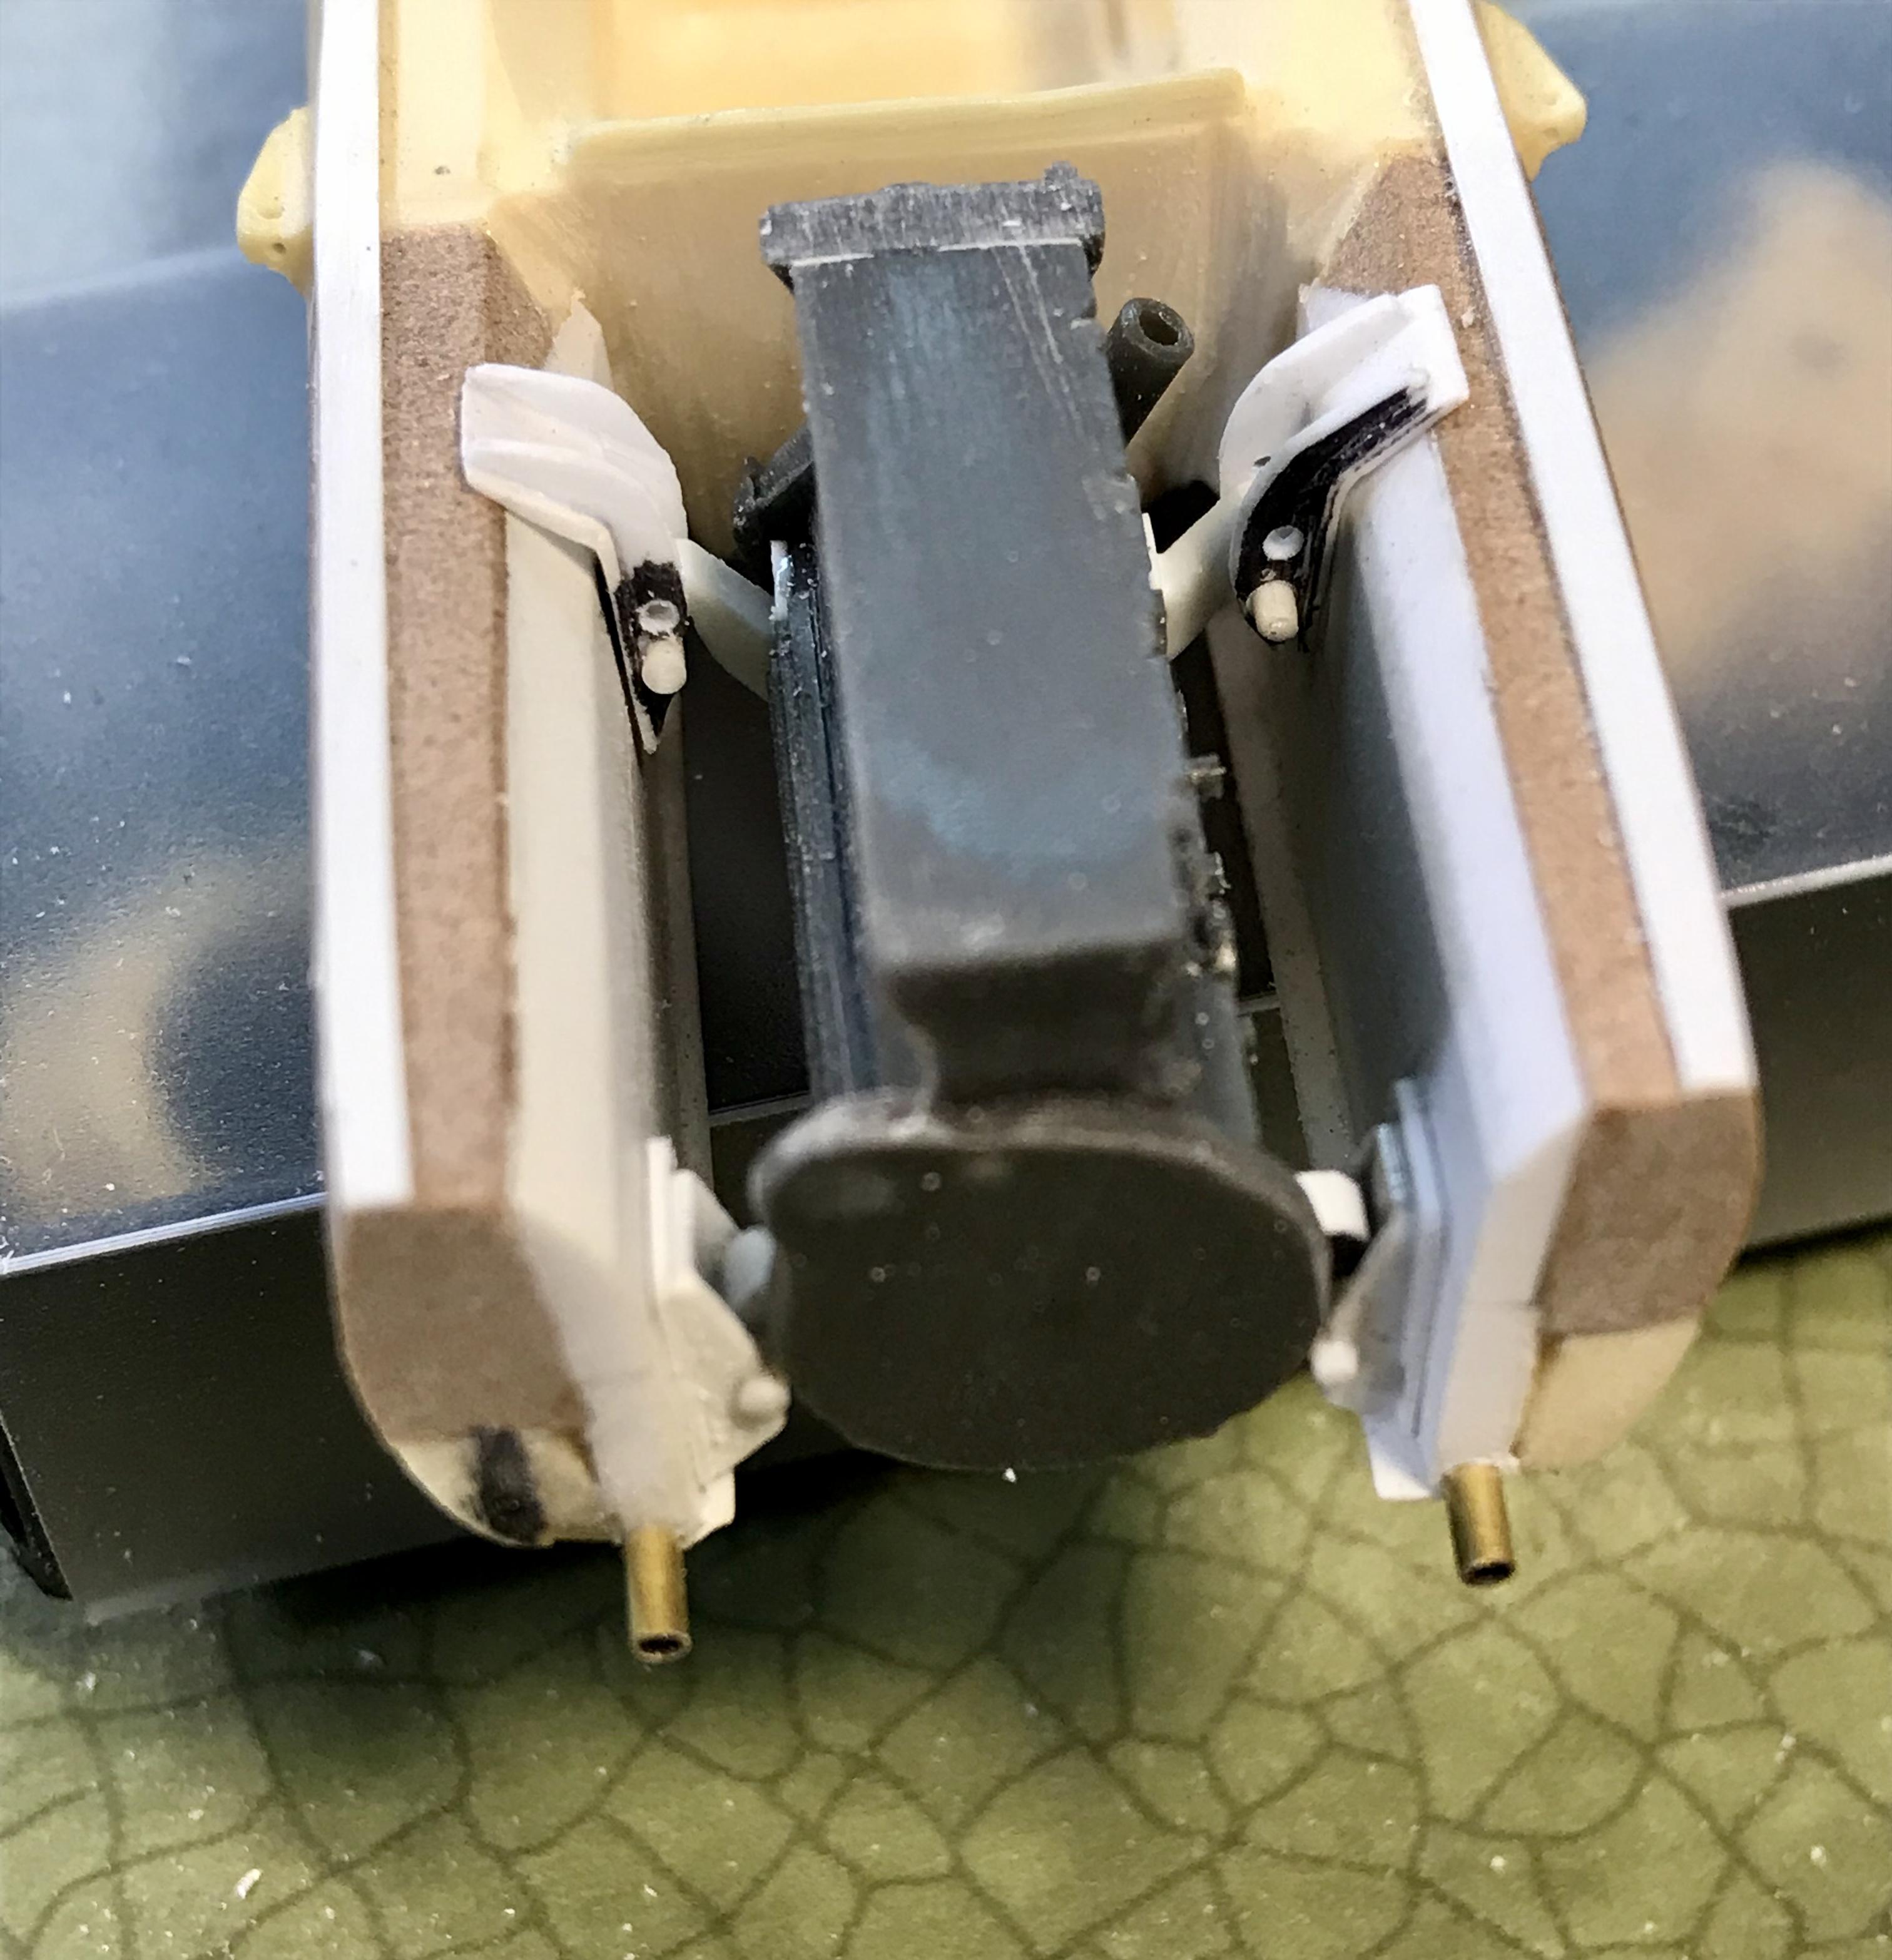
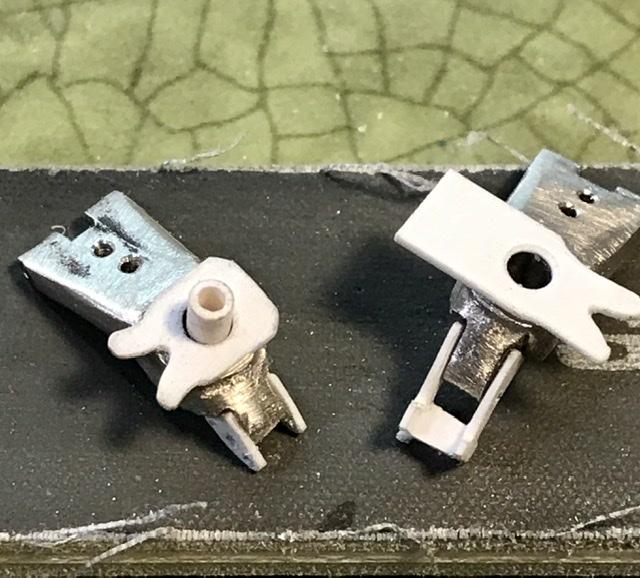
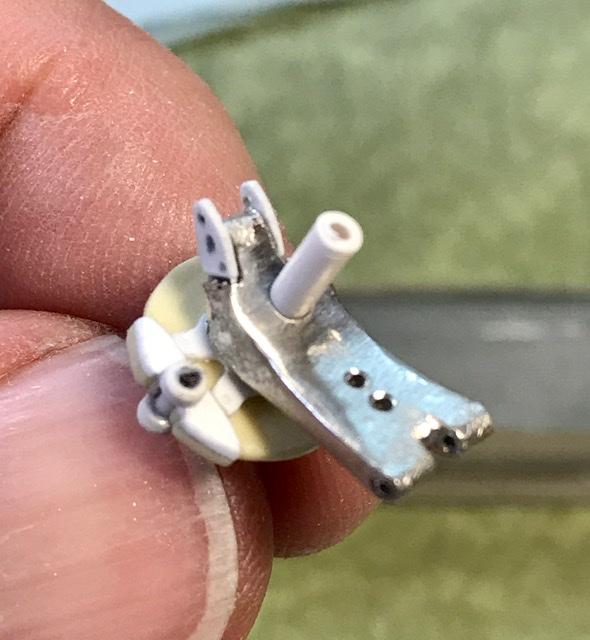
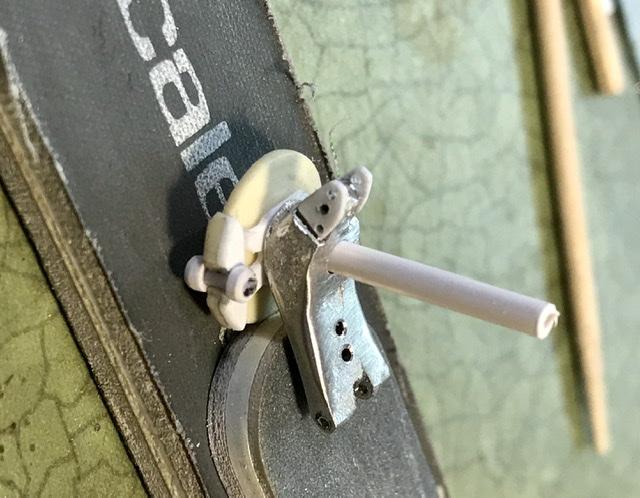
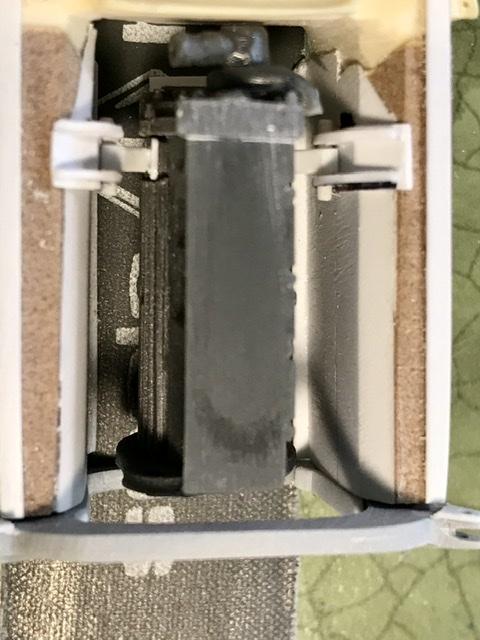
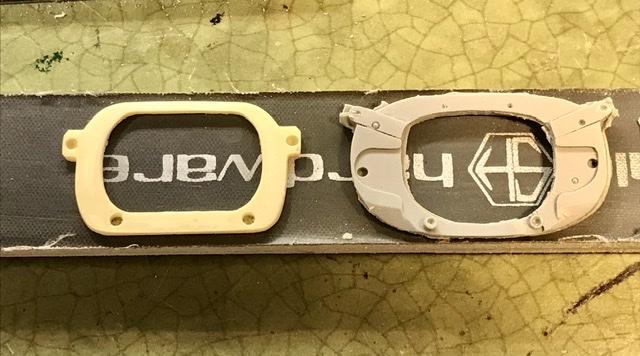
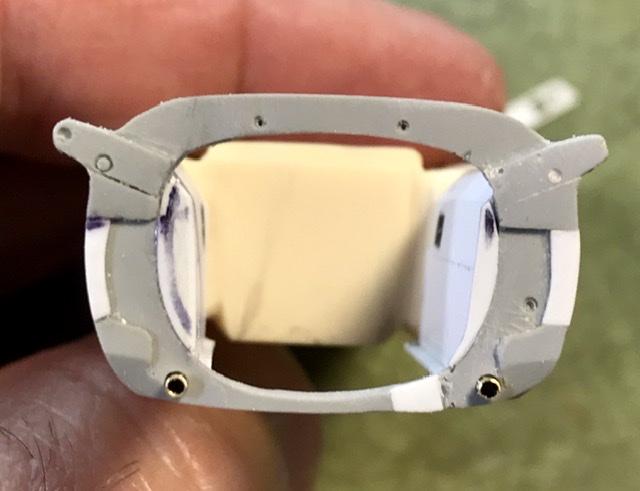
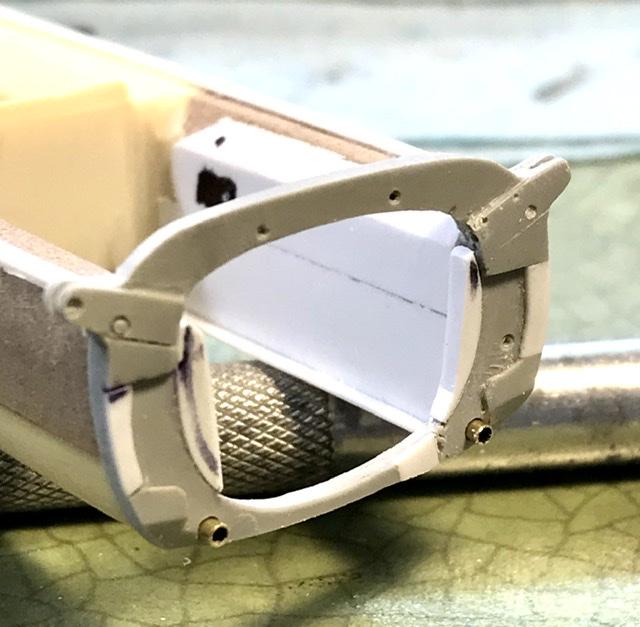
The suspension / transmission bulkhead. The light resin color kit piece is scrapped. The gray resin bulkhead is from the resin parts box and is modified with some evergreen plastic, files, and sanding sticks to mate with the ends of the monocoque. This took several hours - but this part has to be right - all of the susp parts and the transmission will be bolted to it.
-
Guido / Scalekraft lived in South Africa. If I recall this correctly we were exchanging faxes and I had purchased a couple of his curbside kits and/or body castings. The internet was an infant ... he was making some castings for one Or two of the Cooper GP cars and I expressed my interest in a kit with a detailed chassis and engine. I mailed the master parts that you see here To S Africa. - and a month or three later - back came the masters and some castings. But before the project was completed - I lost contact with him - as apparently a number of other modelers did also ... and that was that ... the castings I’m using for the body of the Cooper F3 - Cooper Barn Find - are Guido’s. Years later I’ve read/heard nothing but rumors or speculation of Guido’s fate ... ... Do we have any forum members from that distant part of our planet ... ?? ... I’ll post some more of the Cooper castings later this weekend ...
-
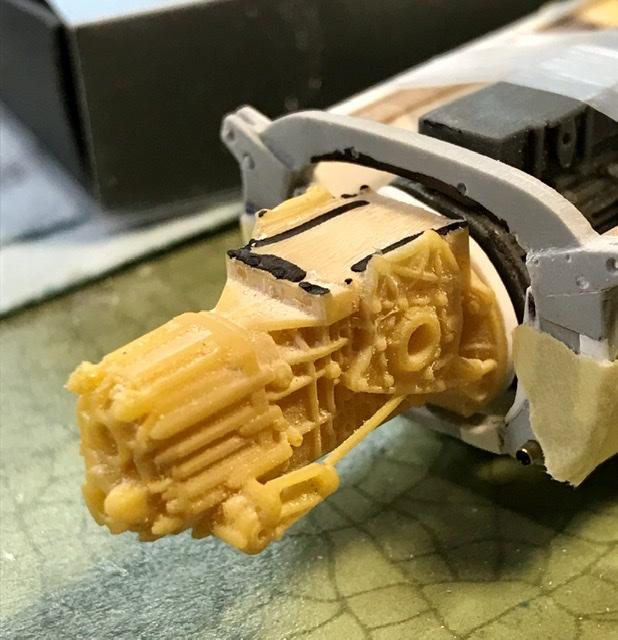
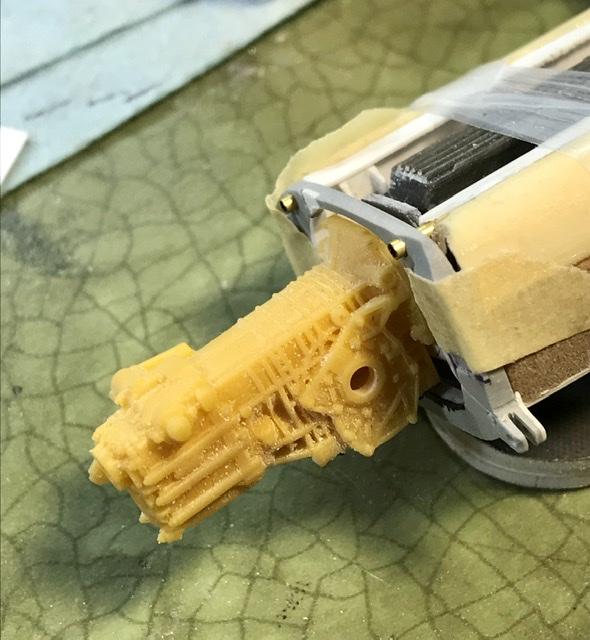
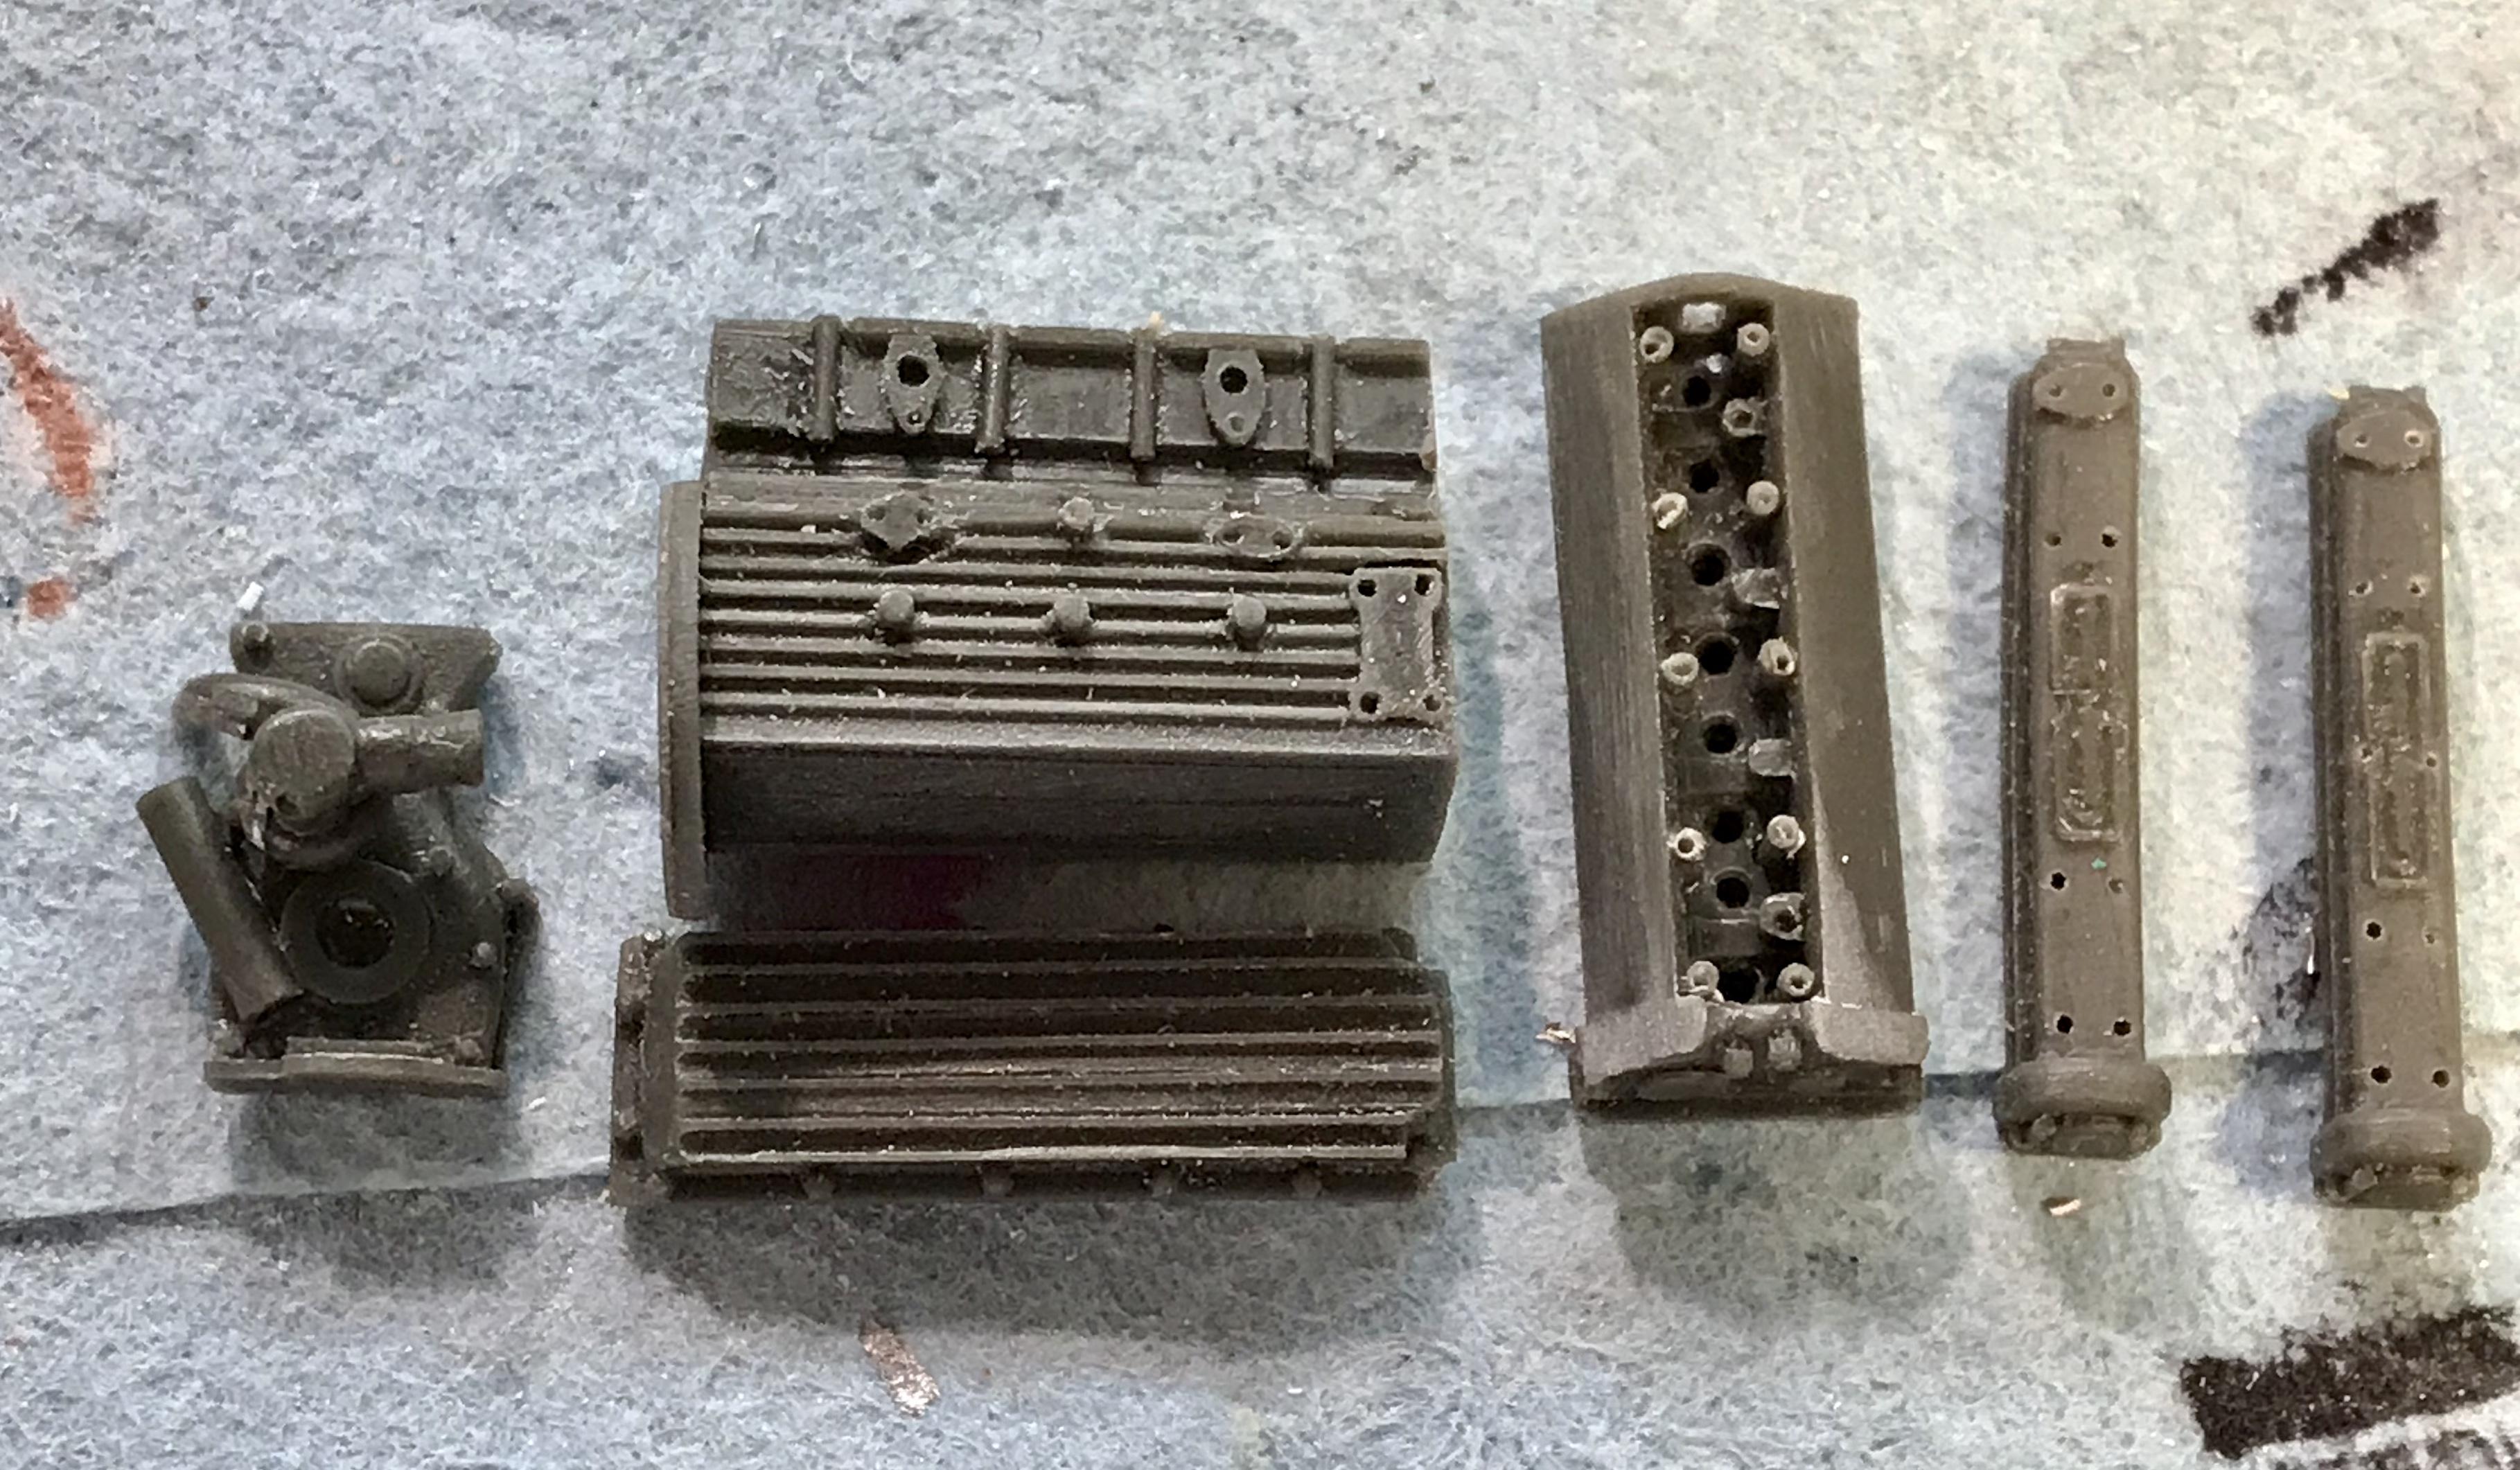
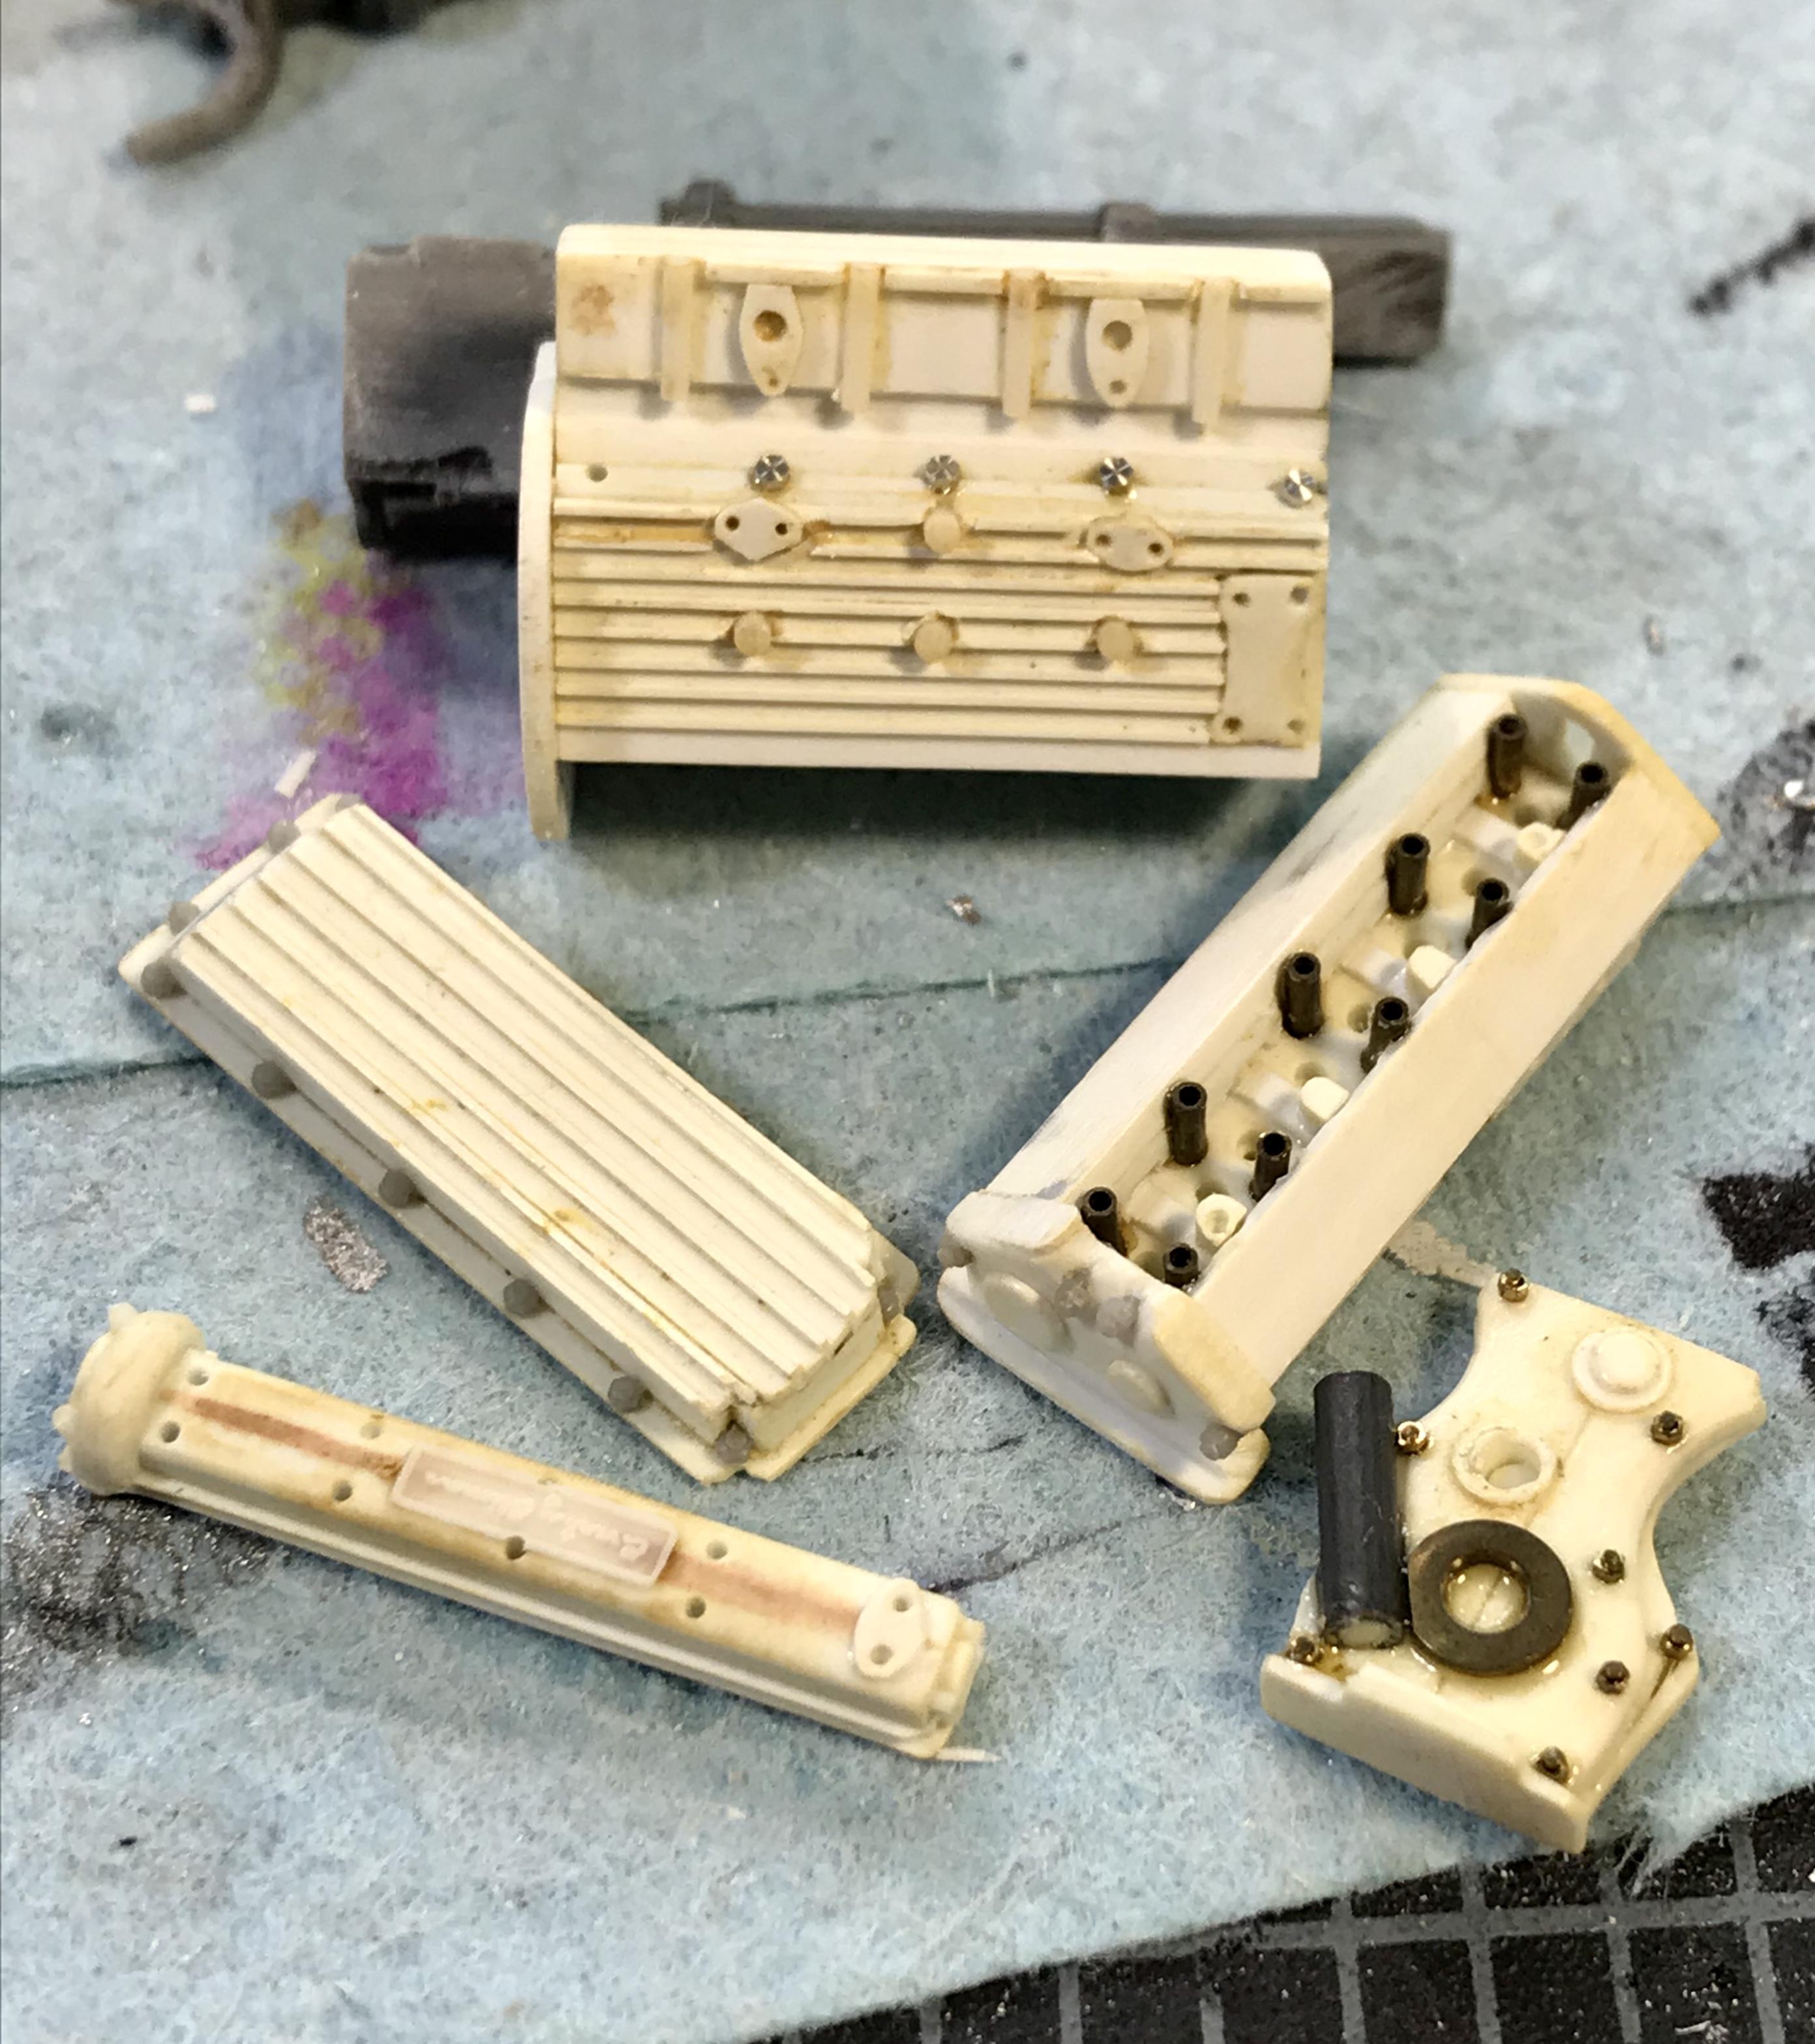
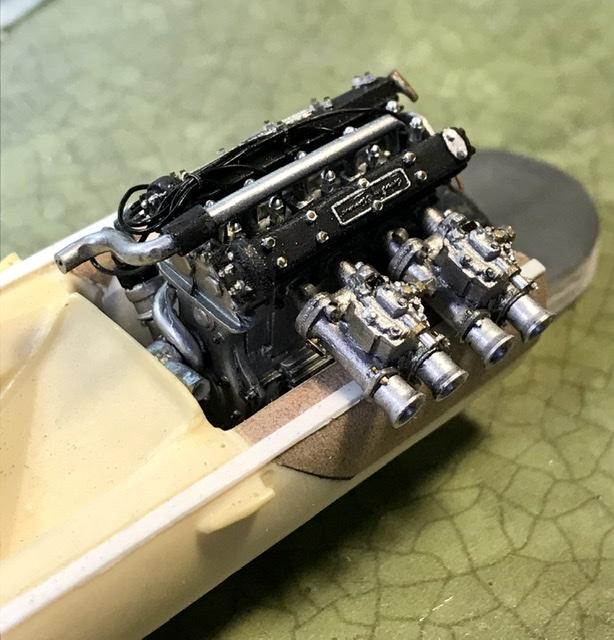
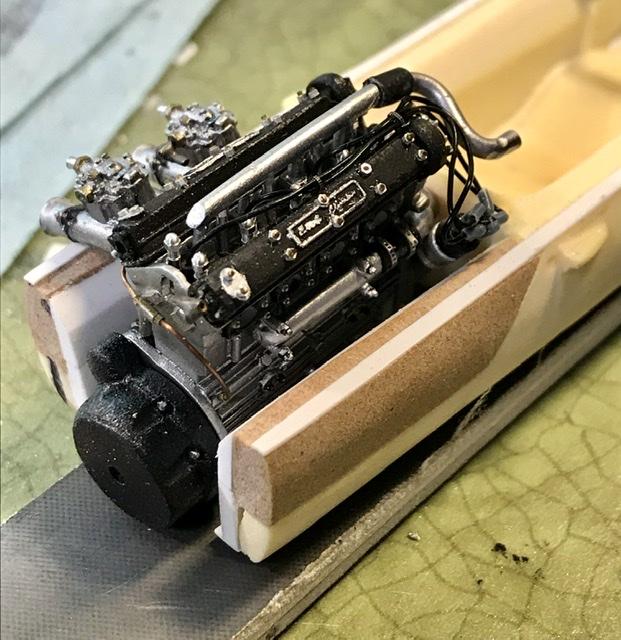
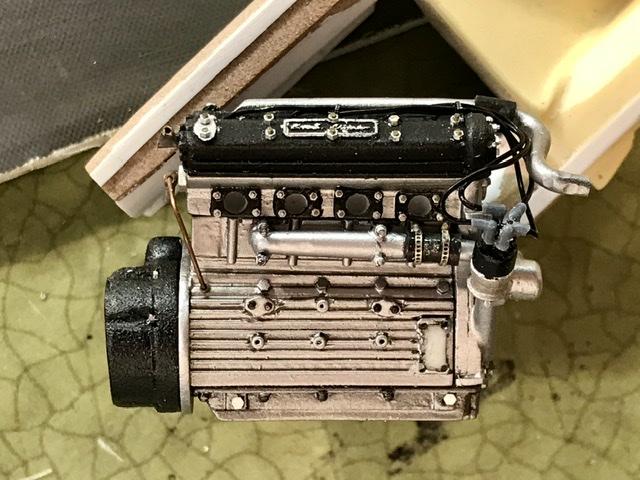
These castings were done by Scalekraft’s Guido Fiew (sp?) years ago - over ten years ago - the resin is brittle and in tight spots - tears - so not ideal but usable . I’ve also gotten Norman Veber to make better castings in his standard cream colored resin - which is much more forgiving when drilled .... so now you’re supposed to ask me why/how I had Guido , who lives half a planet away from me , cast this engine .... ....
-
So the engine components are made from sections of Evergreen bar and sheet with some bolt detail - both plastic and metal
-
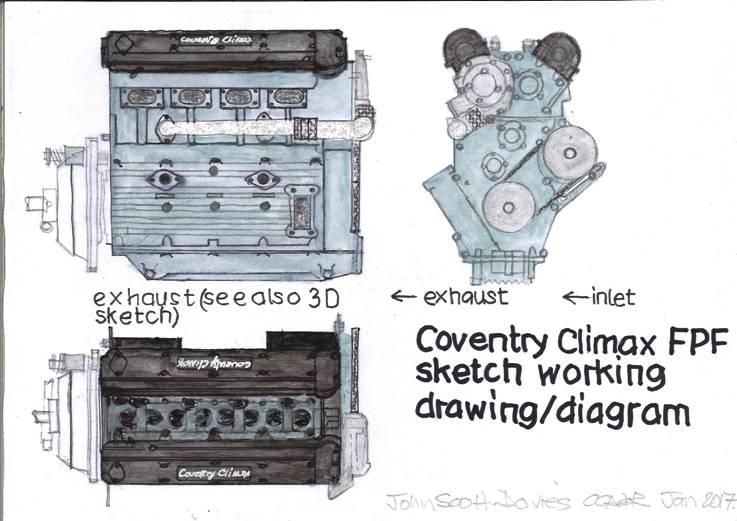
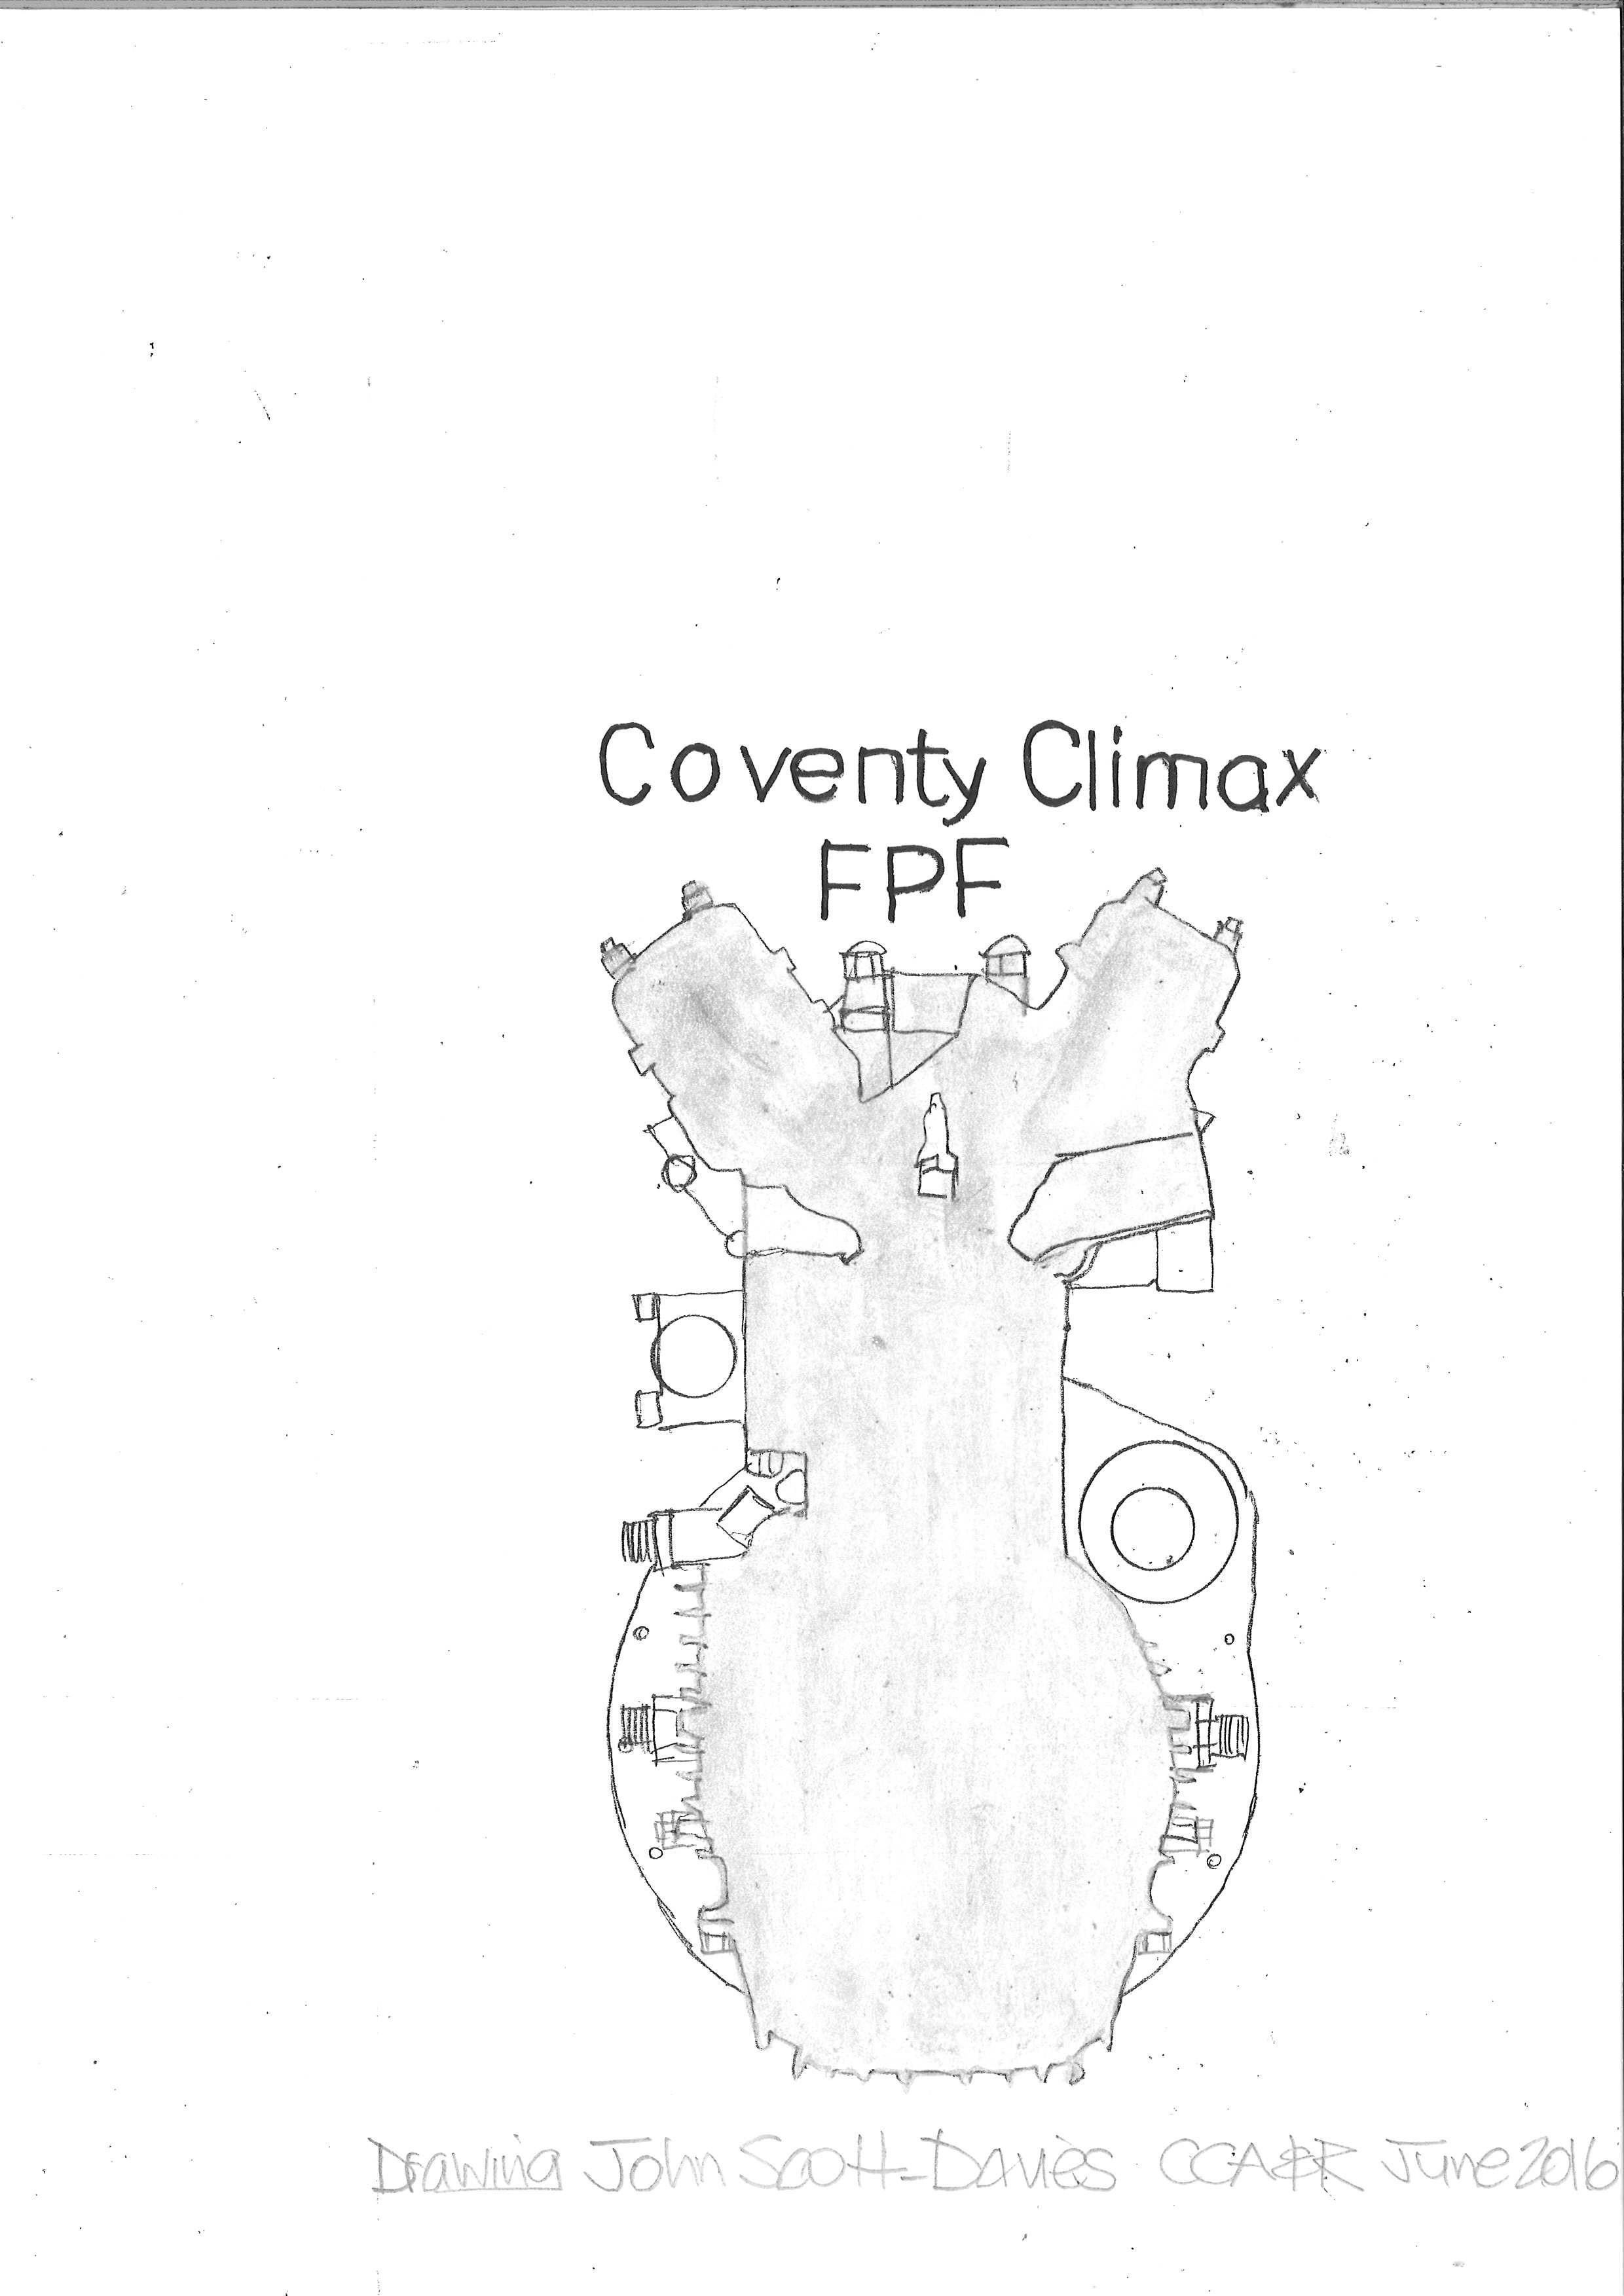
this Scott-Davies drawing depicts the sports car FPF - with the generator - excepting this / it is dead accurate for the engine used in the 32B ... enjoy
-
one of the FPF drawings fr this article
-
now - what could possibly be better than a site full of Lotus porn ... http://www.colinchapmanmuseum.co.uk/?page_id=2861 this link will take you to an article written and illustrated by one of the site's curators: a certain John Scott-Davies - someone I would like to meet some day ... very good article on Climax racing engines the FPF illustrations match quite well with the drawings that I used to do the engine castings years ago. - on a very good site ….
-
http://www.colinchapmanmuseum.co.uk spend an hour nosing through the articles drop-down very good site - worth a look I am referencing the Climax engine article on my Lotus 32B build ...
-
Steady hands low blood pressure ...
-
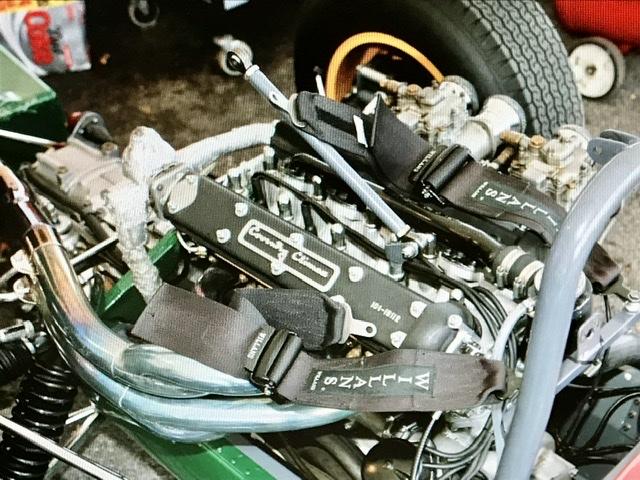
Yup liking that firewall - the chalk markings ? Done how ??
-
Tamiya McLaren MP4/6 build
absmiami replied to Josie's topic in WIP: Other Racing: Road Racing, Land Speed Racers
Very nice and thank you for not clear coating .... by the way. Any thoughts on brake-ductgate ?? -
I’ll post pix of the castings later ... the Climax FPF was mounted straight up/down on the Lotus 32B. I’ll have to make the exhausts and the “swirl pot” That sits at the front of the engine. The transmission will be “borrowed” from one your Ford GT 40 printings ...the Lotus 33 used the 8 cyl climax engine - so the Engine casting in the Joker kit is now just spare resin stock ...
-
i scratch-built one Years ago and had some resin castings made. This particular build is for an inclined engine mounting - which is why the Weber’s are pointing downWard.
-
Coventry Climax 2.5 lite FPF ....