ubermodel
-
Posts
48 -
Joined
-
Last visited
Content Type
Profiles
Forums
Events
Gallery
Everything posted by ubermodel
-
I gotta say, usually I'm not one for weathered engines, but those dirty chrome valve covers look exactly like they should after years of oil, grease, fingerprints, dust, and dirt on them. Nice work.
-
71 Olds 442 W30 (replica of my brother in law’s car)
ubermodel replied to Steve H's topic in WIP: Model Cars
Those seats look like the perfect amount of gloss to simulate vinyl. Whose semi-gloss black is that? -
Replica of my 1970 Superbird Tribute car
ubermodel replied to Superbird McMonte's topic in WIP: Model Cars
Hey Dom, congrats on the tribute car! And great idea on that ride height jig. I hear you're the LIARS Grand Poobah these days? -
If the rest of the paint wasn't affected similarly, I've got three words for you - retroactive vinyl top.
-
That top looks really good. Captures the "skin over frame" look very realistically.
-
Very, very cool. I really like the way the rainbow colors on the dragster match the colors on the hauler when it's loaded up.
-
Holy carp this is exciting news! I haven't picked up a new release in years but have always kept an eye open for a new tool of a 70 Cougar Eliminator, 71-73 Cougar, 71-73 Mustang, and 68/69 or 70/71 Cyclone Spoiler. Prayers answered!
-
Stunning model. That engine really looks like the real thing. Well done.
-
1977 Olds Cutlass from 3D print from Too Many Projects
ubermodel replied to carl63_99's topic in WIP: Model Cars
What's the method you use to shape the new windows? Do you used a vacuform machine to pull the glass over the mold, or just heat it with a hot air gun and pull down by hand? -
Unless Revell has fixed the mold, which I doubt, you'll find that the passenger side quarter panel extension doesn't come to the same pronounced (and correct) point right above the end of the bumper as the driver's side does, and could use a little extra plastic and reshaping.
-
That's a really nice satin black, what did you use for that?
-
I wish Revell would fix the mold for the body. If you look at the rear "cap" just behind the quarter panel and above the rear bumper, the driver's side comes to a nice sharp point, while the passenger side looks like it was dropped and dented. The mold has been like this as far back as I can remember, back when there was only the Boss 429 kit in the 1980's.
-
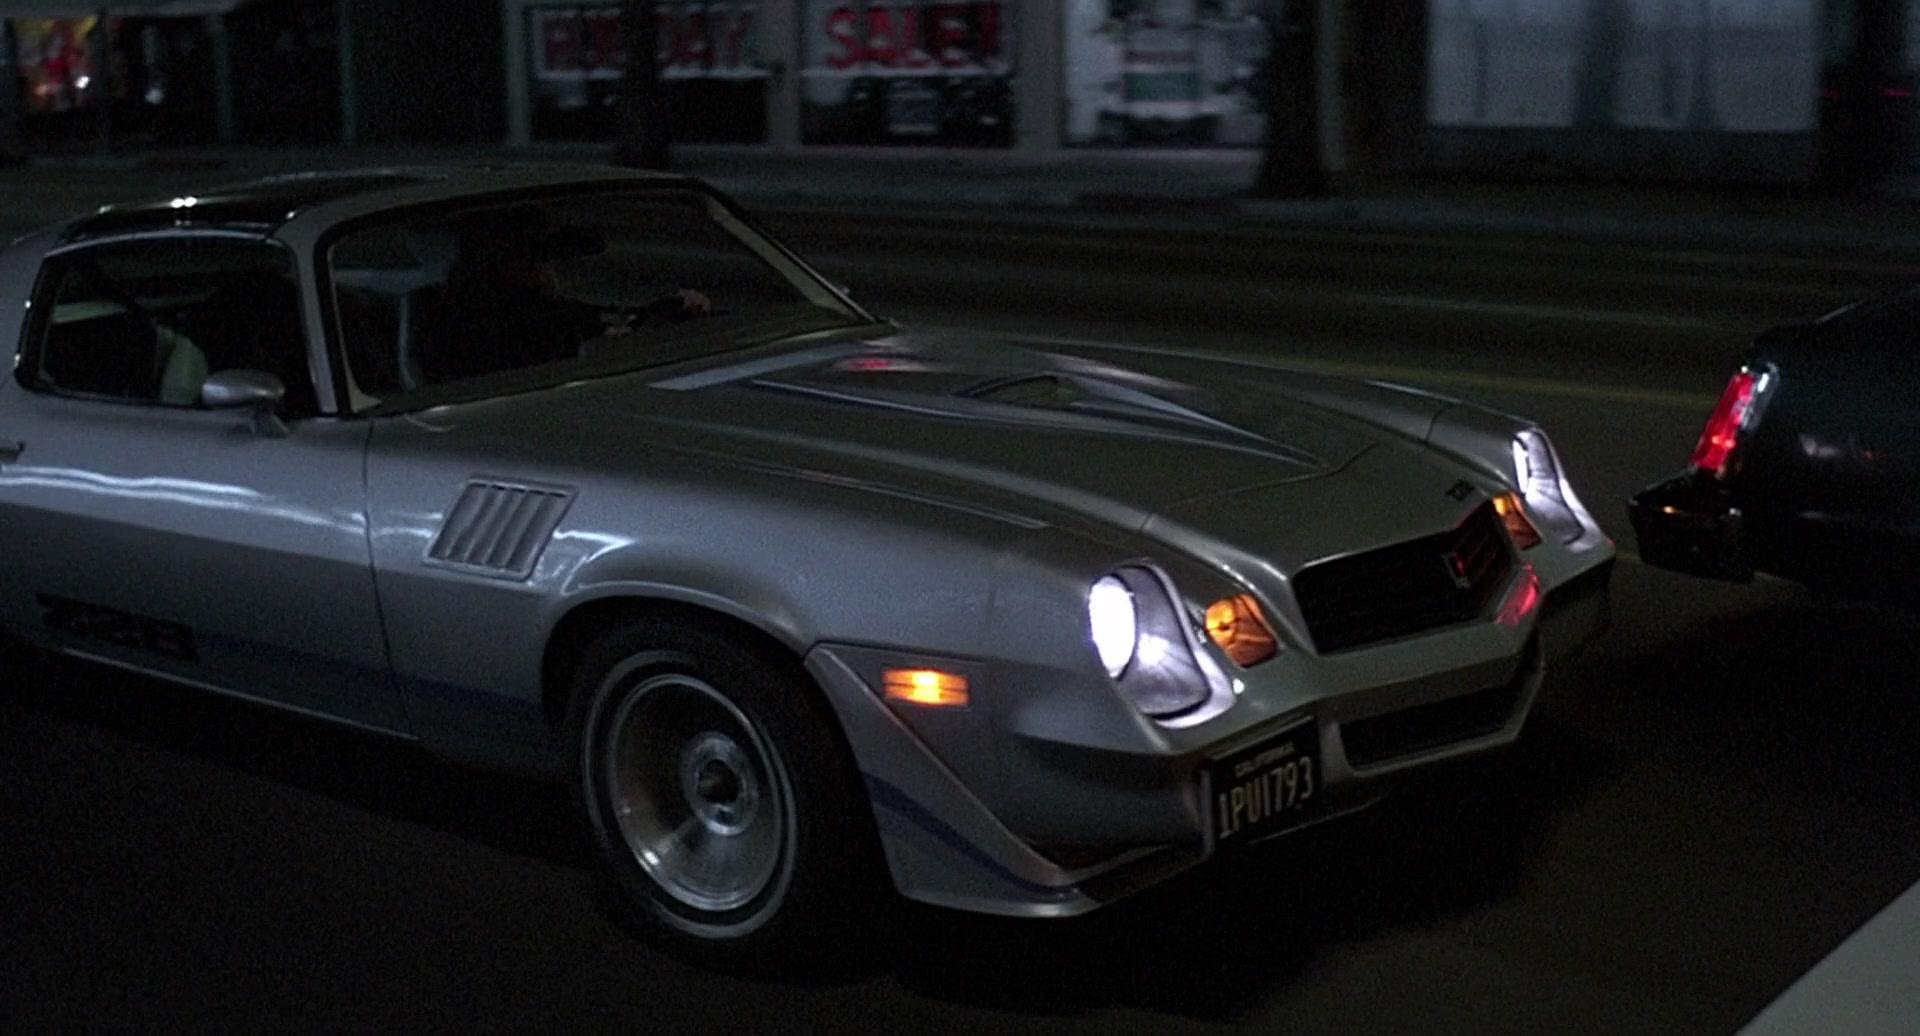
It's the Fast times at Ridgemont High Camaro! Well, except for the t-tops.

-
Monogram 1970 Dodge Challenger T/A IPMS show awards
ubermodel replied to mustang1989's topic in Model Cars
Been following your "on the workbench" posts, great job. What's your source for the air cleaner / filter / rubber seal? -
This is really beautiful. What method did you use on all the panel lines to make it look like the doors, trunk, etc. are openable?
-
Models at Toys r Us
ubermodel replied to SFC_Allen's topic in General Automotive Talk (Trucks and Cars)
I did the same thing! I think I snagged about a dozen of those Pro Shop 57's. -
Yet another Mopar question
ubermodel replied to imatt88's topic in General Automotive Talk (Trucks and Cars)
Interior differences = door panels, dashboard emblem, standard steering wheel. Bucket seats optional on RR, standard on GTX. Road Runner standard engine = 383, GTX = 440/4. Optional 340/4 for Road Runner, not available for GTX. The older Monogram 1971 Satellite kit is a good start for a 71 RR; correct interior bucket and no rocker panel trim, but you'll need decals and a more correct engine. And a l'il bird's head for the grille. Meep meep! -
Stumbled across it yesterday looking for 71 GTX reference pics - http://www.bestofshowautomotive.com/index.html It has hundreds of muscle and other performance cars for sale, all with GREAT photos, many with chassis photos too, and all have a complete description of the car and its options. Sometimes the descriptions even mention how the car was correctly restored in such-and-such a way, helpful if you're a REAL stickler about building a correct model. As an aside, Holy-freakin-COW musclecar prices have gone thru the roof lately! $40k for a 340 Dart???? Insanity!
-
I'd like to continue with the '57 300C I stuck back on the shelf several years ago and hopefully somebody here can help with a couple of things: 1. At the NNL East in 2002 or so, Norm Veber (or someone else) at the Replicas & Miniatures booth told me he was possibly coming out with a set of resin 392 Hemi valve covers, which would have the correct "Chrysler FirePower" script on them (the AMT kits' covers were missing this script). I can find no reference to it anywhere on the 'net though, does anyone know if he actually produced such a thing, or if they're available from any other aftermarket caster? Or anywhere else for that matter? 2. I recall an SAE article from when the '57 300C was first released, and the builder chose to paint the undercarriage on his replica with red oxide primer, with body overspray misted on the sides. I always assumed Mopar cars were primered in grey, with overspray from the body on either side. Any Chrysler lovers know what is correct for the 300C? Anyone know of a good website with either restoration pics or information? Thanks guys.
-
Your seats & dashboard pad have the perfect sheen to replicate vinyl. What paint did you use?
-
Yup, there you go, basically the same as the stuff I use. And isn't it nice of them to mail it to you for free? Maybe next they'll start mailing out photoetched parts and polishing kits if we're lucky!
-
Speaking of mirrors, I'd like to add a little tip: sometimes the kits' mirrors do come molded with a little lip around the edge, but the center of the mirror will have a small sink mark in the plastic. Or in the case of a body-color side view mirror, they have a small chromed plastic insert that usually doesn't fit very well. What I've been doing is taking a small piece of chrome mylar film, cutting it down to correct size and gluing it over the existing mirror. The mylar I have is perfectly flat and looks much more like a mirrored surface than a chromed piece of plastic.
-
How best to remove Zap-A-Gap??
ubermodel replied to ubermodel's topic in Tips, Tricks, and Tutorials
Thanks for the tips guys. I'll test out each one and see what works/doesn't attack the plastic. -
How best to remove Zap-A-Gap??
ubermodel replied to ubermodel's topic in Tips, Tricks, and Tutorials
Hey Bob, how are things in the LIARS Club? Haven't been down there in several years. Sanding is a last resort I didn't want to have to do. I had the bumper perfectly straight & smooth and would prefer to just dissolve the glue rather than attack it, but I may just have to bite the bullet. -
So I'm working on an old release of AMT's 1969 442. I strip the bumpers and clean up all the mold lines, till they're nice 'n smooth and ready for replating. I give them one last once-over and notice that a big thick honkin' glob of Zap-A-Gap CA+ (the one in the green bottle) had somehow been kind enough to affix itself to a nice smooth area of the front bumper. I read somewhere that nail polish remover is good for removing crazy glue, so before I try it on my bumper I test-soak a small piece of AMT's soft grey styrene for a few minutes, which sure enough softens up the plastic. Can't have that, nuh-uh. Can anyone recommend a solution to soak this particular type of plastic in that will dissolve the glue but leave the plastic totally unaffected??