nickfzr61
-
Posts
309 -
Joined
-
Last visited
Content Type
Profiles
Forums
Events
Gallery
Everything posted by nickfzr61
-
Thanks for all the comments. Seems the name is unanimous. With a twist I’ve officially named it: “The Sinister Minister” of the church of speed.
-
Sauber Mercedes C9
nickfzr61 replied to kensar's topic in WIP: Other Racing: Road Racing, Land Speed Racers
Very nice build. Great attention to detail. Your work is really paying off. -
This is coming along nice. Can’t wait to see your weathering. Should be a real nice model when done. 👍🏻
-
Thank you Bruce. Simplistic compared to some things people do on this site but it works.
-
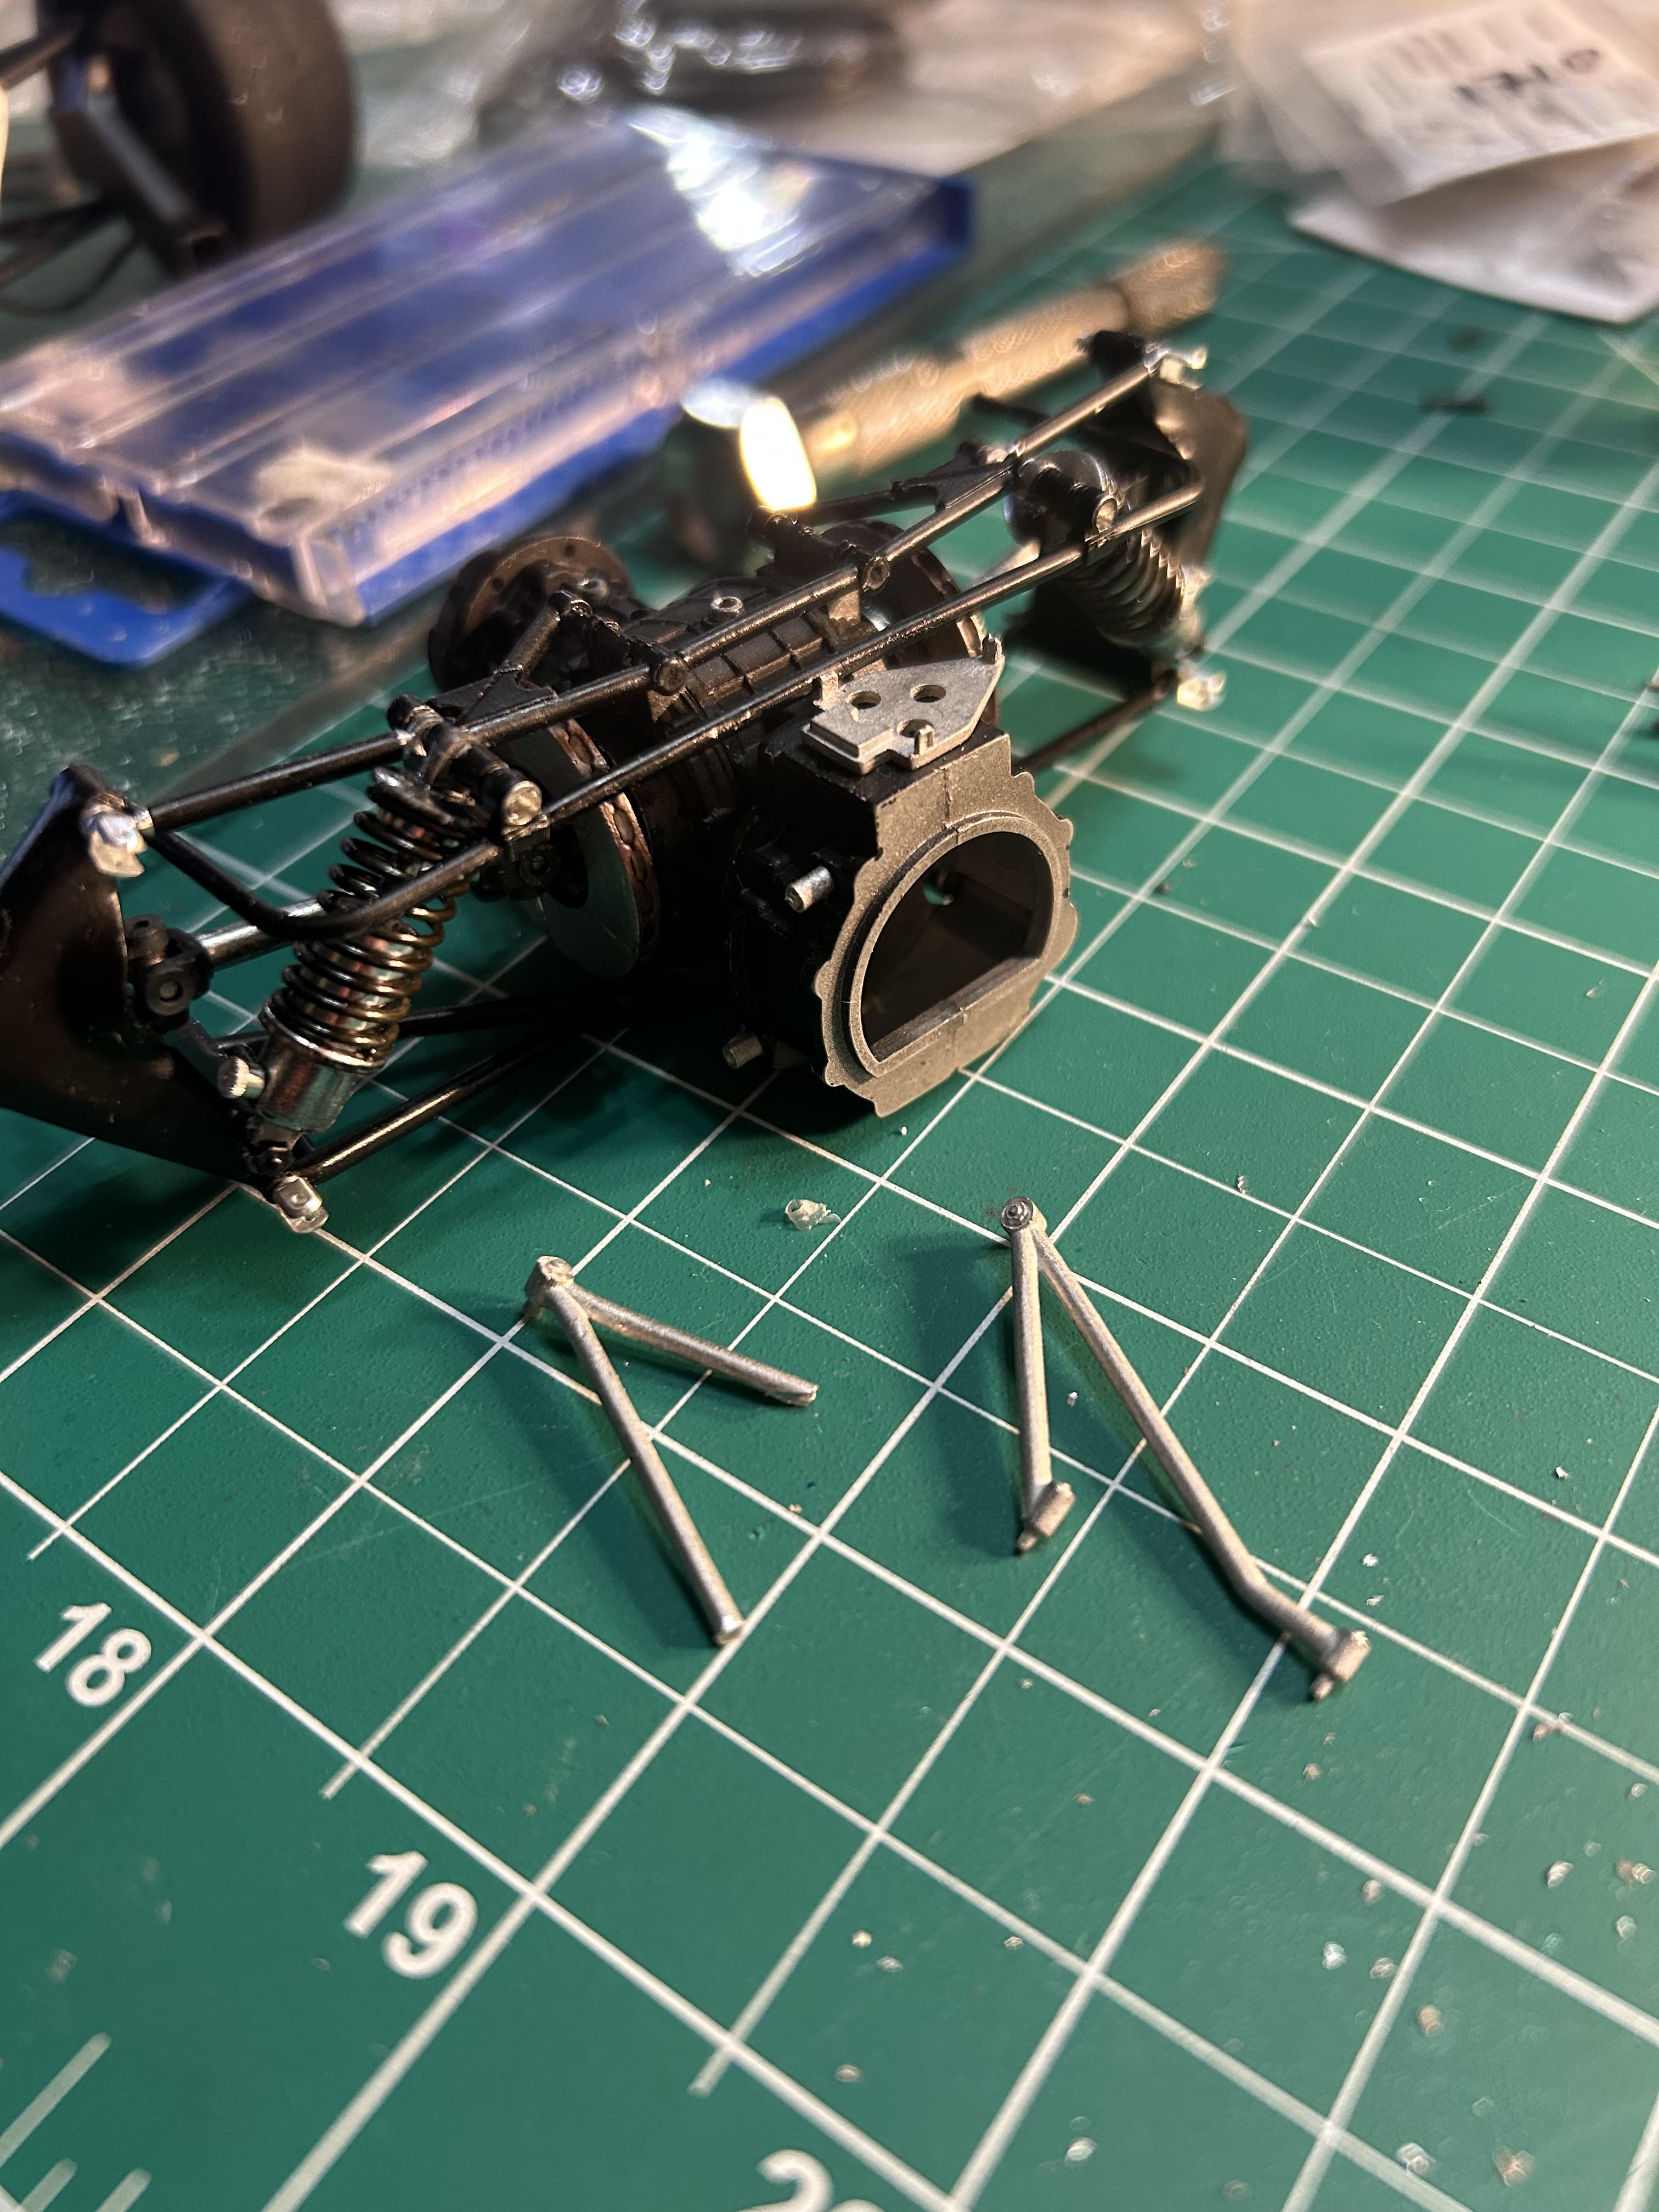
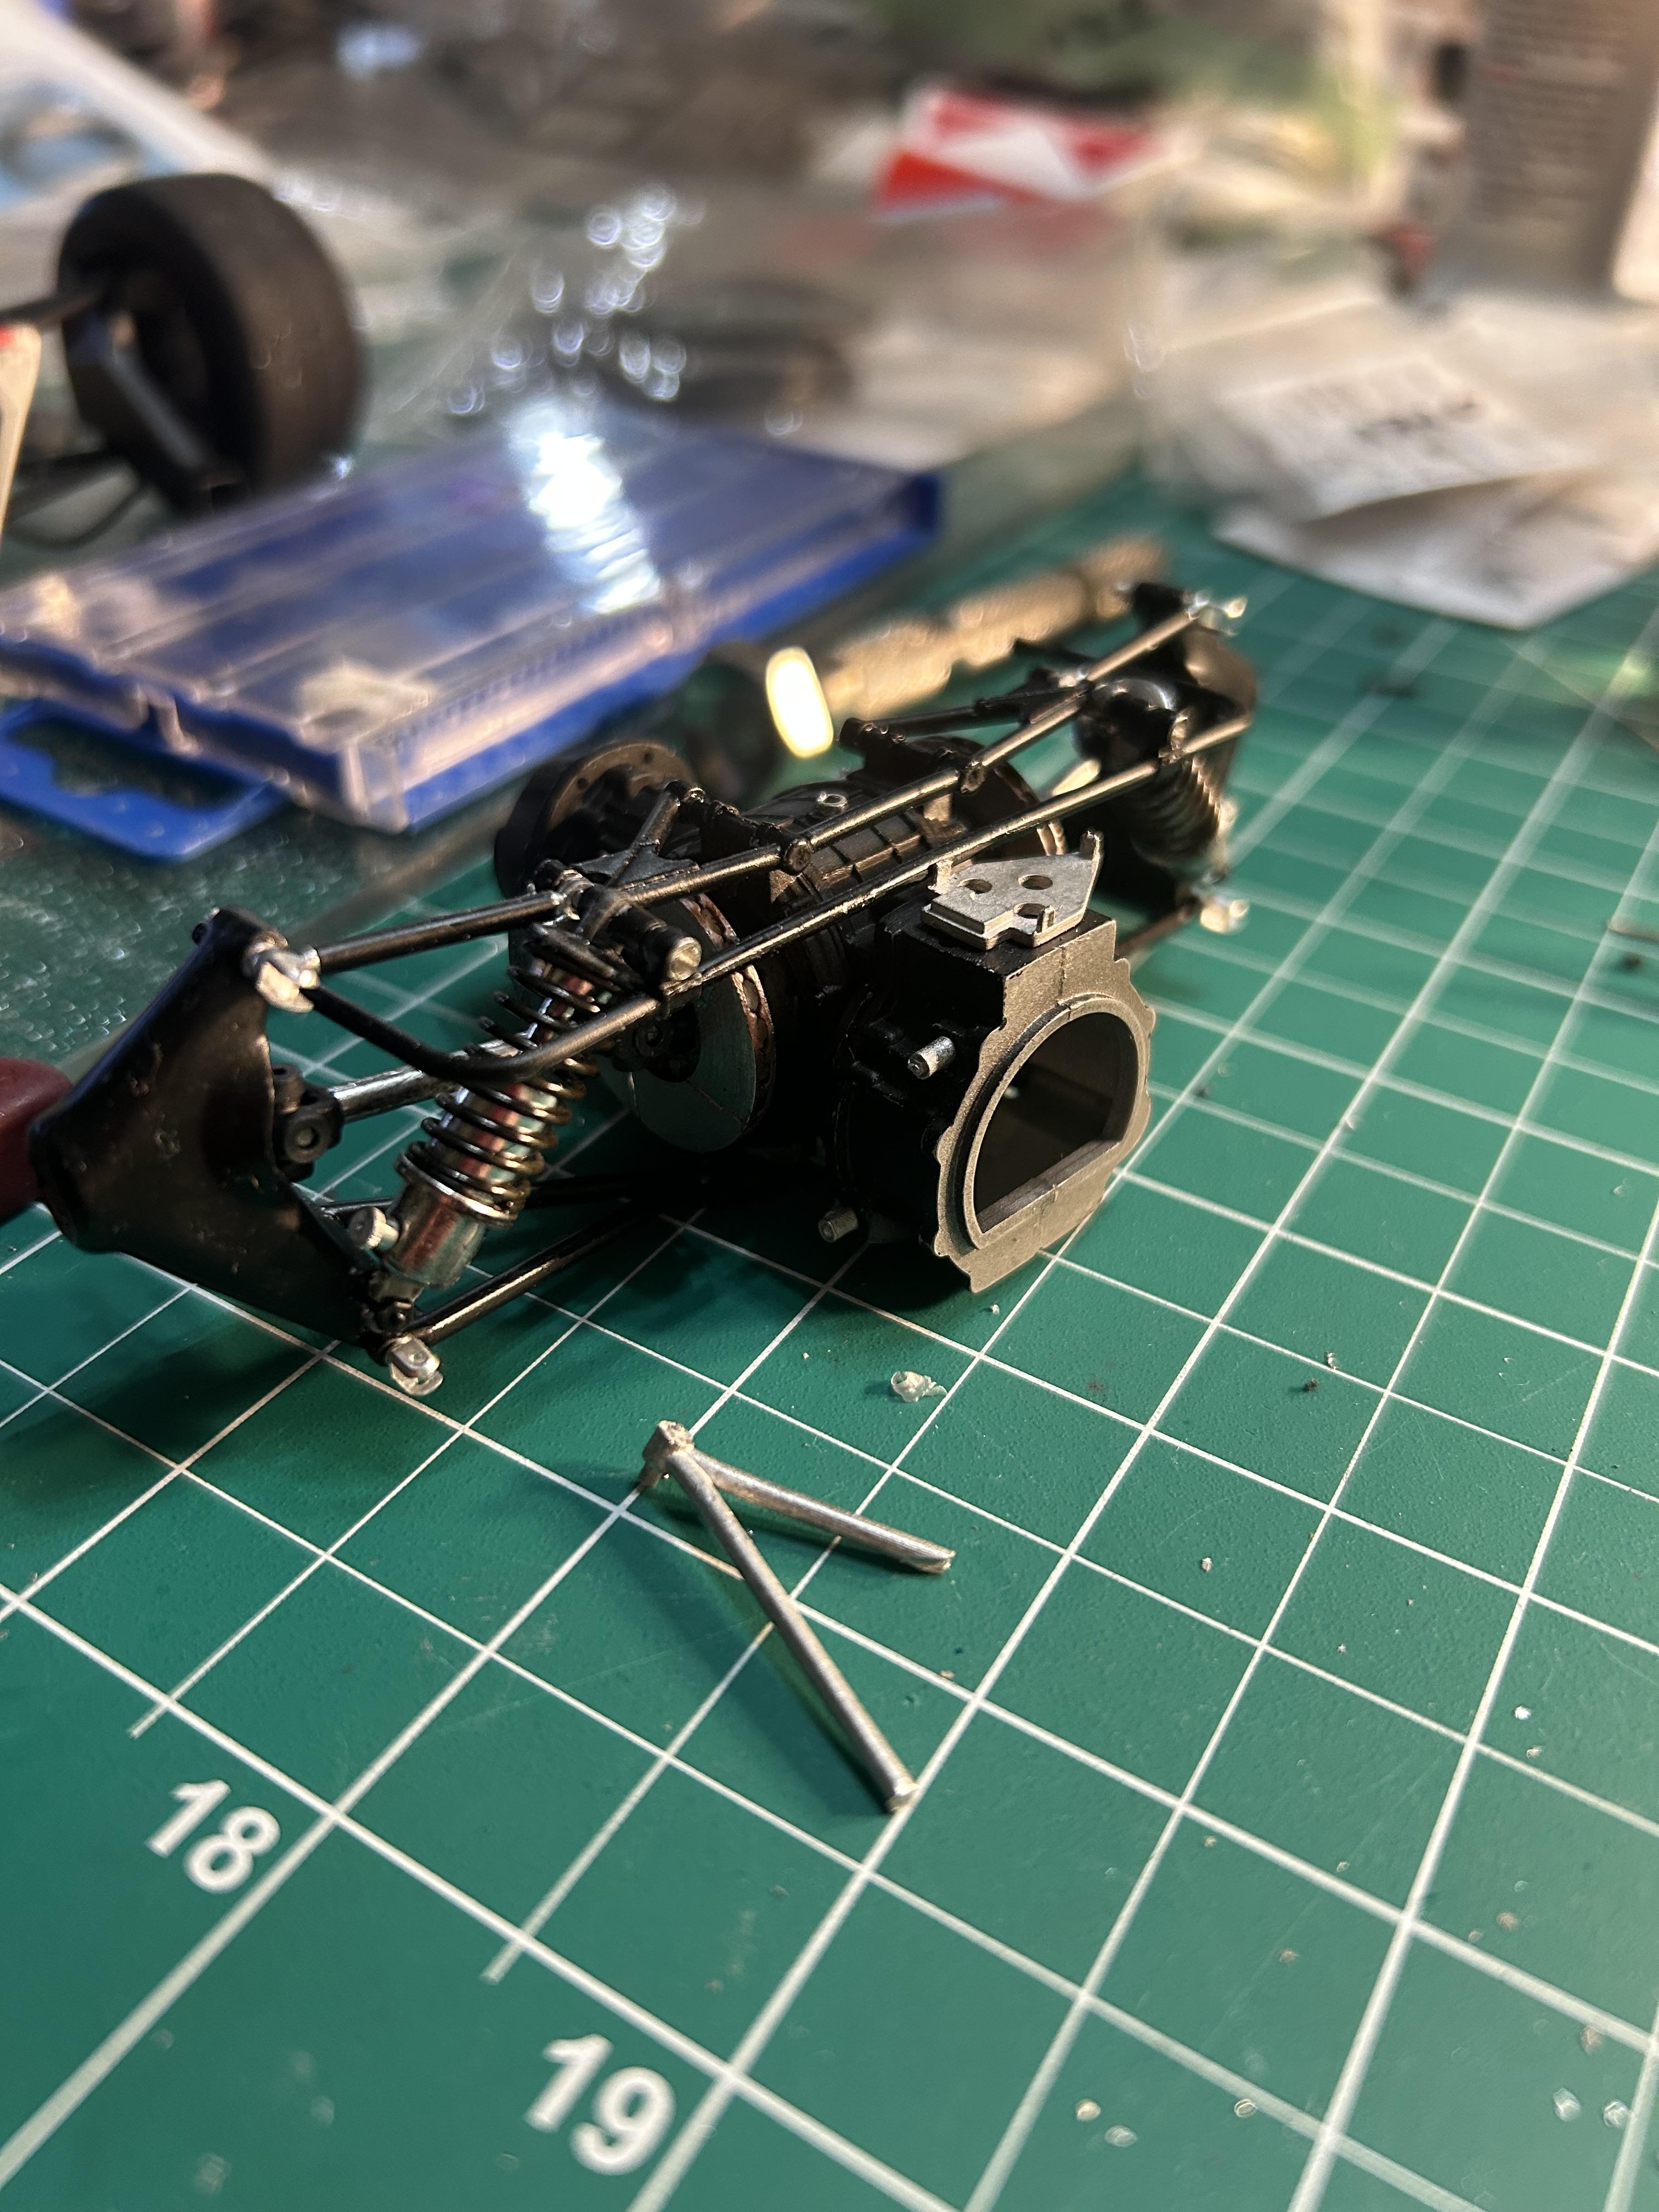
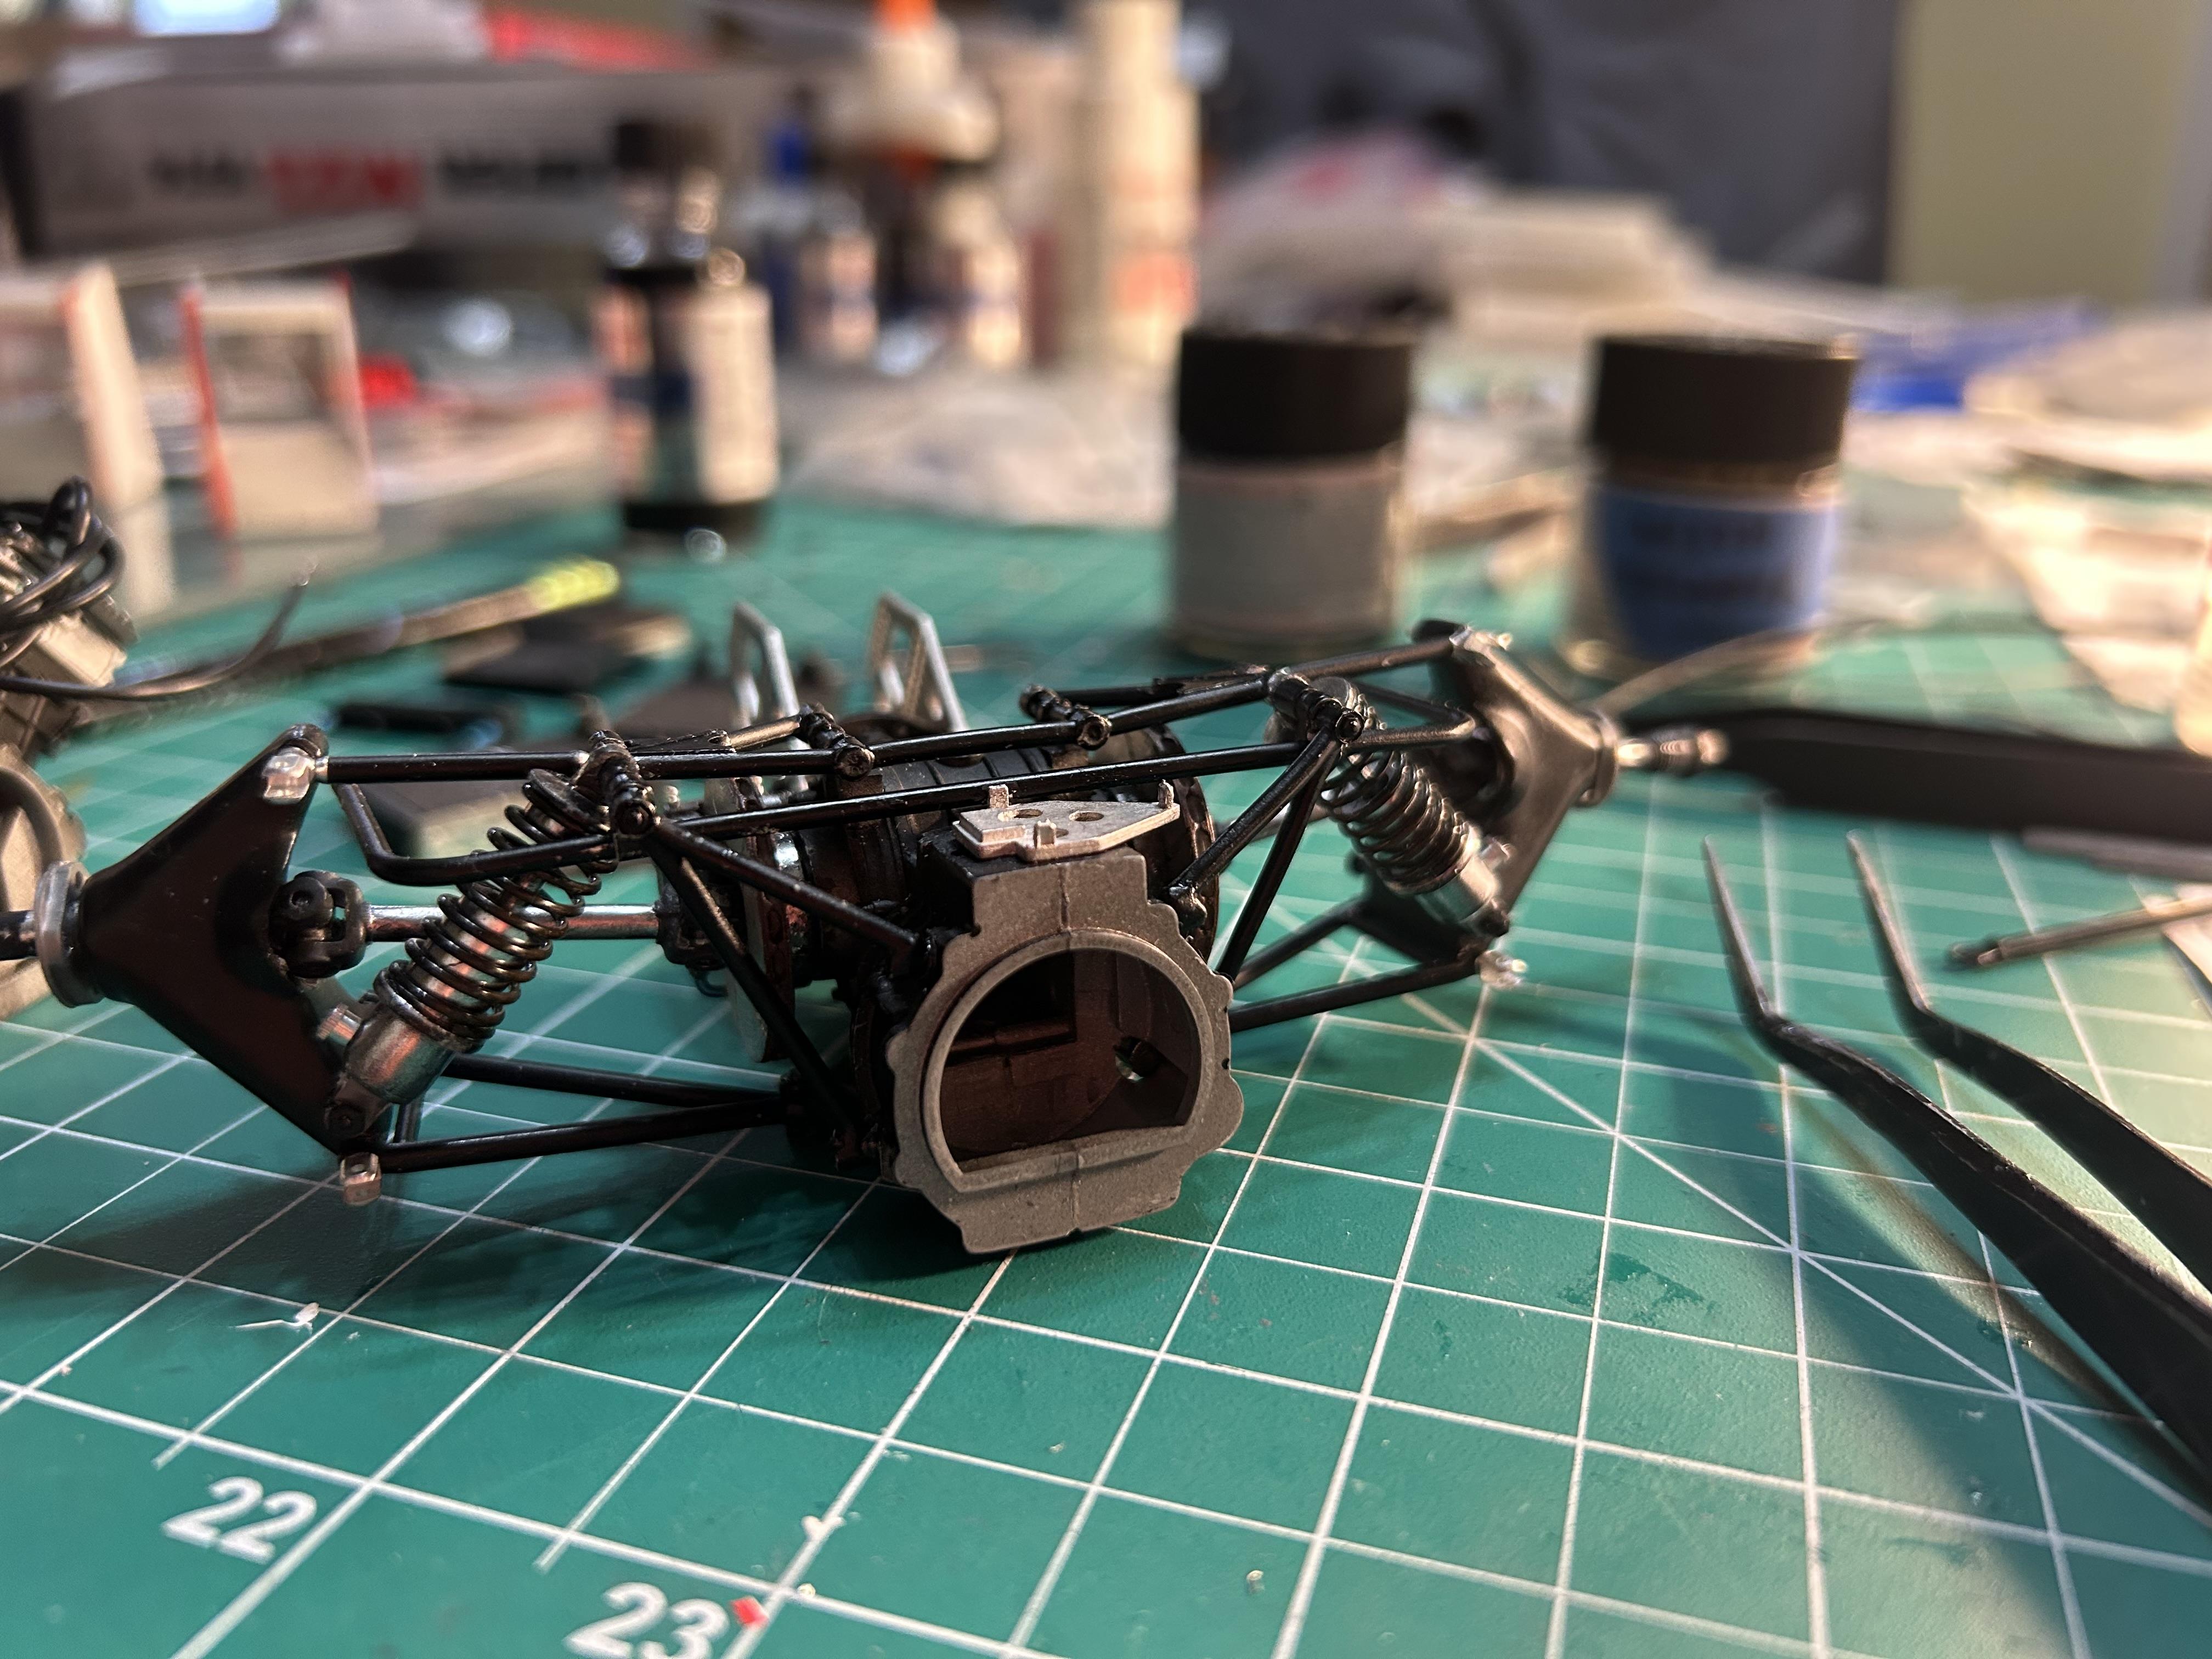
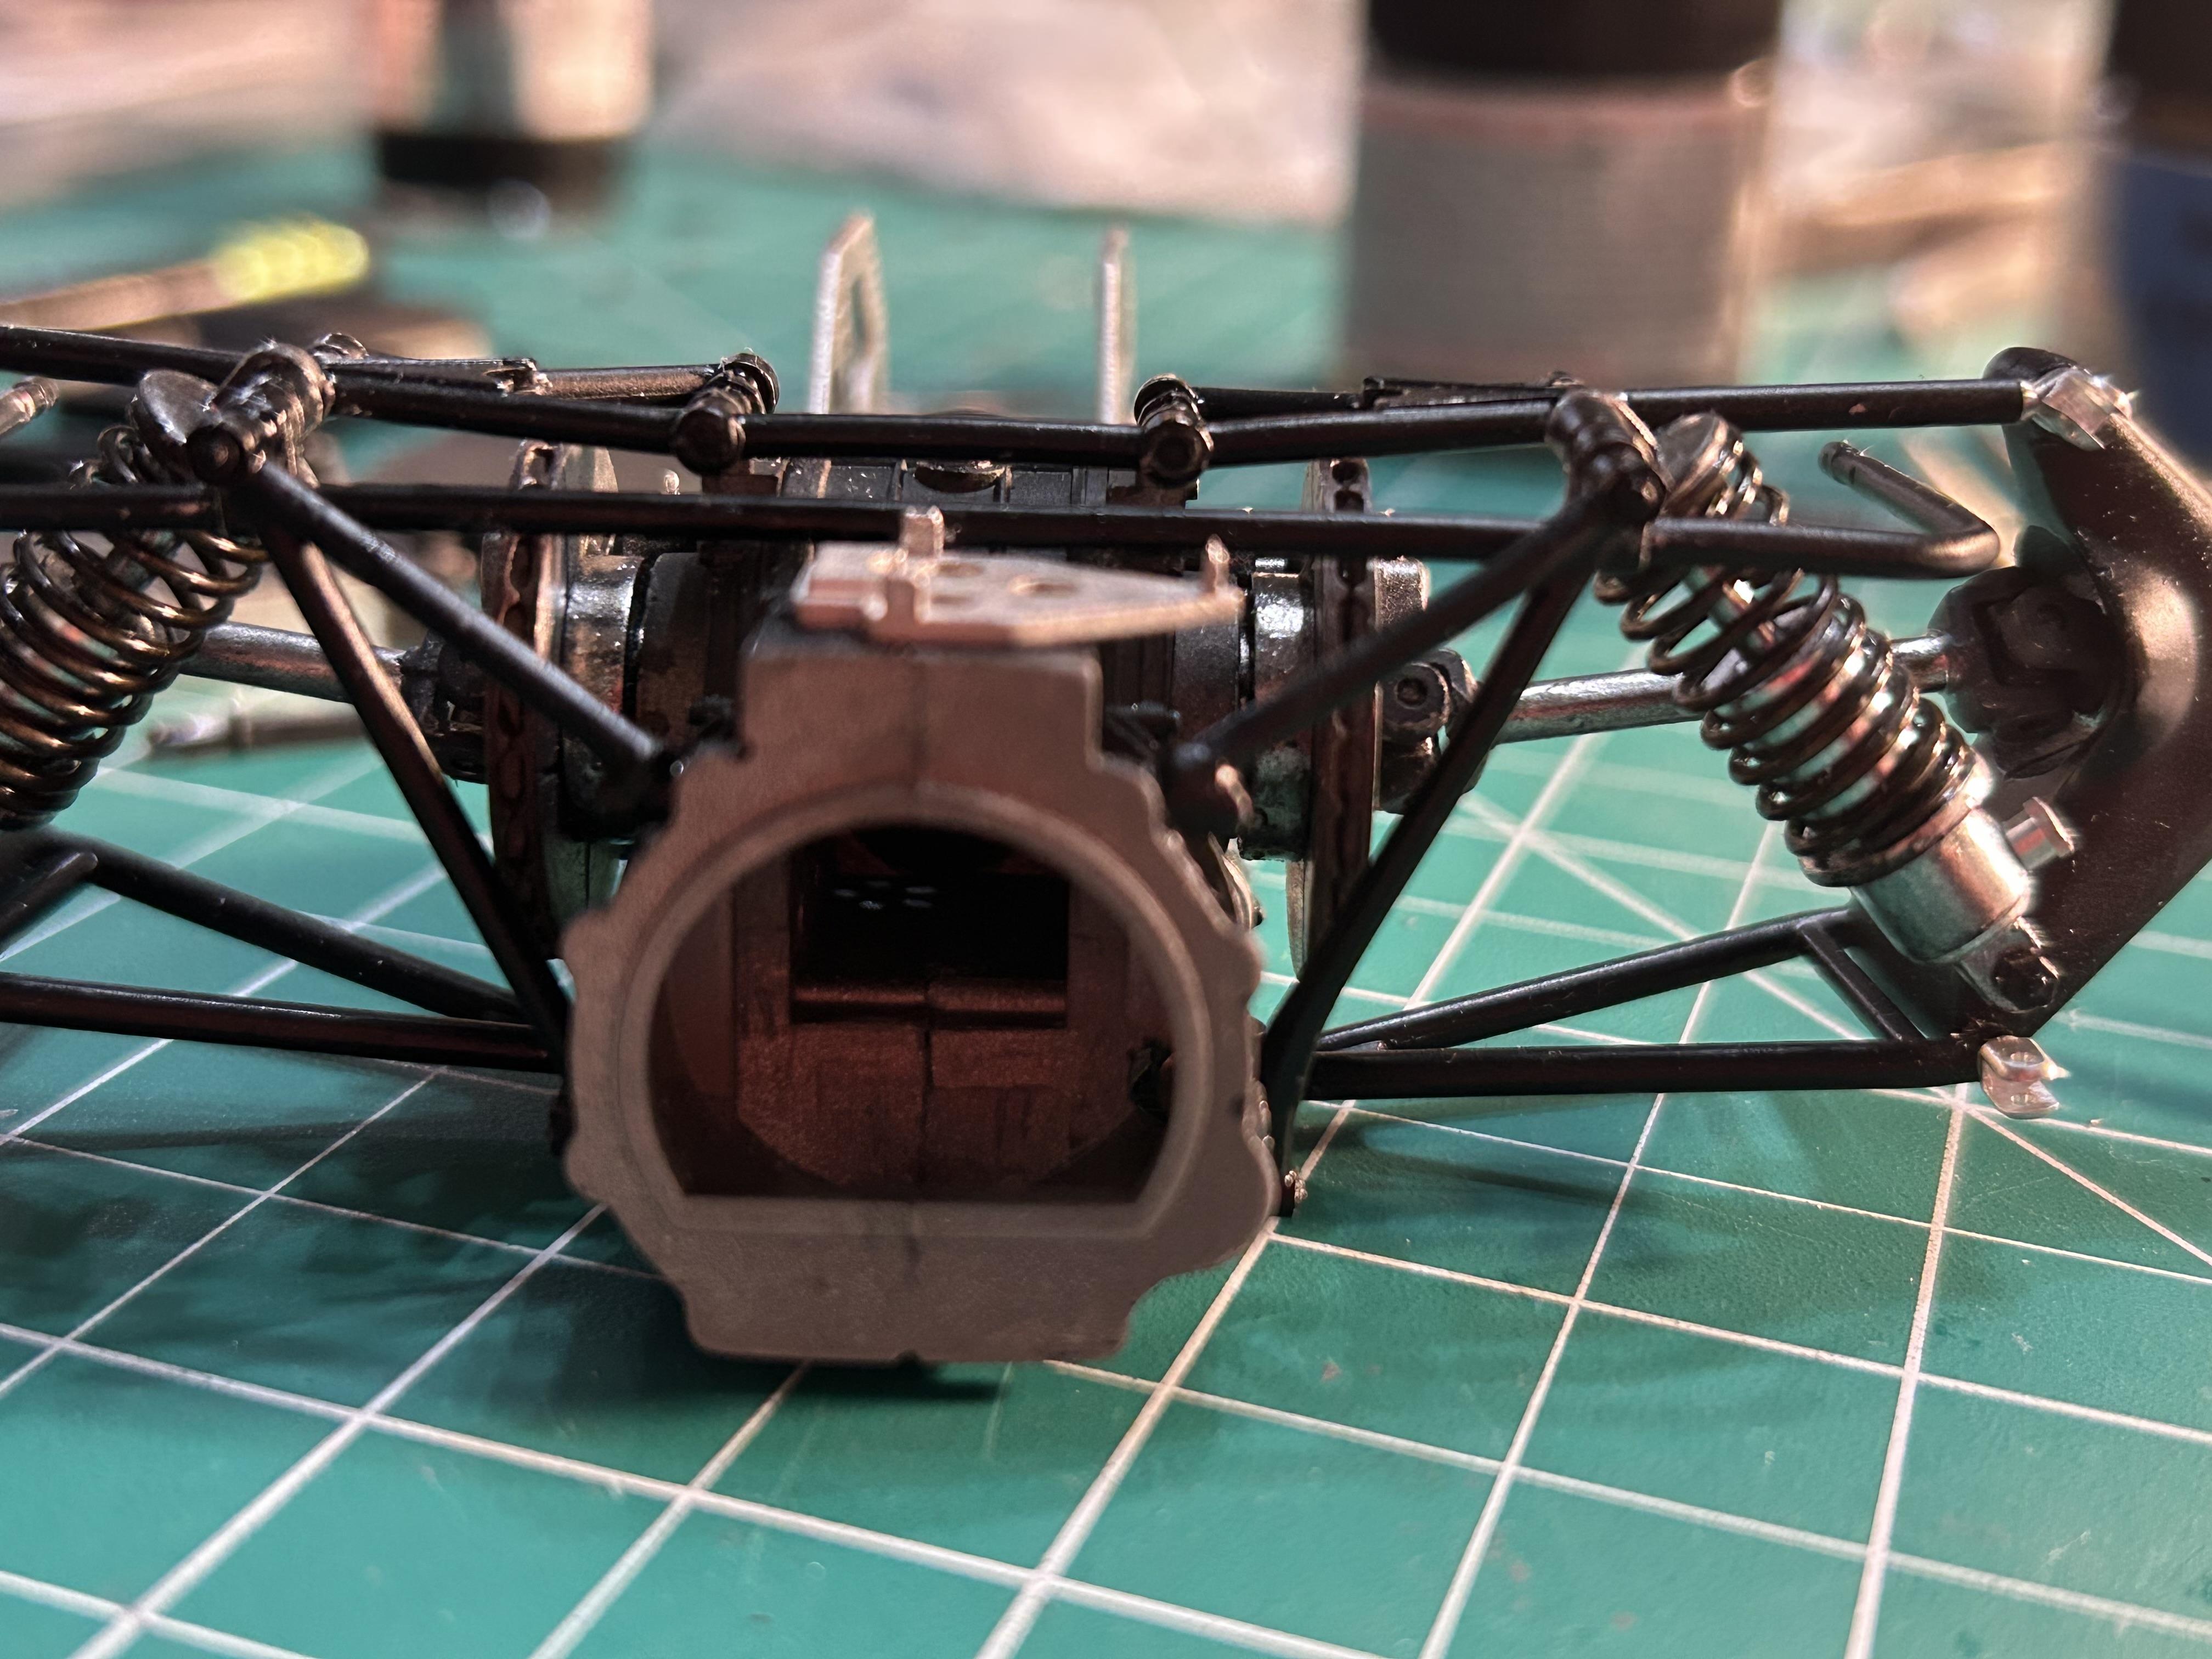
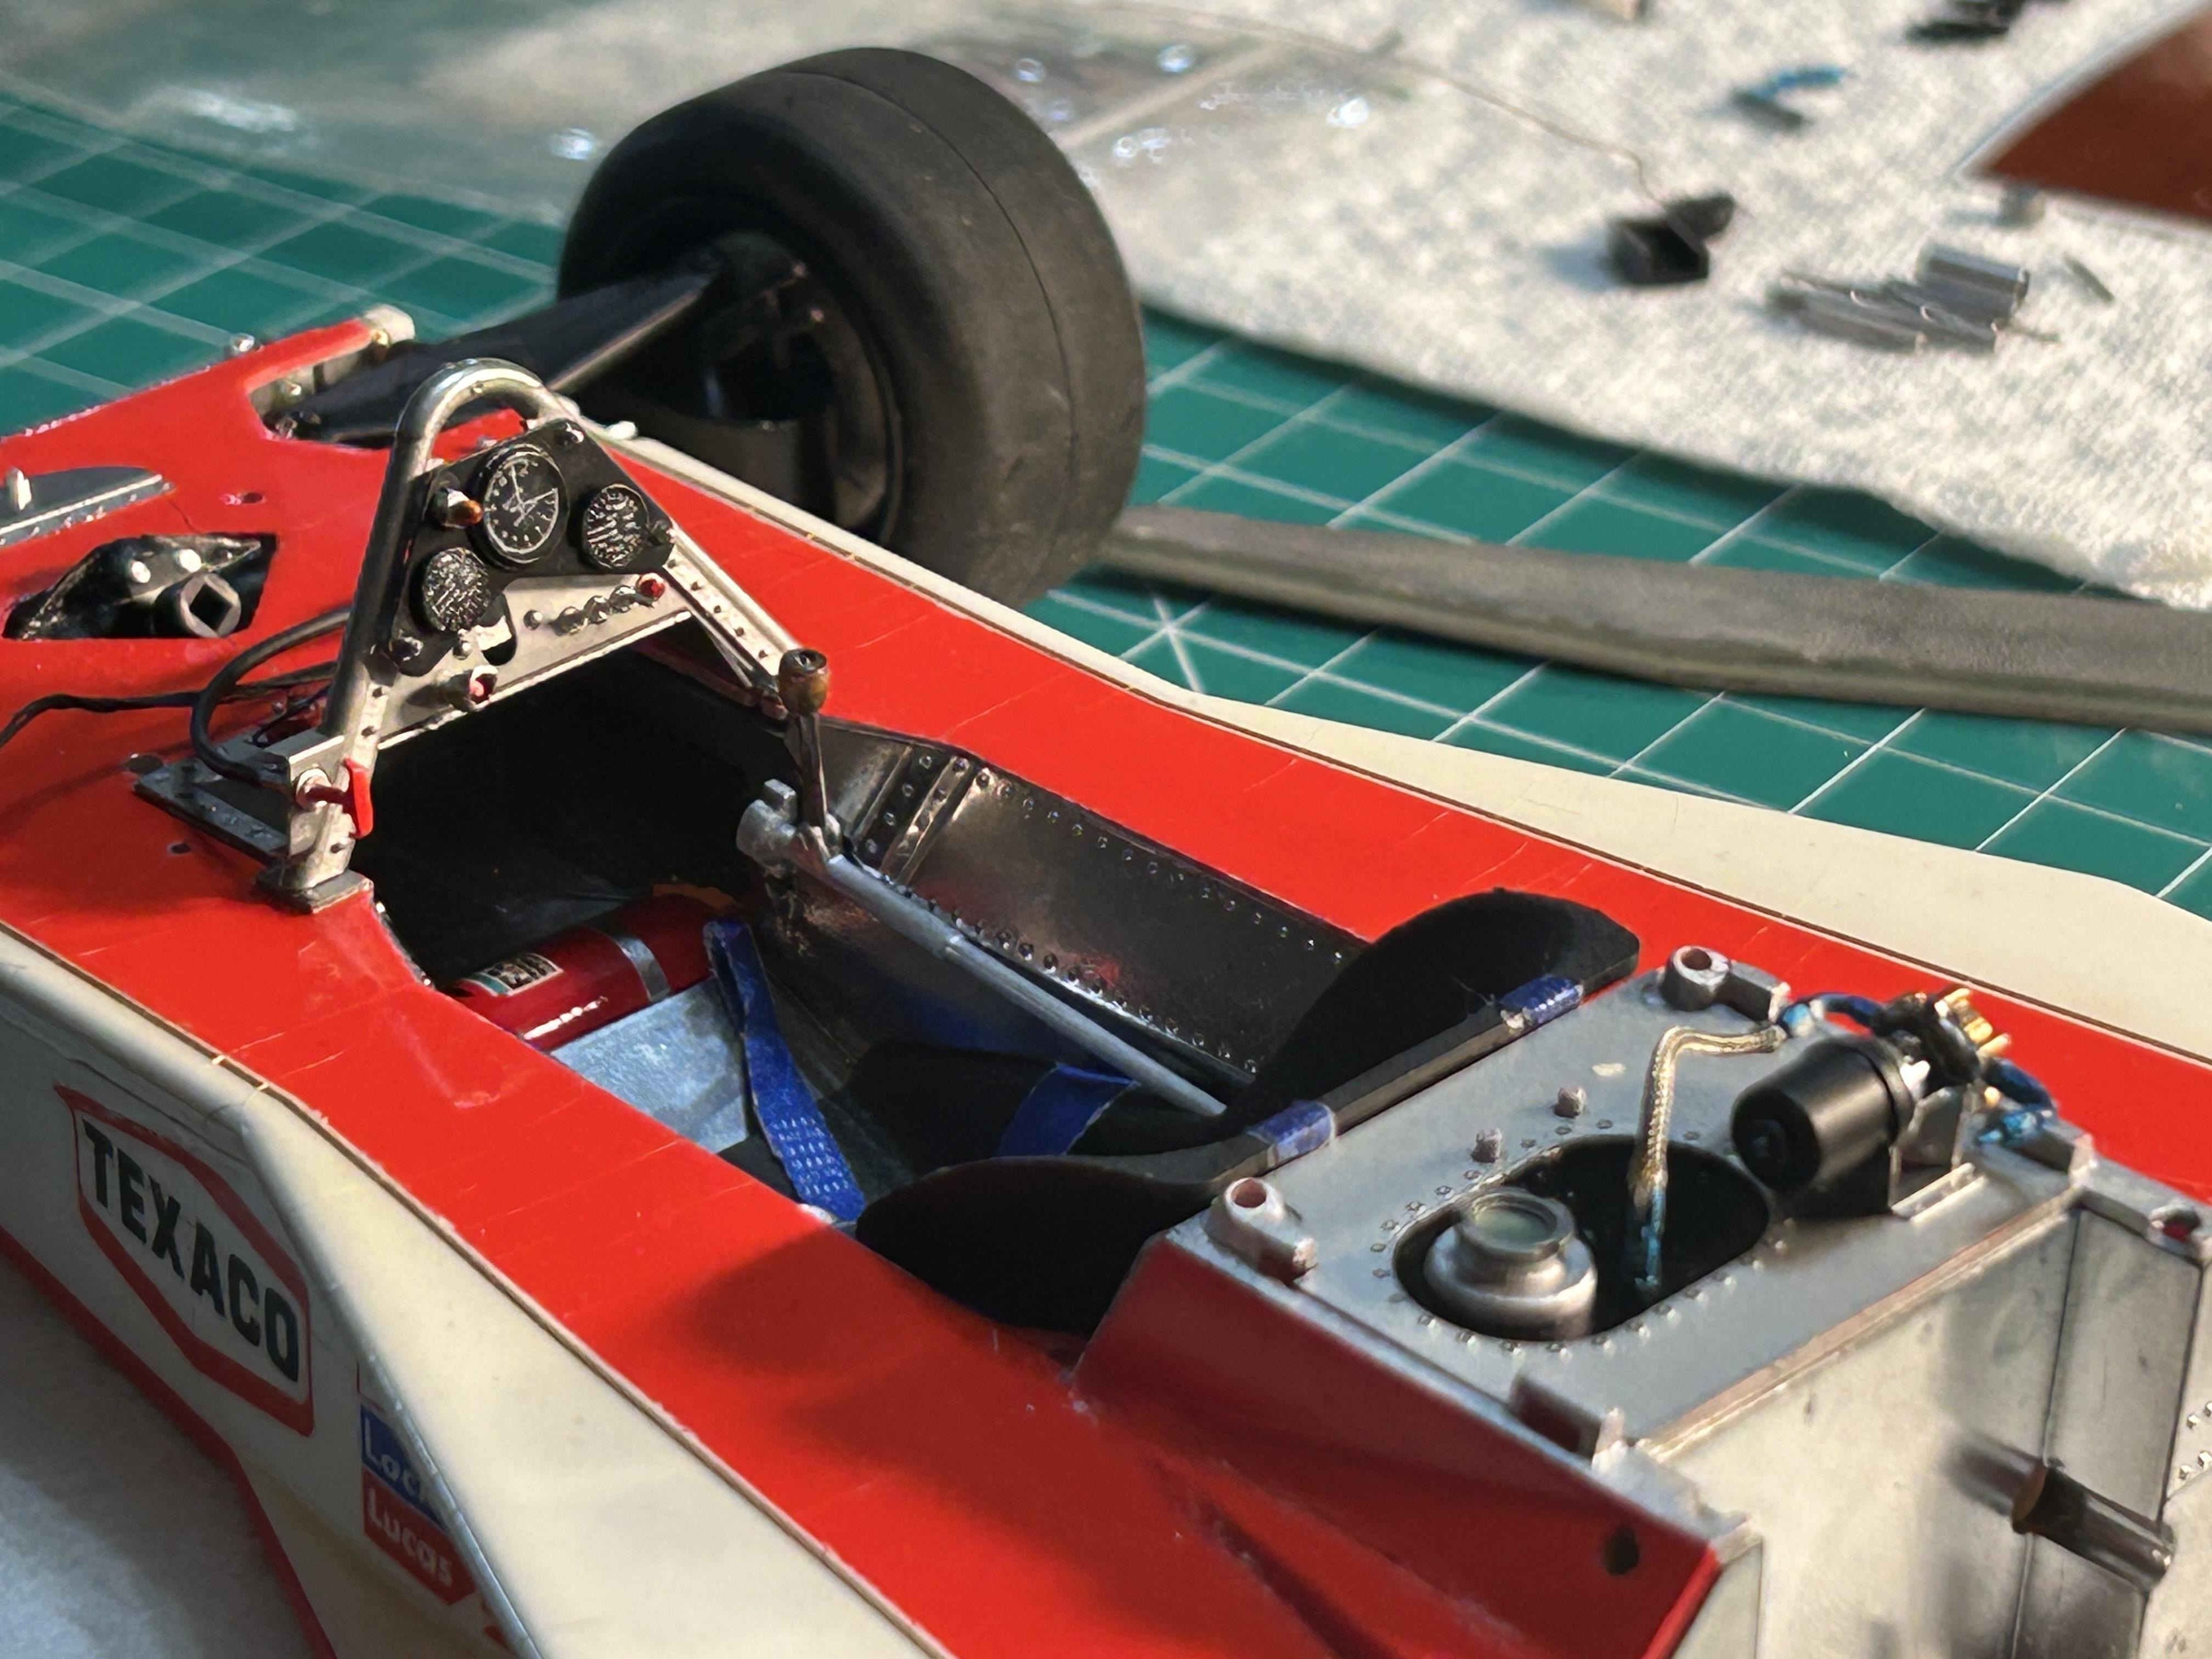
Adjusted the rear suspension supports. I cut the mounts at the lower point and white glued them in place. I then trimmed each post and epoxied them in place. After the epoxy cured the pieces were removed, primed and painted then installed.

- 29 replies
-
- 1
-

-
- james hunt
- m23
- (and 2 more)
-
Beautiful build! That patina is exceptional.
-
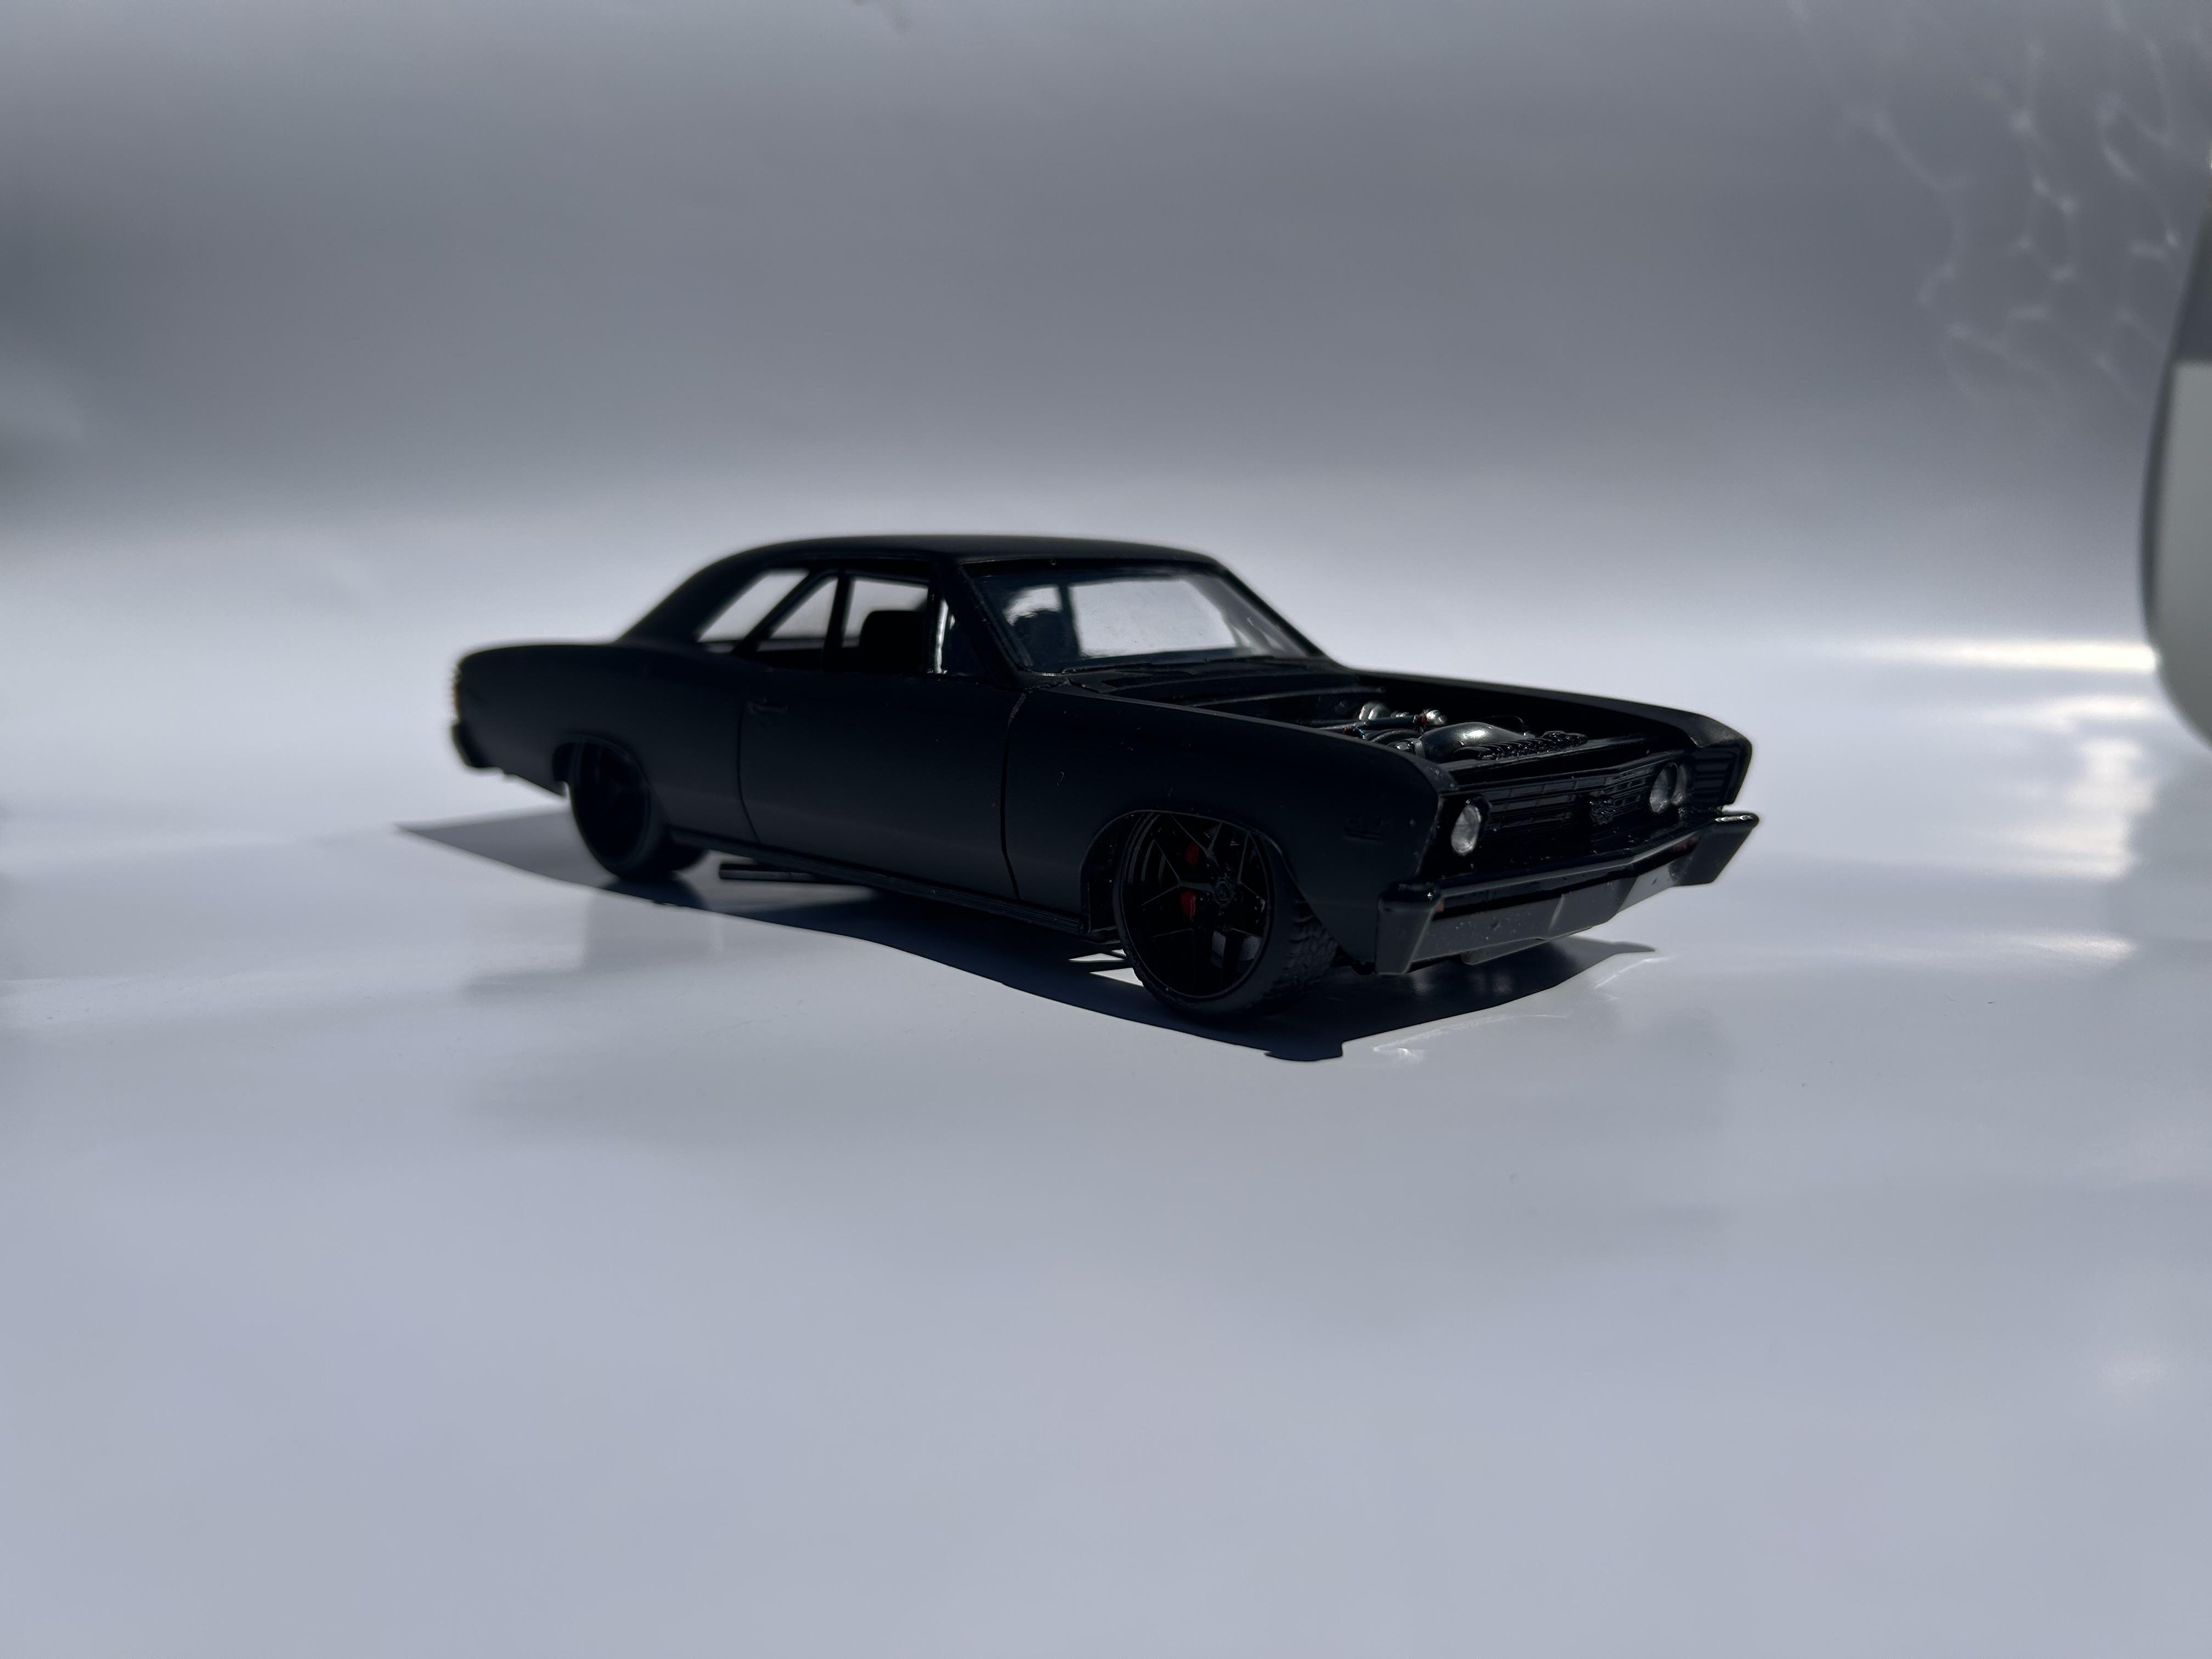
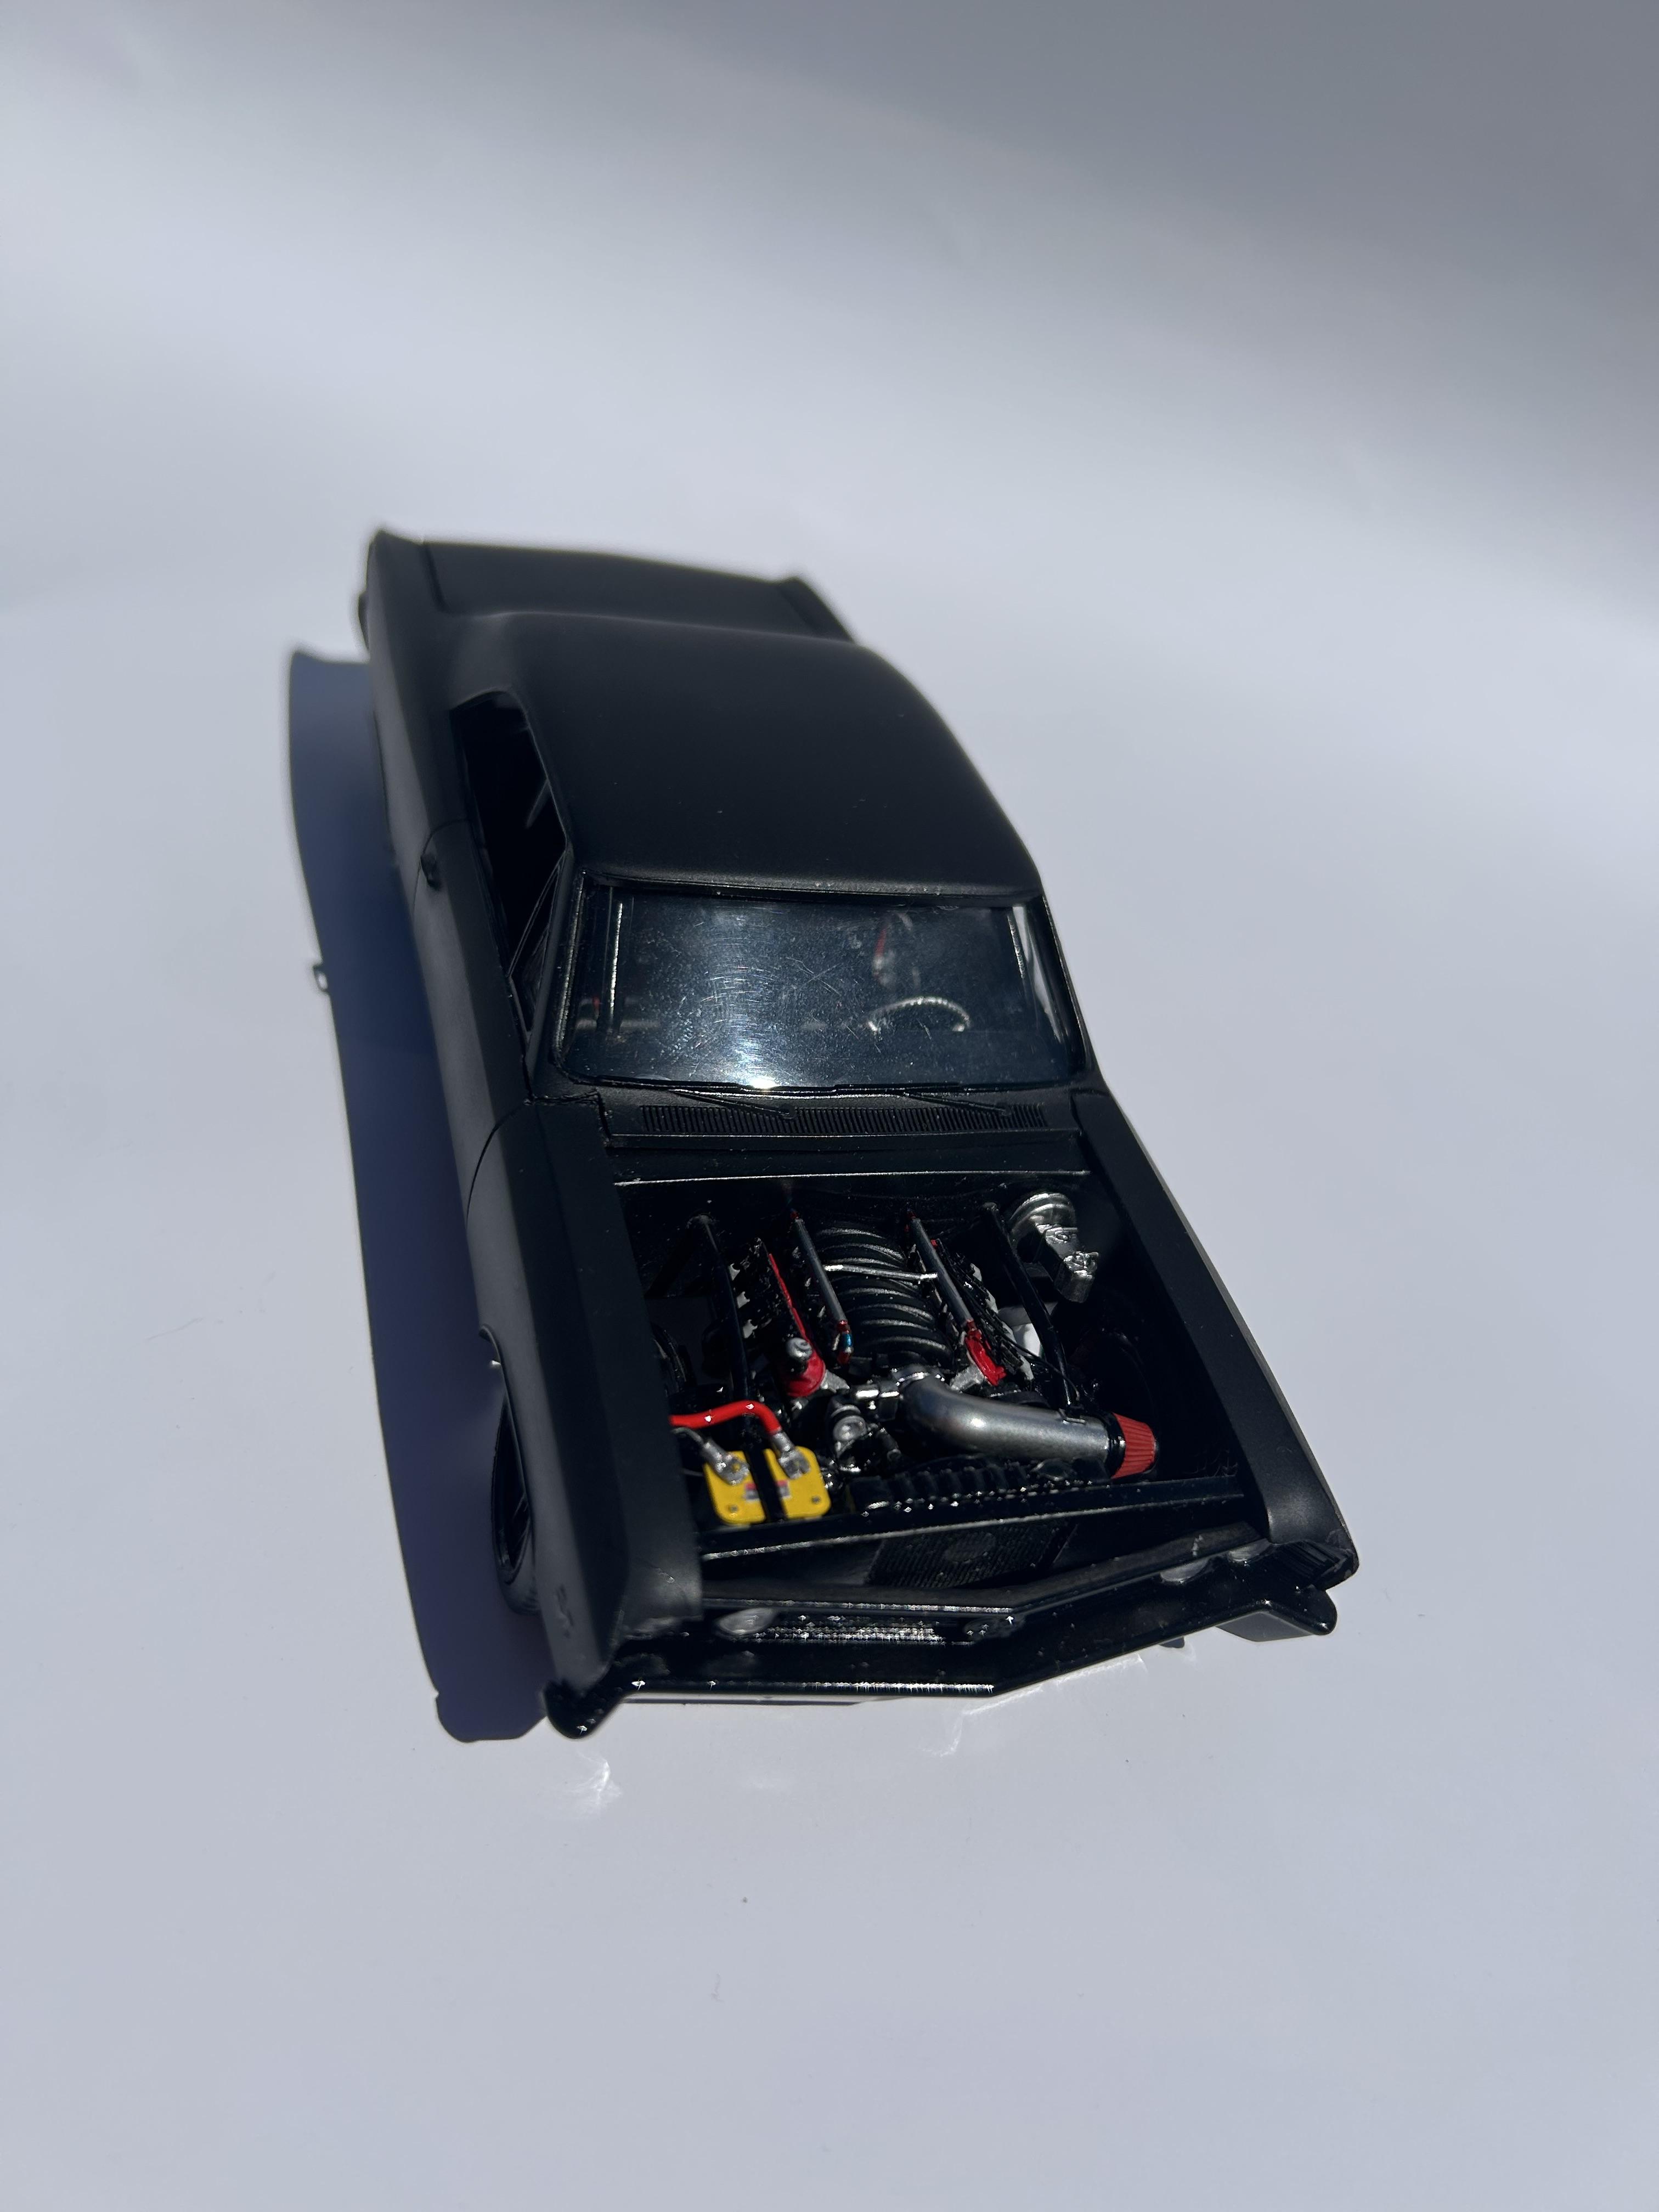
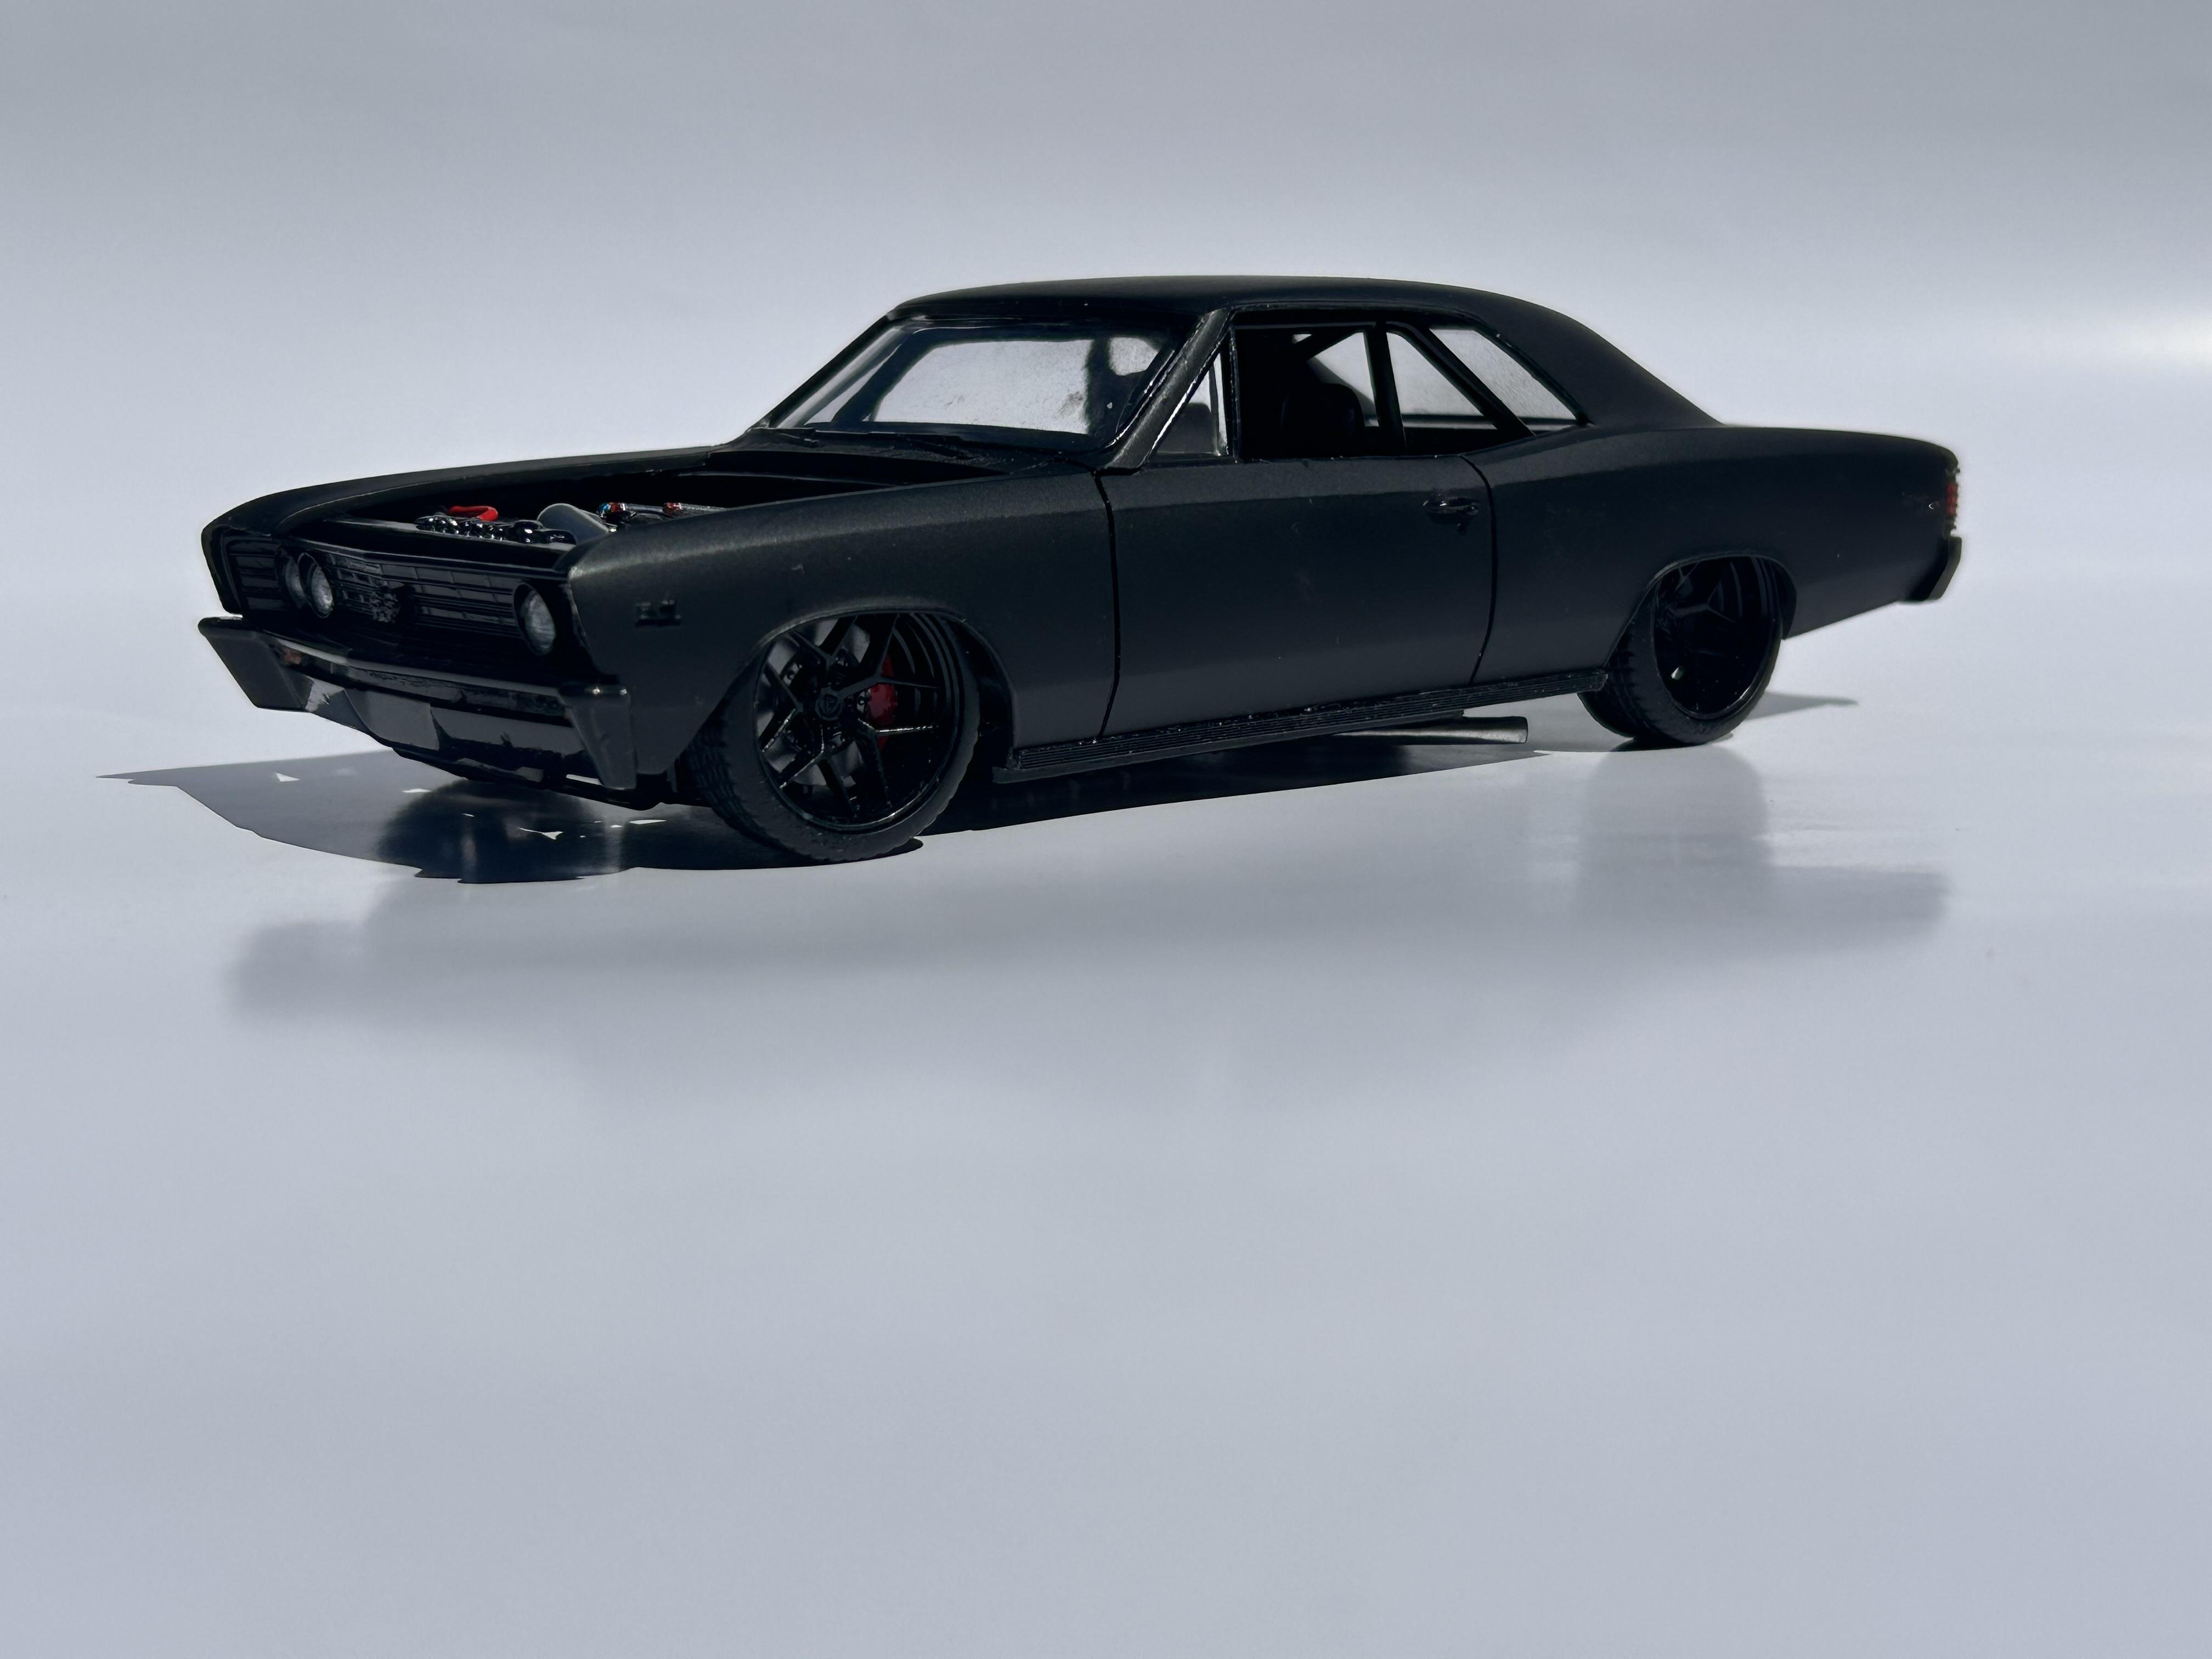
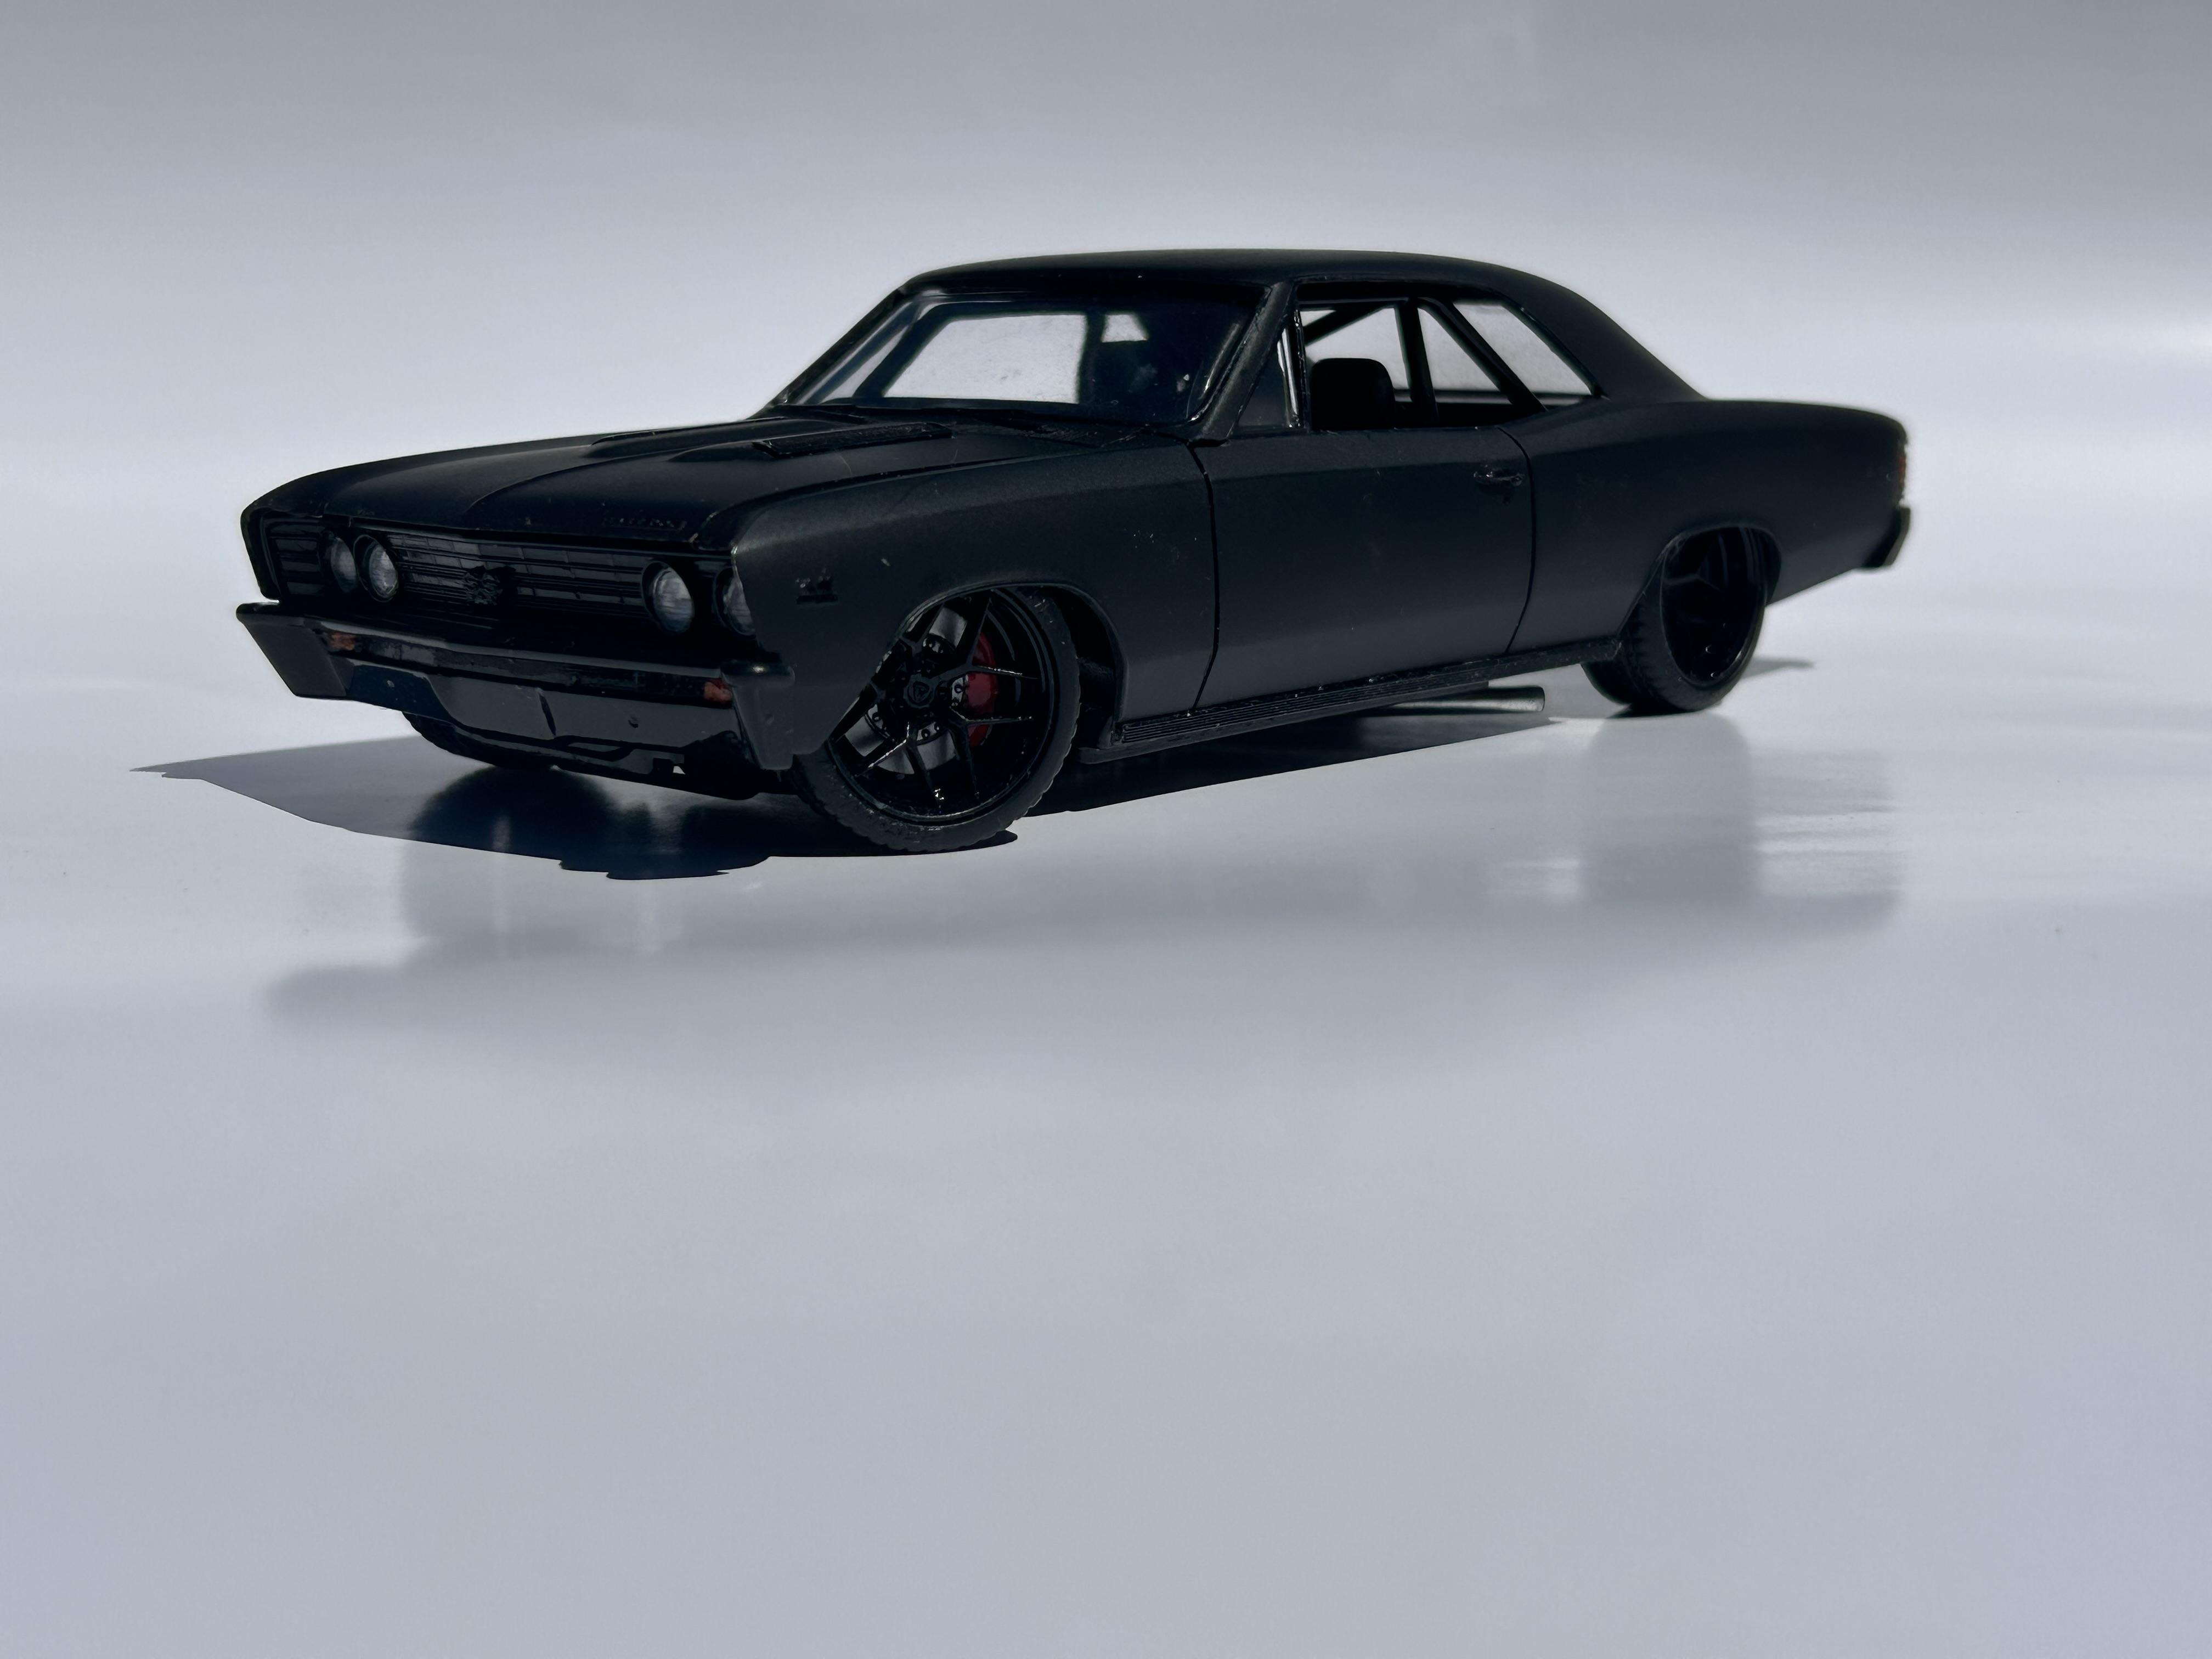
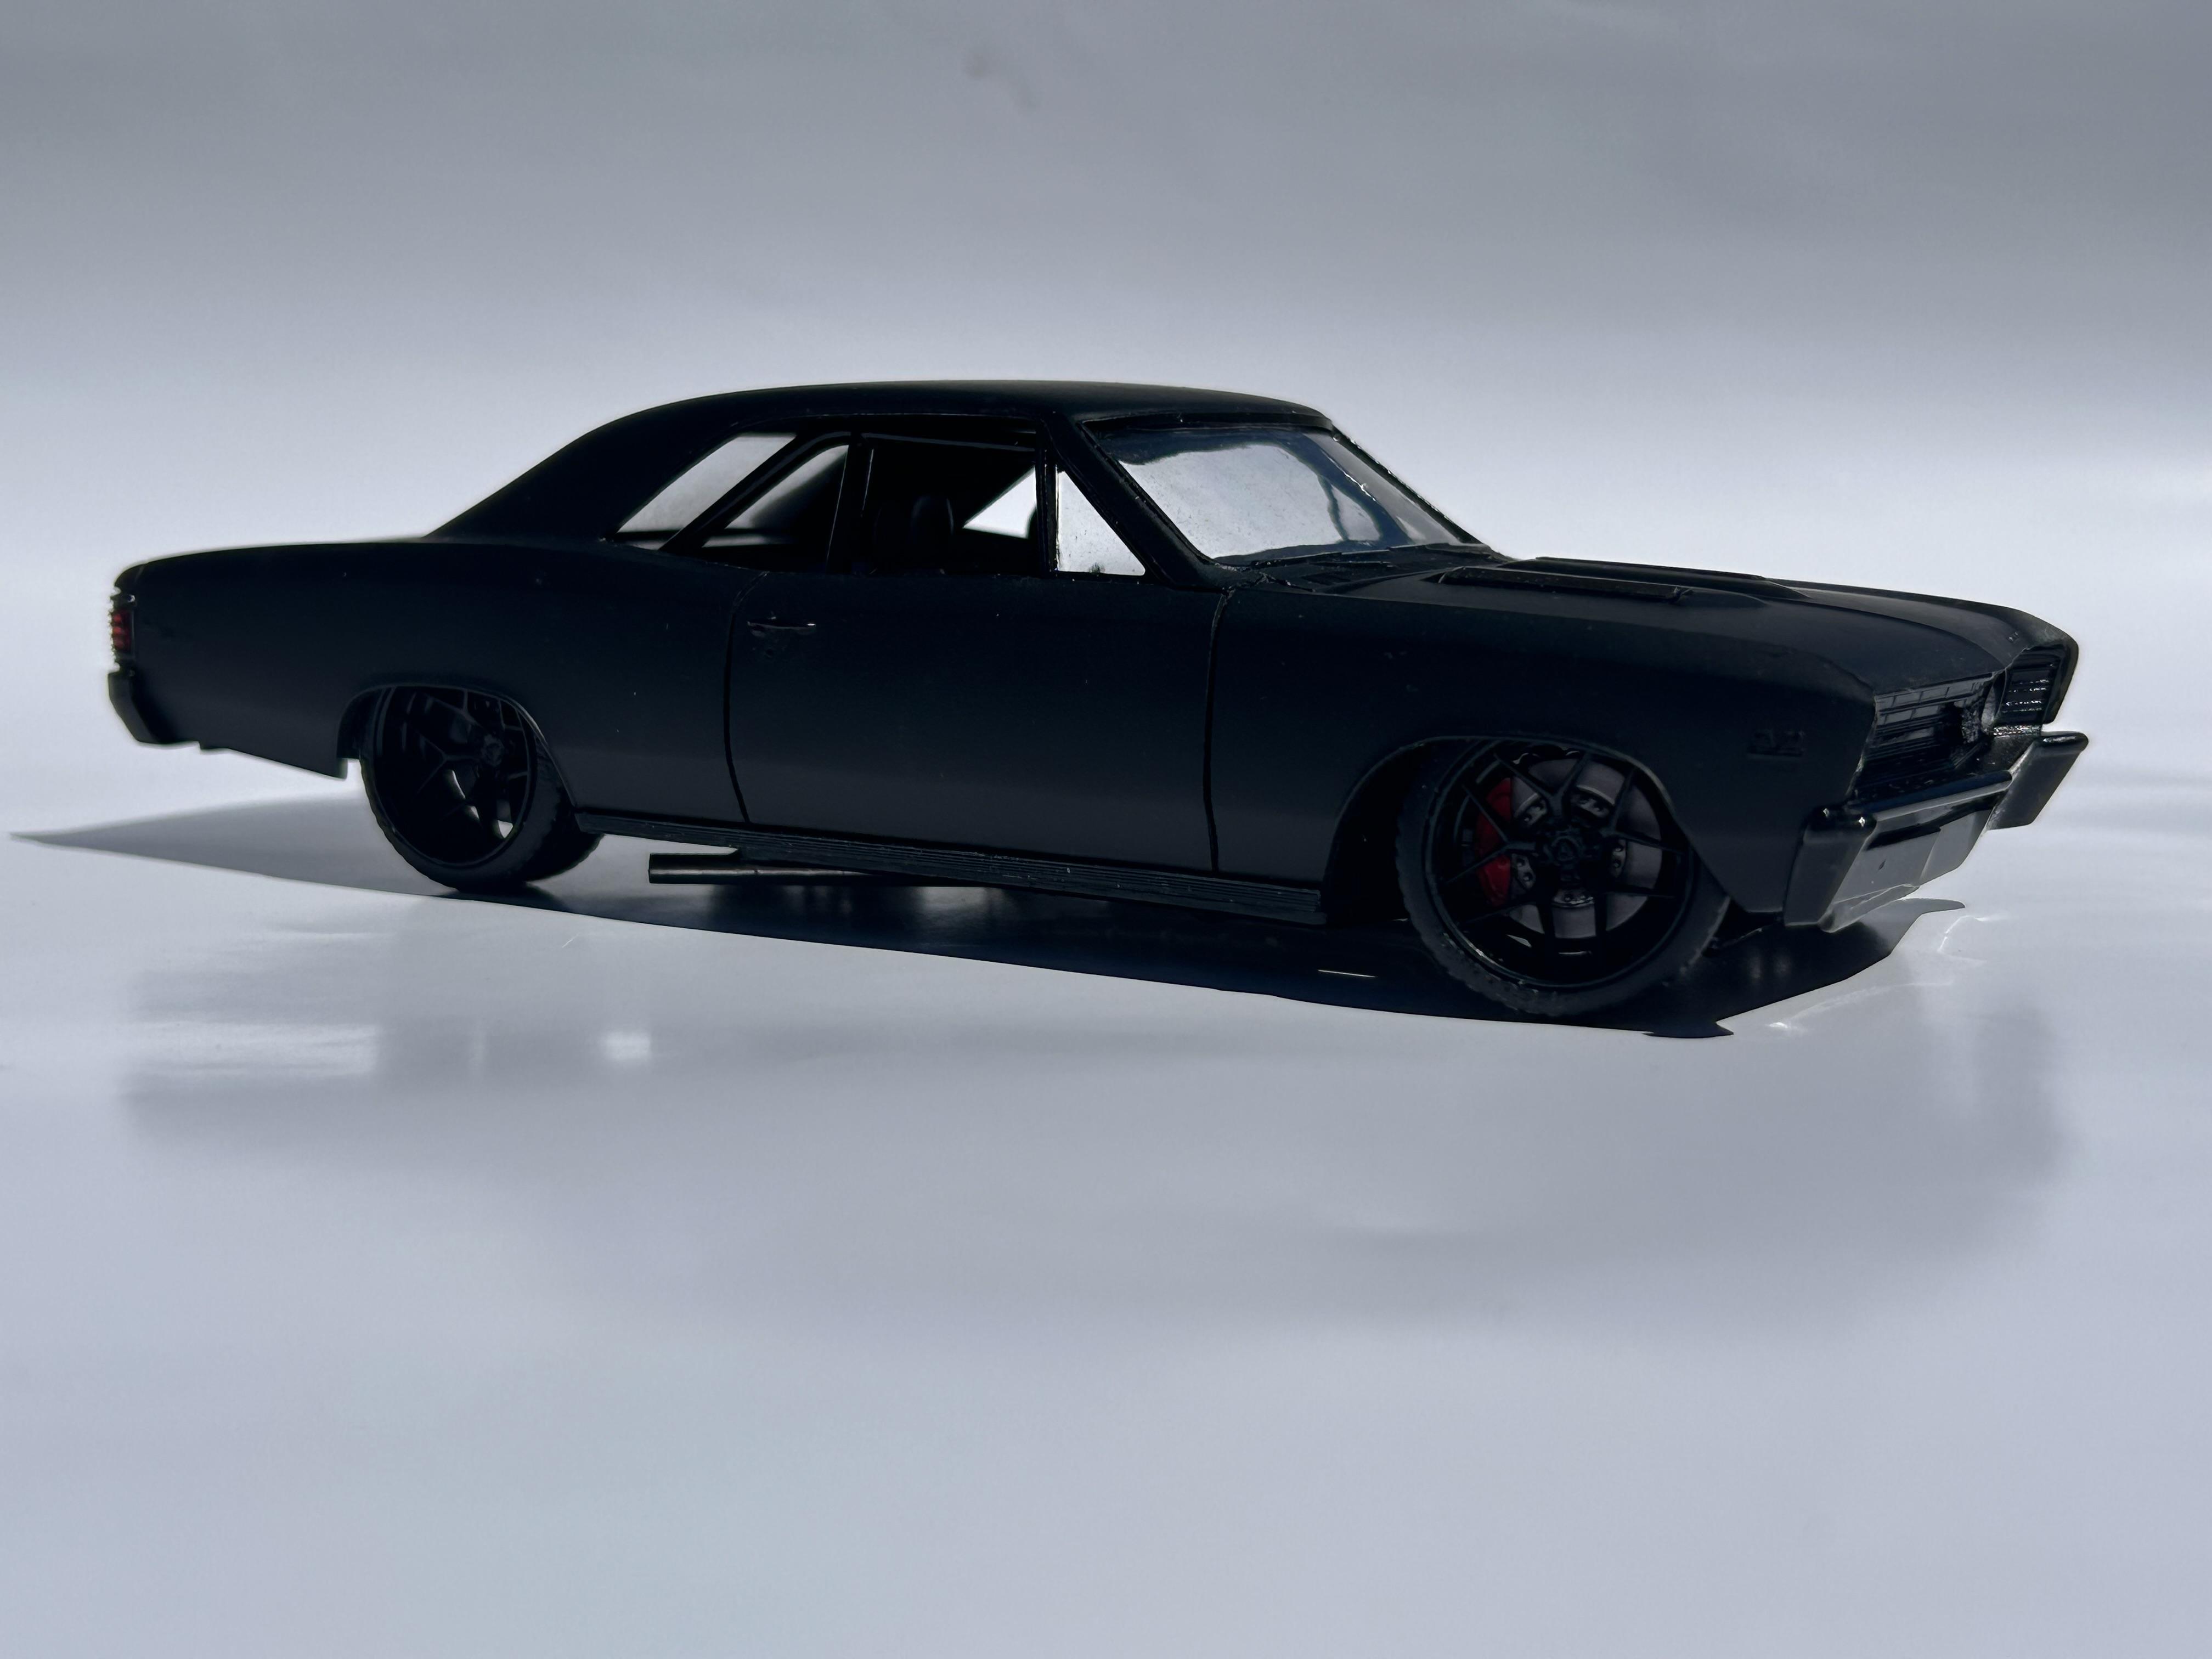
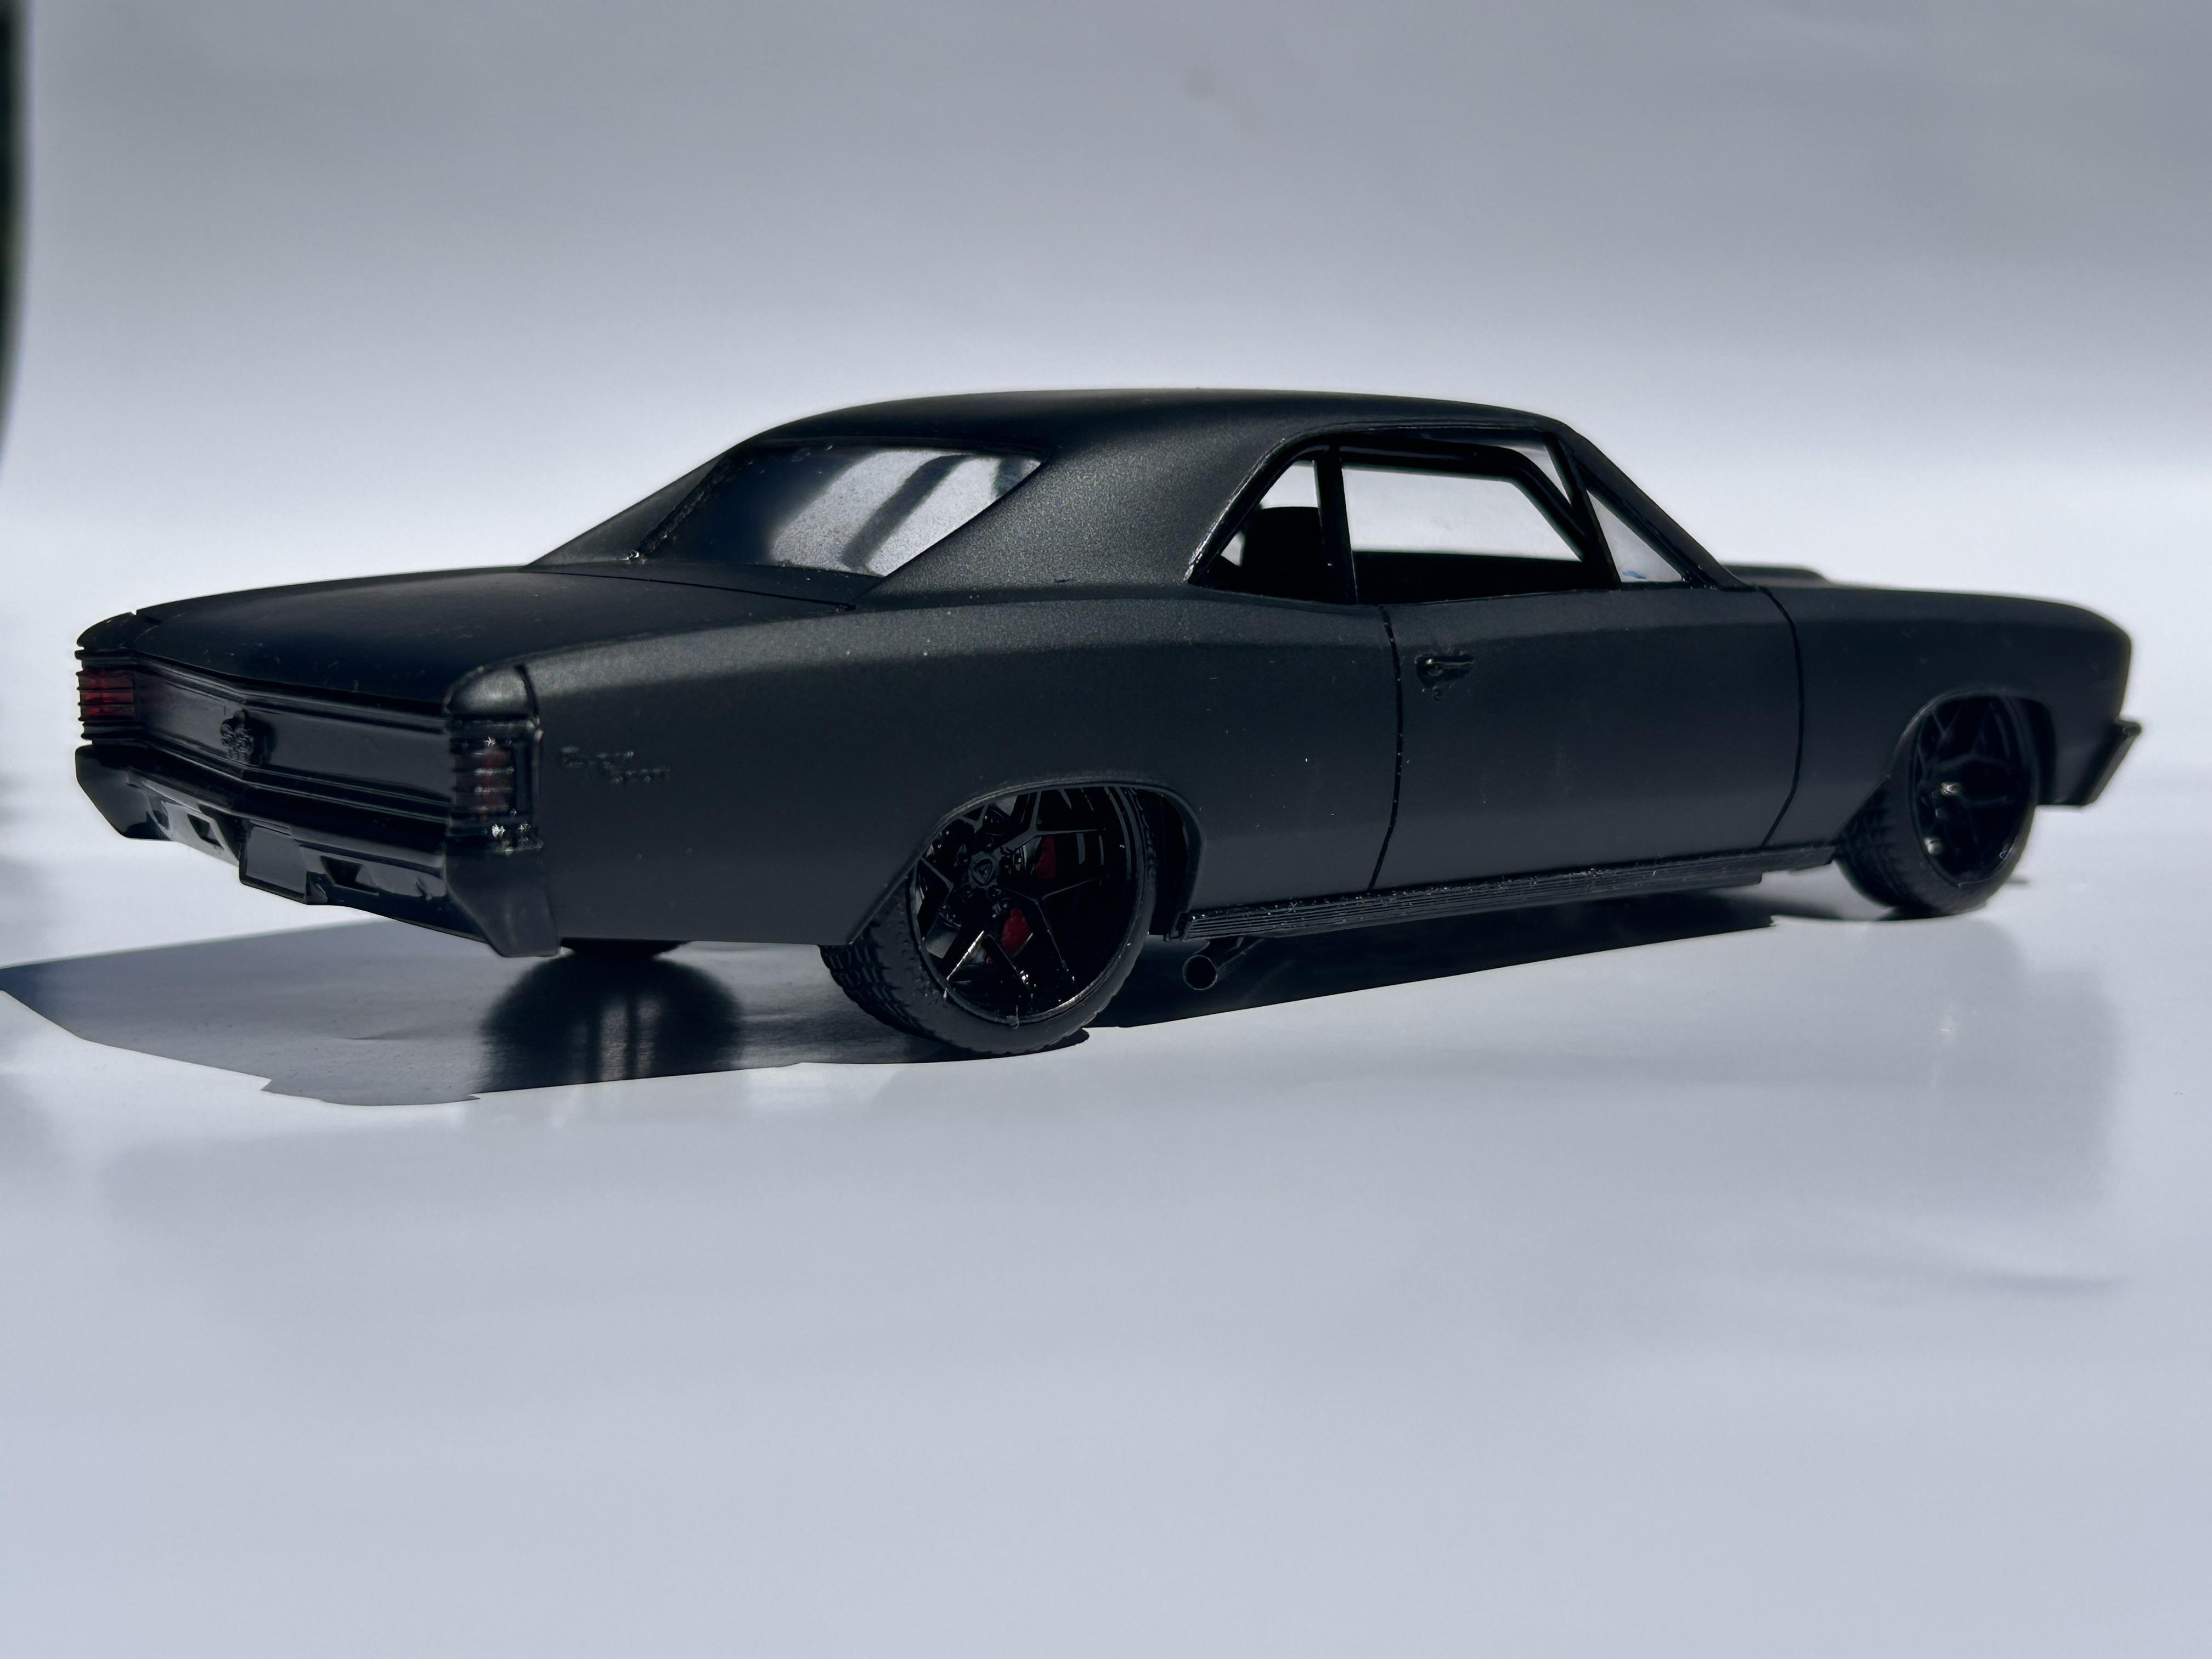
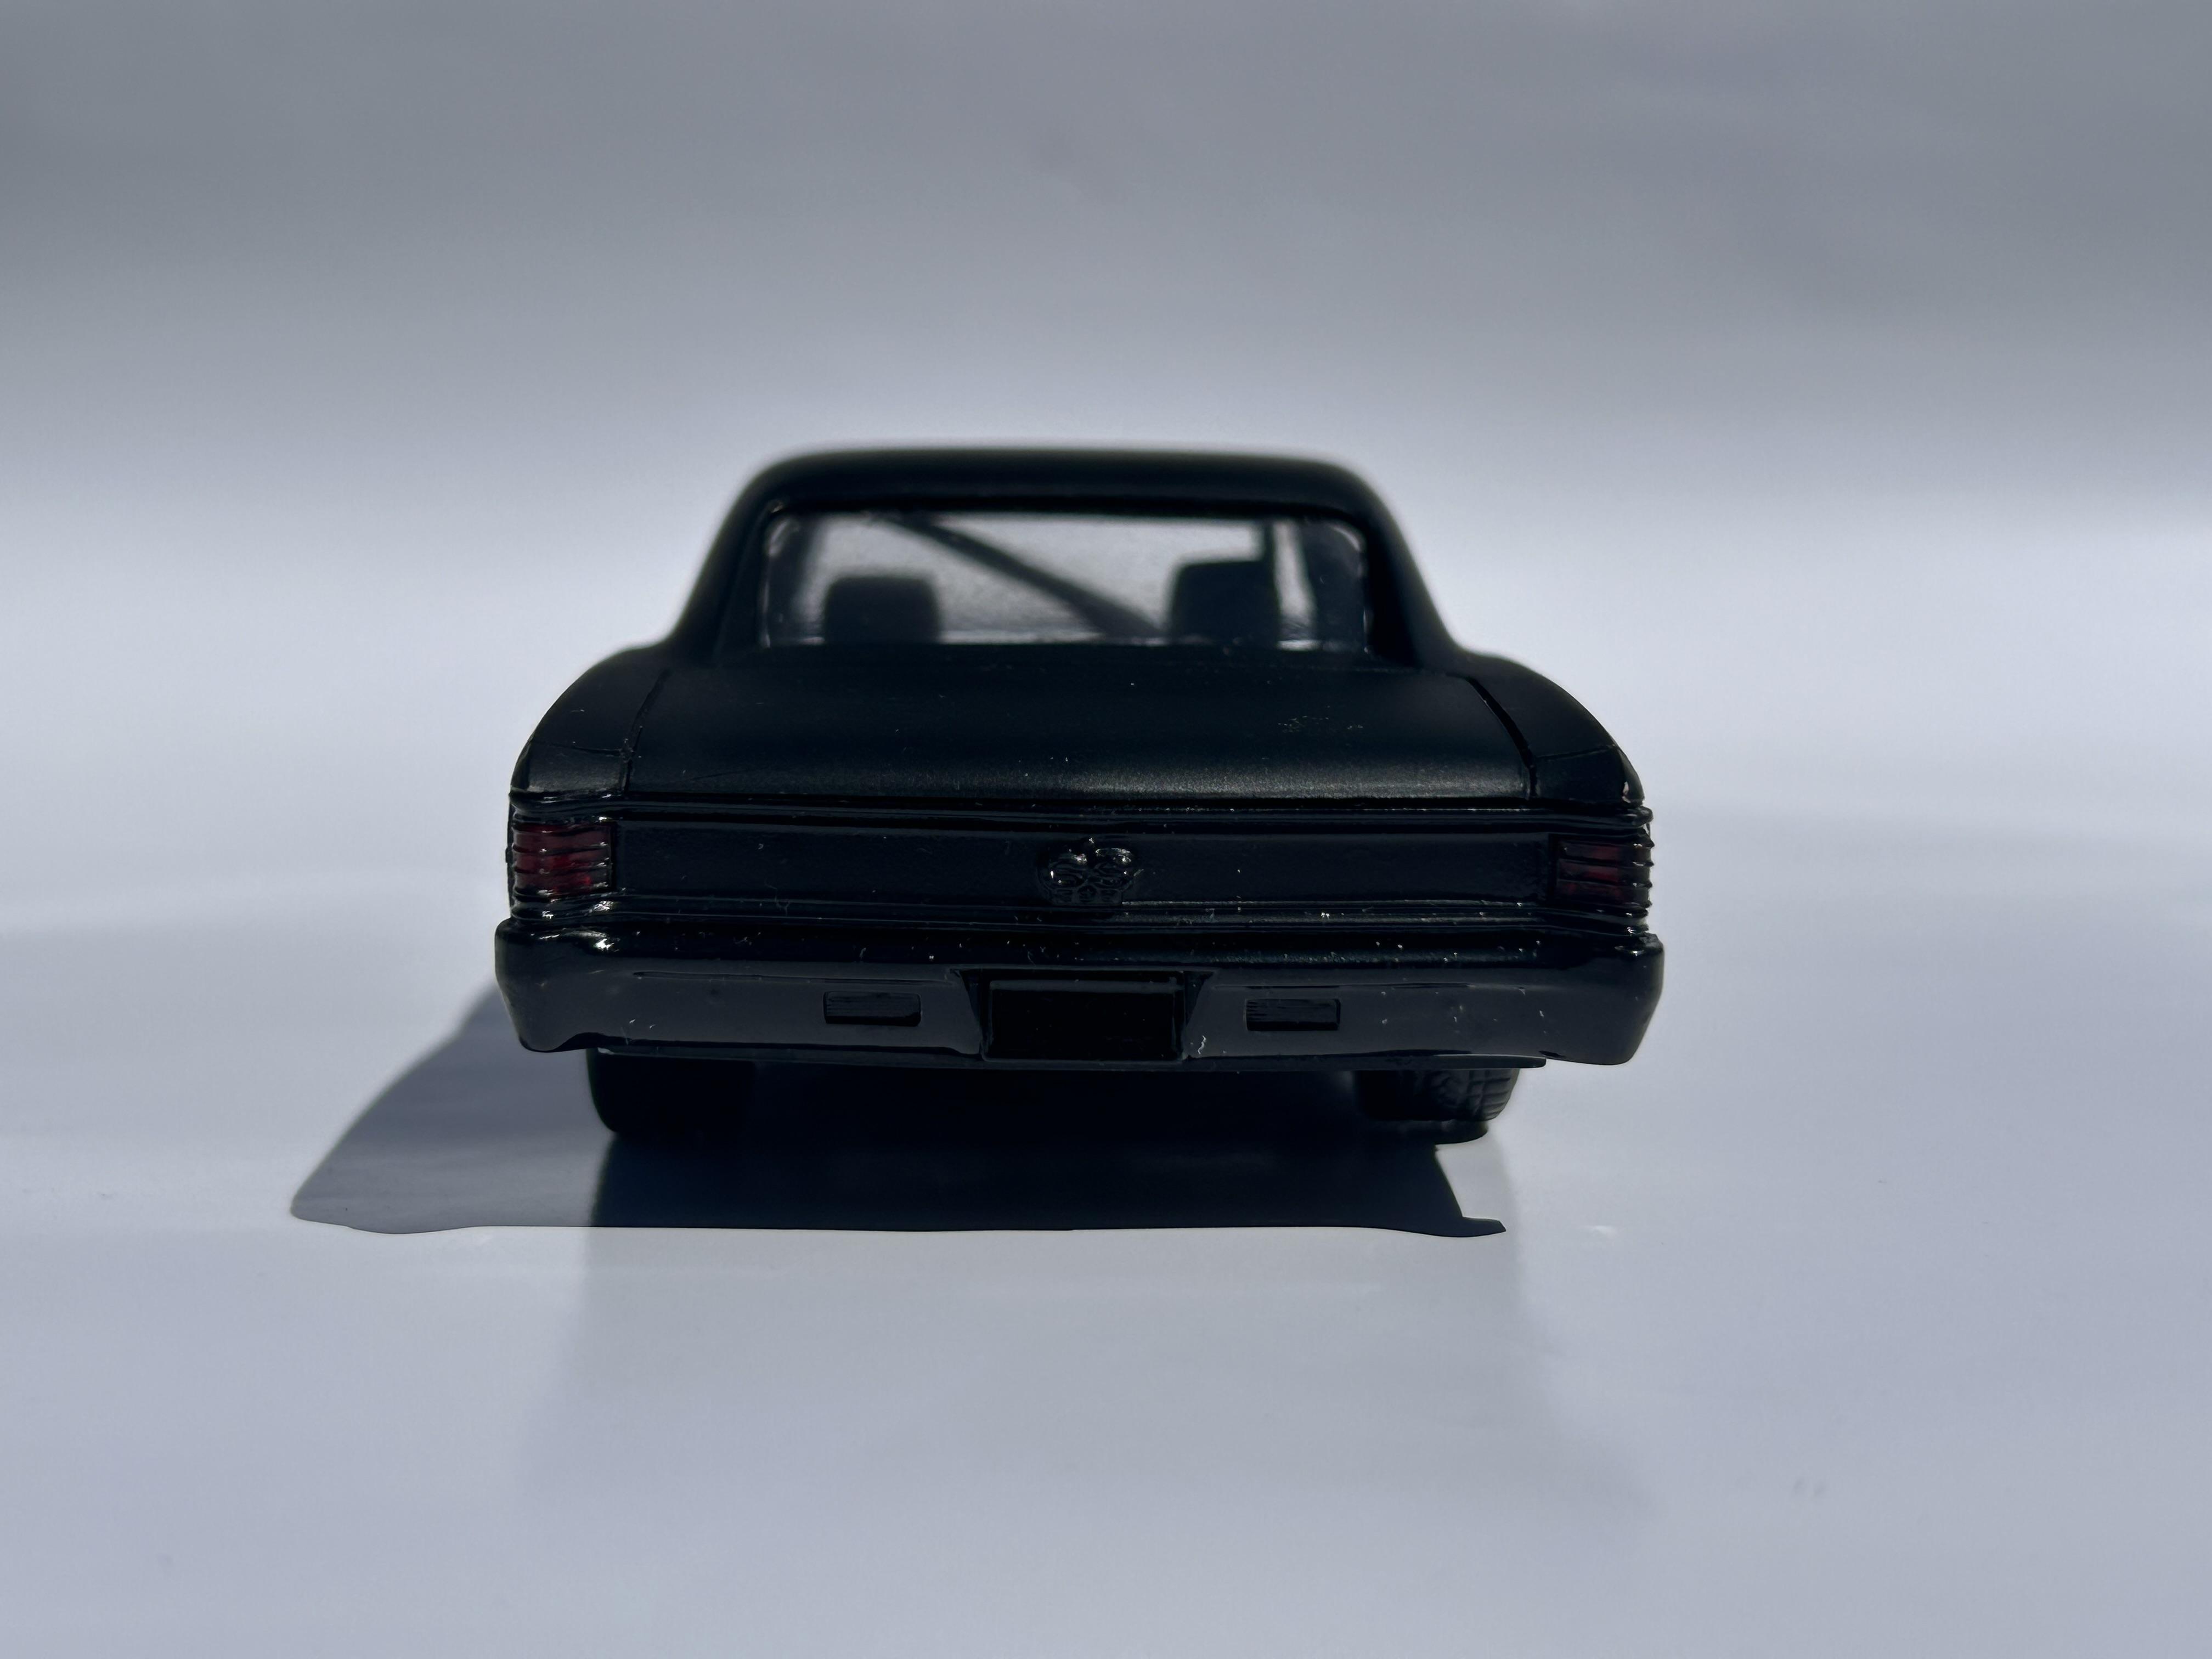
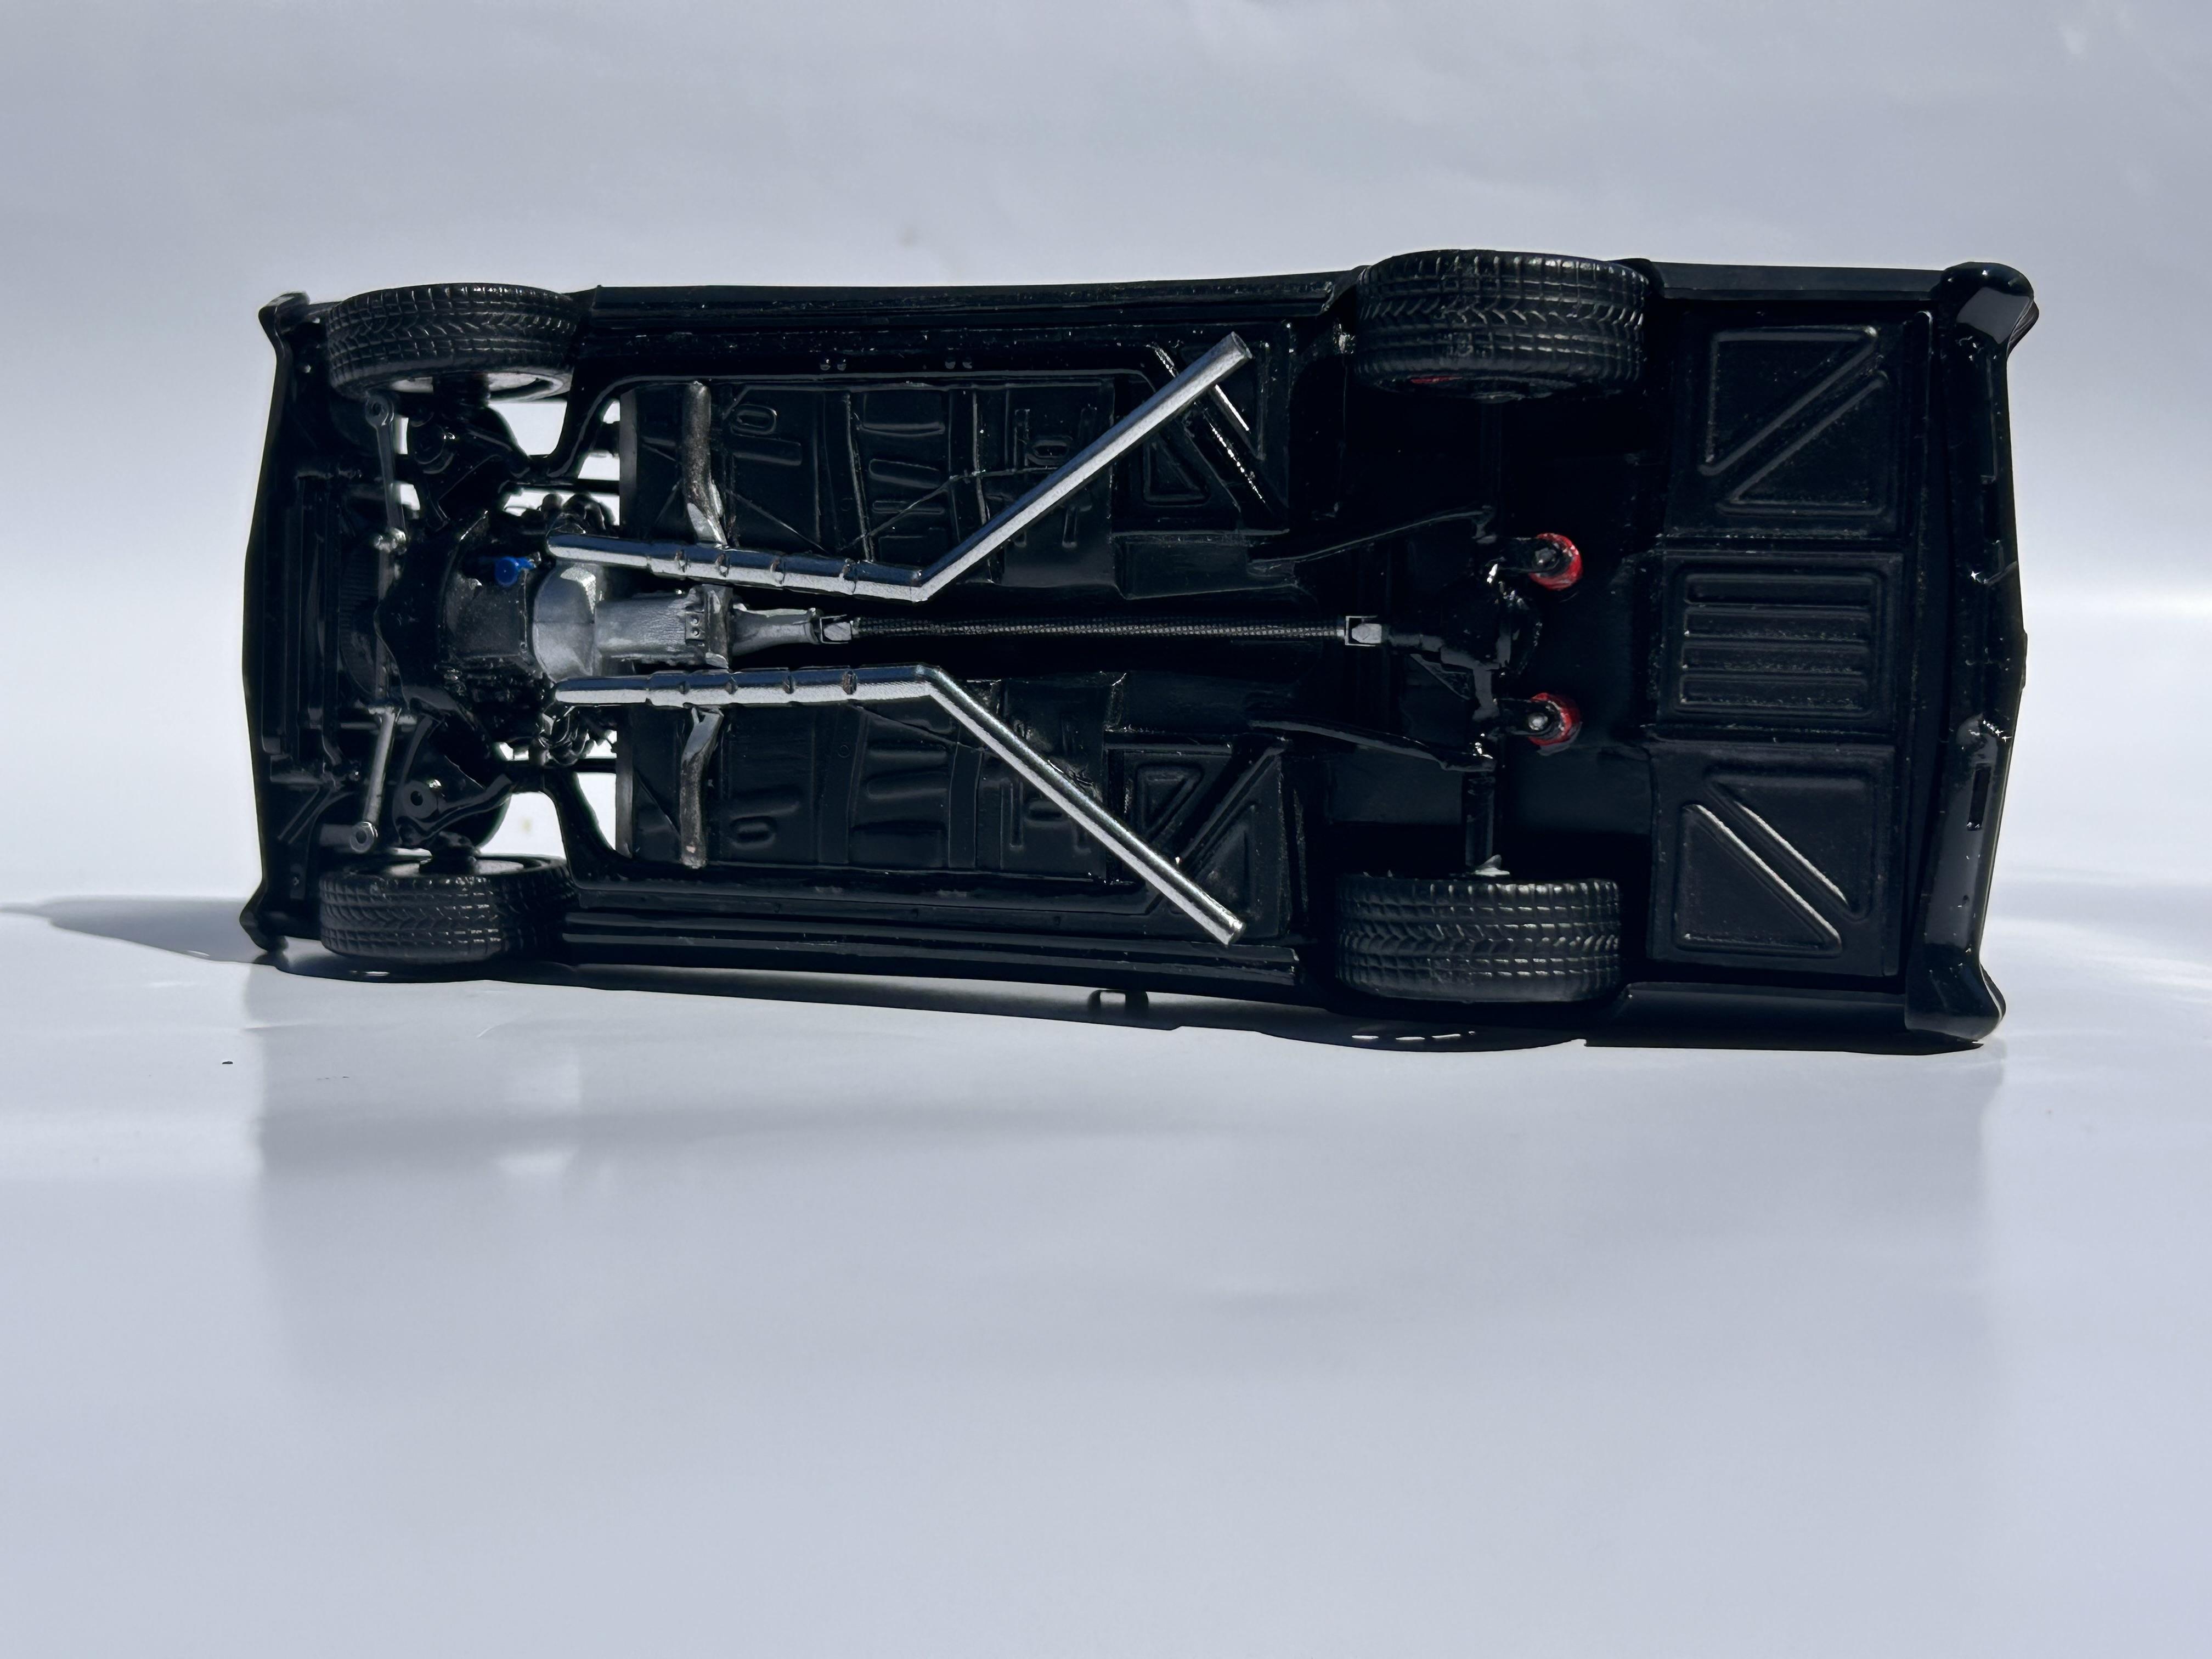
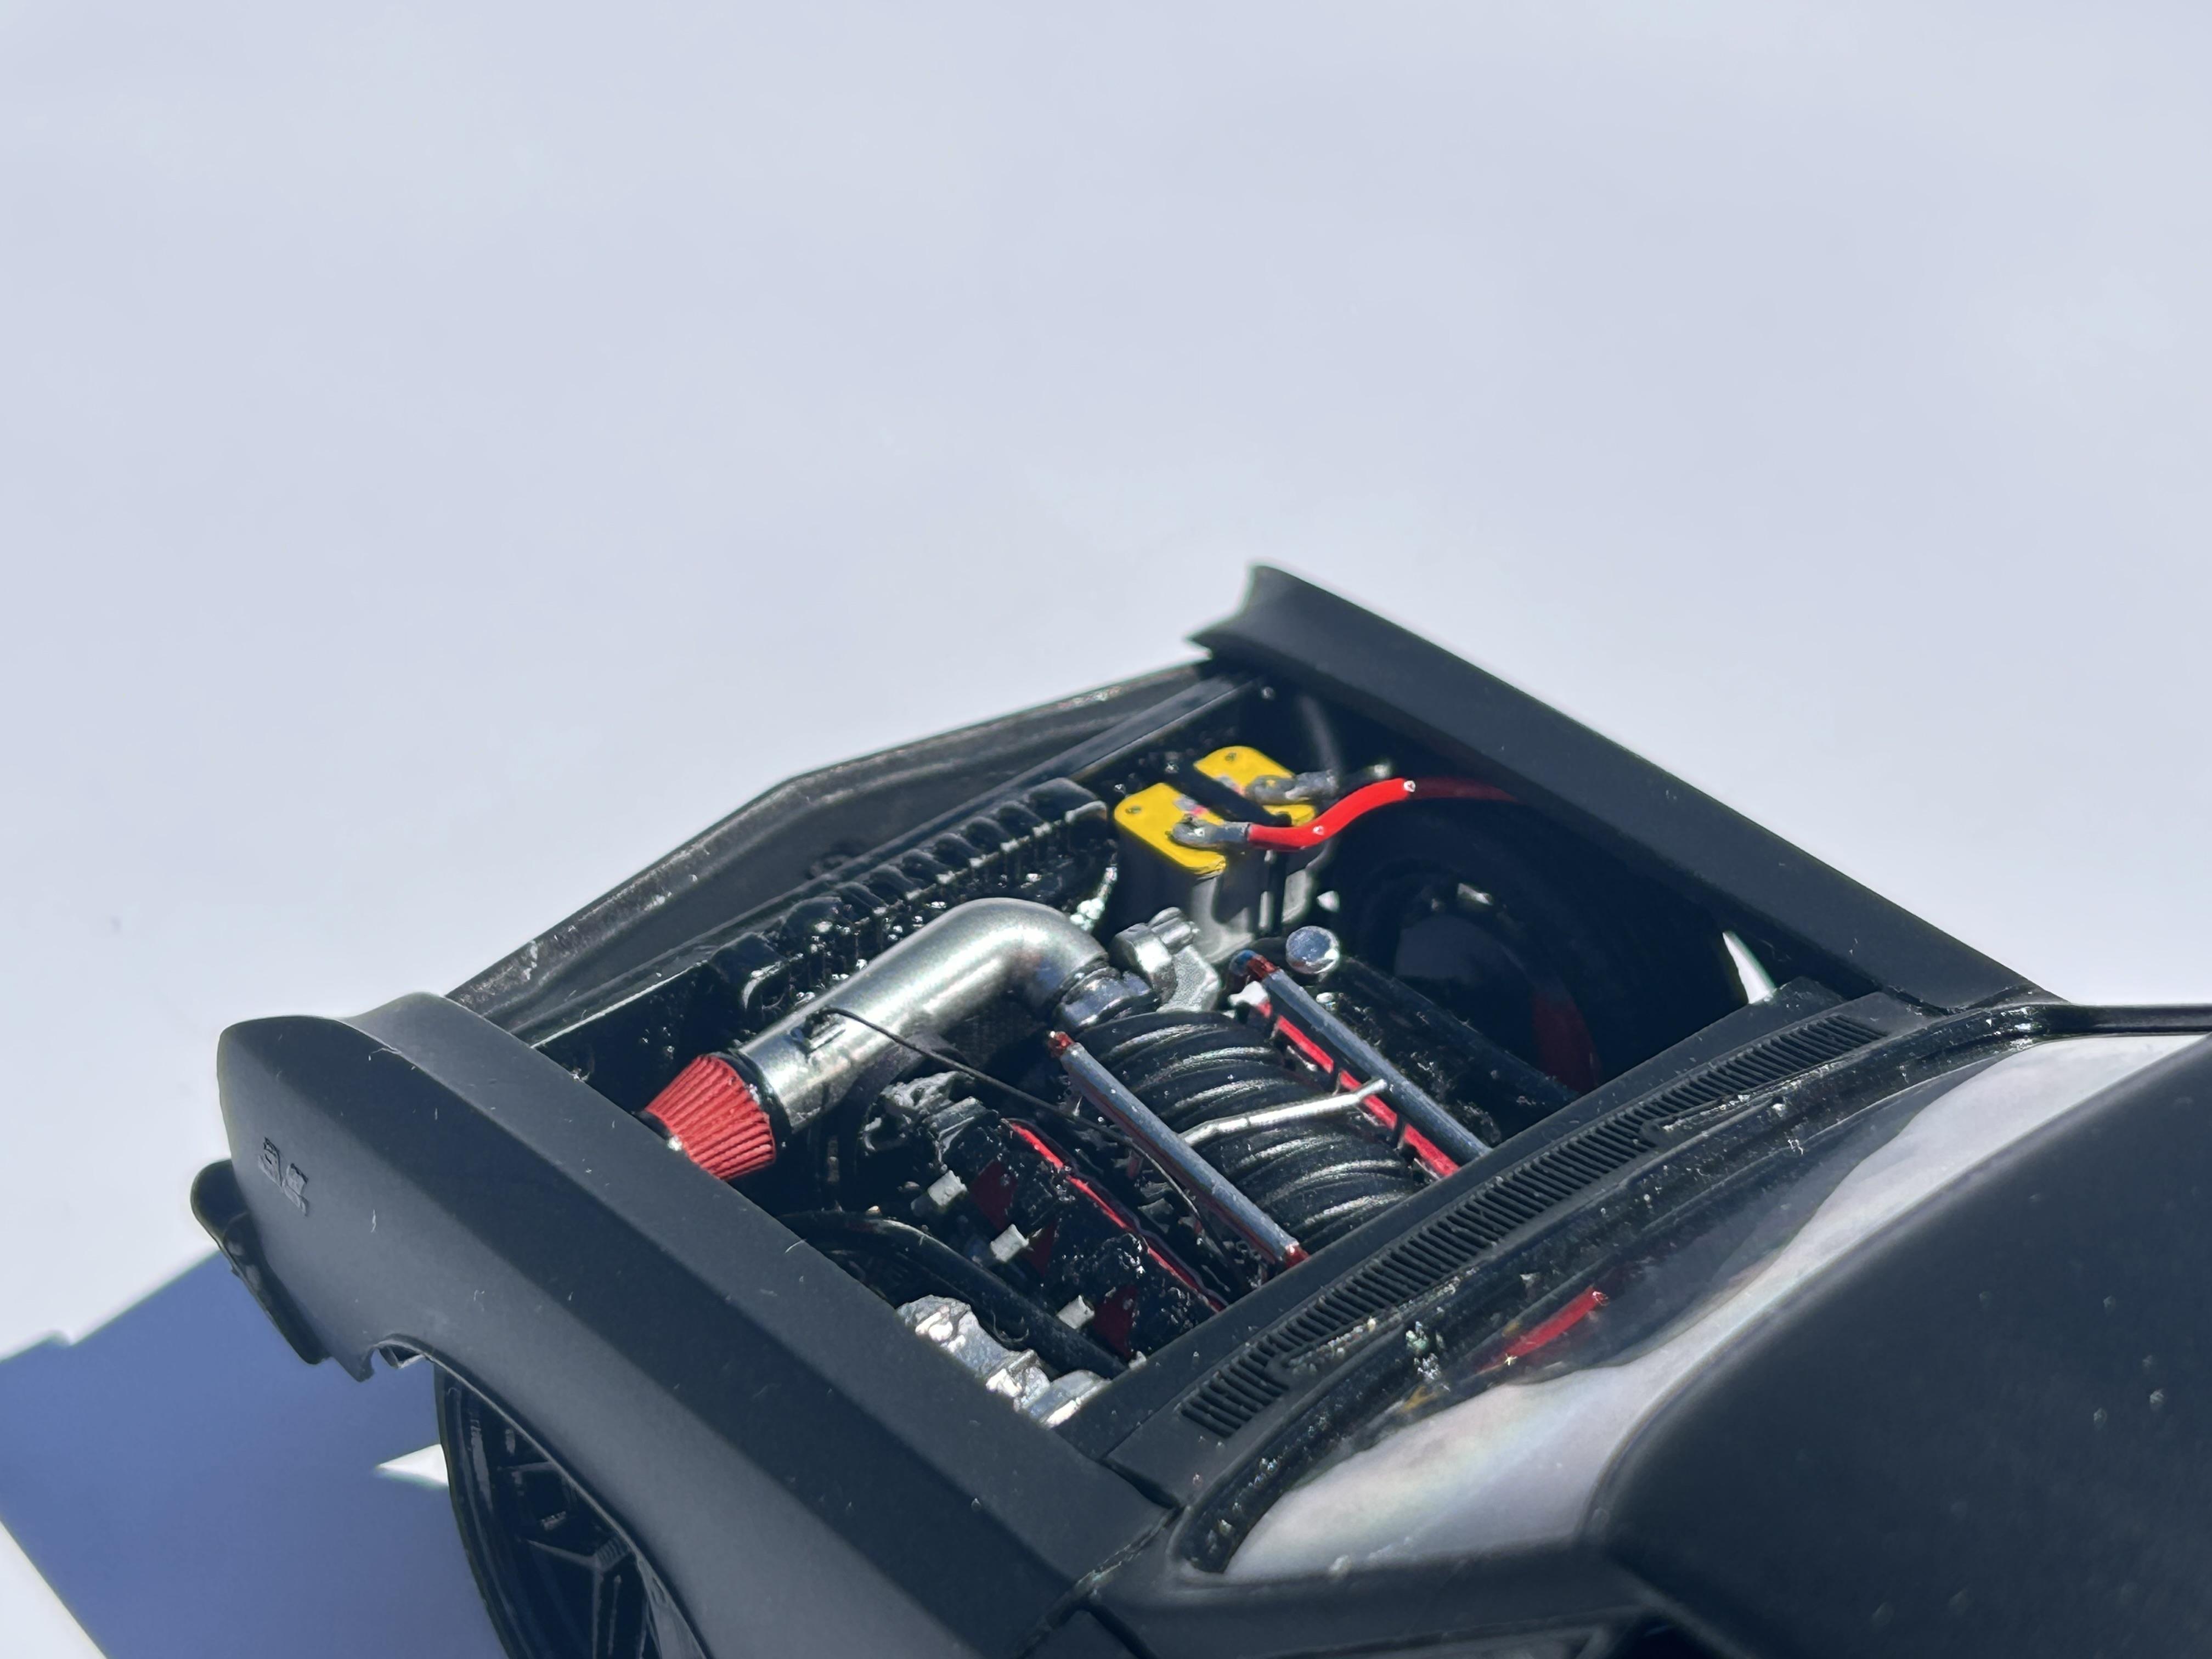
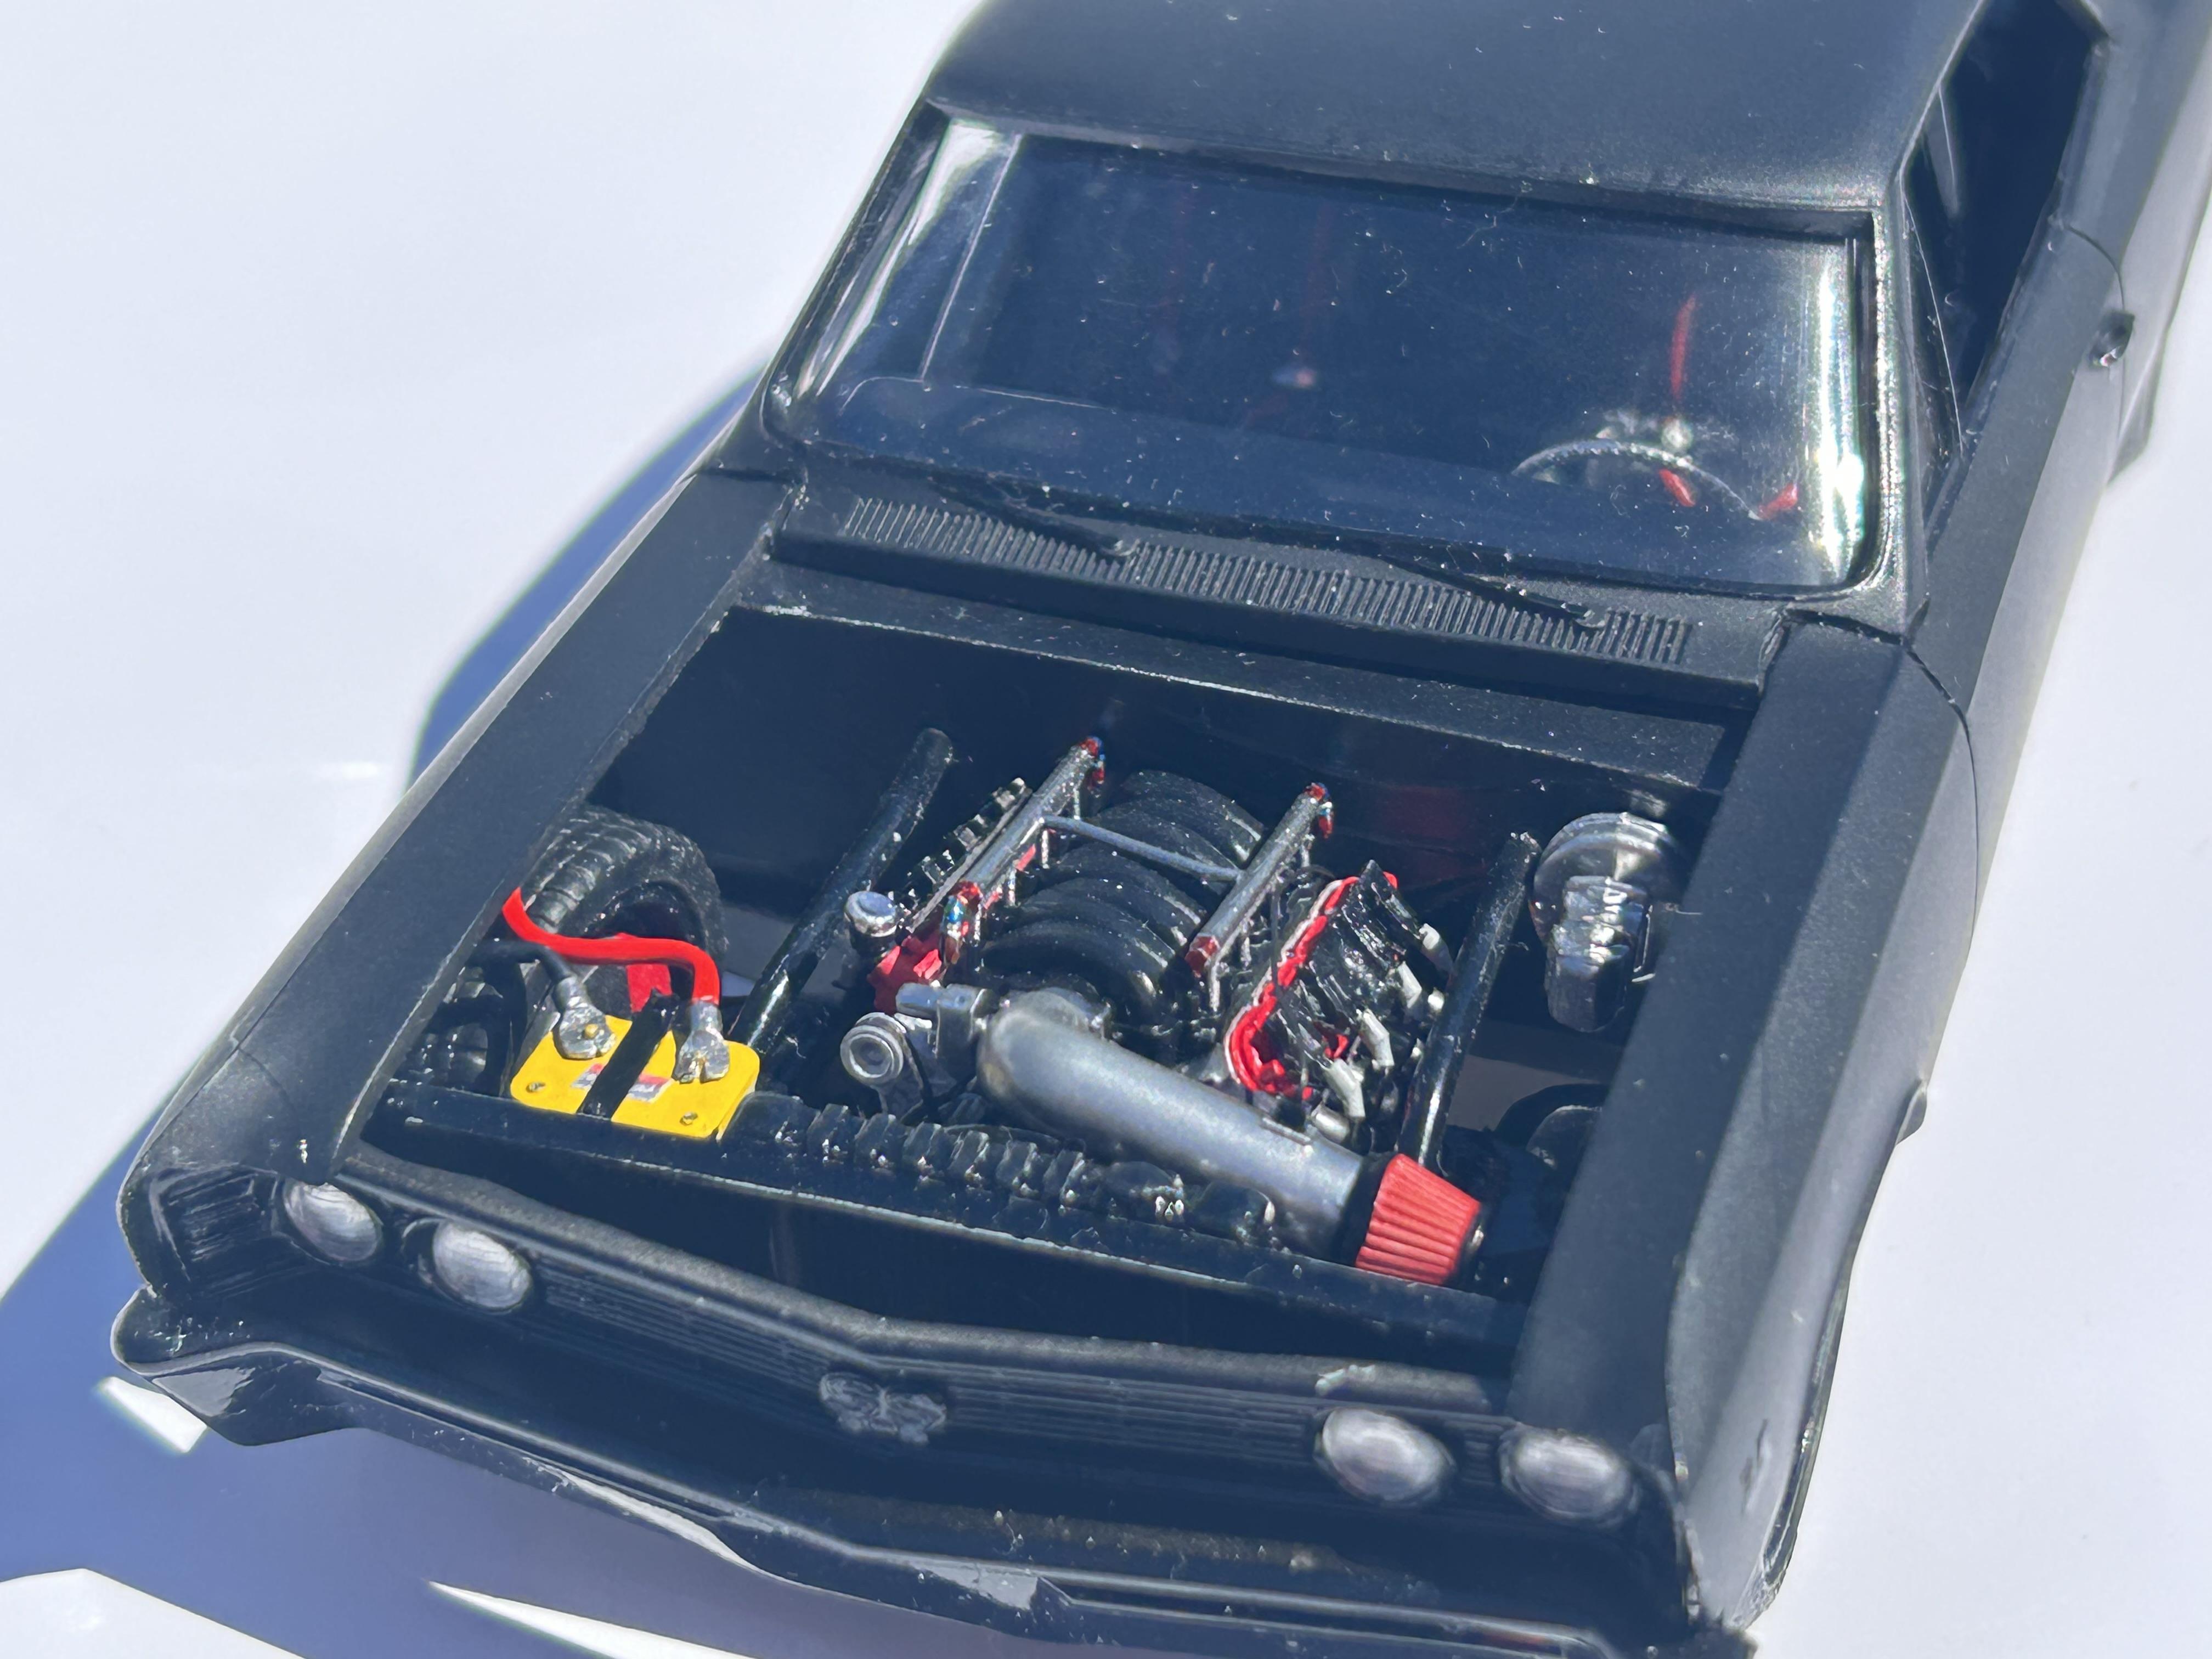
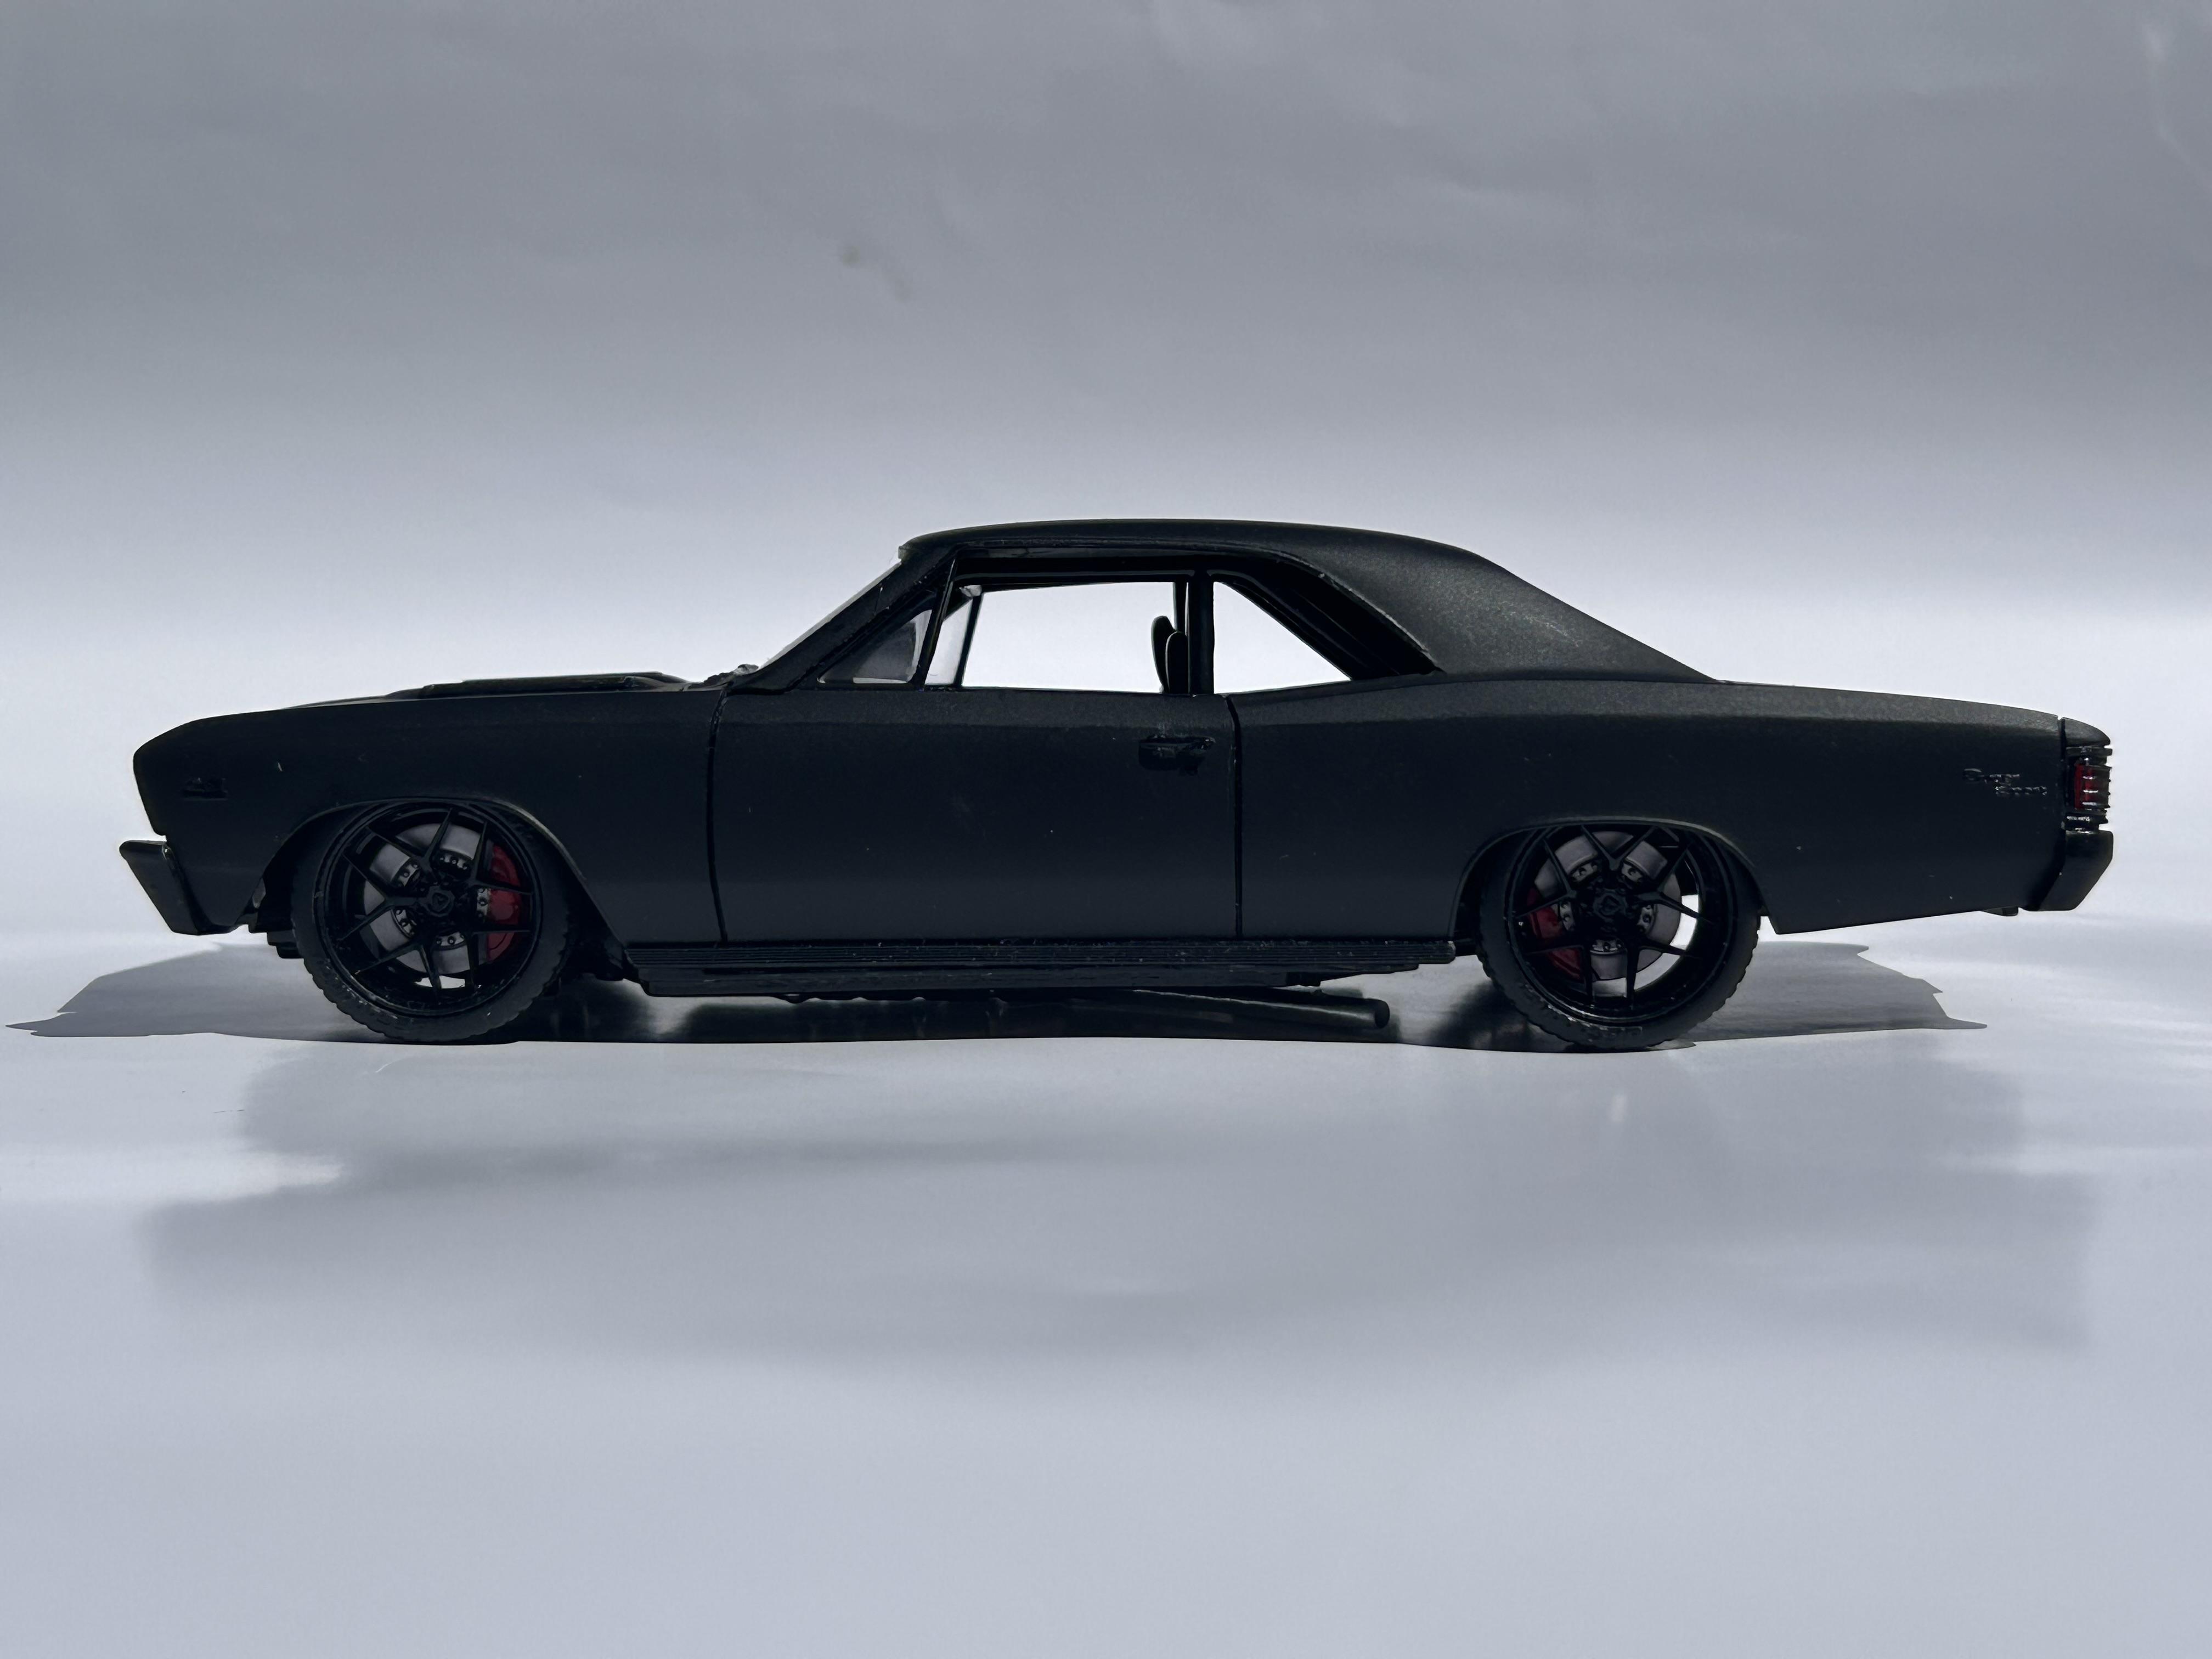
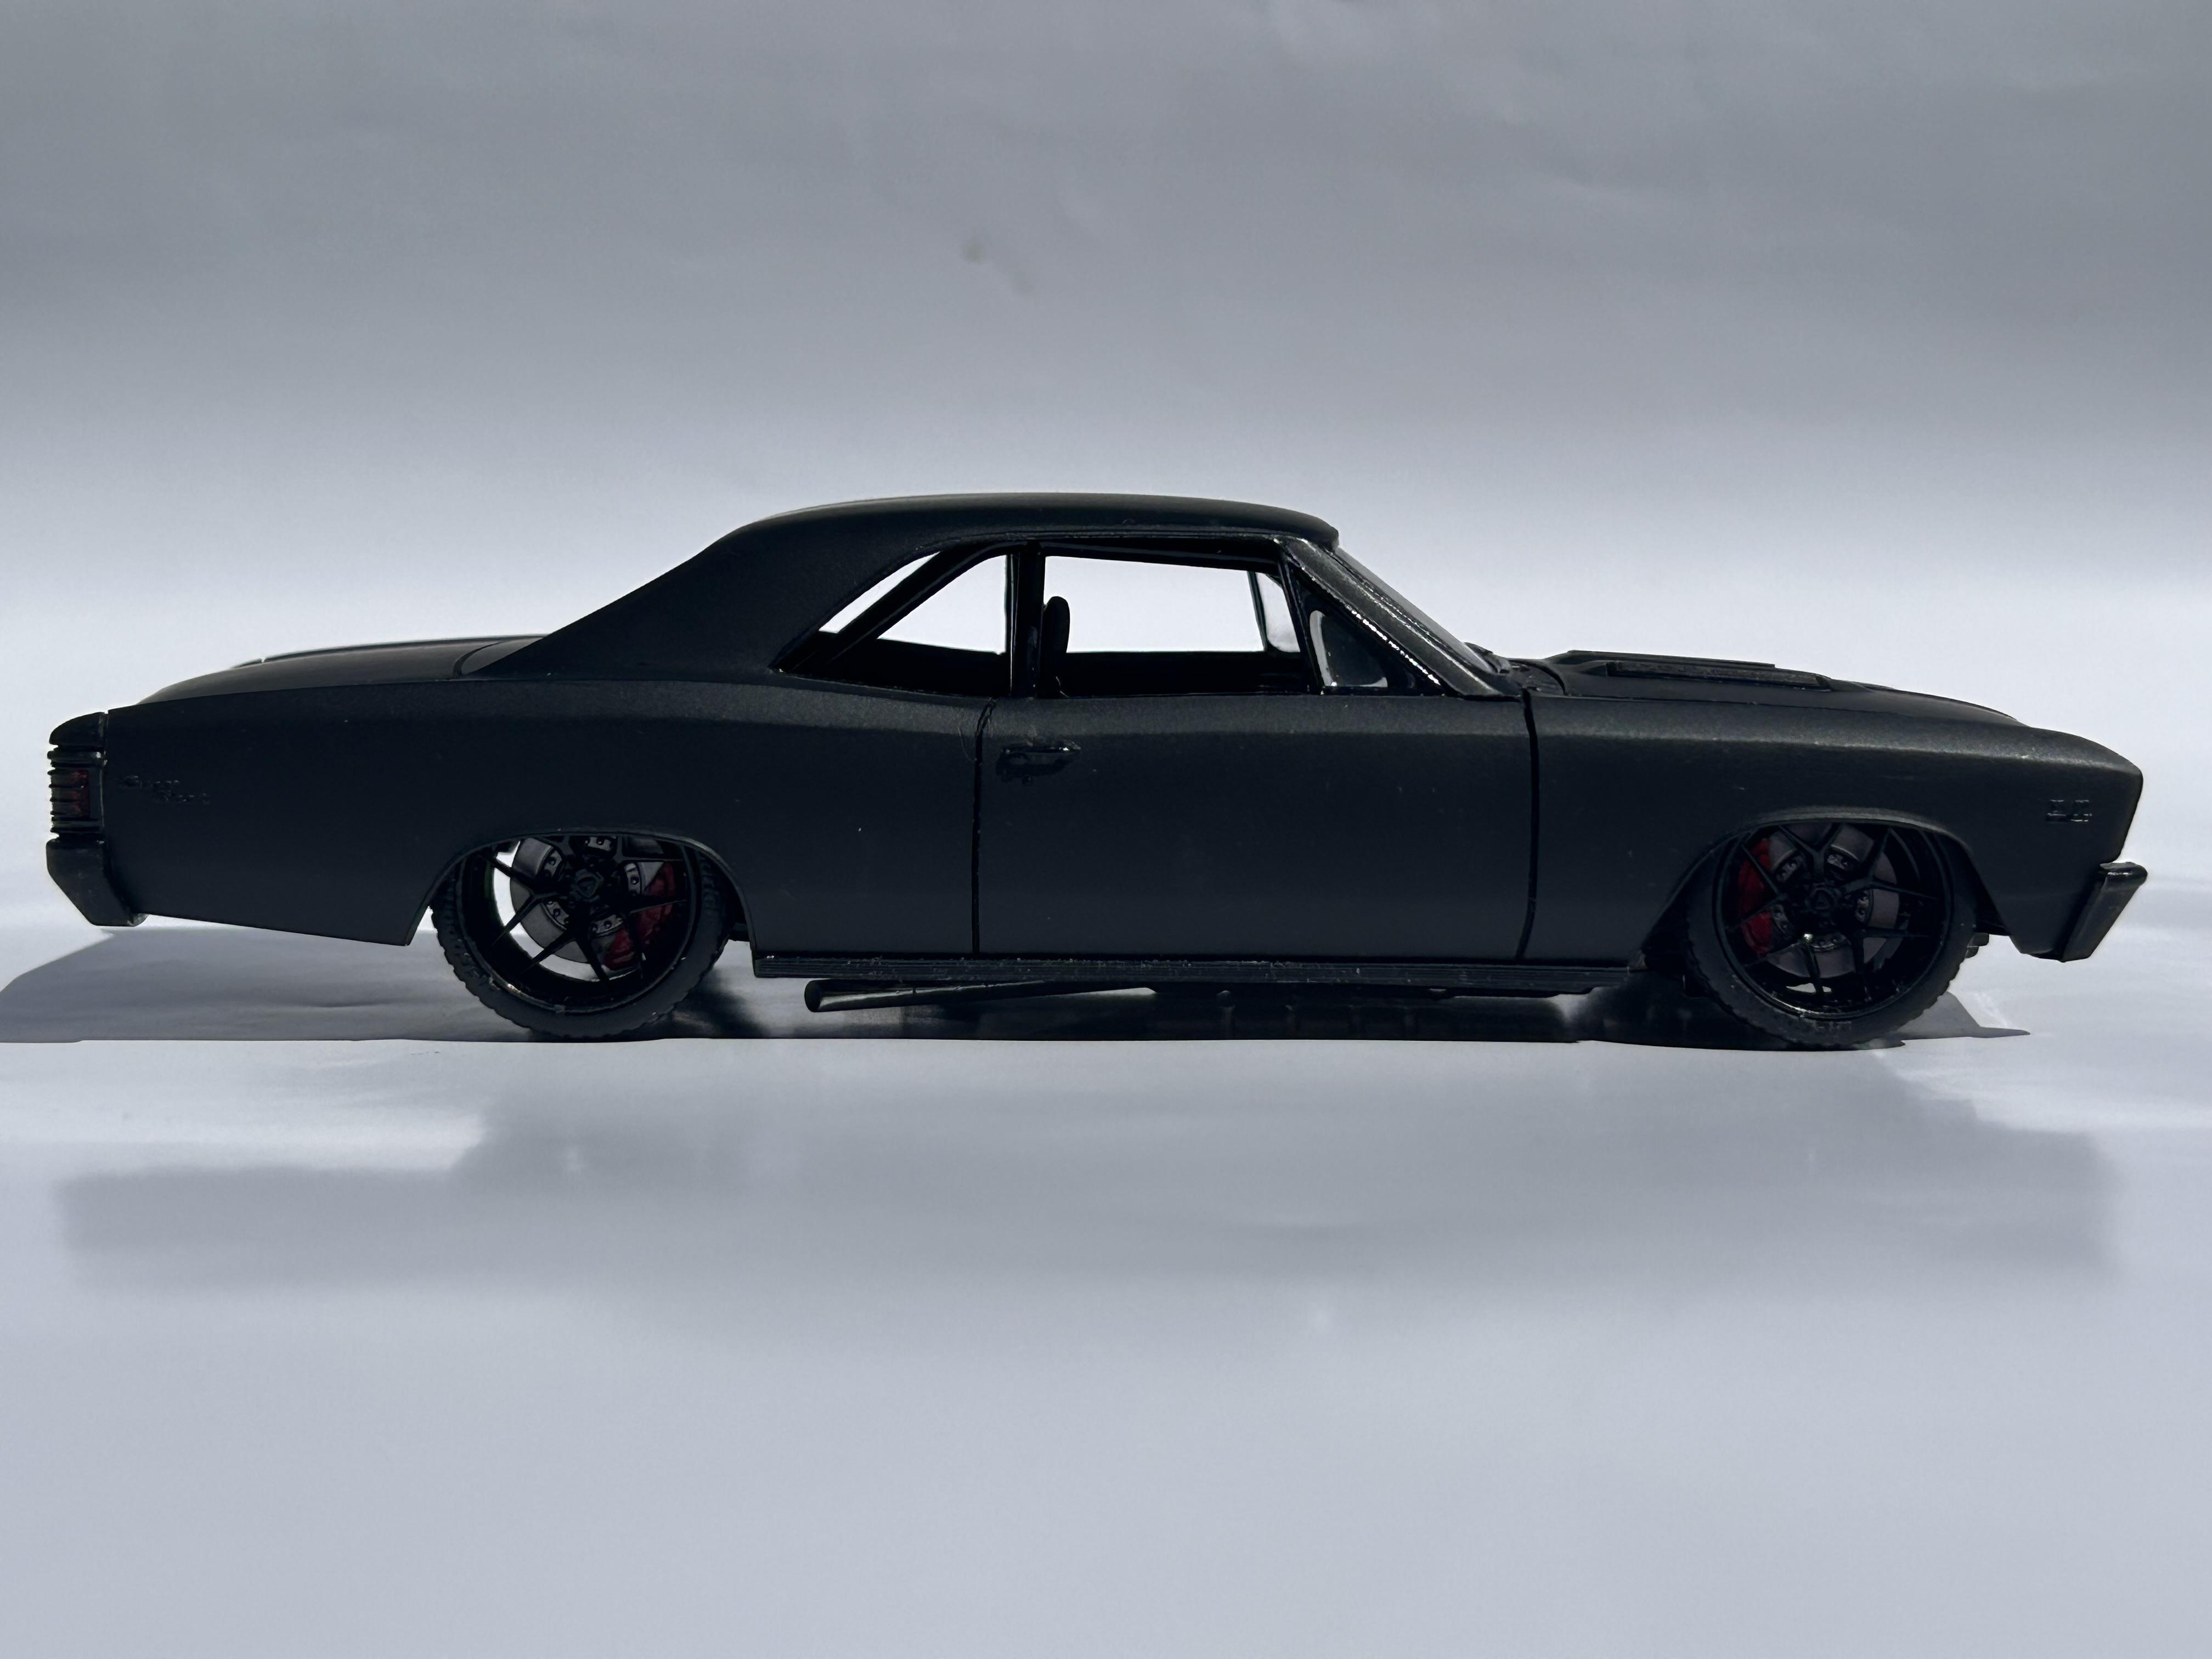
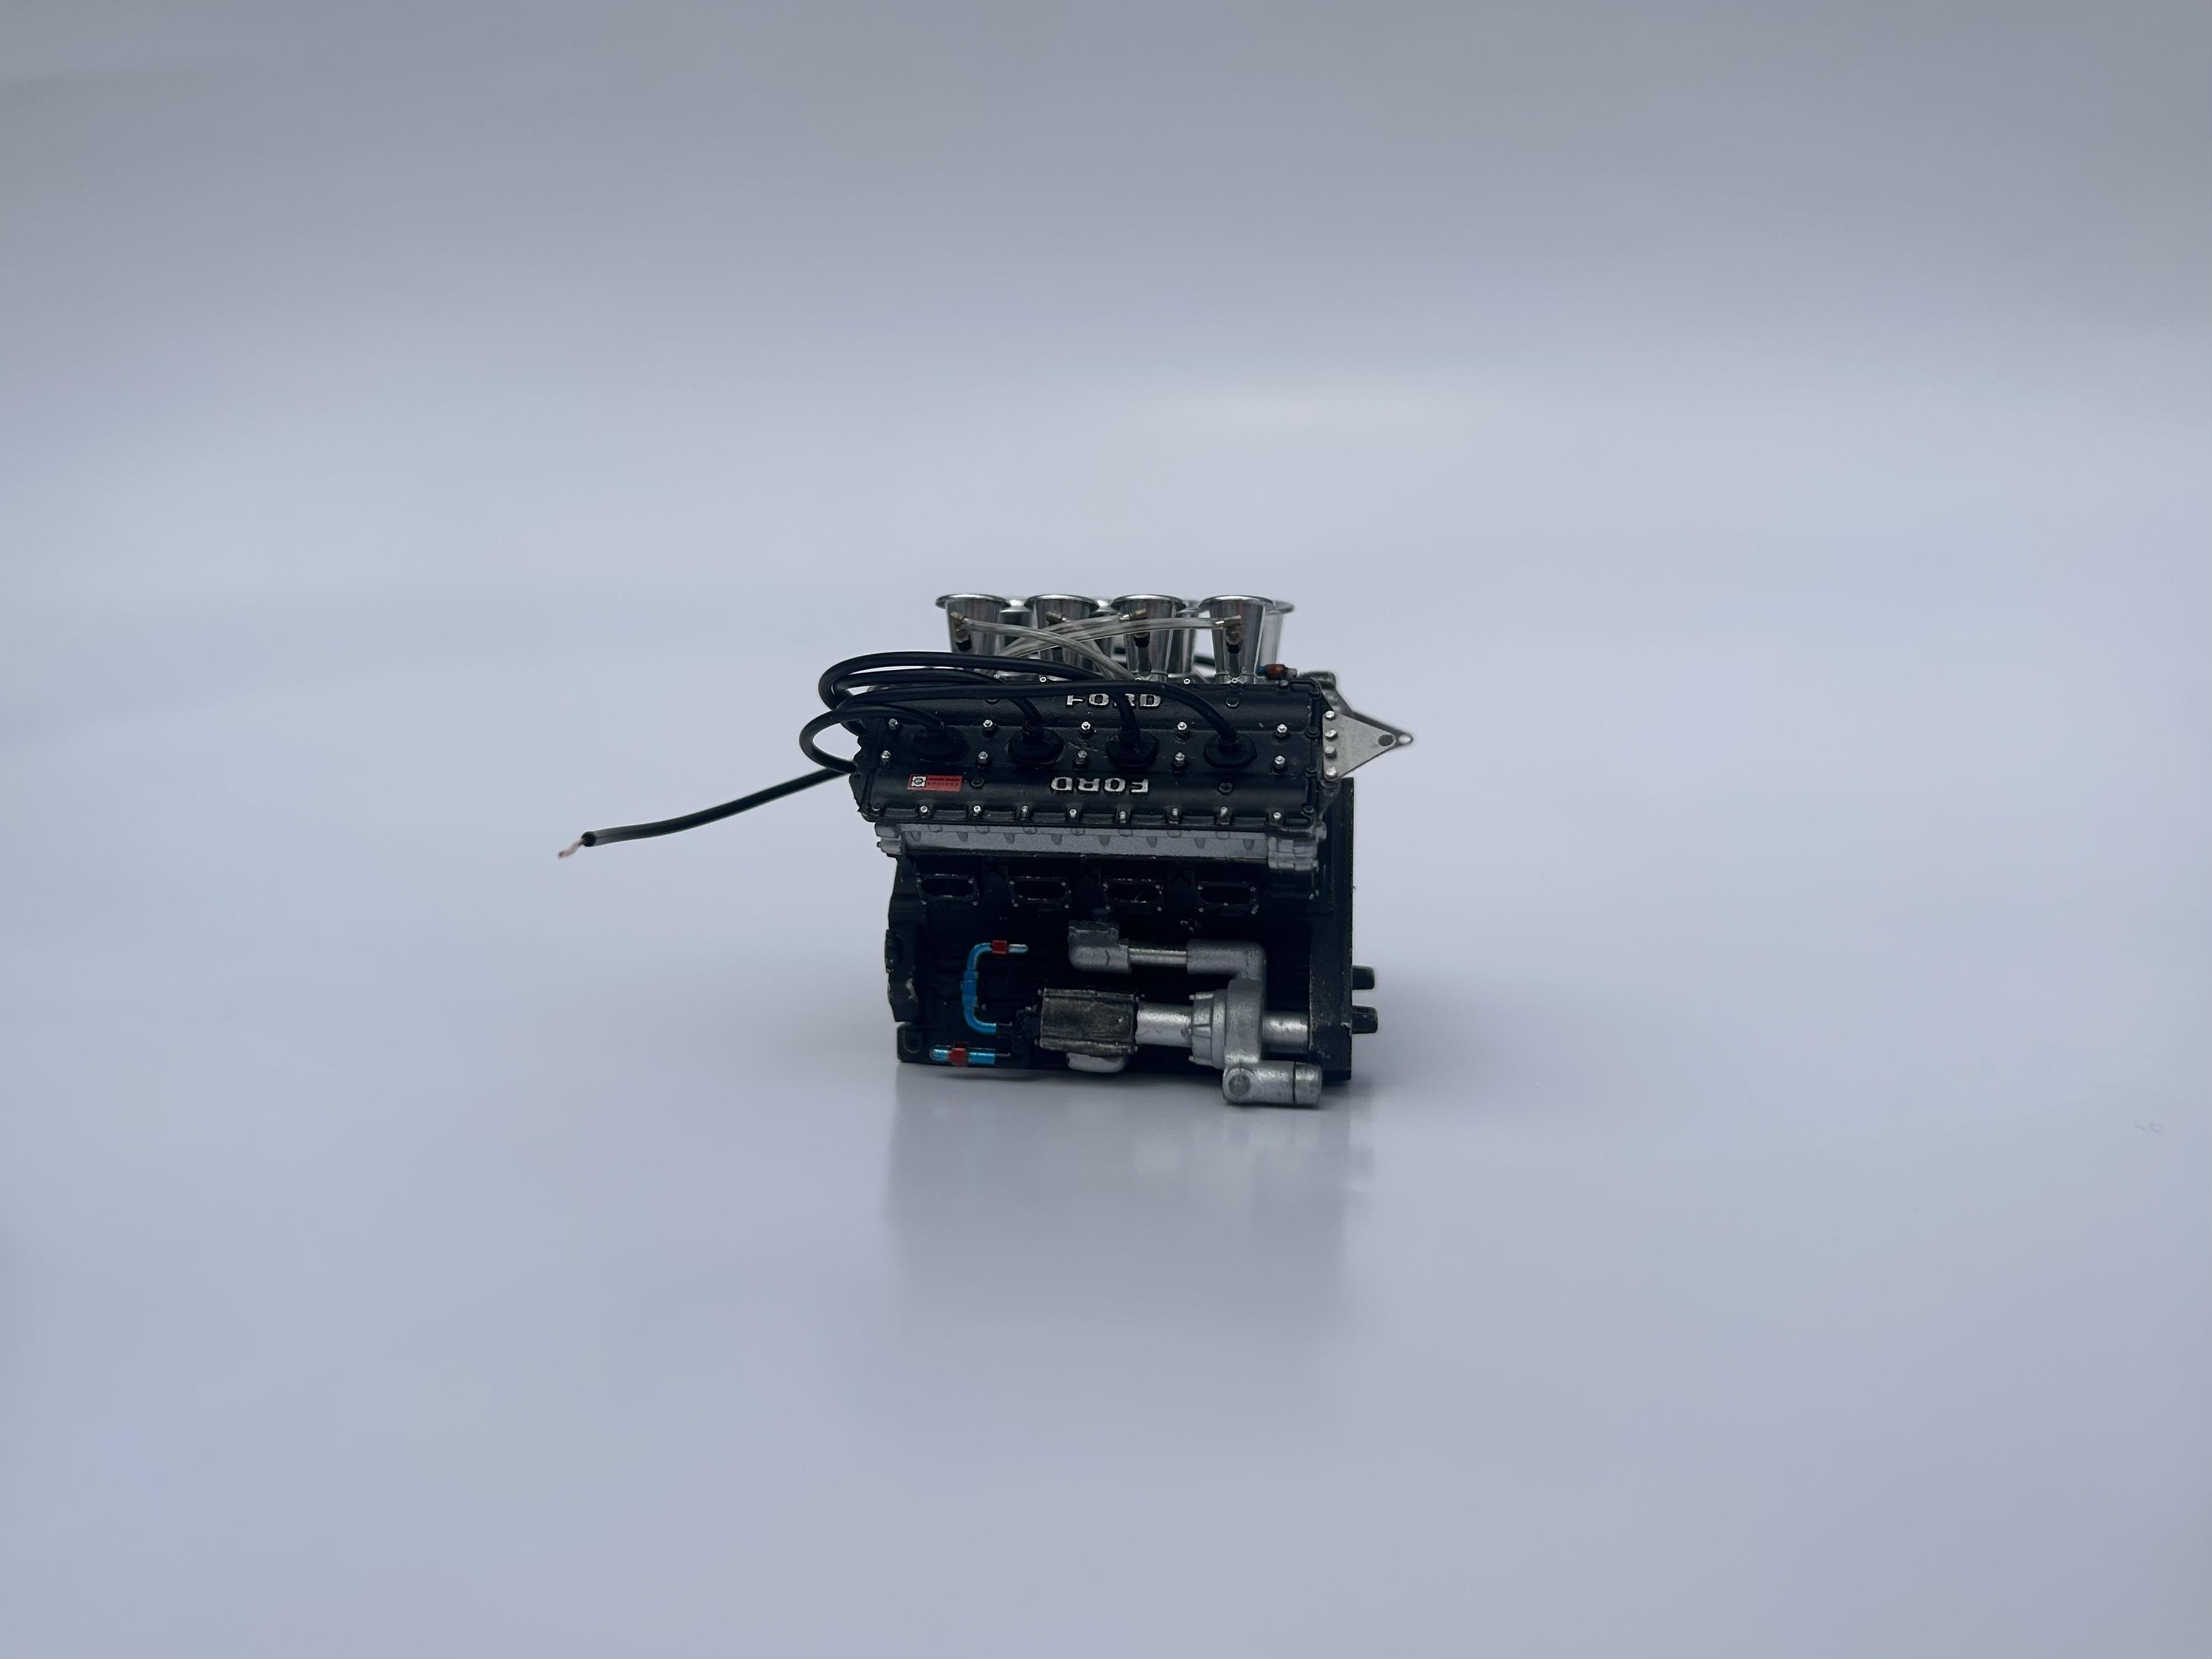
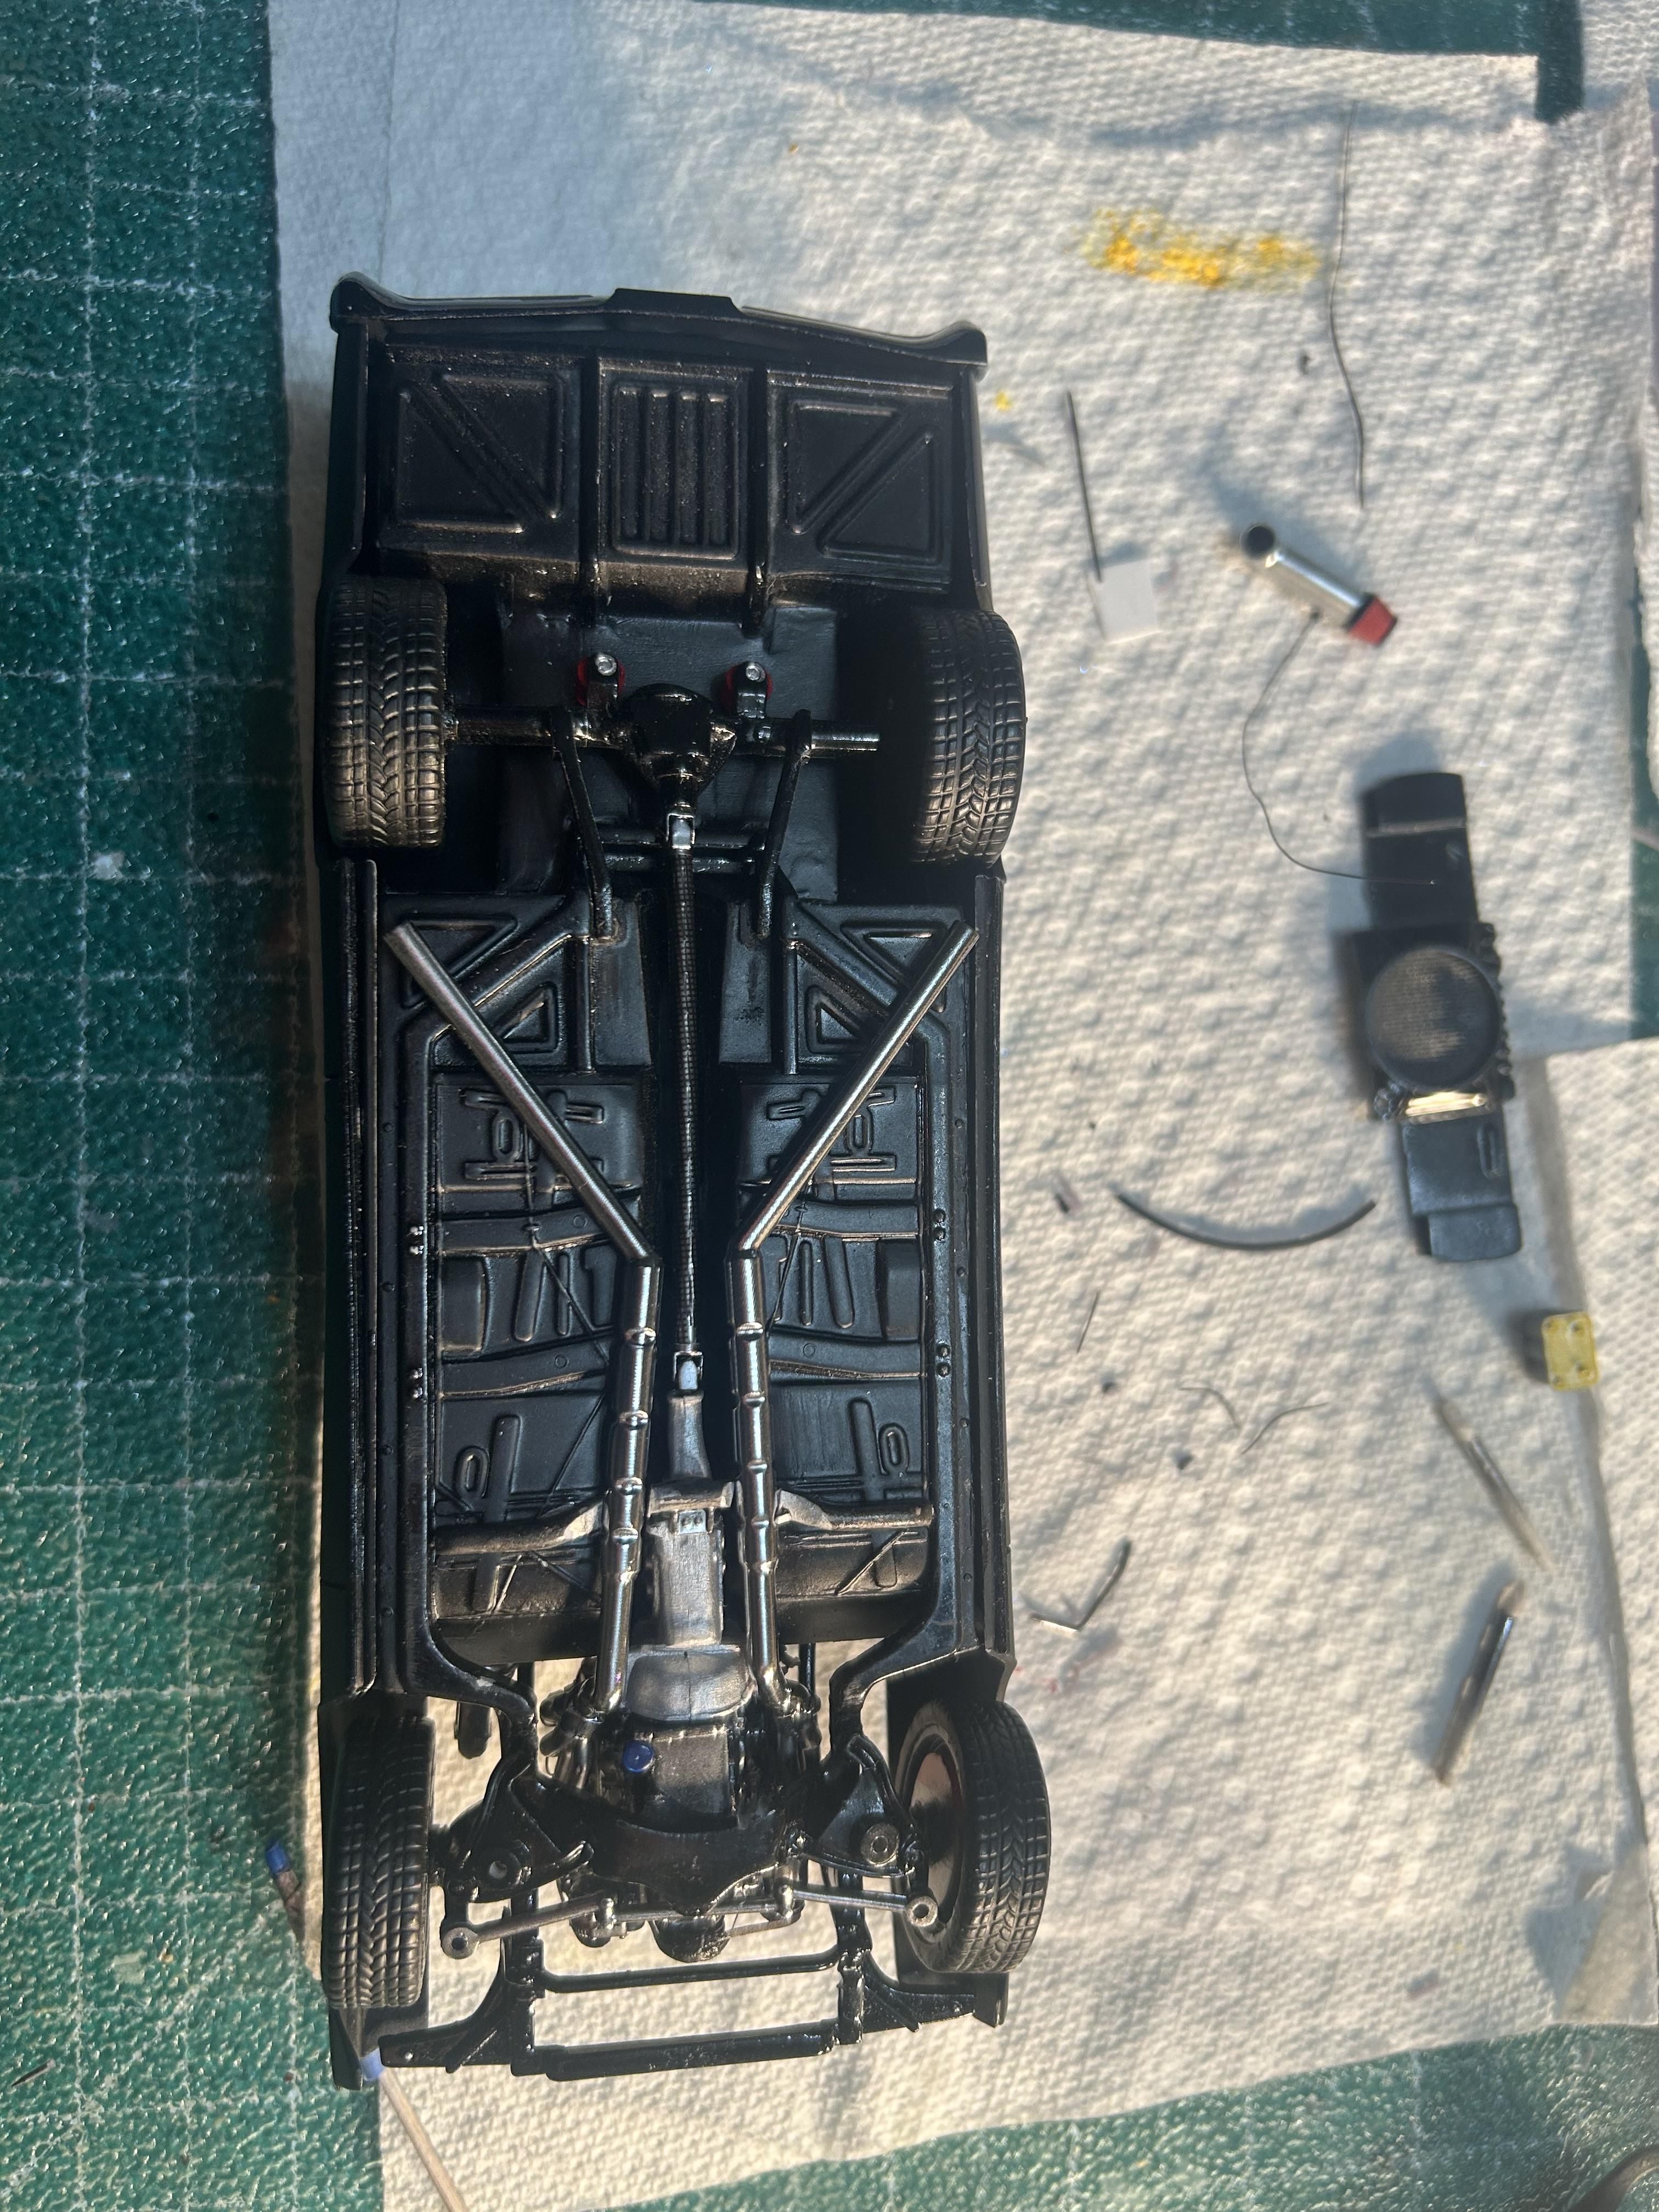
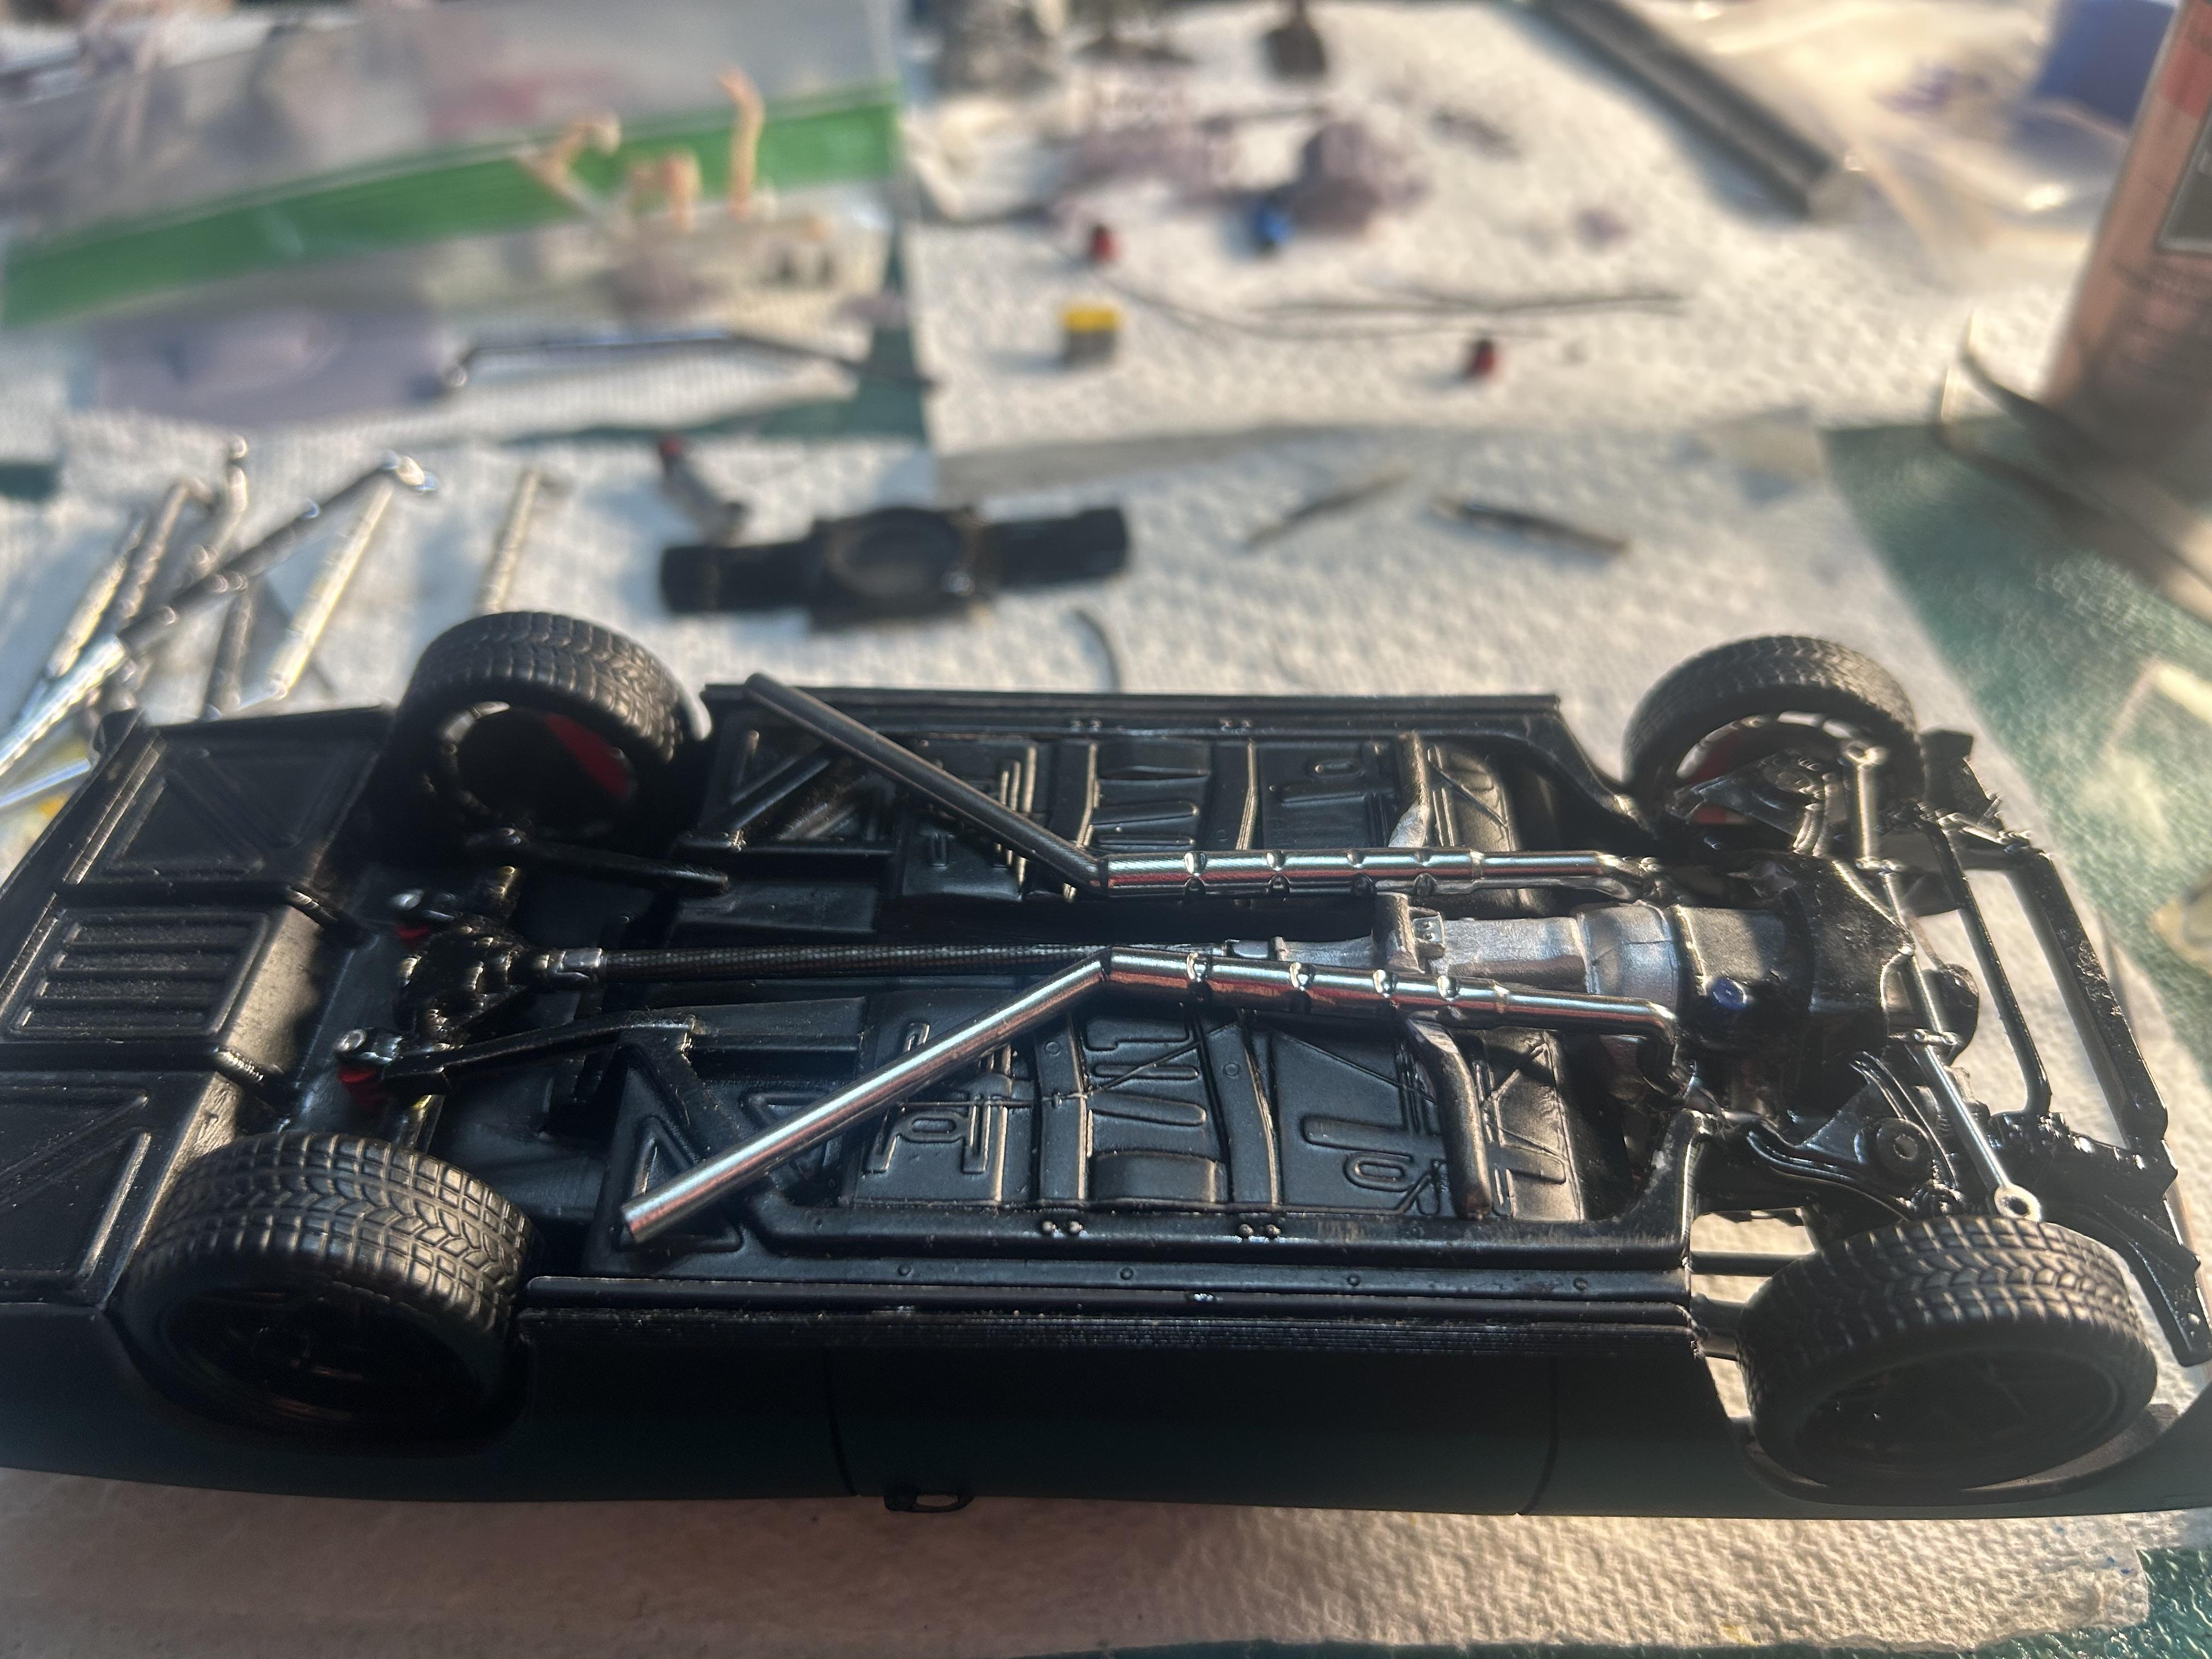
Finished this one up a few weeks ago but was waiting for nice weather to take some pictures outside. AMT Pro Street kit built as Pro Touring. Lowered the suspension and airbrushed with Tamiya Matt Black rattle can decanted. Purchased Jays Resin wheels before I got my 3D printer. Printed the LS3 from free files I found online. Also got some files in trade from Anton (mattilacken). Throttle body and other goodies. Designed the driveshaft, exhaust and Optima battery in Blender and Meshmixer and printed those too. Thanks for looking. Build post here: AMT ‘67 Chevelle Pro Street (Pro Touring) - WIP: Model Cars - Model Cars Magazine Forum
-
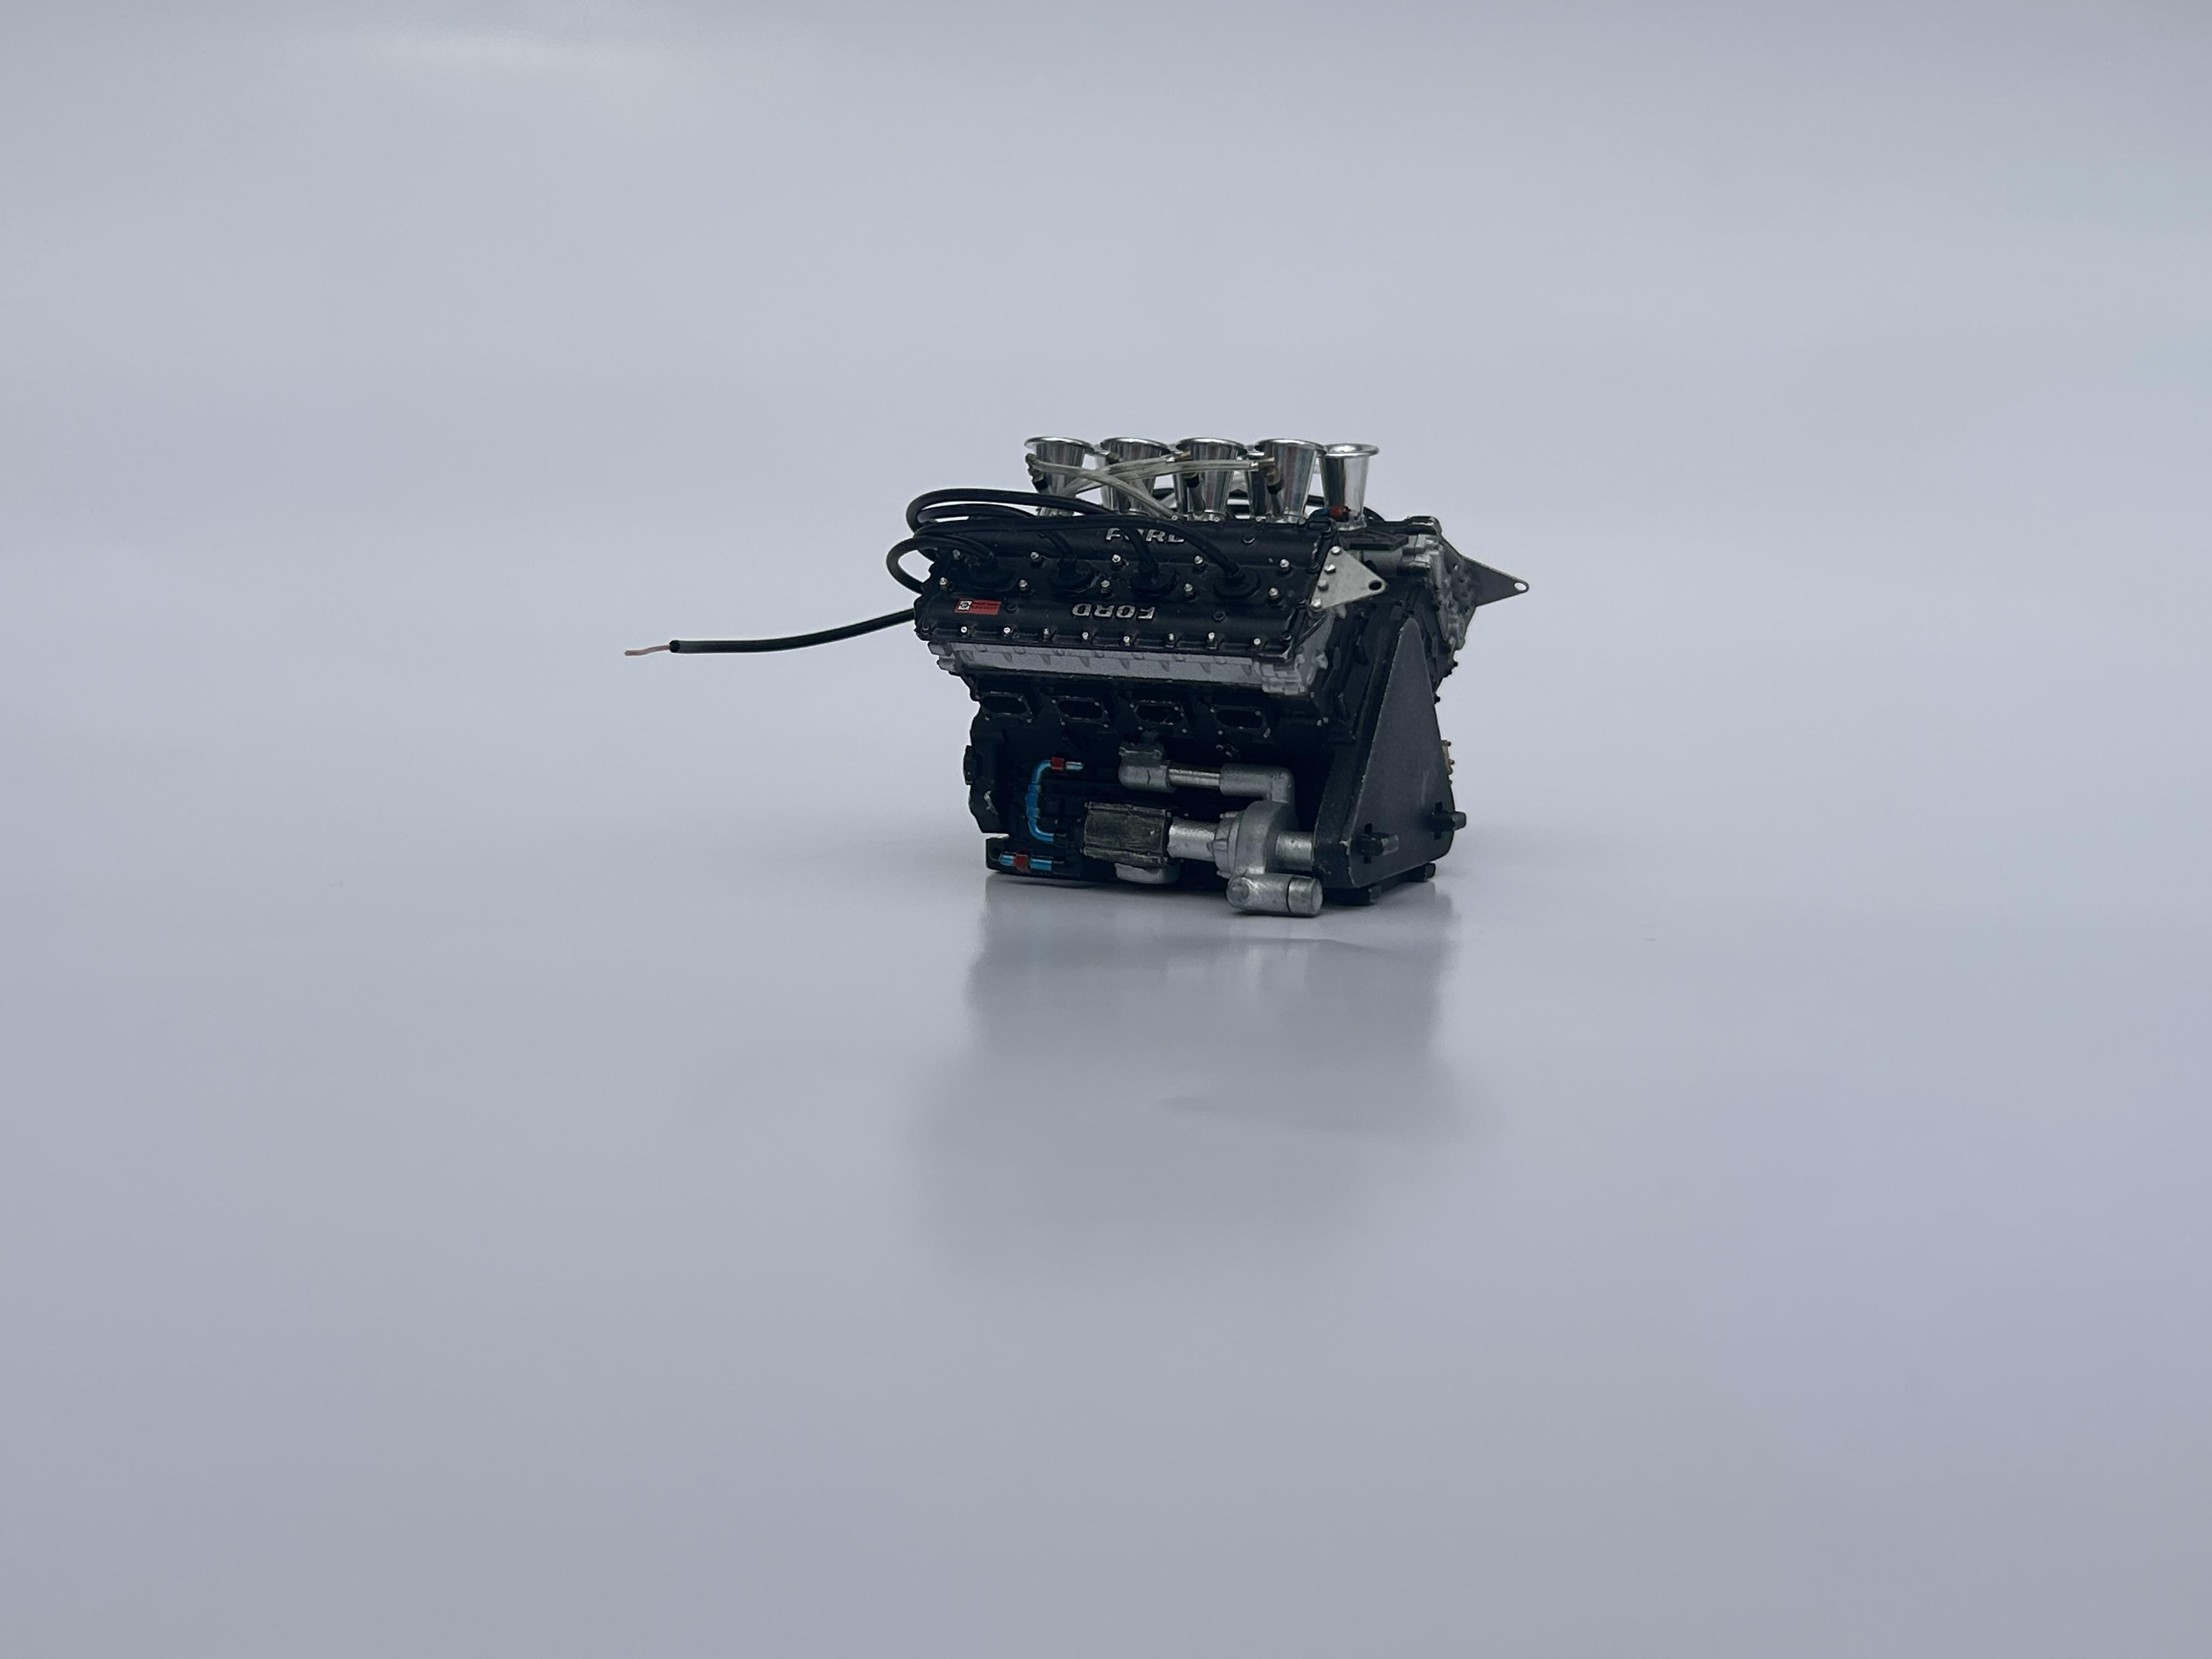
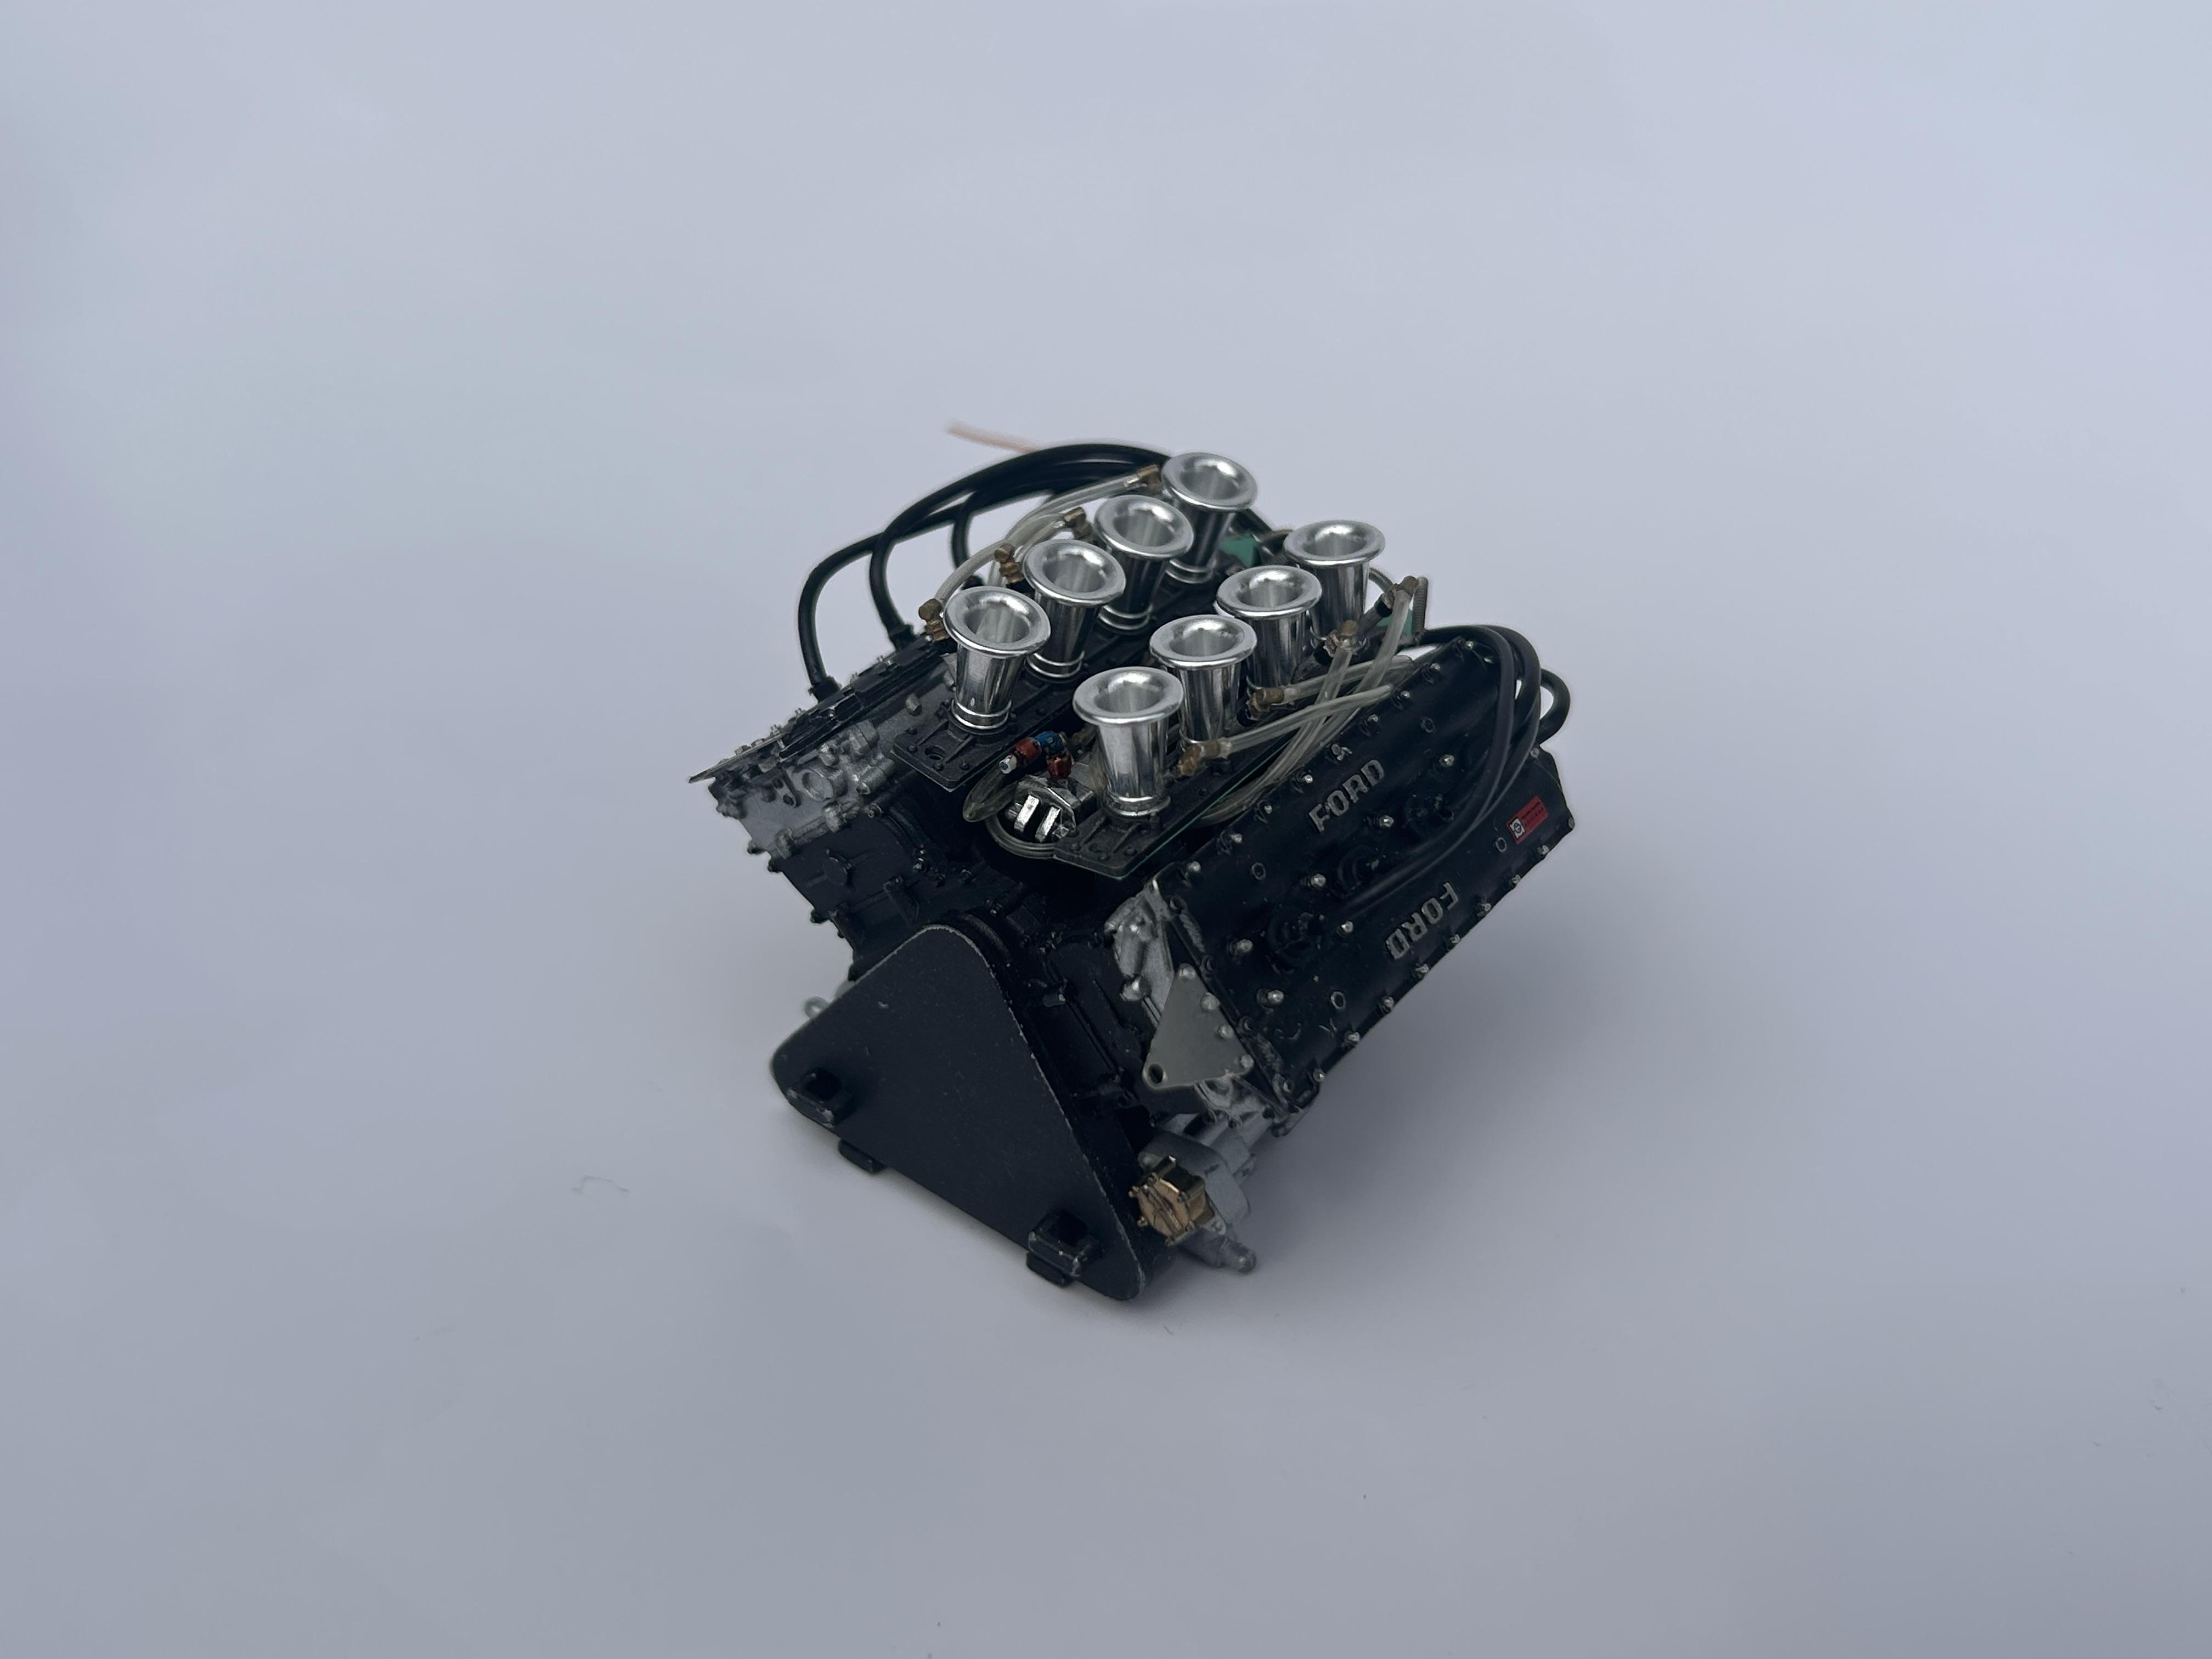
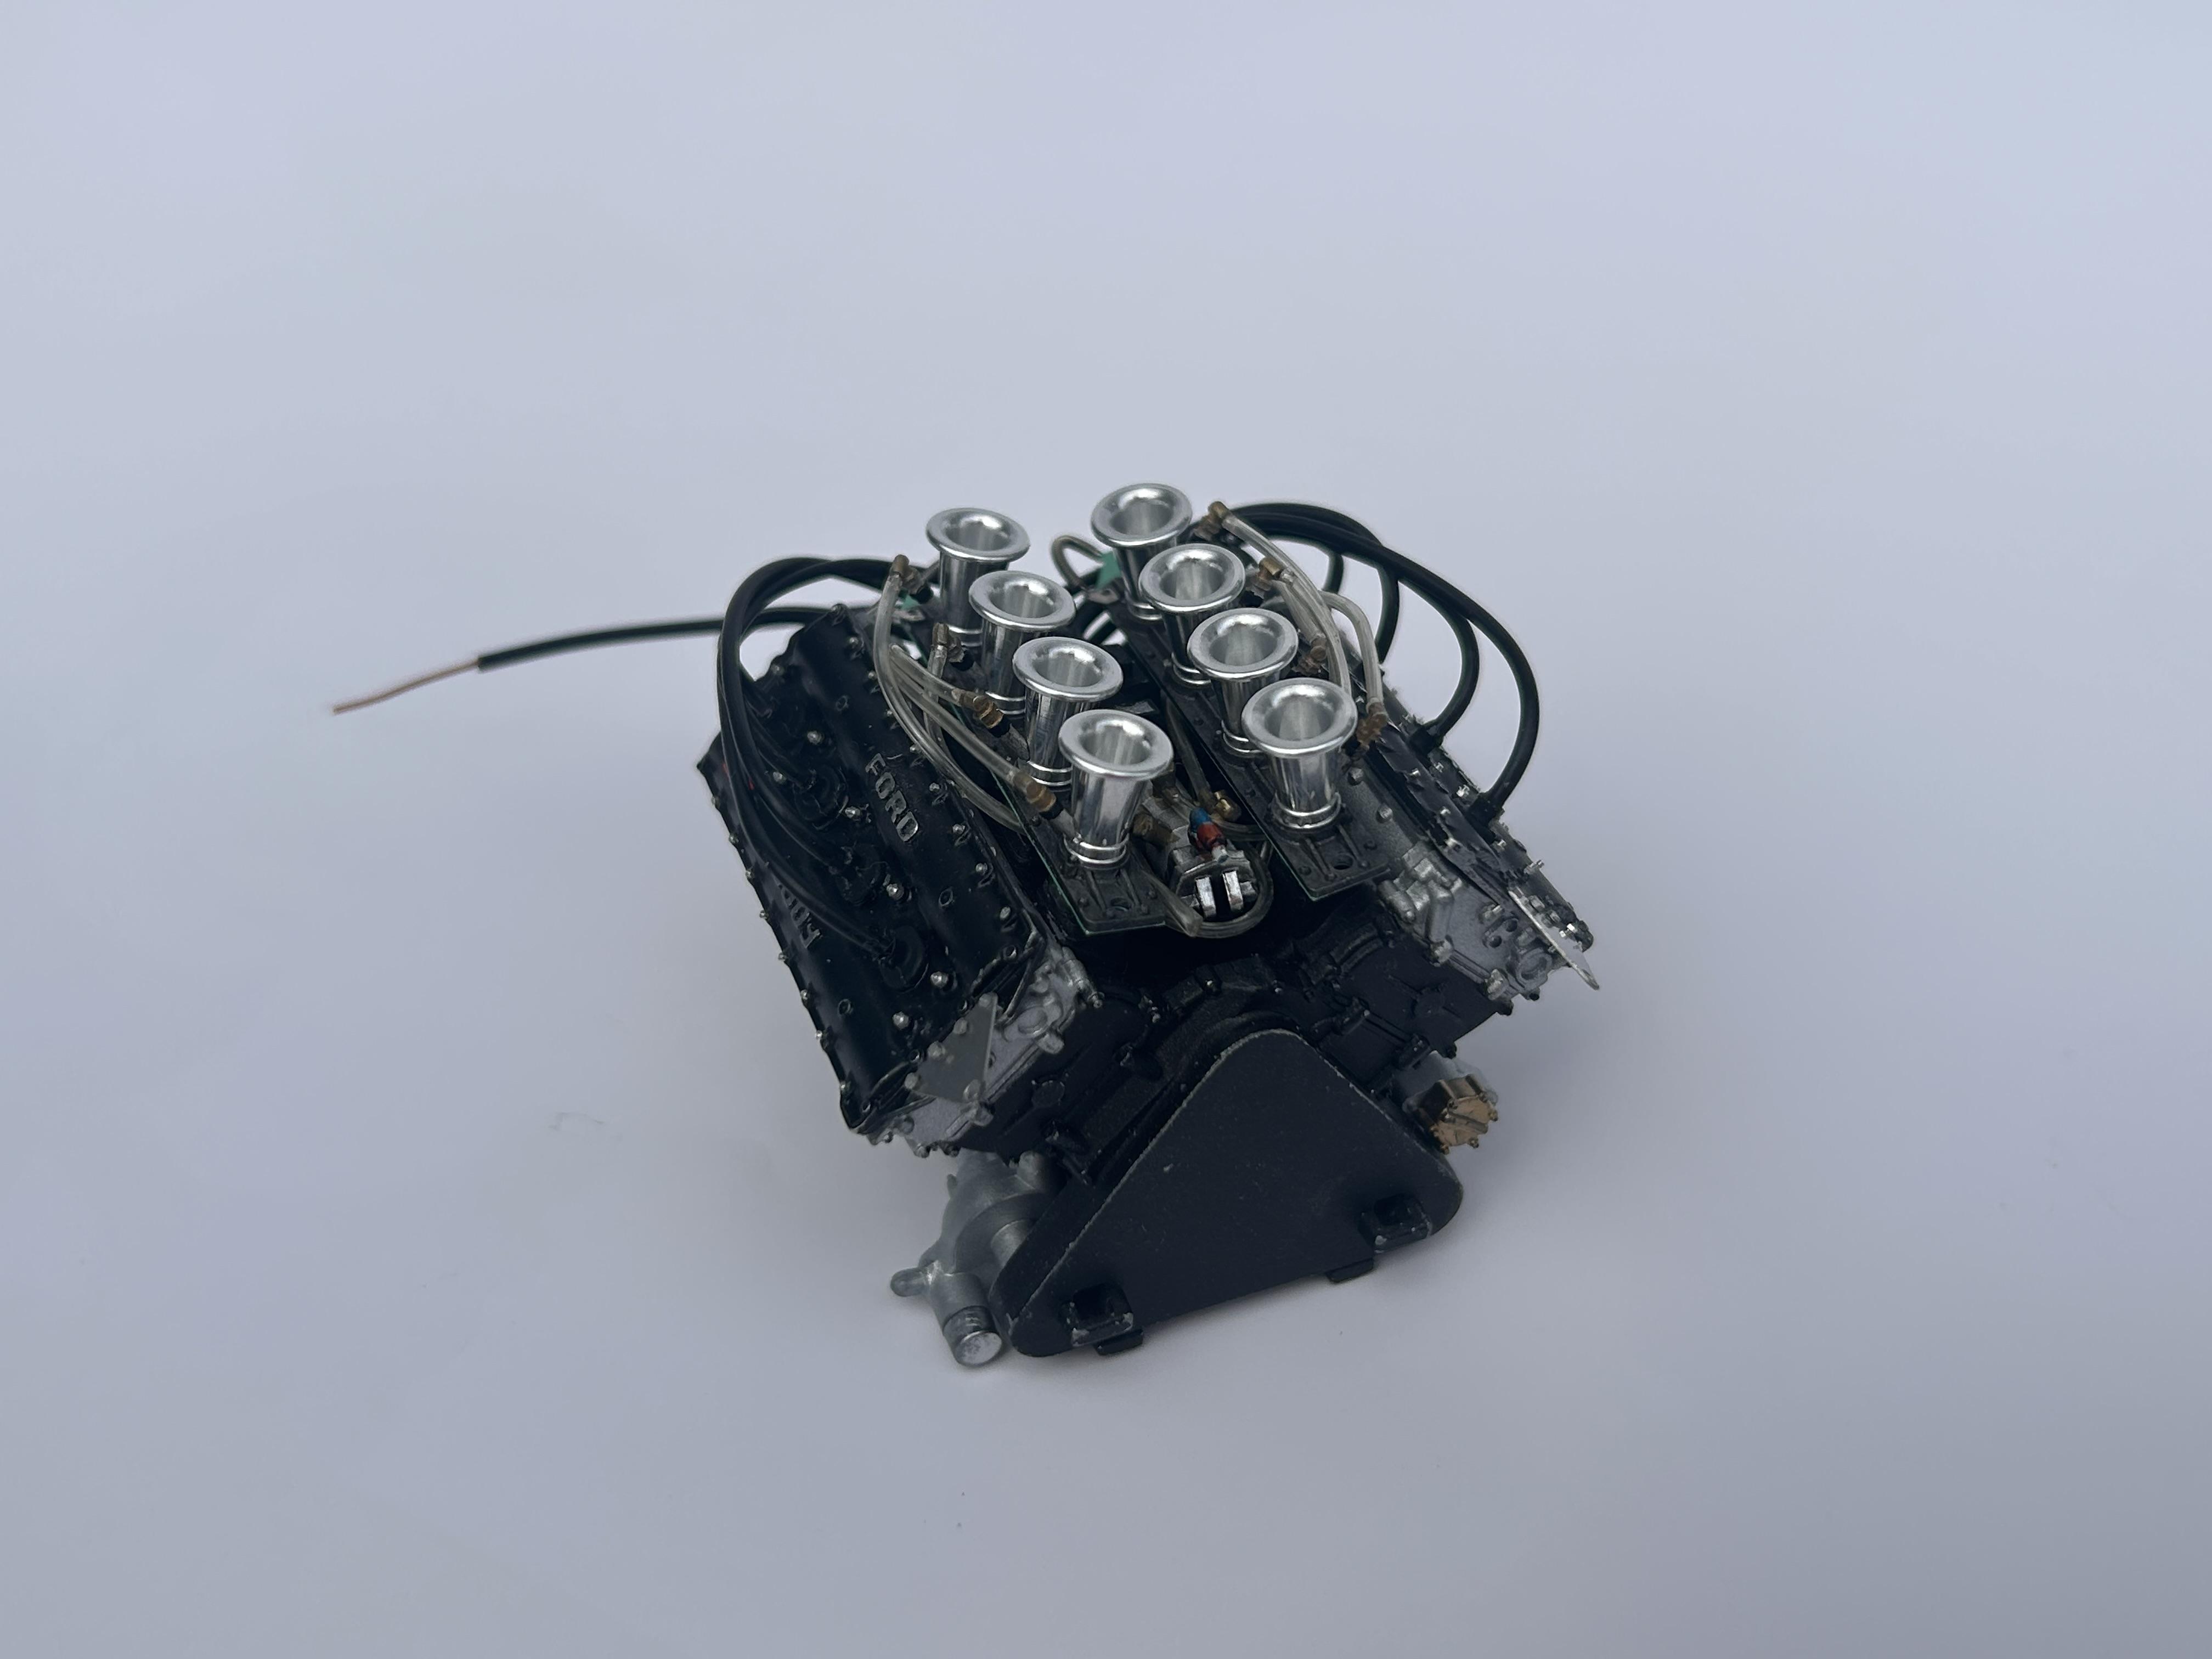
Finished up the engine. Working on modifying the rear suspension supports.
- 29 replies
-
- 2
-
-
- james hunt
- m23
- (and 2 more)
-
I was looking forward to this from when you posted in the WIP section. Another stunning build. Thanks for sharing and inspiring.
-
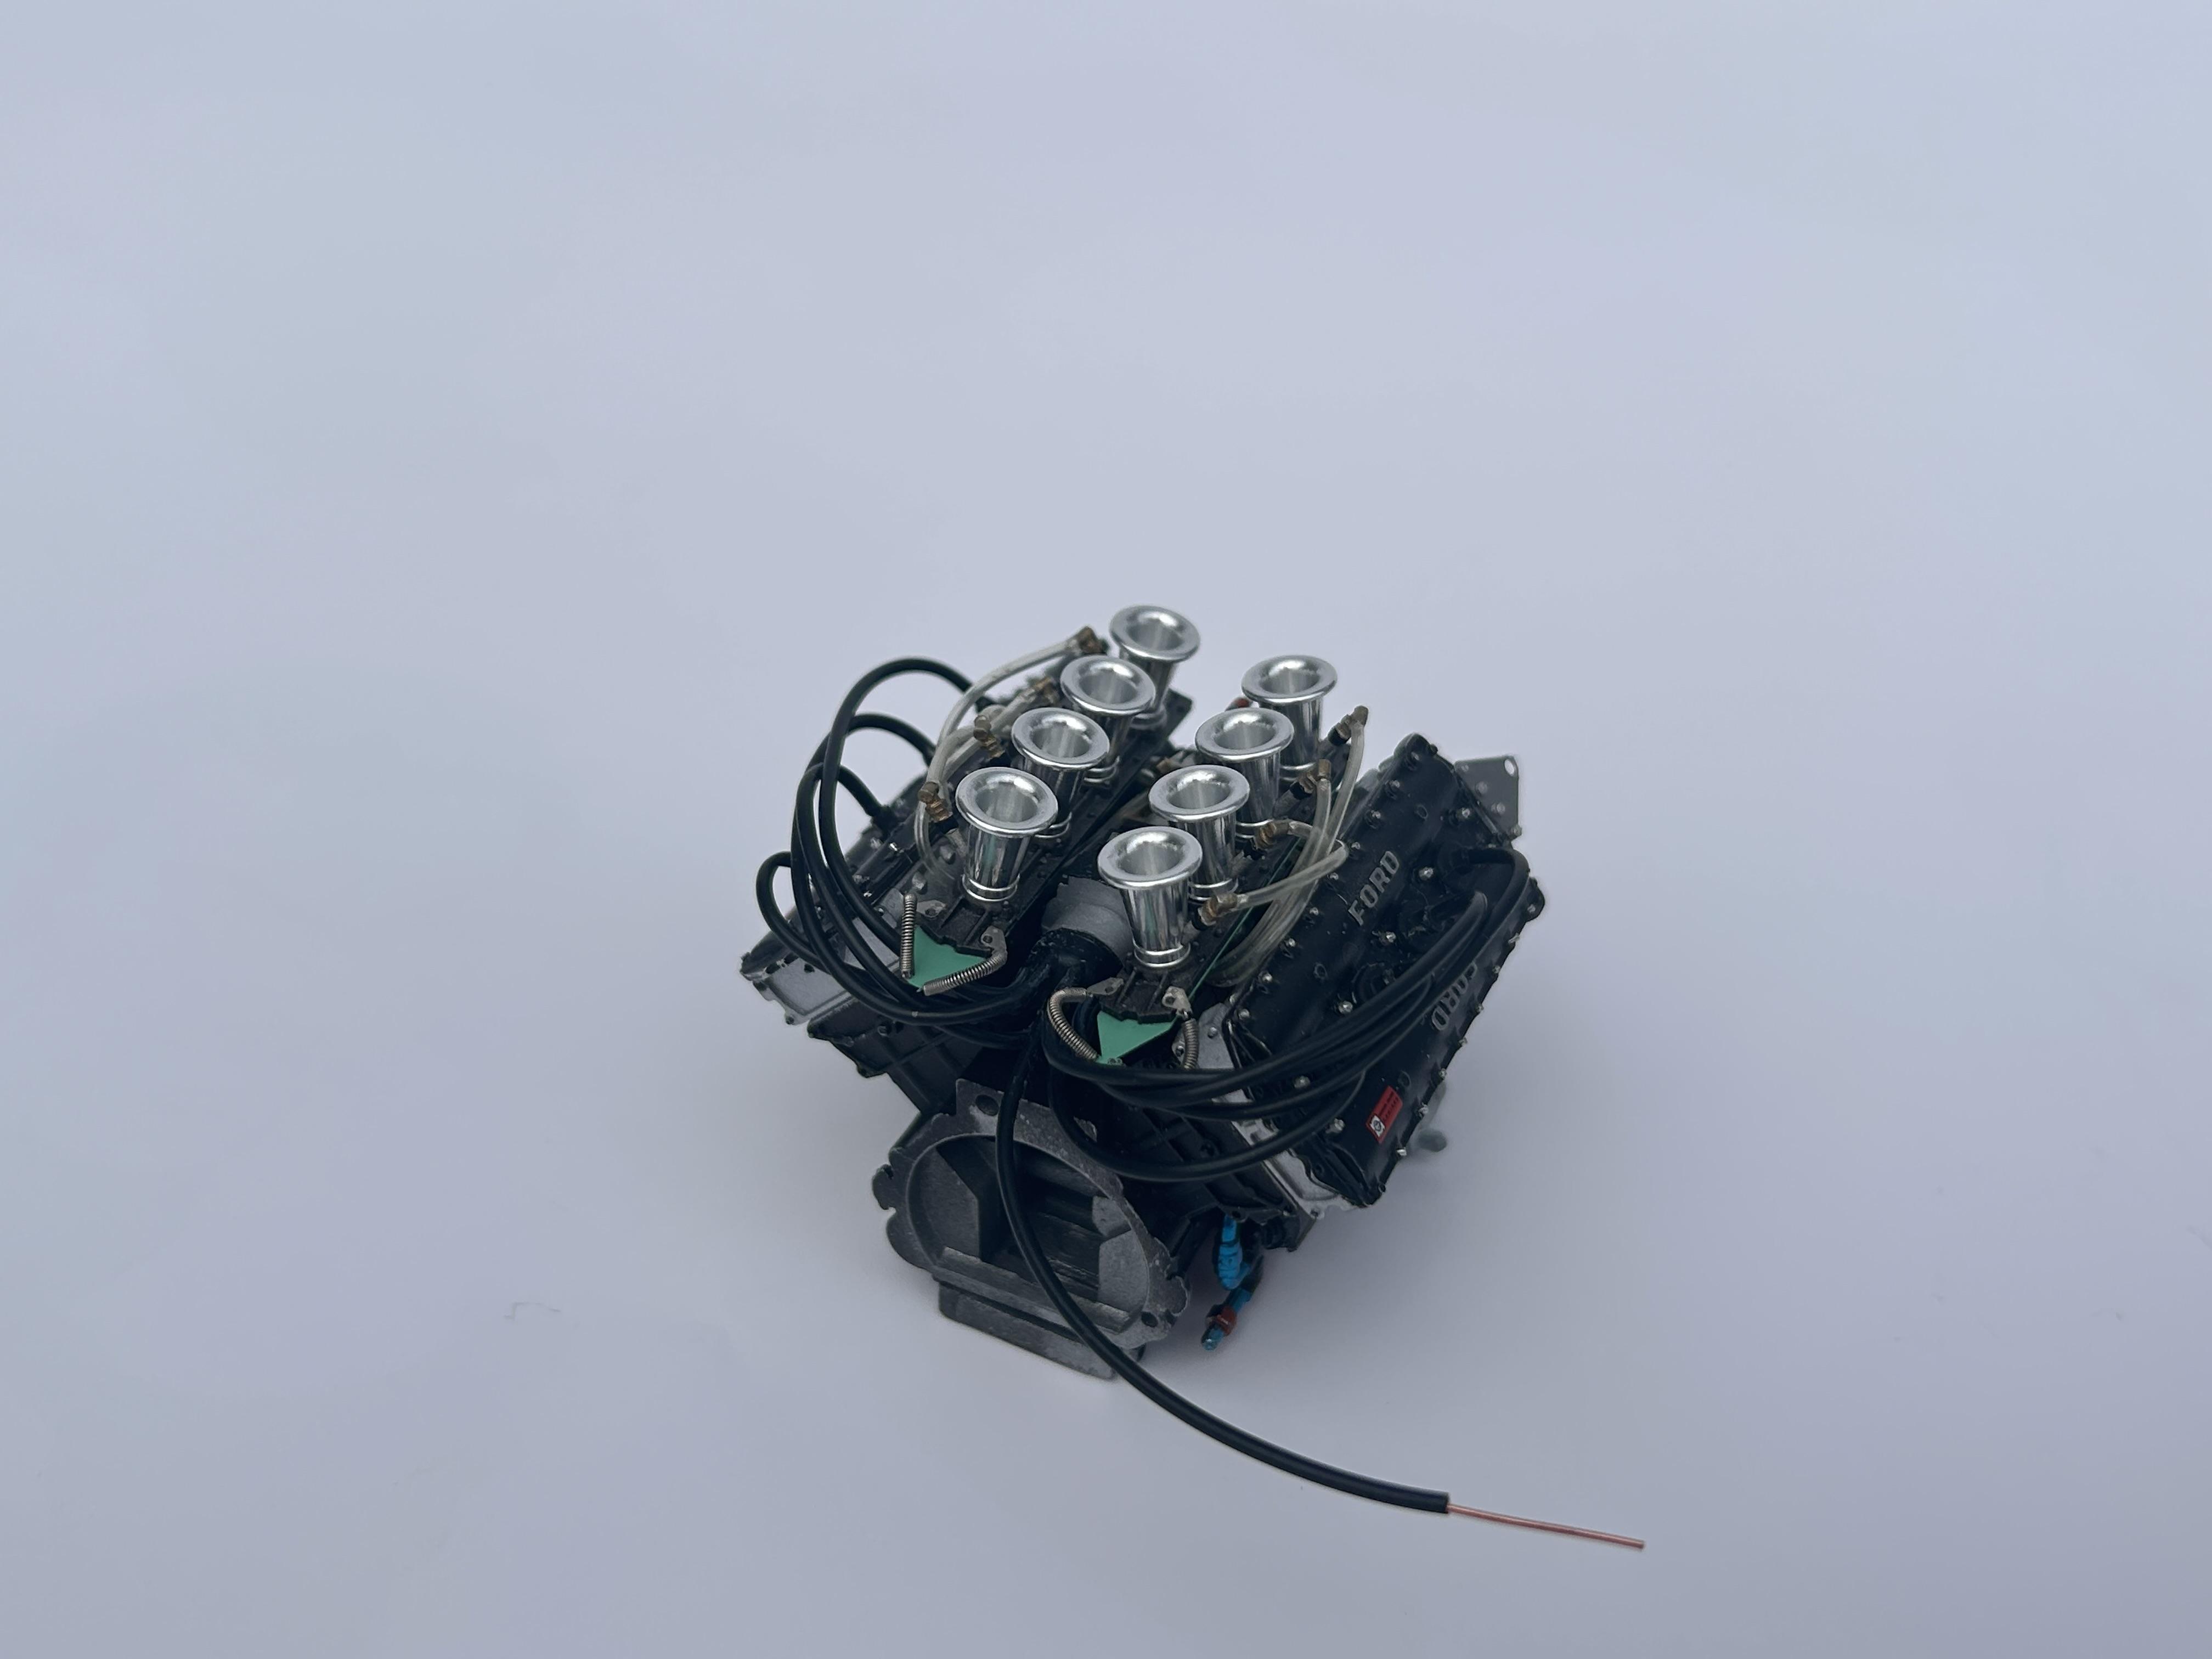
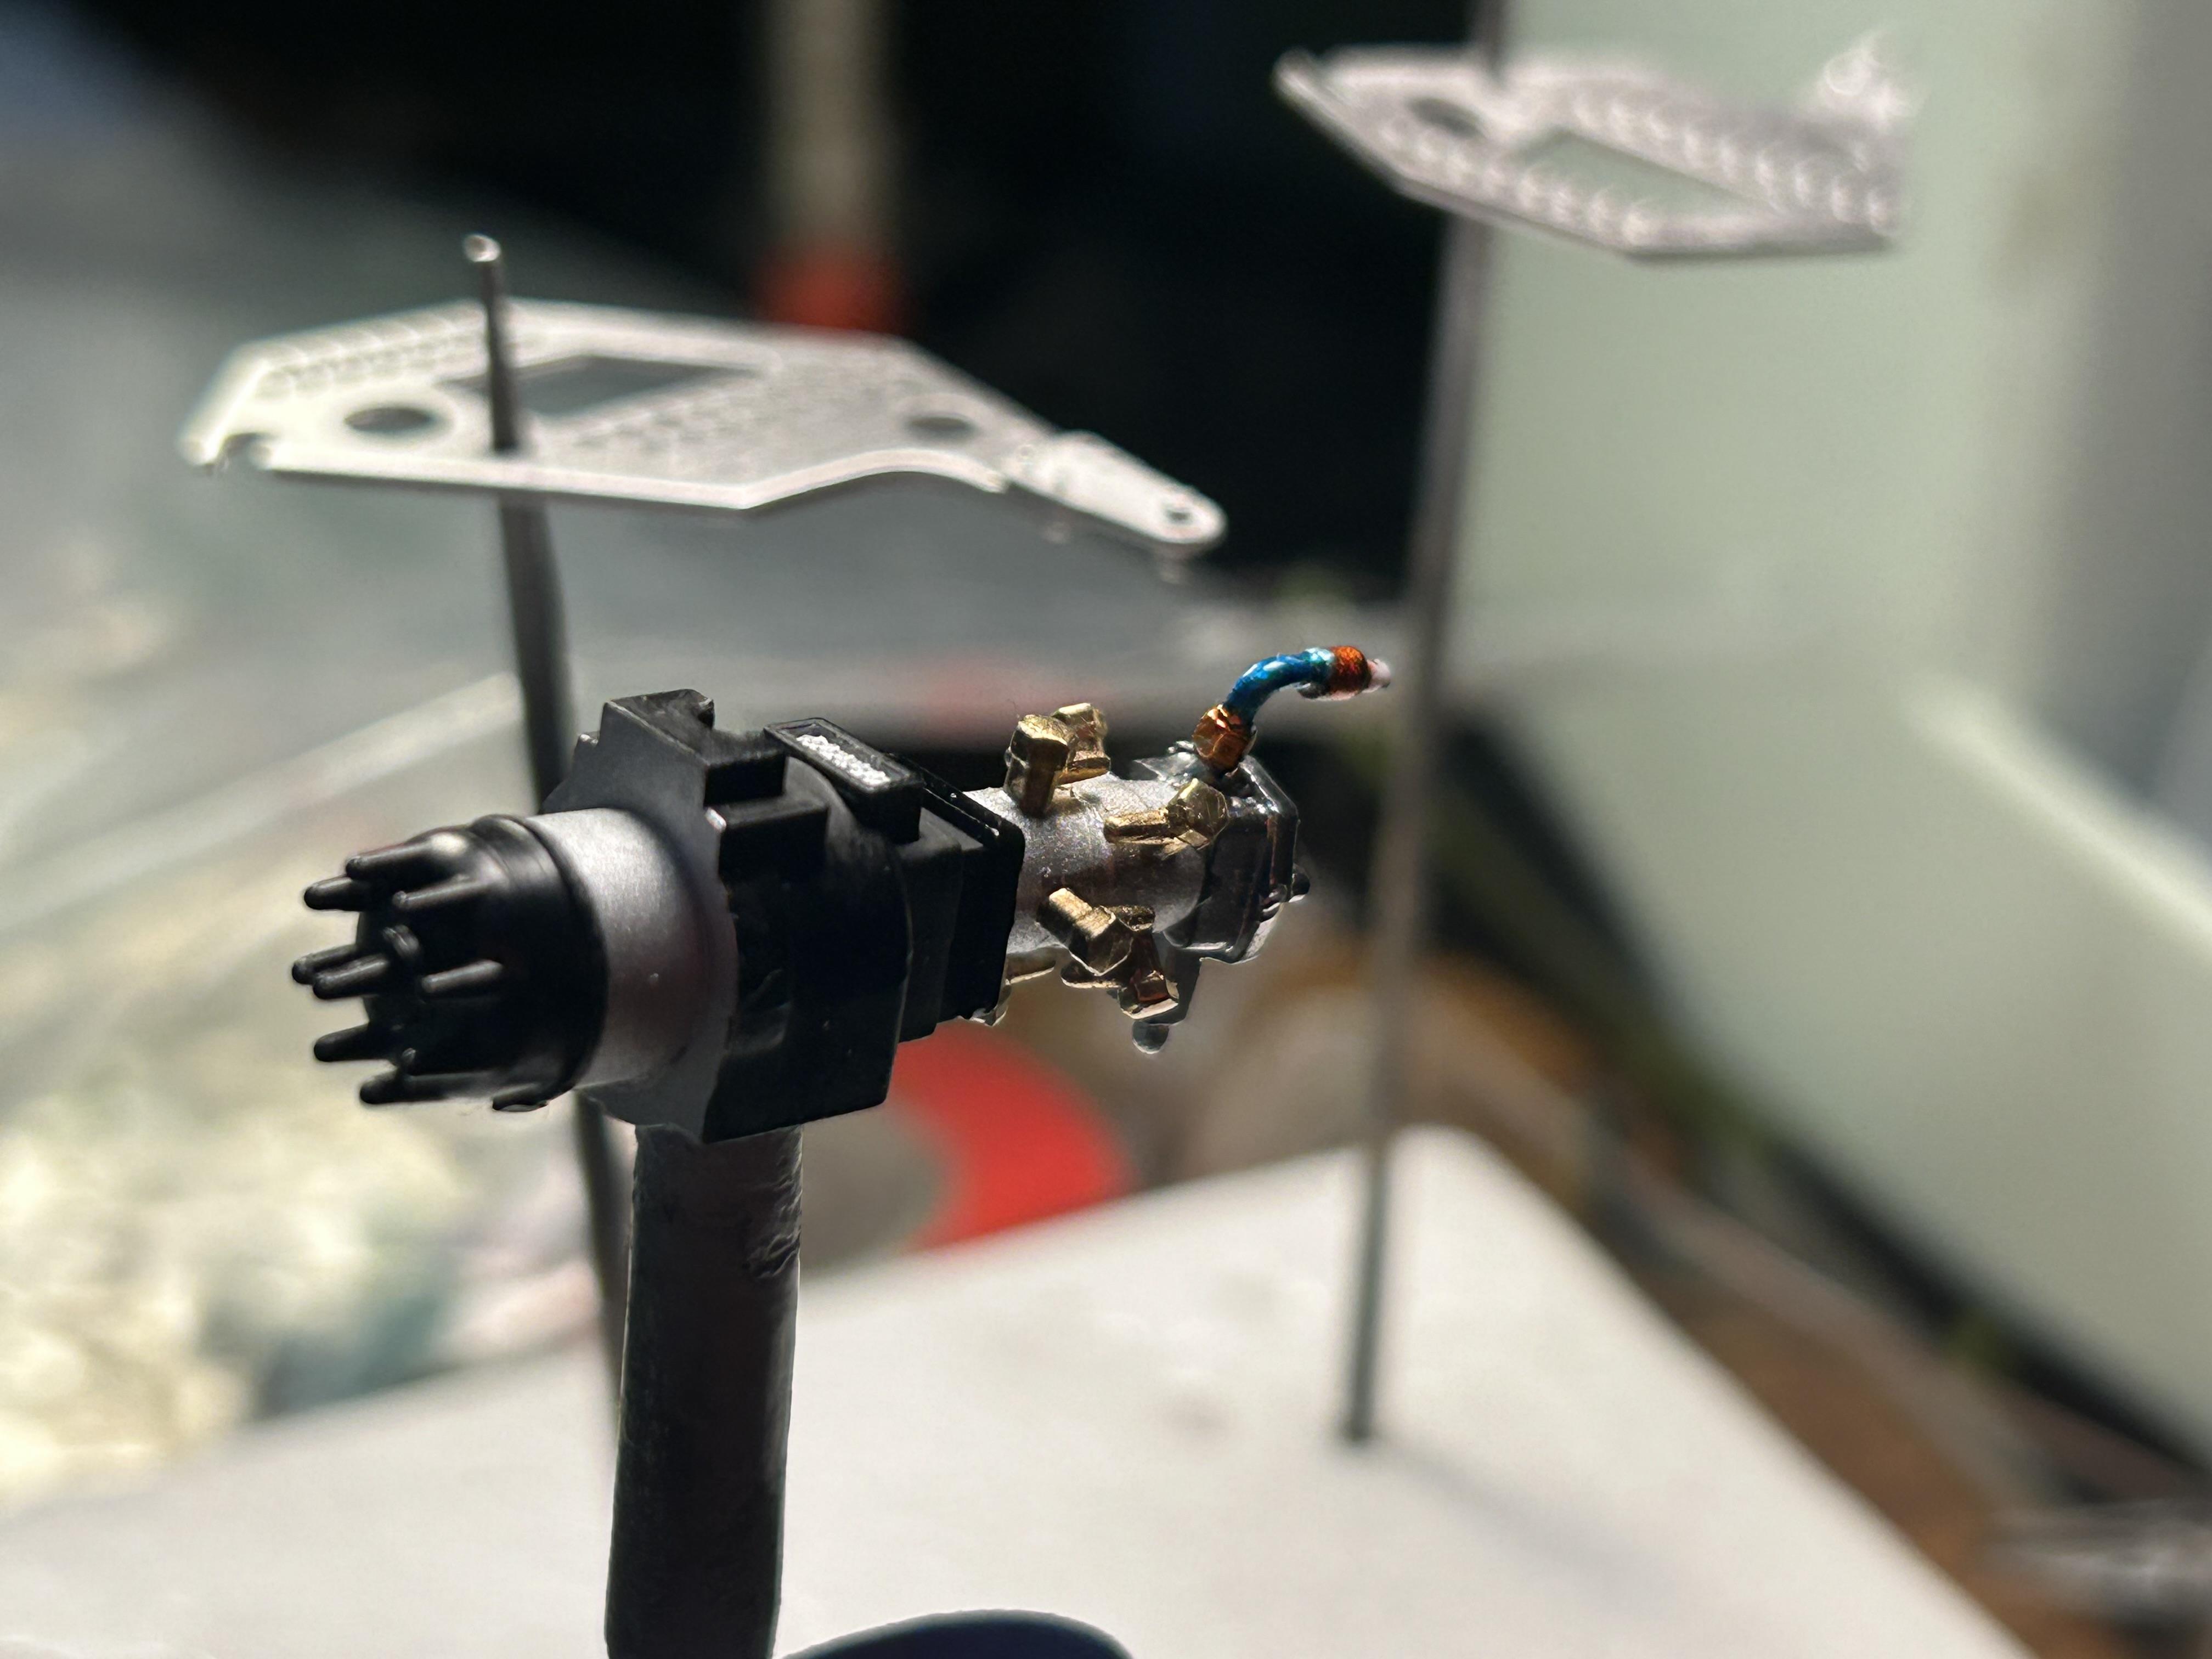
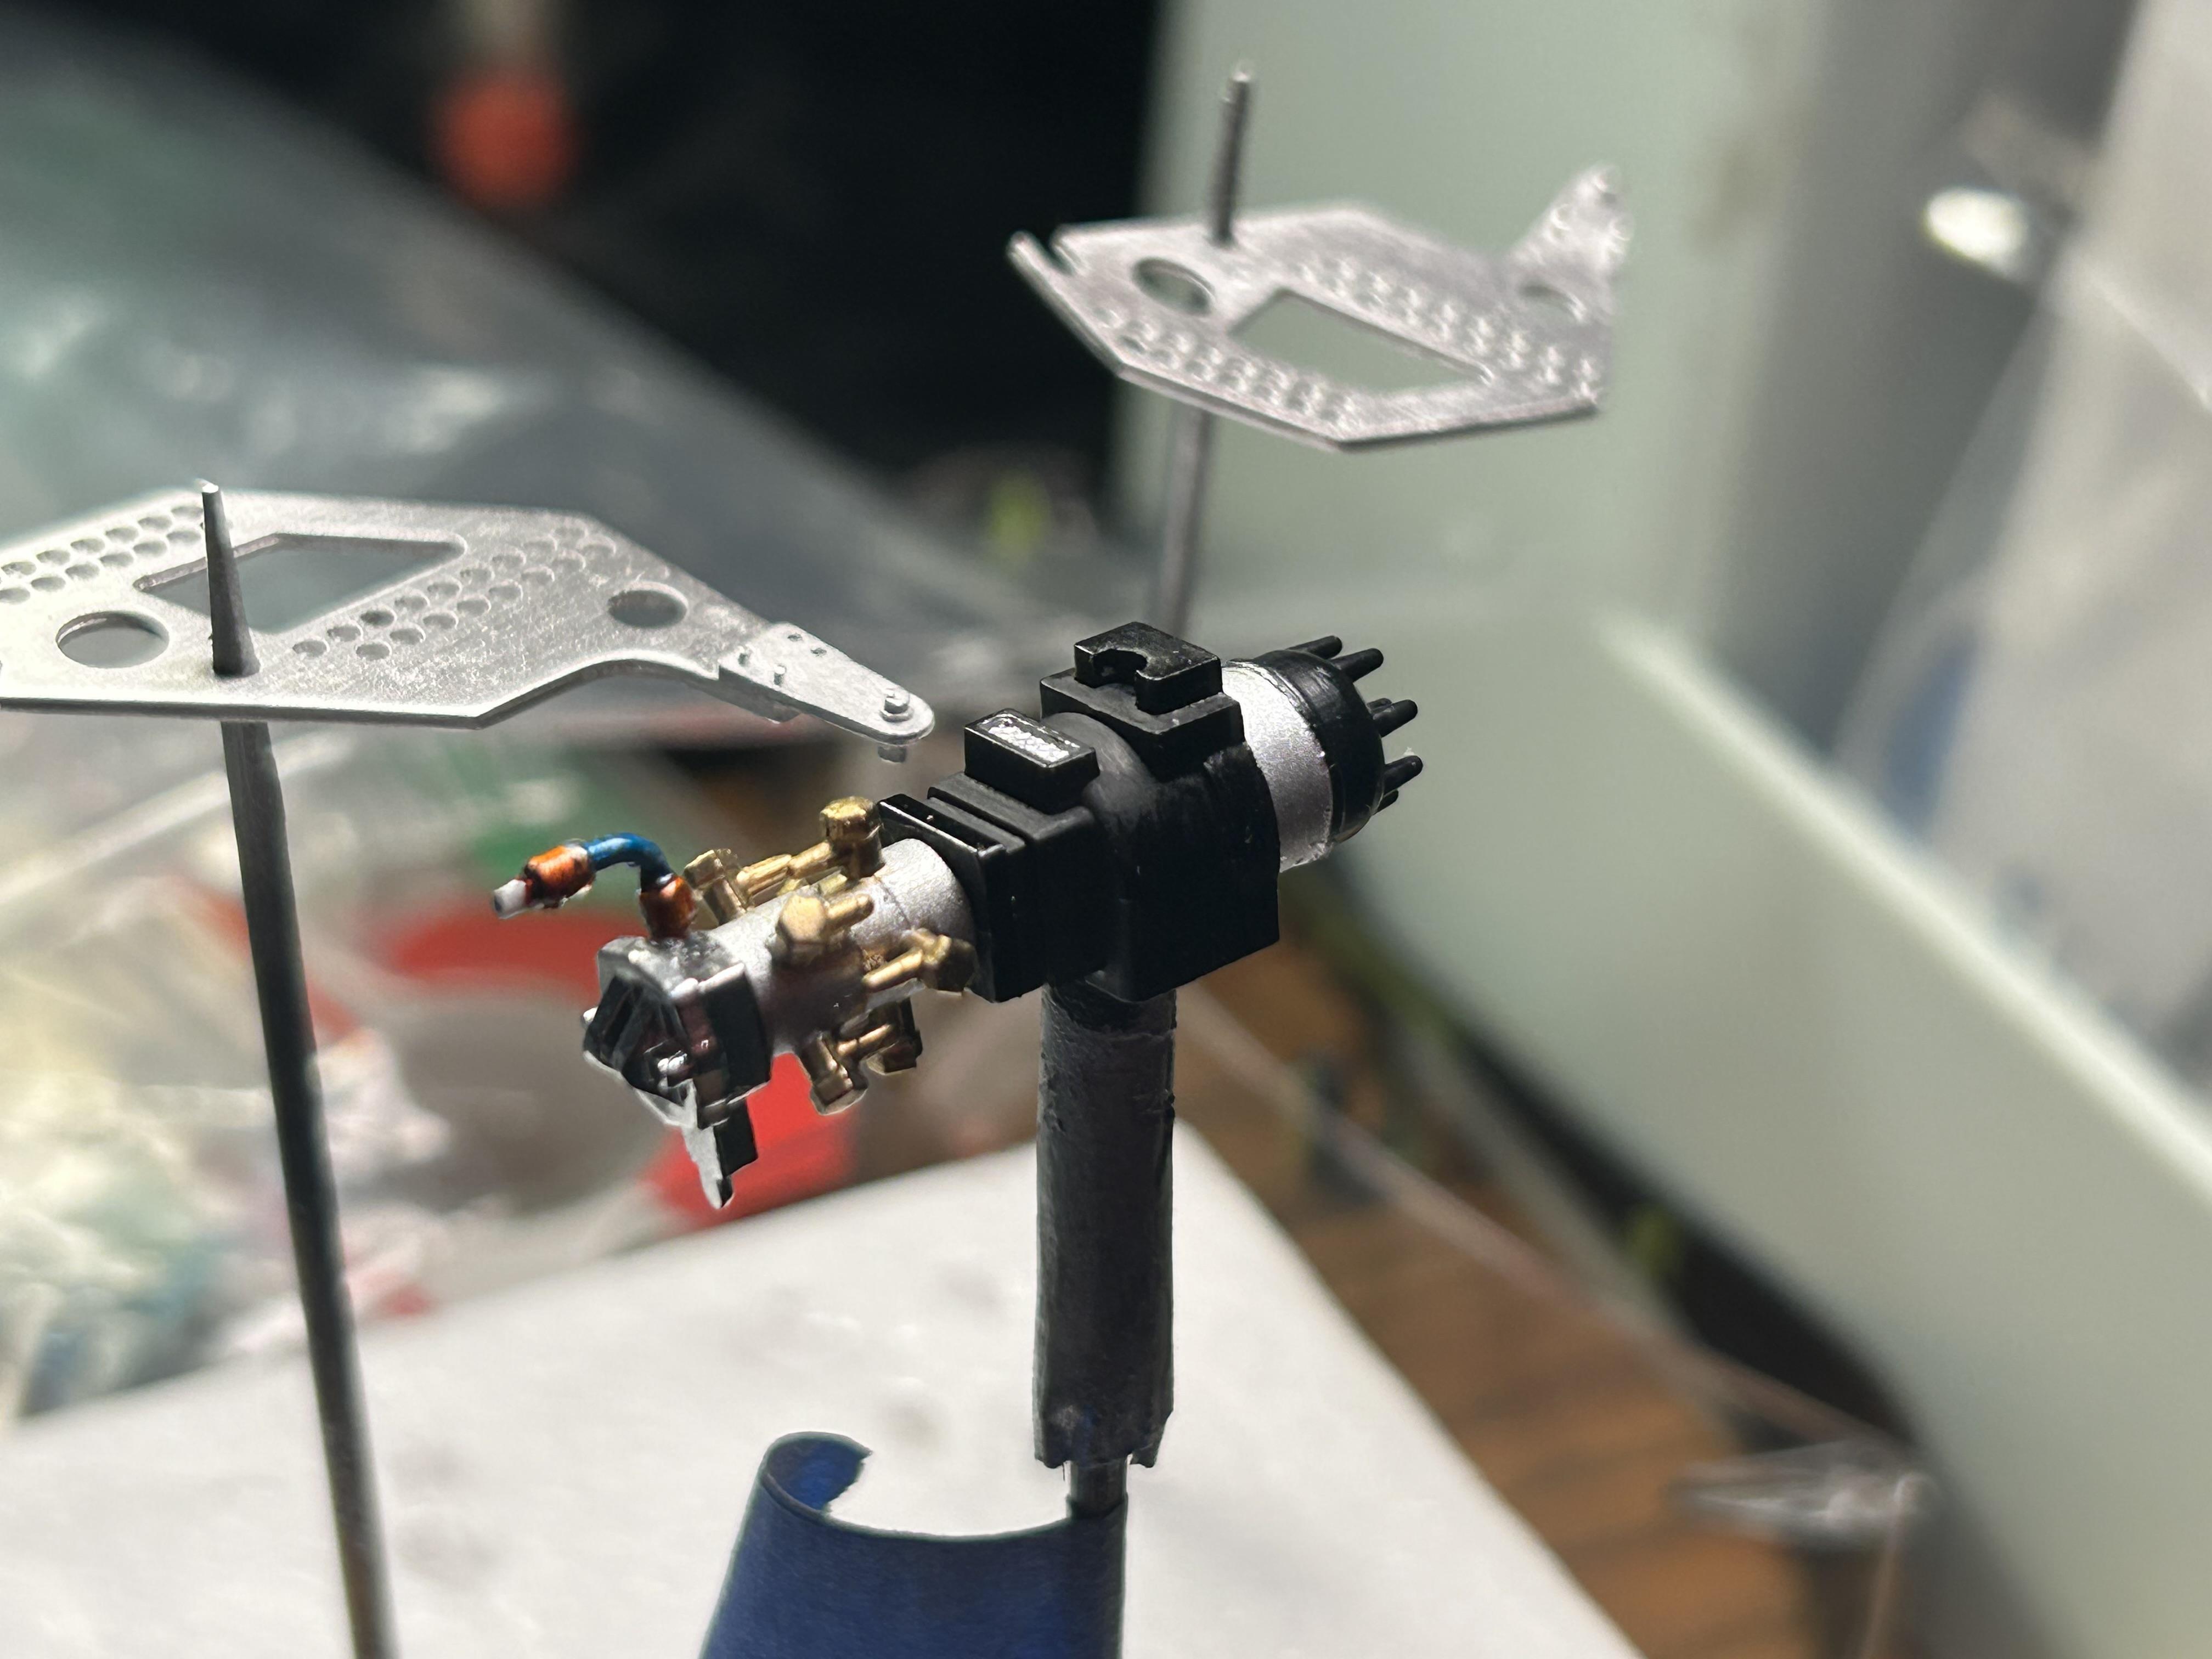
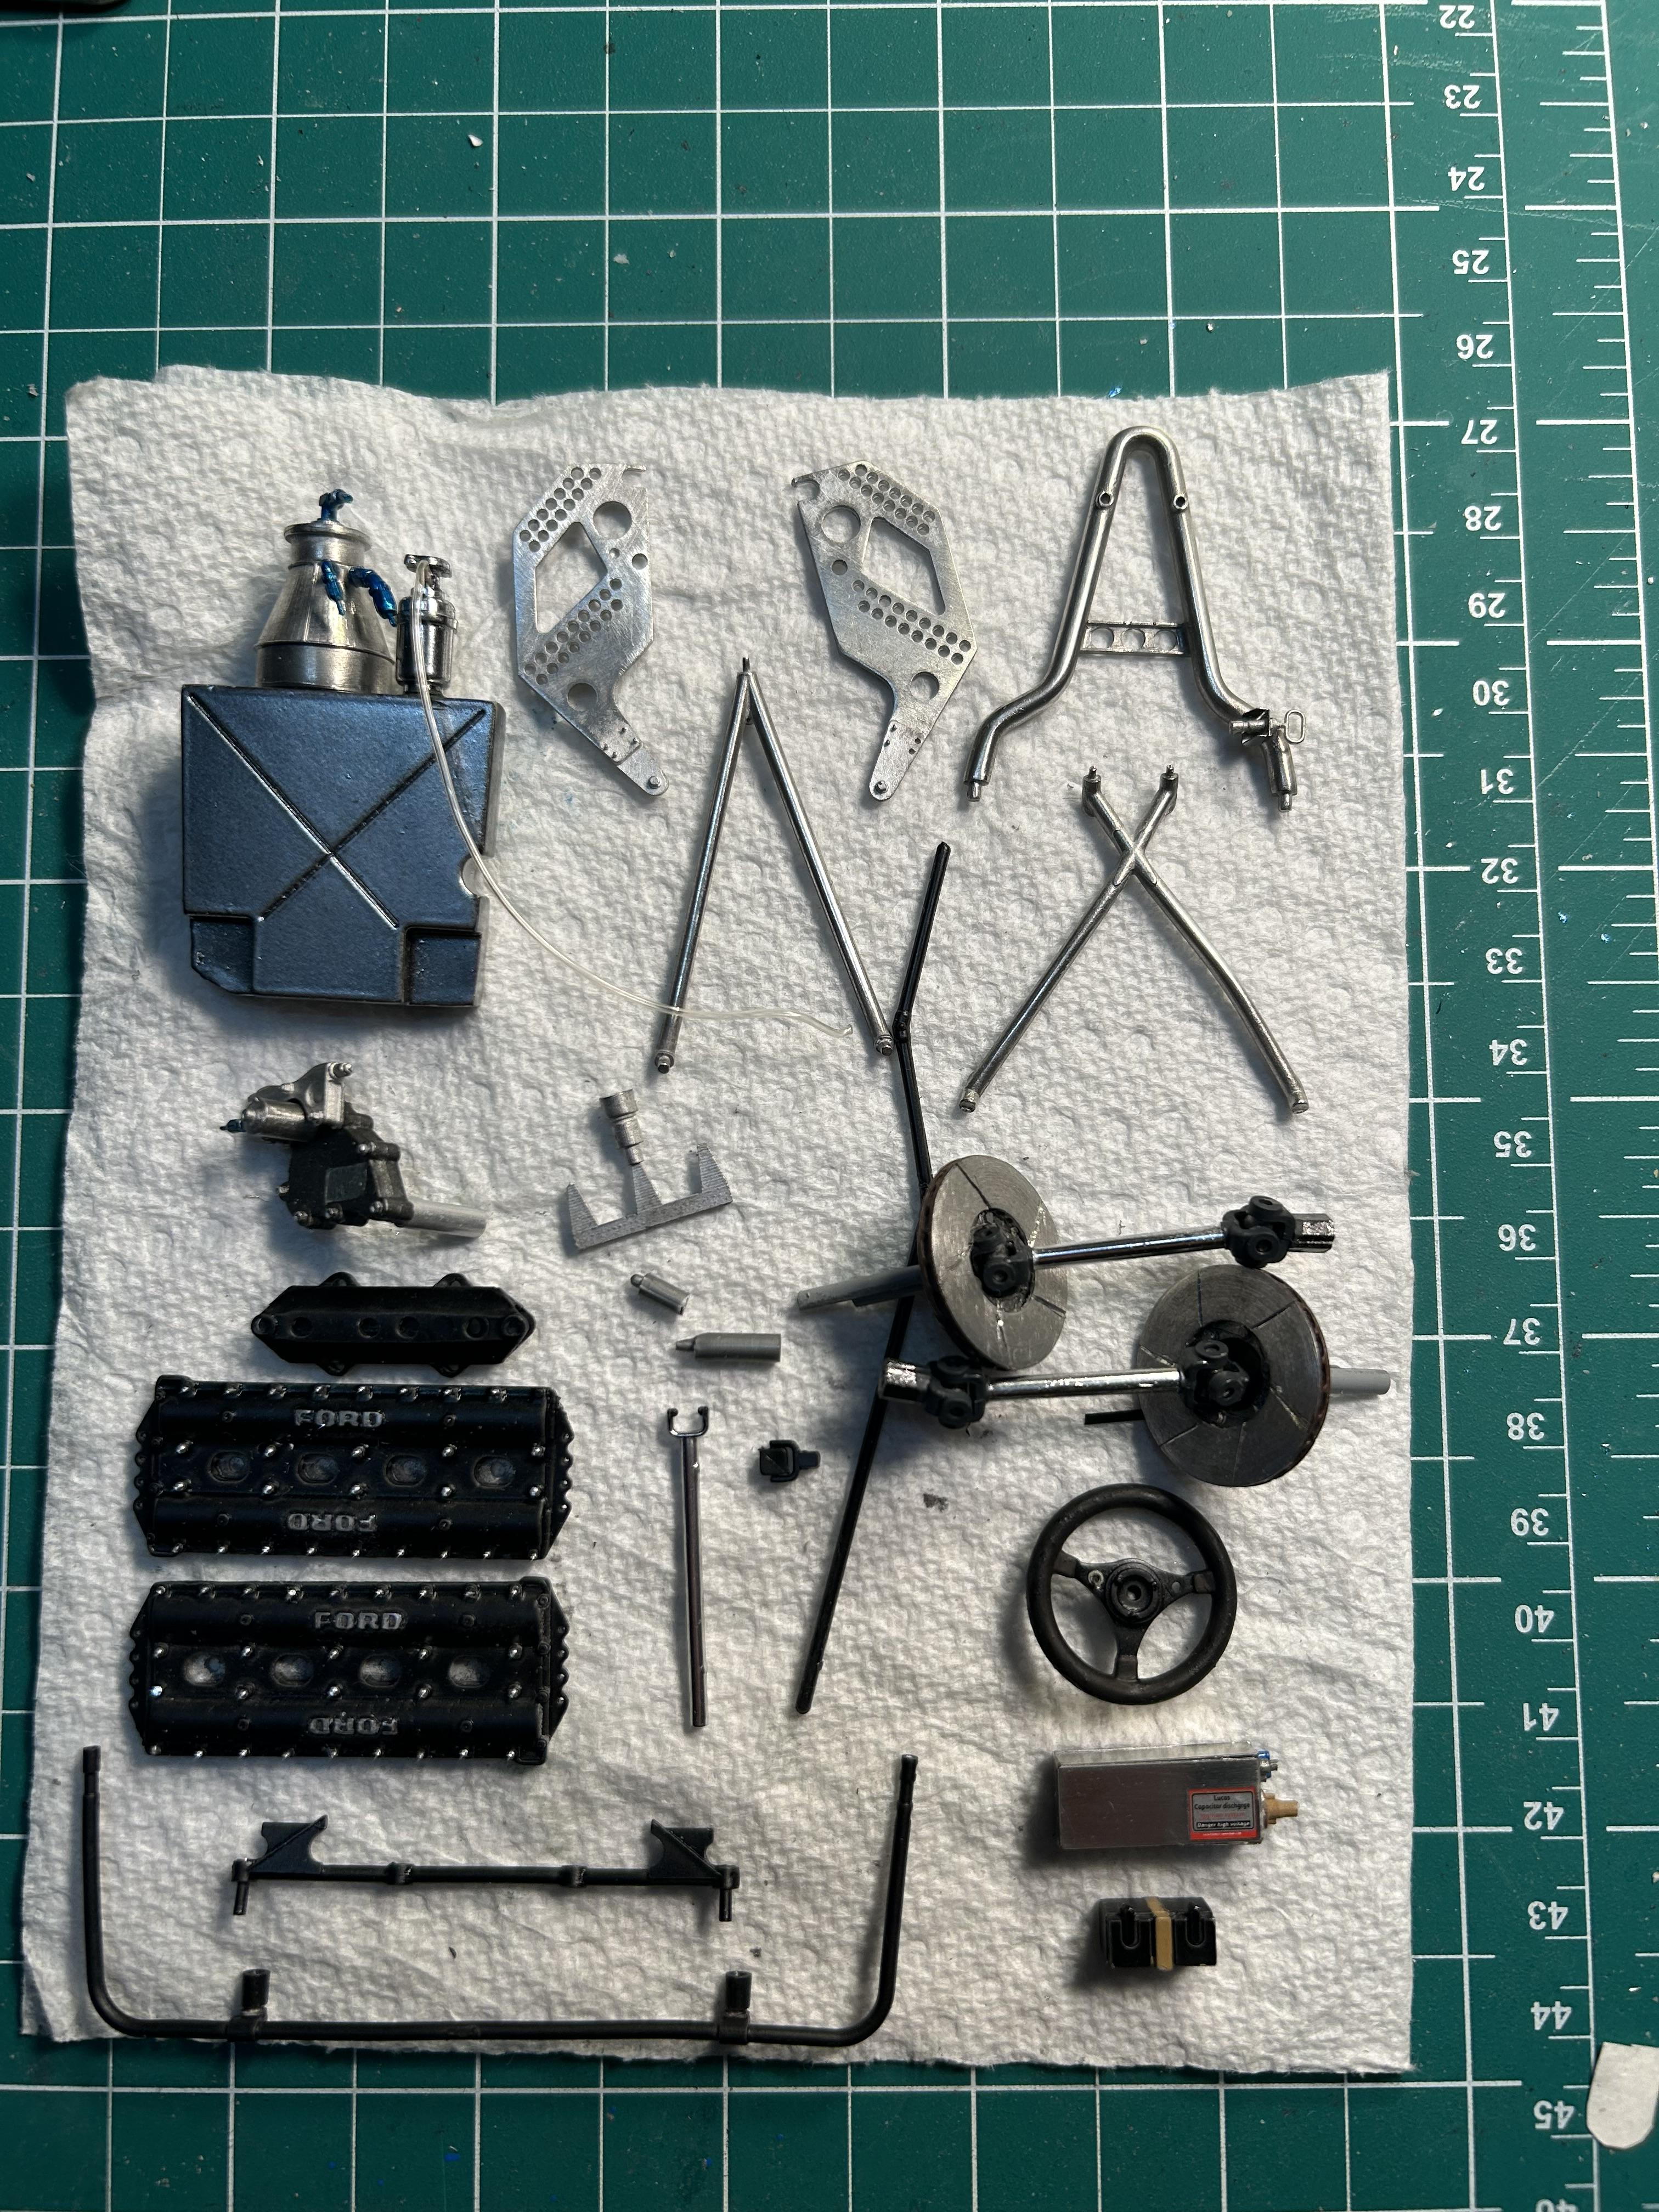
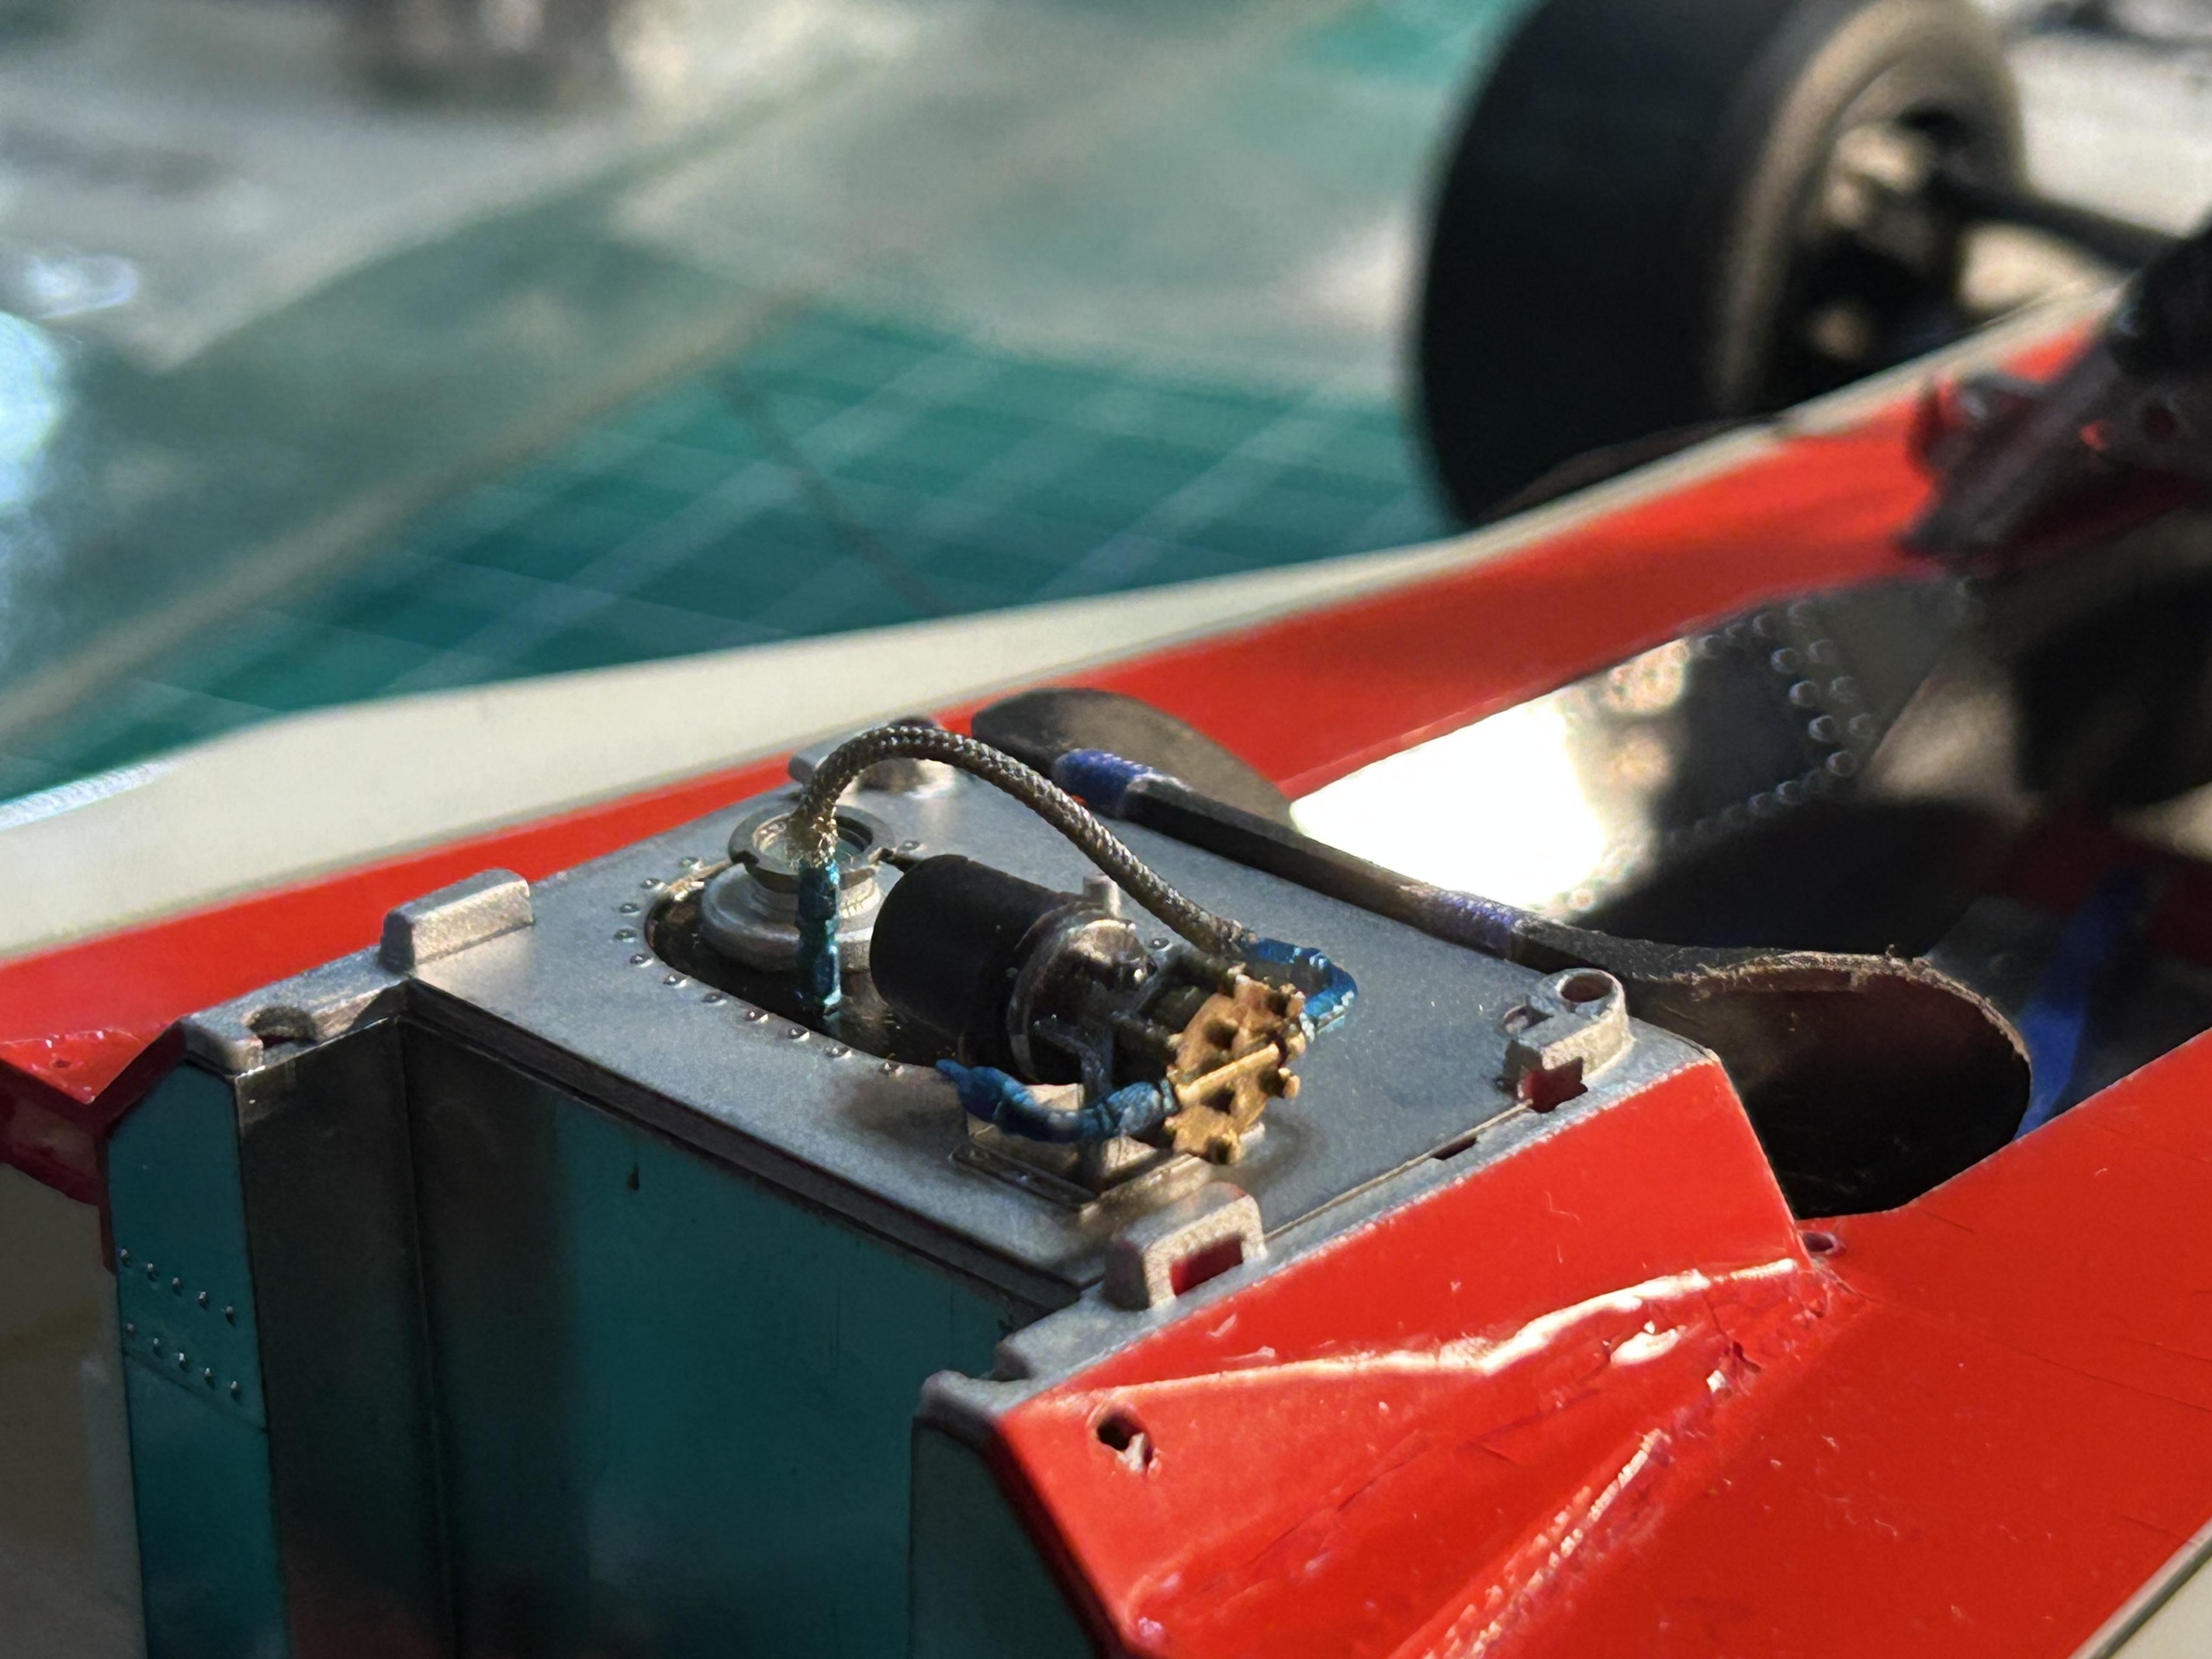
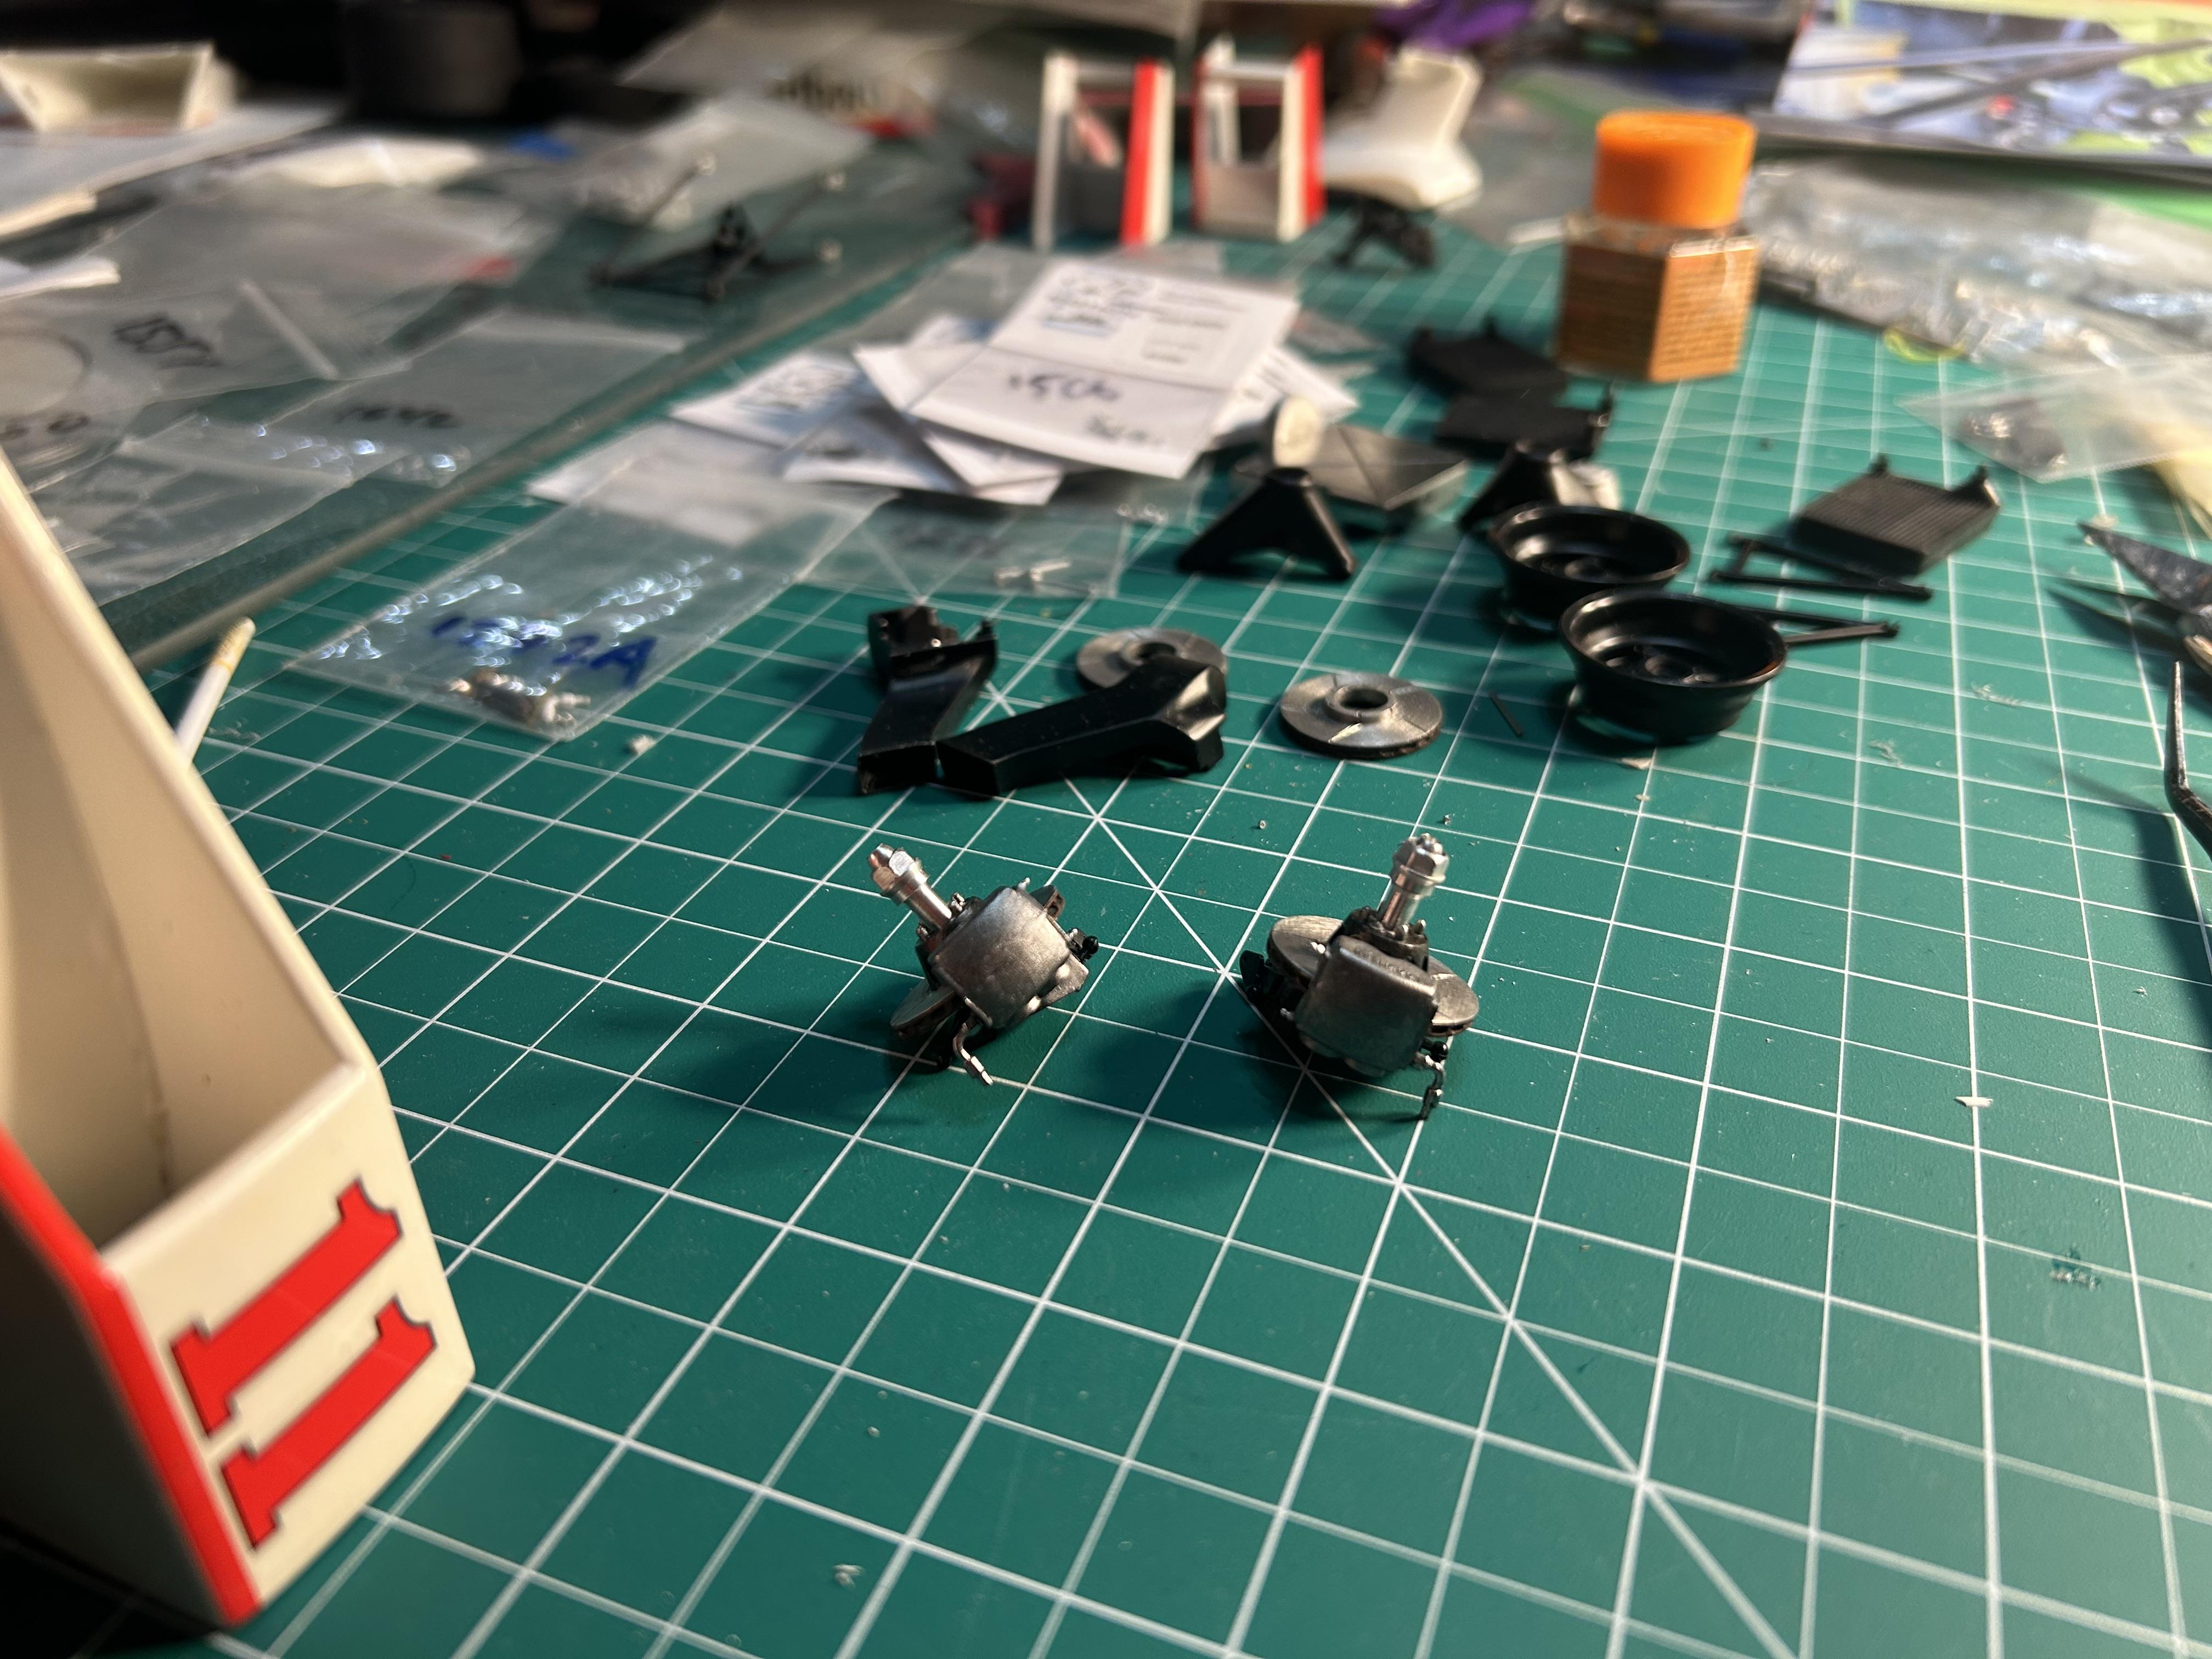
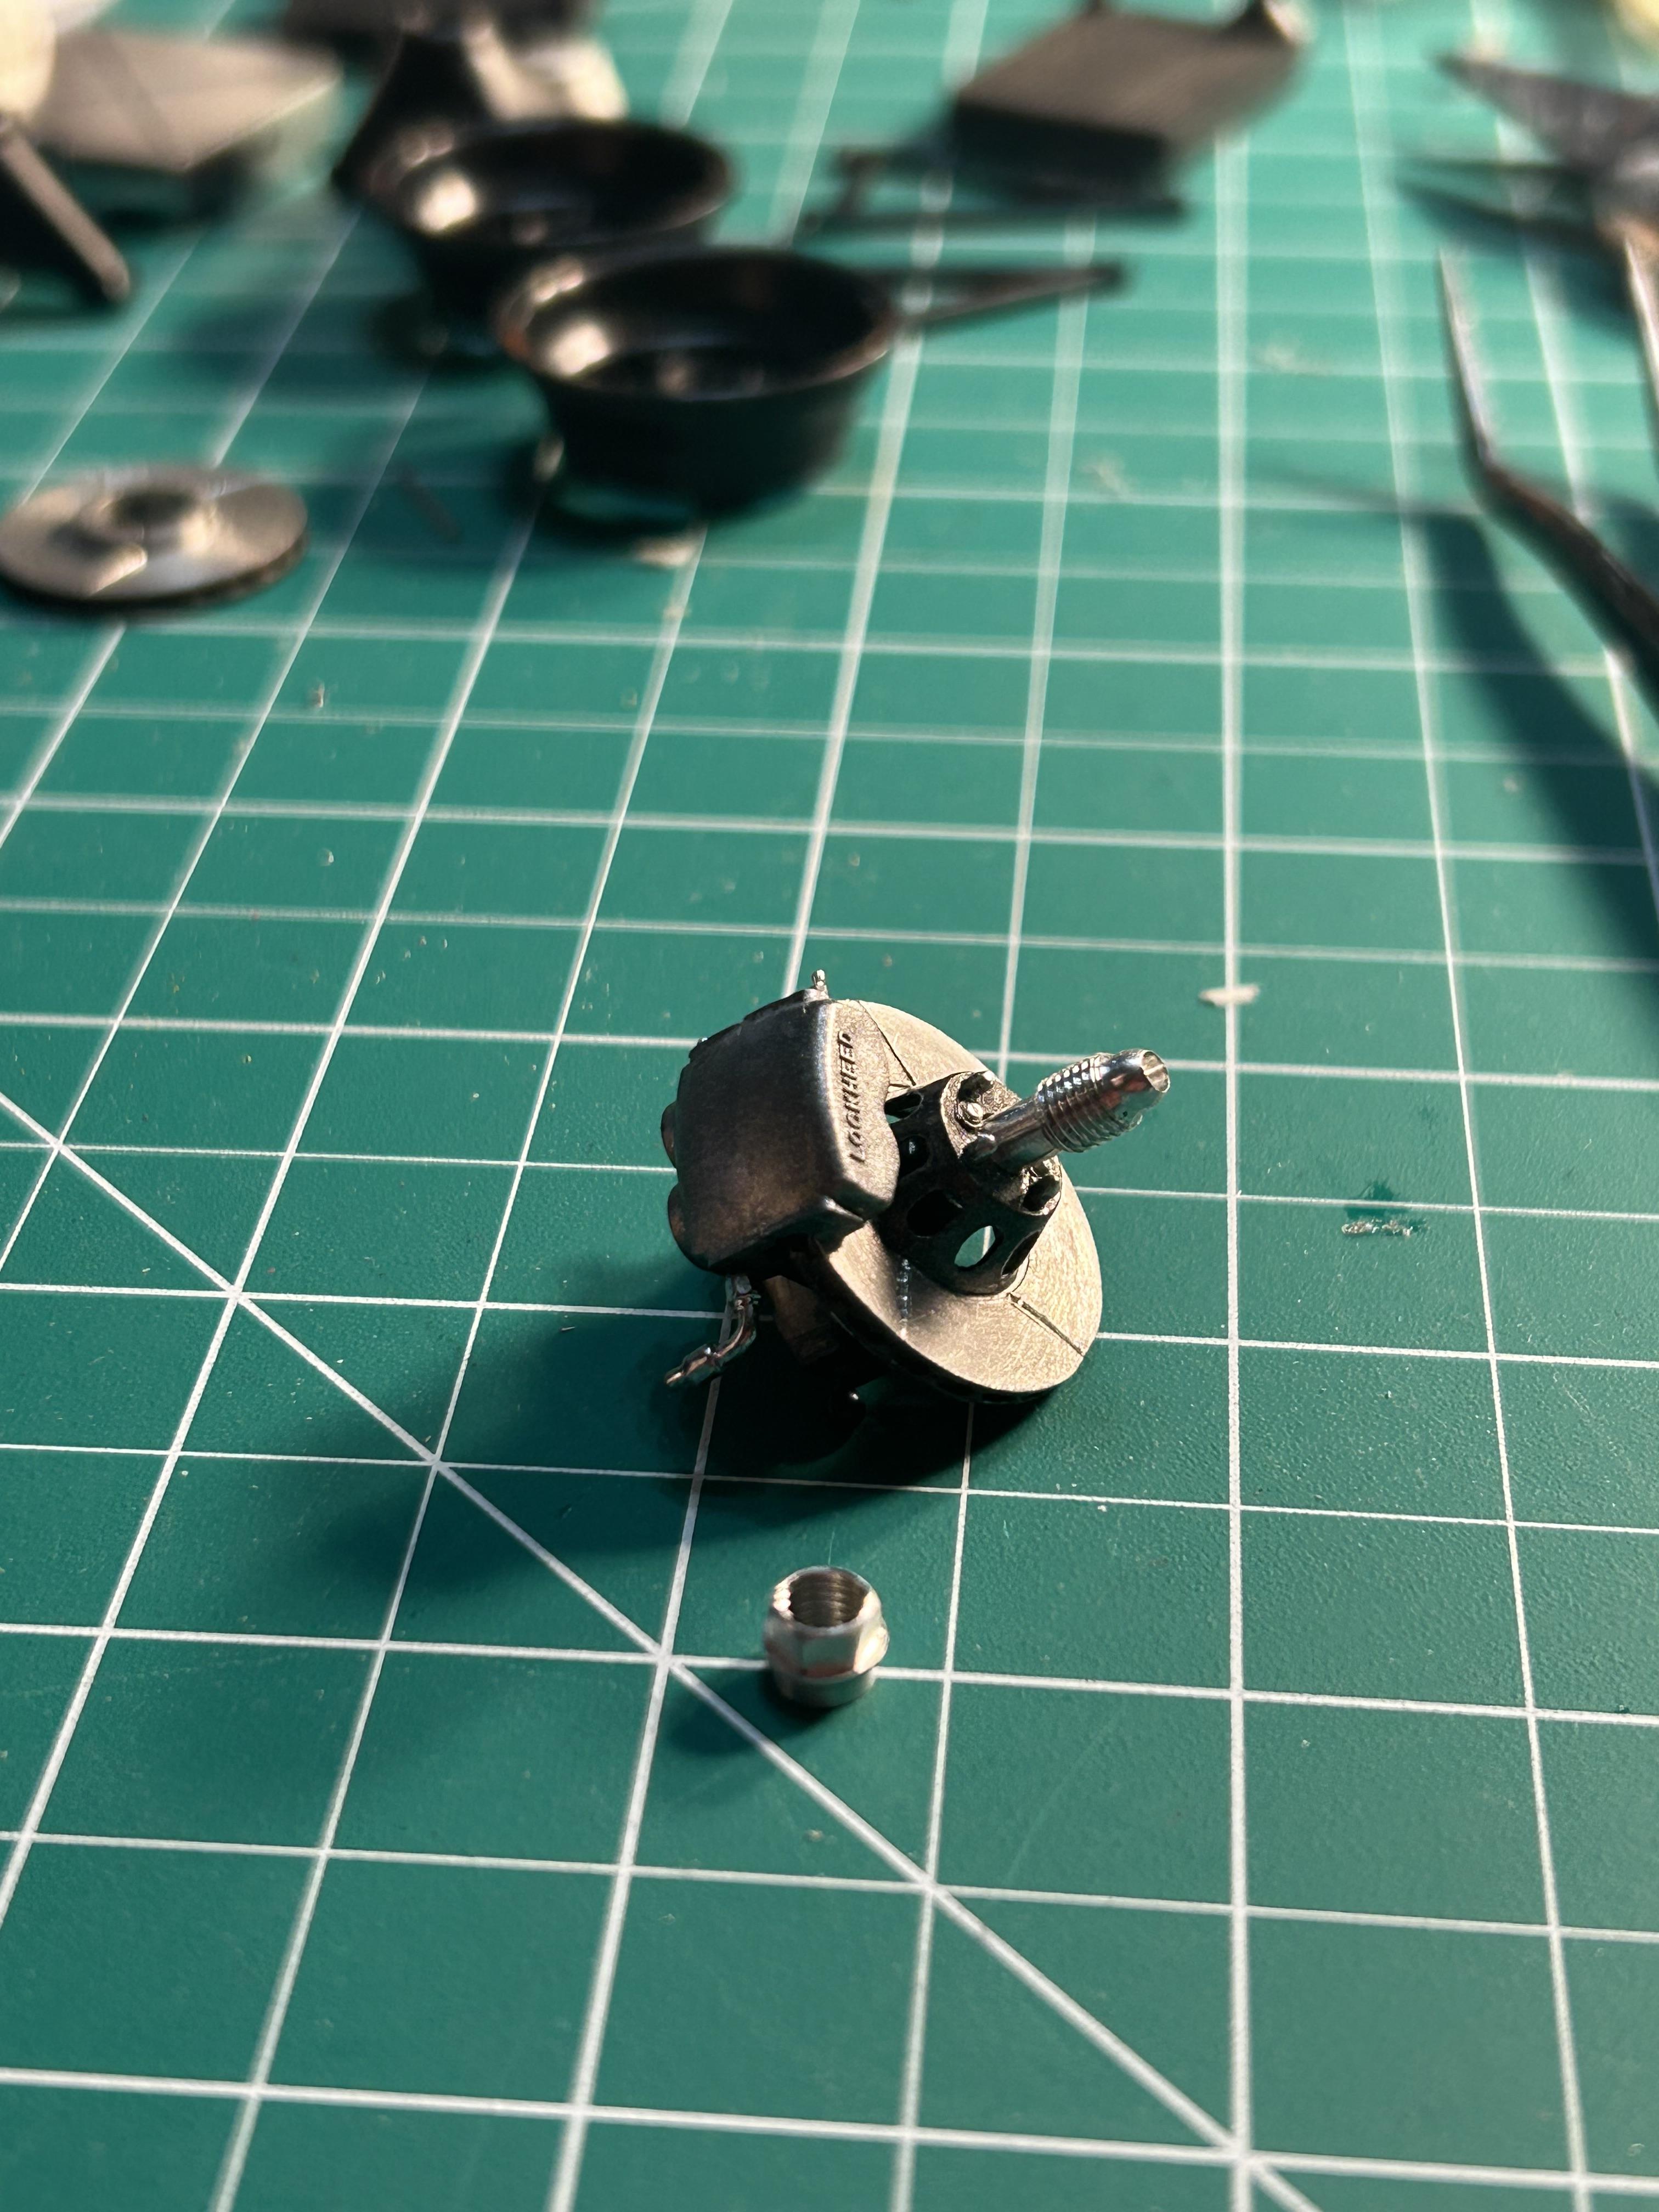
I didn’t know there were two transmissions with the M23 kits. I thought the Tamiya M23 kits were pretty much all the same with different decals. Still wouldn’t understand why the contact points would be higher but I guess it’s possible. Either way I’m trying to figure out the best way to modify these parts. Heres the distributor and fuel thingy majig.
- 29 replies
-
- 1
-
-
- james hunt
- m23
- (and 2 more)
-
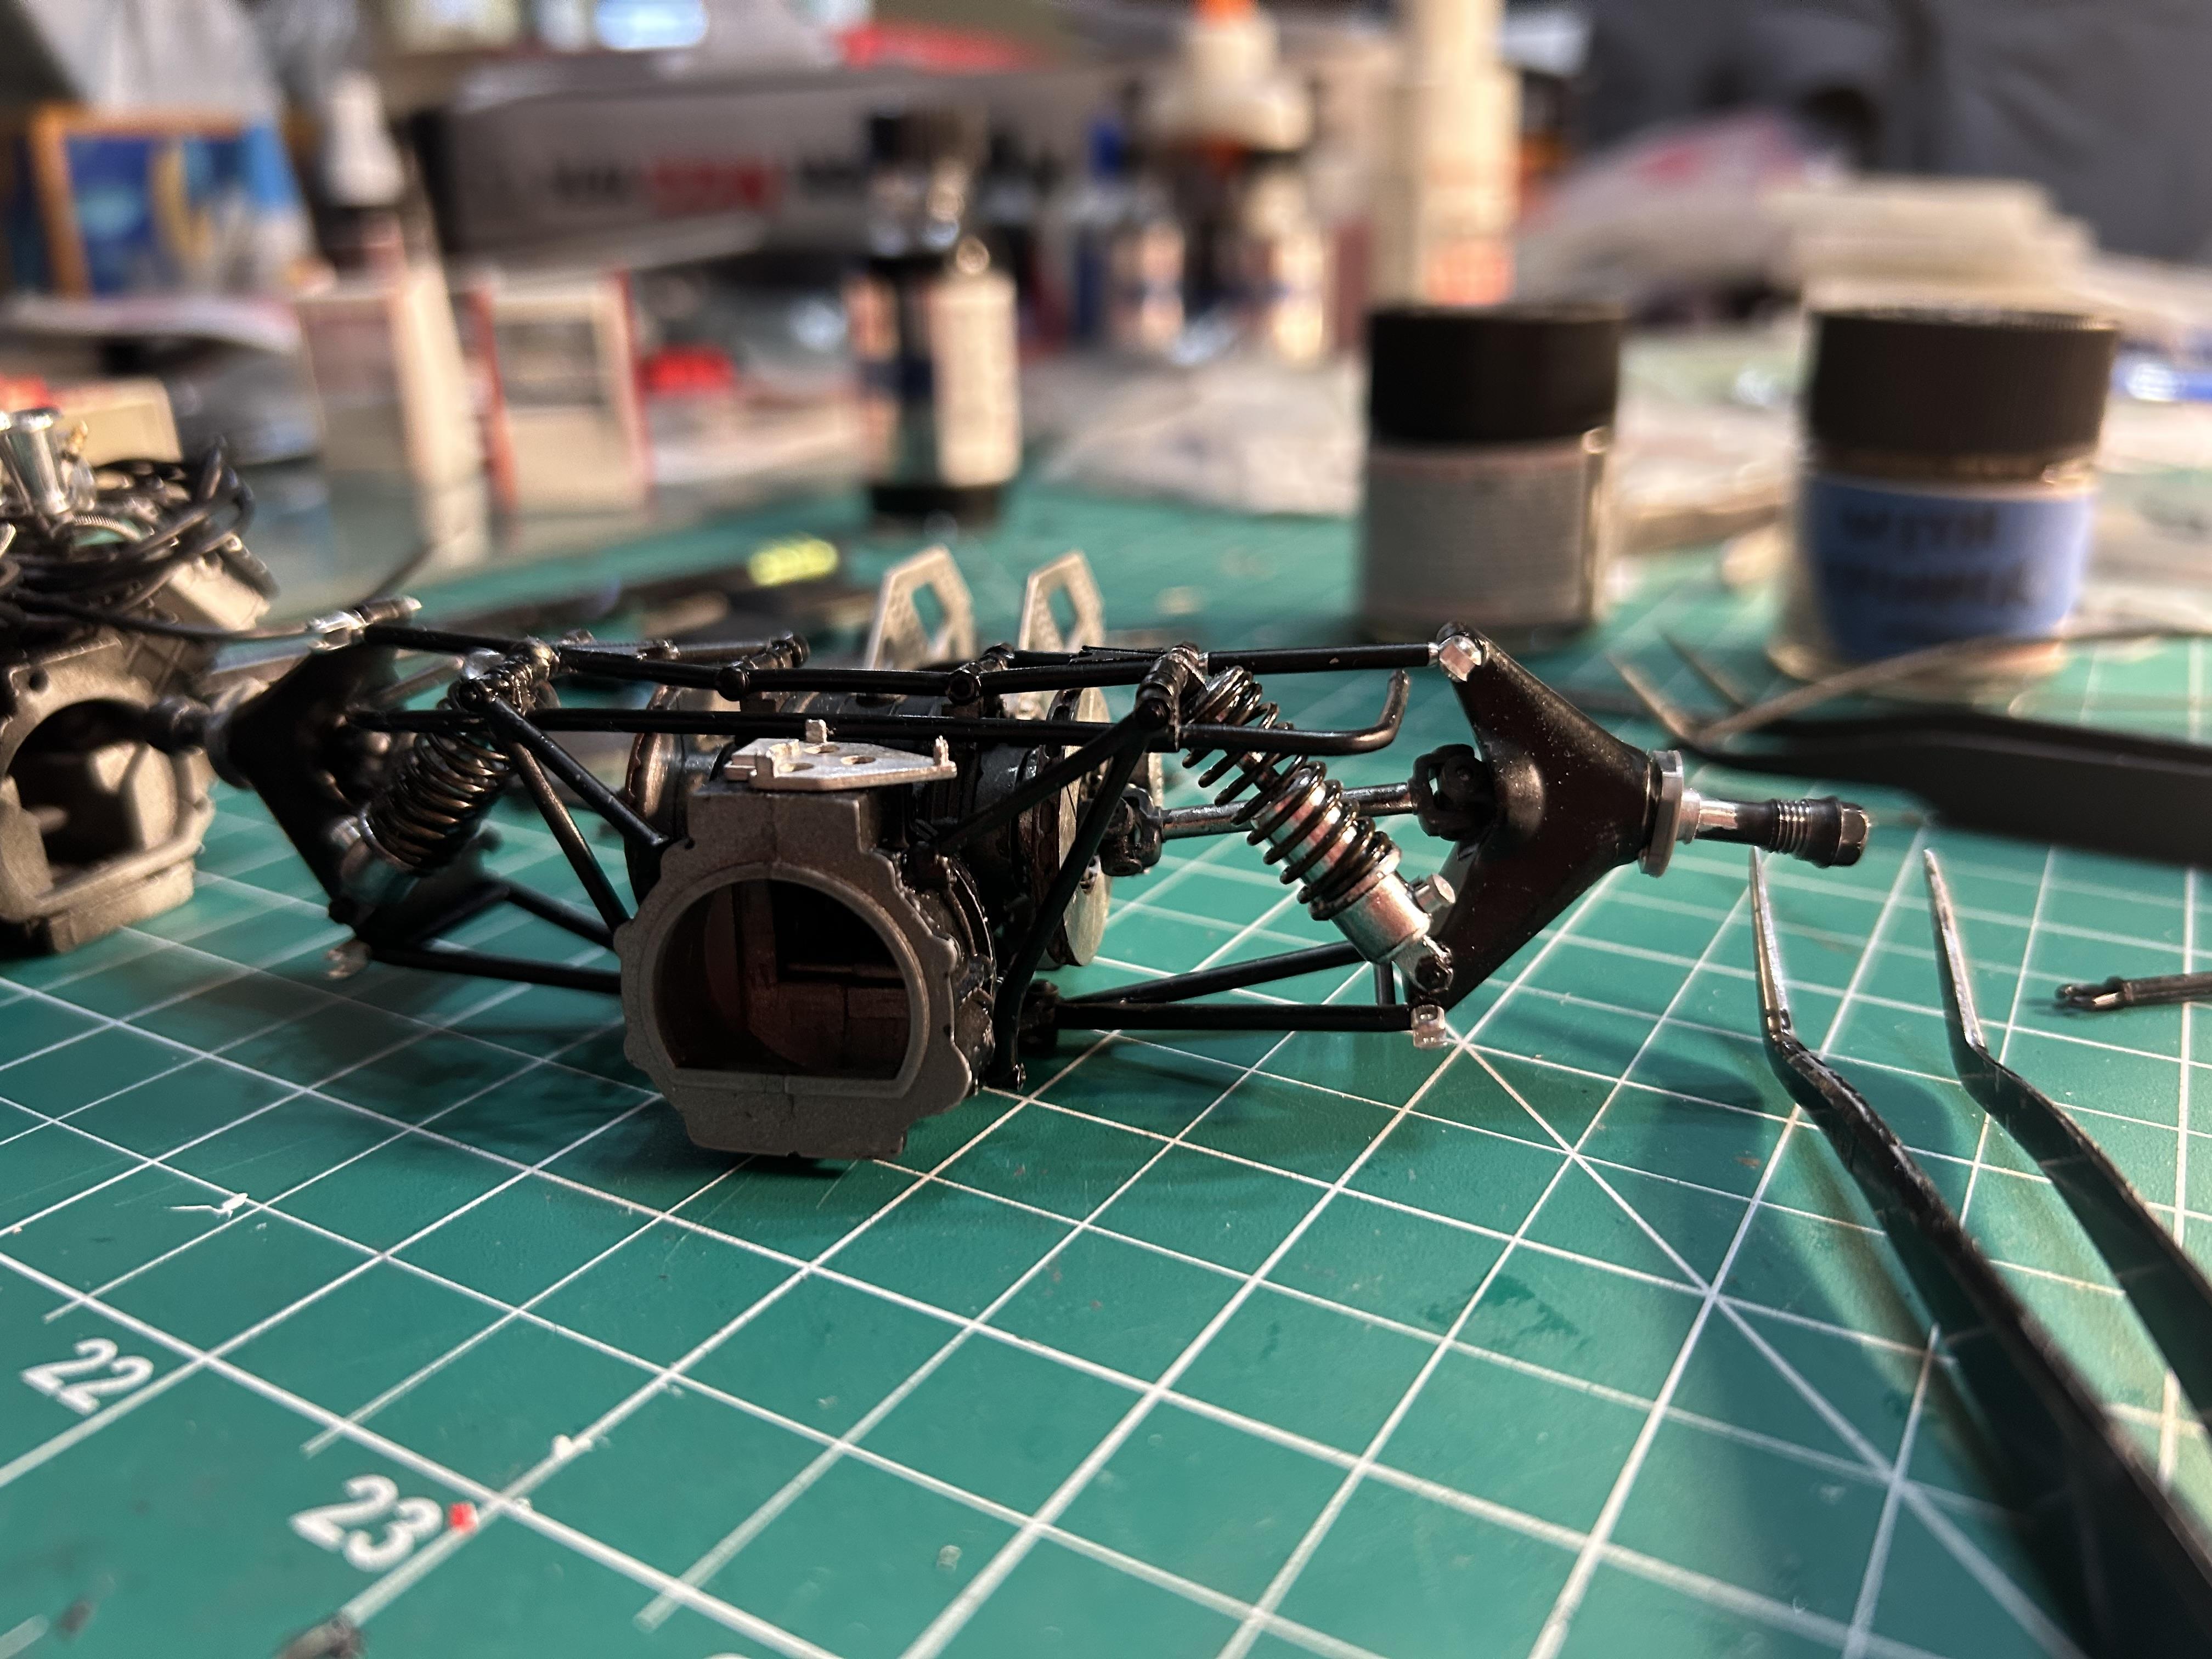
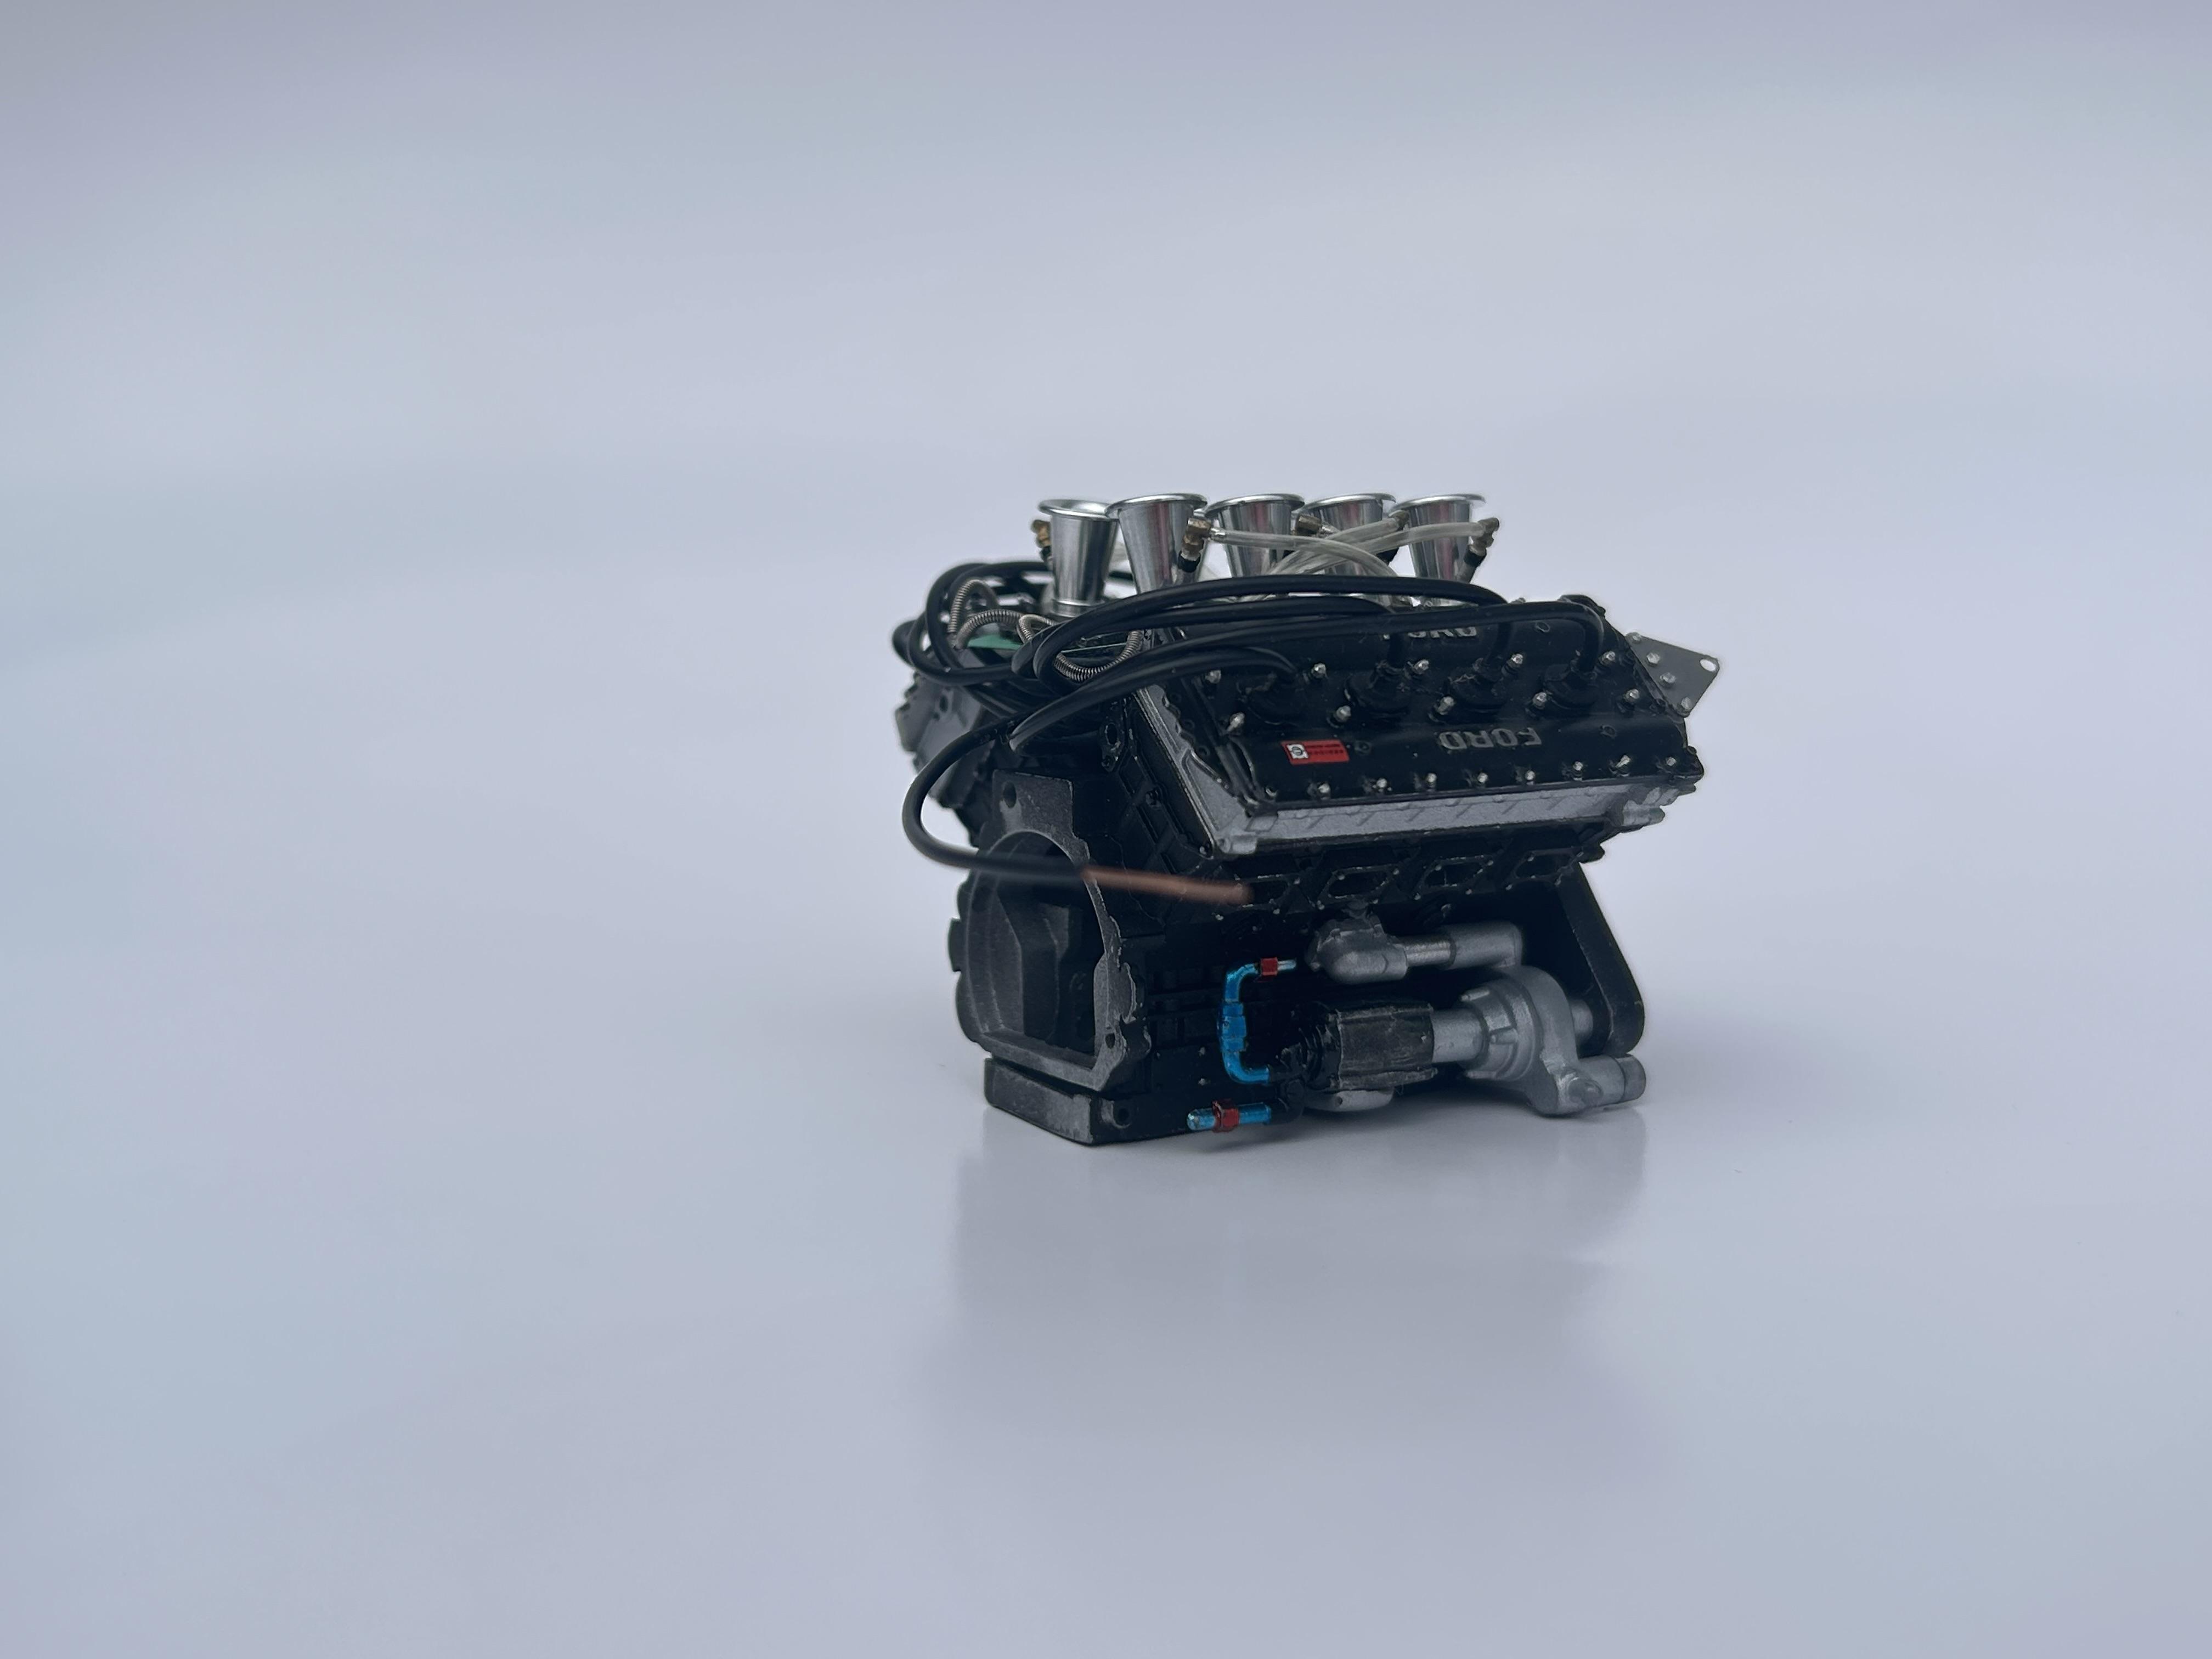
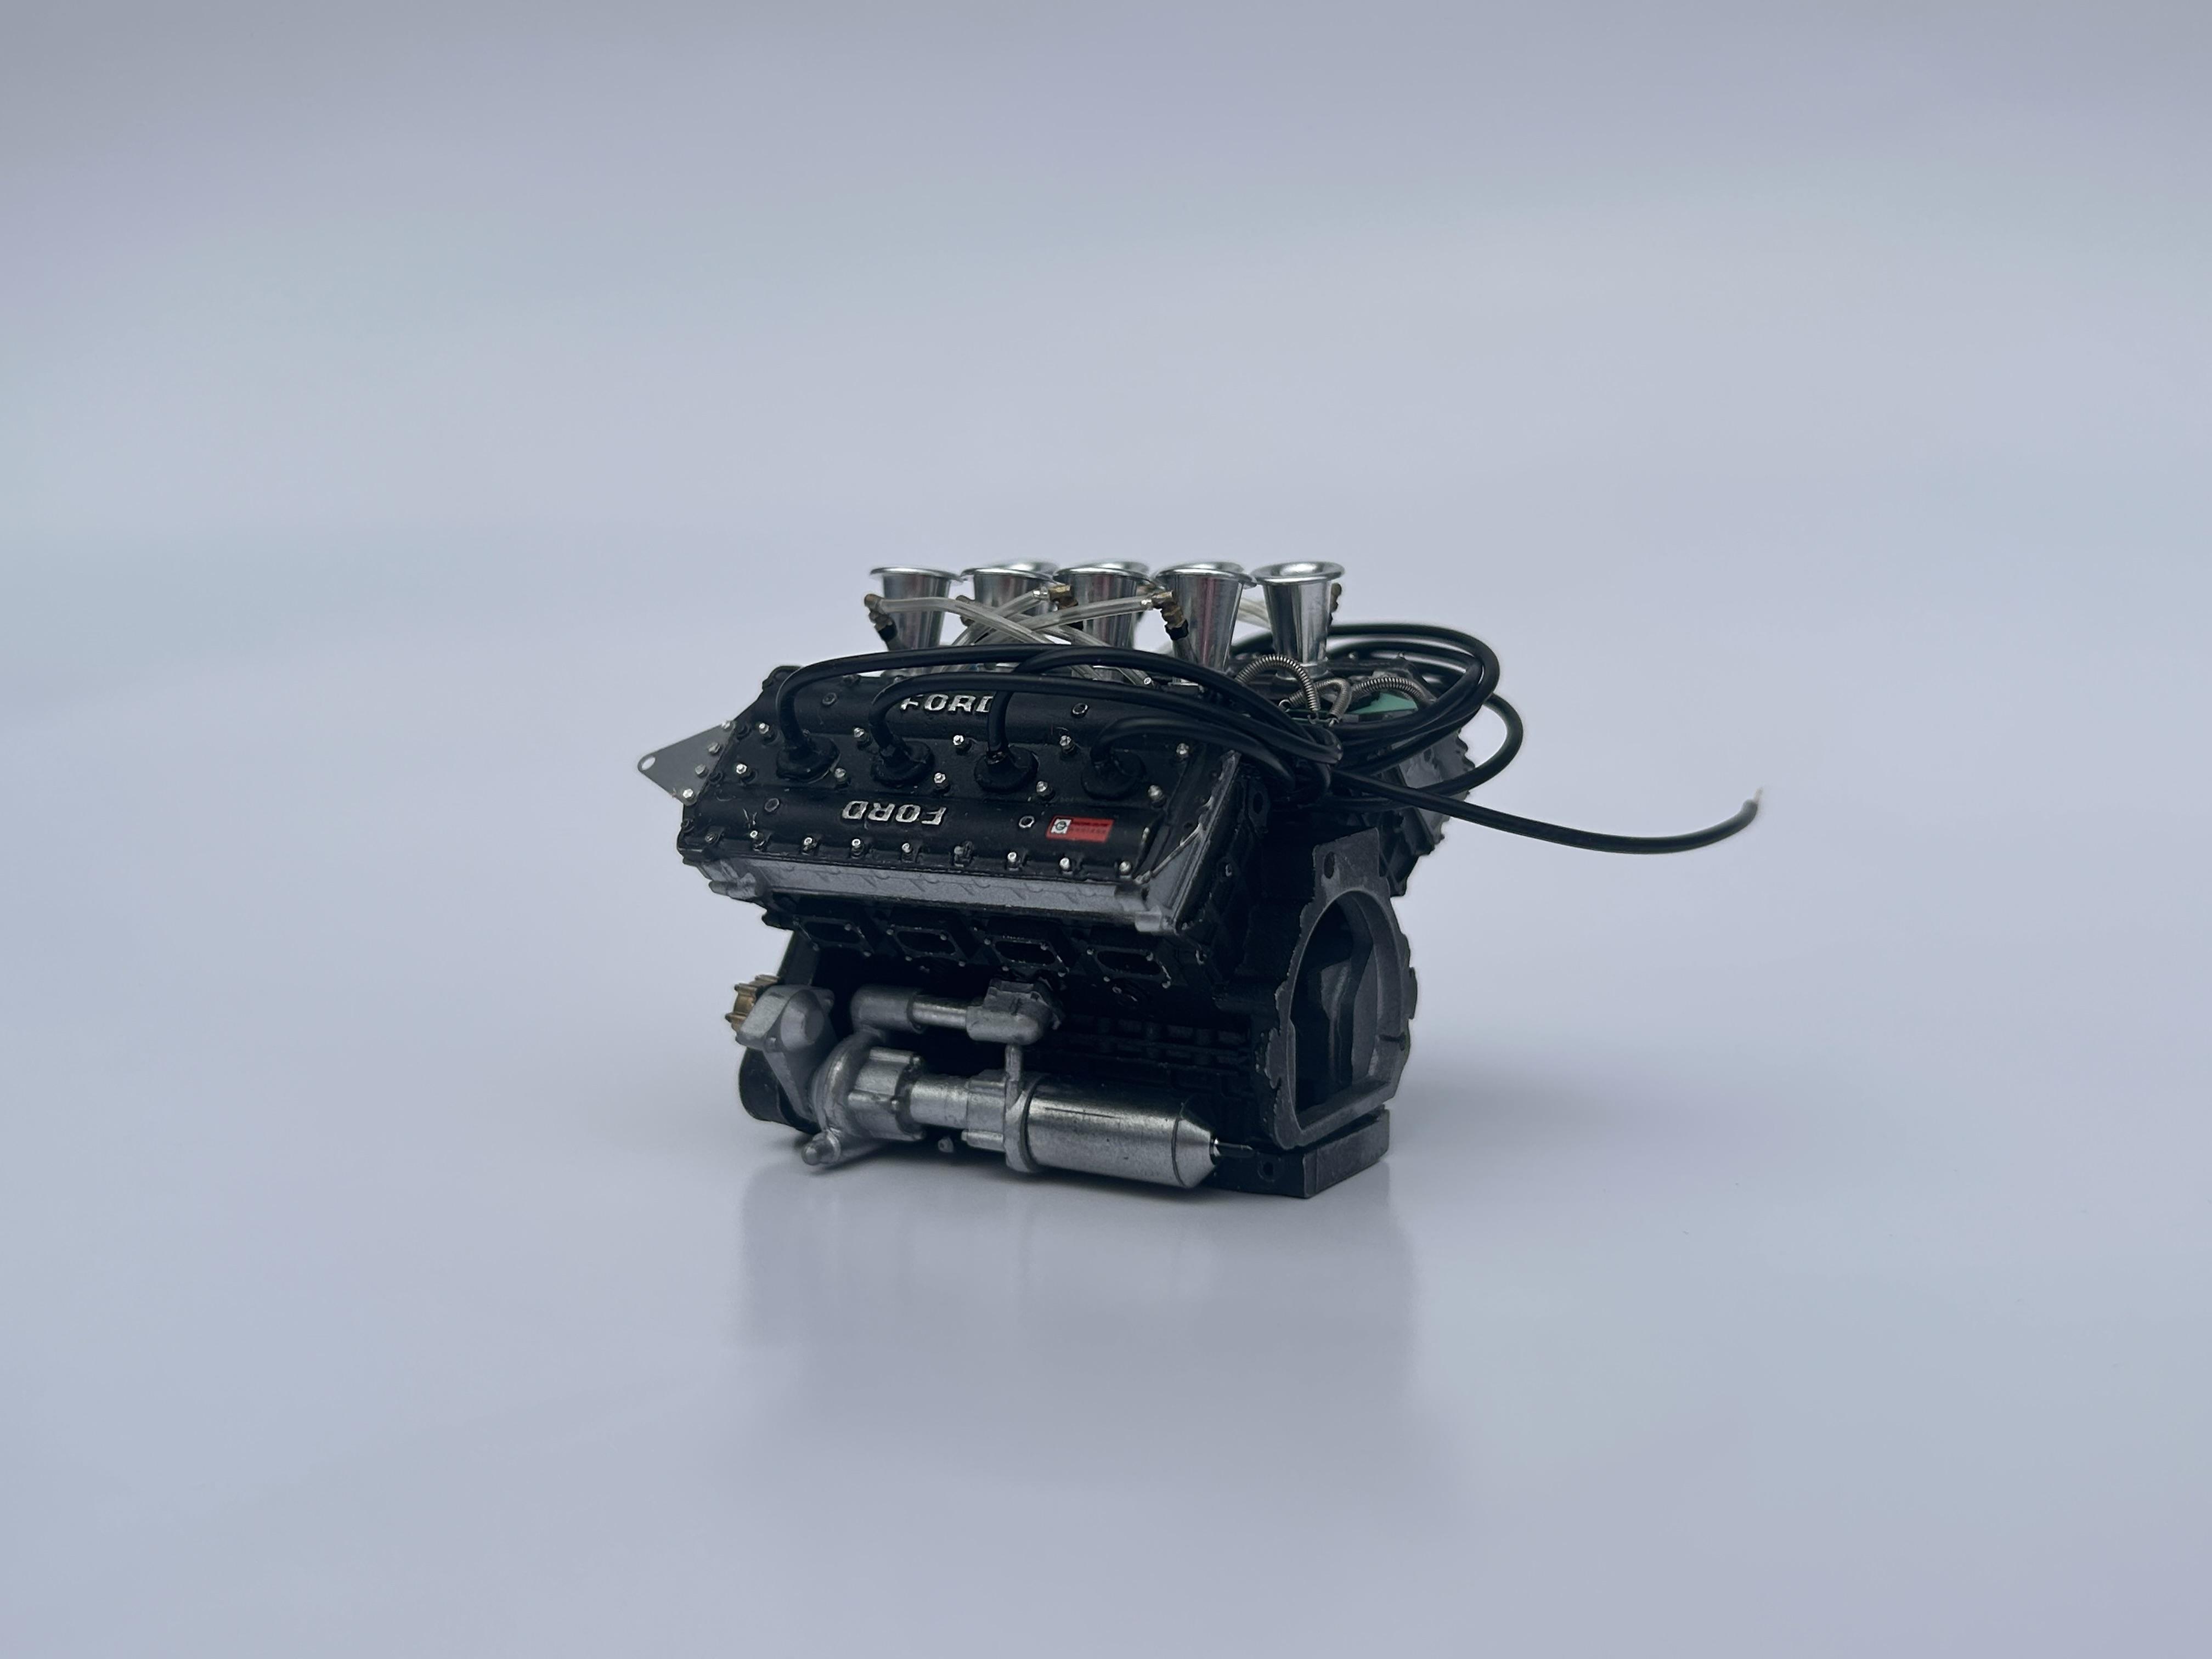
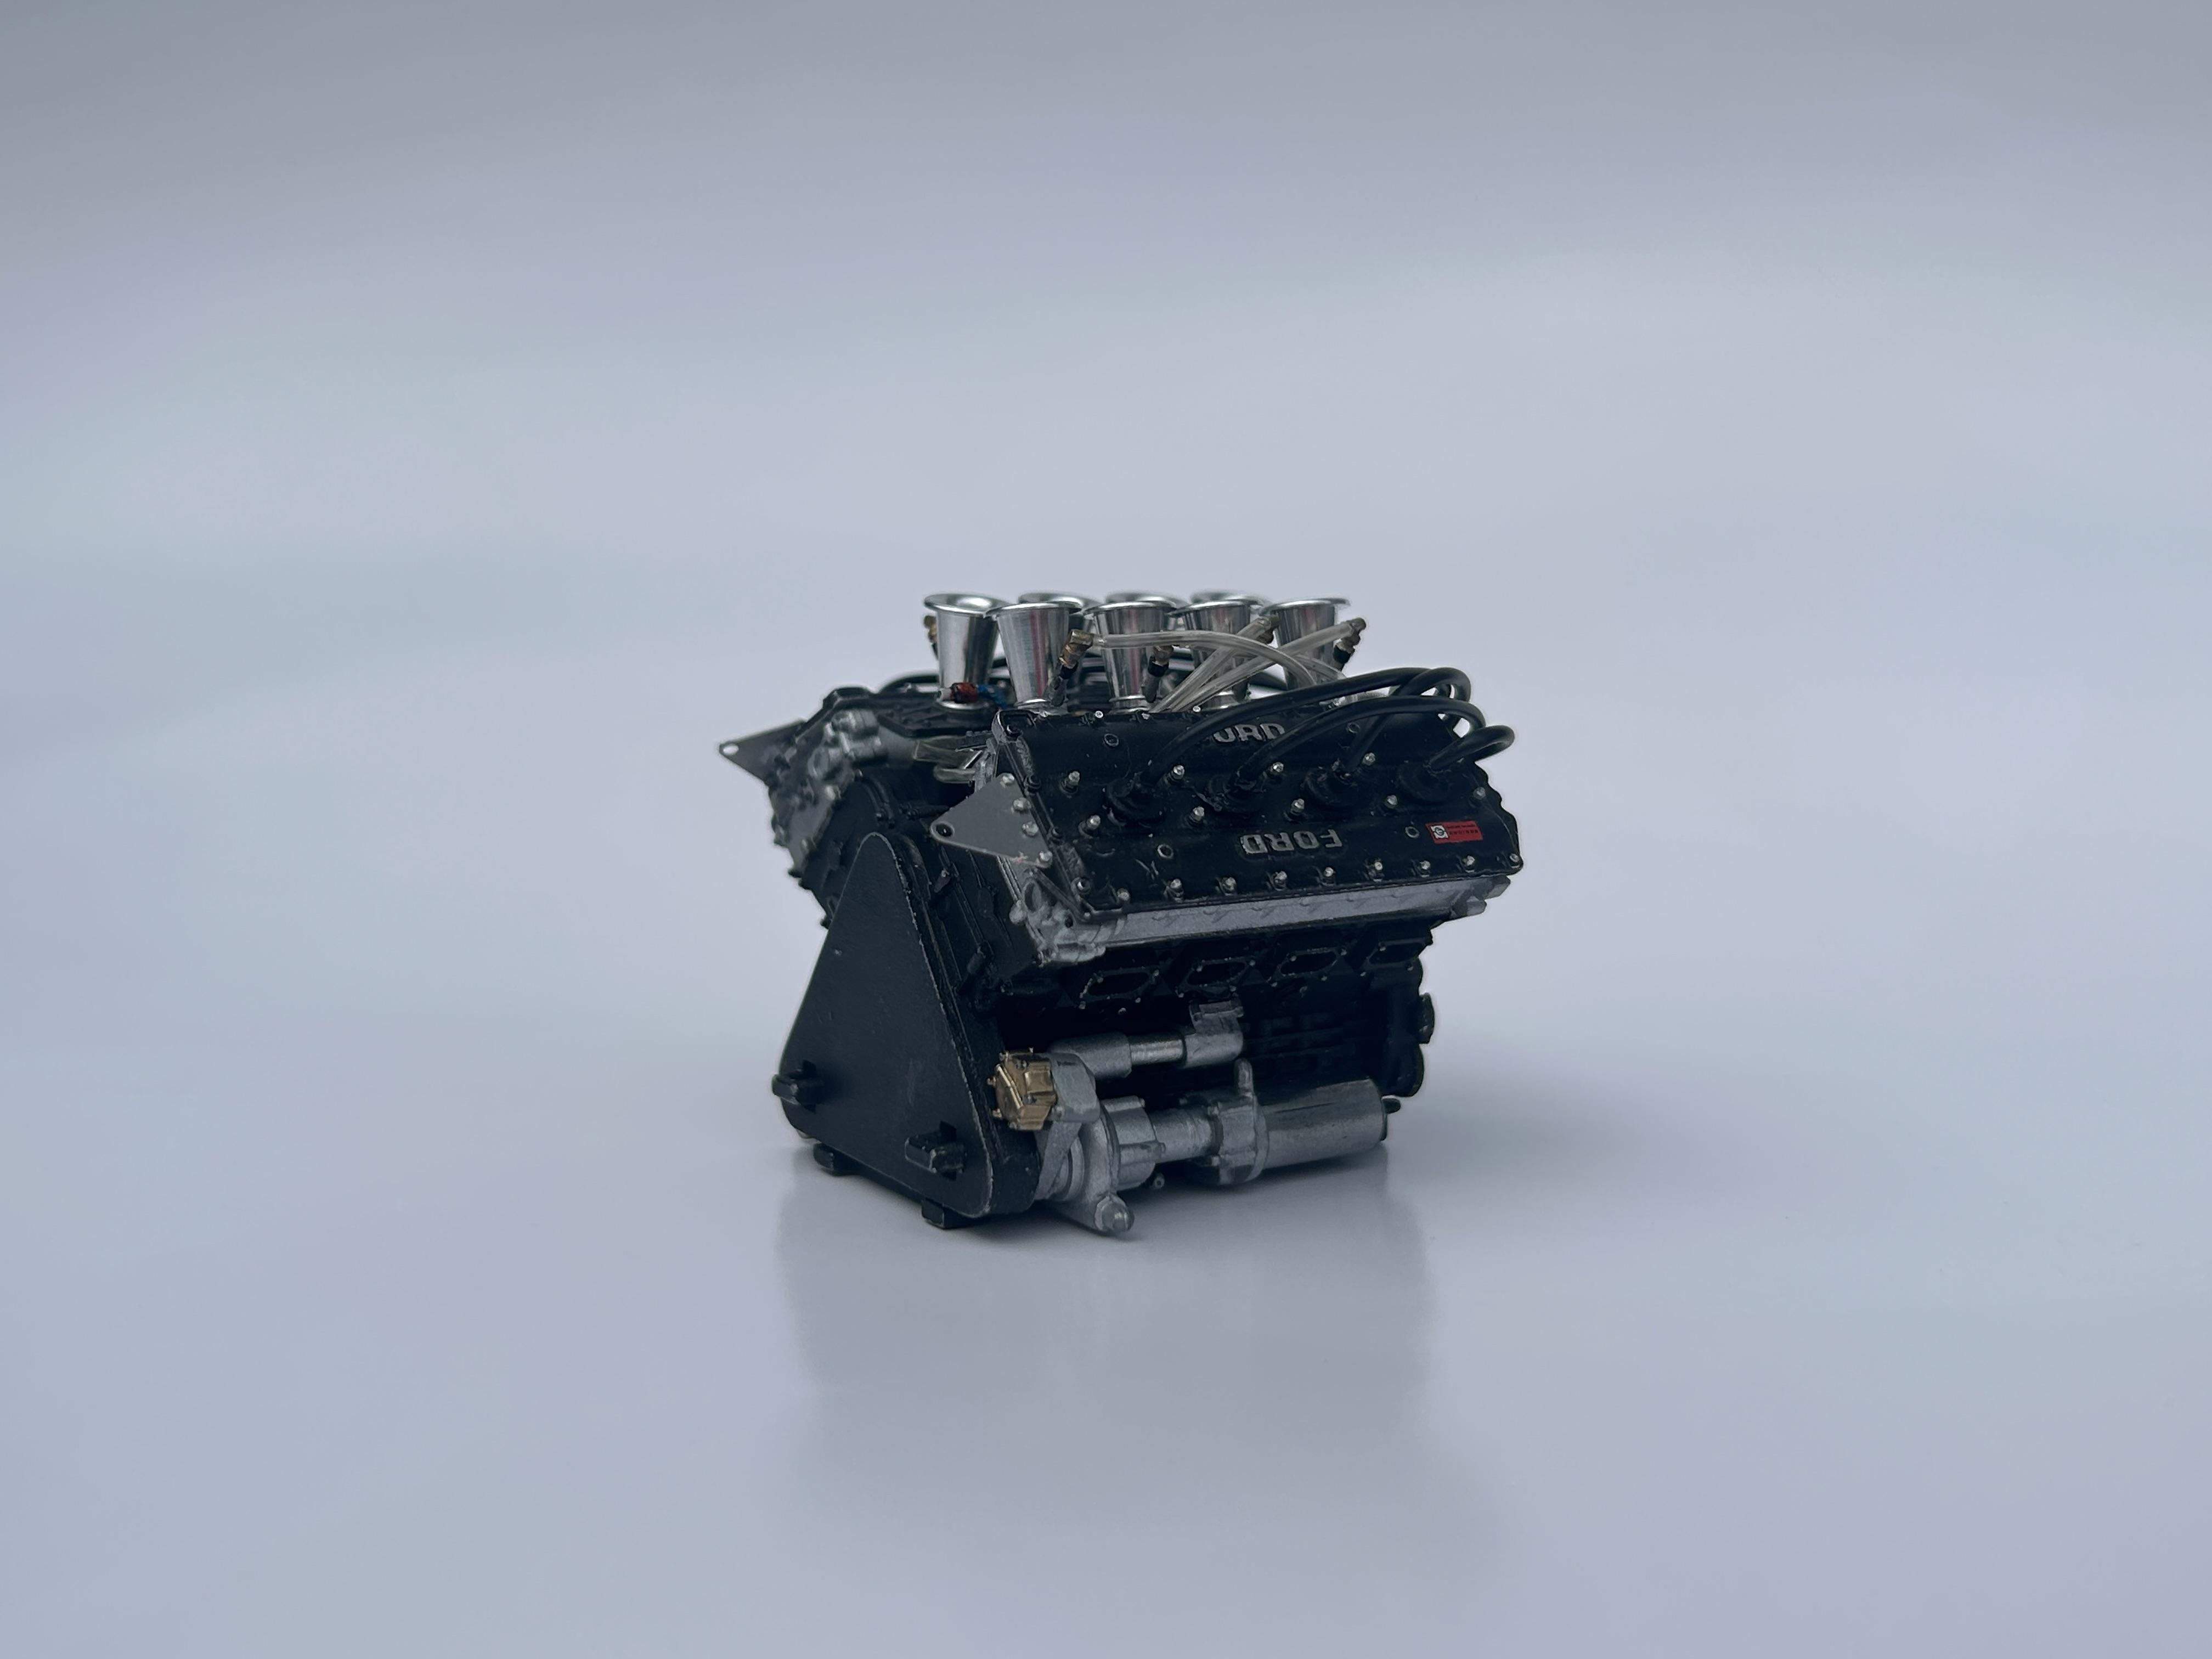
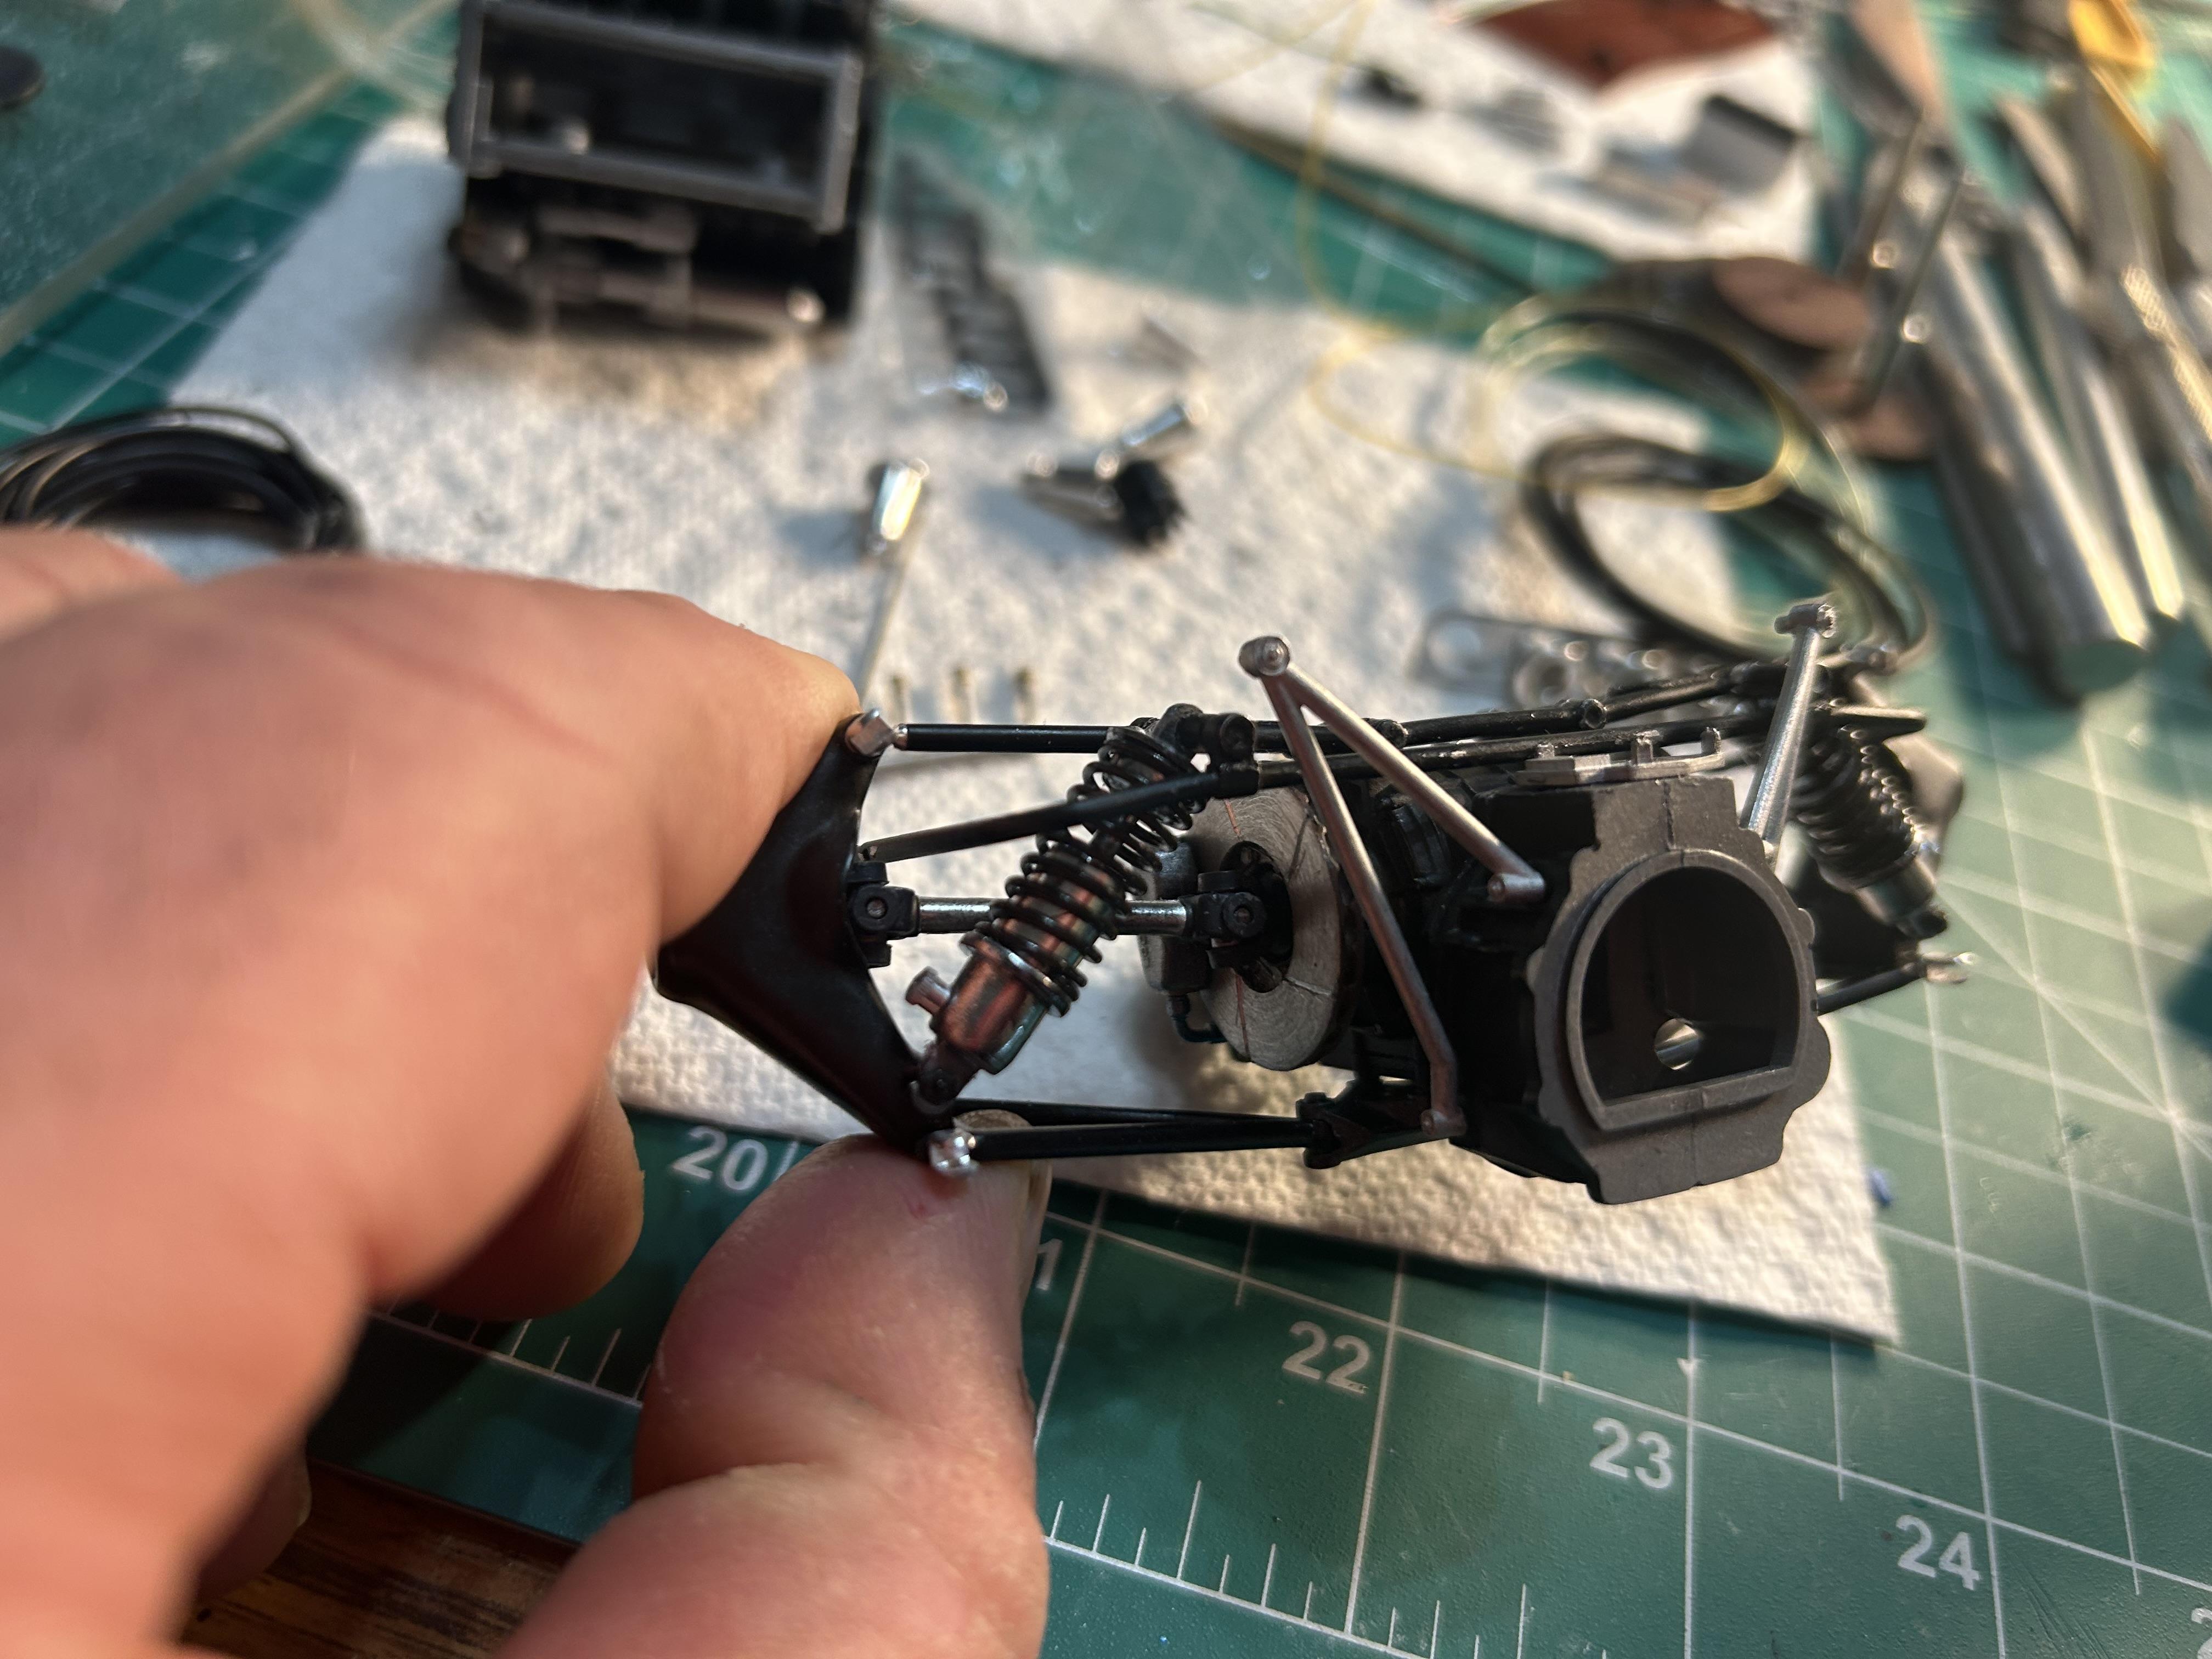
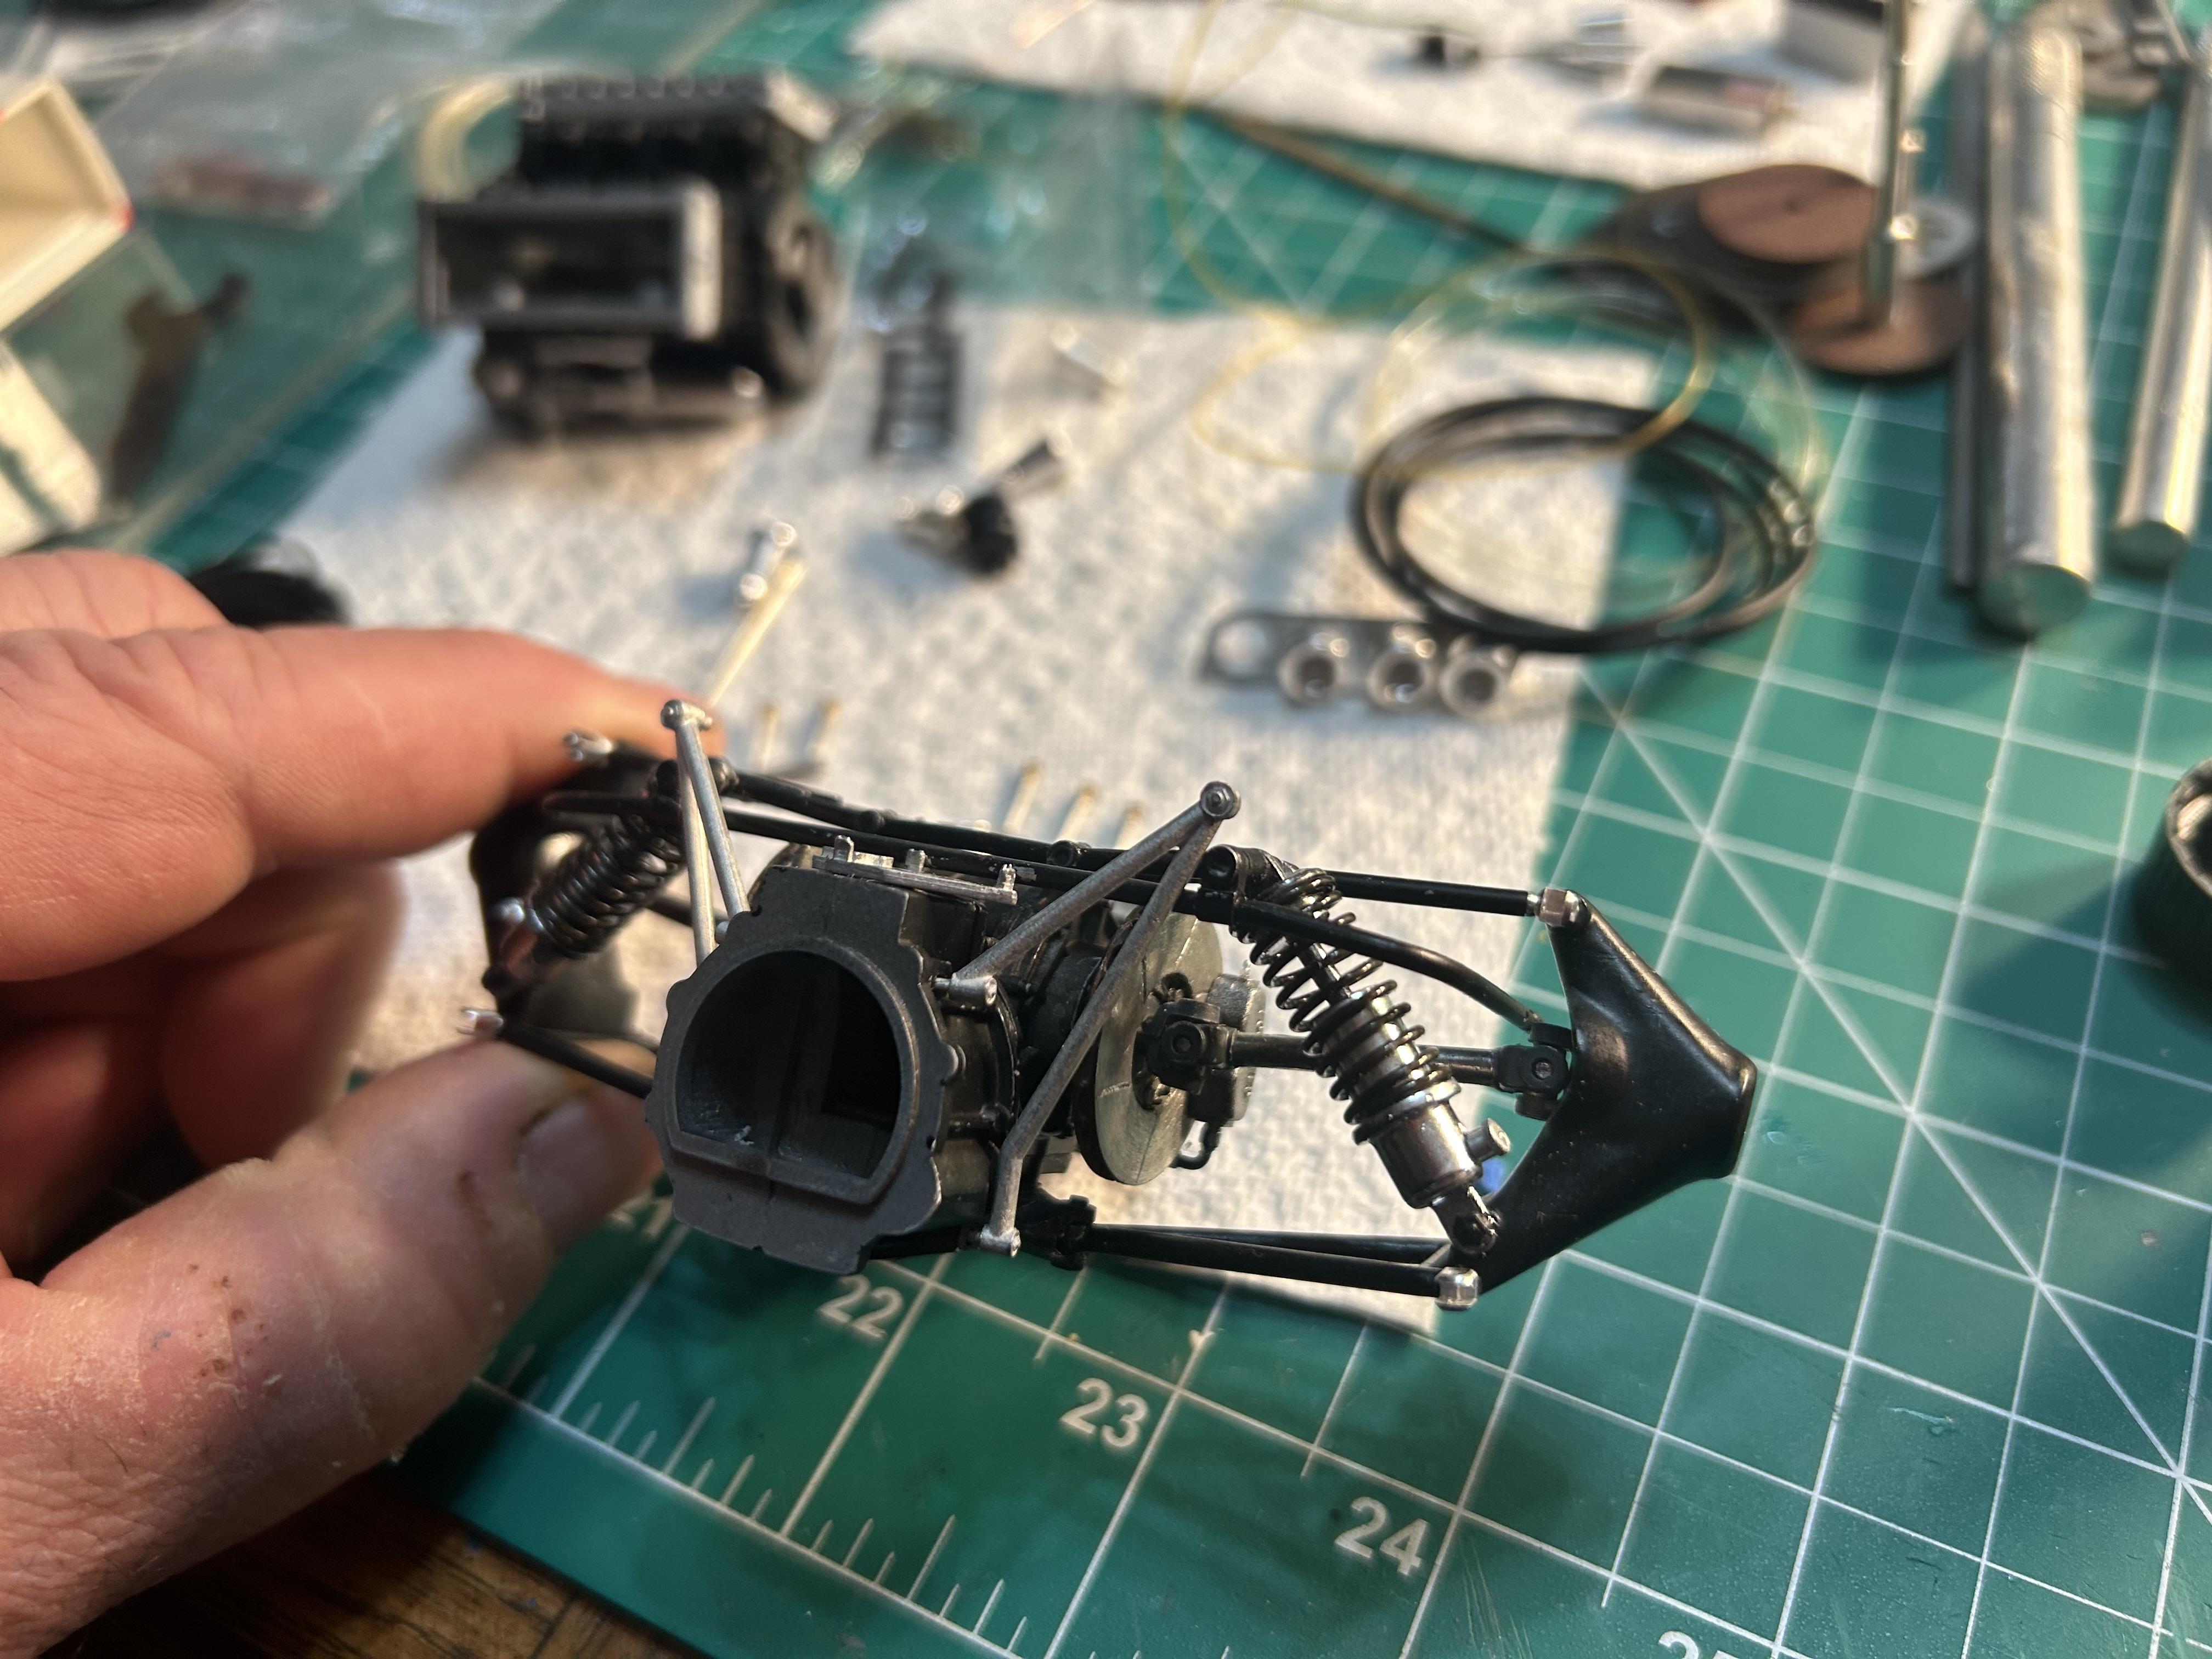
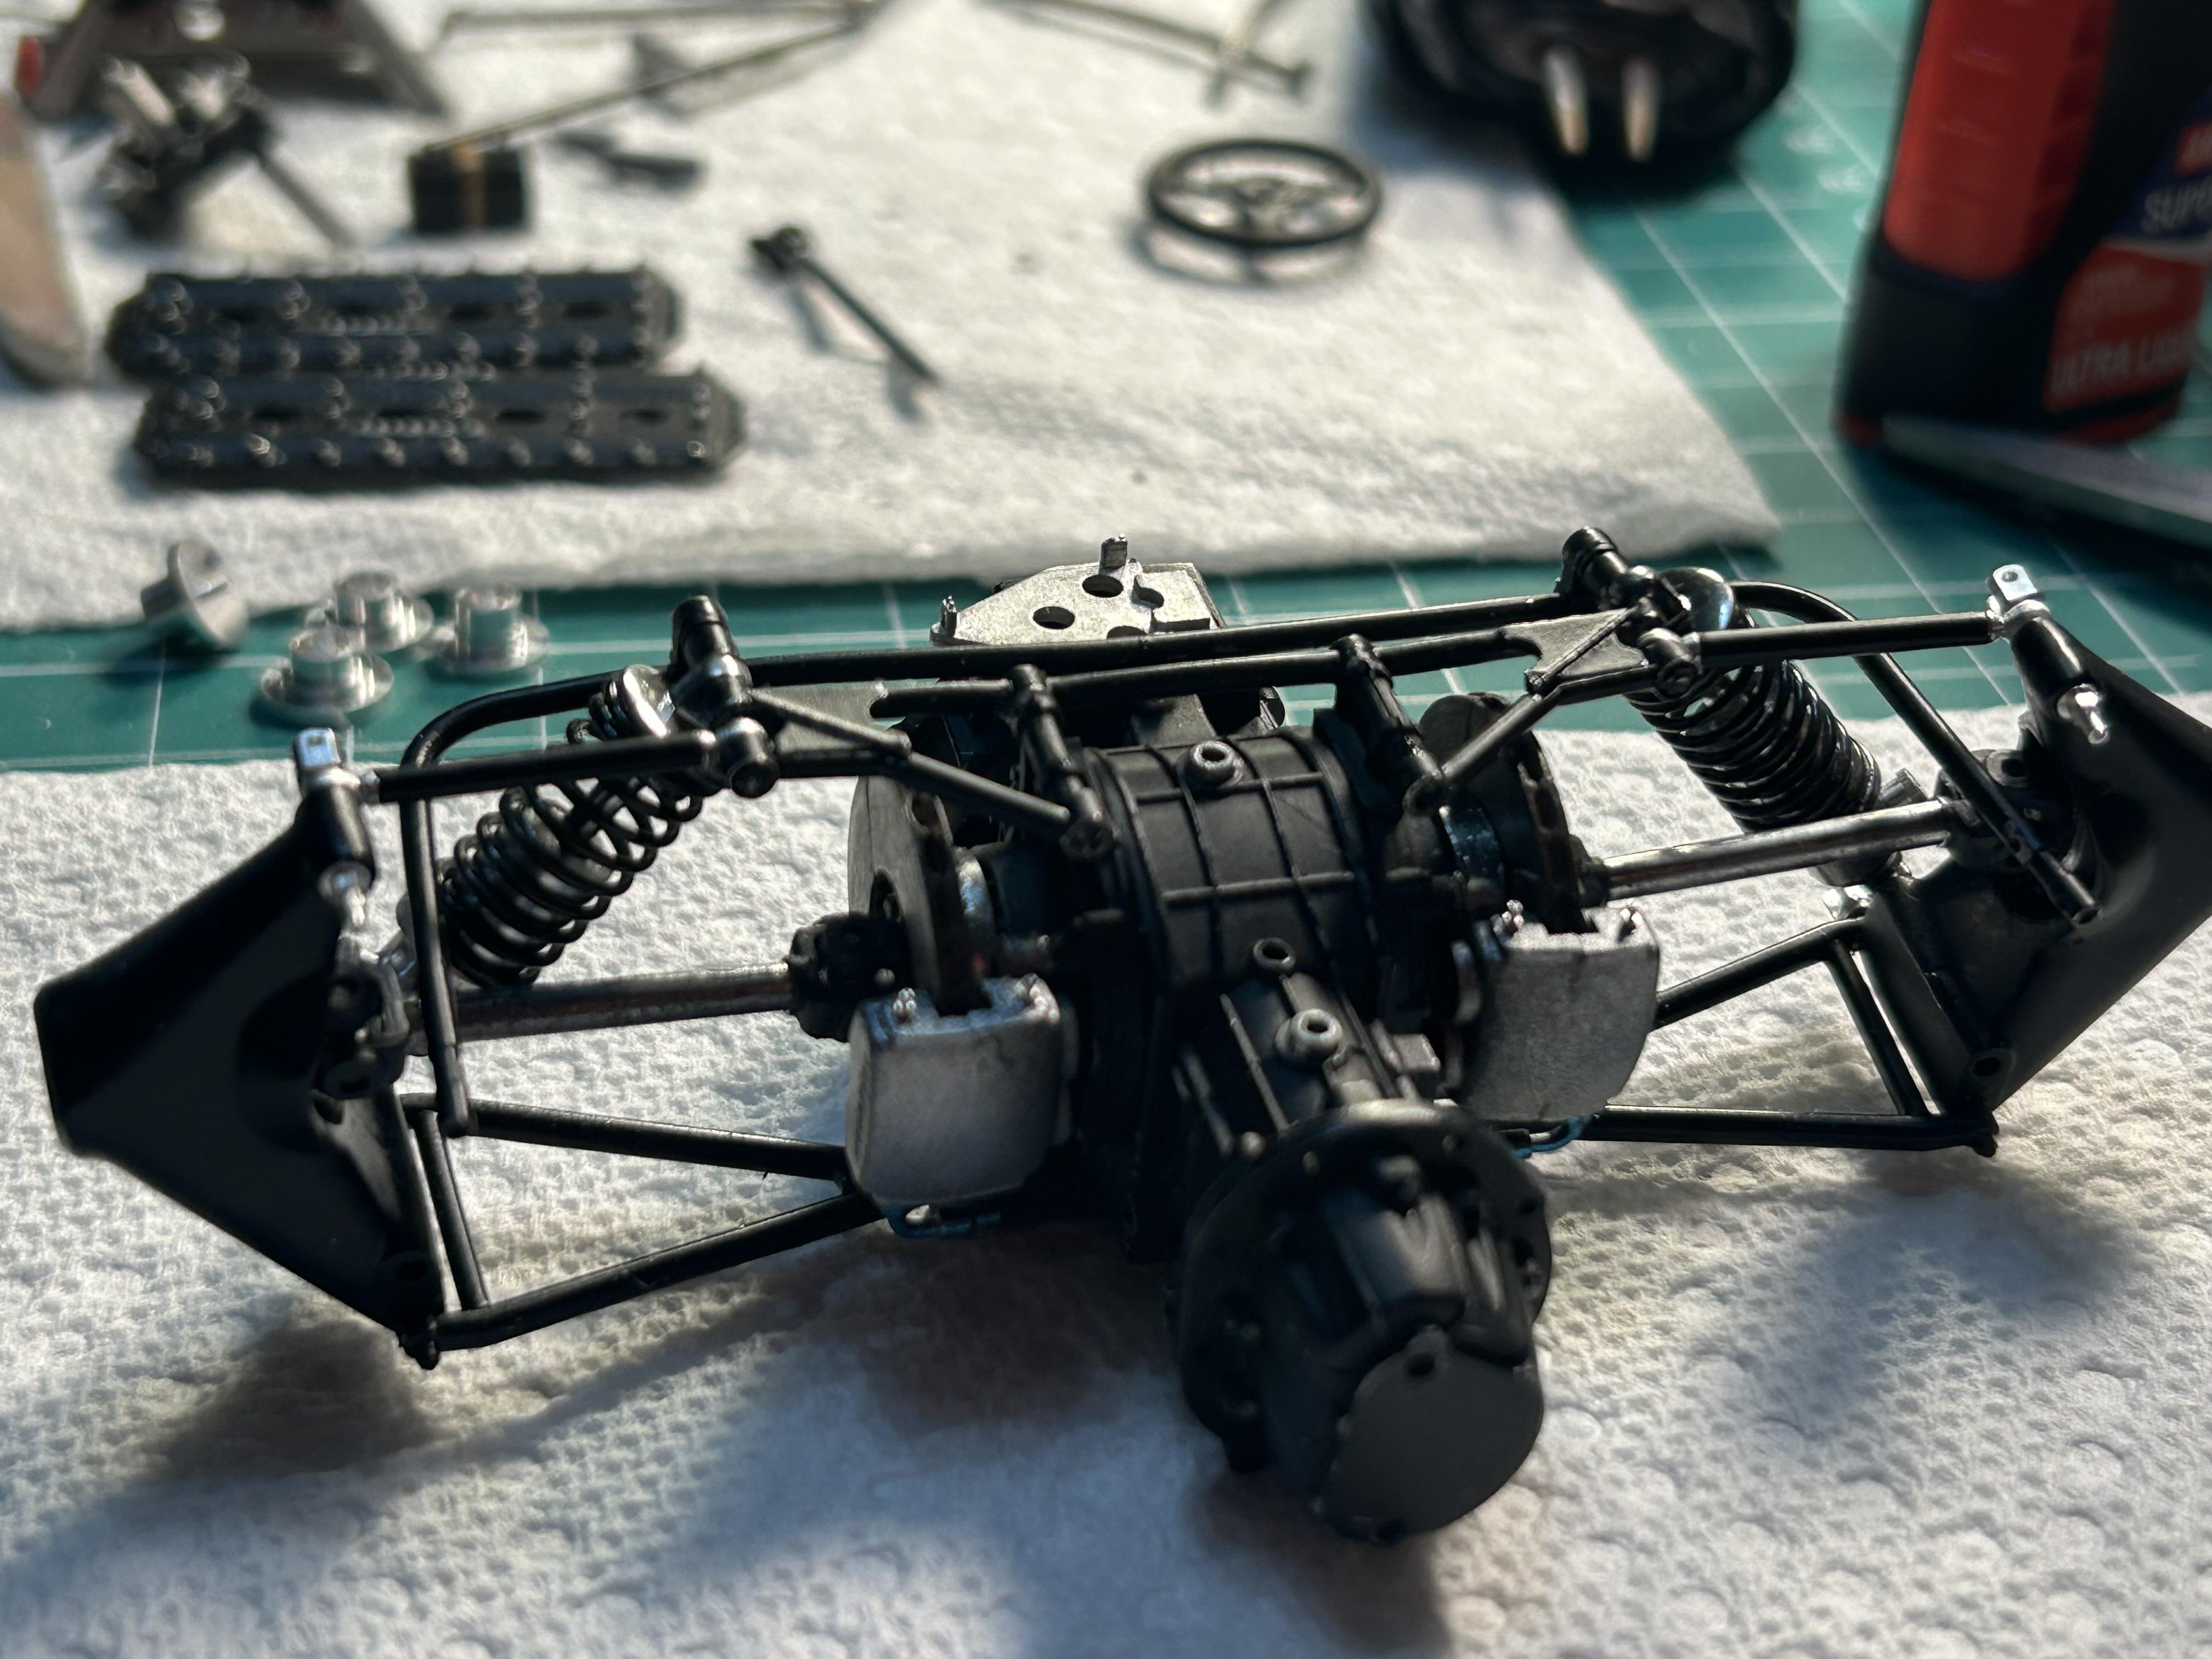
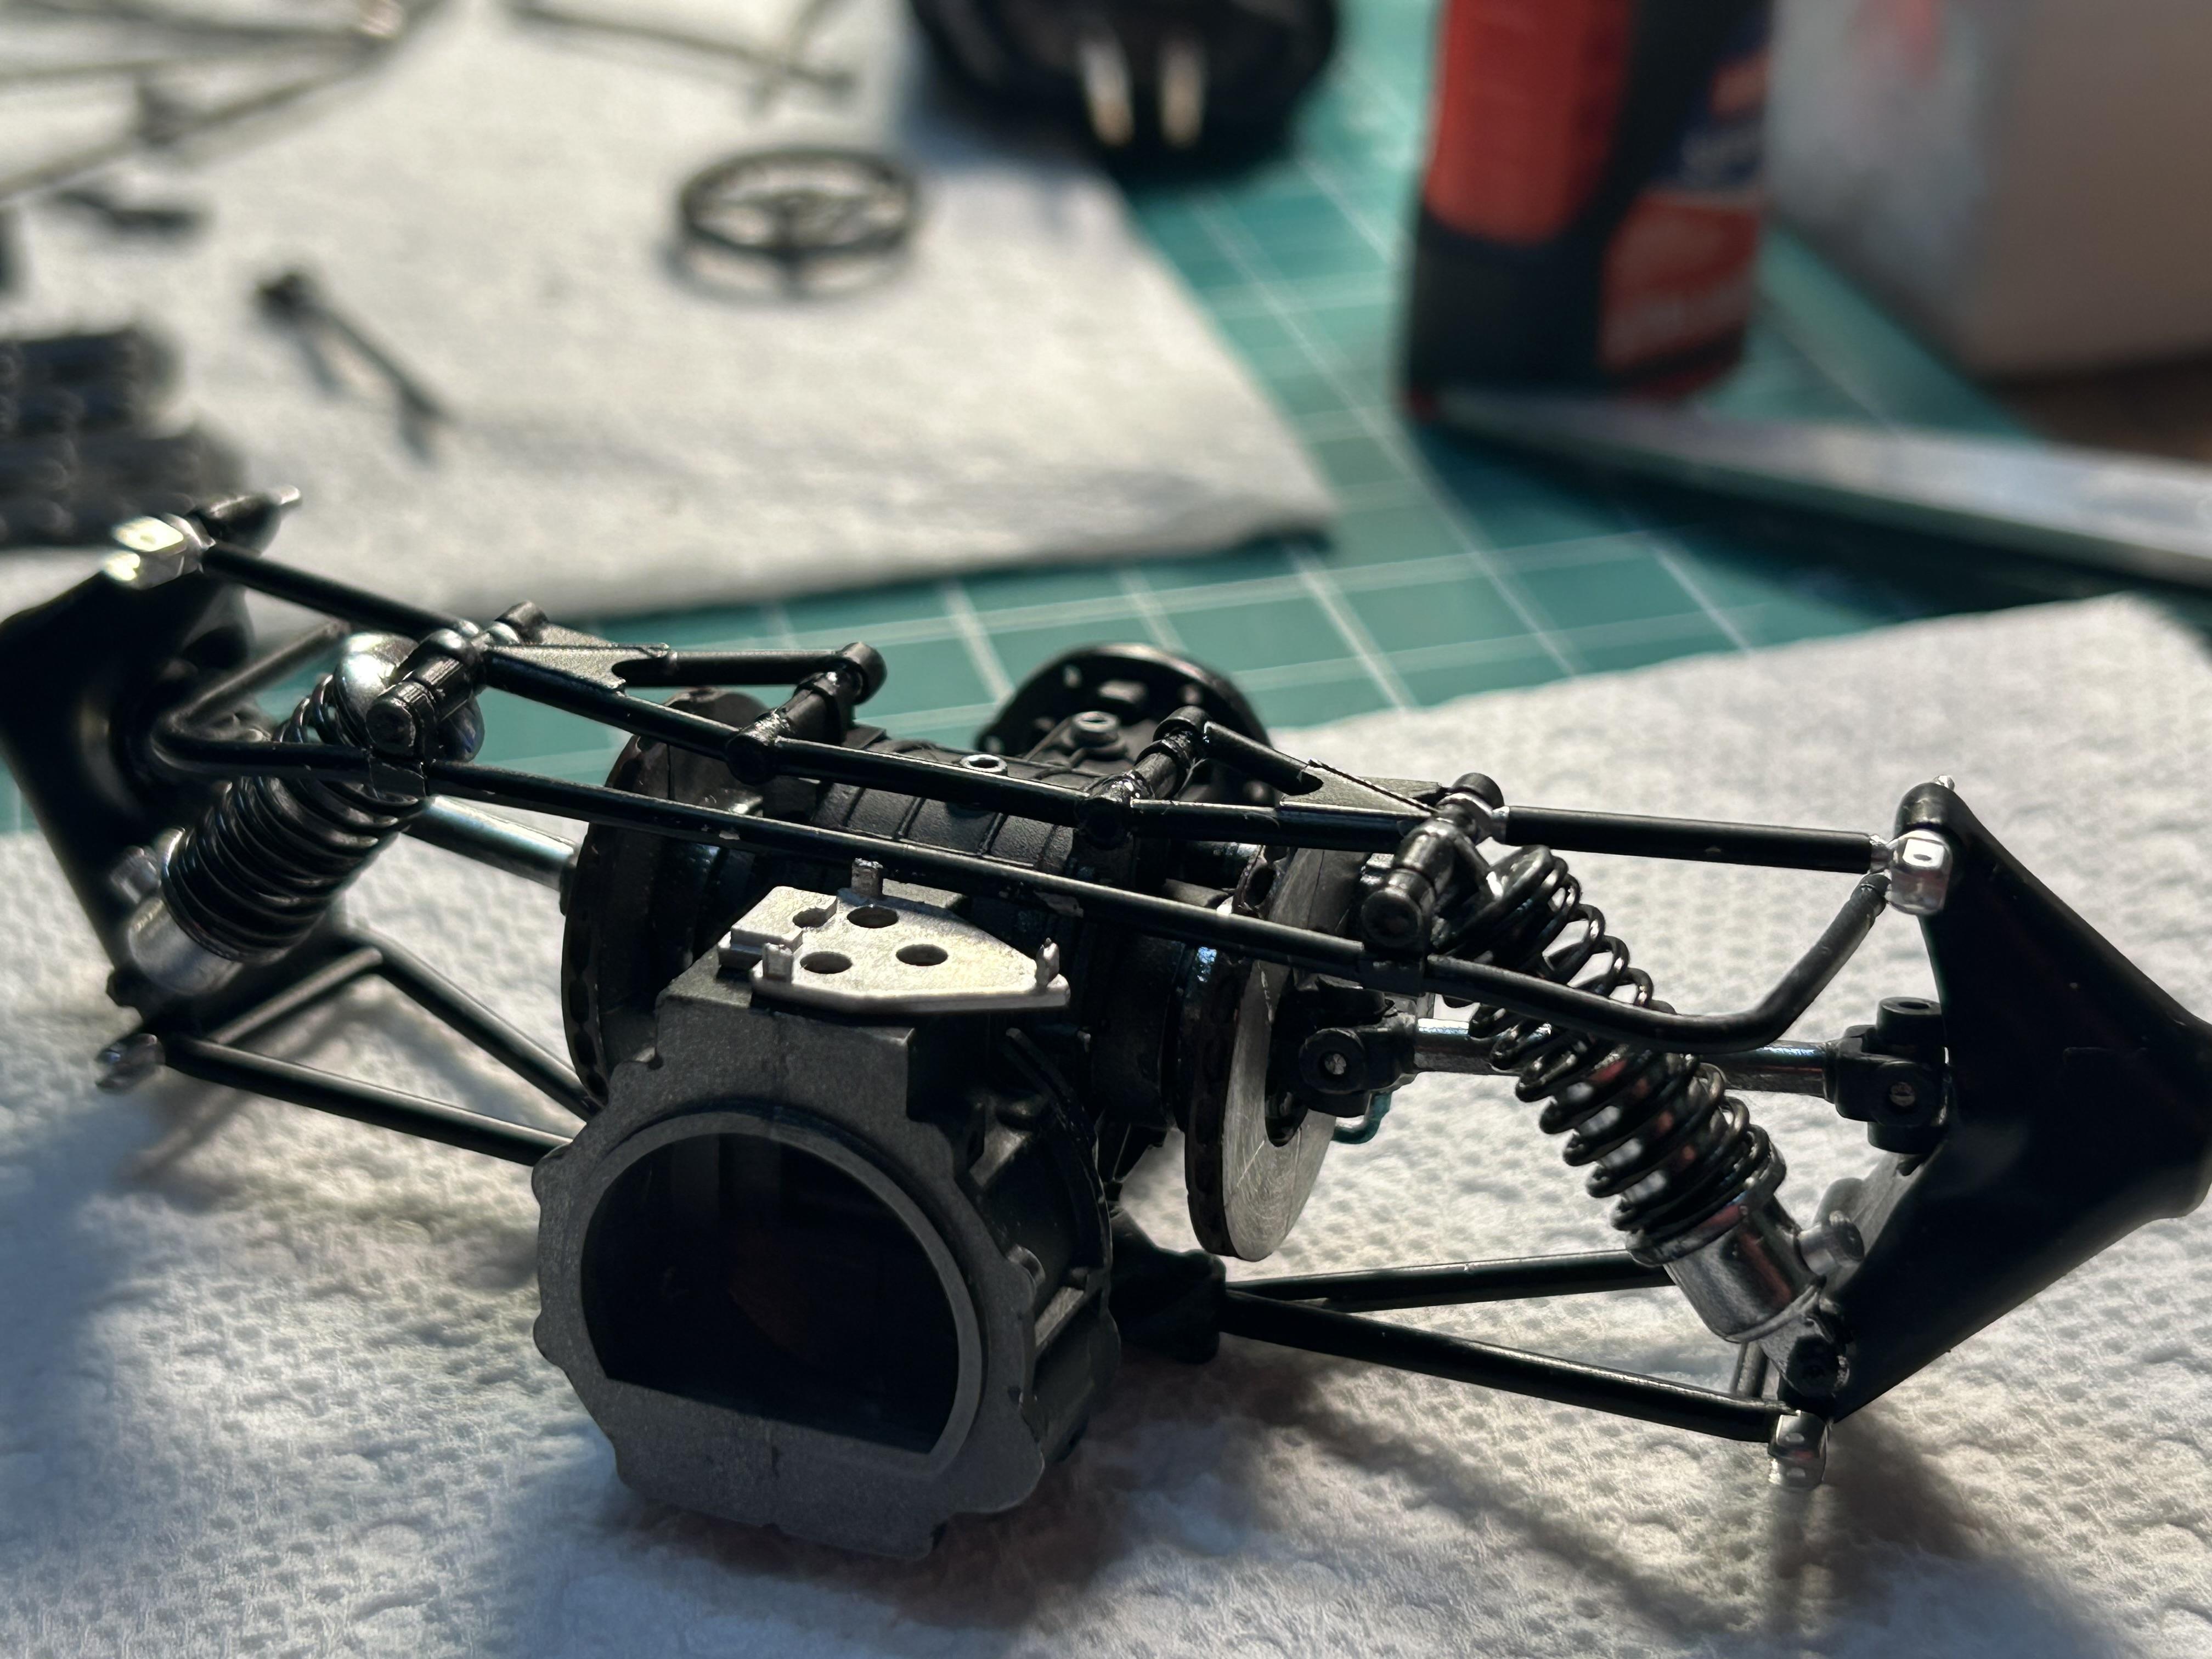
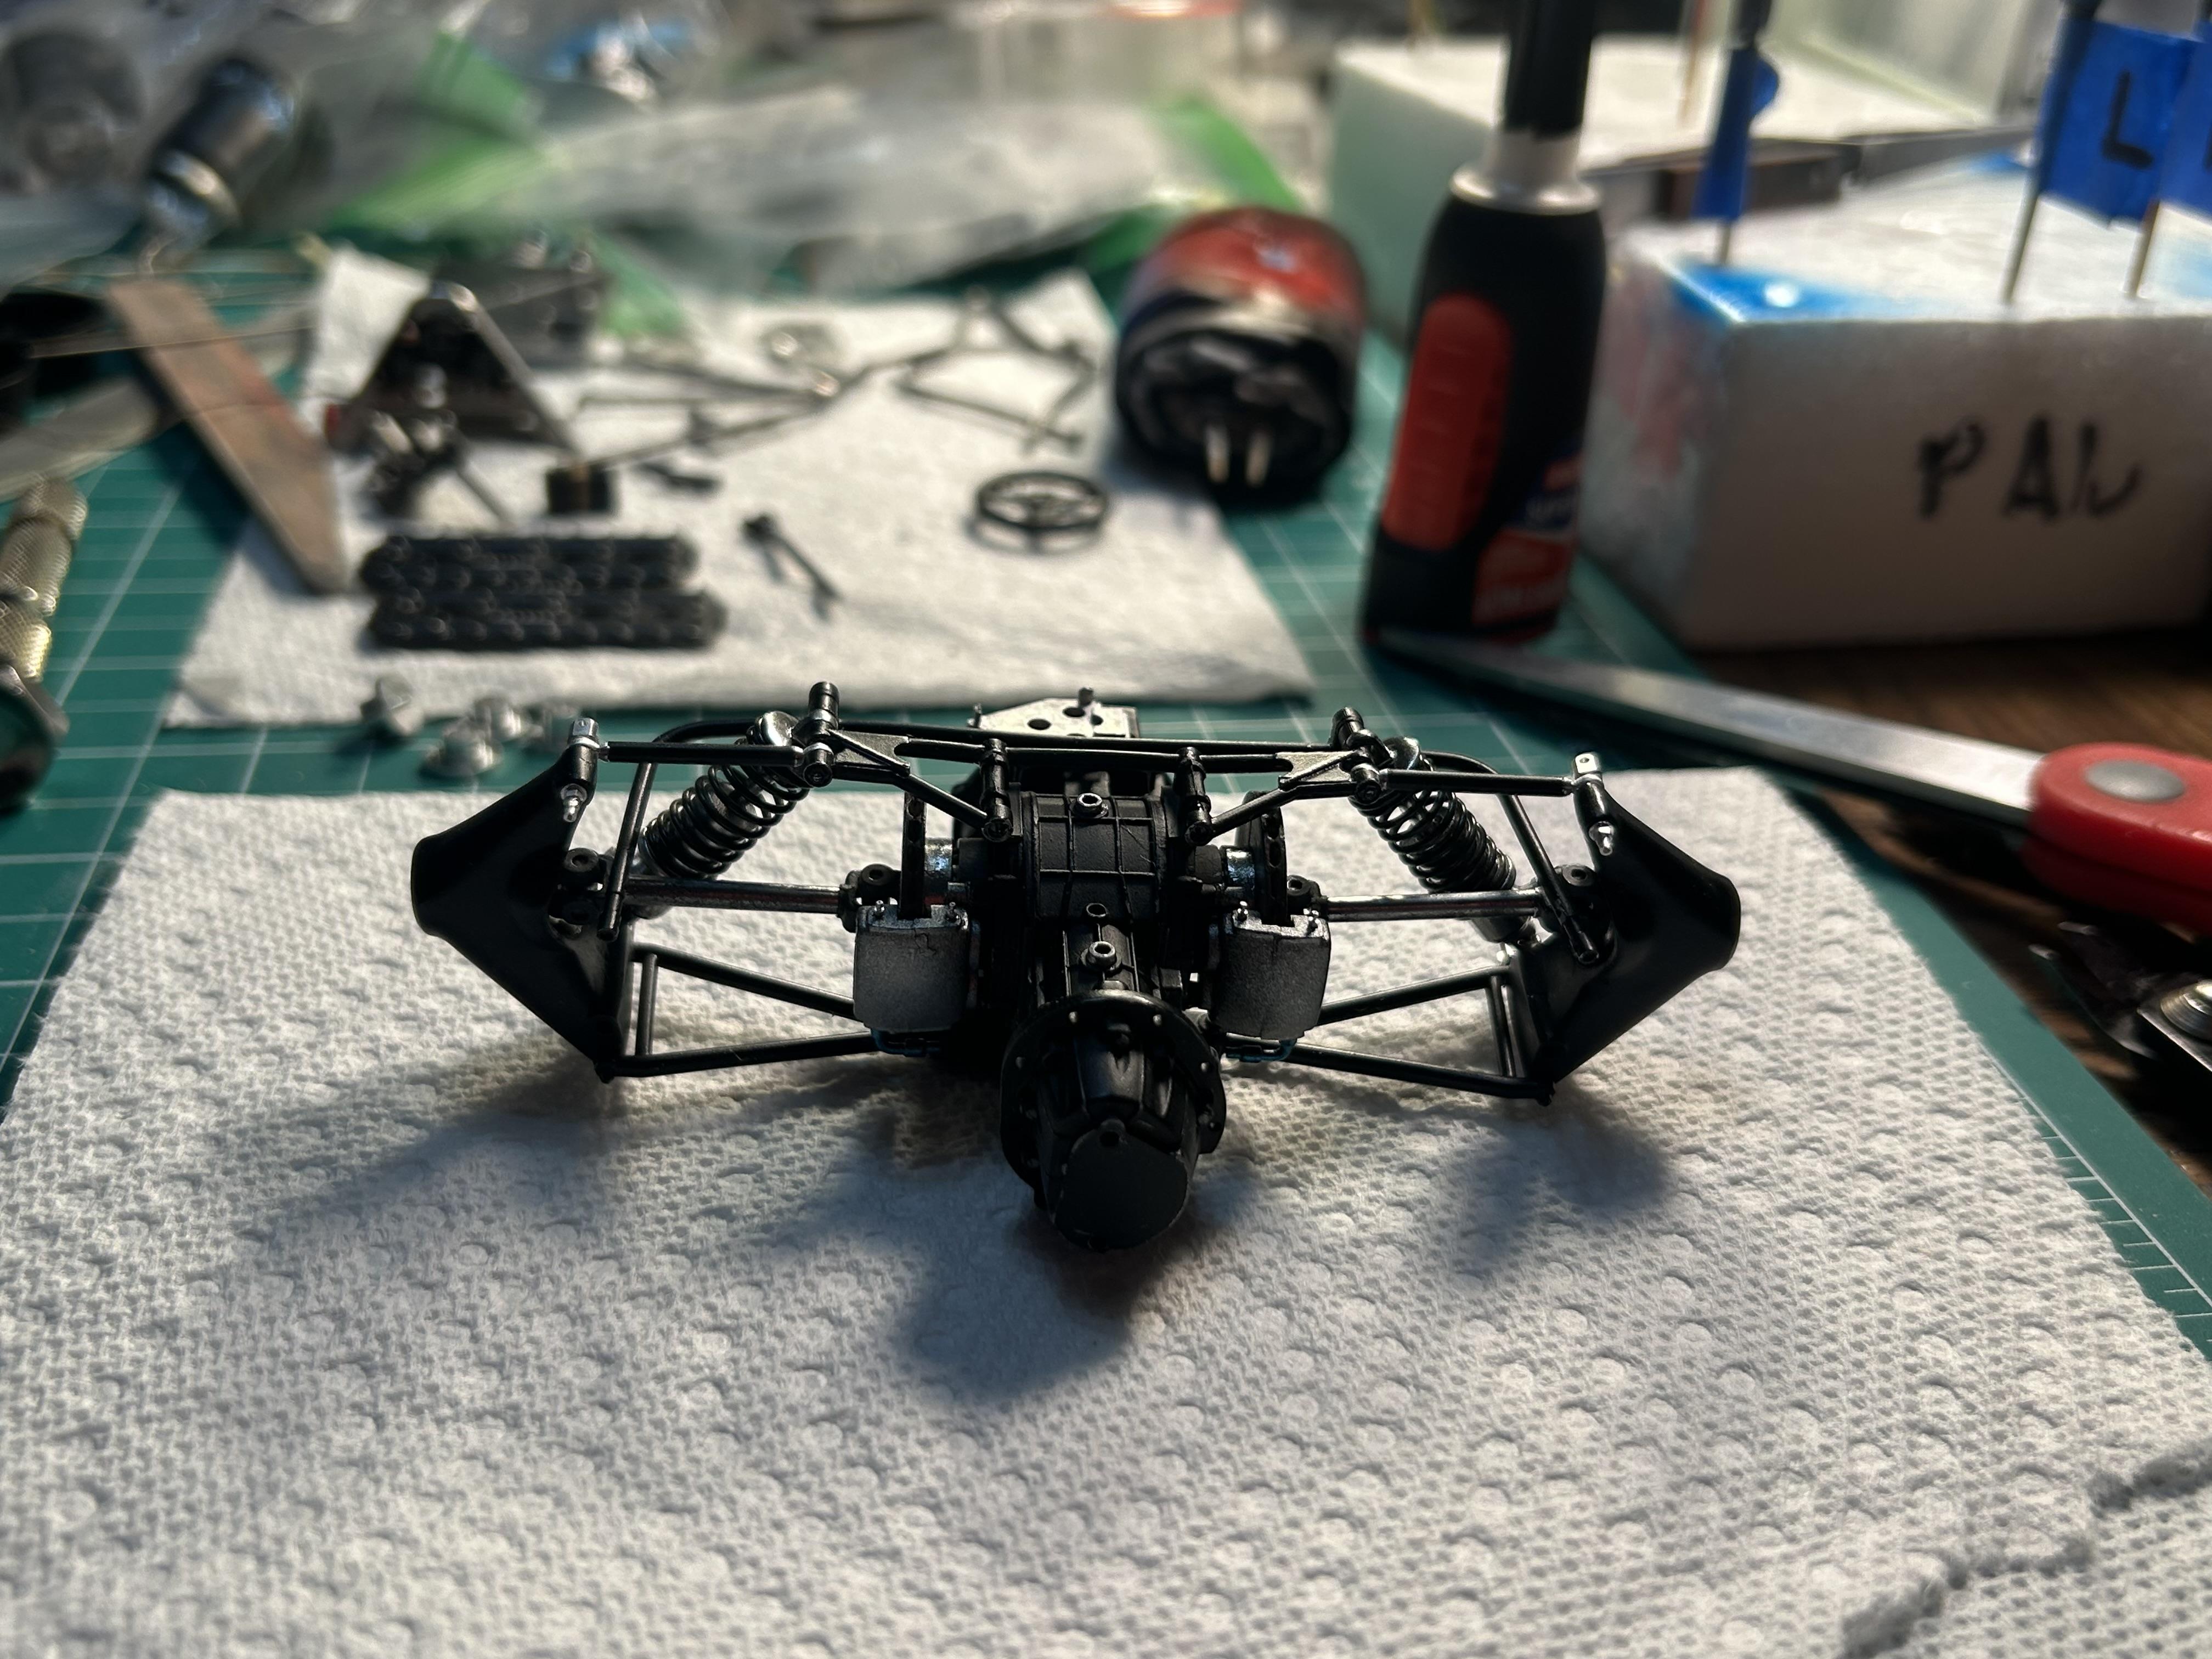
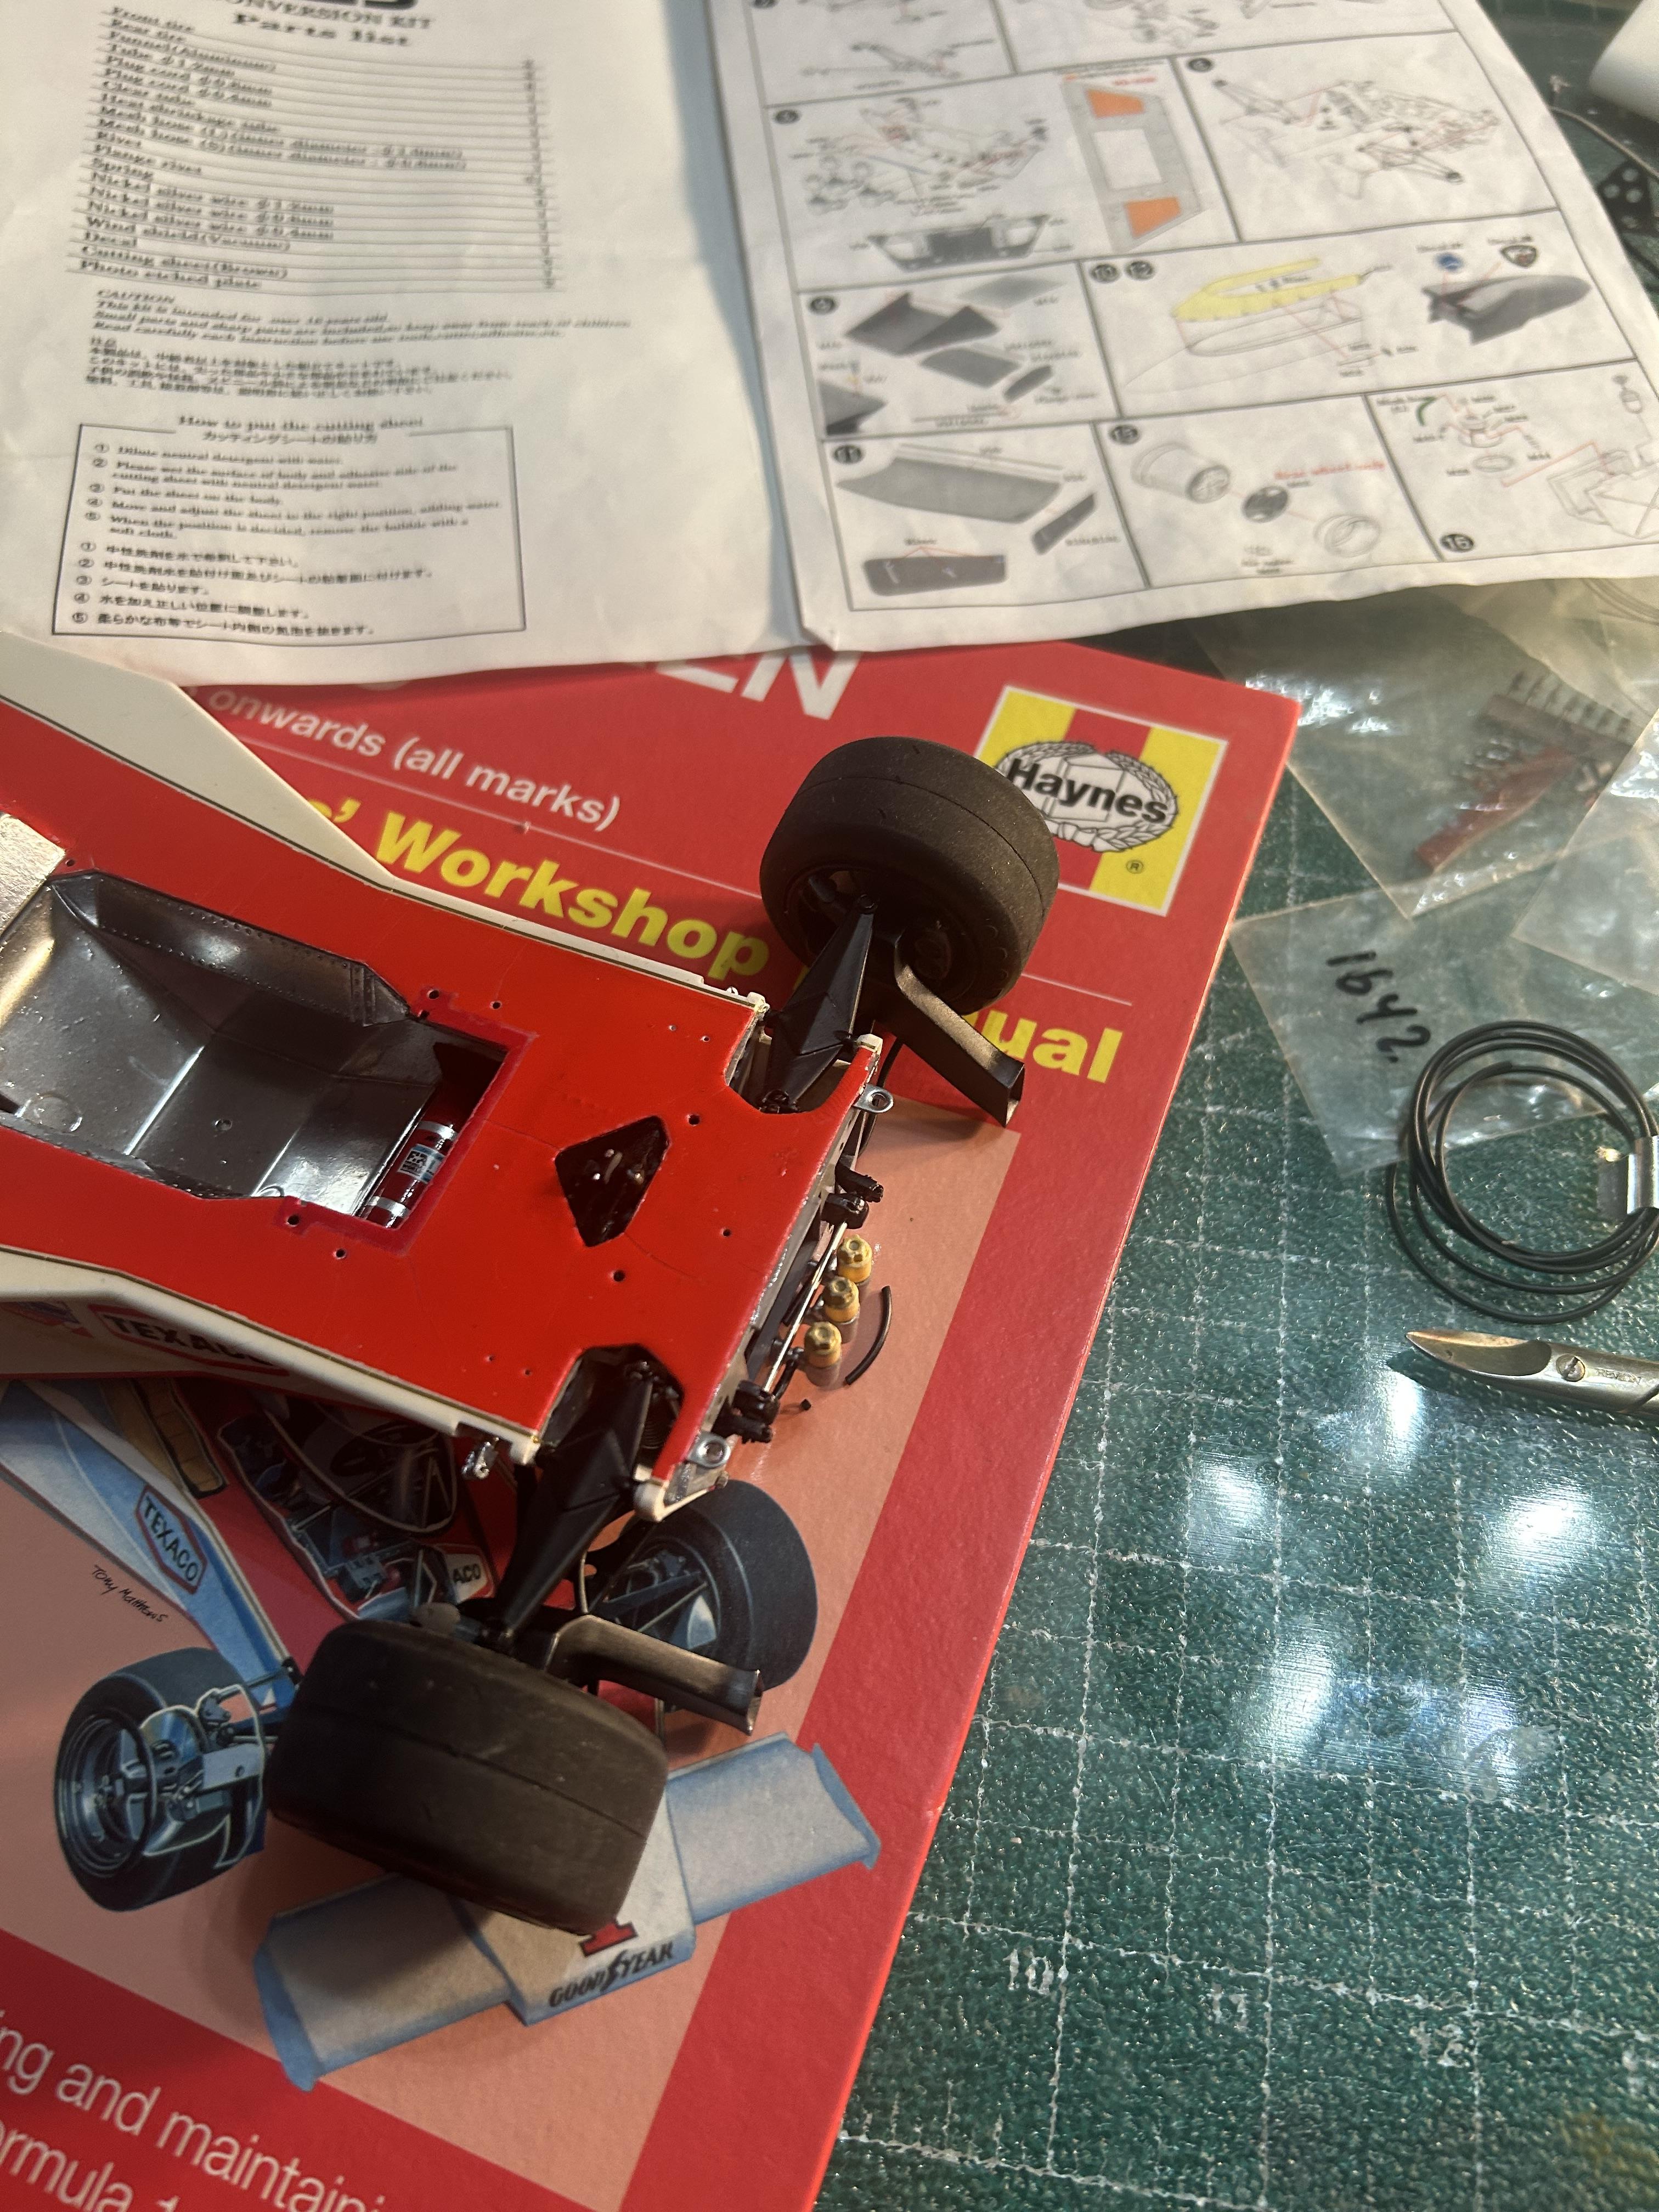
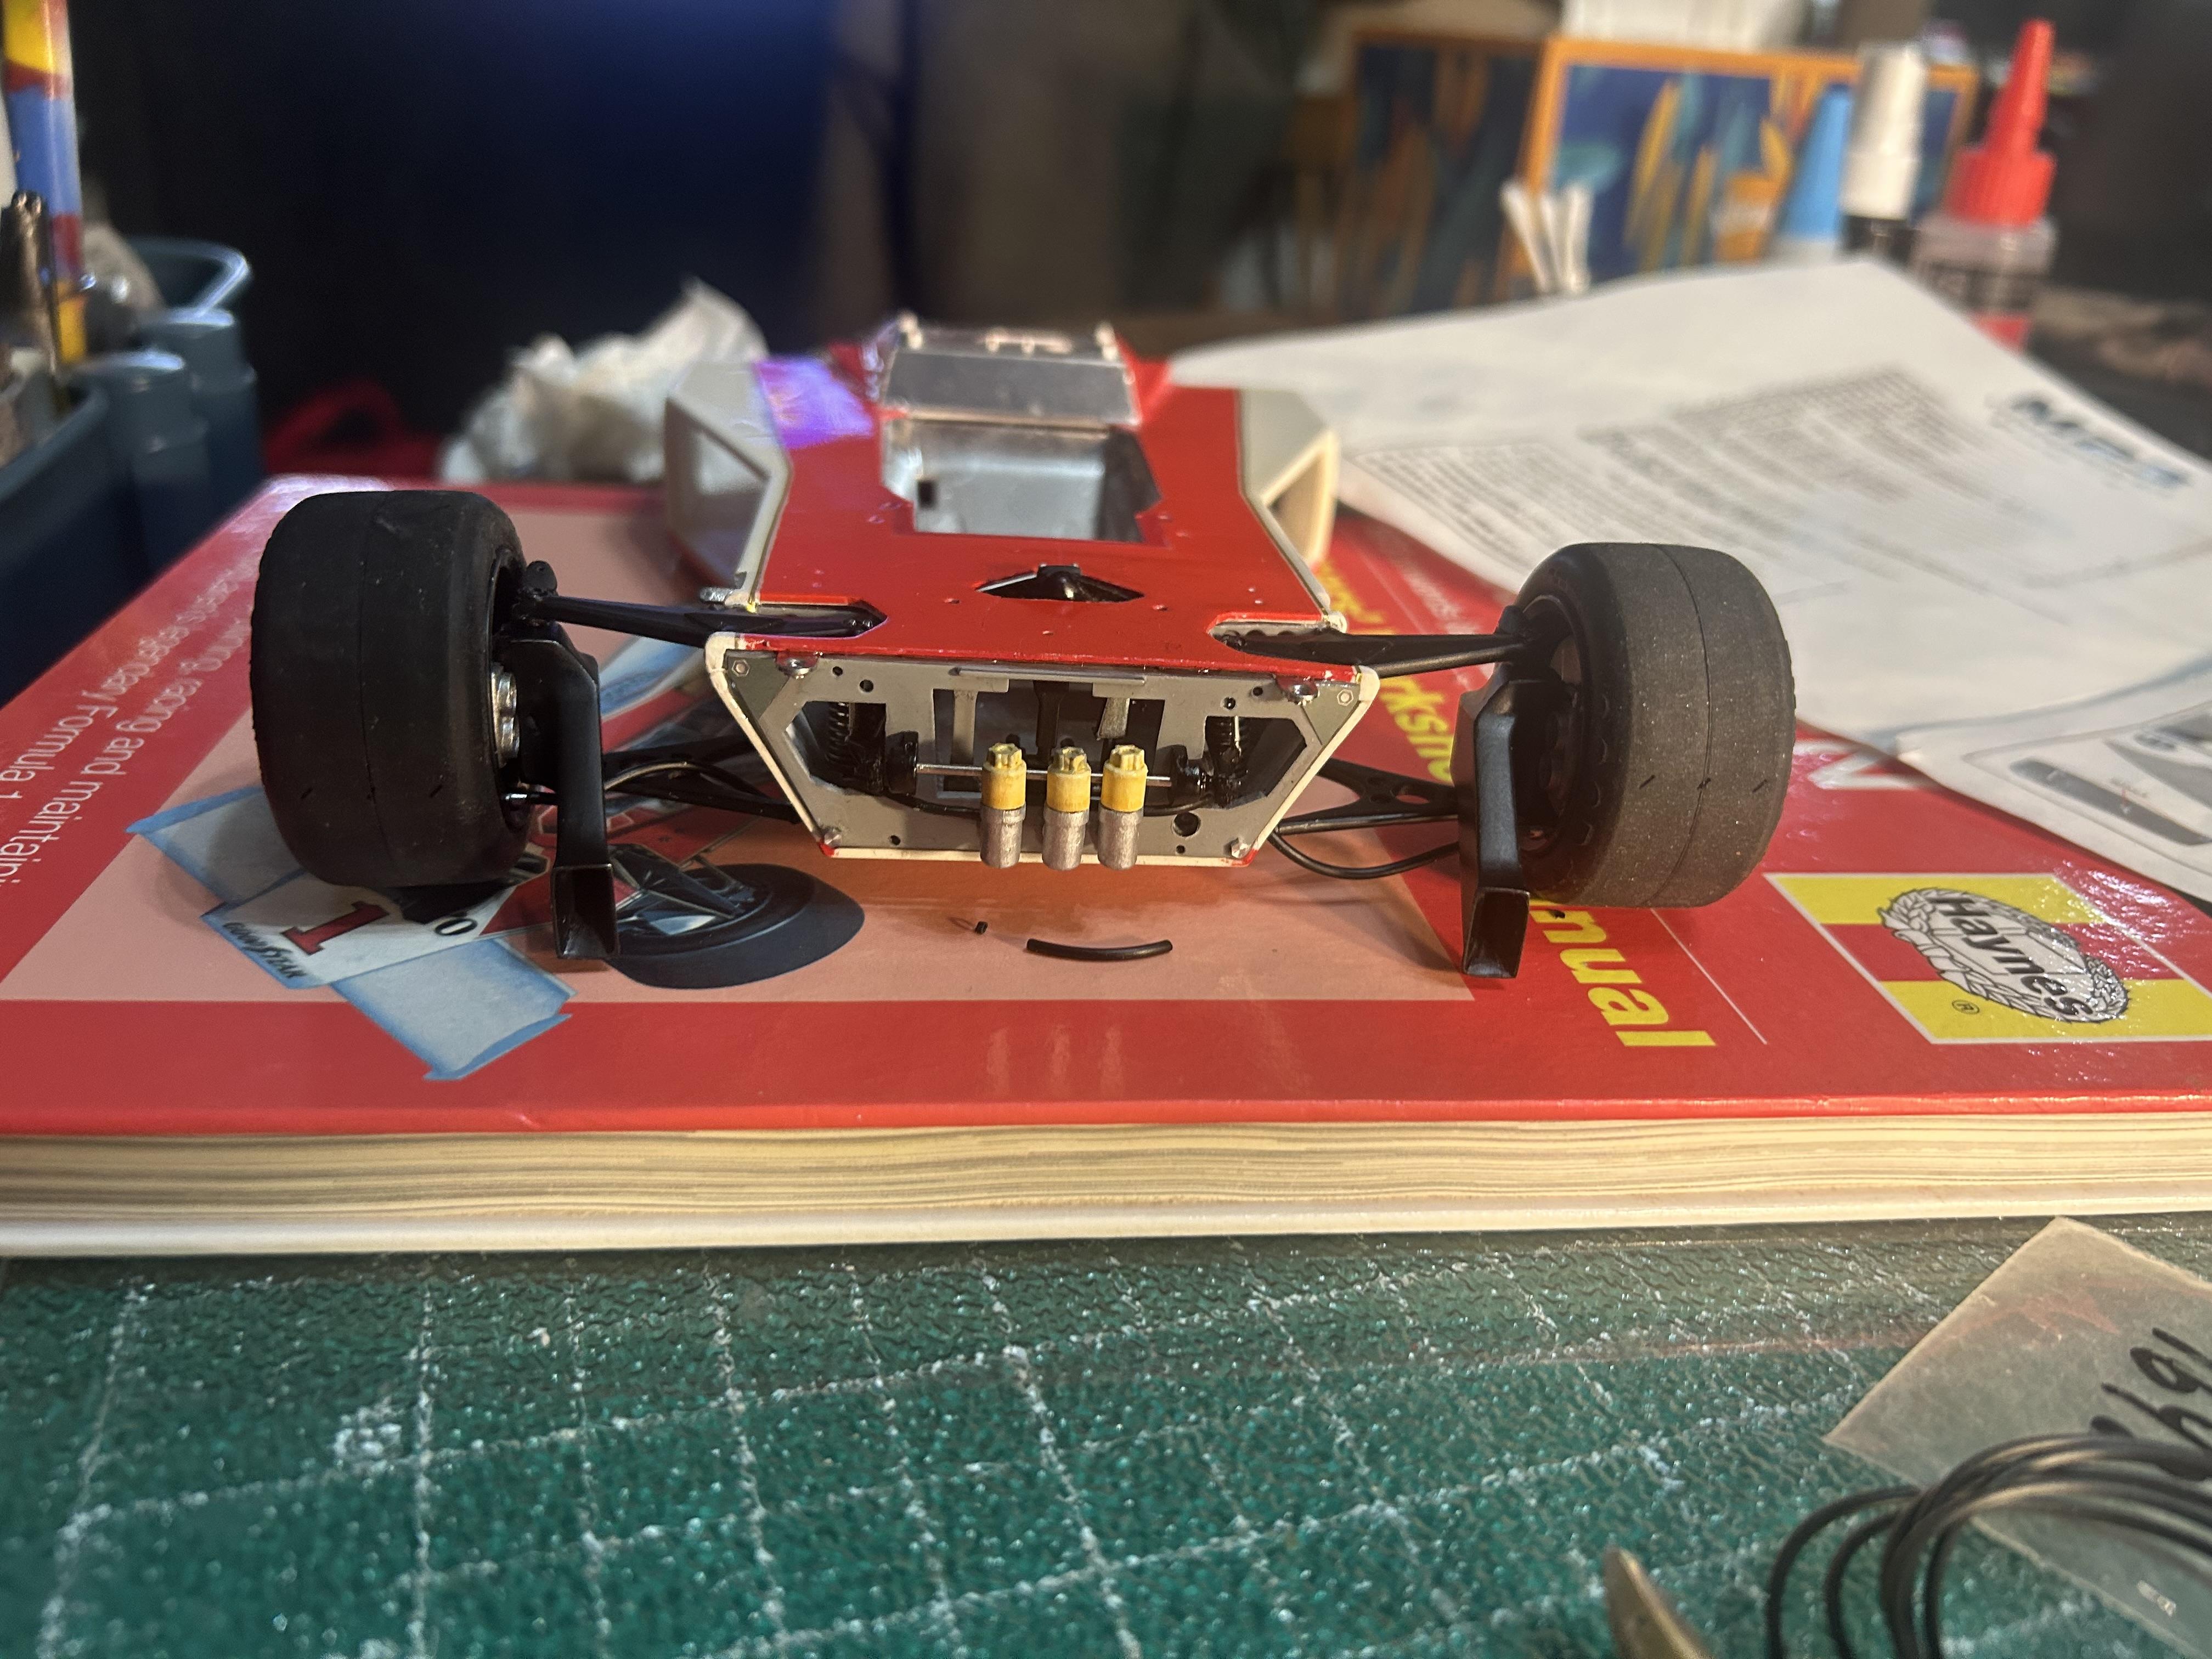
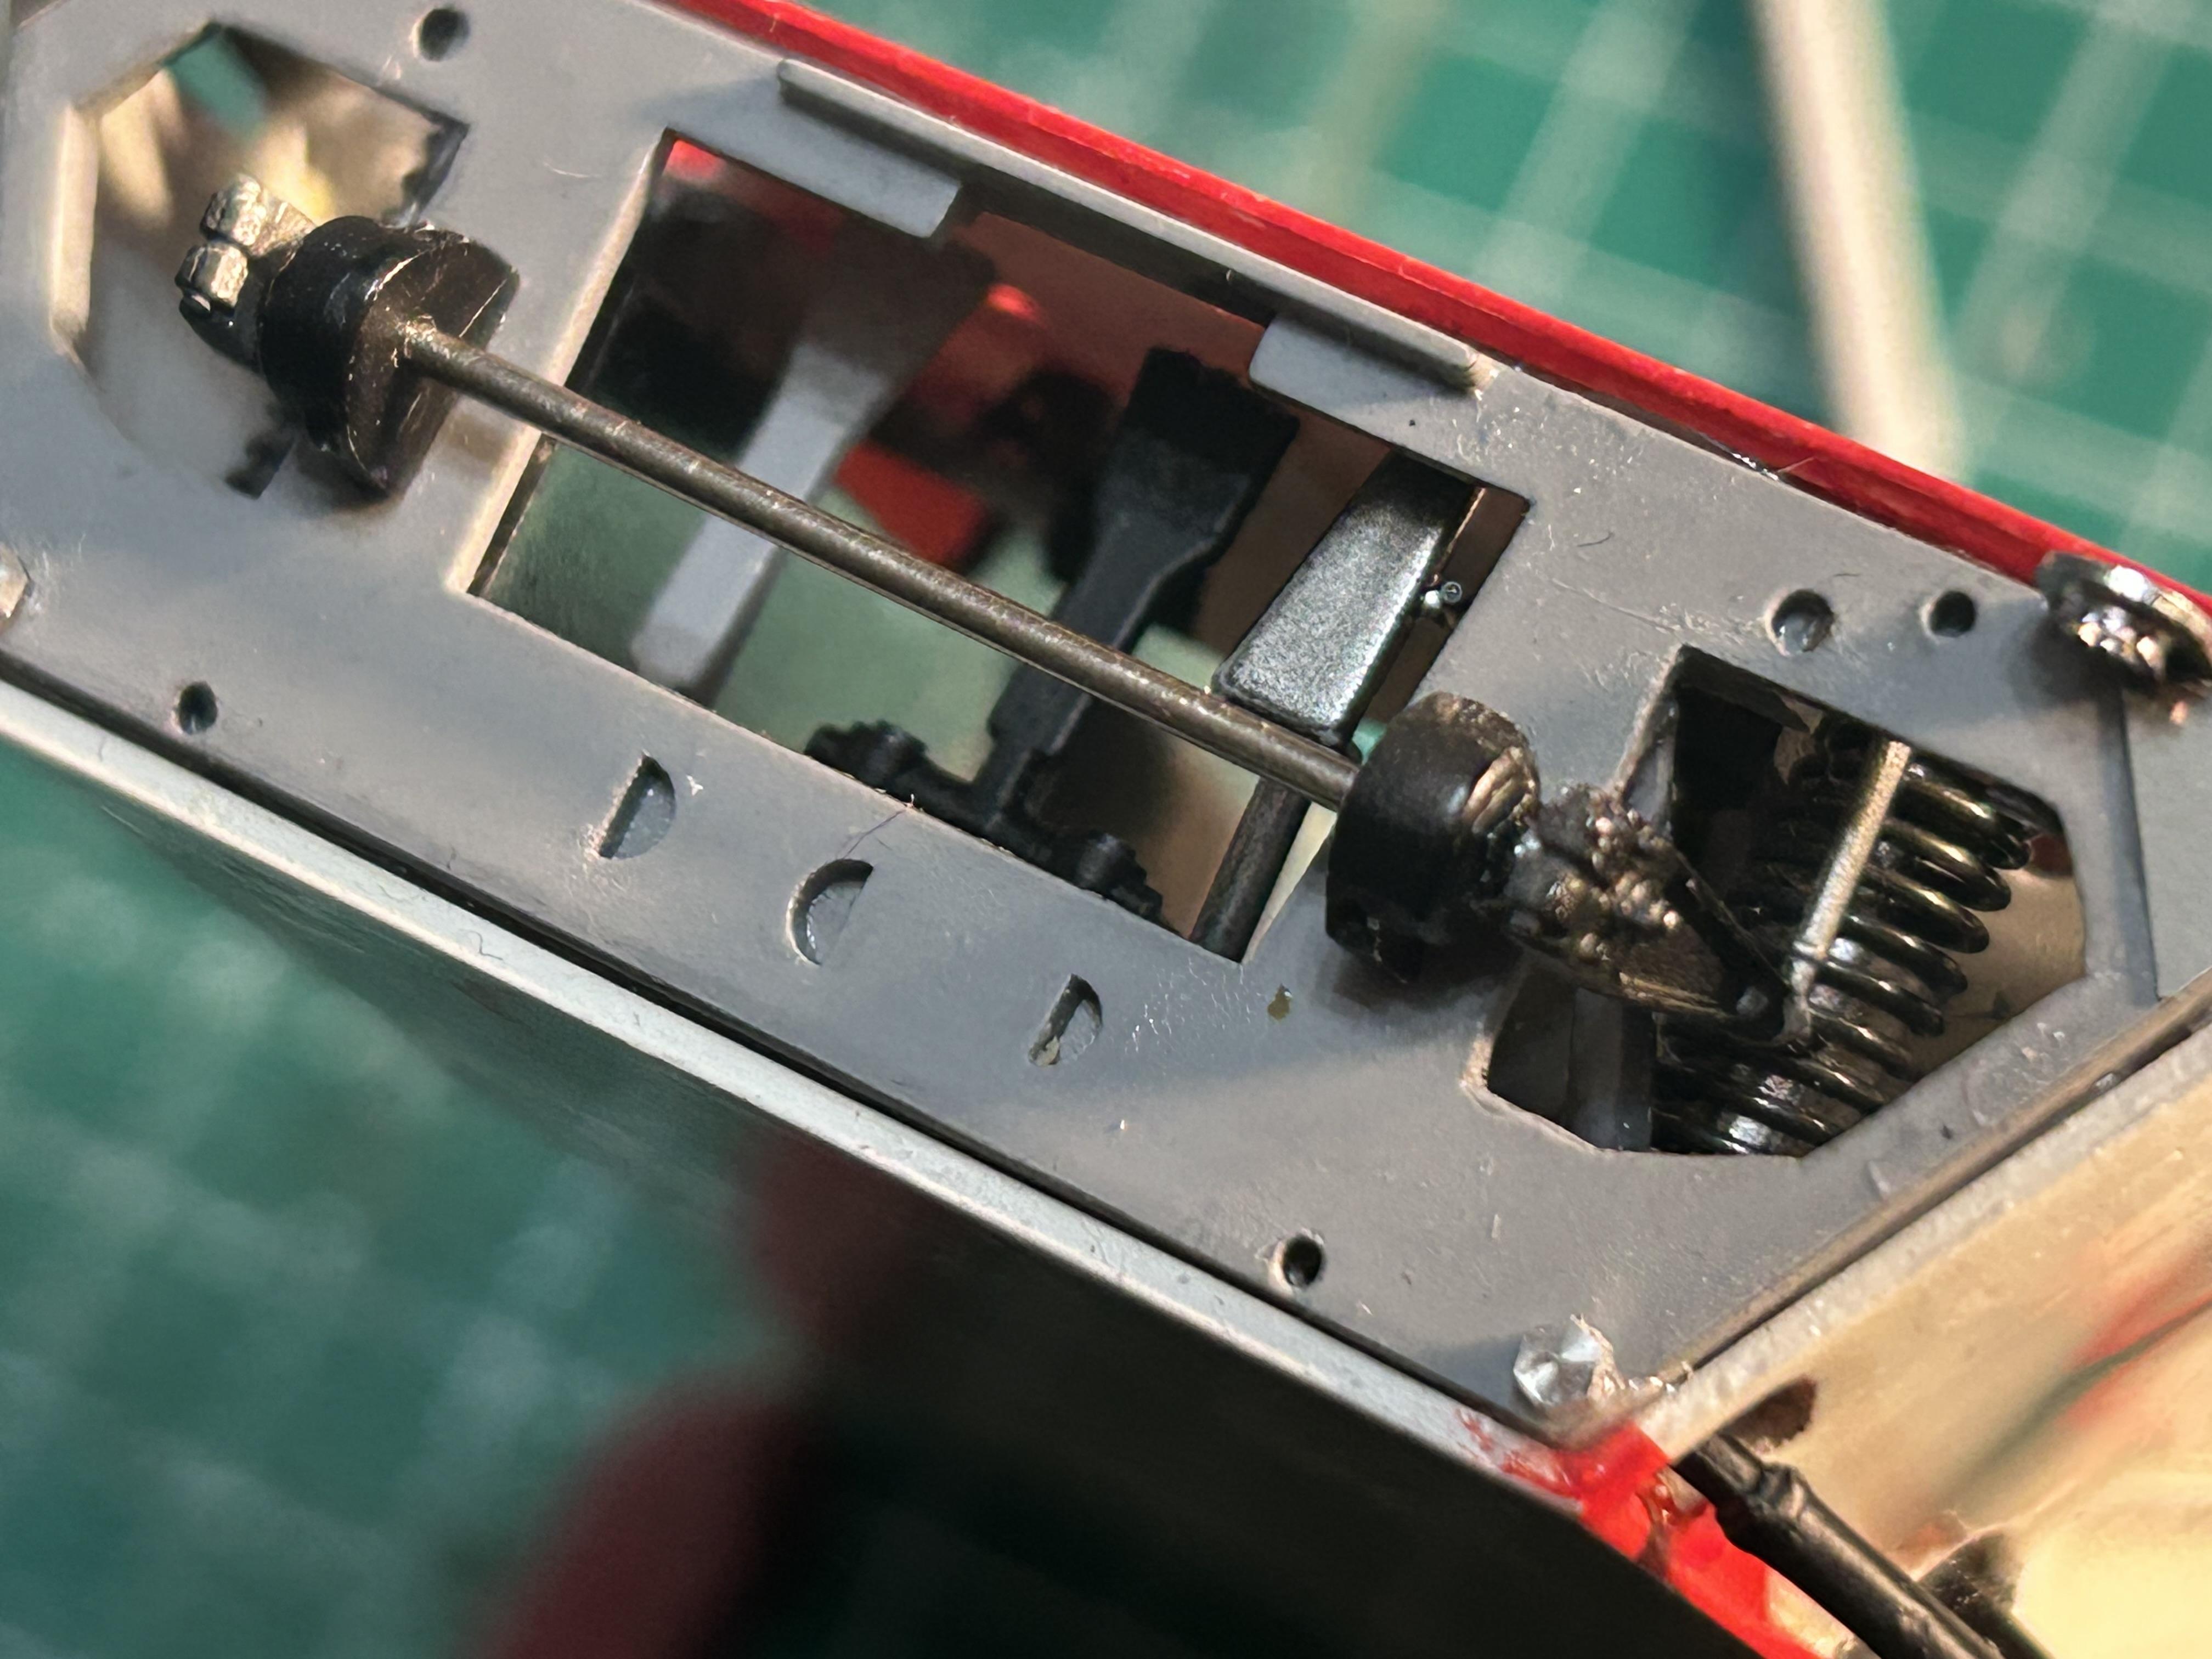
These pics shows the suspension parts that will have to be modified. They are supposed to attach where the top of the shock absorbers are attached.
- 29 replies
-
- 1
-

-
- james hunt
- m23
- (and 2 more)
-
Got some work done on the transmission and rear suspension. I’m using the Thunder Valley rear upright kit. This is my first time using a transkit and this one is full of issues. It’s a real yin yang experience. Some of the parts are excellent like the resin pieces but on the other hand some white metal bits just don’t fit right. There are two rear suspension supports that are not installed yet in the pictures below because I am going to have to modify them. There connection points are way too high. Also the instructions are lacking. They are in English but your left to your own resources on most of the assembly. Still I’m very fortunate to have purchased it years ago when they were available at reasonable prices. I think I paid around $100.00 for it.
- 29 replies
-
- 1
-
-
- james hunt
- m23
- (and 2 more)
-
Alfa Romeo 158/59
nickfzr61 replied to Chris Smith's topic in WIP: Other Racing: Road Racing, Land Speed Racers
Simply gorgeous Chris. Museum quality for sure. 👍🏻 -
Looks like a nice kit. Shame about the PE. Hopefully nothing’s creased too bad. I like that livery too. Looks clean and fits the body well. Looking forward to seeing it completed.
-
Wish you luck? I think everyone here will agree that luck has nothing to do with it. Okay maybe a little but your skill is the main ingredient by far. Glad to see your starting another build. Always look forward to them. Not to be facetious but Good Luck.
-
The clearcoat on the body yellowed a little and there are some hairline cracks but I’m not about to strip it all down and redo the paint and decals. Just want to finish it and make it presentable enough to add to my Lauda 312T.
- 29 replies
-
- 3
-
-
- james hunt
- m23
- (and 2 more)
-
Well after being out of modeling for a few years due to family and other commitments I decided it’s time to finish this one. Actually made the decision last year but thought it would be wise to build a few smaller kits to get the juices flowing again.
-
Another beautiful build. Really love your work and presentation. Thanks for sharing.
-
Nice print. Did you purchase the file or create it? What printer do you have. That’s a pretty big build plate. I’ll be watching this one.
-
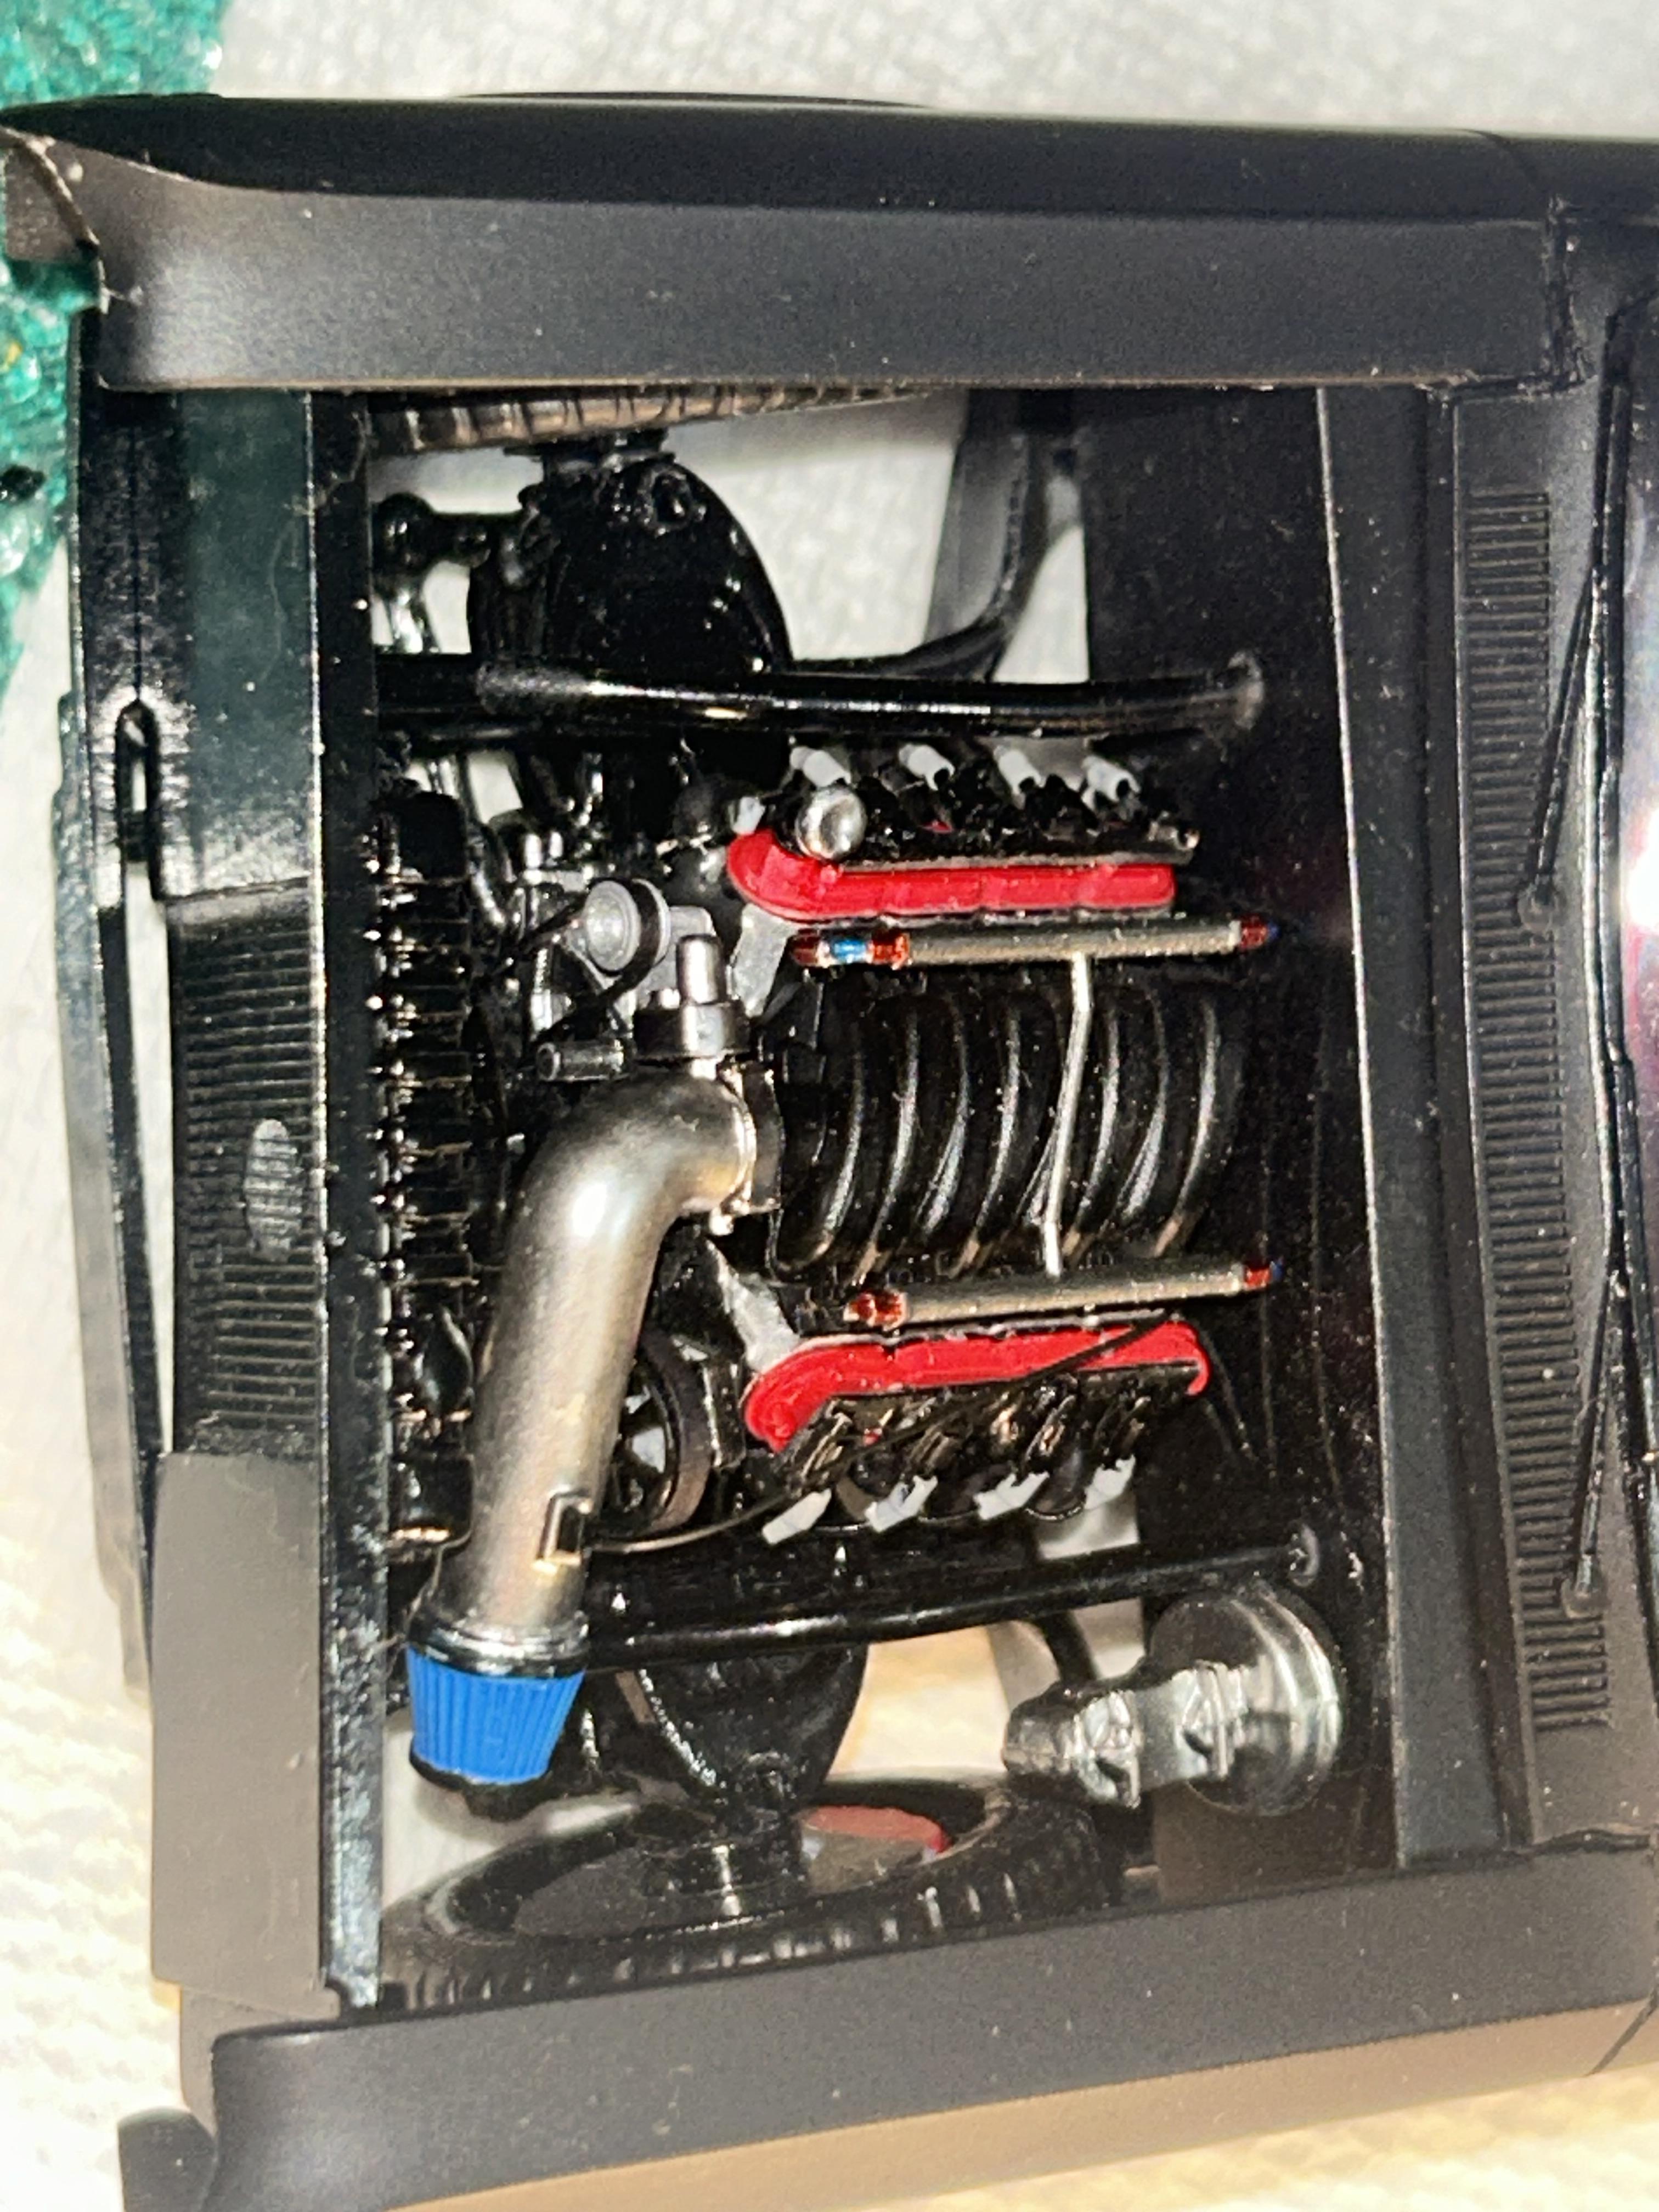
Got the dual chambered exhaust installed. Also printed a driveshaft with U joints. Wrapped it in a carbon fiber deacl sheet.
-
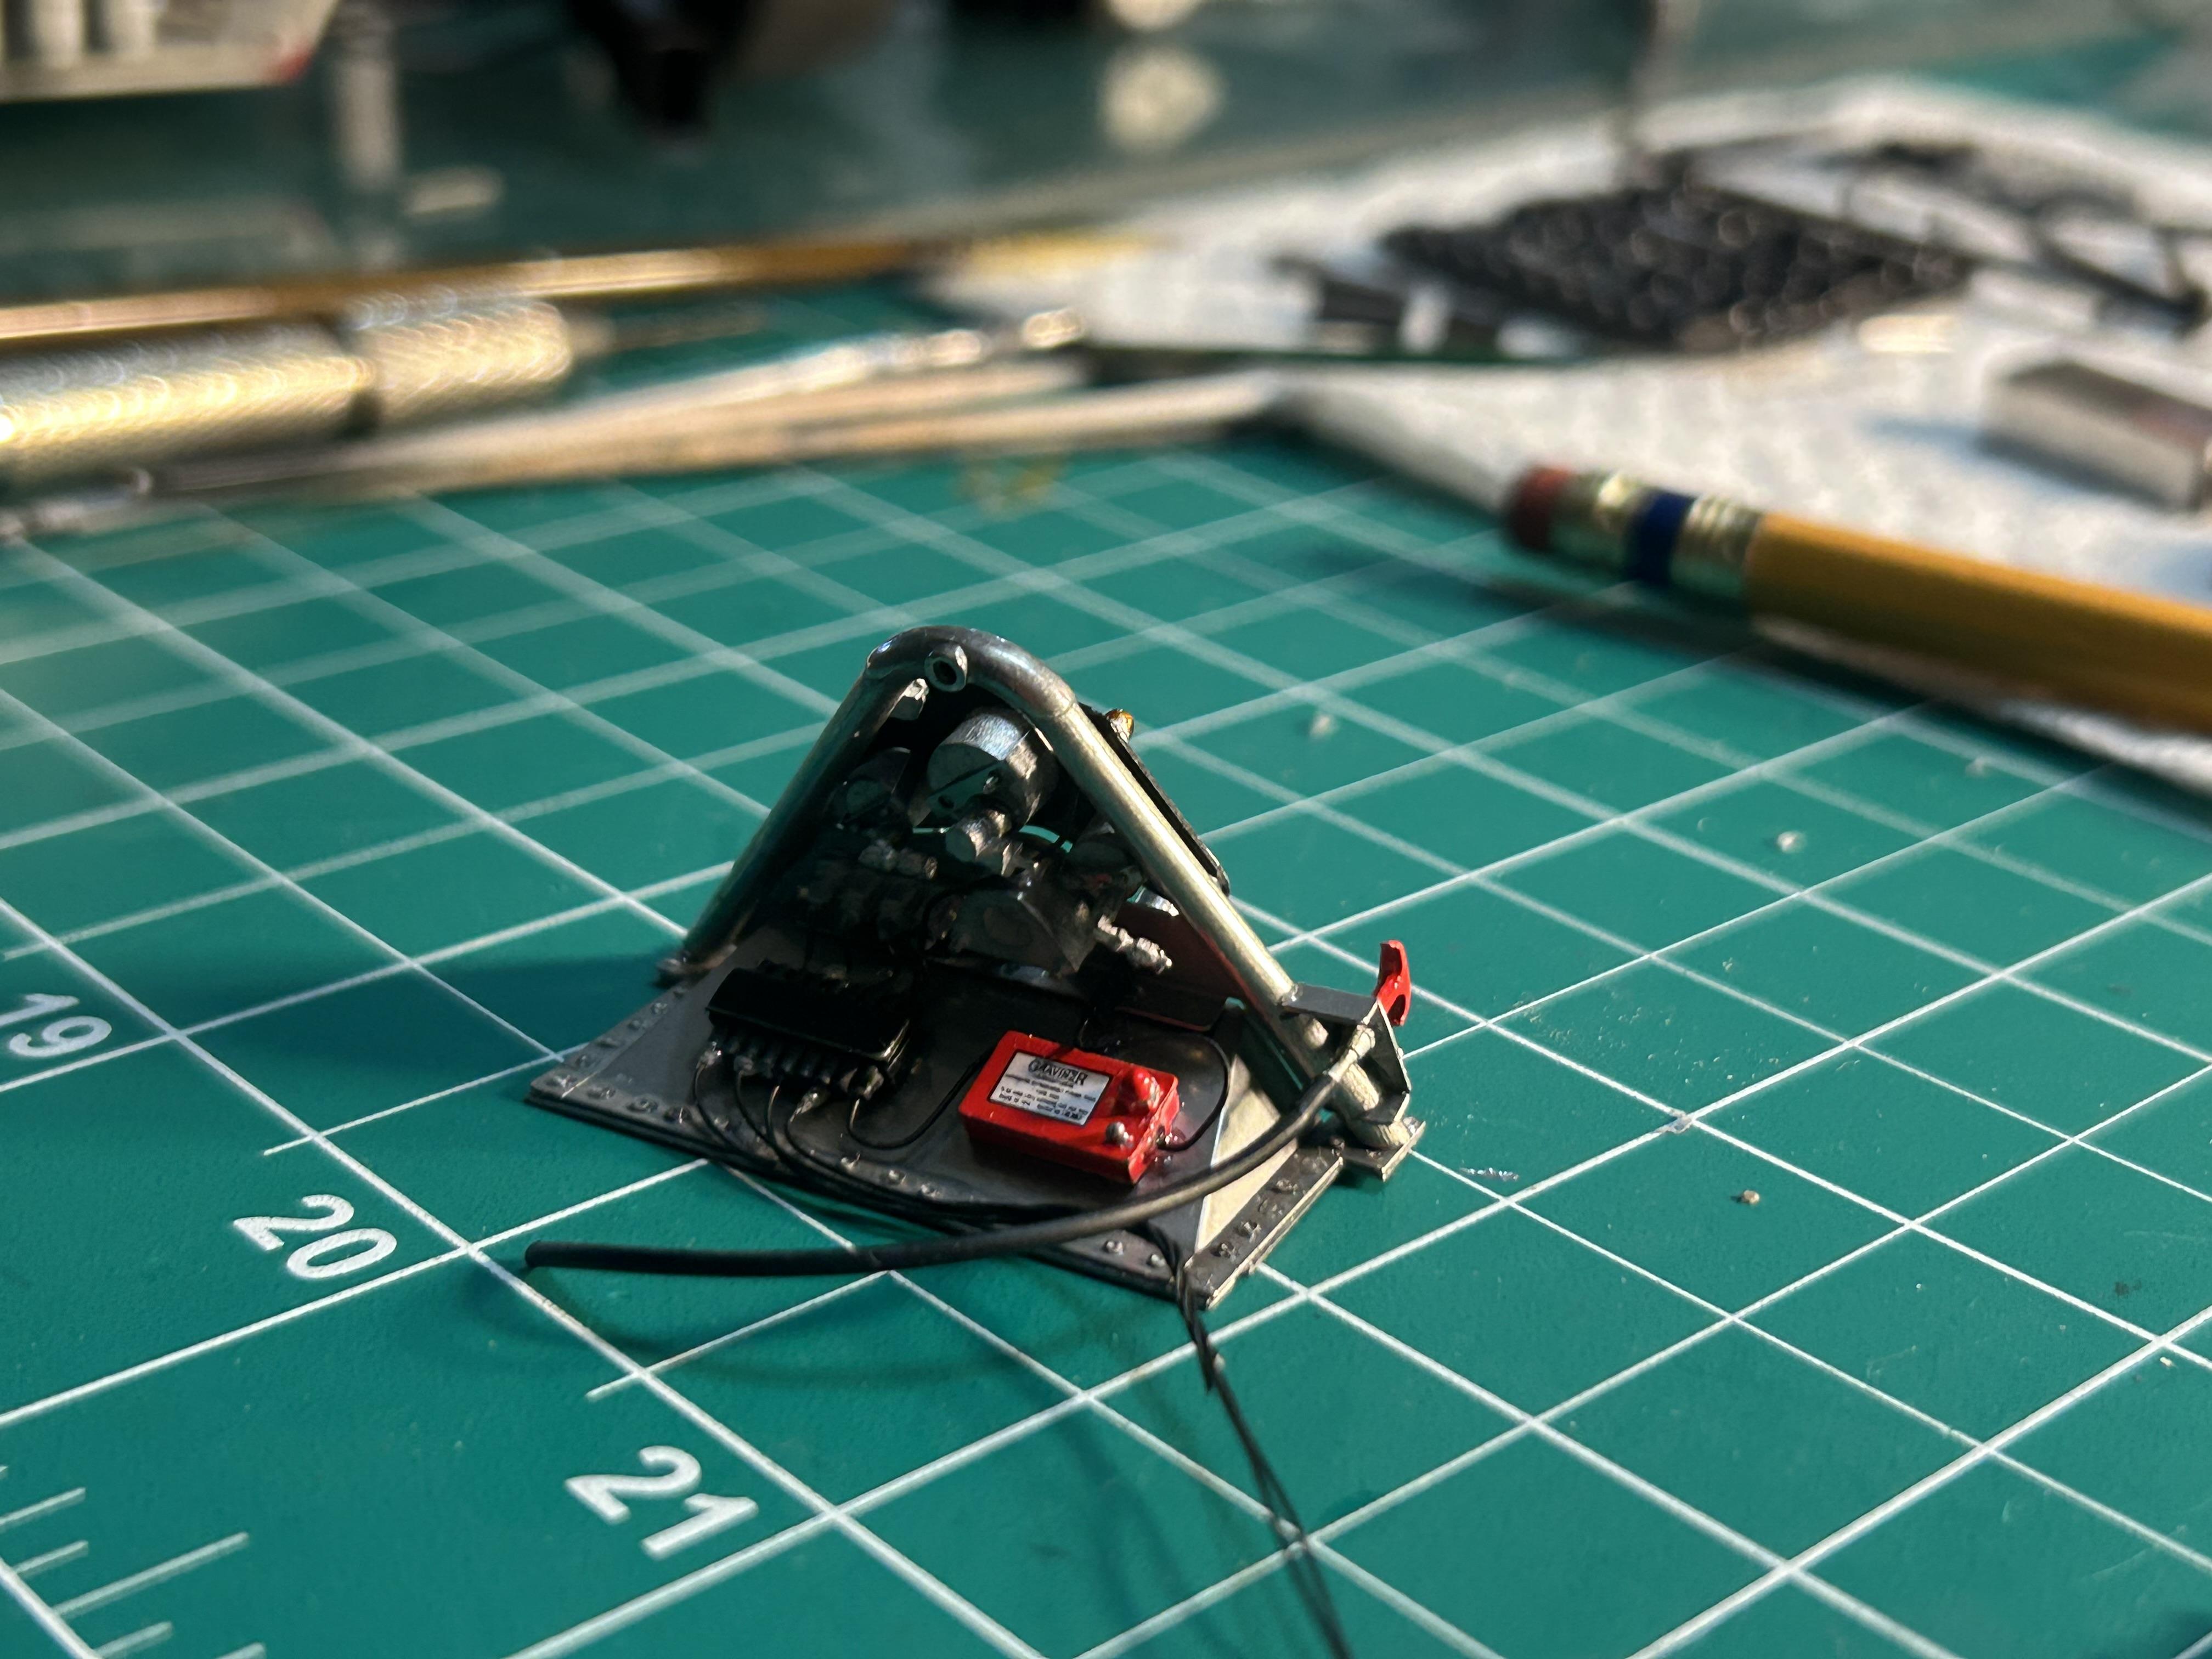
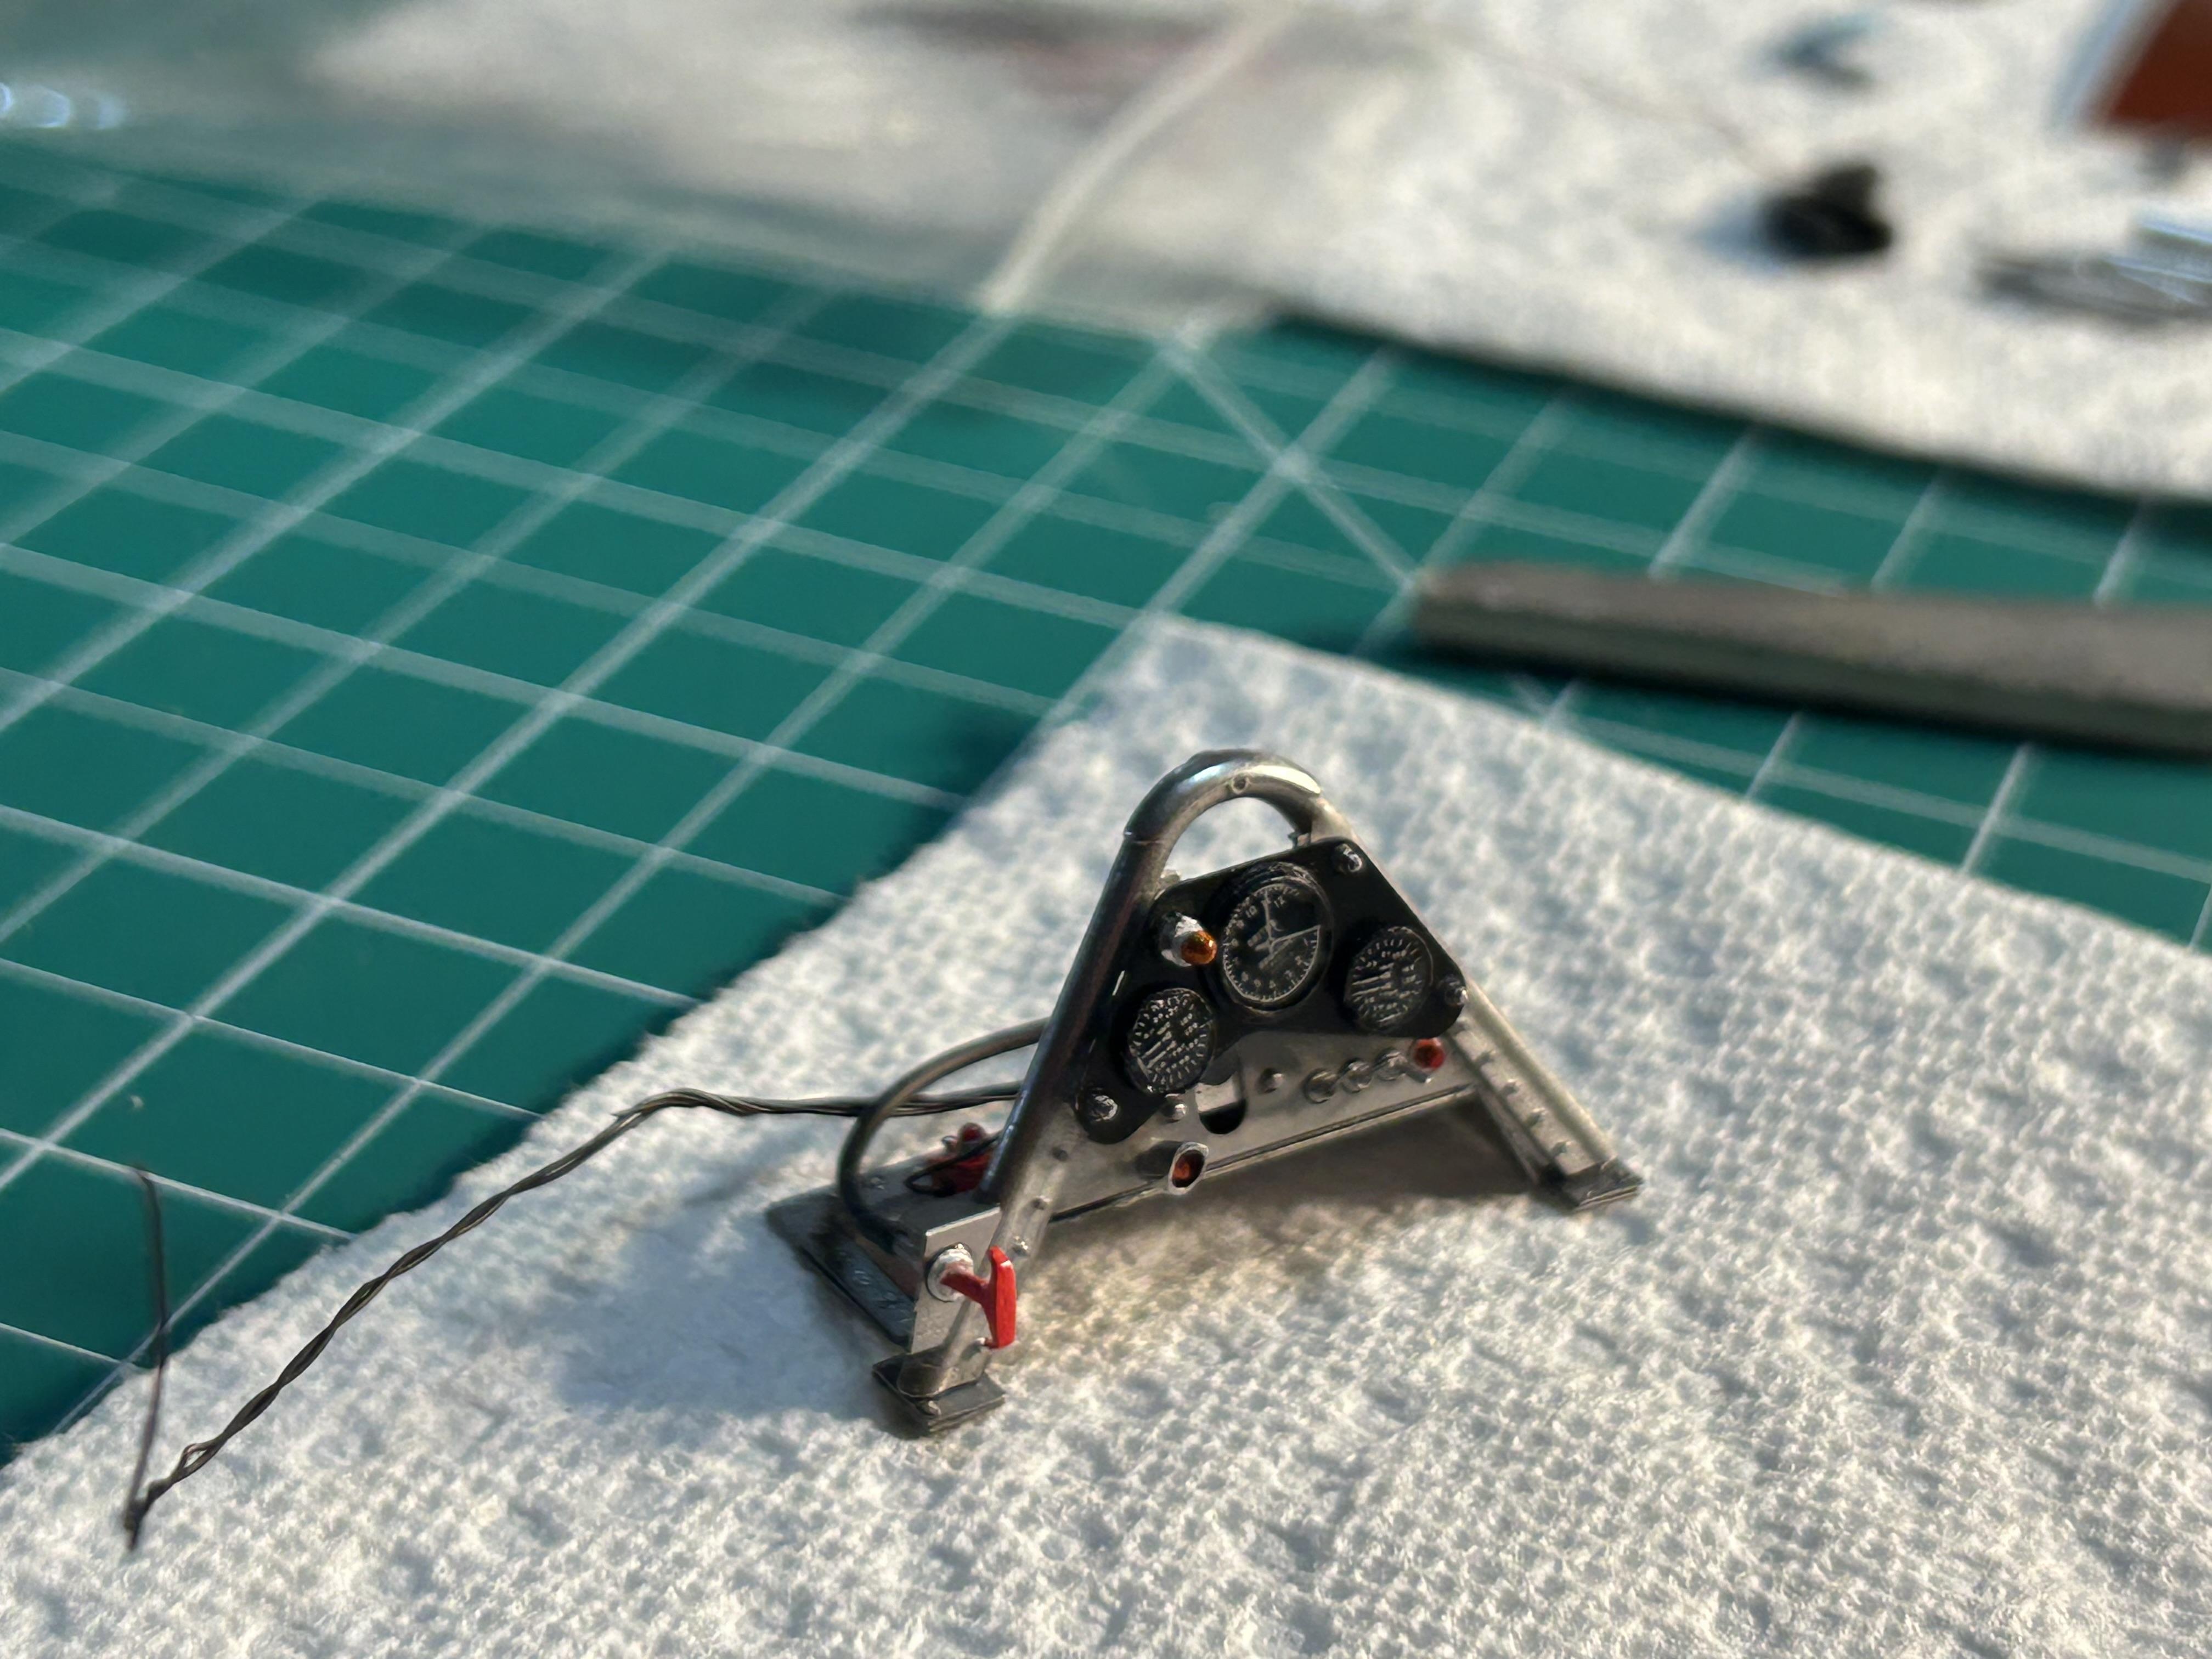
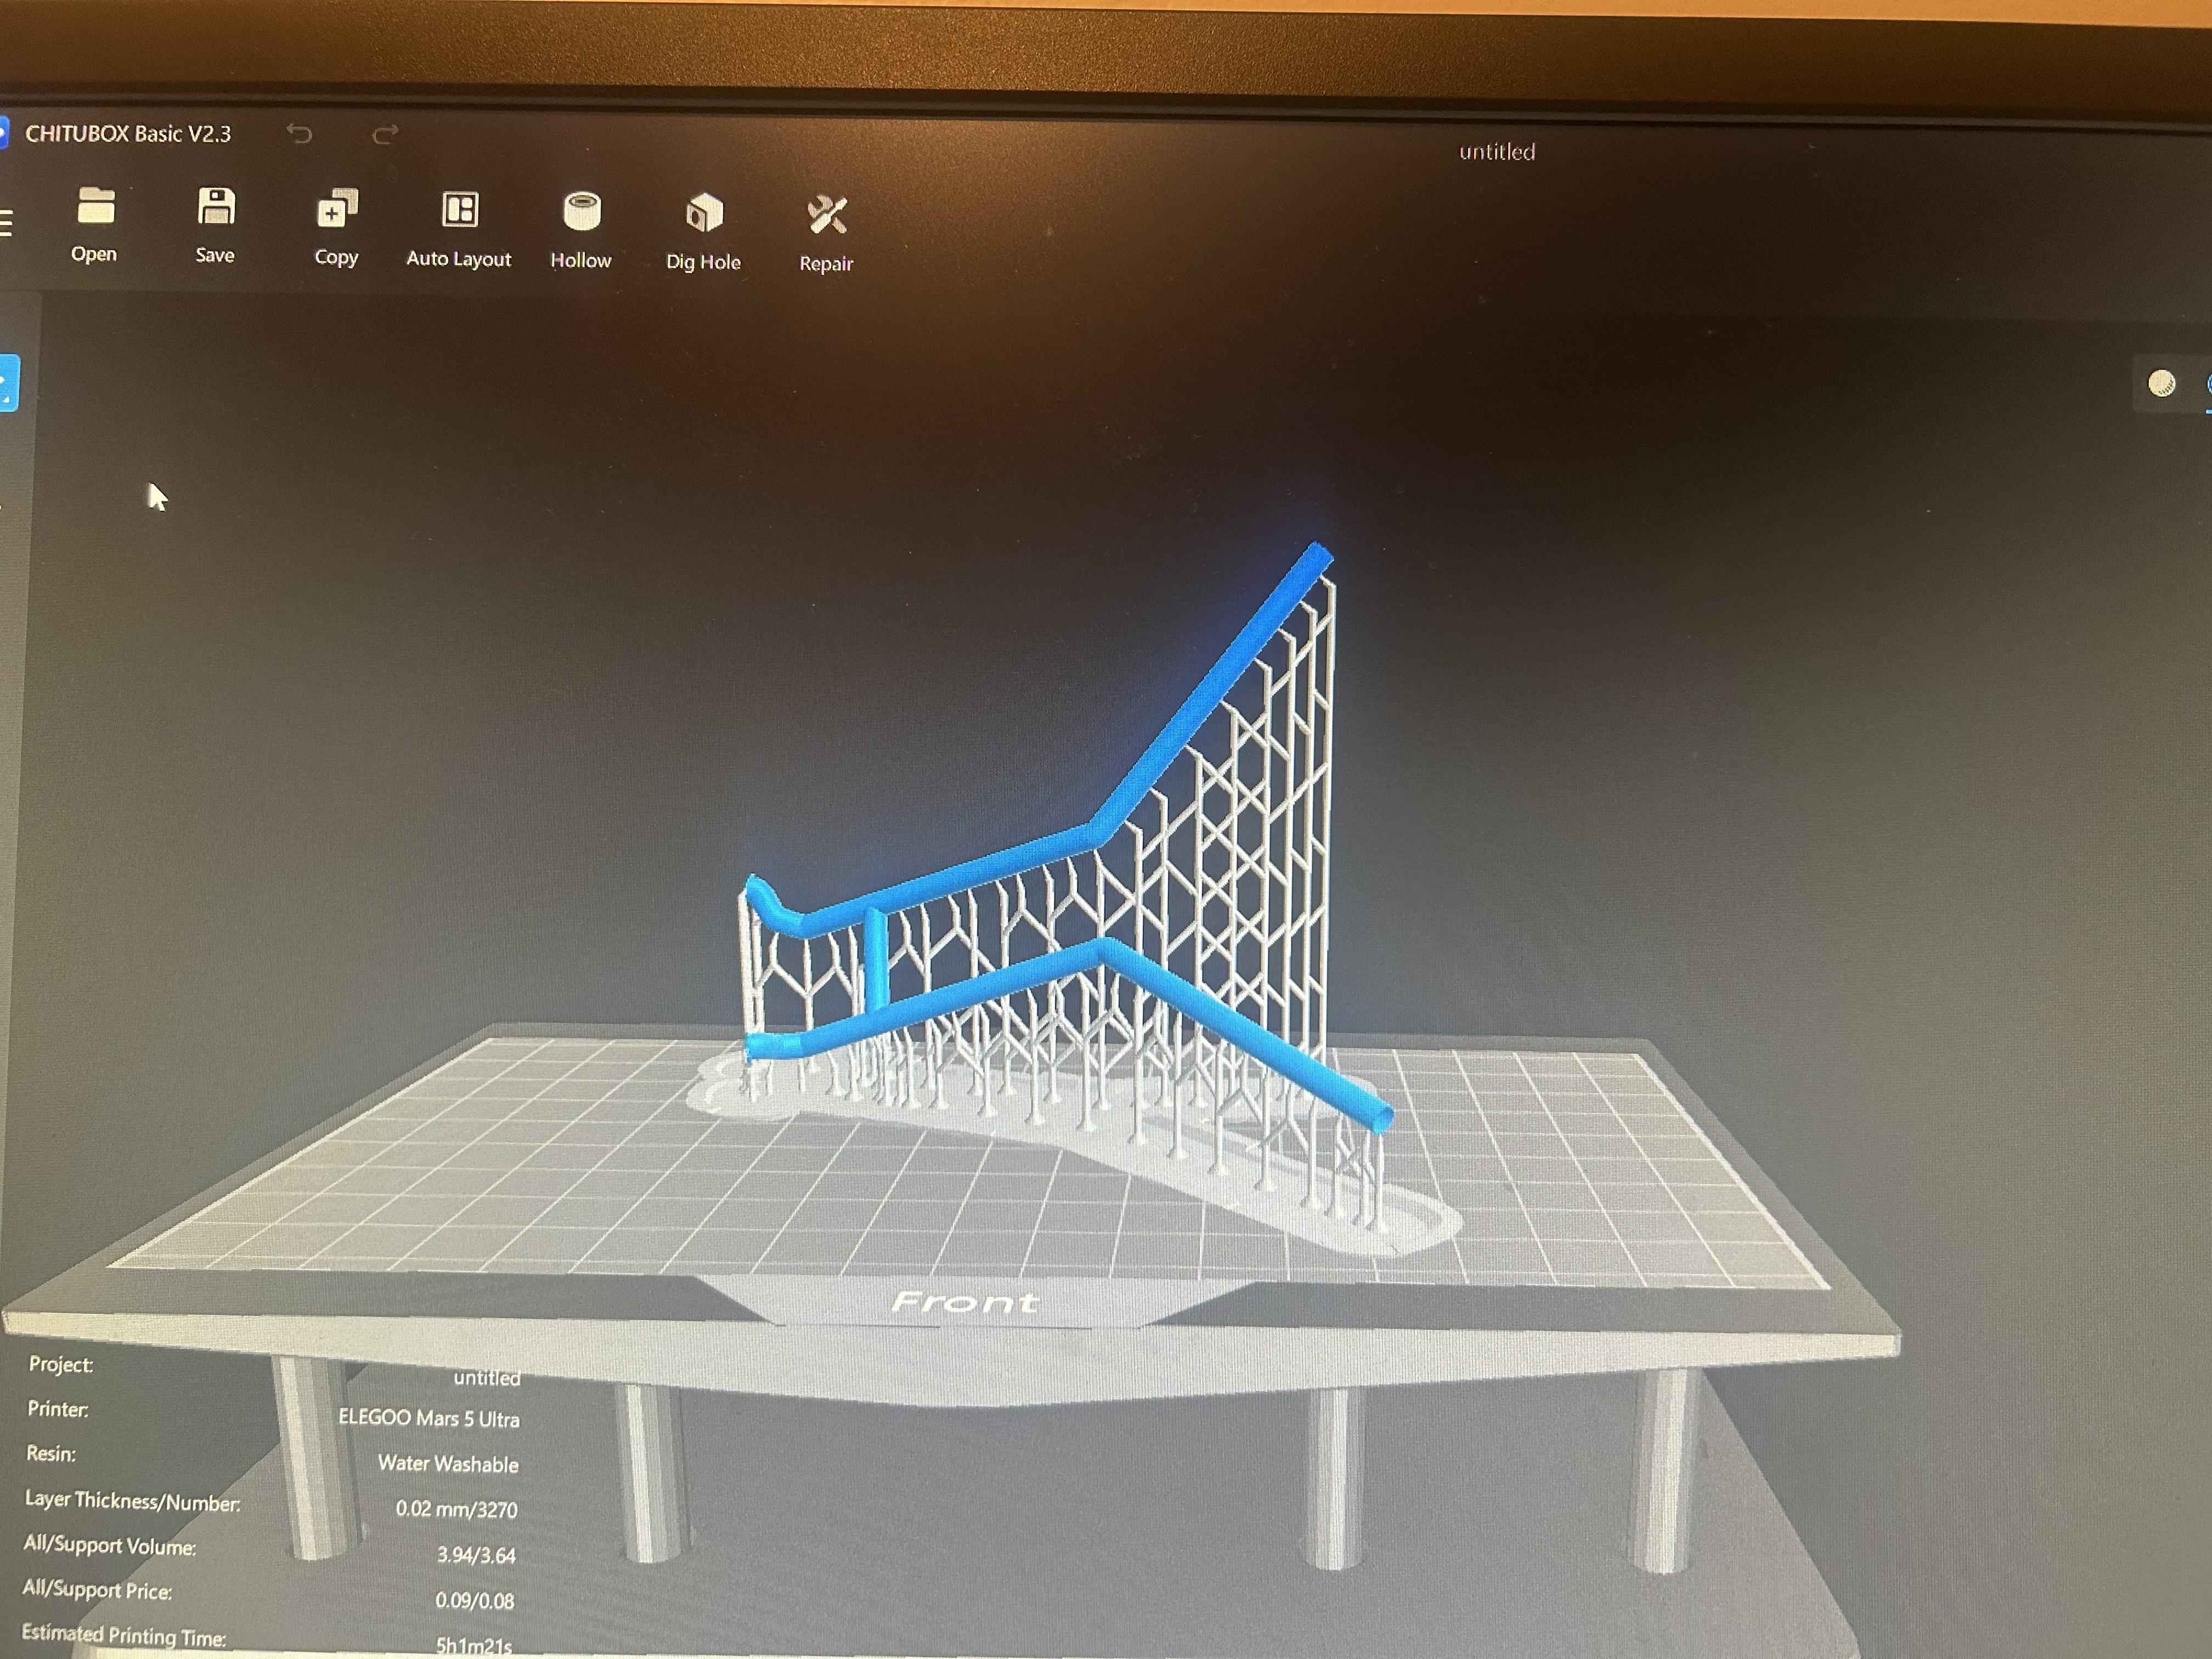
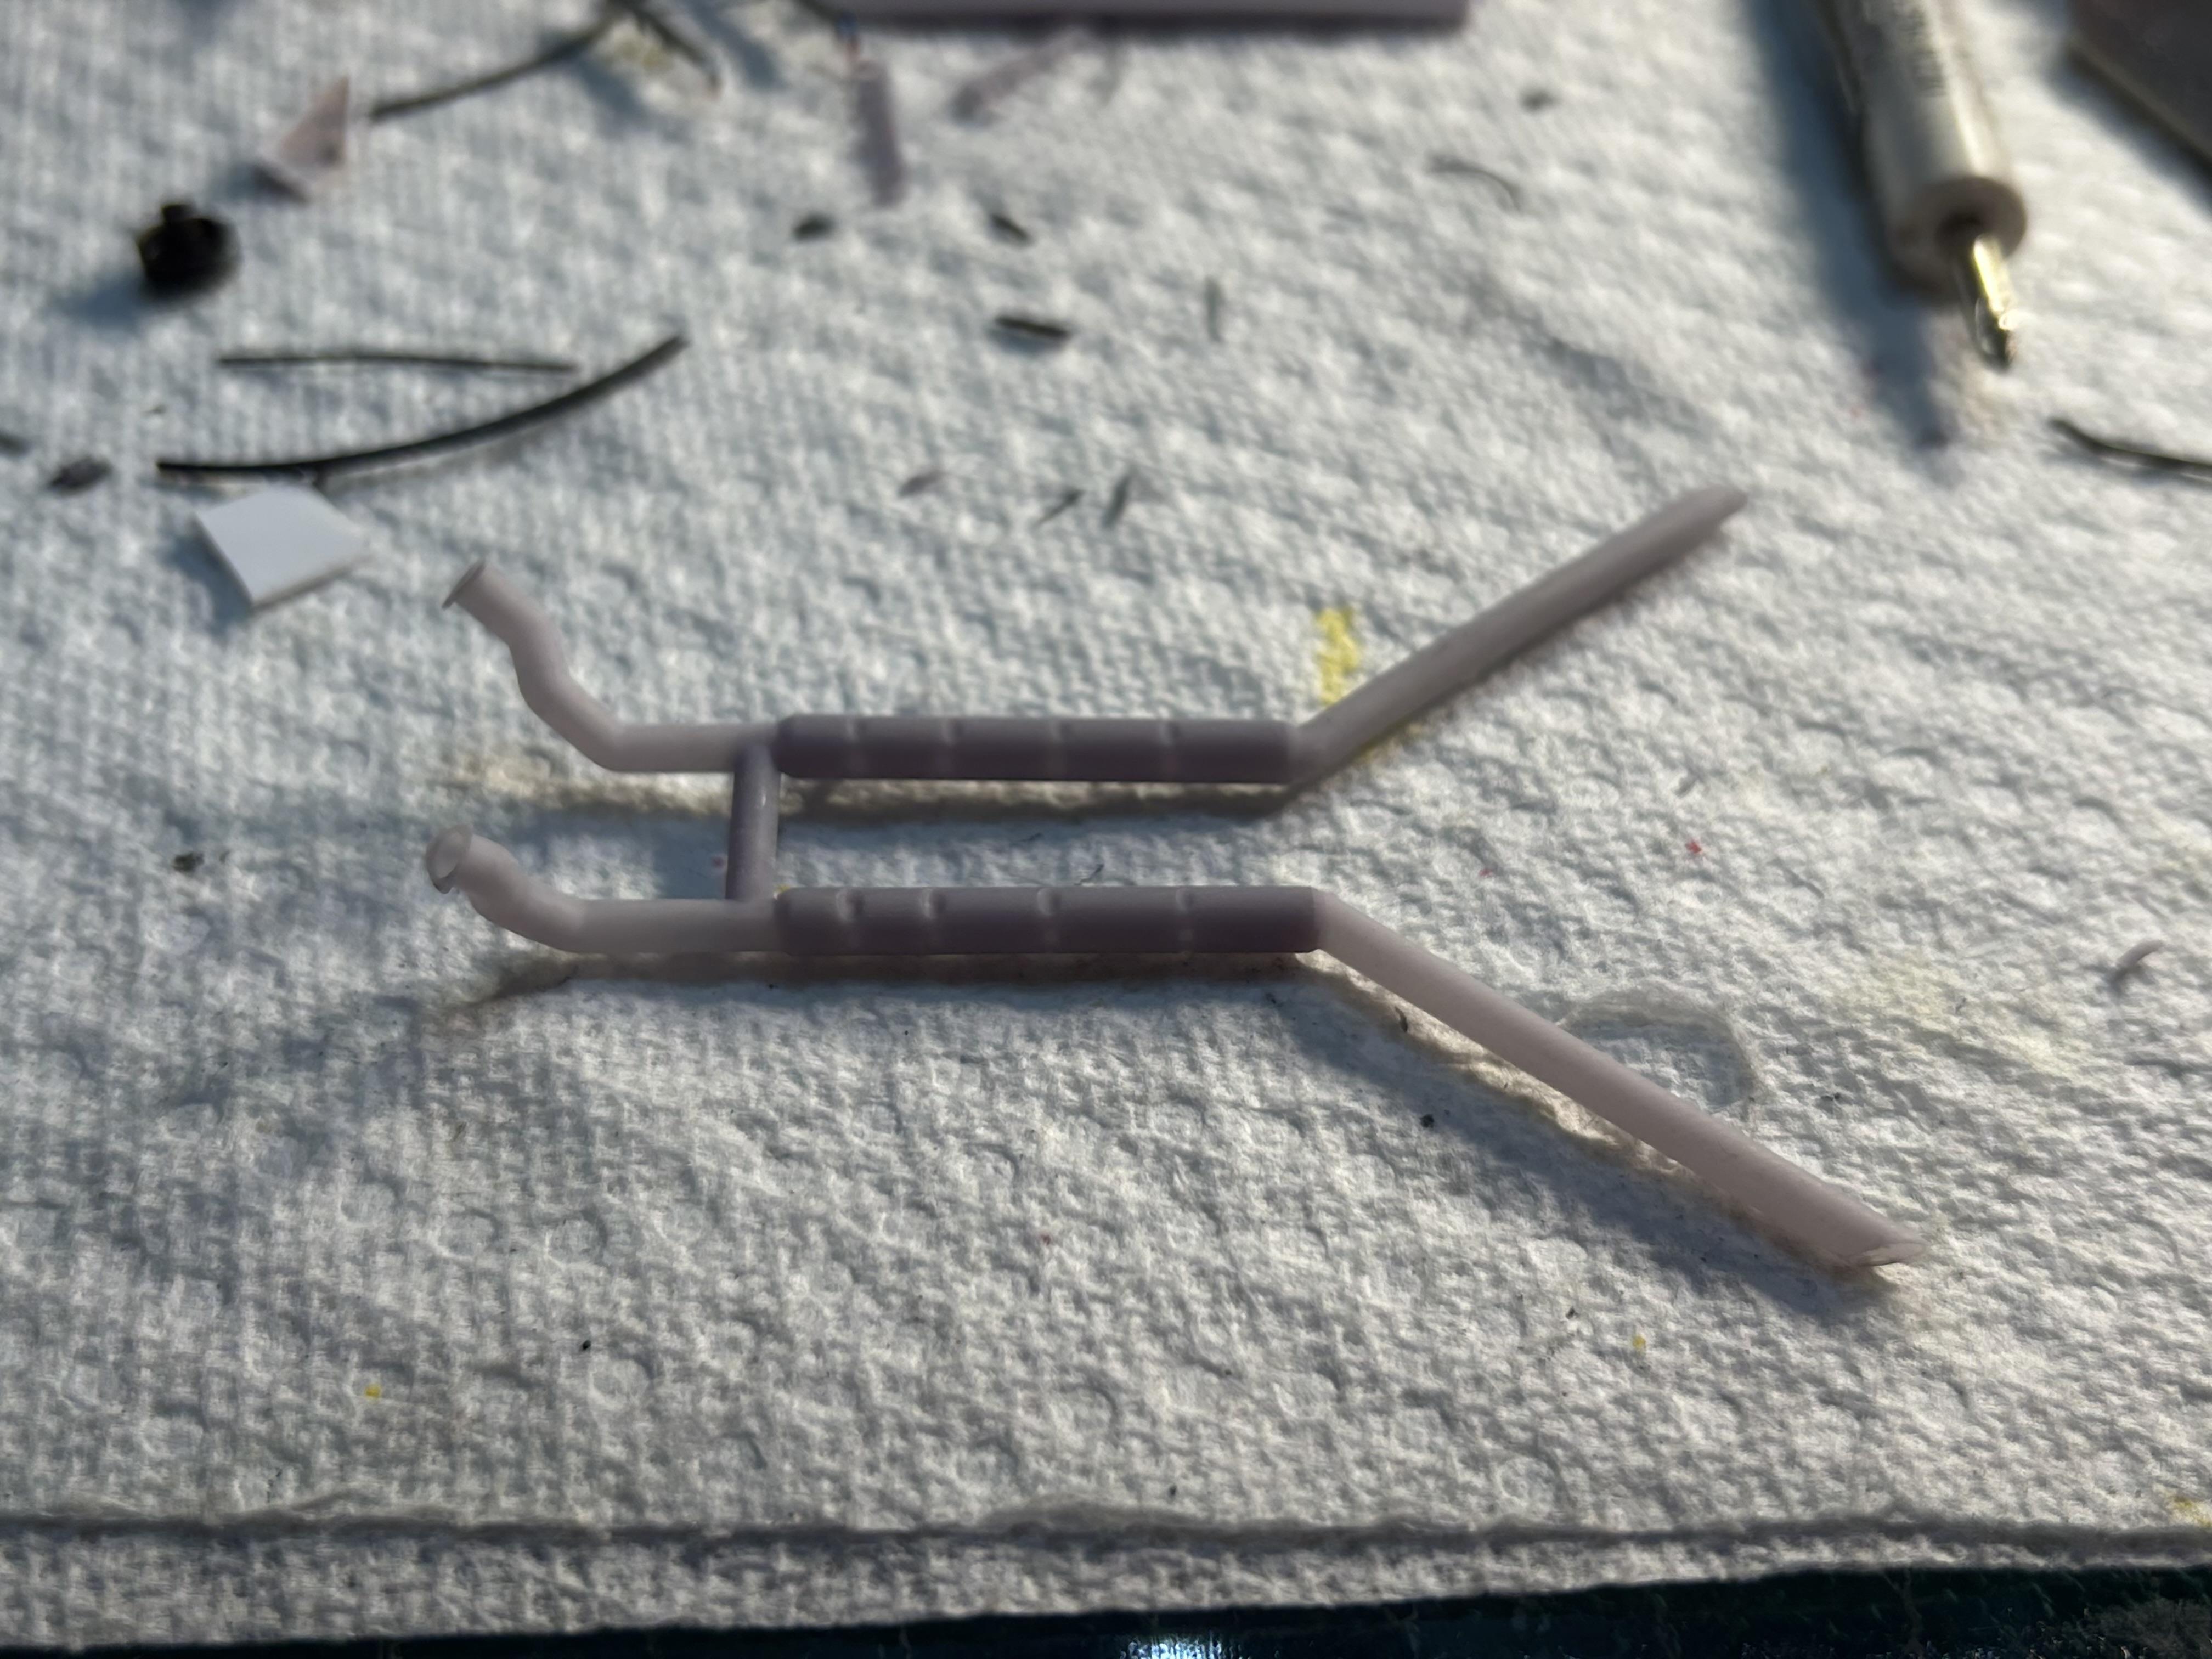
Thanks all! Red air filter it is. Also matches the seat belts. I’ve been working on the exhaust system. Printing and reprinting. I wanted to use an “H” pipe but I couldn’t get the clearance with the lowered ride height. Going with individual pipes with chambered mufflers dumping in front of the rear wheels. Pics of the system with the crossover pipe. Not the one I’m going to use but it gives you an idea.
-
Trying to decide which color air filter. Leaning towards the blue.
-
Looks real good. If you can keep that stance when you build the suspension it’s going to be killer
-
Cool. I’ll be following. I just got into printing myself. Only been doing parts like engines and such but I’d like to try a complete kit. Resione G217 and Nova 3D High Clear water washable Resin seem to have good reviews. Looking forward how this goes for you. Good Luck!