NOBLNG
-
Posts
10,225 -
Joined
-
Last visited
Content Type
Profiles
Forums
Events
Gallery
Everything posted by NOBLNG
-
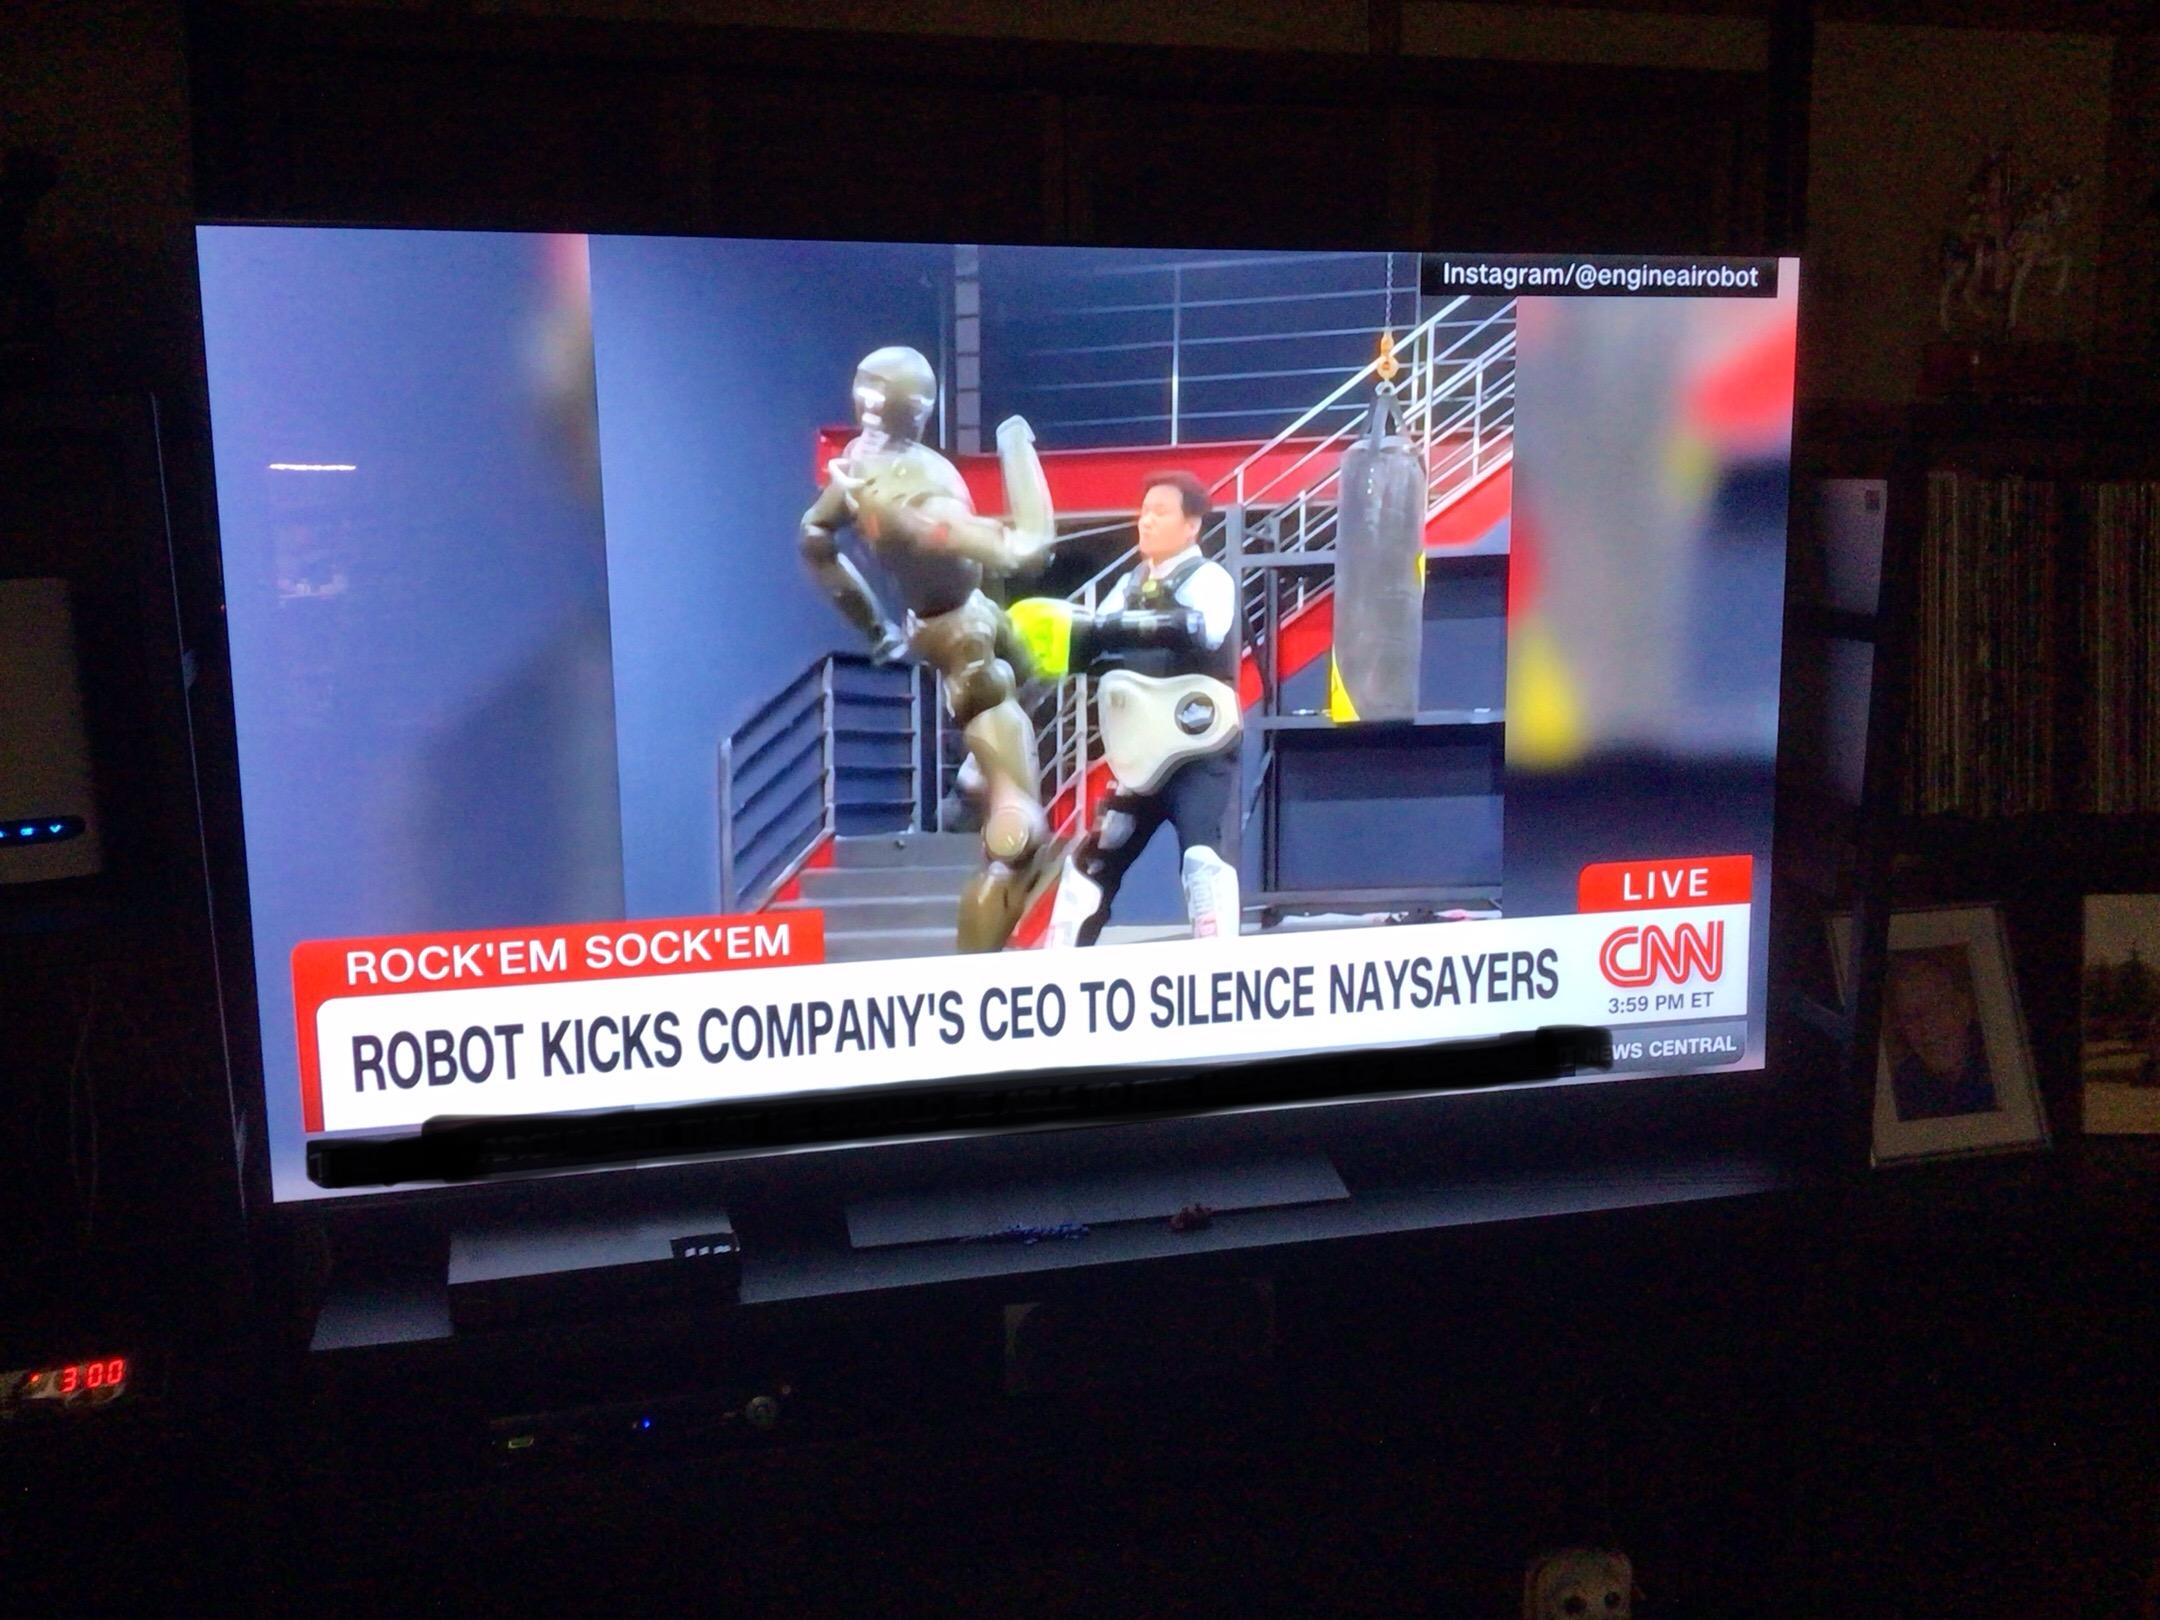
 And this Chinese robotics company is teaching its robots kickboxing.🤯 It’s like mankind is hell bent on self destruction.
-
Yes that color looks fabulous on it!😎
-
Rear end is looking good Jim. Heck, it’s all looking good.👍 I’m not normally a fan of fender skirts, but I don’t think they look bad here.🤔
-
Driven to the edge of insanity is how I feel while building some of these old AMT kits.
-
'64 ElCamino
NOBLNG replied to Can-Con's topic in Model Trucks: Pickups, Vans, SUVs, Light Commercial
That is one beautiful looking El Camino! Well done Steve.👍😎 -
1927 Ford Model T Tank Truck
NOBLNG replied to Bobchayer's topic in Model Trucks: Pickups, Vans, SUVs, Light Commercial
Very nicely done Bob.👍 -
A handsome pair indeed! Outstanding work.👍😎
-
Absolutely beautiful looking Shelby!👍😎
-
'57 Vette Fuel-Injected 283 Small Block by AMT 1/6 Scale
NOBLNG replied to DougS's topic in Model Cars
Fantastic detail on this, and really nice display!😎 -
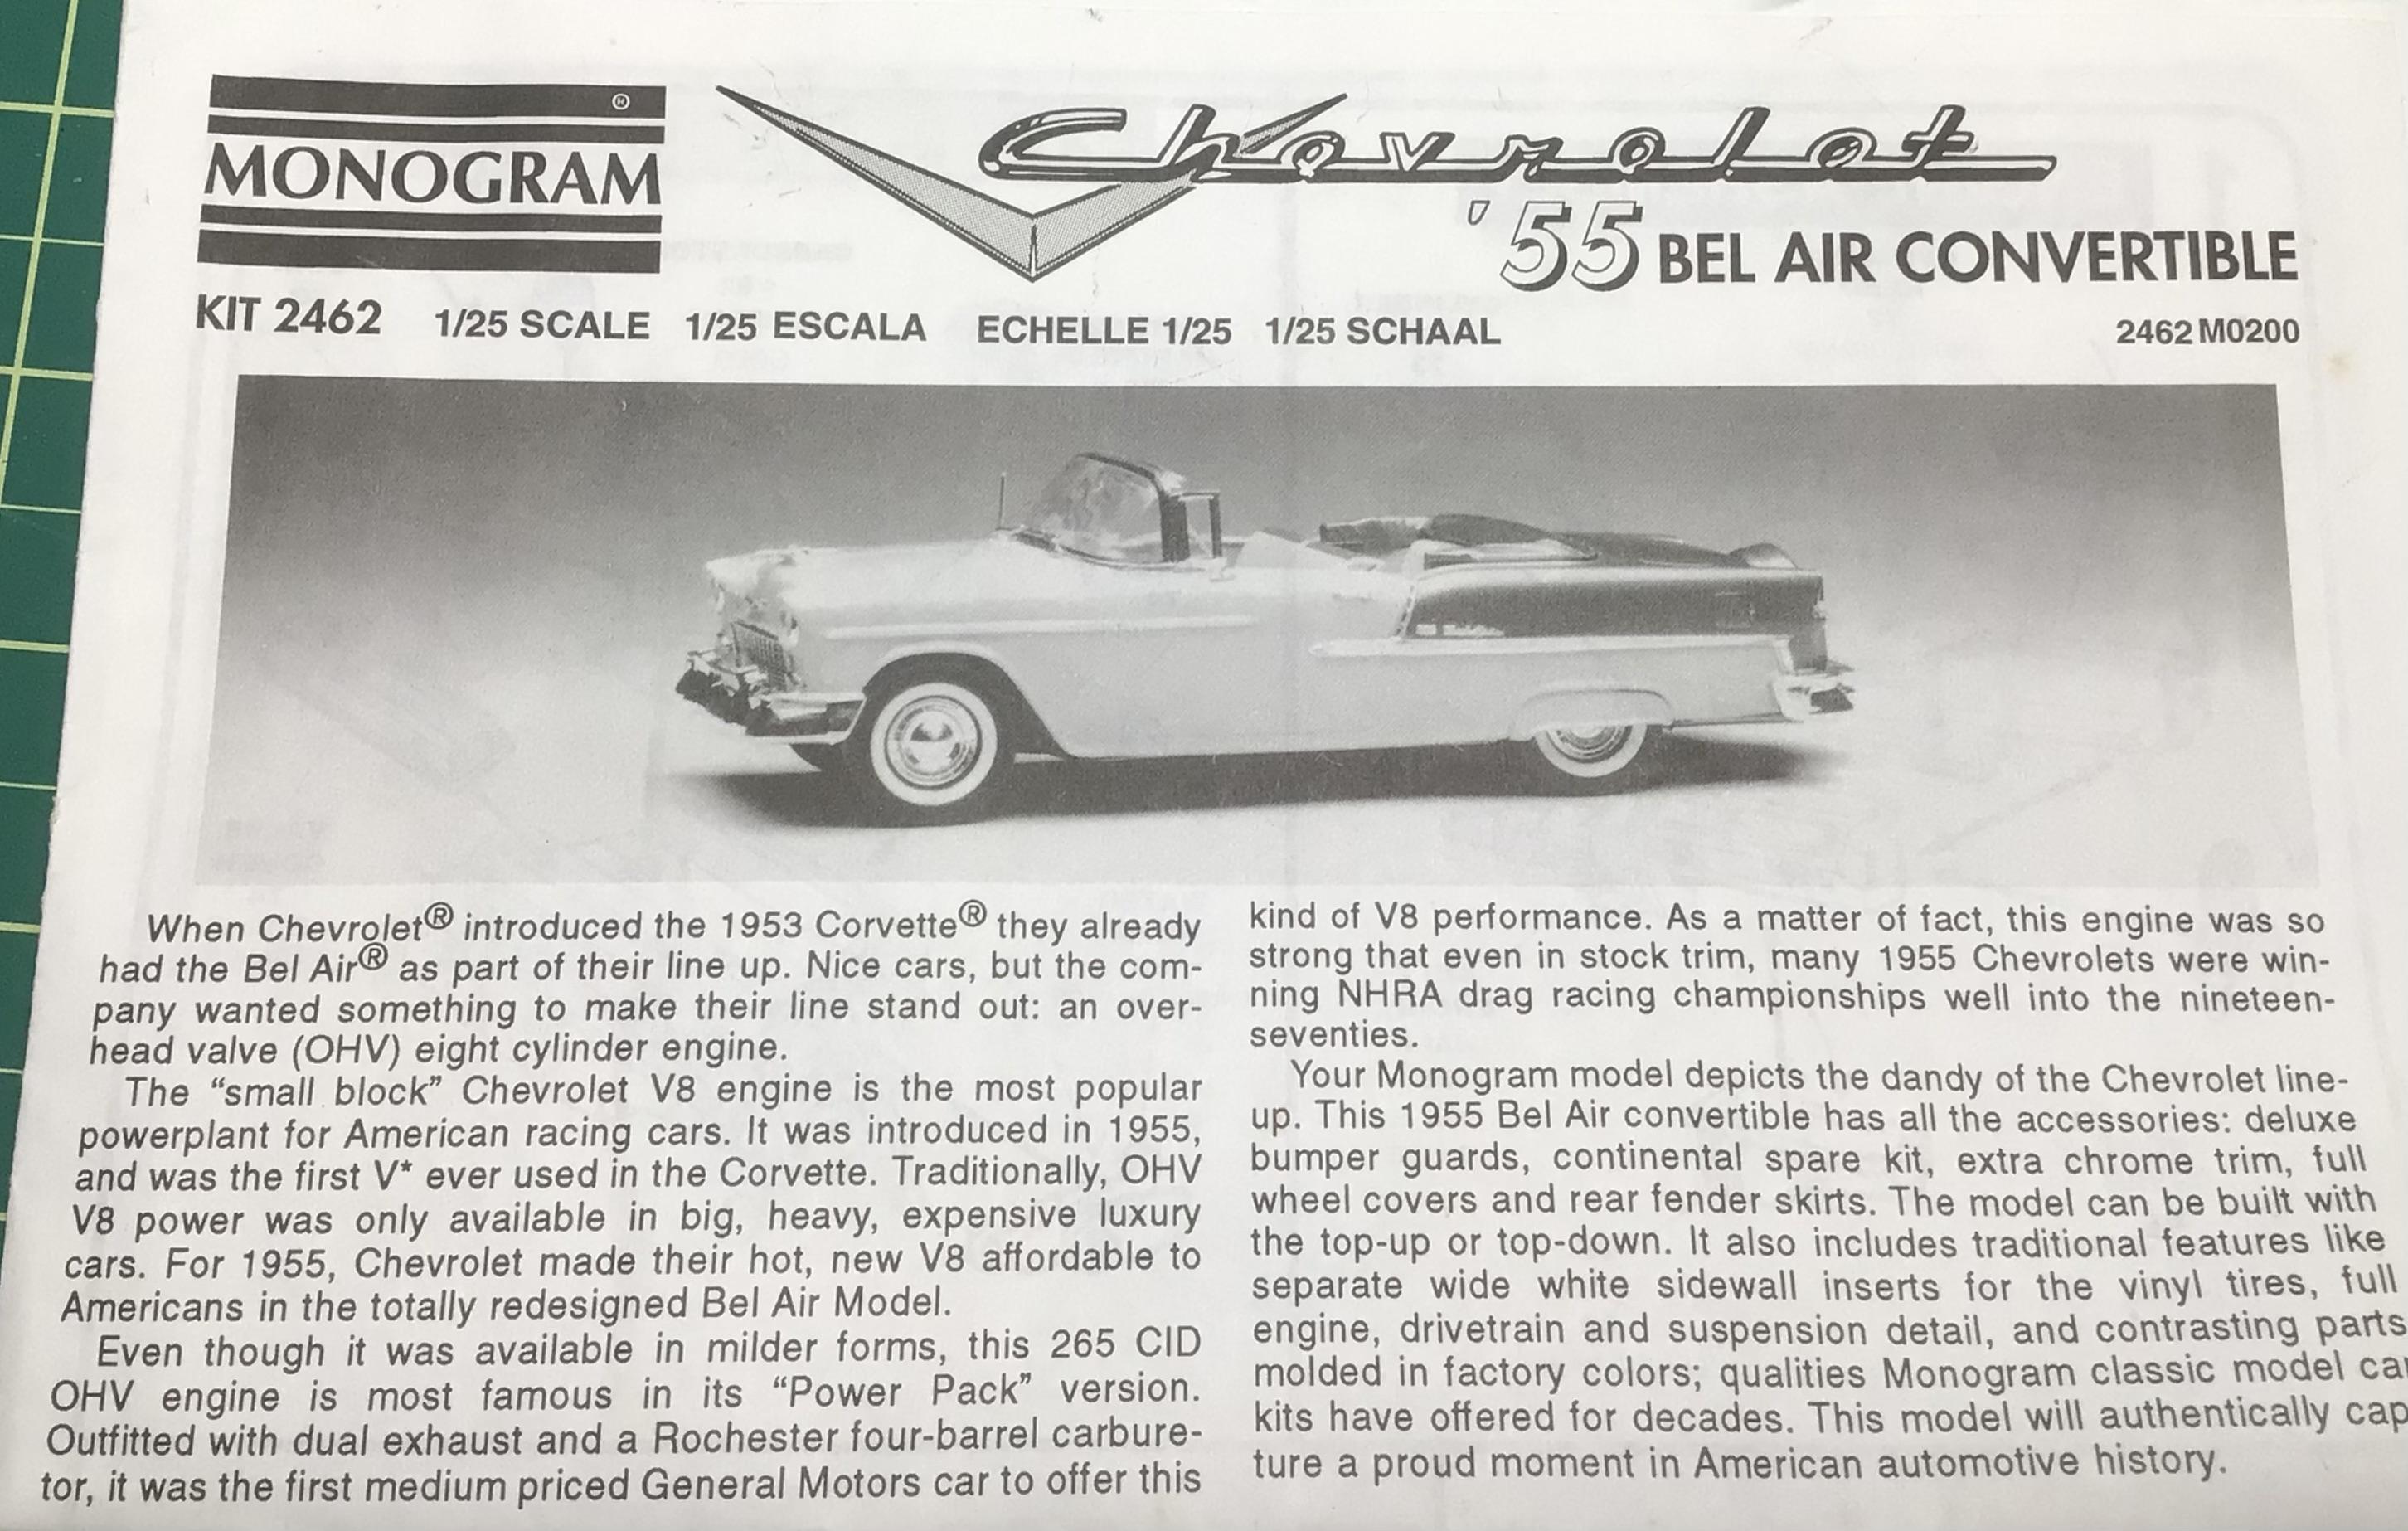
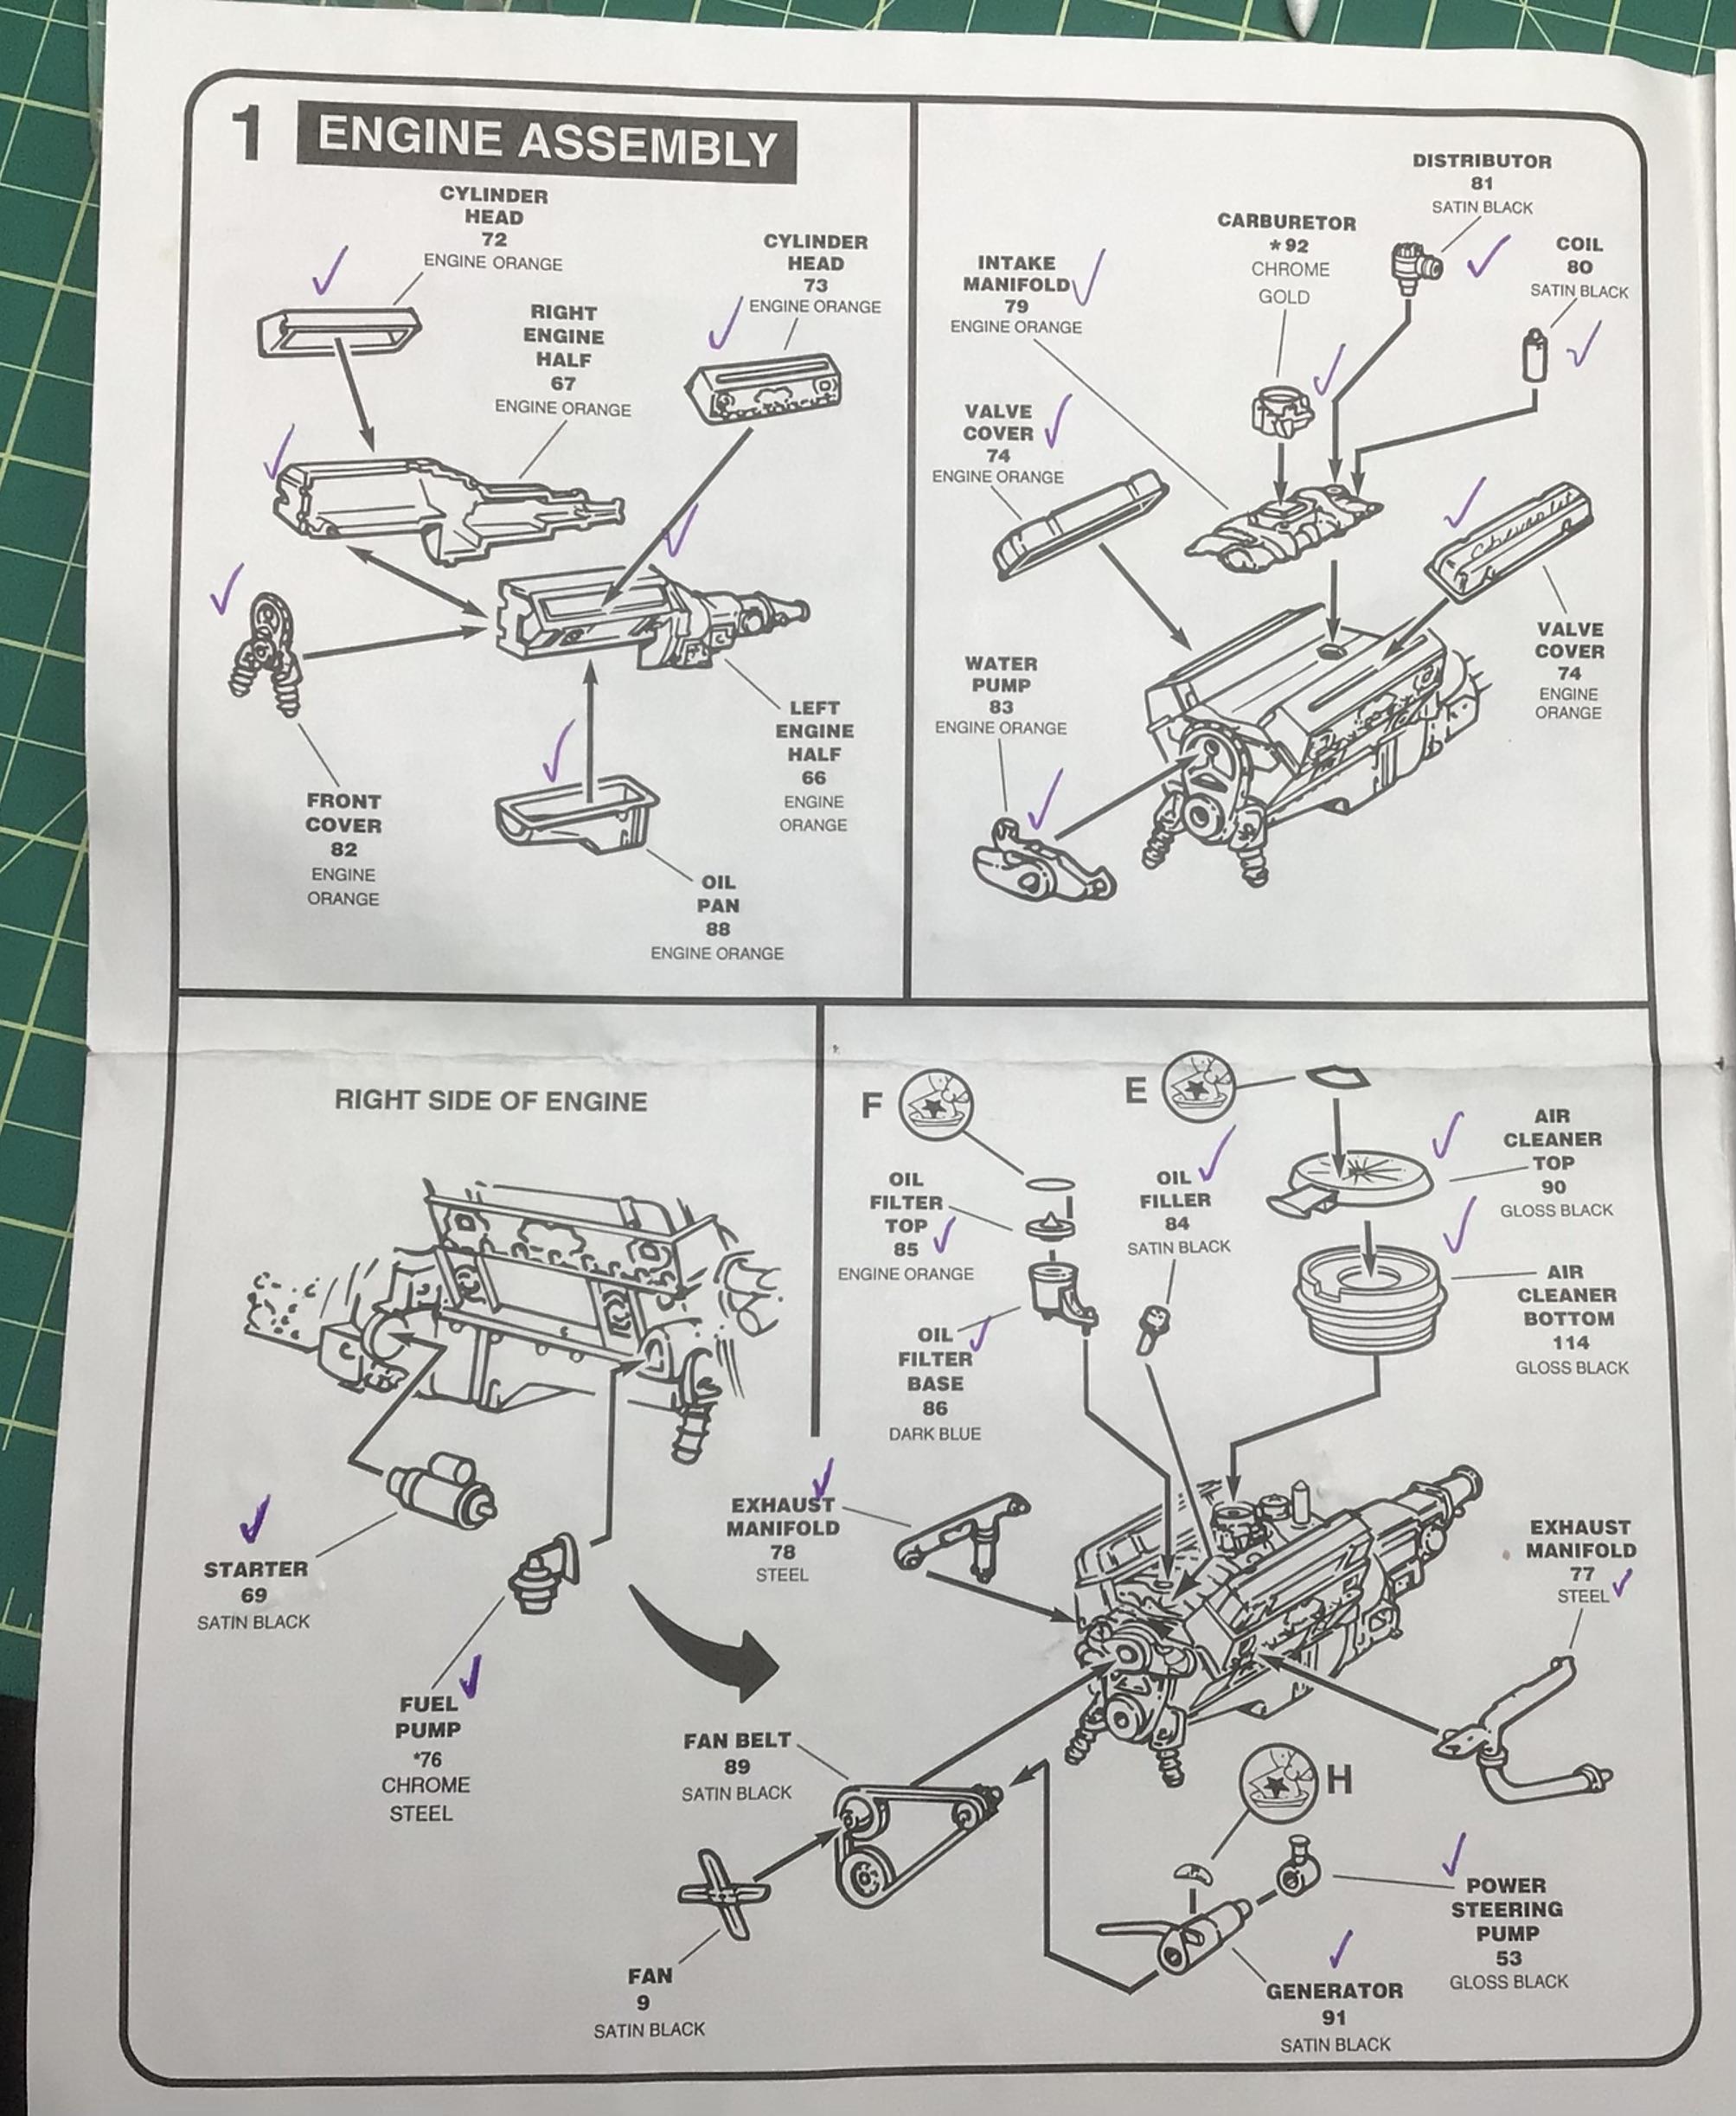
What kits have a good 56 and up 283
NOBLNG replied to junkyardjeff's topic in General Automotive Talk (Trucks and Cars)
The Revell ‘56 Del Ray kit has a nice one…but no oil filter. The Monogram ‘55 Bel Air Convertible has a really nice 265. You might be better off looking for a 327 though.
-
Resin to Plastic glue options???
NOBLNG replied to WillyBilly's topic in Model Building Questions and Answers
If the material is thick enough, you could drill and pin it in a few spots for added strength. -
Pets also doomed to be replaced by AI and bots...
NOBLNG replied to Ace-Garageguy's topic in The Off-Topic Lounge
-
The pictures are a bit blurry, but I think the passenger side looks more realistic.
-
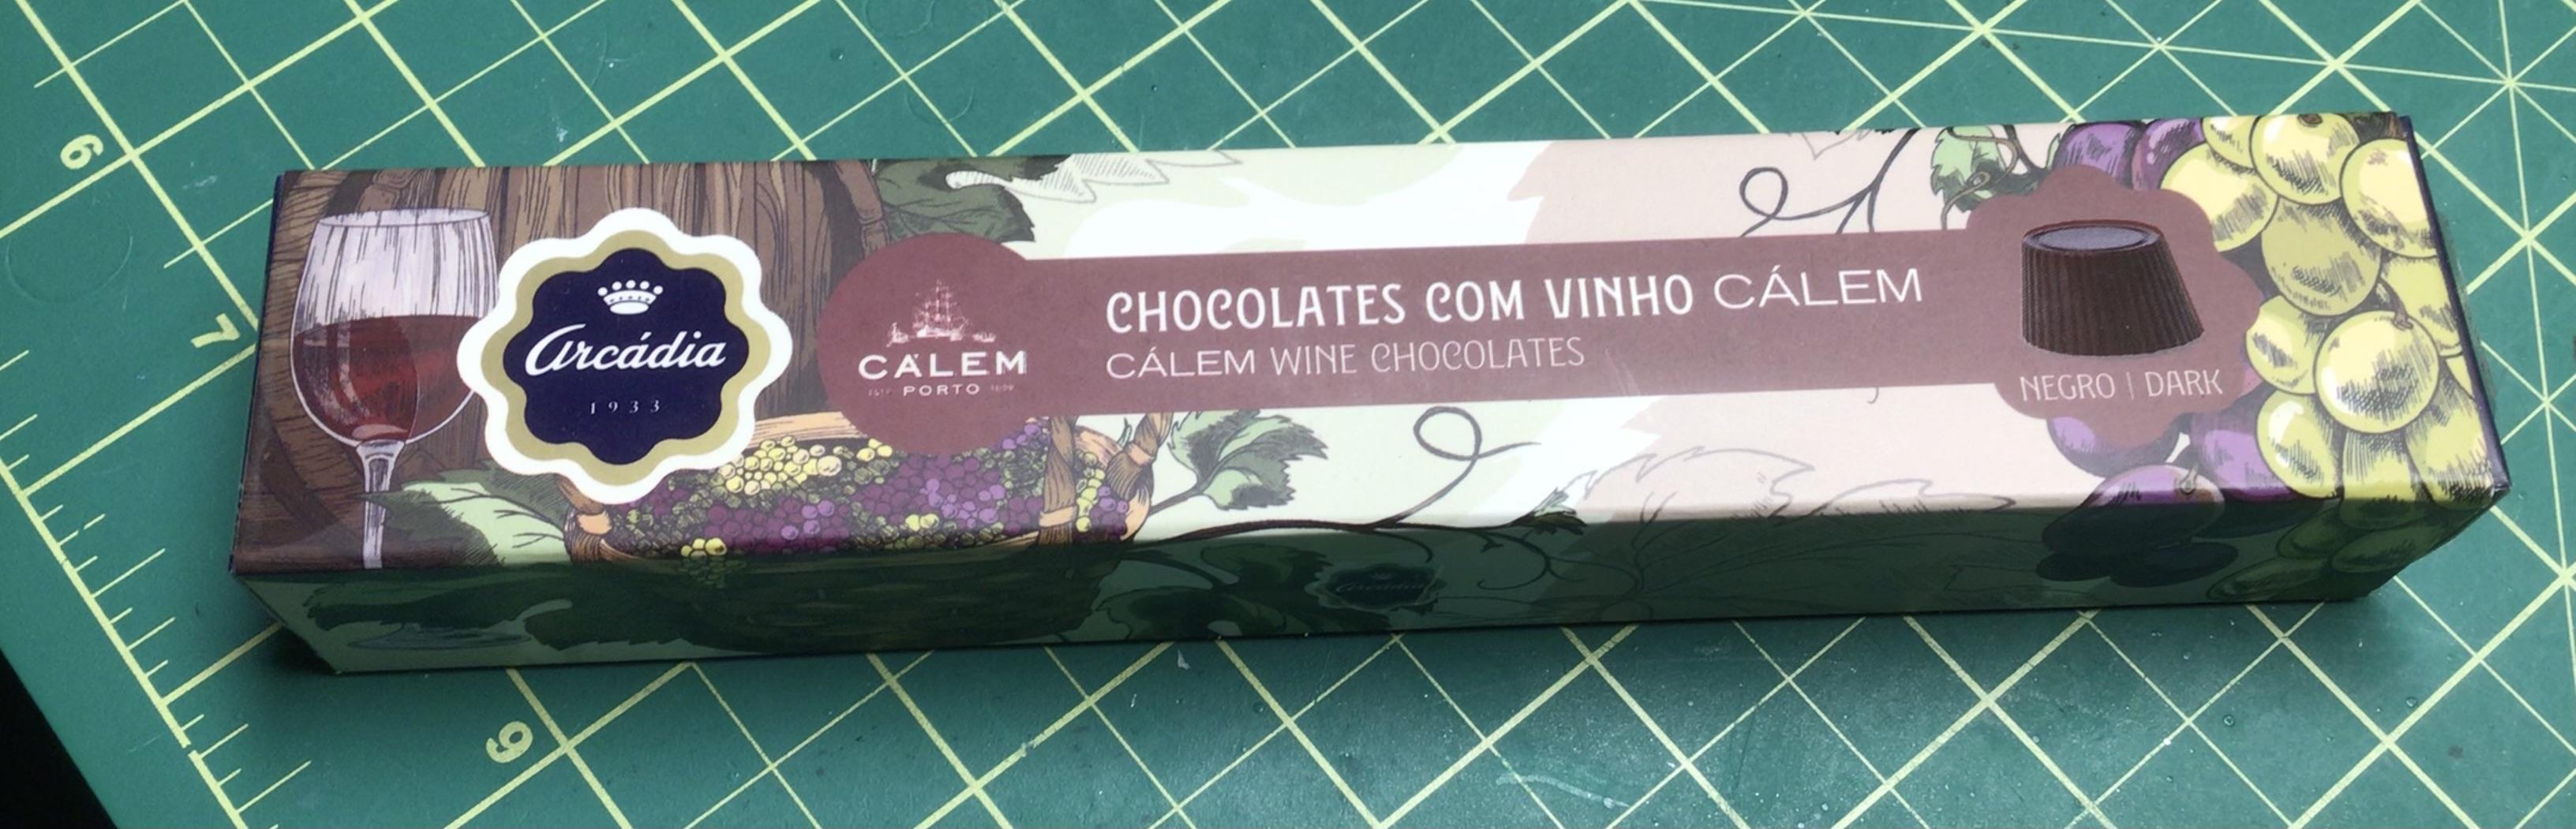
Chocolate that I brought back from Portugal is filled with port.
-
Fun work project - old display model Vette
NOBLNG replied to OldNYJim's topic in General Automotive Talk (Trucks and Cars)
It’s not like it’s gonna rust.🙄 -
Curtain call is when the performers come out and take a bow to show appreciation for the audience.
-
Movie night with Netflix and Prime is now every night.🍿
-
Nooo…the squirrels are only trying to help!😜
-
I like the look of it Jim!😎
-
Beautifully done, and great pics!😎
-
Great work Kelly.👍 Foiling can be tedious work, but it is the absolute best treatment for trim and well worth mastering. Looks like you’ve got a pretty good handle on it.😎
-
Sweet lookin’ Olds!😎
-
Days will be getting longer again in less than three weeks.
-
I would guess maybe a simple pintle hitch on the truck and maybe a removable A-frame that would attach to the bus?
-
LP-21 is in the little bottles. I imagine they make in an aerosol also….TS-?