NOBLNG
-
Posts
10,093 -
Joined
-
Last visited
Content Type
Profiles
Forums
Events
Gallery
Everything posted by NOBLNG
-
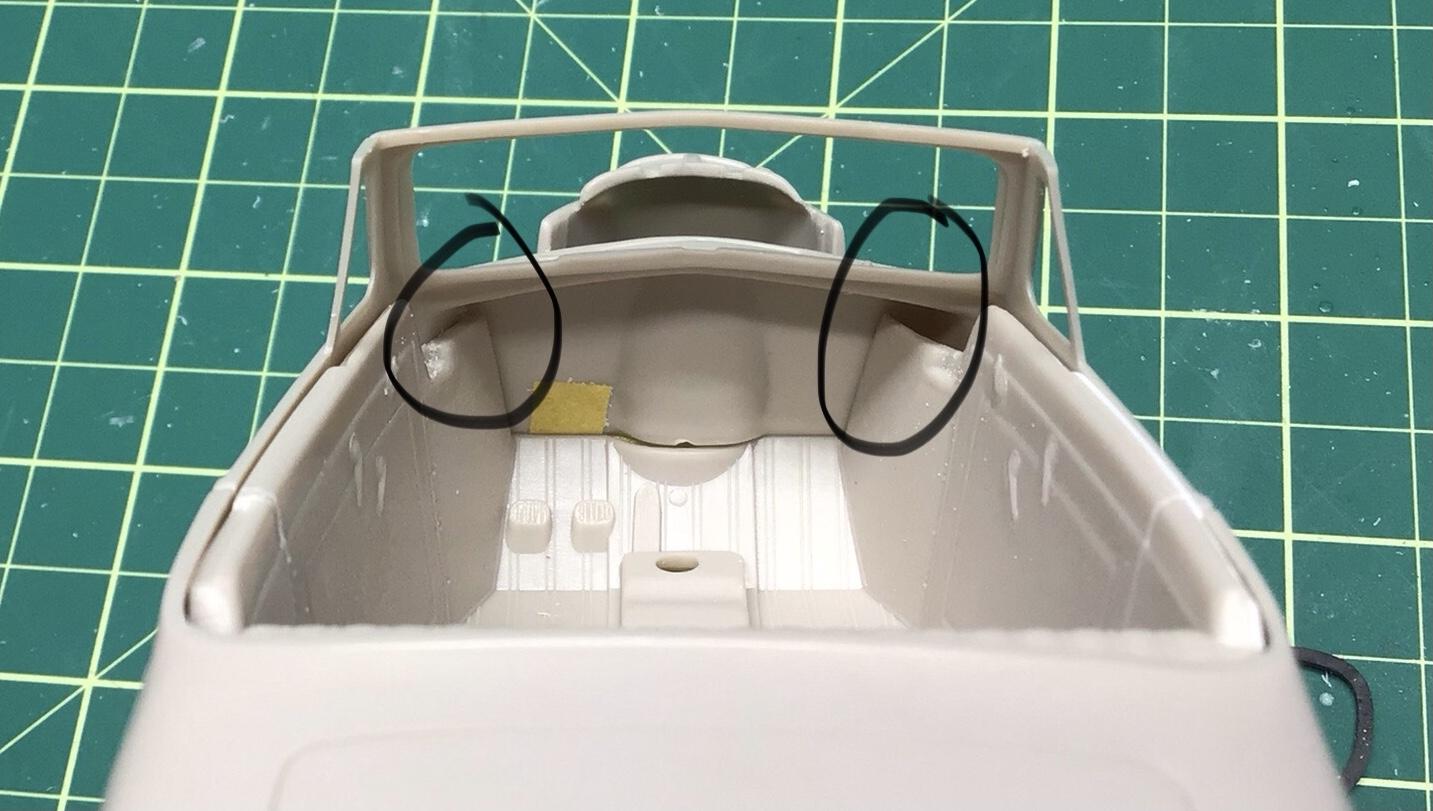
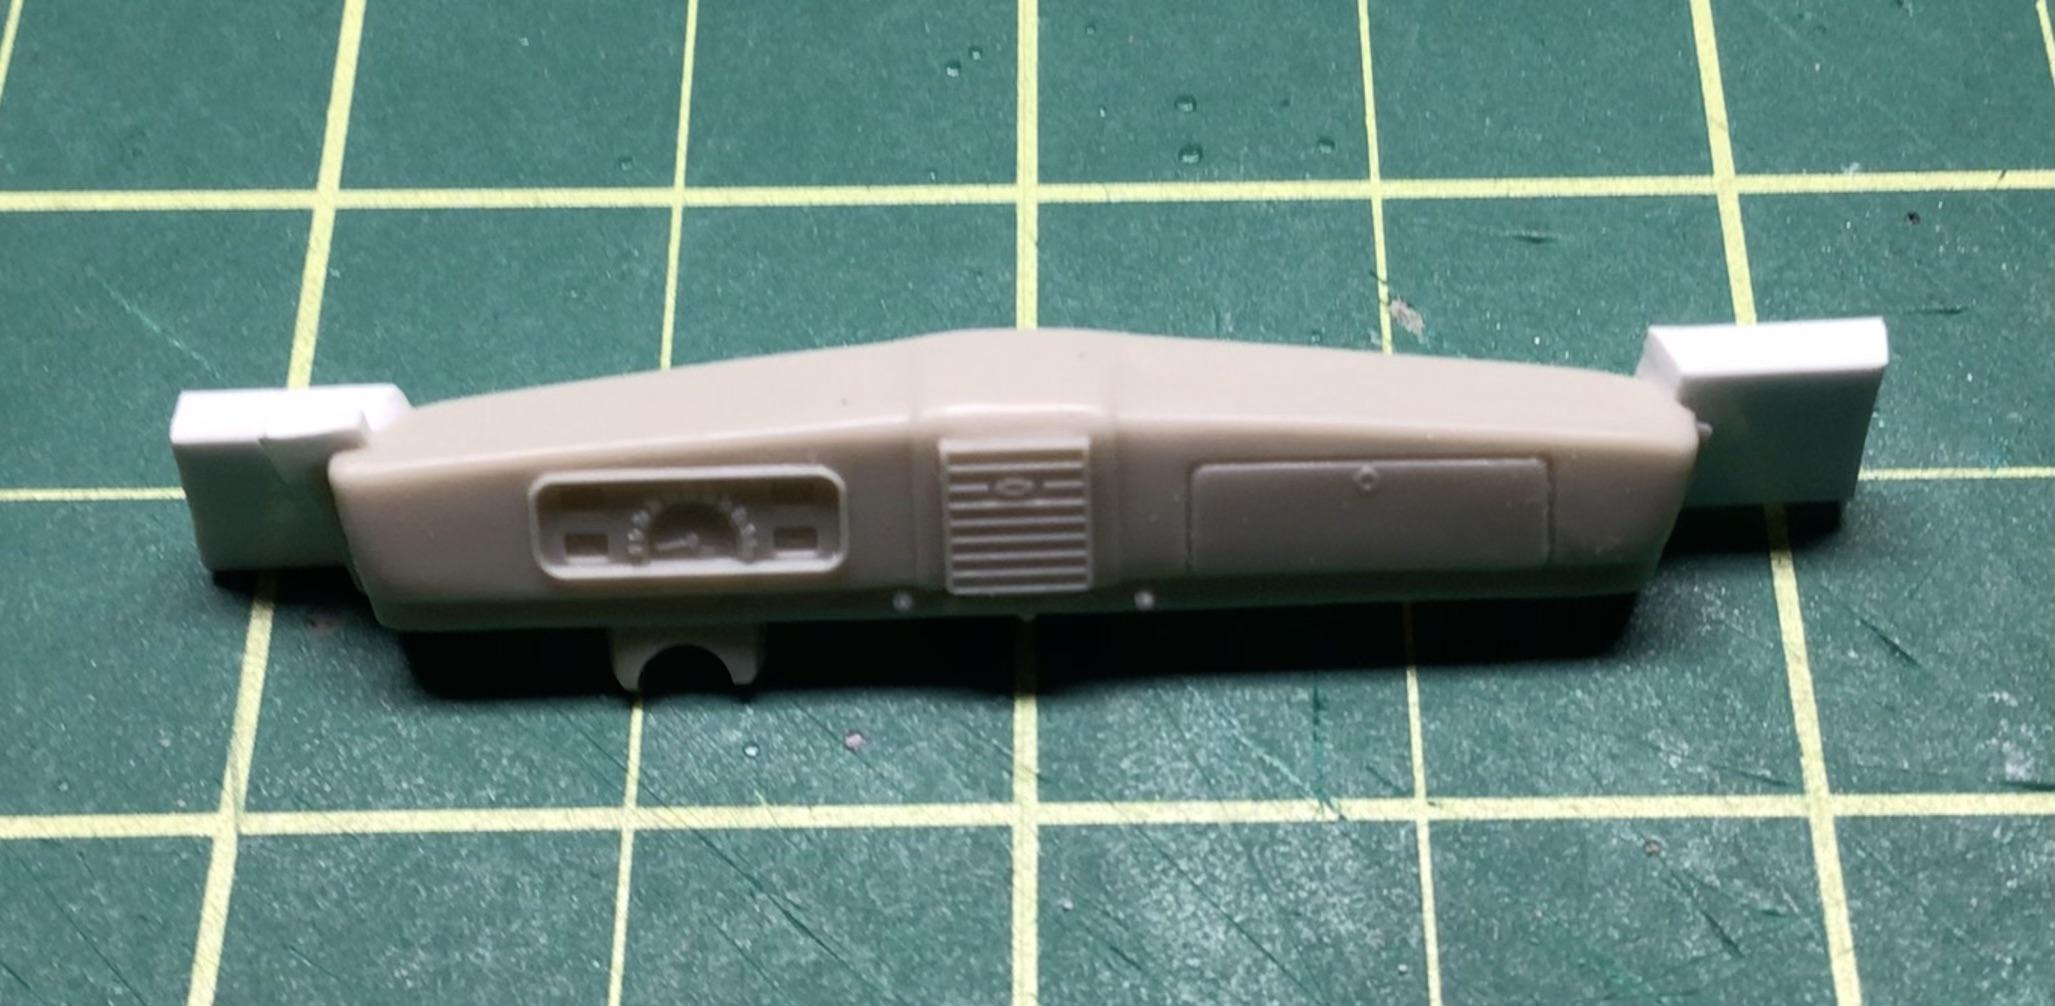
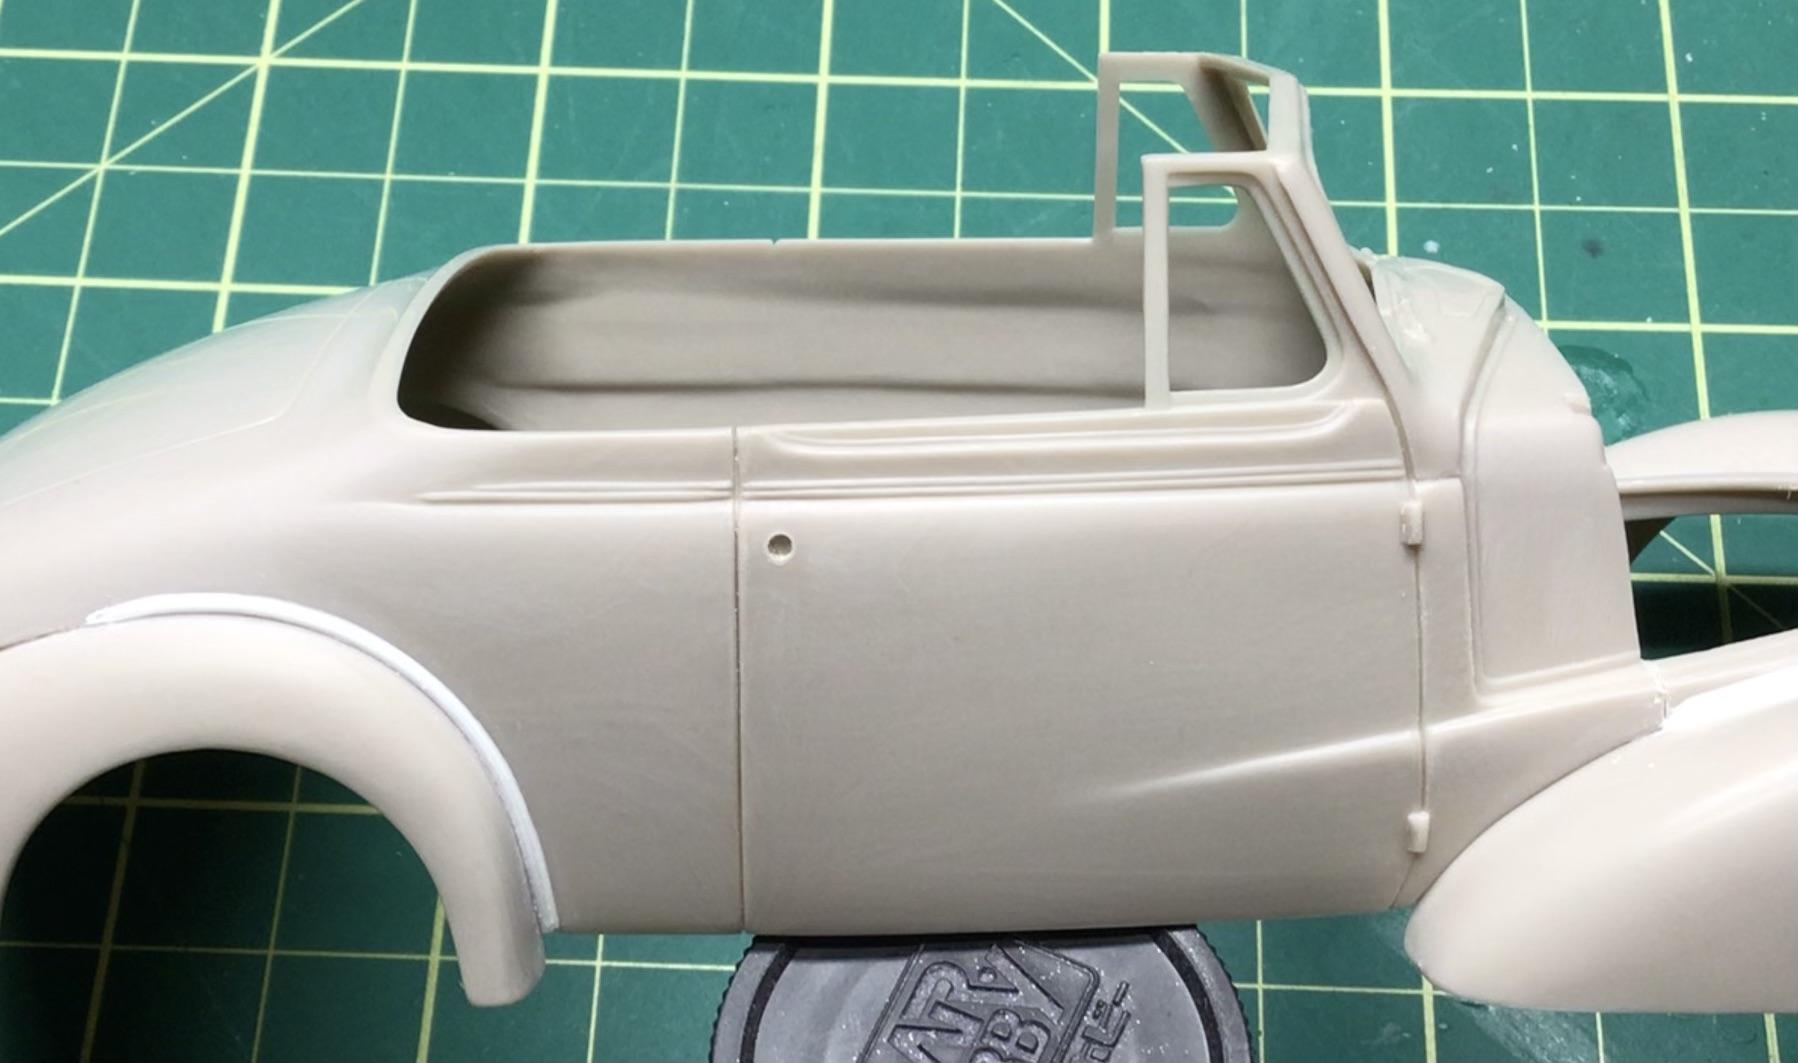
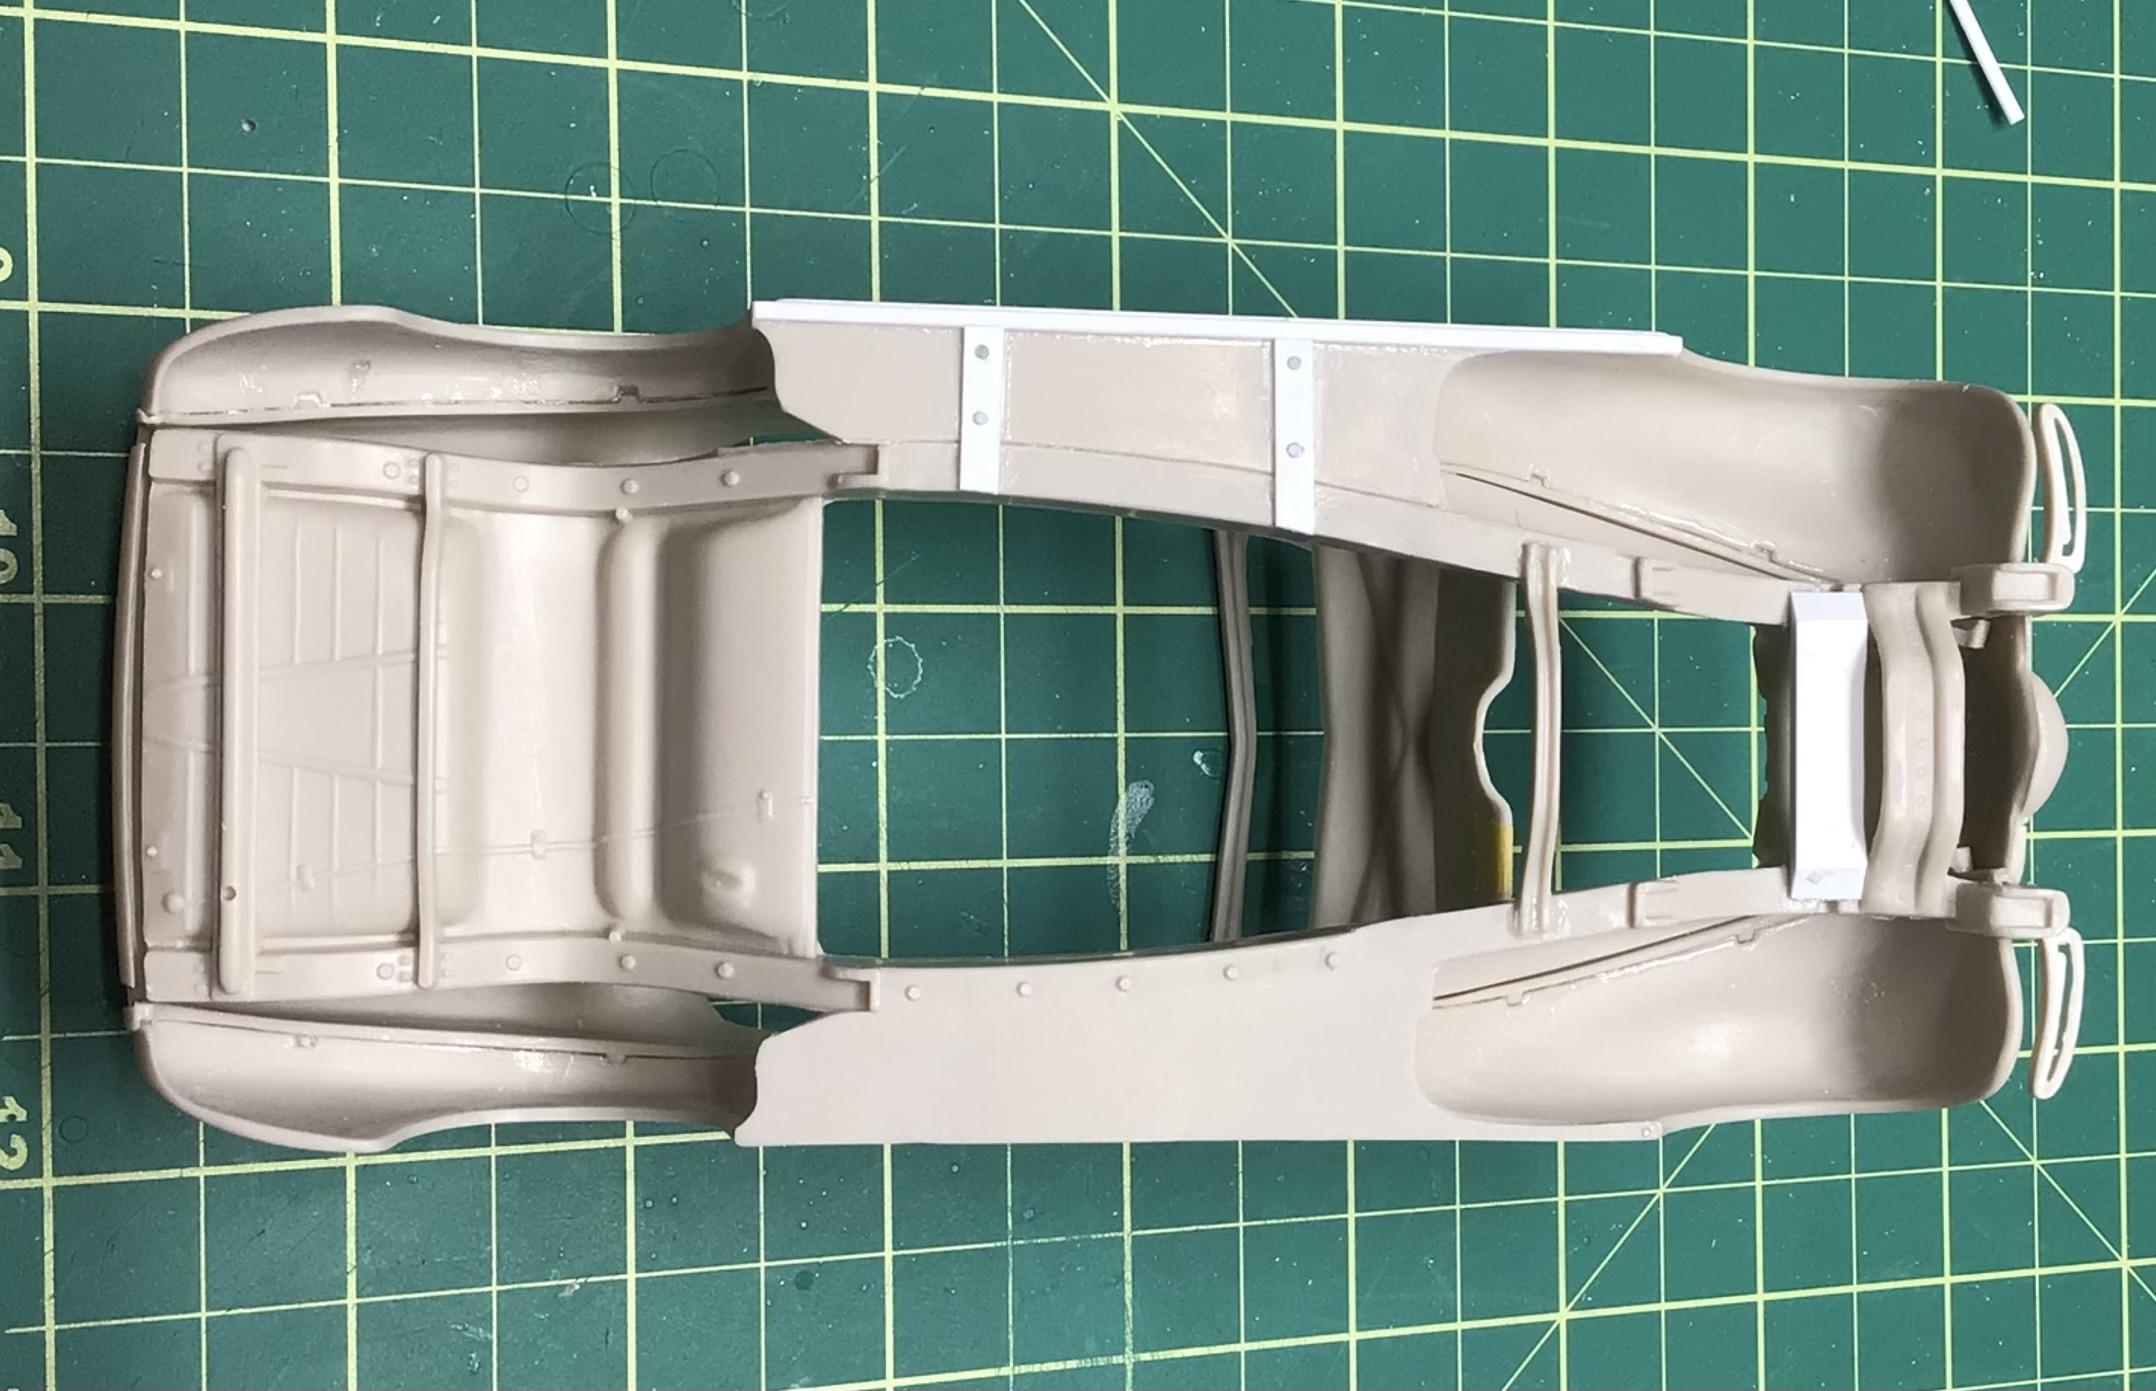
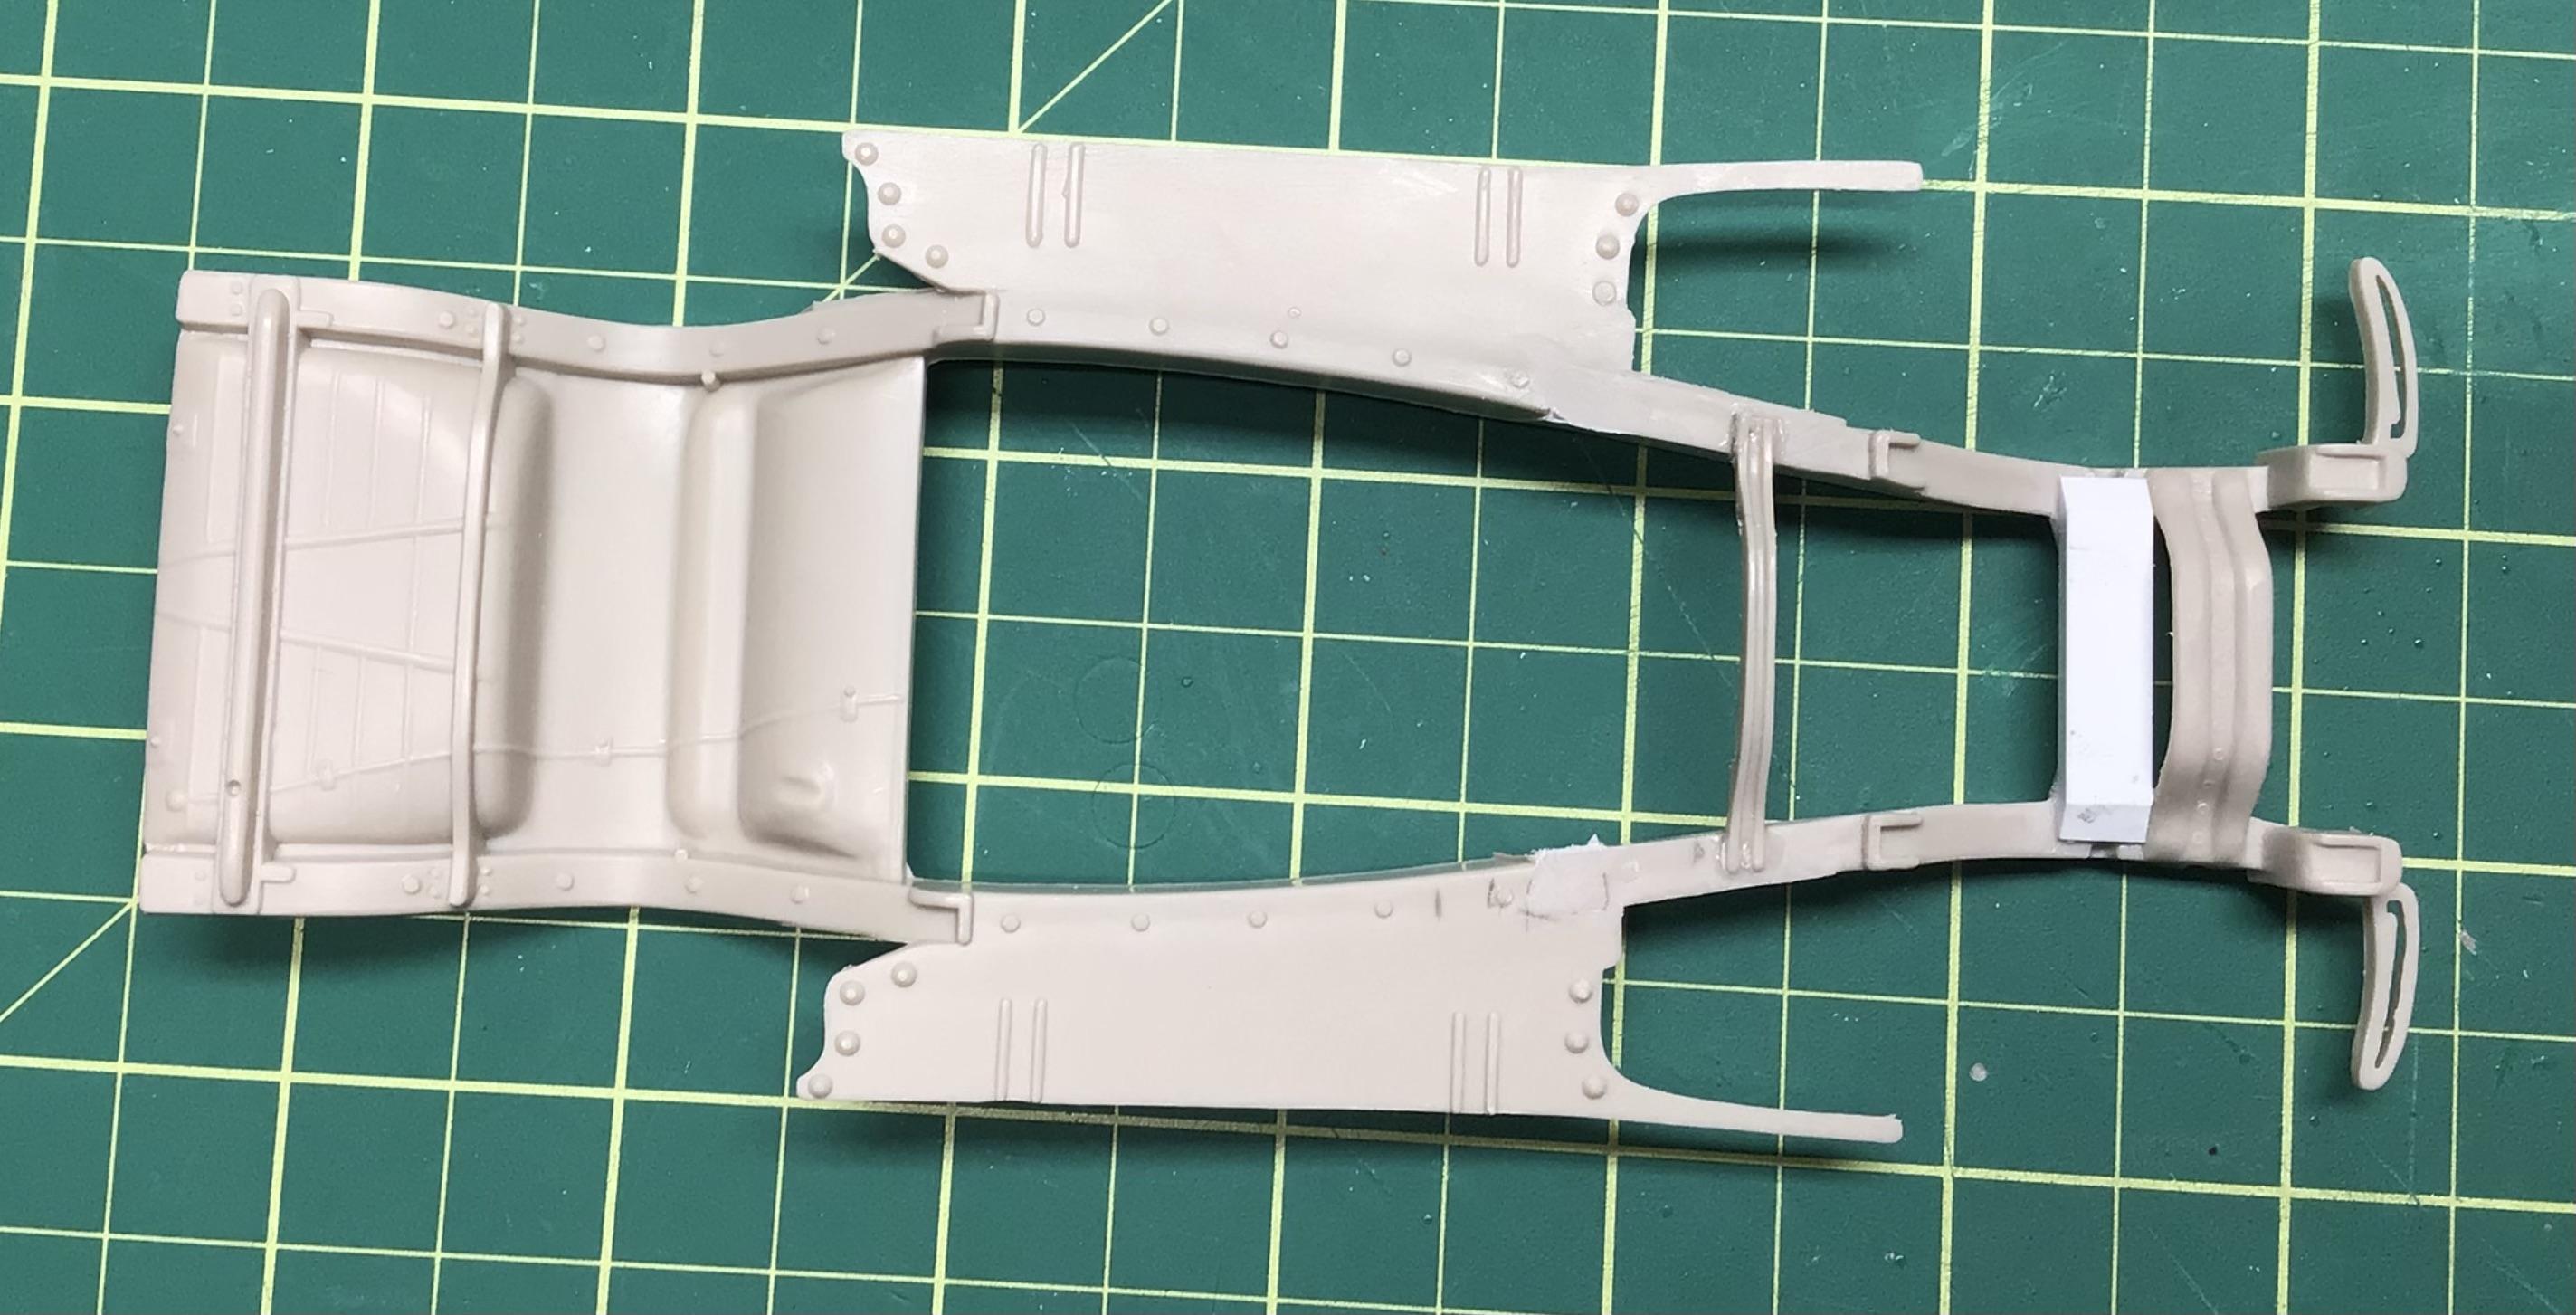
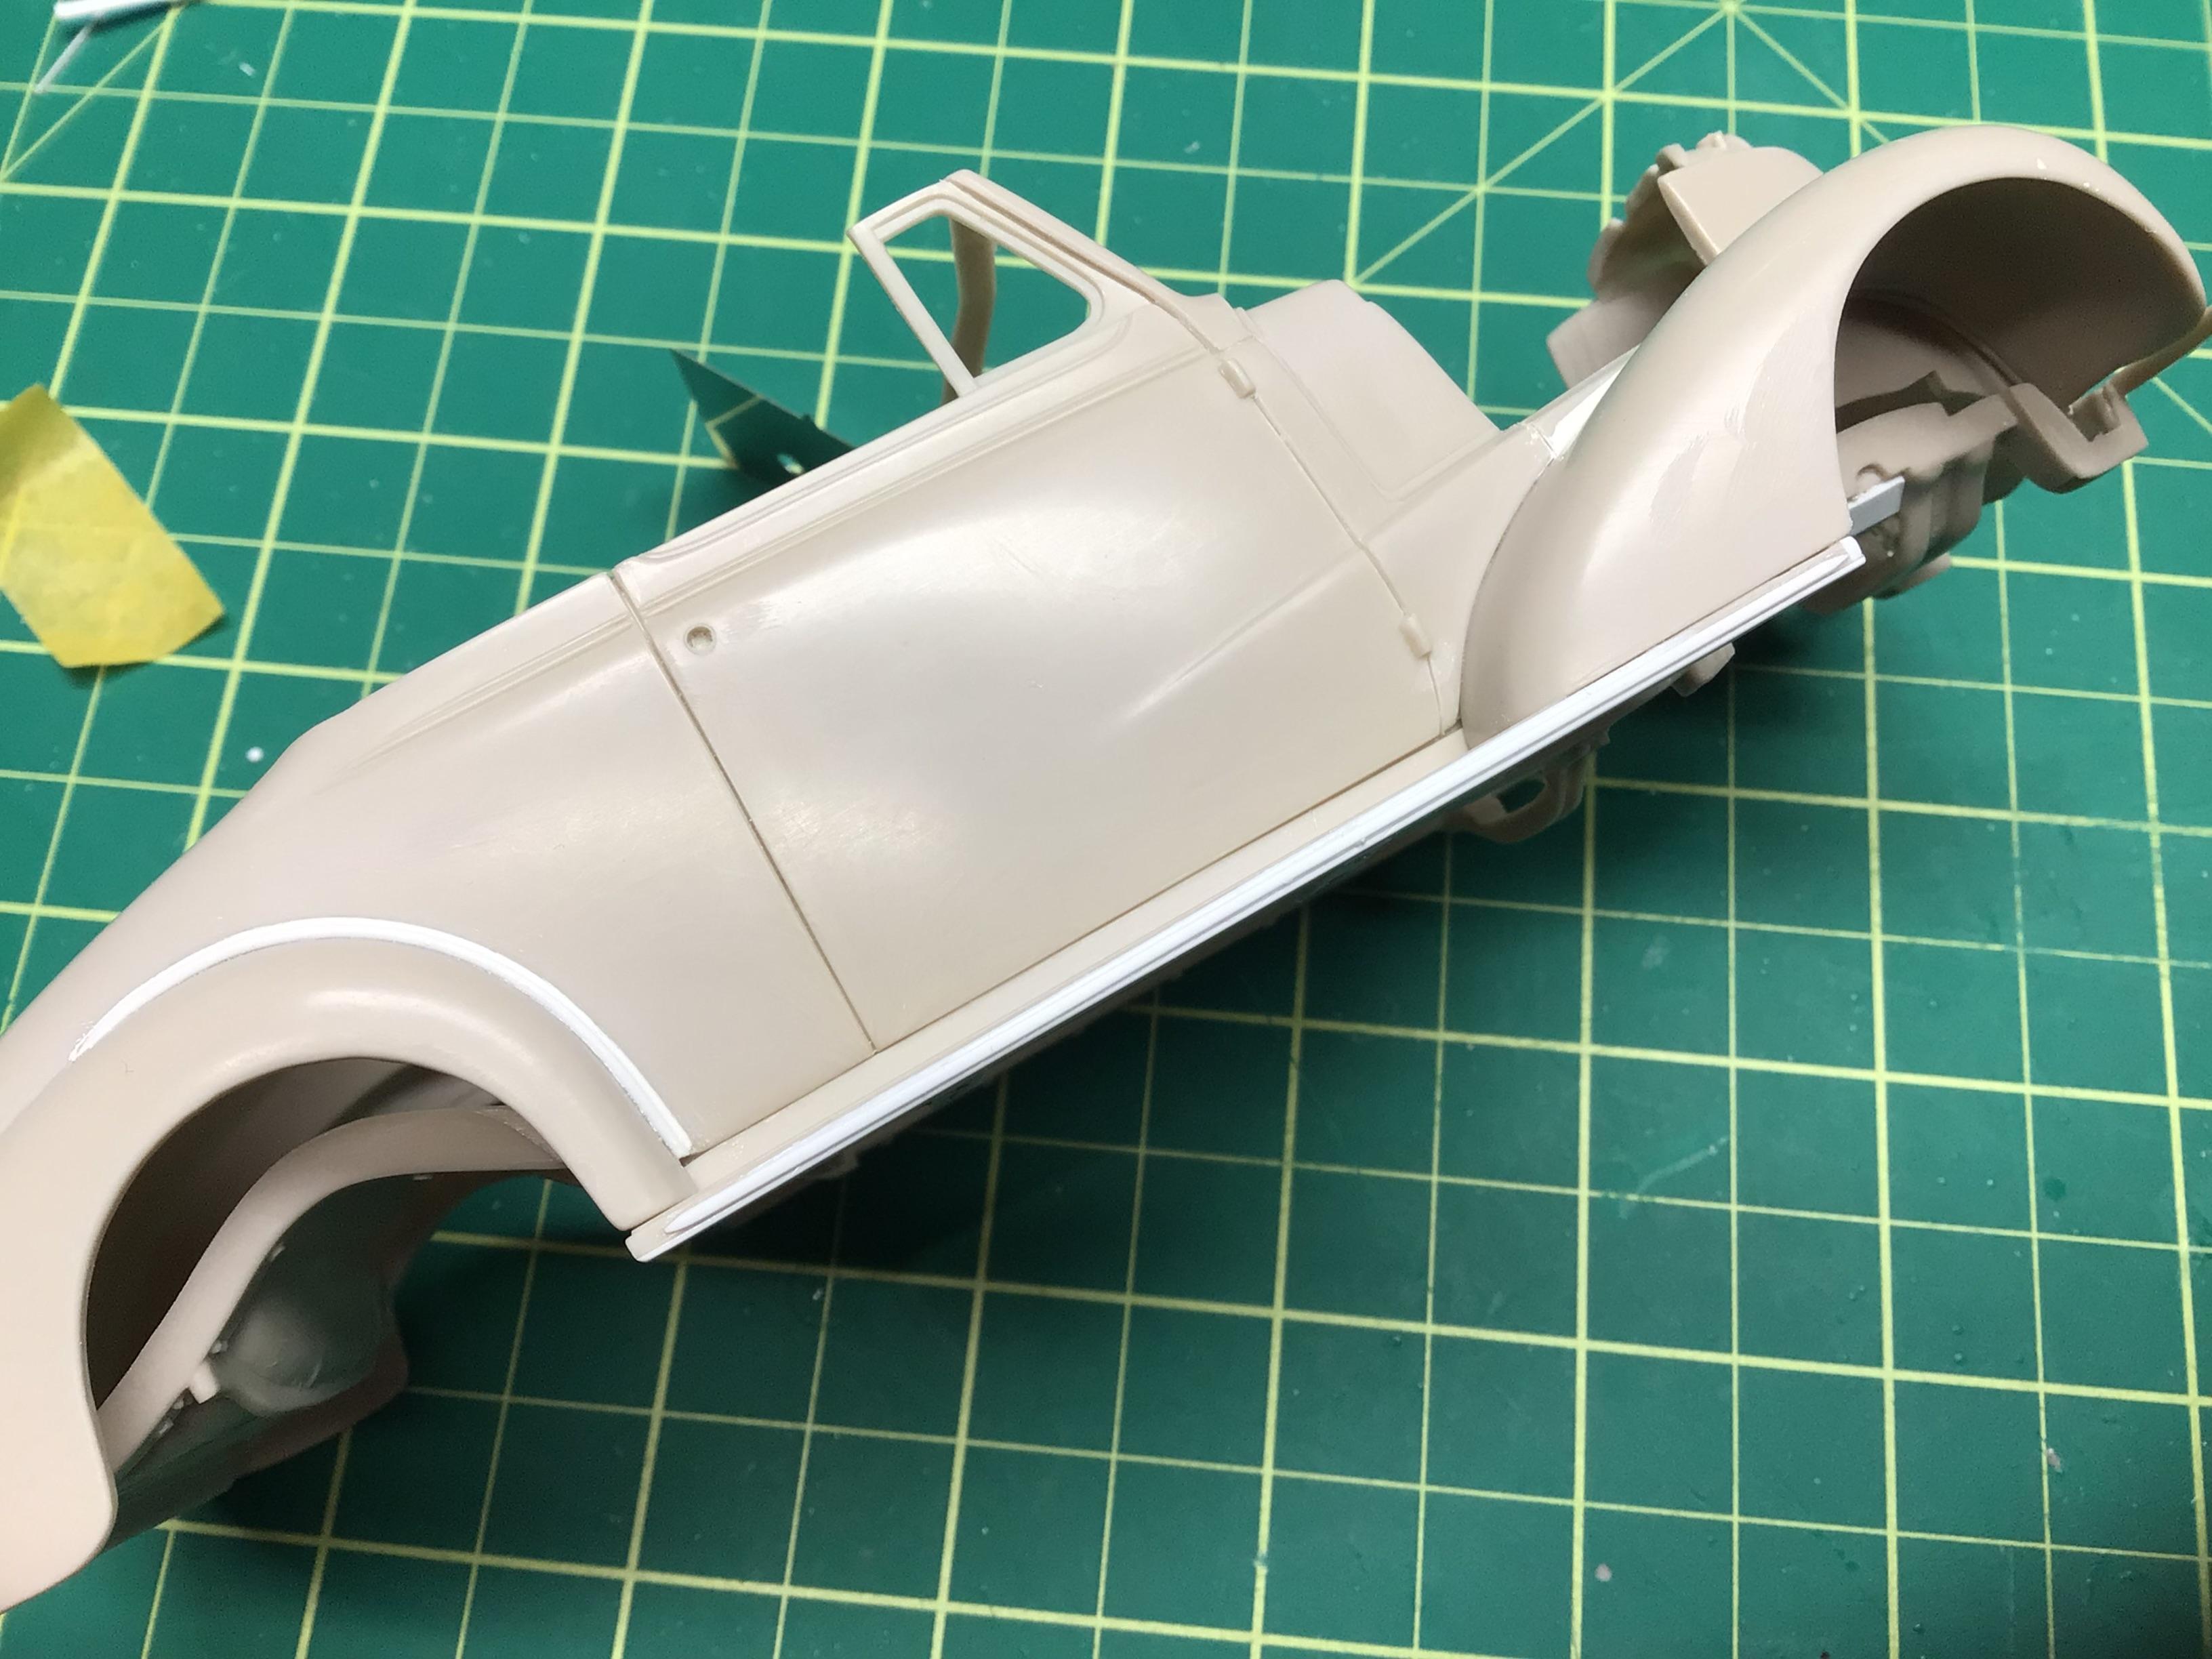
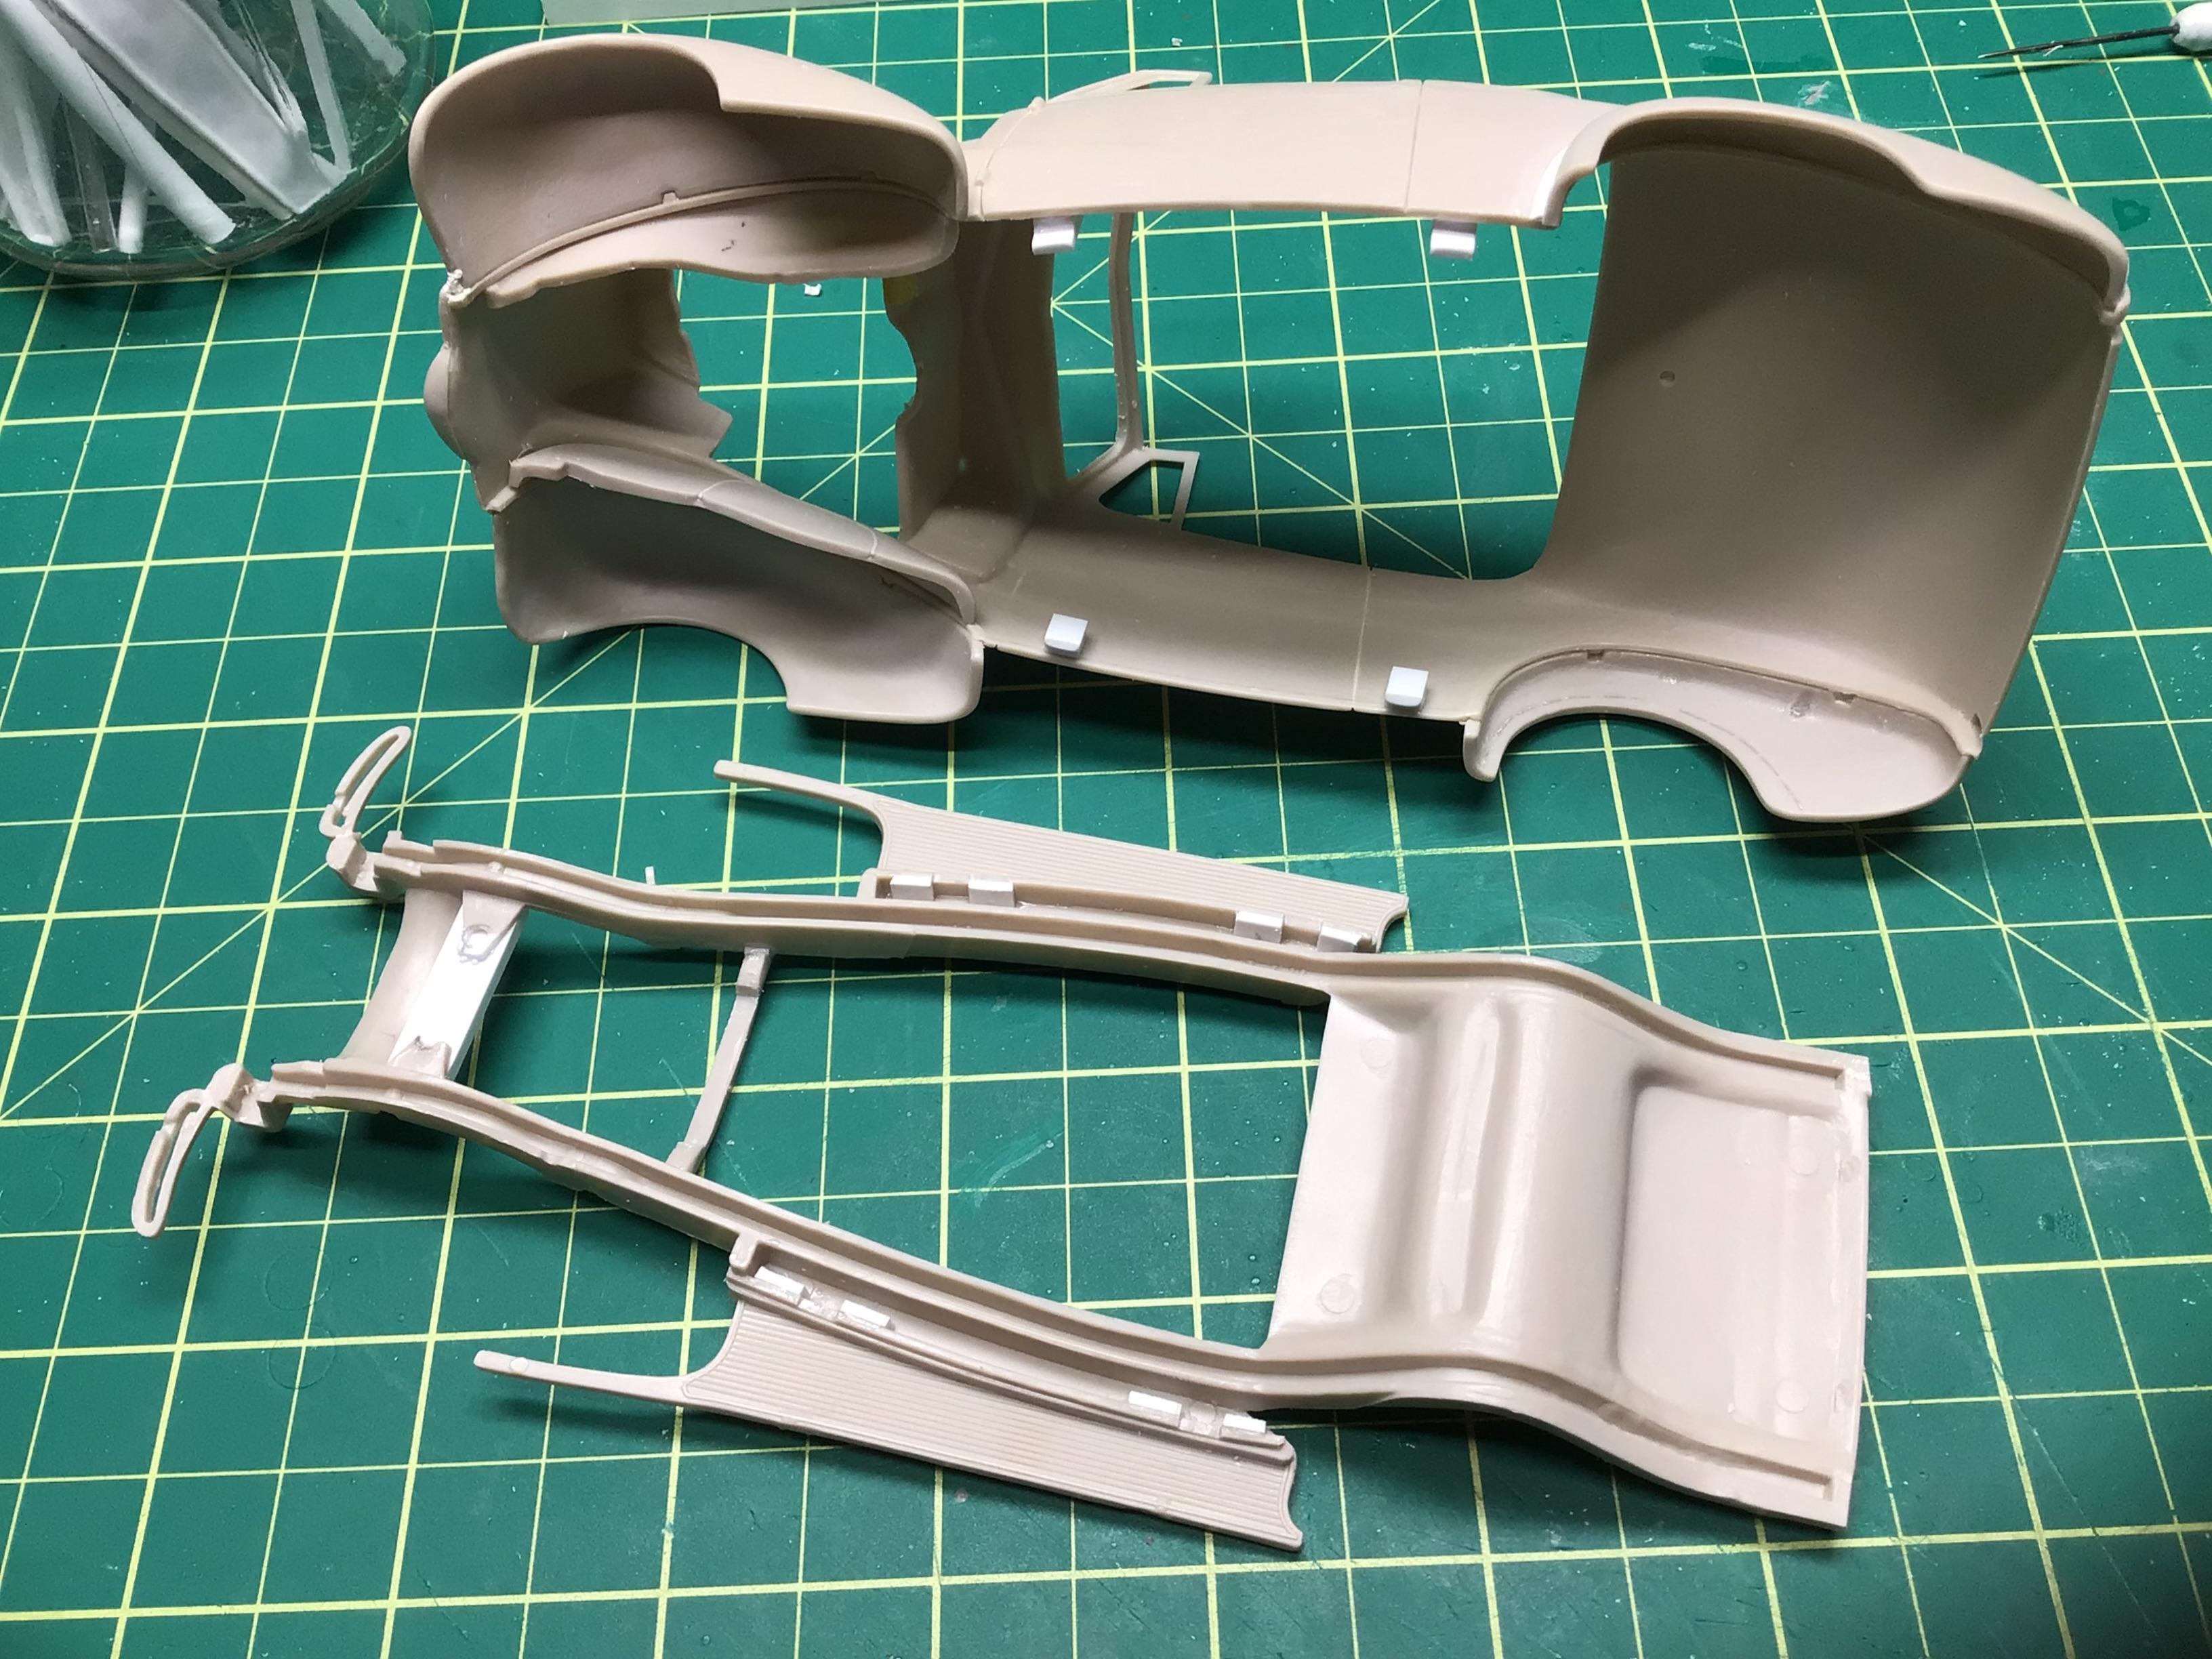
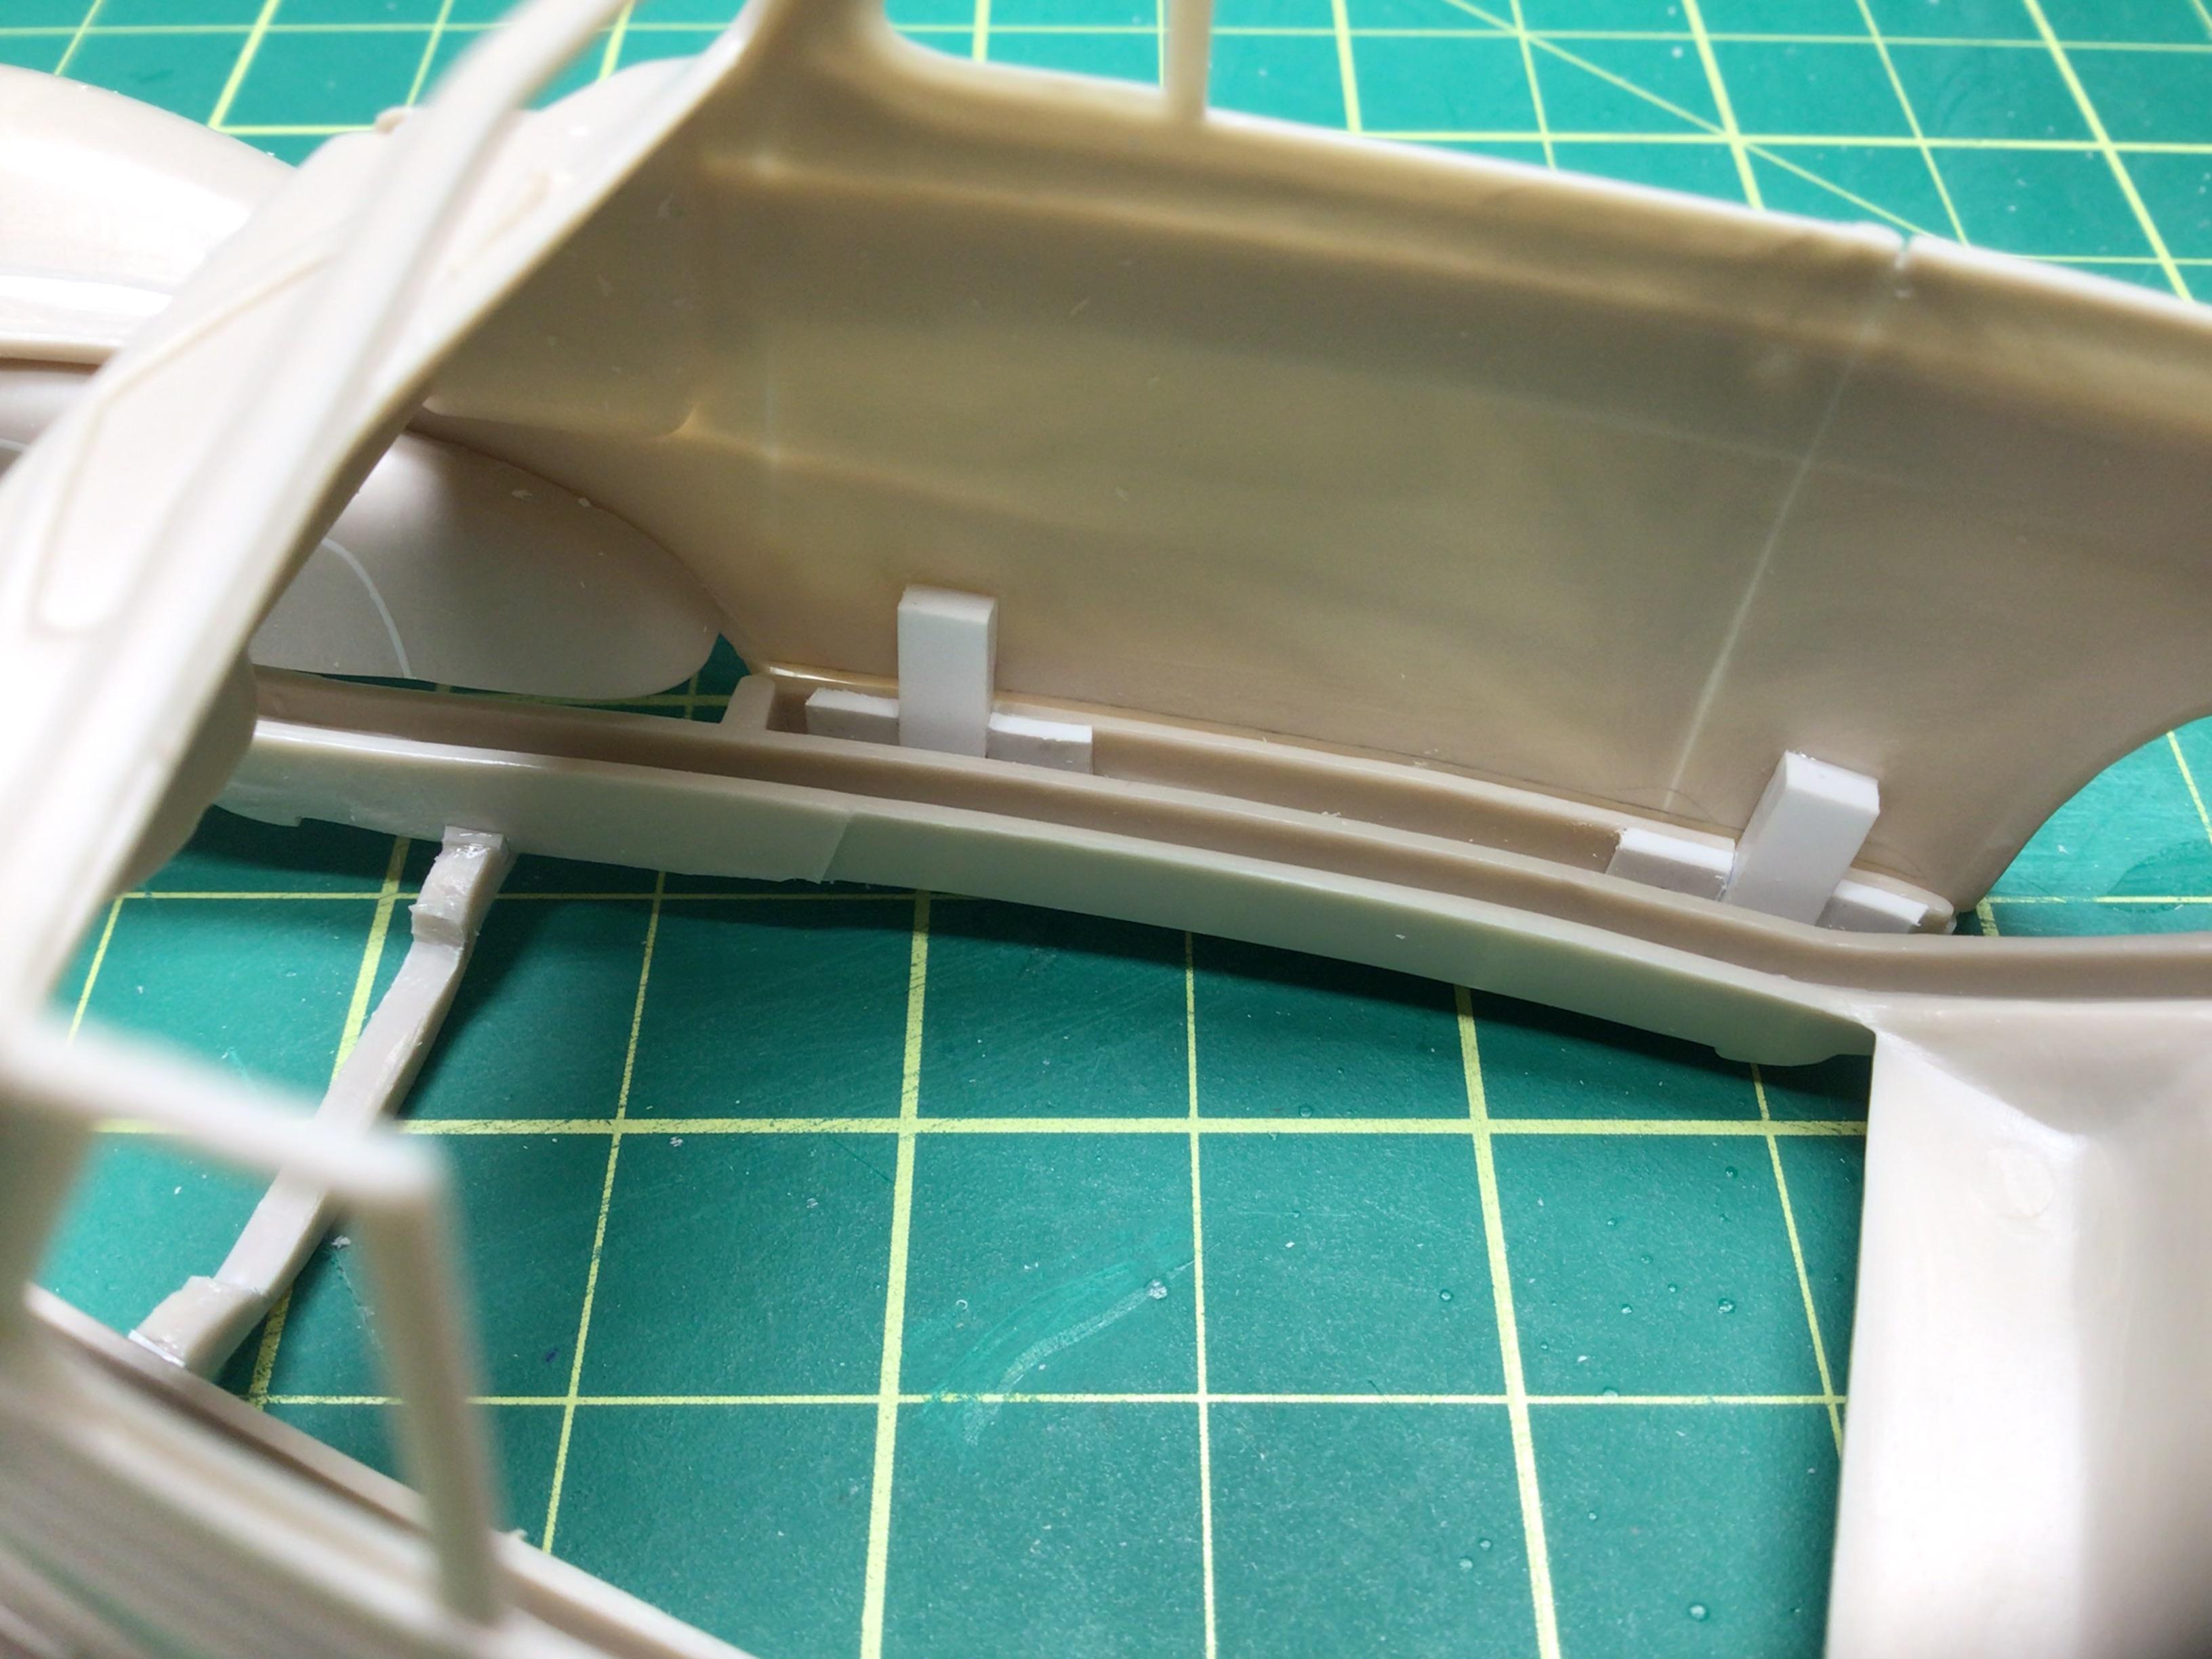
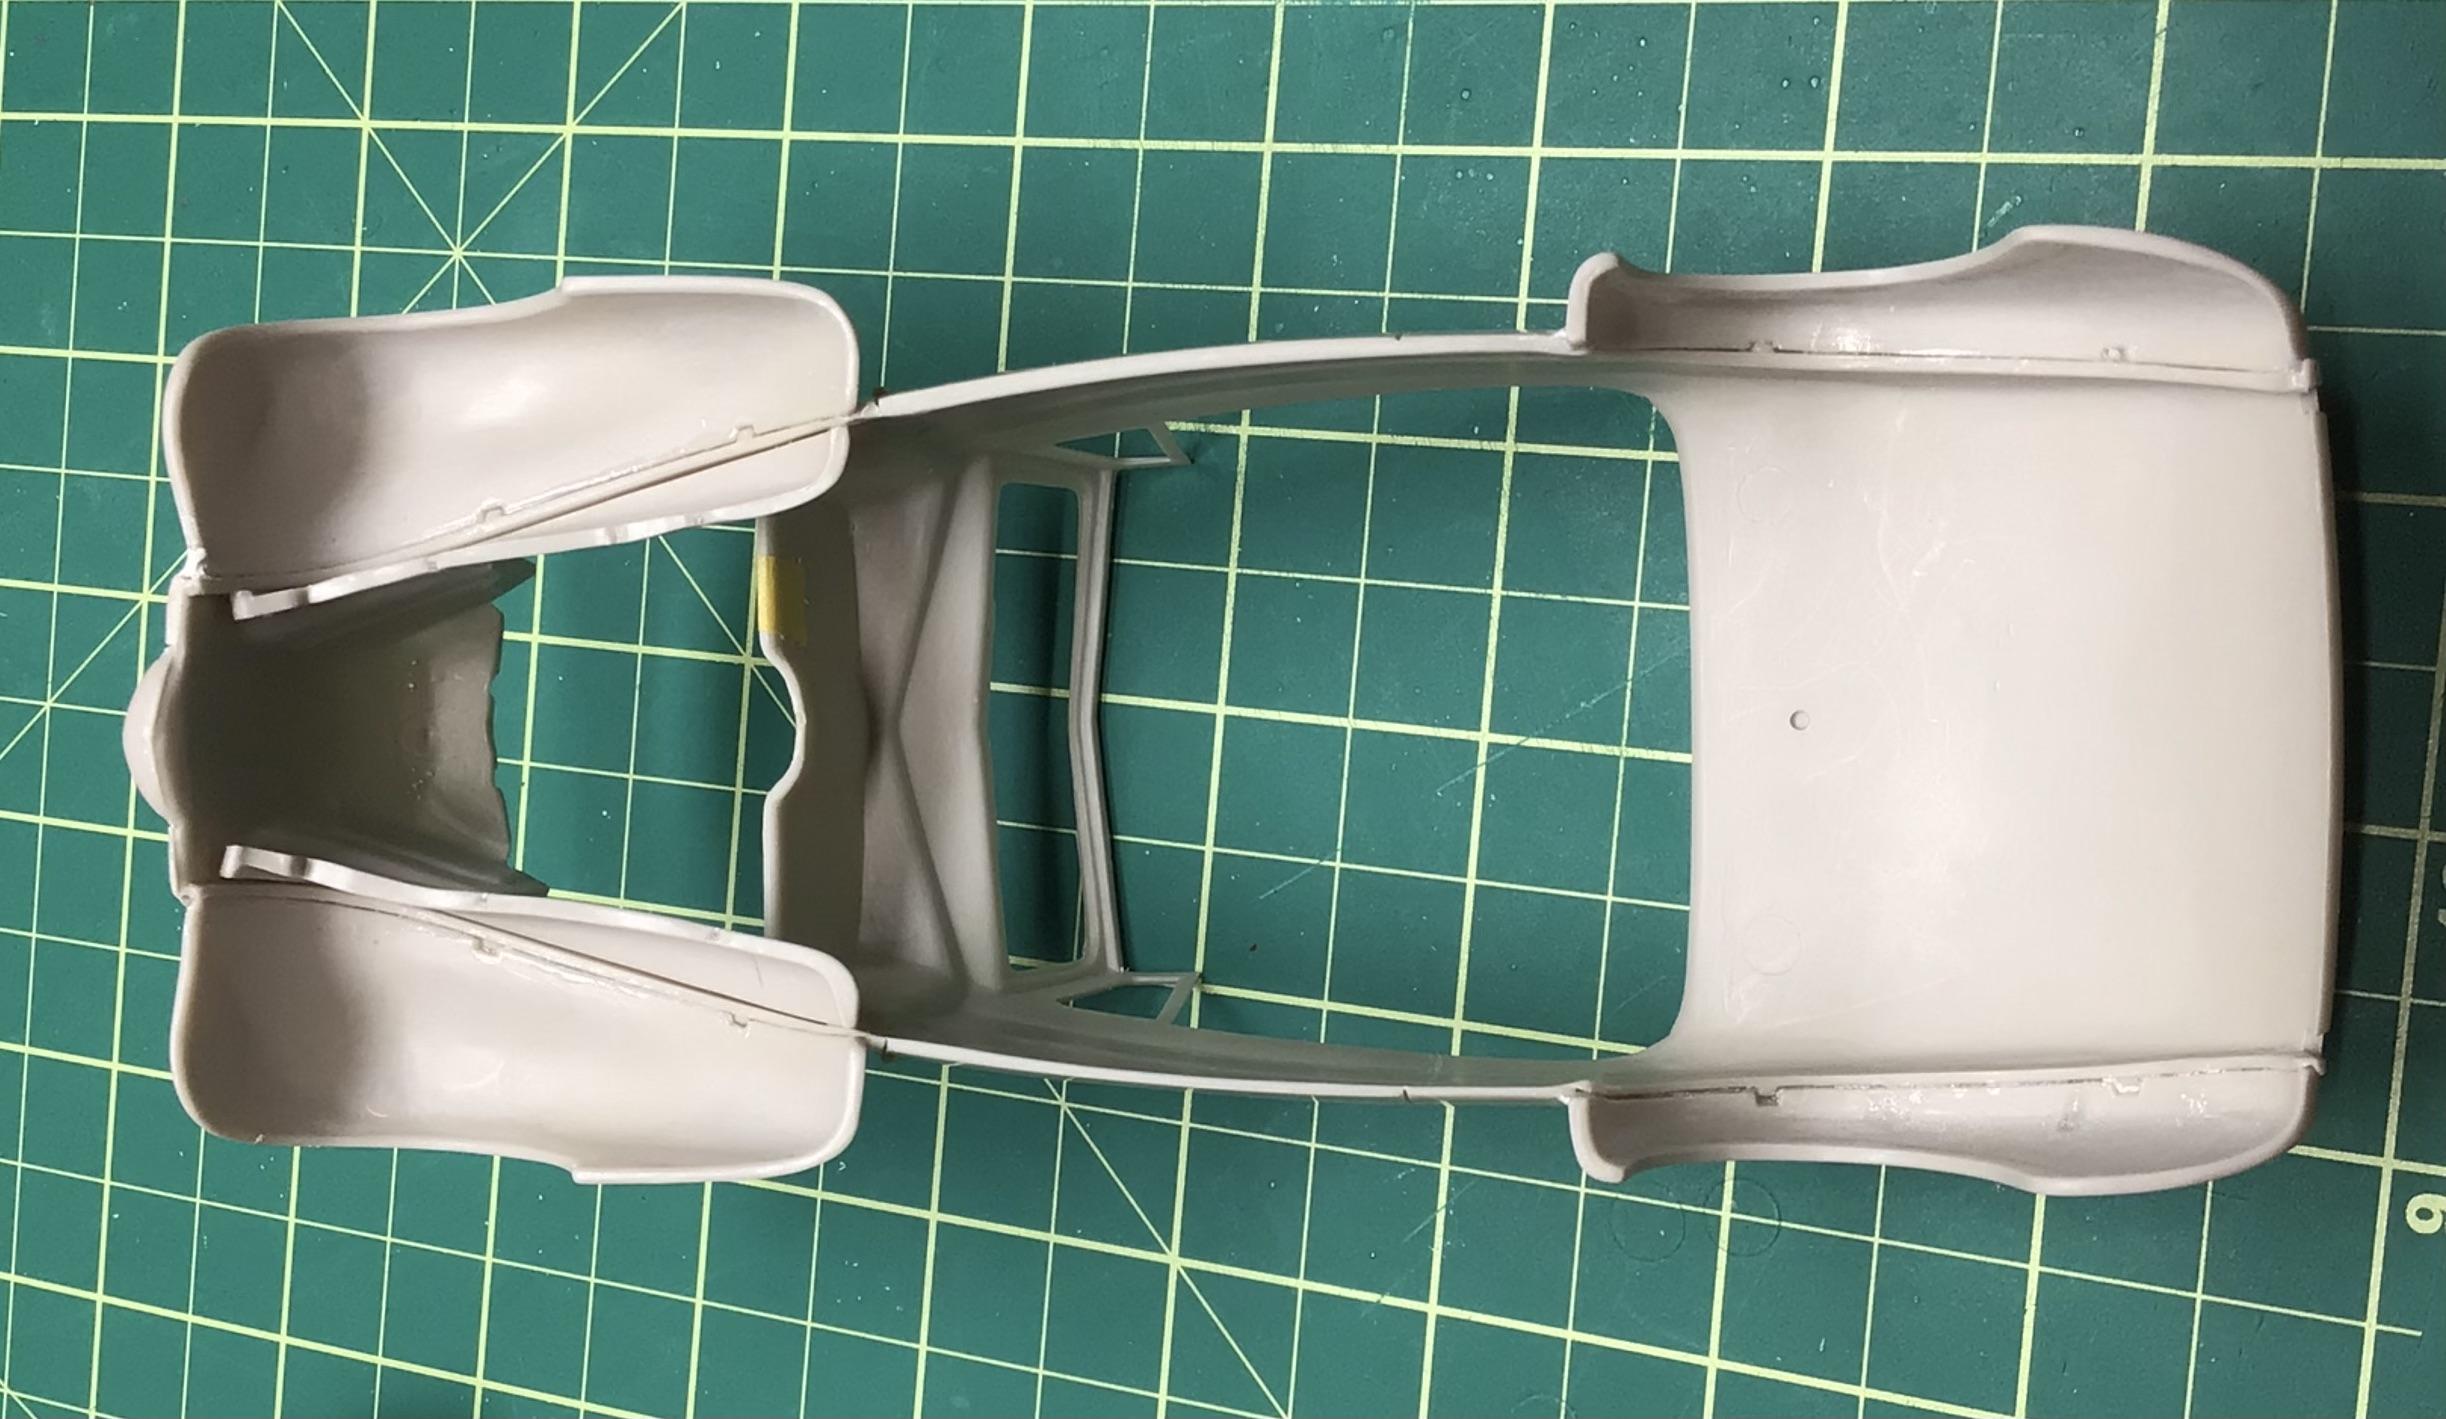
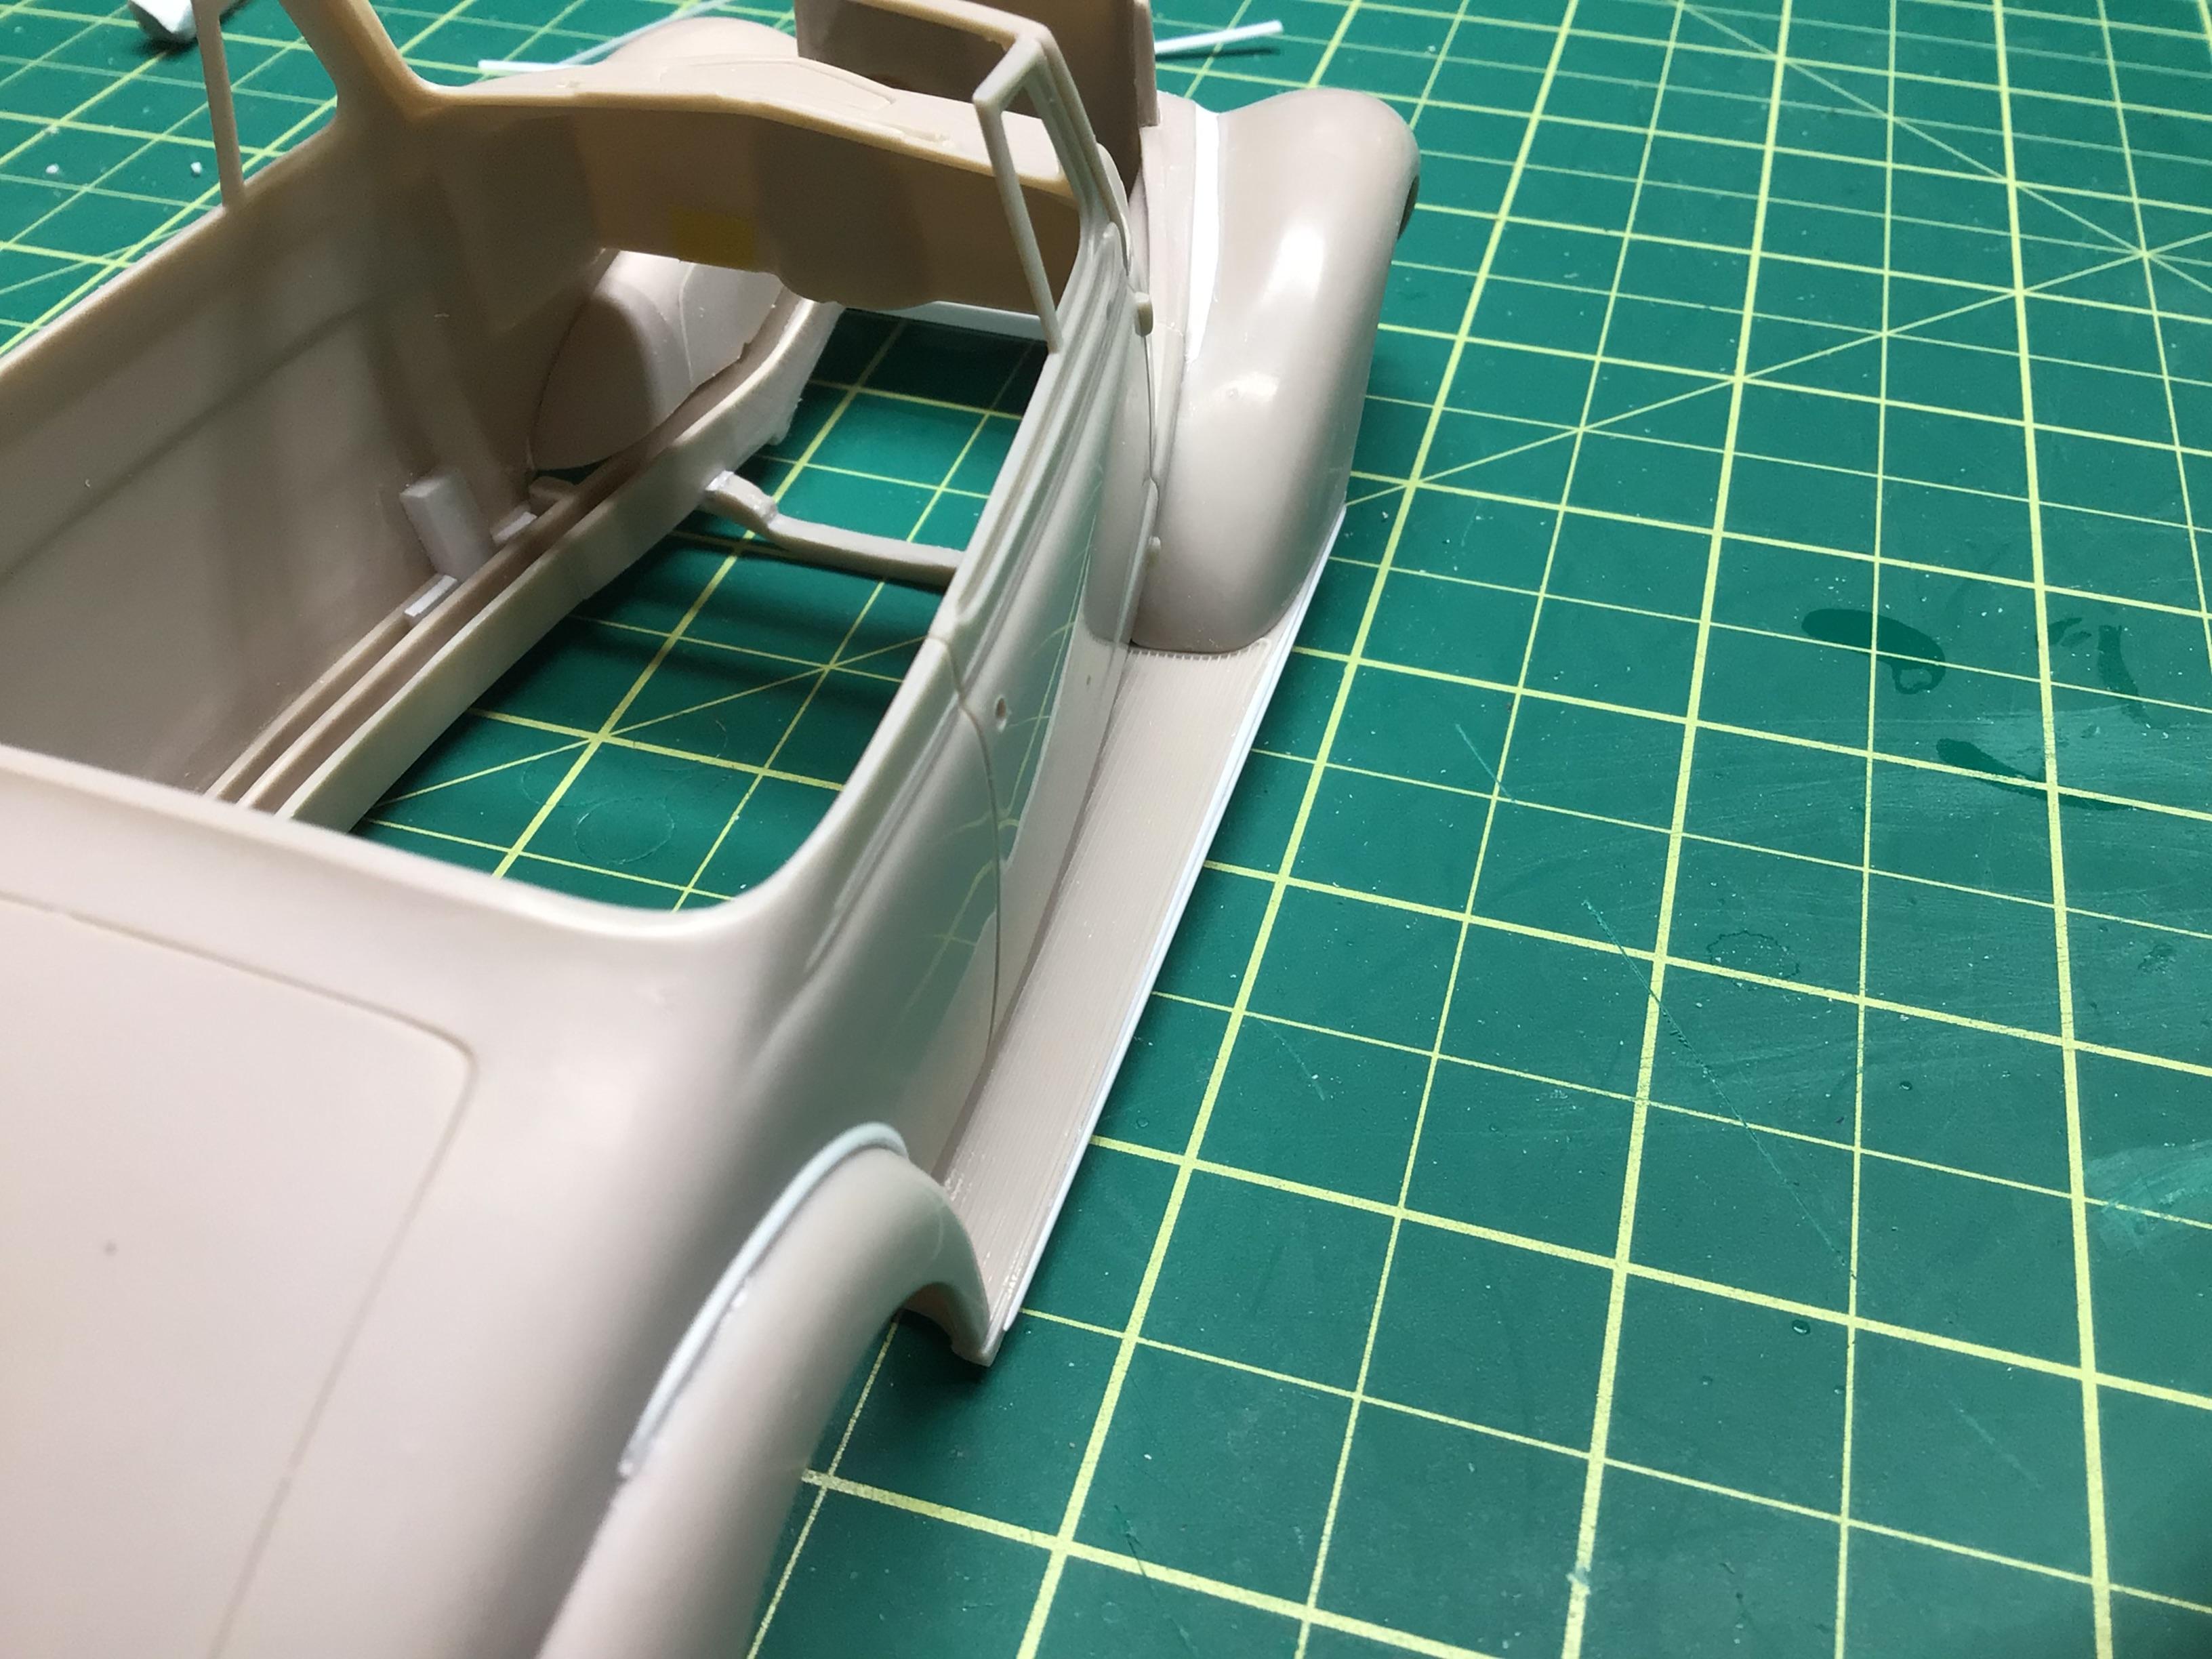
I am tempted to replace the dual beads on the side of the body, as they should extend back to about where this mold line is. And they are missing on the cowl between the door and hood, so it may be best to replace them with half round. .030” would work for the lower one, but there is no smaller half round for the upper bead so I may have to make some if I decide to go that route. The interior tub is pretty crappy and neither of the dashboards locate nicely.😕 So I am in the process of fixing stuff.🤯 The gaps from side to side are nowhere close to symmetrical. Still re-engineering stuff.🥵 I may have to get rid of that box on the floor and put in a proper trans tunnel…but that’s yet to be determined.

-
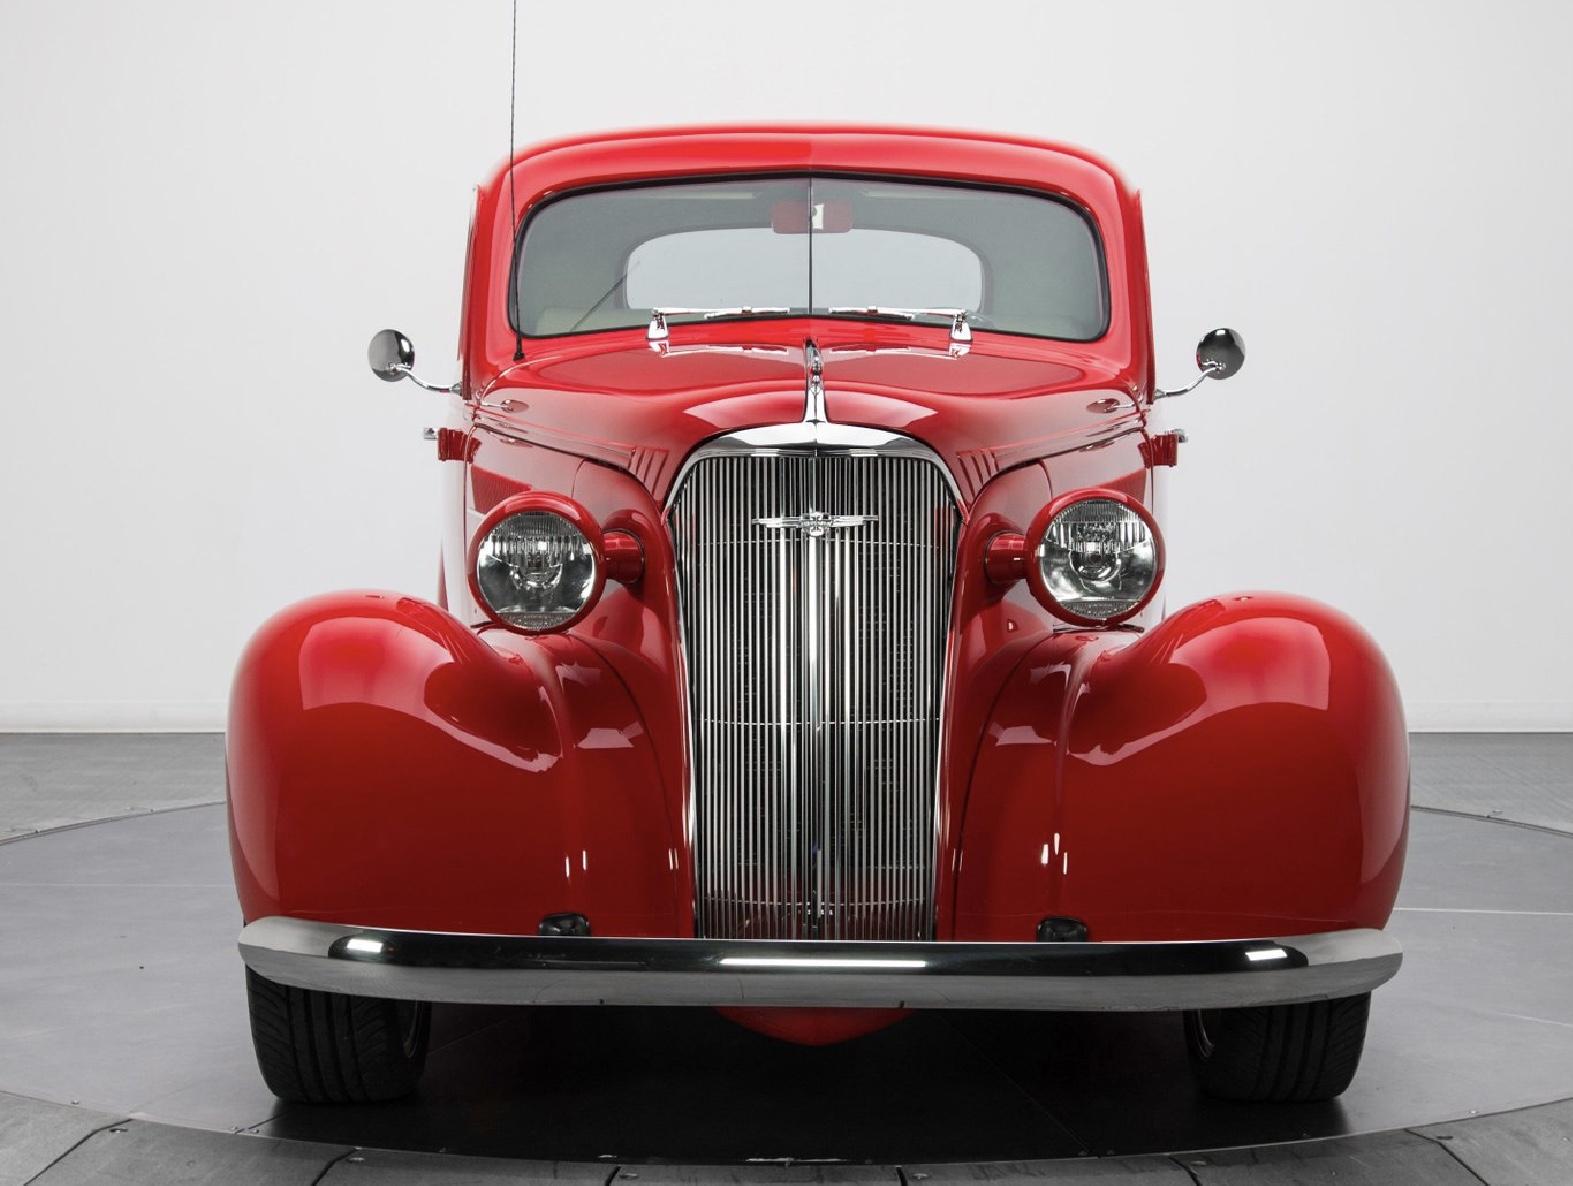
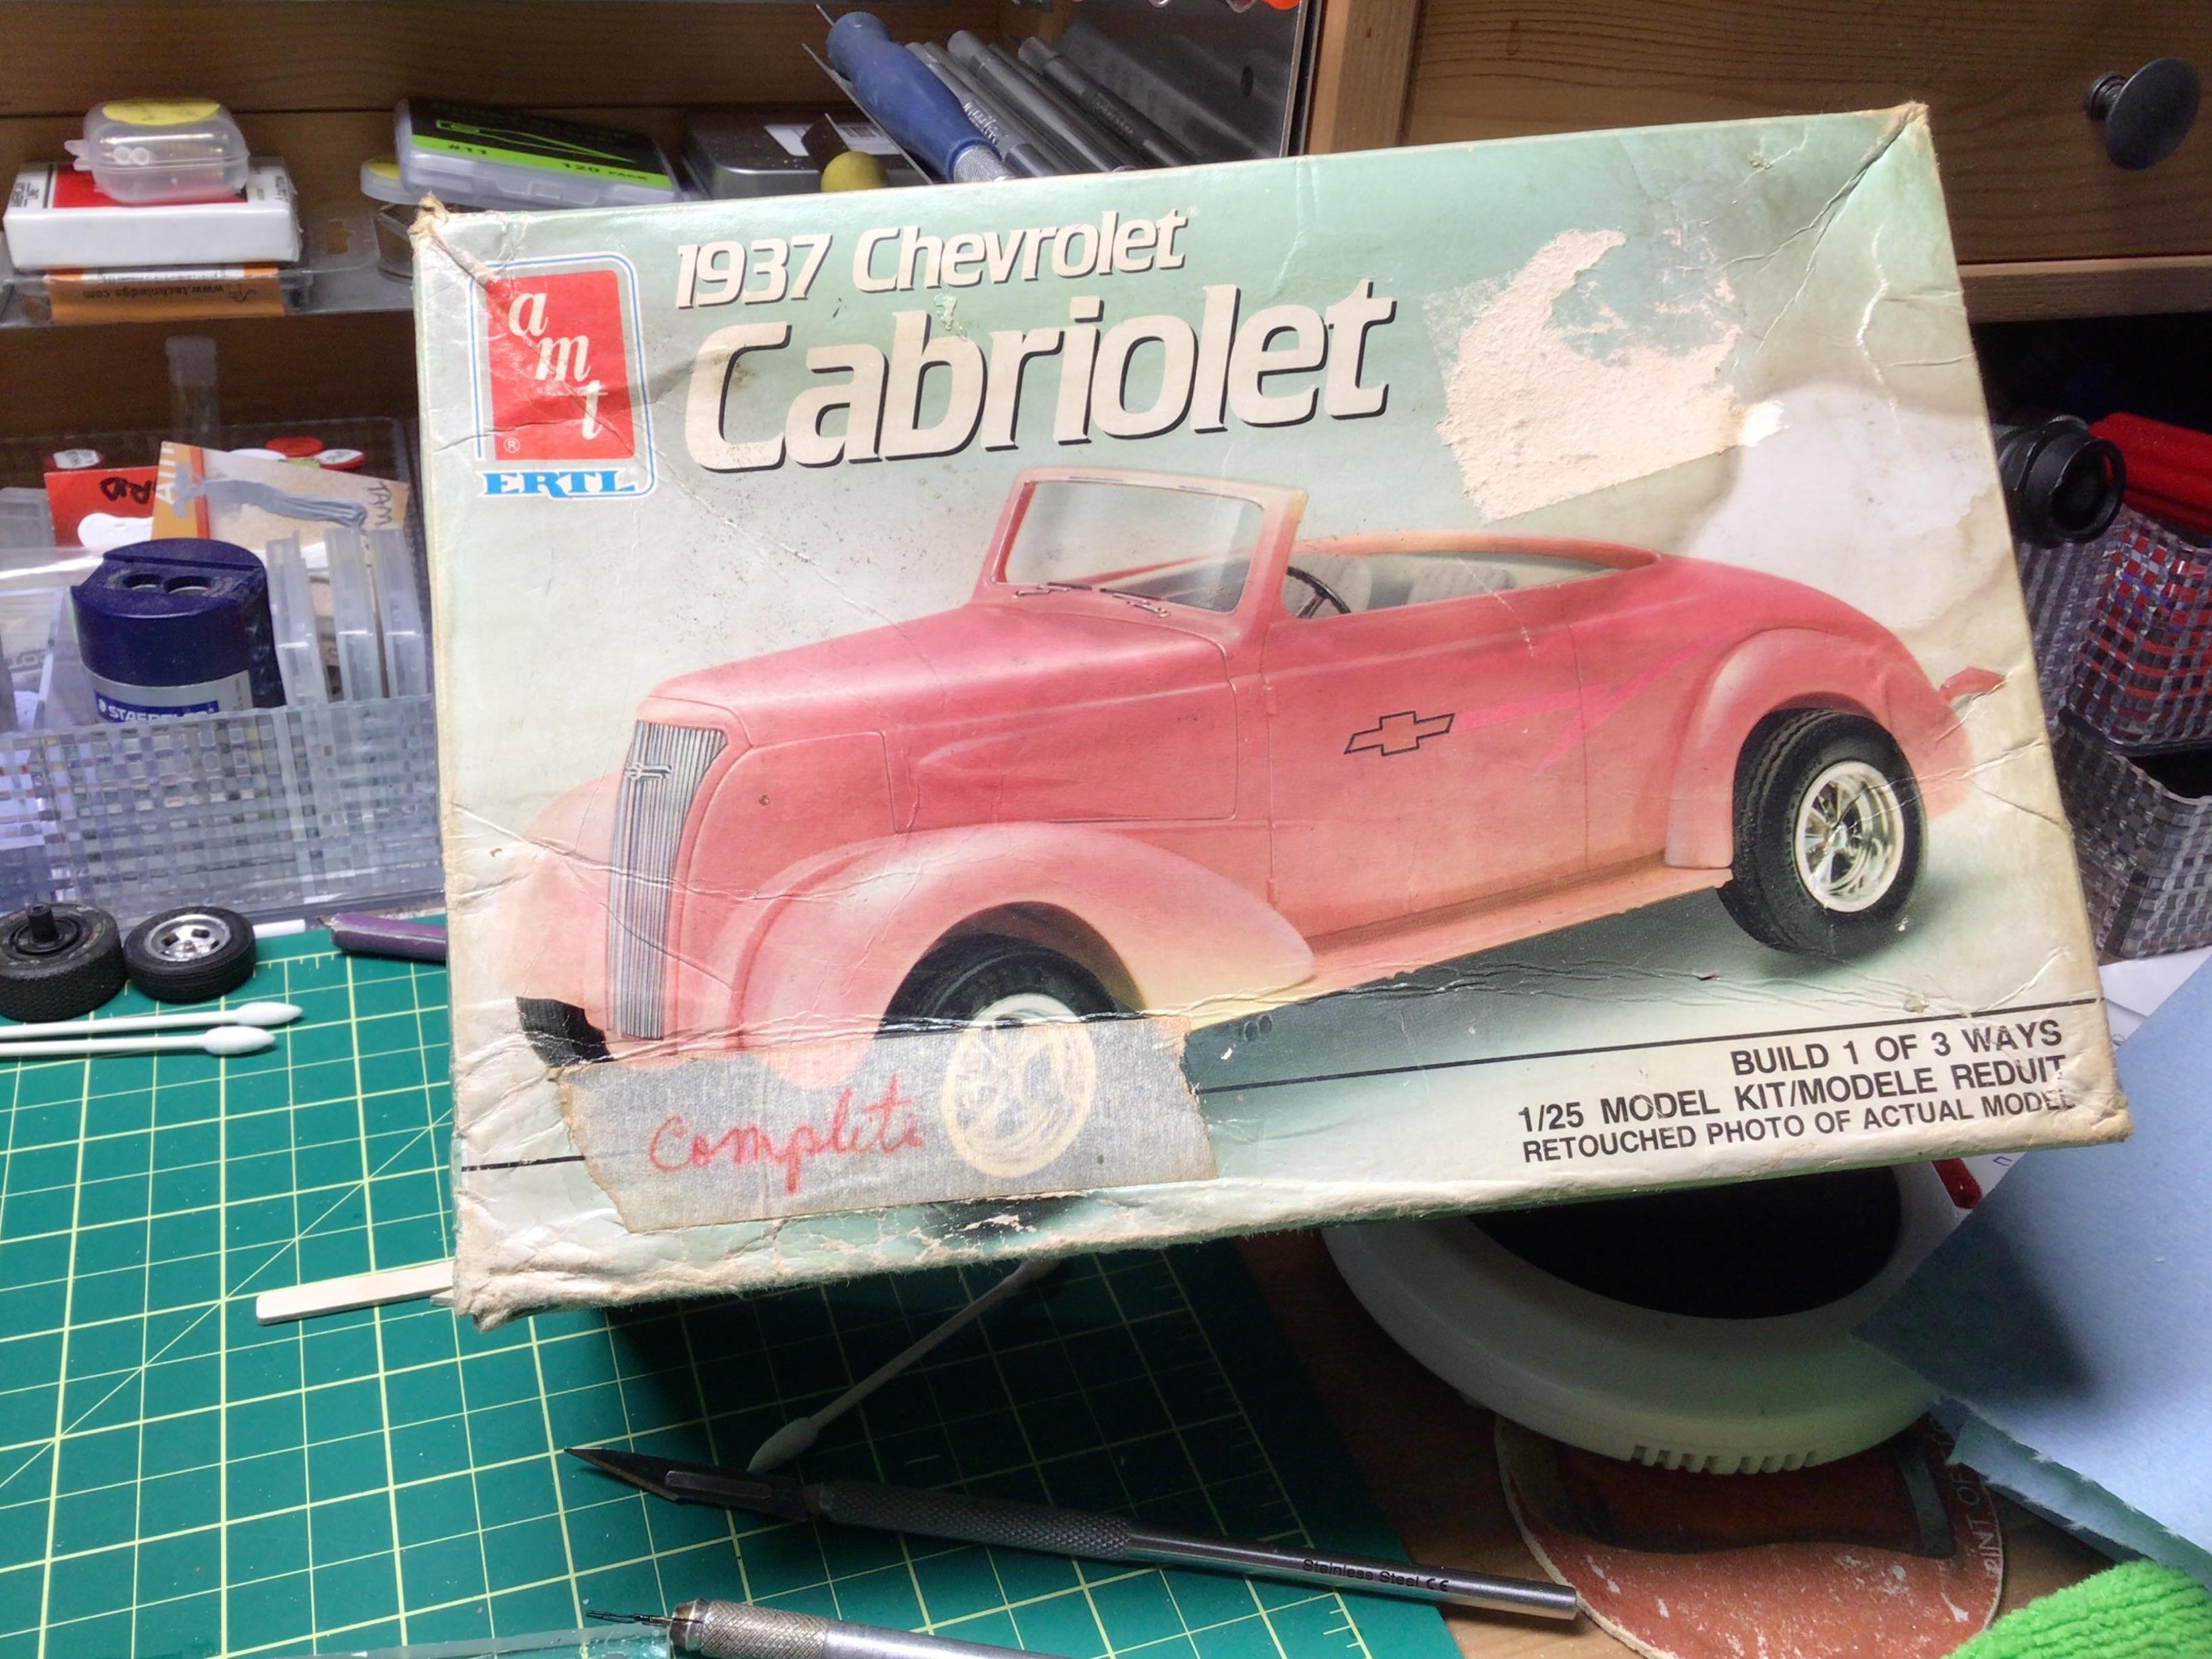
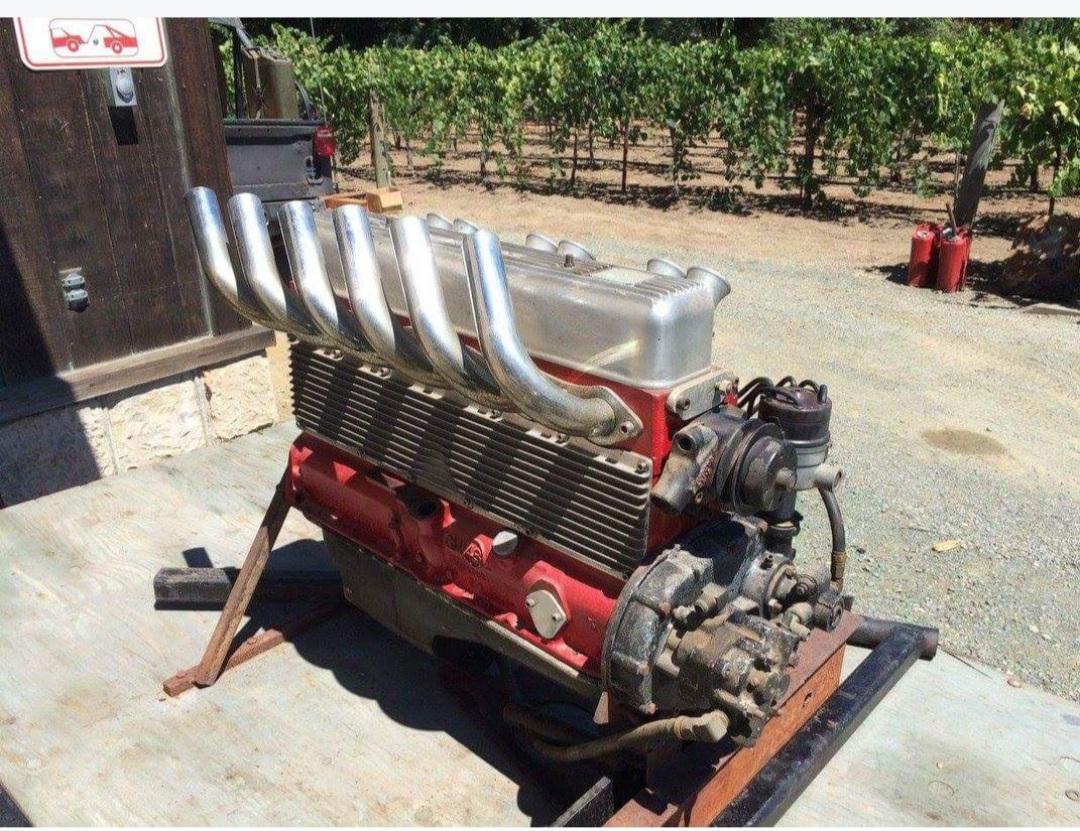
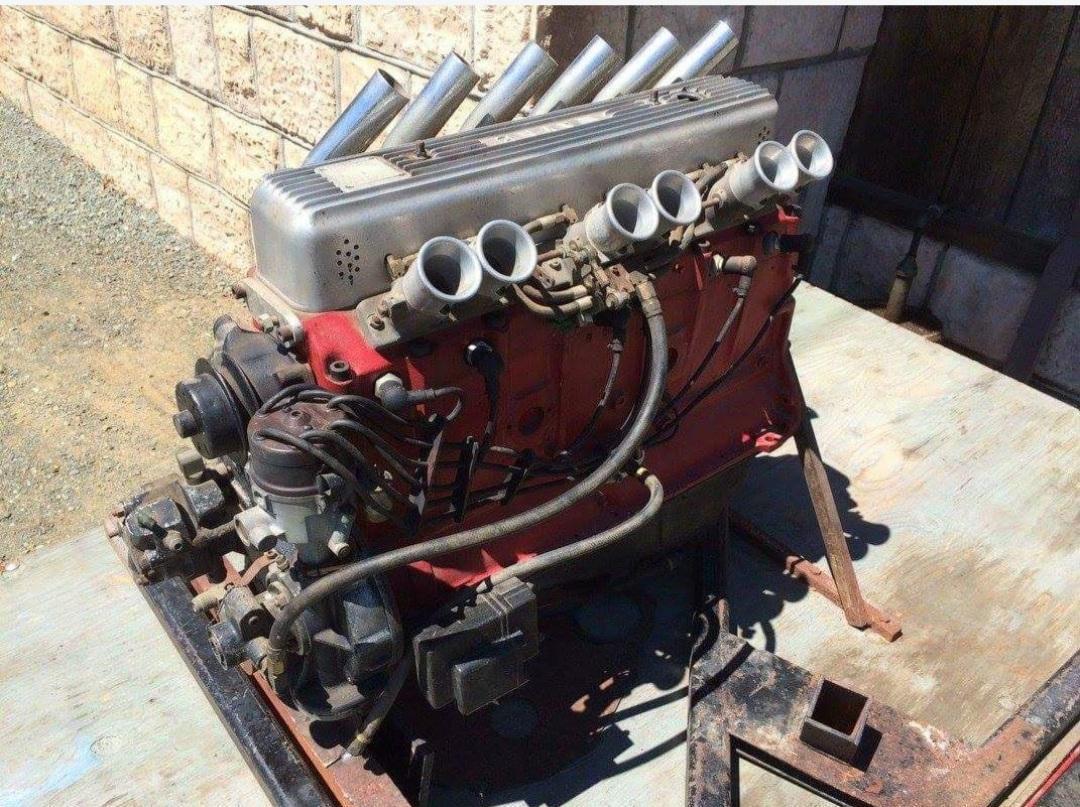
Thank you for your interest Gents! I hope to fix a few of the fitment issues and upgrade it slightly. The wheels and tires were missing, and there was no stock engine, but for $5….I’m happy.🙂 The supercharged 454 supplied in the kit is a bit ridiculous without a complete ground up rebuild, so I am just going to swap in a 283 and cast iron powerglide from the Revell ‘56 DelRay, like someone may have done back in the 50’s or early 60’s. Some nice mags or maybe steelies and baby moons and good enough….maybe something along these lines.😎
-
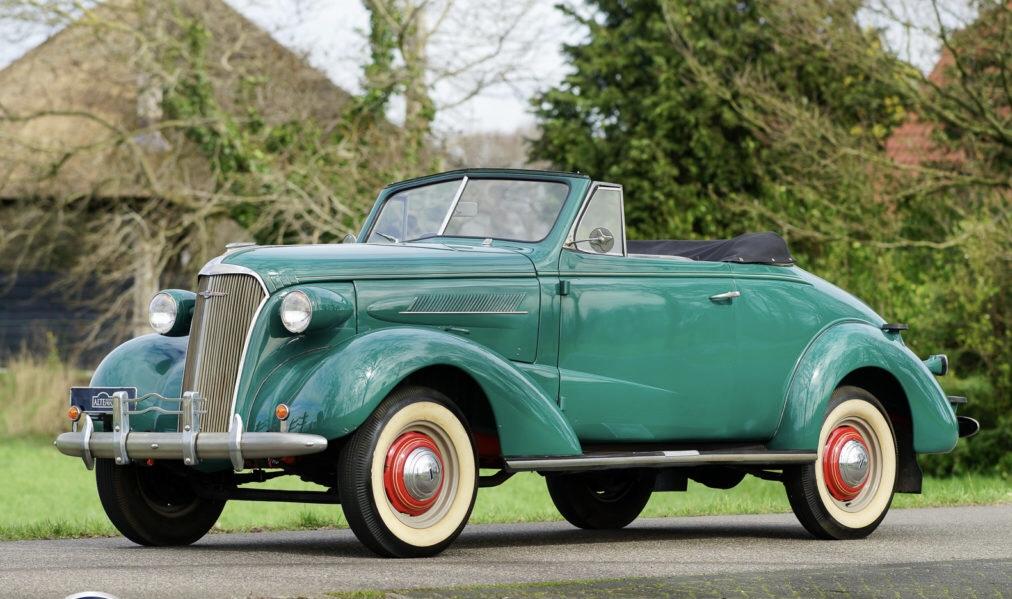
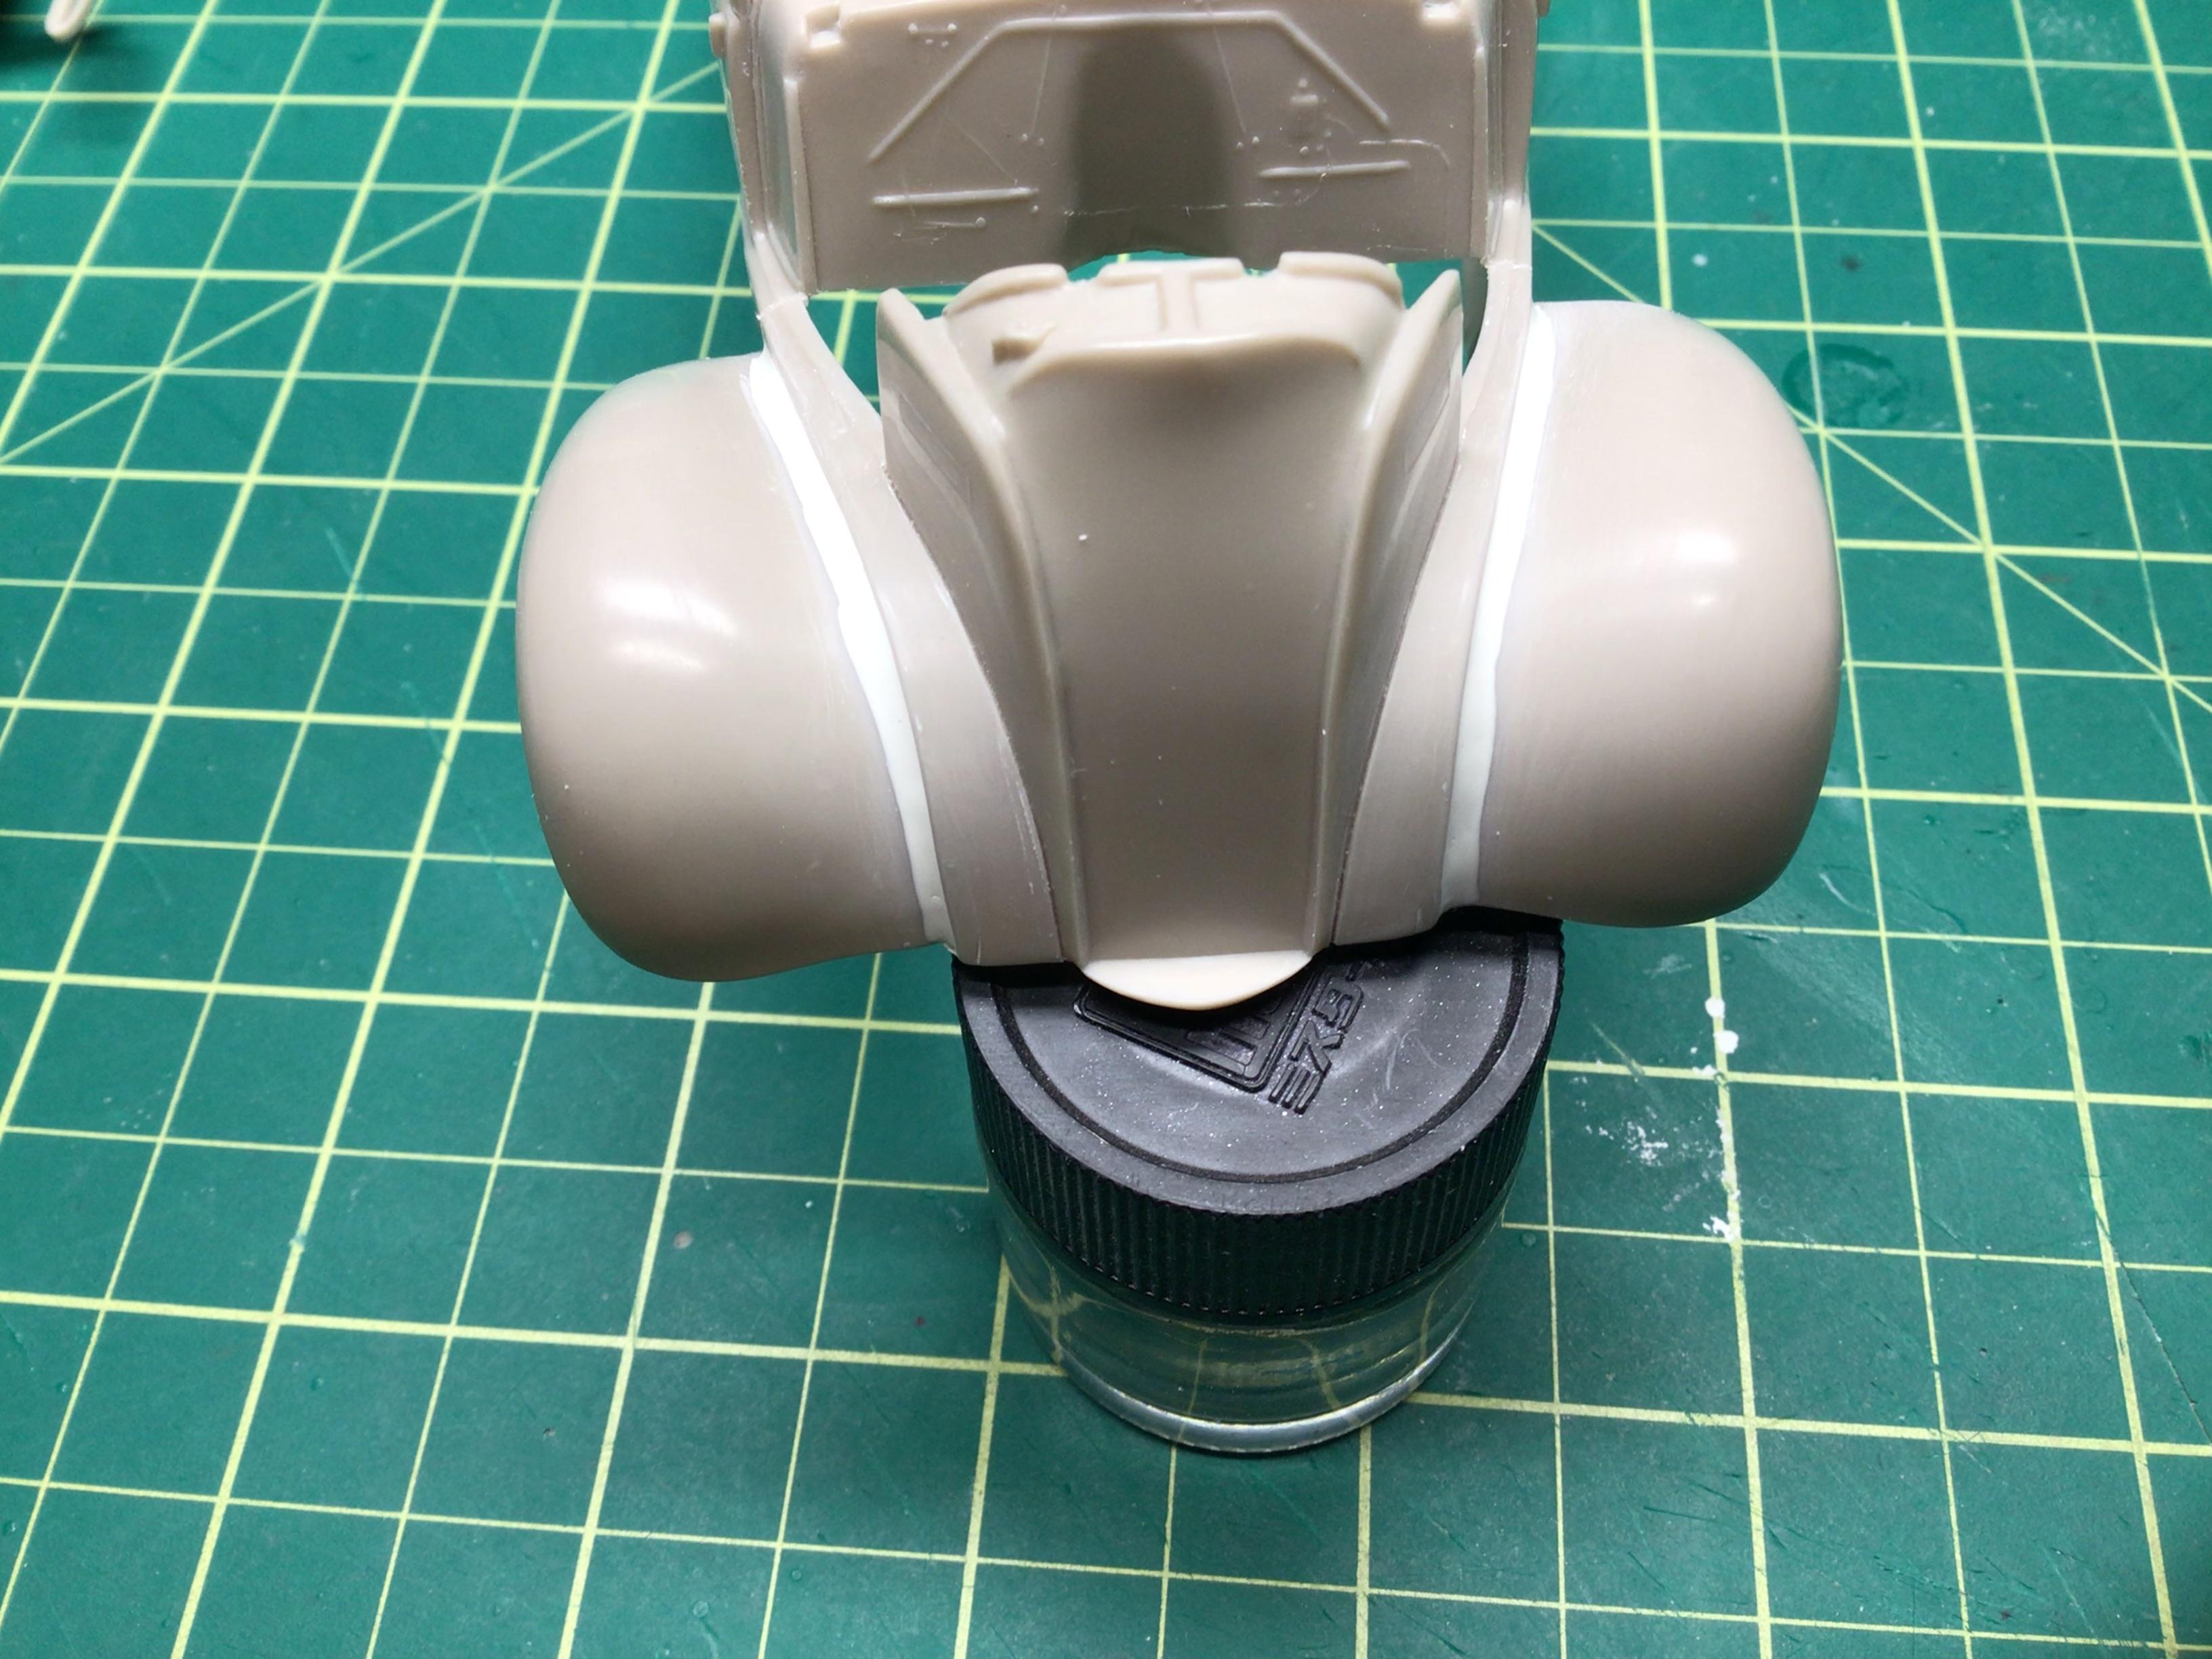
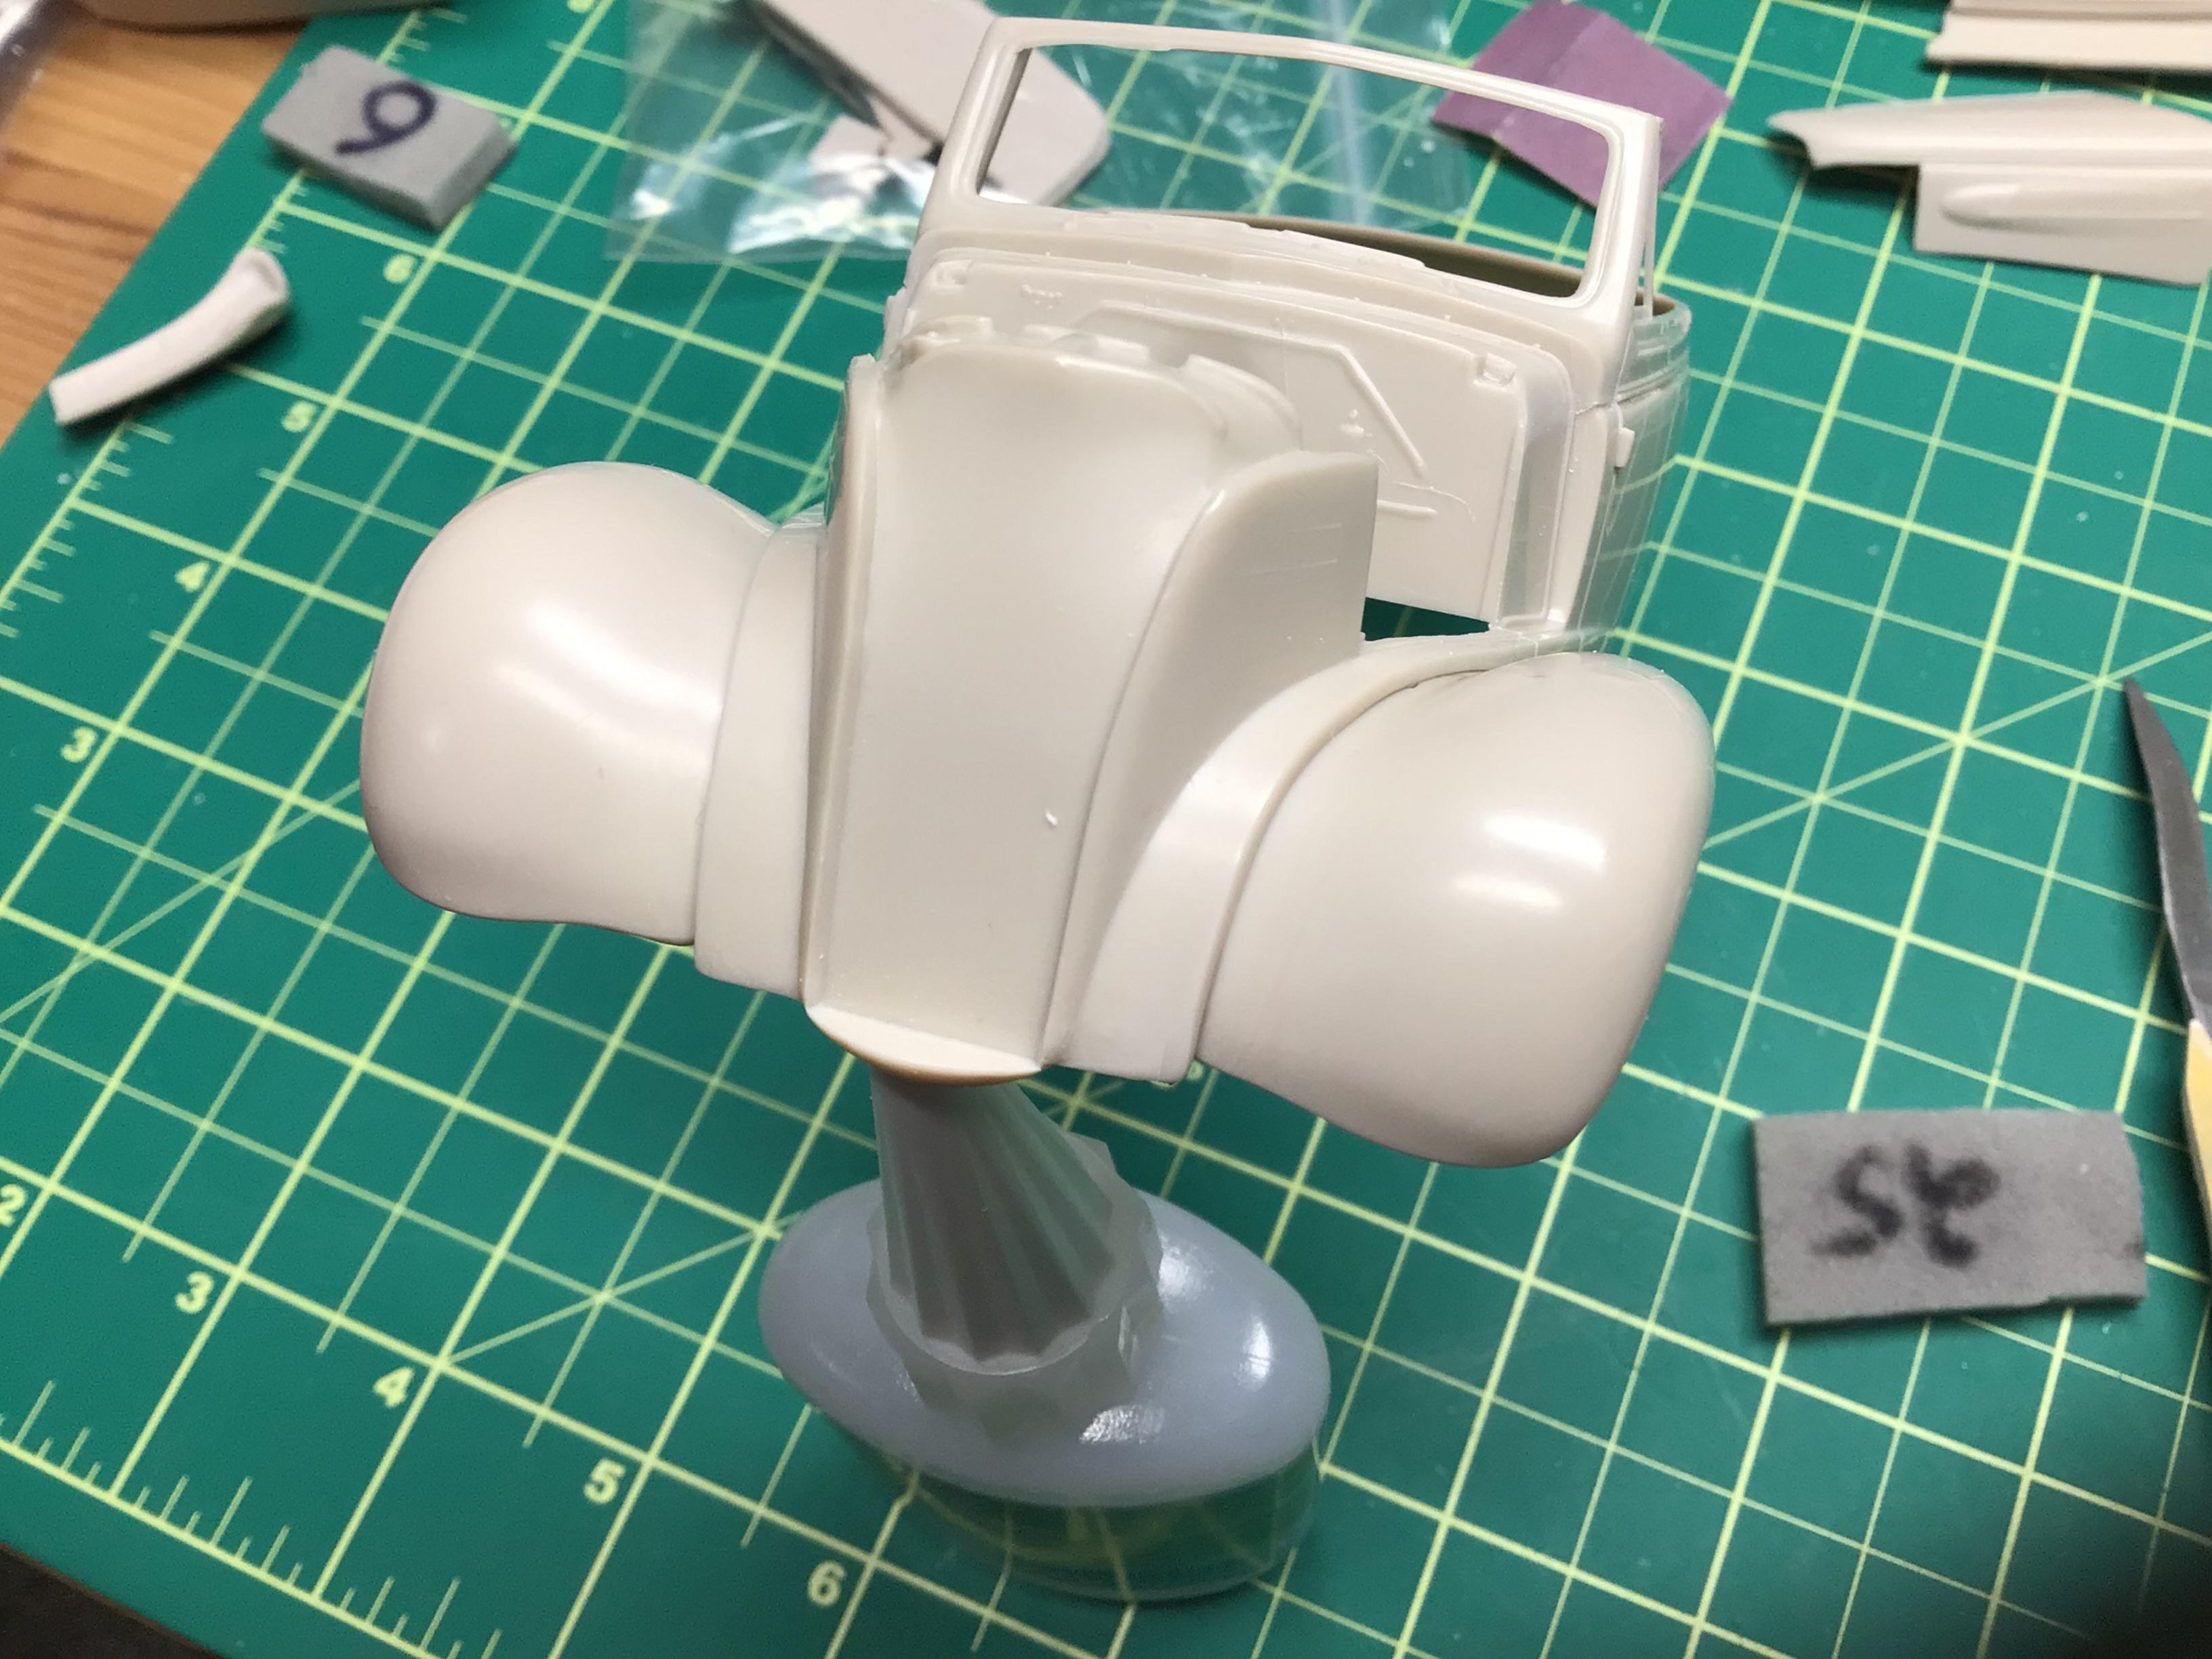
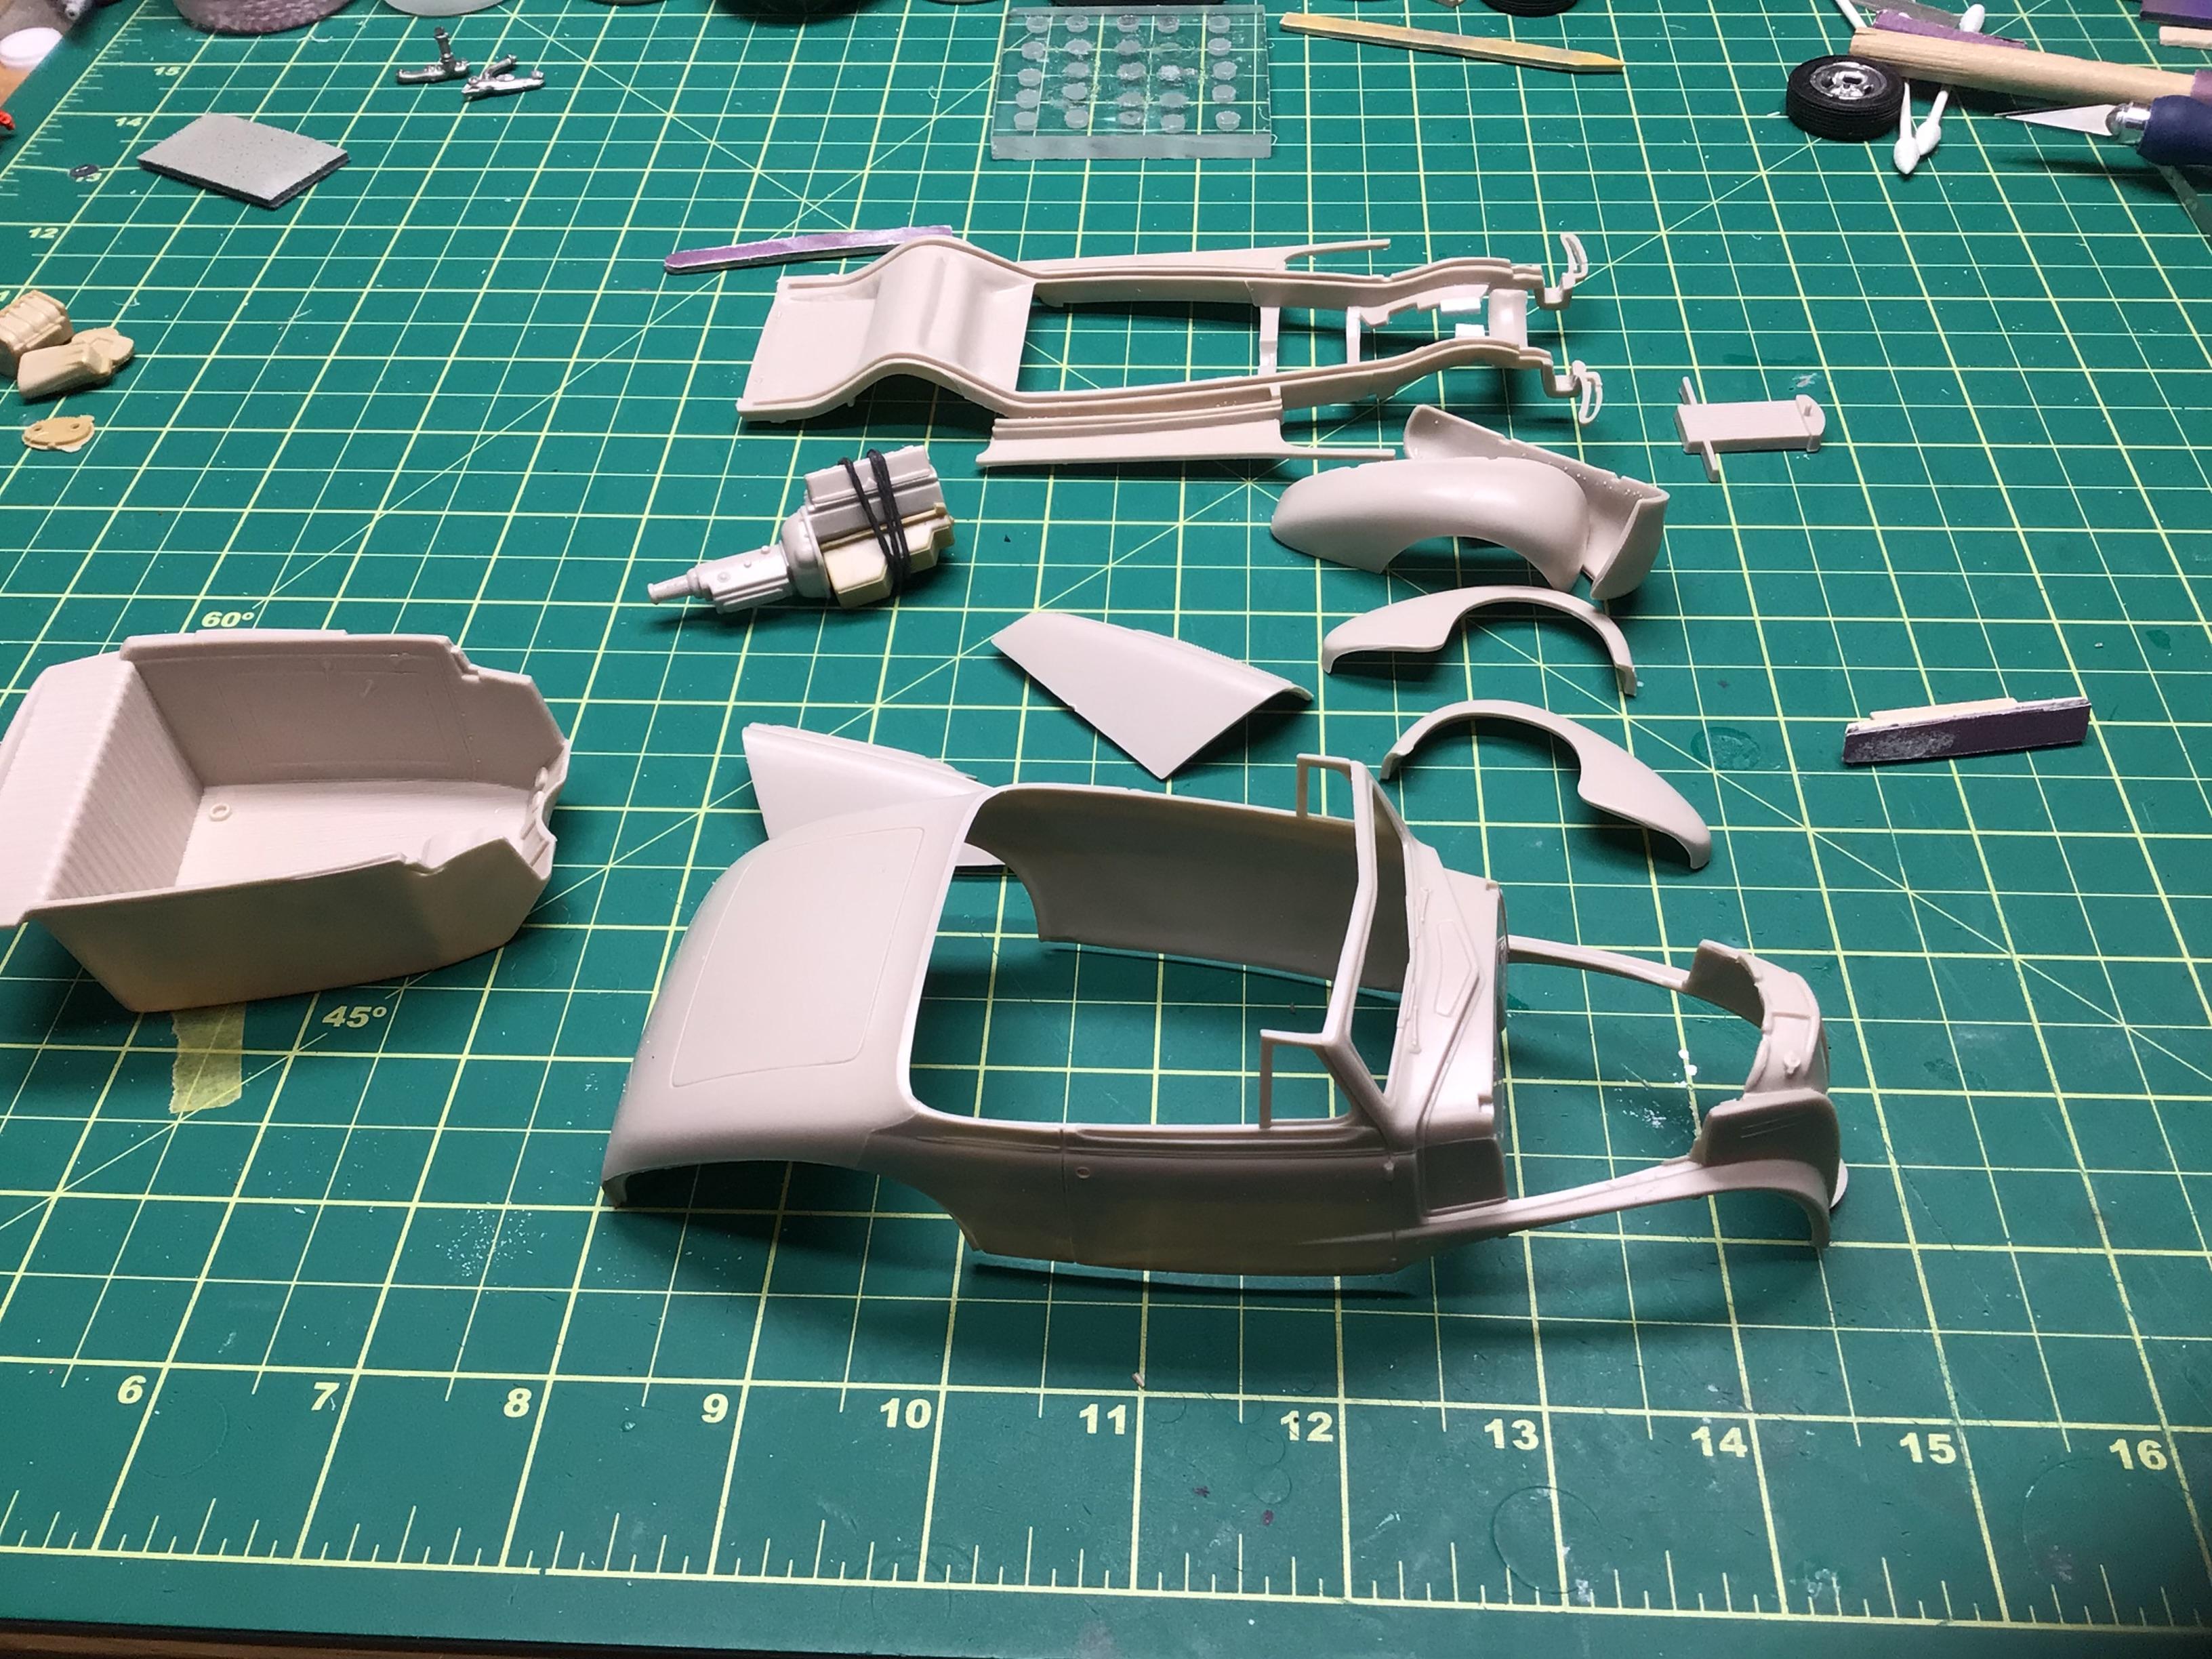
The raised sections on either side of the grill should actually be part of the fenders, so I scribed some new panel lines and used some Milliput to blend the transition. These were very handsome looking cars…more elegant than the Fords in my opinion.😎 While I was working on the running boards, I filed off the 3/4” bolts that AMT used to attach them and am kinda winging it with some new mounts. Undercarriage photos of original equipment are pretty scarce, and I don’t really care if I’m completely accurate.🤯 Edit: I think someone at AMT left the bolt head making machine on overnight.😬
-
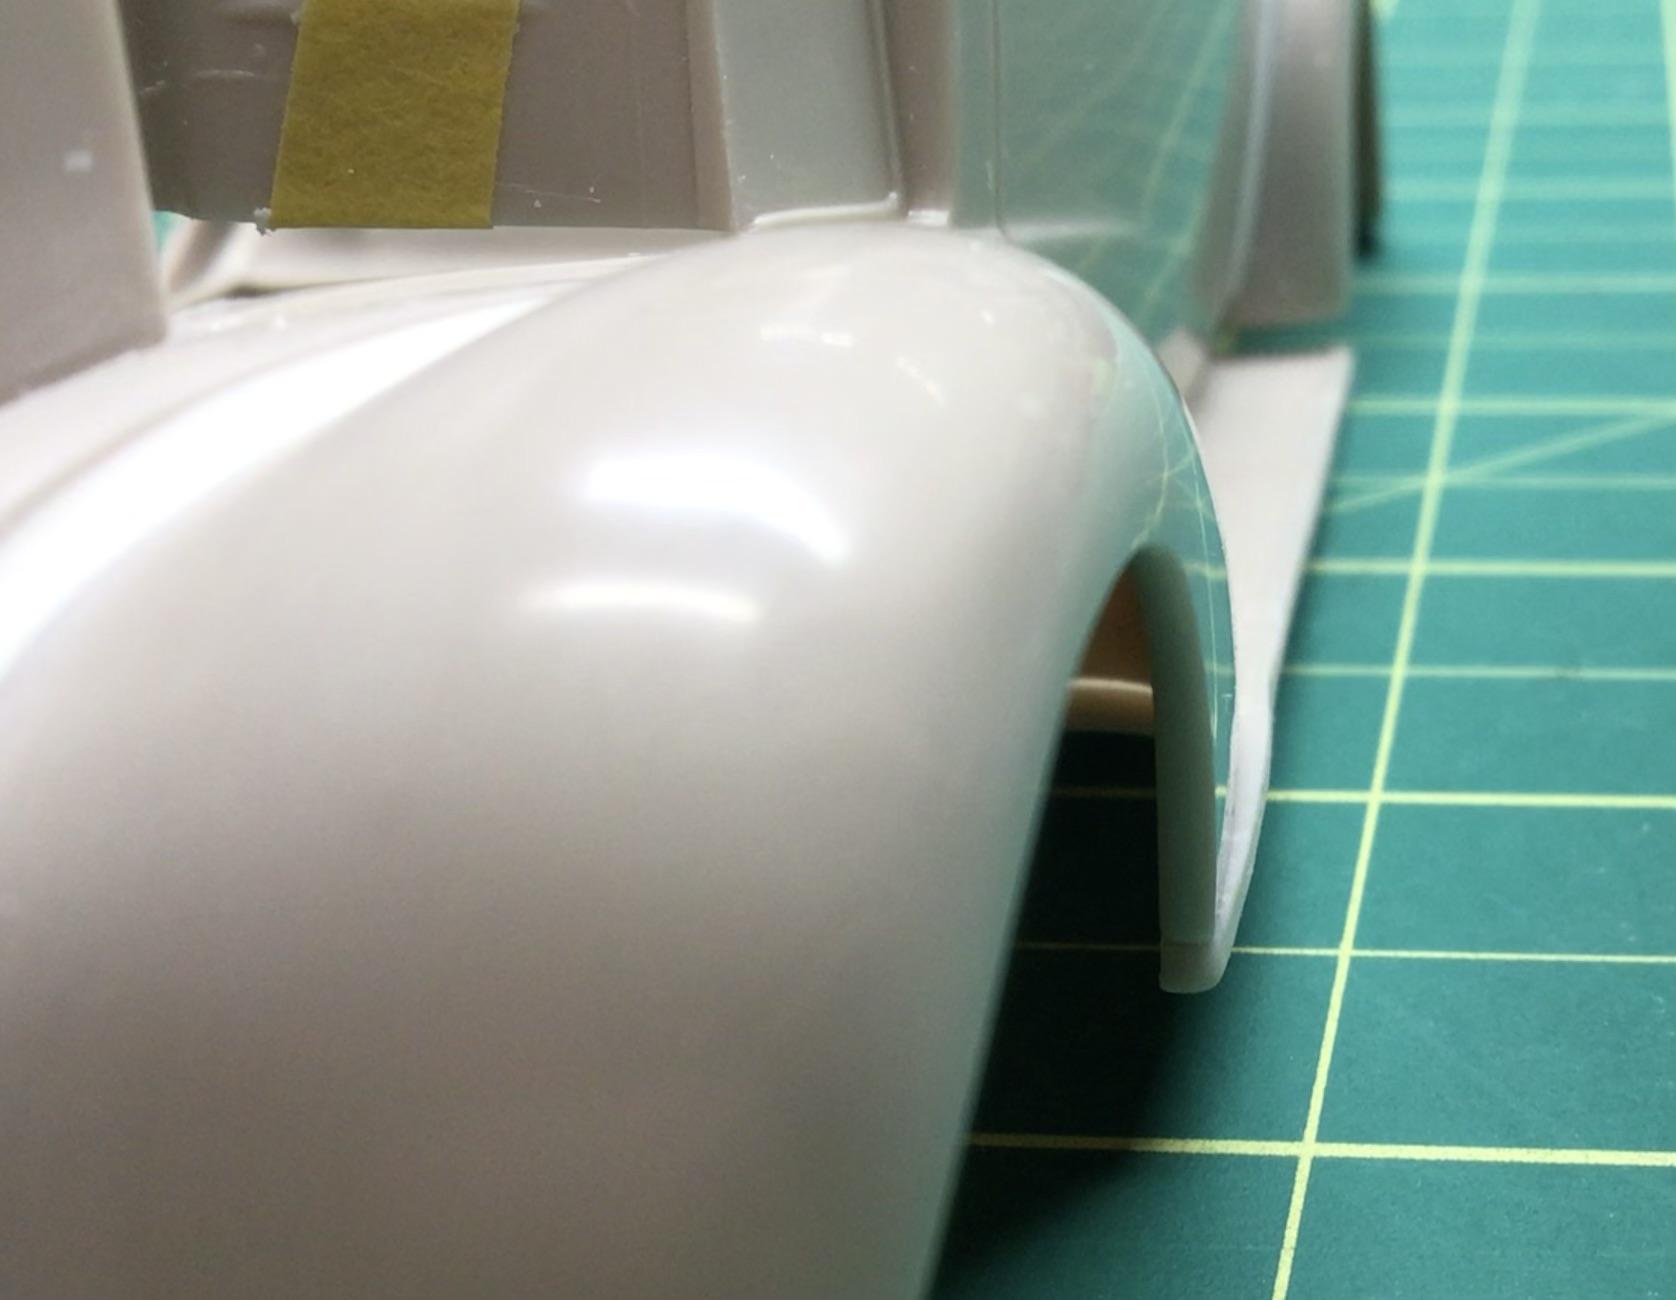
There are precious few early Chevys portrayed here, so when a club member offered this up for $5 I jumped on it.😬 It’s obviously not a great kit…but it does have potential I think with a bit of detailing. Edit: Little interest is no wonder…that is pretty pathetic box art!😳 I glued the fenders and inner fenders onto the body. And typical of older AMT kits, one side is waaaay thicker than the other.🥴 A first thing I need to address is the poor mounting of the body to frame/running boards….no more iffy location going forward.😜 Another thing I want to address is the running boards. The outer edges should be dead straight and not have a bulge approaching the front fender. So I filed them straight. I had to add some material to the passenger side to get there.🥵 And I added the chrome trim along the edge from .030” half round, as well as the missing bead that should go halfway around the rear fender.
-
Well it does look BITCHIN’ ! I thought that might get censored.🥴
-
It’ll probably never see the street Jim.🙄 It looks female dogg’n.👍 A dab of back paint in those steering wheel holes and no one would notice.😜
-
If you’re getting repellent out….you grabbed the wrong can.😳
-
Everything is coming together beautifully!😎 I especially like the header modifications.👍
-
Jewels are a very lucrative commodity.
-

Anyone here tried gloss black primer?
NOBLNG replied to Monty's topic in Model Building Questions and Answers
I have not tried it, but I can’t see where a gloss finish on a primer would be beneficial? -
Putting the can in the freezer might help to reduce pressure. I punctured 5 empty Mr. Hobby cans today so I could squash them and throw them in my scrap metal pail. Keep the can upright, DO NOT shake it, puncture it close to the top with a very sharp awl or maybe a darning needle. Just a very tiny hole is required to let the propellant out. Once the pressure is gone you can enlarge the hole and pour out the paint. I’d stir it by swirling the can around a bit before pouring. The paint will still have some propellant dissolved in it so don’t put it in a closed airtight container or you’ll have a mess when you open it.😬 I have sprayed decanted paint immediately though the airbrush…it does not need to “gas out” before spraying…just before storing.
-
Right hand drive vehicles are going to be a new experience for me this spring when I hopefully go to Ireland and Scotland.
-
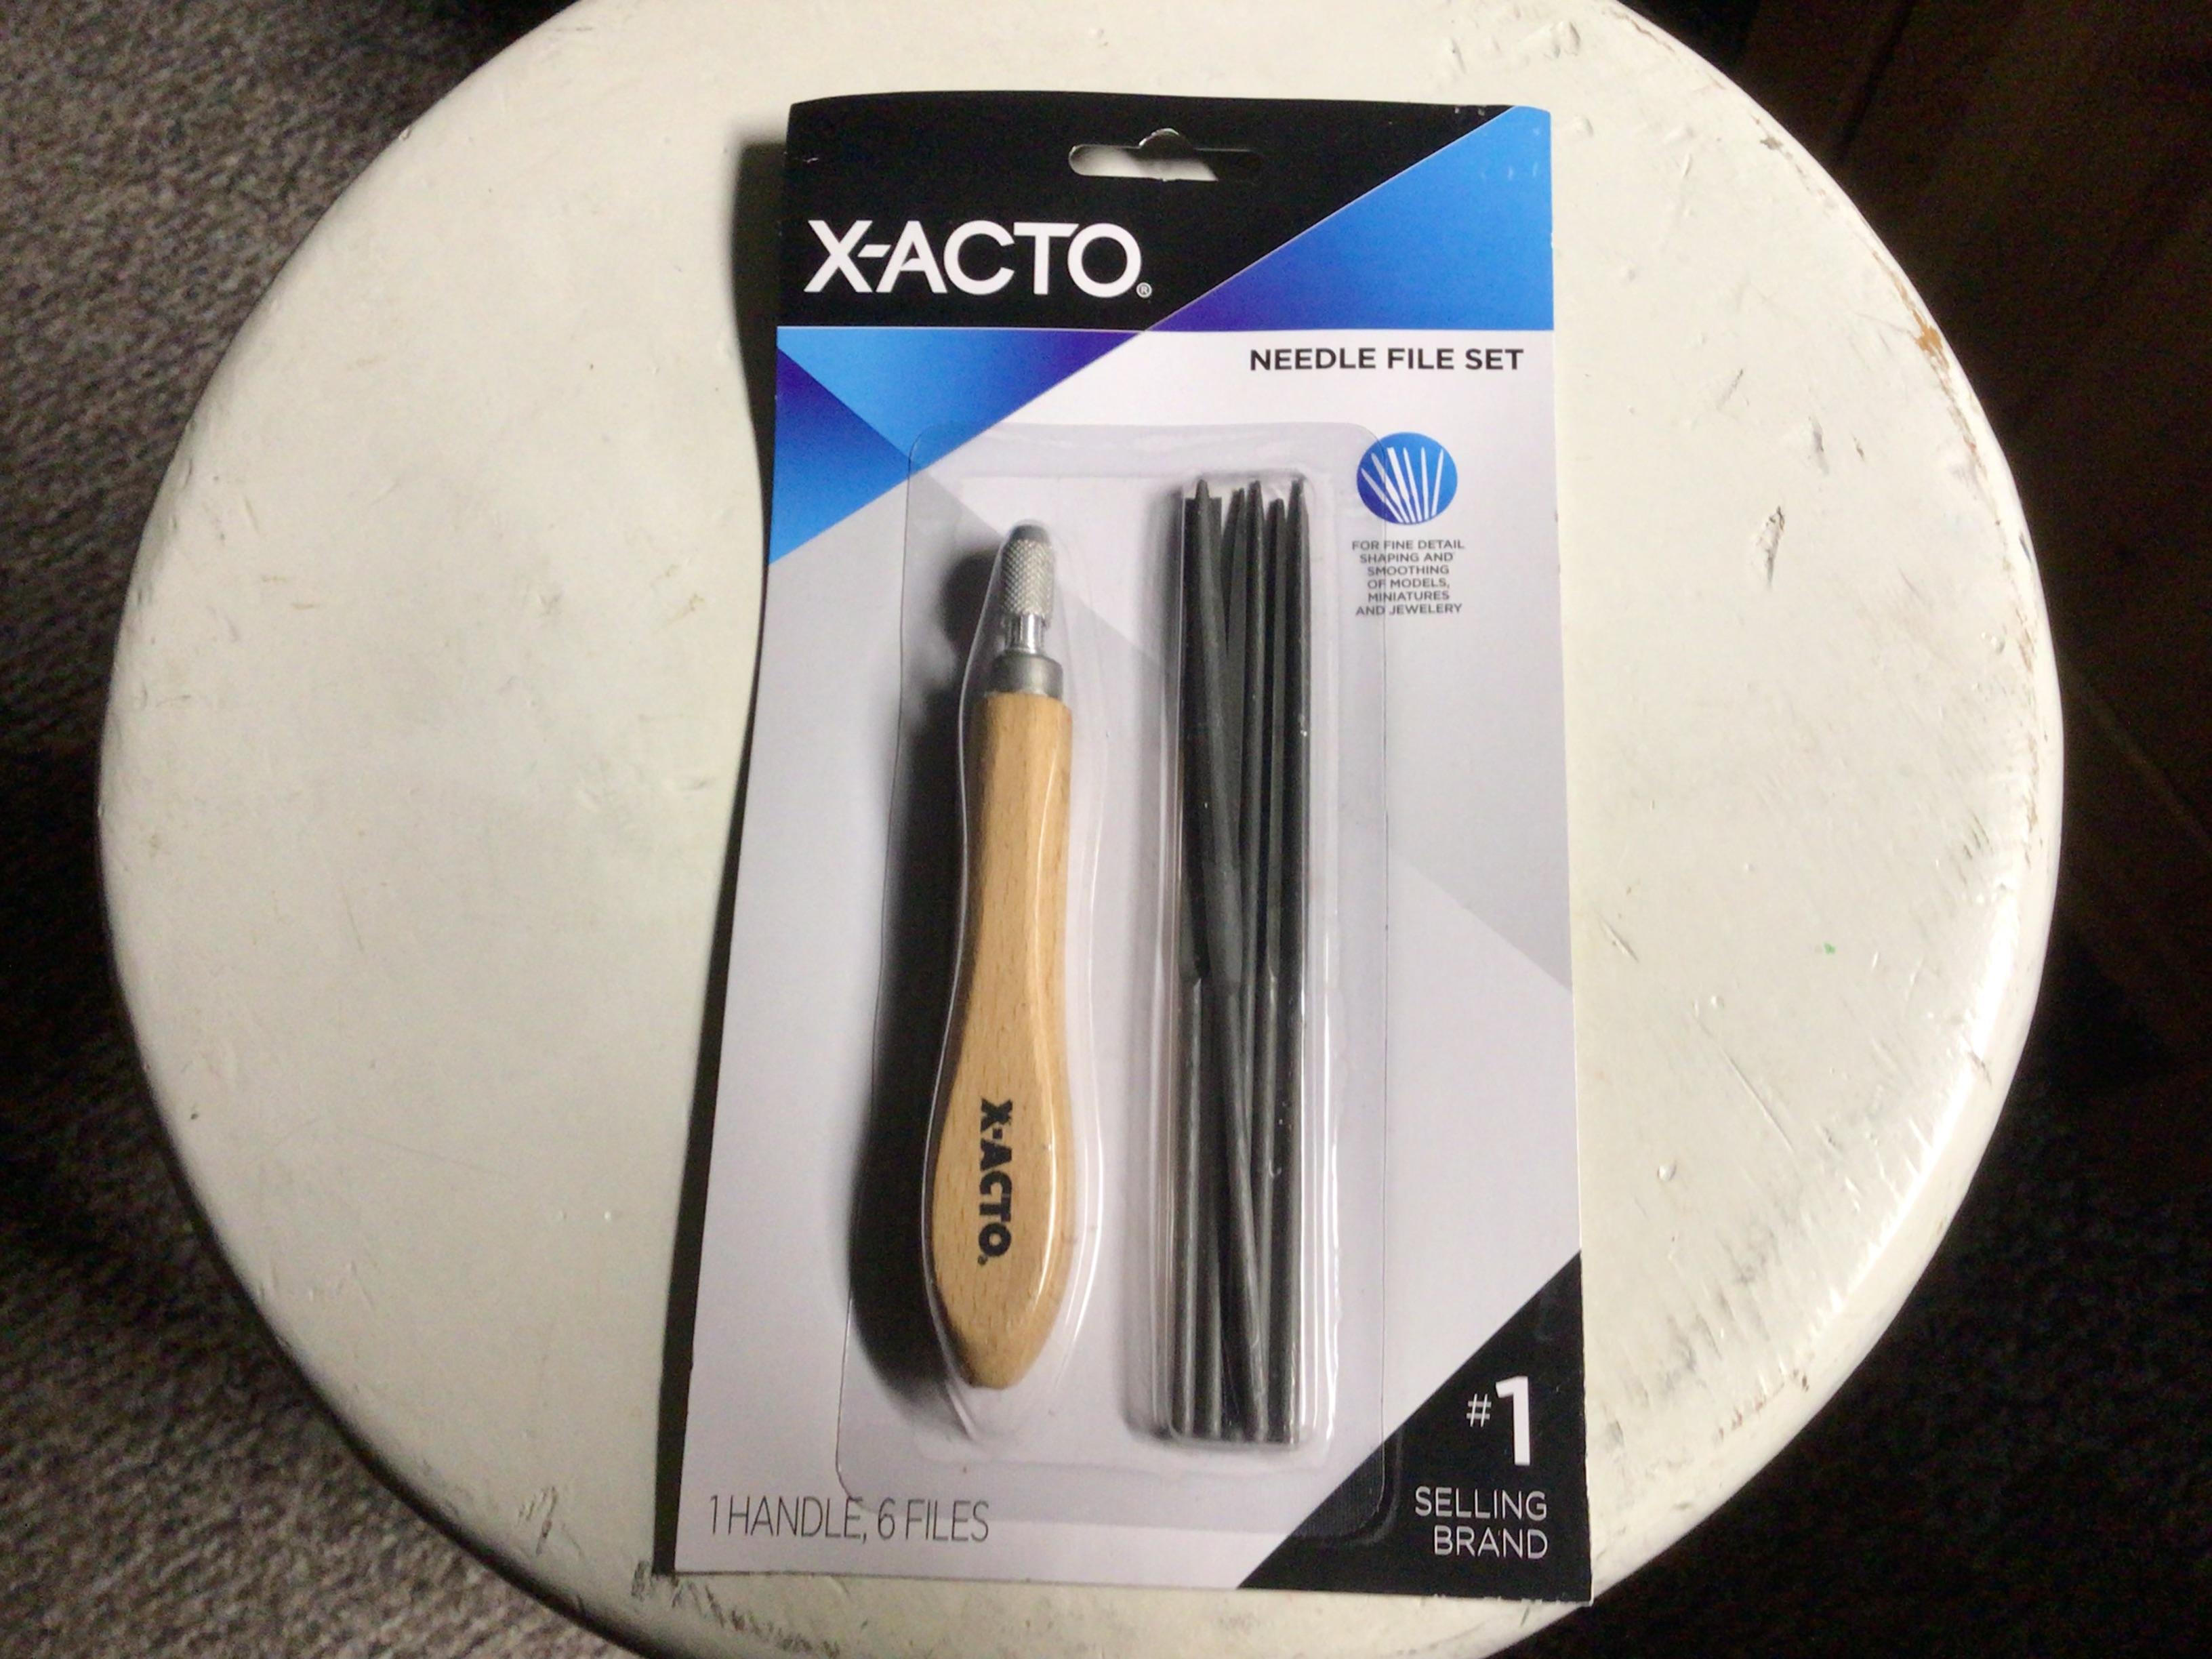
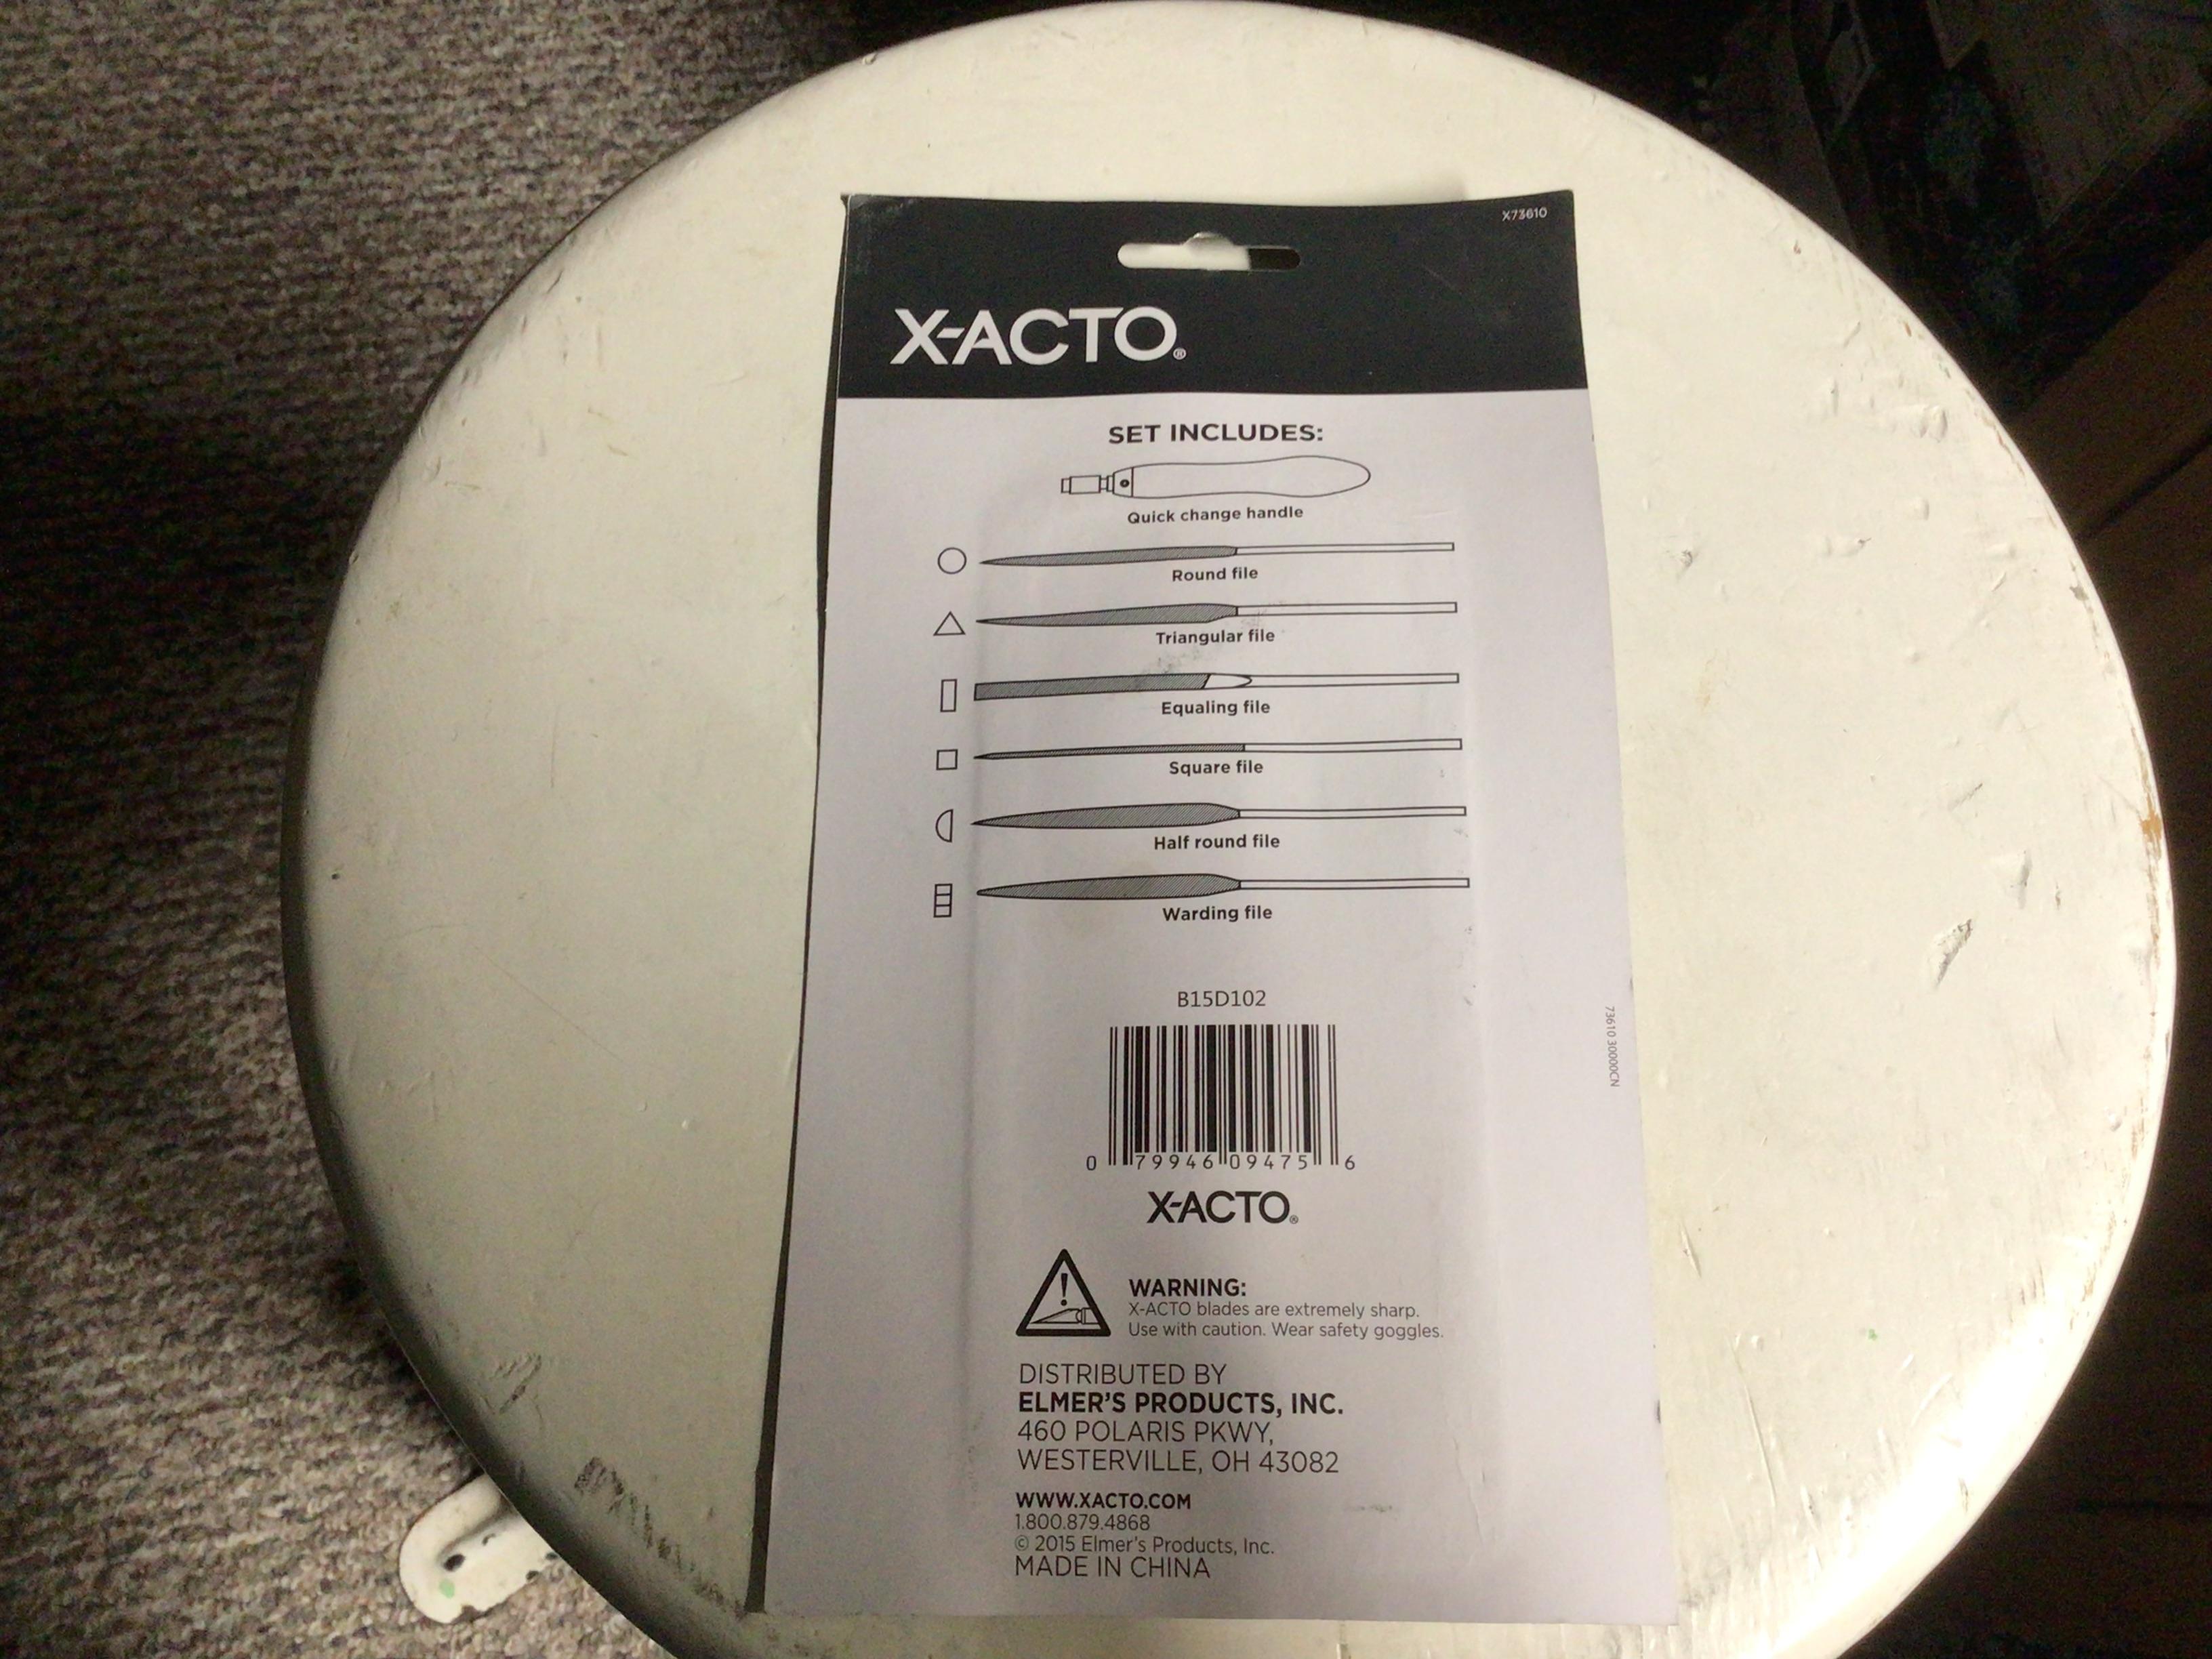
Picked this up at Princess Auto for $8. There are two round files and no “warding” file in the package though.
- 39,028 replies
-
- 9
-

-
- johan
- glue bombs
- (and 1 more)
-
You should be able to sand “just down to” the white paint with a fine enough sandpaper and a very light touch. The trick would be to stop before going through the white which may be very thin. Then the white would need to be polished back to match the surrounding surface.
-
glue for resin to styrene
NOBLNG replied to gary jackson's topic in Model Building Questions and Answers
The only other option would be epoxy, but that would squish out and require some cleanup. Thin CA would be better. -
Your bodywork looks very nice!👍
-
Rolls Royce Silver Cloud II Drophead Coupe
NOBLNG replied to Perspect Scale Modelworks's topic in WIP: Model Cars
Interesting project. It looks like updating that interior might be the toughest part…they don’t give you much to work with. -
Weekends are something that I don’t look forward to anymore now that I’m retired.
-
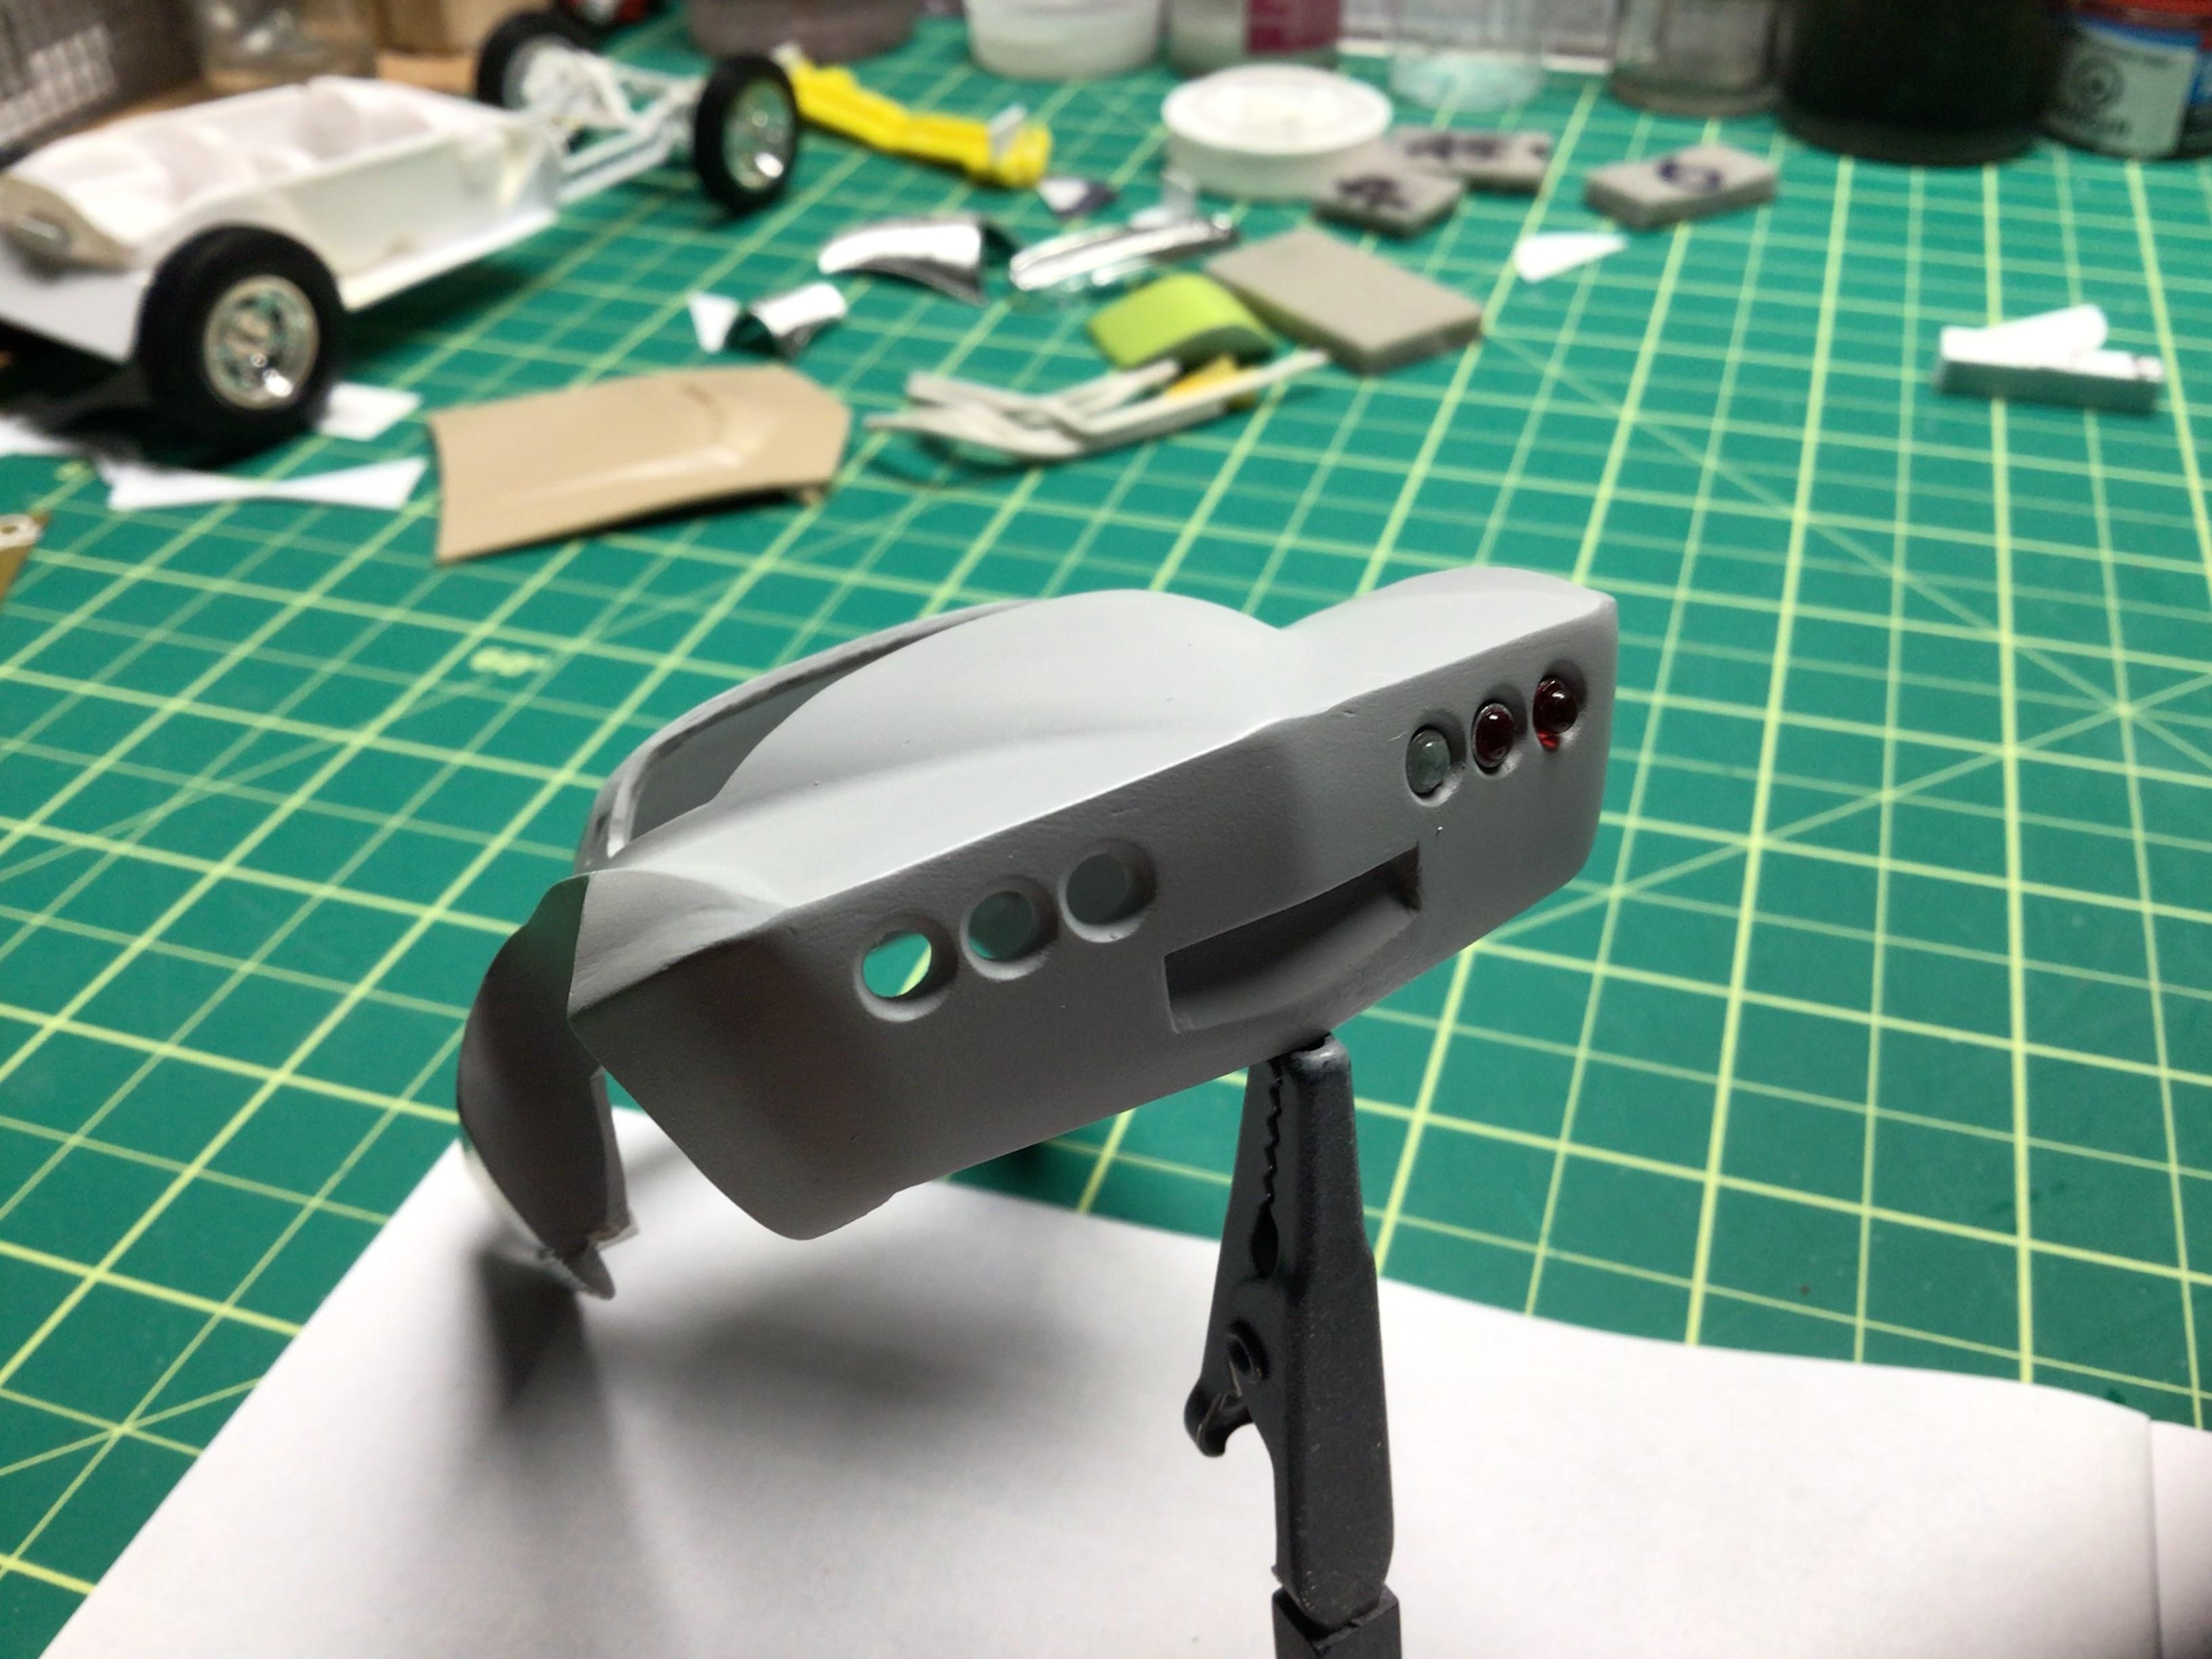
Thanks Jim.😎 The inboard pair could be ordered as backup lights as an option and became standard in ‘66 apparently. Then for ‘67 they went to a rectangular one above the plate. The third pair of light are a custom feature.
-
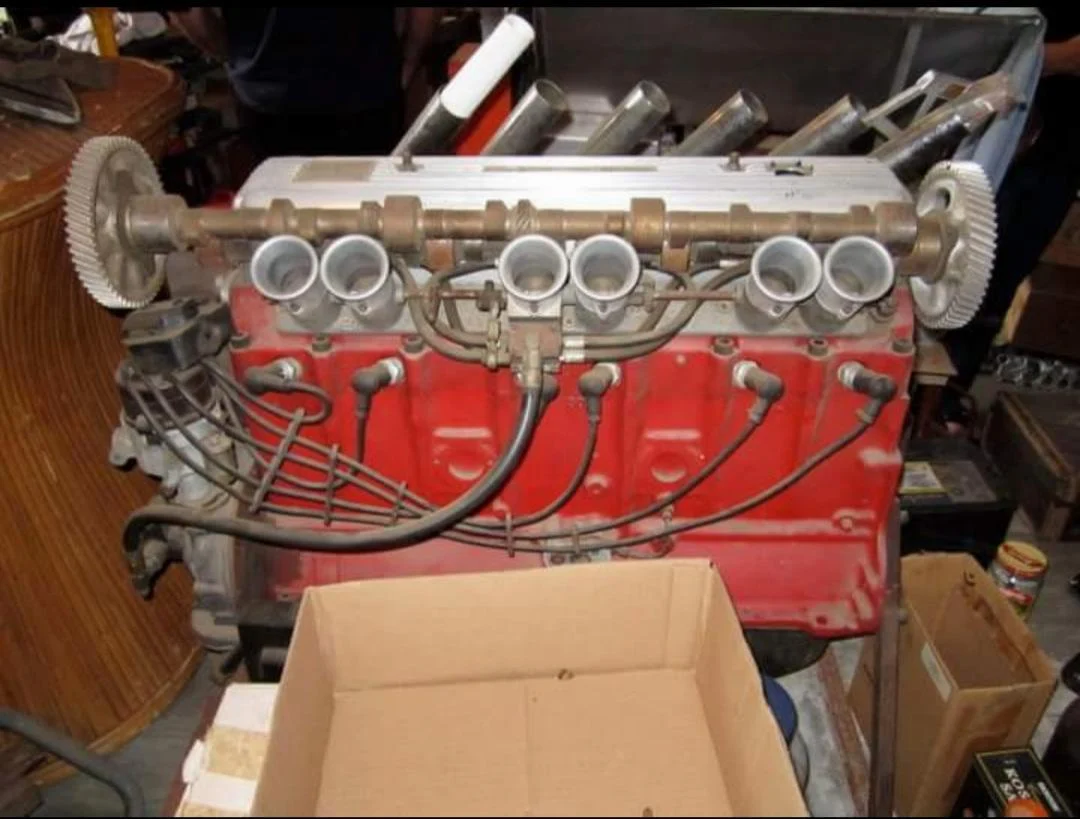
A few more pics I’ve run across. Still no dual plug heads though.😕
-
The wife and I watched the Lioness series too and quite enjoyed it.👍 One thing I can’t stand in a lot of action movies is when the bad guys are spraying bullets all over the place and the hero is doing cartwheels across the room and not getting hit by anything.🙄
-
59 Chevy Task Force
NOBLNG replied to Jürgen M.'s topic in WIP: Model Trucks: Pickups, Vans, SUVs, Light Commercial
Nice work!👍 -
Delay reading that book I did on how to conquer procrastination.
-
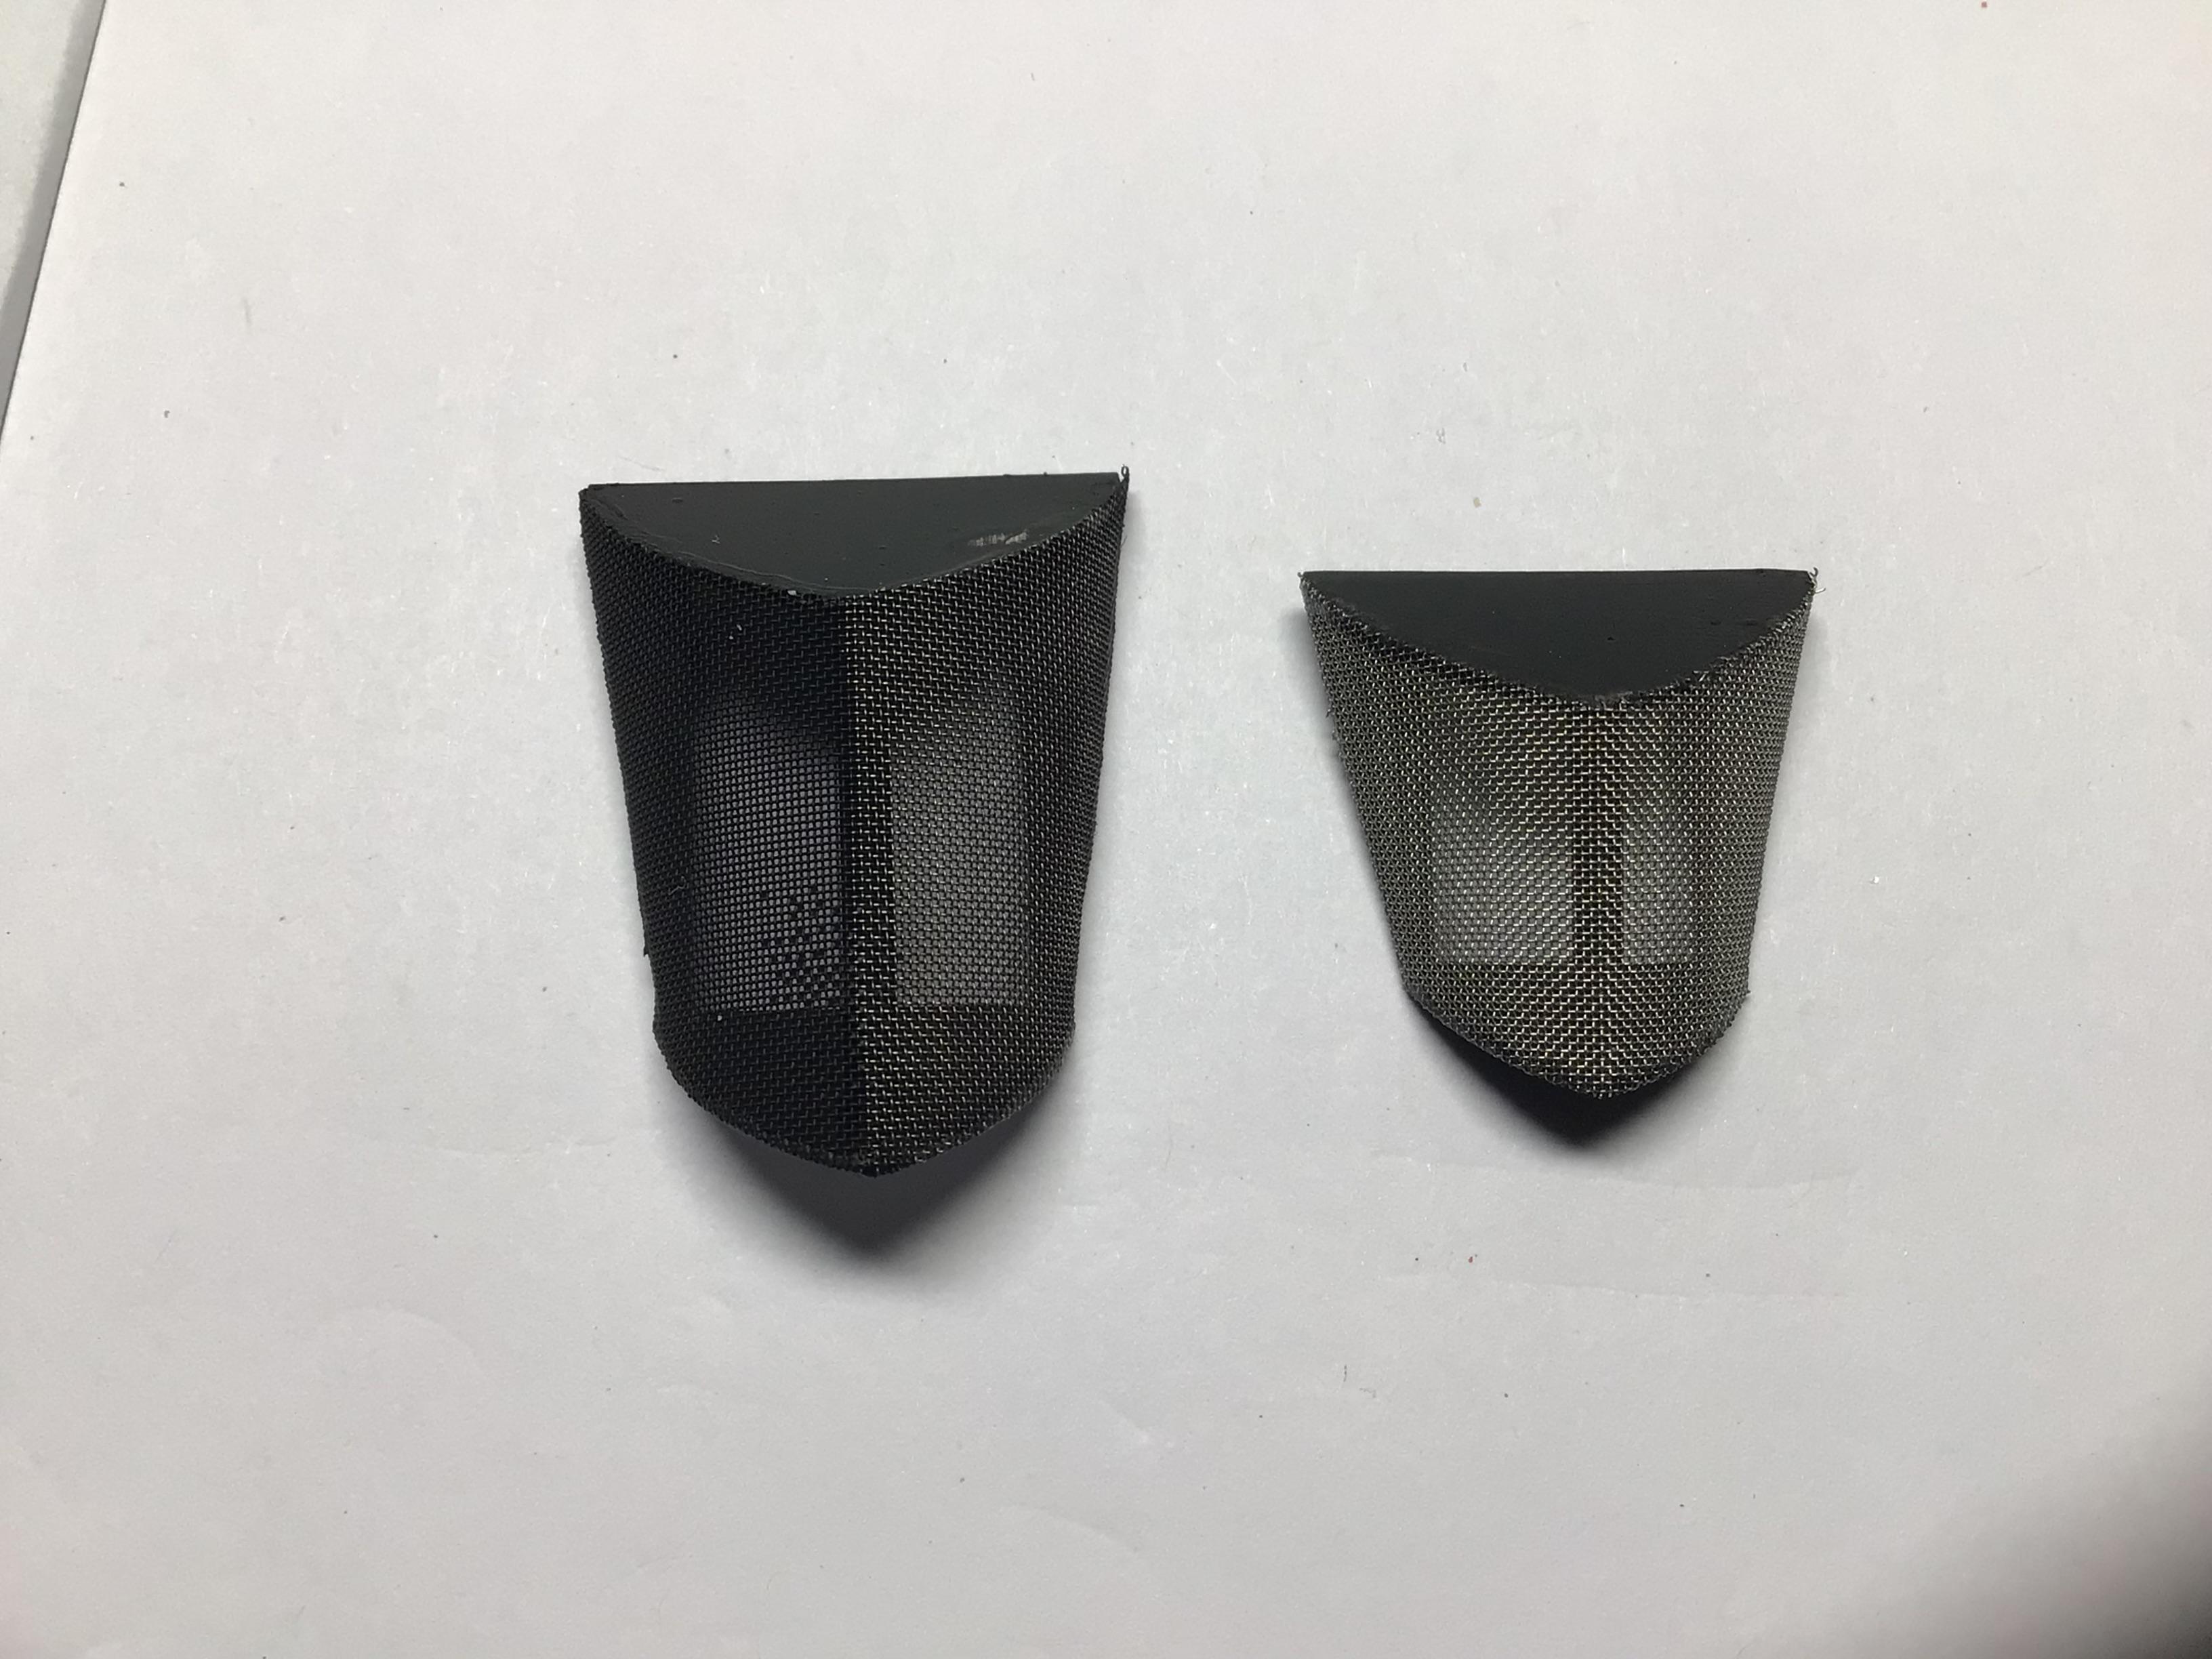
I’m thinking I will paint the mesh flat black and the wraparound trim body color. I did a test with my prototype grill. I tried painting it black then wiping the paint off with a Q-Tip, but it just makes it look dirty.😕 And a bit of contouring on the tail light holes and some preliminary attempts at fabbing some tail light lenses.
-
I love that yellow, and the stance is killer!😎