NOBLNG
-
Posts
10,231 -
Joined
-
Last visited
Content Type
Profiles
Forums
Events
Gallery
Everything posted by NOBLNG
-
School me please on the finer points of polishing paint to a mirror finish.
-
Nope! I have one and that’s not it.🤔
-
That is quite the transformation. Well done so far.👍😎
-
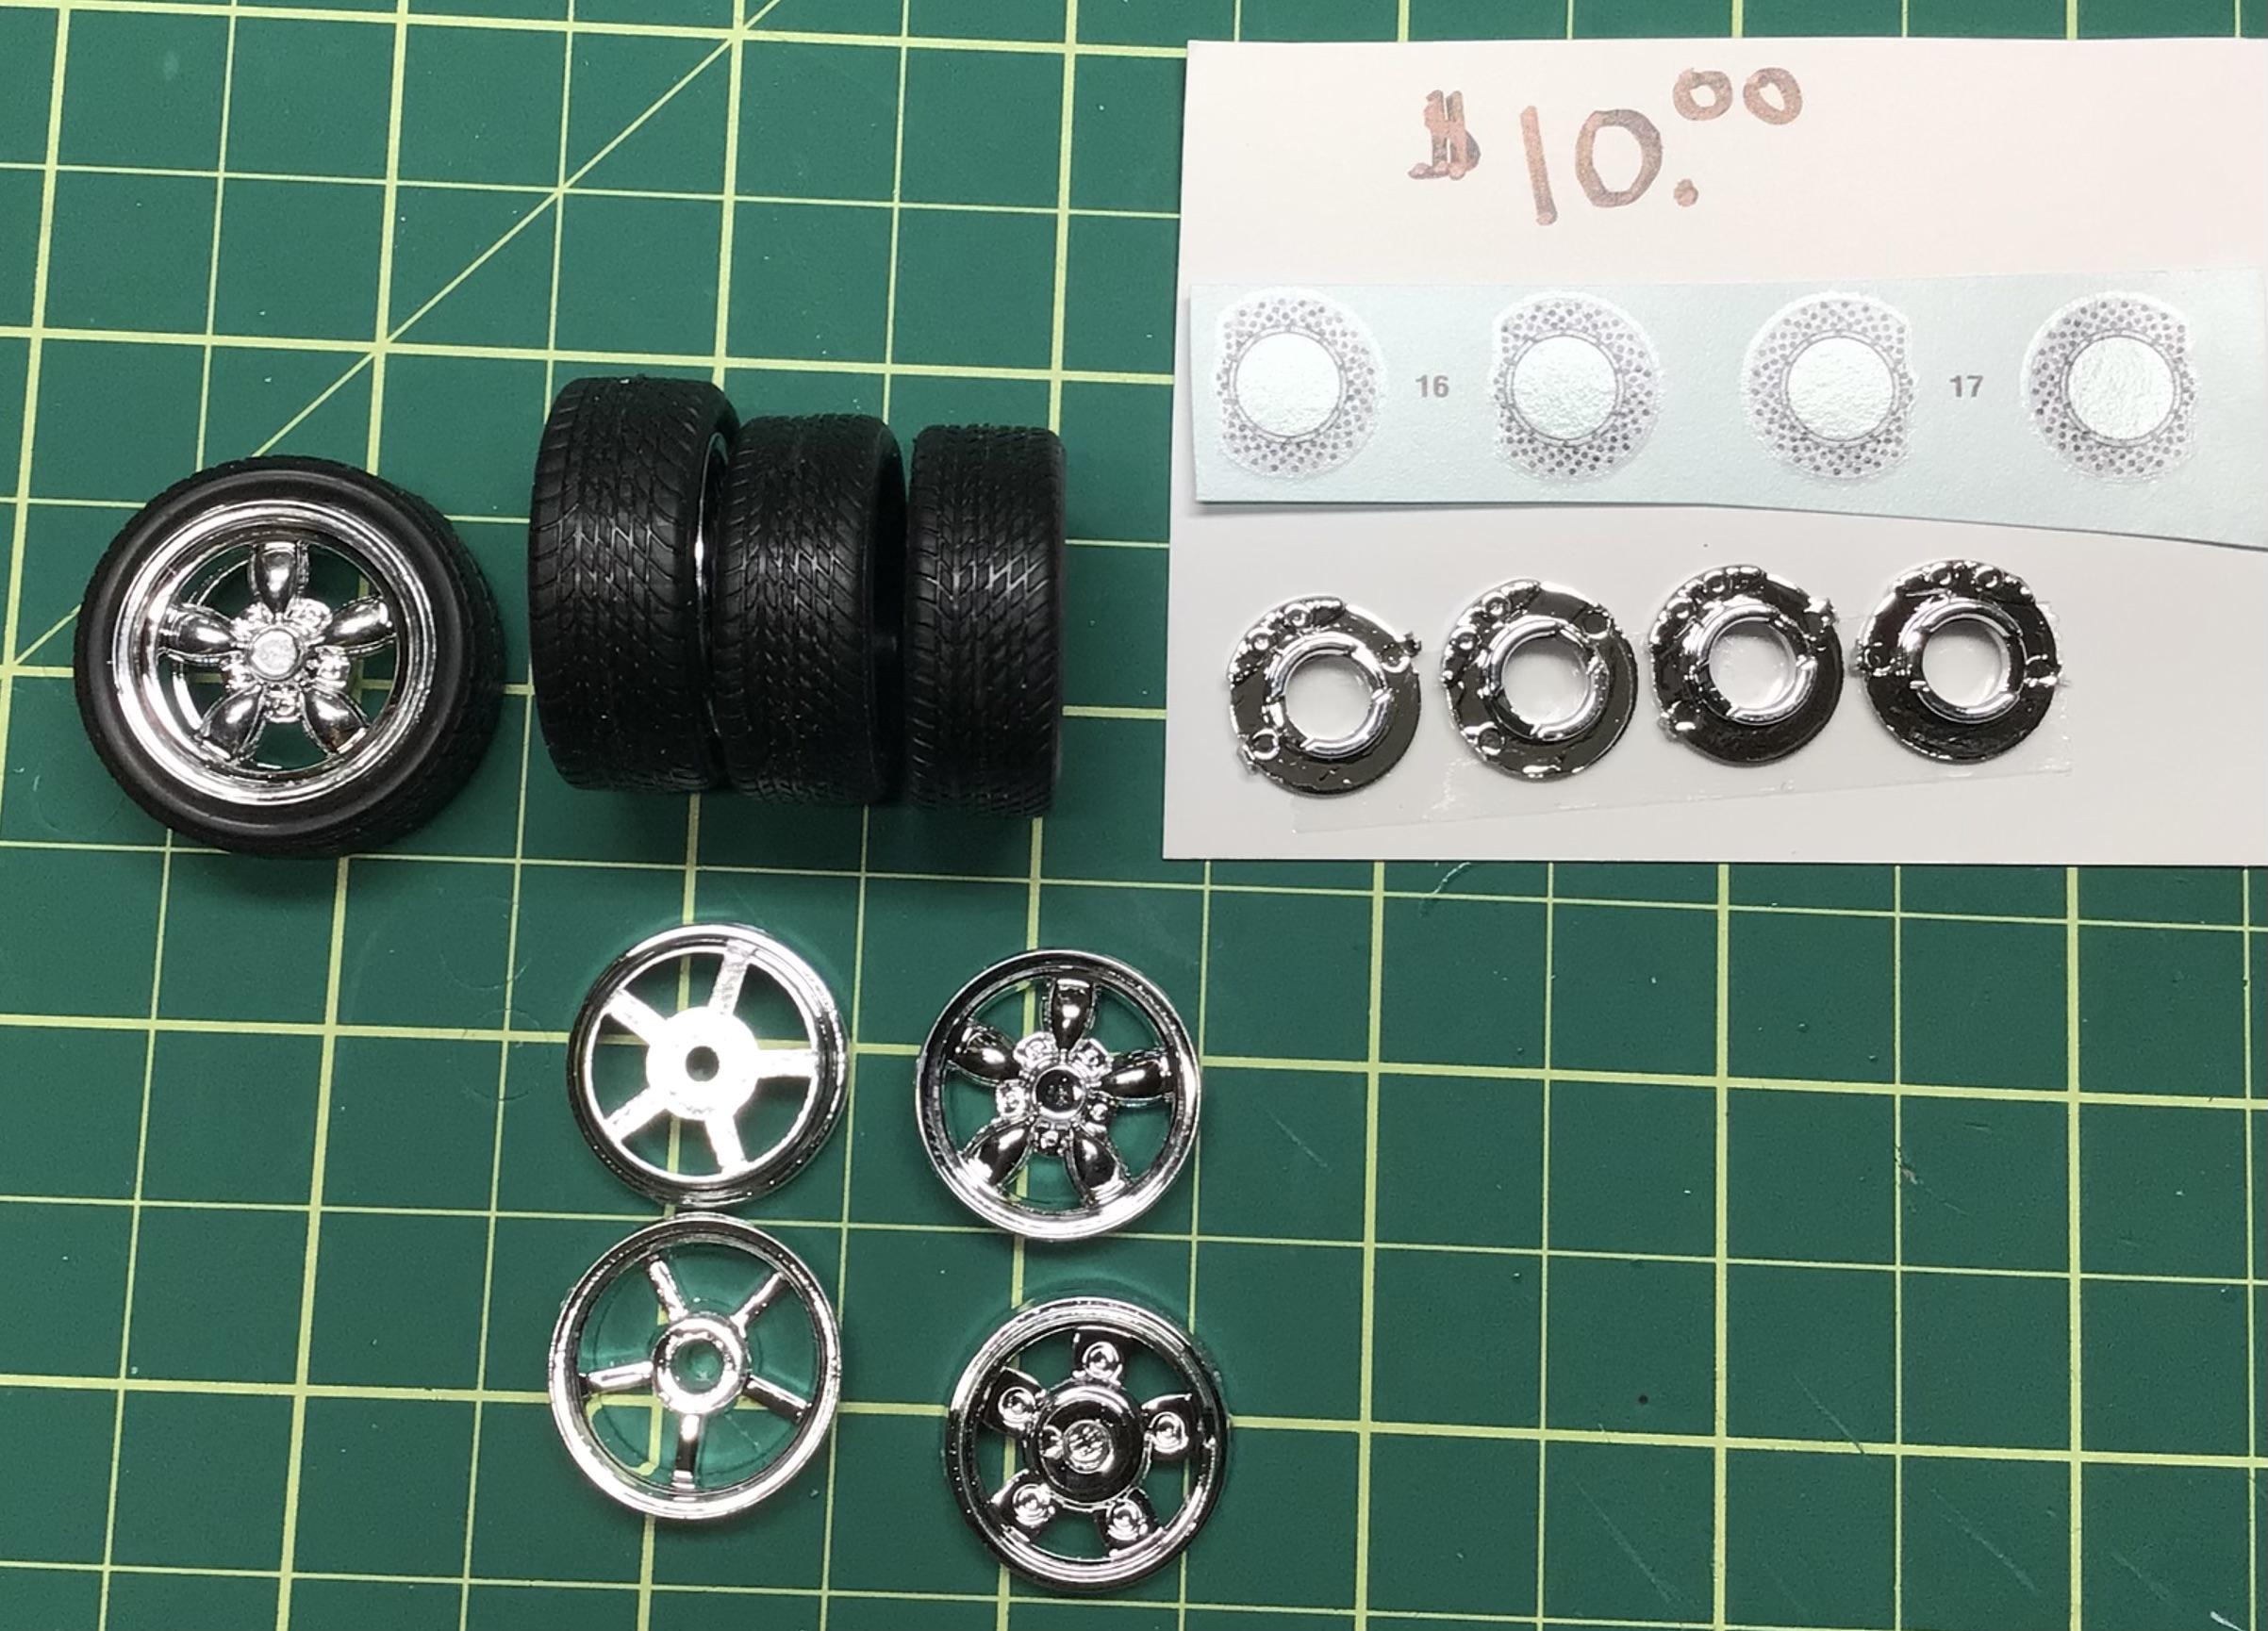
Wow, lots of fabrication work going into this one Thomas. I like the looks of the car and look forward to seeing more. Those wheels look nice, where are they from?
-
Better not steal that sign or you might wind up in jail.
-
Thanks Mark.👍 You are correct….I have a ‘66 El Camino in the stash and there is another set in there along with the complete decal sheet.🙂
-
Don’t stray like I did…just follow the instructions Len and it should go together nicely.🙄 I’ve only found one really critical review…everyone seems to say it’s a nice, although dated, kit.
-
What kit are these big & littles from? I’m not sure if the discs belong with them? Thanks, Greg.

-
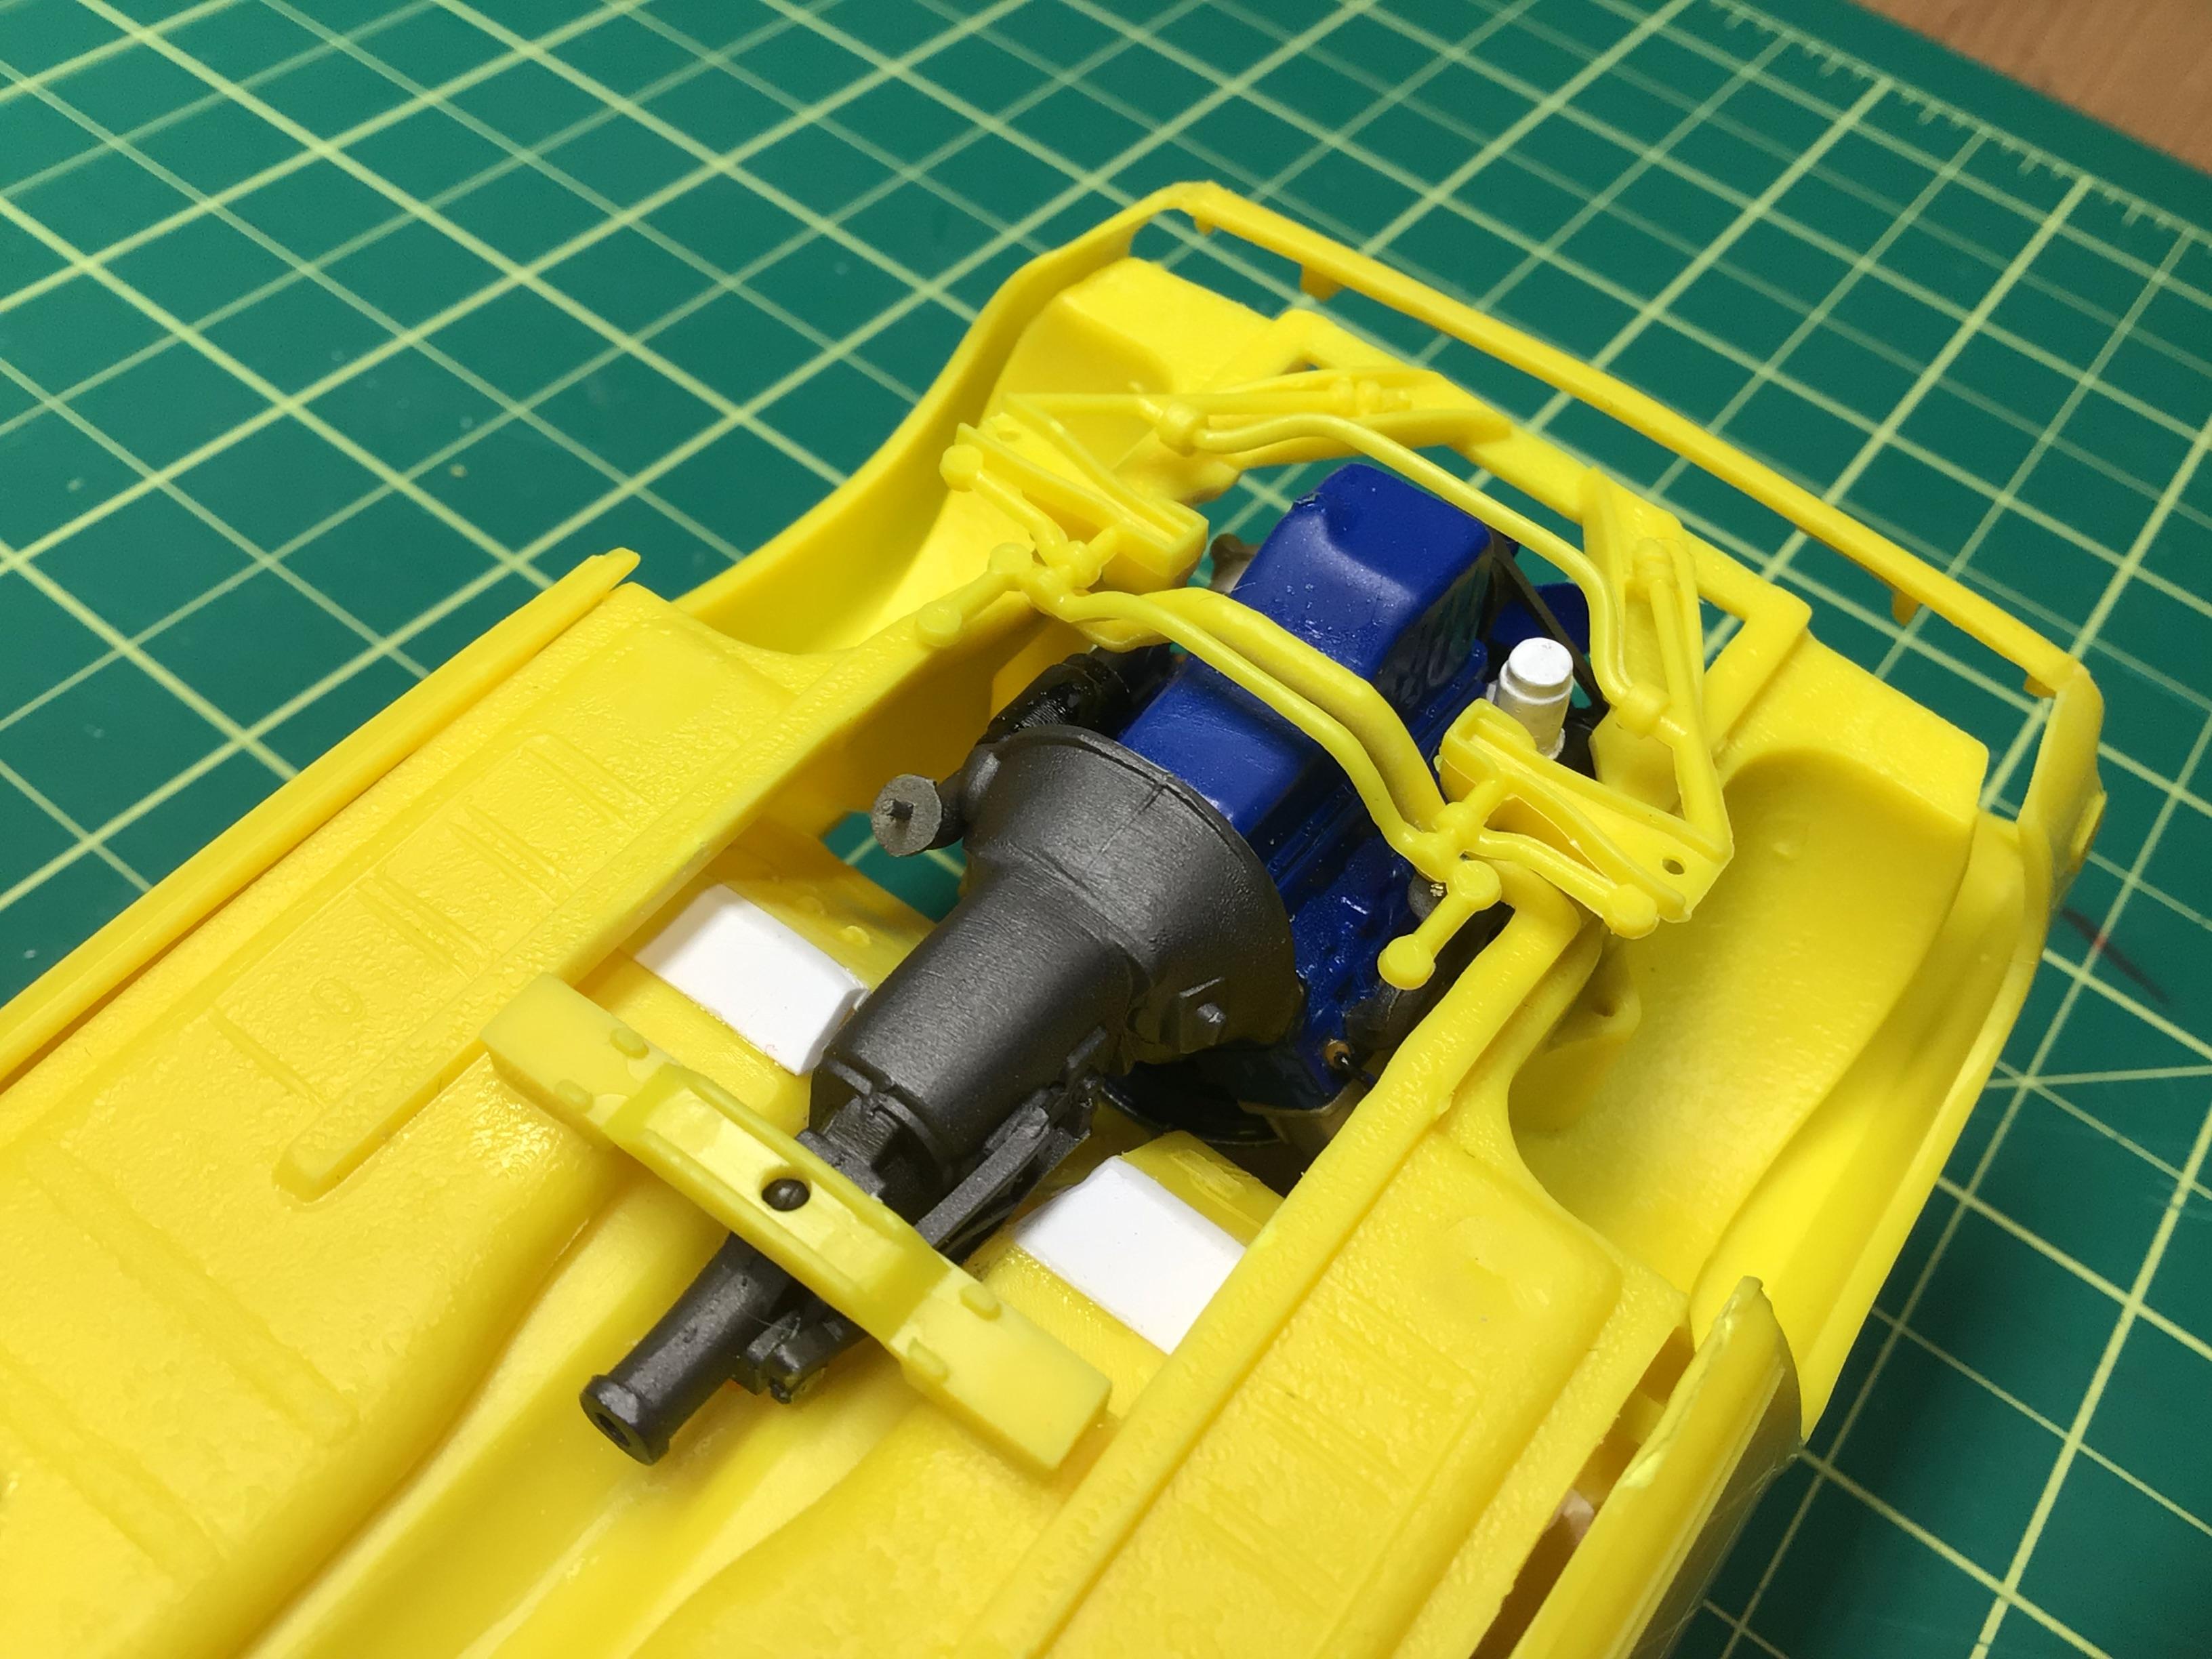
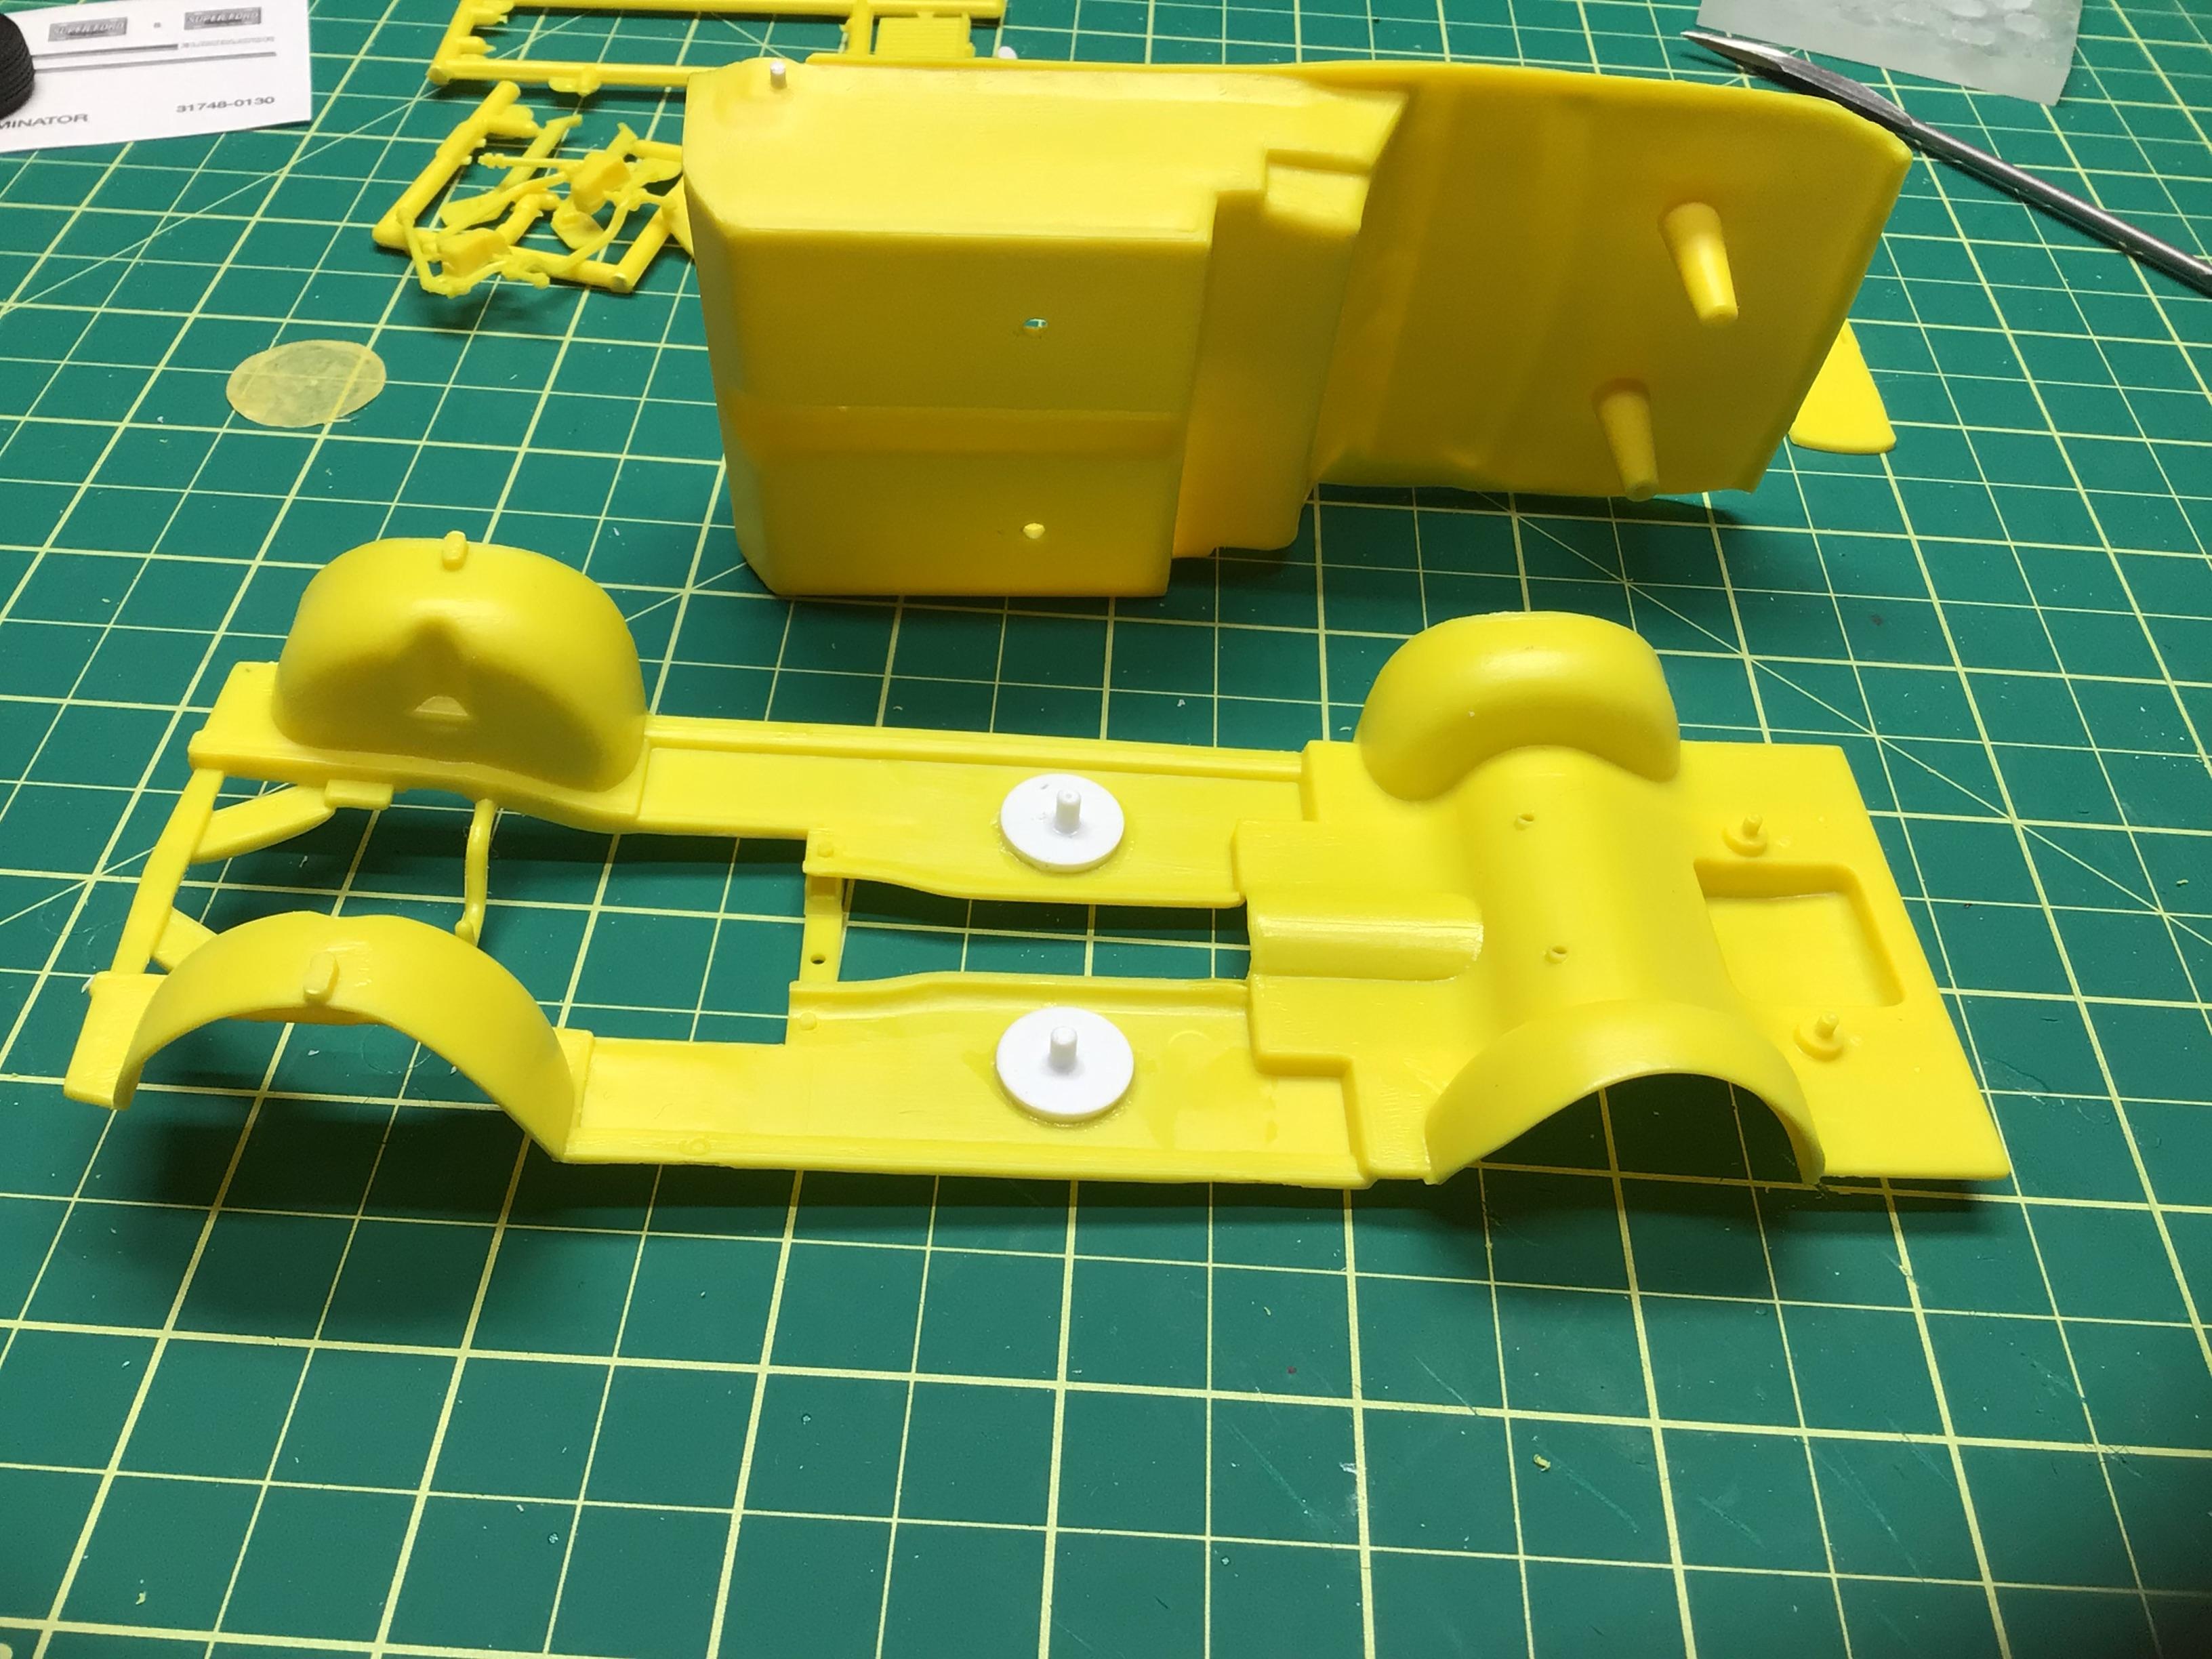
This thing has been fighting me every step of the way so far. I have removed the nubs on top of the front wheel wells and shortened the tub to chassis mounting pins so that the interior will sit right down on the floor pan. I have also moved the engine slightly forward since I think the braces in the engine bay will interfere with the air cleaner.🤯 The hood WILL close completely now, but I will have to recess the braces into the wheel wells. I guess I wouldn’t have had to do all this if I had glued the firewall to the body like the instructions suggest?🤔 It’s a shame that with all the re-issues of this kit that AMT didn’t see fit to update the chassis and interior because the body is really nice.😕 But….I think I am gaining the upper hand now. Thanks for bearing with me folks!🥵
-

1934 Ford pickup
NOBLNG replied to crazyjim's topic in Model Trucks: Pickups, Vans, SUVs, Light Commercial
Nicely done Jim!👍 Good to see 6-banger in there.😎 -
Who doesn't love a mock-up? Let's see yours!
NOBLNG replied to Belairconvertable's topic in WIP: Model Cars
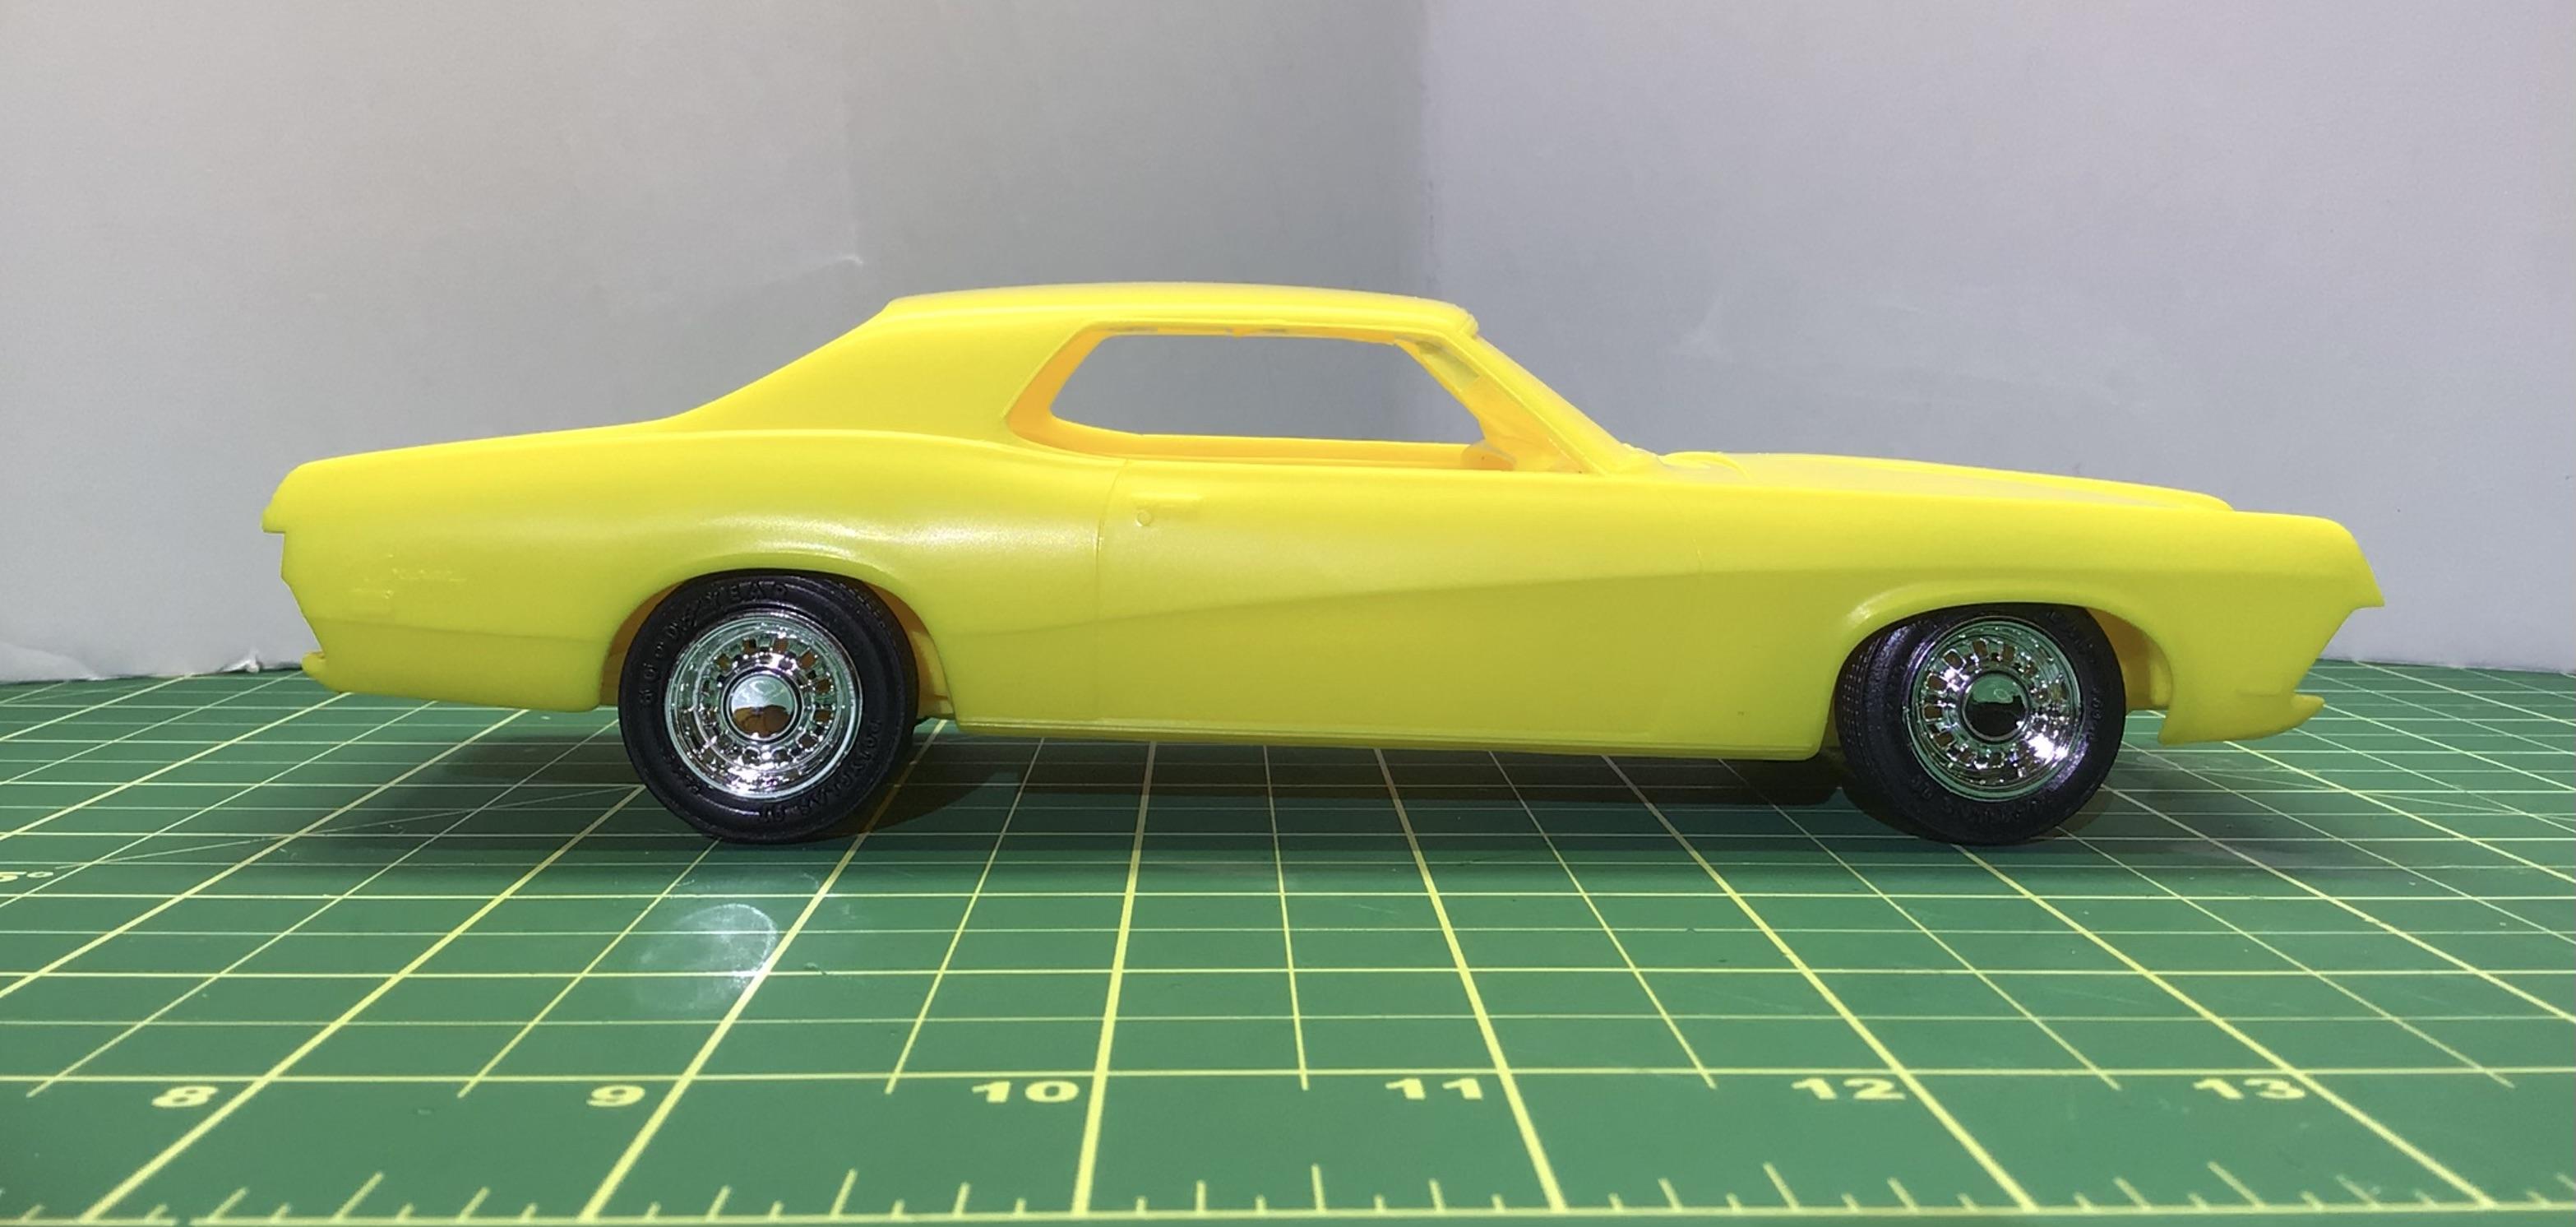
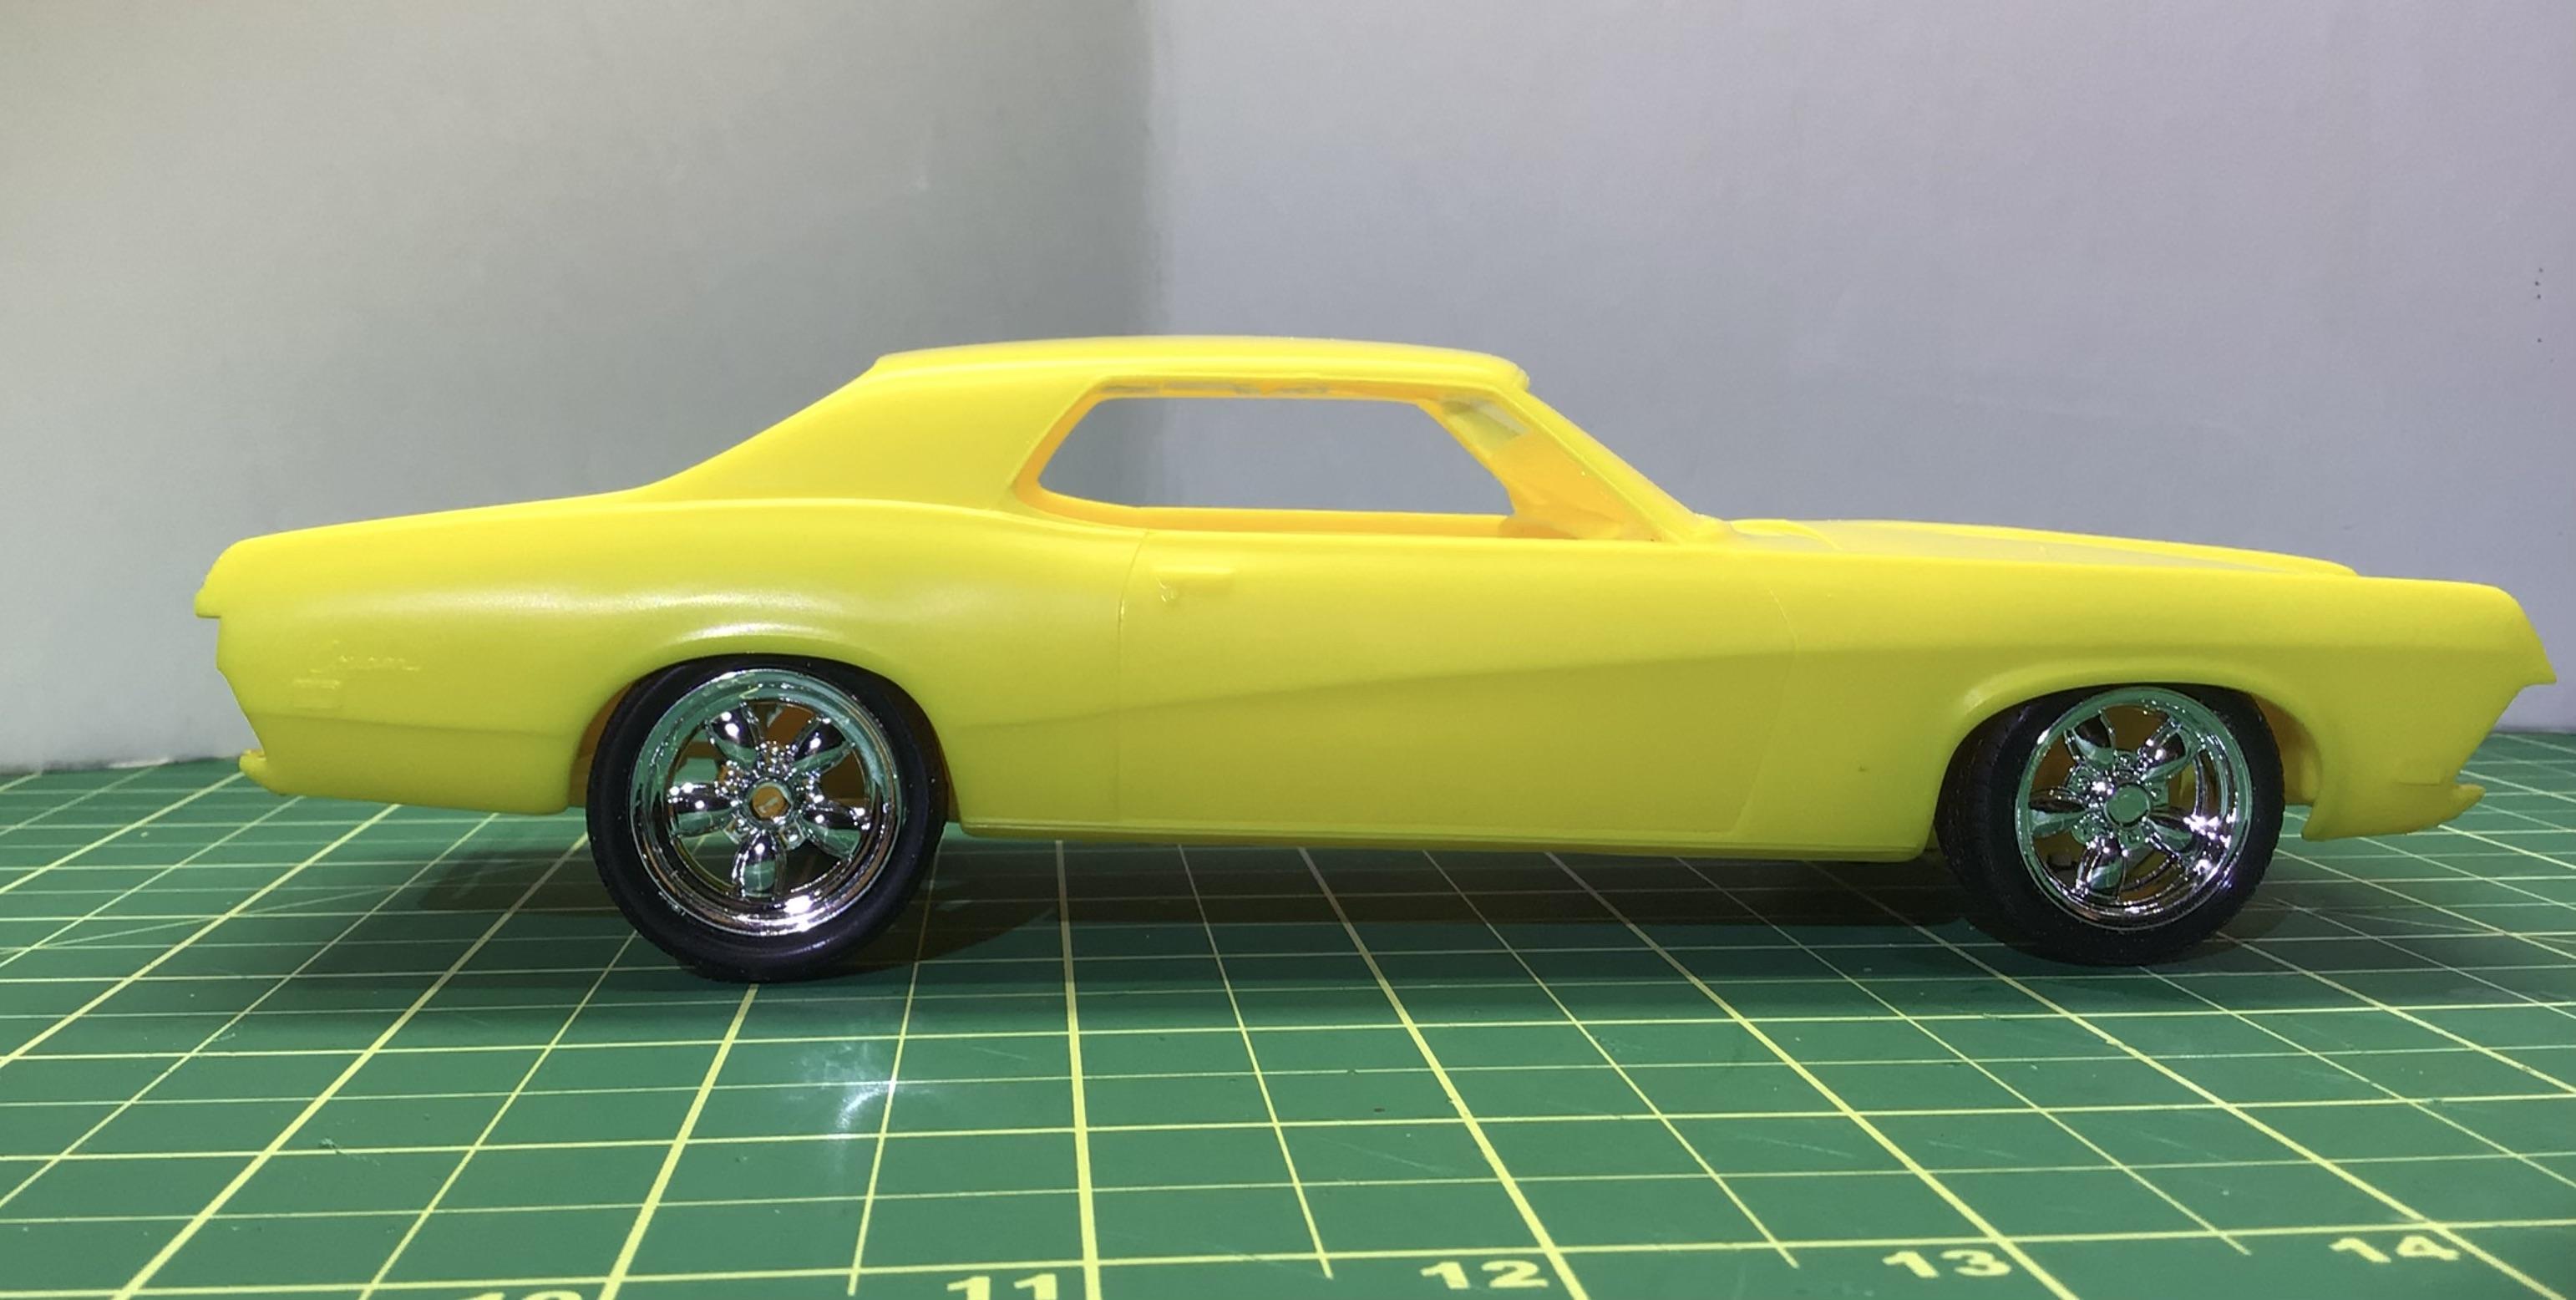
I finally got this thing to sit on all four tires at the same time.🥴 Ignore the masking tape on the wheels…I don’t want to wear off the chrome like I’ve done before.
-
Monogram '32 roadster: a red-headed step-child.
NOBLNG replied to customline's topic in WIP: Model Cars
Before you remove the vent windows, try lightly sanding the raised floral area so it looks more like etched glass? -
Effectively bypassing sentences that don’t start with the last word is highly encouraged and editing your sentence after someone has replied is against the law.
-
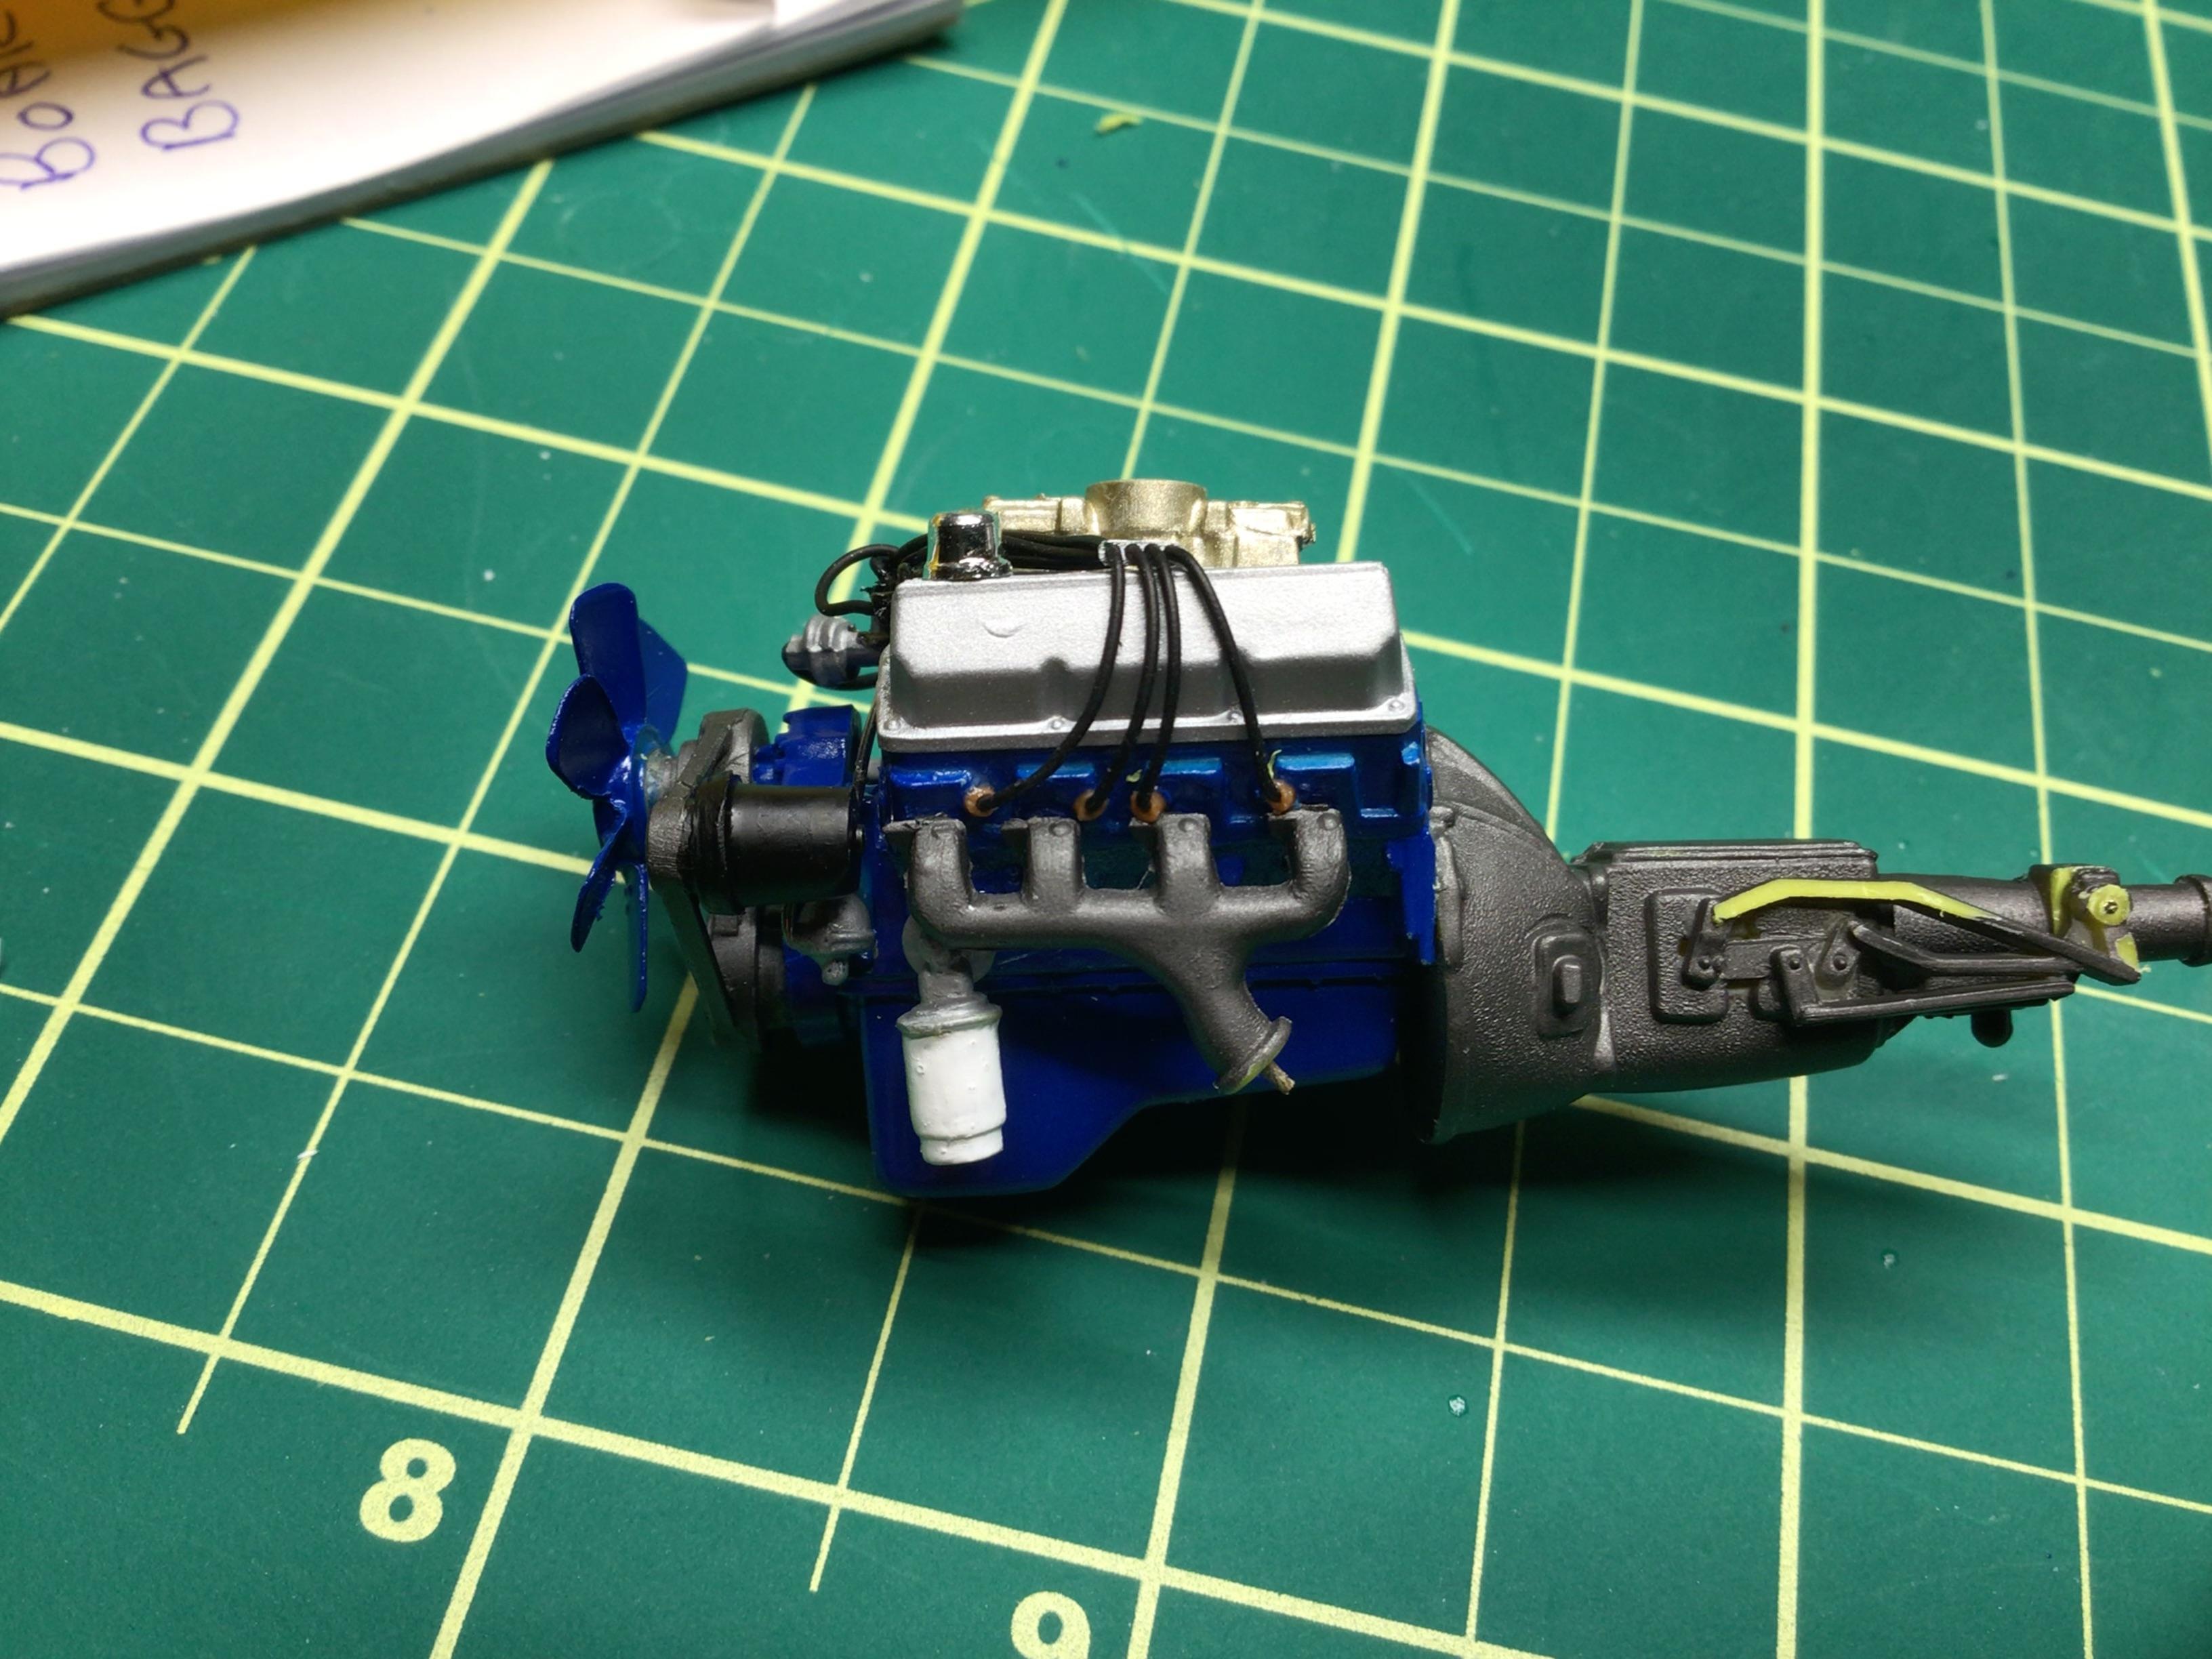
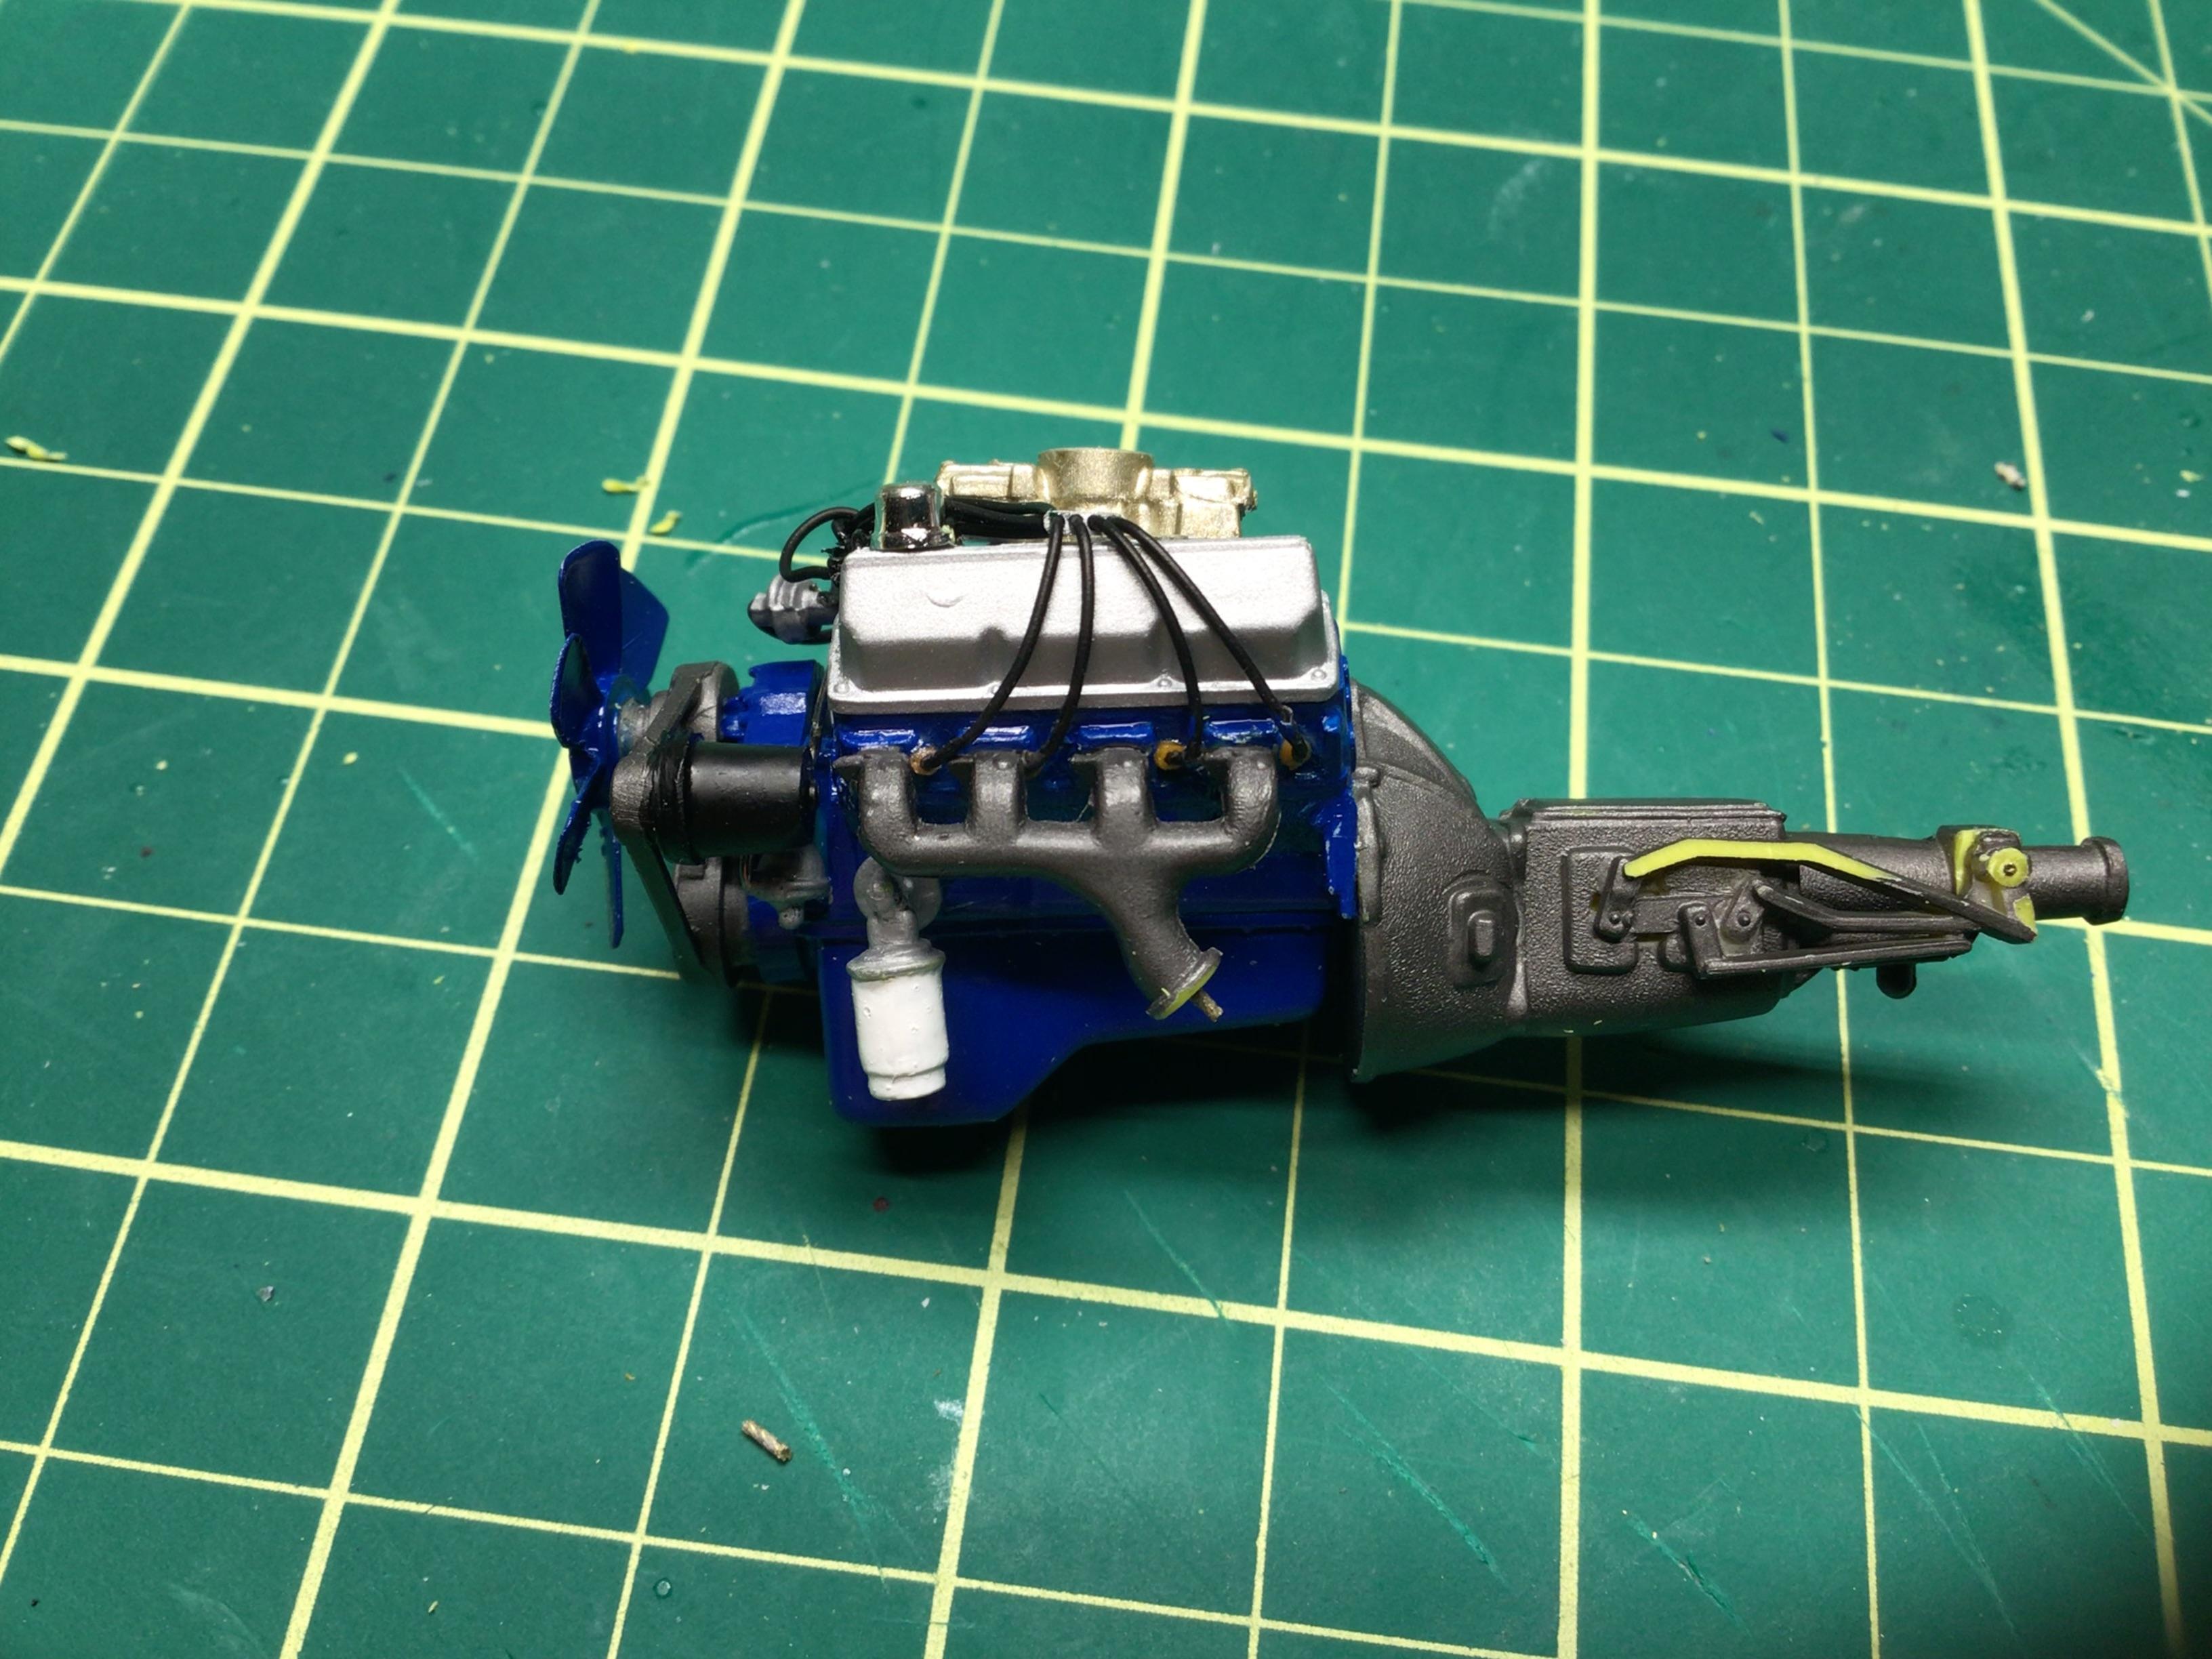
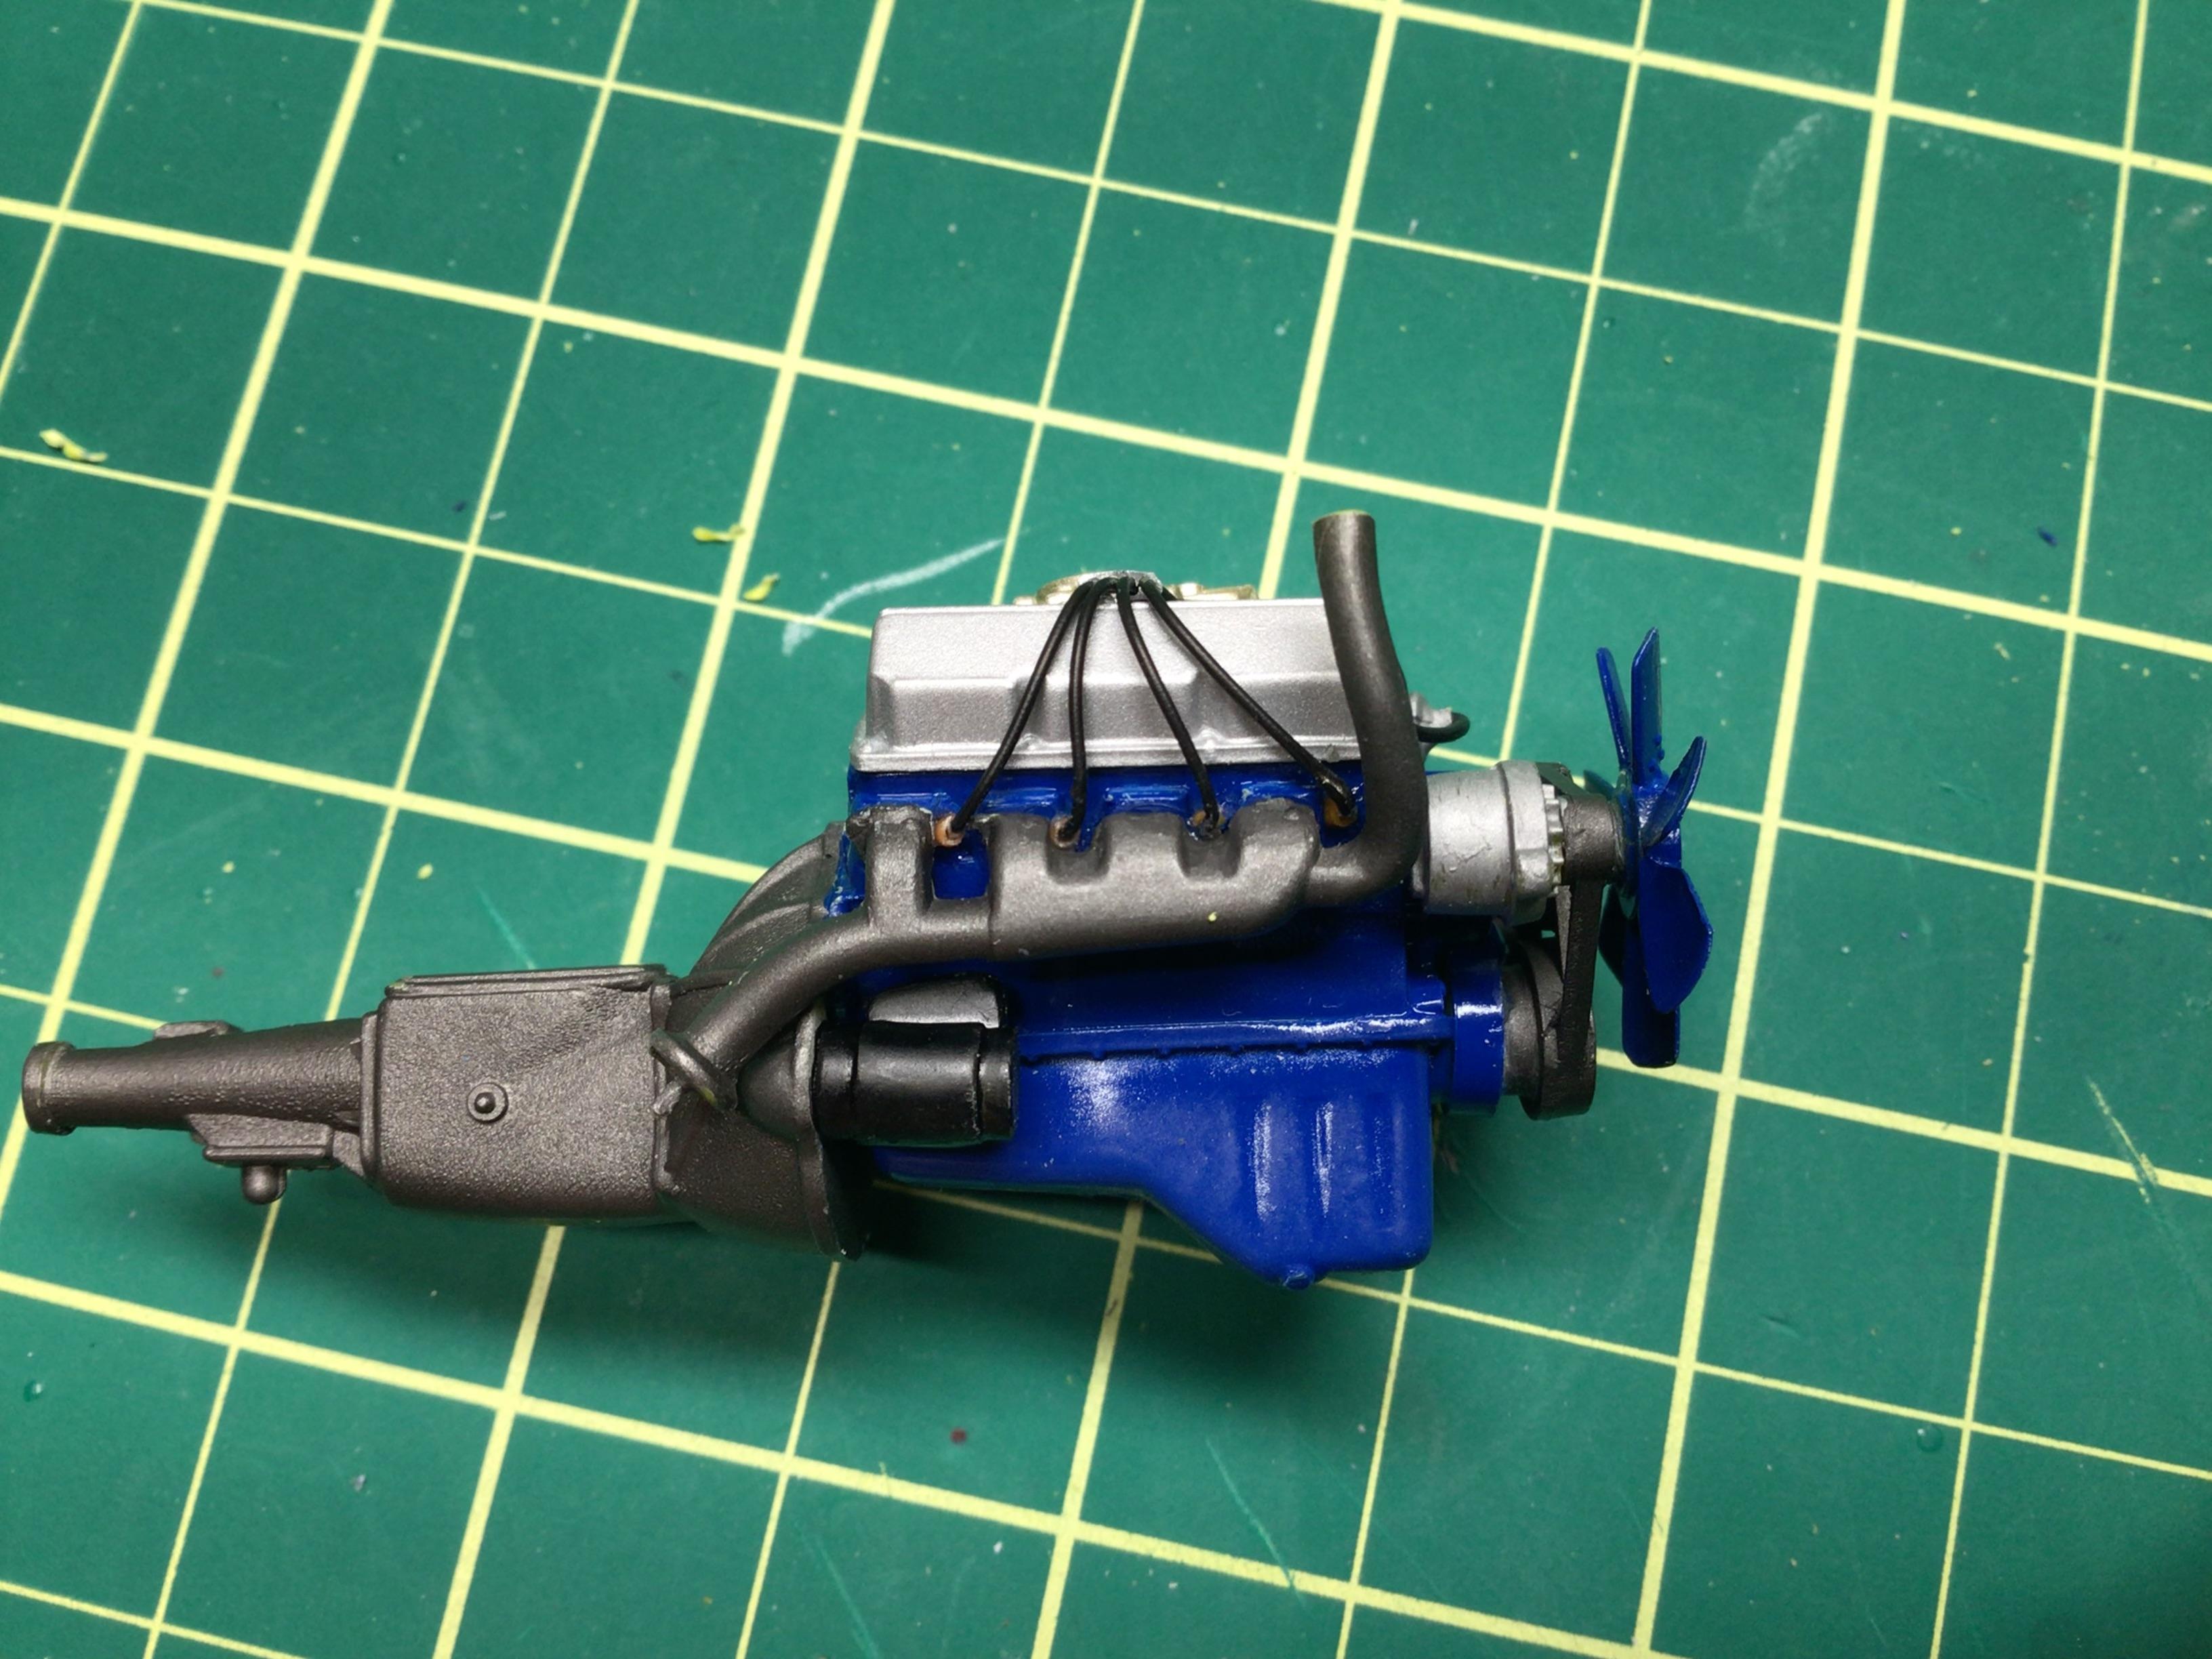
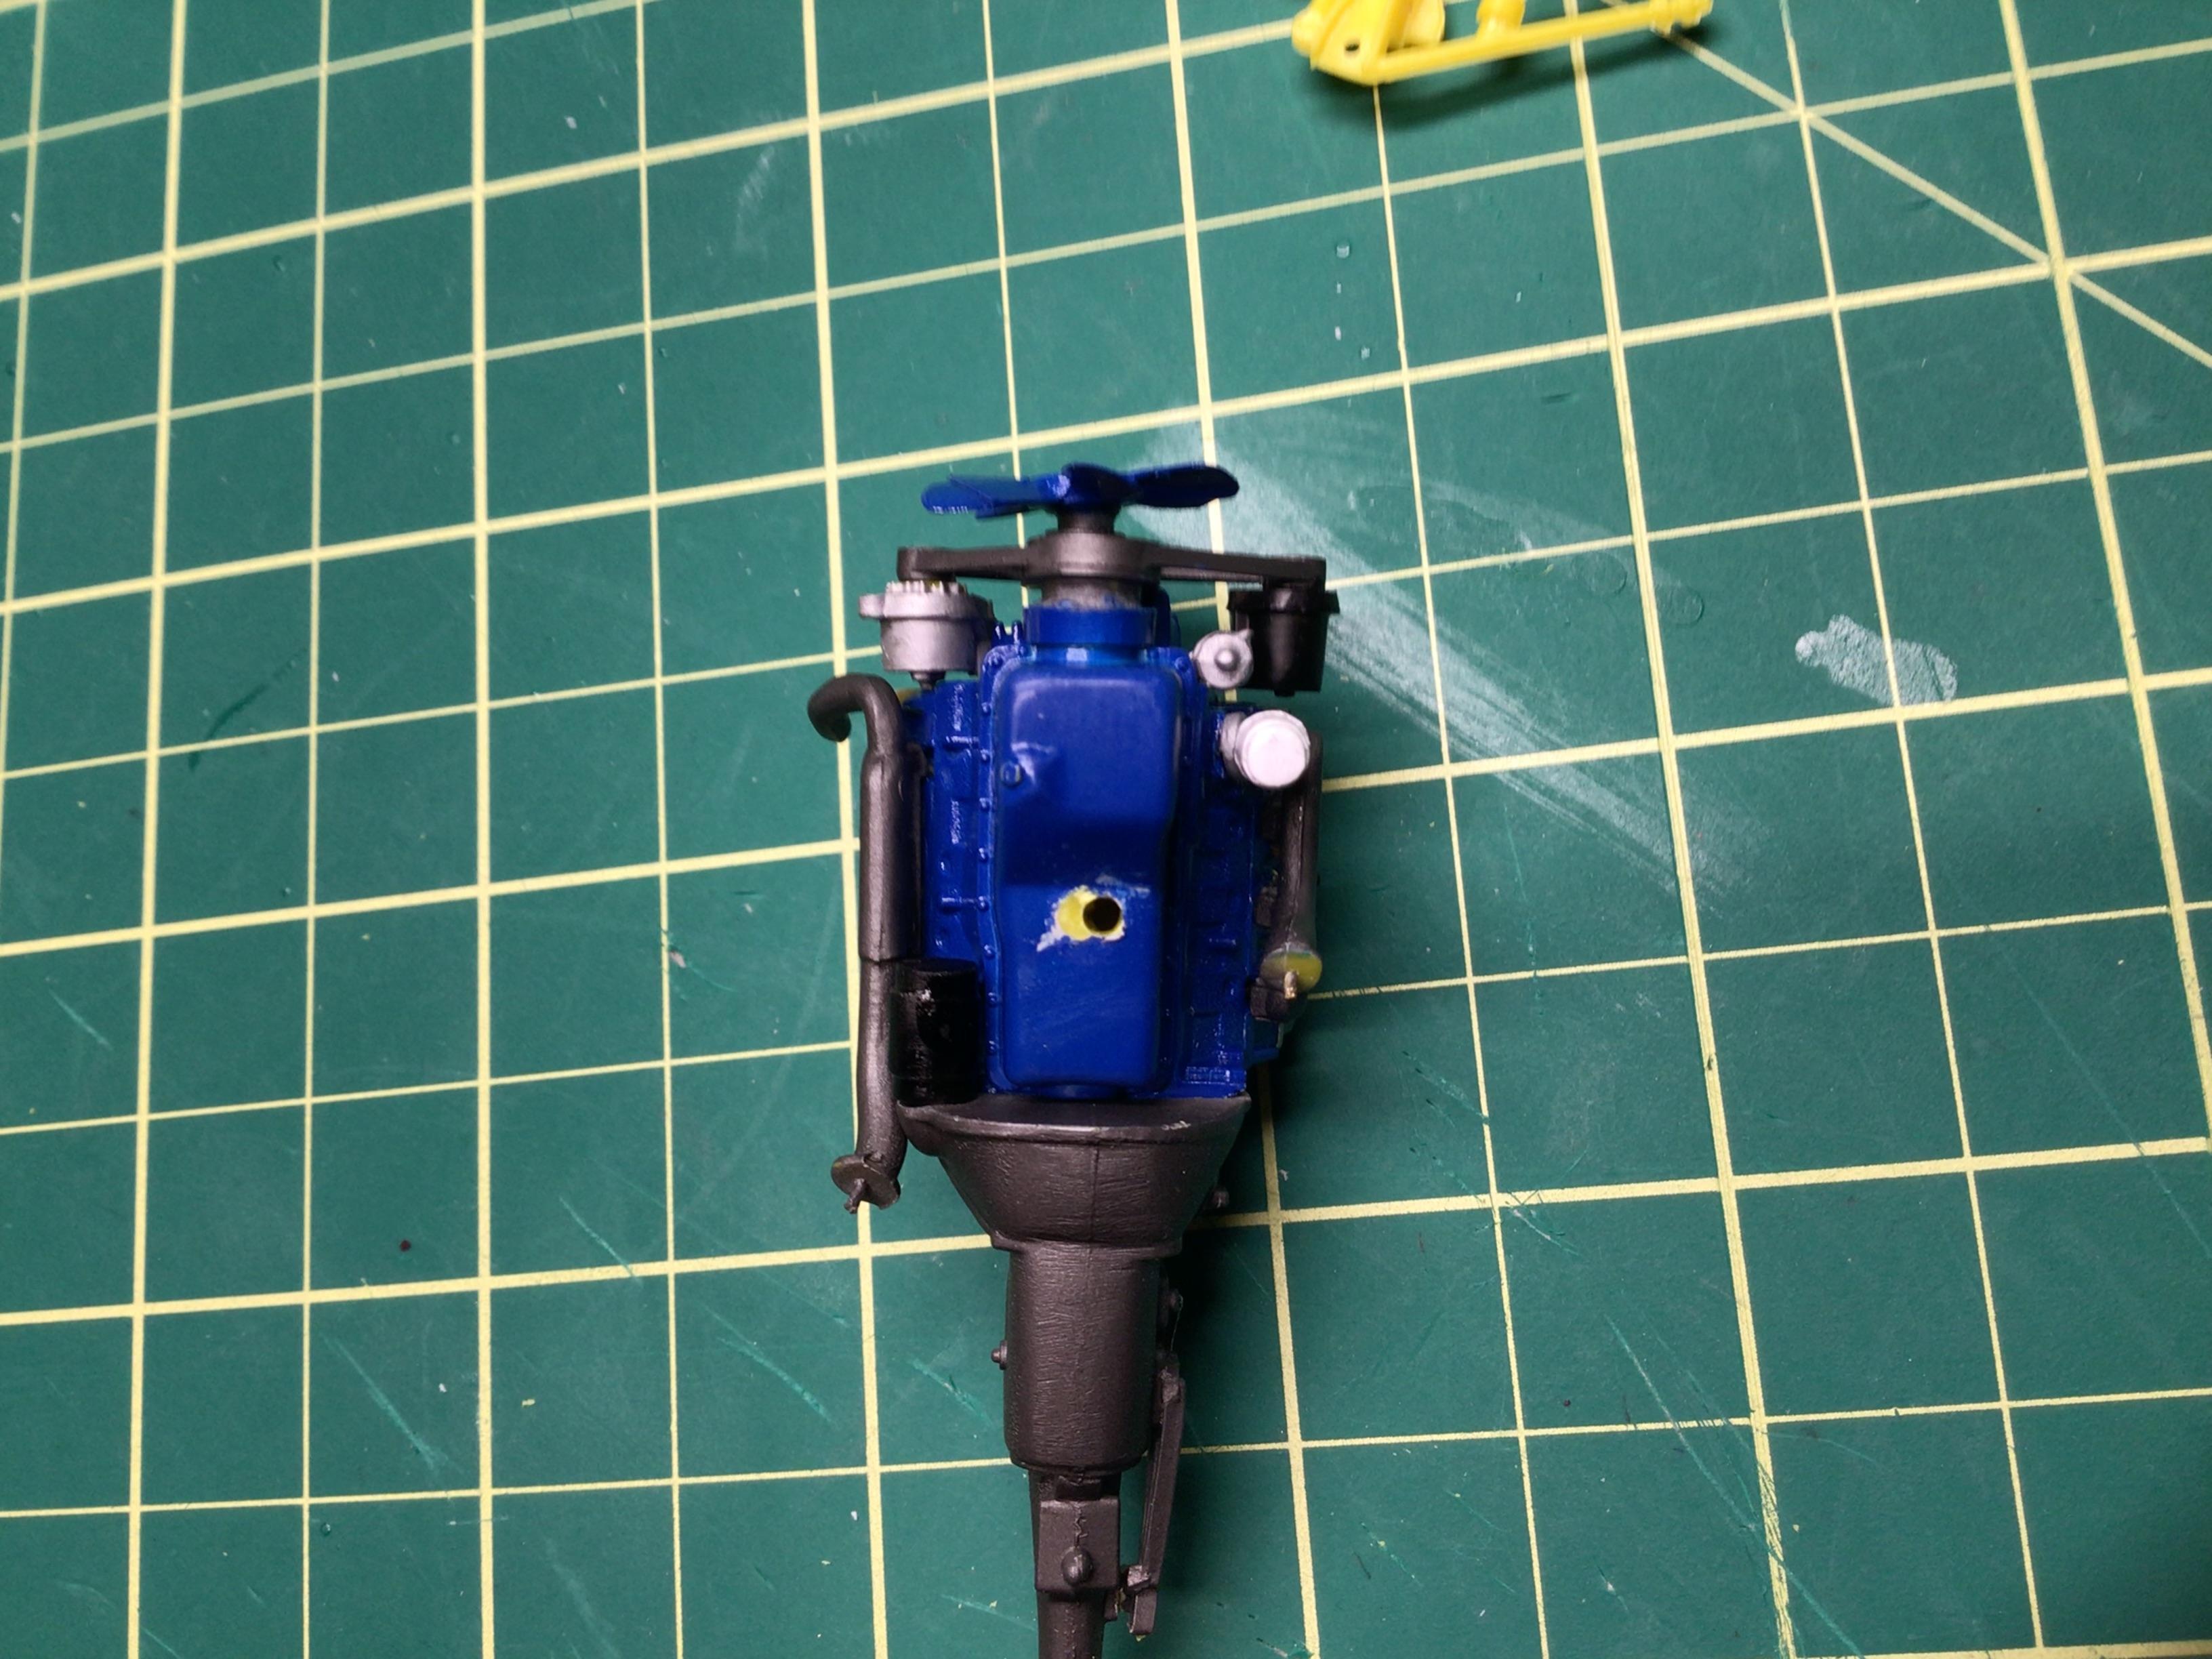
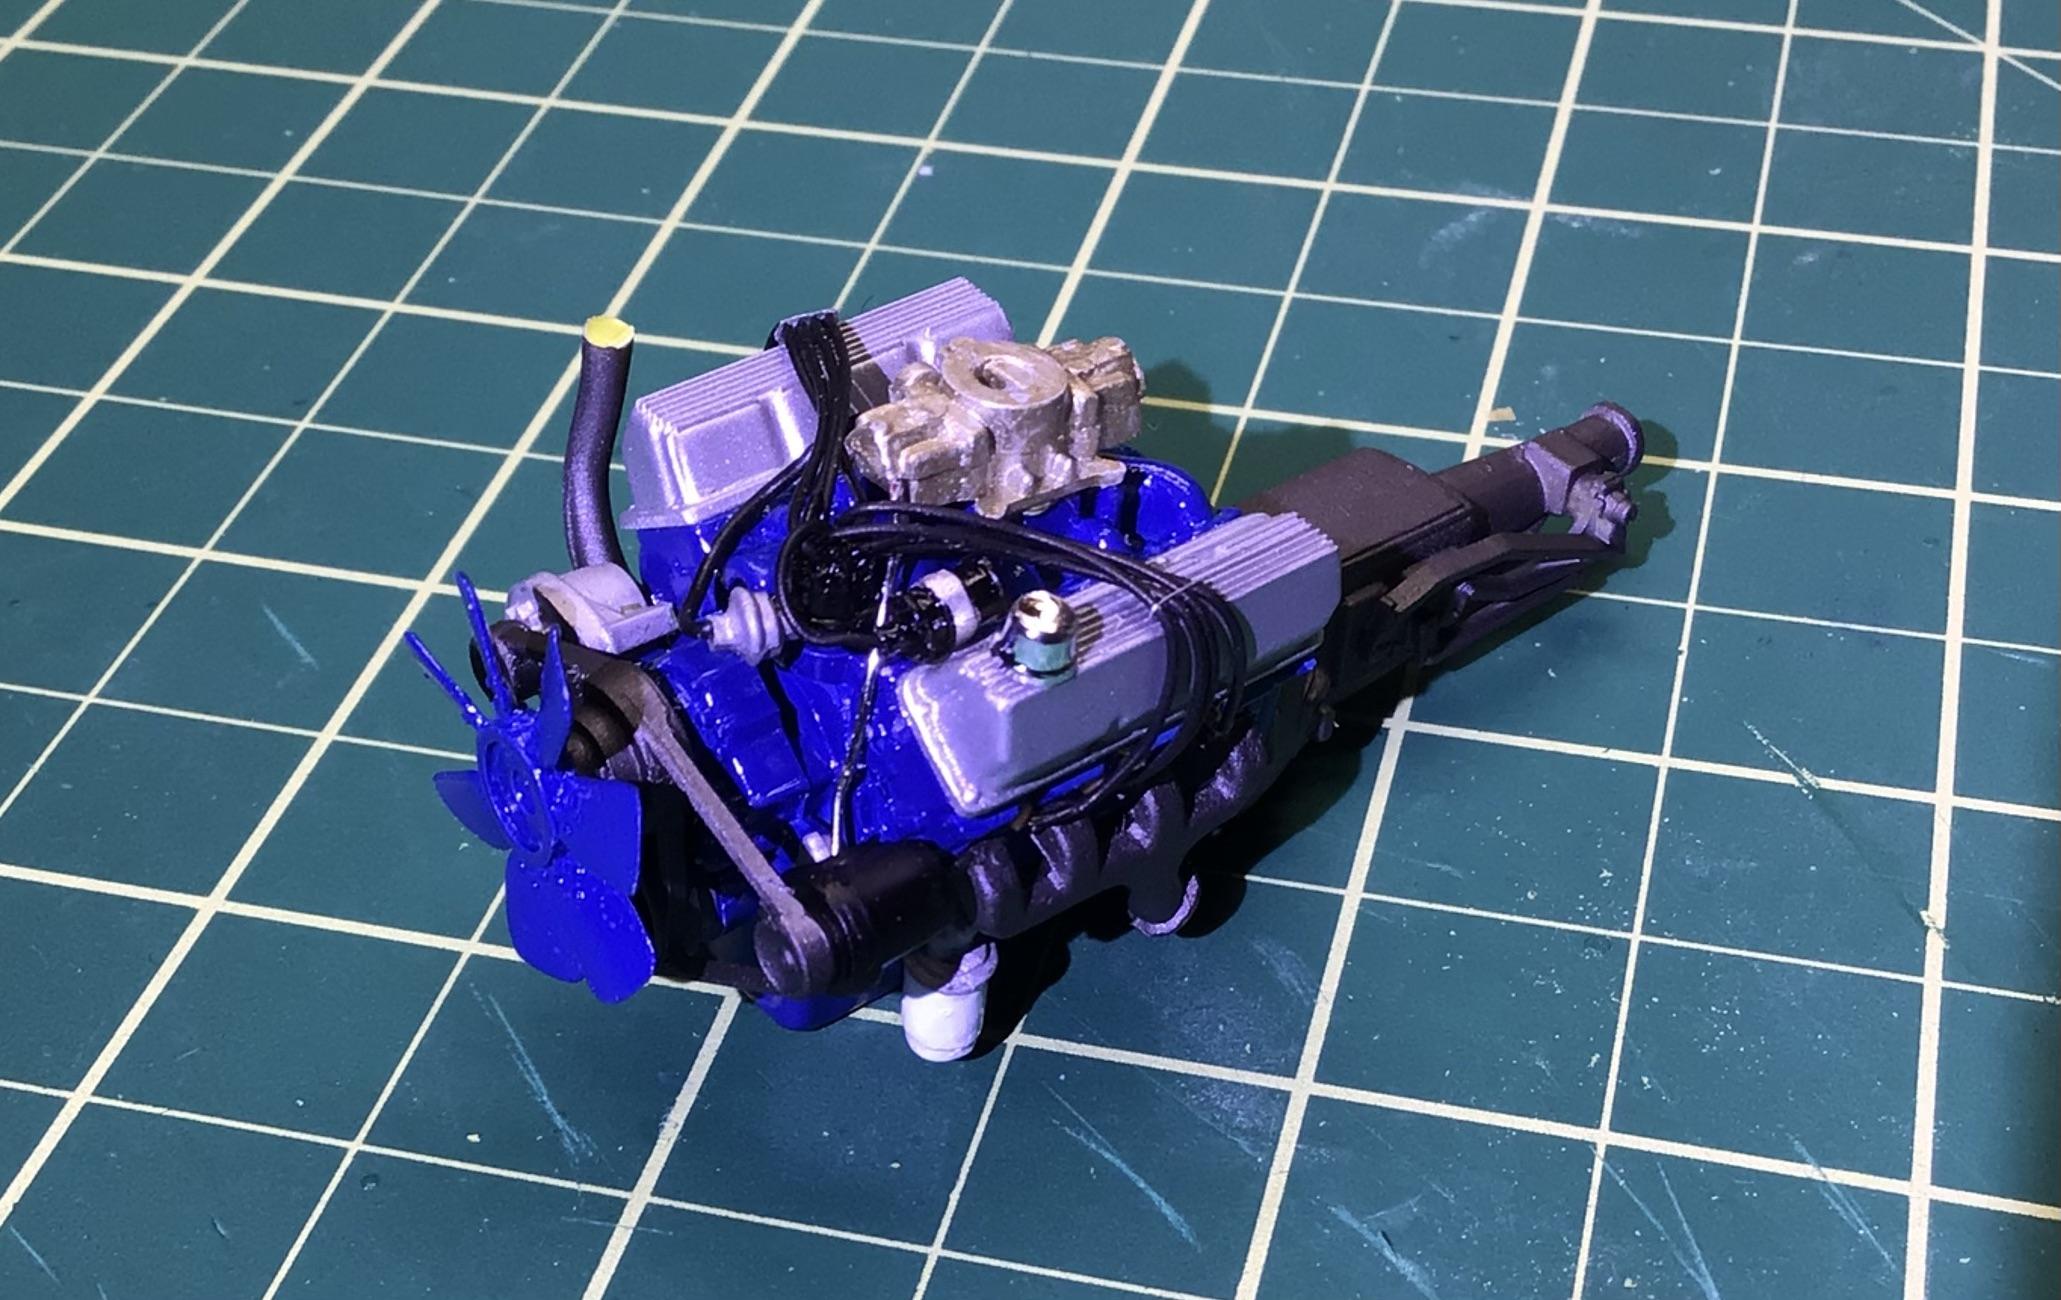
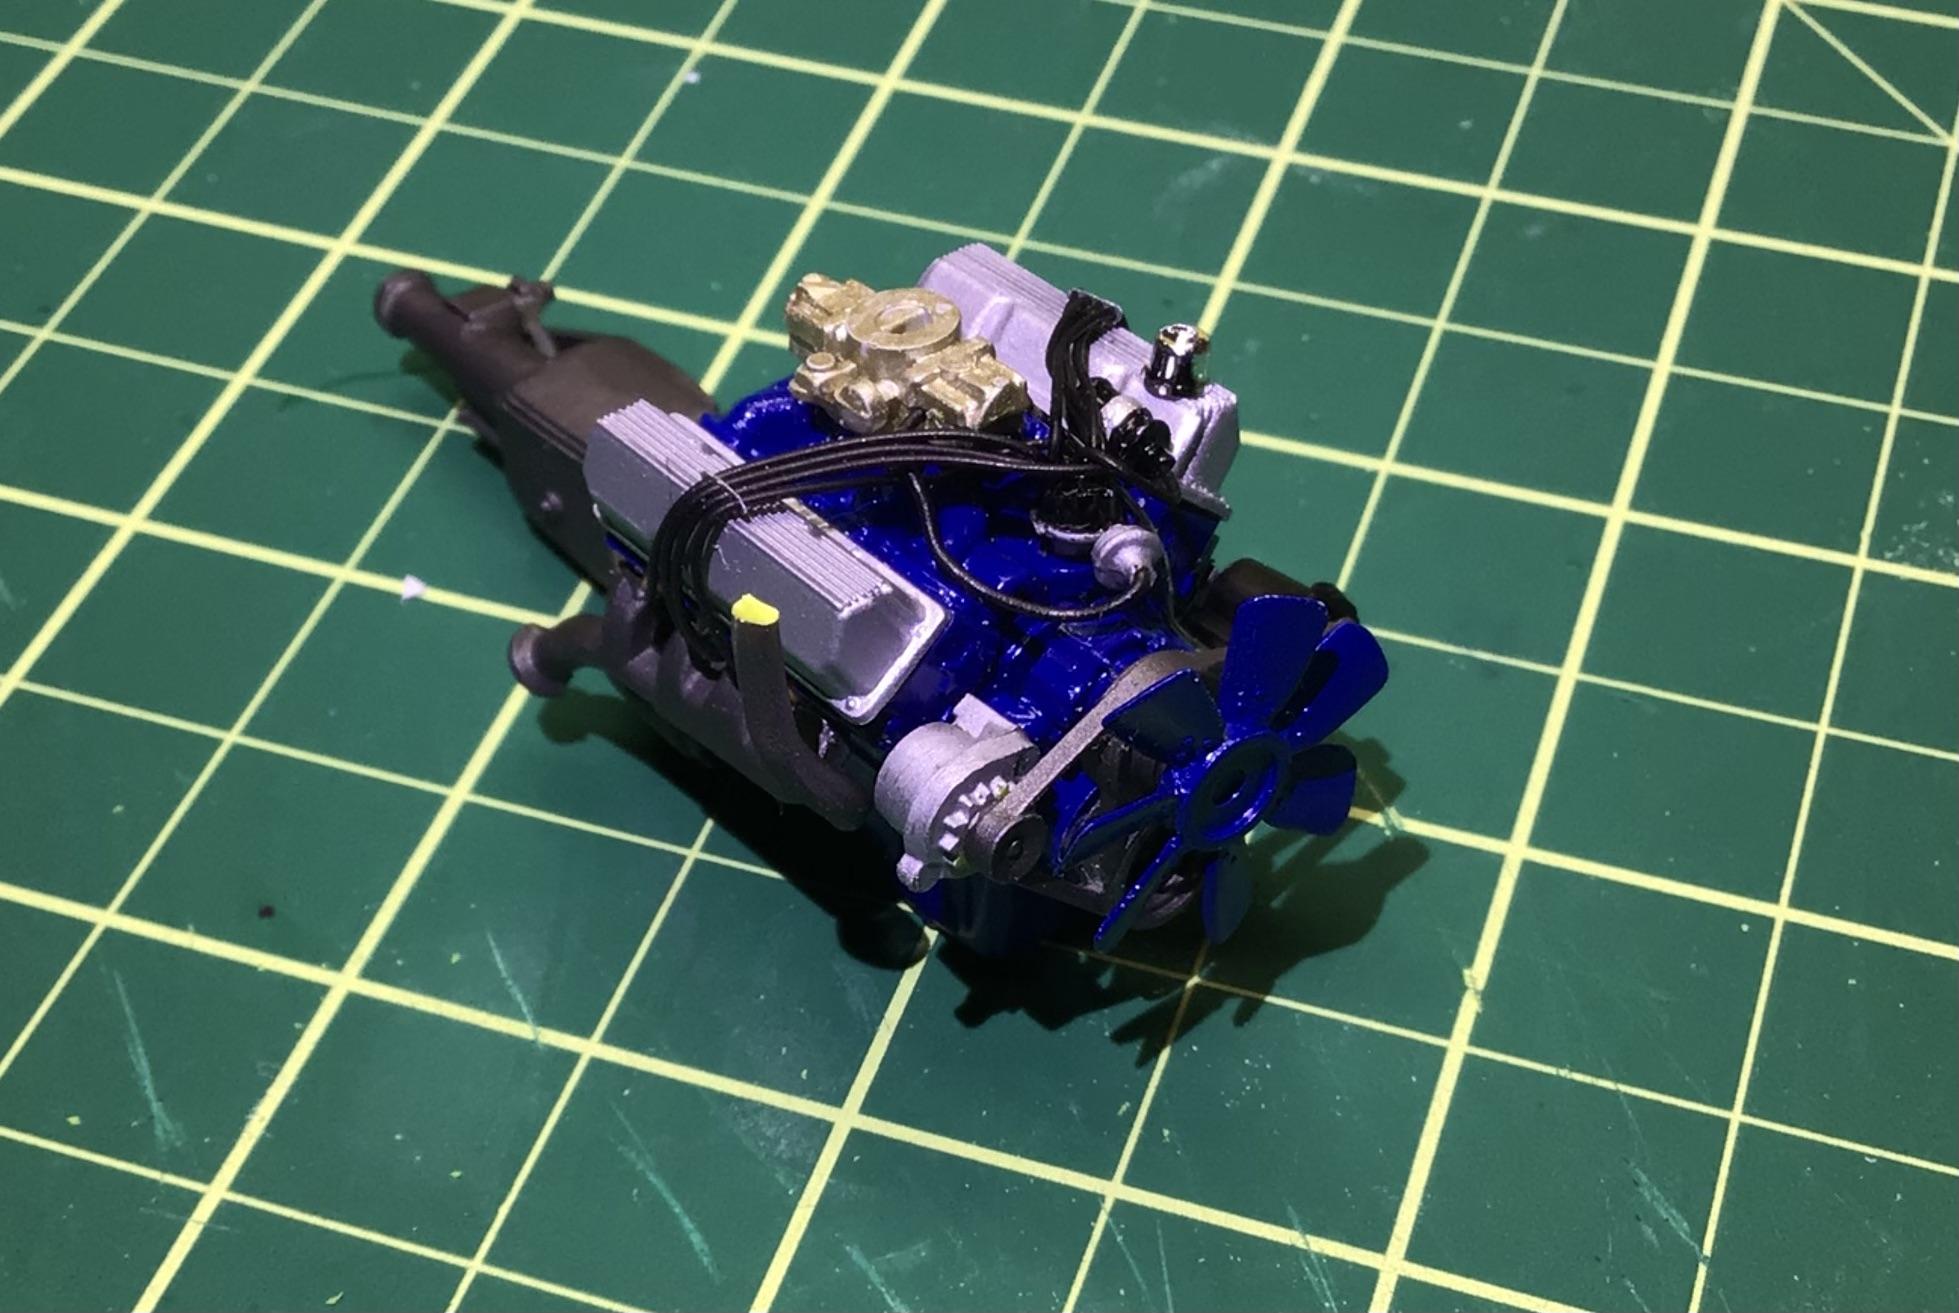
Well I went to trial fit the engine in place and discovered an error with my placement of the plug wires and exhaust manifolds.😬 You’d think I built this as a kid or before I had access to the internet, but it was probably about six years ago.😳 Anyways, I corrected it but there is still a bit of interference. The engine was sitting cock-eyed so I had to re-drill the hole in the oil pan and shave the shift linkage because it hits the trans tunnel.🥴 I will persevere.
-
Painting Car Bodies with waterbased acrylics?
NOBLNG replied to MackDrop's topic in Model Building Questions and Answers
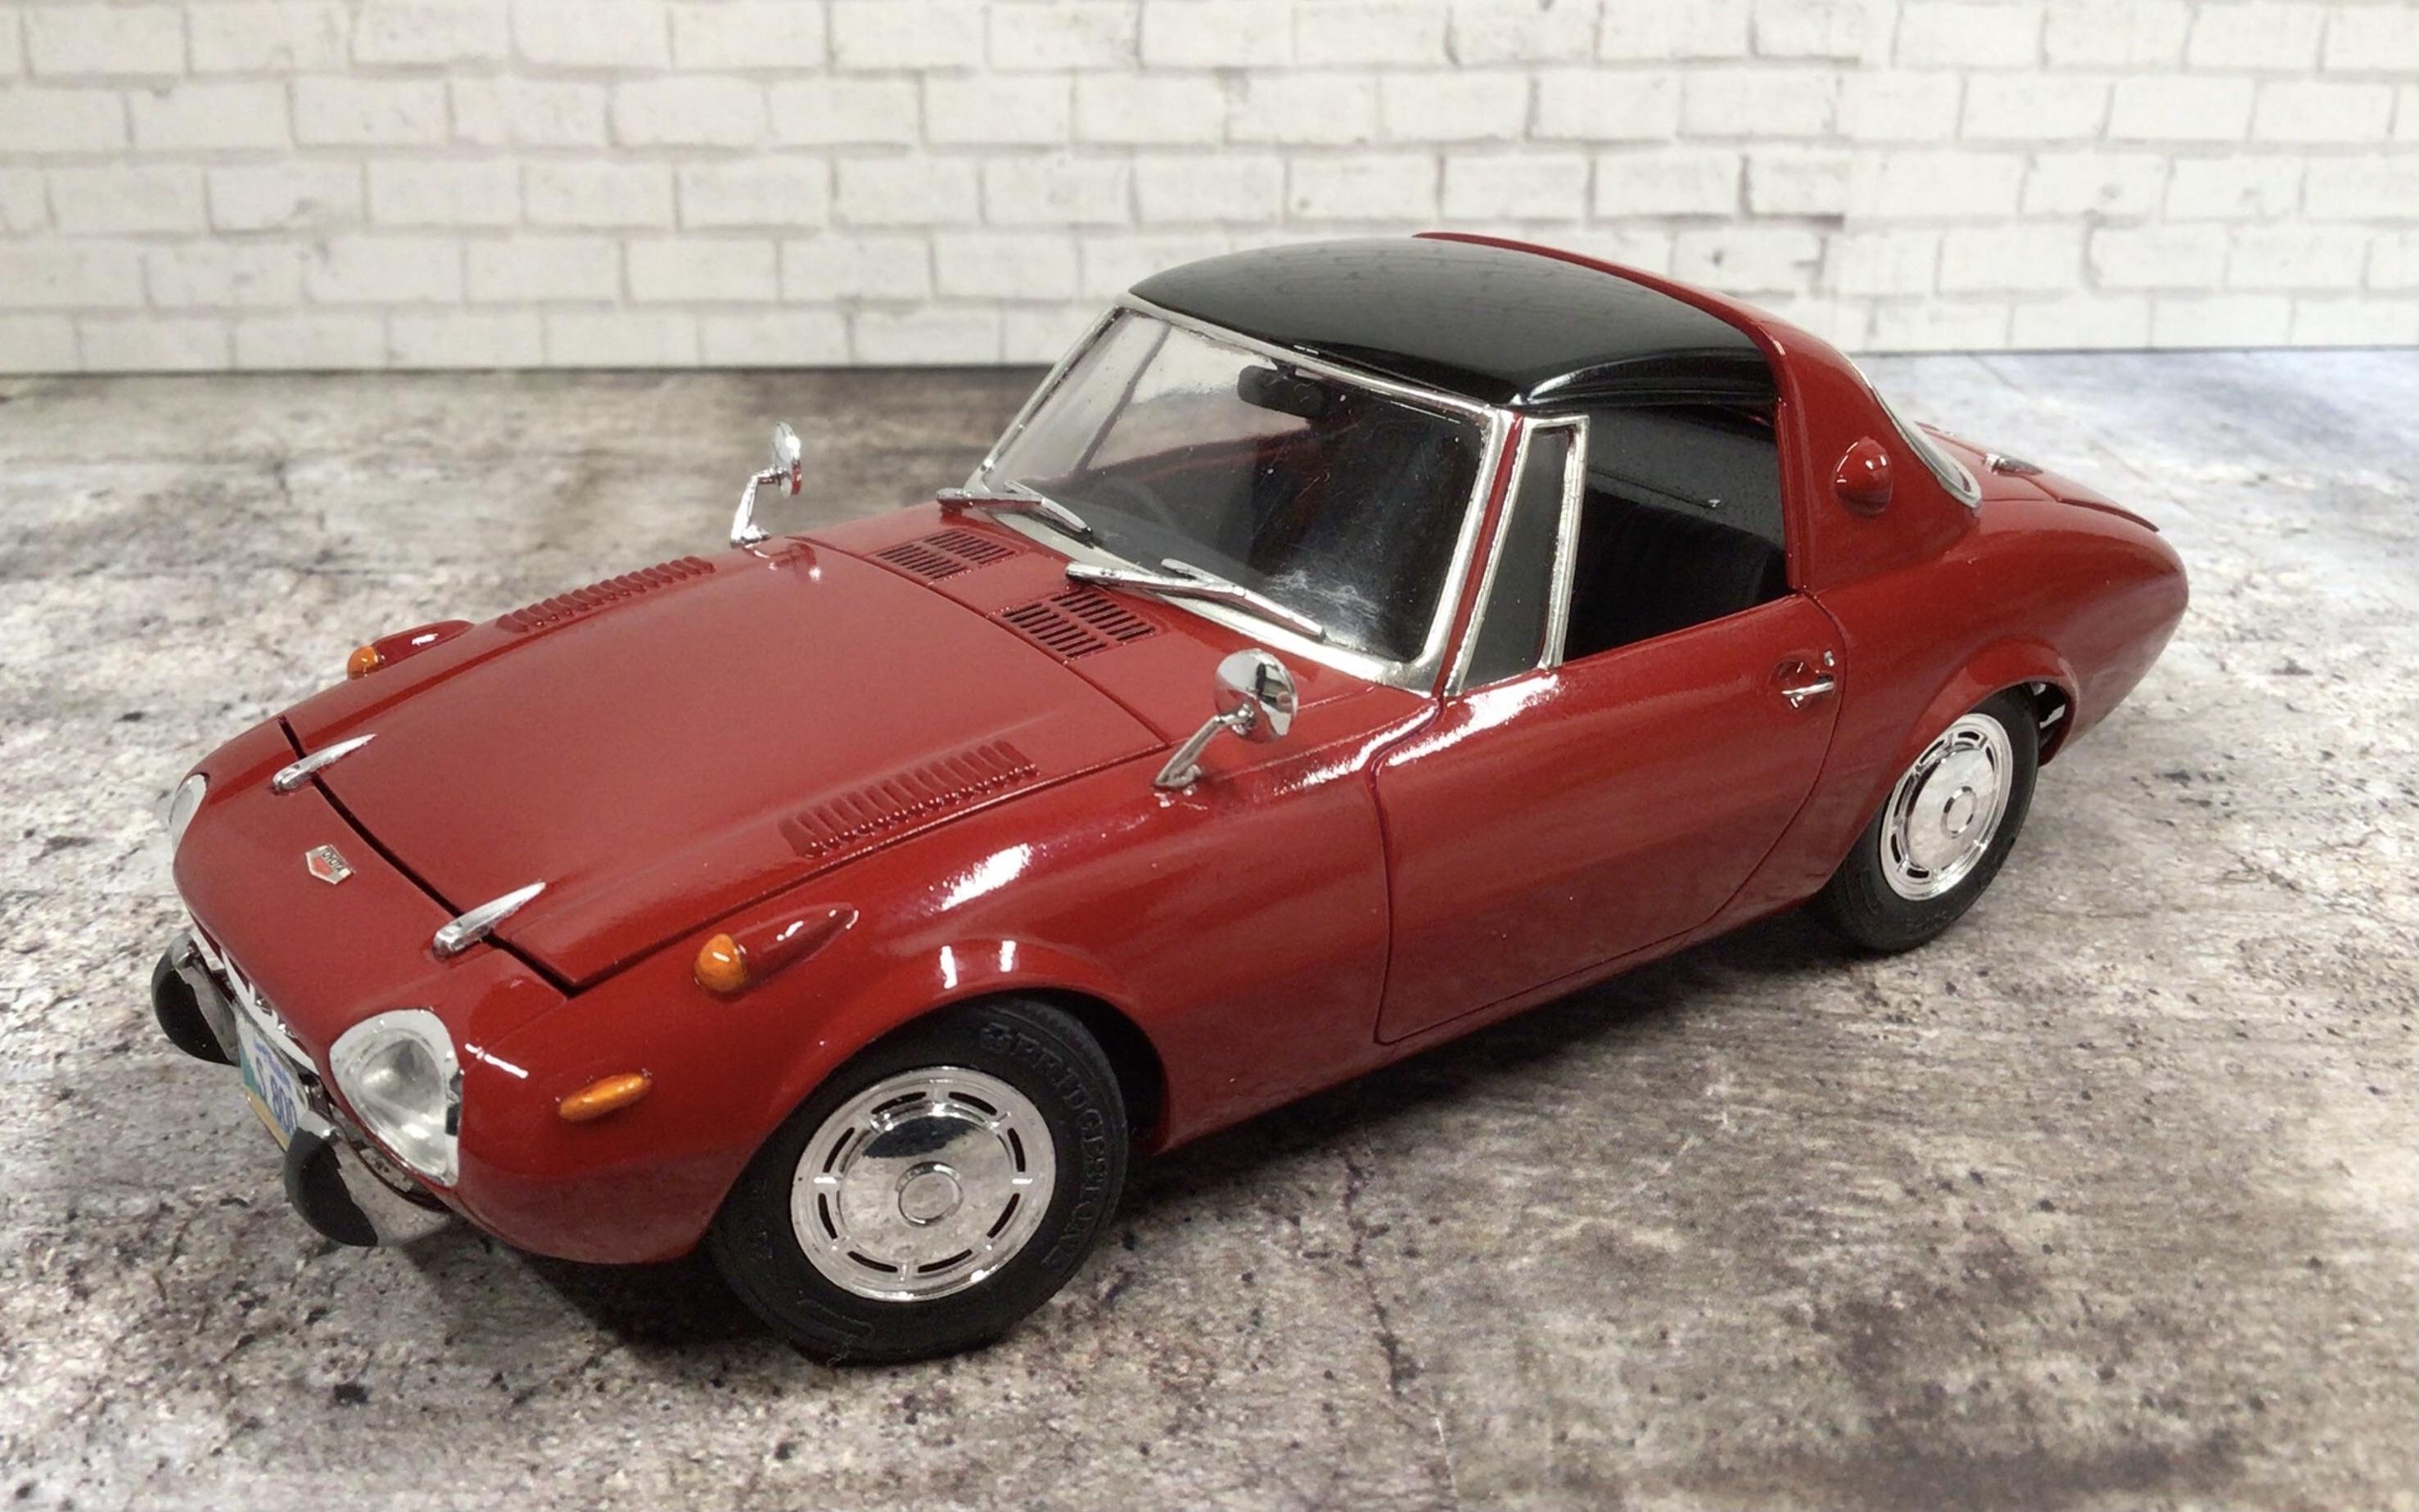
This is painted with Vallejo Model Air 71.102 Red. Then clear coated with Mr. Hobby Premium Topcoat. I use winter windshield washer fluid for cleanup of the Vallejo. It works as good or better than their proprietary stuff.
-
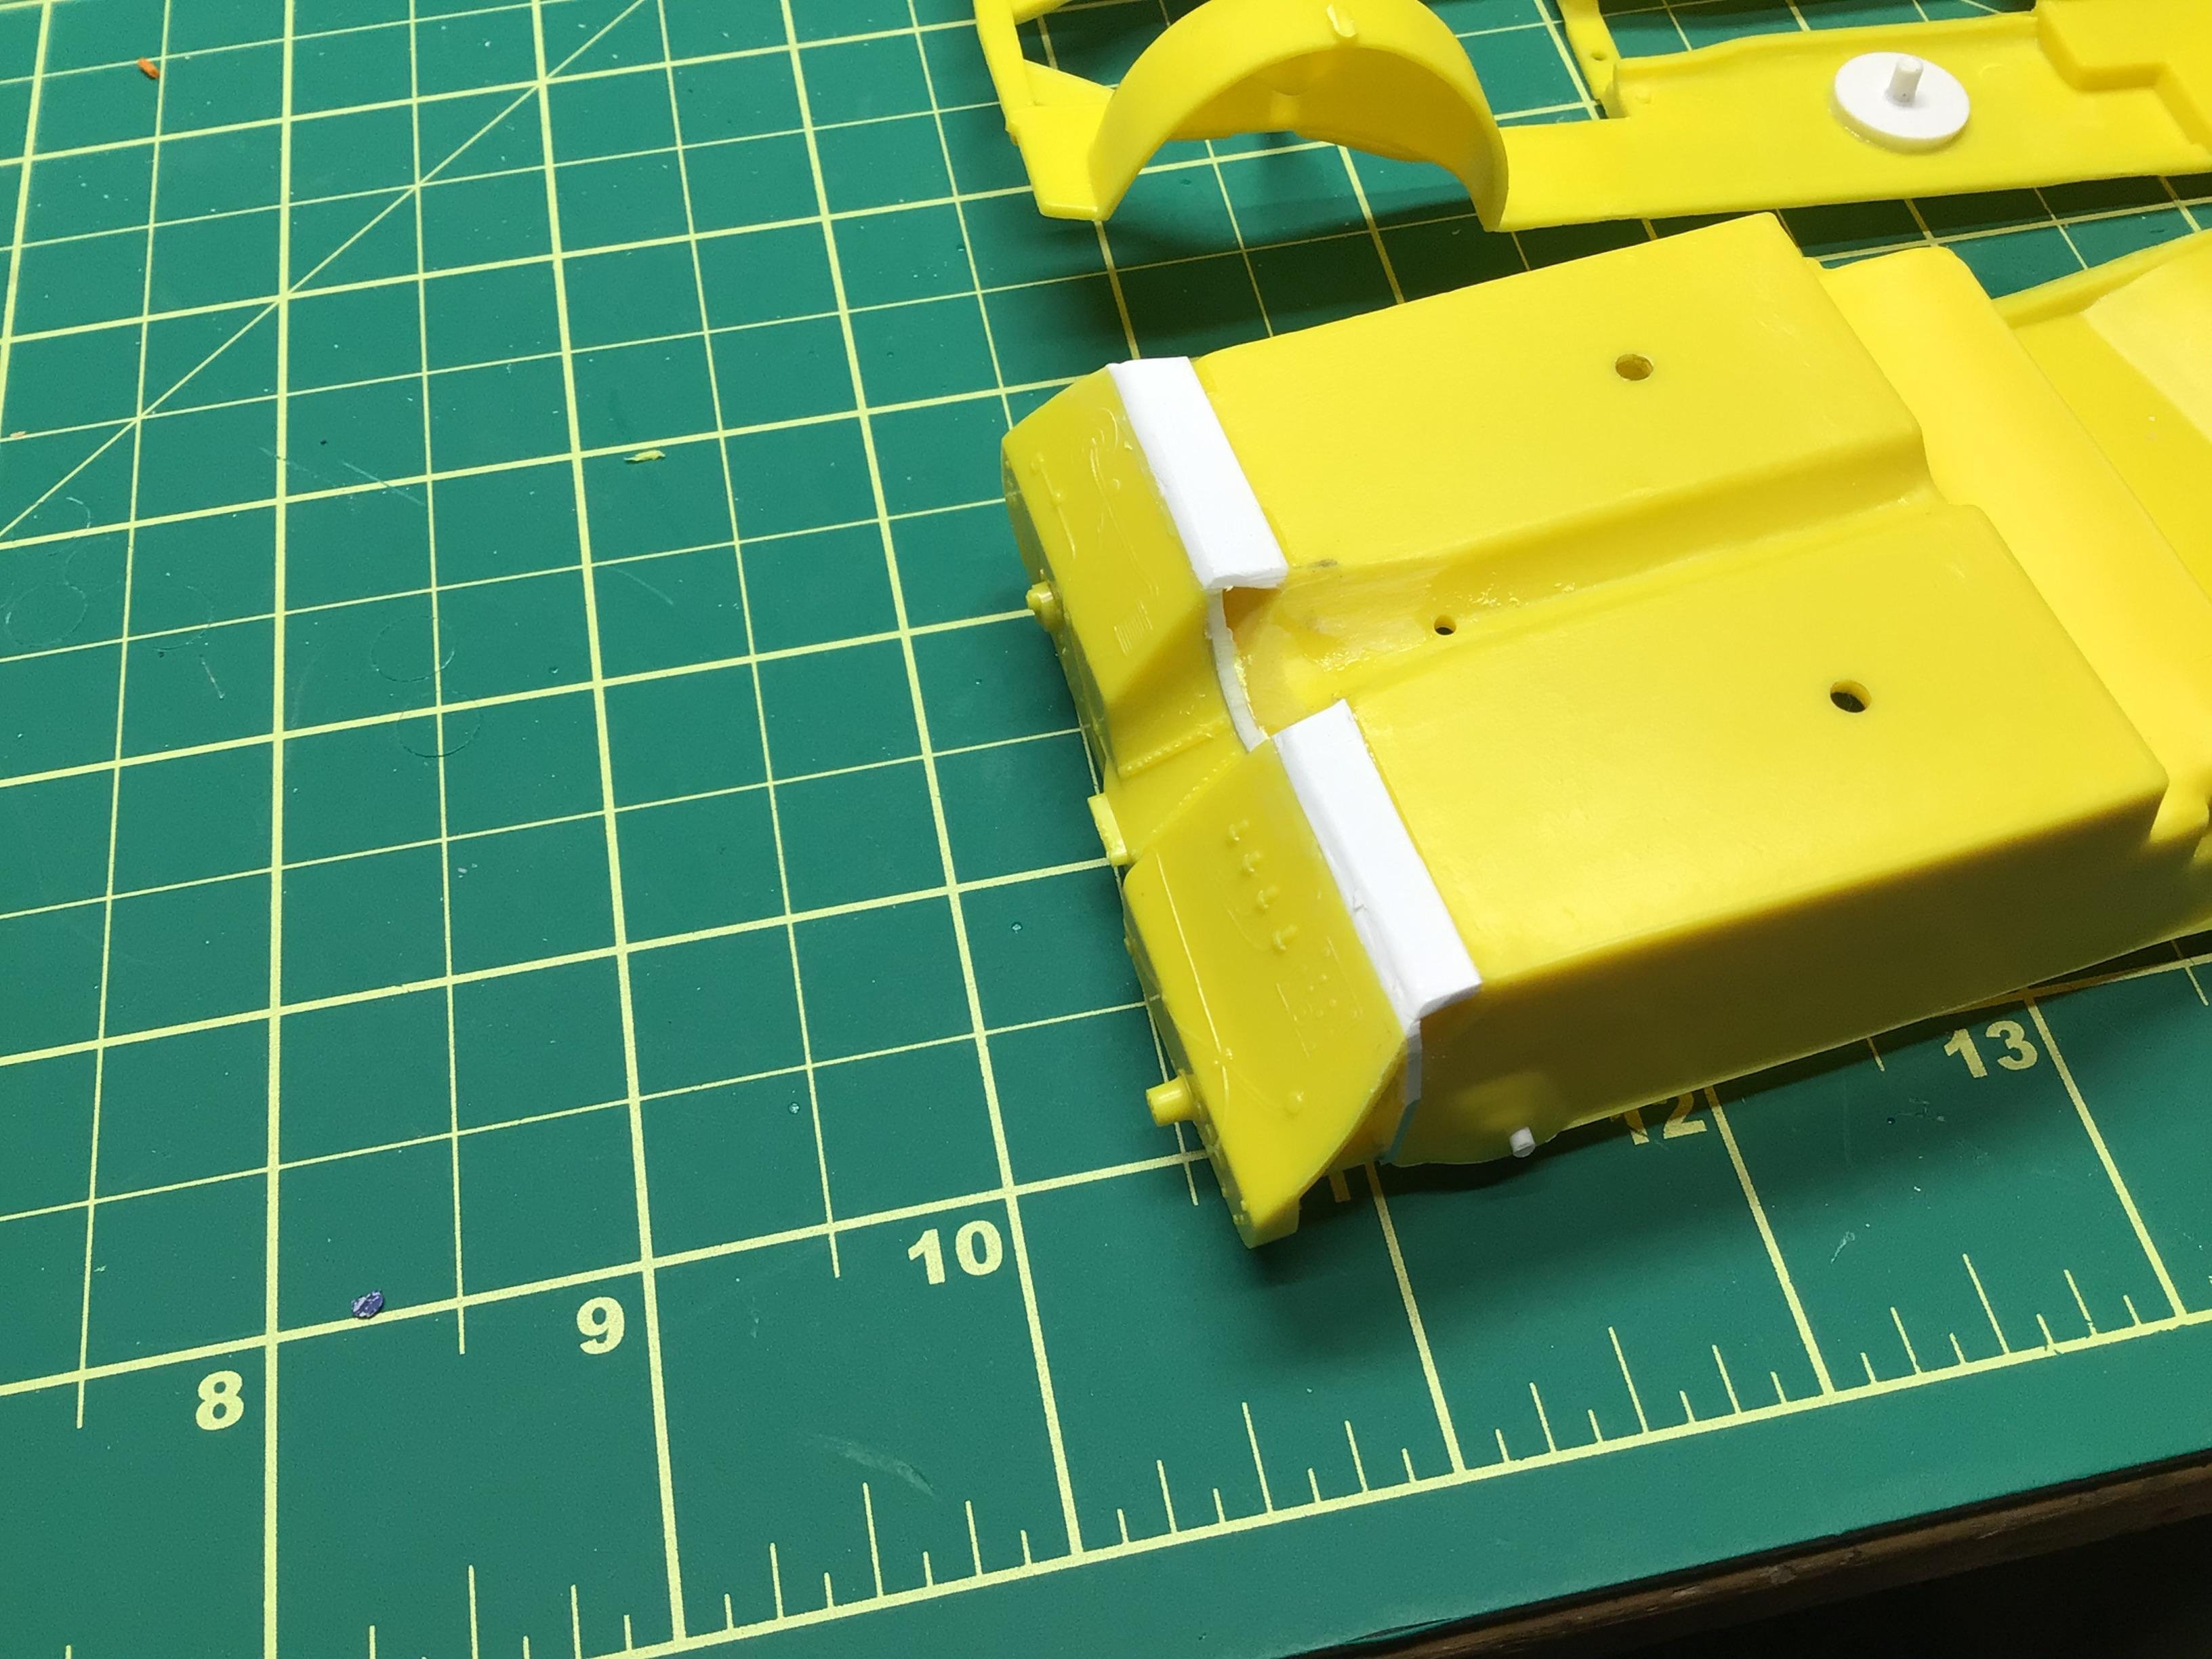
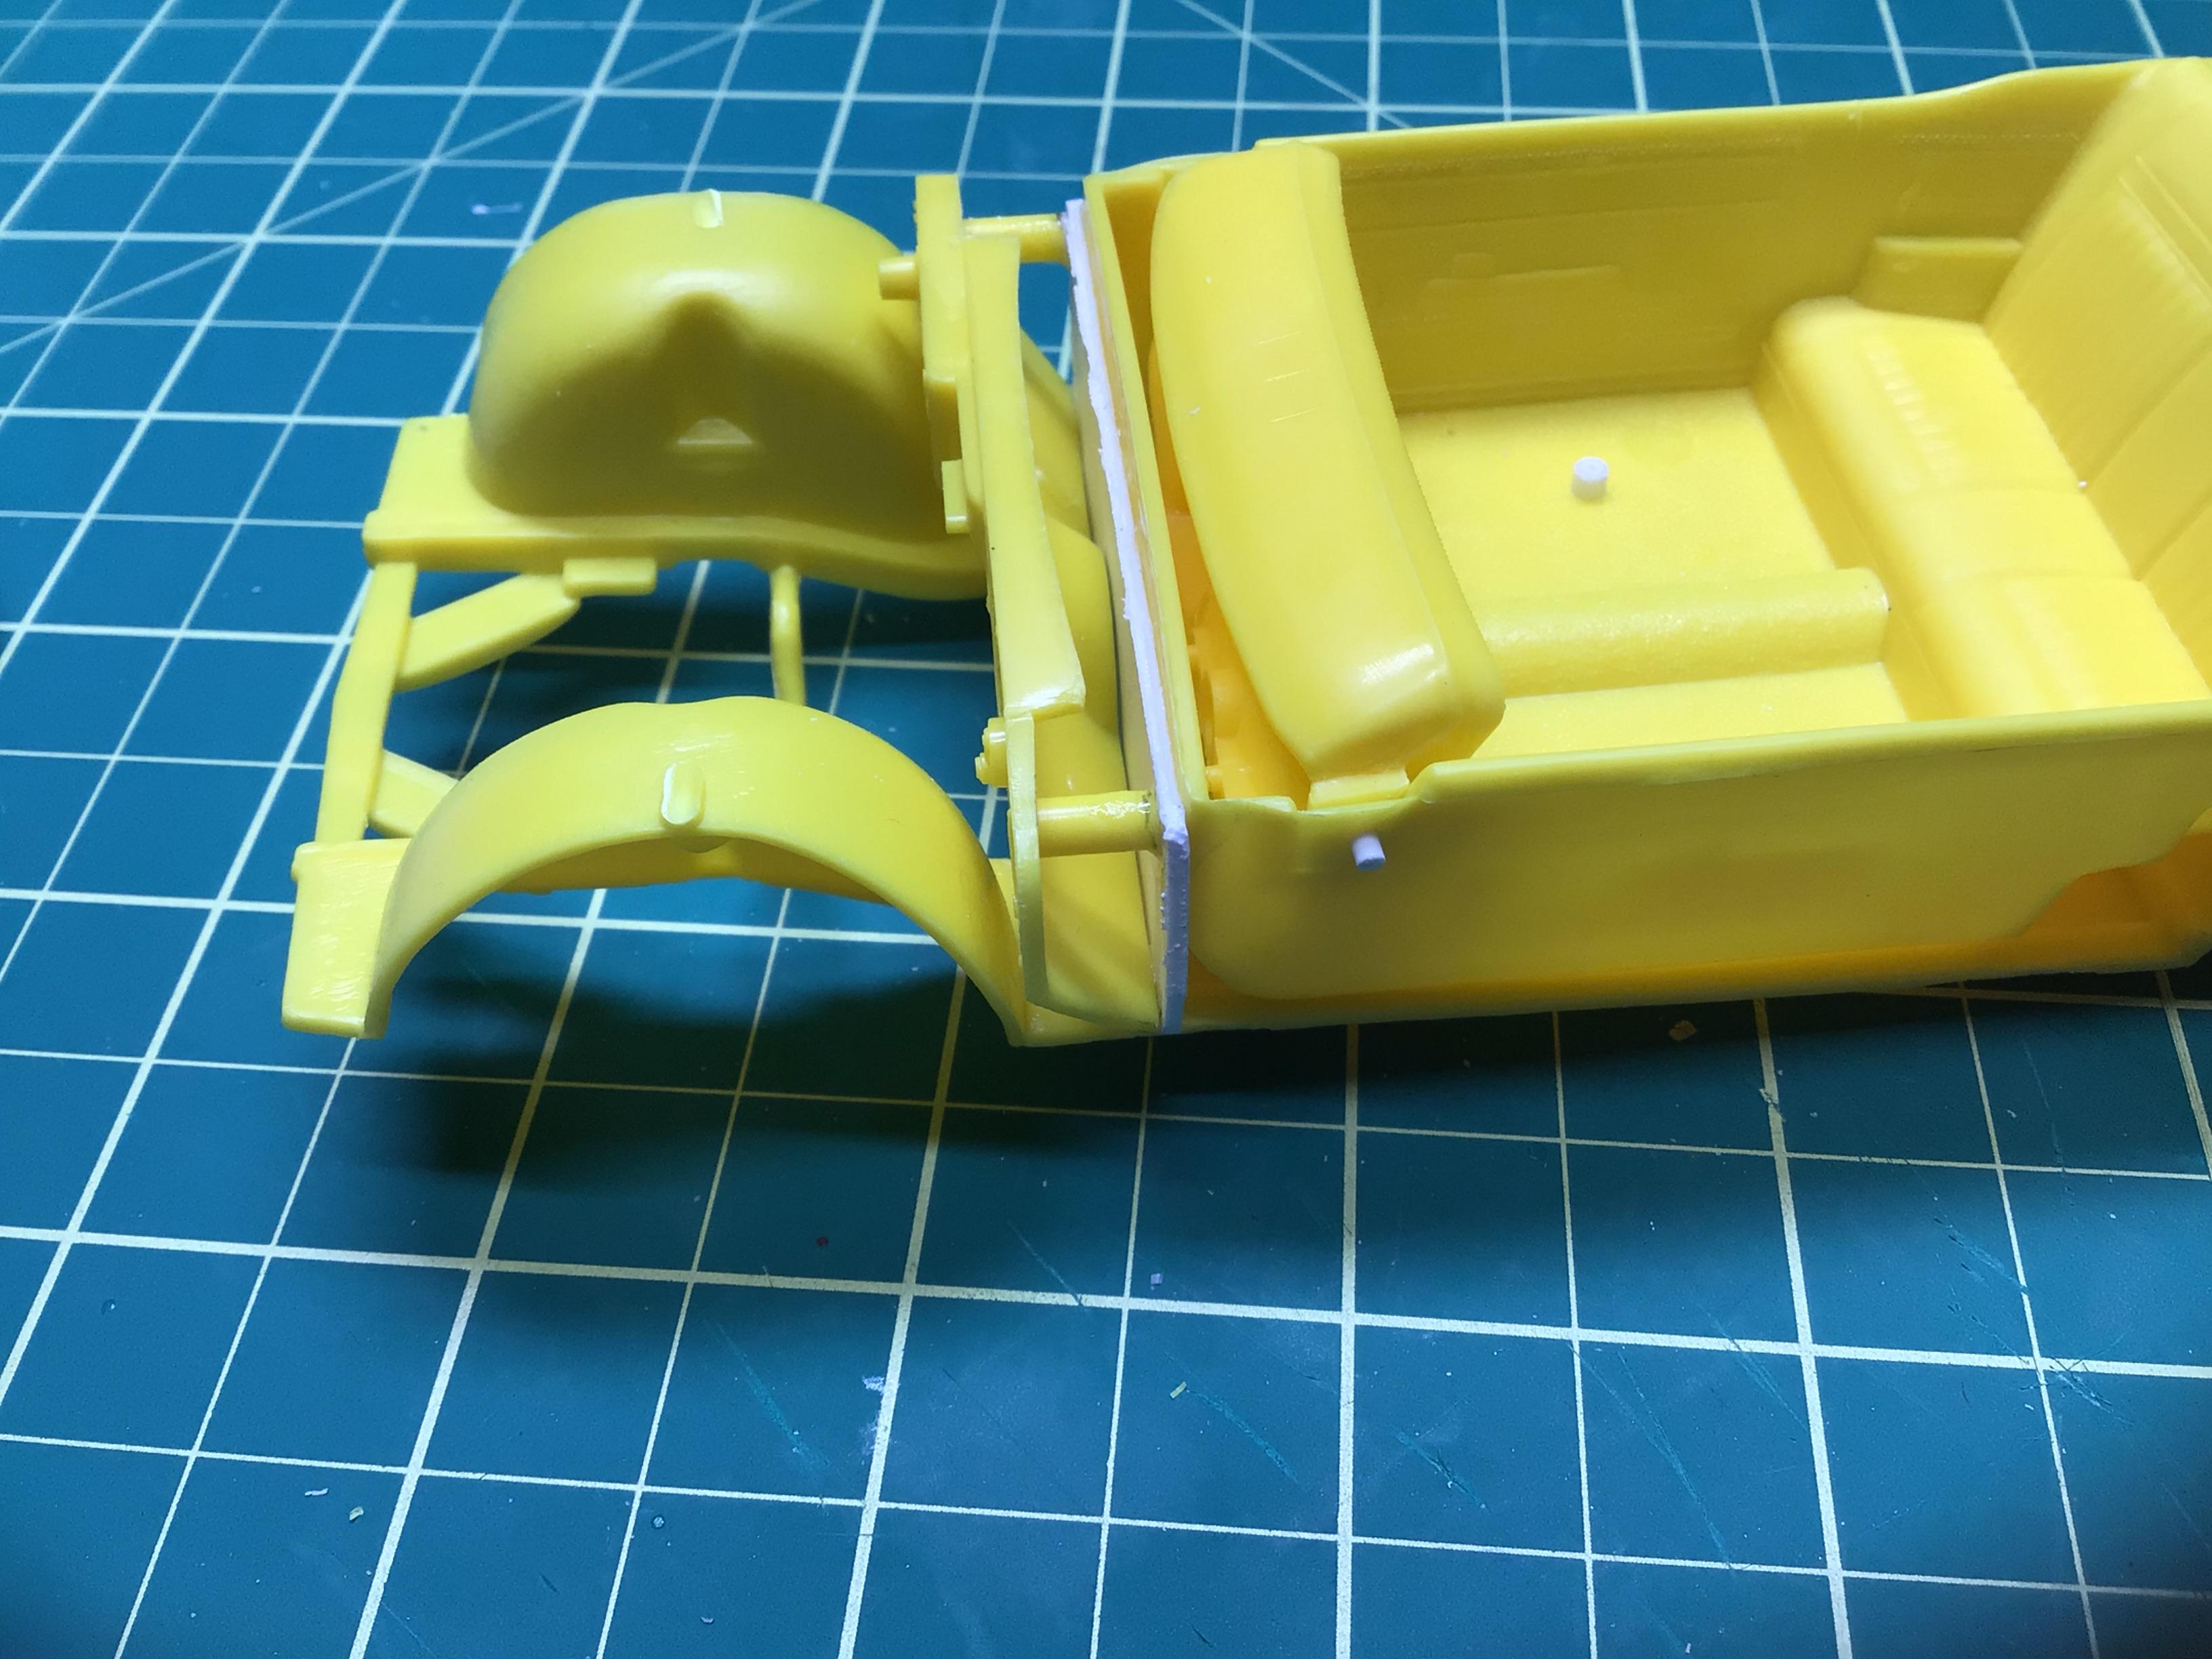
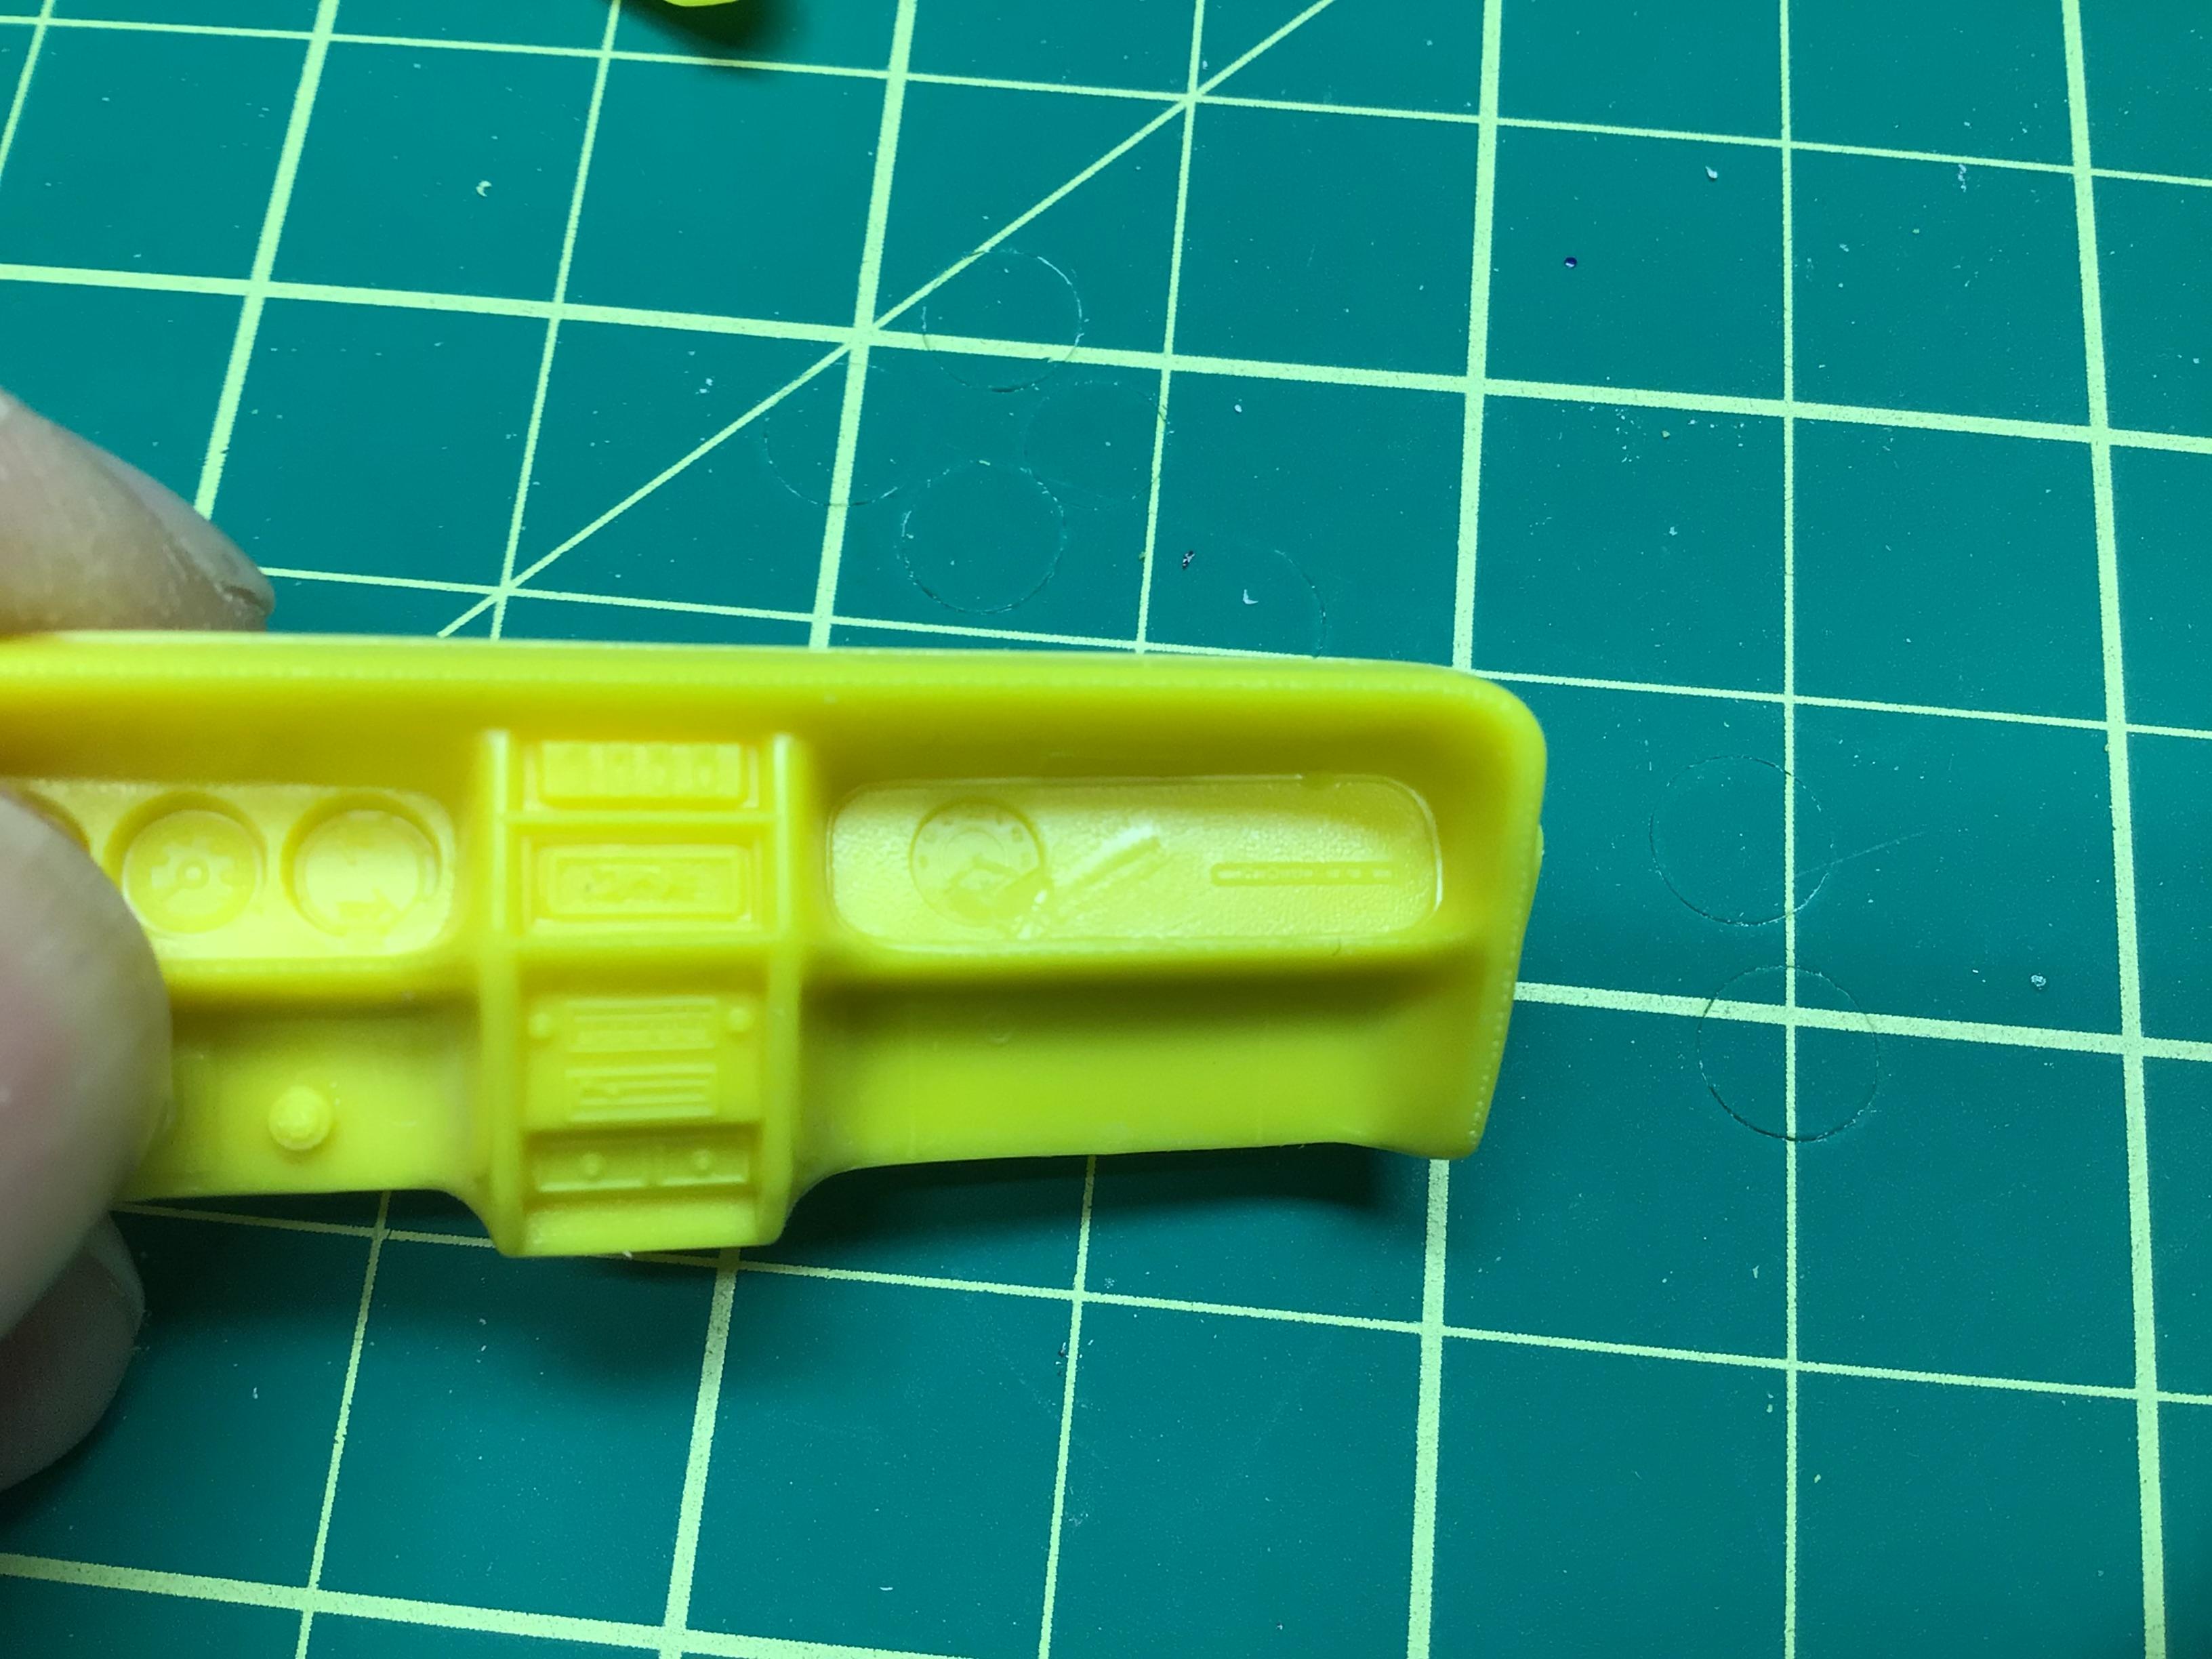
The first thing I want to do is get some more positive mounting points on everything. The interior nestles fairly nicely into the body shell and that I suppose is the key for locating the chassis fore and aft. The chassis/floorpan does have two positive mounting points to the interior. I would like to get some positive mounts to the body, then I can work on the engine bay. I’ve pinned the dash and added some pins that will double as front seat mounts.
-
Thanks Len. I had explored that possibility briefly. The main problem with that is that the Mustang has a multi-piece interior with the carpet and trans tunnel molded to the chassis. It’s not impossible to cut the bottom off of the Cougar interior and graft it to the Mustang chassis but…one thing leads to another.🤔 The new tunnel would interfere with the Cougar dash. The wheelbase would have to be lengthened also….so I am just going to work with the AMT parts and rebuild the engine bay I think.
-
Day two model builds and rad rods are my favourite.
-
I’d say you caught on “some 30-odd years ago”!👍😎
-
Thanks Len, I’ll watch it later tonight. I dug up Donald’s (Duddly01) fantastic build thread of this kit: https://www.modelcarsmag.com/forums/topic/194034-amt-1969-cougar-eliminator/ However, I am not correcting much of anything on kit….I’ll be lucky to finish it.😬 The body and engine are nice but the interior and Chassis are absolutely awful. Edit: I watched that nice video and am disappointed to realize that my Boss 302 Eliminator kit has the 428CJ hood decal.😕
-
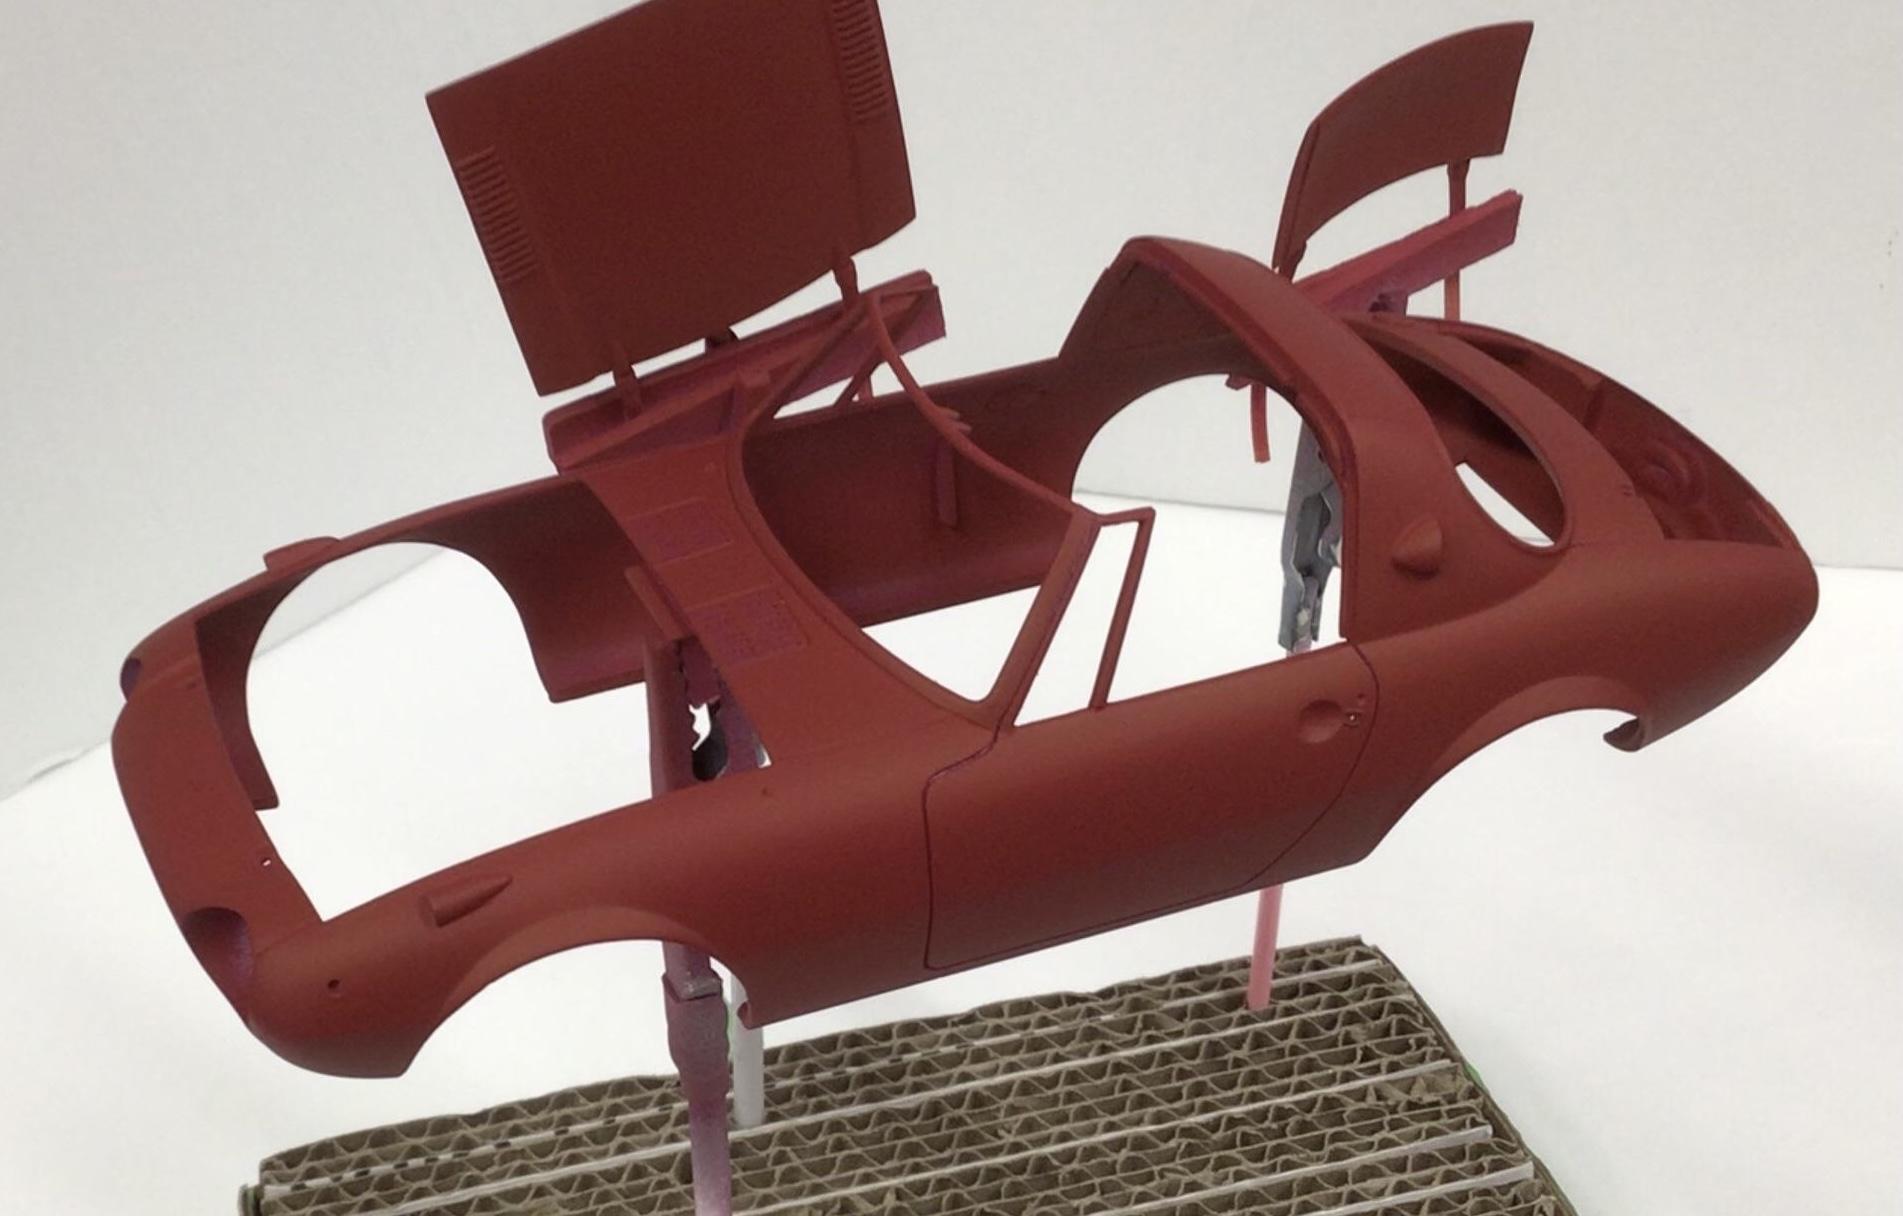
Thanks Len! I really like the looks of these Cougars, but I am going to have to research some build threads on here. I was just trying to place the firewall and I realize that there really aren’t any positive mounting points for much of anything on this kit.🥴 The instructions just point to the general area where it belongs…I guess it would only keep a kid from installing it backwards or upside down.🤯 Lots of flash and warts on it too. I guess that’s to be expected though from an older tooling.😕
-
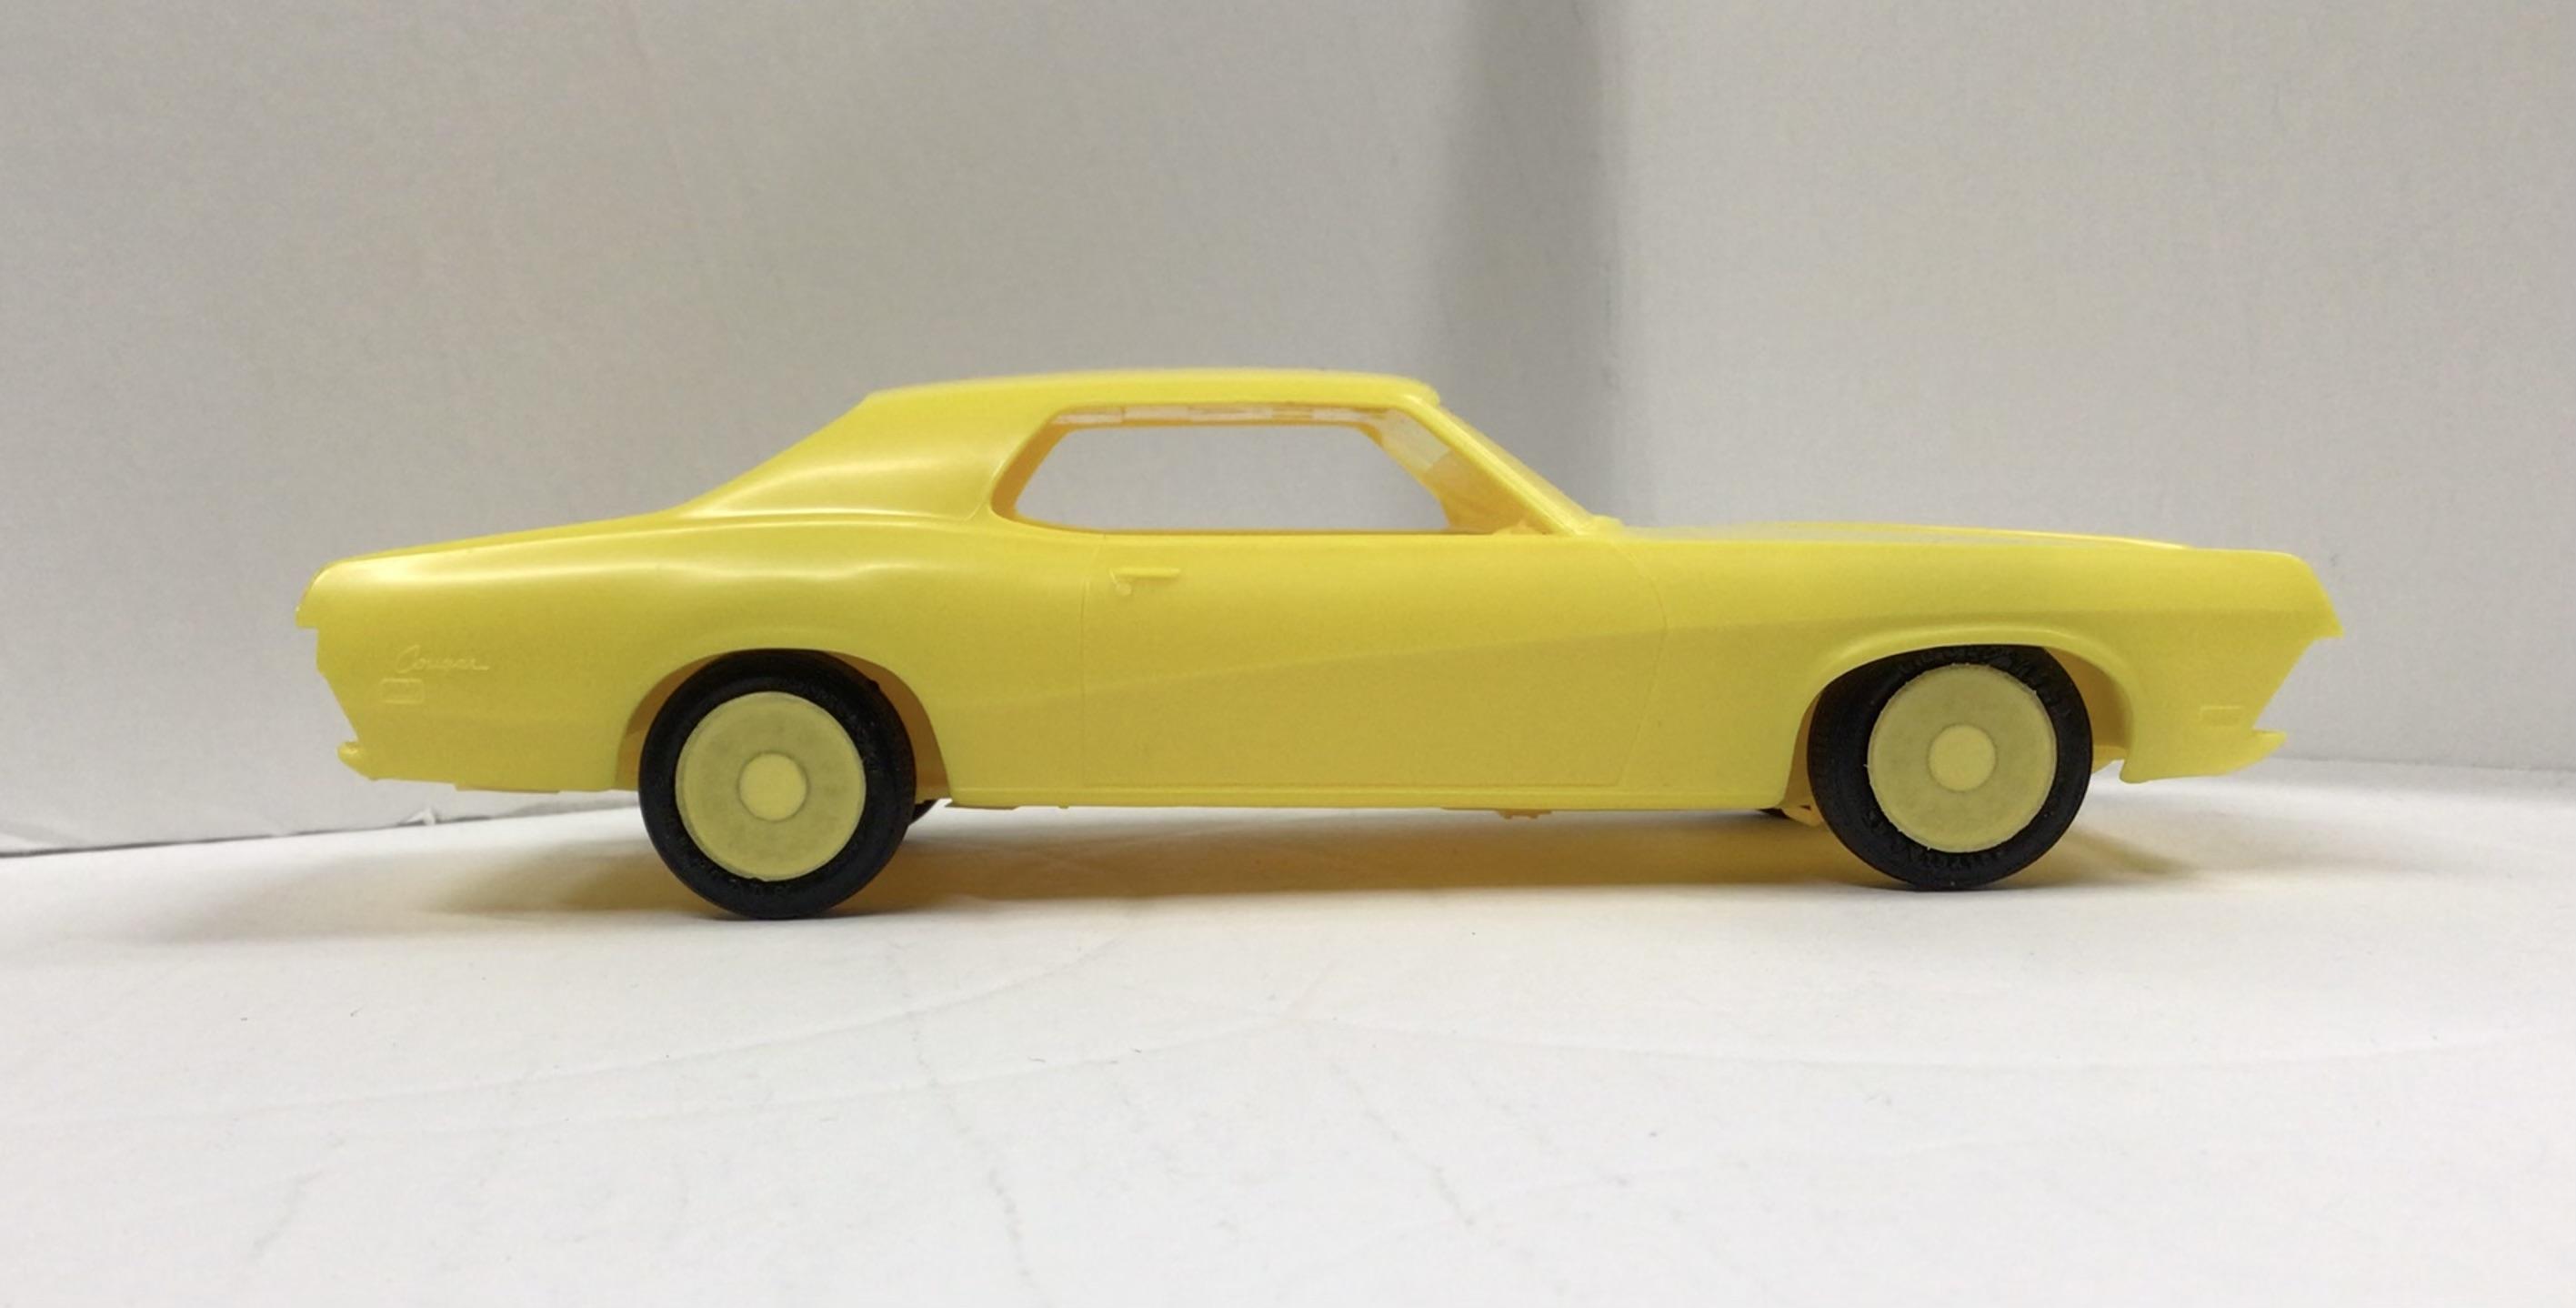
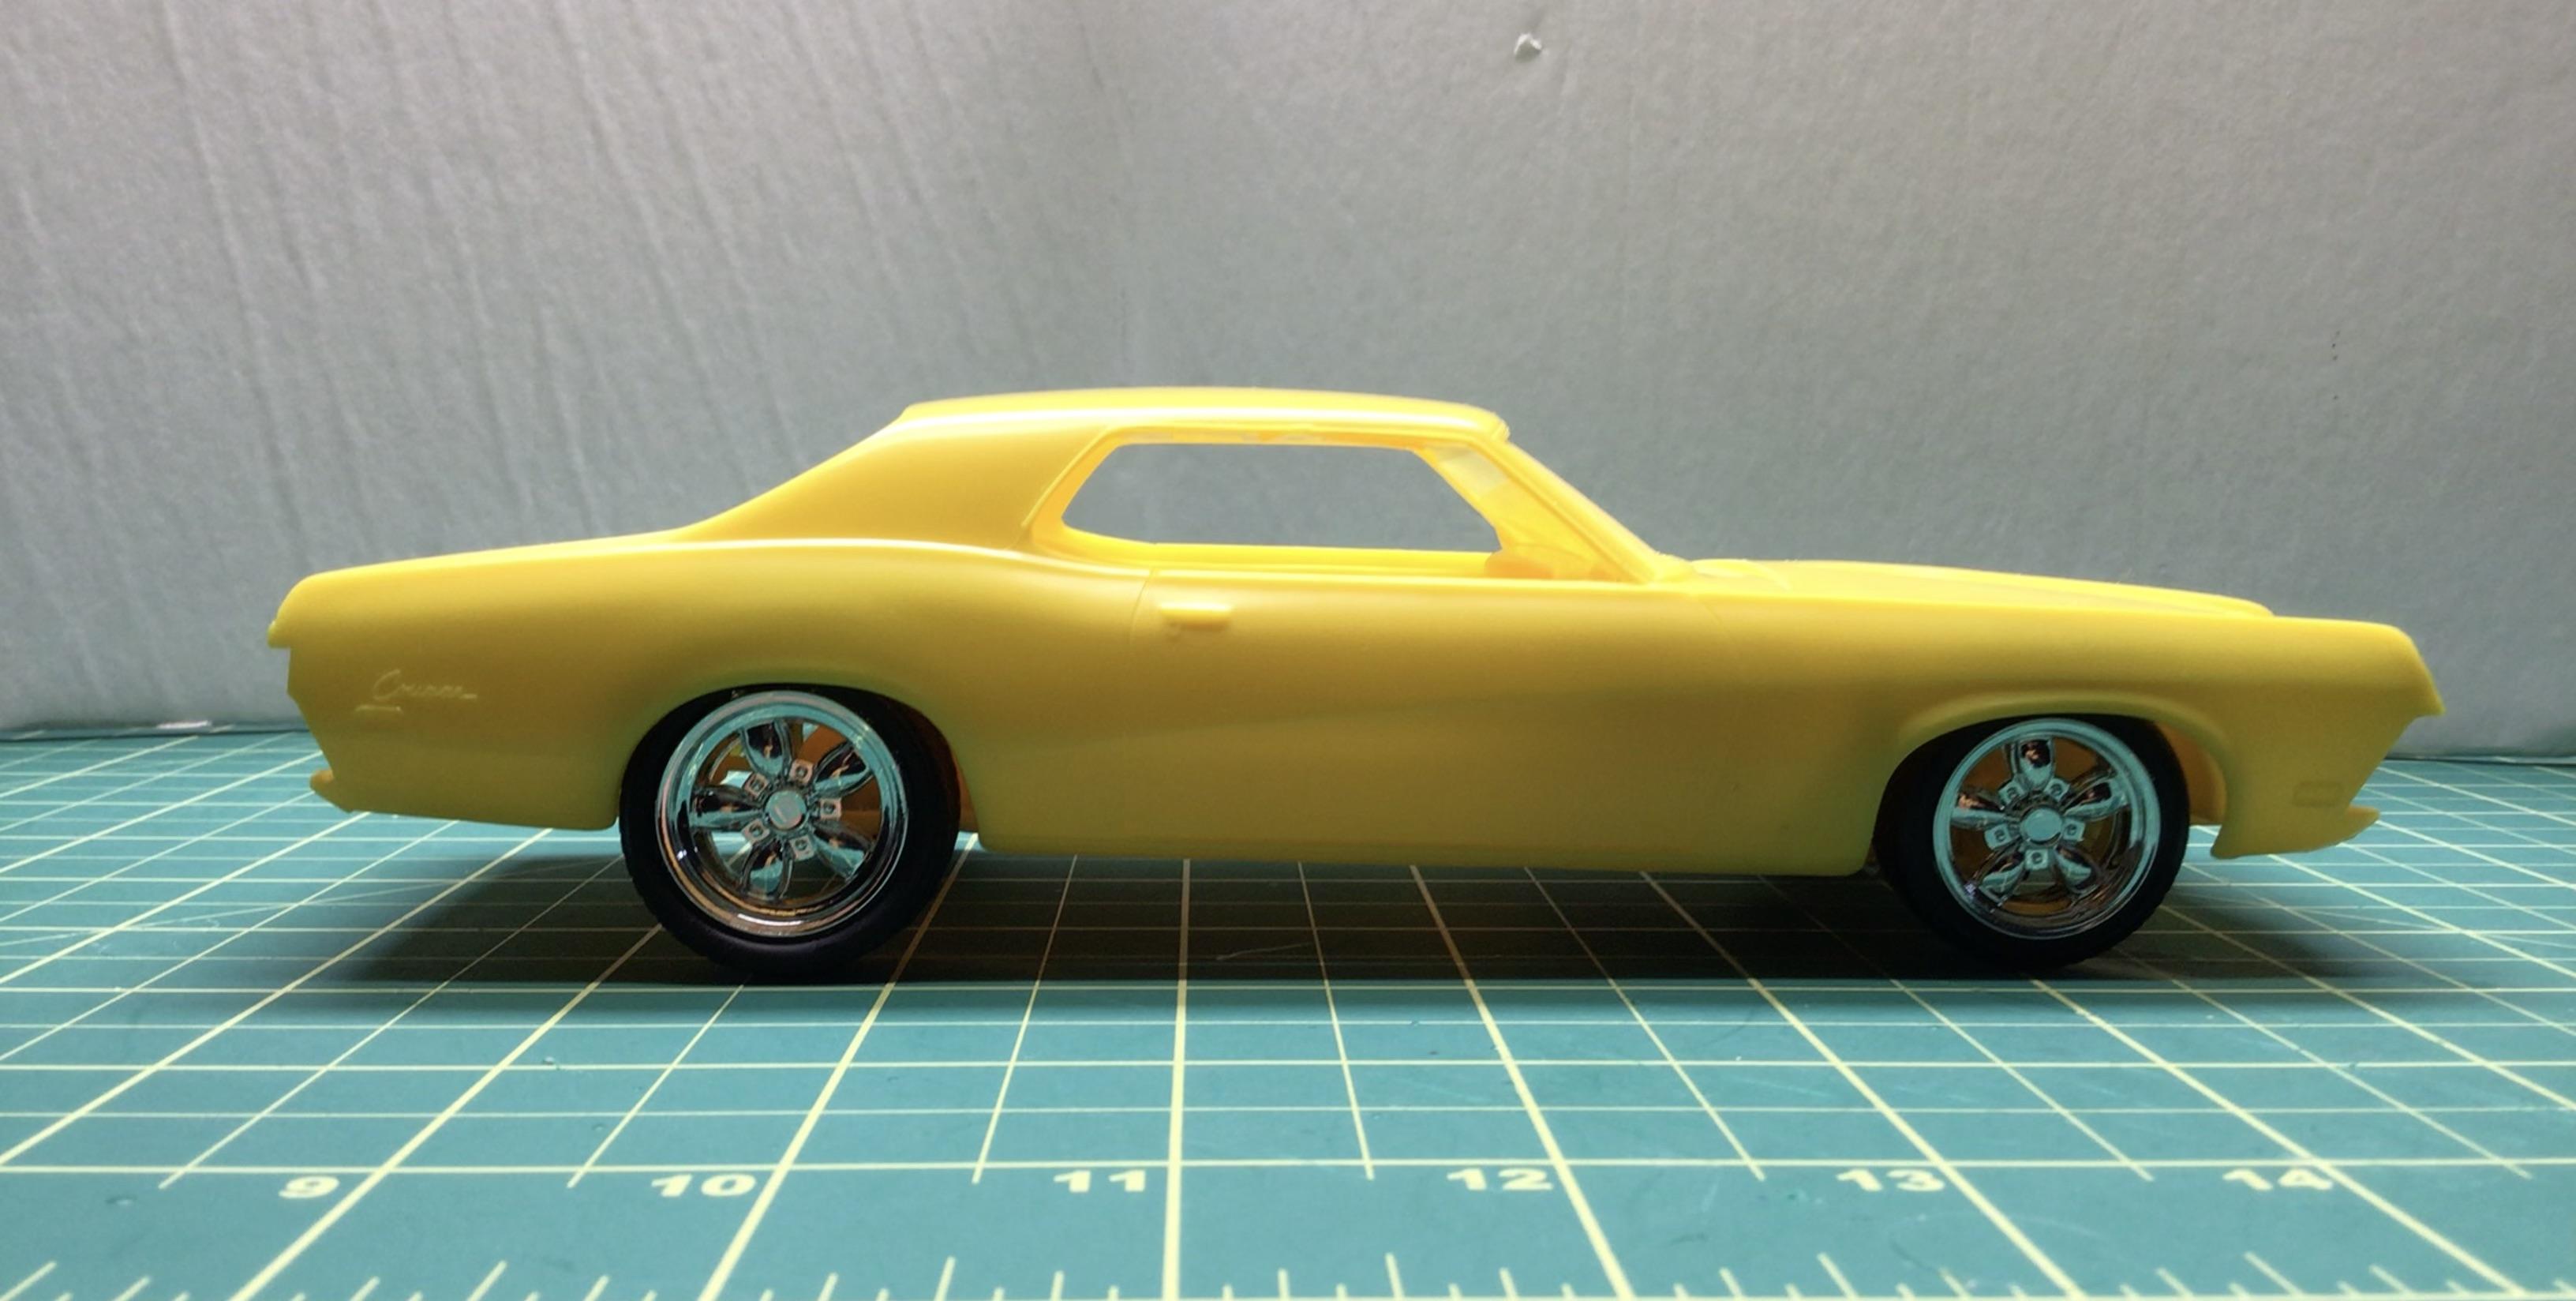
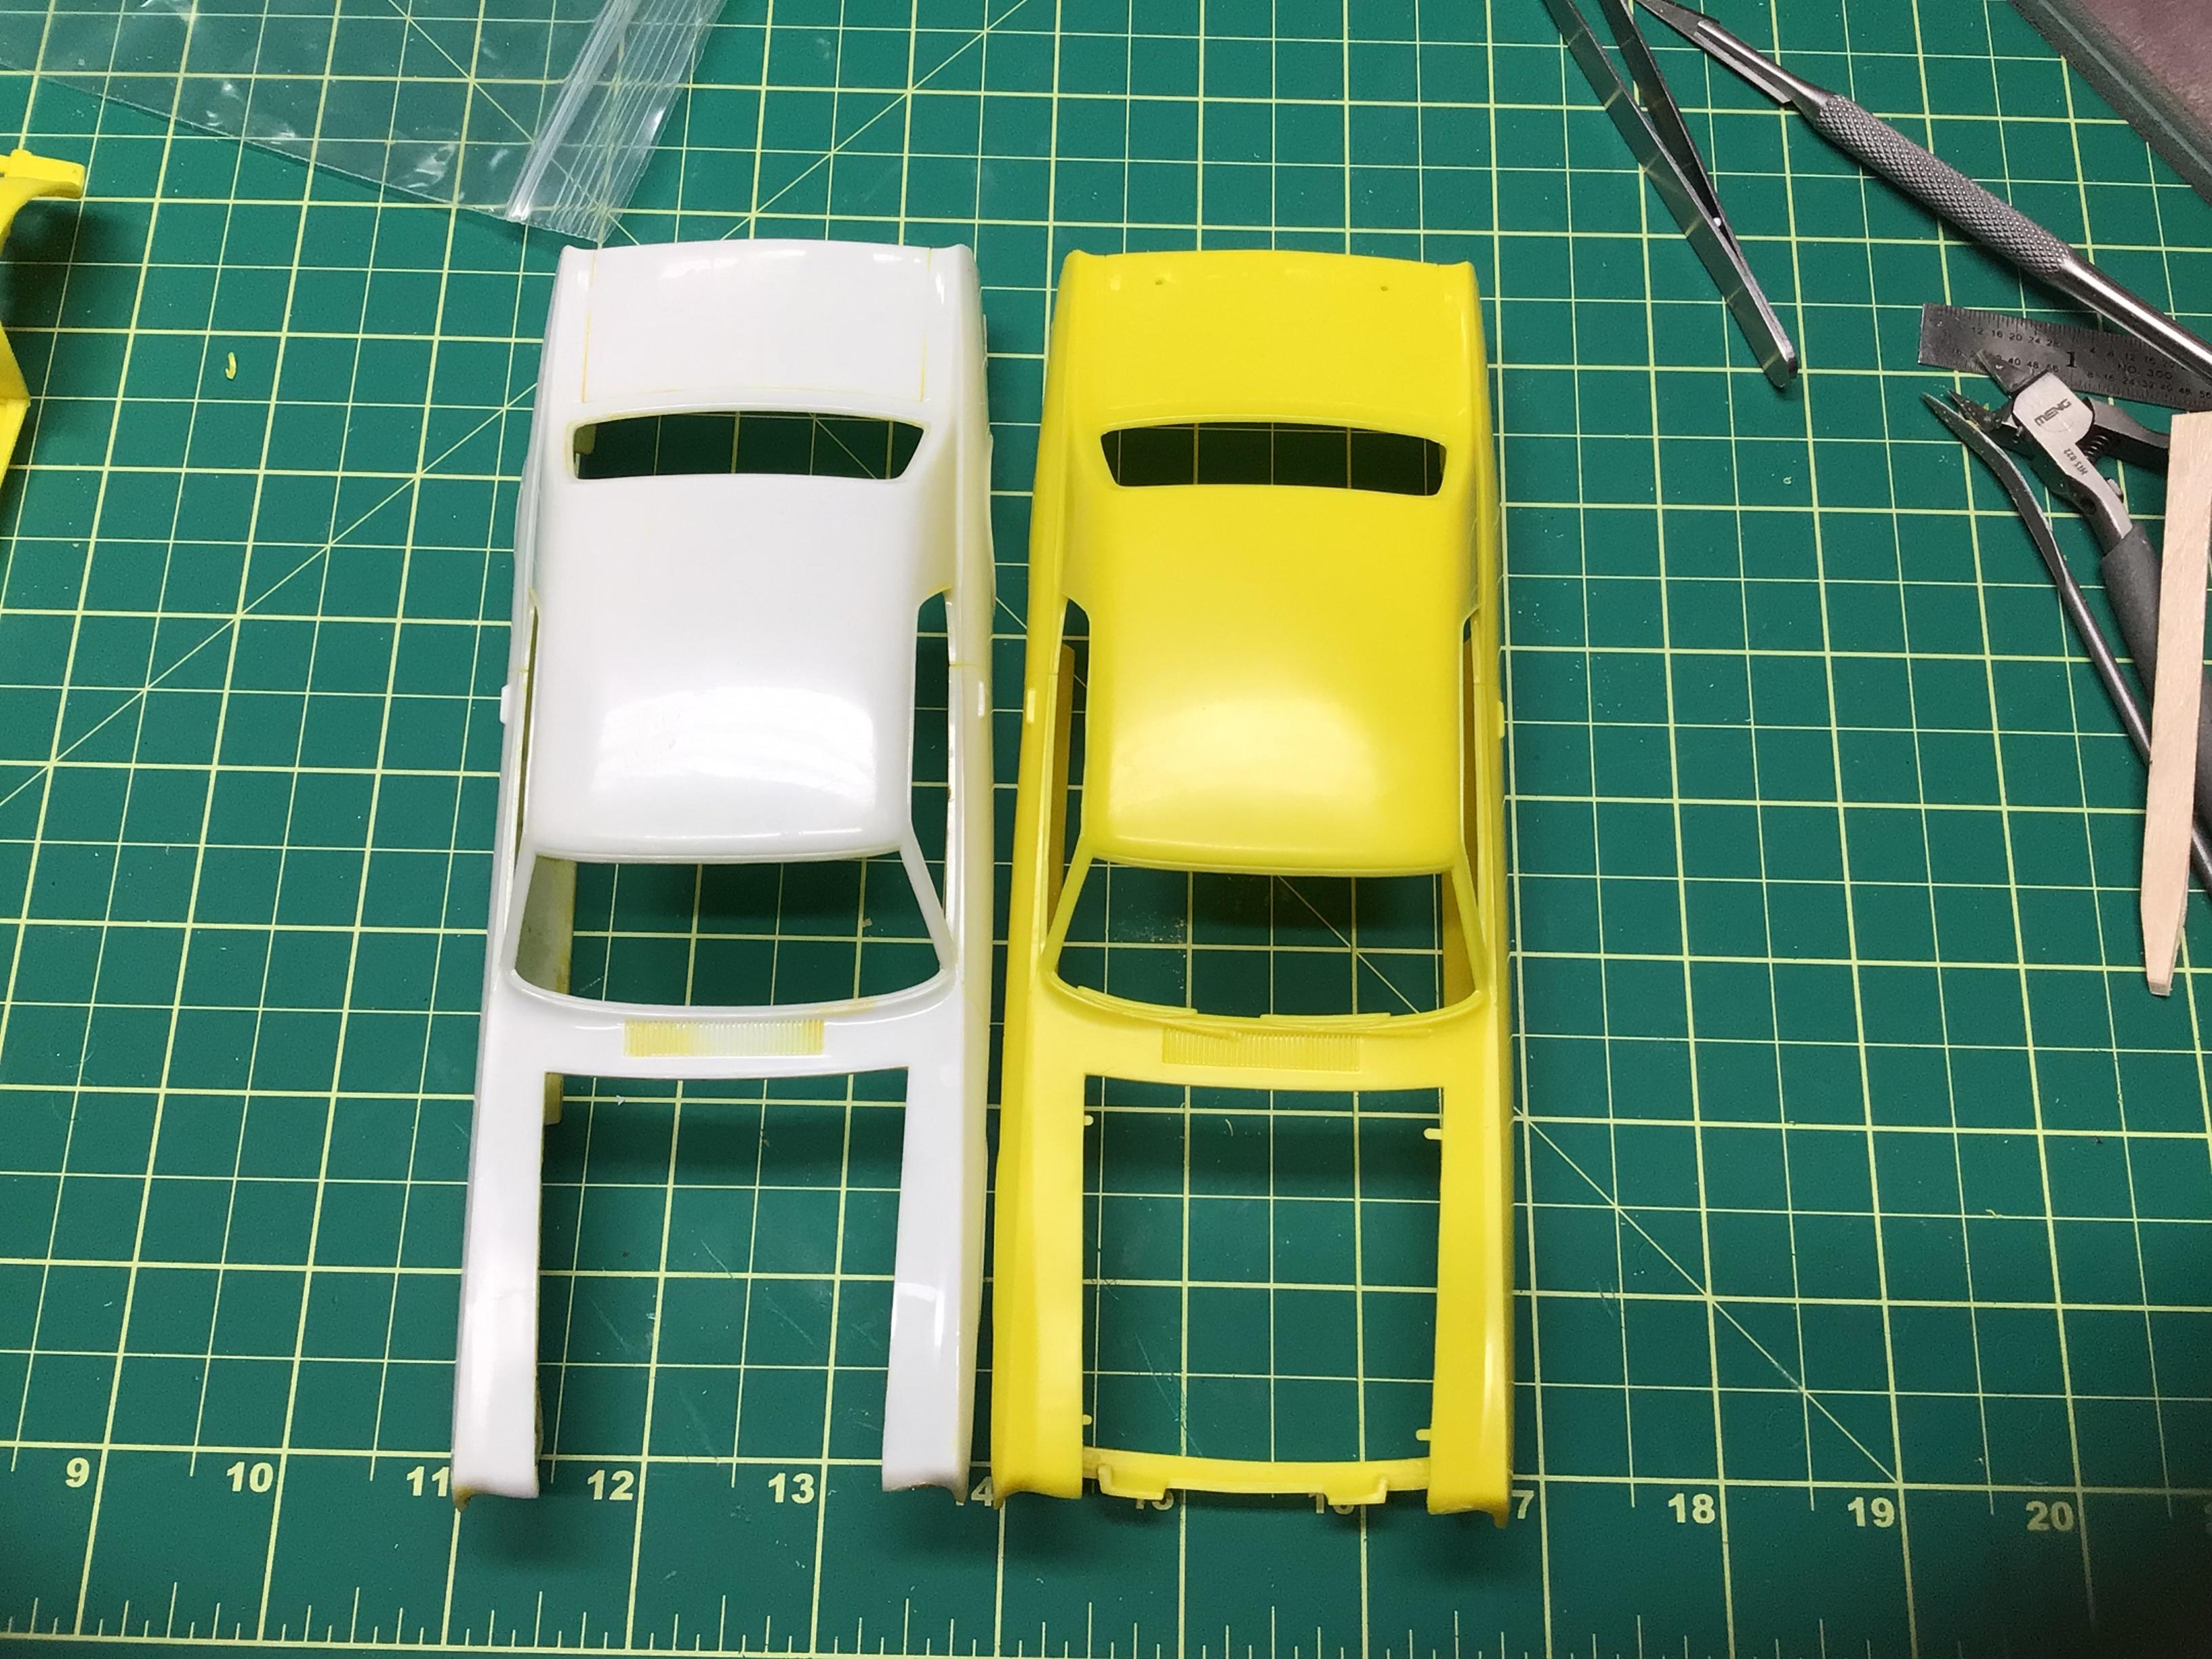
I built the engine for this a few years back and then put everything back in the box. Recently I picked up another body shell that is molded in white. I had thought they were identical, but just noticed that the white one does not have molded in wipers or holes for the rear spoiler. Can anyone tell me when that change was made? I’d rather use the white one as the drip rails are much more defined. All comments welcome as usual. Thanks.🙂 Edit: I notice that the instructions call for the hood scoop and spoiler to be flat black, but they should be body color on a ‘69.
-
59 Chevy Task Force
NOBLNG replied to Jürgen M.'s topic in WIP: Model Trucks: Pickups, Vans, SUVs, Light Commercial
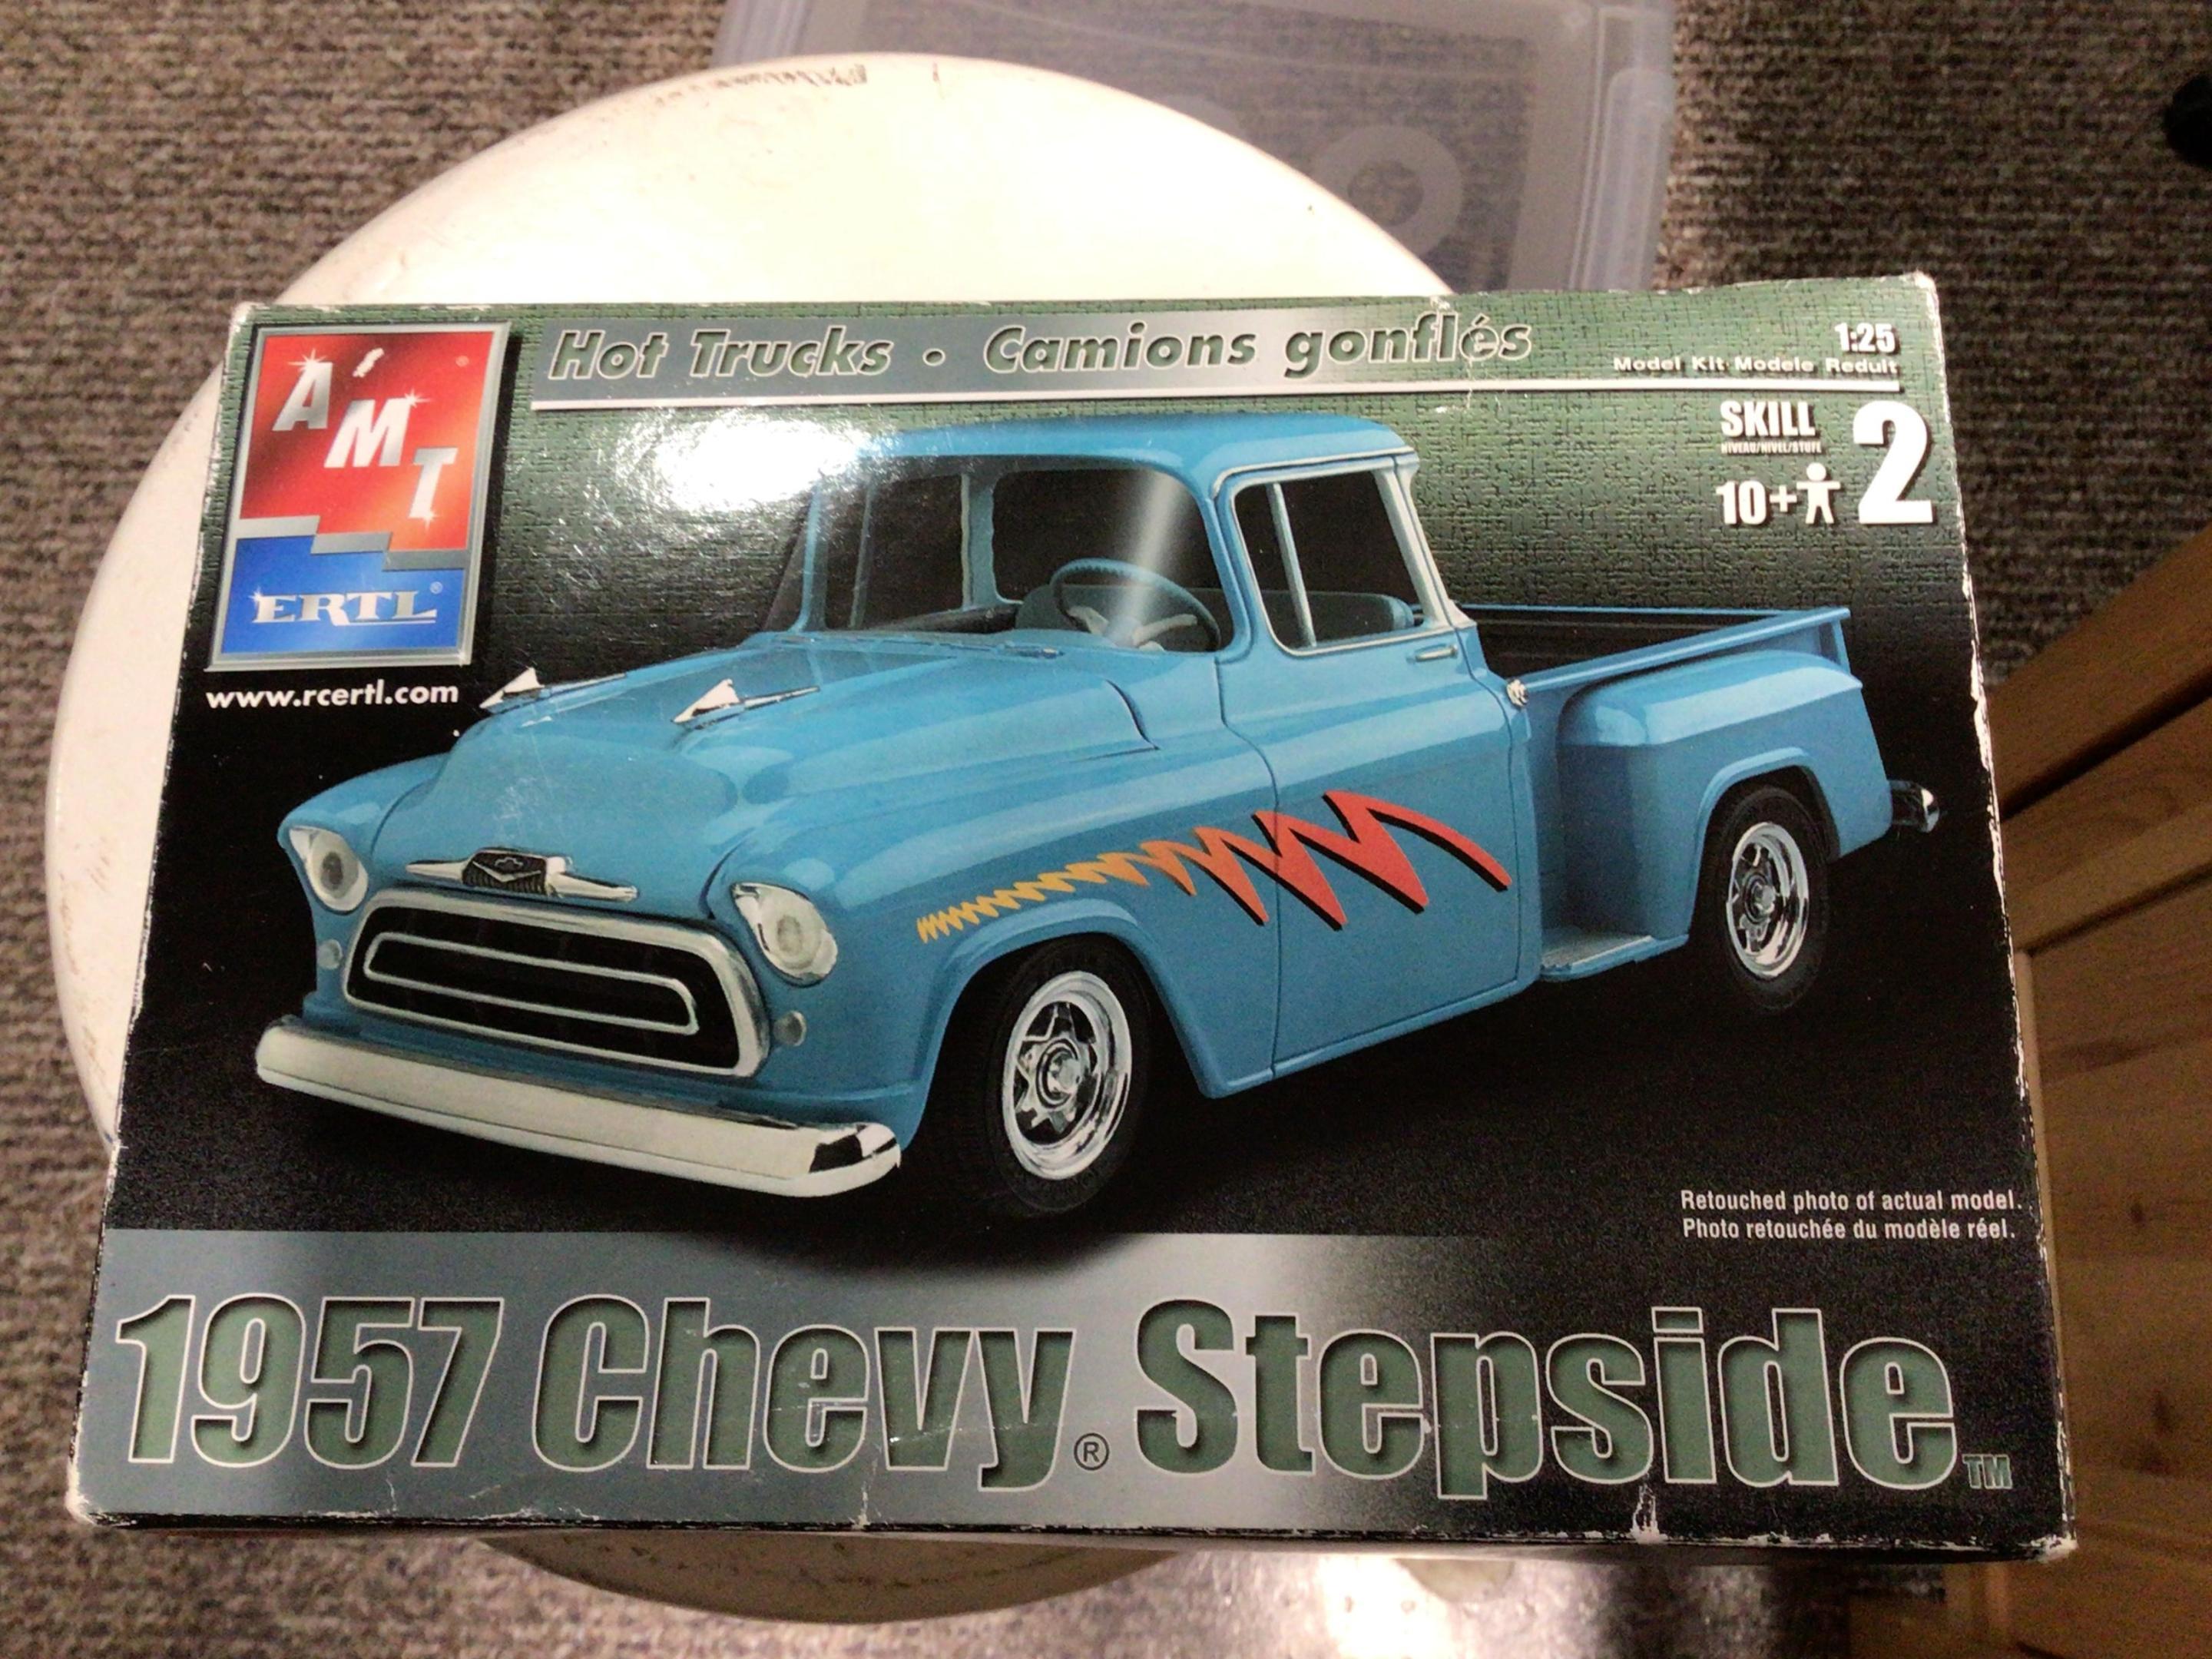
It is 6309. I know there are some issues with the windshield fit and I used the one from a Cameo kit. Here is a link to my build if you’re interested. https://www.modelcarsmag.com/forums/topic/180397-‘57-chevy-stepside/ -
59 Chevy Task Force
NOBLNG replied to Jürgen M.'s topic in WIP: Model Trucks: Pickups, Vans, SUVs, Light Commercial
This kit should be close to what you need.
-
Bacon, lettuce and tomato makes a great sandwich.