NOBLNG
-
Posts
10,231 -
Joined
-
Last visited
Content Type
Profiles
Forums
Events
Gallery
Everything posted by NOBLNG
-
Wormholes are intriguing…unless they’re in your cheese.
-

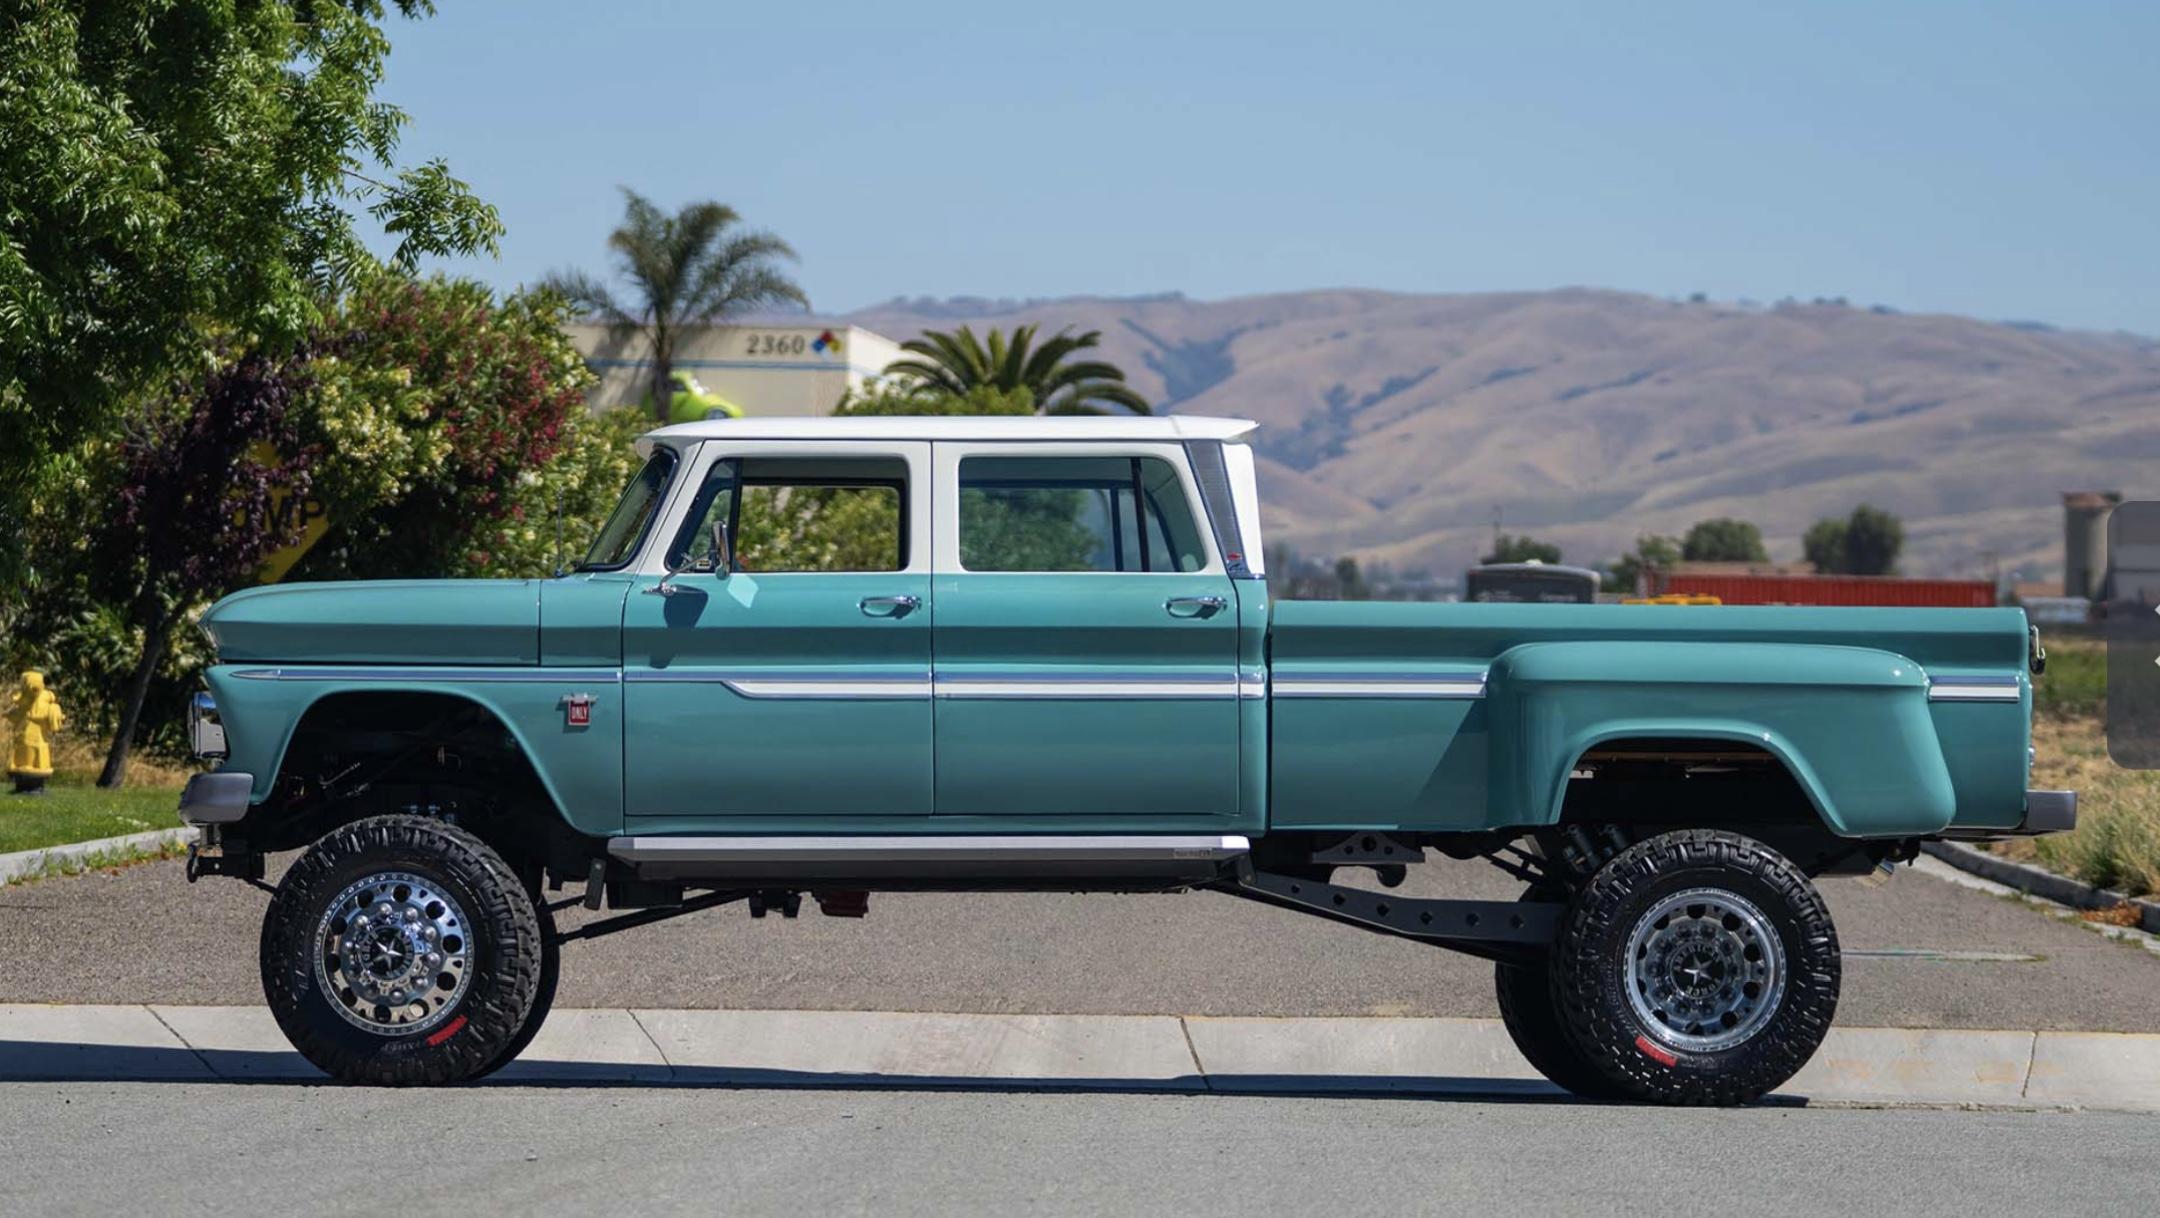
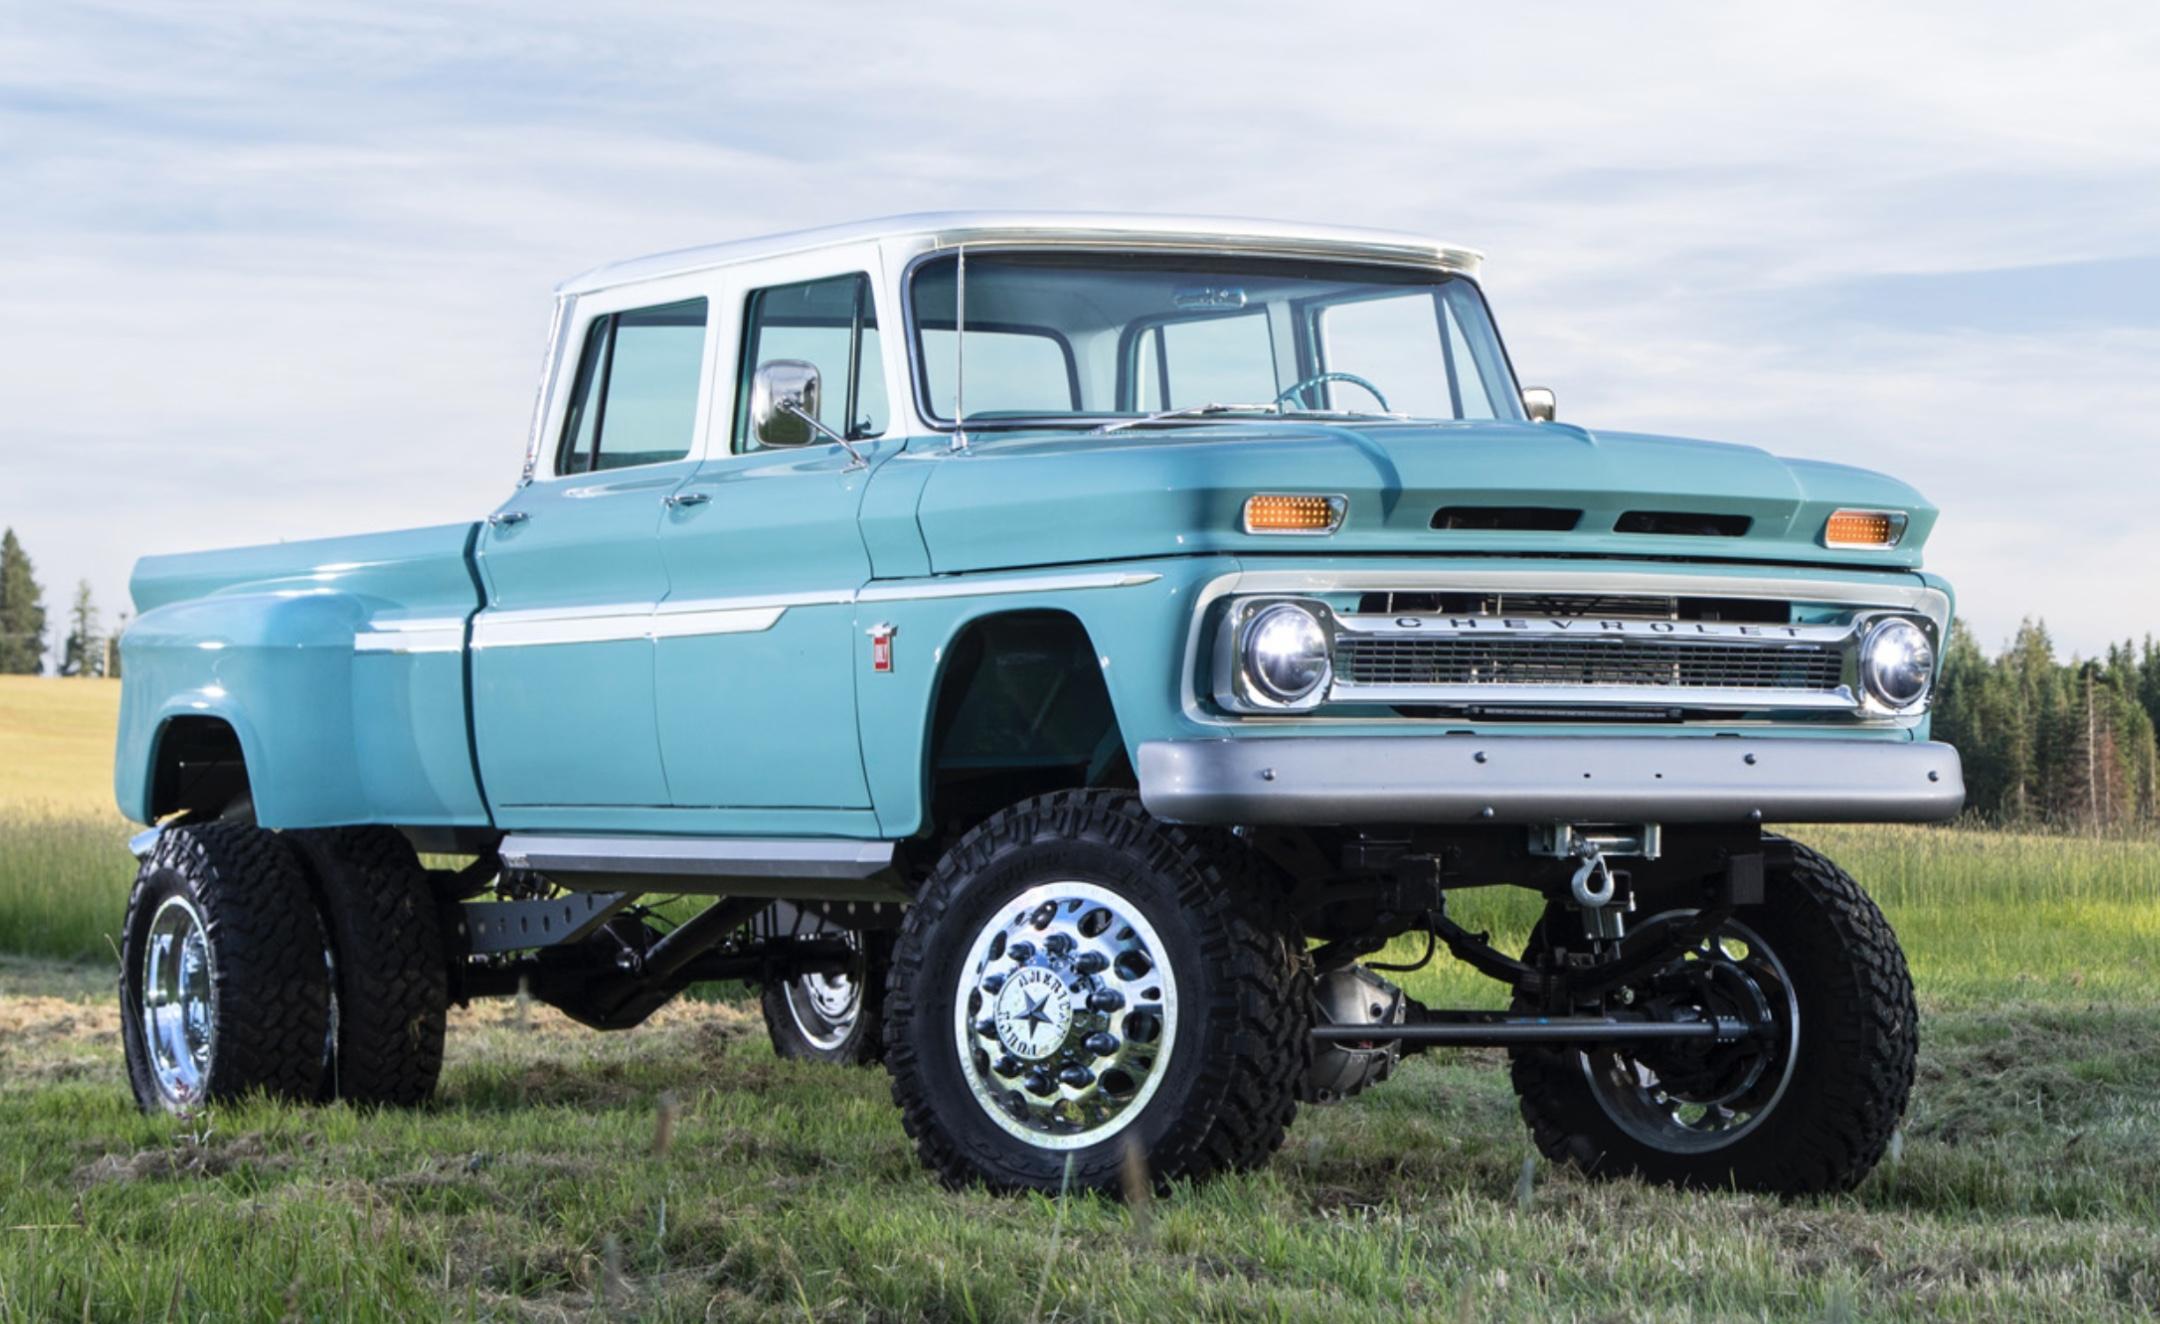
Trucks I’d like to build😎
NOBLNG replied to NOBLNG's topic in General Automotive Talk (Trucks and Cars)
This is cool!😎
-
FYI.
-
Ask me when I’m halfway through sanding those things.😬 In other words…yes.
-
Ford 34, a street hot rod who did not reach the finish line
NOBLNG replied to Ulf's topic in WIP: Model Cars
You are definitely on the right track Ulf!👍😎 -
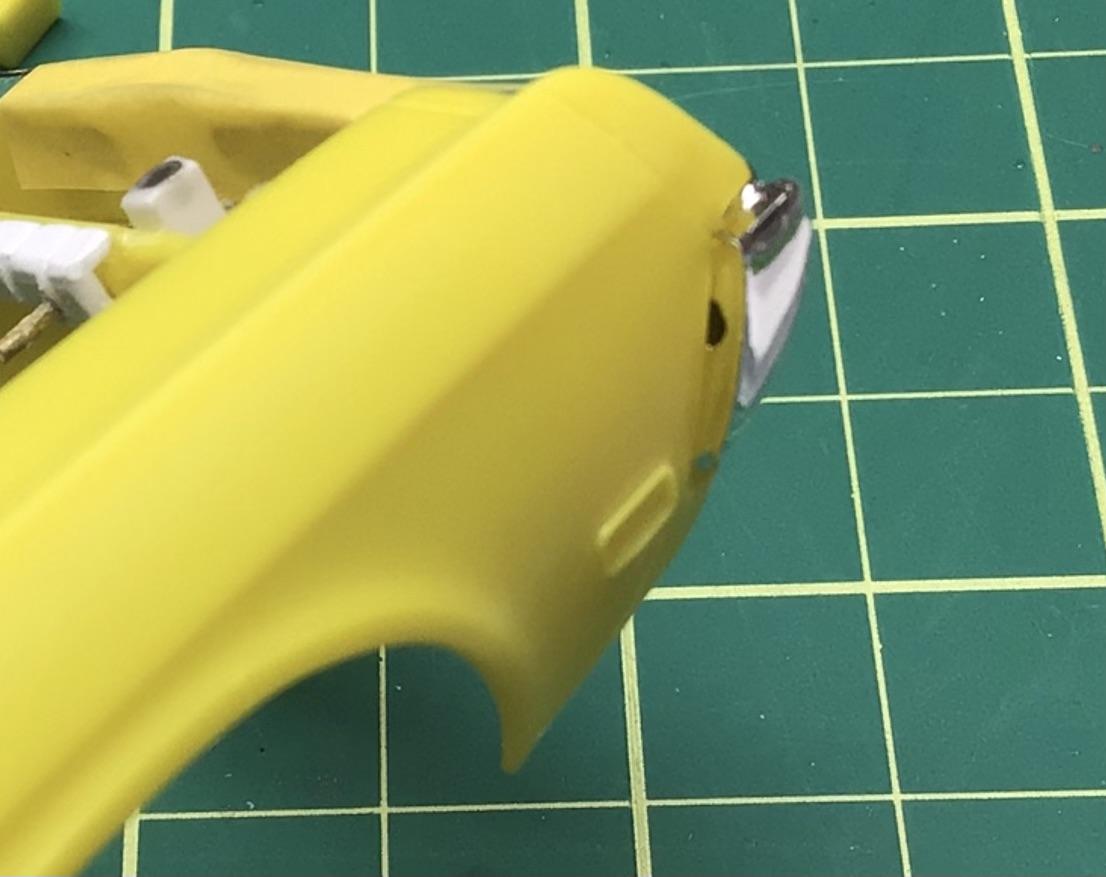
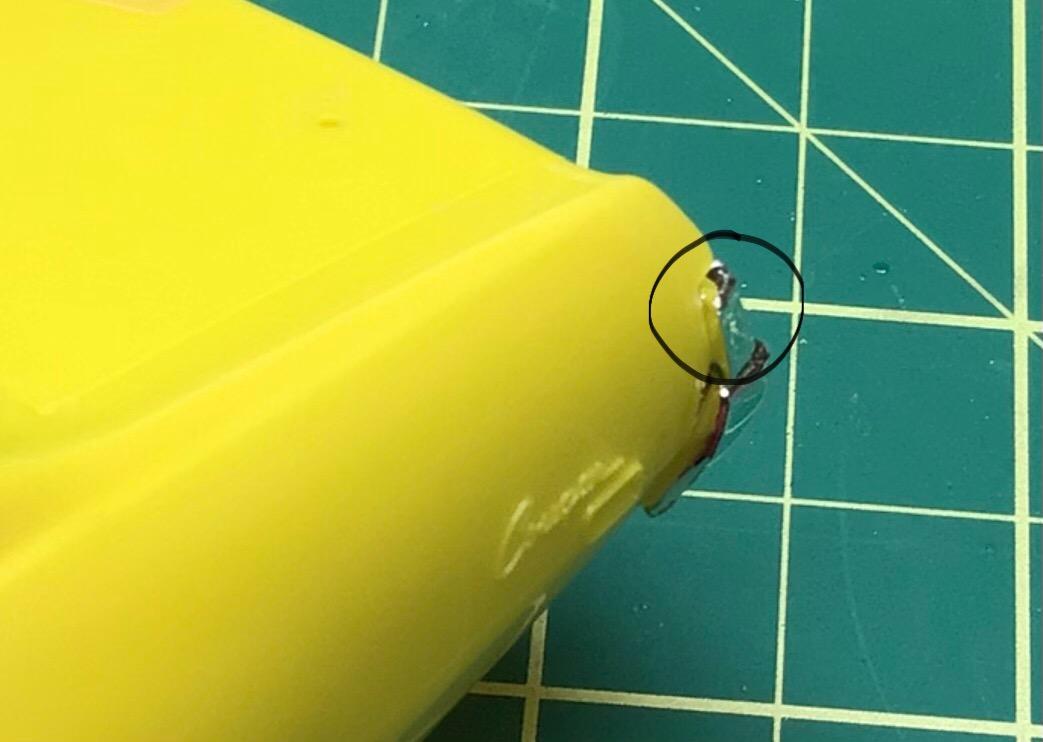
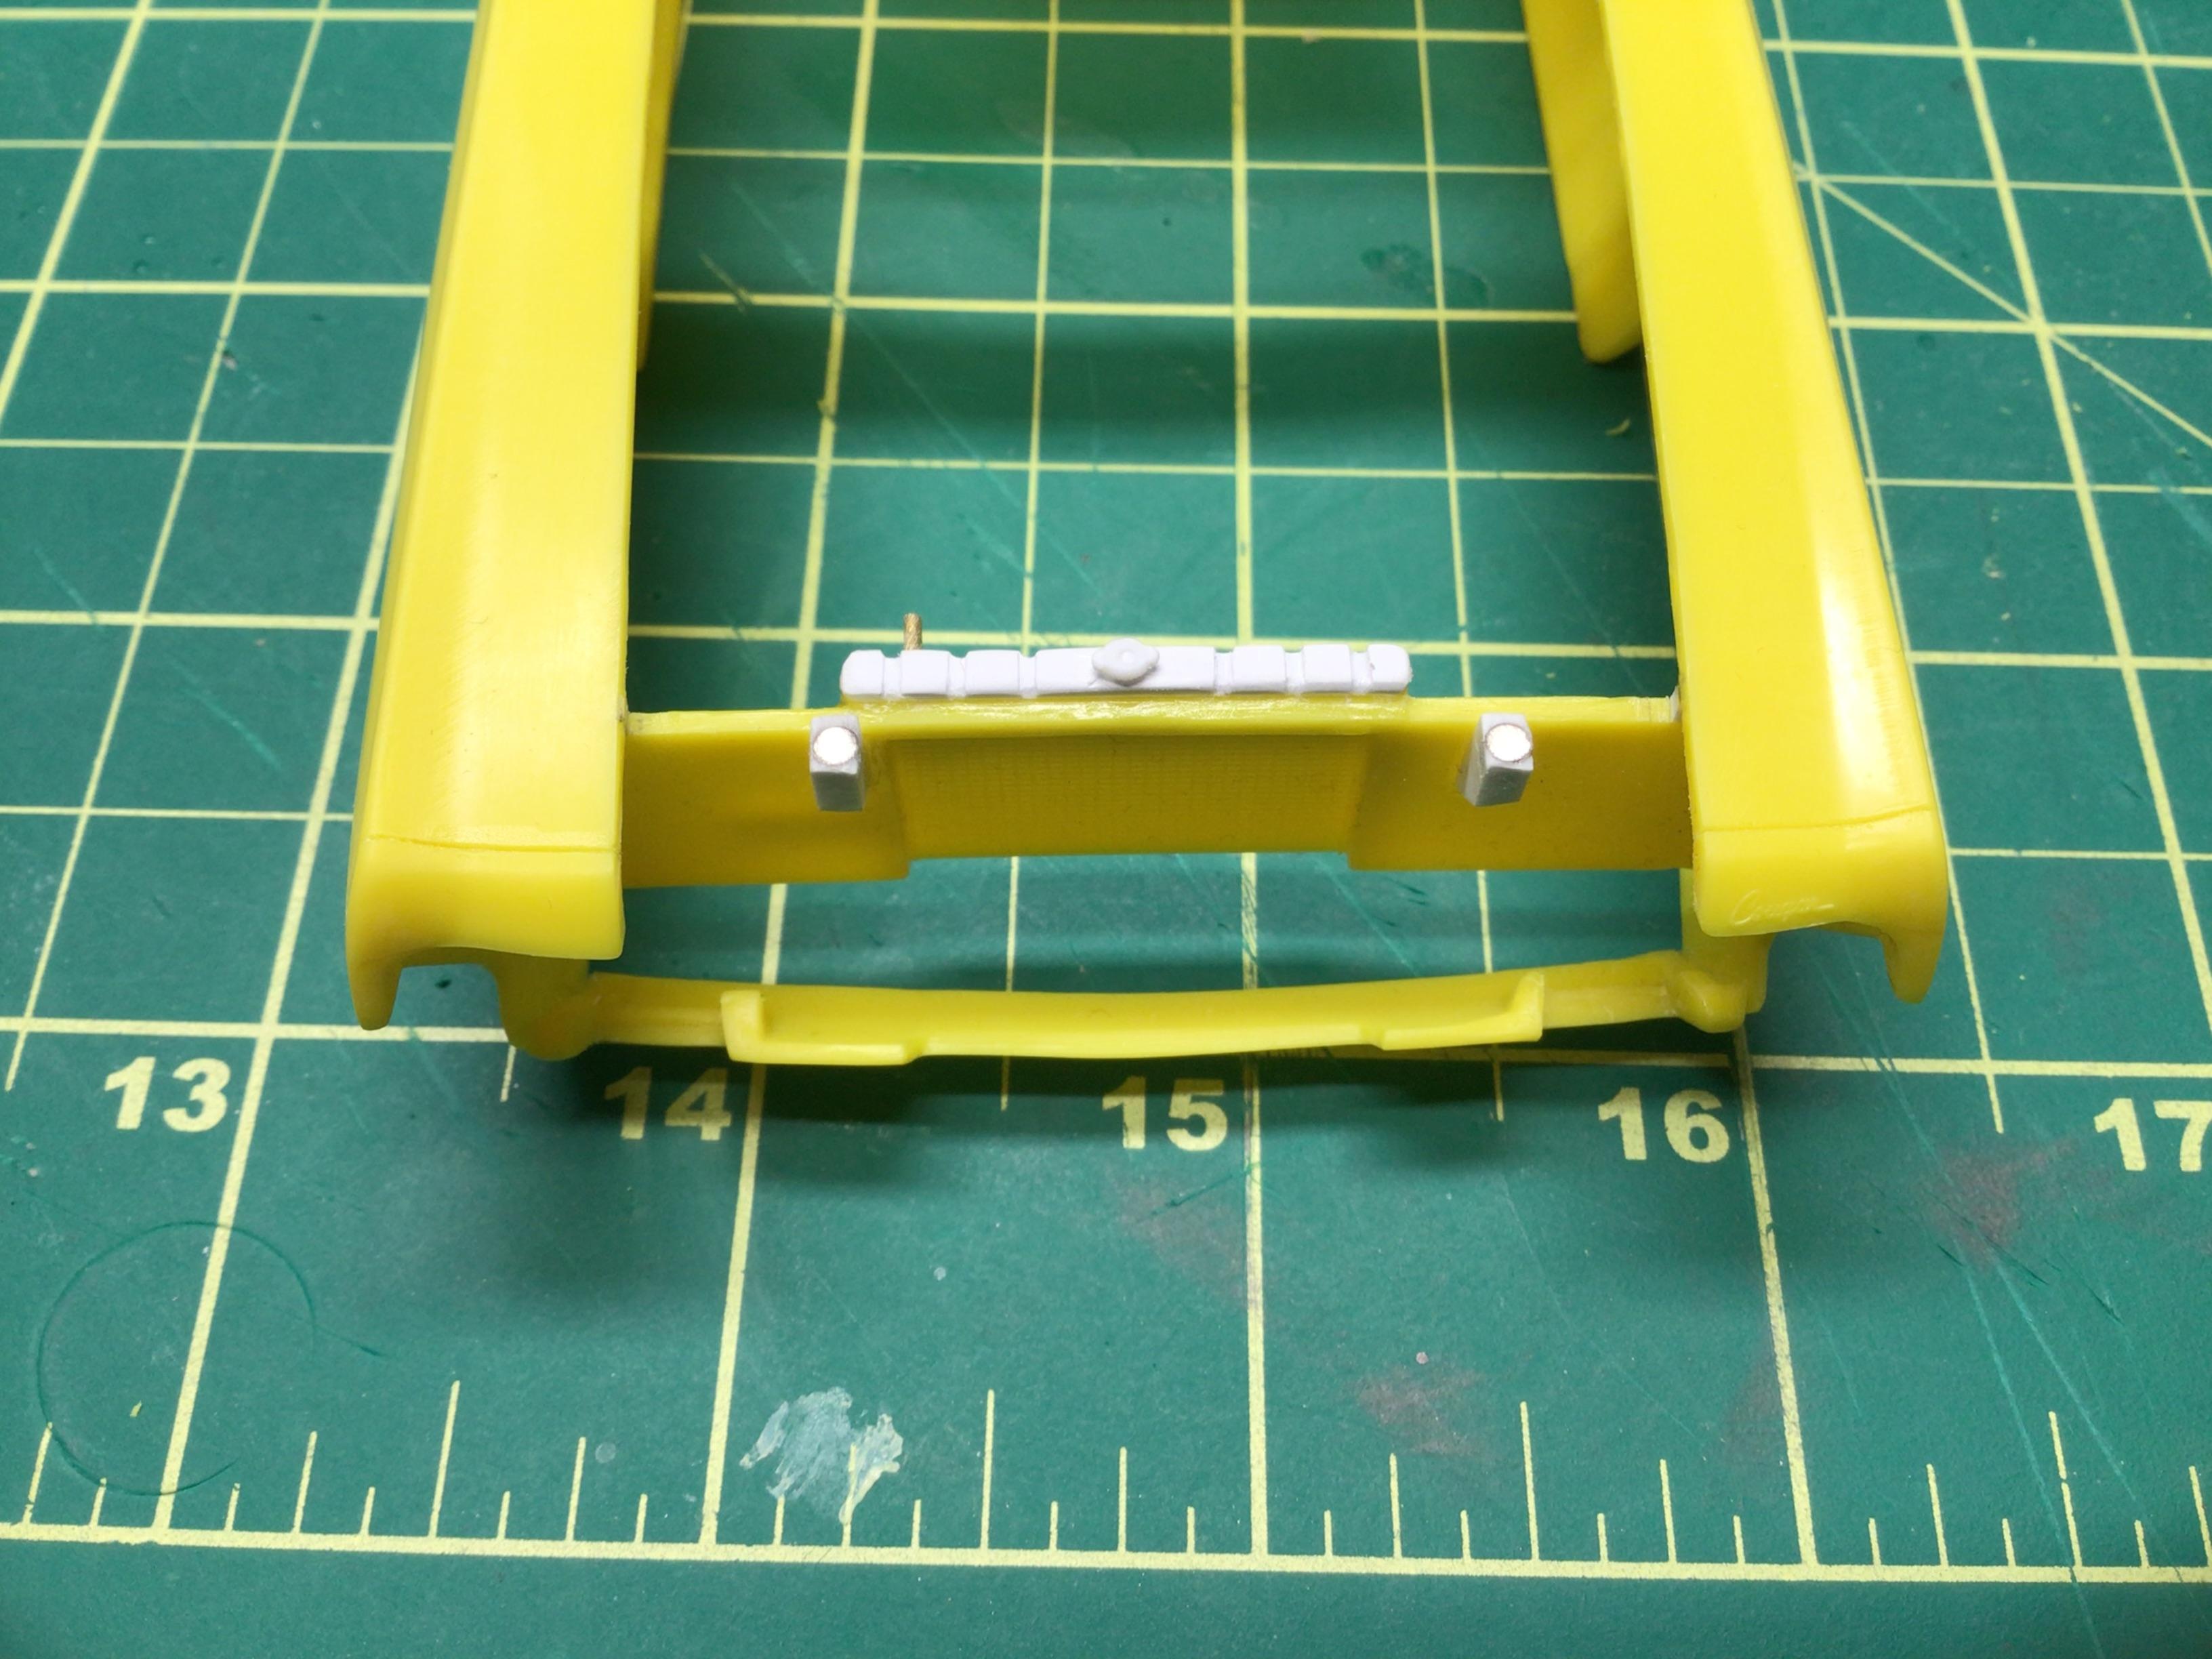
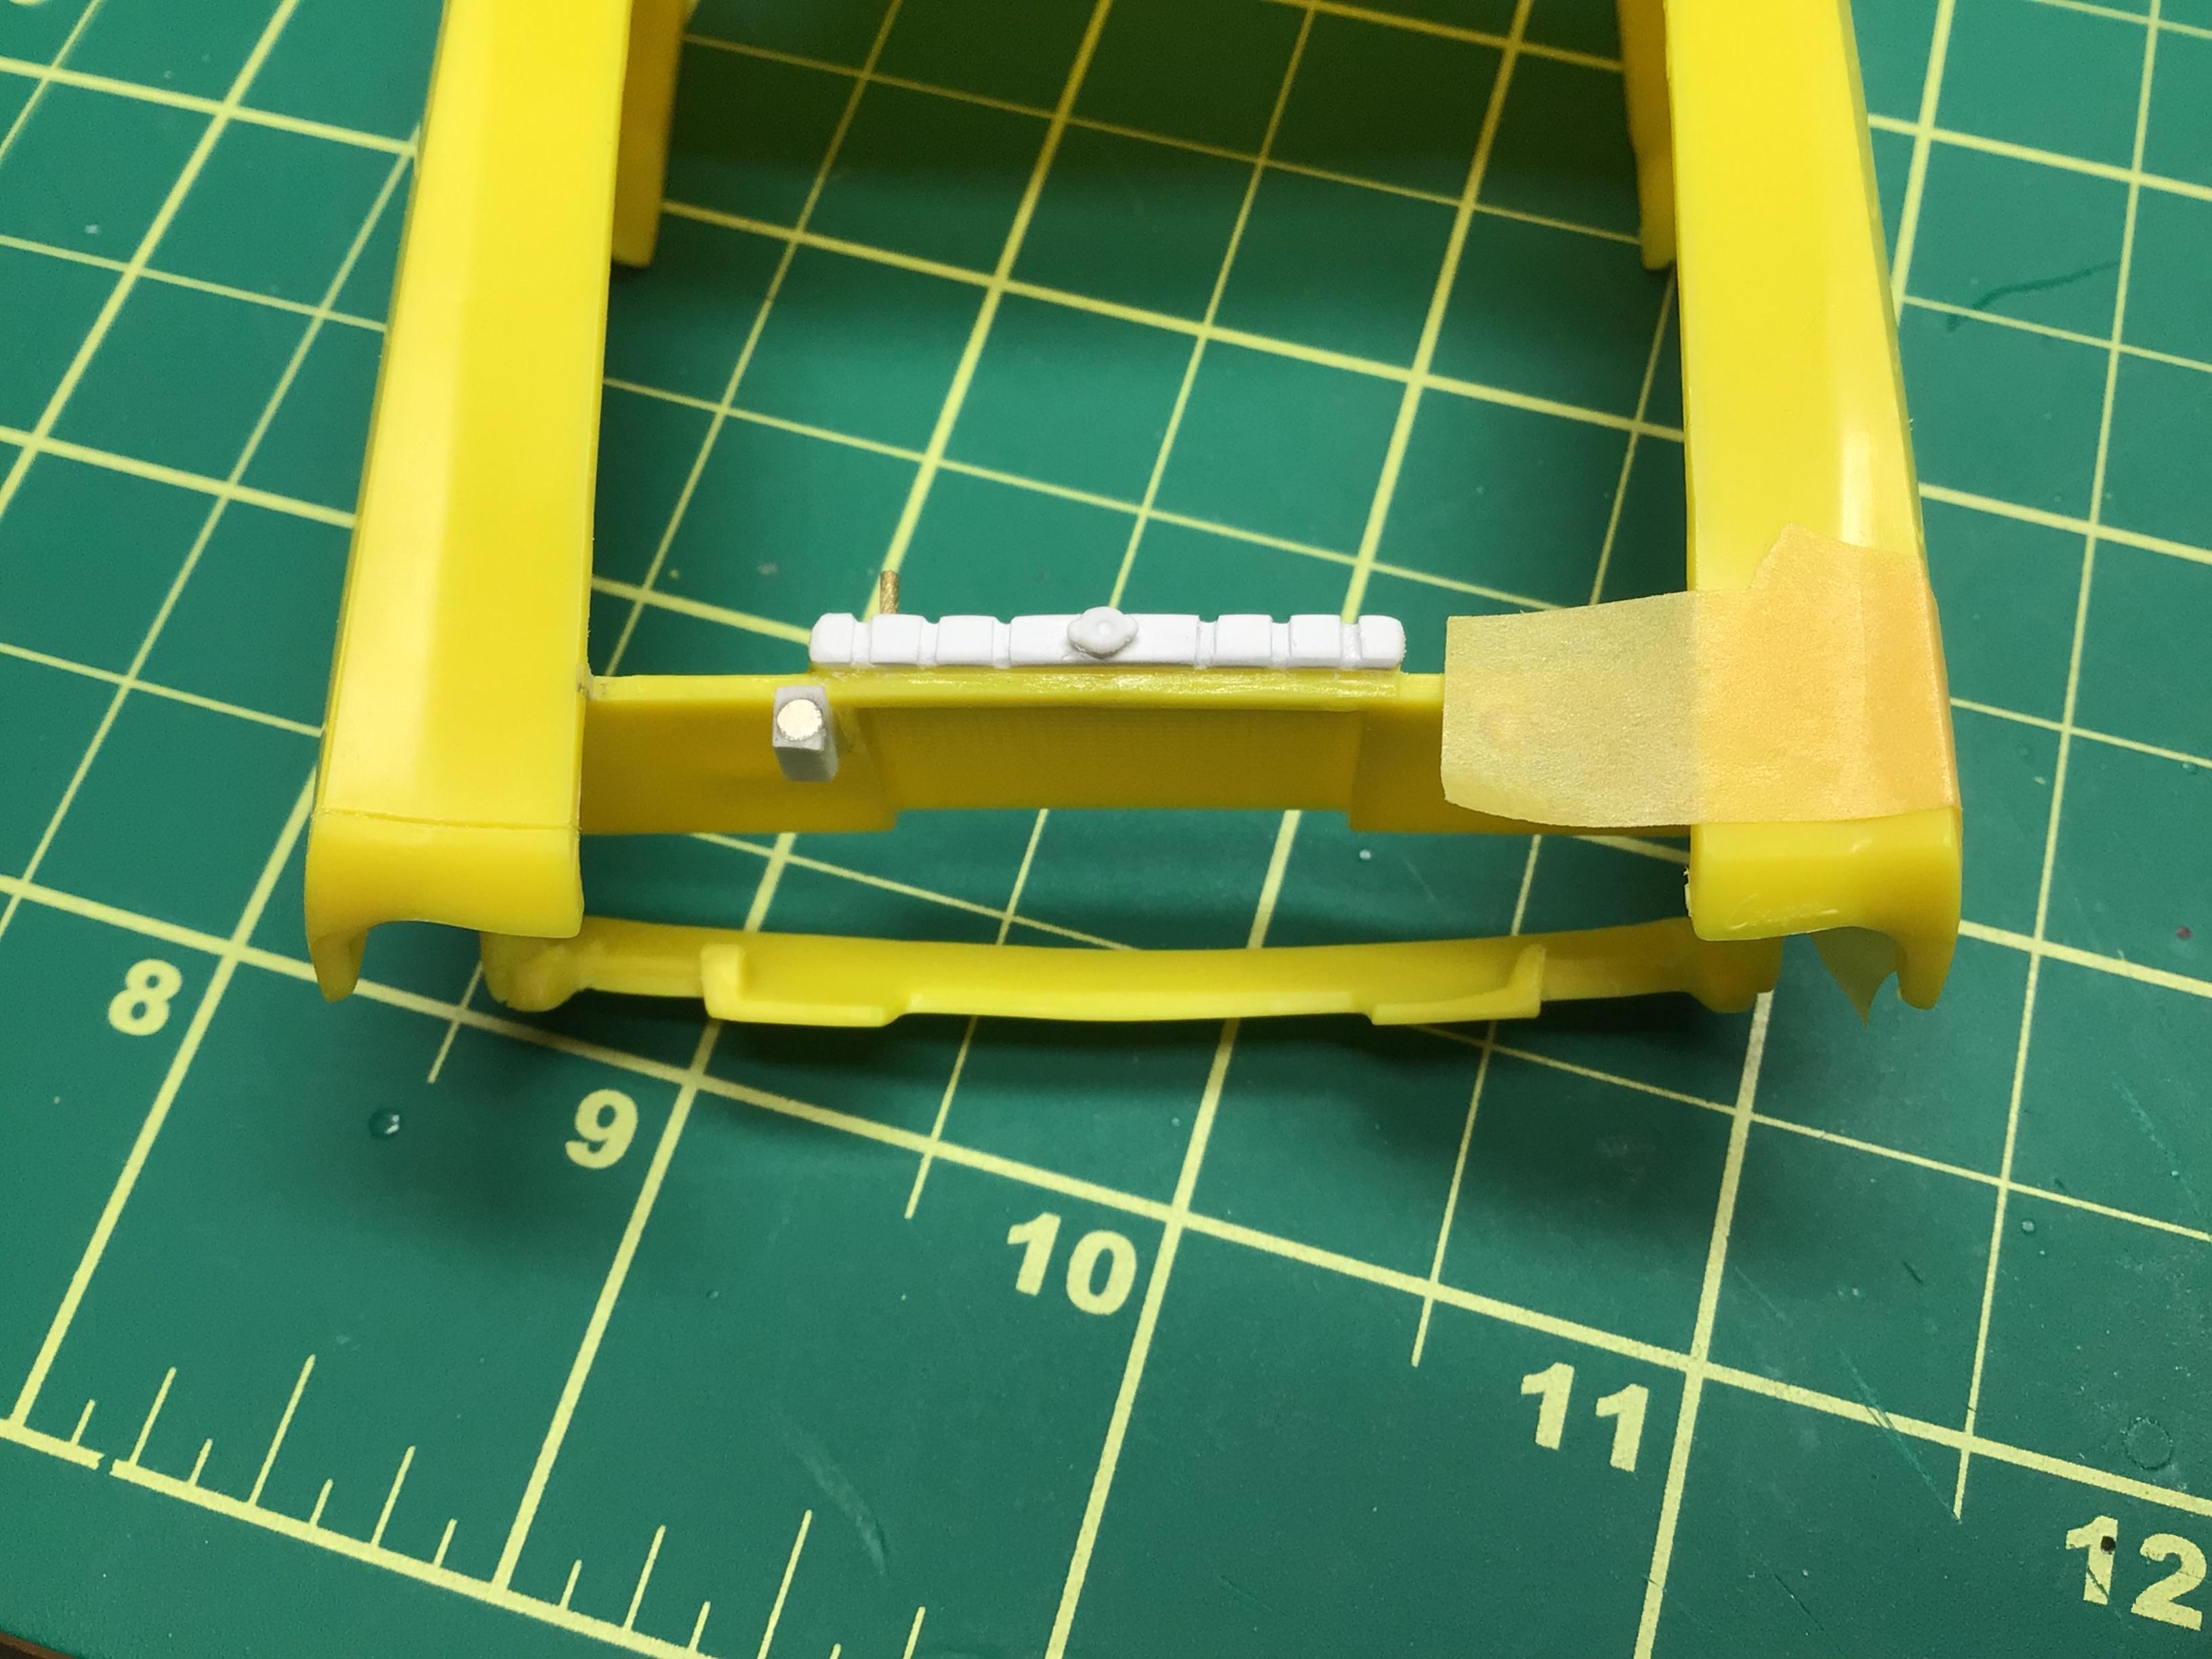
Well I’ve got some decisions to make regarding the bumpers on this thing.🥴 They are both too wide.🤬 The front is a relatively easy fix by plugging the holes on the backside and sanding the outer corners down. Of coarse this means a complete re-chrome job.😡 I guess this is a good opportunity to try the new Fusion Firm chrome. The rear one however has the backup lights molded in…so I’m not sure if I want to tackle fixing it or not?🤔 The front air dam is also way to narrow to fit properly, but once again a relatively easy fix.
-
Ford 34, a street hot rod who did not reach the finish line
NOBLNG replied to Ulf's topic in WIP: Model Cars
Cool! Is that a picture of your build modified by Chat? I see it has the fisher head on it. -
Nice work on those mods Jon…they all look like they belong there.👍😎
-
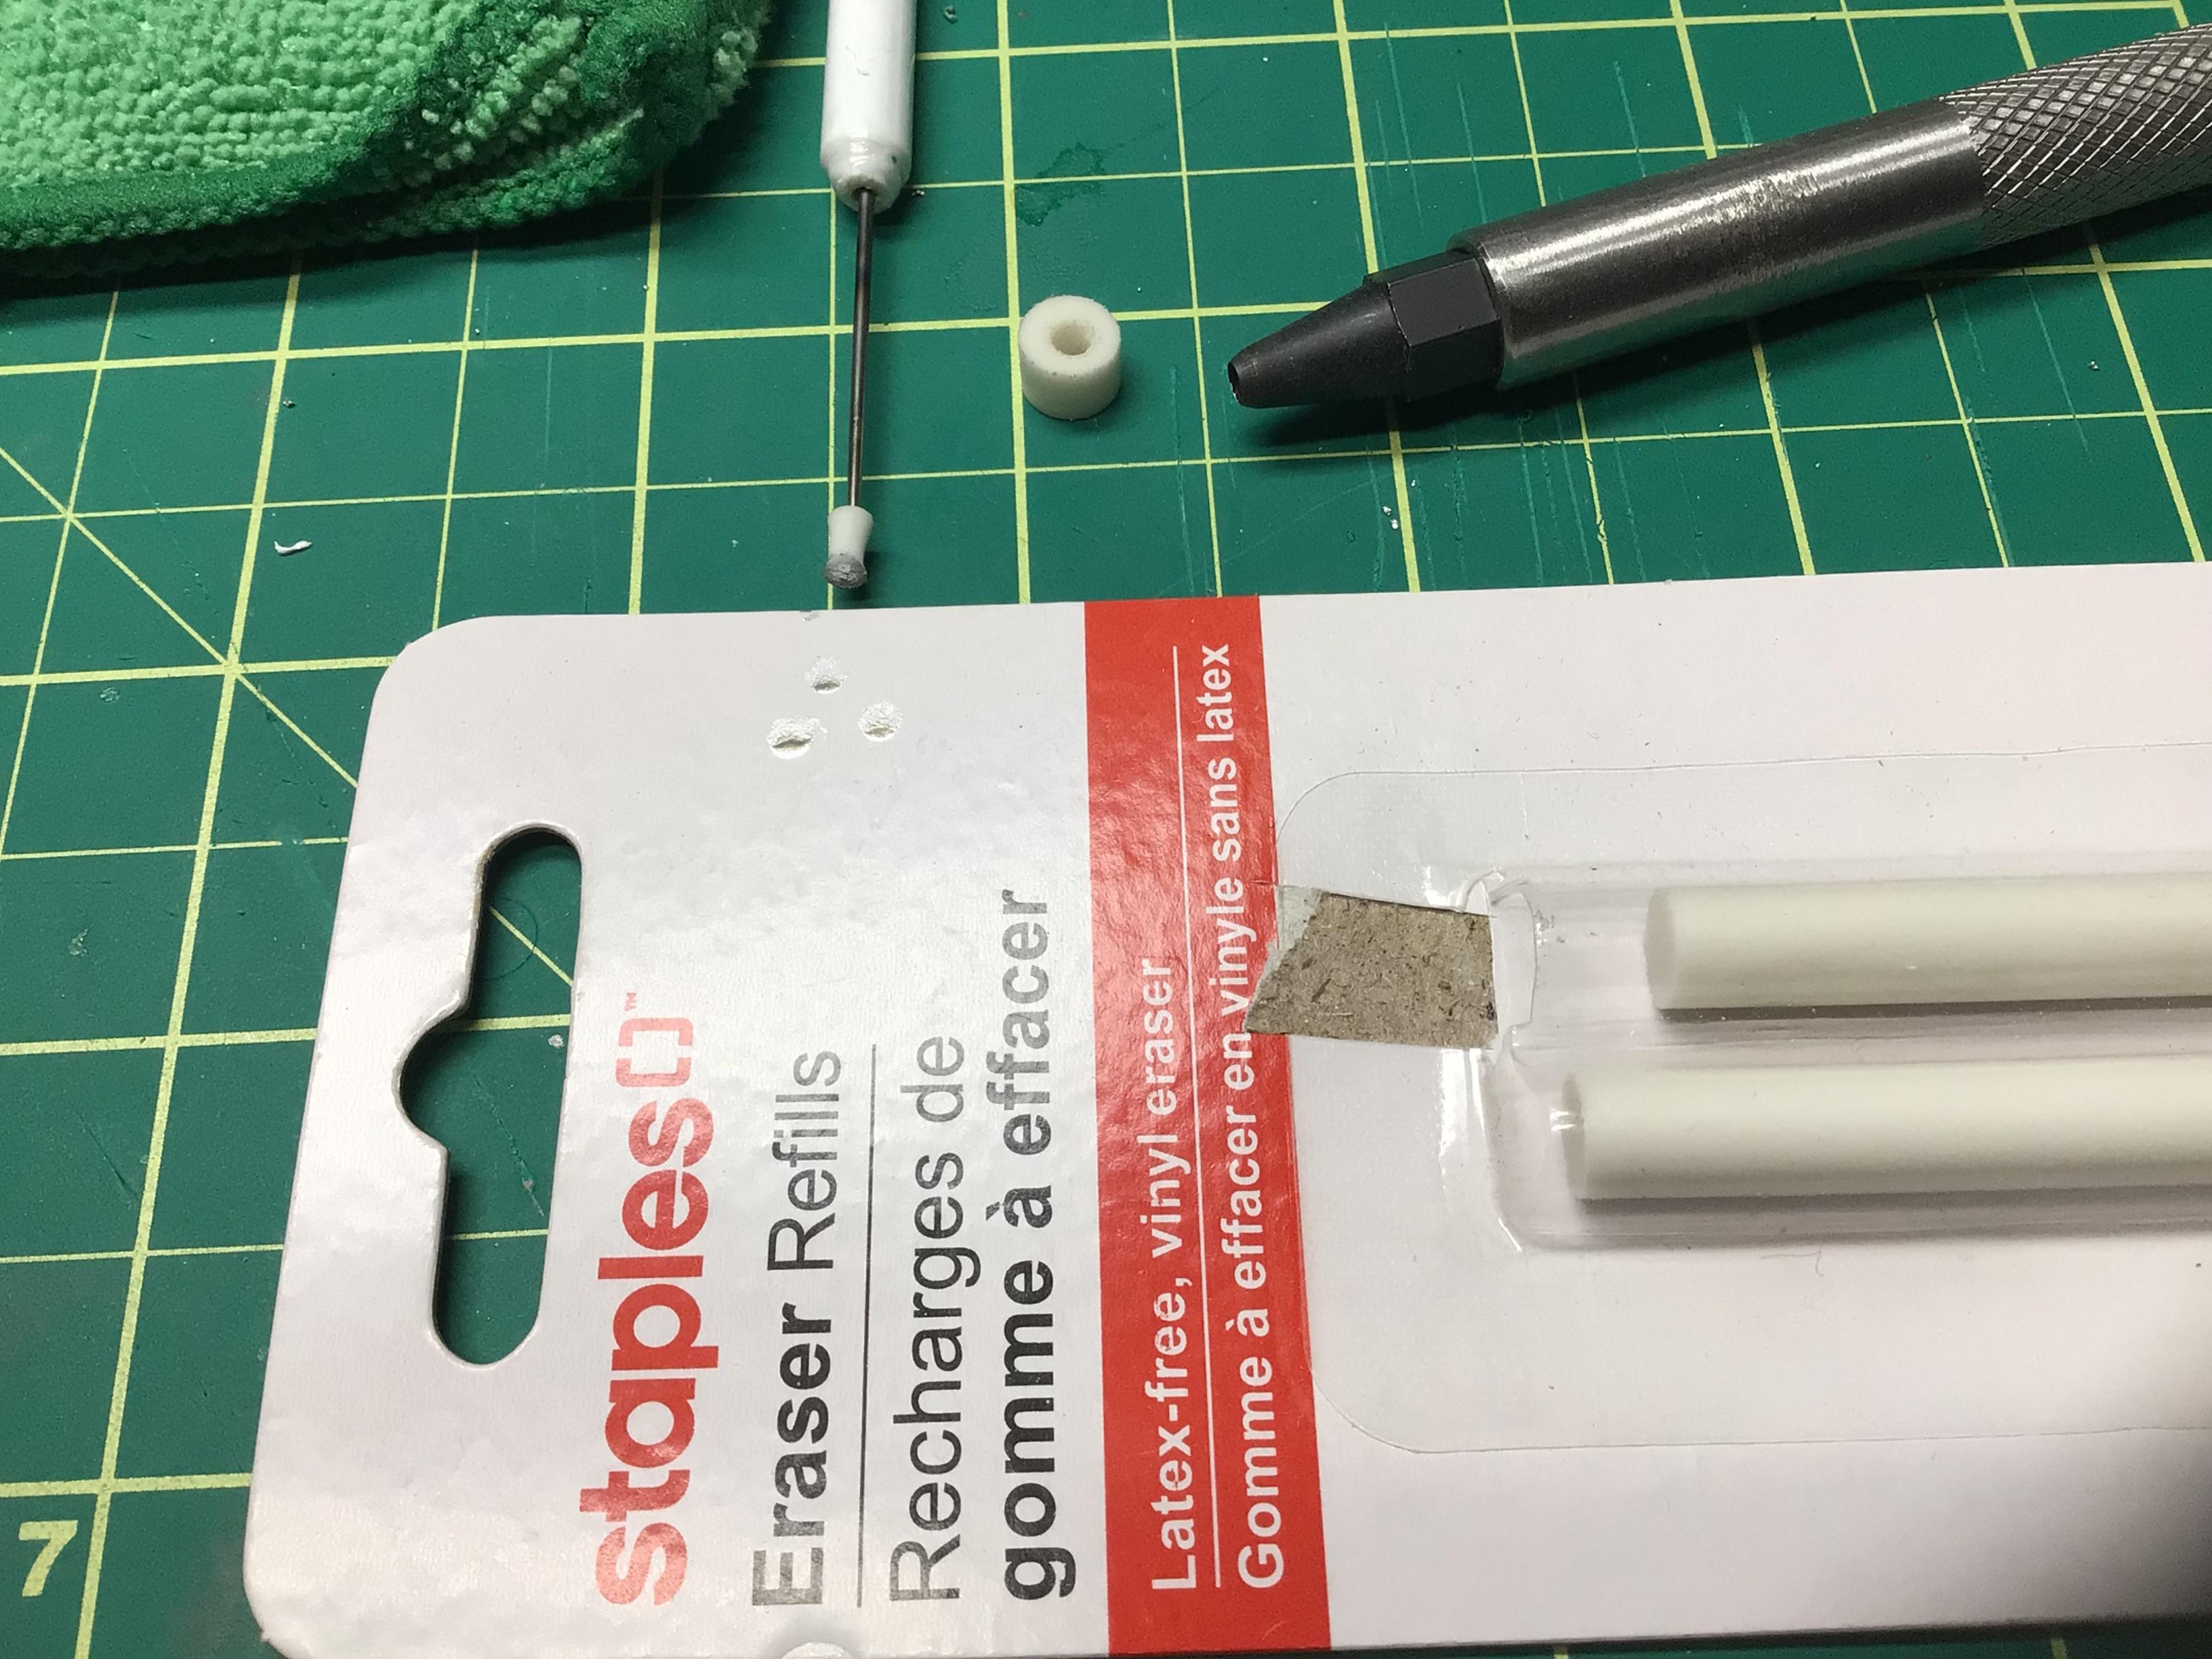
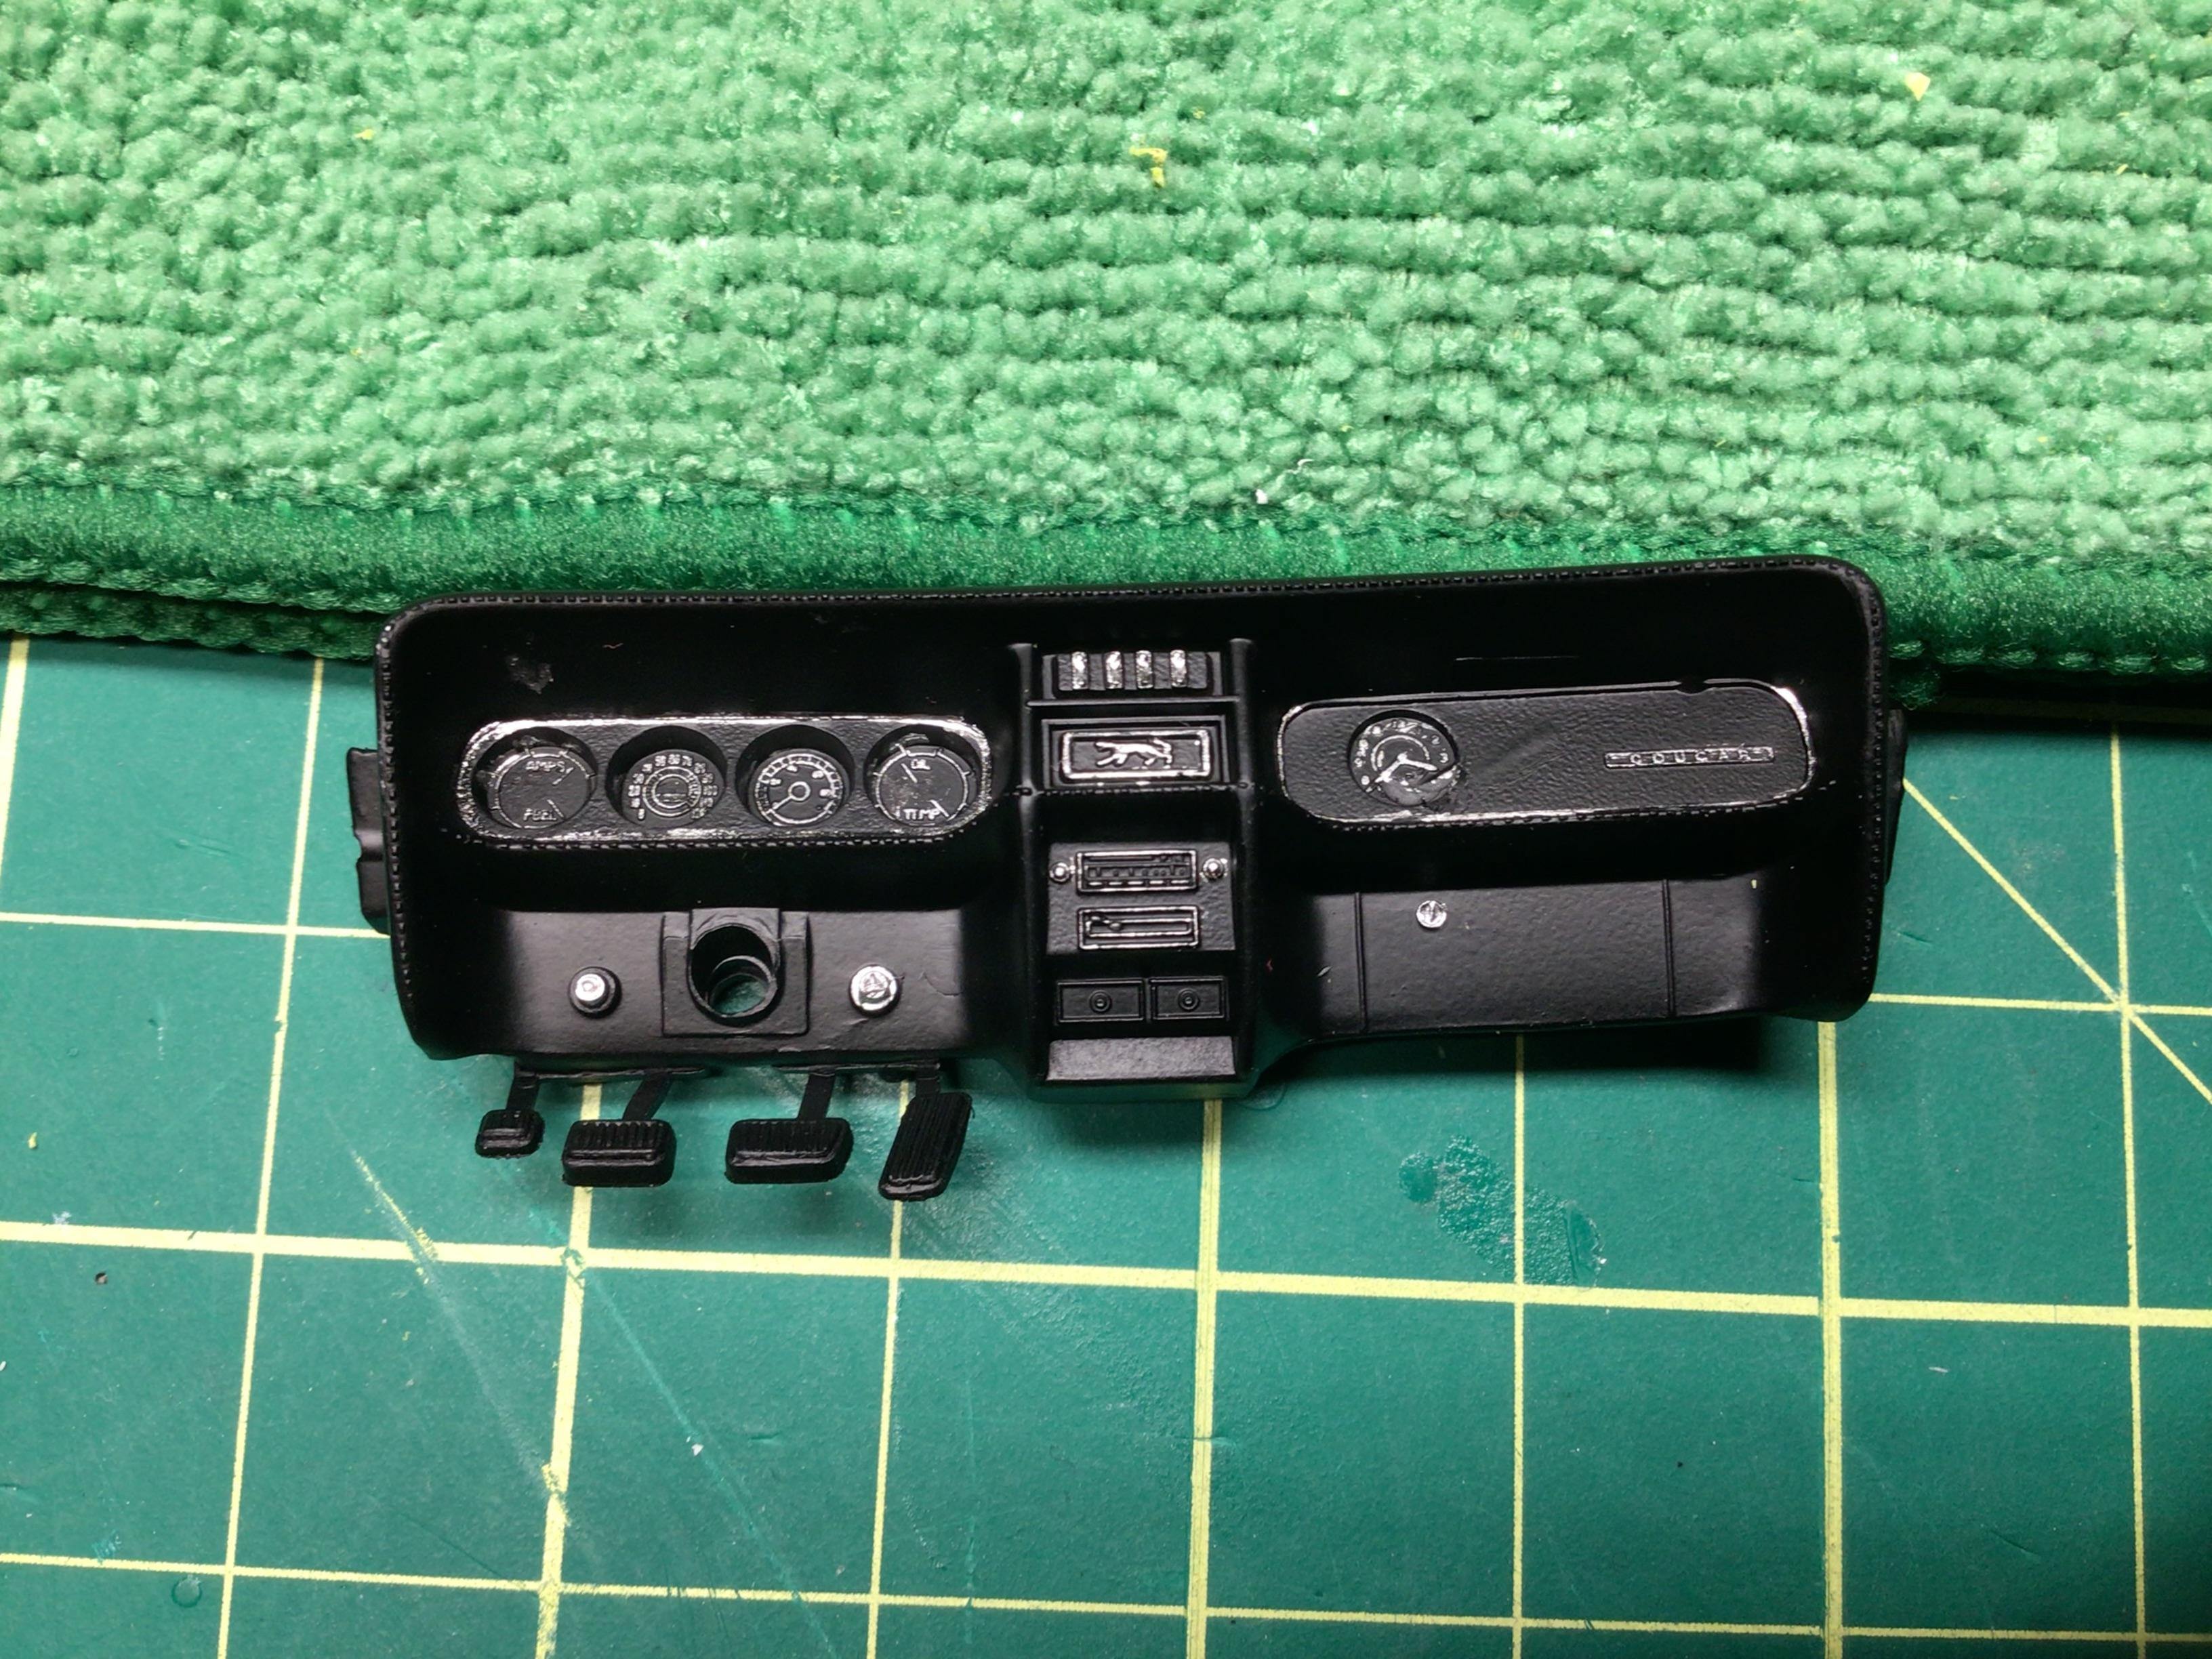
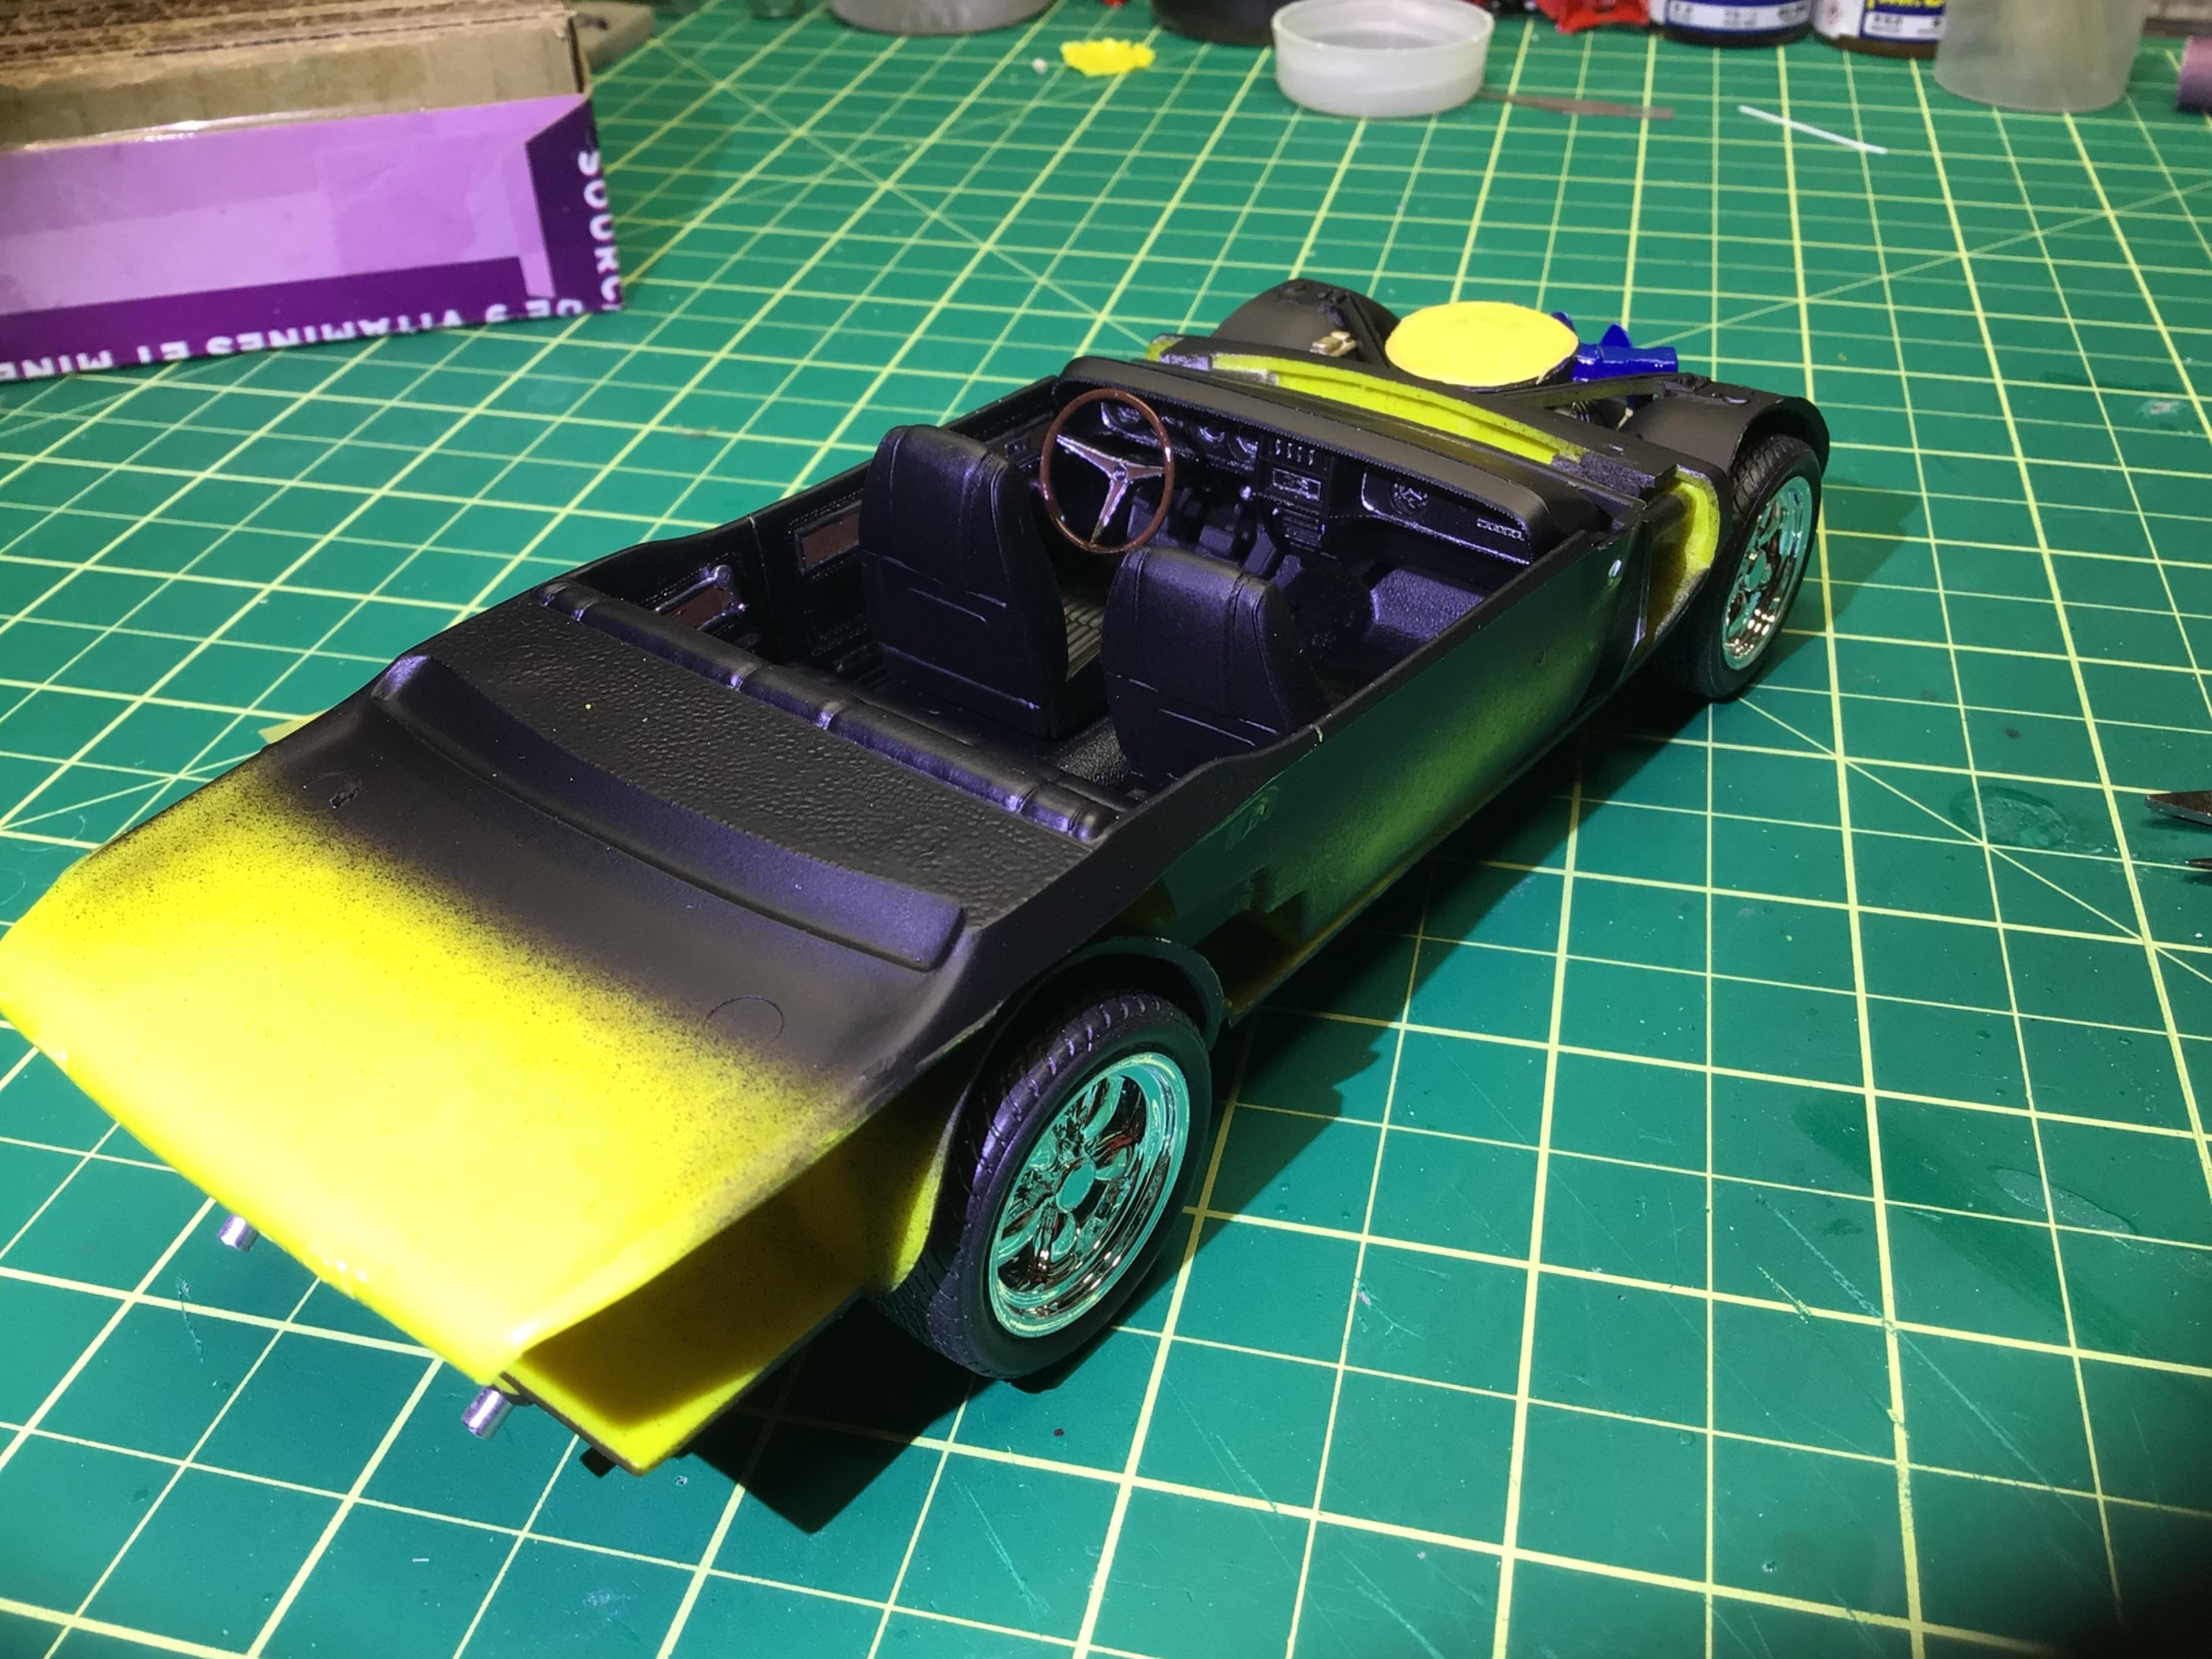
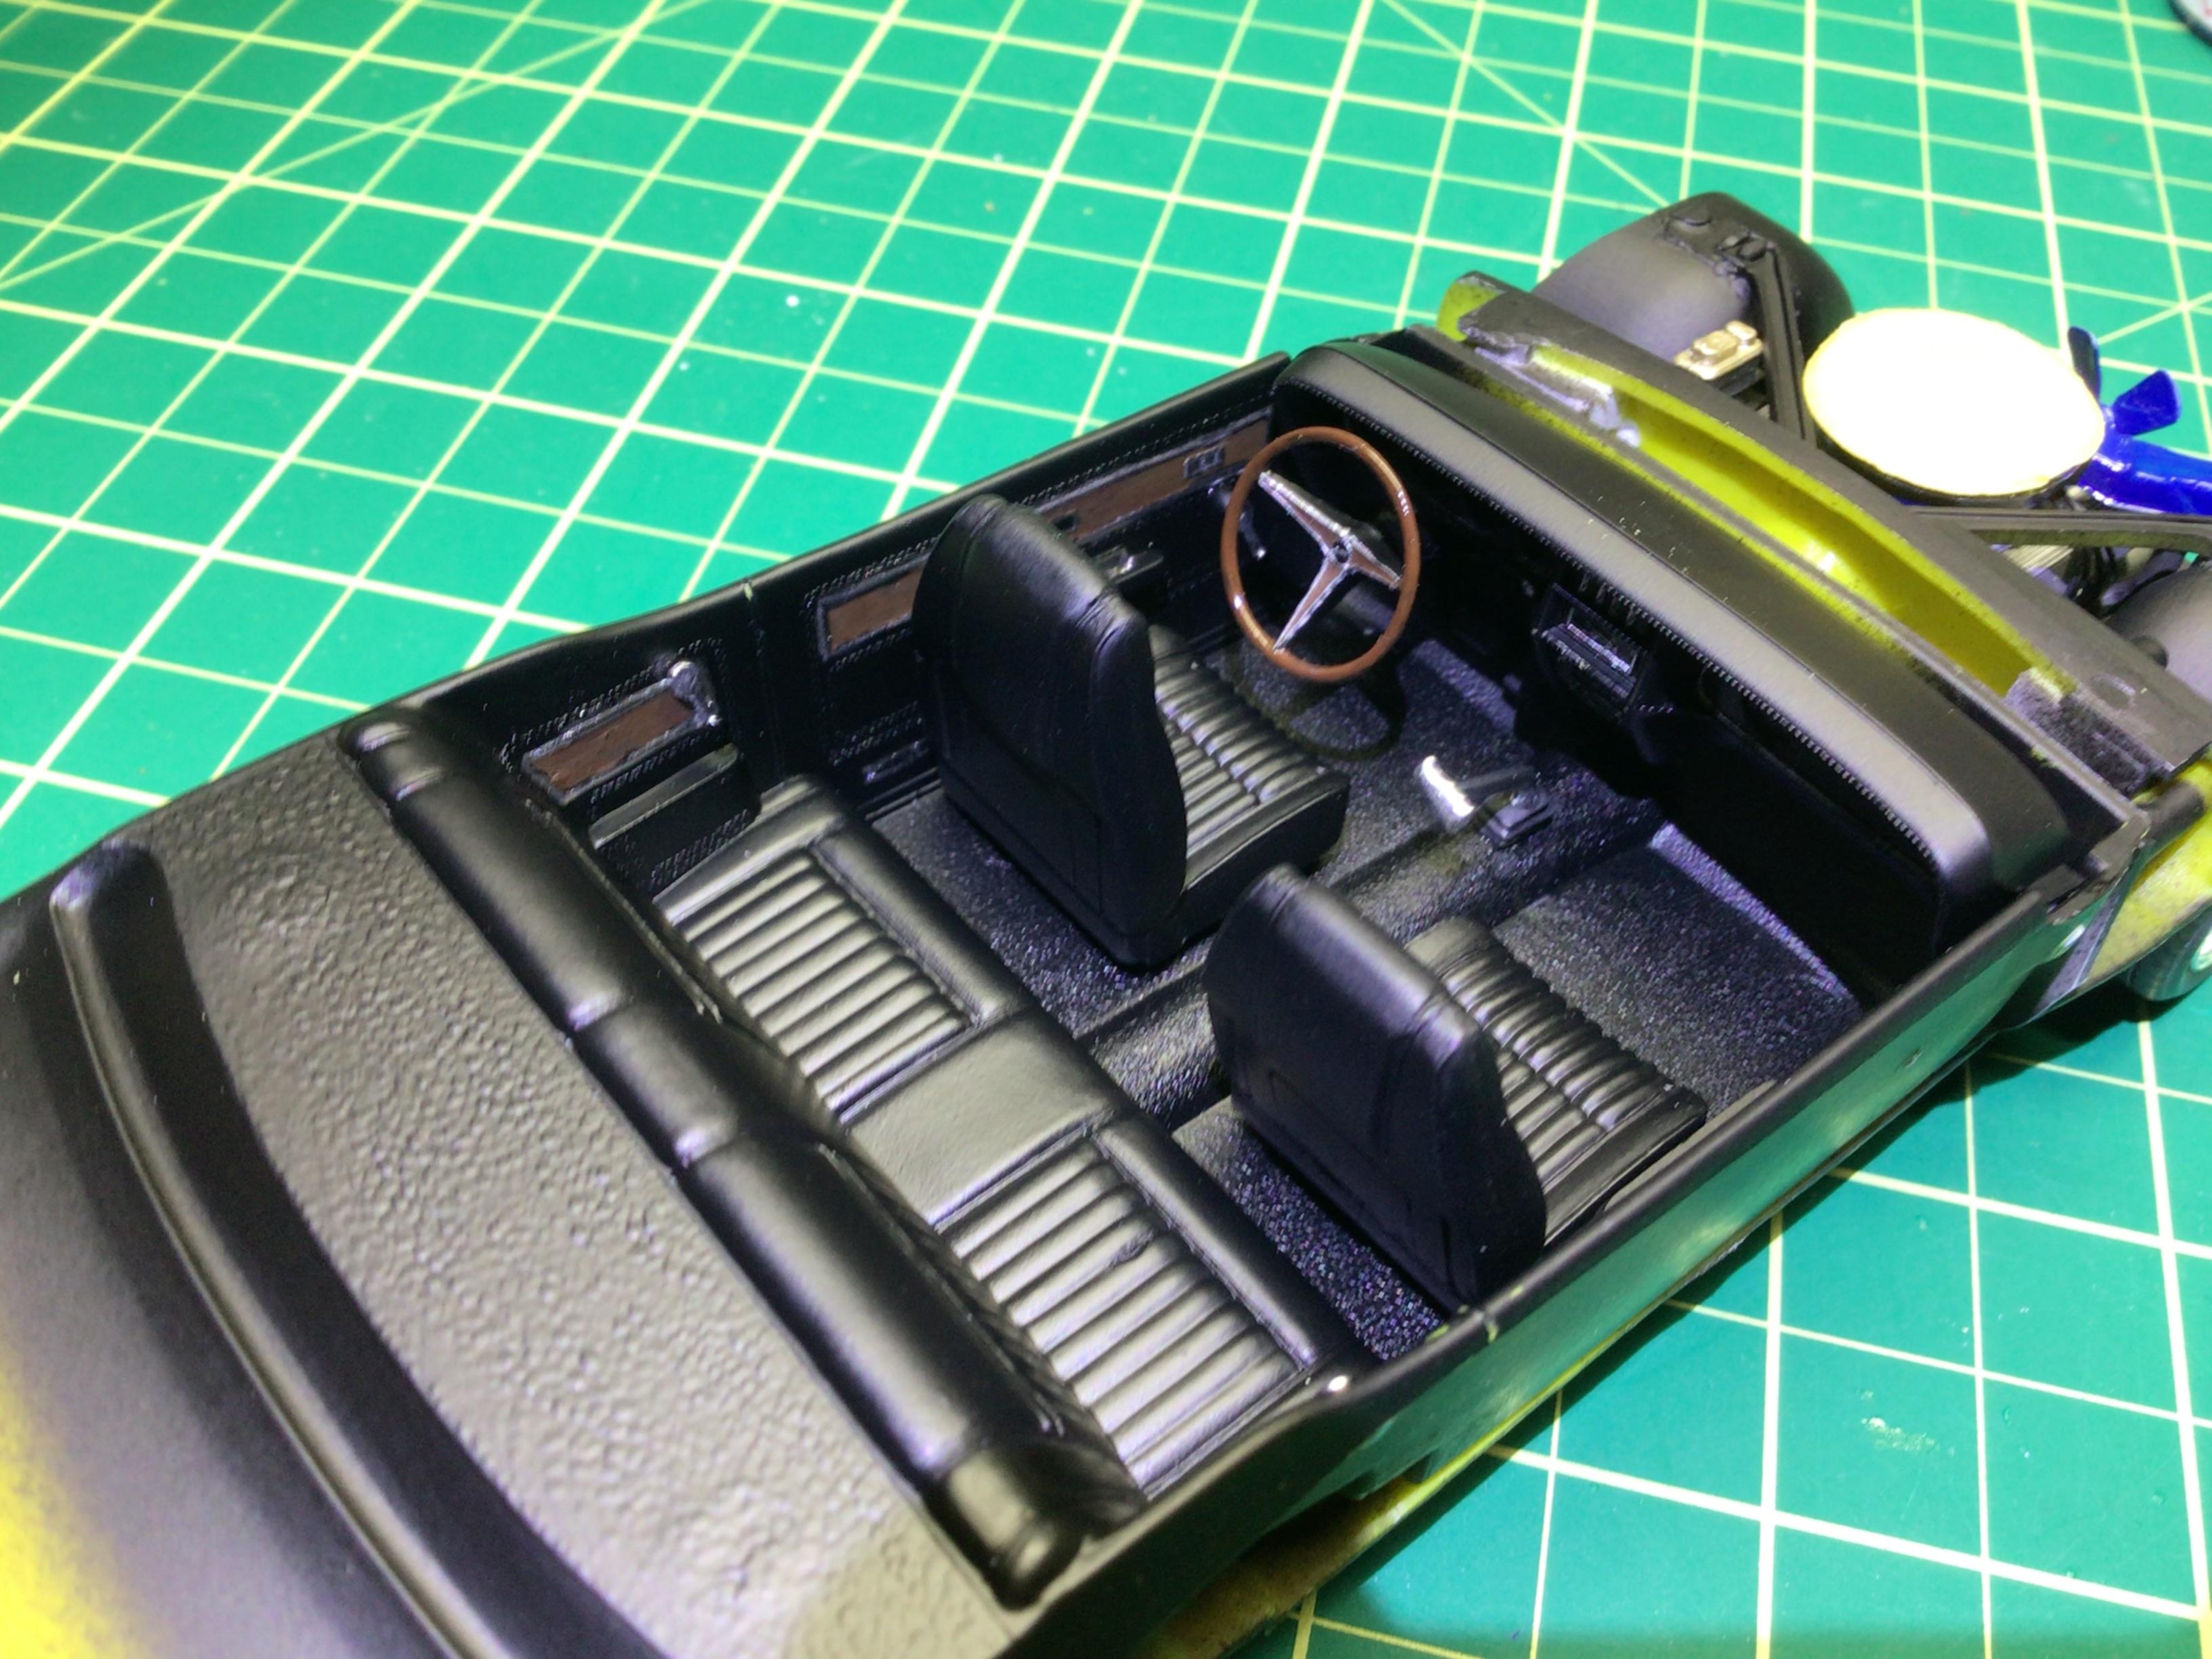
I installed the brake rotors on the wheels and got them aligned and glued in place with 5 minute epoxy. Since there are no guage decals included, I detailed them with Molotow. I made a small dabber from eraser refills and just dabbed the Molotow lightly on the guage faces. I wasn’t going to bother since they really aren’t visible under the huge overhang of the dash, but I figured why not give it a try? I did the chrome trim on the steering wheel the same way. I left the rocker switches in place on the dash since I didn’t know at the time, that they were stock on an XR-7 but not on an eliminator.😕 I shortened the shifter slightly, reversed the tilt of it and moved it rearward about 1/16”. I got the engine and exhaust installed along with some aluminum tube exhaust tips. And the shocks are in place.
-
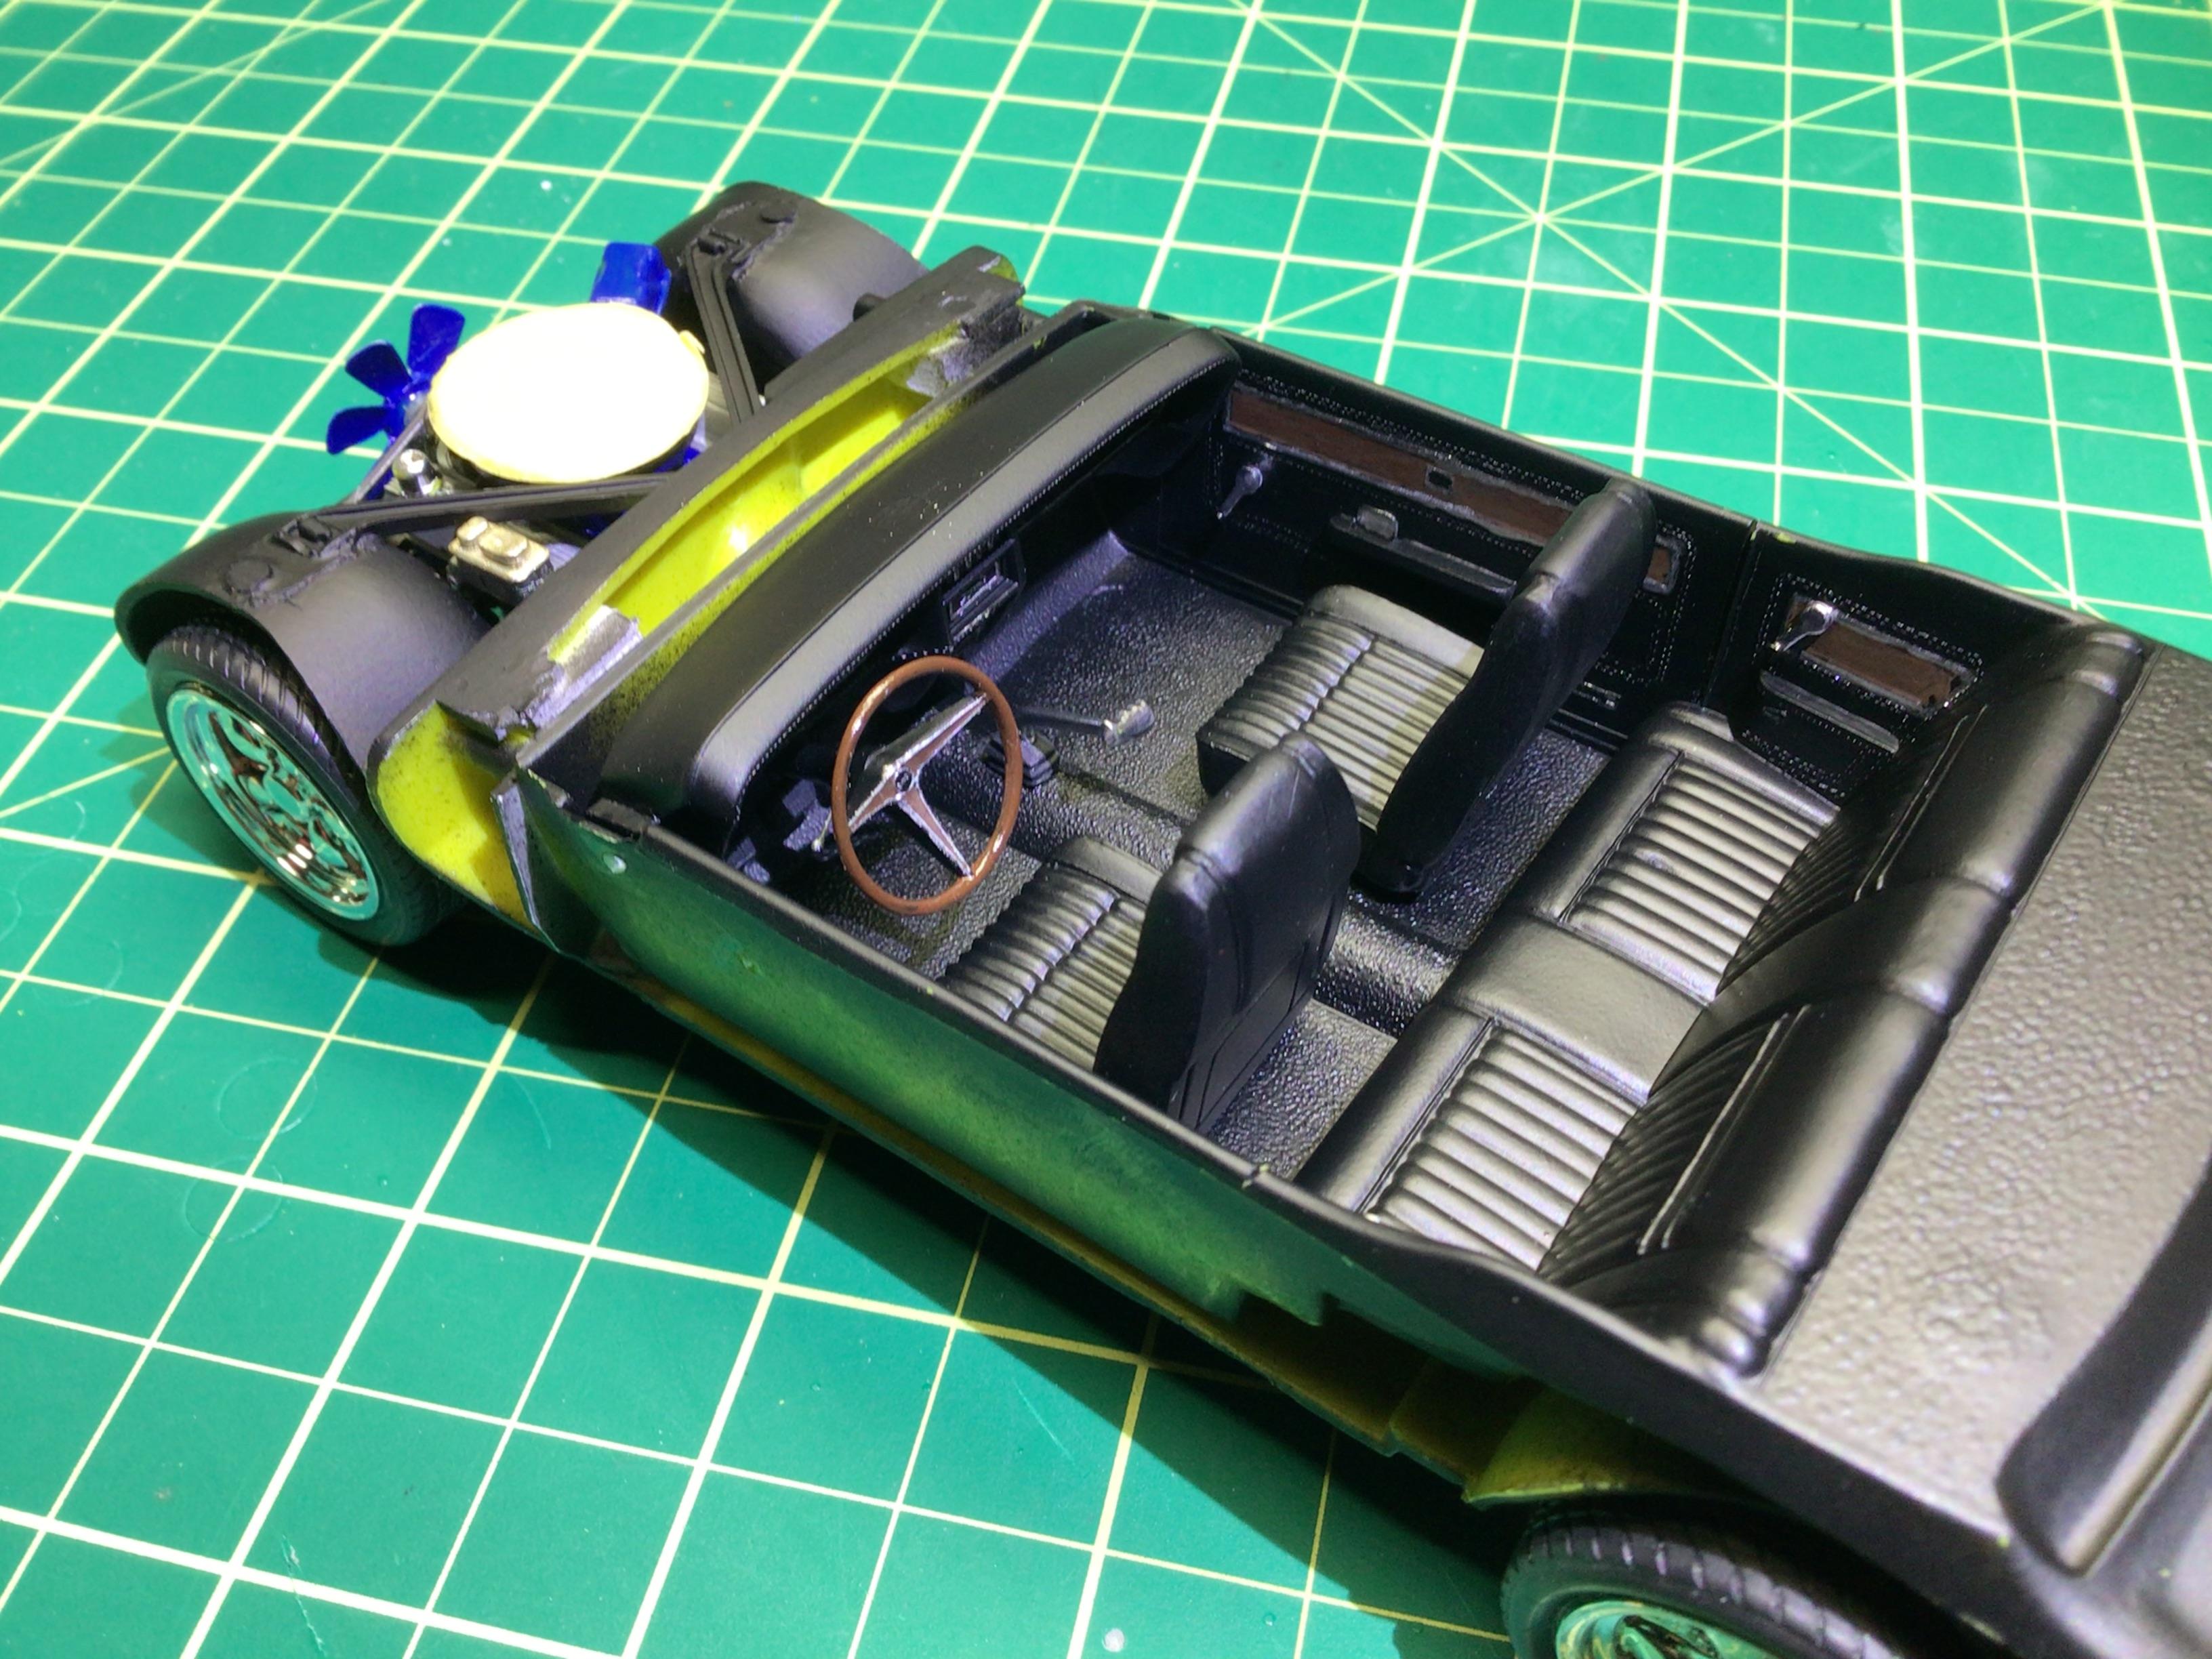
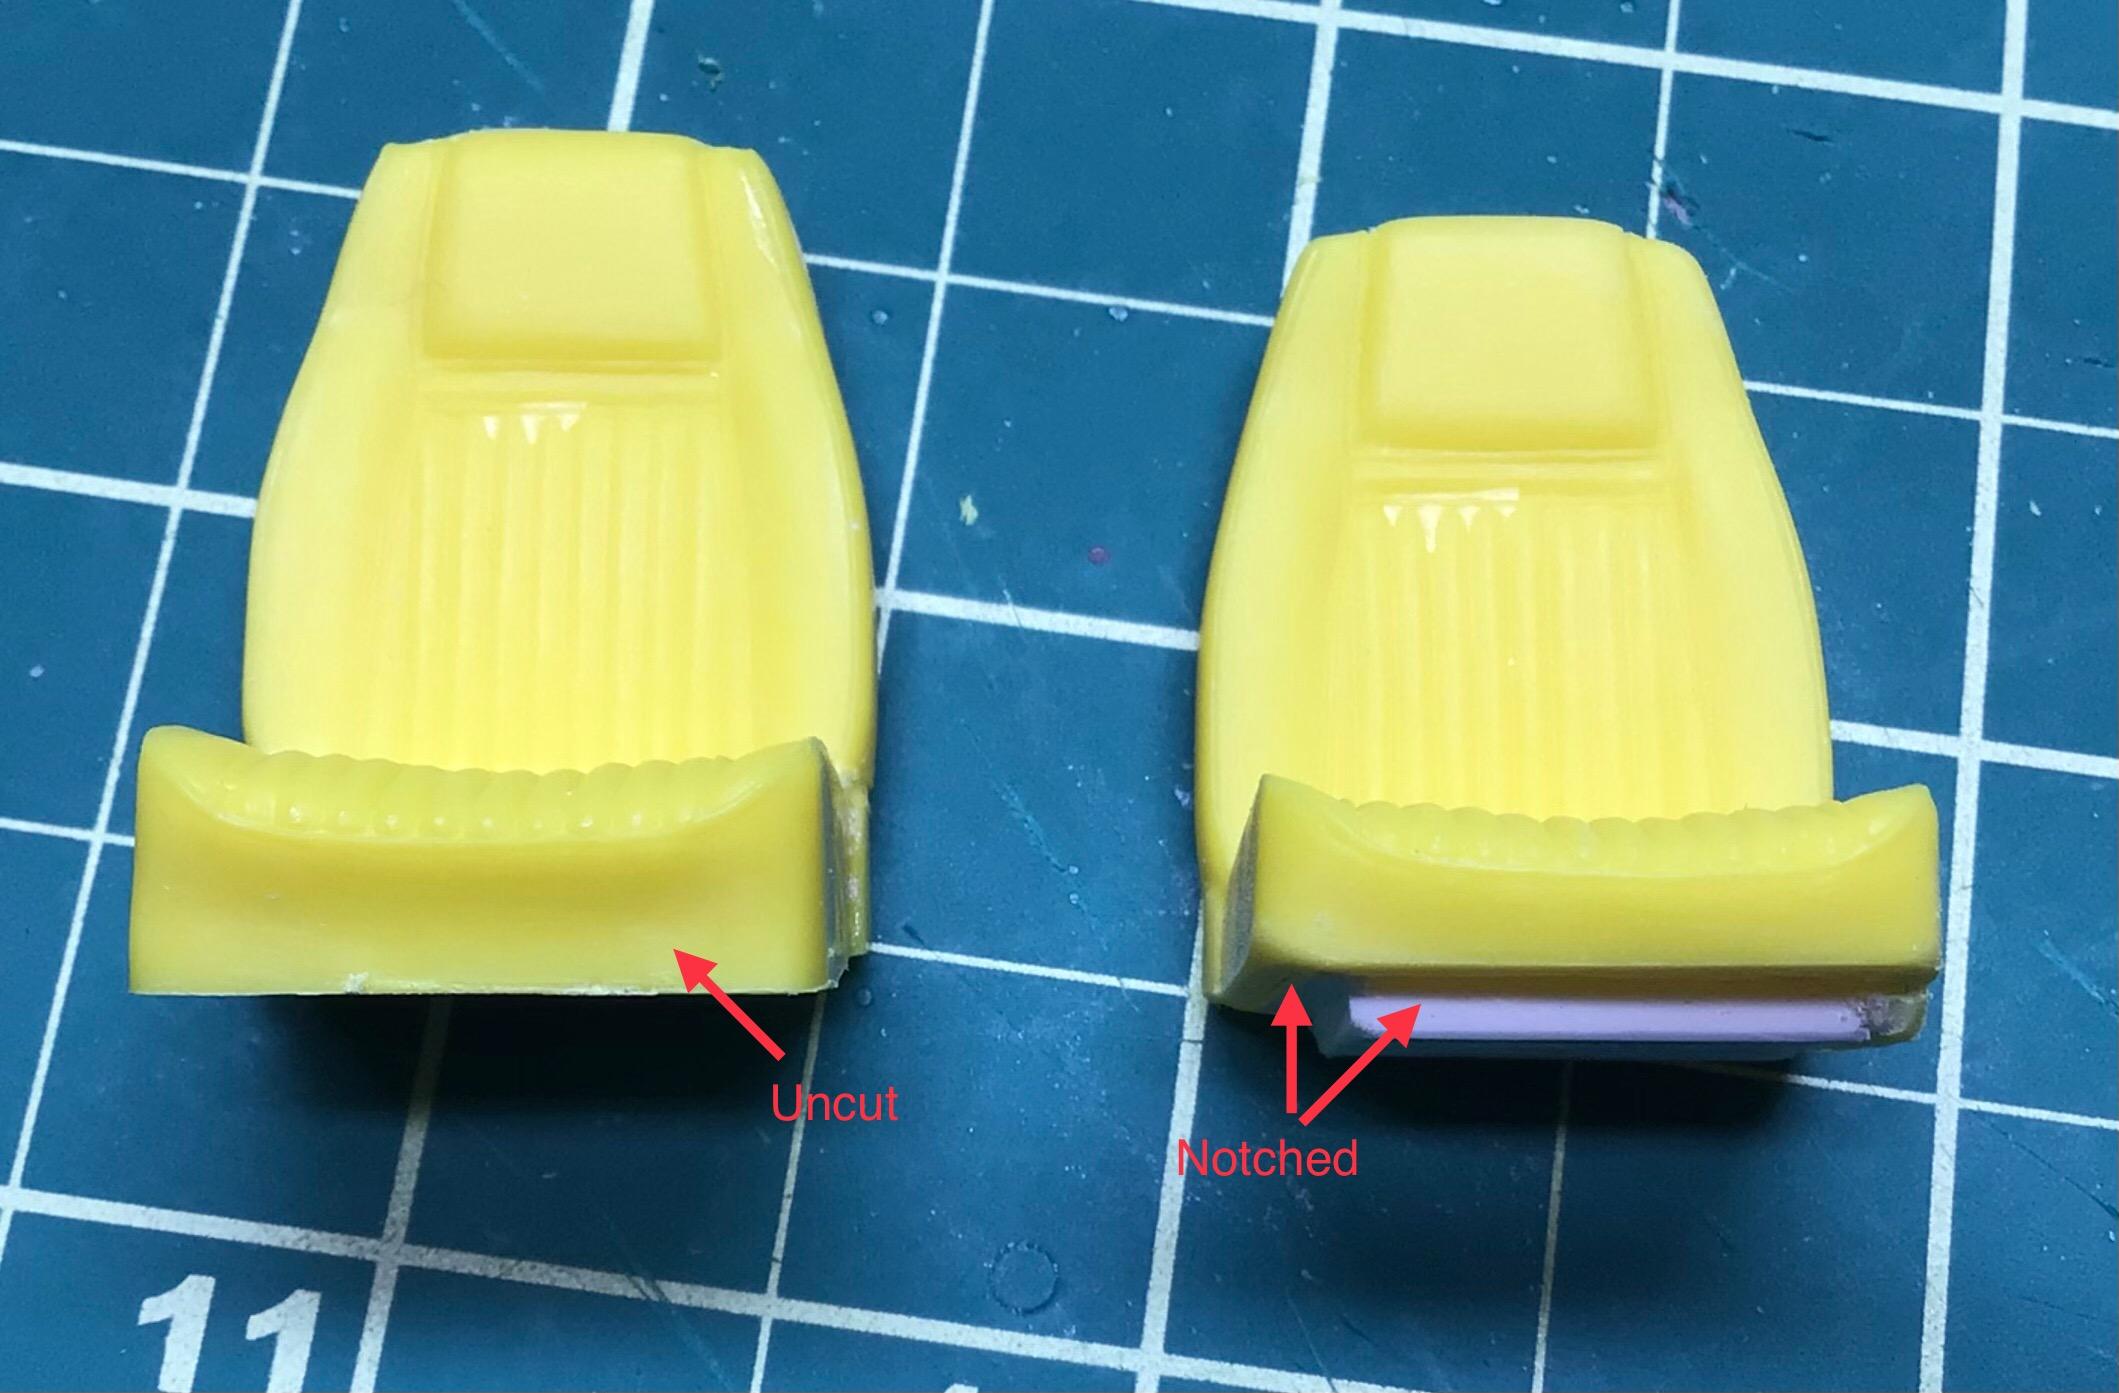
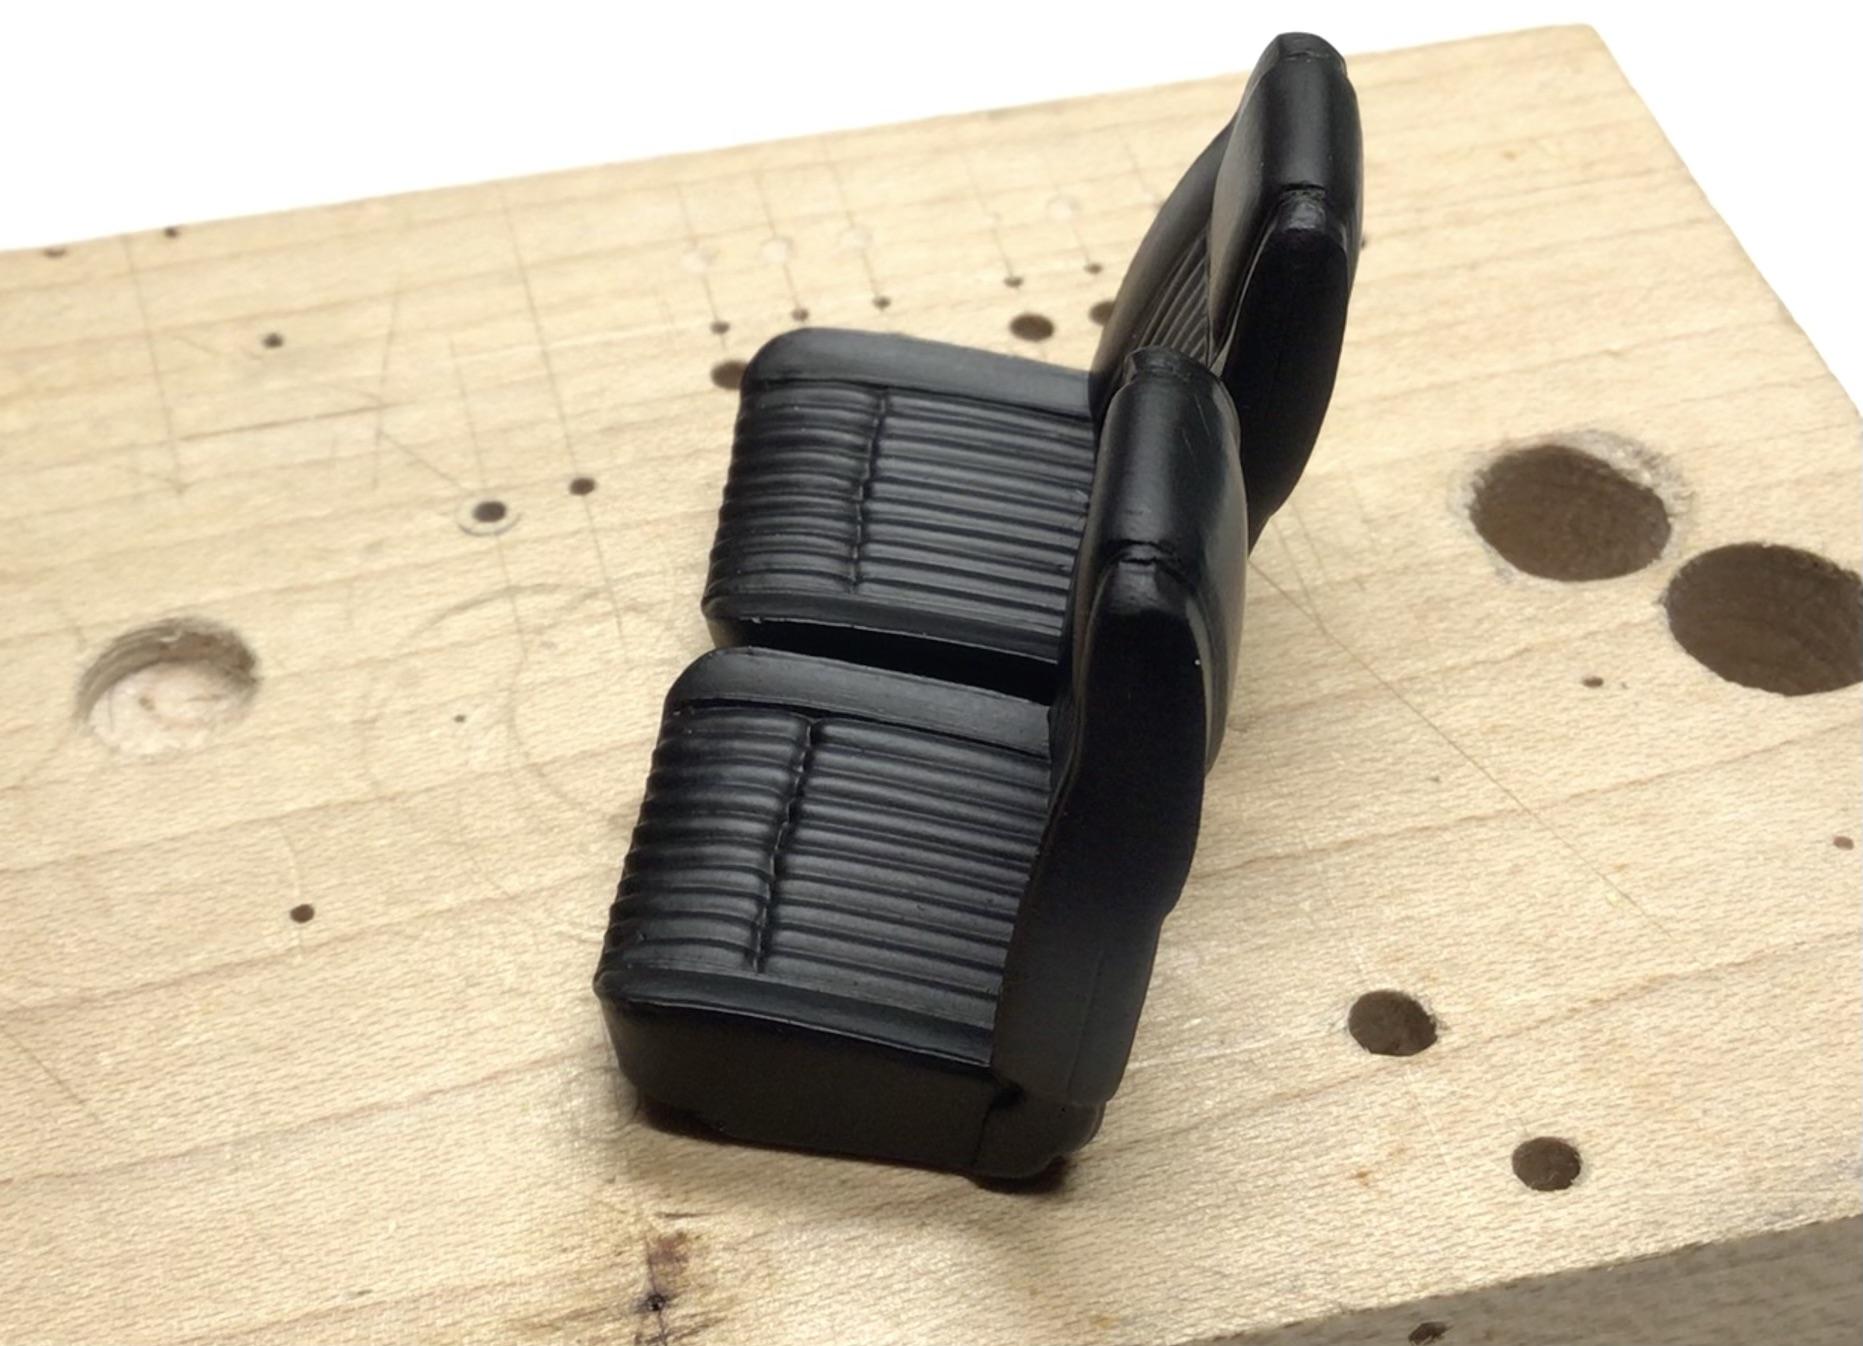
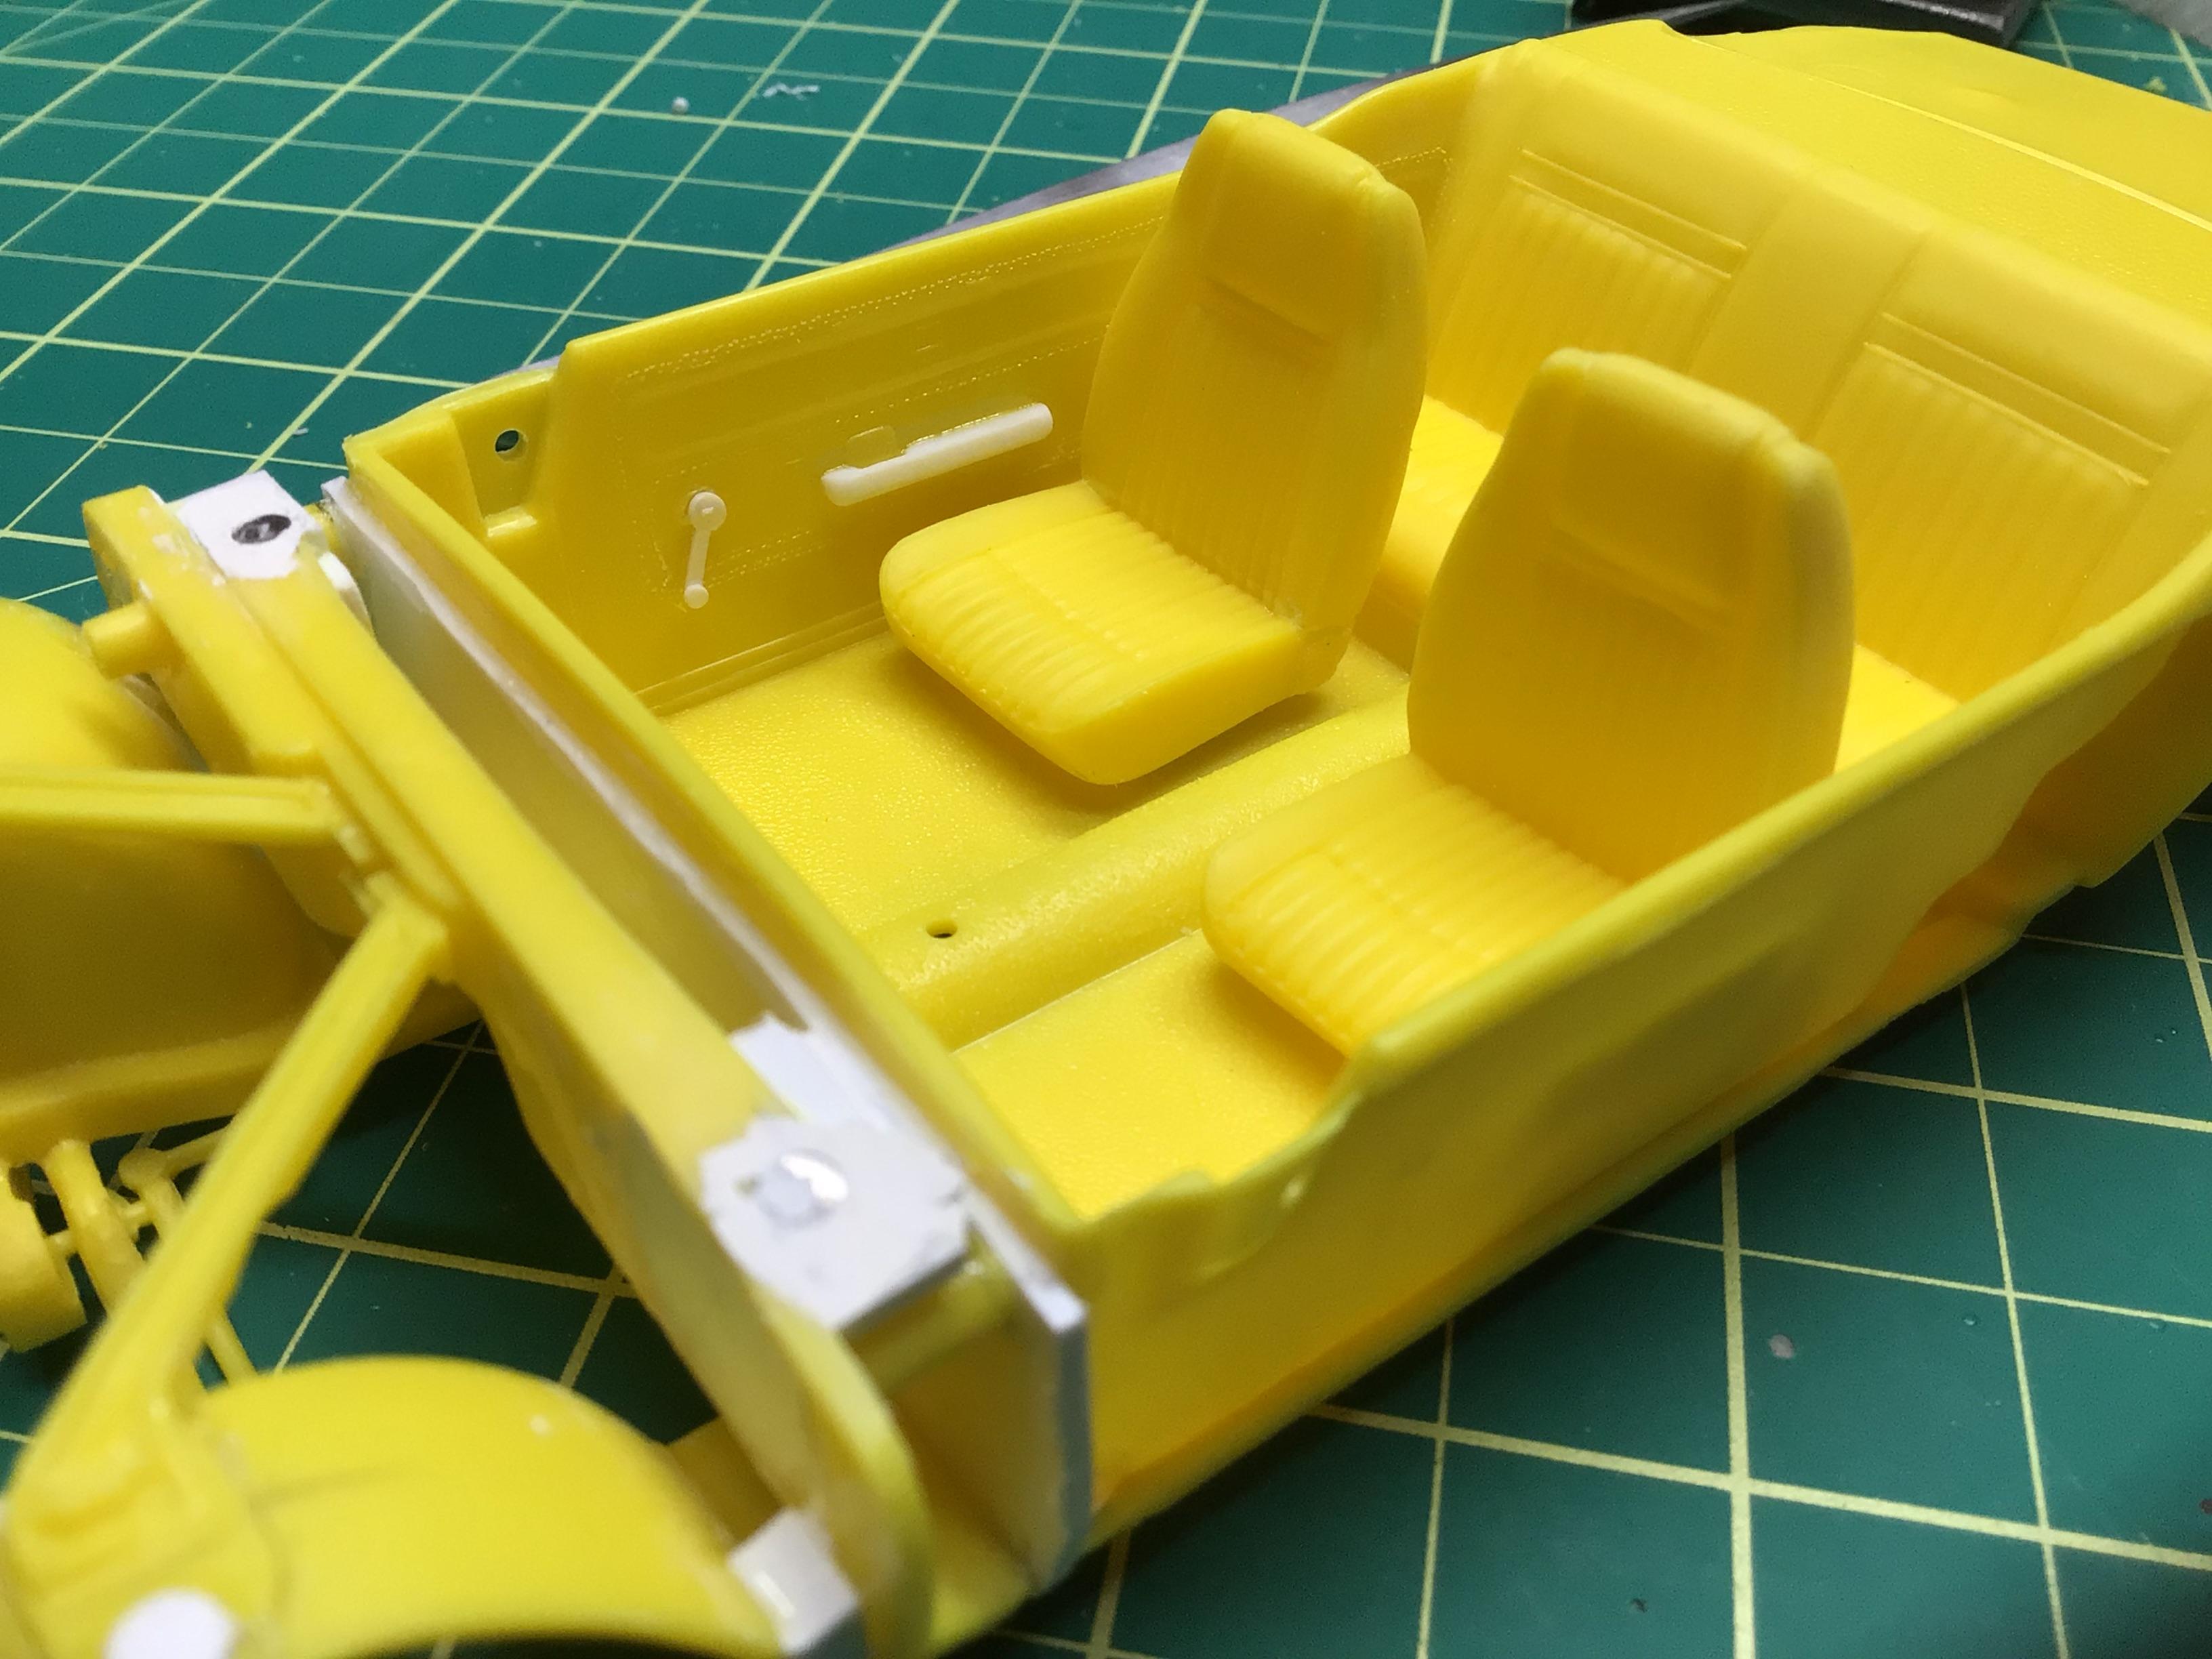
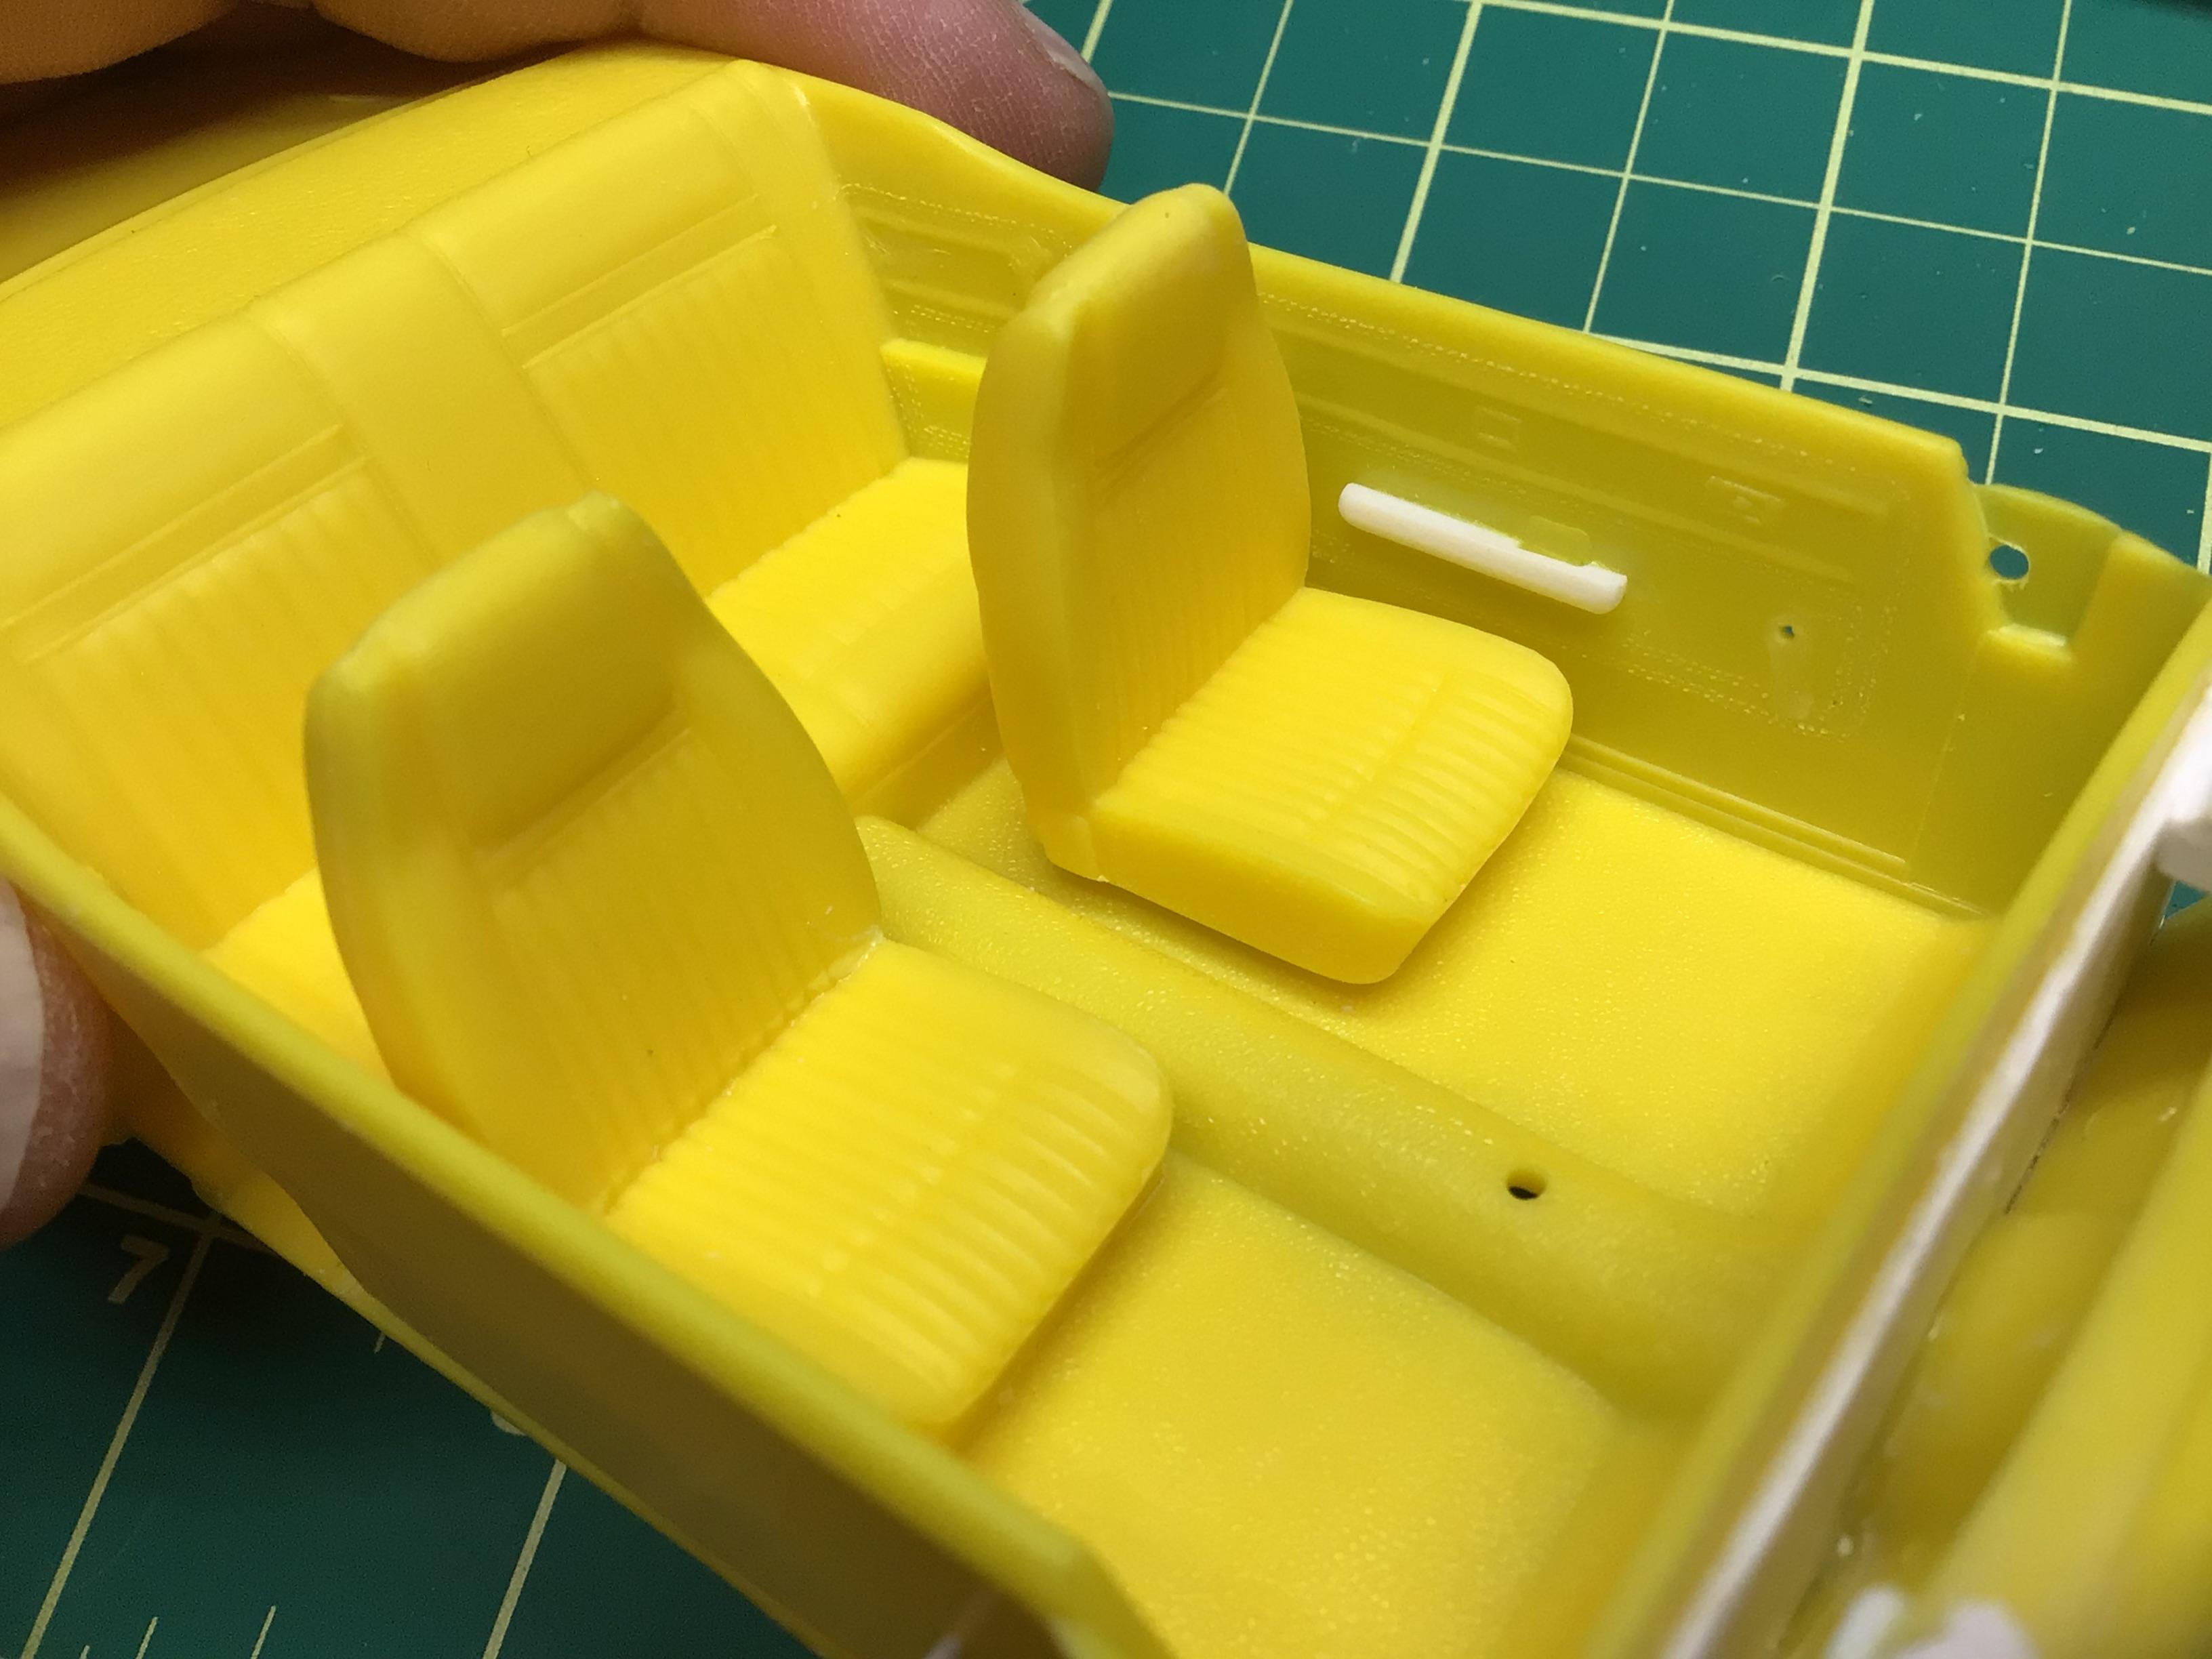
Thanks Dennis. I am not a lifelong model builder or have any experience with 1:1 customs or hot rods…so some of my methods are a little unorthodox or even downright crazy.🤪 Thanks Mike. I did not raise the seats at all. I filled the void on the underside with styrene so that I could pin them in place. Then I took a notch out of the two visible sides with a razor saw. I also took a small sliver out of the backside of passengers seat to recline it slightly by cutting almost through…stopping just short of cutting into the pleats.
-
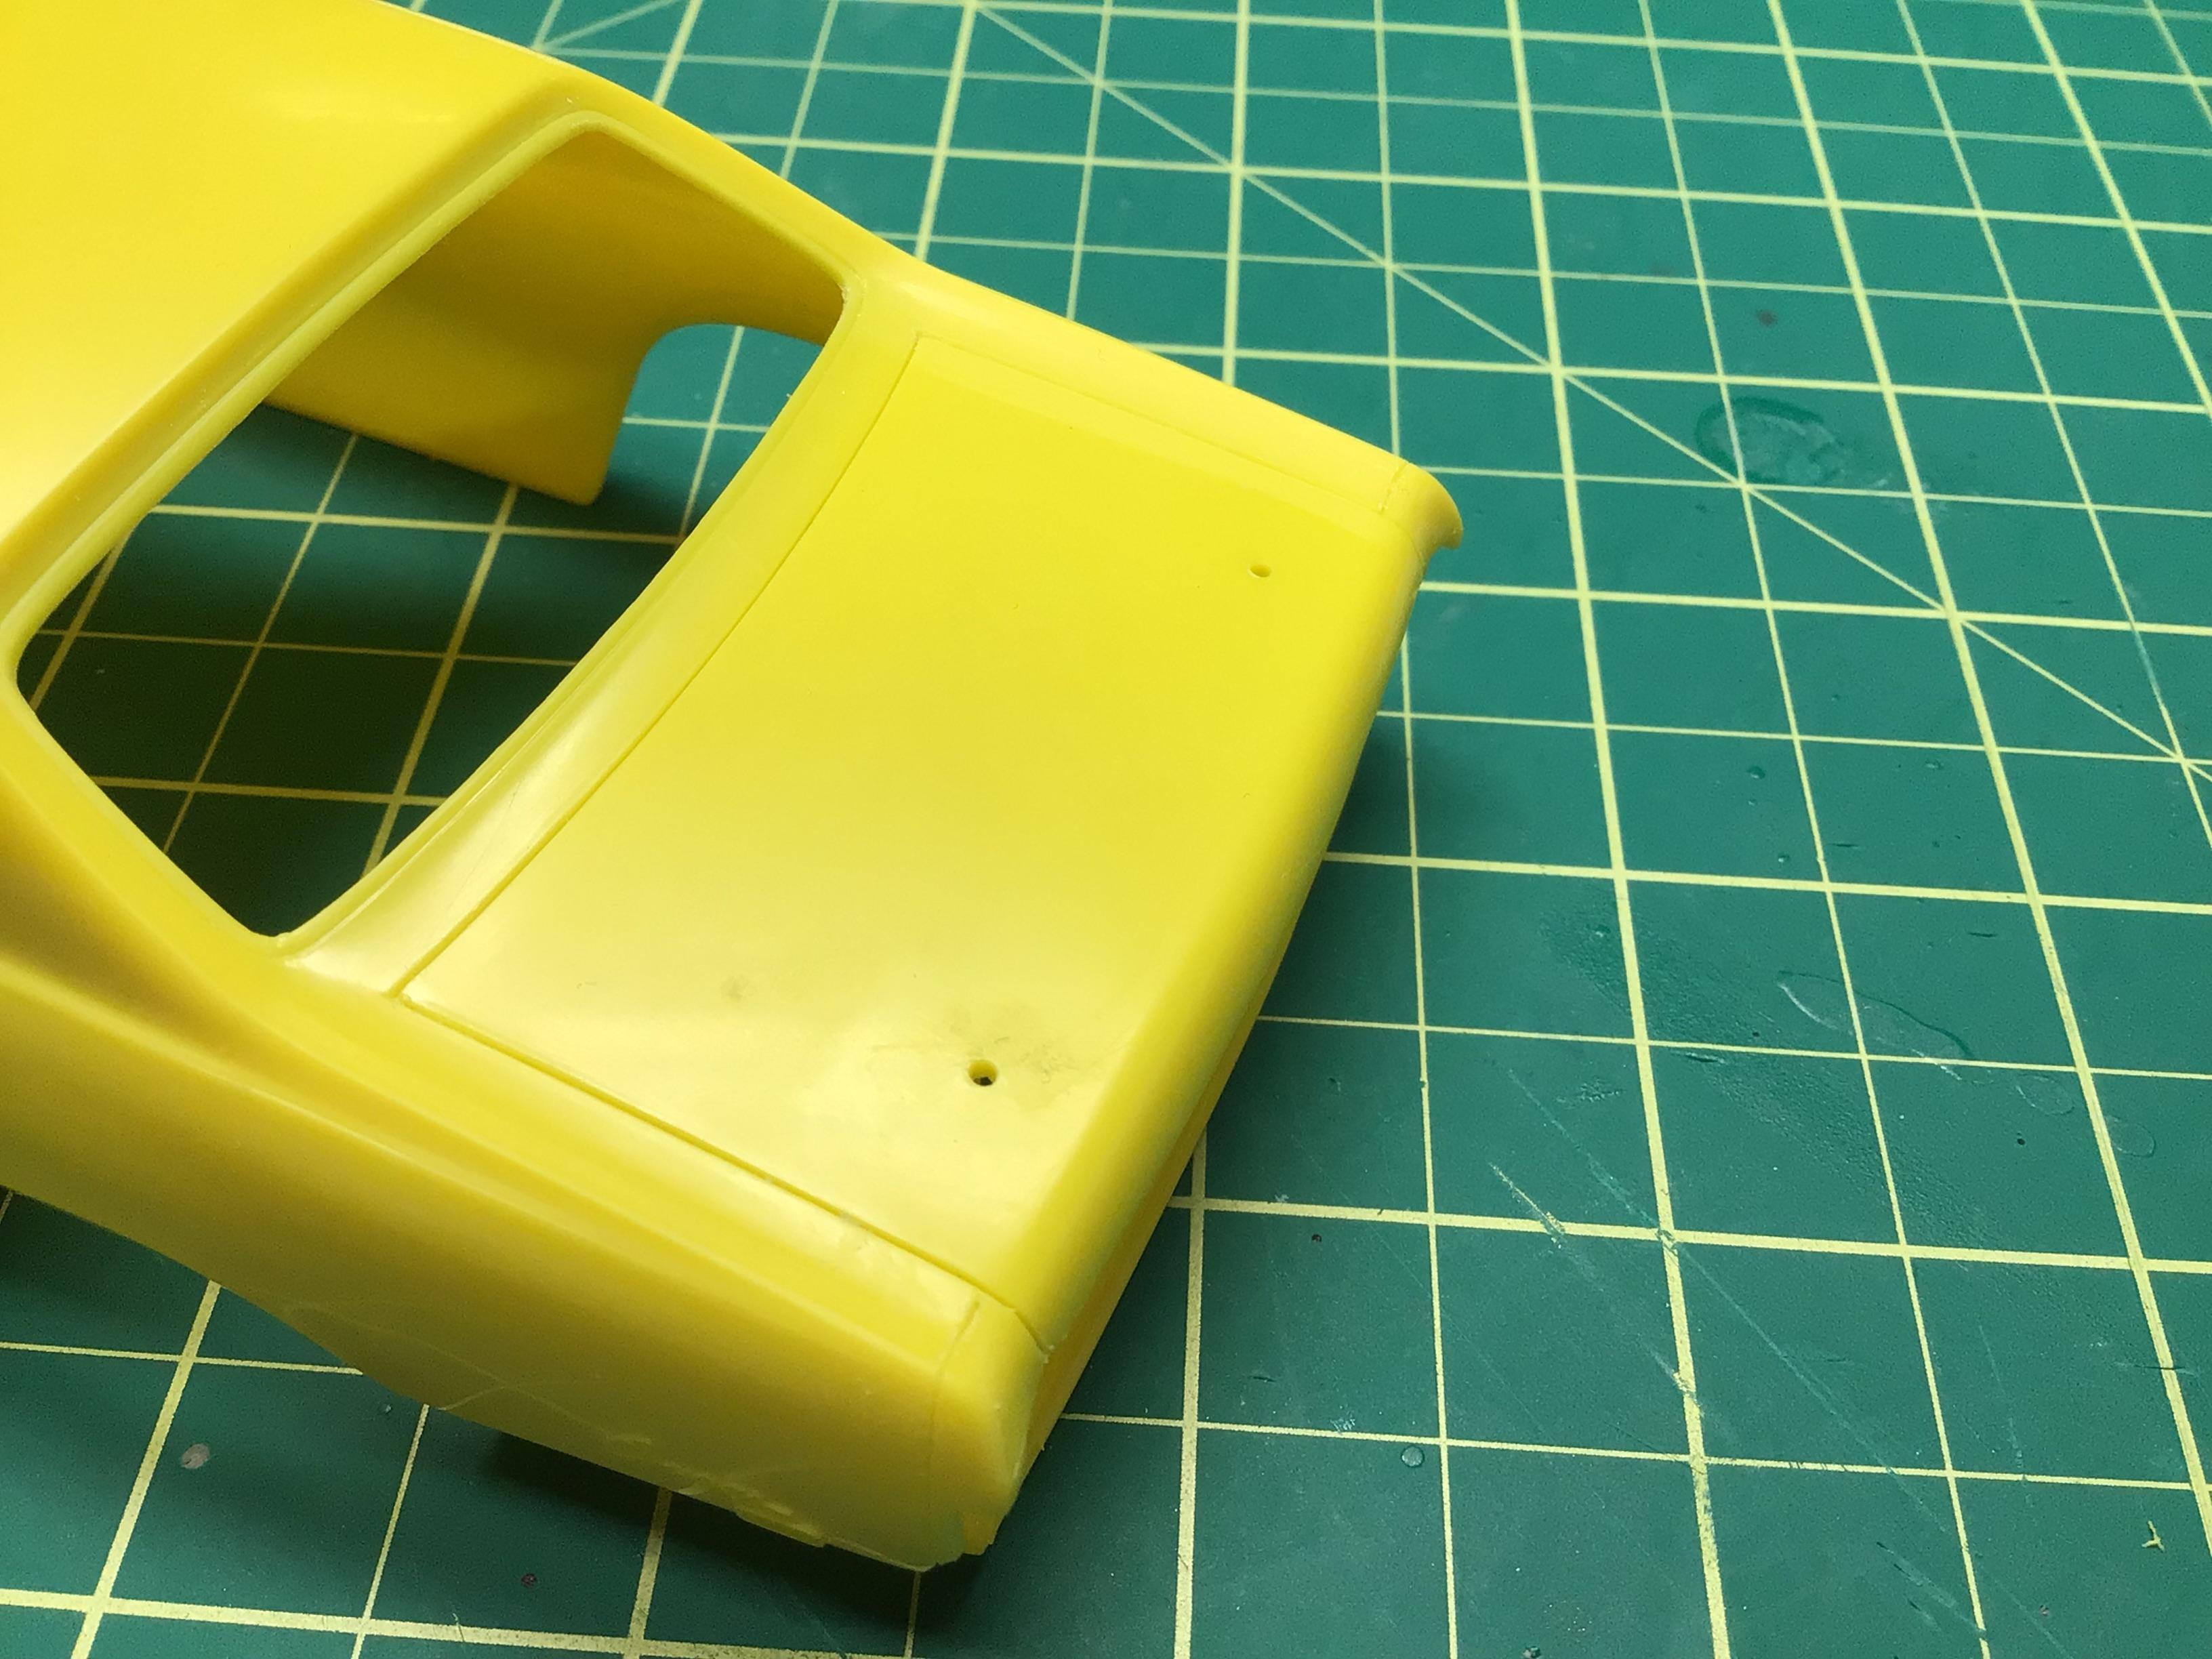
Thanks Mark. I bet that I’ve had that chassis in and out of the body shell at least 40-50 times so far.🥵 Thanks Ulf. One thing I didn’t show is this strip of Evergreen that I glued on edge under the cowl. The front of the interior tub sits up against it and prevents the whole interior/chassis from sliding too far forward.
-
I was talking to Dennis (Dino246gt) about my paint woes, and he said he never puts anything with tape on it in the dehydrator. I haven’t done any tests yet, but in my case it could be the dehydrator causing the tape marks. Perhaps the Tamiya paint is particularly sensitive at higher temps?
-
Nope. It wouldn’t be too difficult I think, but one thing usually leads to another and I have everything fitting decently now.
-
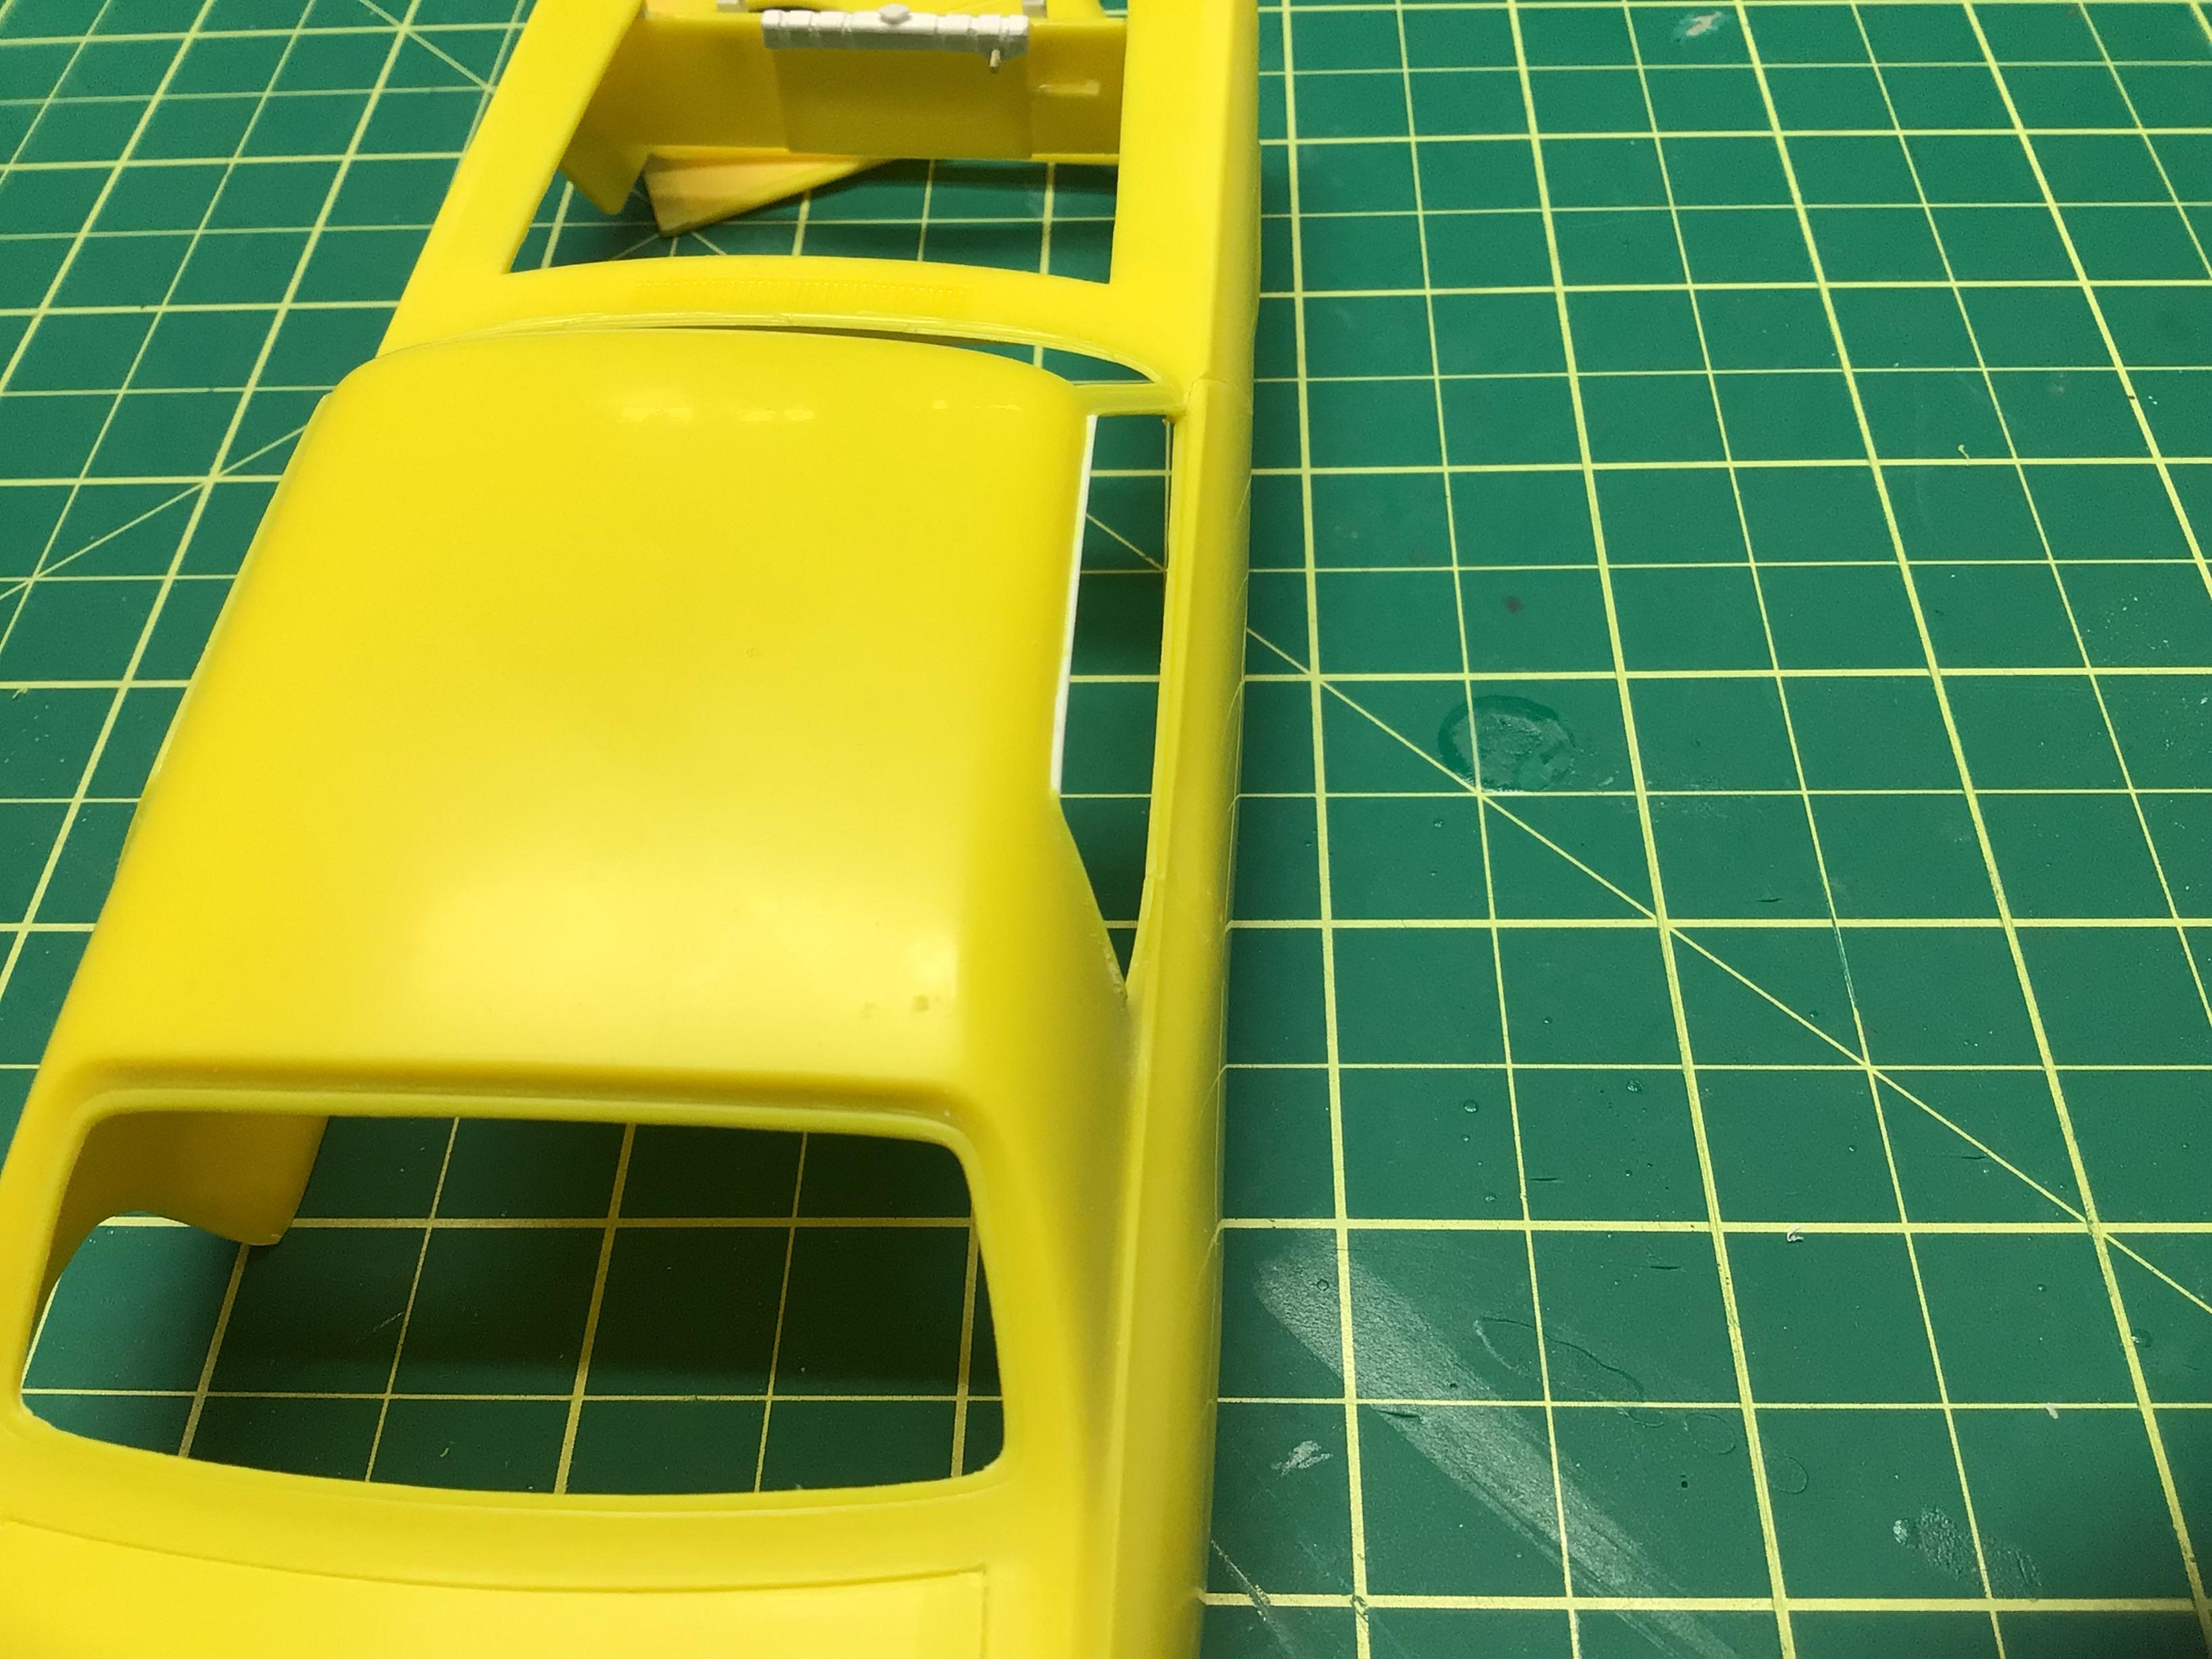
Working on the body too…I’ve scribed in the missing panel lines on the front and rear corners, filed away and replaced the crappy drip molding on the passenger side. Thanks for looking!🤓
-
Got a start on the interior today. Added some armrest made from 0.08” quarter round and some new window cranks. Also trimmed the seat bottoms so they aren’t sitting right on the floor….one of my pet peeves.😜
-
I only have the body shell with no wipers so I don’t know if they were included separately…I doubt it since there are no locating points? I wouldn’t call any of the chassis/interior advanced.😬 The engine is quite nice, but this kit is probably the tenth or so re-issue. I don’t think anything other than the engine and wheels/tires were up-graded. Oh well, it is what it is. And that’s what building these older kits is…an exercise in problem solving and perseverance.🥵🙂
-
That side molding flows beautifully Jim, and those tall lights look like they could be factory units.😎
-
AMT '63 Corvette - the quick easy slump buster that wasn't.
NOBLNG replied to JJ Deuce's topic in Model Cars
Not a fan of the green either but otherwise nice work.👍 Those wheels look great on it. First thing I do when I get a second hand kit is go through the instructions and put a tiny check mark beside all the parts I find in the box. -
Fabulous work on this Scott!👍 I just picked one up for $10 at the flea market and all the parts are there.🙂 I hope to do half as nice a job as you’ve done.😎
-
Or just add a longer tail housing?
-
Removing CA glue from clear plastic . . . .
NOBLNG replied to Glassparman's topic in Model Building Questions and Answers
Good info, although the OP never specifically said he was using CA to install the glass….just that he got some on it somehow.🤷♂️ -
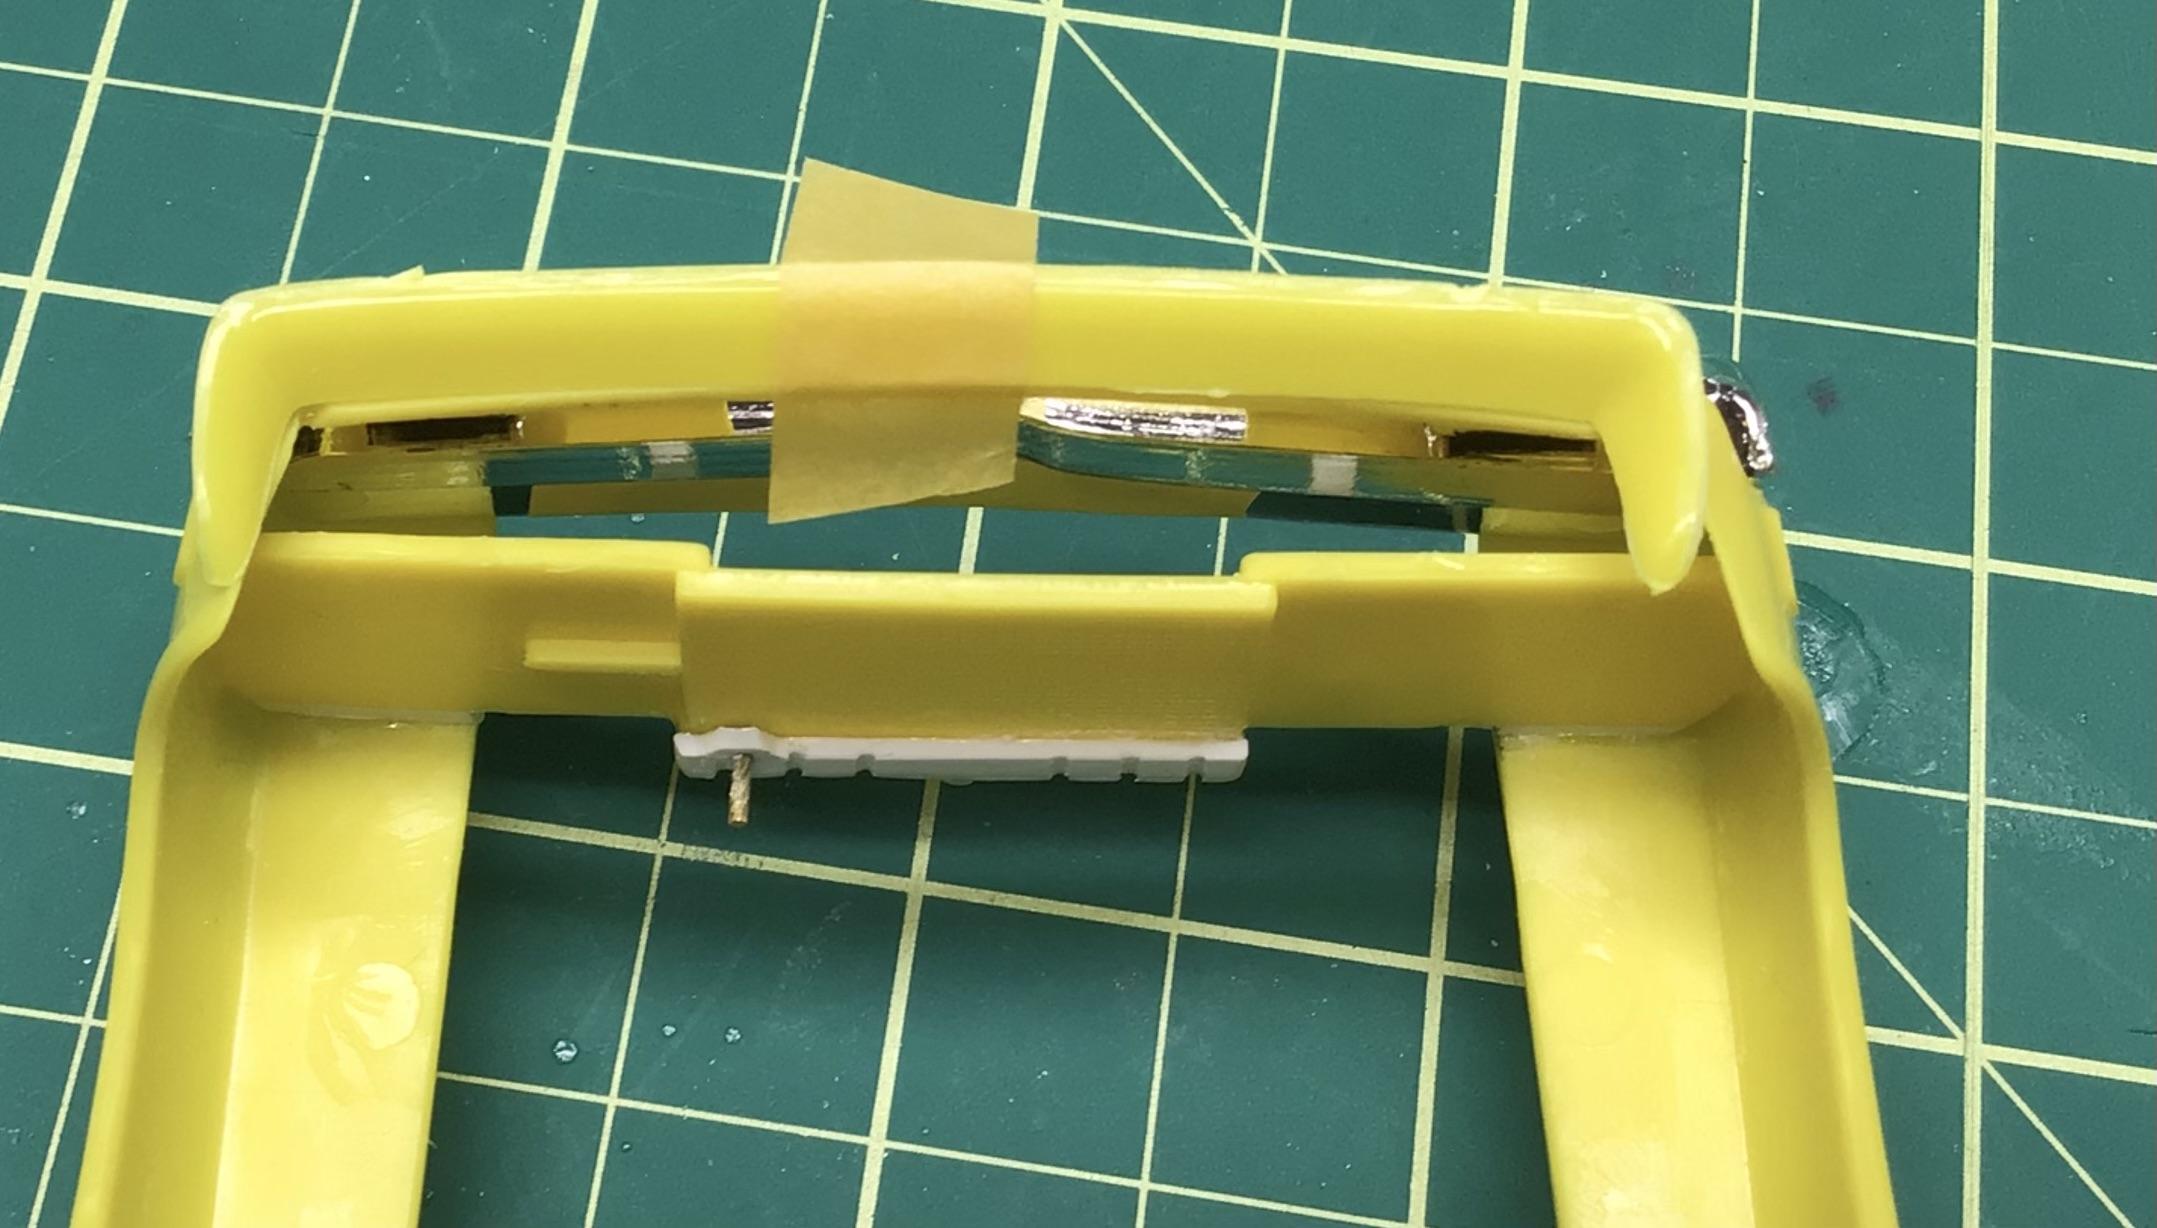
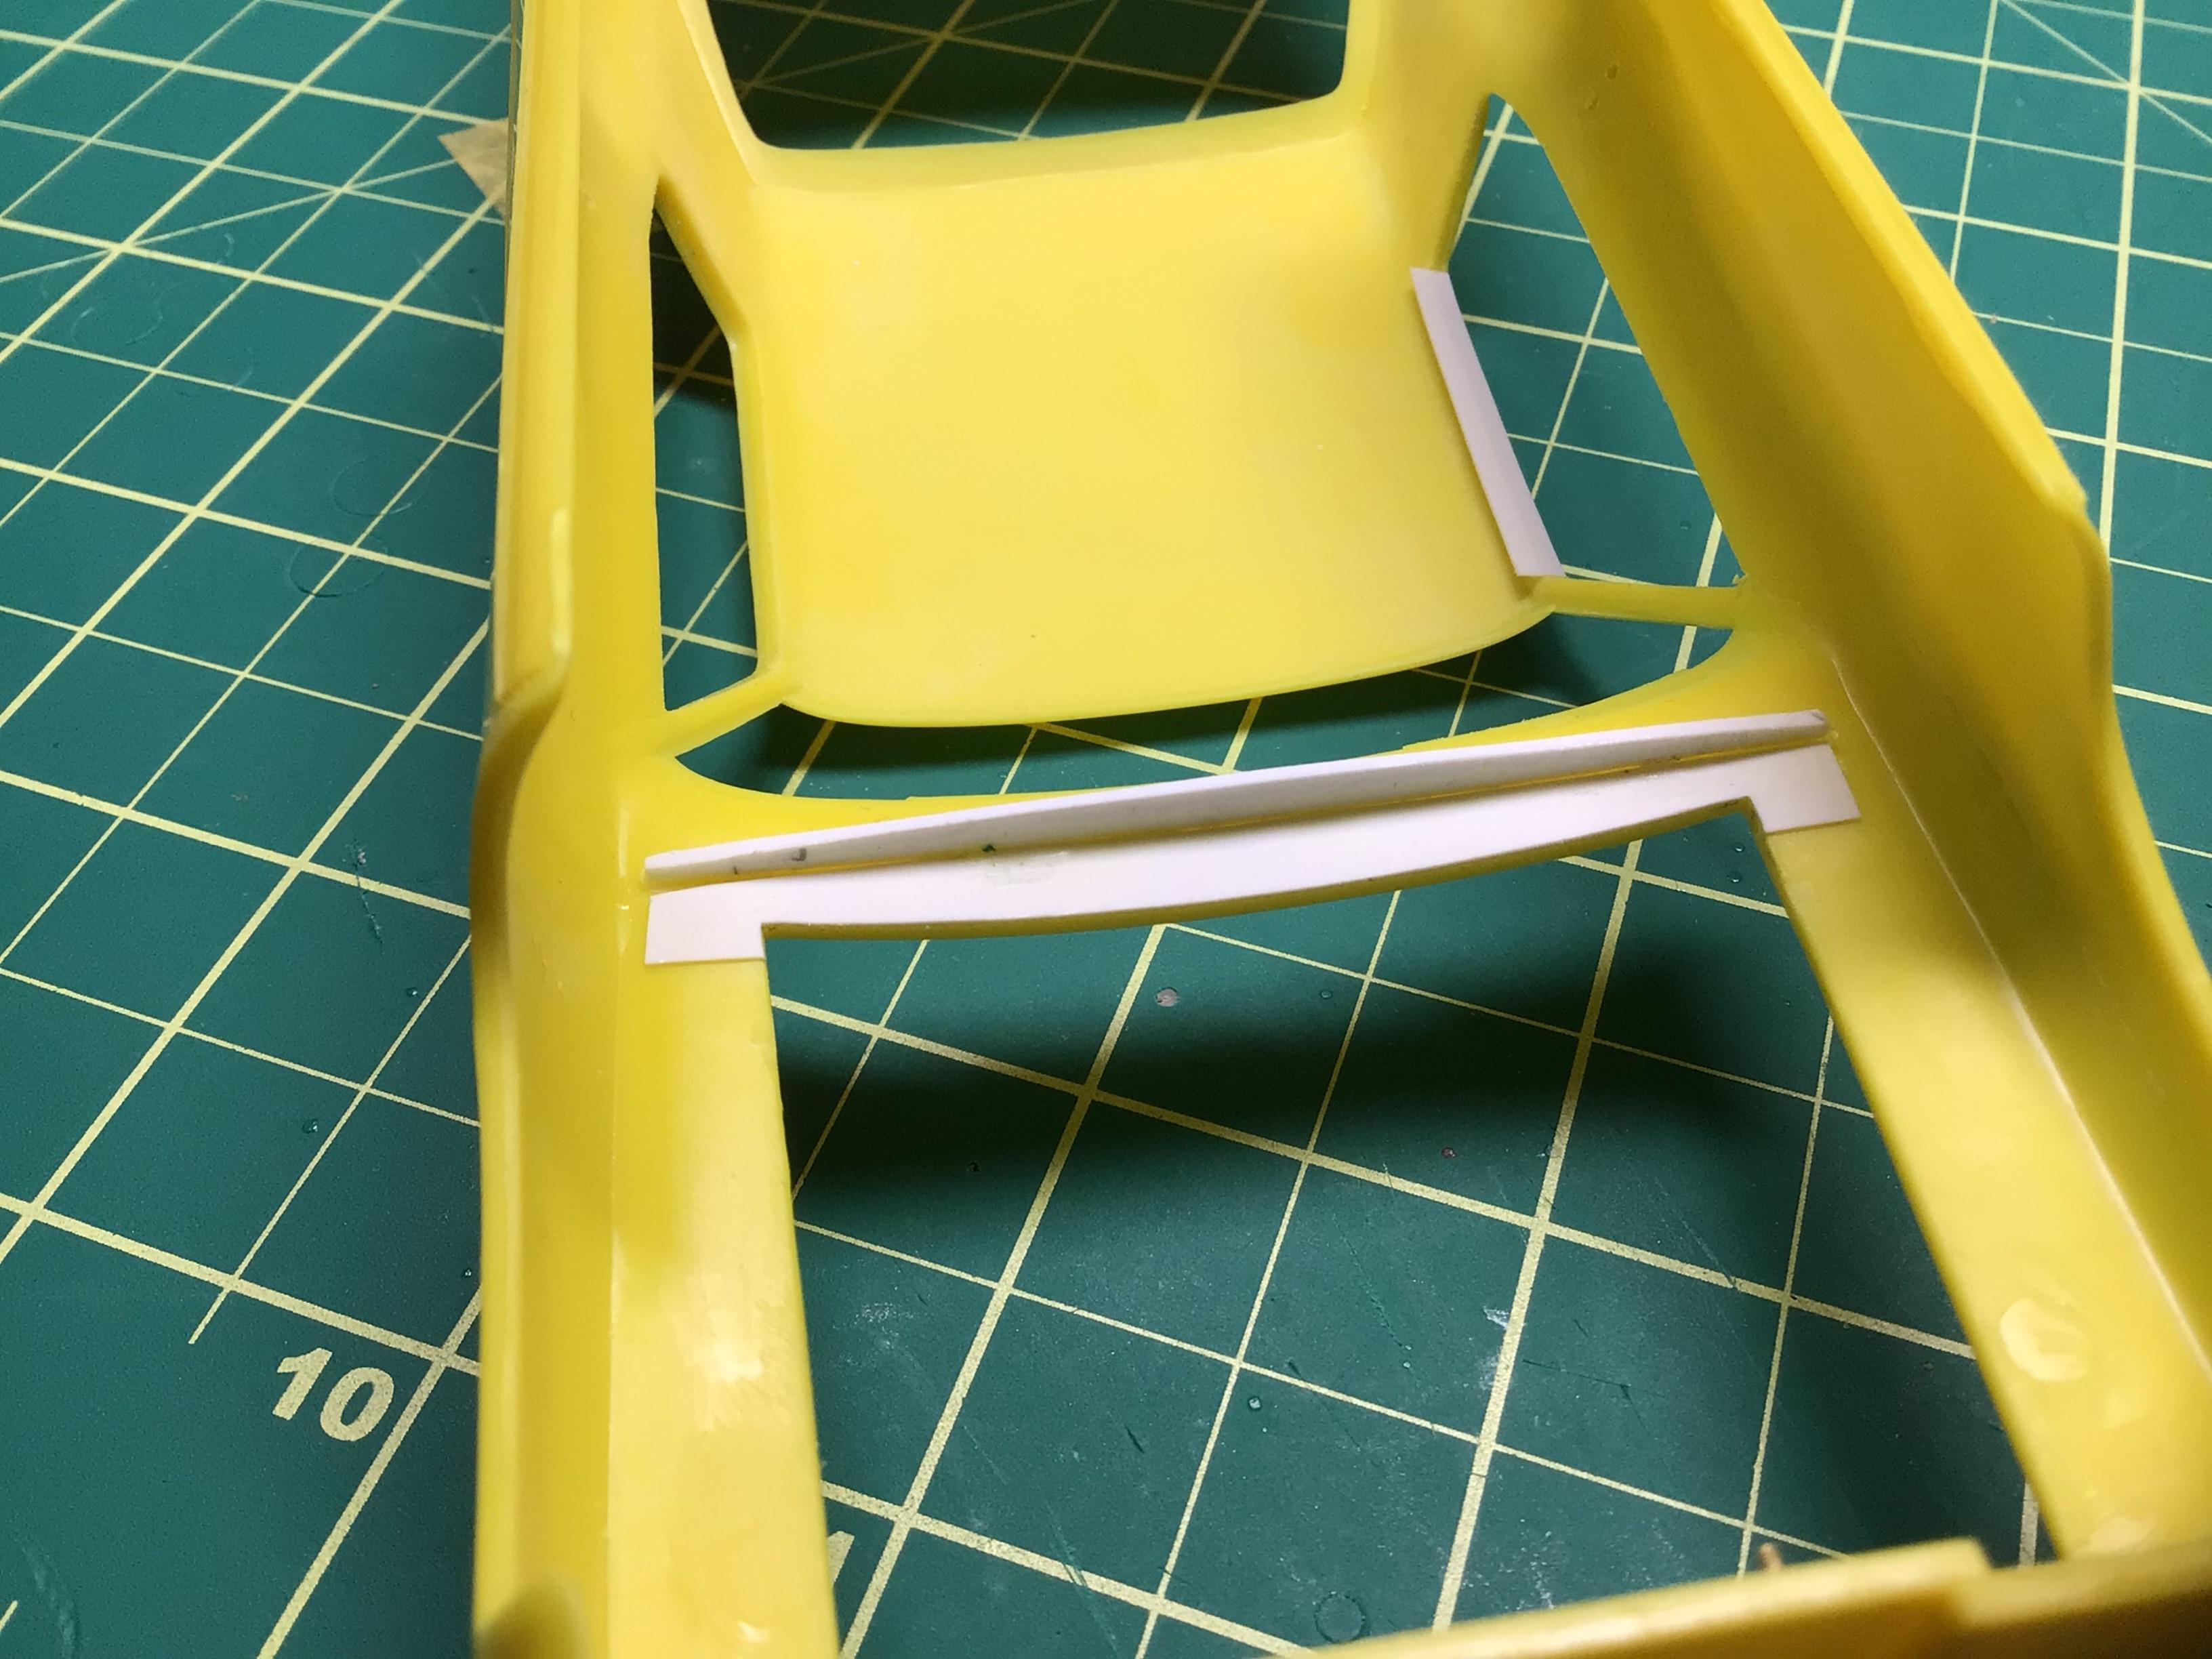
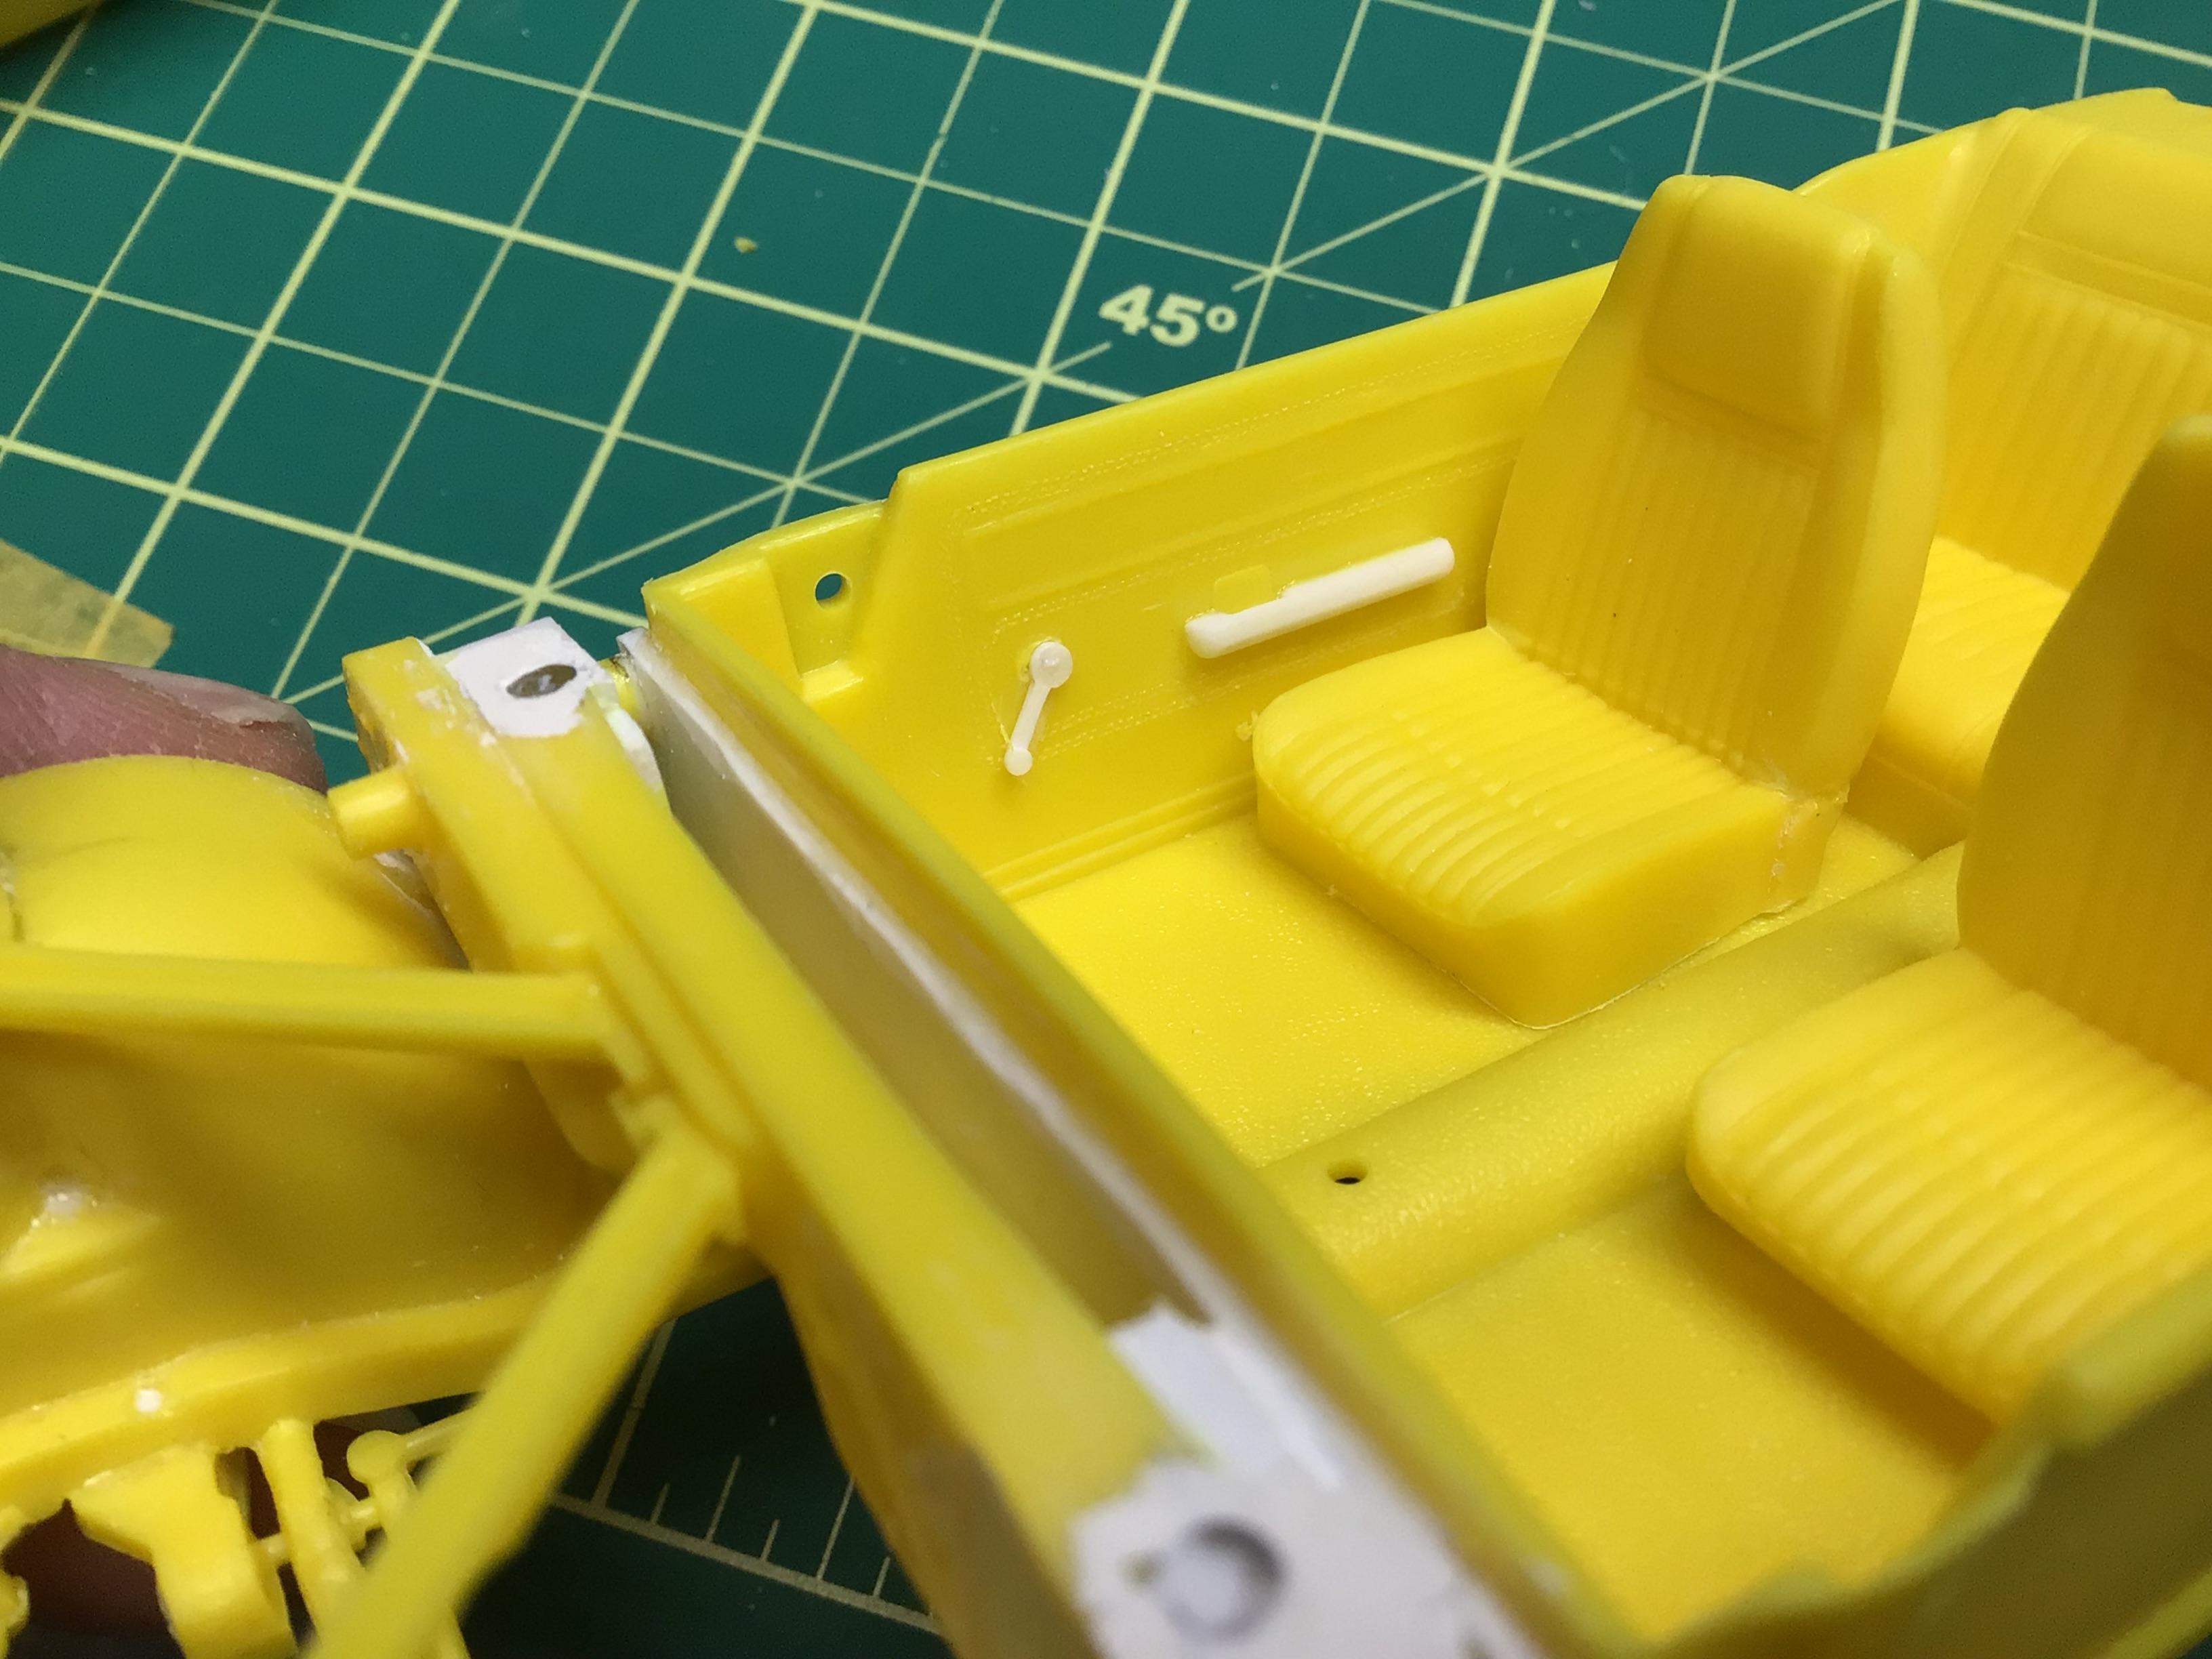
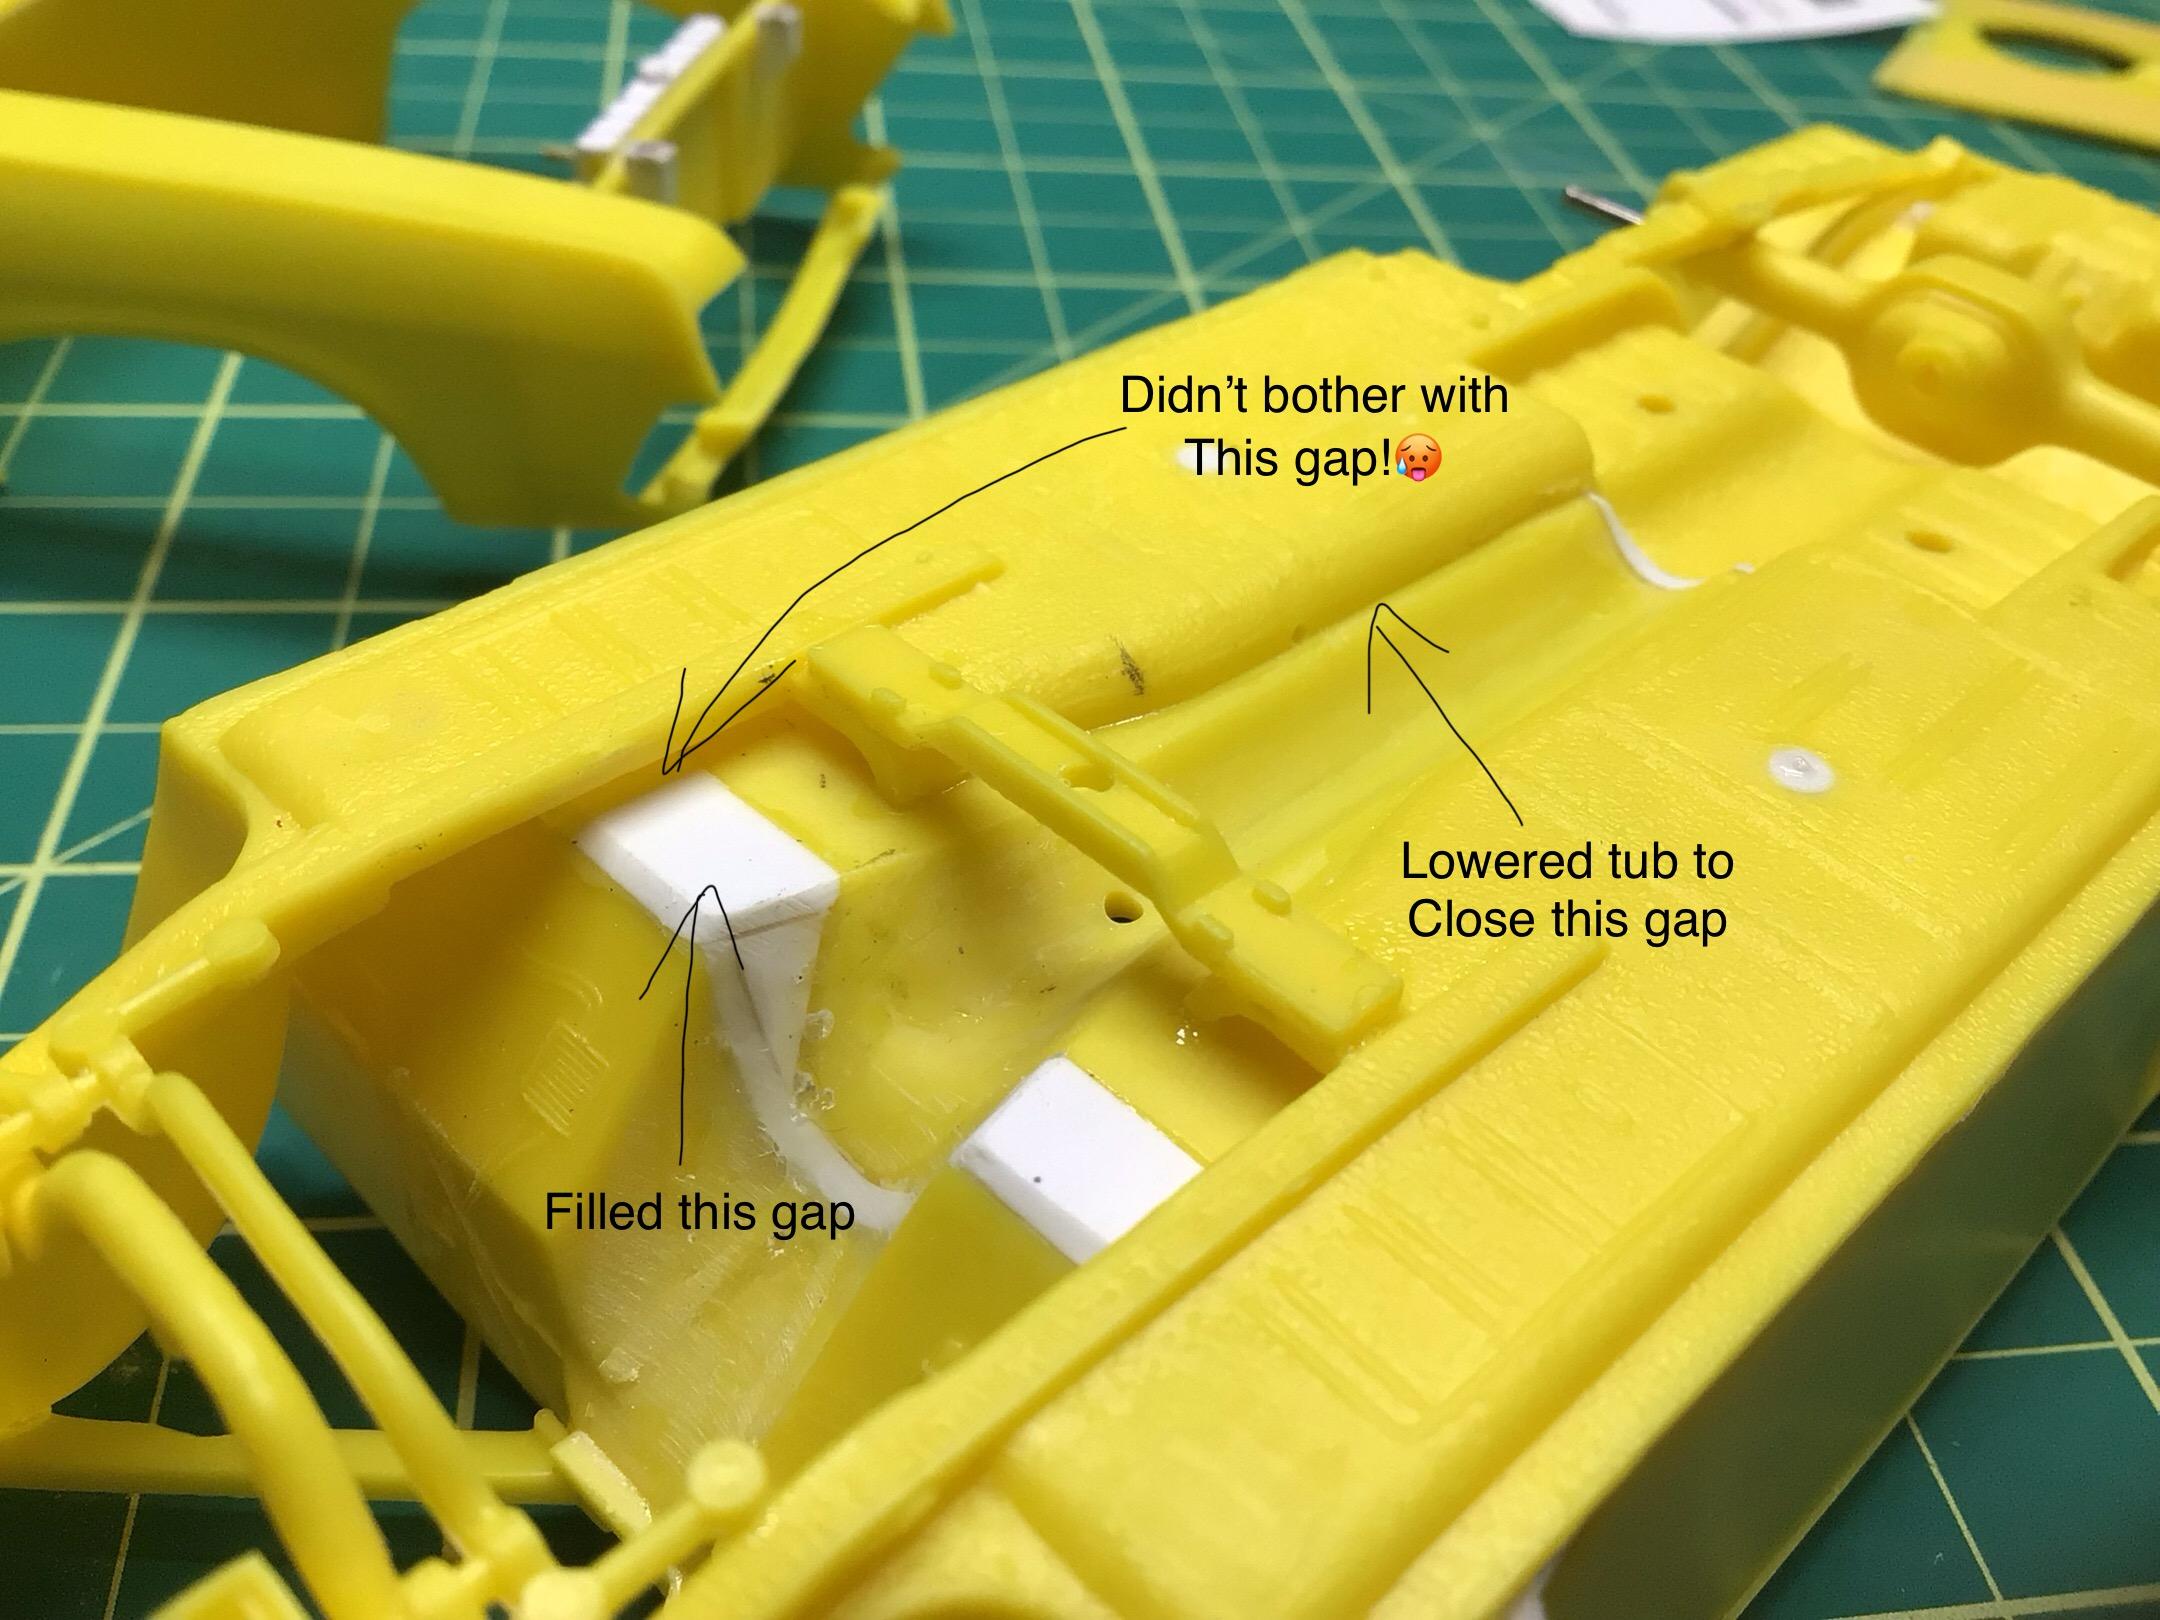
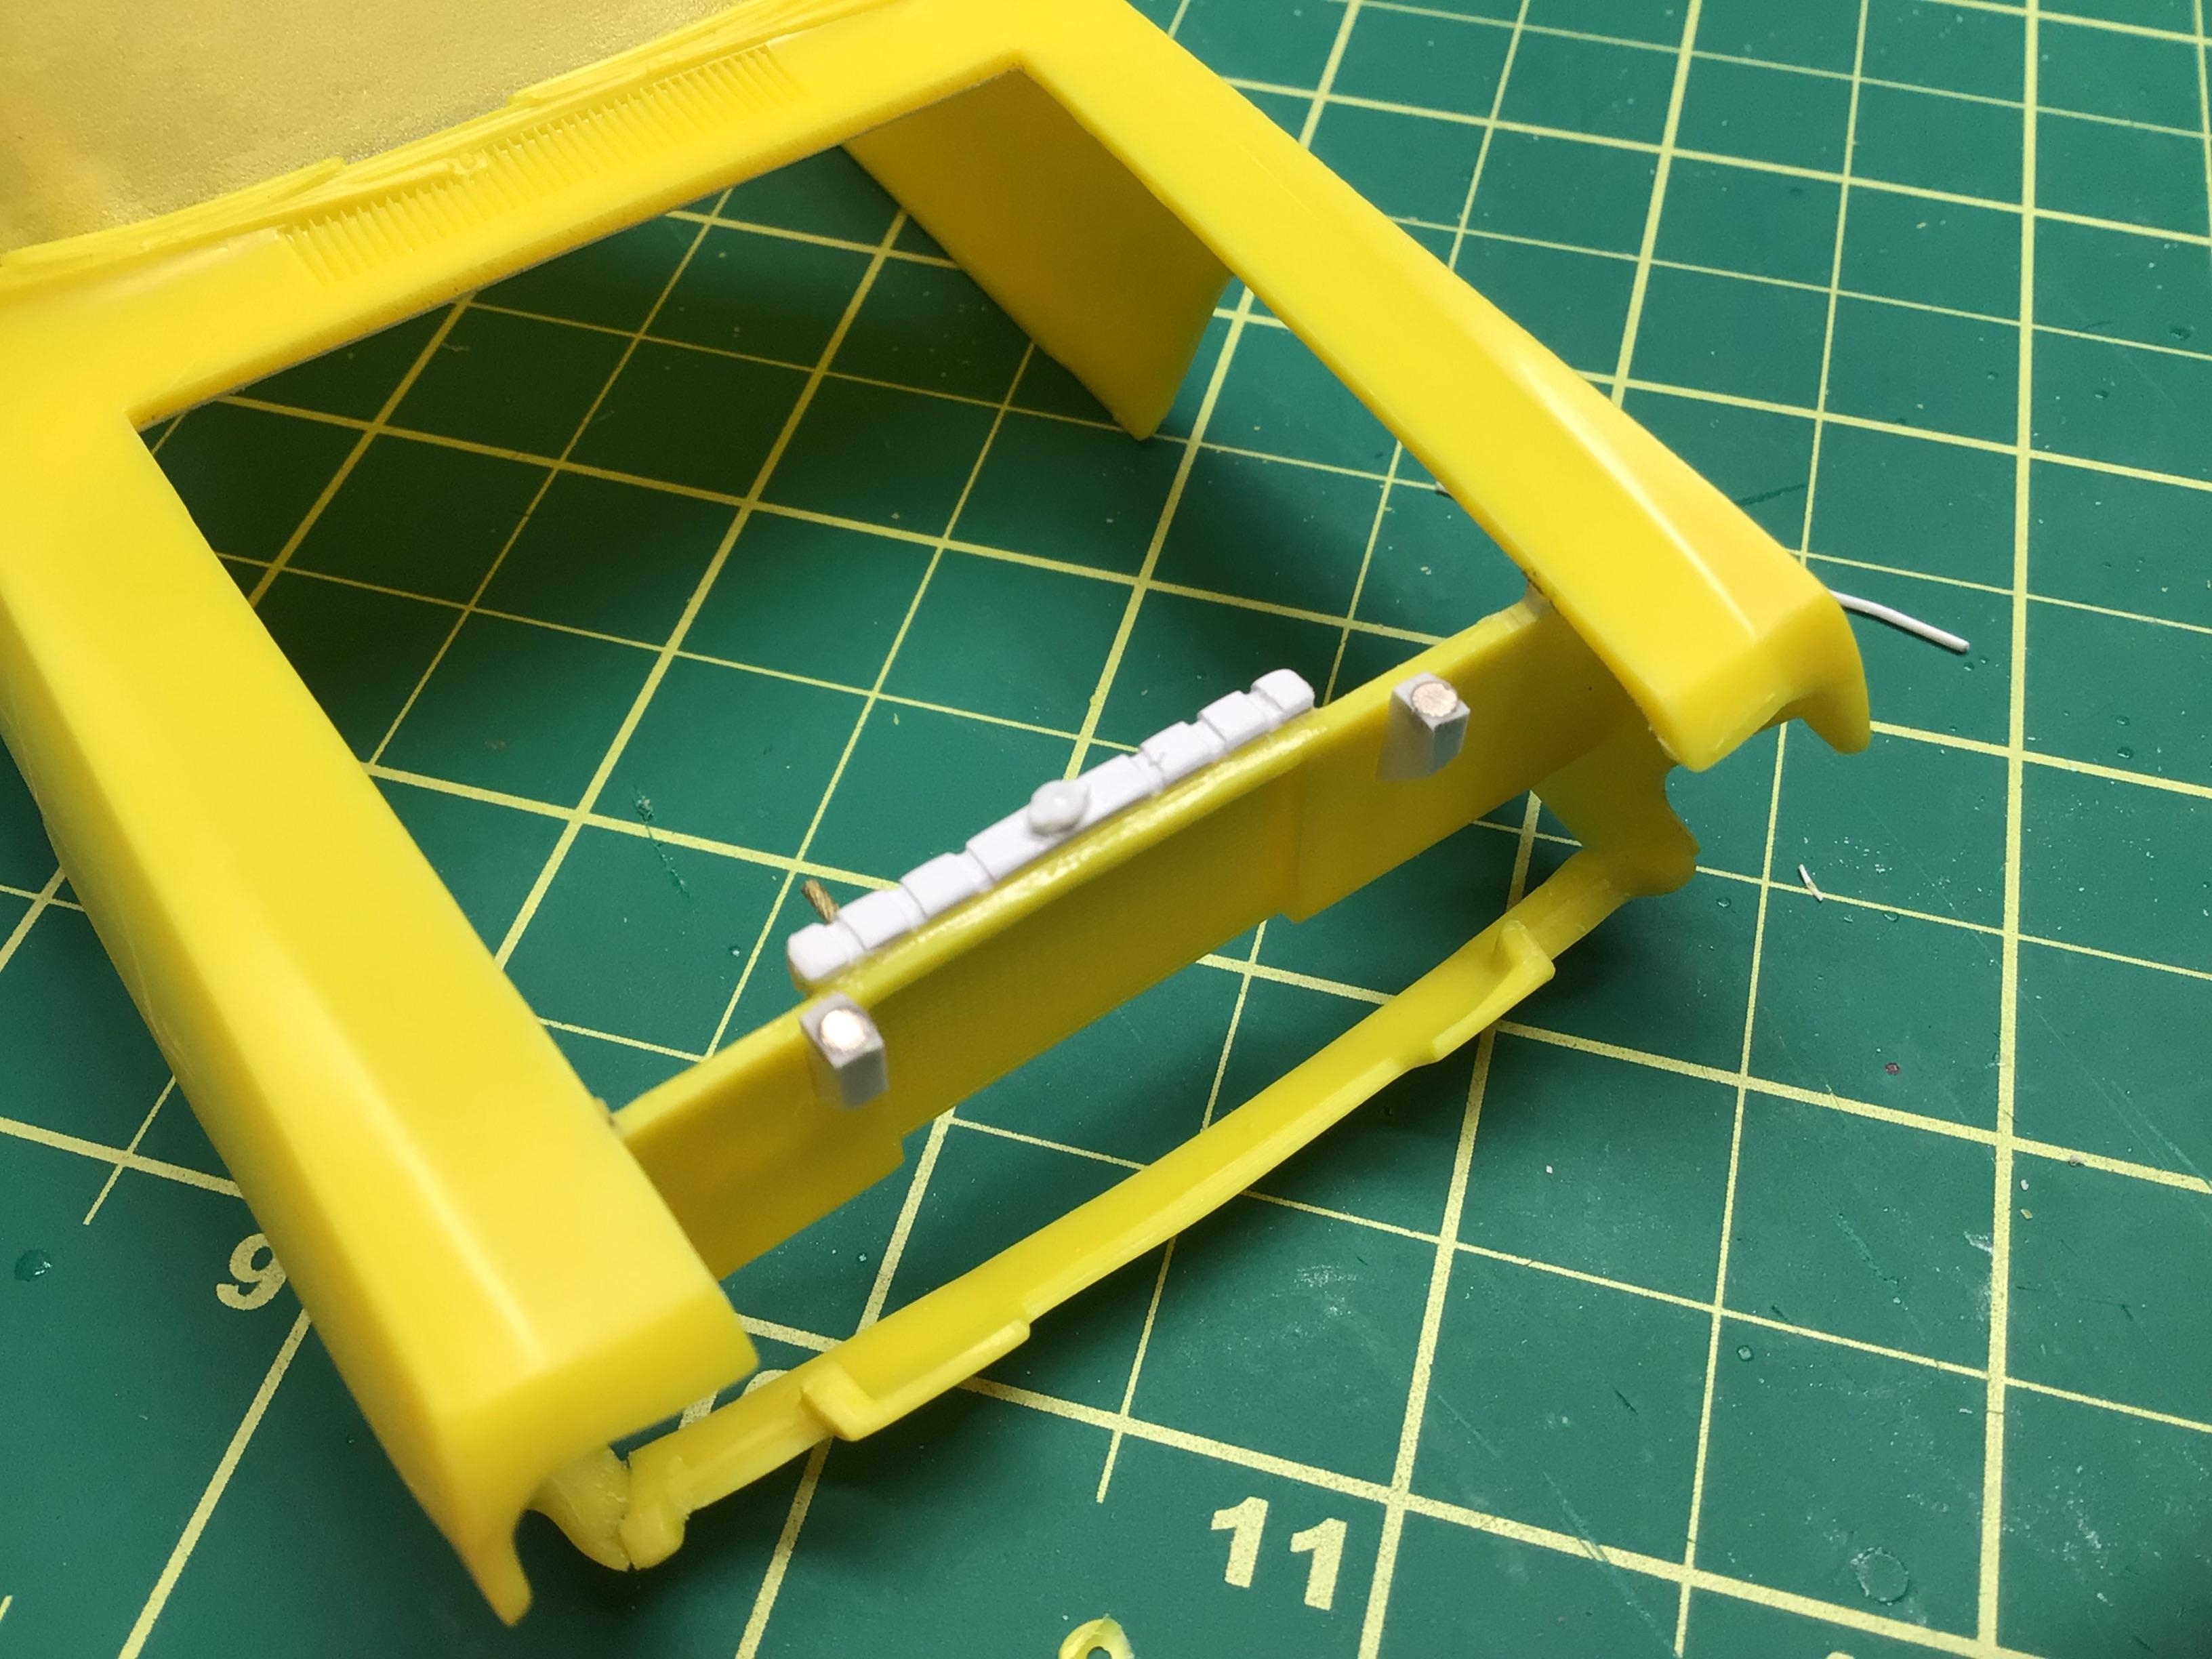
Sure thing Keith. I don’t know if I really screwed something up or what…but most folks don’t have many issues with this kit. I found that the interior tub (and therefore the trans tunnel) sits above the chassis floor pan. So there is a gap between them when viewed from the bottom. So I trimmed the rear locating pins to move the tub downwards until it sat down tight to the floorpan. Also, the only locating points for the firewall are those two posts that are supposed to be standoffs (with no positive location points) from the interior tub and no connection points at the bottom edge of the firewall. So I trimmed them a bit and added a .030” sheet that I glued to the posts and the lower edge…now I had a large flat plate to glue to the front of the interior tub. So yes, the white pieces in the first pic are to close up the gaps. Now to get everything to sit nicely into the body shell I had to trim the nubs on the front wheel wells so that the firewall would sit up tight to the cowl. There is a little gap required between the inner and outer fenders or the hood hits the shocks and won’t close….so I recessed the fender brace/shock mounts into the fender wells. I’ve seen more than a couple of builds under glass where the hood does not close flush.🧐 The inner fender wells are completely wrong for this car but I don’t want to get into correcting them. See my previous link to a great build that does address this issue if you are inclined. Any more questions, feel free to ask here or PM me. Edit: the hood not closing flush could be from shock interference if the nubs are trimmed, or more likely from air cleaner interference.
-
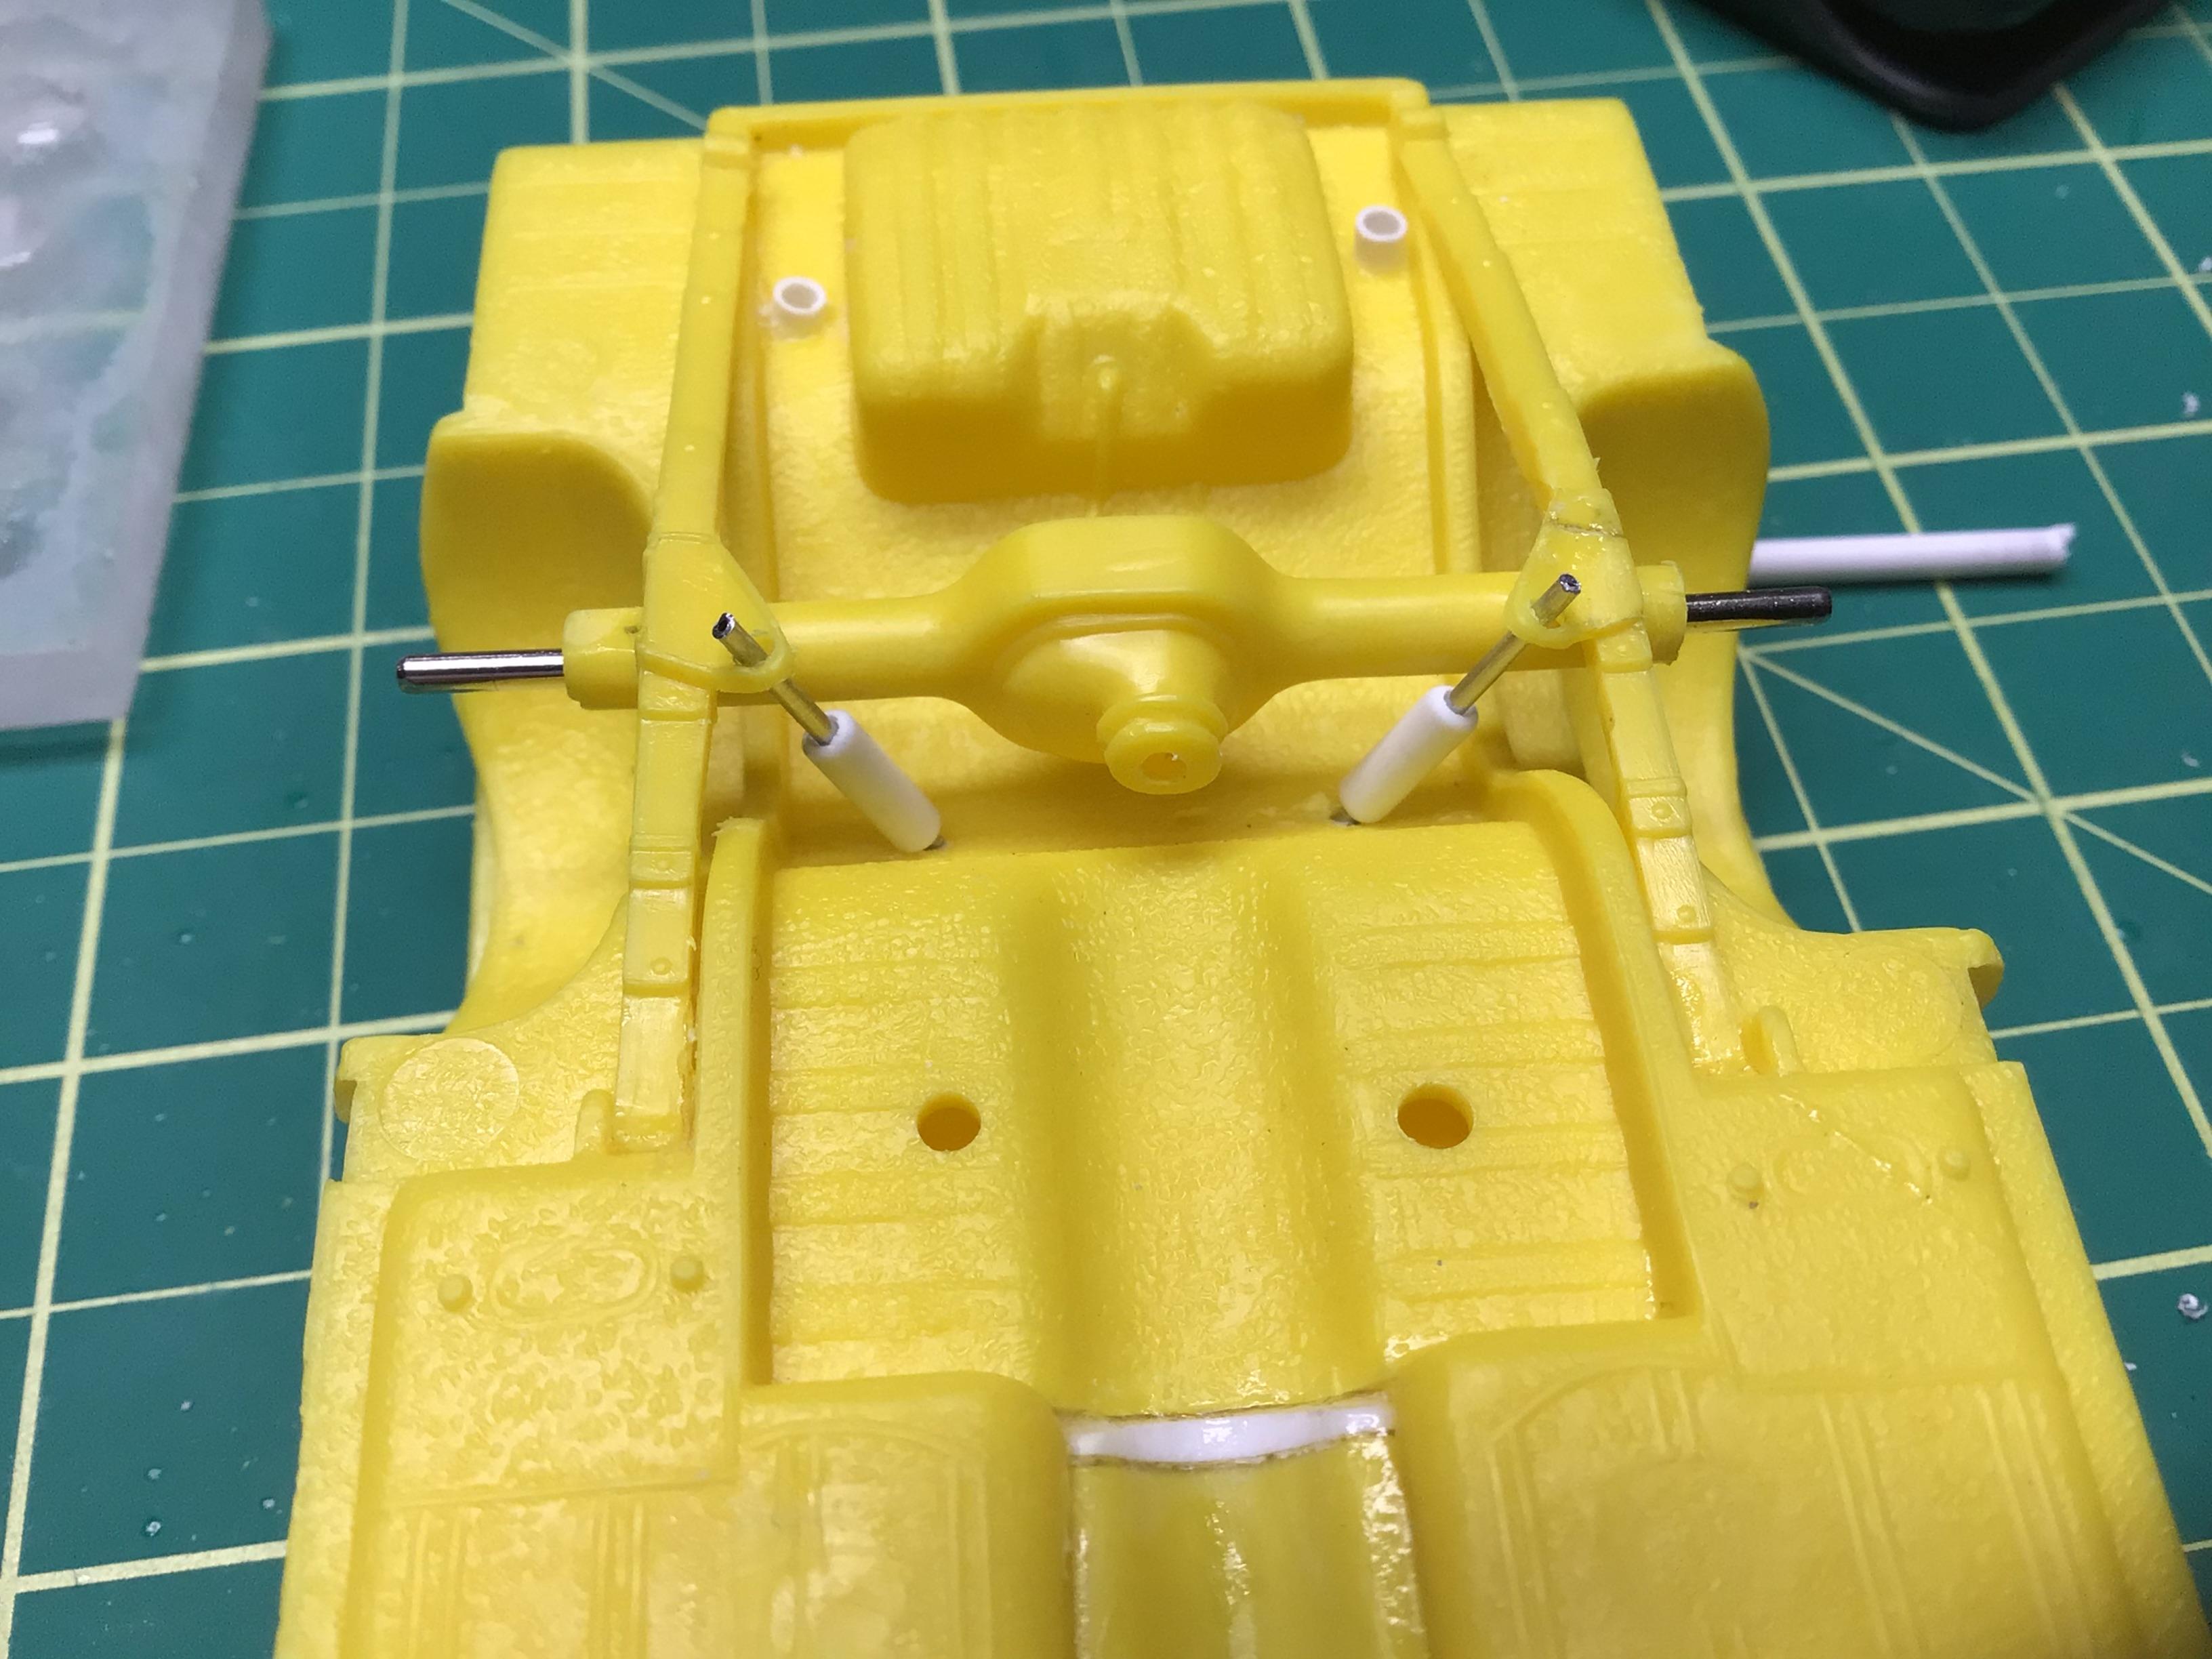
Scratched up some shocks from 1mm aluminum tubing and 3/32 styrene tubing. I don’t even think they need any paint….to be trimmed to length on final assembly.🙂 And I added a slightly better upper rad tank.
-
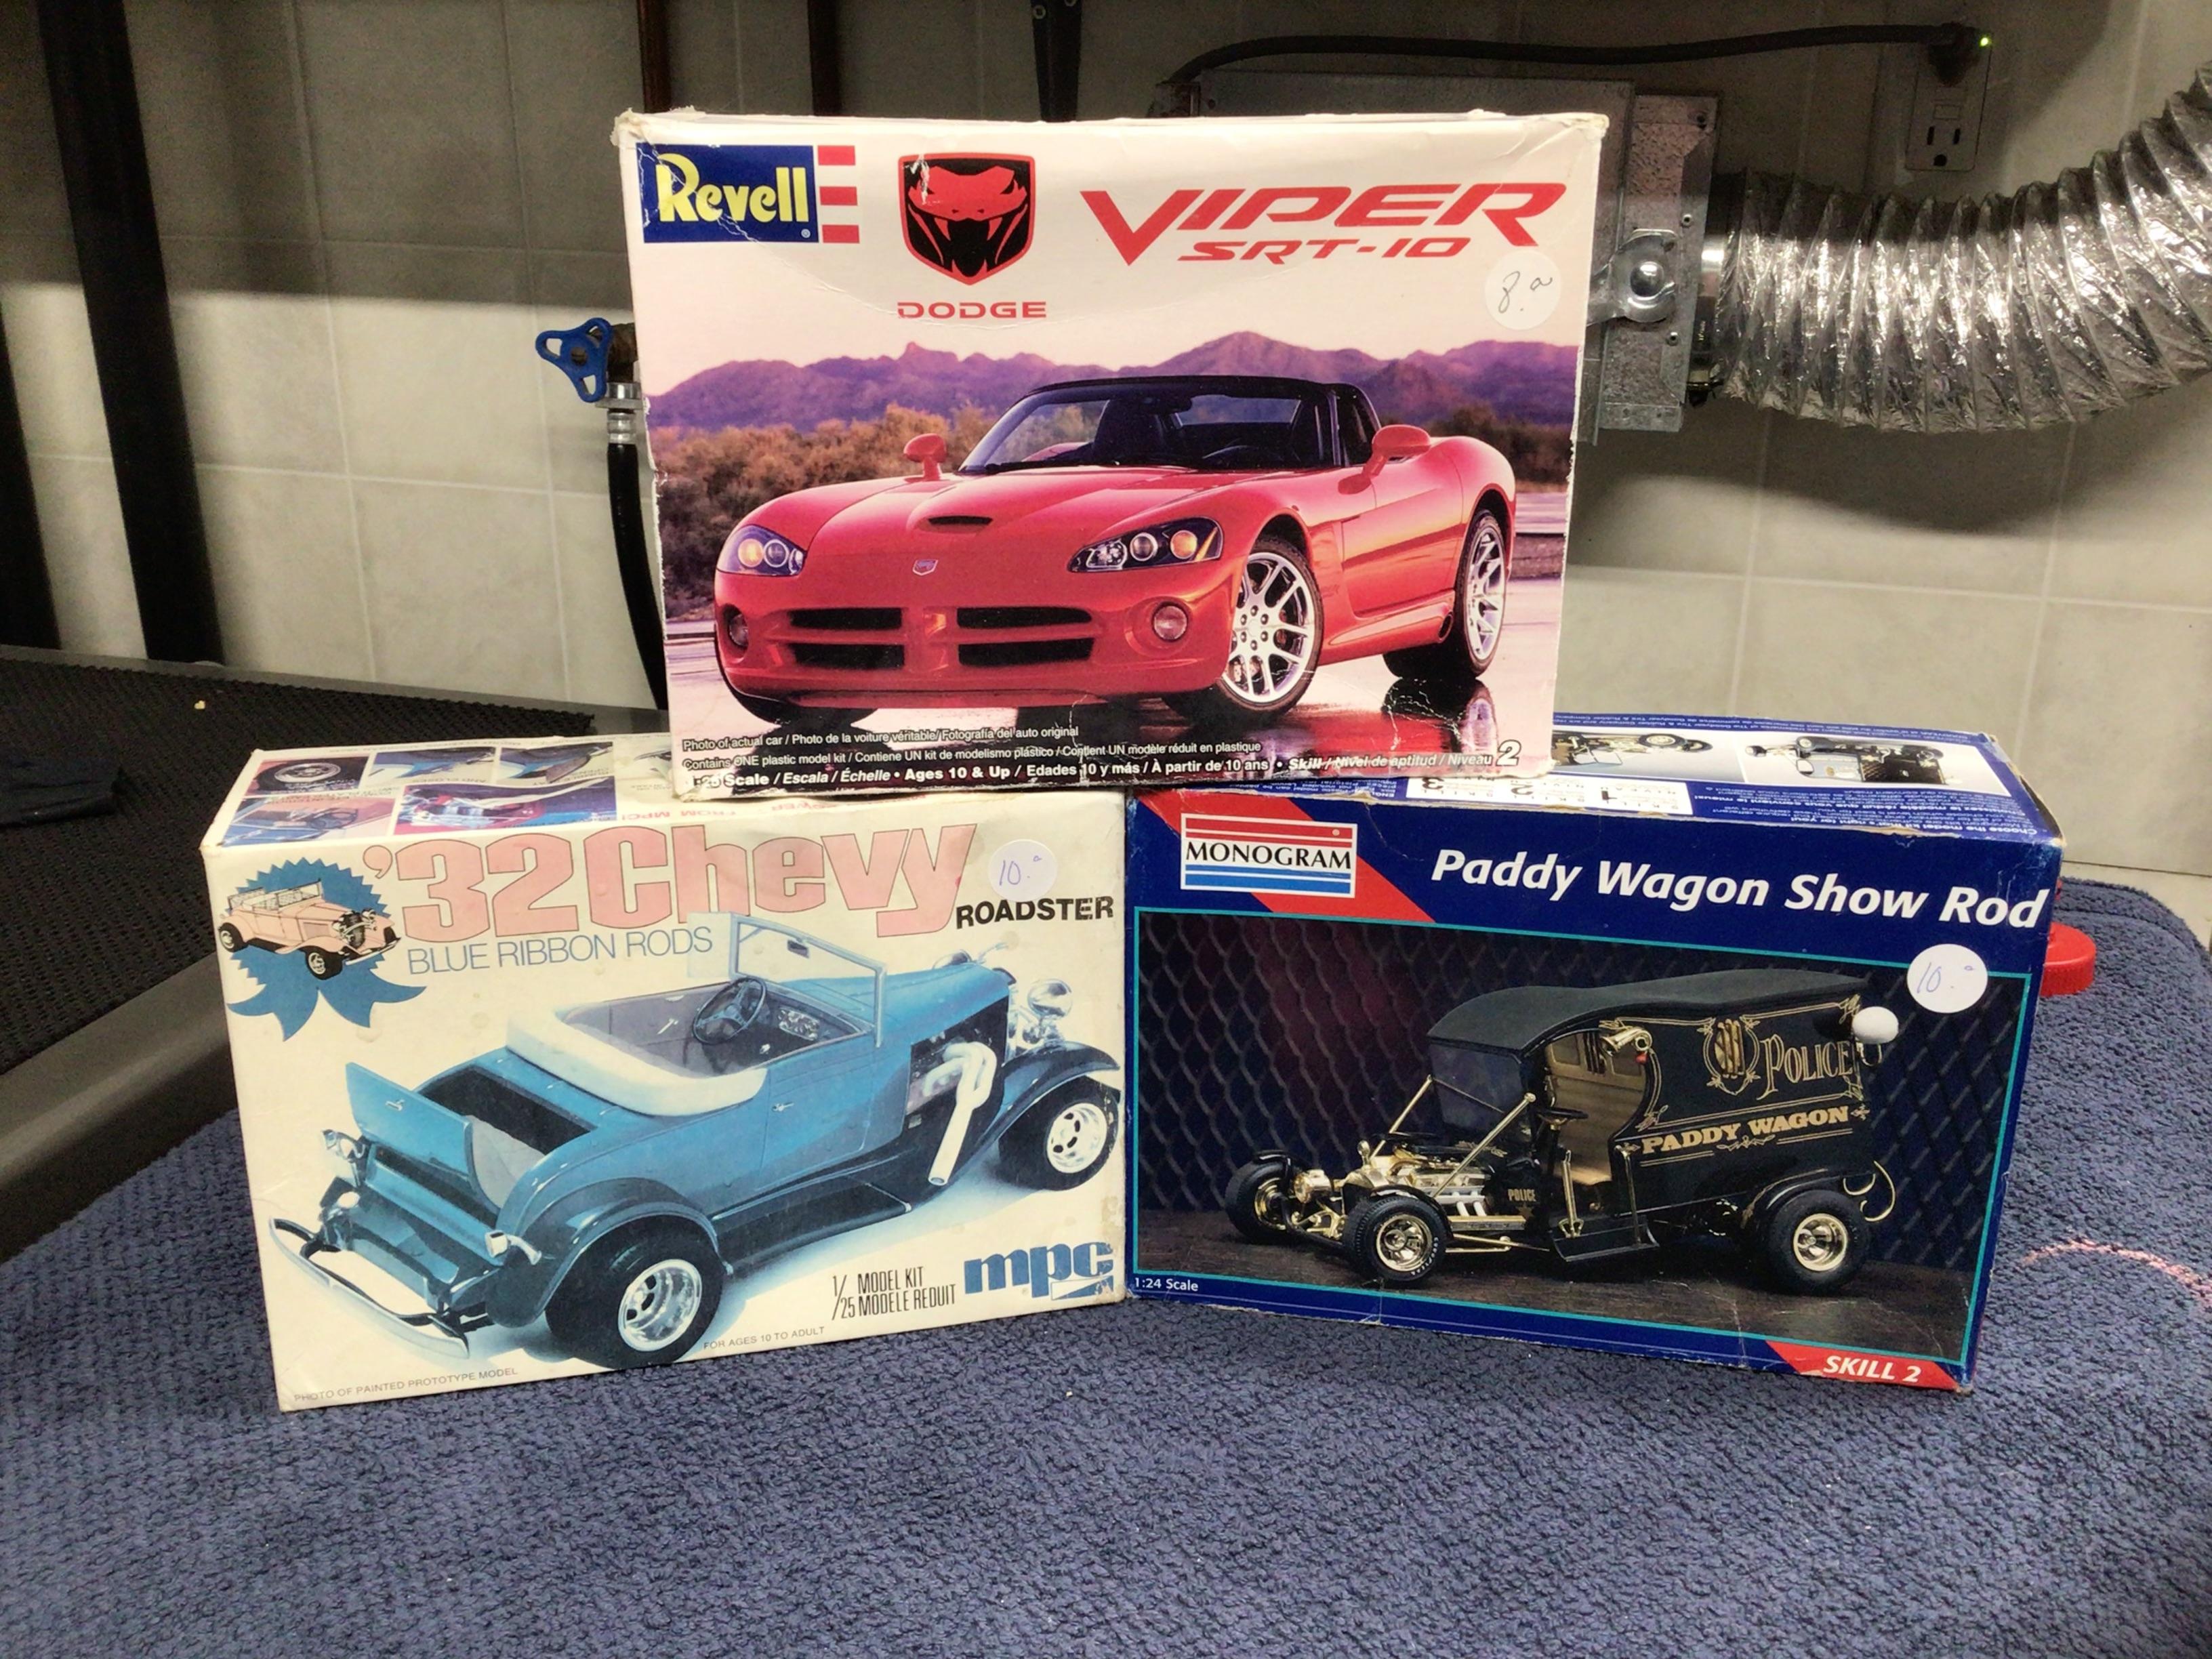
Flea market finds. The fellow threw in the Viper for free cause there isn’t much left in the box. I think the other two are mostly complete. Edit: I only got 4 wheels and tires with disc brakes from the Viper kit….and the bucket seats. The other two kits are complete.🙂
- 39,258 replies
-
- 10
-

-
- johan
- glue bombs
- (and 1 more)
-
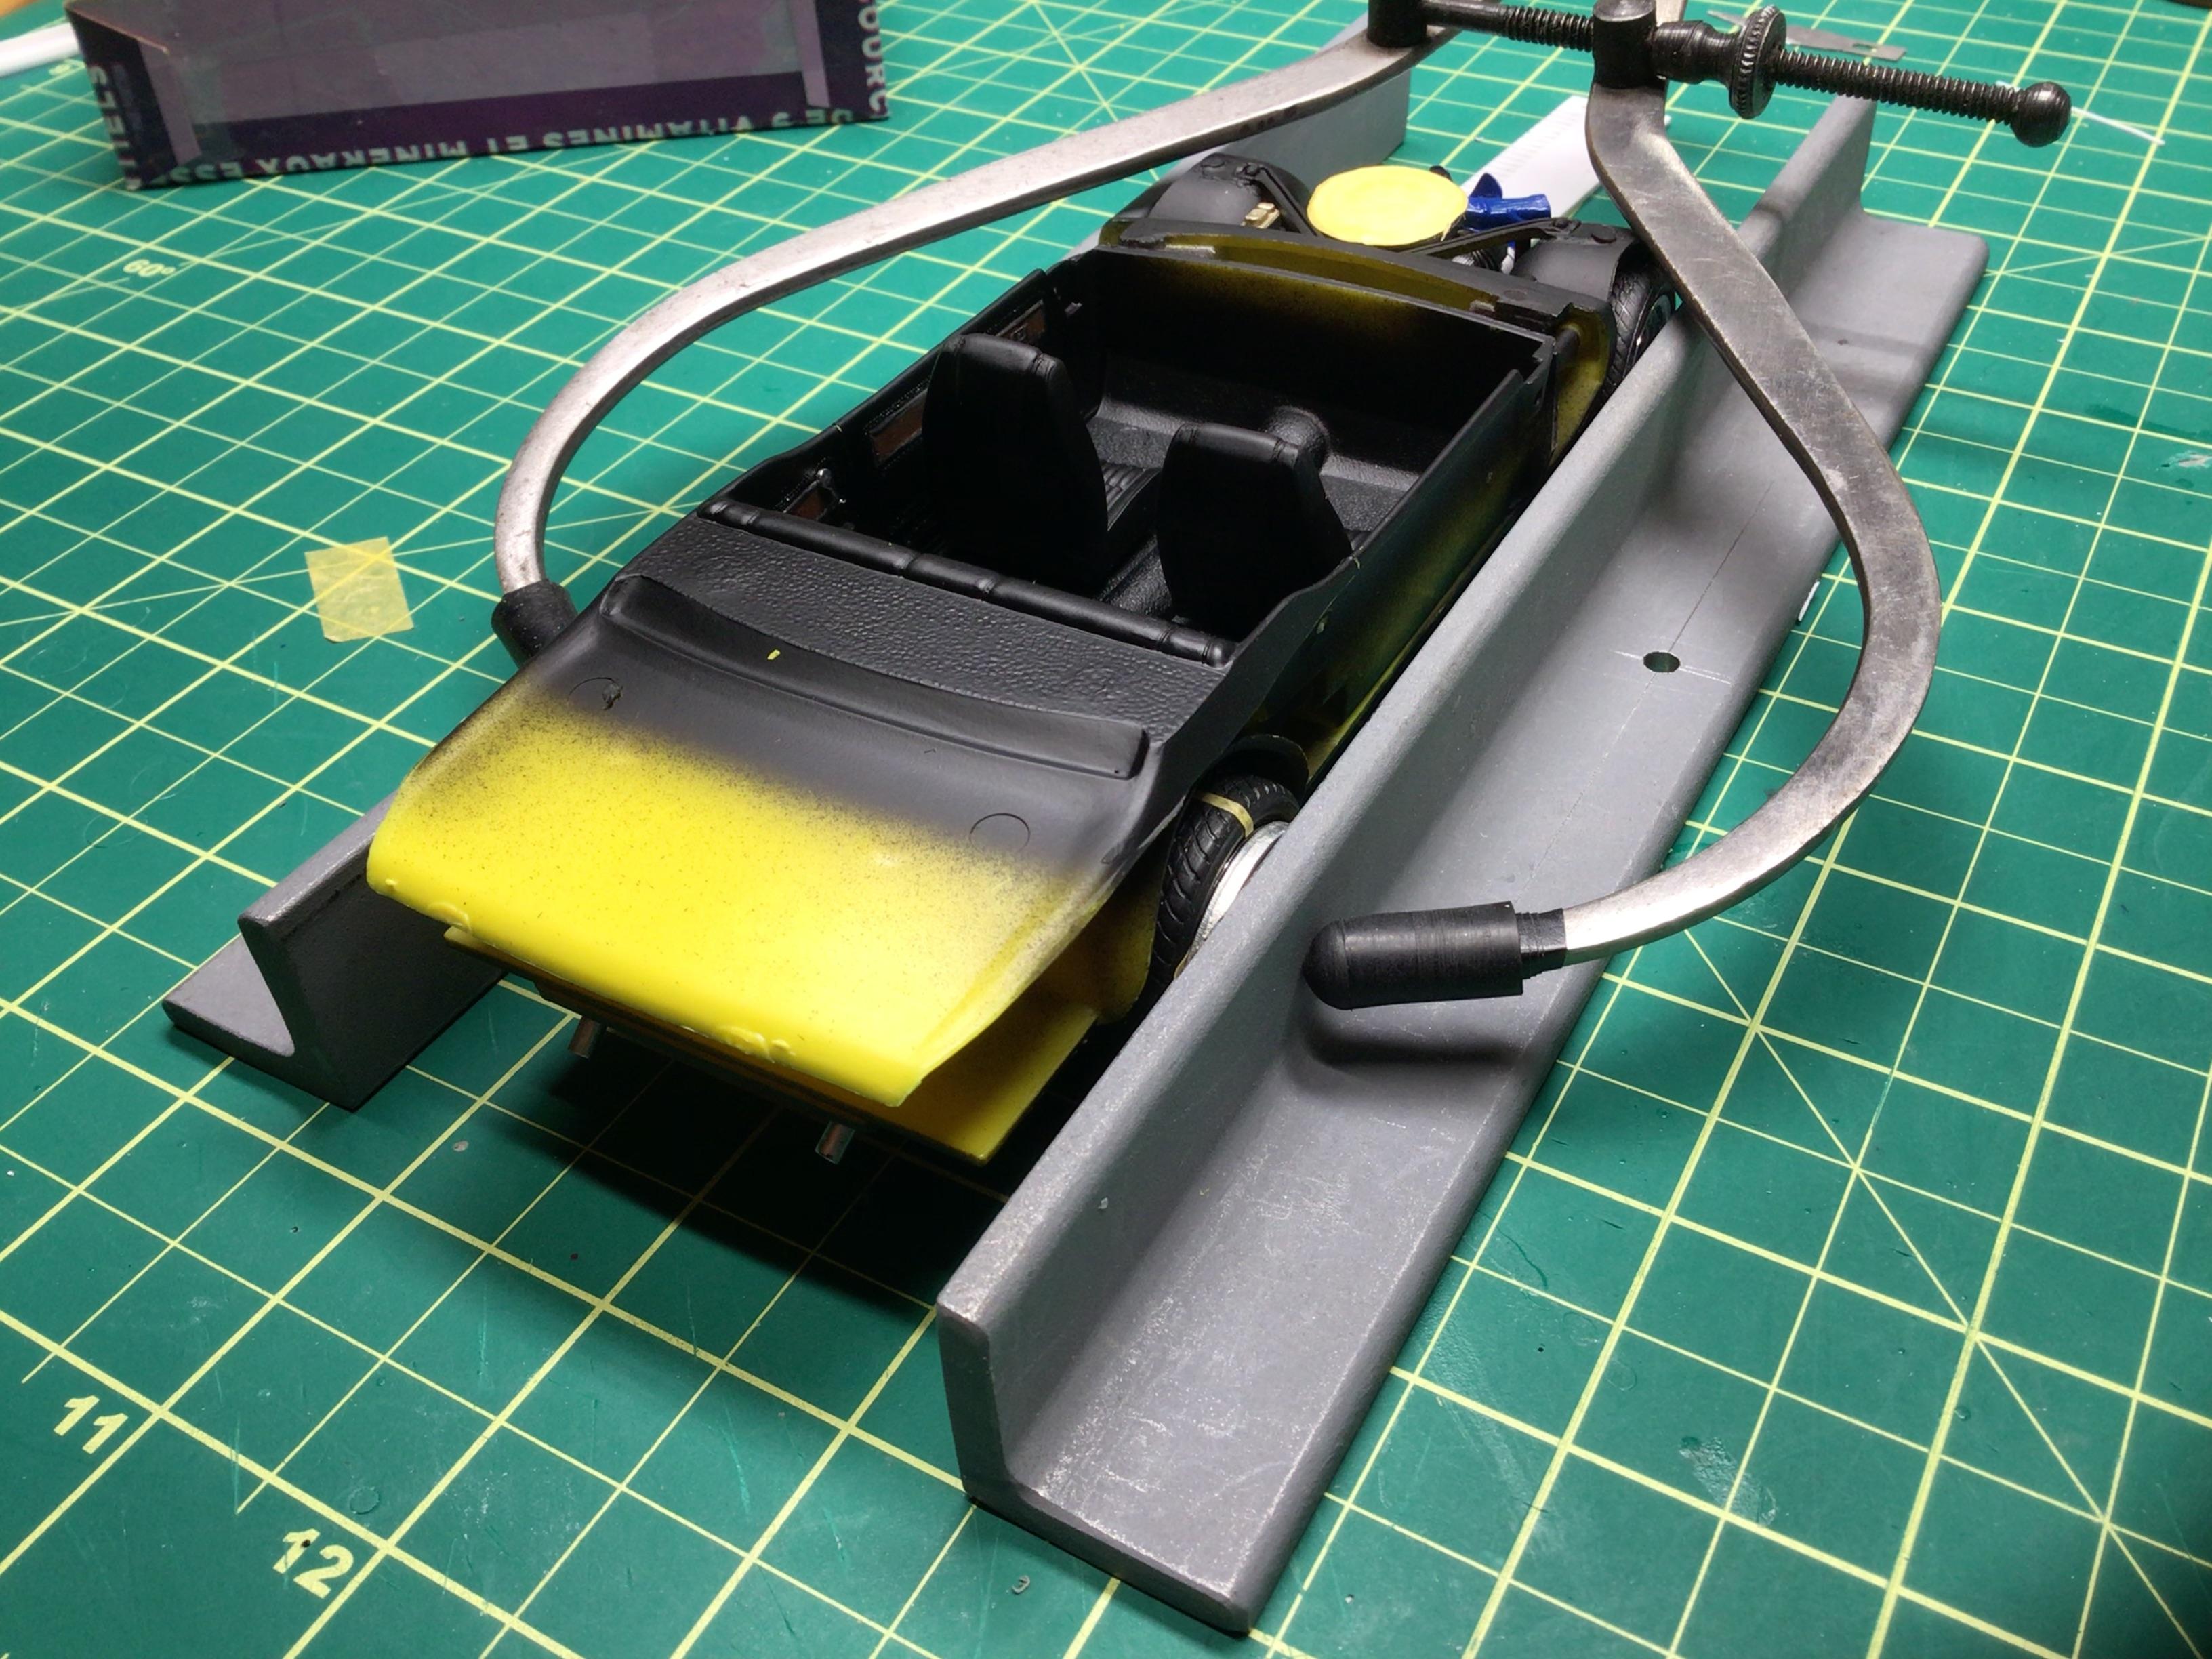
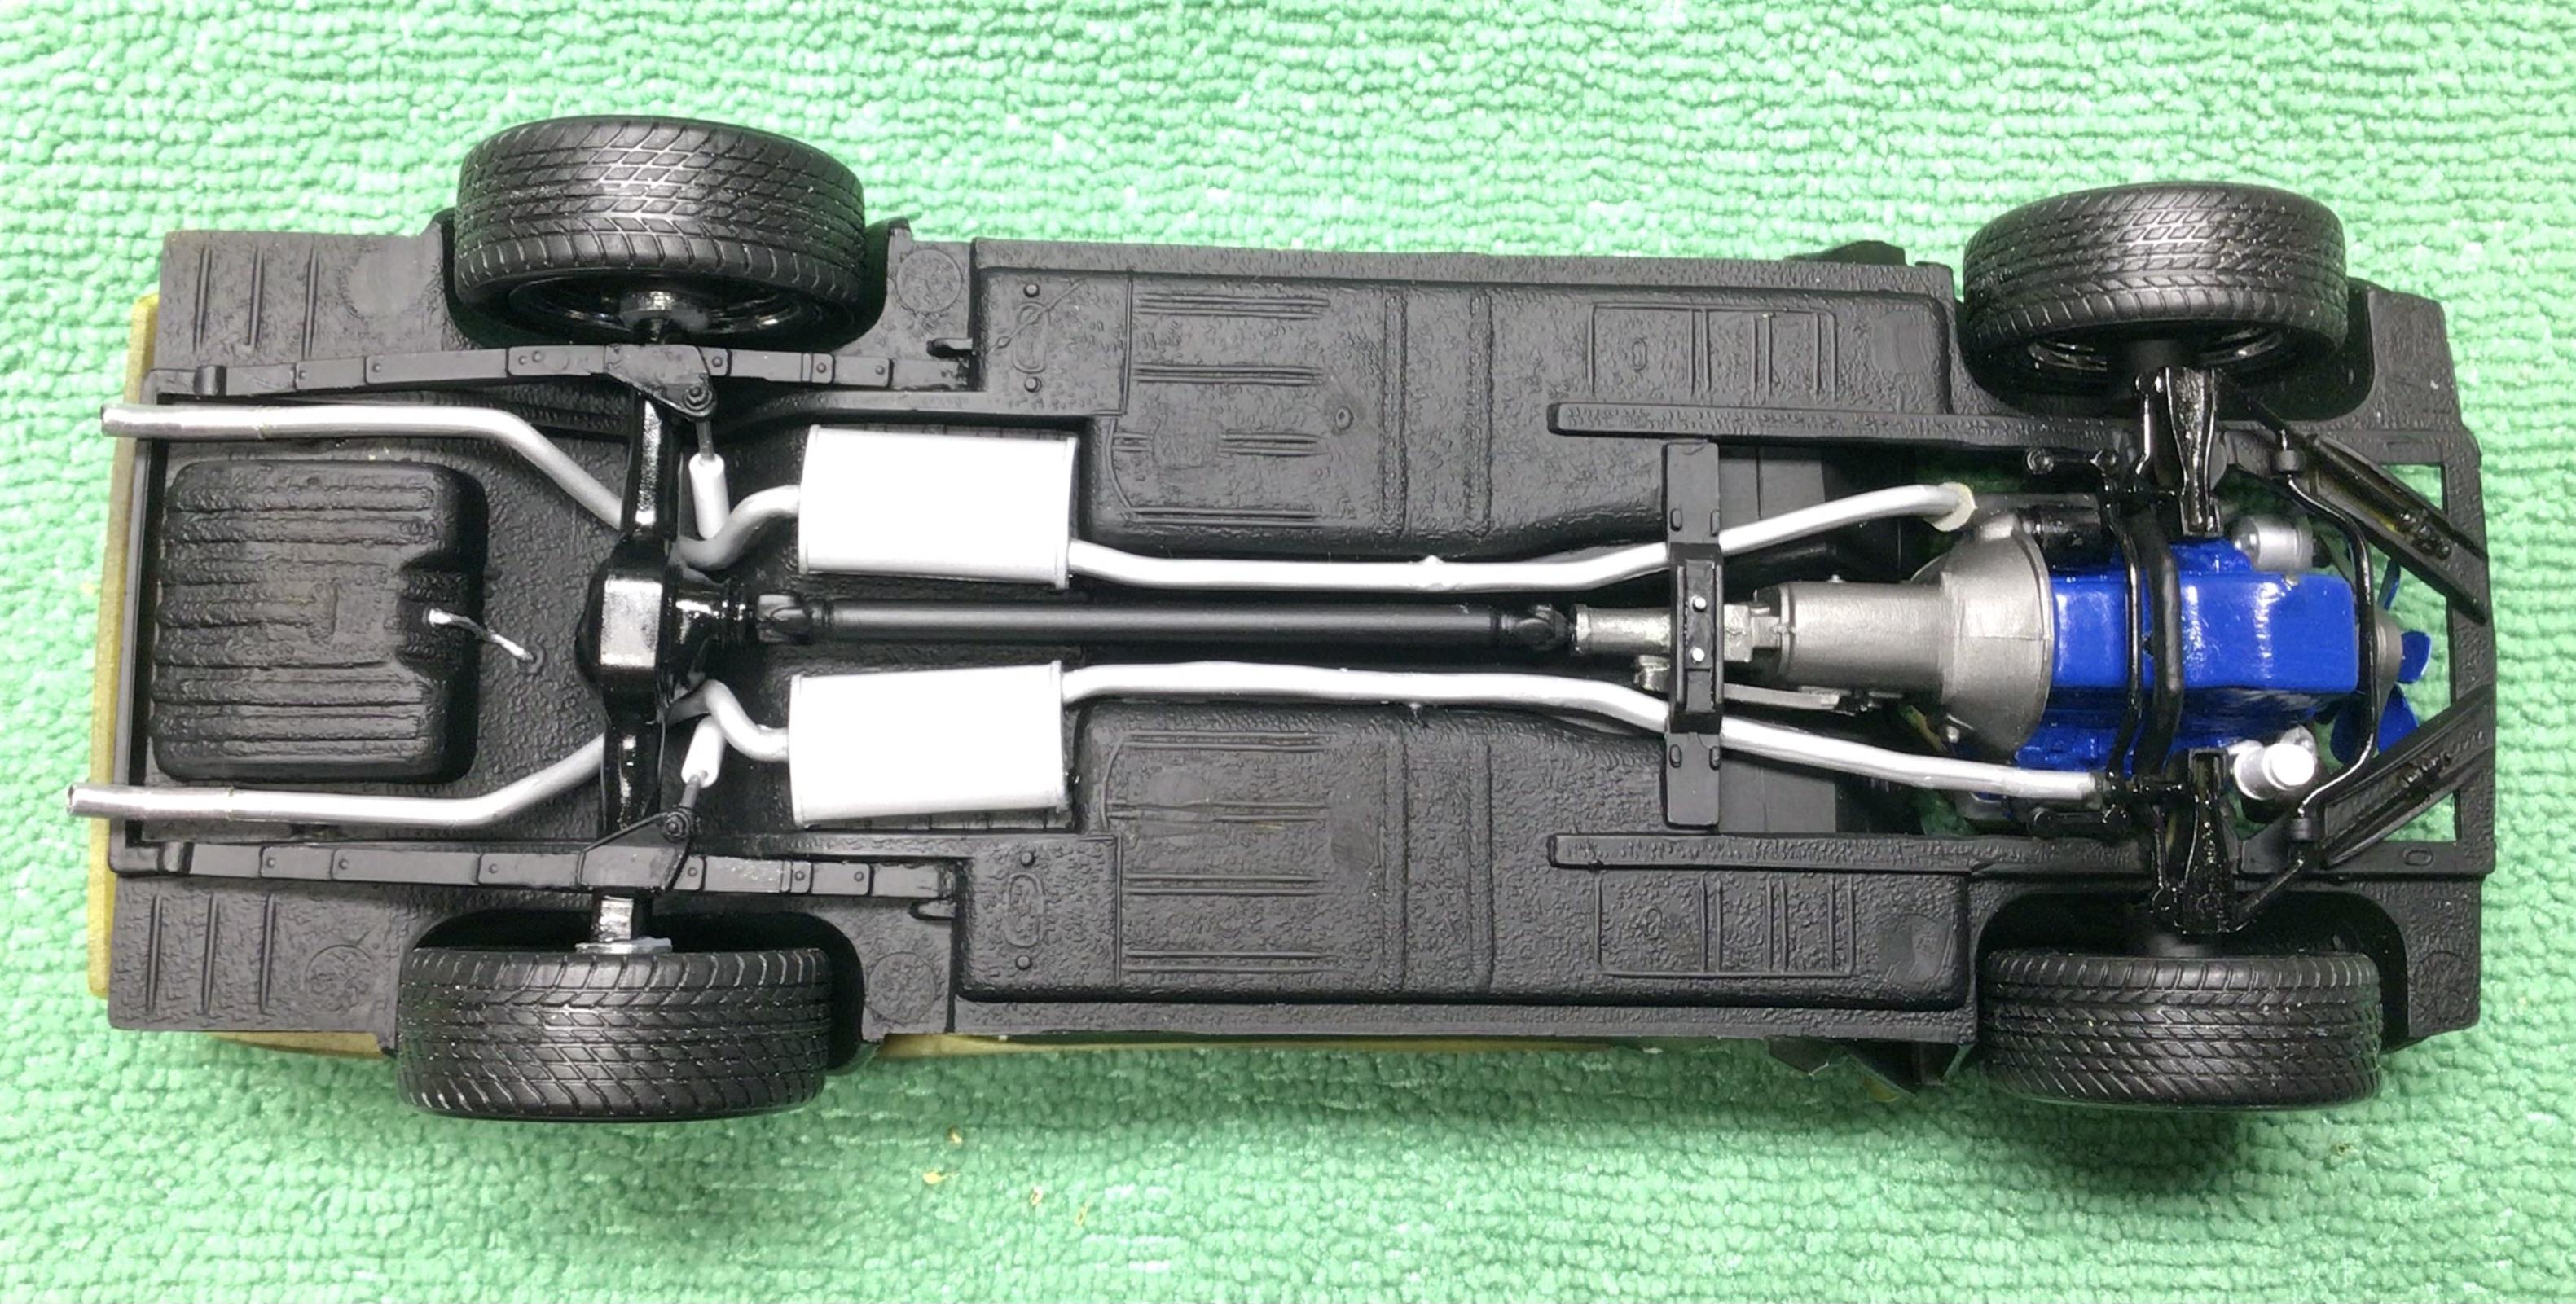
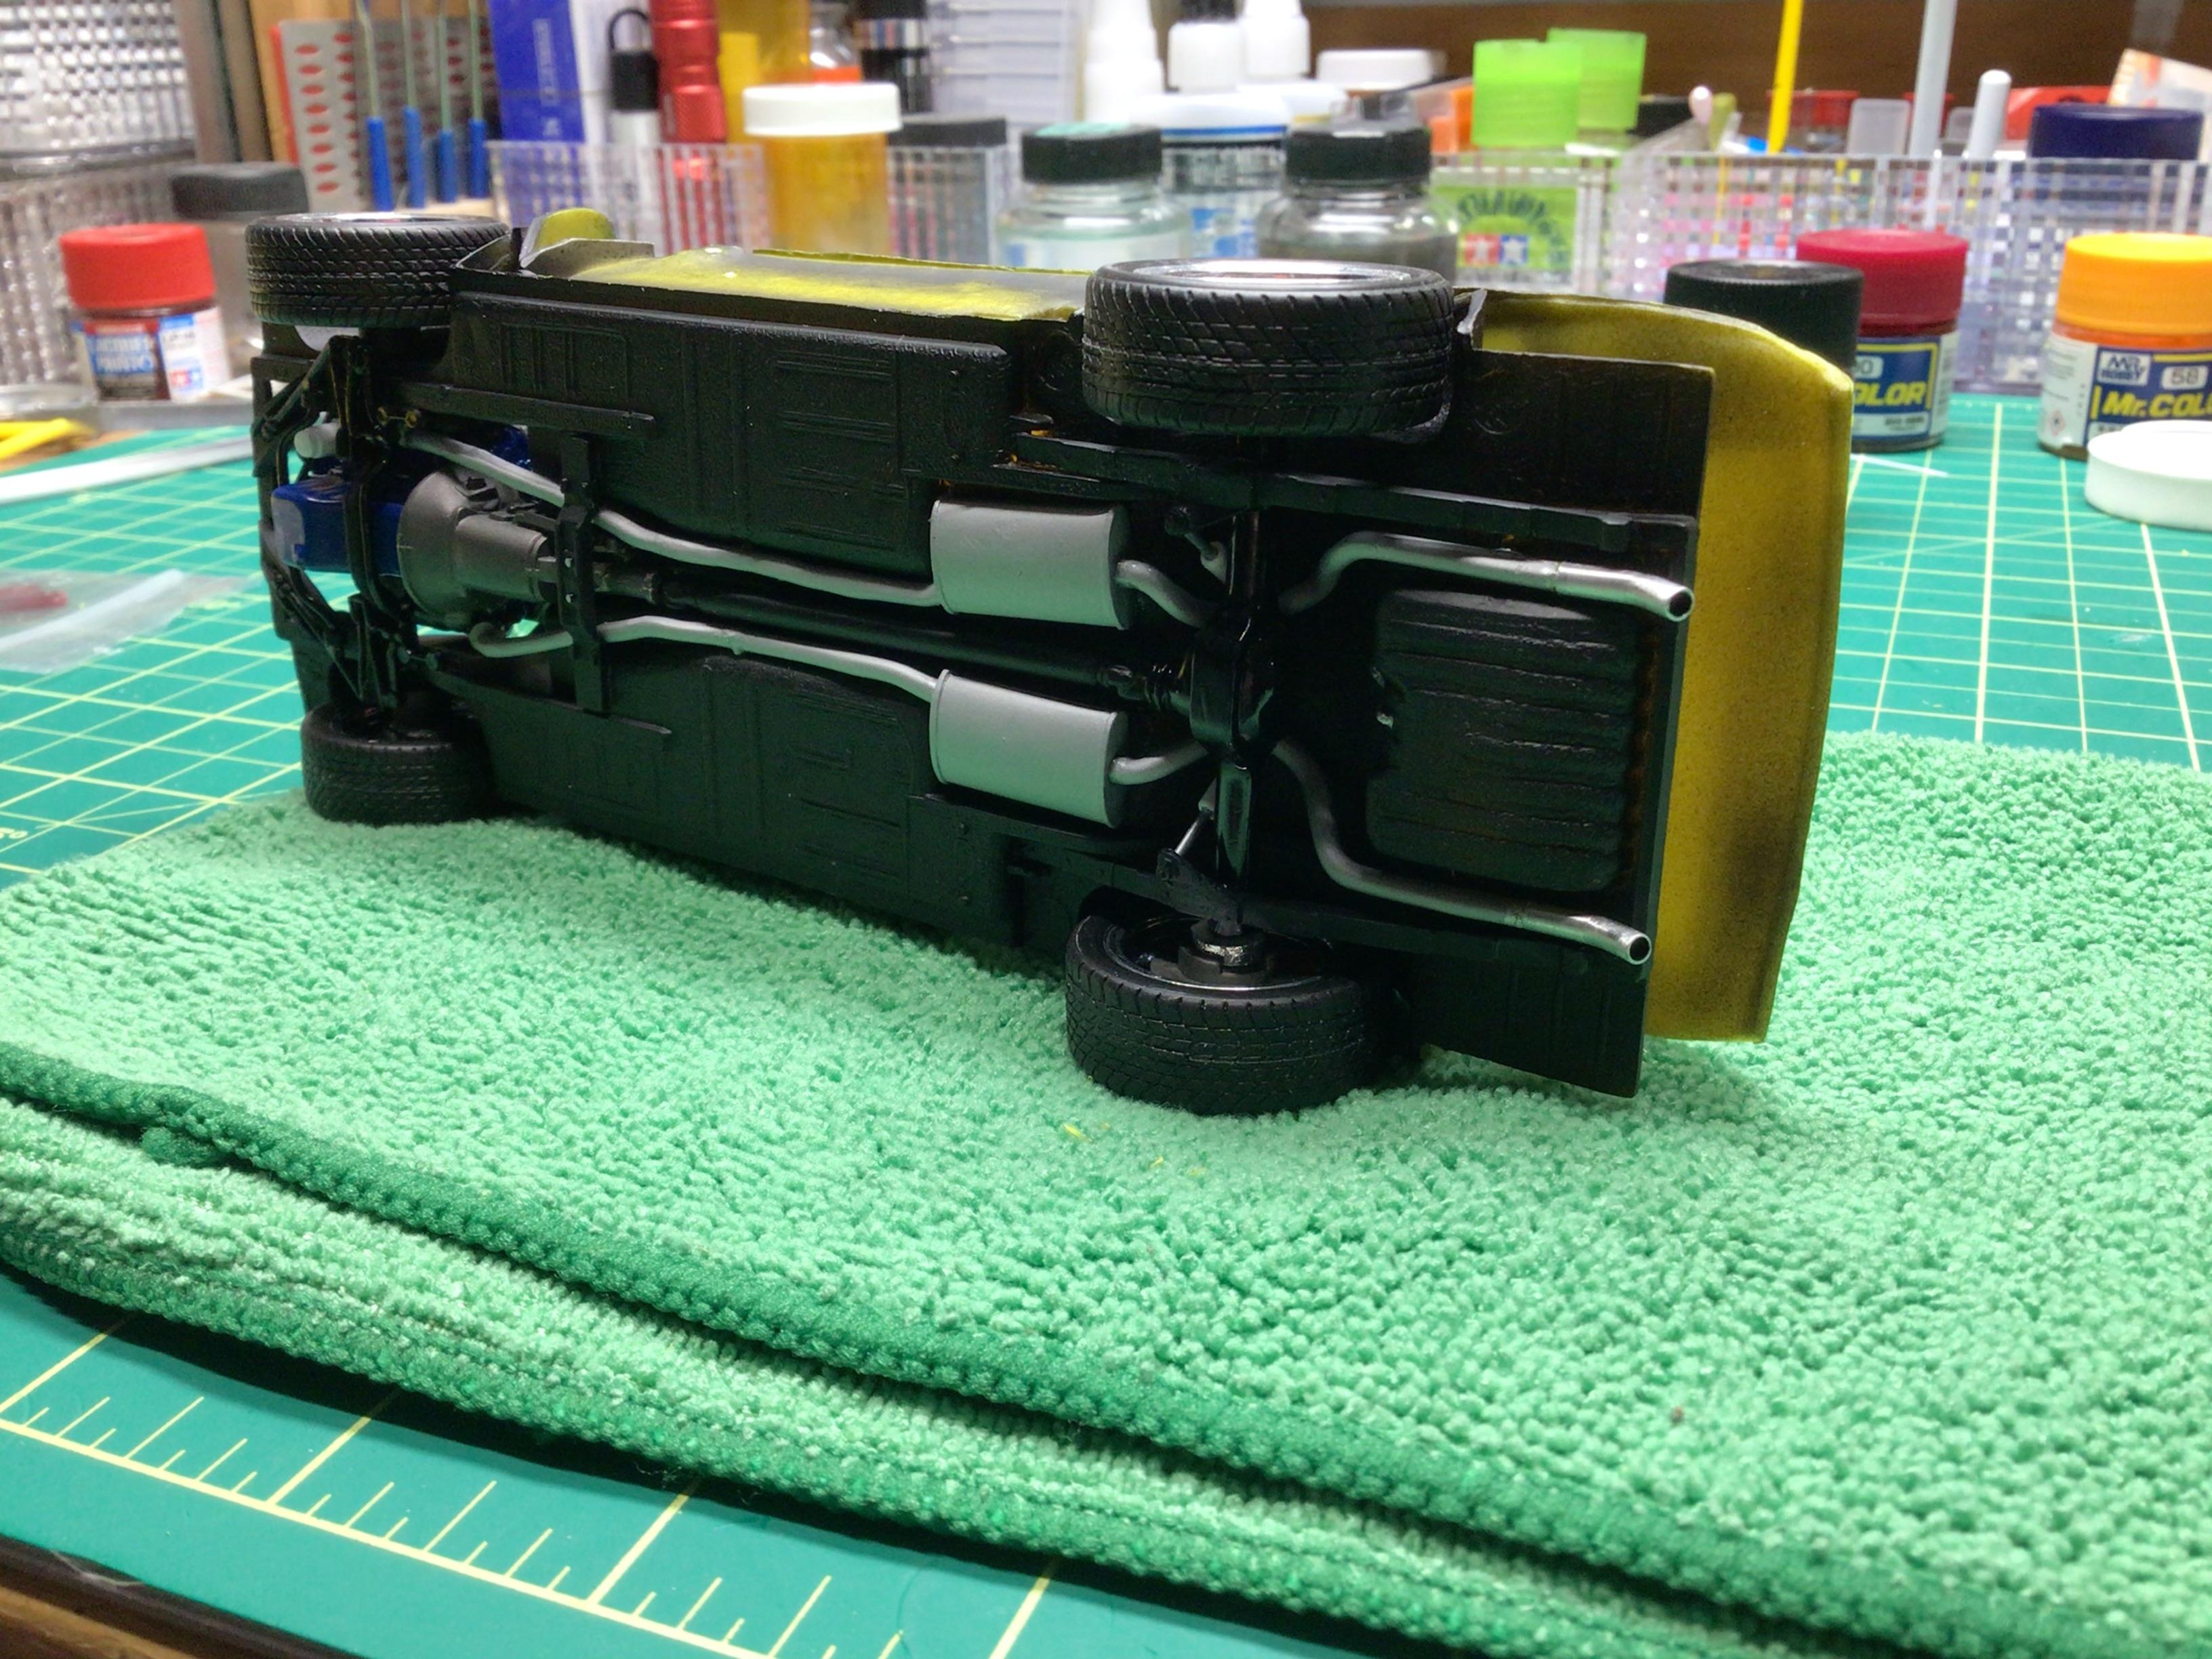
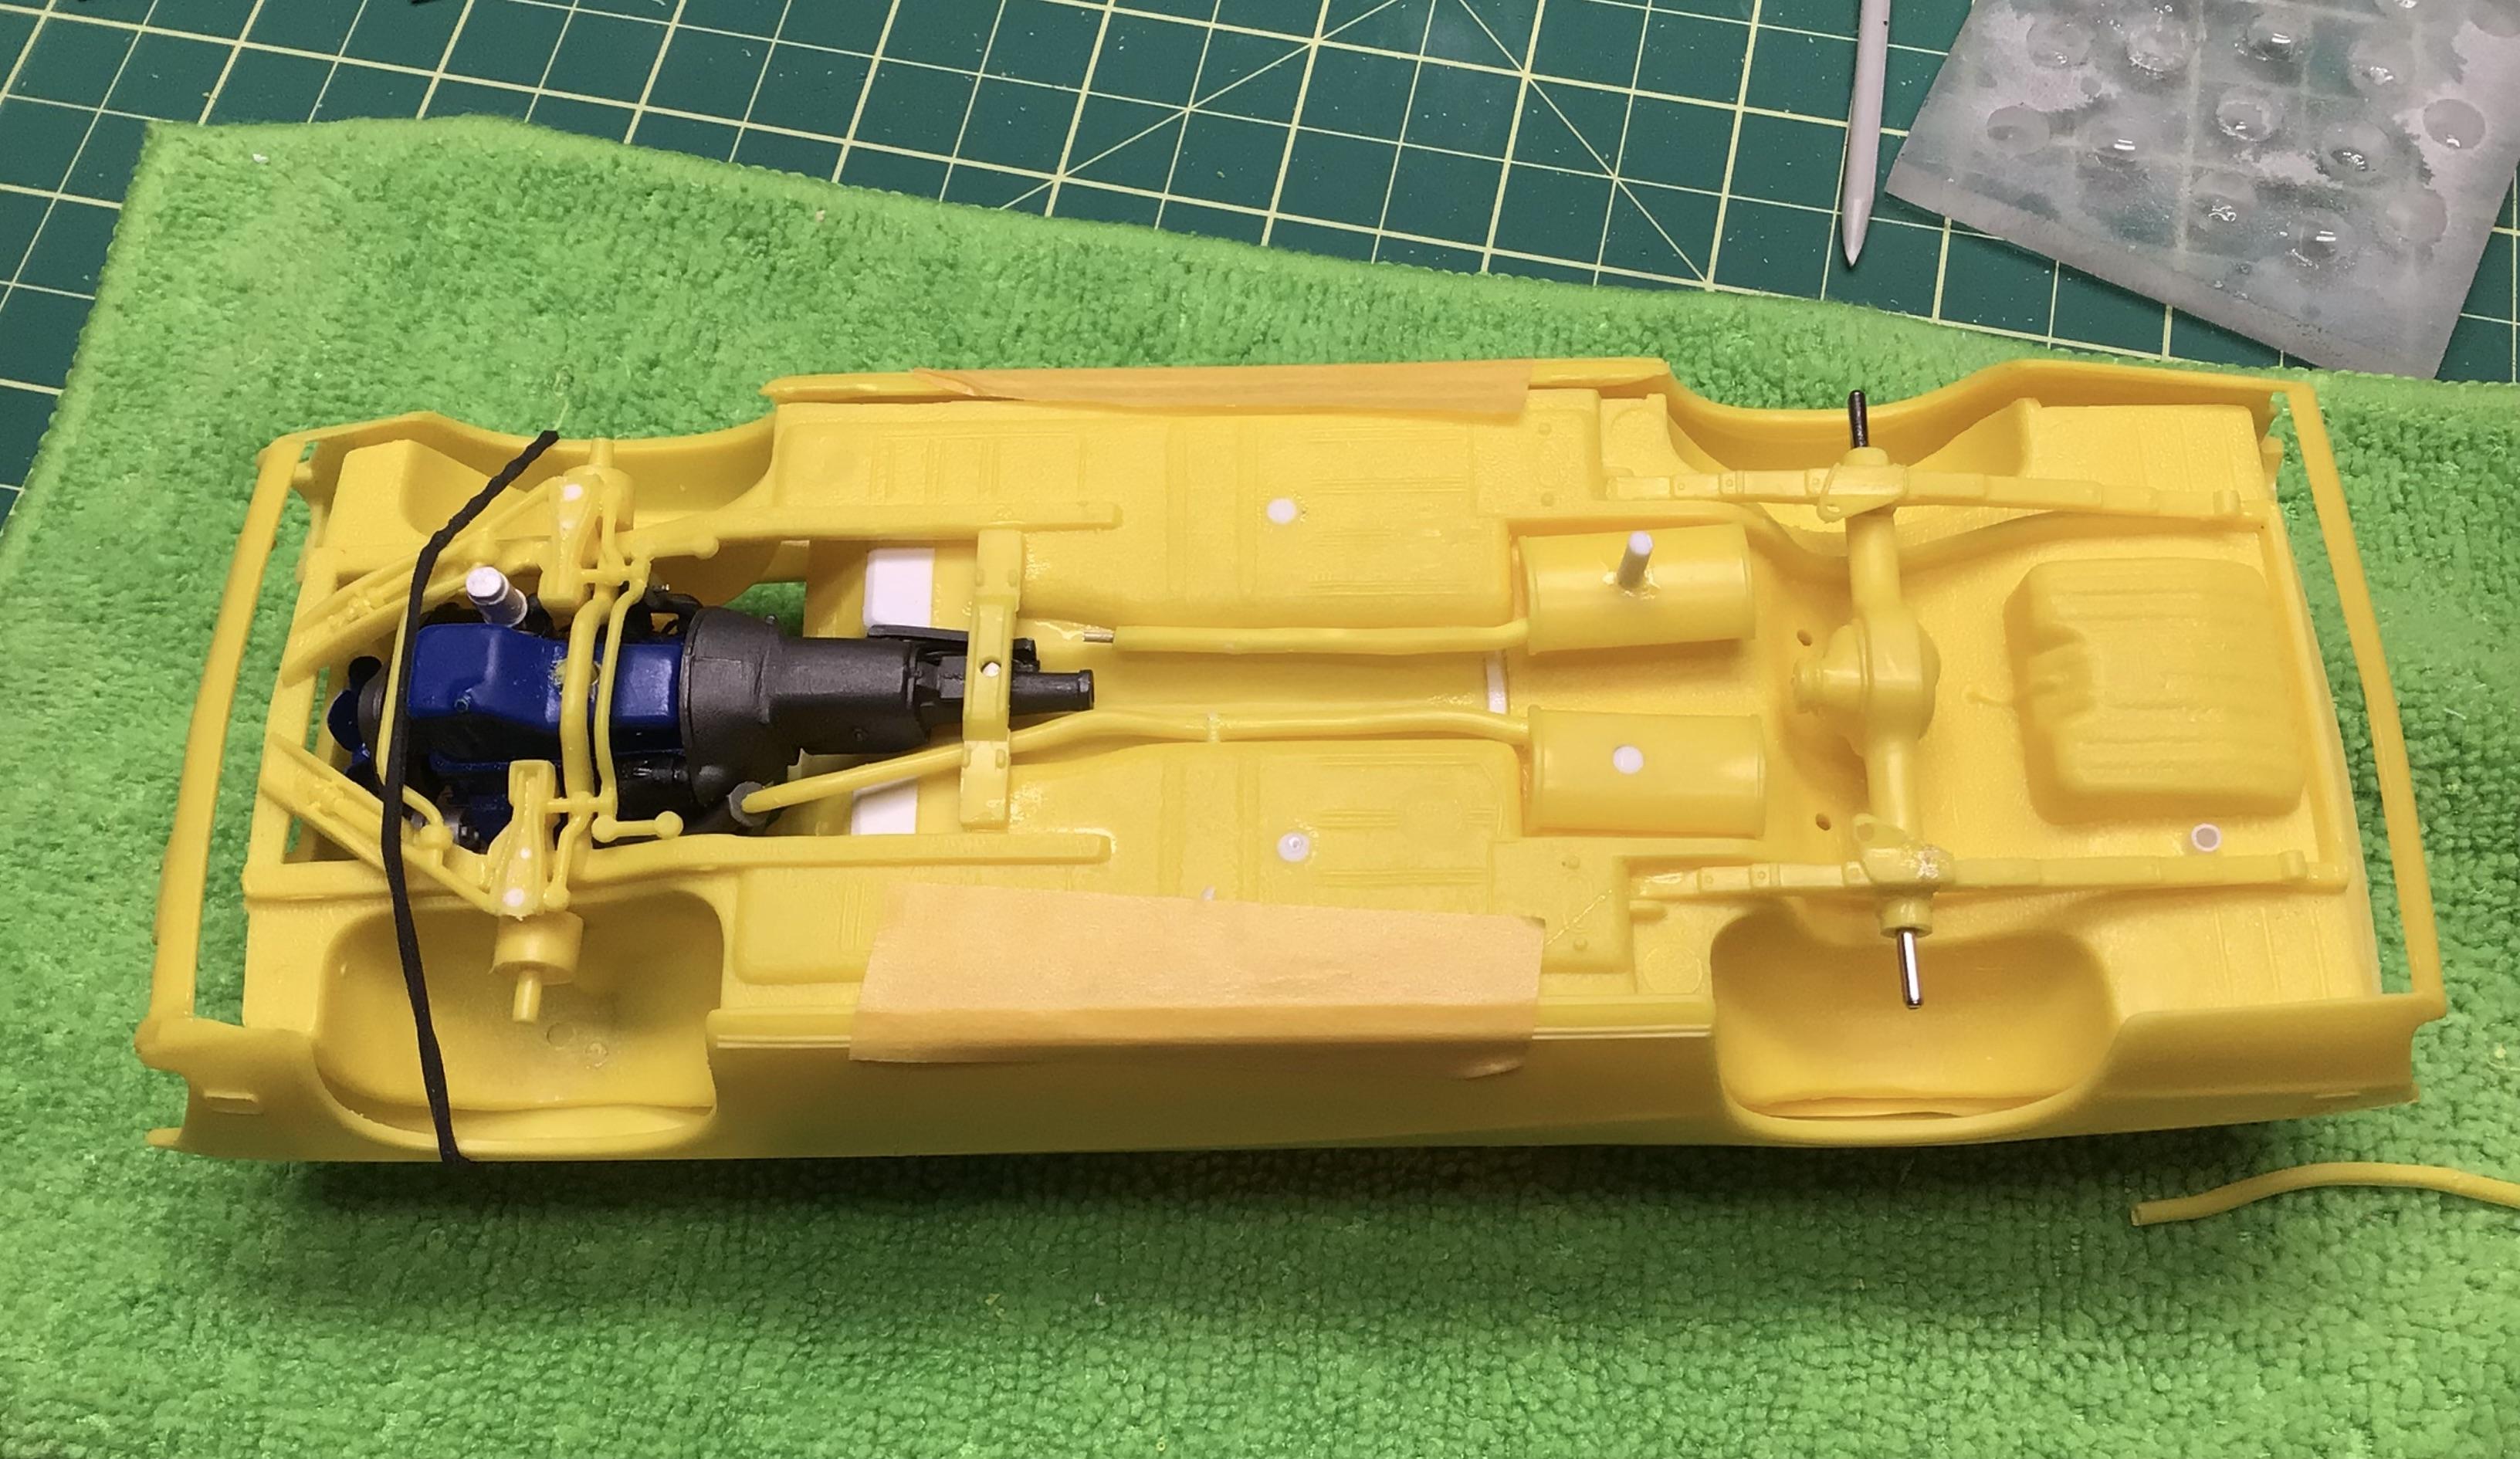
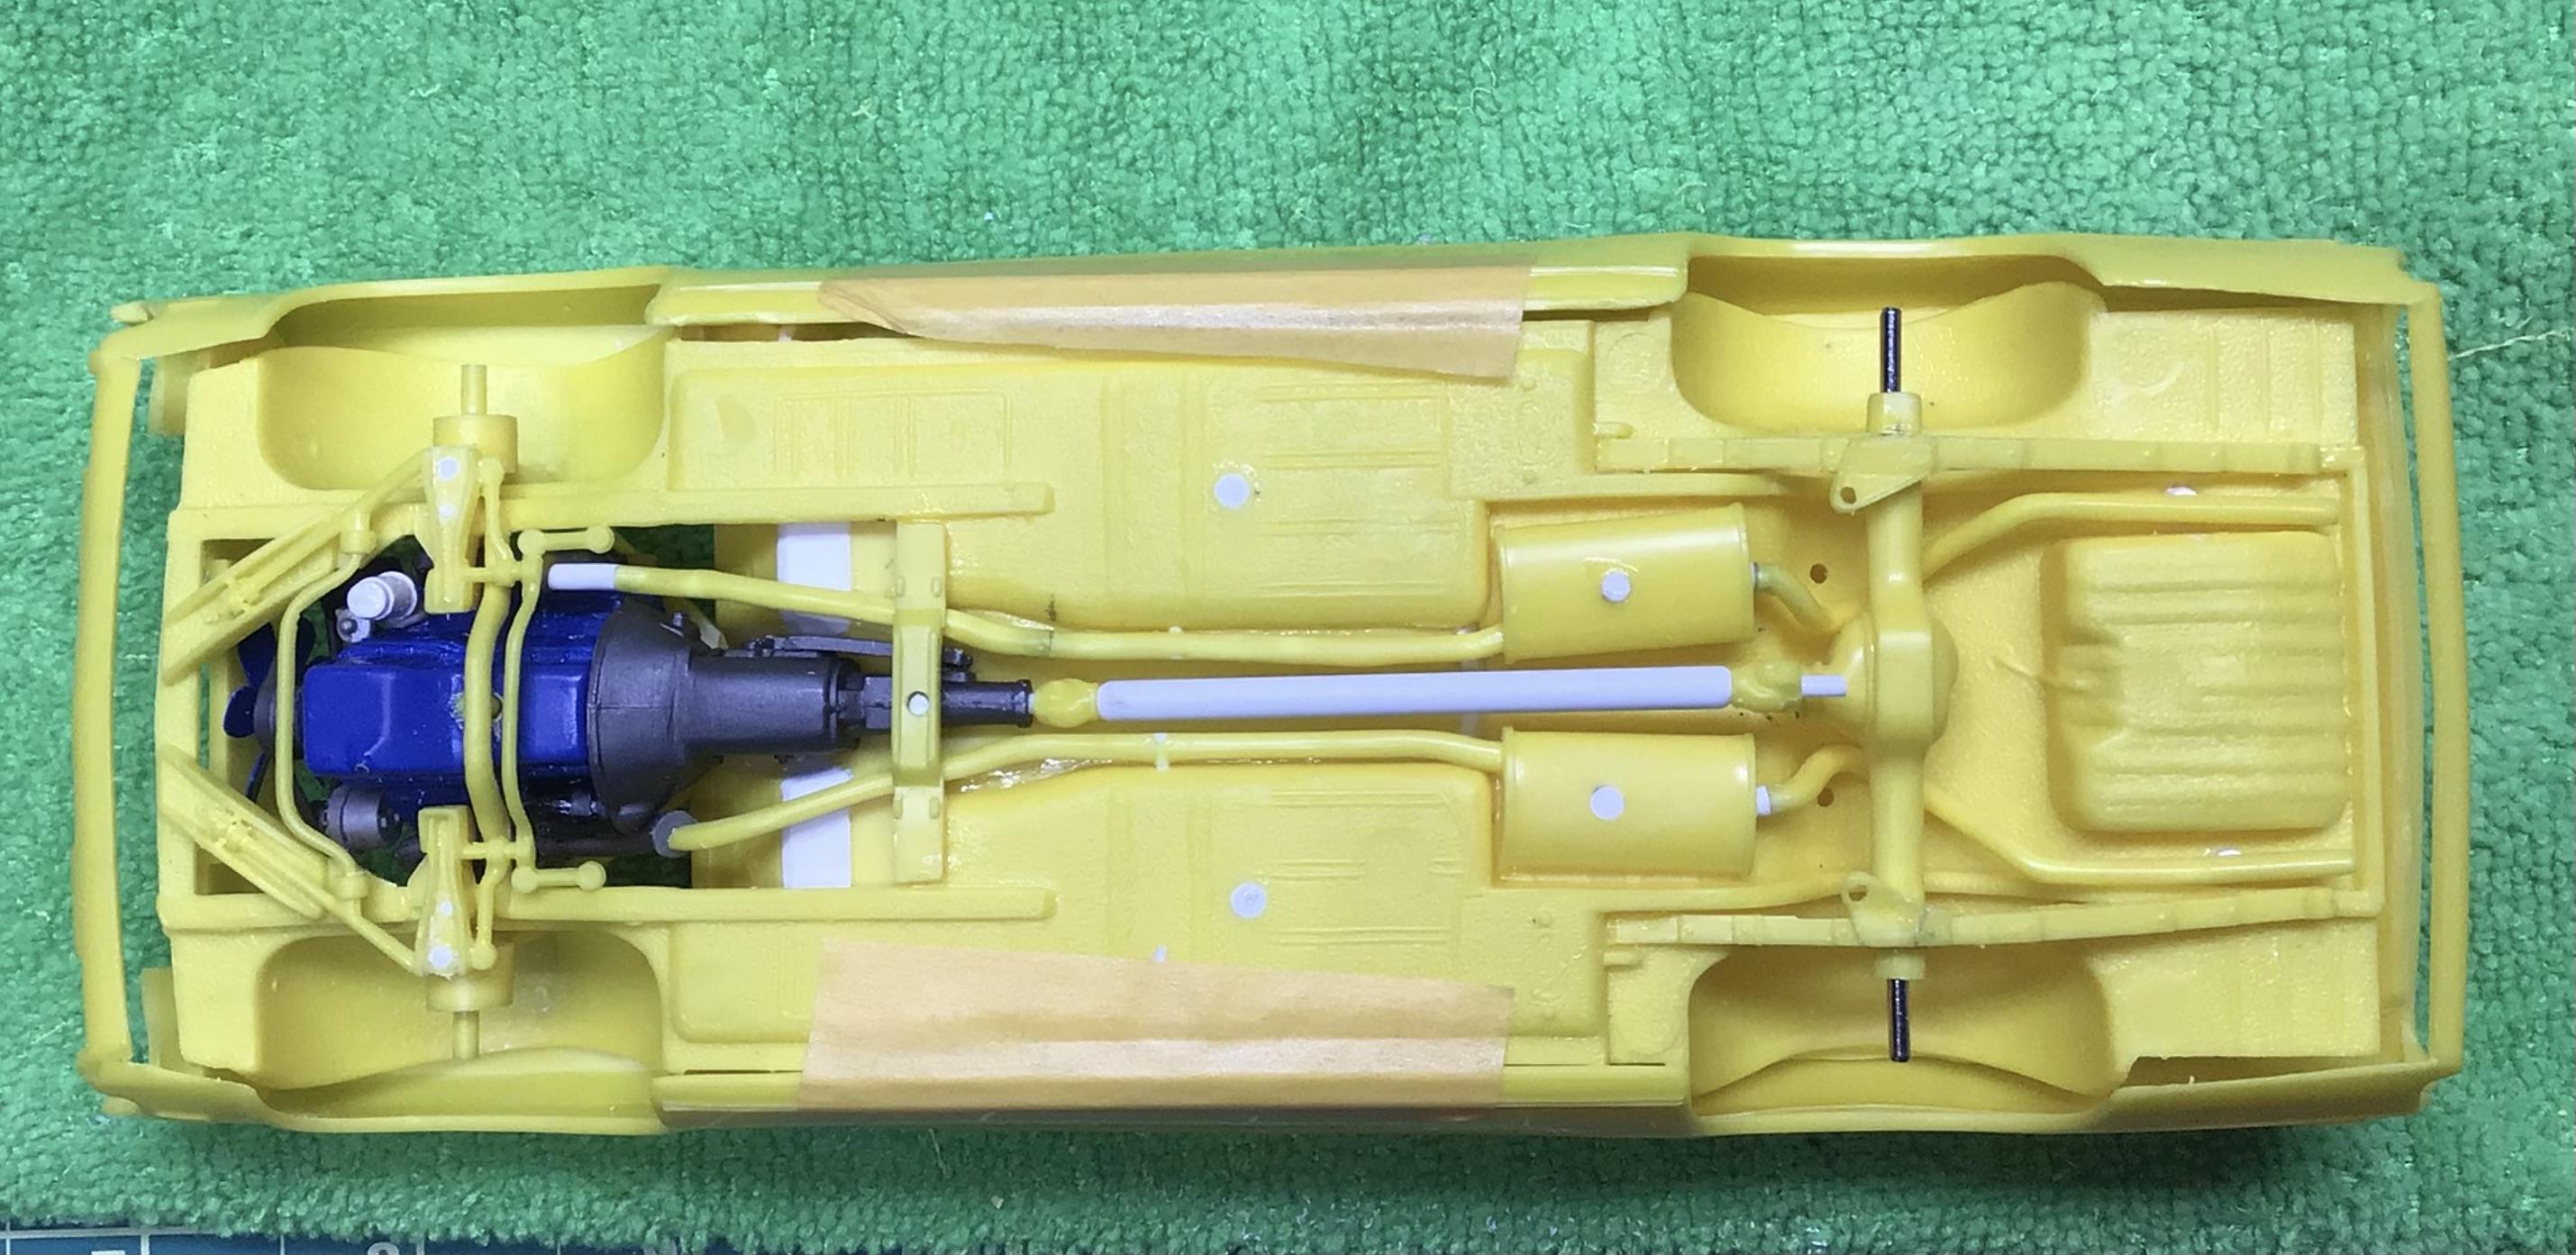
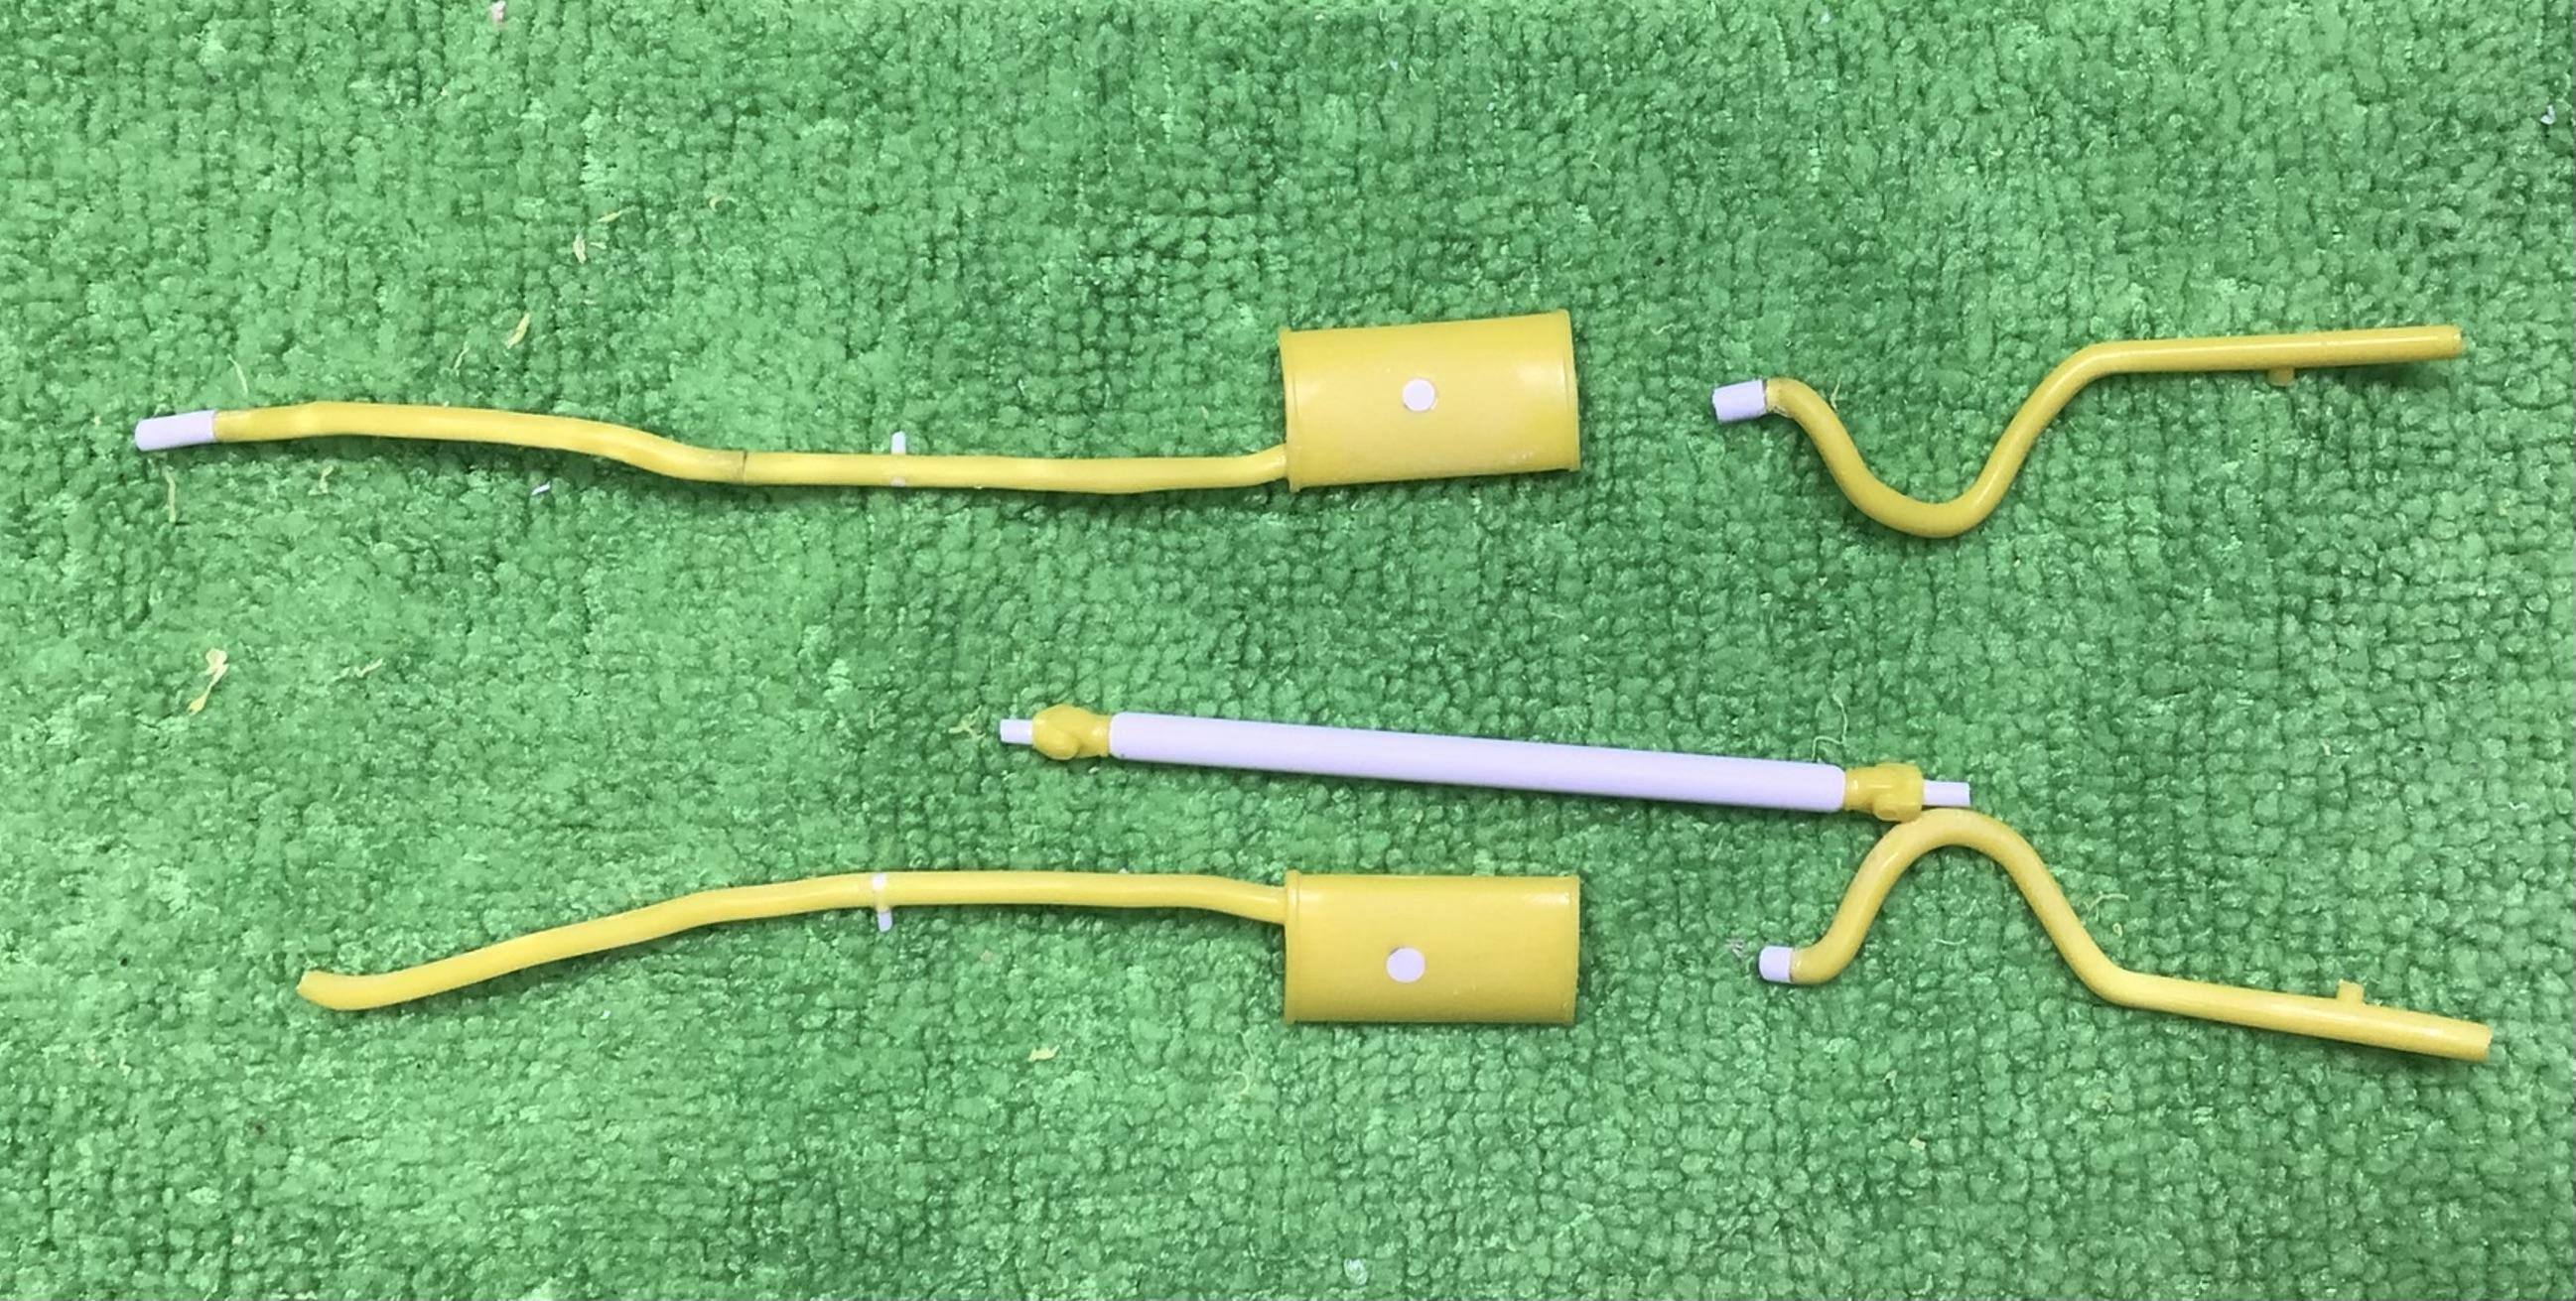
Since I glued the rear suspension in place I had to separate the tailpipes so that I can fish them into place after painting. I lengthened the driveshaft slightly also.