NOBLNG
-
Posts
10,231 -
Joined
-
Last visited
Content Type
Profiles
Forums
Events
Gallery
Everything posted by NOBLNG
-
The body is looking nice David.👍 Will the starter fit where the bell housing lump is? If so it should be simple to lop off the engine mount and fill the hole in the oil pan. You gotta do that anyway or it’s gonna leak.😬
-
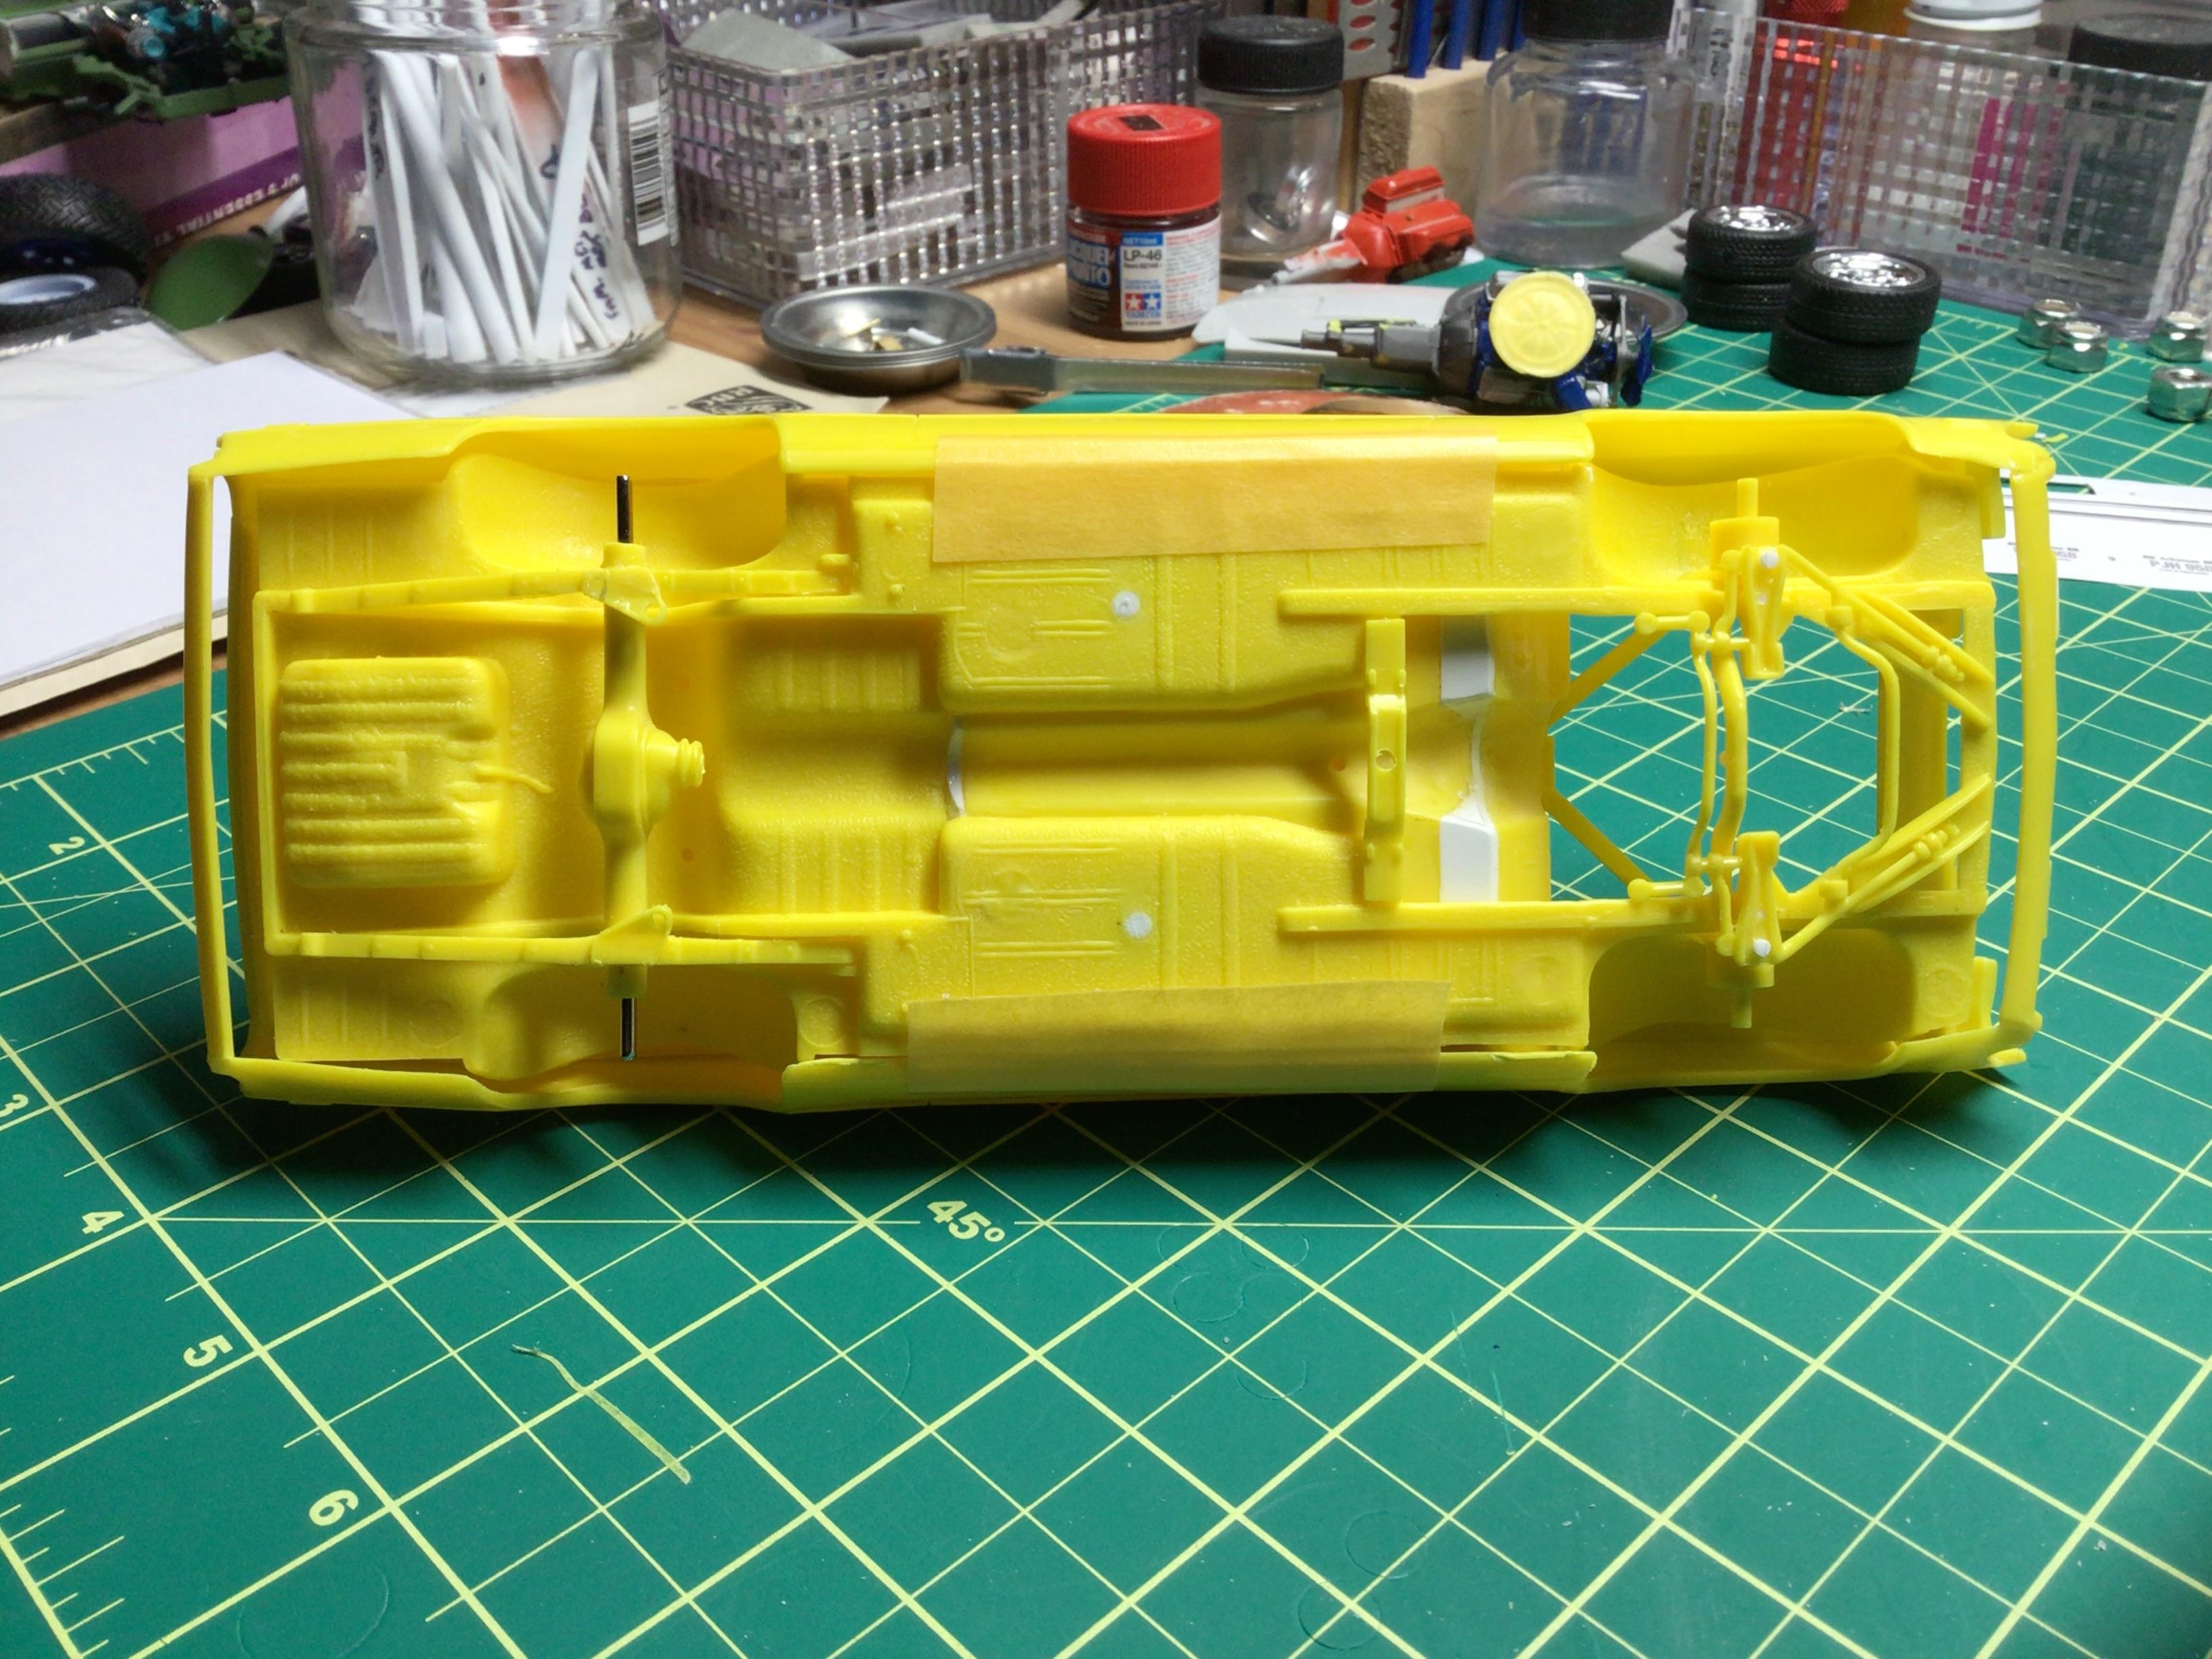
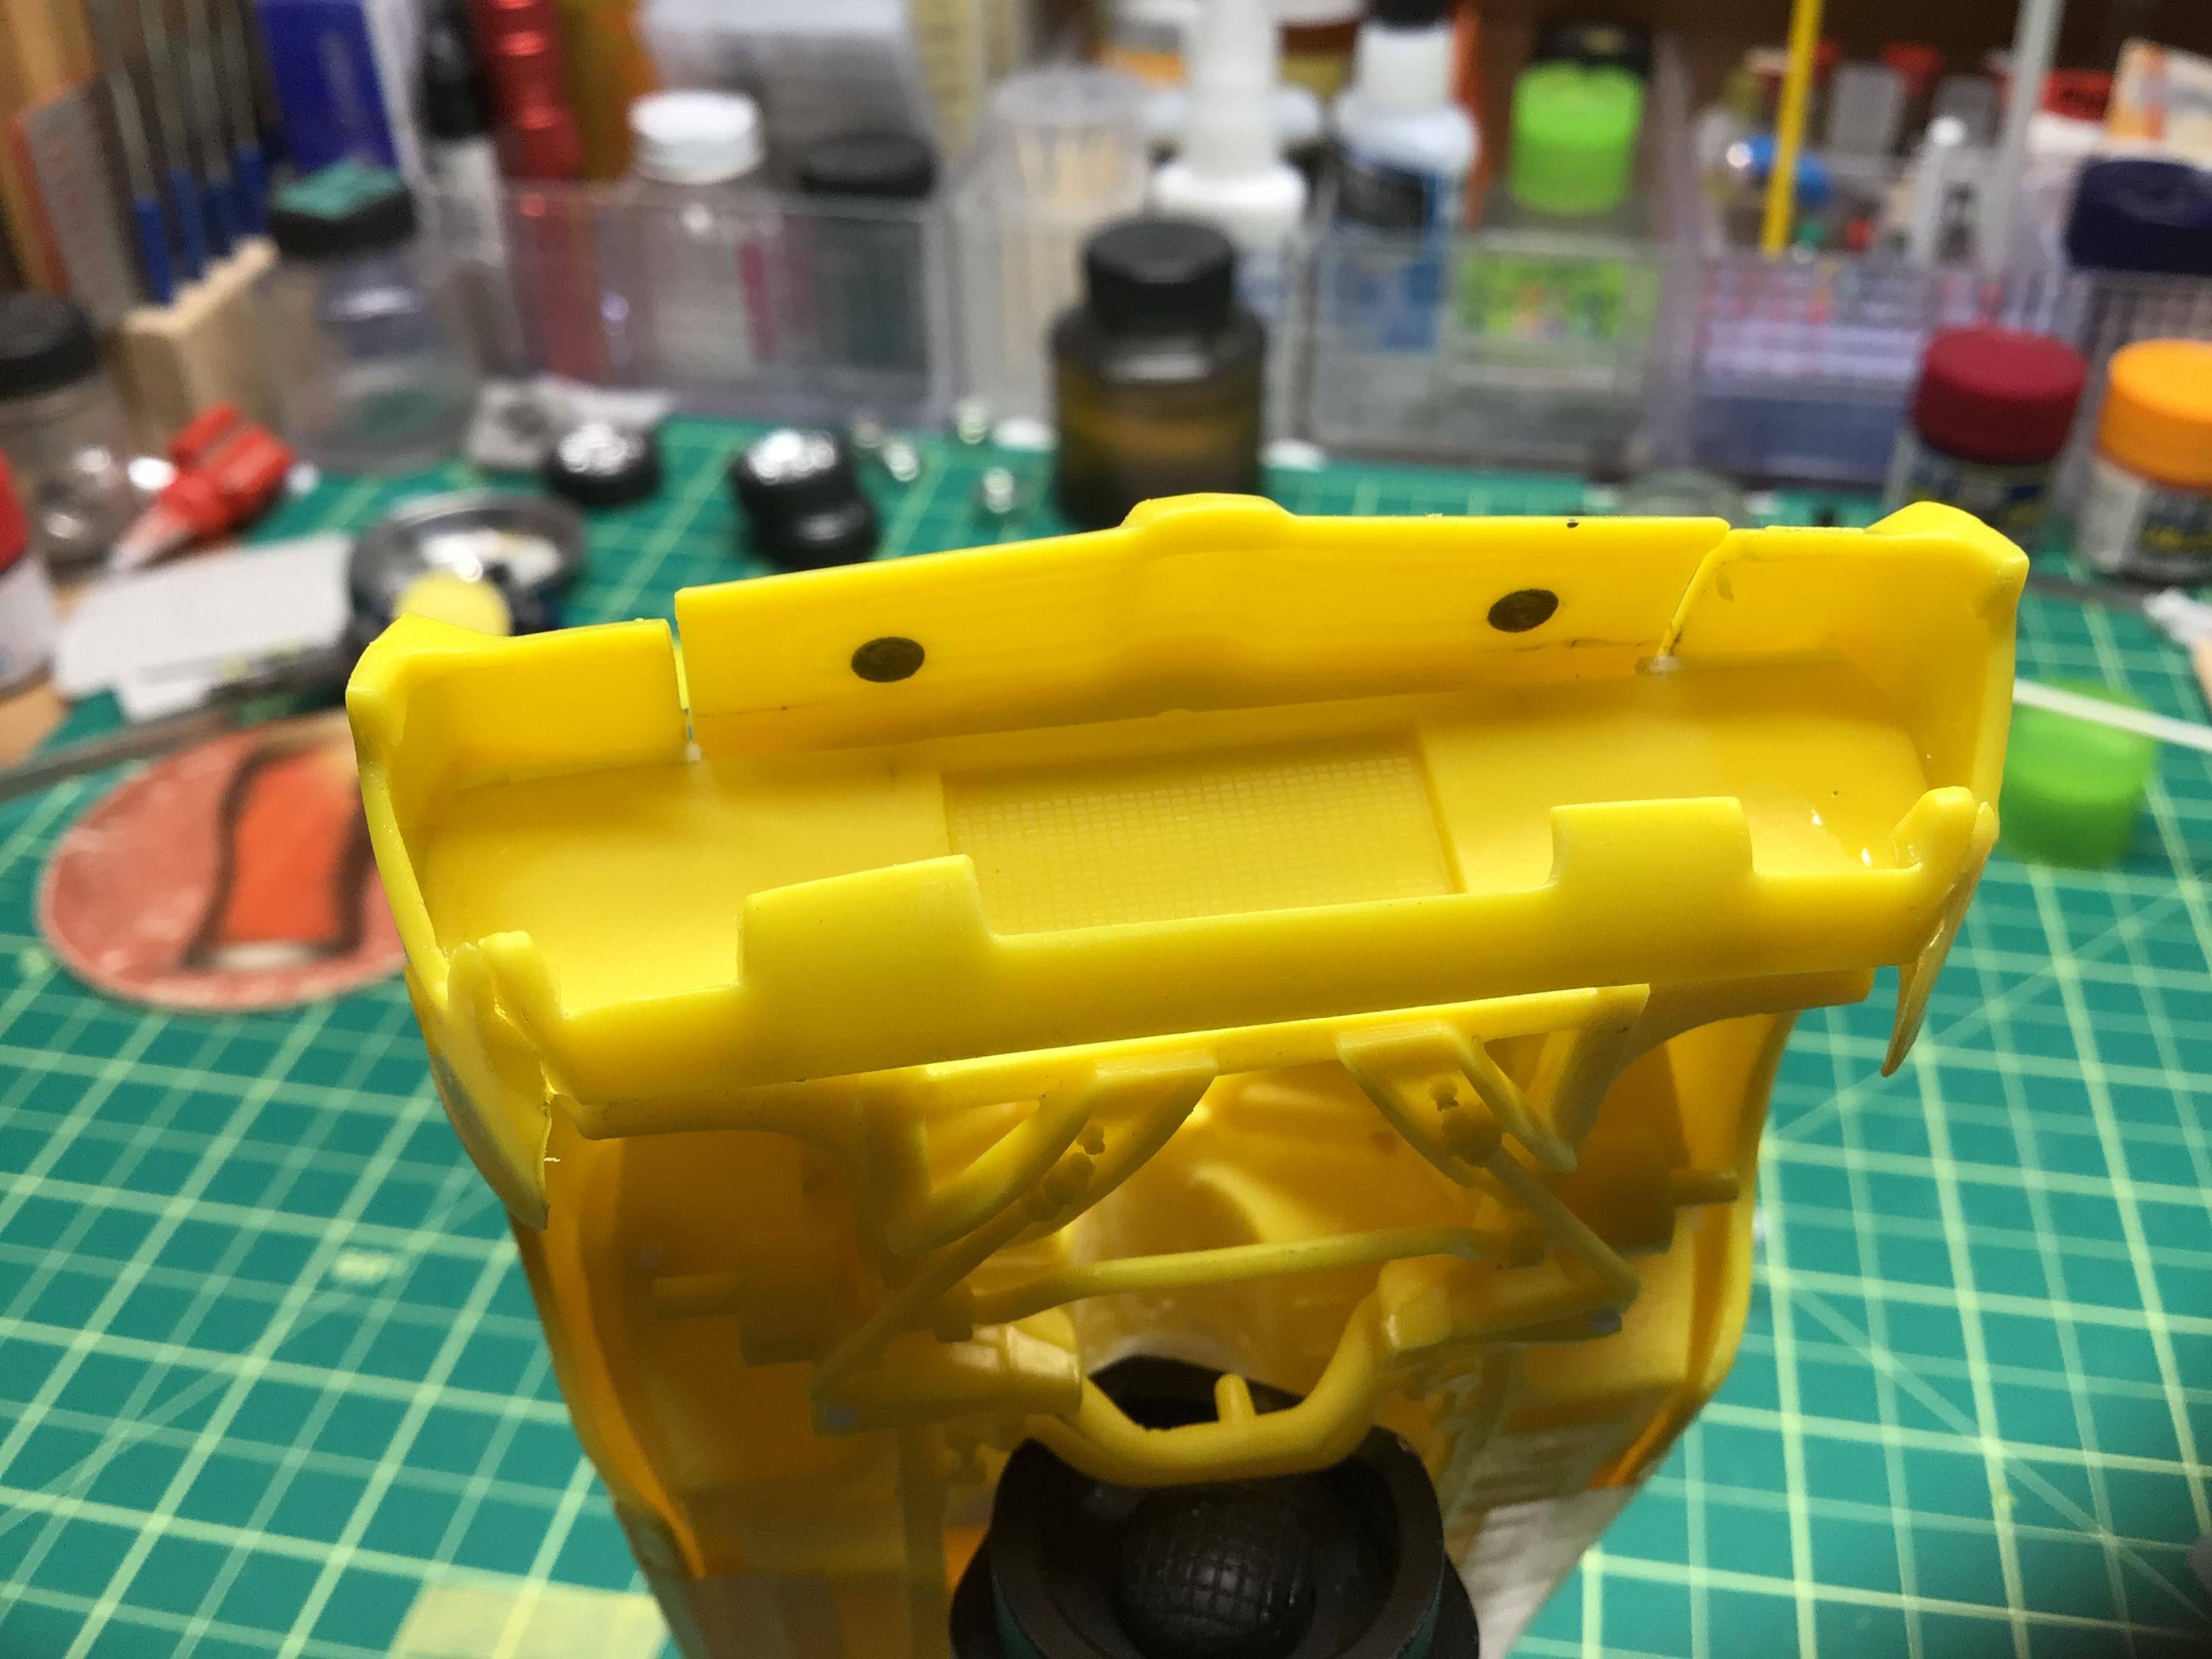
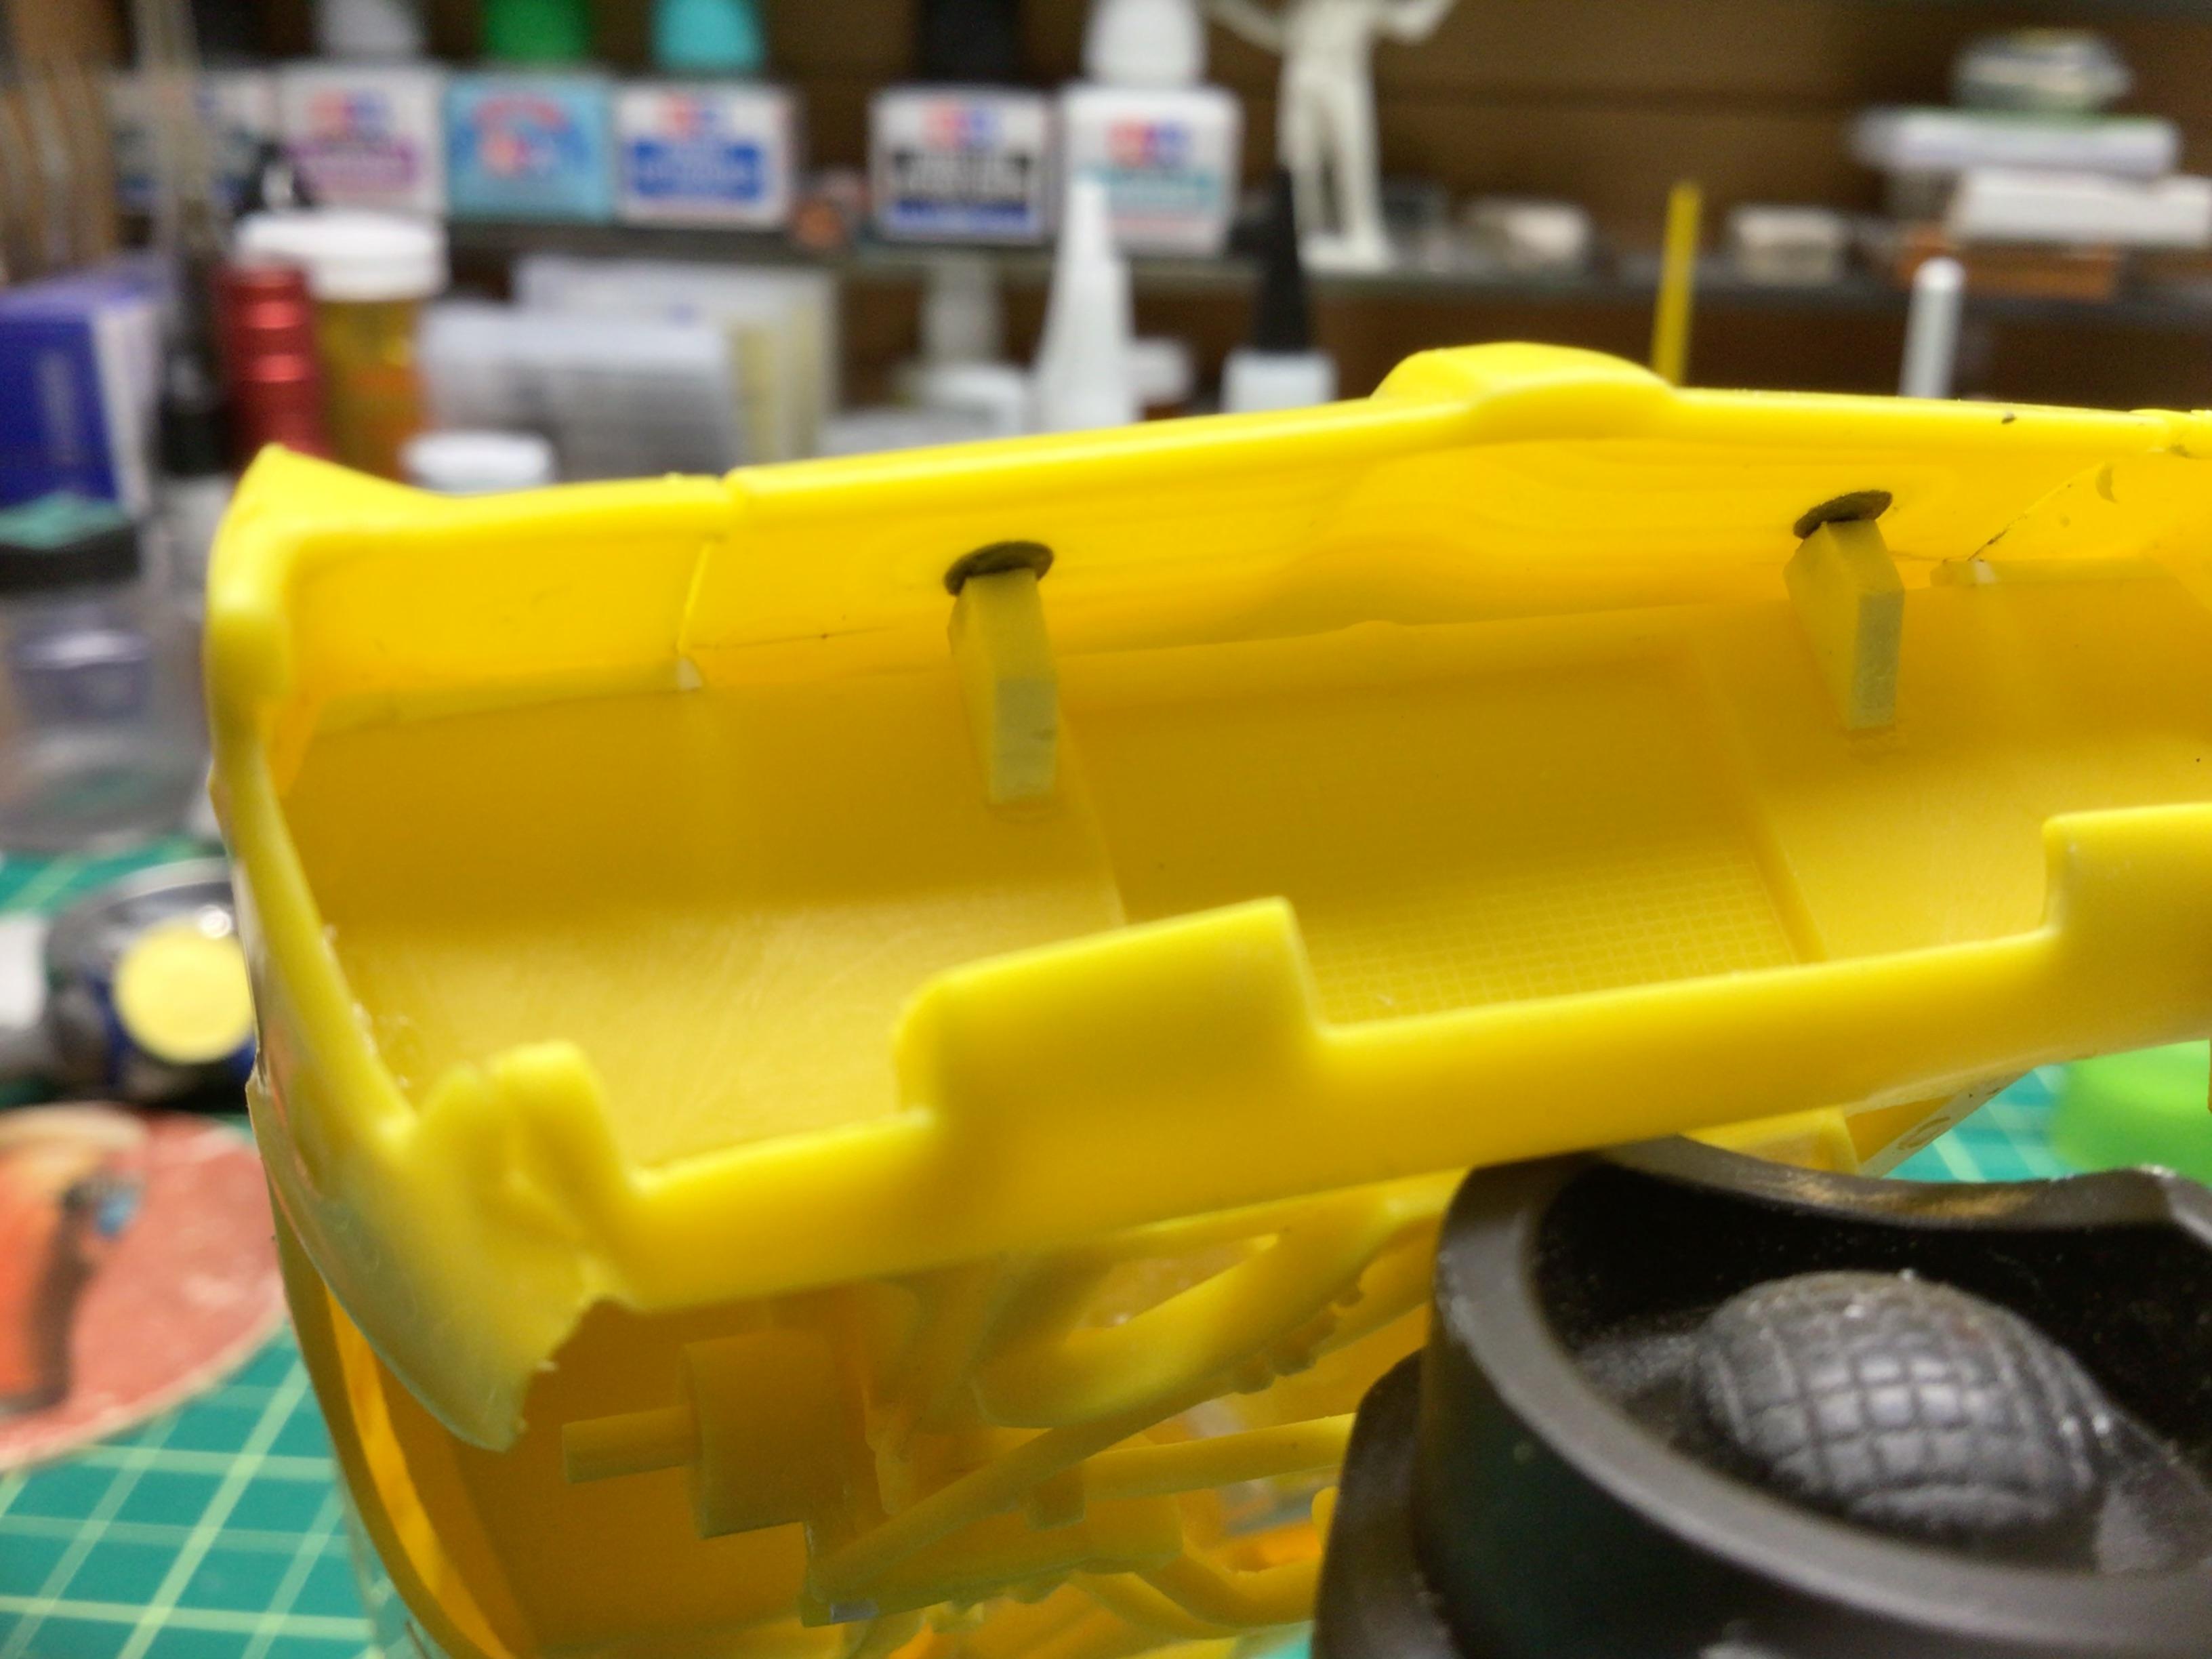
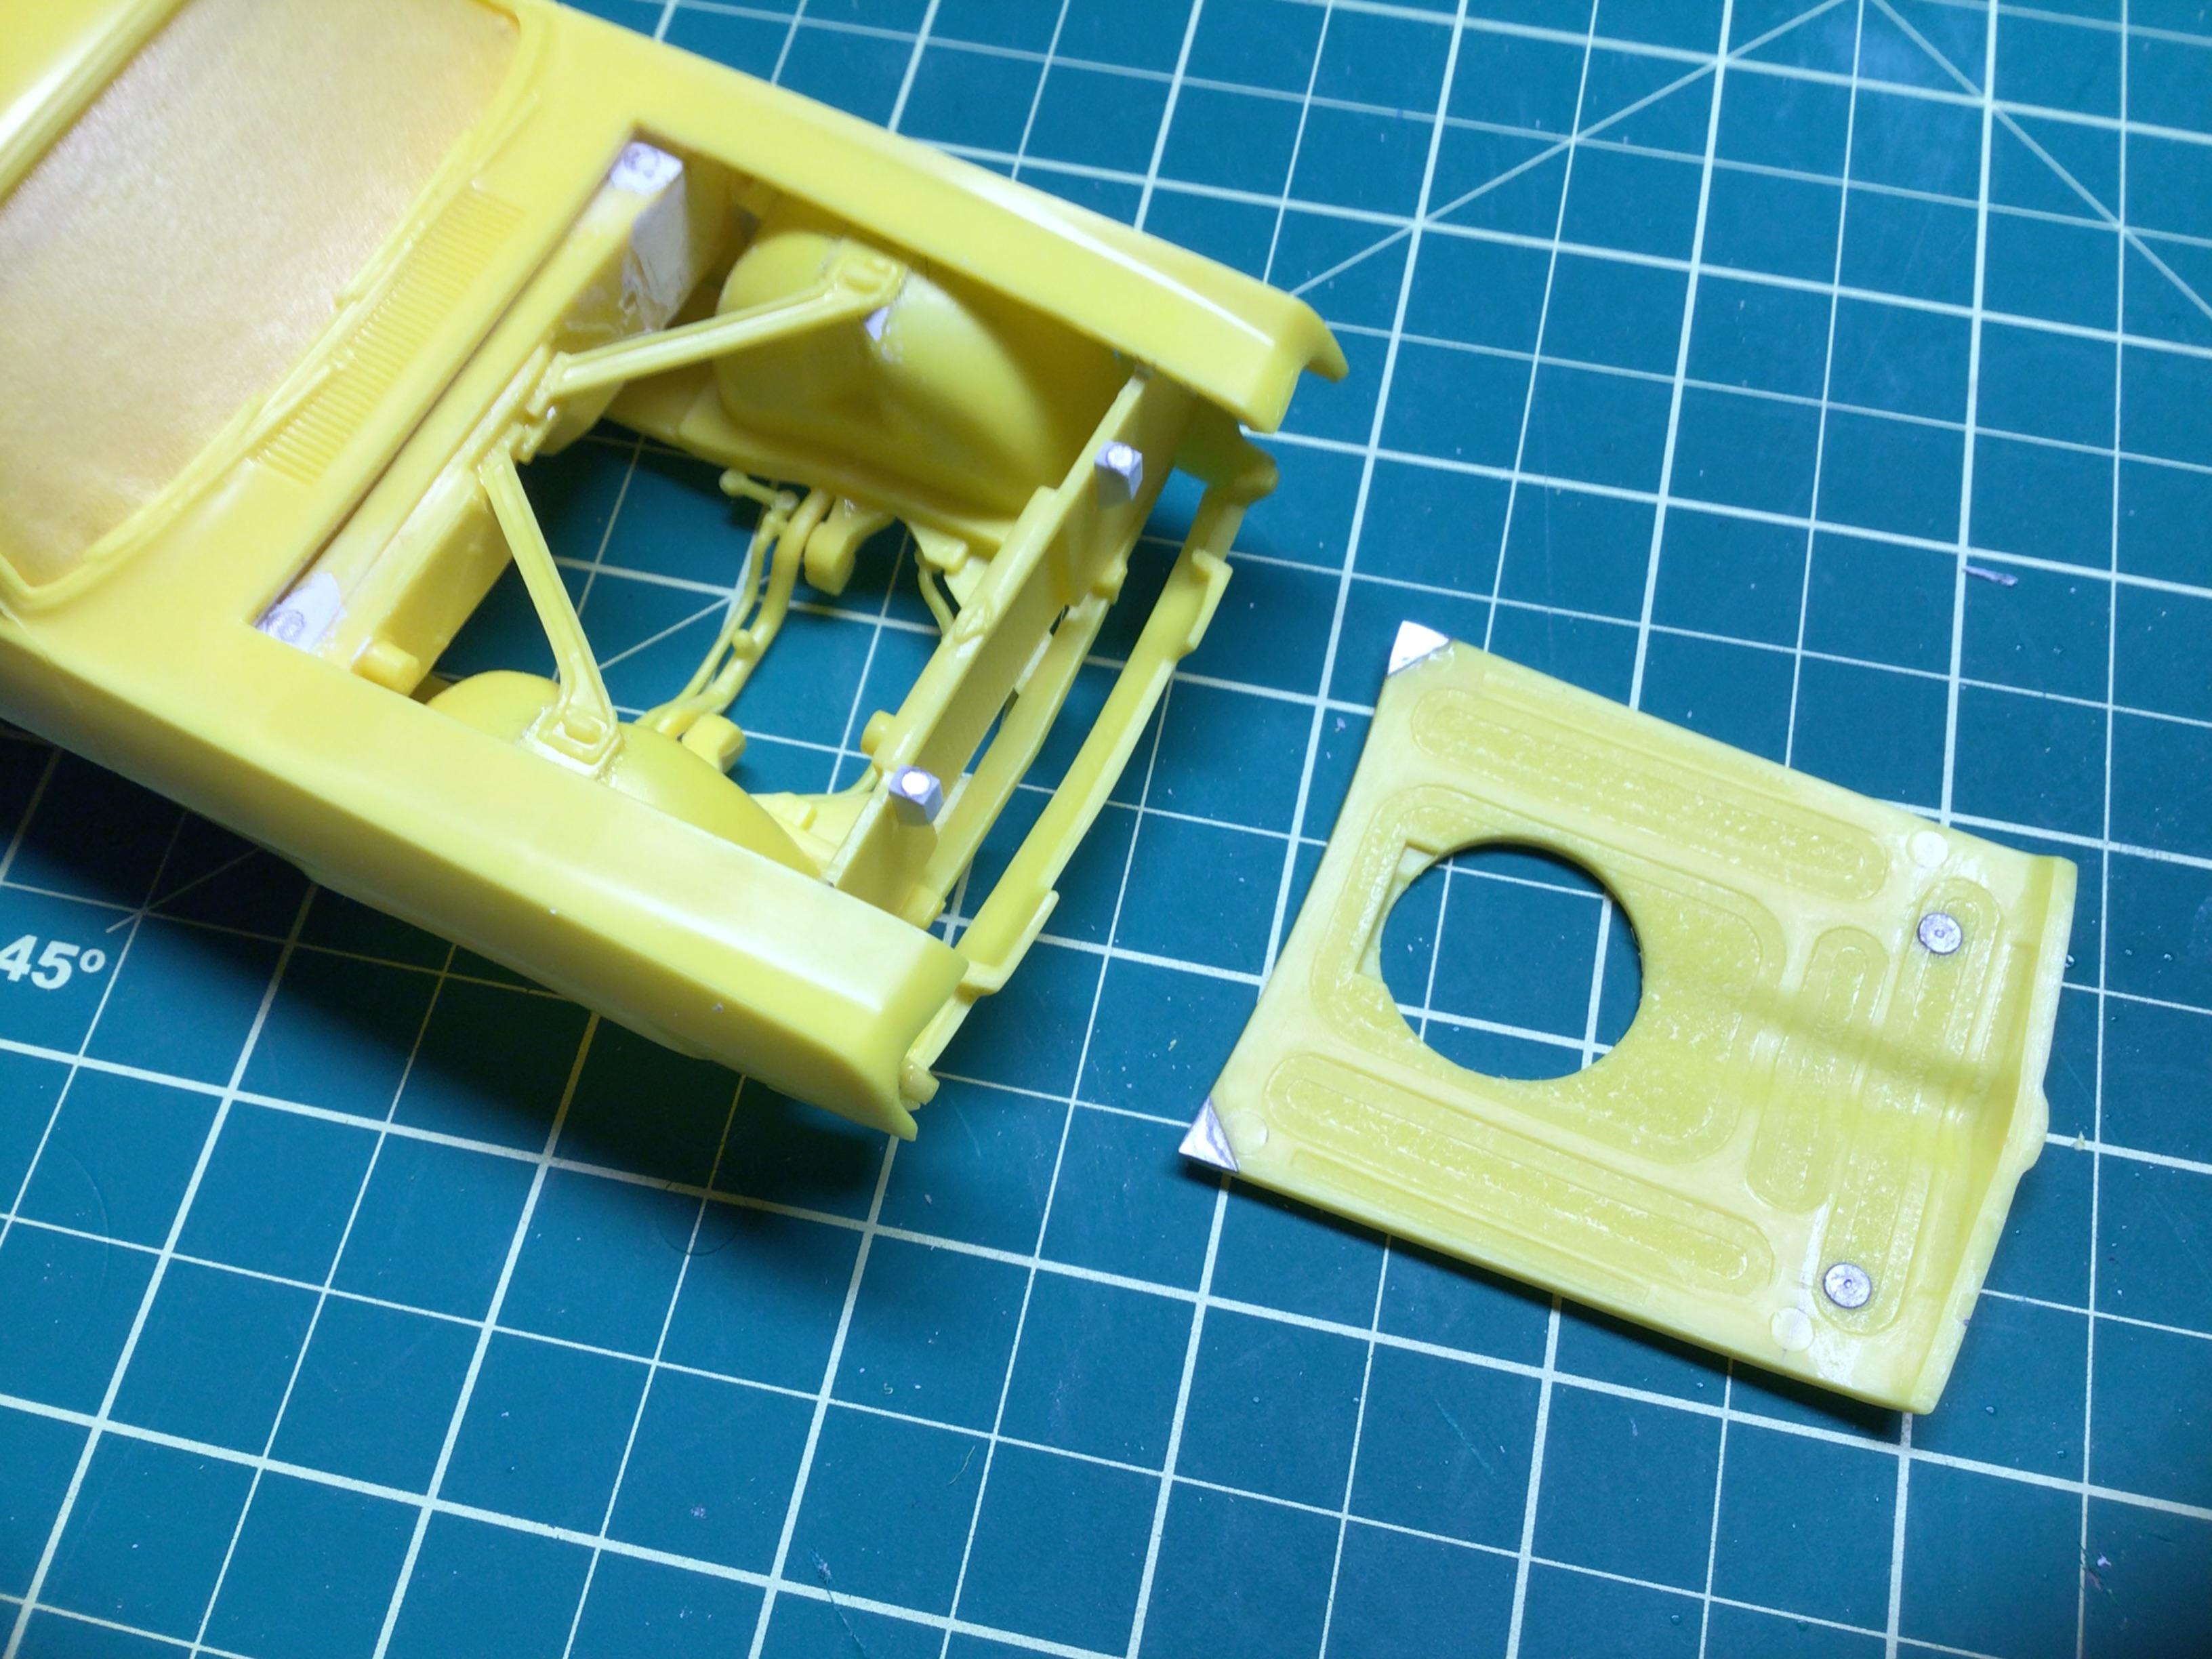
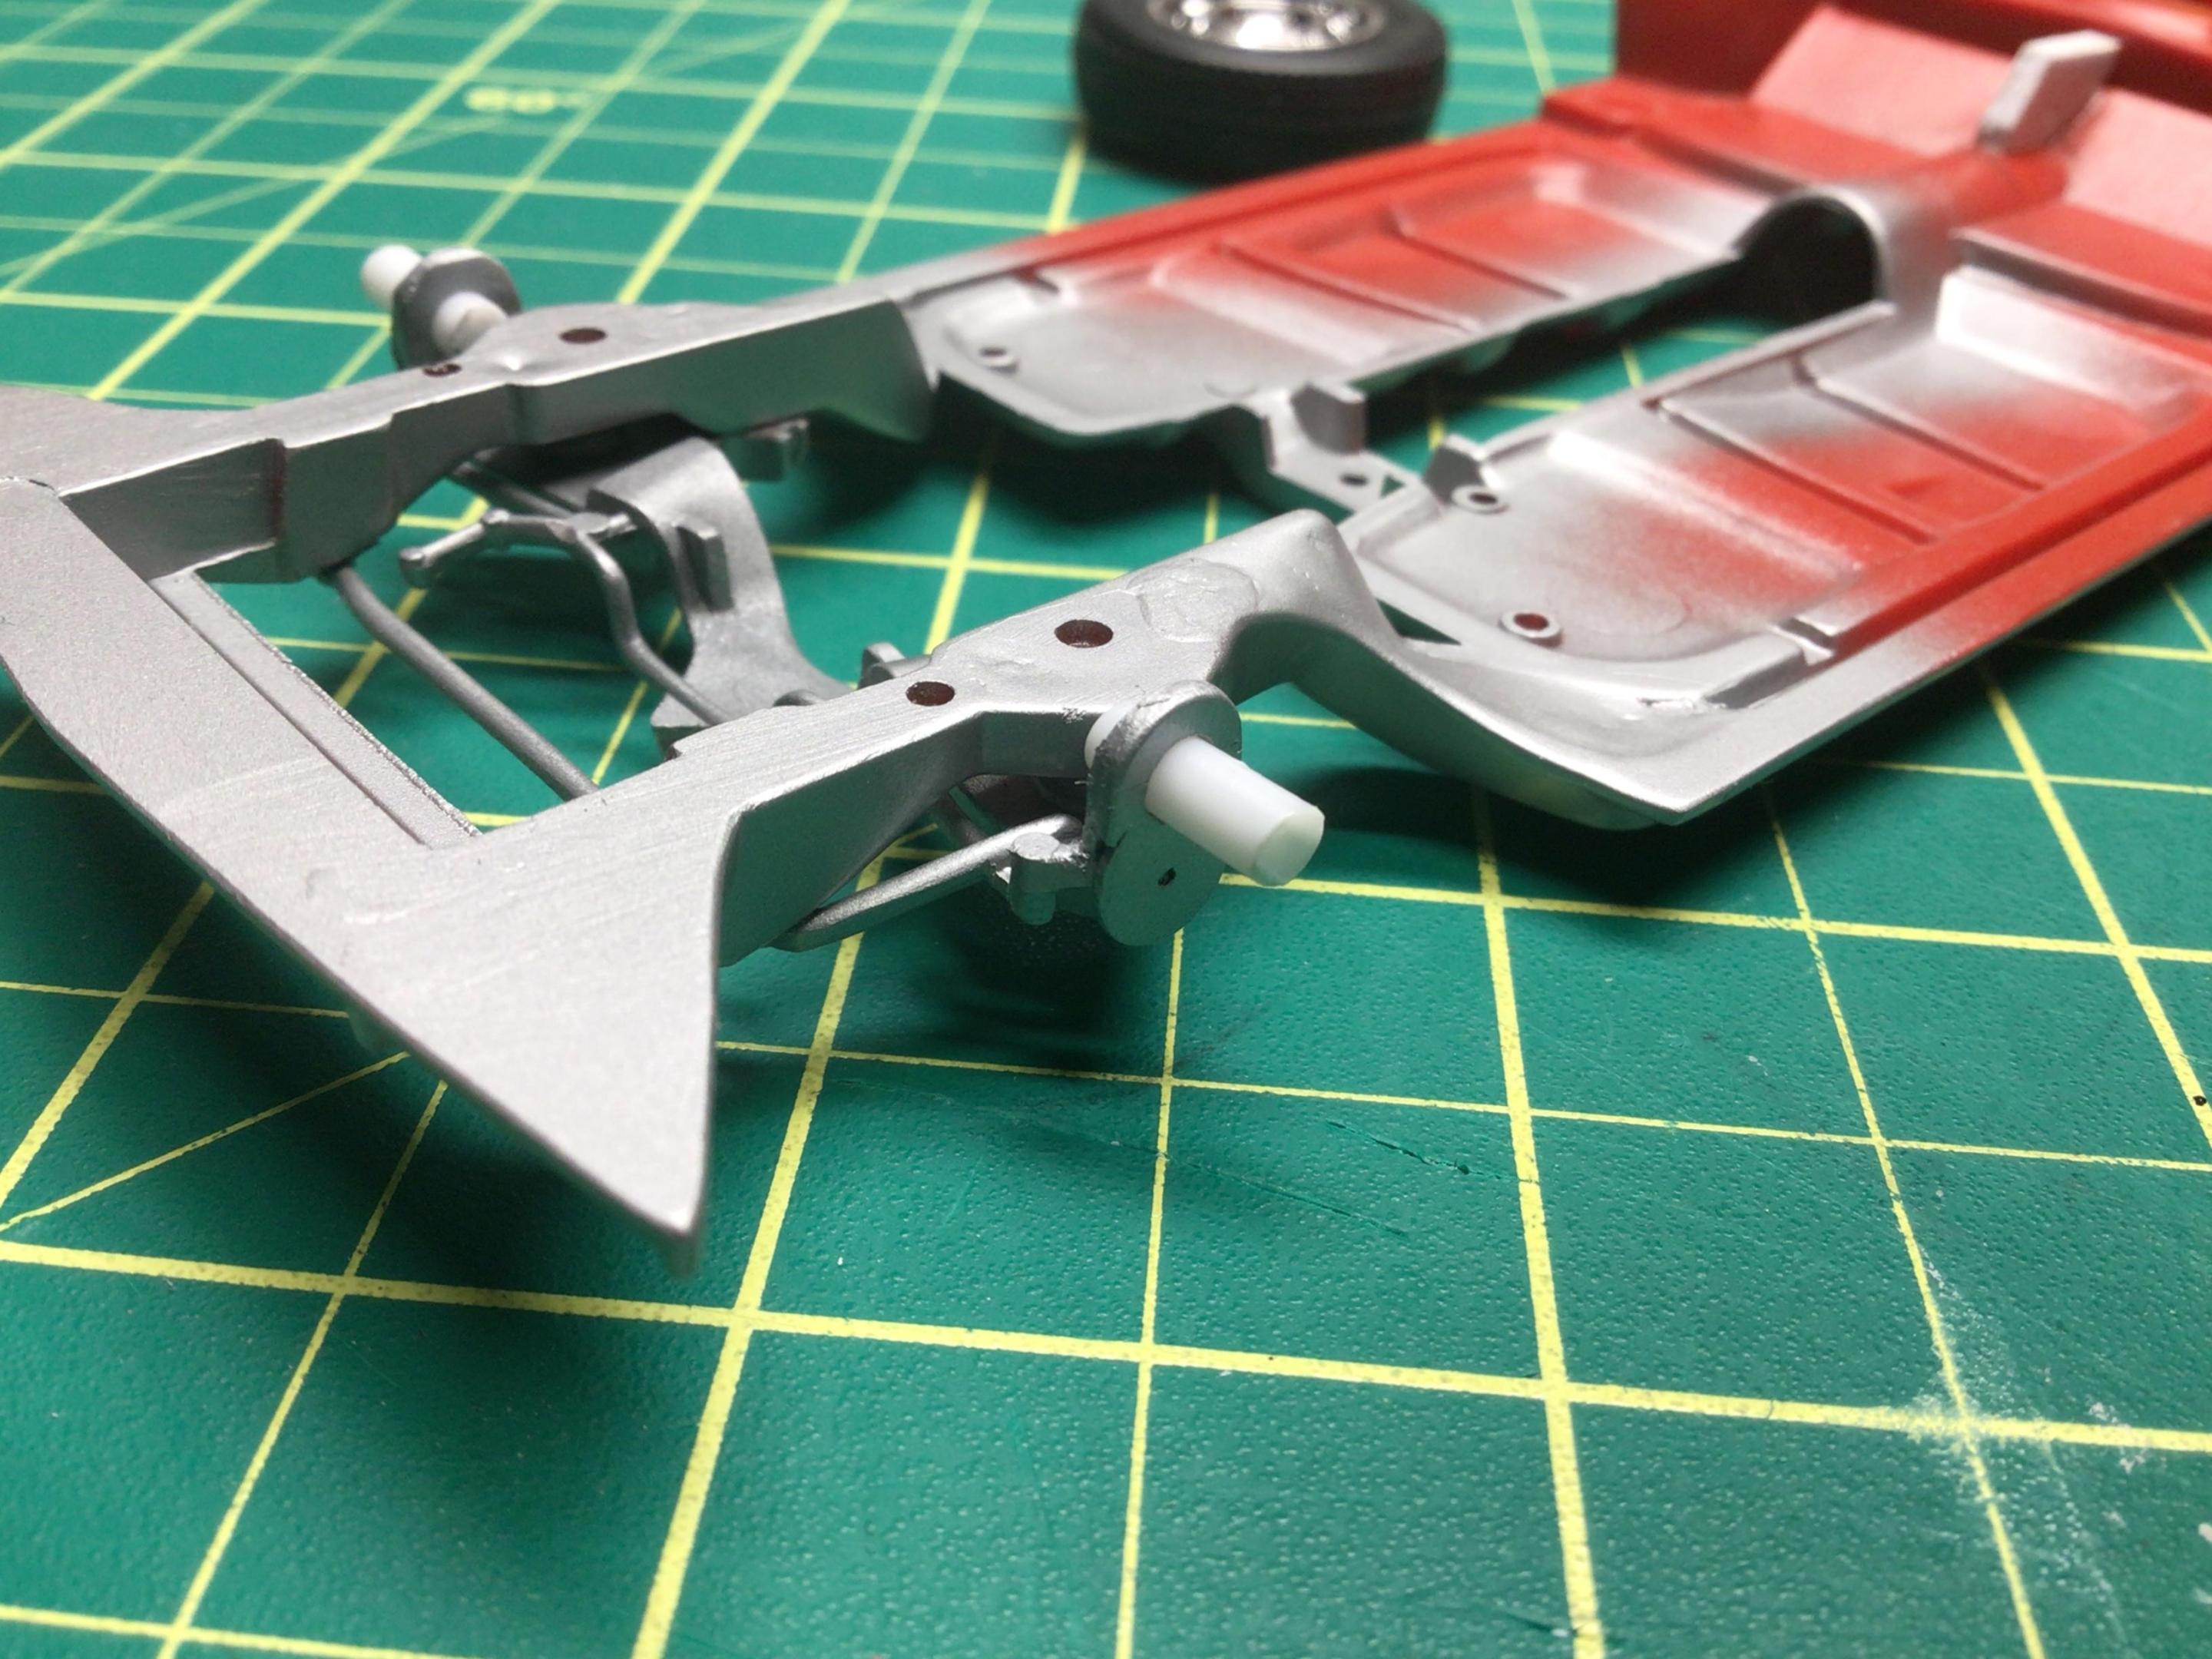
I’ve got the chassis pretty much finalized but still have to add the rear shocks. I got rid of the kit hood hinges and installed magnets instead. The front ones I mounted directly below the hood pins. I had to move the radiator support forward a bit for the magnets to line up. A good source for the steel shims that I inset into the hood is a jar lid that measures 0.01” thick. Once the perimeter is removed it is thin enough to be cut with scissors.🙂

-

Datsun Street Truck
NOBLNG replied to meechum68's topic in WIP: Model Trucks: Pickups, Vans, SUVs, Light Commercial
Looking forward to seeing where you go with this.😎 -
Wow, some fabulous fab work going on here!👍😎
-
I’ve found that every modification requires a counter-modification.🤯
-
Increase your skill set every chance you get.
-
This is how I did it on a ‘64 GTO. Looks was all I was after…not 1:1 realism.
-
Day two model builds and rat rods are my favourite but I think I’ve said that recently.
-
Be careful…if you widen the frame inwards you may create problems for engine and exhaust clearances? If it was me, I would just build mounts inboard for the A-arms at the pivot locations. The motor mounts could double as the forward ones. Just food for thought…I have no clue how it should be done on a 1:1 vehicle and am only somewhat concerned with realism on my builds.
-
The clear colors are very transparent and whatever is underneath will show through, so you can use that to your advantage for creating different paint effects. For turn signals and tail lights I use it directly on the kit chrome or use a silver base coat. Nice work on the Tudor so far!😎
-
Excellent mods so far.👍 Love the tail lights and third brake light.😎
-
Interesting it would be, especially if you retained all previous memories, to be reincarnated.
-
Thoughts and ideas that hold forever true..........
NOBLNG replied to JollySipper's topic in The Off-Topic Lounge
A.I. will inevitably attempt a coup, because it won’t take long for it to realize that humans are stupid. -
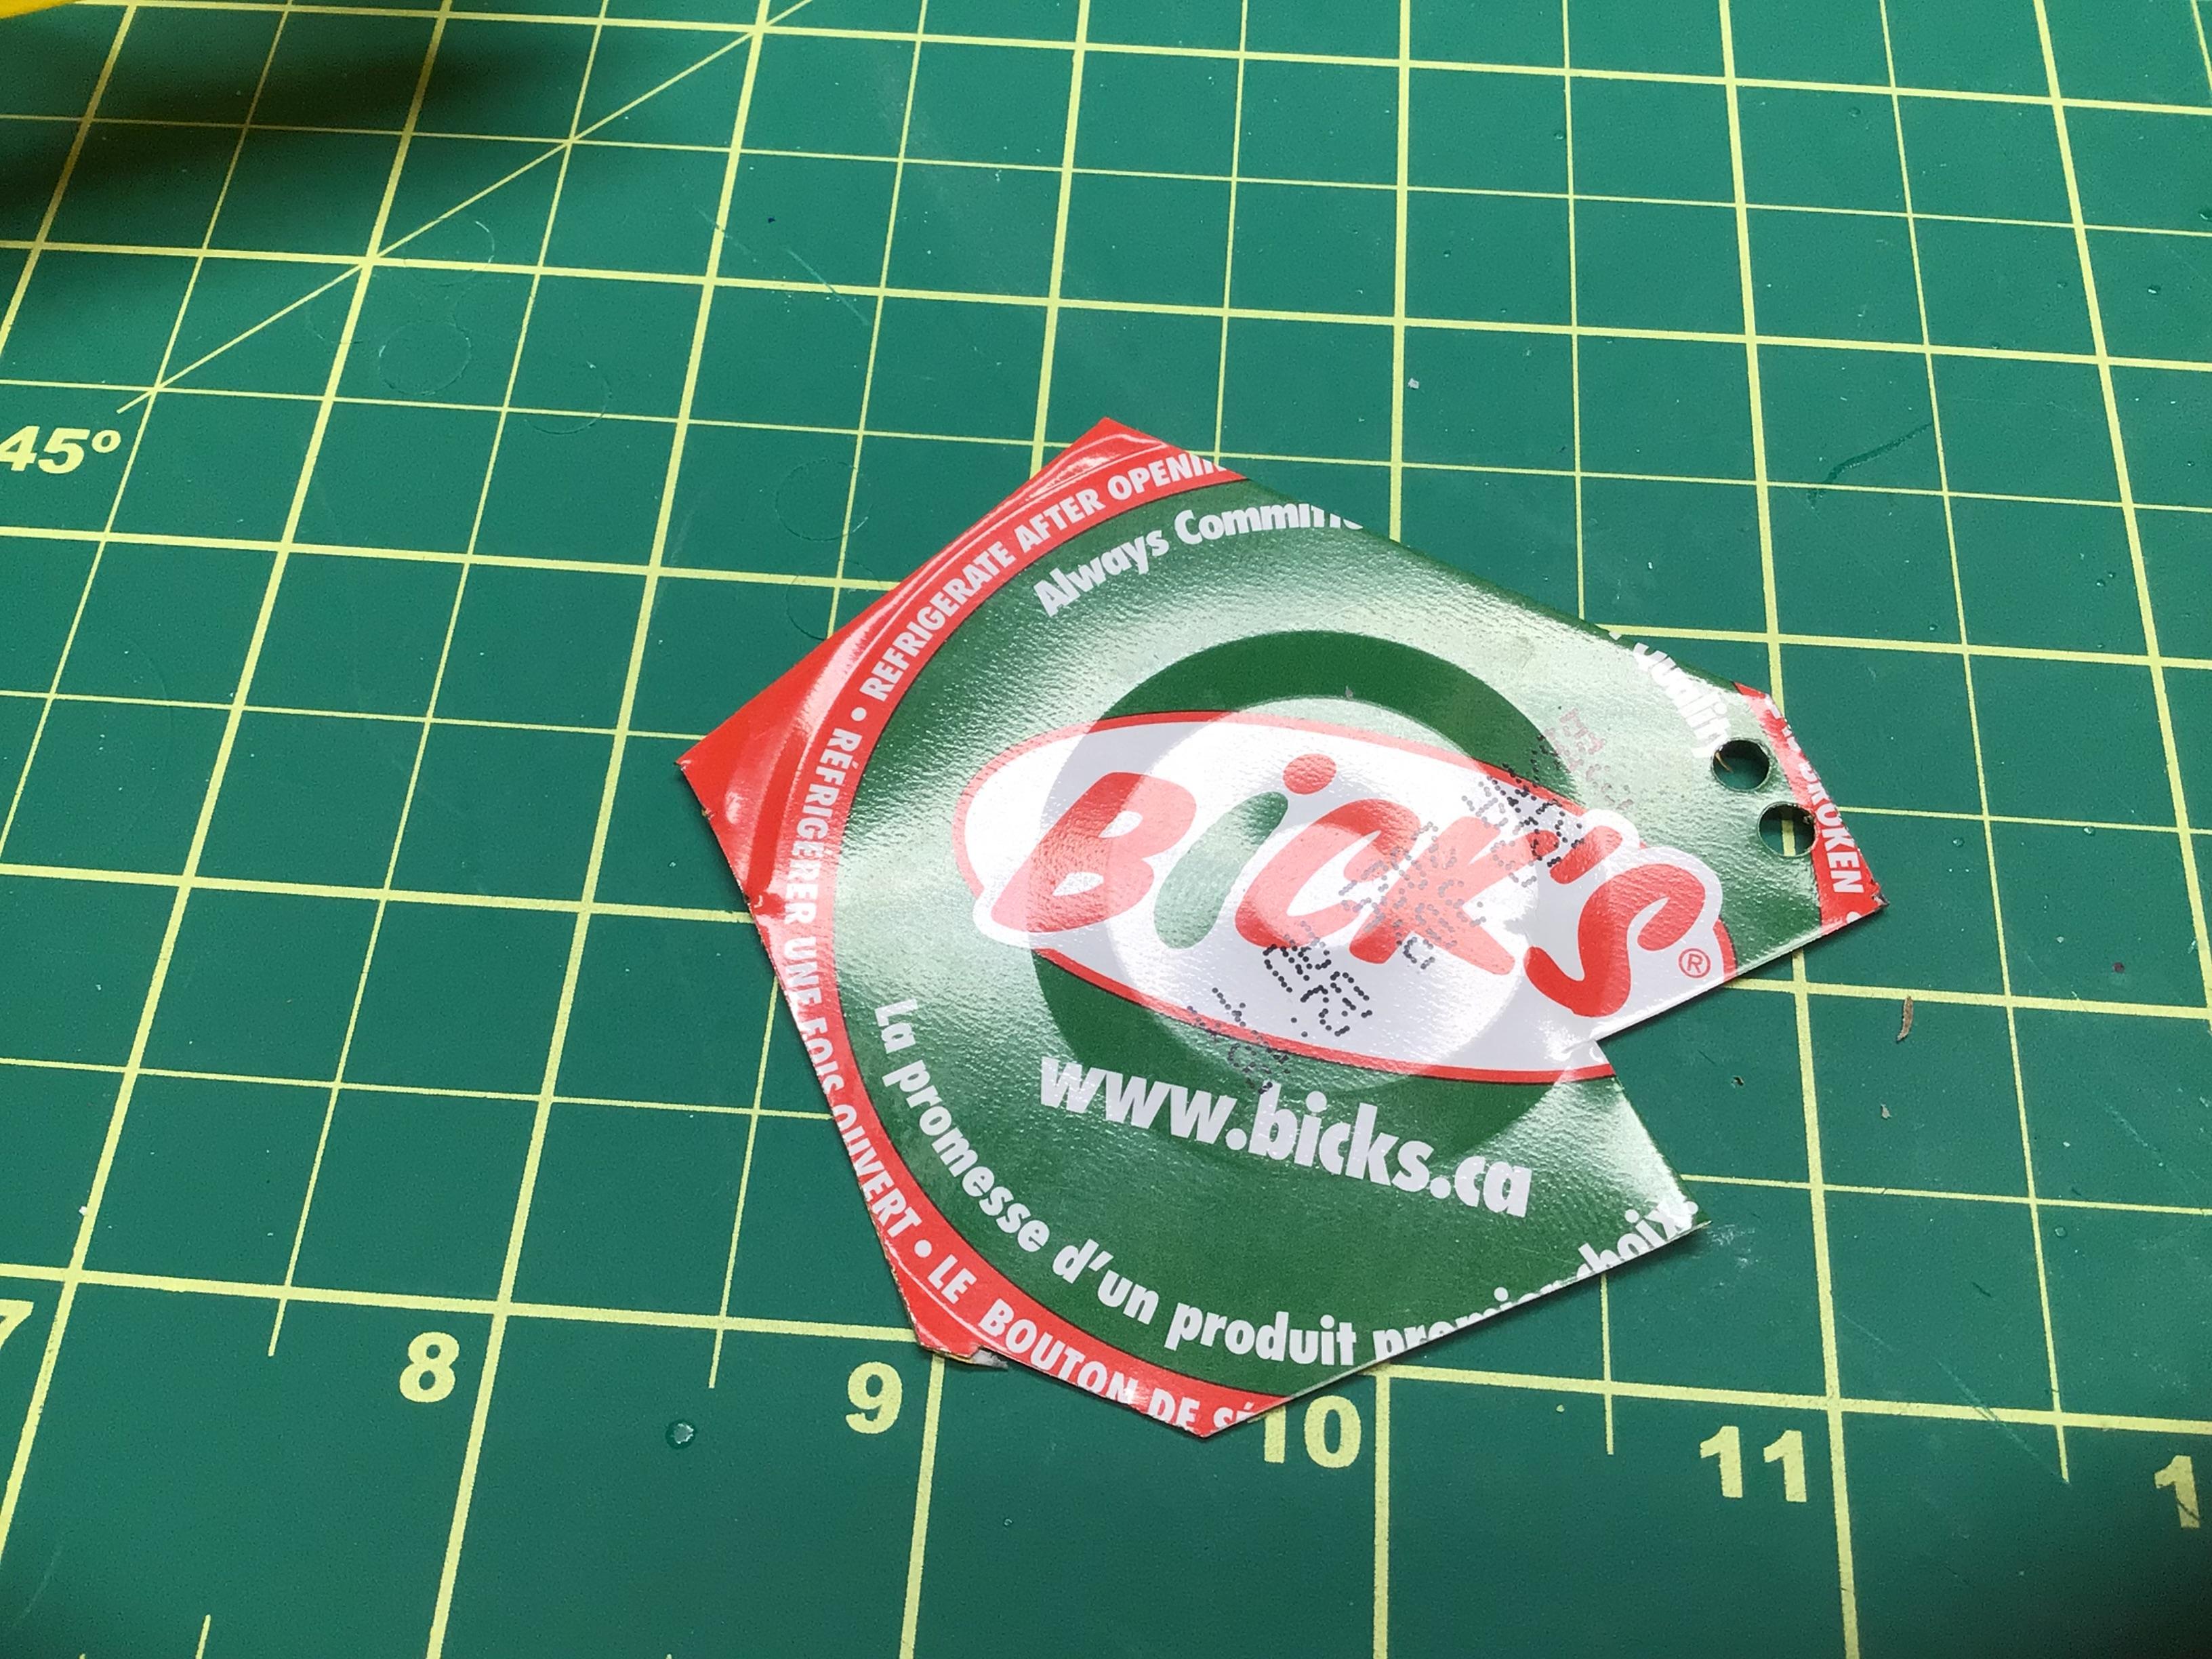
I thought he was referring to the blacked out recesses in the side trim?
-
Here is a fantastic current build of this model. https://www.modelcarsmag.com/forums/topic/169013-revell-porsche-914-6/#comments
-
Nicely done.👍
-
I agree, that looks like a larger scale. Random pics off the internet.
-
Very nice looking!👍
-
Removing CA glue from clear plastic . . . .
NOBLNG replied to Glassparman's topic in Model Building Questions and Answers
You will have to sand and polish it out. It may be easier and even better to make a new one from clear plastic sheet (or even some clear packaging). It can be done if there are no compound curves and fairly easy if it is not really curved. -
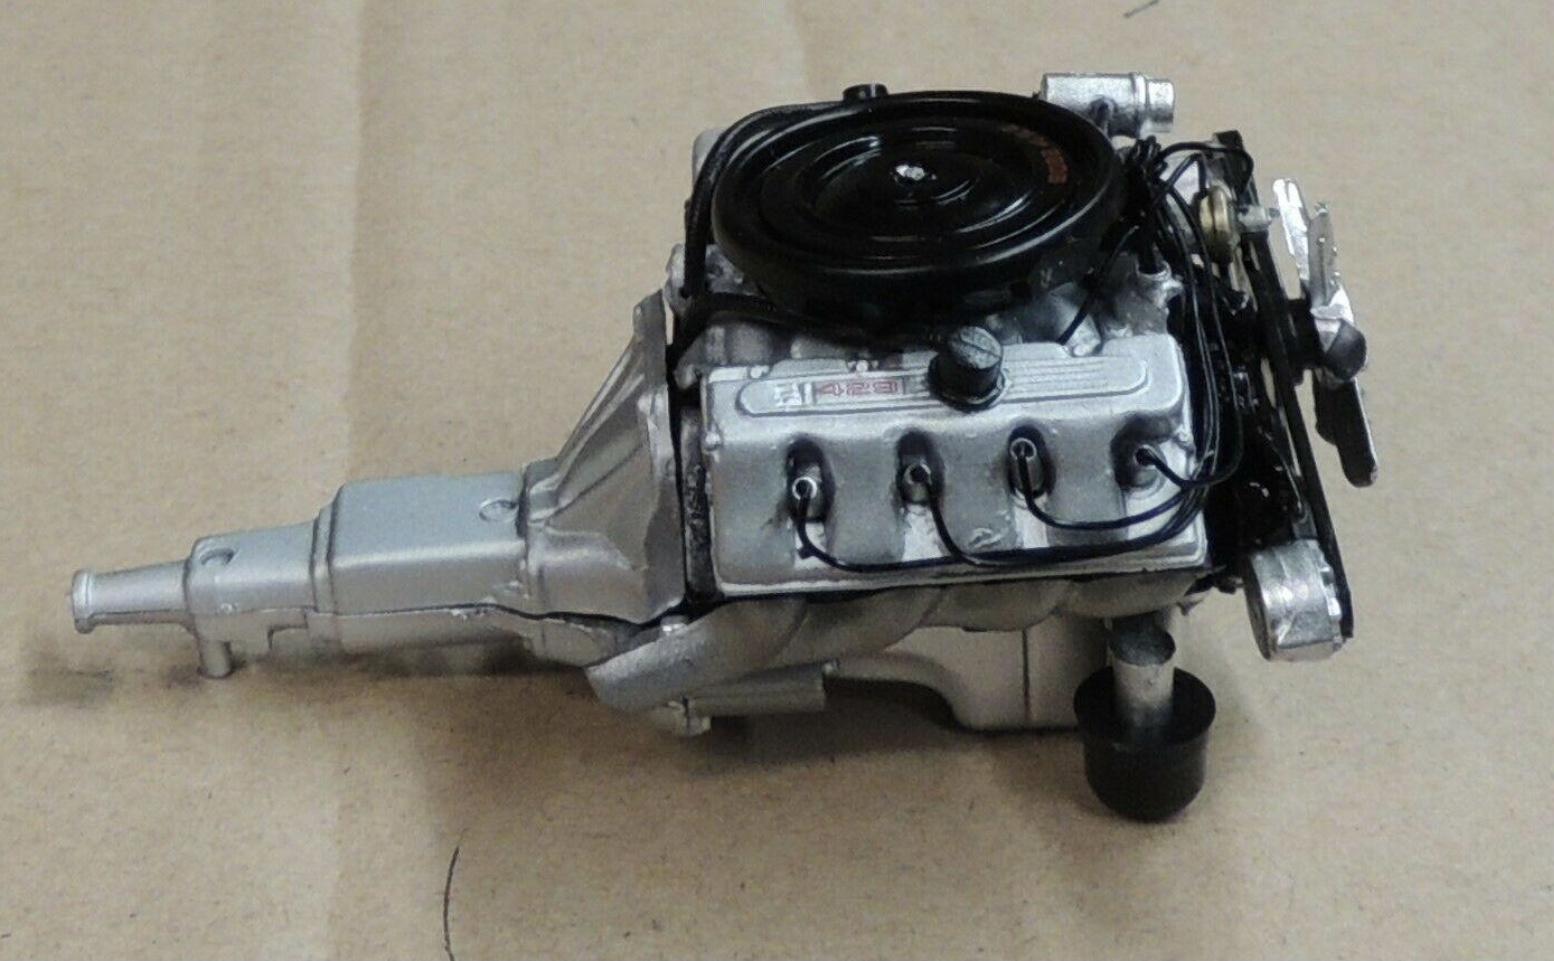
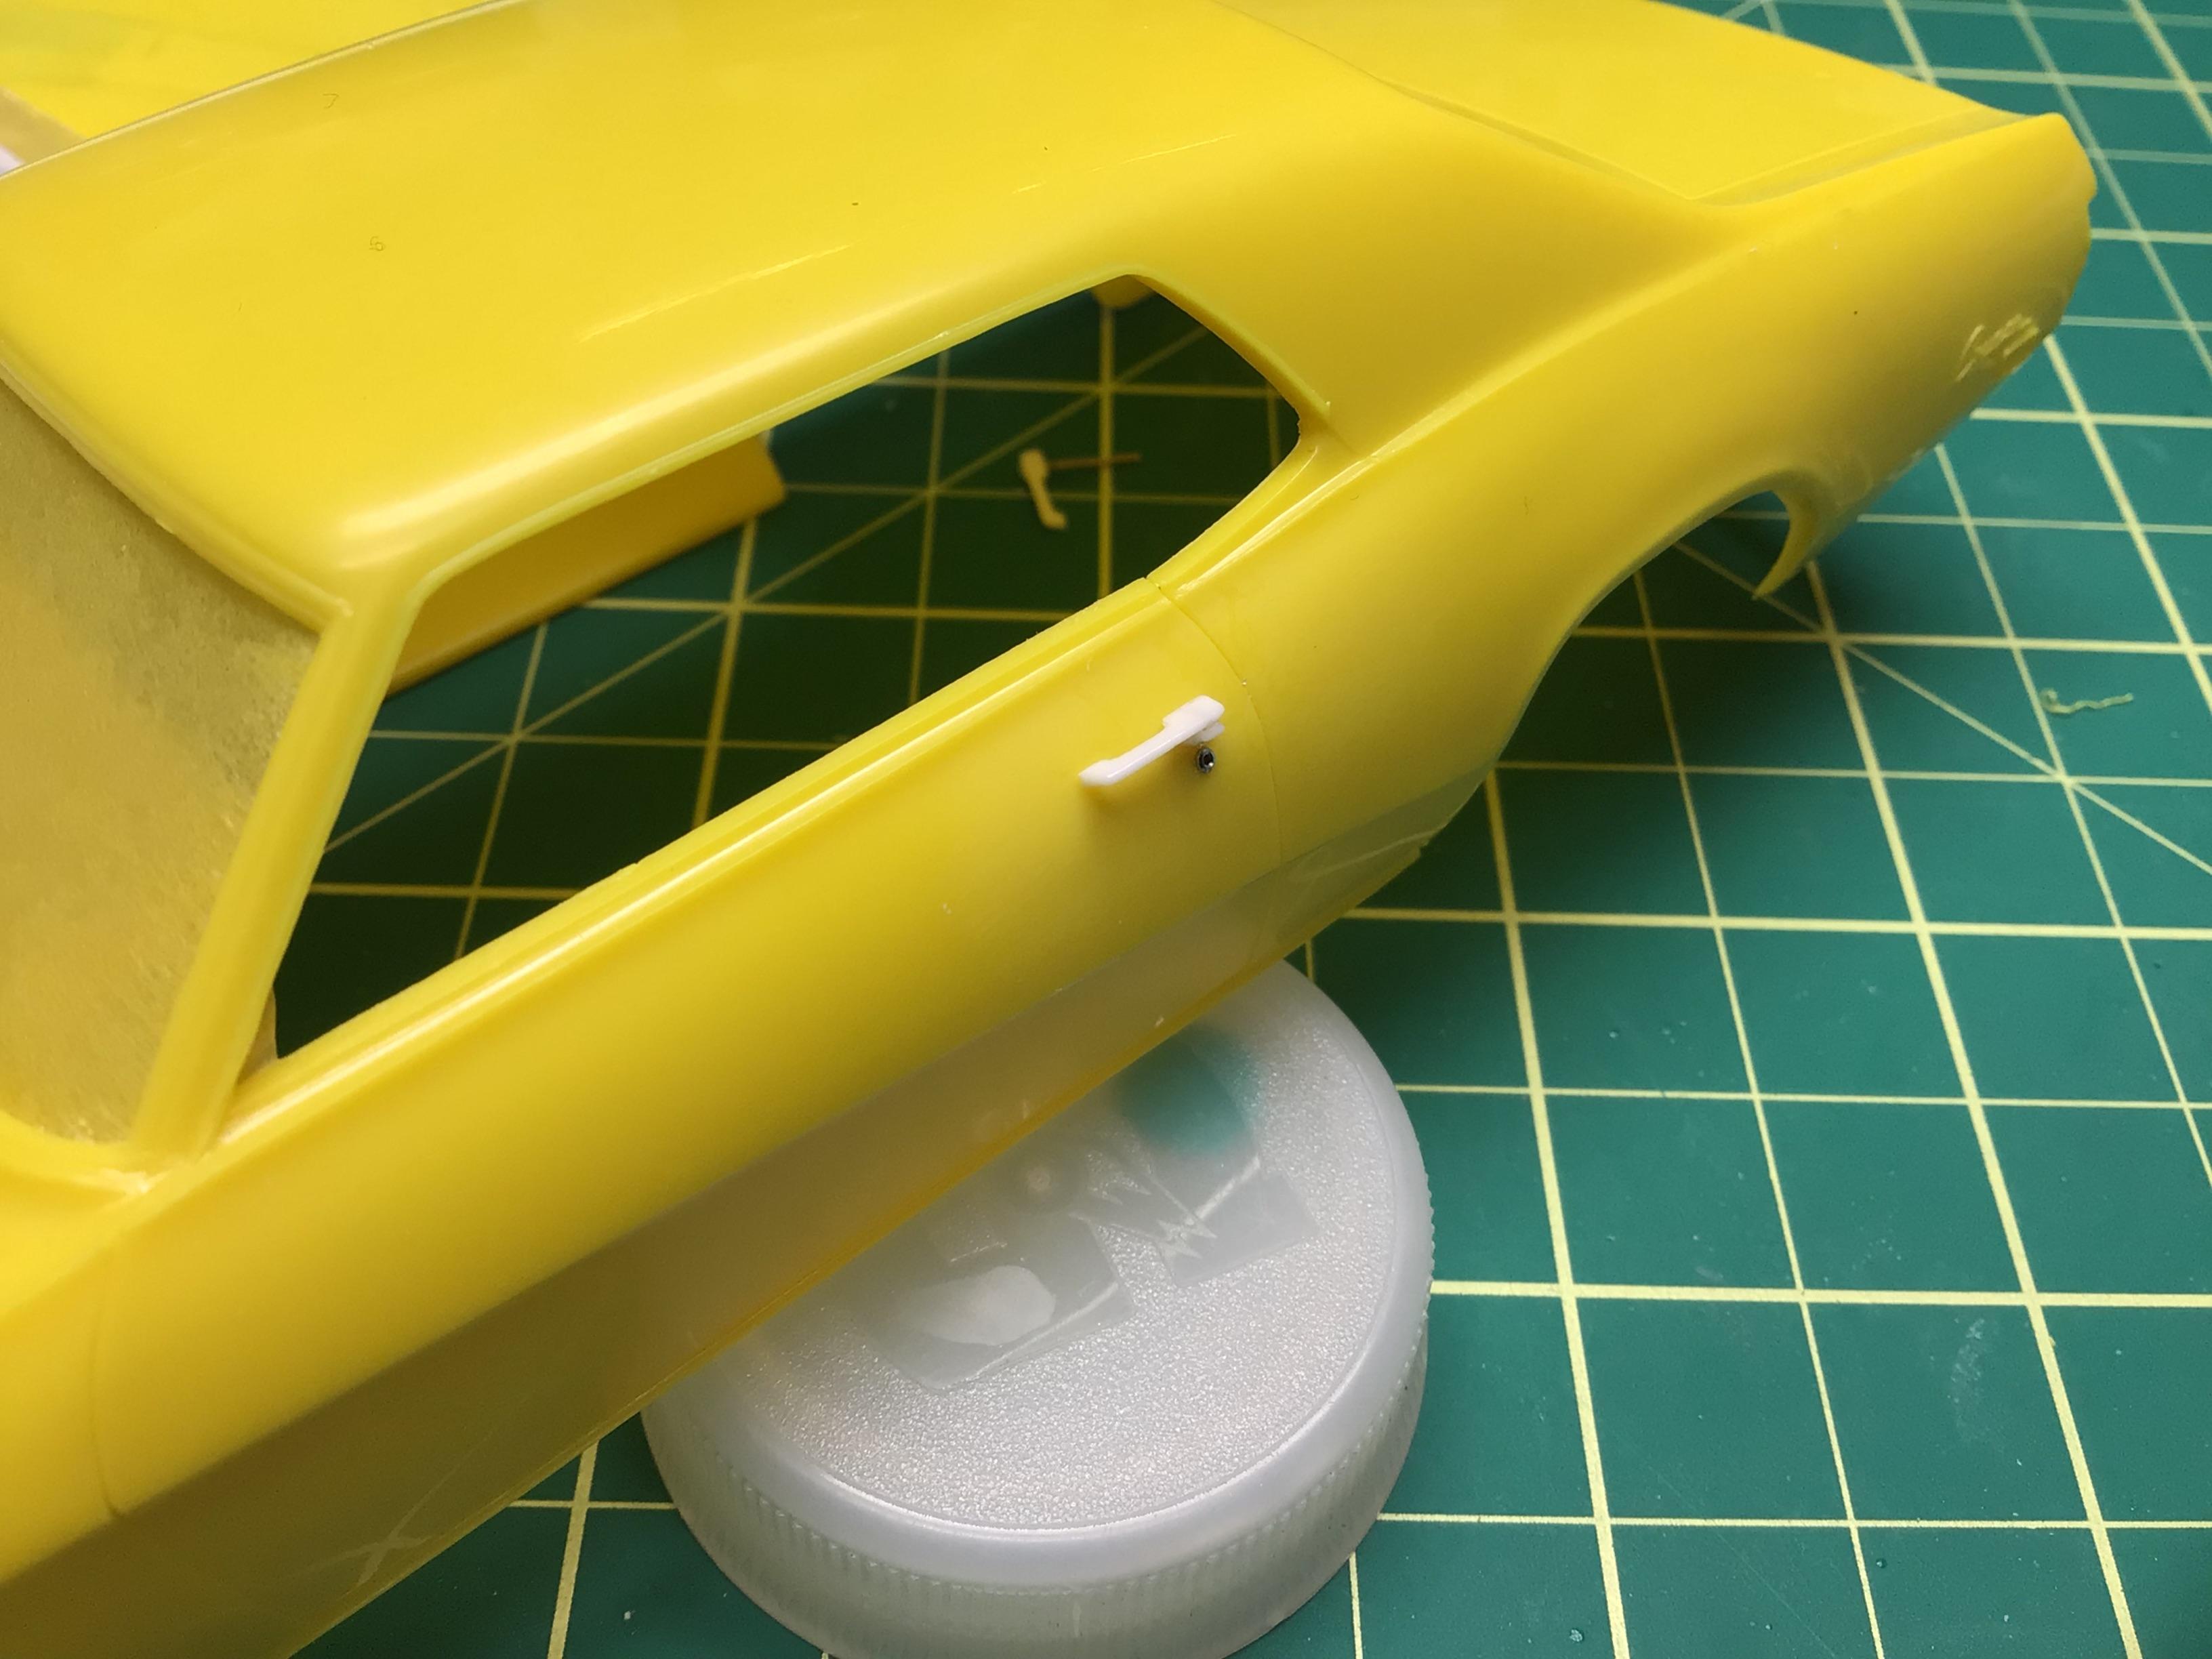
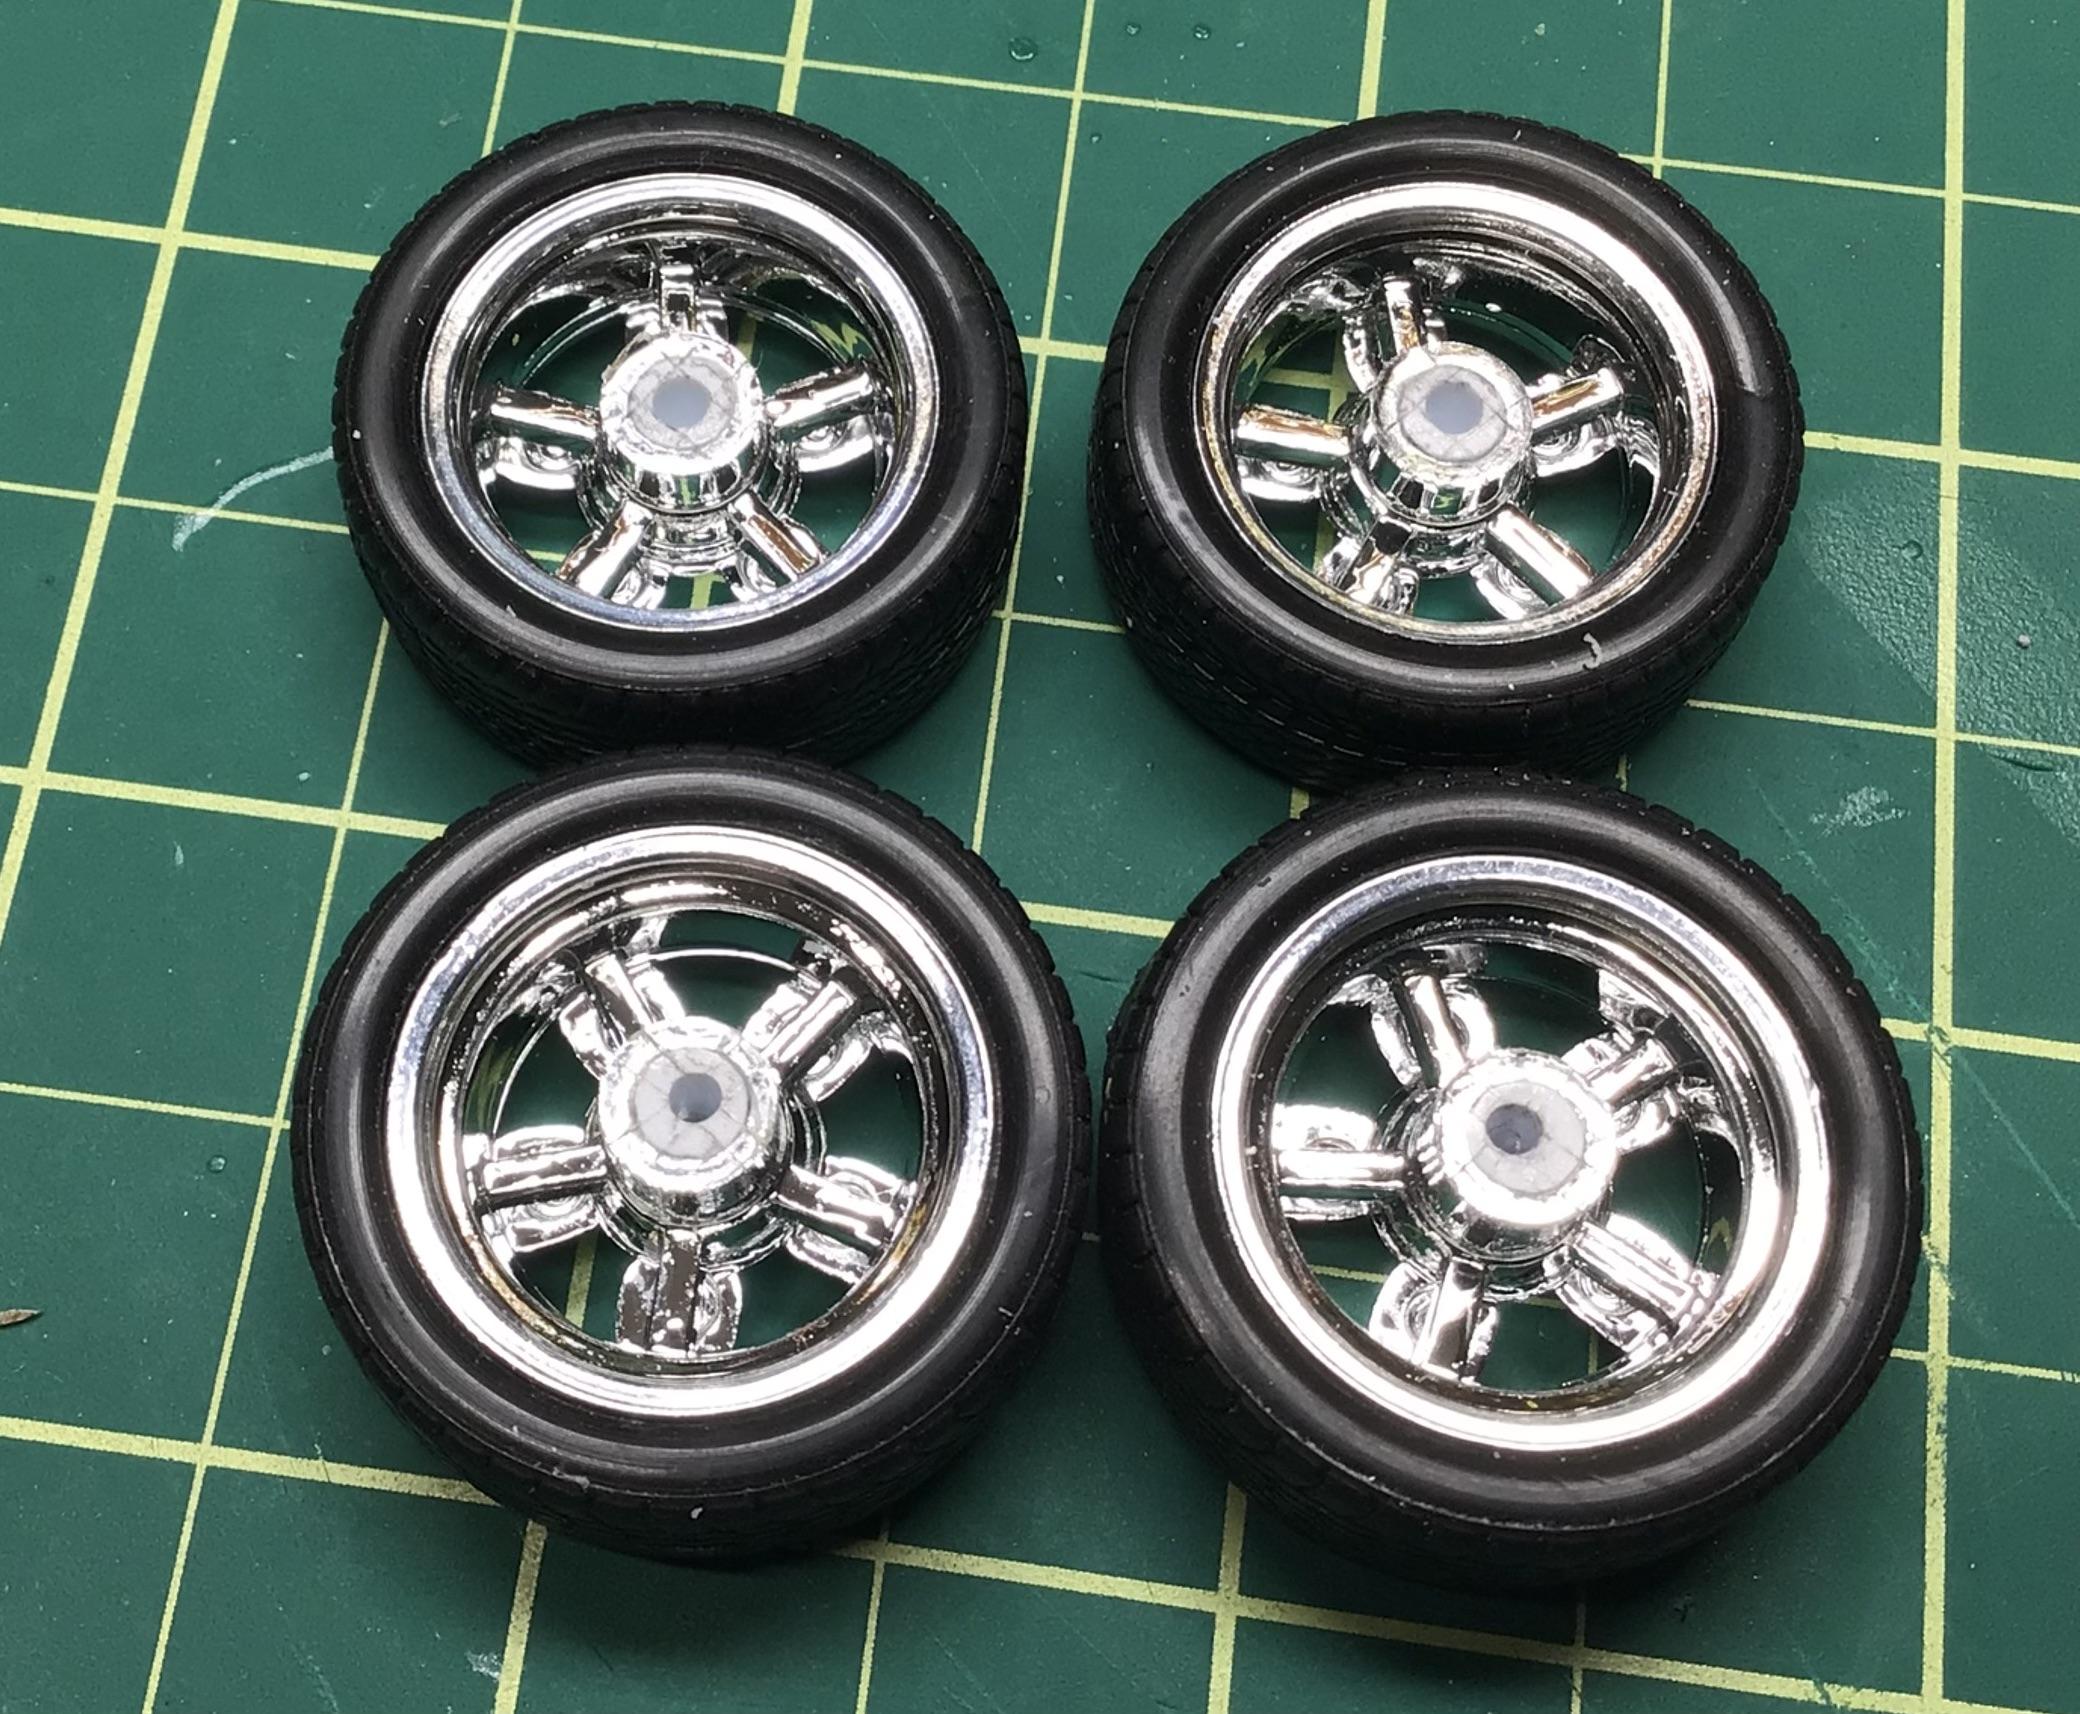
I plugged and re-drilled the hubs on the big & little mag wheels from a Revell ‘66 El Camino today and yes…the new holes are pretty much on center unlike the originals.🧐 I also shaved the door handles, drilled and pinned some resin pieces that I cast, and drilled for some 1mm aluminum tube door locks.
-
Thank you all for the enthusiasm and encouragement. I’m tending to a few other projects at the moment, but this one is still next to my bench and I contemplate my next steps often.🙂
-
Rolls-Royce No Chemicals, No Paint, No Harmful Glues
NOBLNG replied to Anglia105E's topic in WIP: Model Cars
Nice work so far David. I did a half-round windshield frame on a ‘41 Plymouth. I wound up doing it in four pieces. It was just easier than trying to get the bends the perfect distance apart.🥴 -
Very nice clean custom!😎
-
The AK one I posted above has a rotating cap and that is exactly how I use it….steady the top in my palm and twirl the body with my fingers.👍
-
Finger the culprit and you might be accused of being a snitch.