bill-e-boy
-
Posts
900 -
Joined
-
Last visited
Content Type
Profiles
Forums
Events
Gallery
Everything posted by bill-e-boy
-
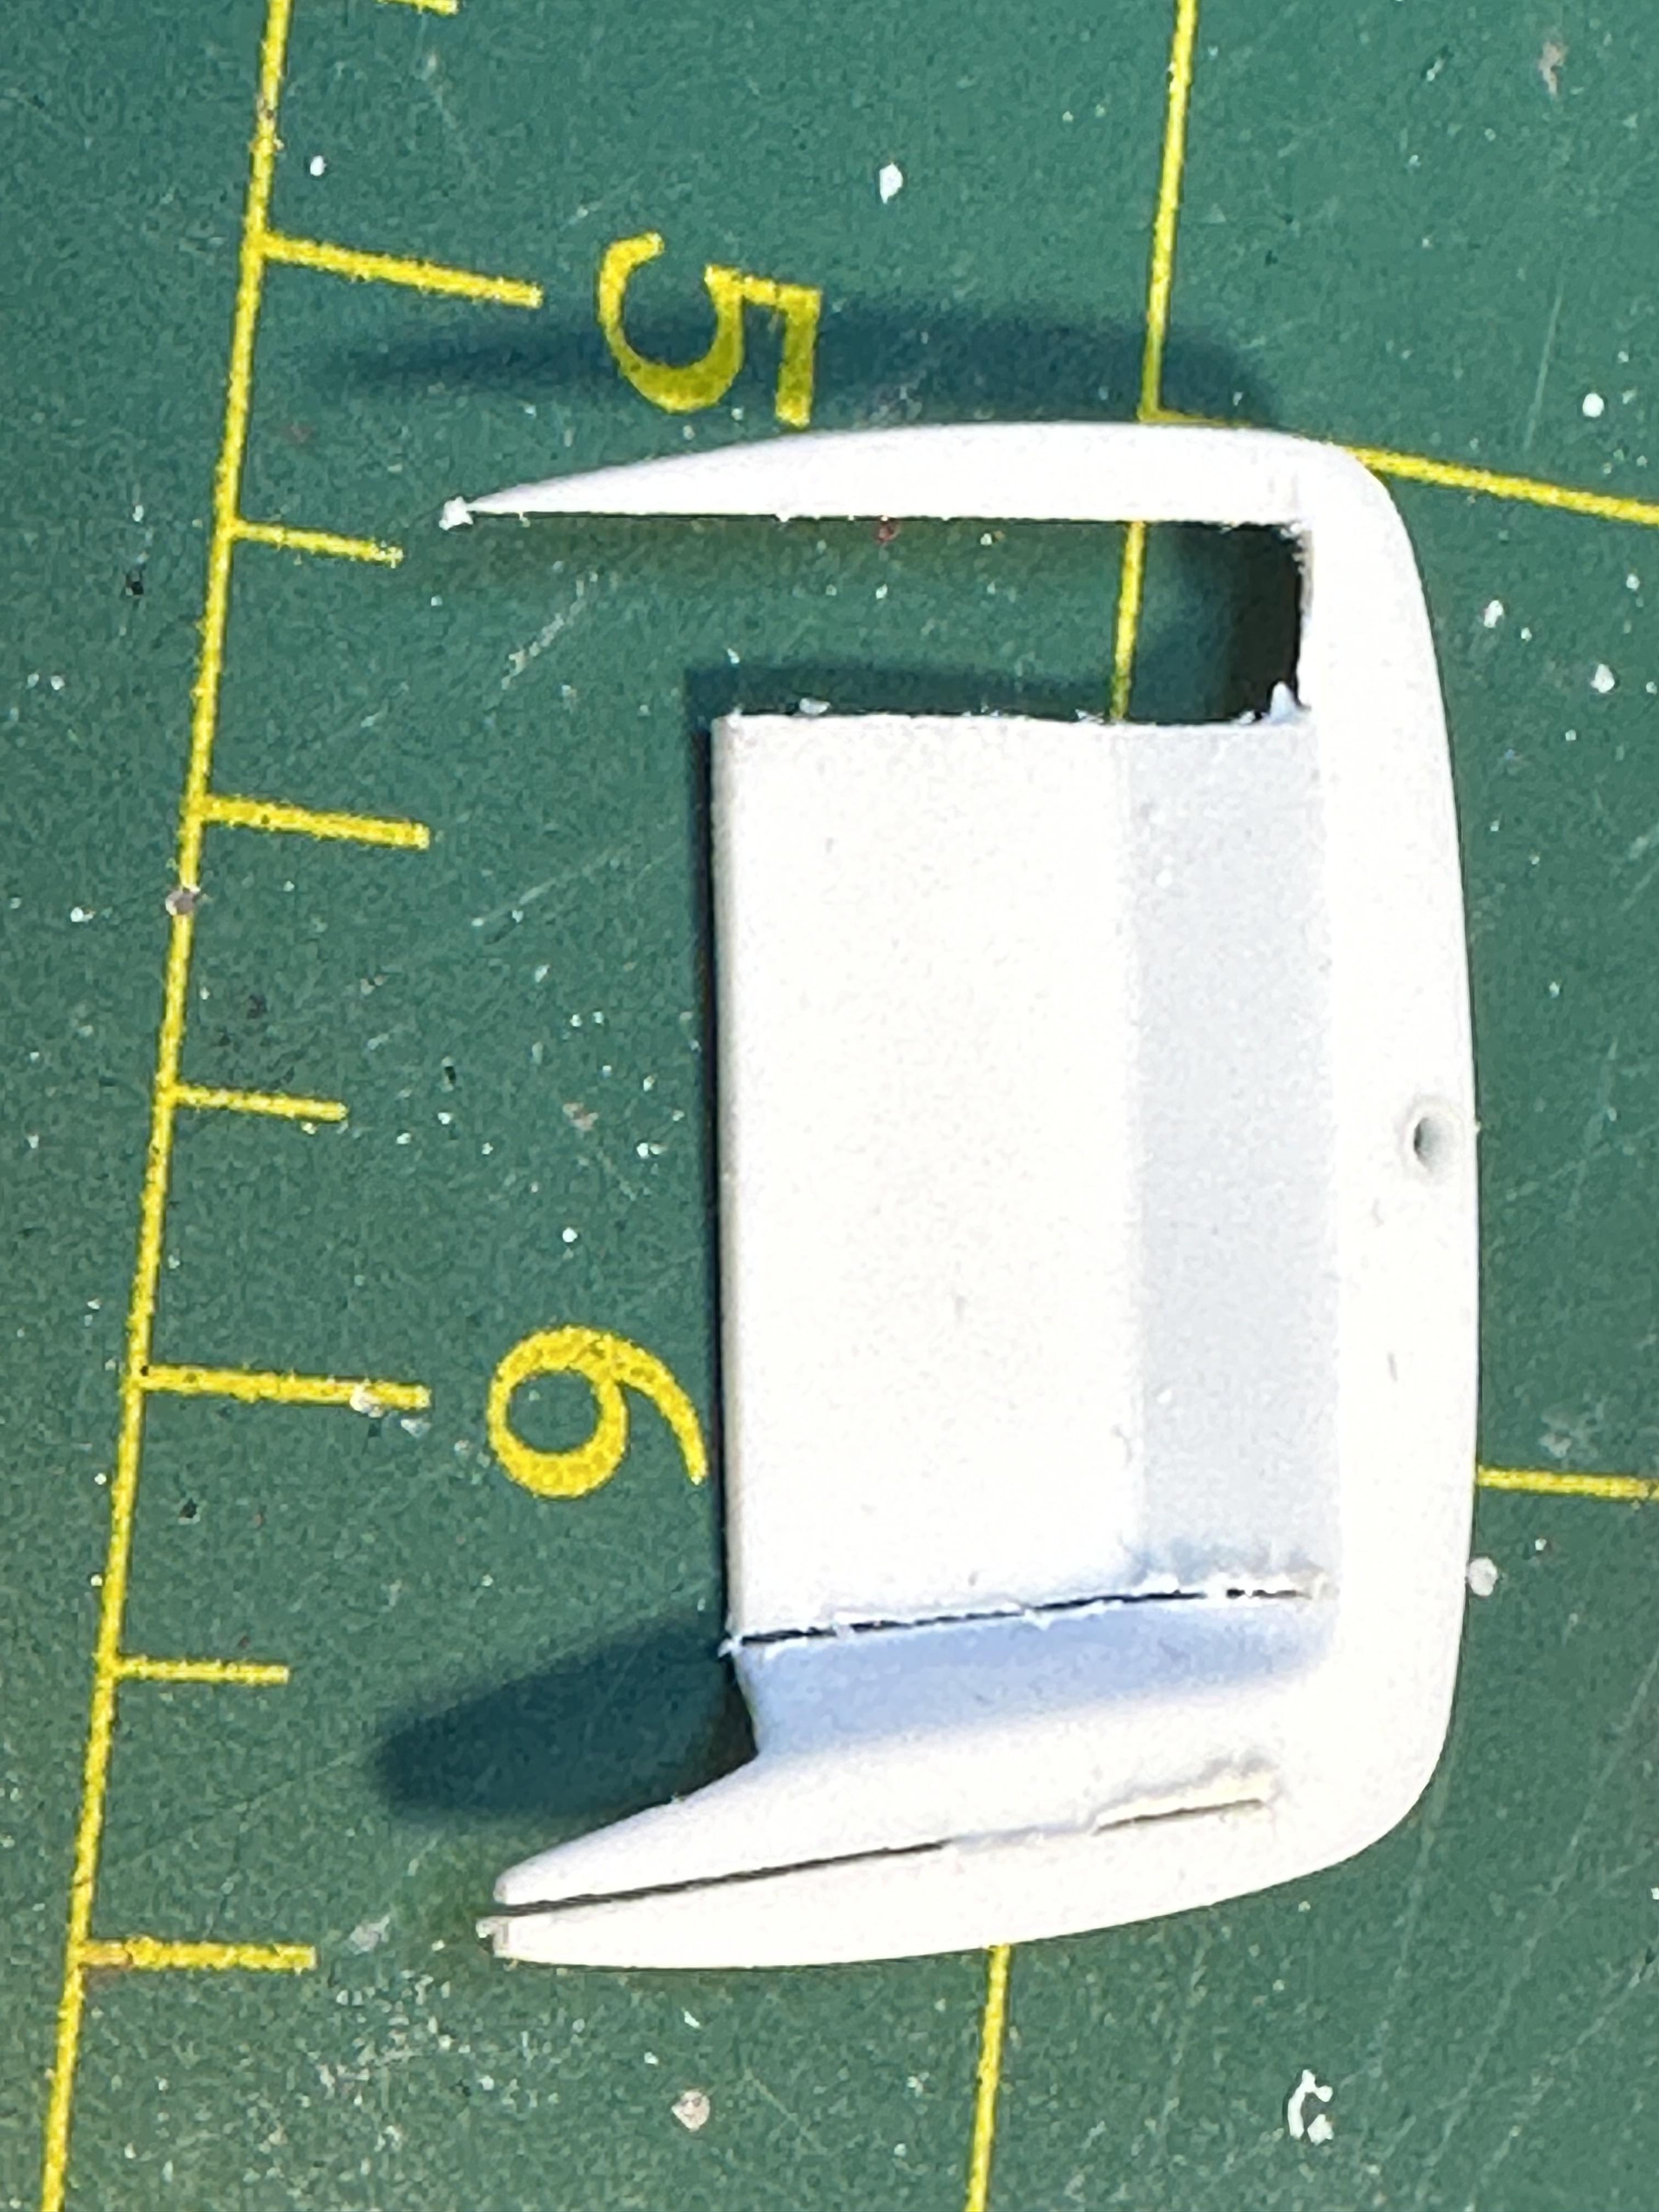
More work on the little details and changes Made up a hand brake lever to sit between the front seats. A triangle of plasti-card and a bit of wire. Will be painted same as interior with a small dab of black on the lever after it has been cut to length and cleaned up. I mocked up the firewall and the chassis with the motor to check for clearances. It looks like there will be a clash so I am in the process of widening the firewall recess Thanks for looking

-
Airbrushing - intervals between coats
bill-e-boy replied to fcriscuo's topic in Model Building Questions and Answers
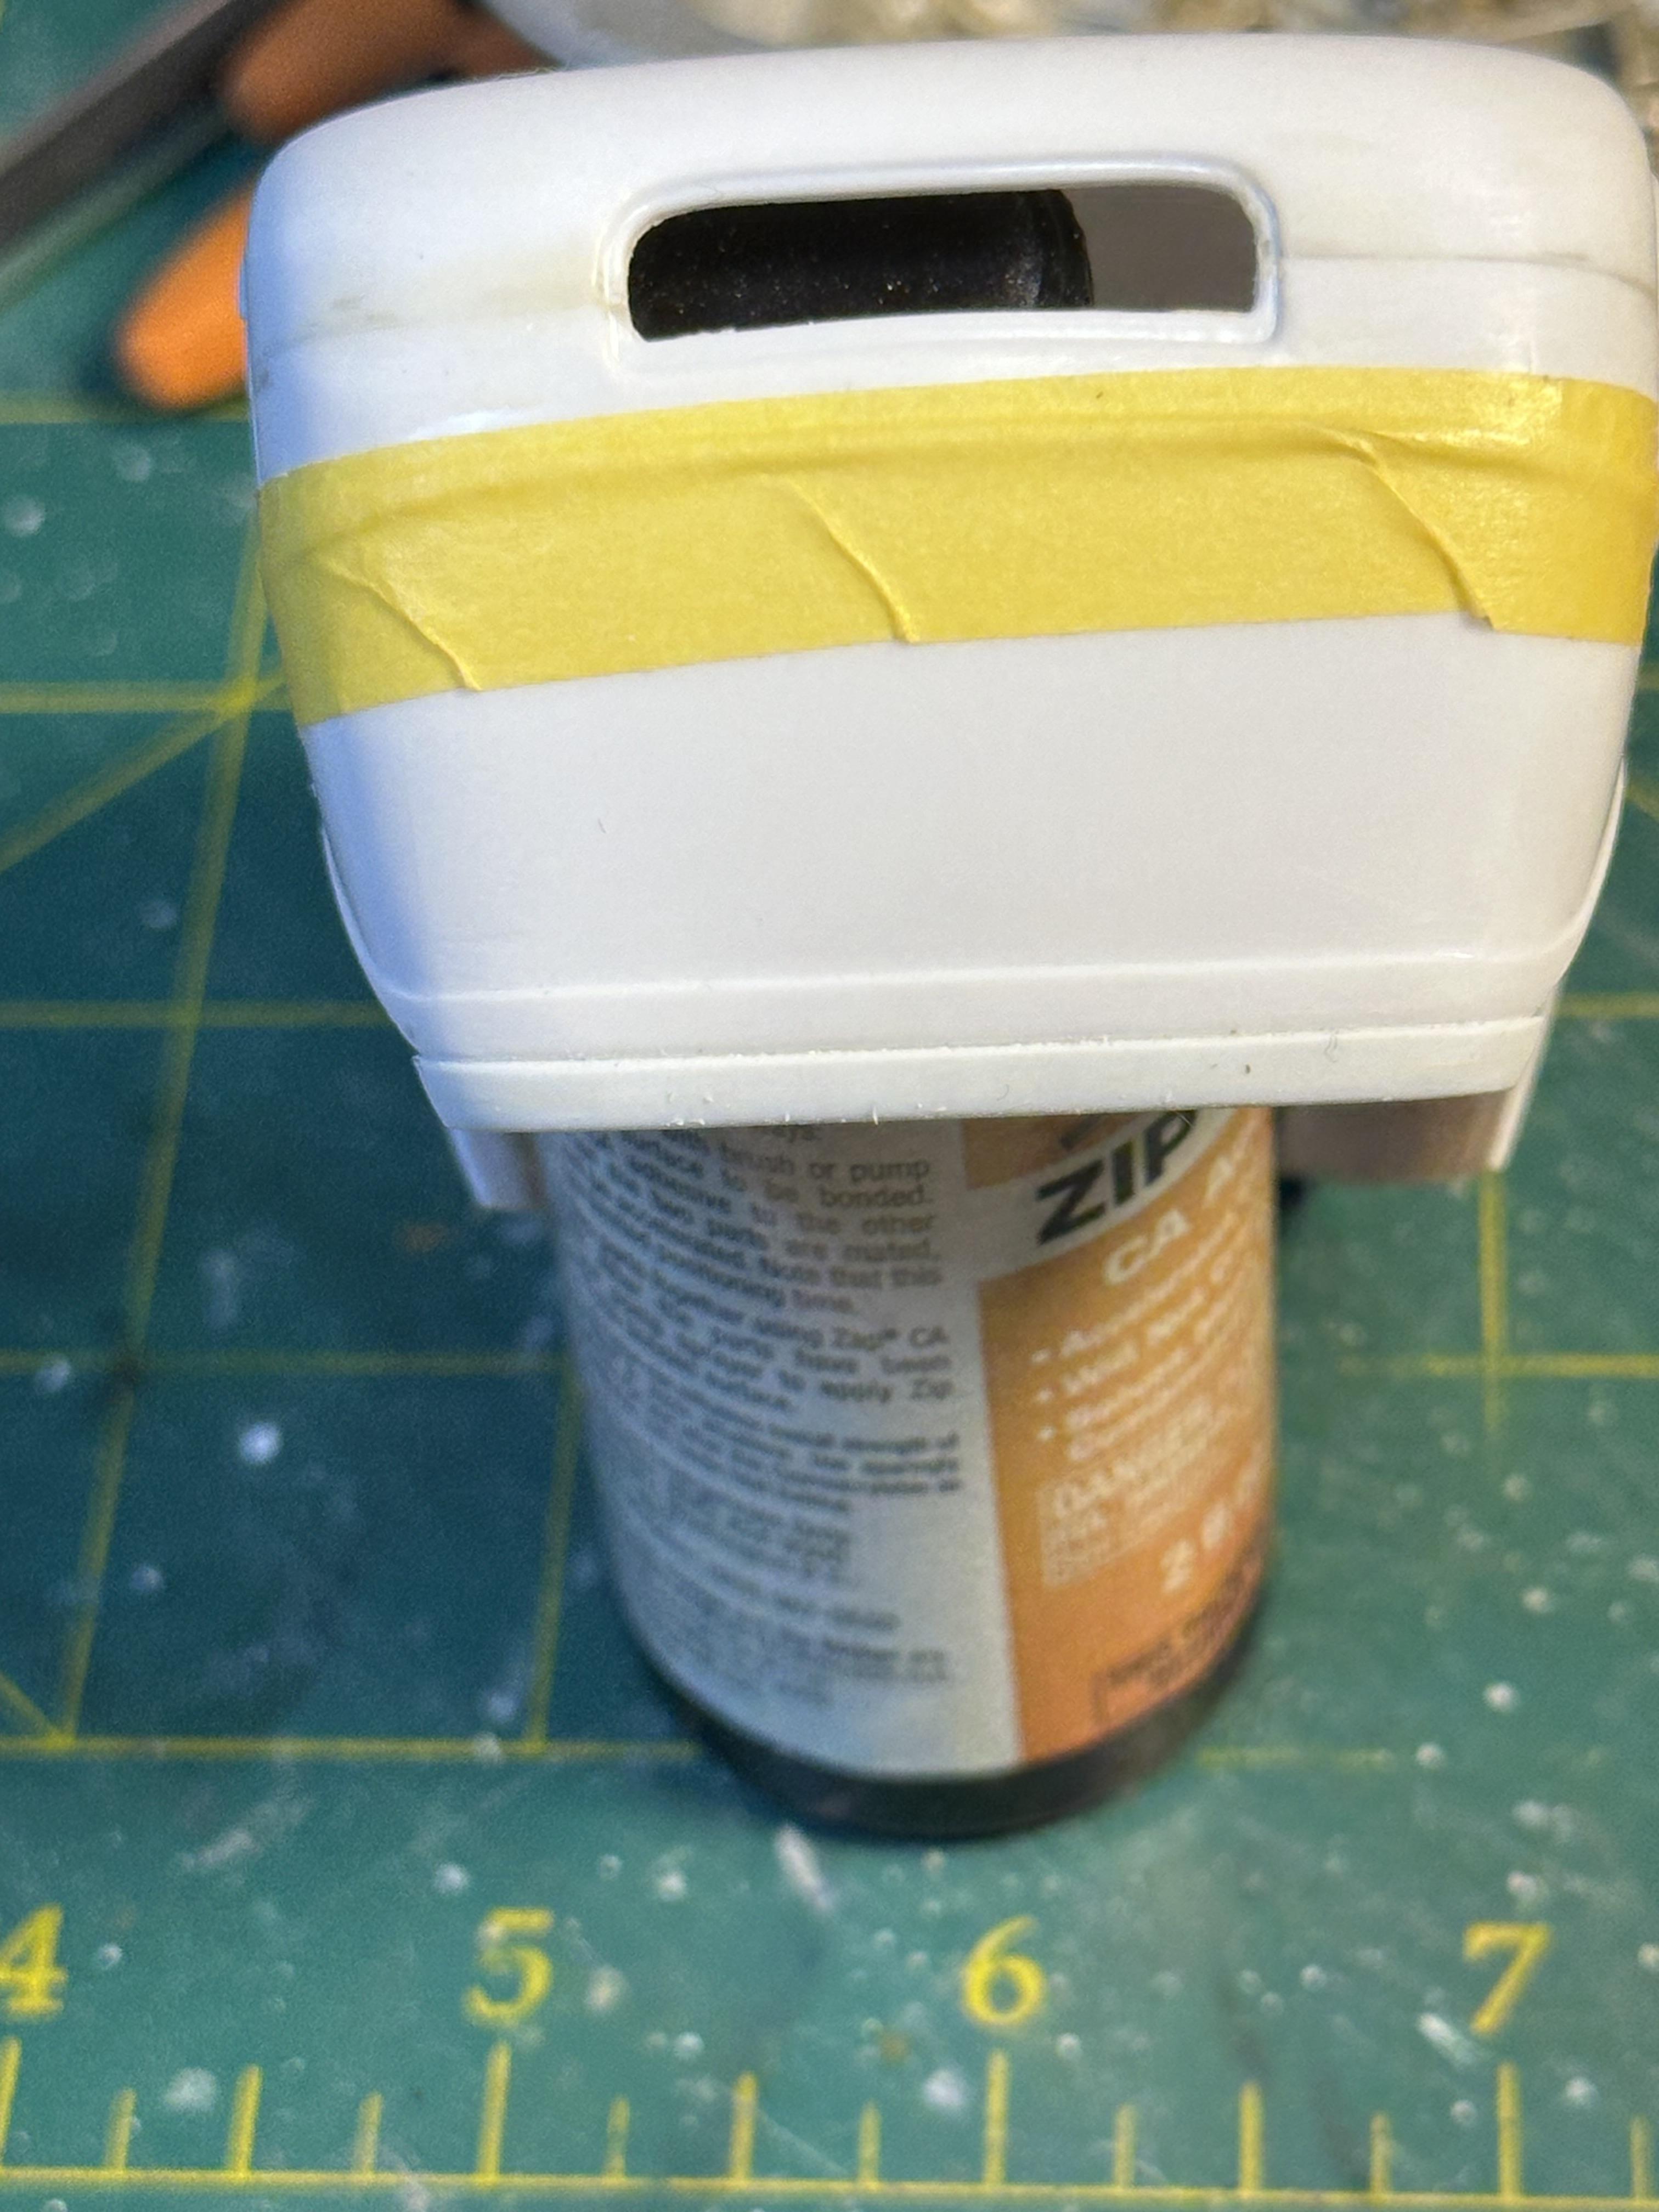
All of the above. The problem I have found with leaving paint in the gun is separation if metallic paint is used and congealed bit hanging around the nozzle can find their way into your paint. You don't have to do a full clean out between coats but spraying some thinners through the airbrush and a wipe down of the nozzle with a larger modelling brush with clen thinners is usually enough. By the way you don't need to use Tamiya lacquer thinners with their acrylics as hardware store lacquer thinners is just fine. I believe you cant get lacquer thinners in all states in the US. I have heard from the plane guys that IPA works for Tamiya acrylic and lacquer paints too -
Kit - what an outrageous build I vote for the wires with the big and bigger white walls. Pity the rears weren't a bit fatter
-
Looking good. Yup black'n'red go together really well. Built a few of these over the years
-
Sorry original post should read "32 Tudor - Chopped'' Cheers Bill-e-boy
-
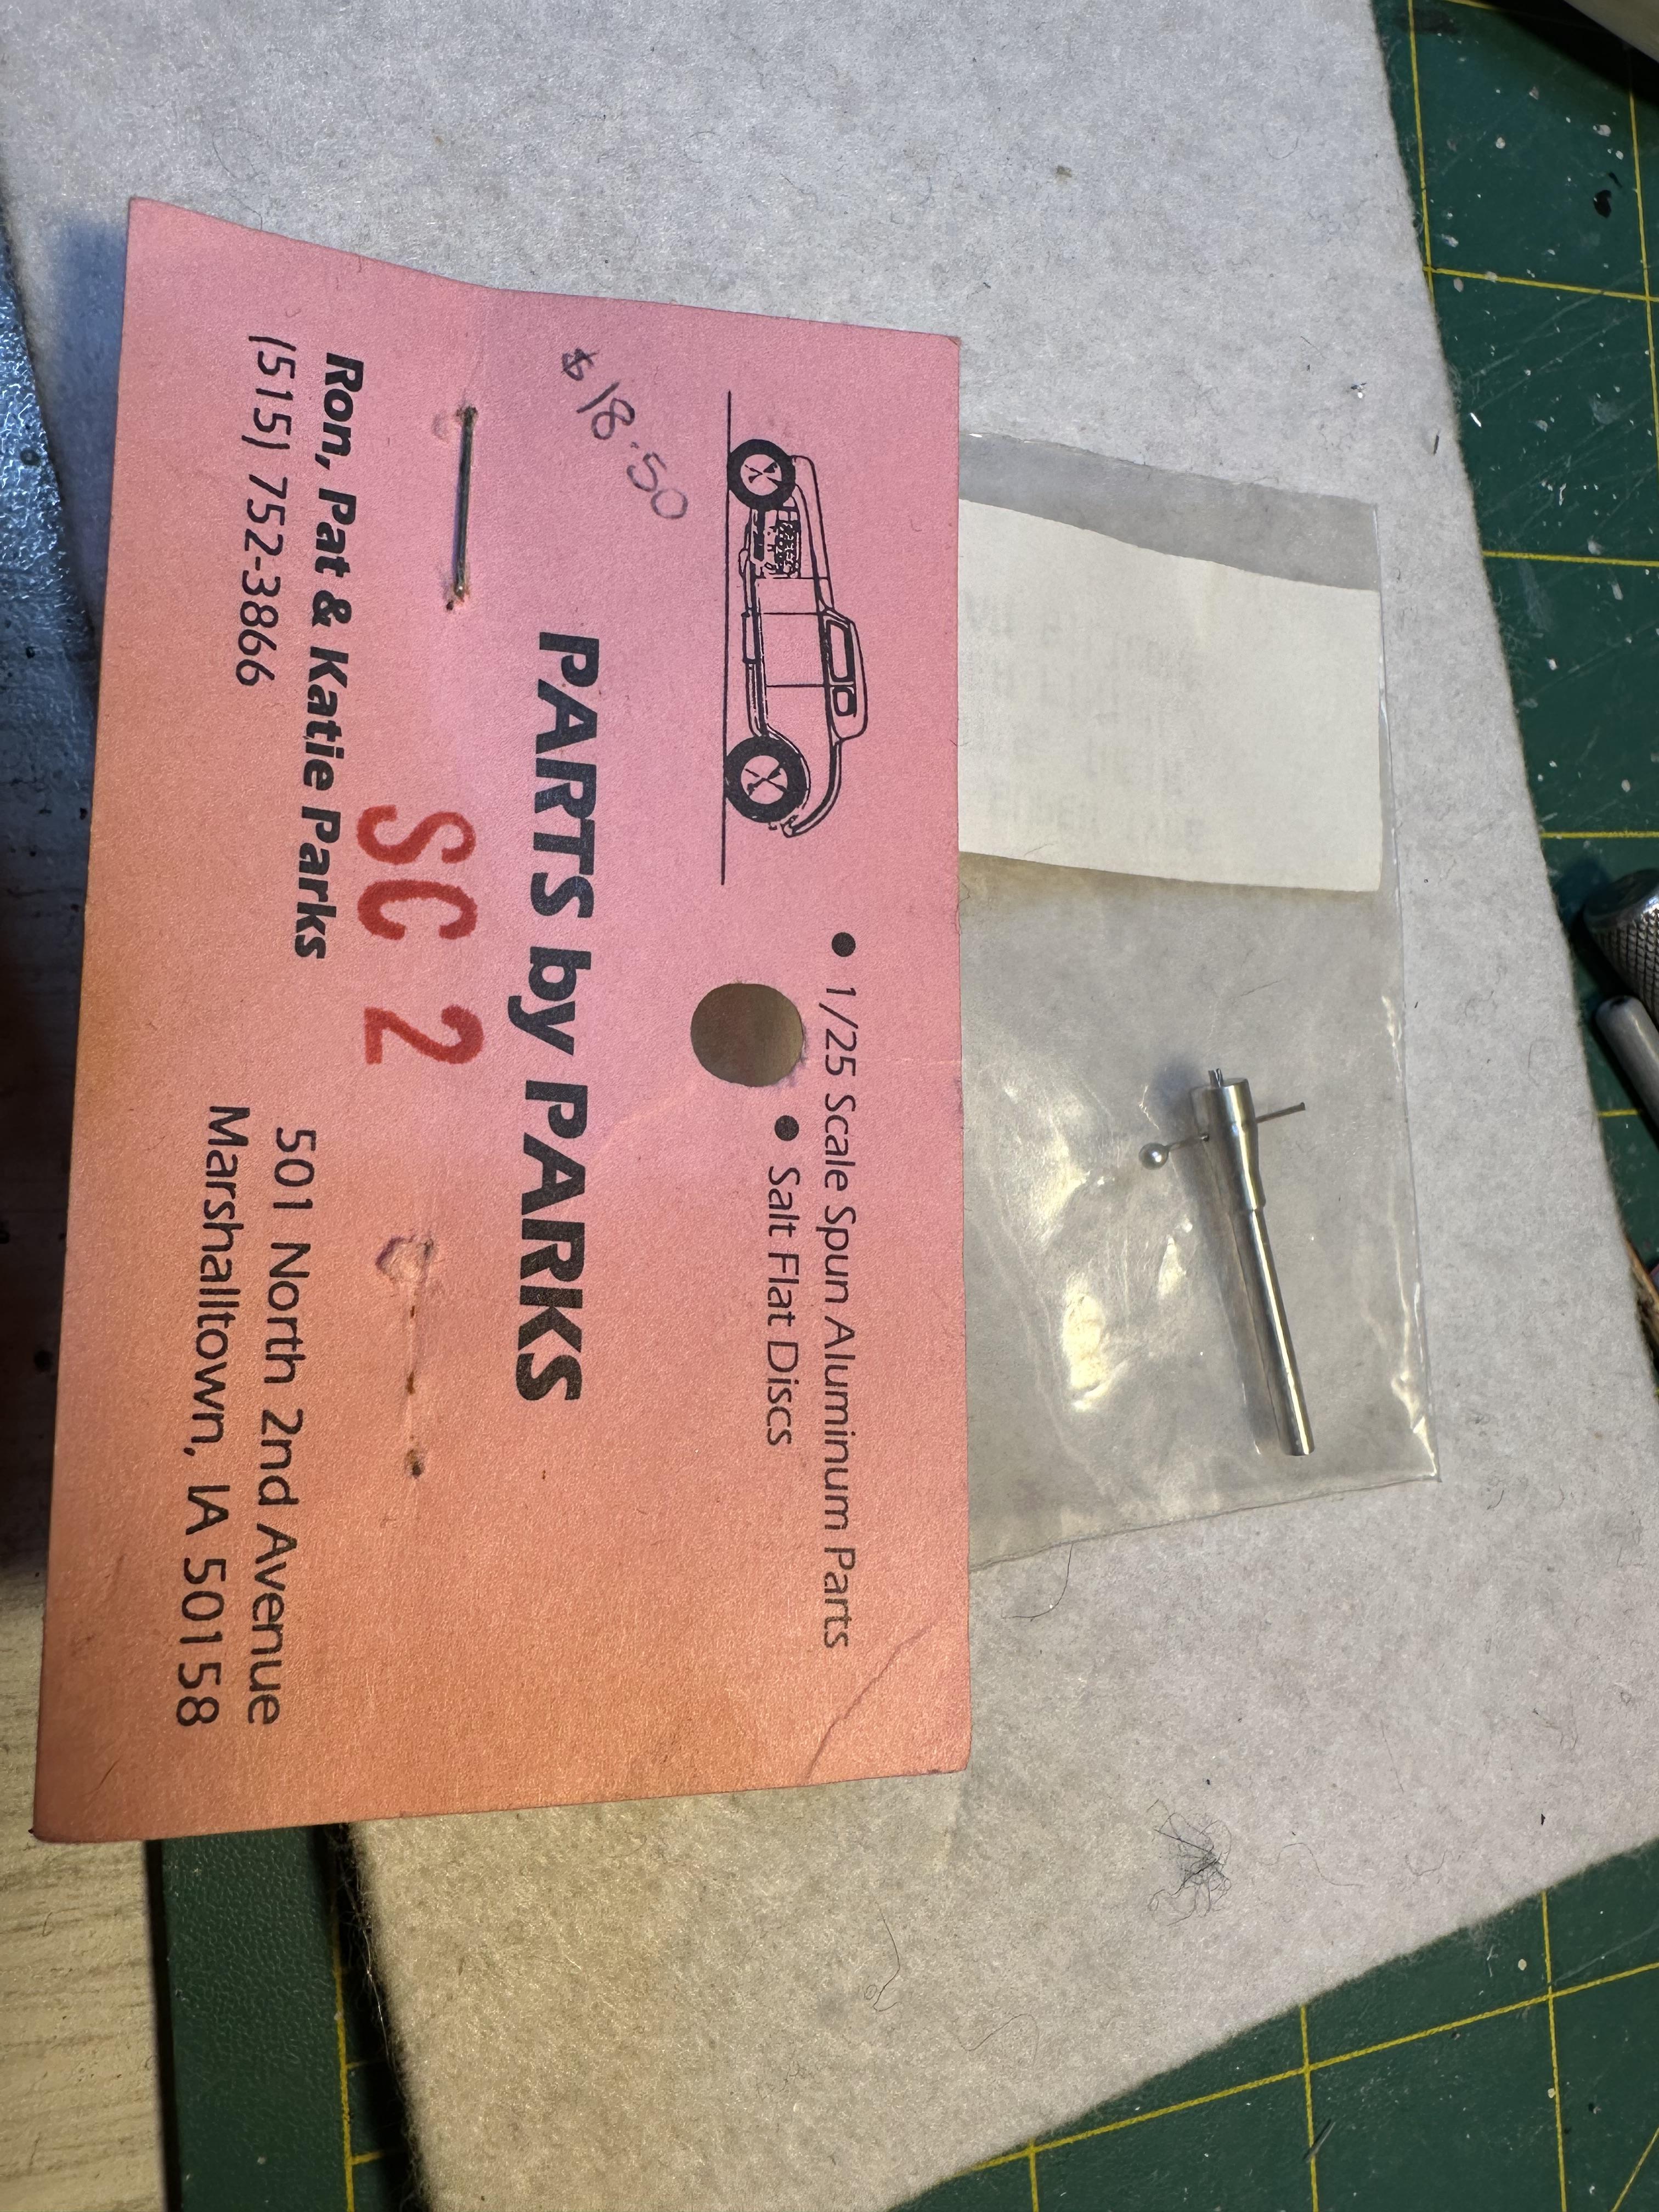
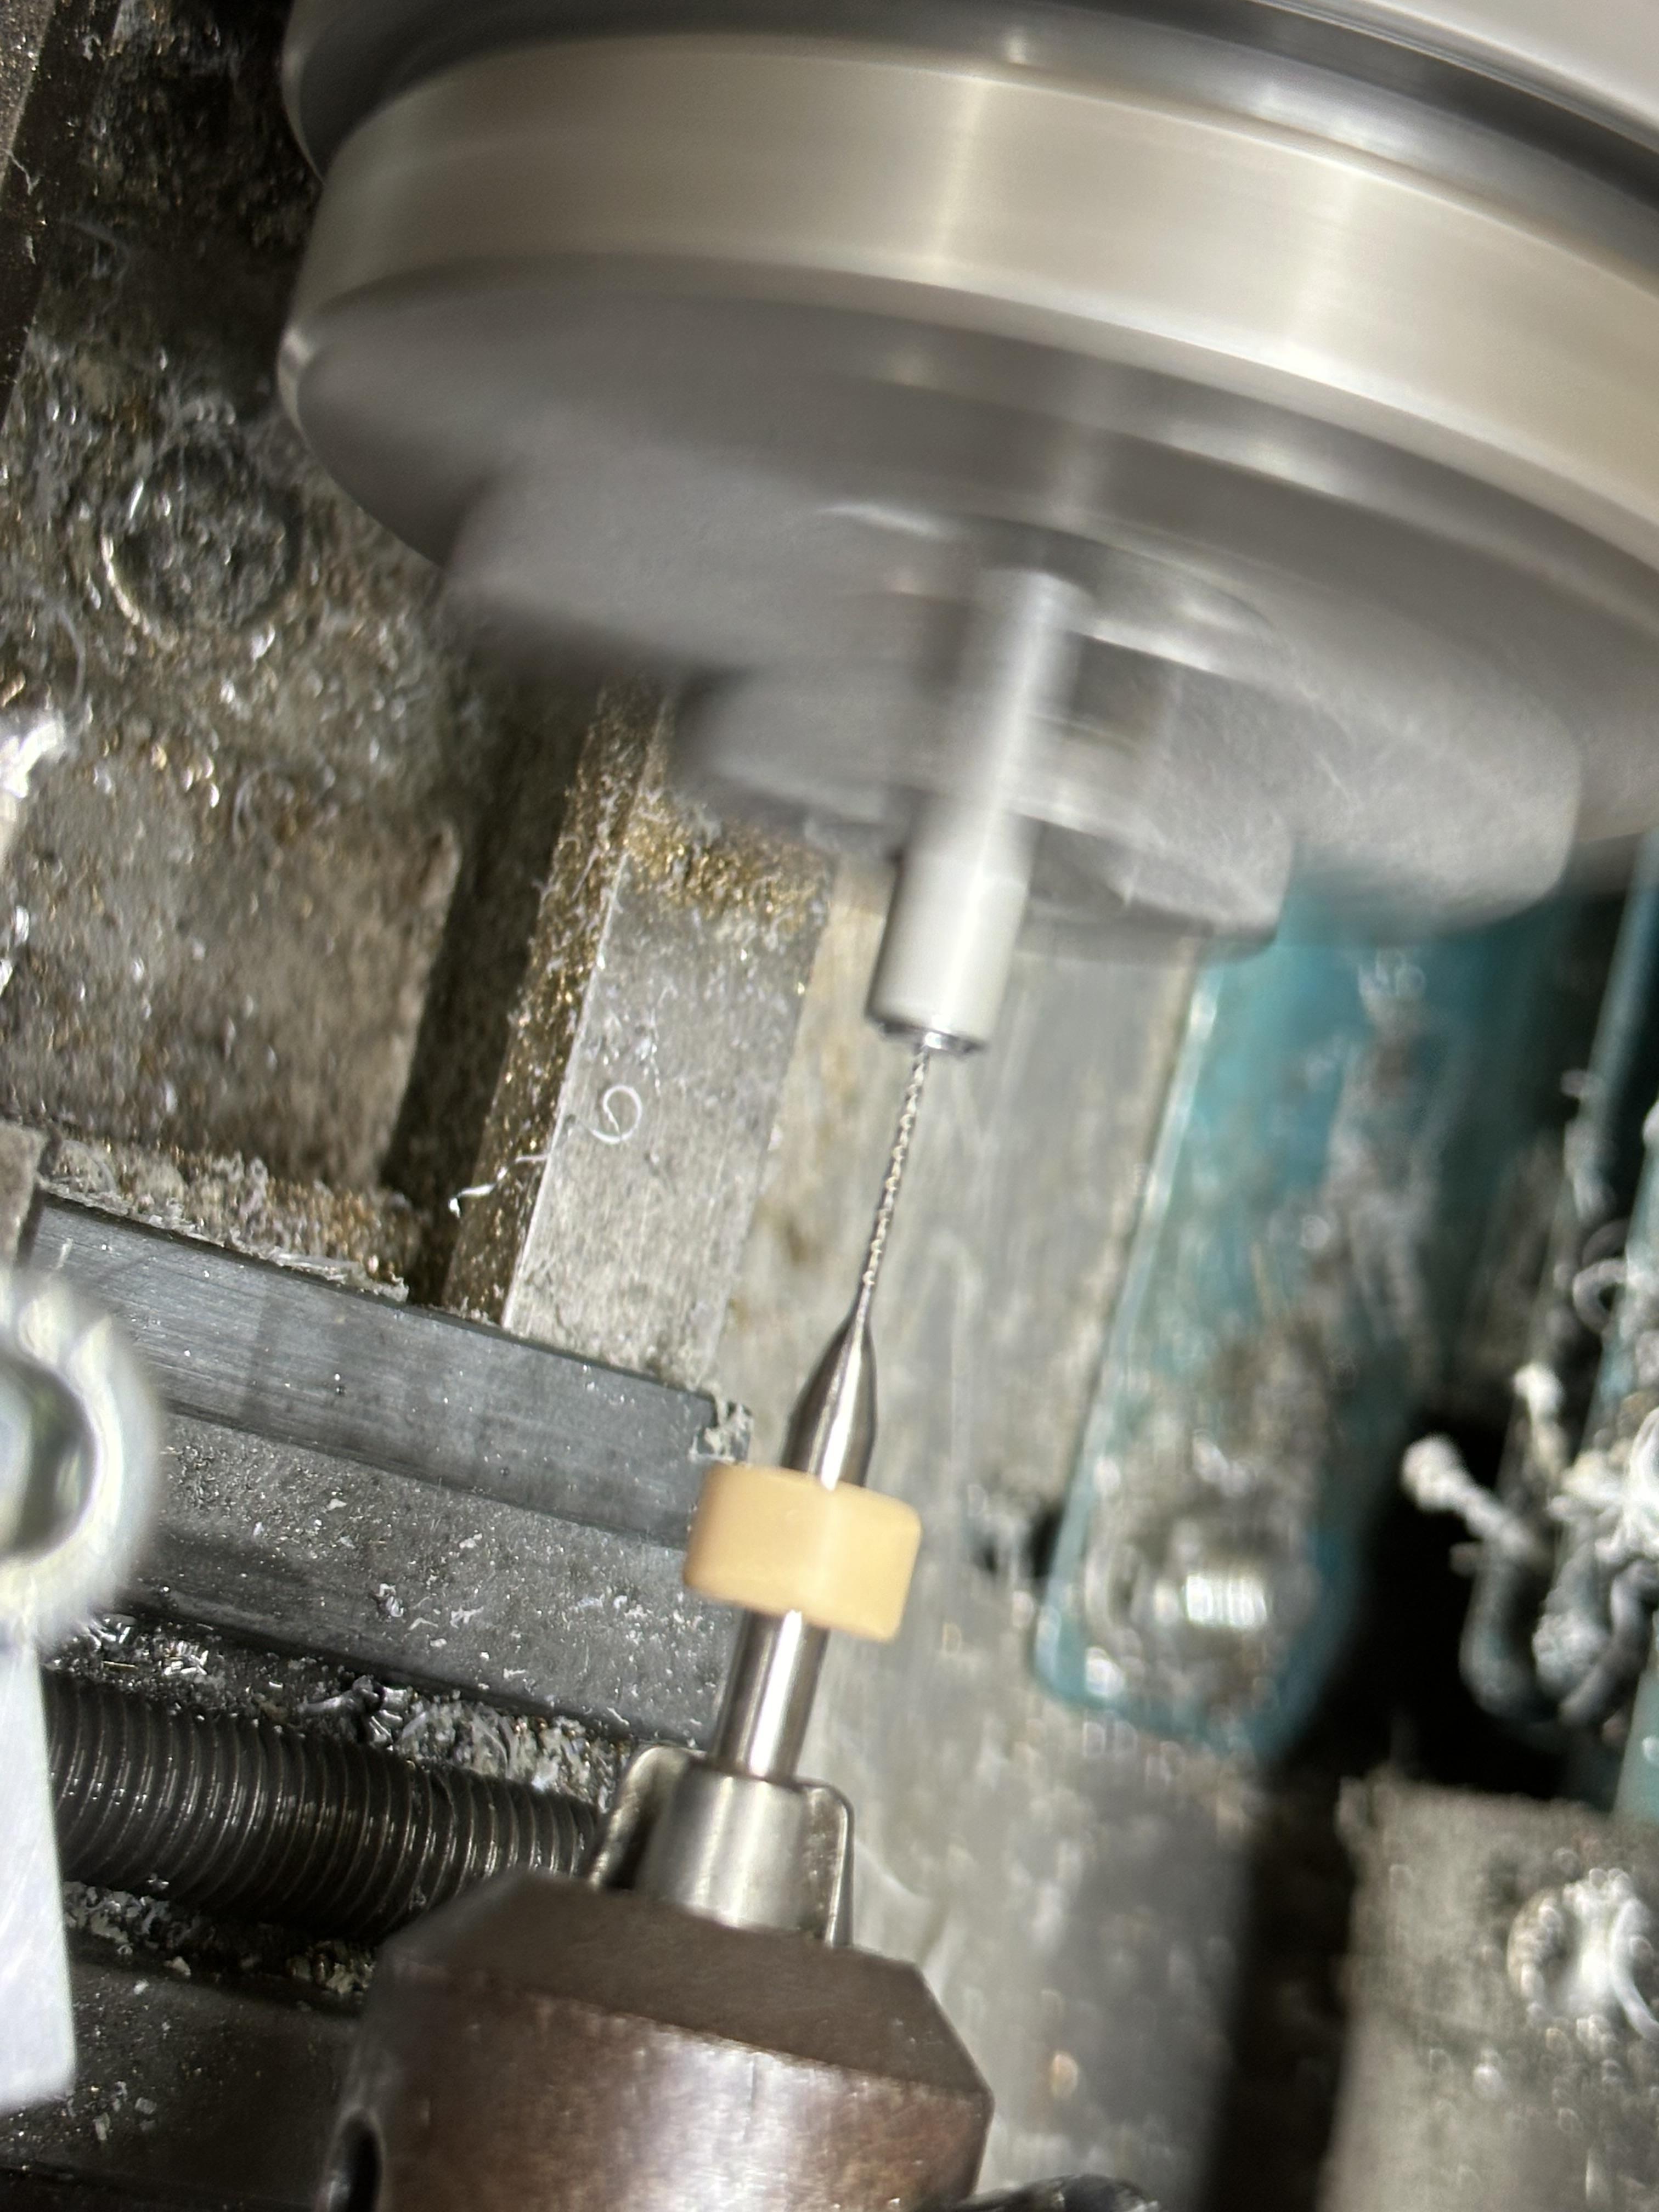
Been beavering away at my build. I have had two model shows in two weekends so thing have slowed a bit Rear seats tubbed and interior now in paint I have done some work on a Parts by Parks steering column by replacing the blobby gear lever with a new unit with a turned tapered indicator knob And I have replaced the Vicky brake booster with a new unit turned up in my lathe. The original just did not look good after I cut it away from the chassis X-member Other work happening so if you want an update of more work be sure to check my original post - "32 Sedan - Chopped"
-
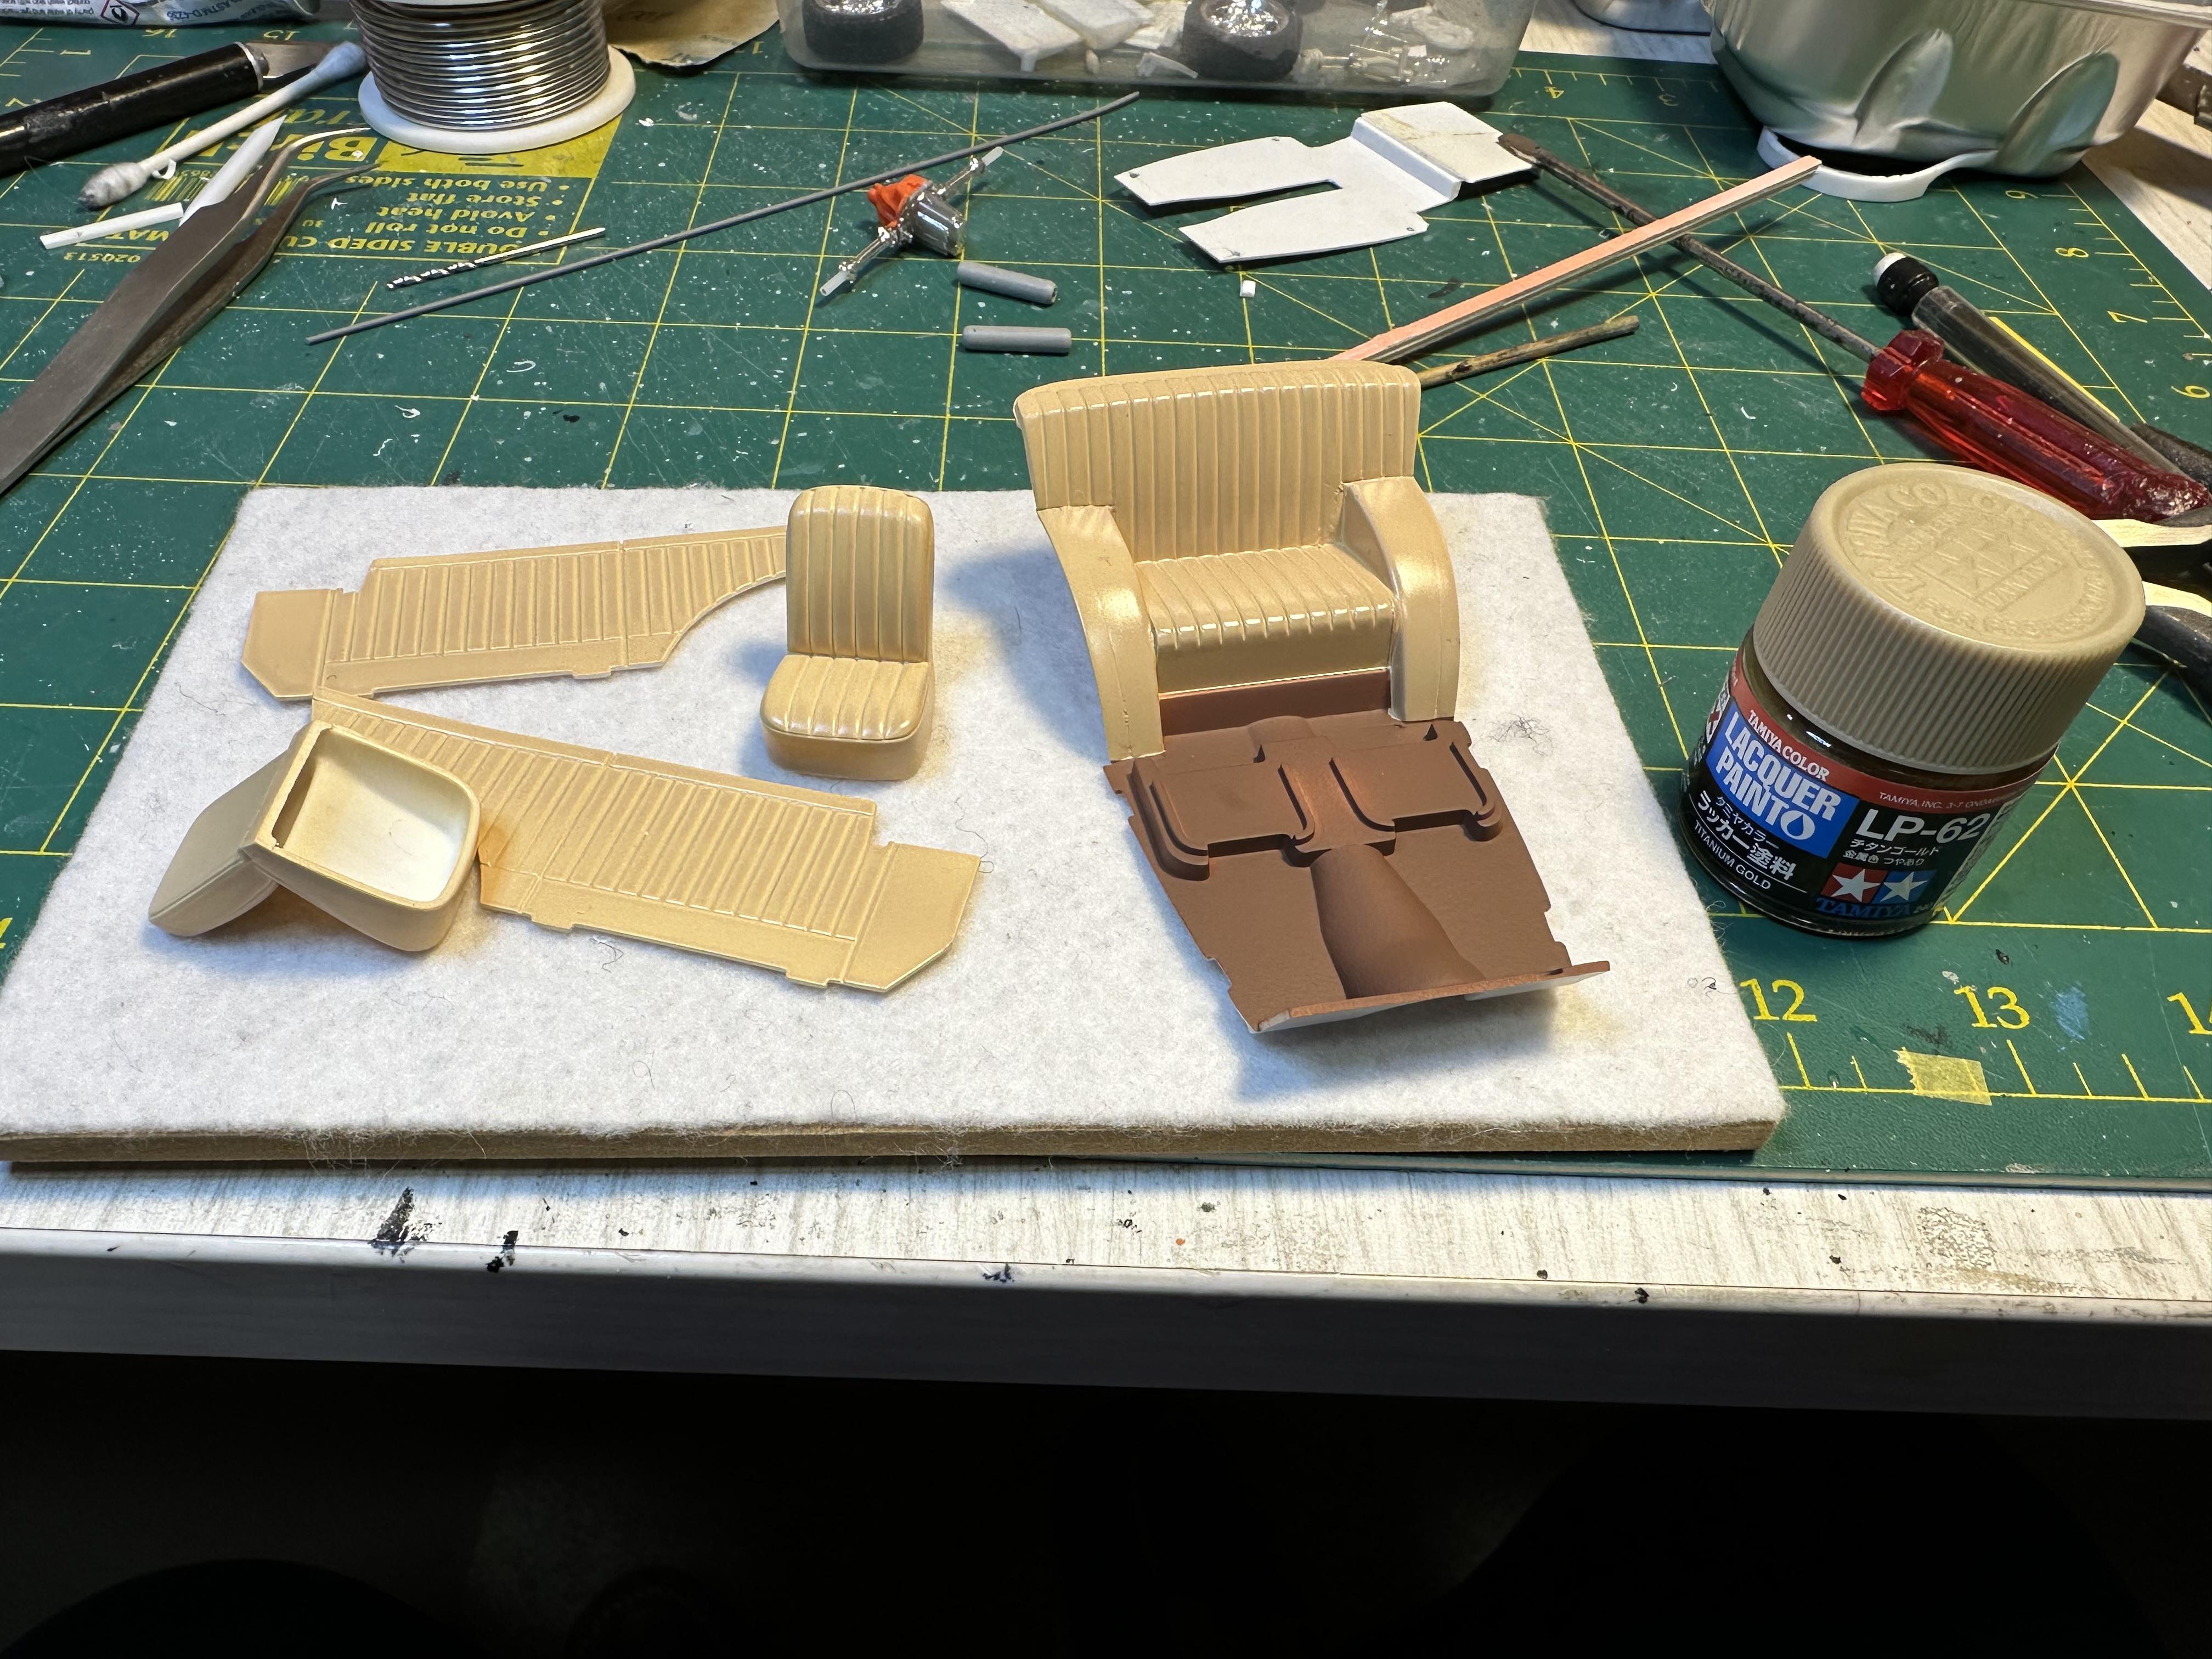
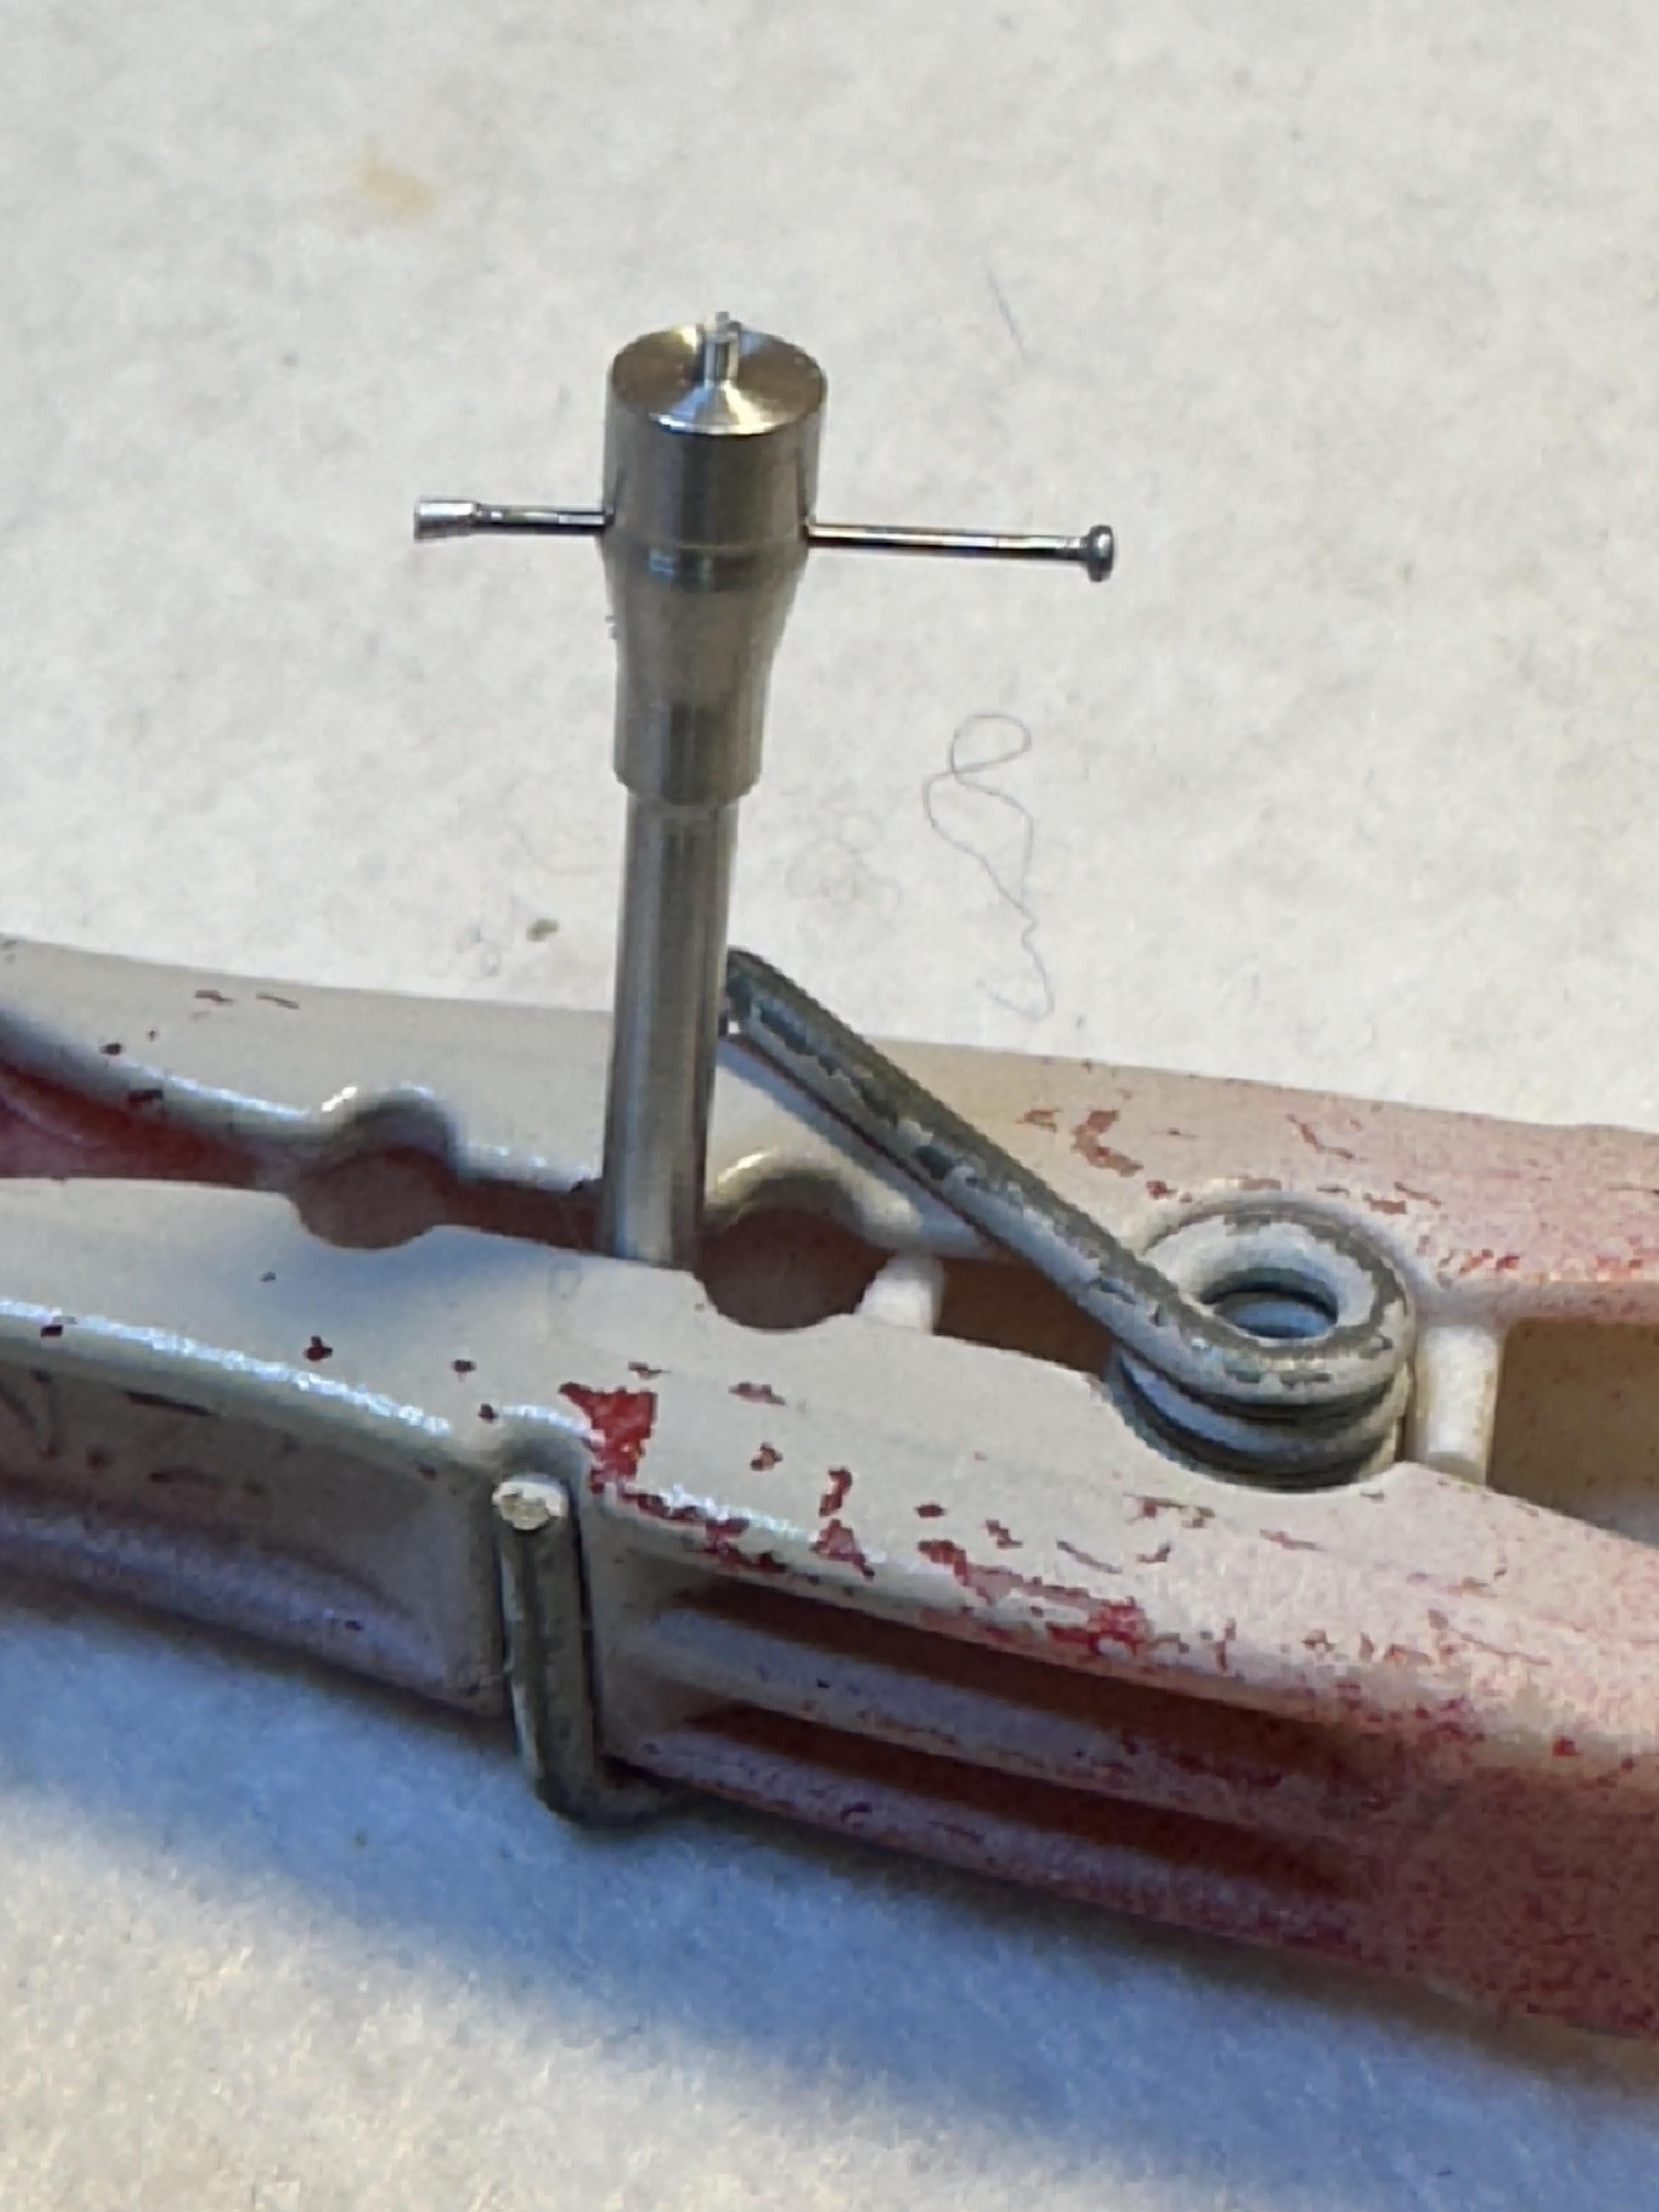
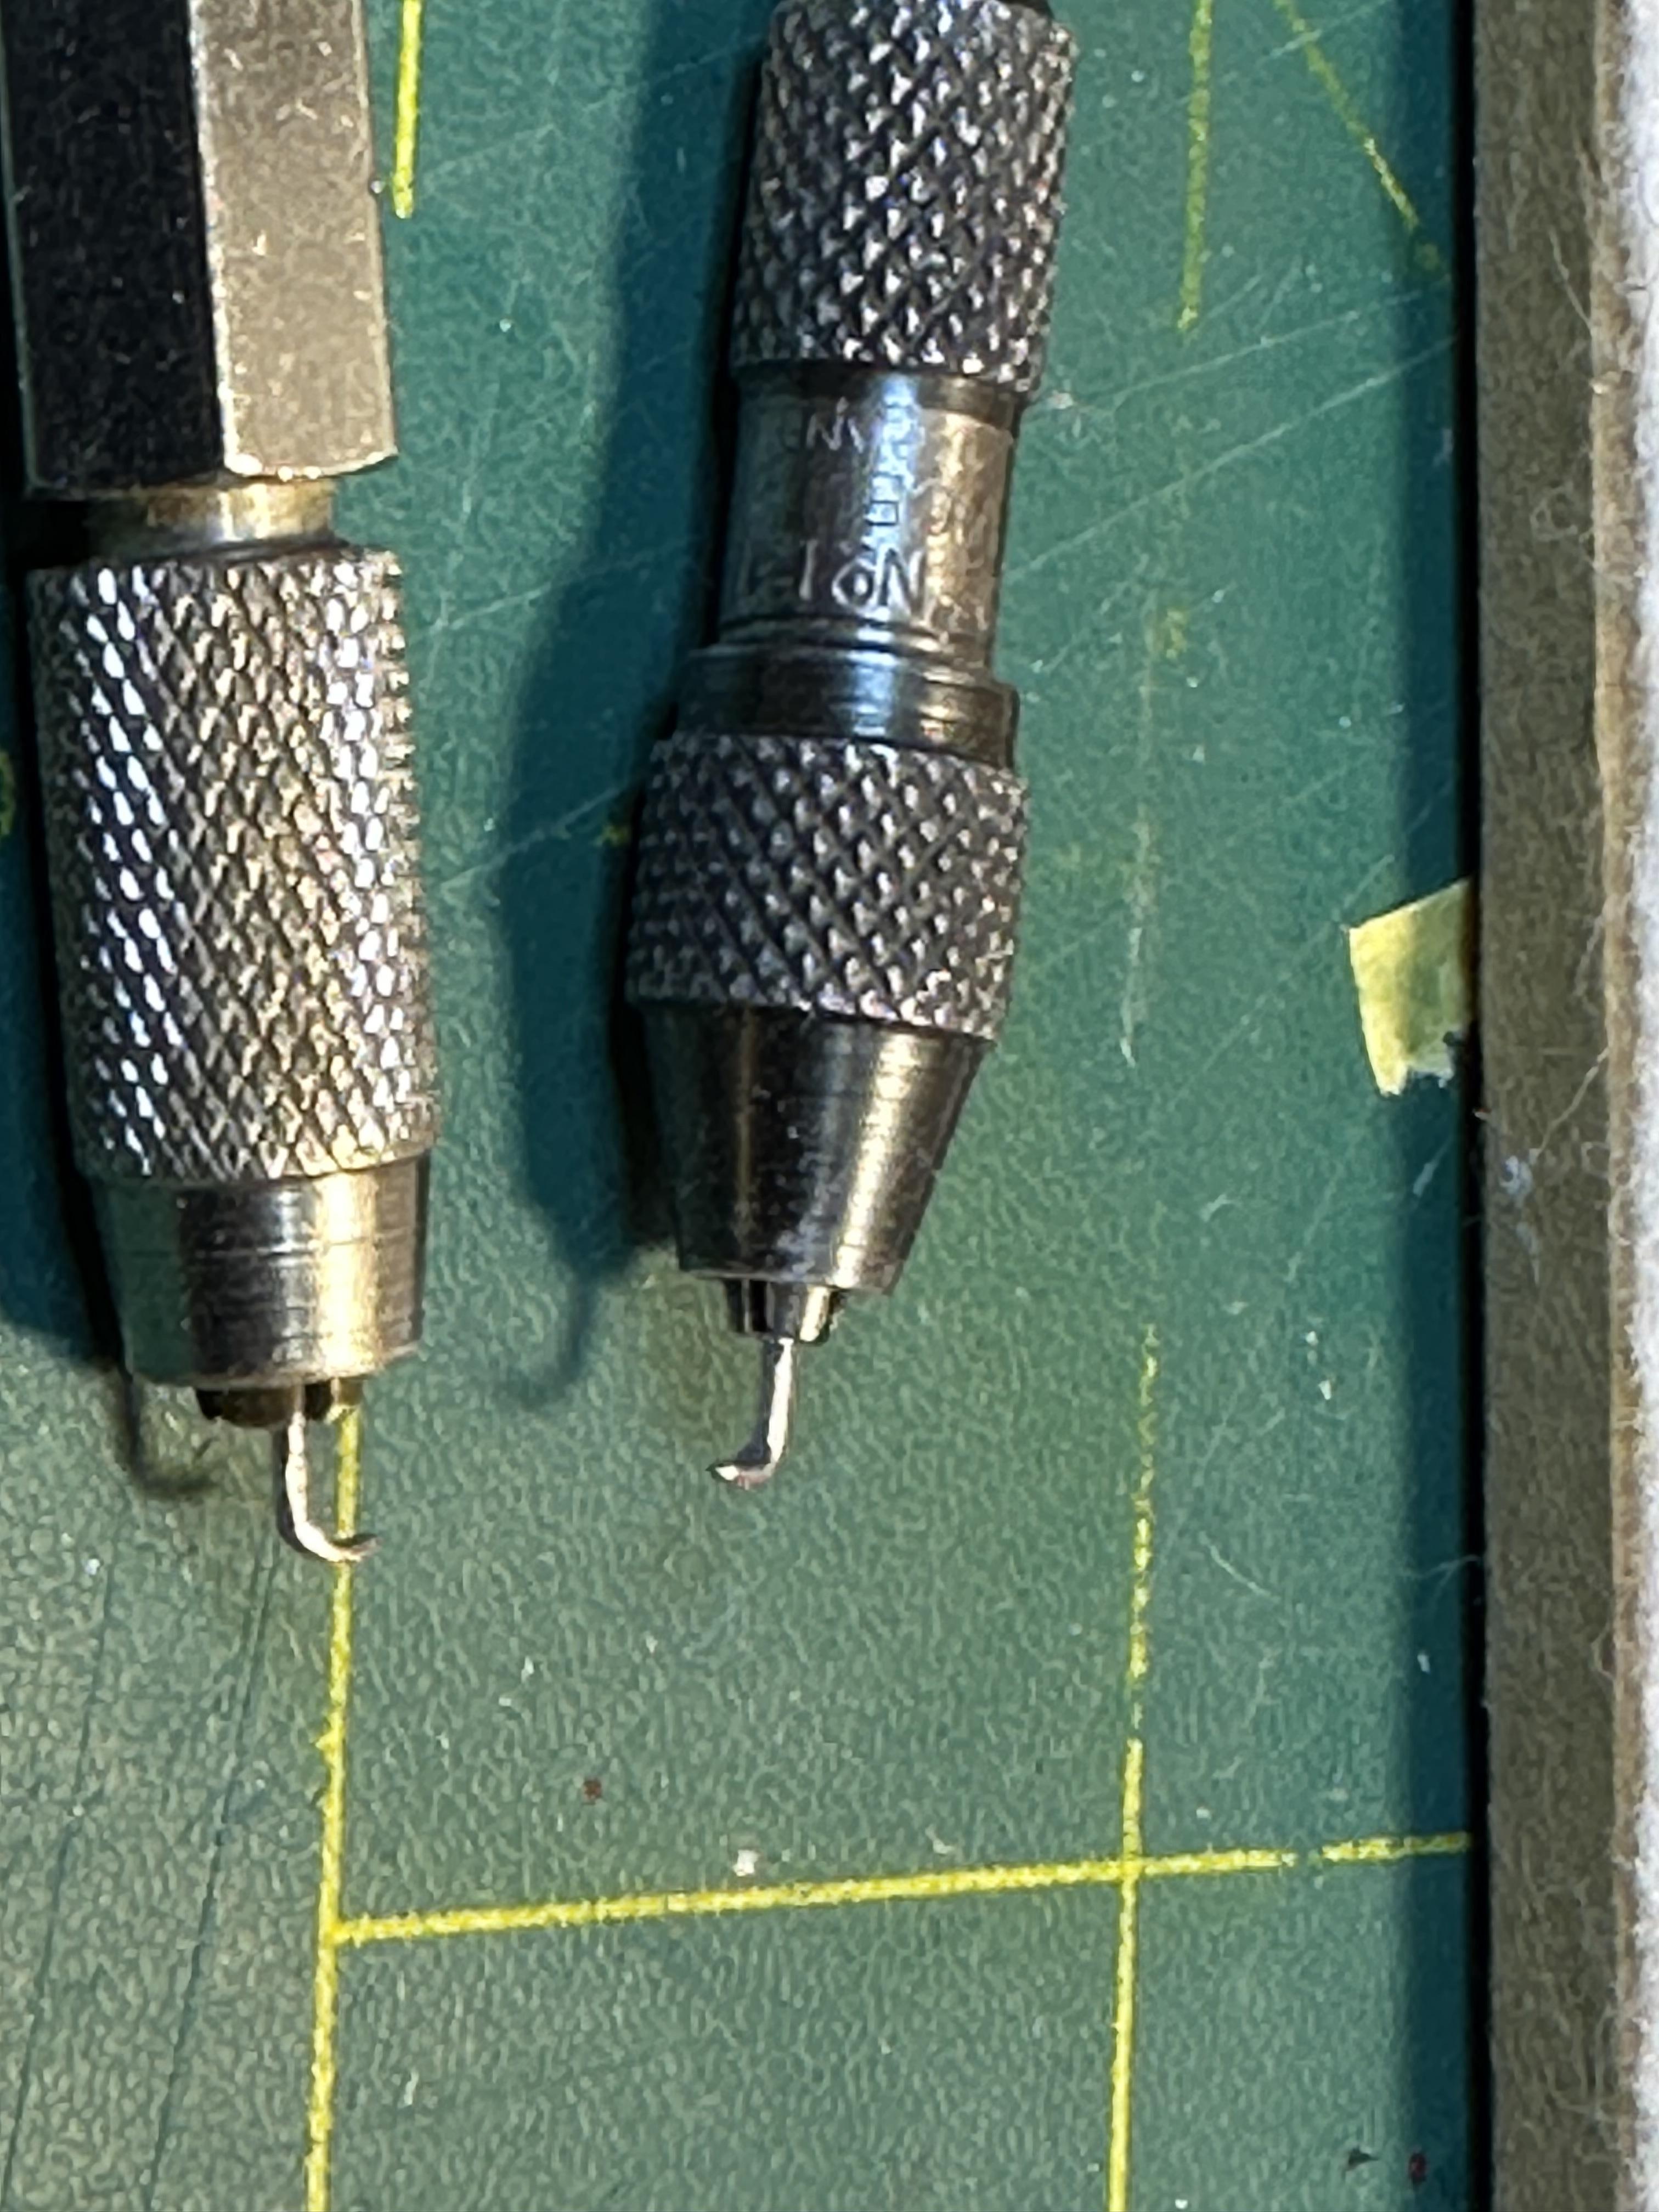
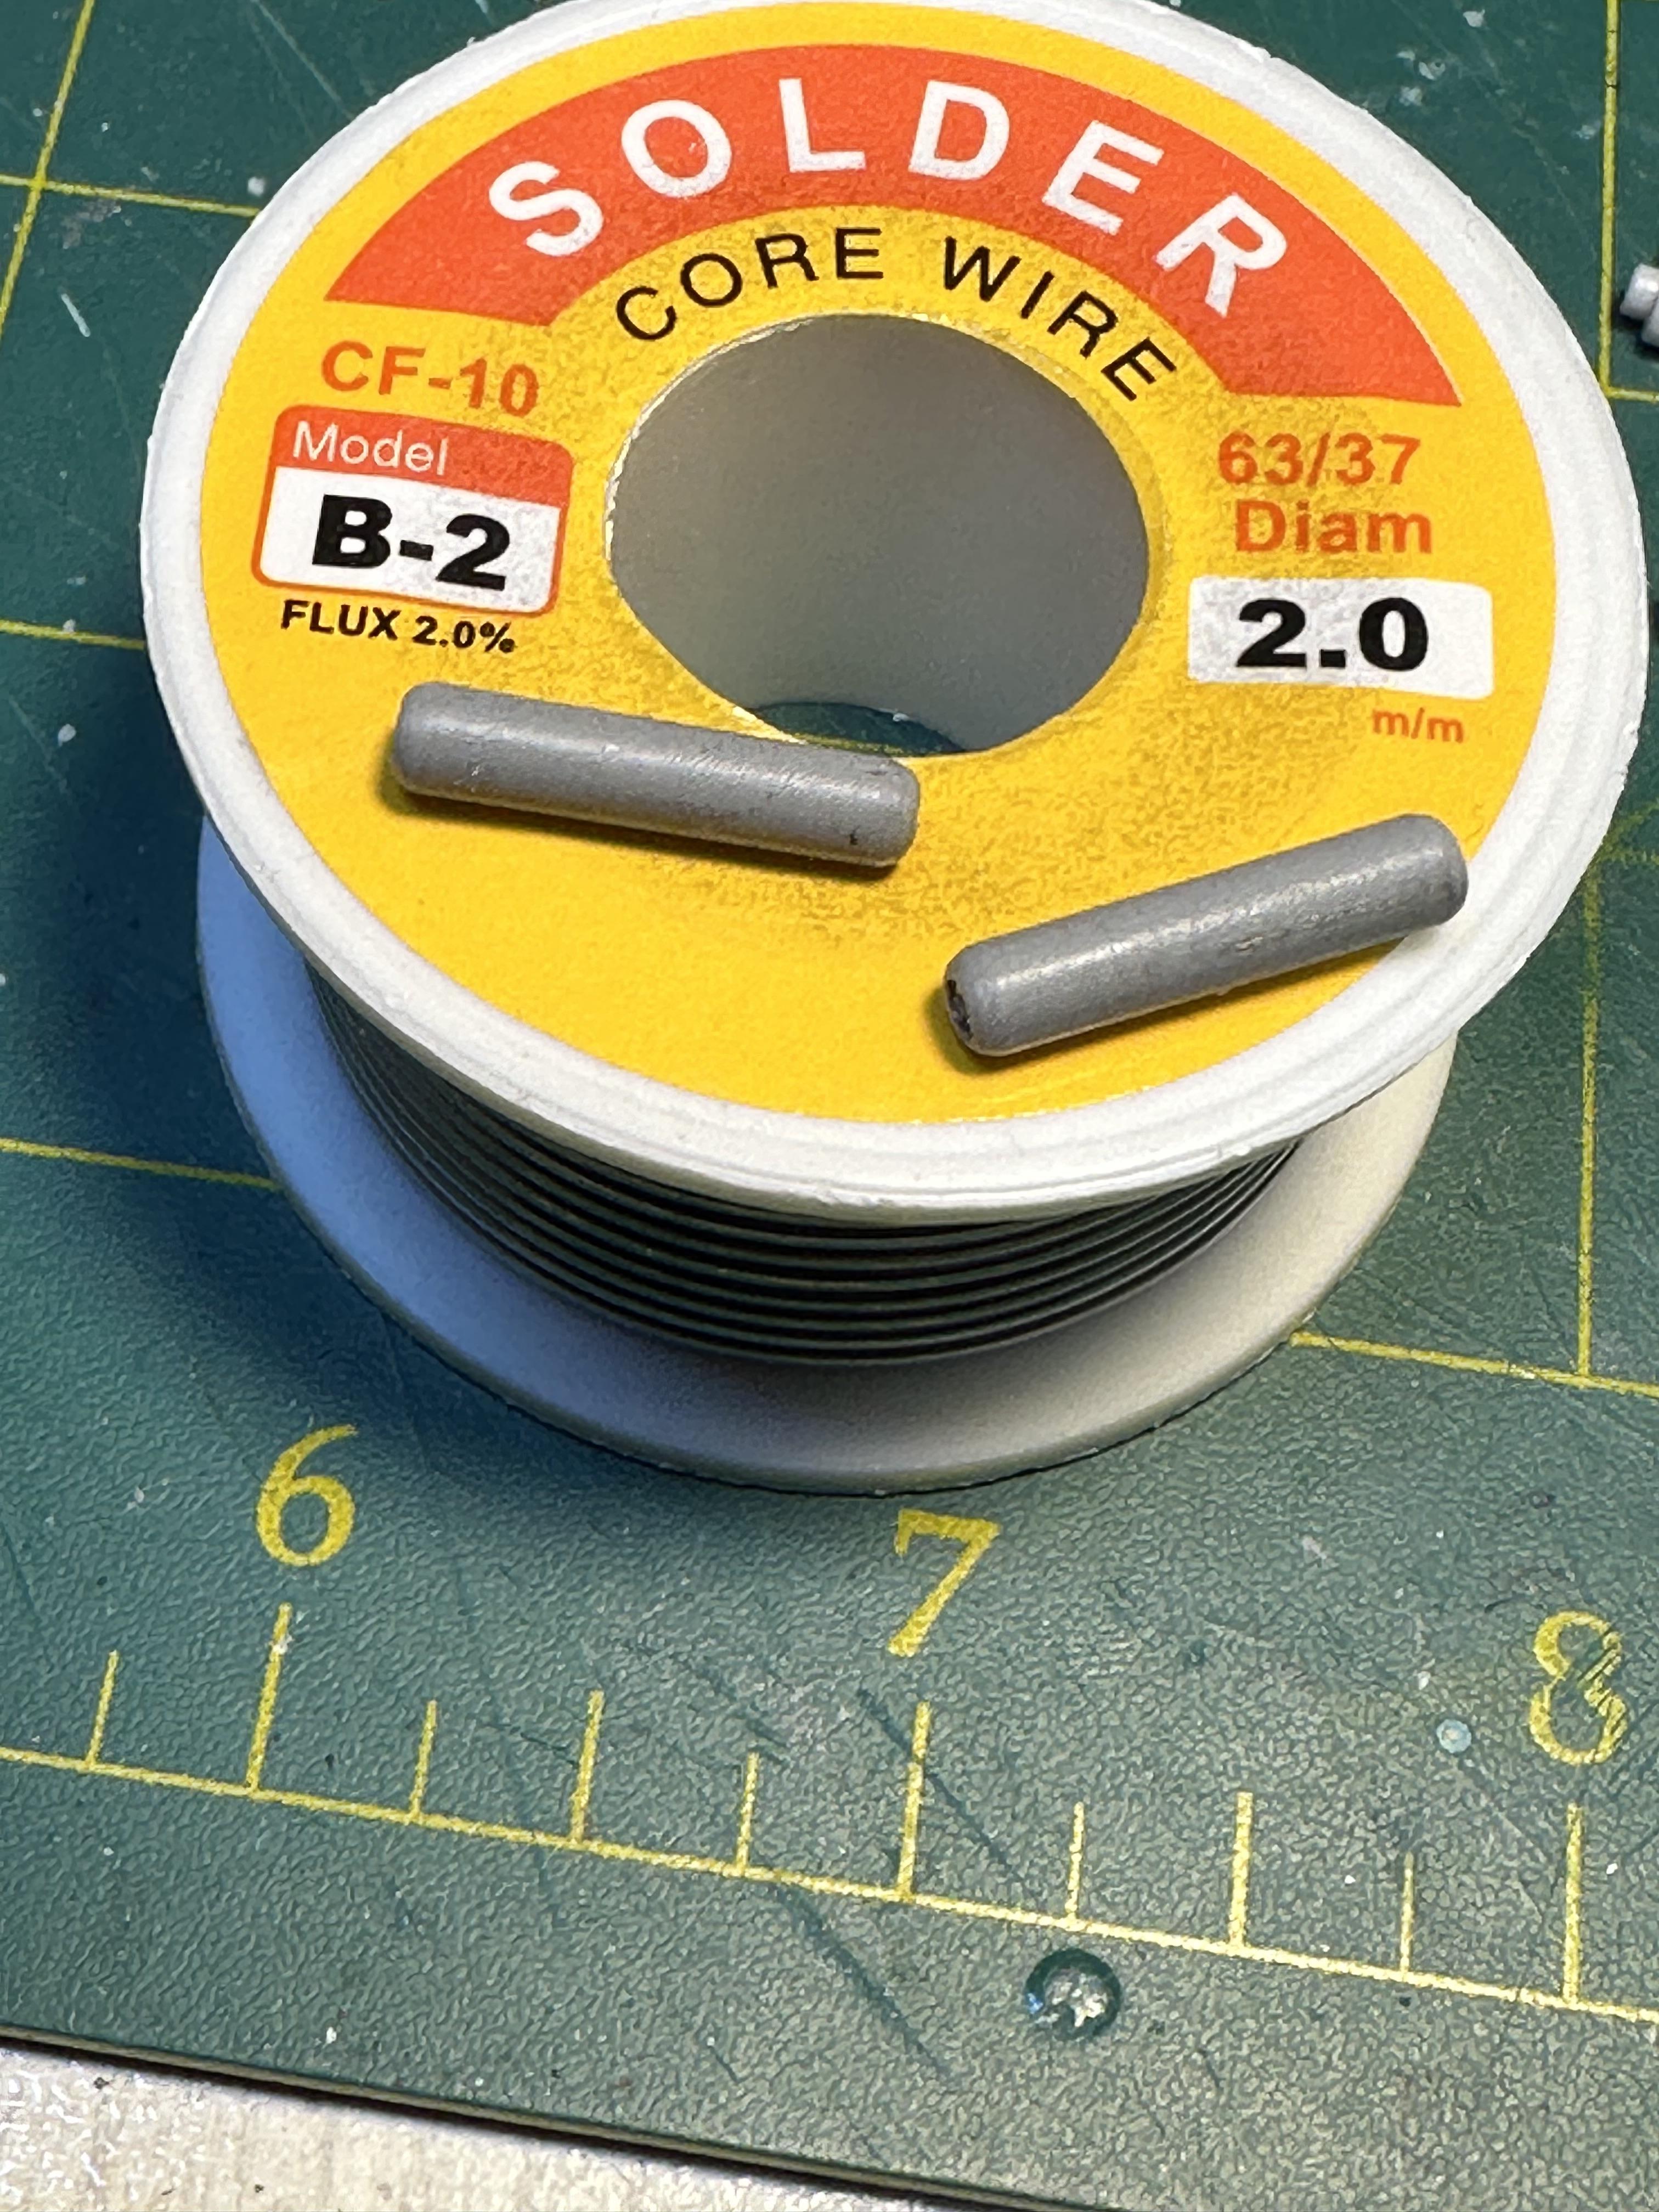
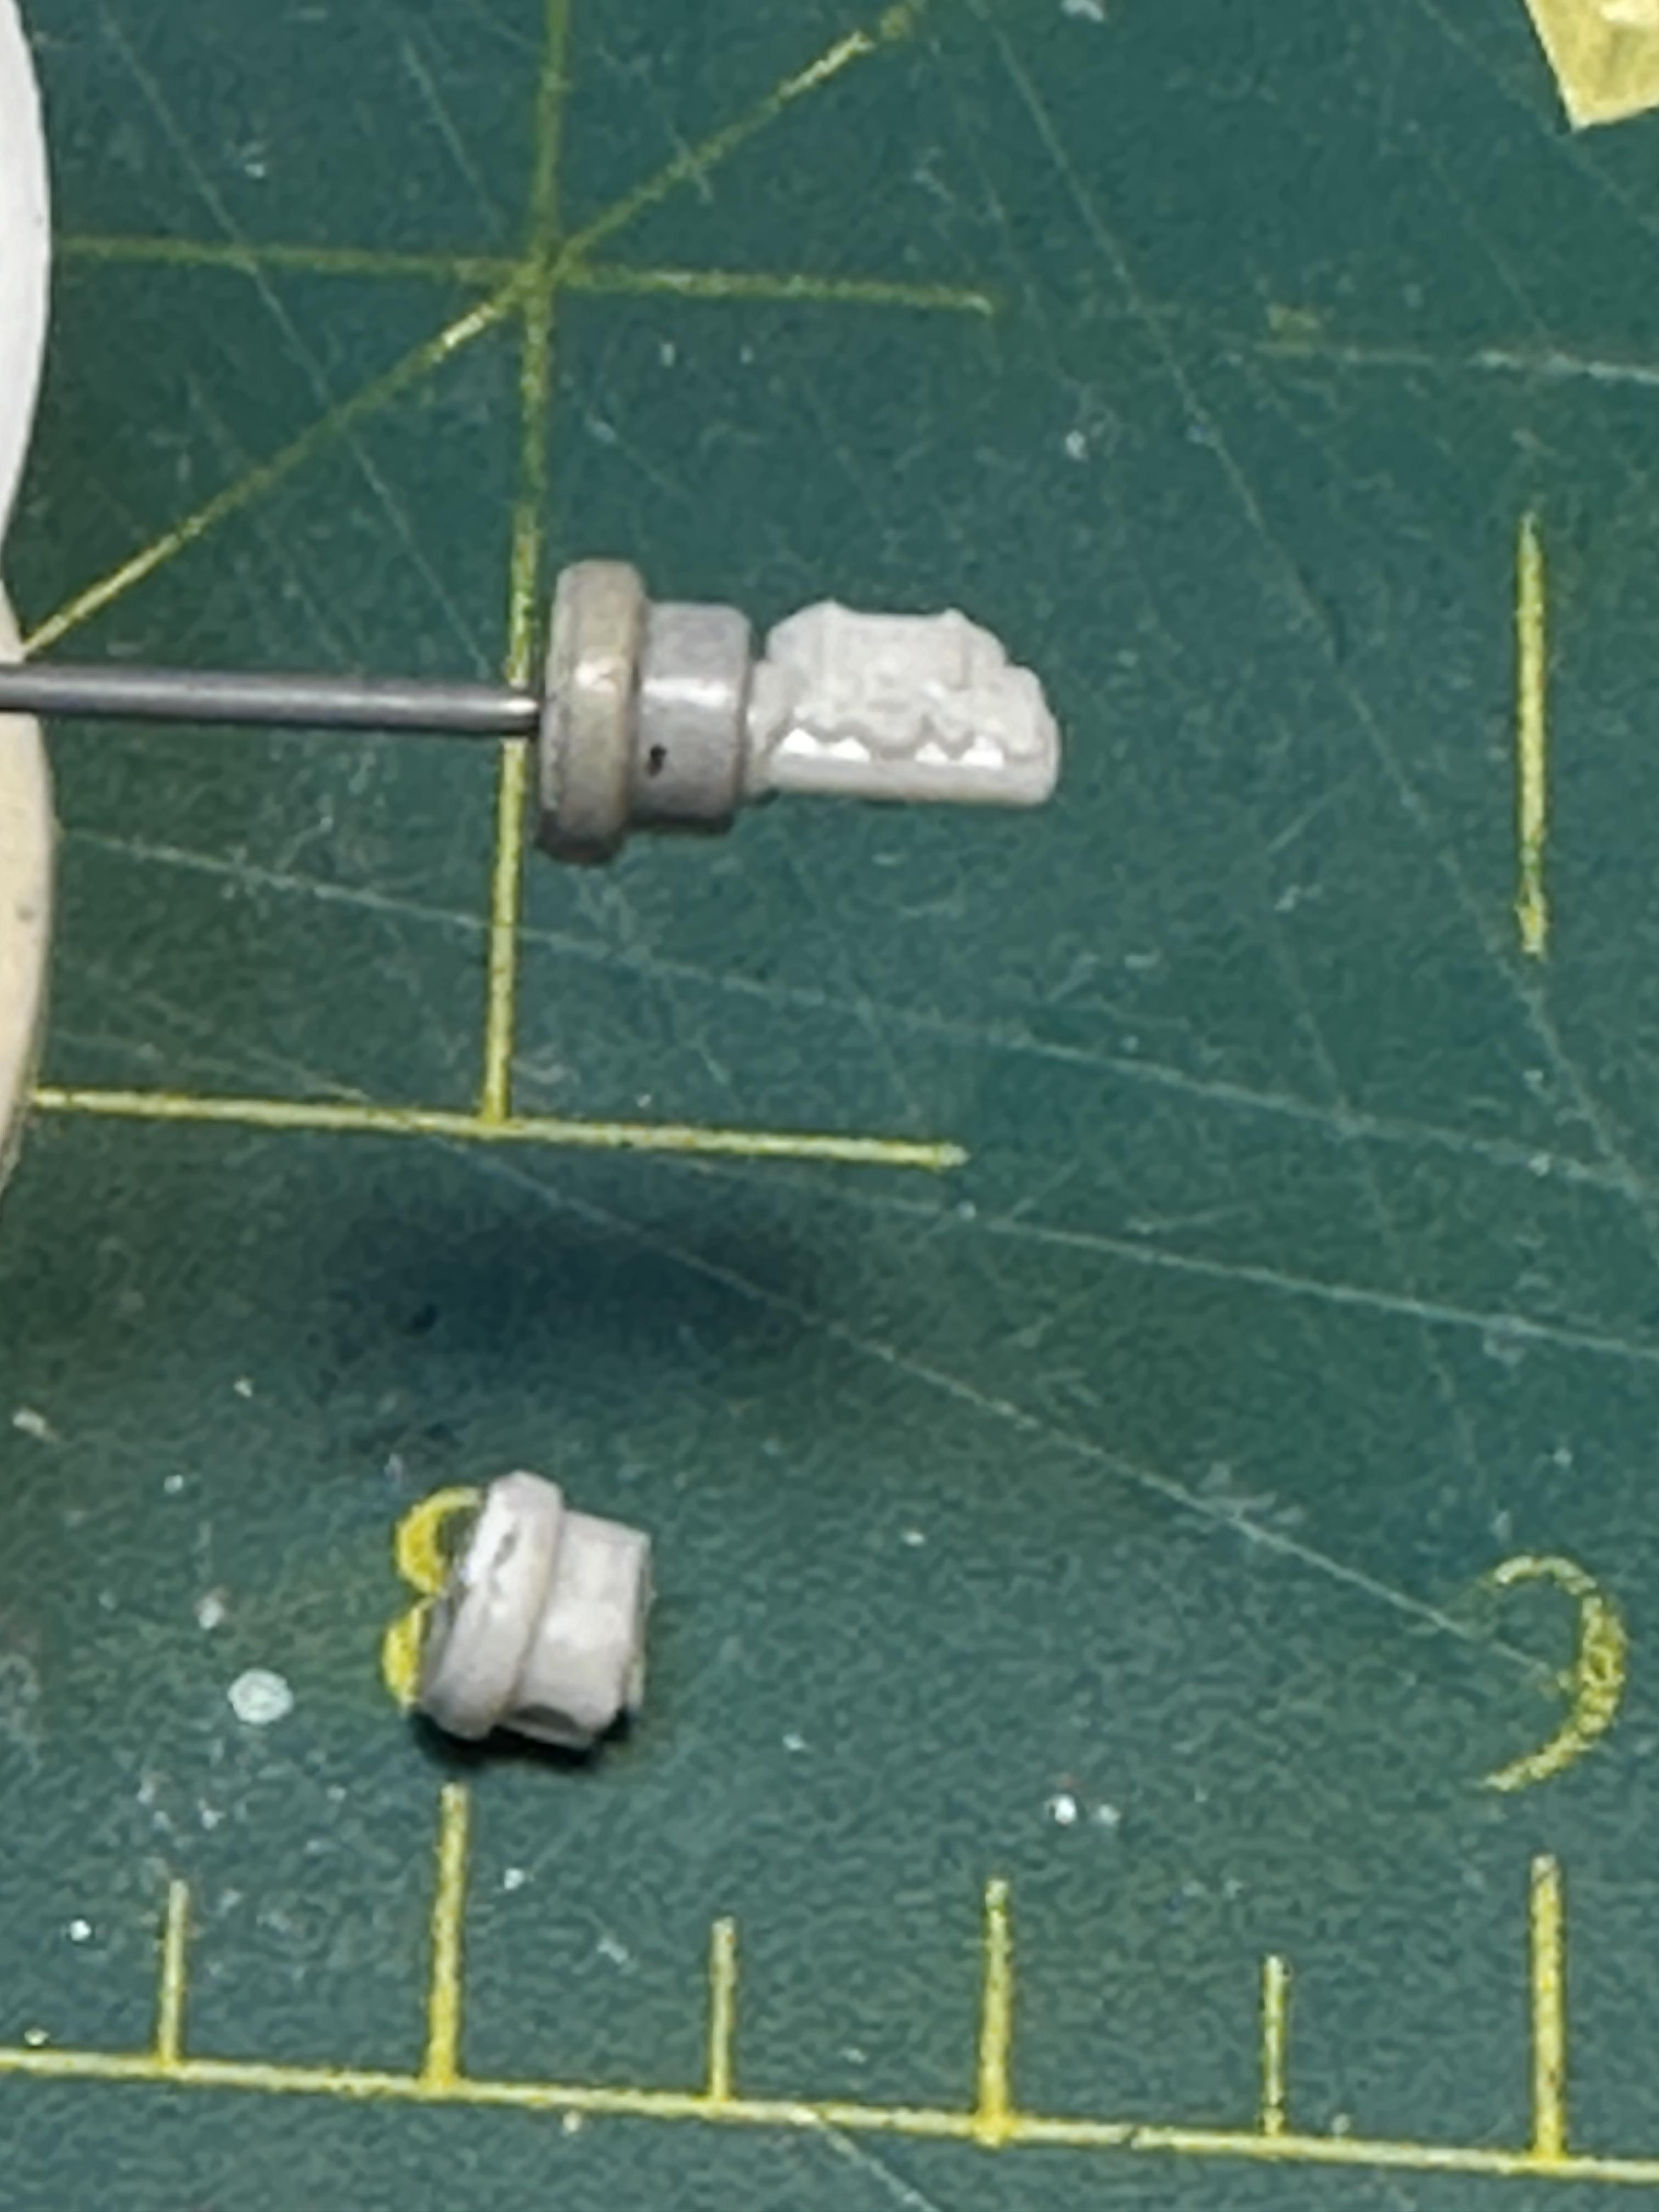
On with the build - been working on a number of fronts The rear seat area tubbing was completed and now has paint. As the carpet will be hard to see I will not flock it - or maybe. I have used a darker brown for the carpet which is the Tamiya LP-62 lacquer with dark brown added. I mixed the LP lacquer paint with Tamiya acrylic, and they seemed mix together. The seats and door cards were overcoated with semi-gloss clear and carpet is matt finish I decided to use a Parts by Parks billet steering column that I have had squirrelled away for yonks waiting for the right build. I was not happy with the blobby gear lever so that has been replaced with a pin with a small tapered knob on the opposite side for the indicator lever. It is hard to see as it is only 0.8mm in diameter on the large dimension. I machined this on my Unimat 3 lathe Parts by Parks column as it came Machining the indicator knob And the final result The door cards on the Revell 32 do not have any handles or winders. The window winders in this build will be replaced with electric windows so may put a couple of switches on the dash for that. For the door handles I flattened some silver coated copper wire and filed and shaped to suit. They were then painted with a new Molotow chrome pen. They will be cut to length when I fit them Moving on to the chassis I knew that I would need to do some work heare after the chassis mods. I tried to fit the mufflers in the chassi but they would just not fit. I have machined up some replacement cherry bombs. The Vicky kit exhausts are 1.8mm which scales out to 1.75" in real life. What serious rodder is going to use such skinny pipes, The new mufflers are drilled for 2" pipes which is better but 2.5" or 3" would have been better but I dont think I will have room for that size. I will be making new headers in 1.8mm solder when it arrives and 2mm for the exhausts from the collector onwards On a roll with my lathe - I was not happy with the brake booster after I separated it from the chassis crossmember. I turned up a replacement booster out of my diminishing stock of 8mm plastic round bar. You can see the remains of the original booster below the replacement. OD of the new booster is 7mm - 7" I am working on a number of fronts so will post more when I have completed more works Thanks for looking
-
Nothing like a challenge. I hear you on the fact that there is not much space left after the rear has been tubbed but I feel that a sedan that has had the rear seat deleted is not complete. I know in some extreme builds there just is not room for a rear seat. I don't think the tubbing in my case is to severe, in fact the rear seat is already tubed to cater for the hiboy version, I just made the tubs wider.
-
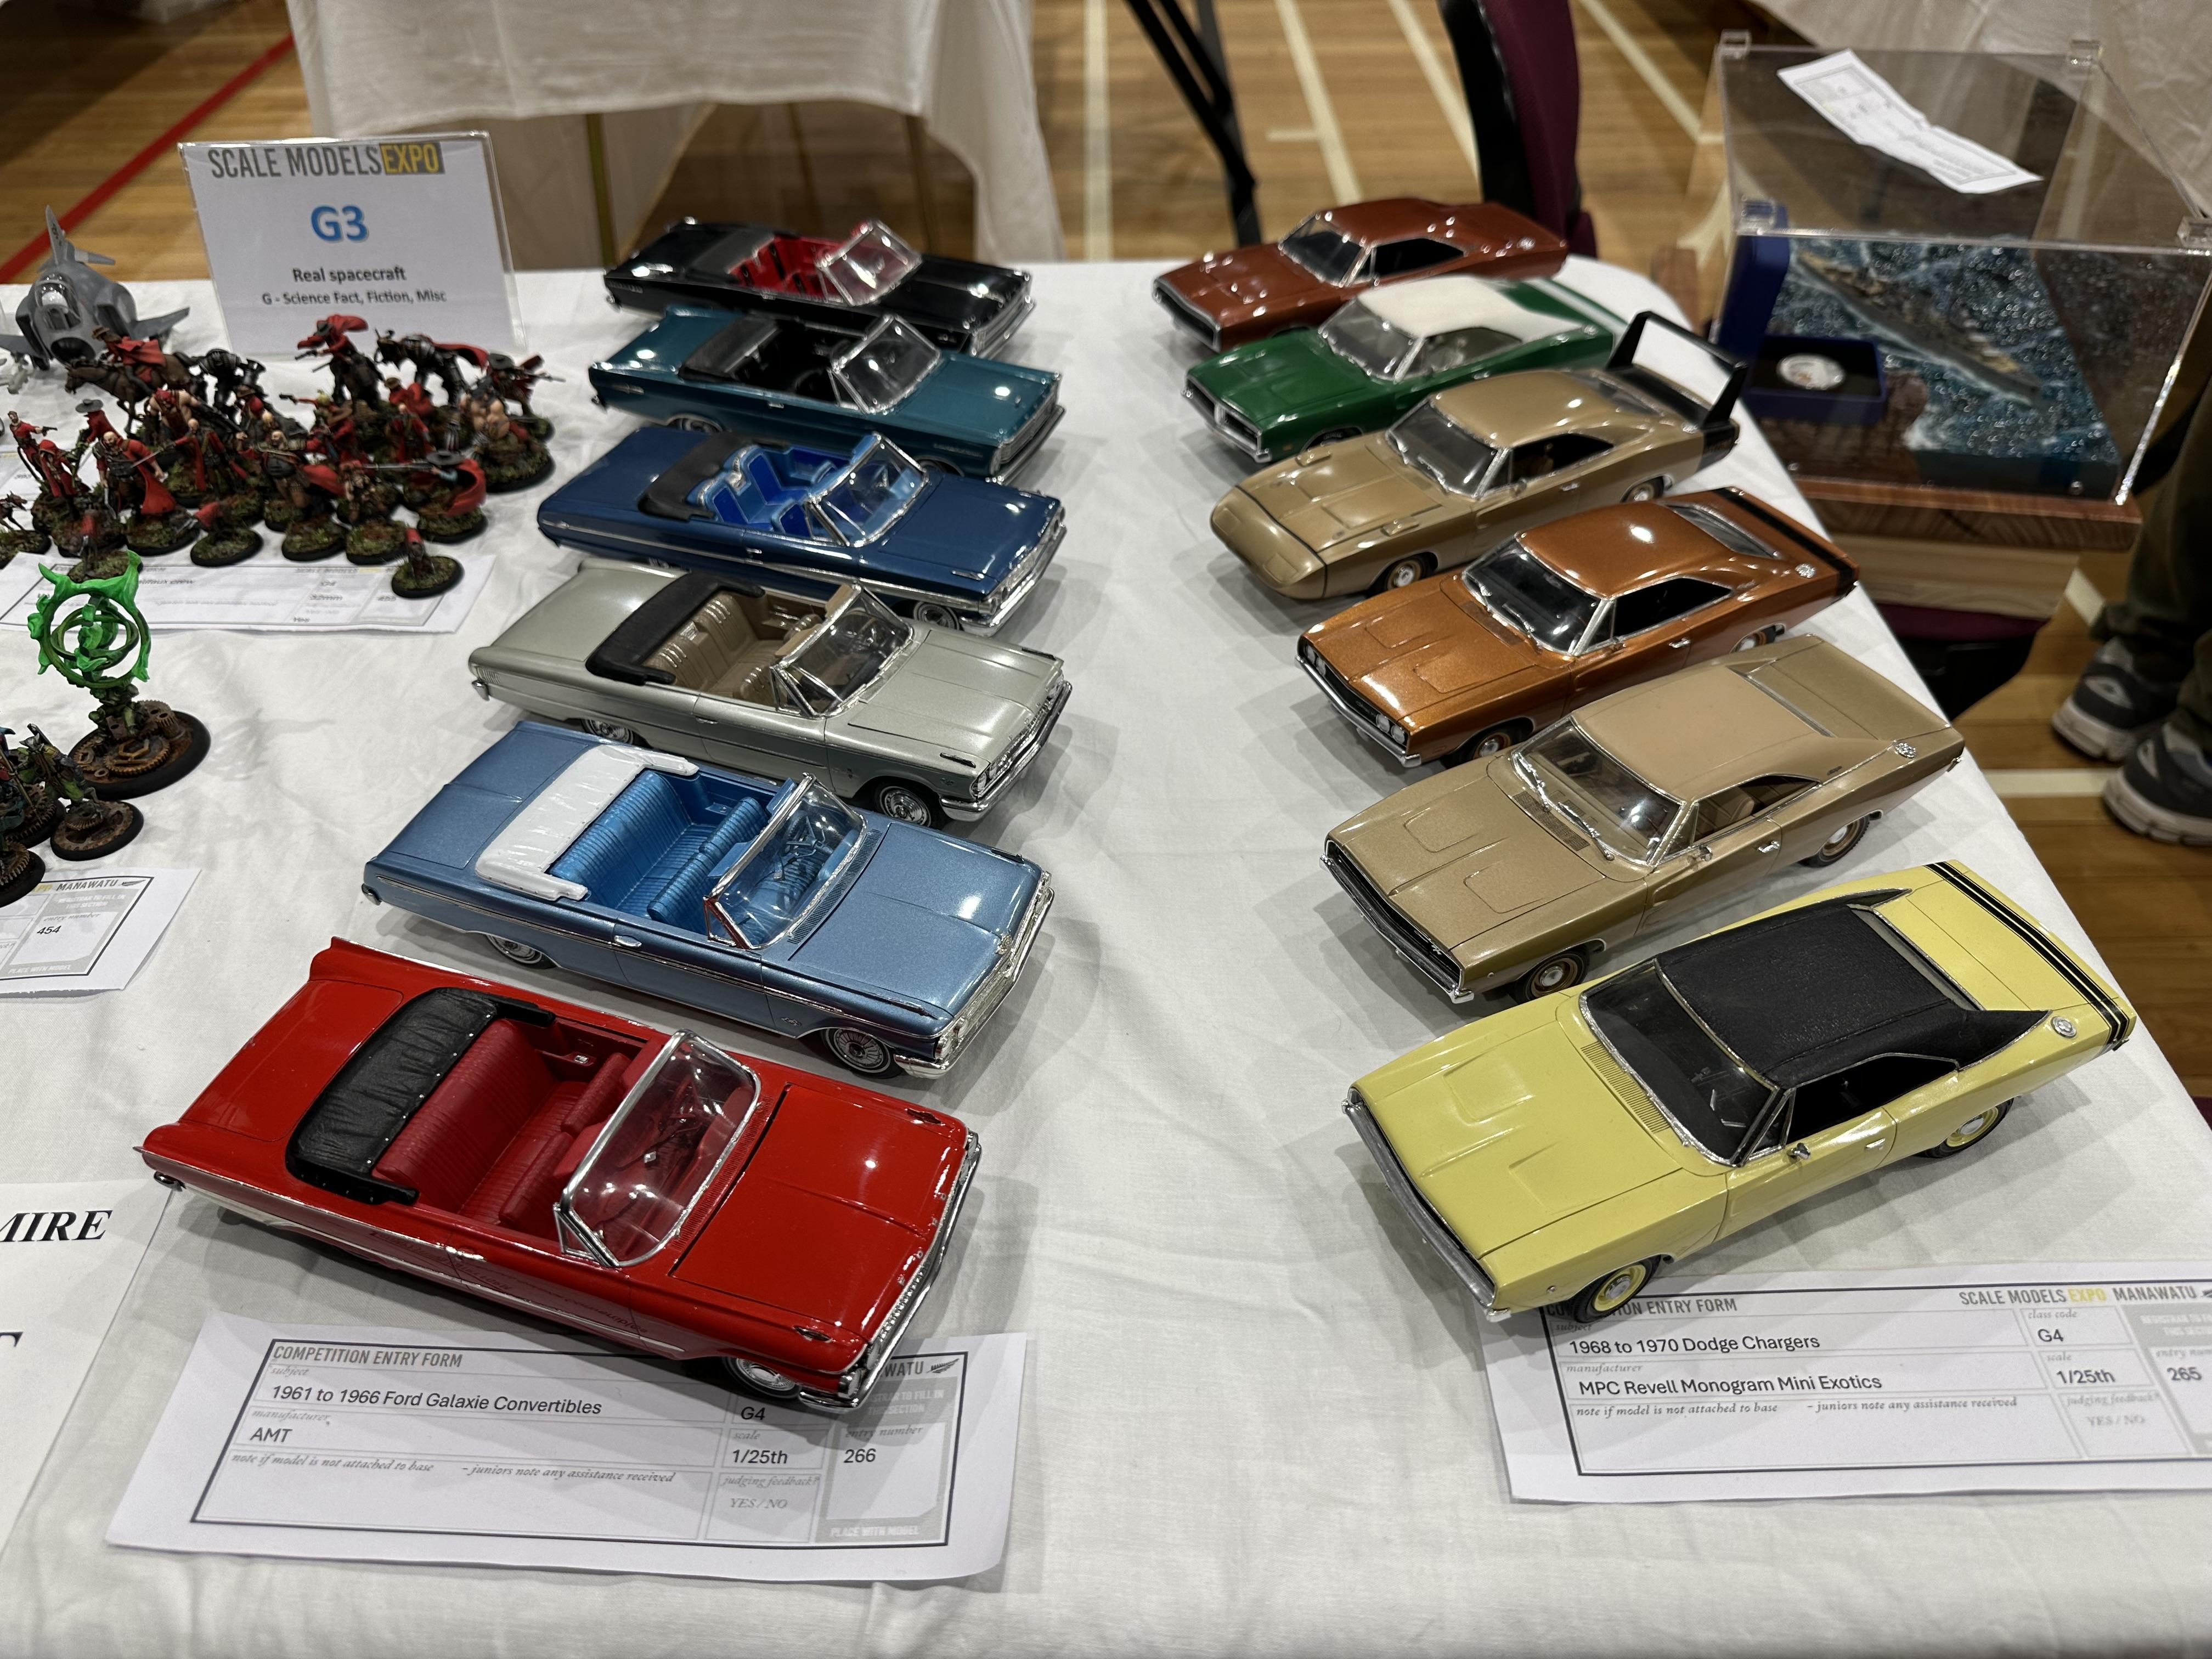
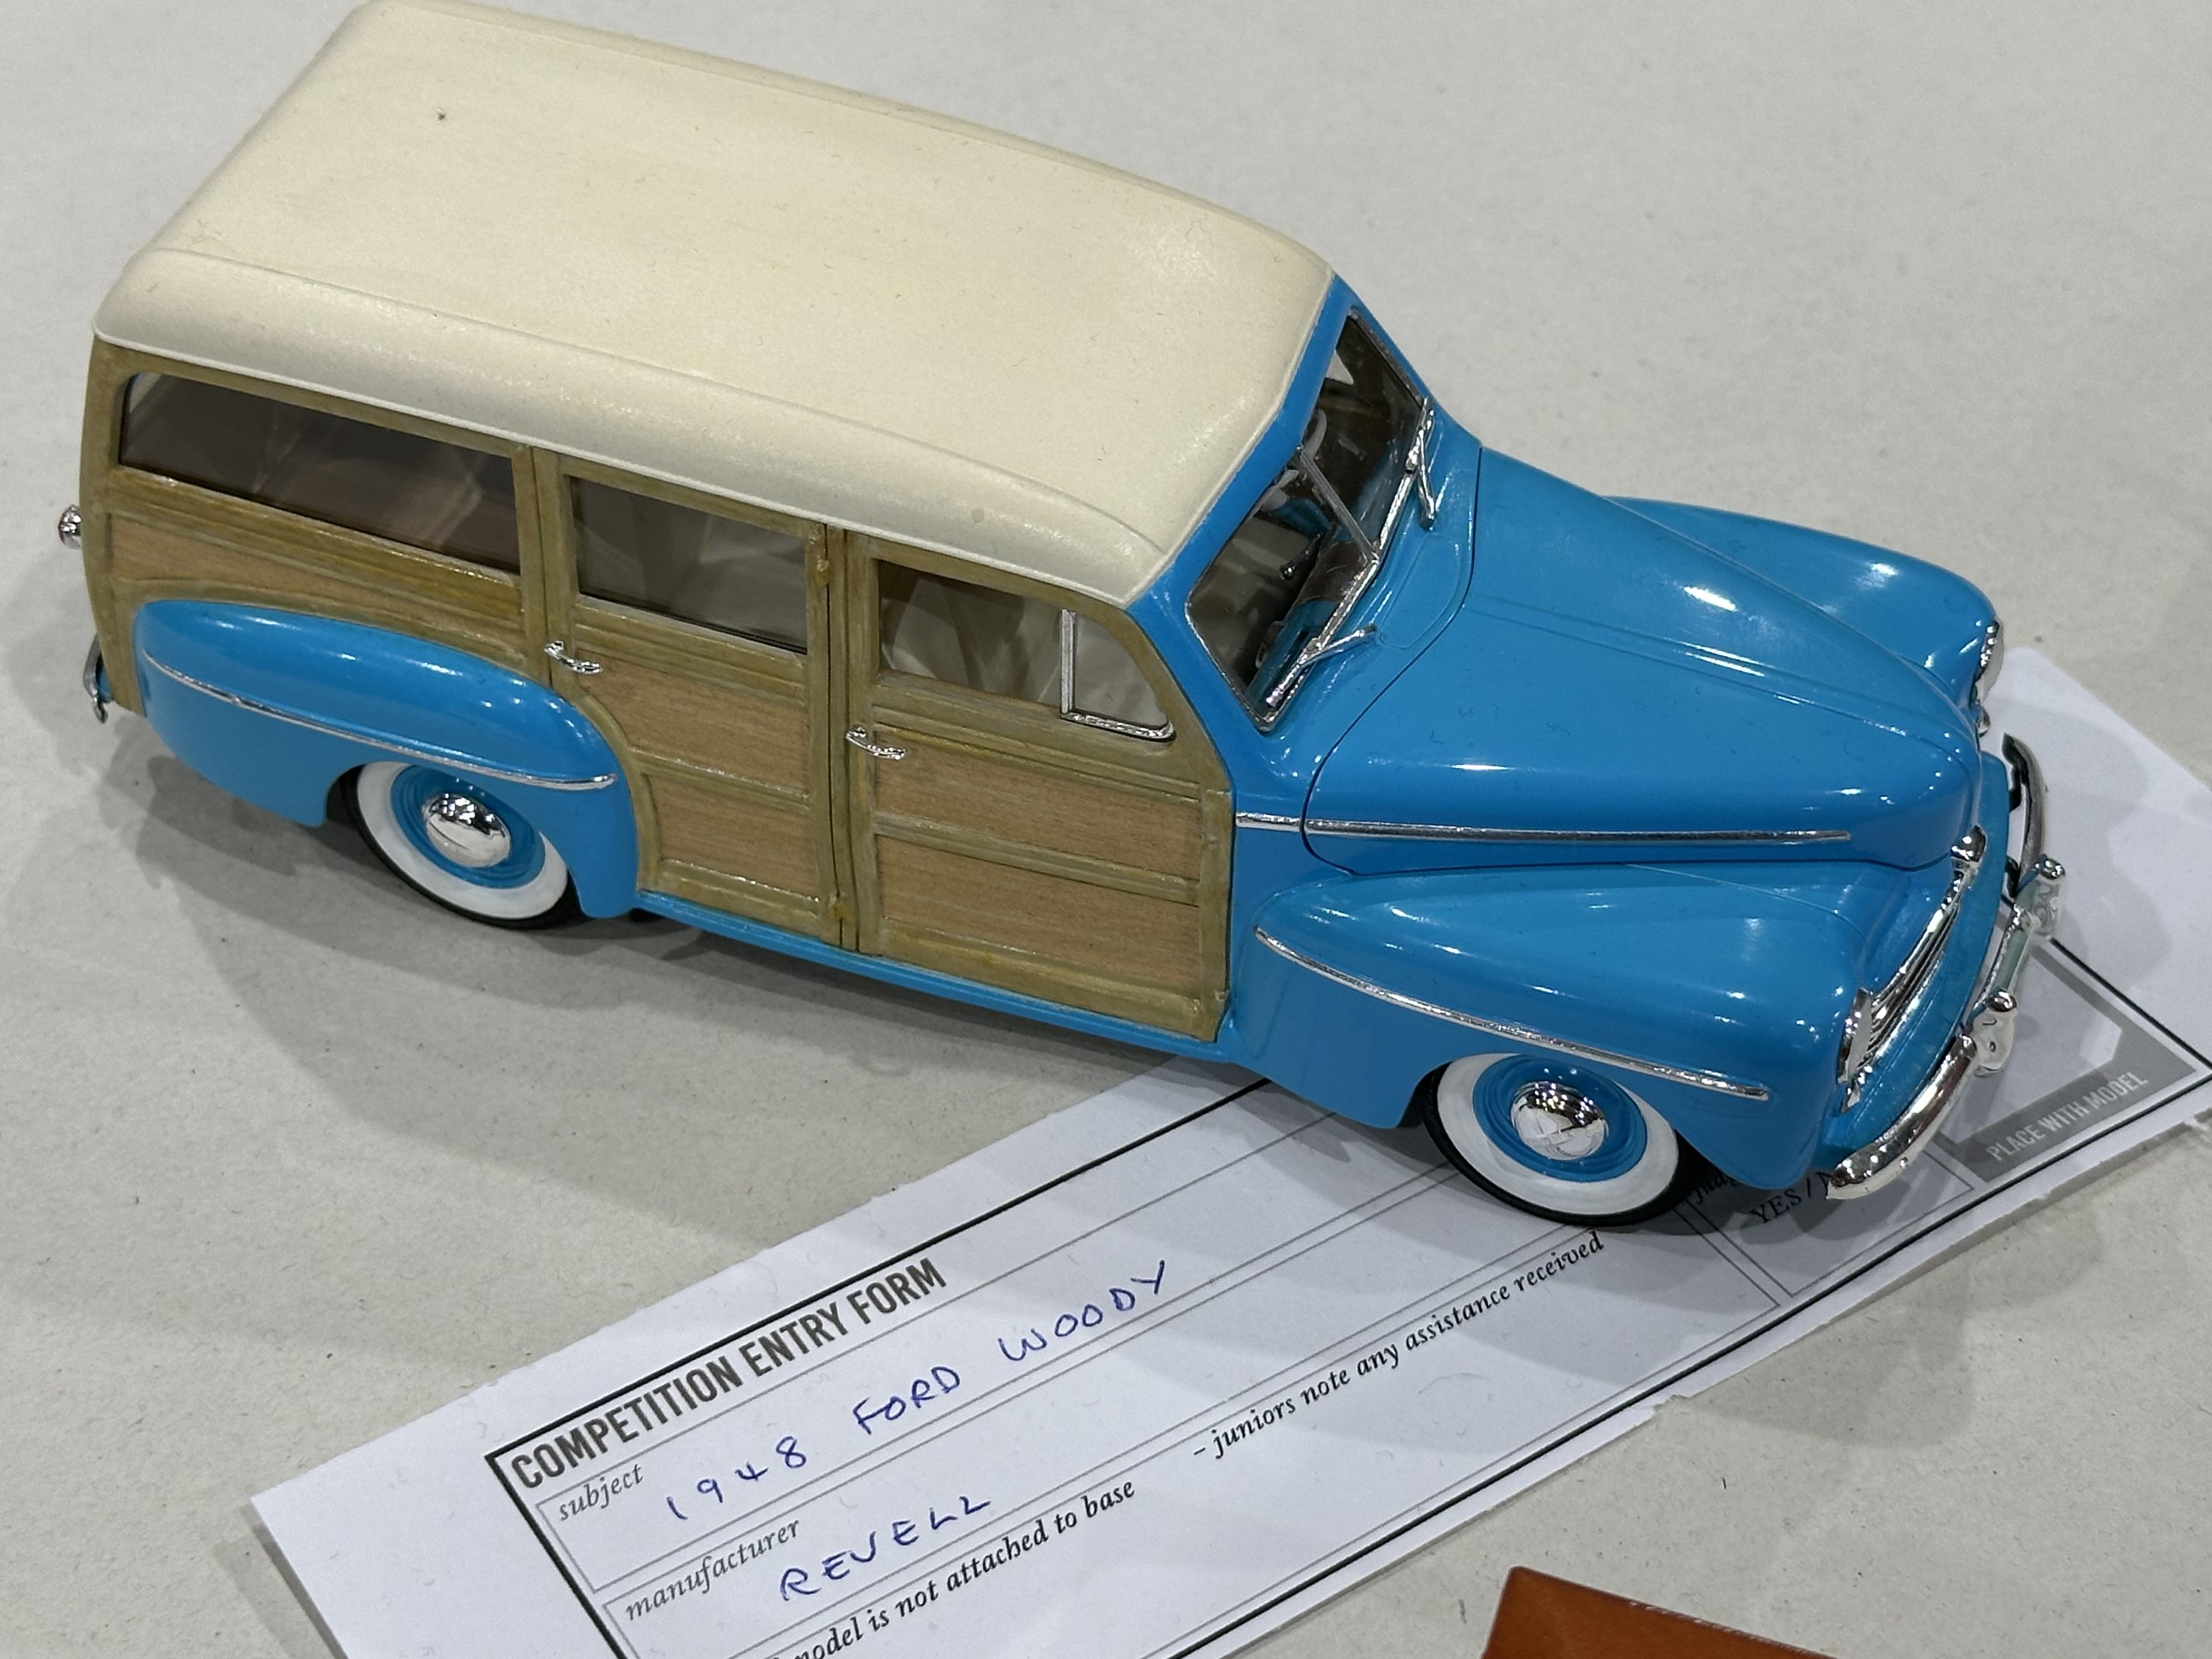
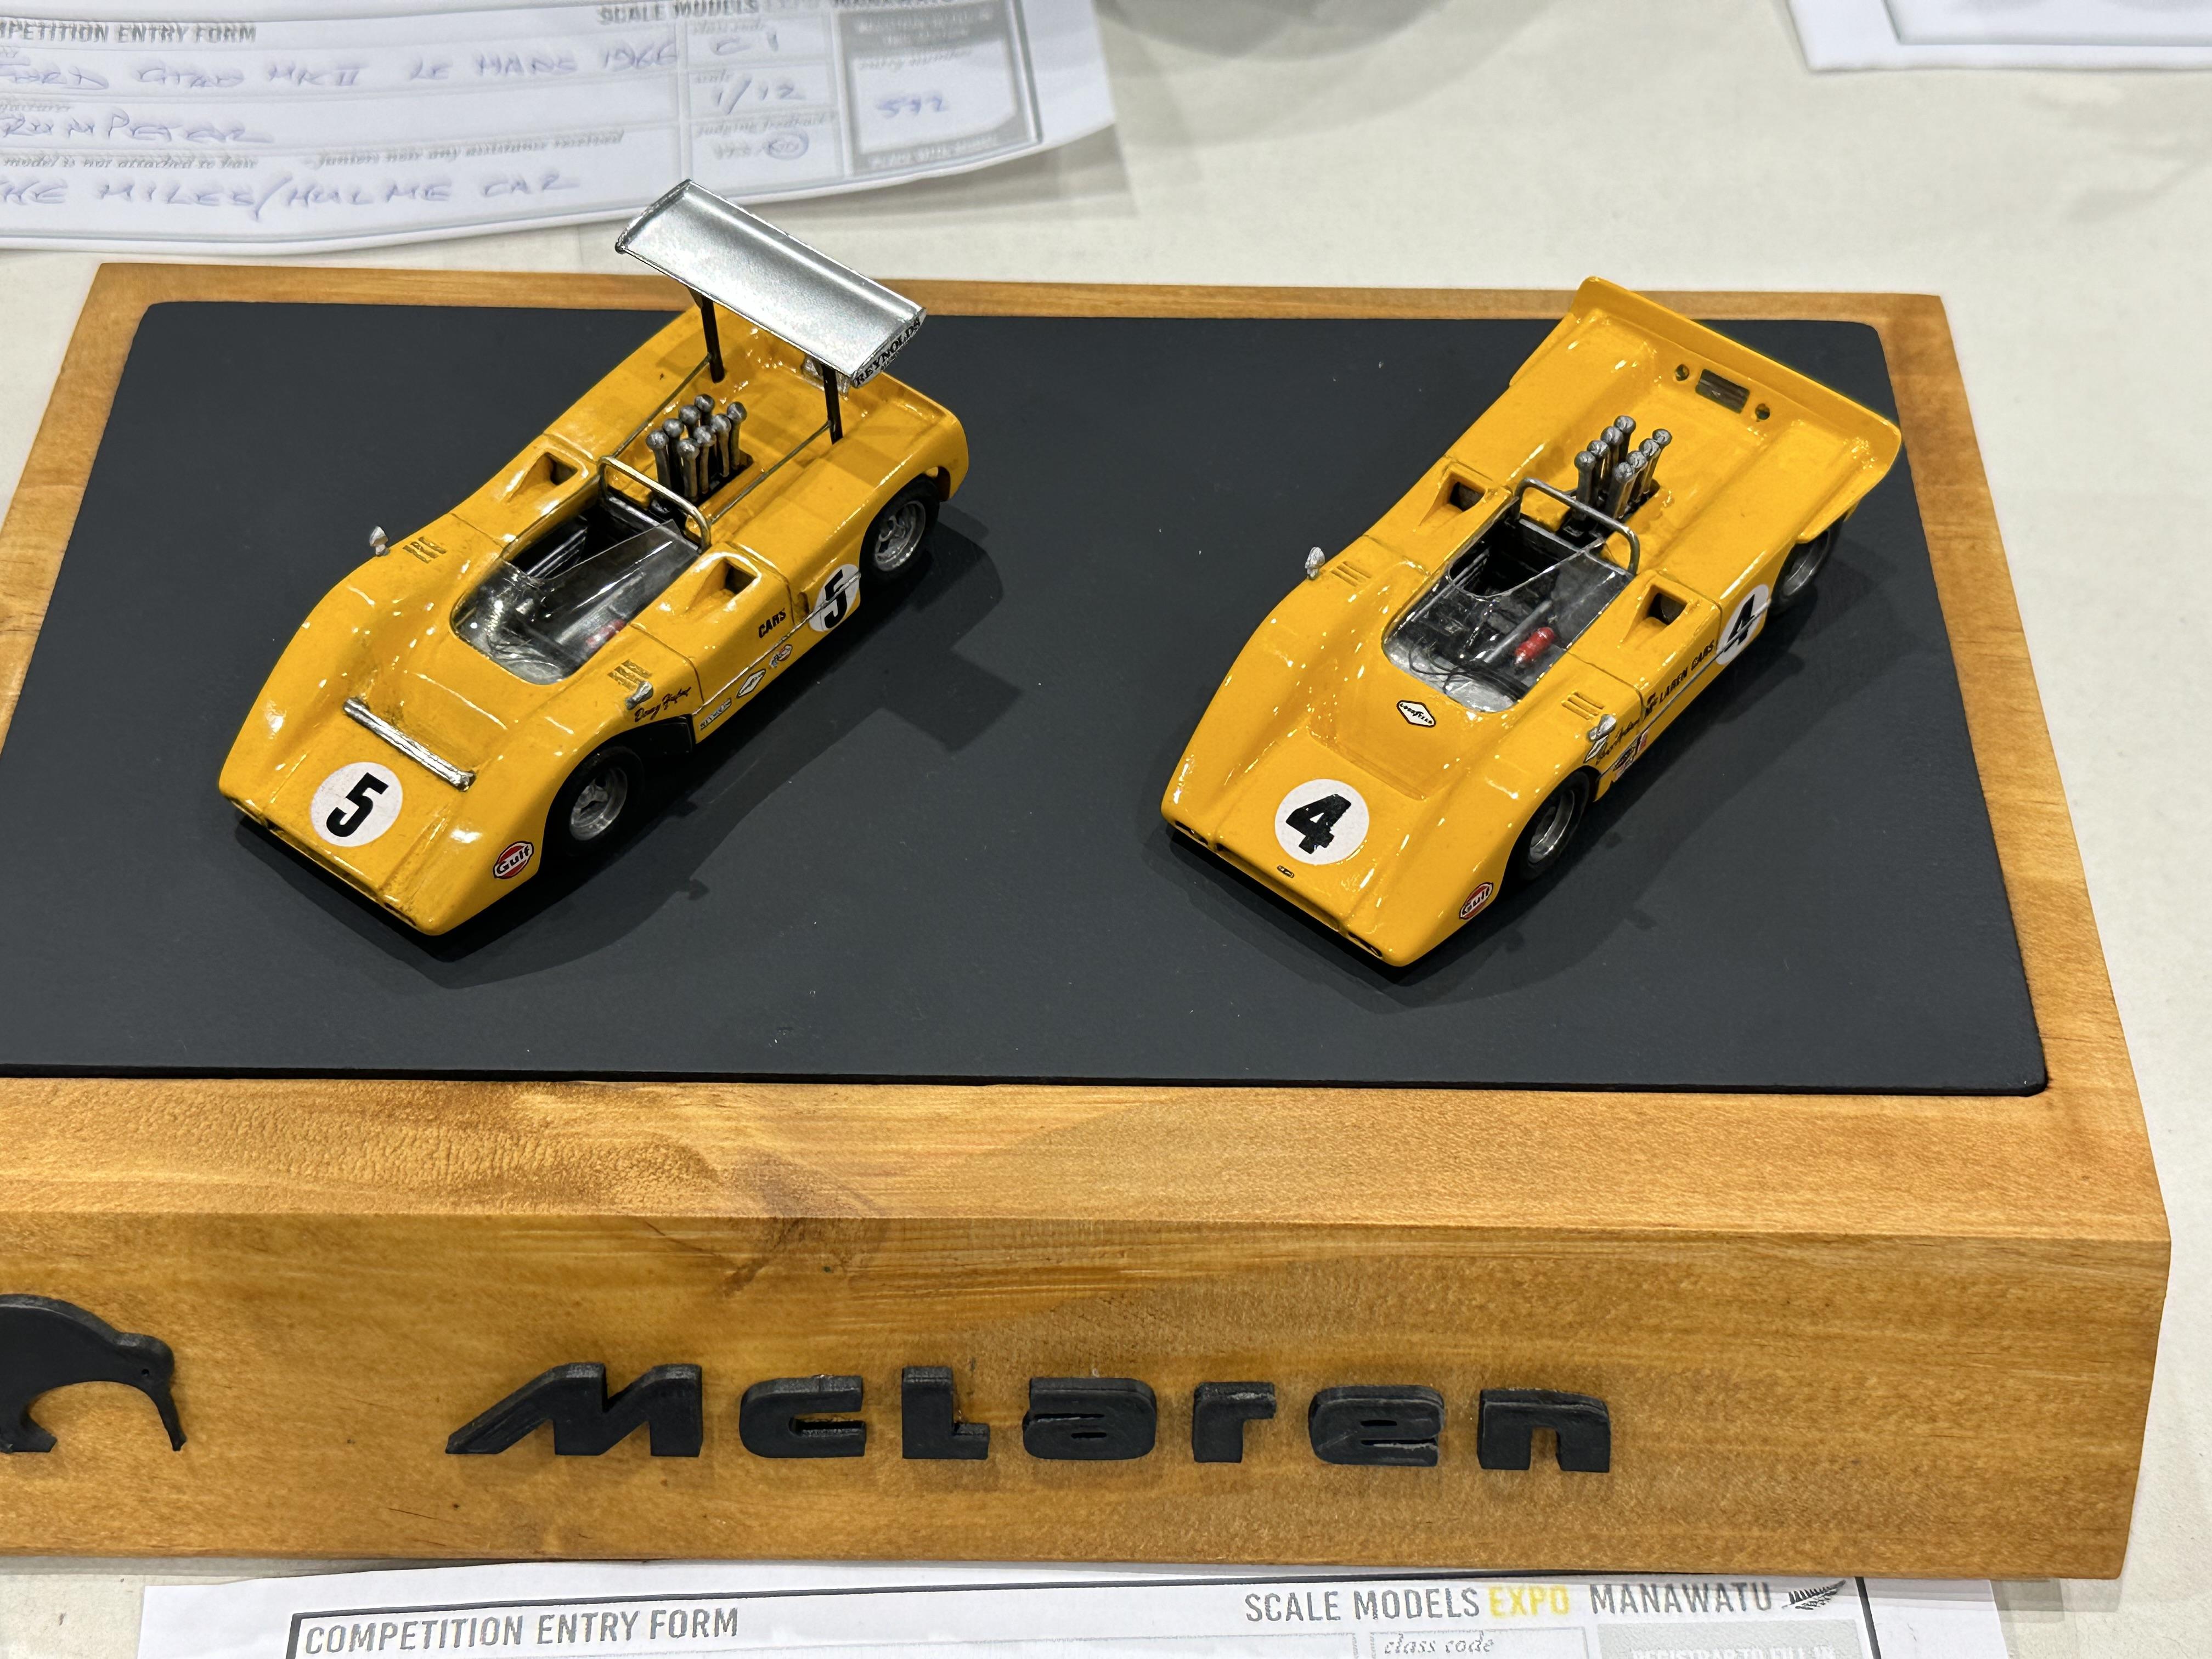
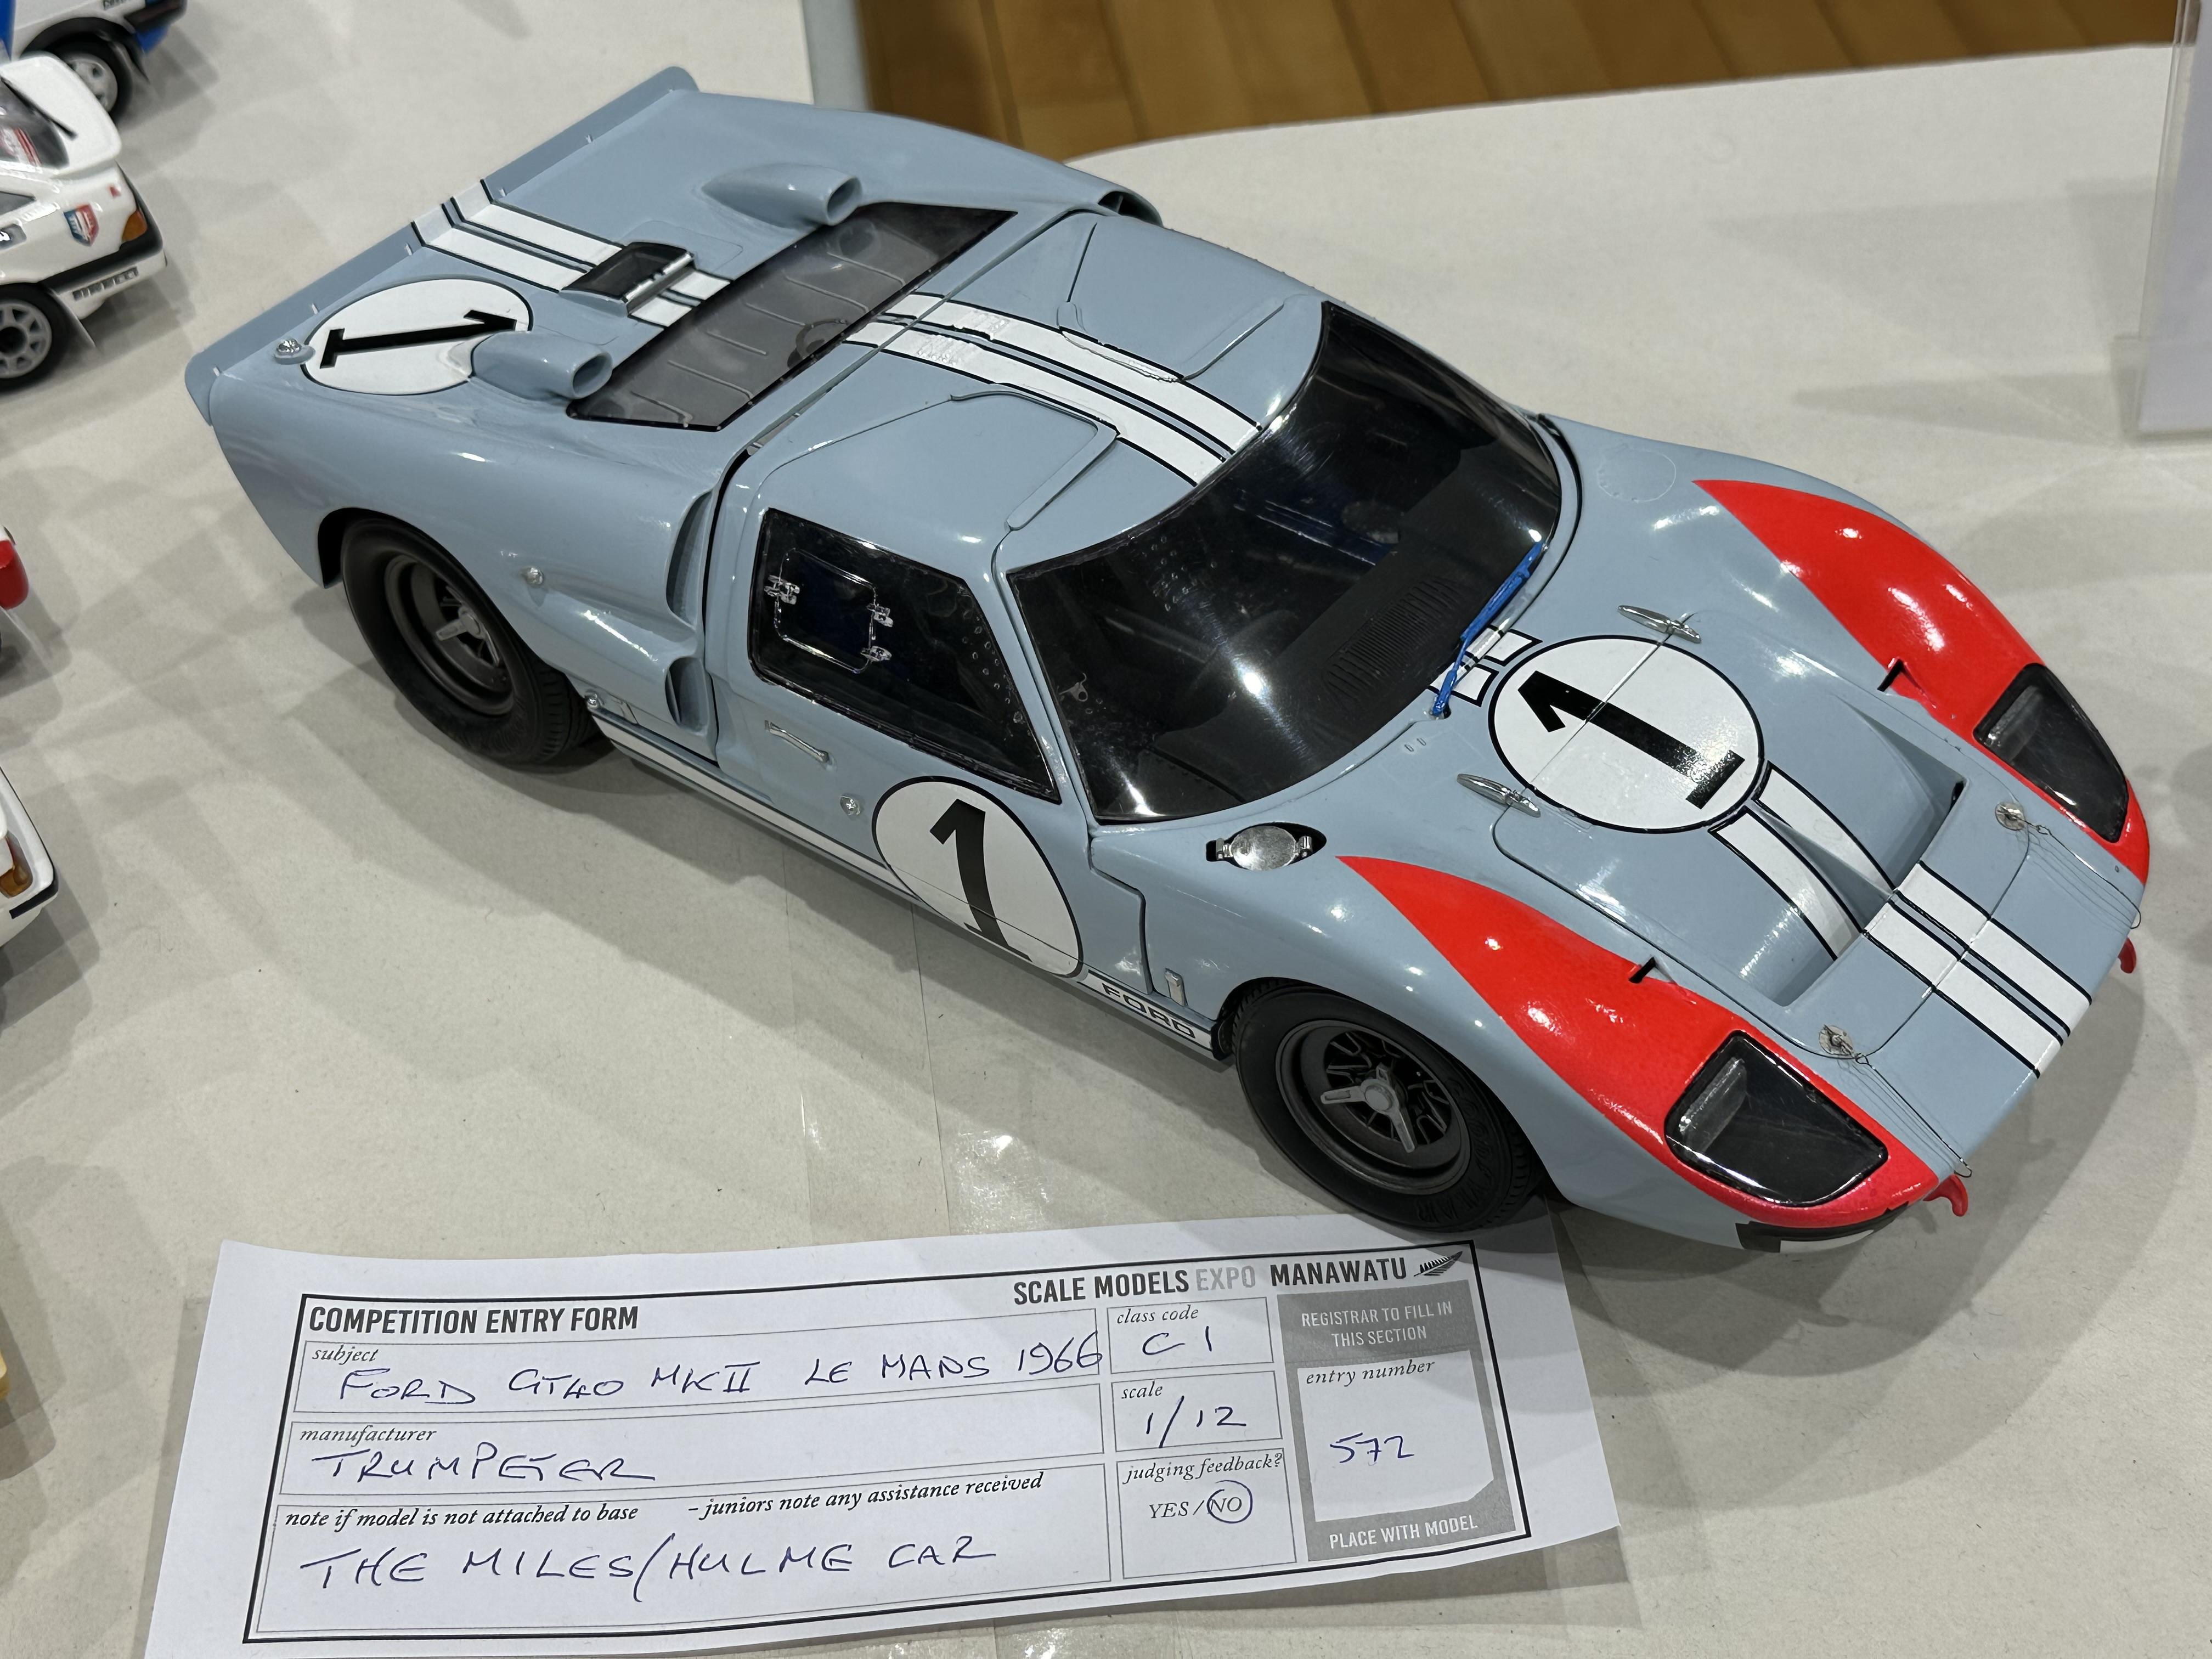
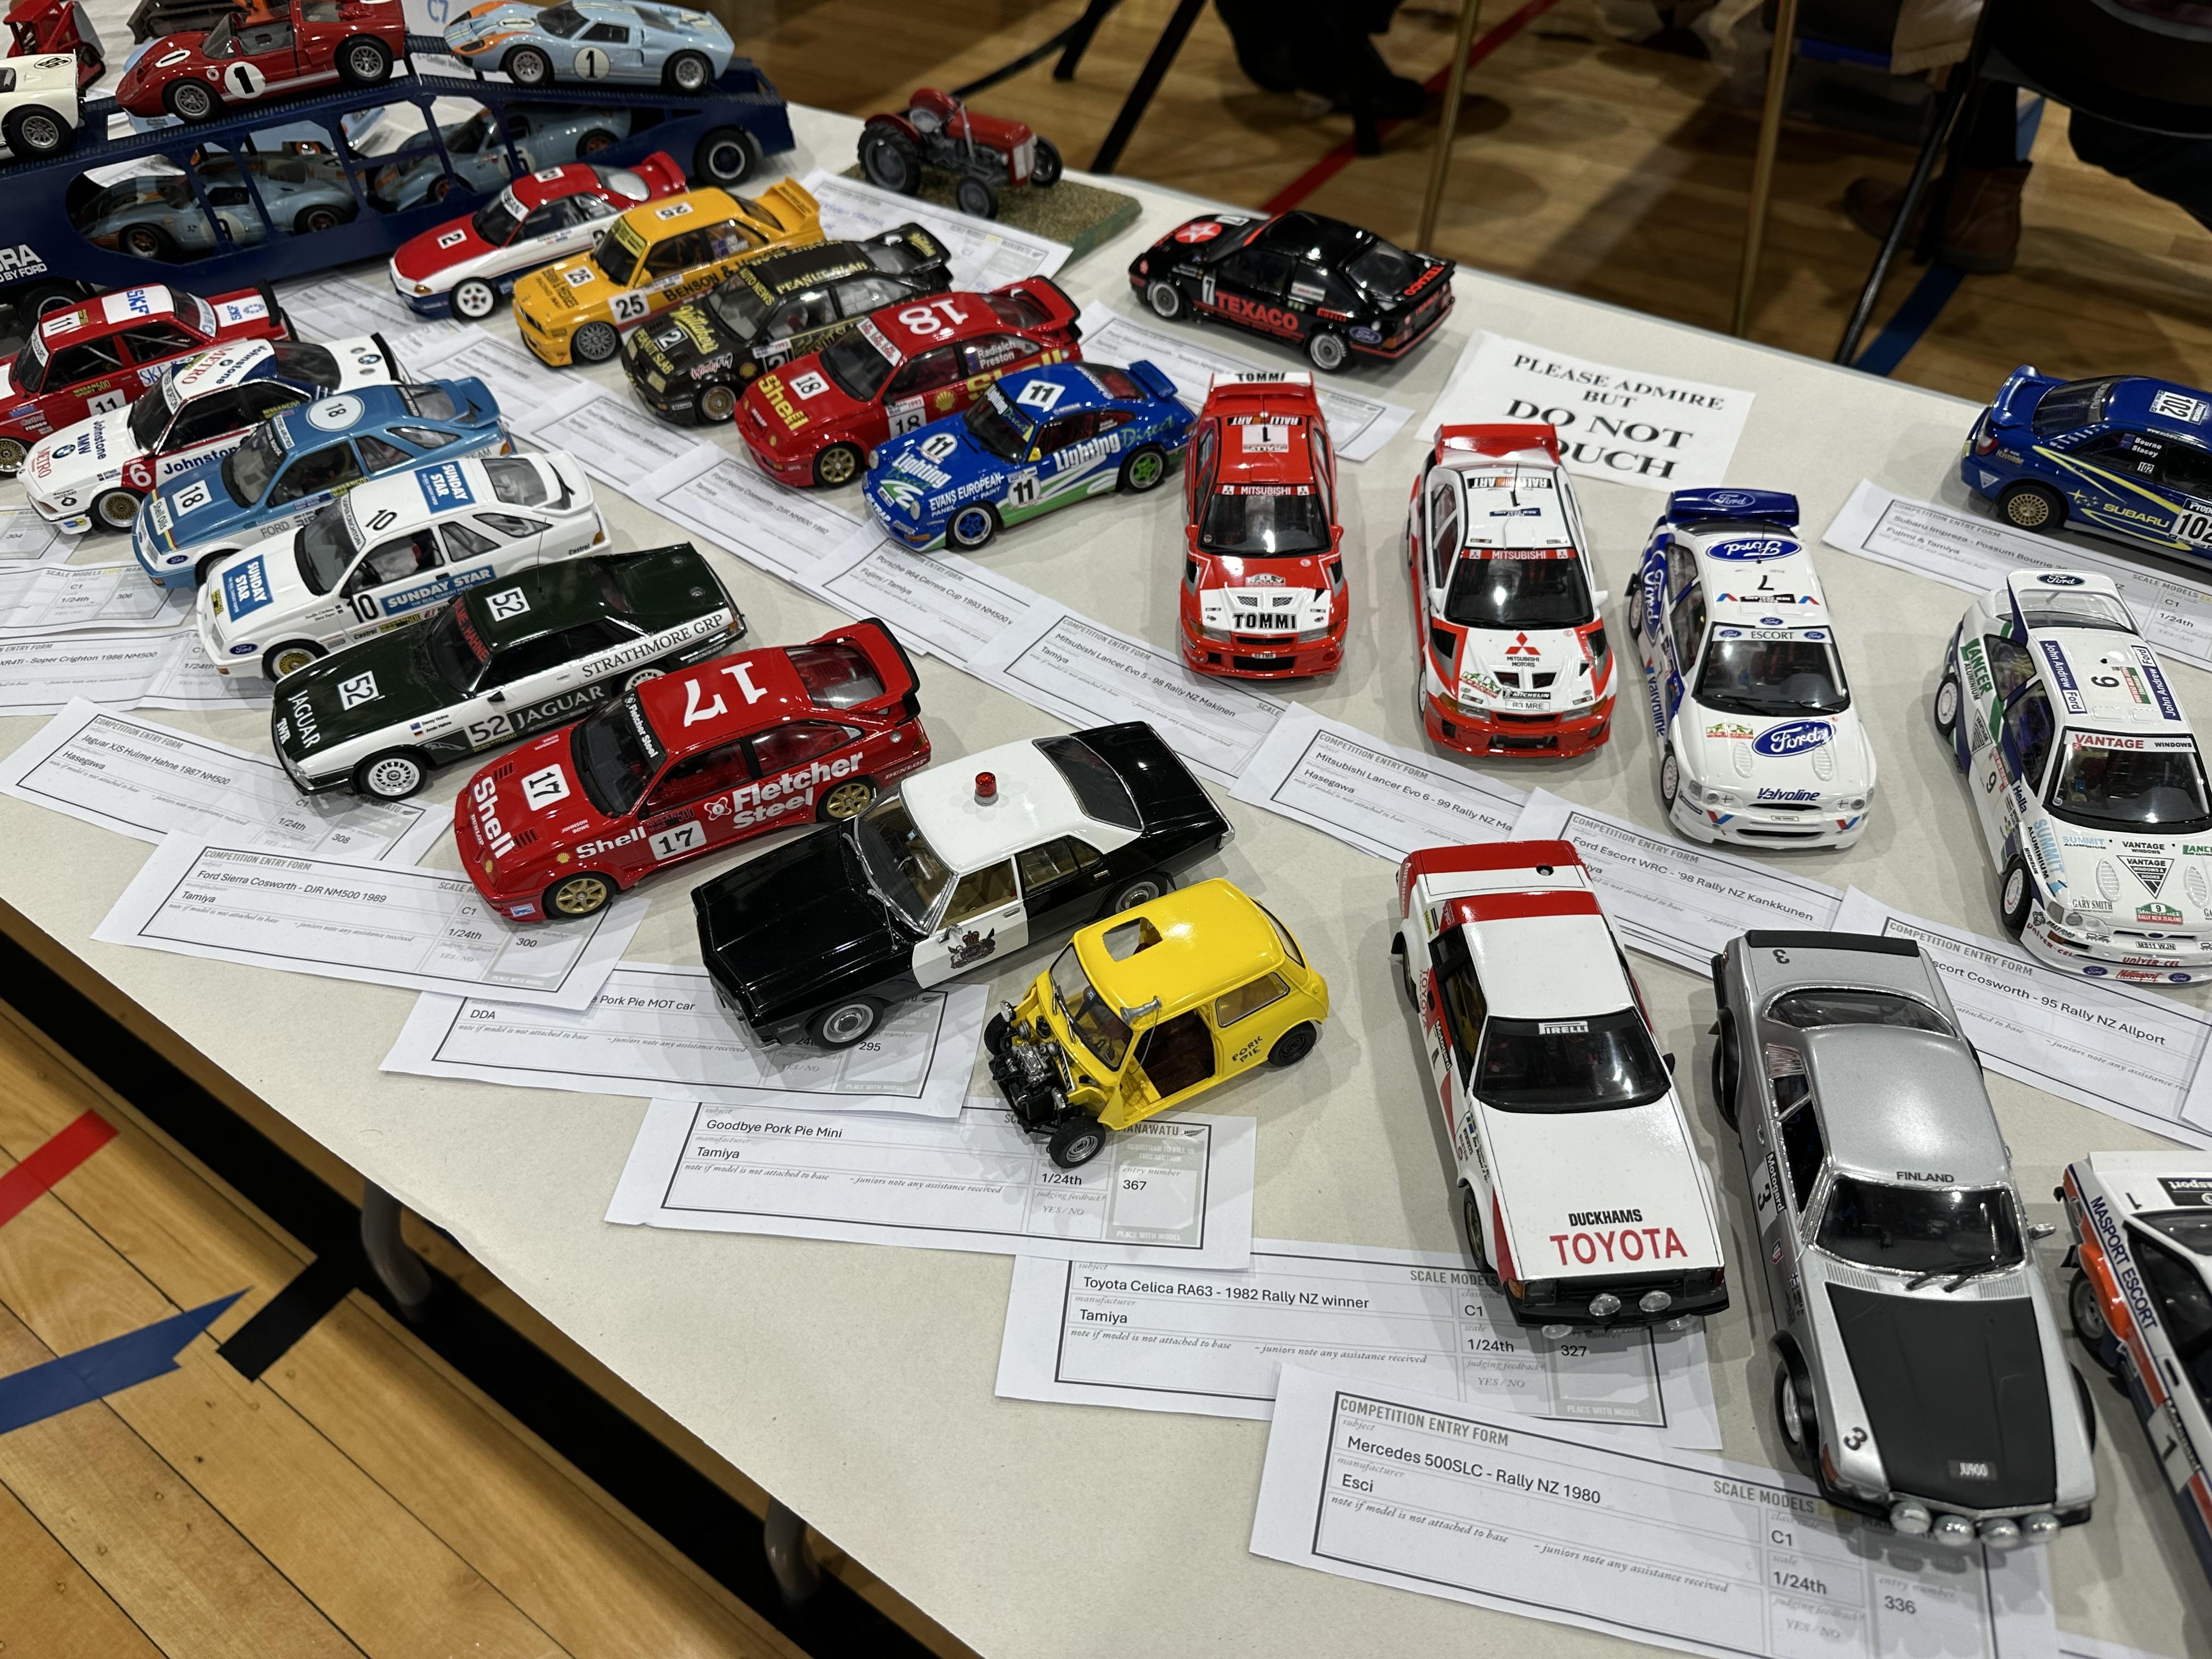
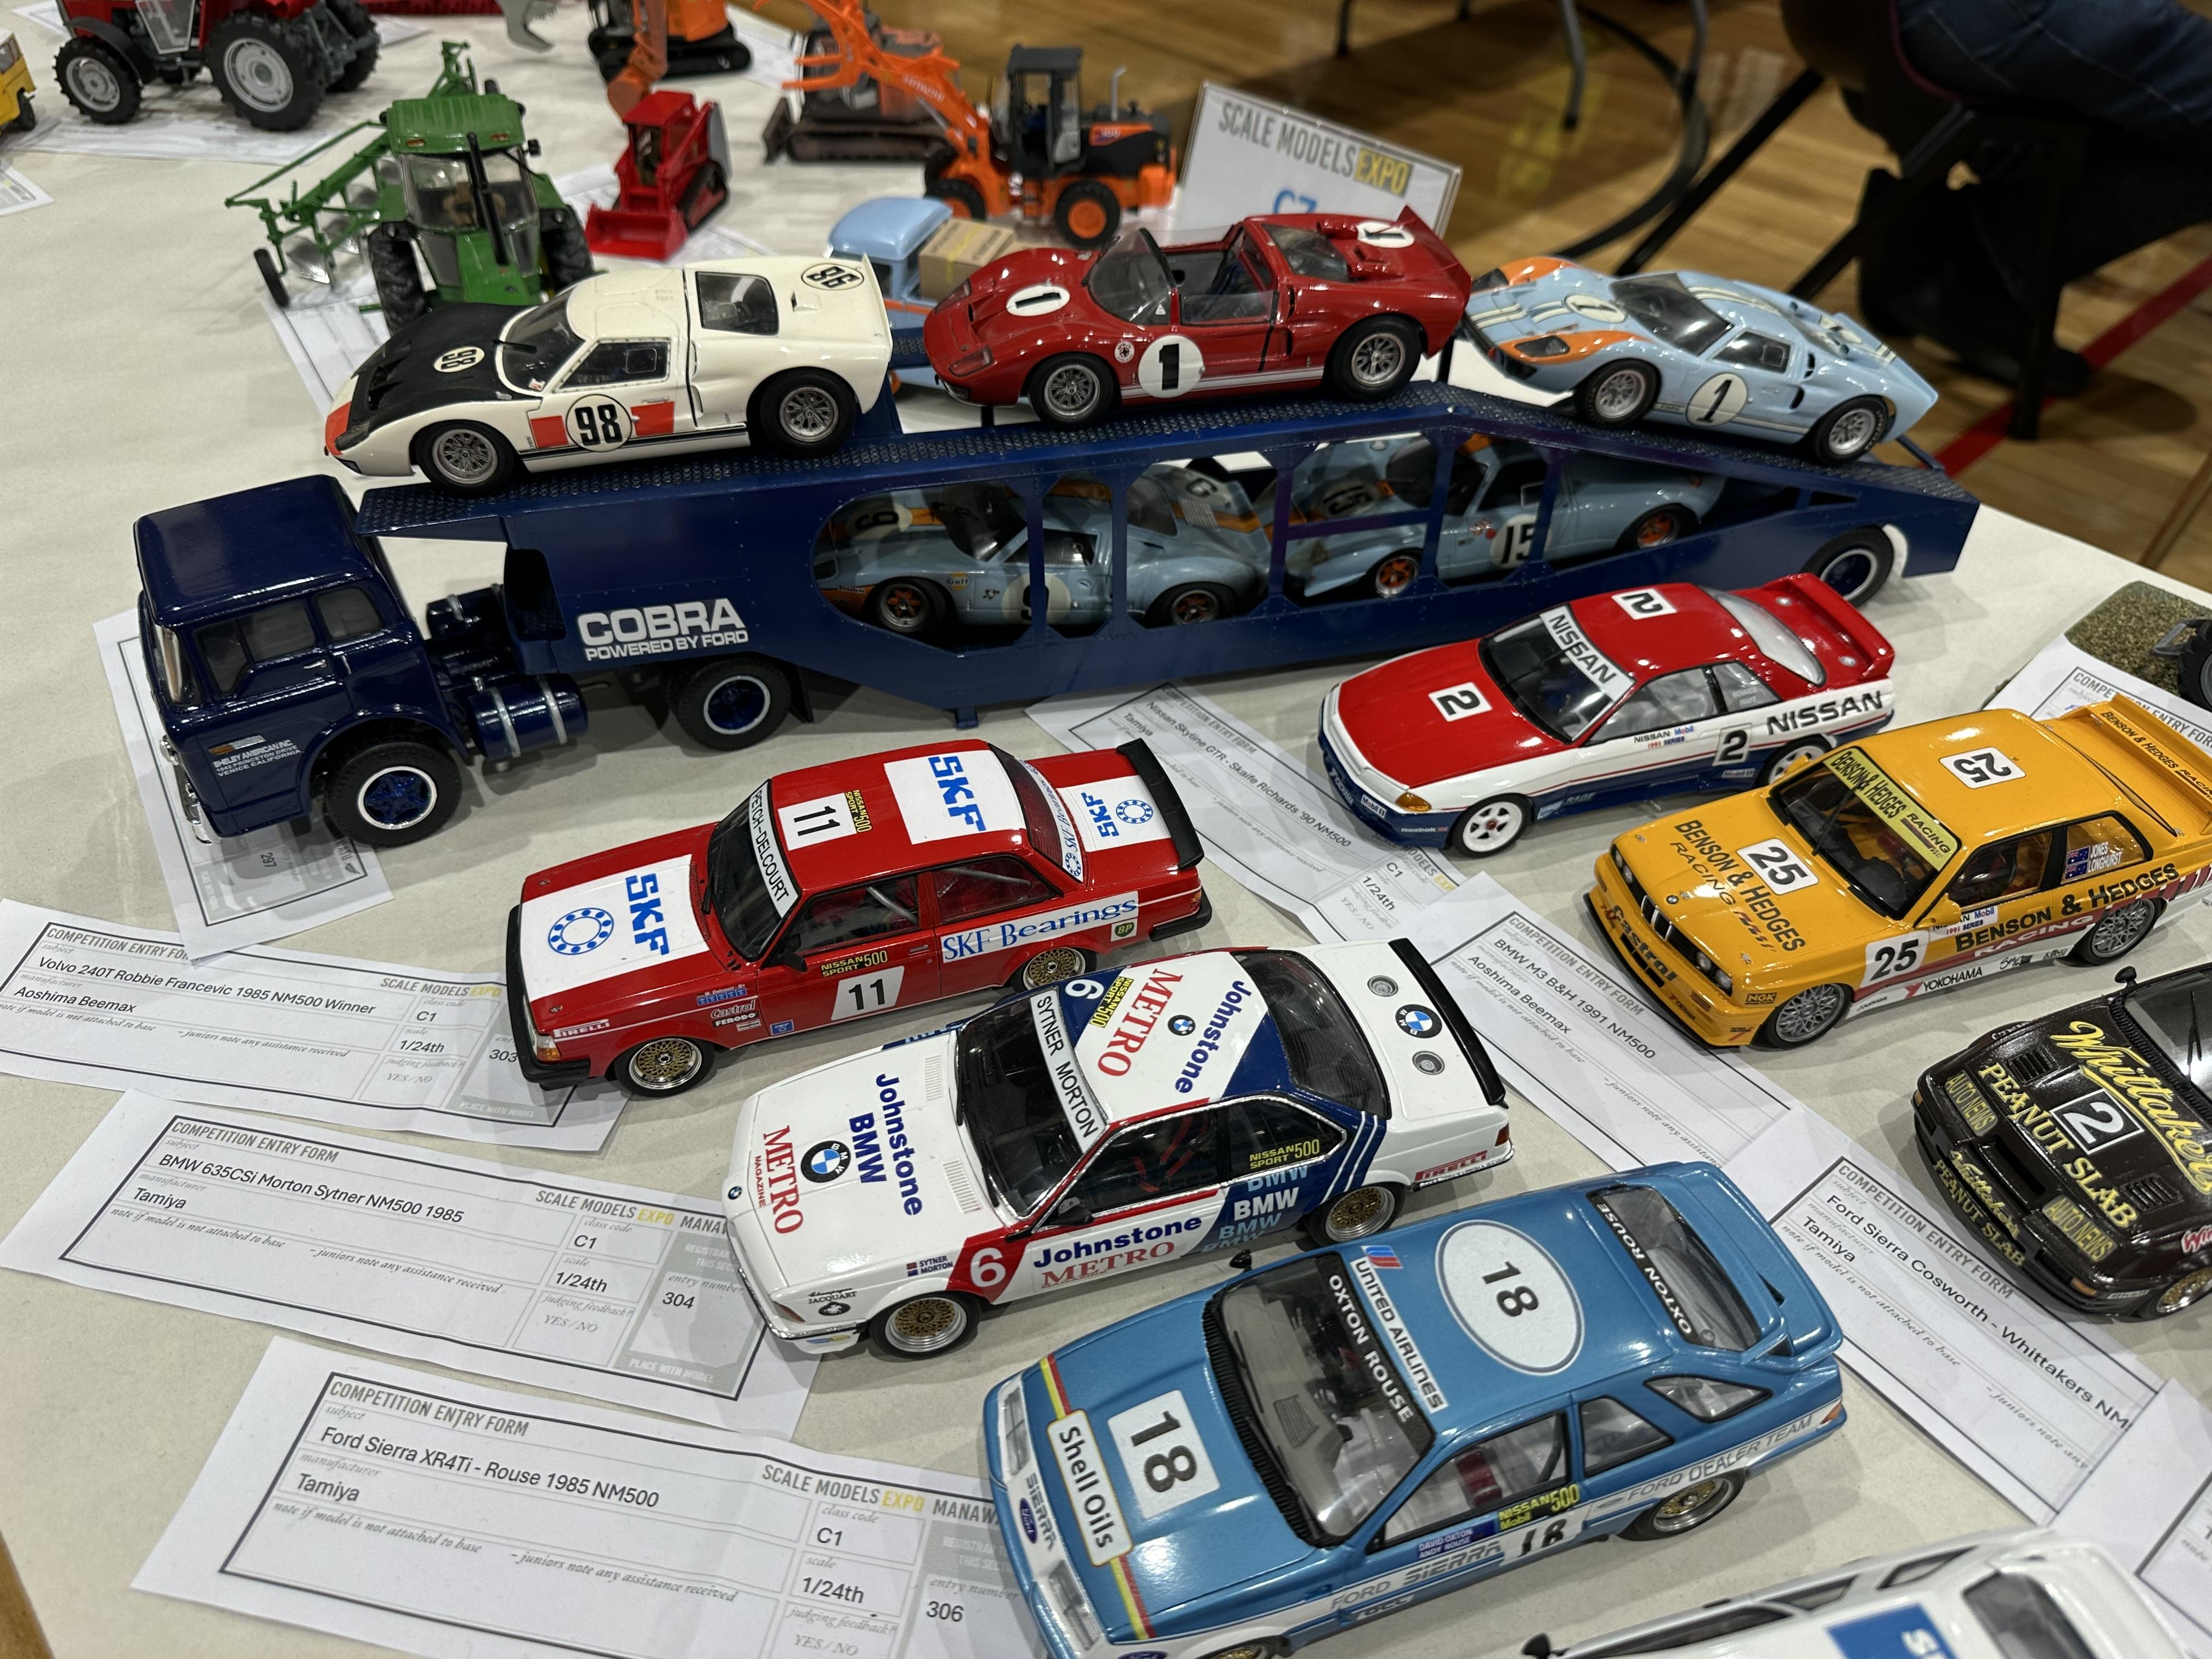
Pix from the IPMS show in Fielding New Zealand. Two clubs - Manawatu Scale Model Club and Wellington Scale Models got together for a show over the weekend. As this is an automotive modelling forum most pix will be that way inclined. I have not included any of the other classes as A: I did not take any pix on my phone and B: I am biased as I don't build anything much other than cars The models entered into all of the sections were of very high quality The first pix is of a Bently Brooklands that took out the First in Class and Best In Show. This is great as usually either planes, military or figures that beat us out of the top spot. The model is based on the Airfix big scale kit but is mostly scratch built including hand laced wheels, punched louvres and lots of 3D prints that the builder developed all of the 3D modelling for And my little mix - entered three models in the Hot Rod/Modified Car class and got a second and a third And the rest
-
Thanks guys The tip came from our own @StevenGuthmiller. There is a pinned tip in the Tips Section Thanks Steven
-
Been a while since the last post I was a bit peeved with the hood so it was put to one side and I started another project. We have a show coming up so I thought that this needs a push. I have stripped the paint from the hood and repainted. Needs a small rub down with final colour coat and clear. I will let it gas out some more this time before I mask up for the underside detail painting. I have also colour sanded and cut the body ready foil and decals. In the mean time I have got some foil on. I have started using fine line tape as a cutting guide for the foil - a whole lot easier as some of the trim is a little vague on this model
-
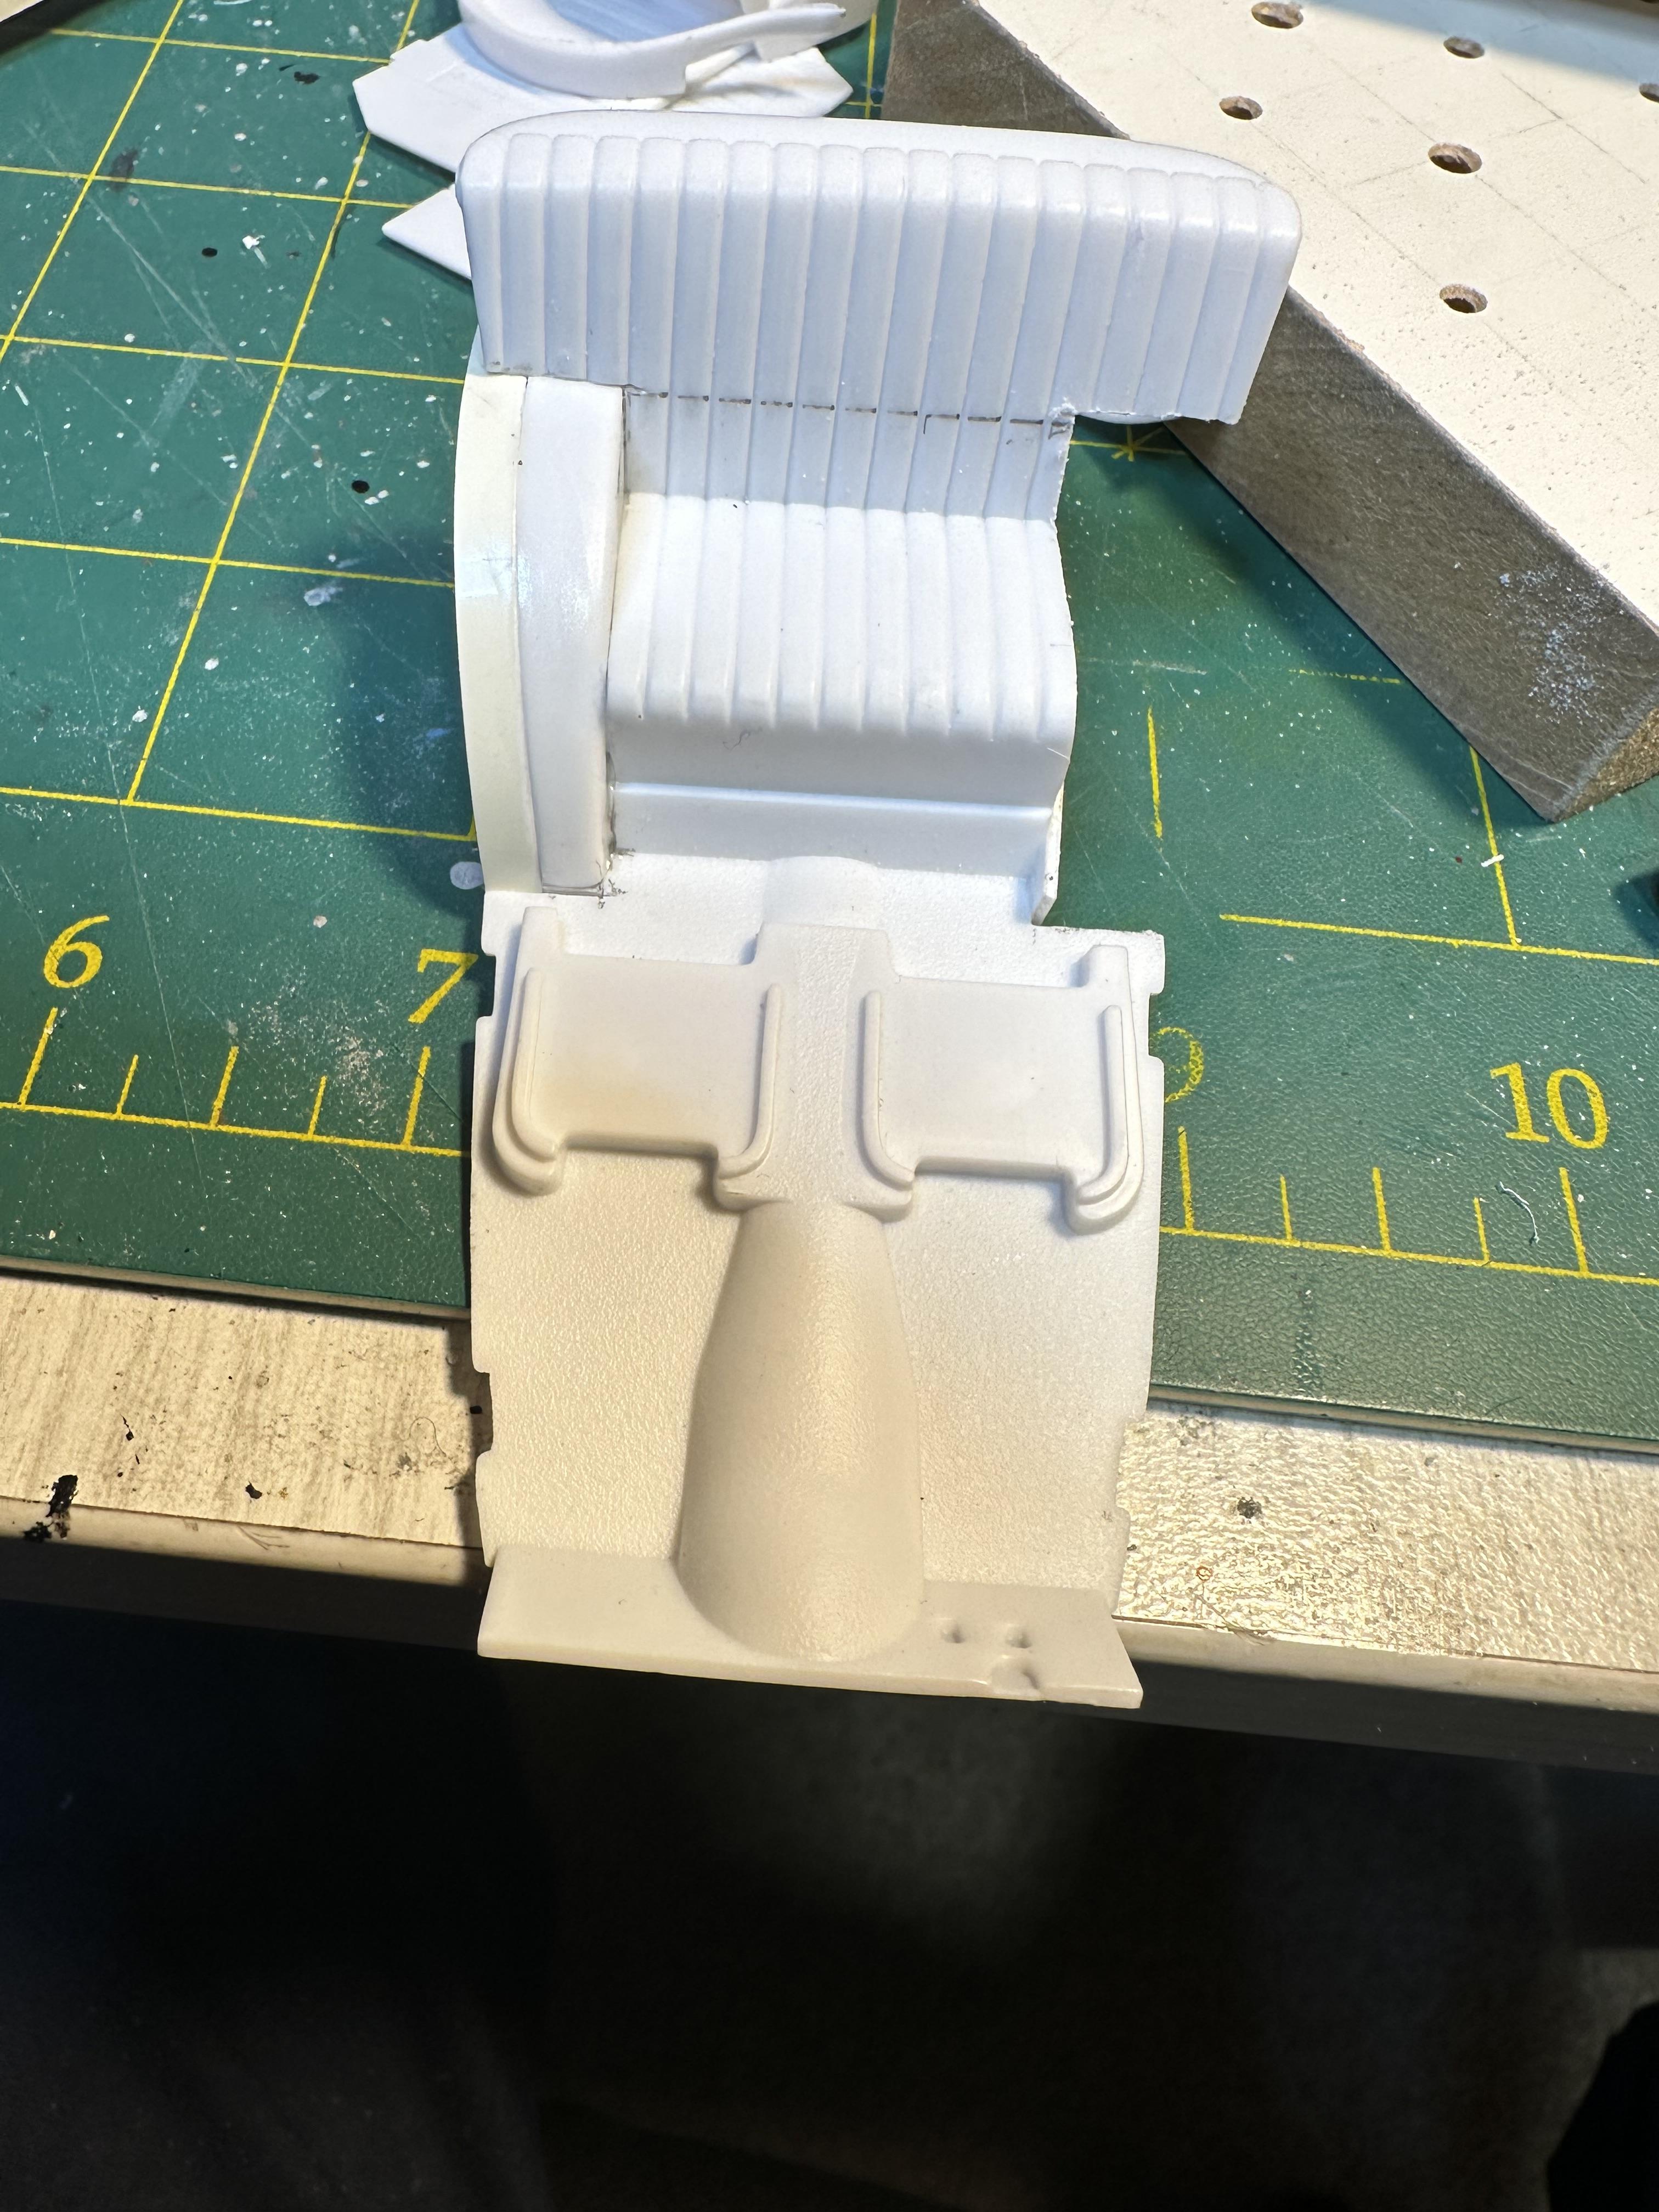
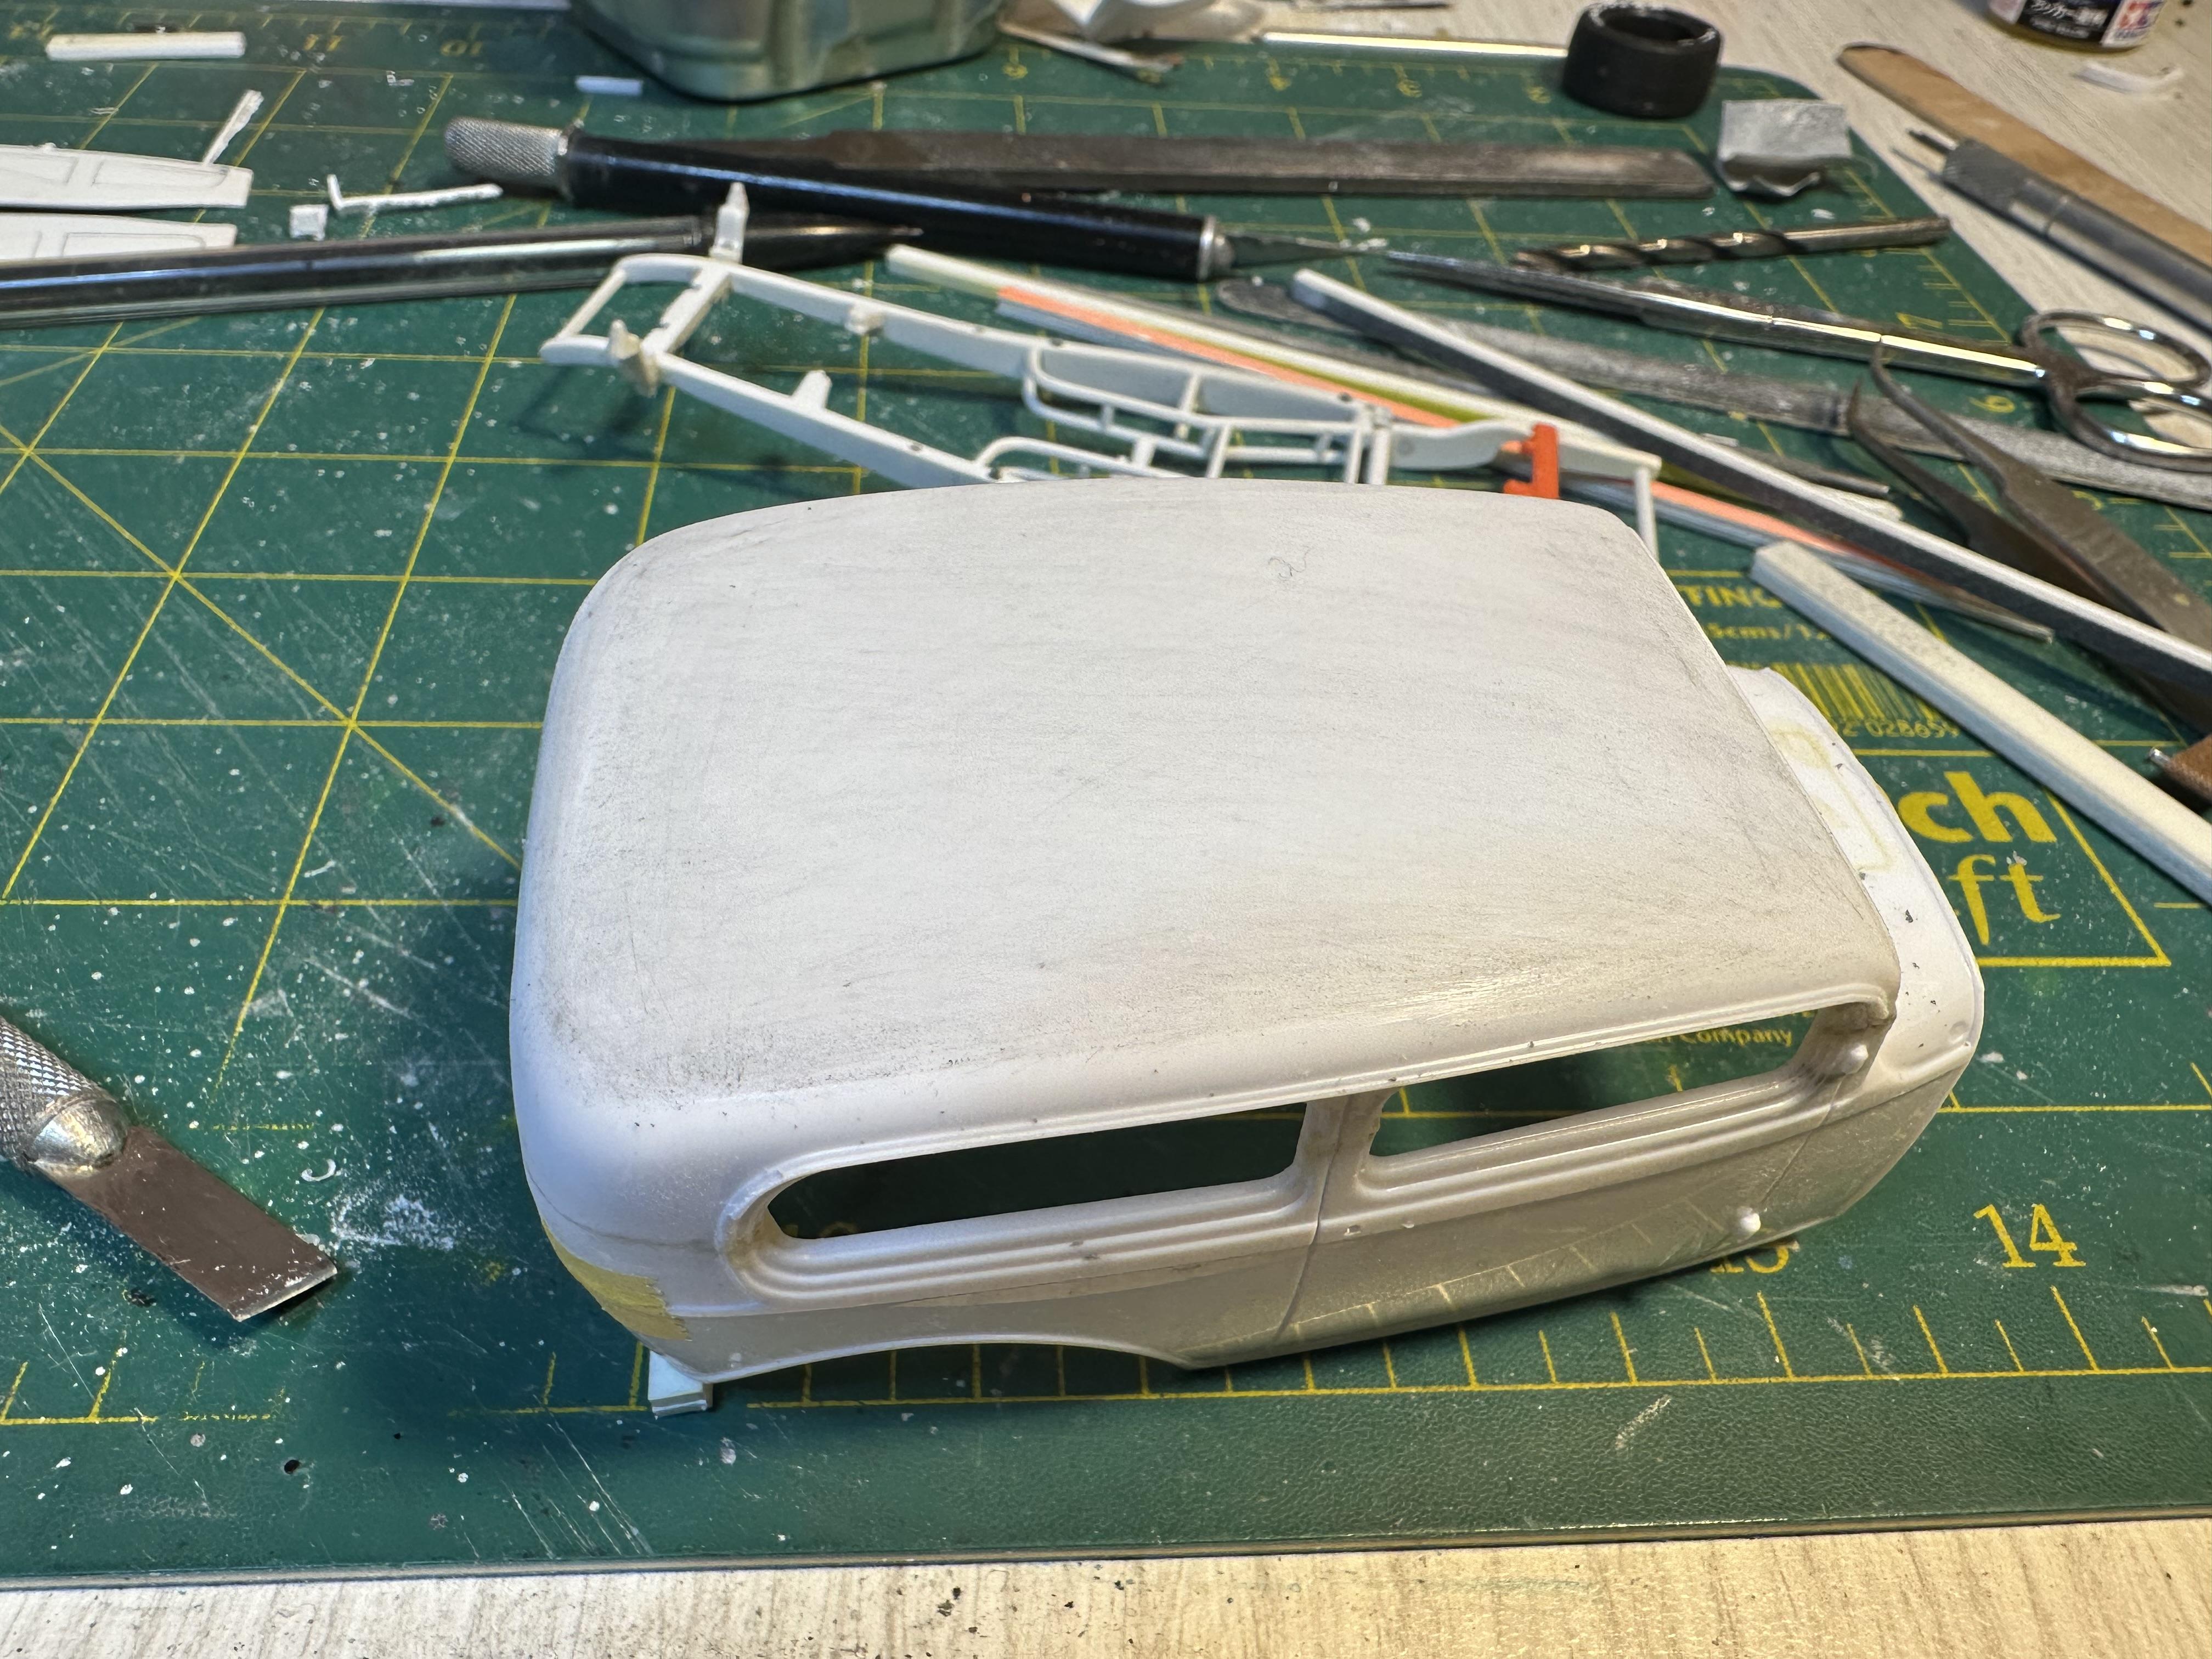
As I tubbed the rear guards I now need to look at the interior as it will not fit. Doing a bit of eyeball measuring it ooks like I can narrow the rear seat are down by one pleat on each side. Out comes the trusty razor saw. A tip here - if your saw is dragging a bit rub a candle across the blade, it makes a world of difference. First pix is marking cut lines and horizontal cuts made Next pix shows both sides cut with the passenger side tubbed with a strip of plastic. Drivers side has a cutting oops being filled in with a bit of plastic filler. The tub extensions are slightly wider and will be filled back to fit the door cards I have also been working on the body chop lines and paint detail of the engine but no pix of this yet Thanks for looking
-
Hi Chris, this is a cool build. I have only just seen this and you are doing amazing work on the 32. The engine and rear end look stunning. I noted that the quick change cover from the Revell 3 kit special is from the Lil John 34. I am using the same rear end for my 32 Sedan build up and boy was I surprised at the amount of flash on the parts. I used an earlier 26 T kit rear end for another last year and the flash was nowhere near as bad as the parts from the 3 kit special - maybe was a bad time for Revell The AMT 32 Phaeton was the first kit I built way back in 69. Did that in preference to studying for School C (yup I am a Kiwi too) so I have a soft spot for these. Keep up the good works
-
Go for it. It is scary looking at it for the first time but once in you will never go back. A 32 is a lot easier than say a 49 Merc. As @mrm says "you can do it"
-
Nice show, pity about the rain though. Been there, done that
-
I have worked on details and on the rolled pan and have made another moulding to keep away from a wide overbearing rolled pan.
-
Thanks for the kind comments. Ambitious yes, talented we will see if it all pans out
-
So many good builds going on here. Good to see life in the old Orange Crate body too. Had a couple over the years but could not bring myself to do anything with them so will be looking with interest. I have worked on the rolled pan and rather than have a big wide slab I have created another moulding to break things up a bit Kepp up the good works
-
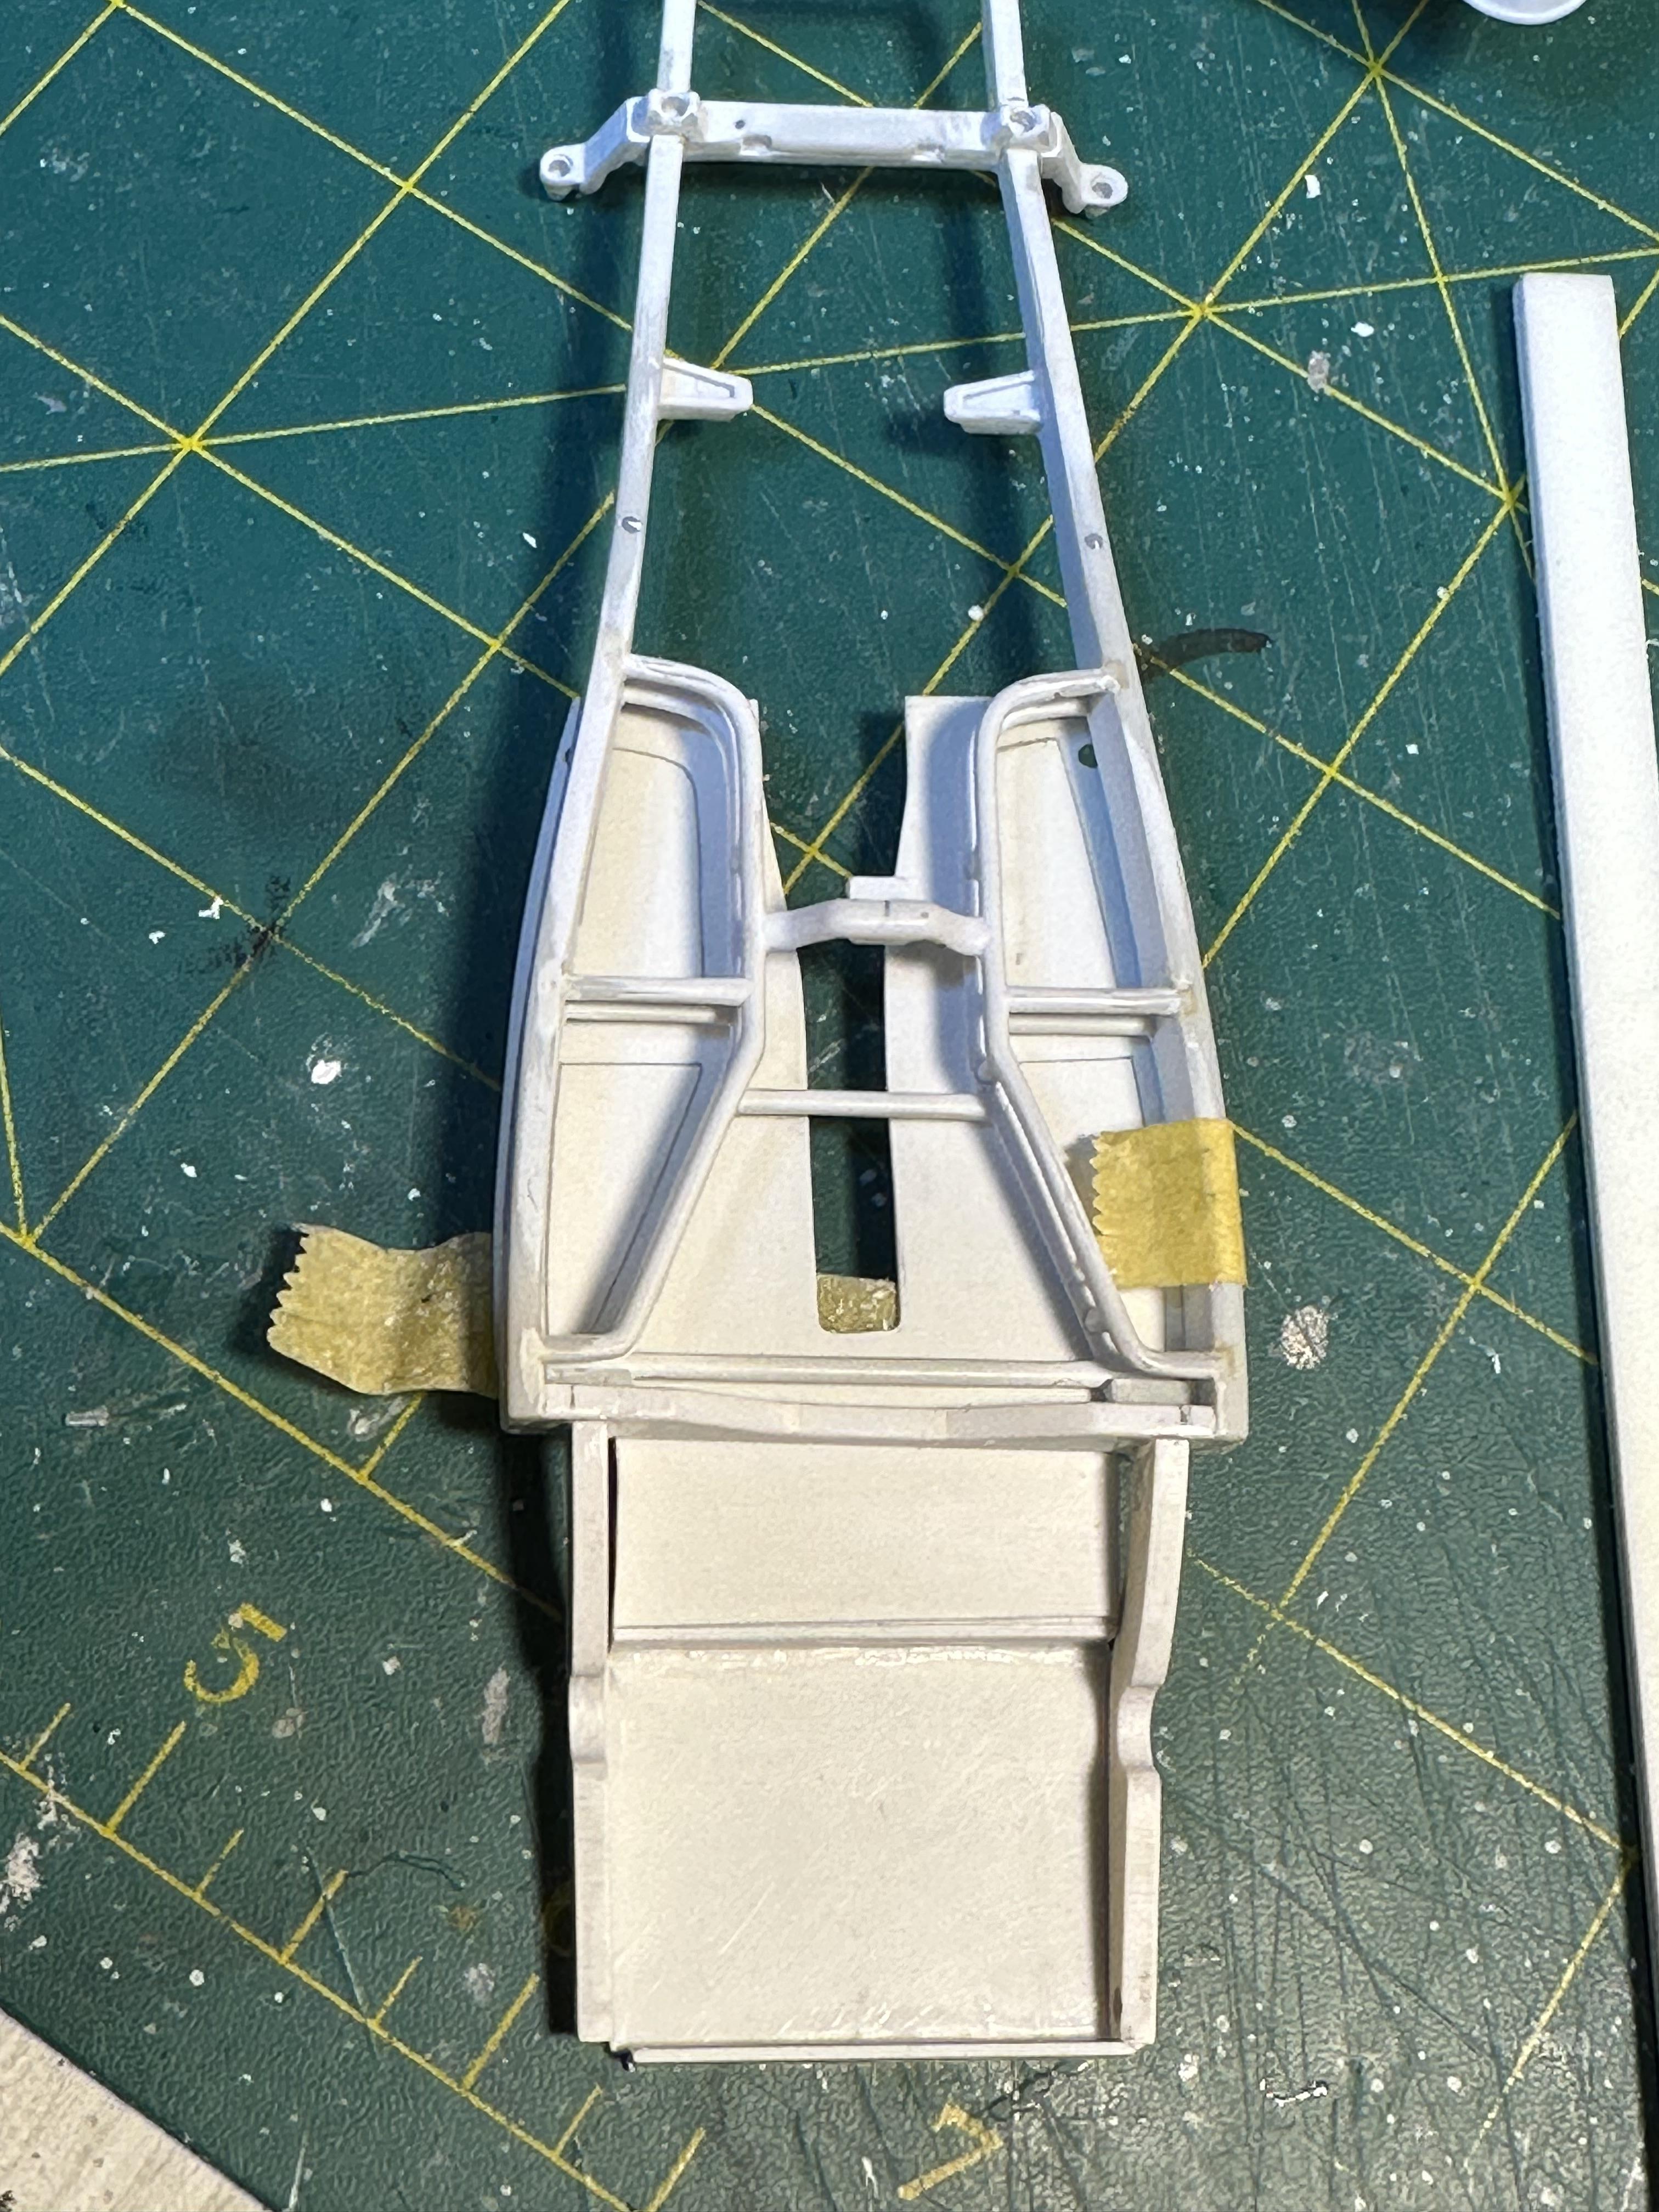
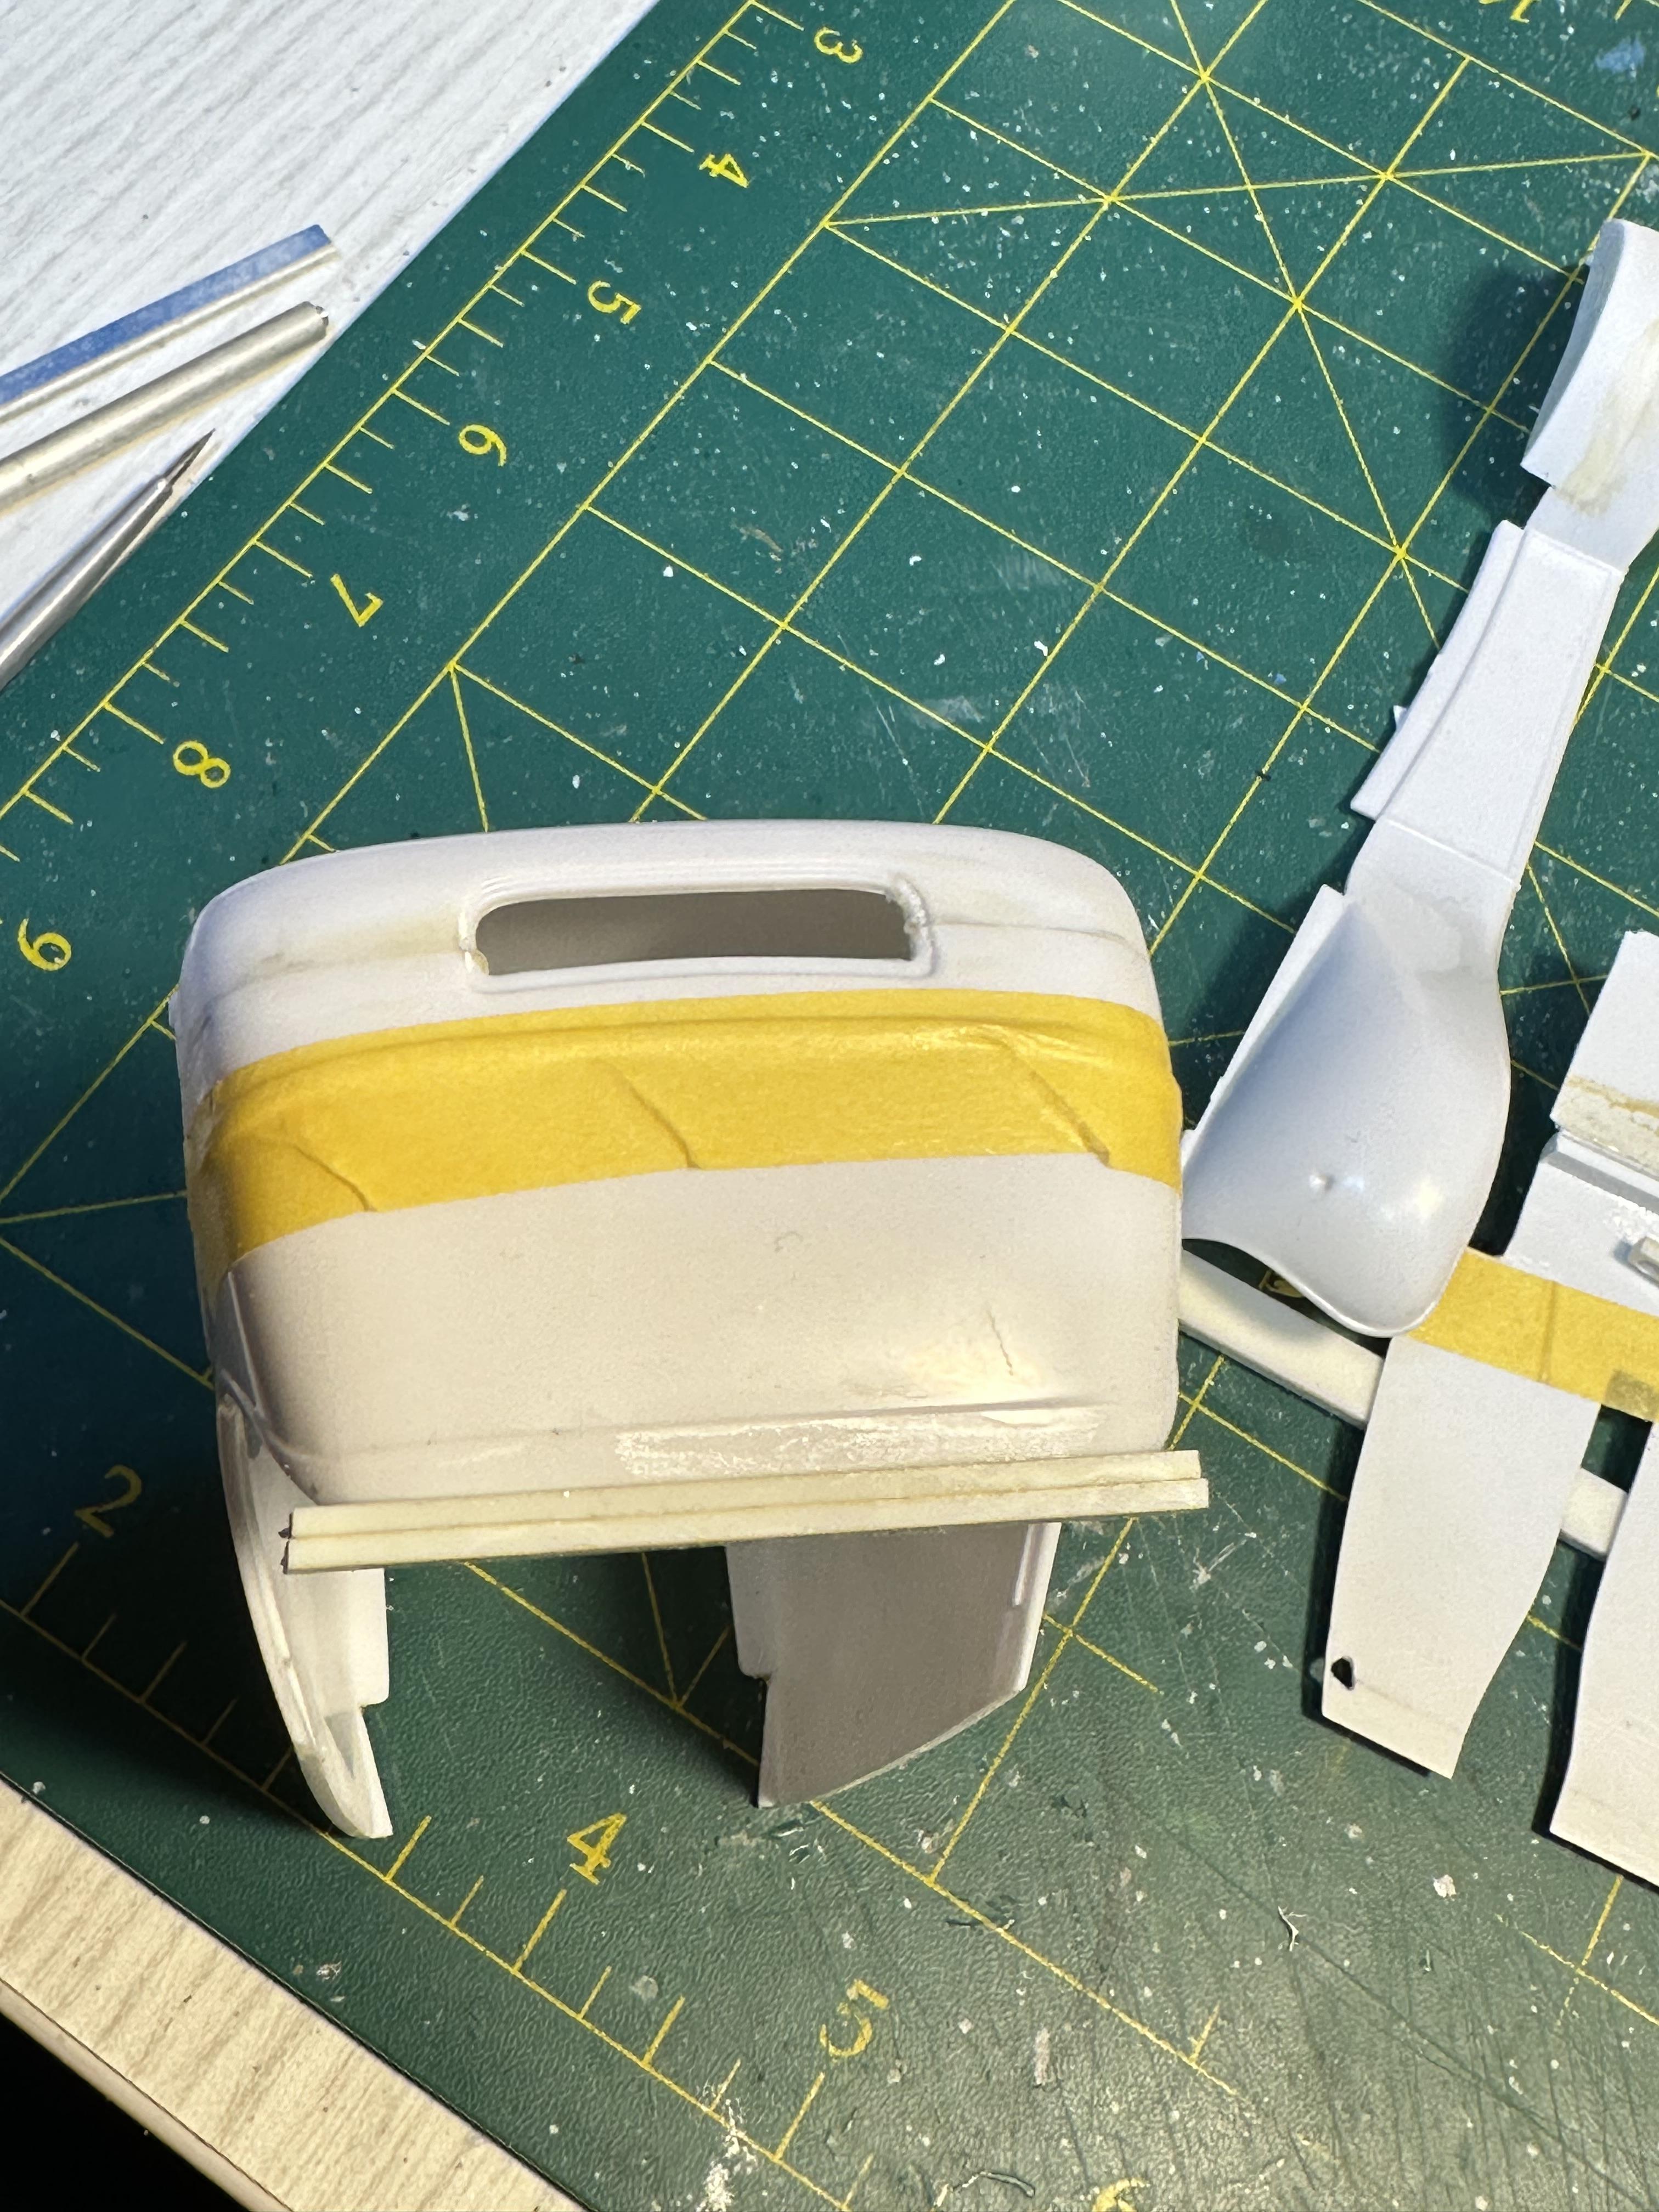
Had to make some adjustments to the floor pan to fit around the new rails and the tubed guards Next up was mounting the Lil John rear end. Mocked up the chassis and guards to get the required ride height. I then notched the rear rails for the cross member and glued that in I also put some brass dowels into the chassis extensions by angle drilling from the top. While waiting the glued crossmember to set up I attacked the top insert to remove it. First up I removed most of the moulding/bead with an Xacto chisel blade then went to work with a 230 grit sanding board to remove what was left of the bead and the textured insert. Next I will work through the grades to knock back the sanding marks Thanks for looking
-
Been working on the body by removing the top fill in panel. Removed the moulding with a chisel knife Xacto blade and then started in the sanding sticks. Started with 230 and now need to work through the grades to about 1000 - 1500
-
Roadworthy Rescue Wrecker
bill-e-boy replied to Steamboat's topic in WIP: Model Trucks: Pickups, Vans, SUVs, Light Commercial
This show has recently landed down here in NZ and I have been avidly following along. You have made a cool replica of the wrecker "rescued" on the show - kudos to you -
Wow @Speedpro you are taking a wild move changing the back window and back body mouldings. I note there is quite a difference to the curvature of the body between the A and 32 bodies so you have your work cut out for you. When I looked at the 32 rear window of my build and referencing to online pix, I see what you mean by the wrong shape at the bottom of the window. I would not have known otherwise. Damn is this a case of unseeing something. I see you have removed the moulding that runs over the cowl. I too have removed this on prior 32 builds for a more streamlined look. I am dithering on this. Also a little unsure of removing the roof insert as my reference build had the insert but I am taking a more modern approach so will more than likely remove it
-
Small update. The rear of the chassis narrowed and body work in progress with a rolled pan installed to cover the rear of the chassis rails
-
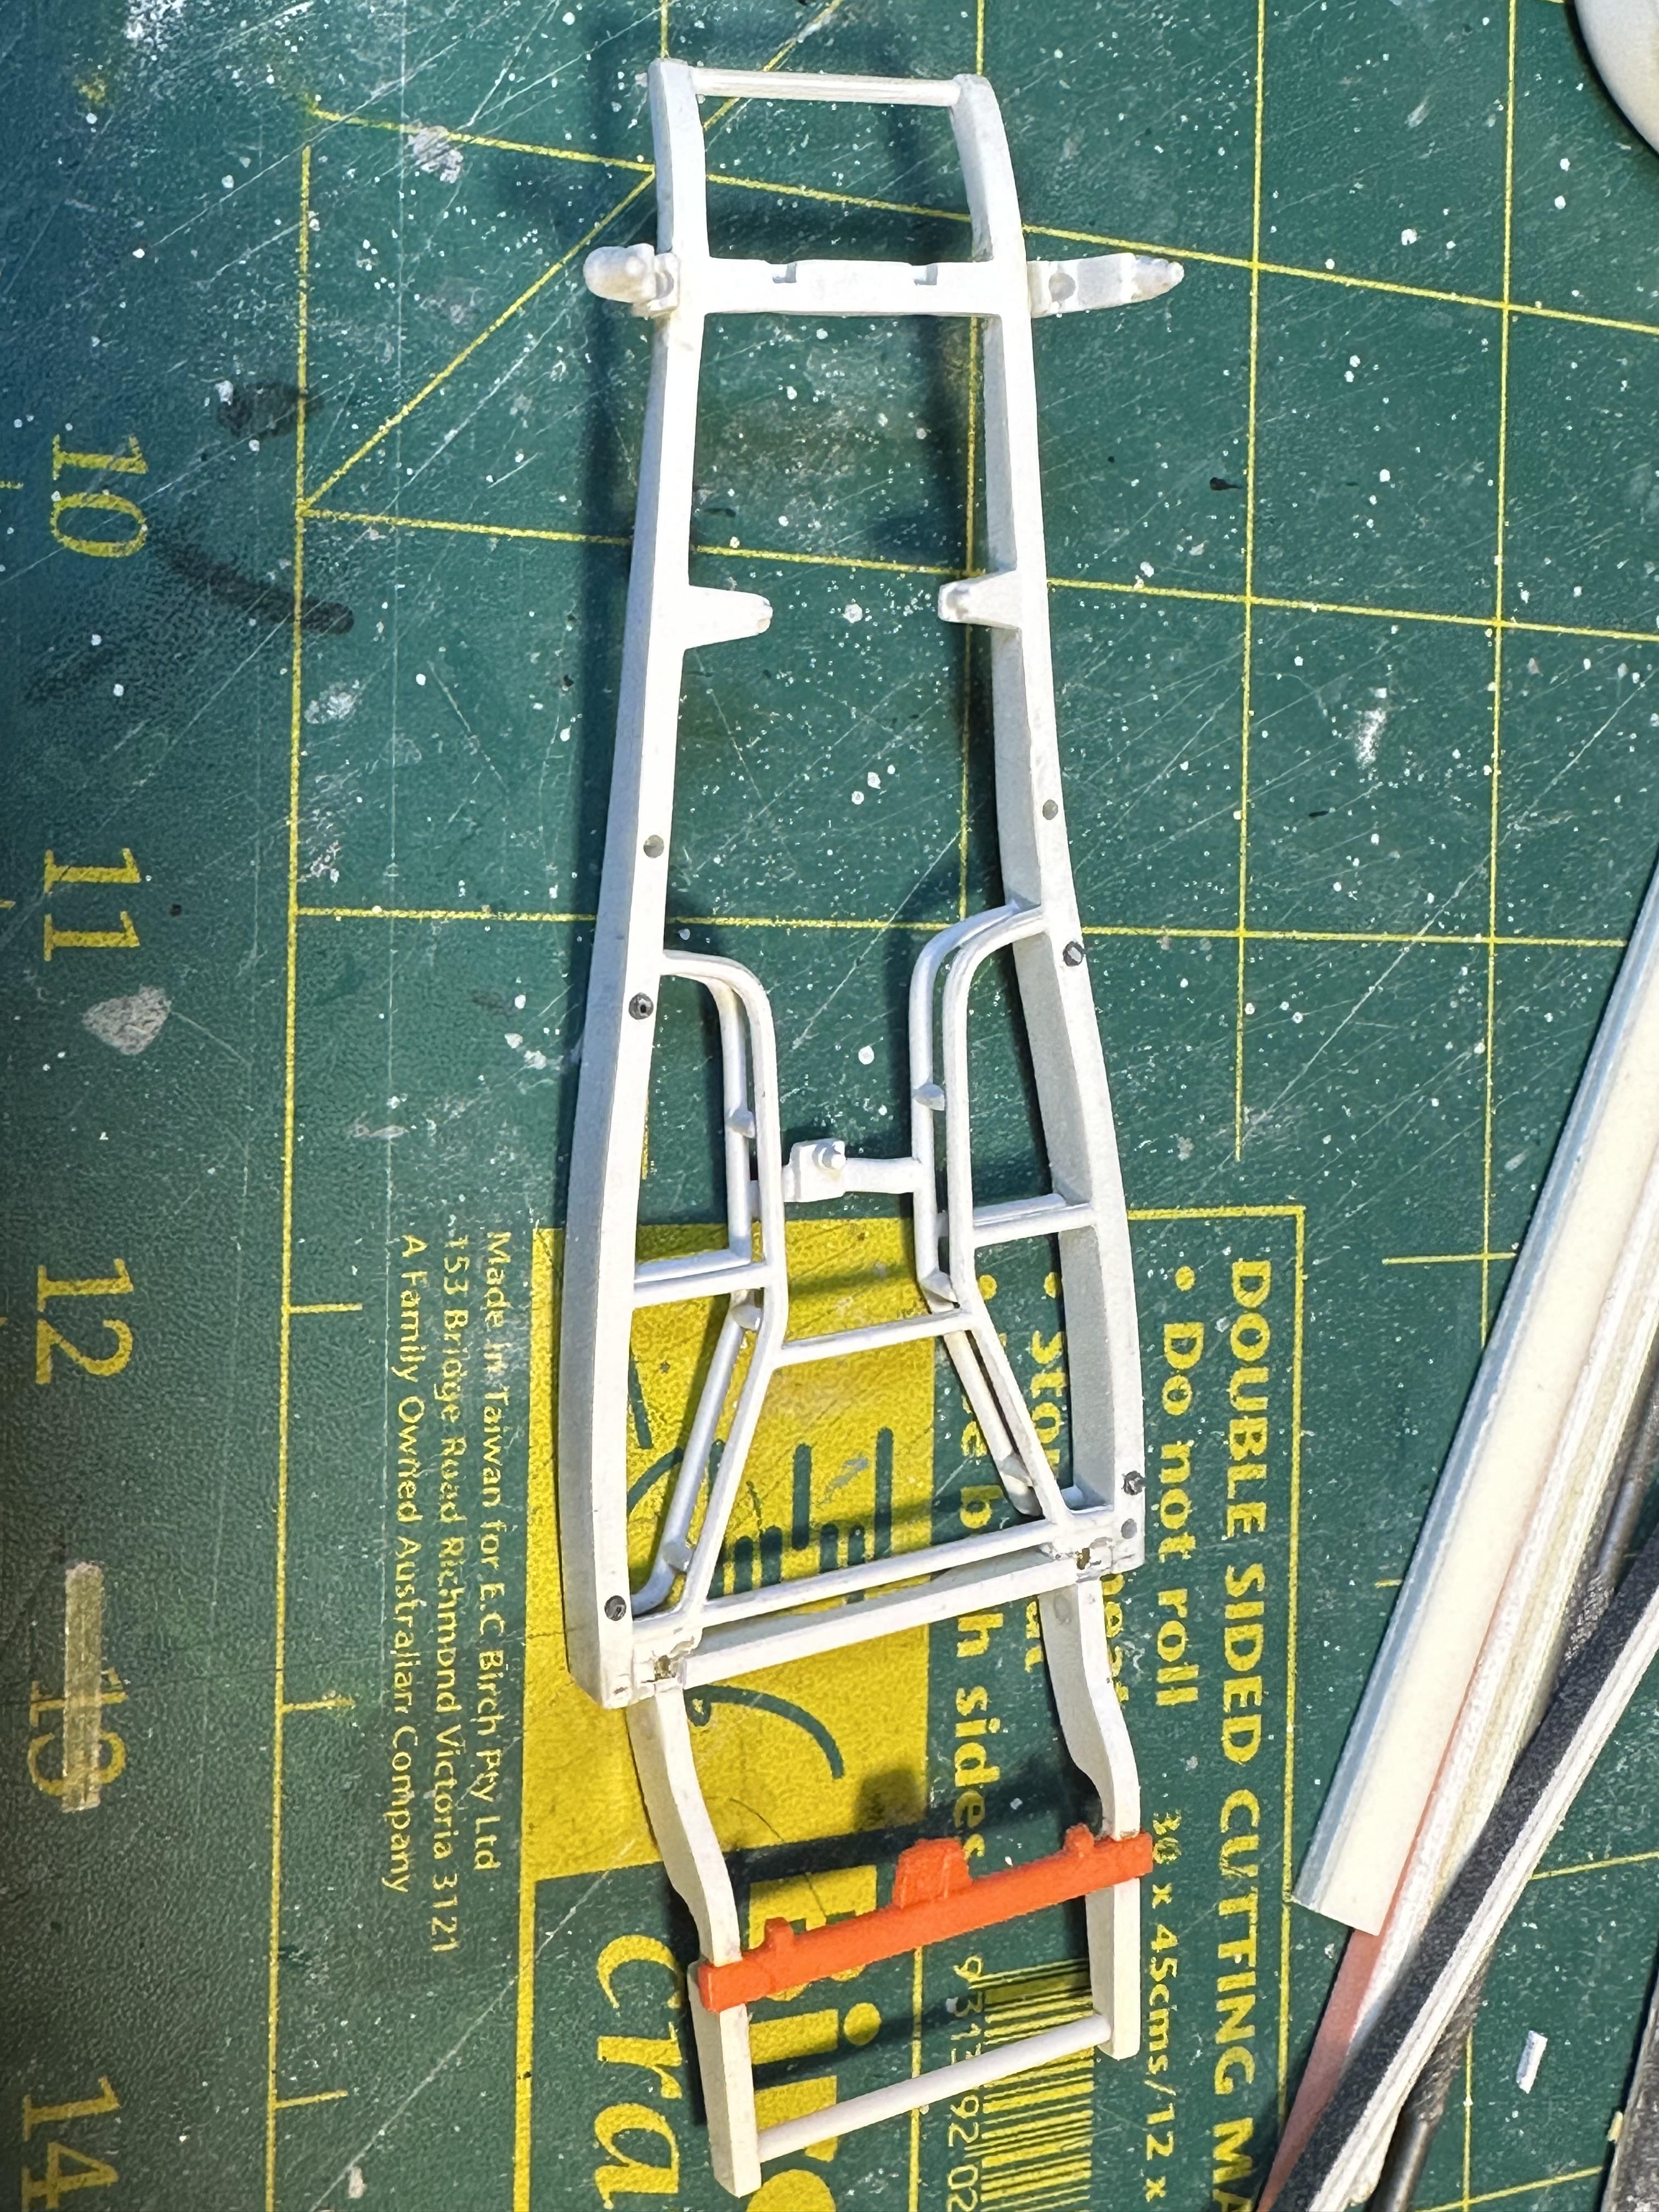
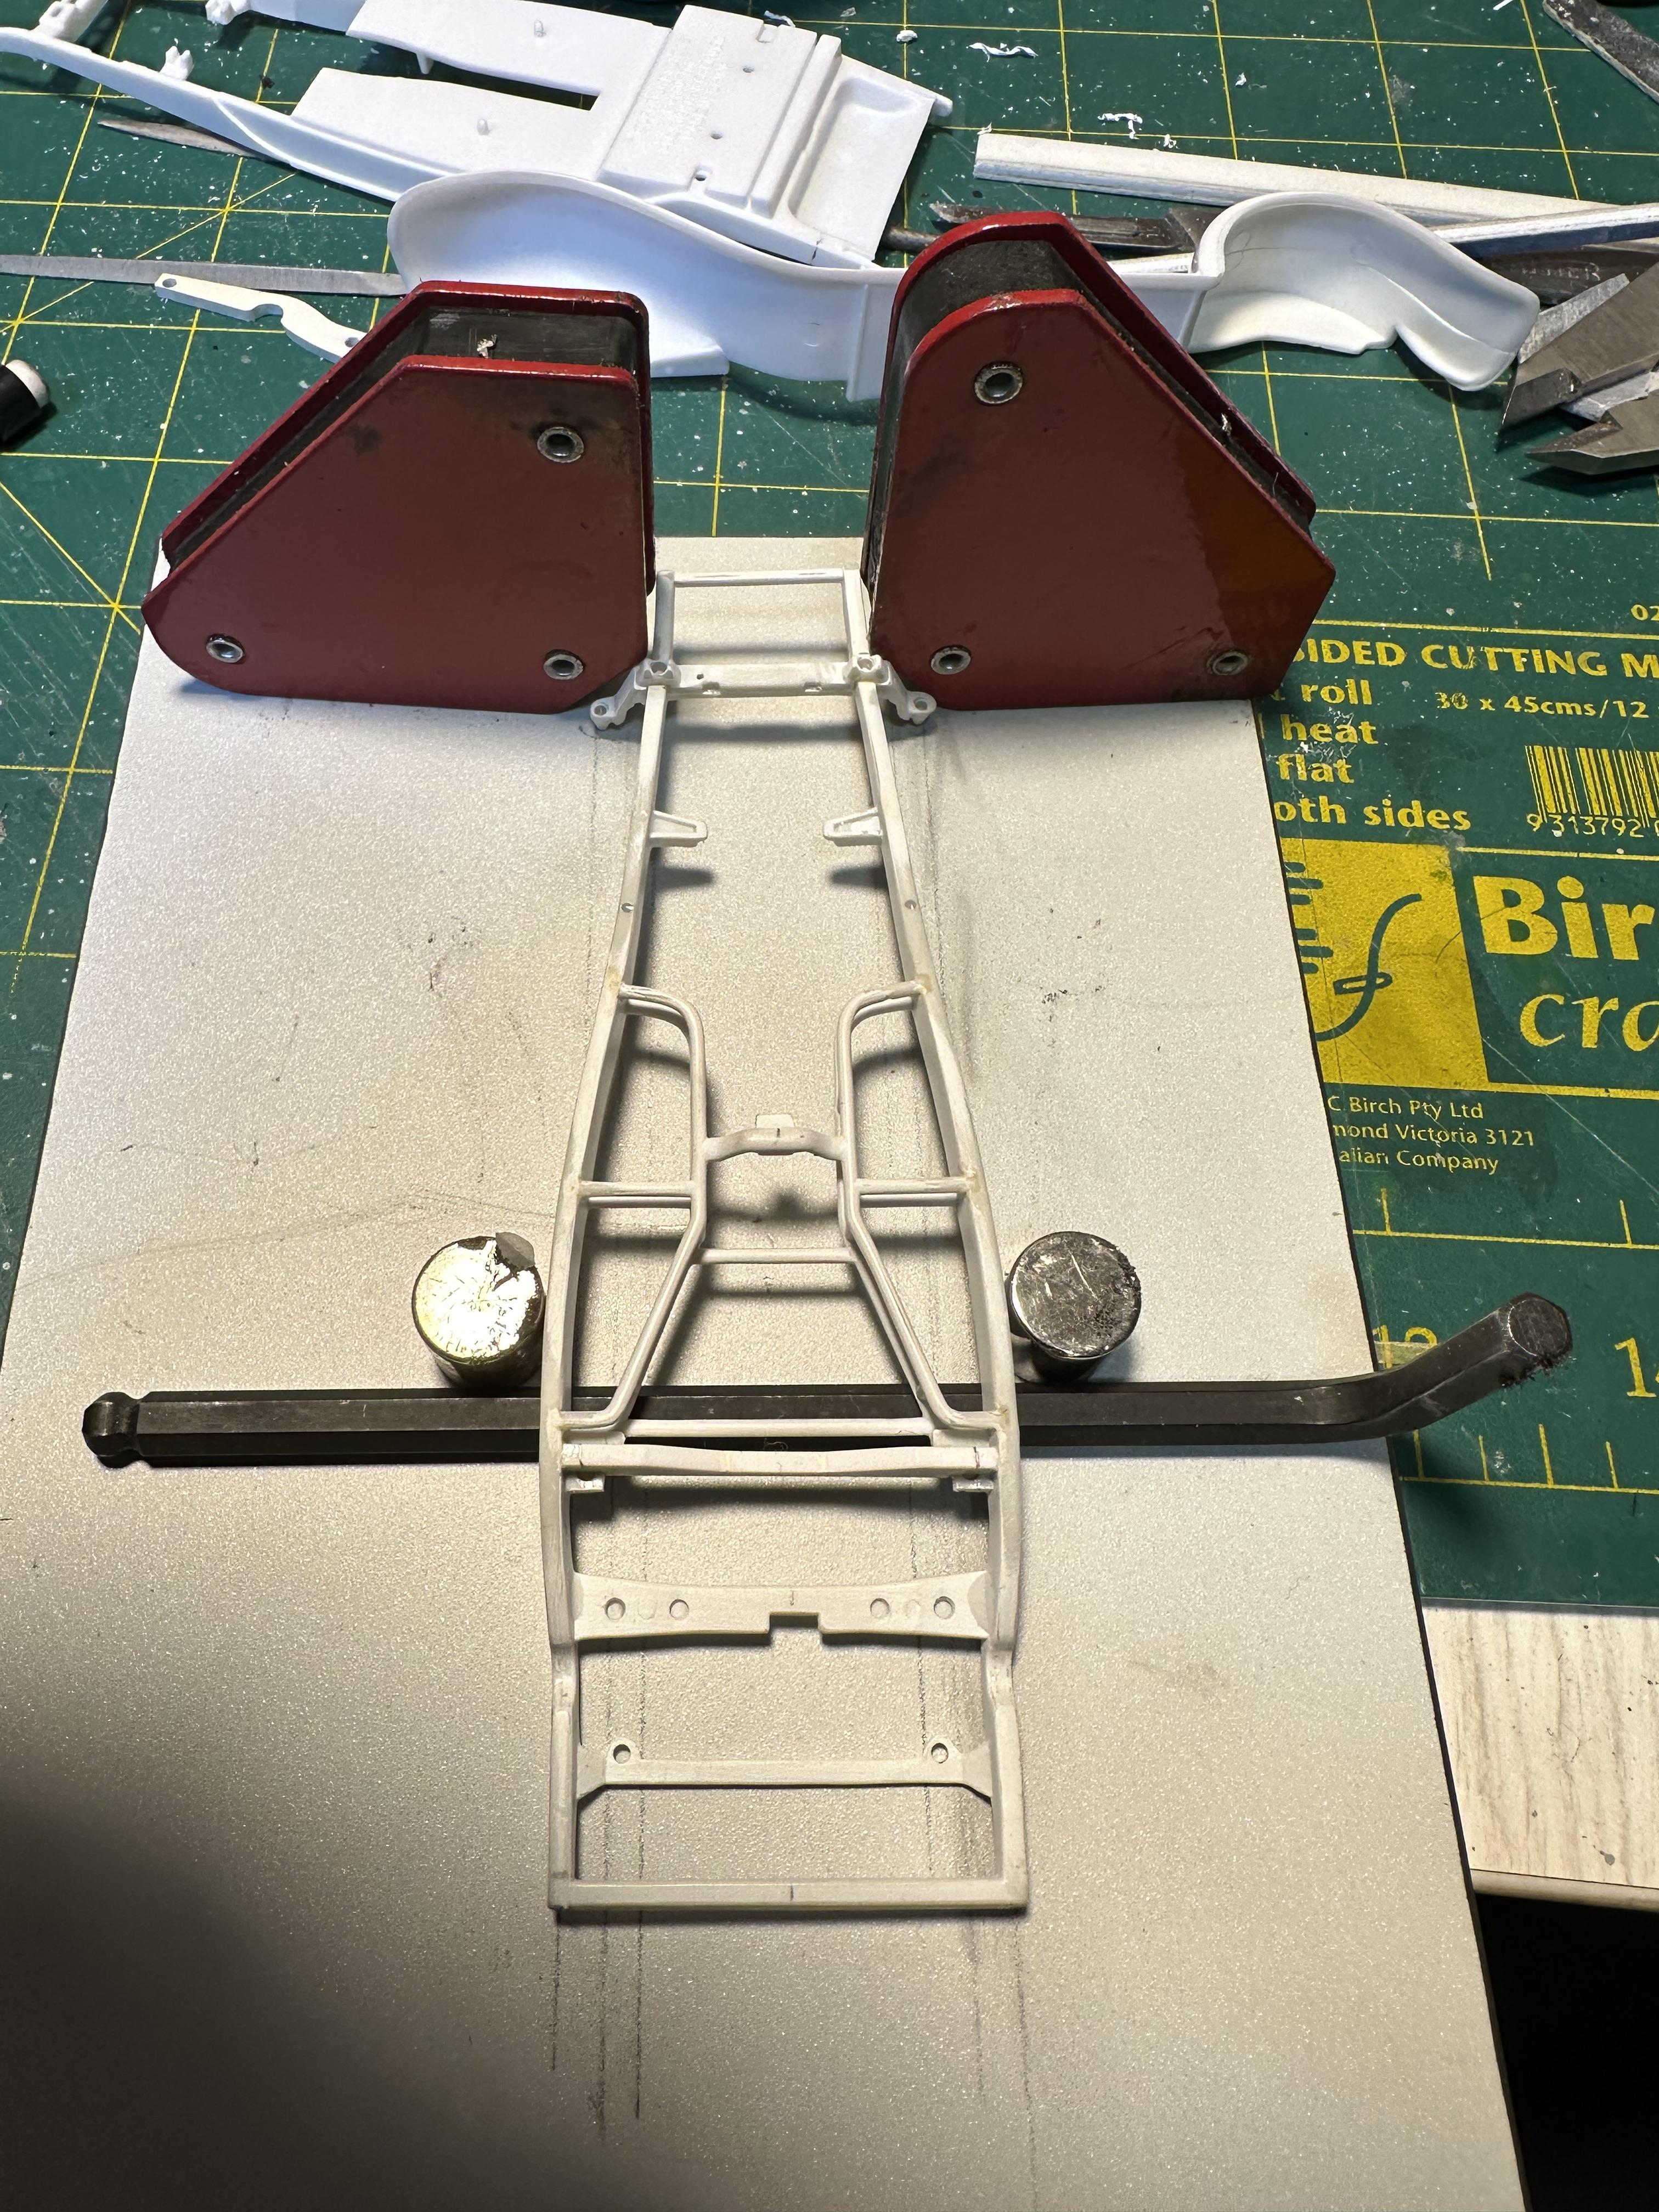
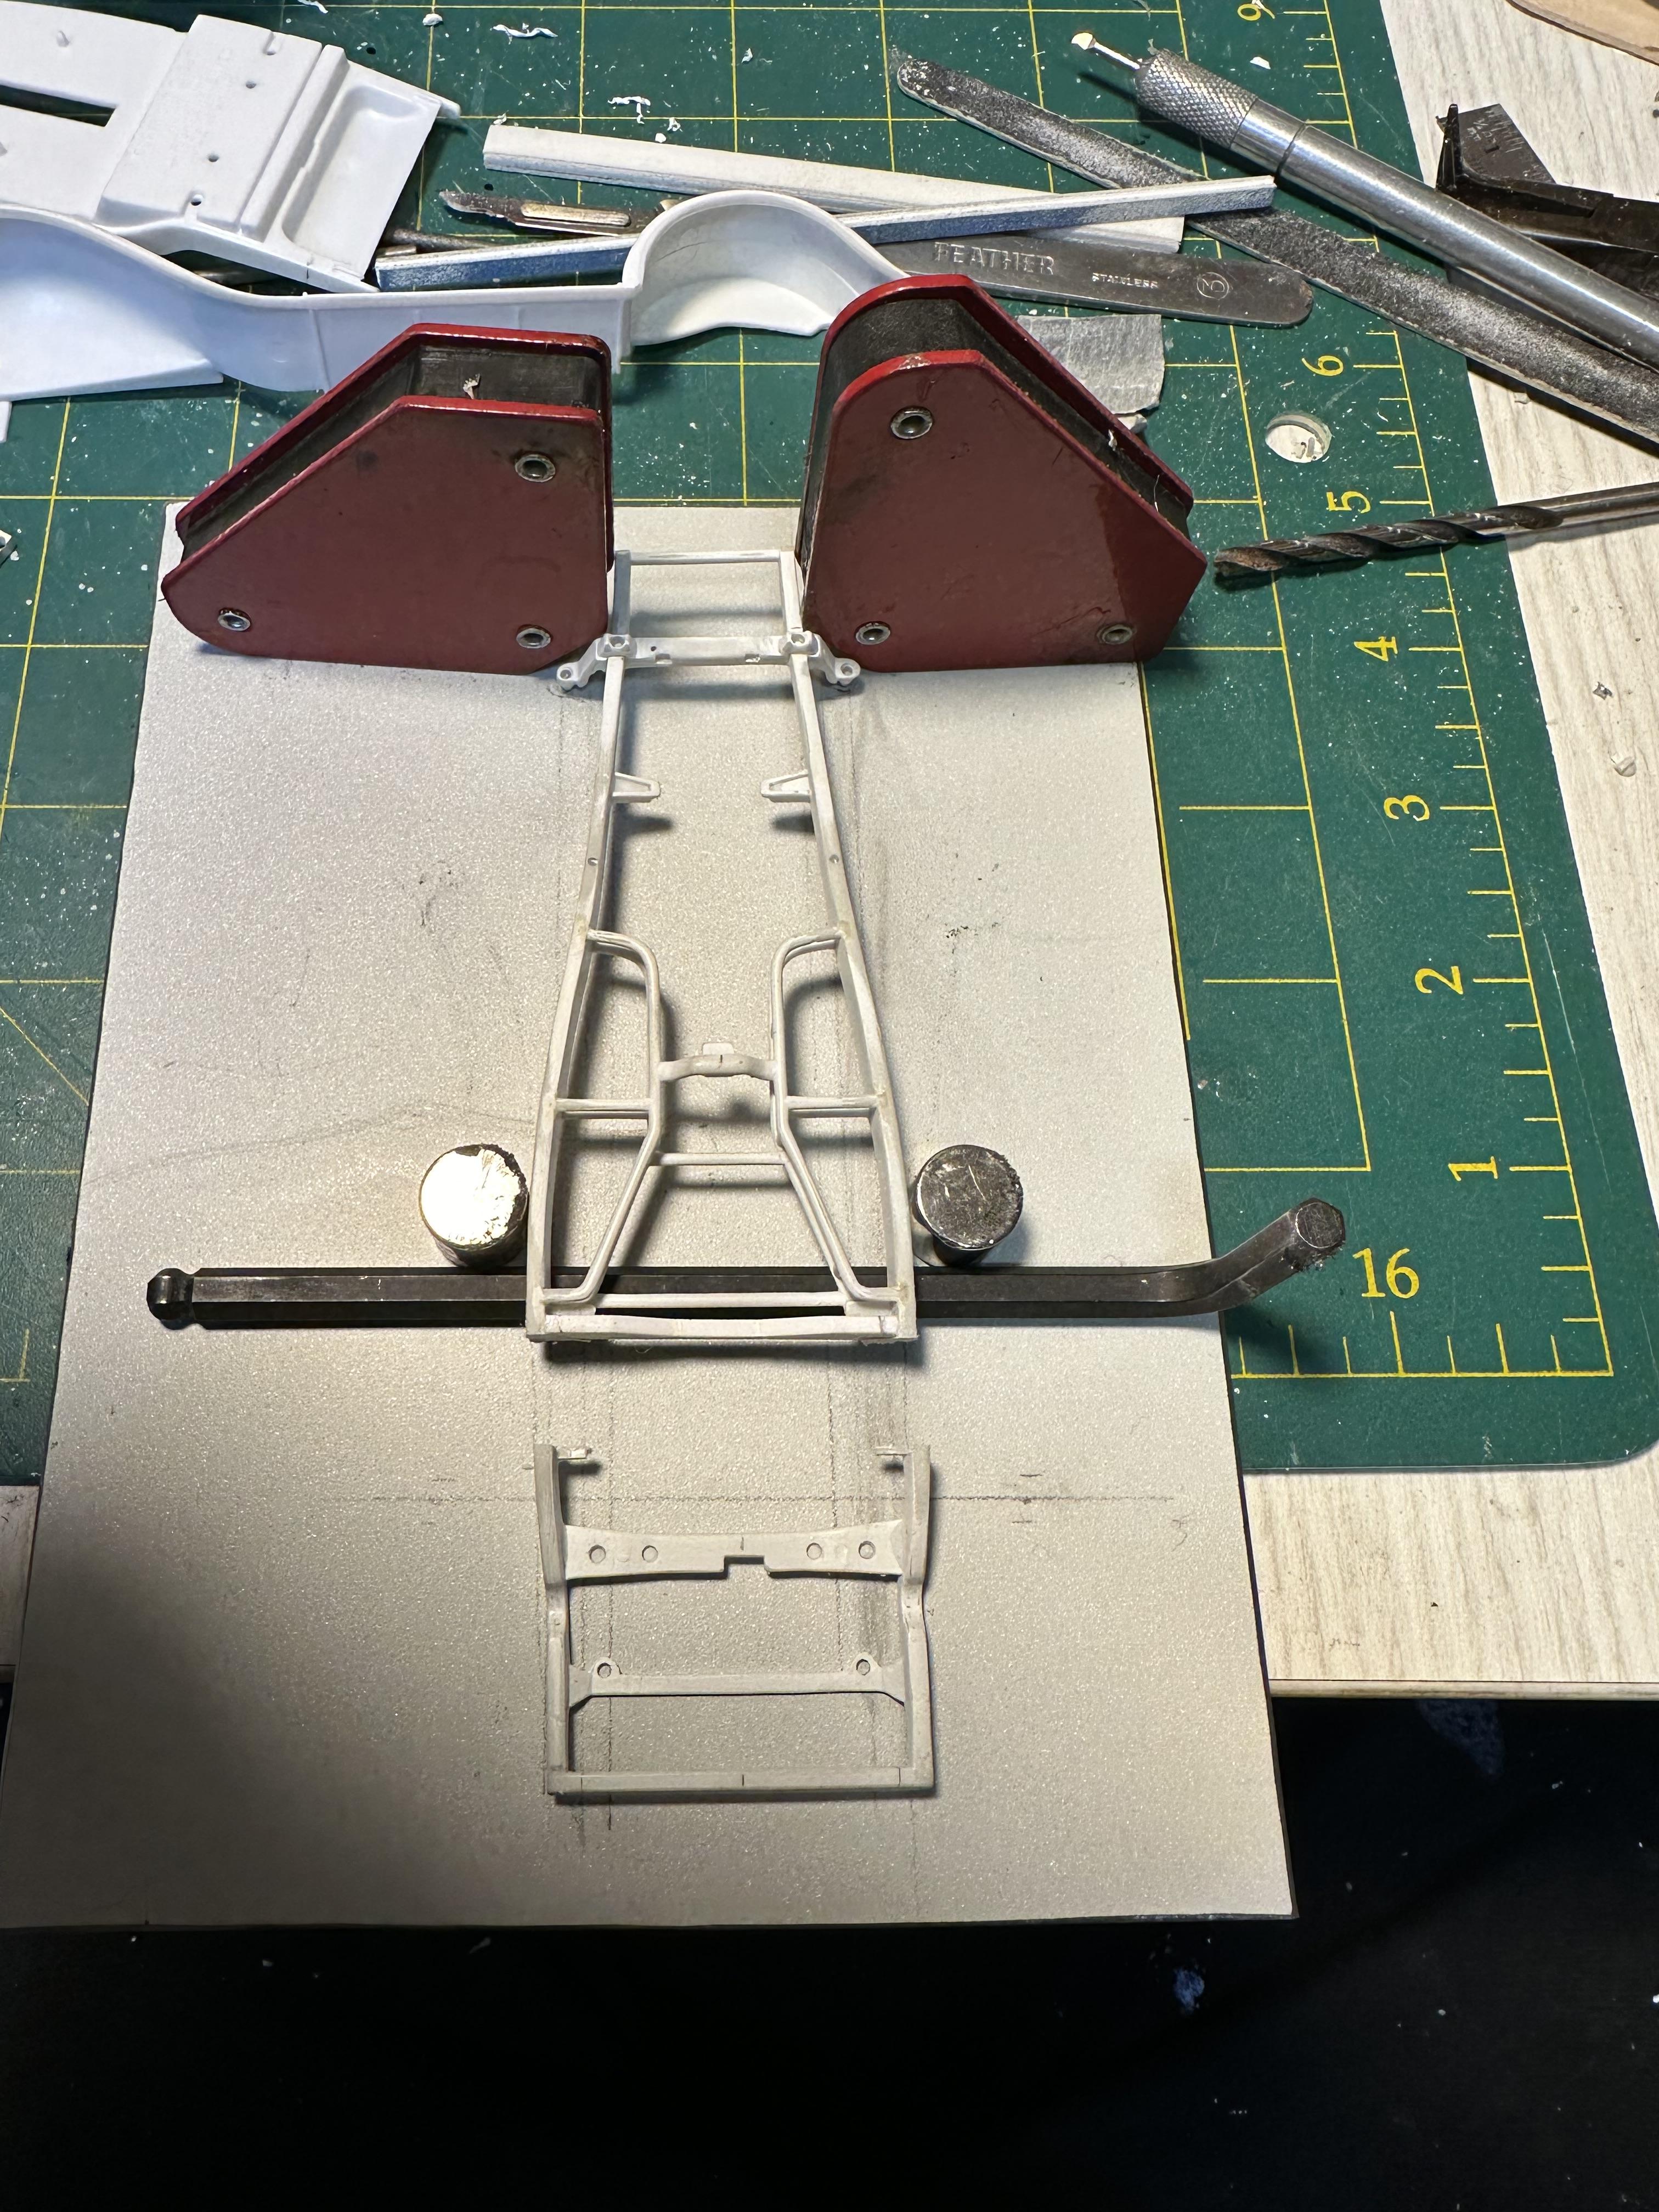
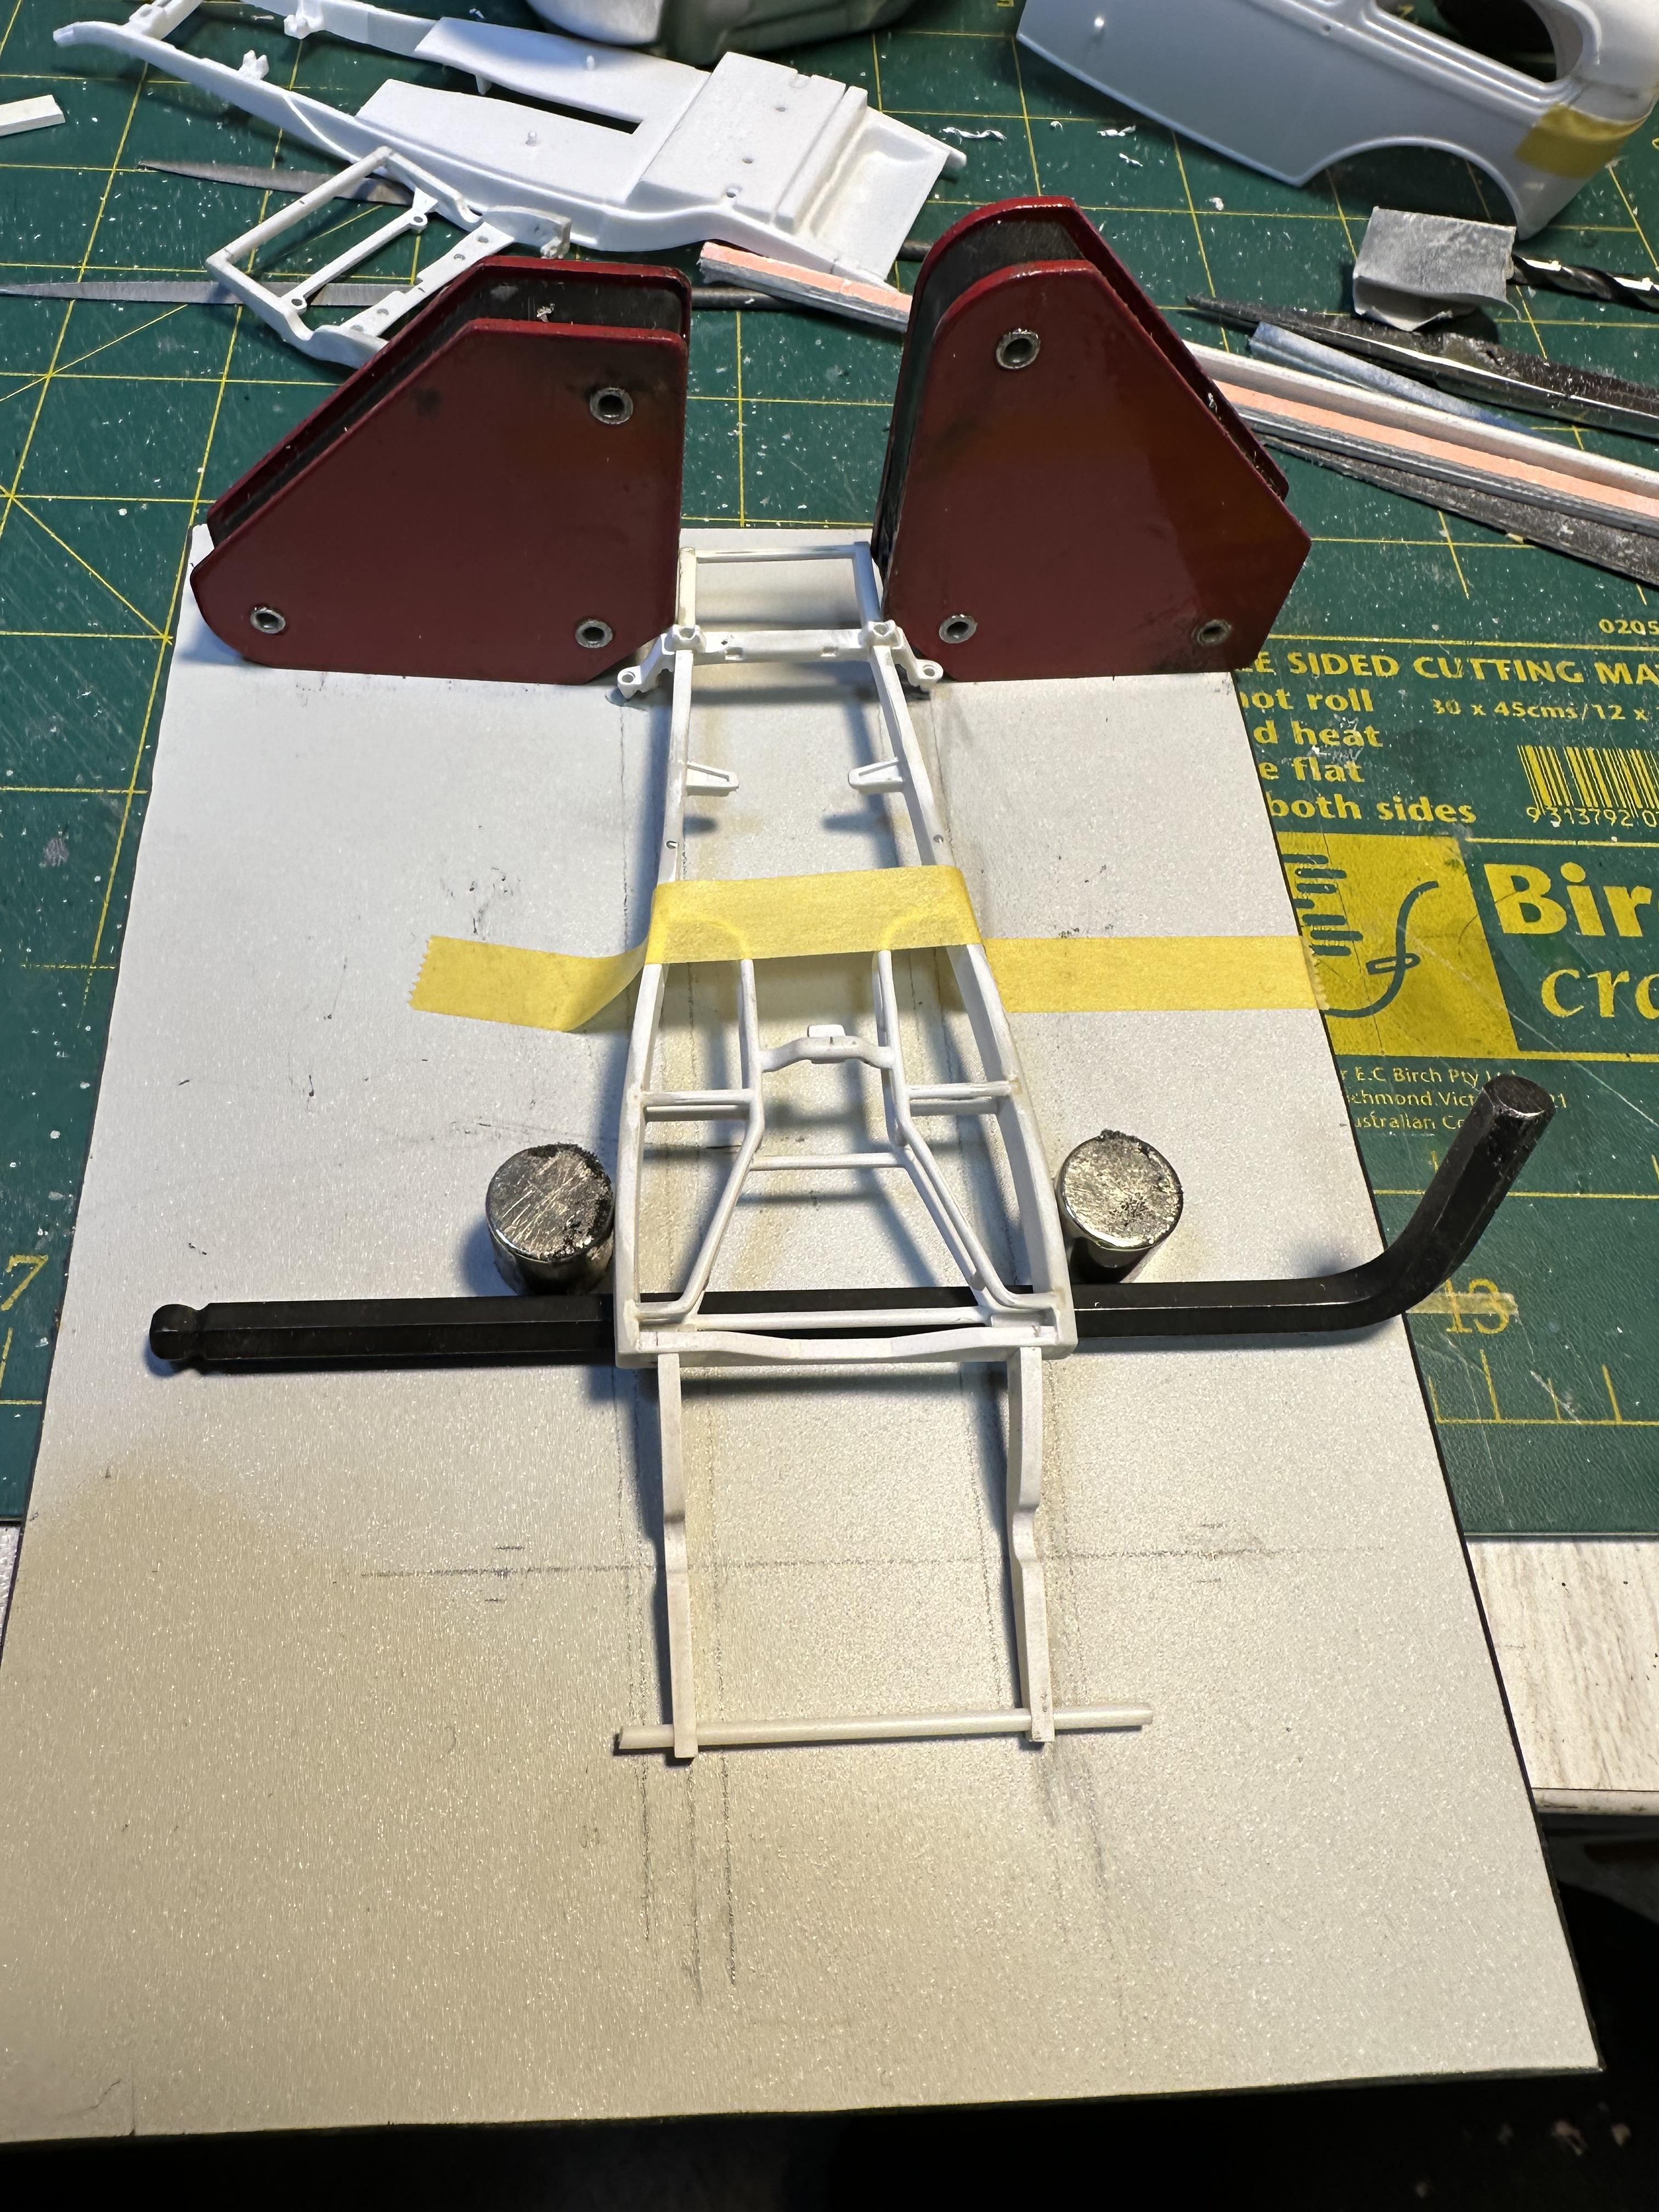
Working on this at what seems a snail pace. Not a lot over the last week or so - life interruptions keep getting in the way of modeling. I have been working on narrowing the rear end. I made up a jig with some sheet metal and magnets. The Allen key is to provide spacing for the chassis from the jig. First pix is of chassis set up in the jig before cutting. Note that I have installed an extra cross member to provide attachment for the new chassis rails. Next up is the chassis rails cut off before clean up The new rails glued on using the jig to make sure all is straight Although the rear of the chassis can still be seen when the body is mounted it is not as exposed as with the original due to the straightening of the rear section of the new rails. As I am not using the fuel tank and cover I need to cover the rails so I will make up a rolled pan. Two pieces of 1.5 x 4mm glued up and glued onto the back of the body. I will shape up when the glue has set up I have also been working on the body filling and filing the cut lines Til next update thanks for looking
-
And some are fully polished And some have painted centres with polished rims And most are painted centres with a machined finished rims which are satin ally