bill-e-boy
-
Posts
899 -
Joined
-
Last visited
Content Type
Profiles
Forums
Events
Gallery
Everything posted by bill-e-boy
-
Looking good. I like the rear end and has worked out better than the Lil John one I am using for my 32 build. I also like the ribs on the roof, the hood treatment and the 4 Weber carbs on the engine - or is that an Inglese FI set up in keeping with the other mods to the car
-
Polishing a molded in color body
bill-e-boy replied to junkyardjeff's topic in Model Building Questions and Answers
Works OK but the colour does fade. I did a Tamiya McLaren about 50 years ago and it still looks good but a little faded Sometime paint fades too but doesn't seem to as much as raw plastic. The evidence is here so why not - better than a manky orange peely paint job -
I have found Tamiya LP clear tends to eat into the colour coats an you end up with a less than stunning clear coat often to te point where it looks like semi-gloss clear. It is better when you let the colour gas out for a couple of weeks or more before hitting it with clear in the method above. It should not be like this with lacquer. Enamel yes, (Tamiya) lacquer no. I am going to try 2K next to see if it is better as I am not happy with Tamiya LP colour and clear coat almost to the point where I will go back to shooting enamels as I have done for 50+ years as I have got (mostly) very good results. I do like the convenience of LP paints but not always the end result at this point. A rant but this is a "forum"
-
Deuce 5-Window Coupe - chopped & full-fendered
bill-e-boy replied to Phildaupho's topic in Model Cars
Cool, nice proportions with top chop and cool colour. A very nice build -
That is a cool method of applying paint and the finish came out just right for a T
-
That is one nice build. Everything is just so cool. Well done
-
Cool. Love it when someone builds an old kit. And then drives it in the rain. Primo!!!
-
Mopar fendered kits
bill-e-boy replied to Lownslow's topic in General Automotive Talk (Trucks and Cars)
A cool car Bill -
I had heard of progressively thinning lacquer as you build up coats and I have used this method and it works OK. But I have not spayed just thinners as last coat. One thing you do need to watch out for is thinning metallics too much as you can end up with tiger striping. May give it a go one day as the better the finish before colour sanding and polishing the better
-
A cool trio All the bottom frame needs now is a small pie cut just ahead of the reveal at the fire wall to move the front end up a tad - "traditional" to go along with the Z in the rear
-
Nice build. It has a nice 60's feel to it
-
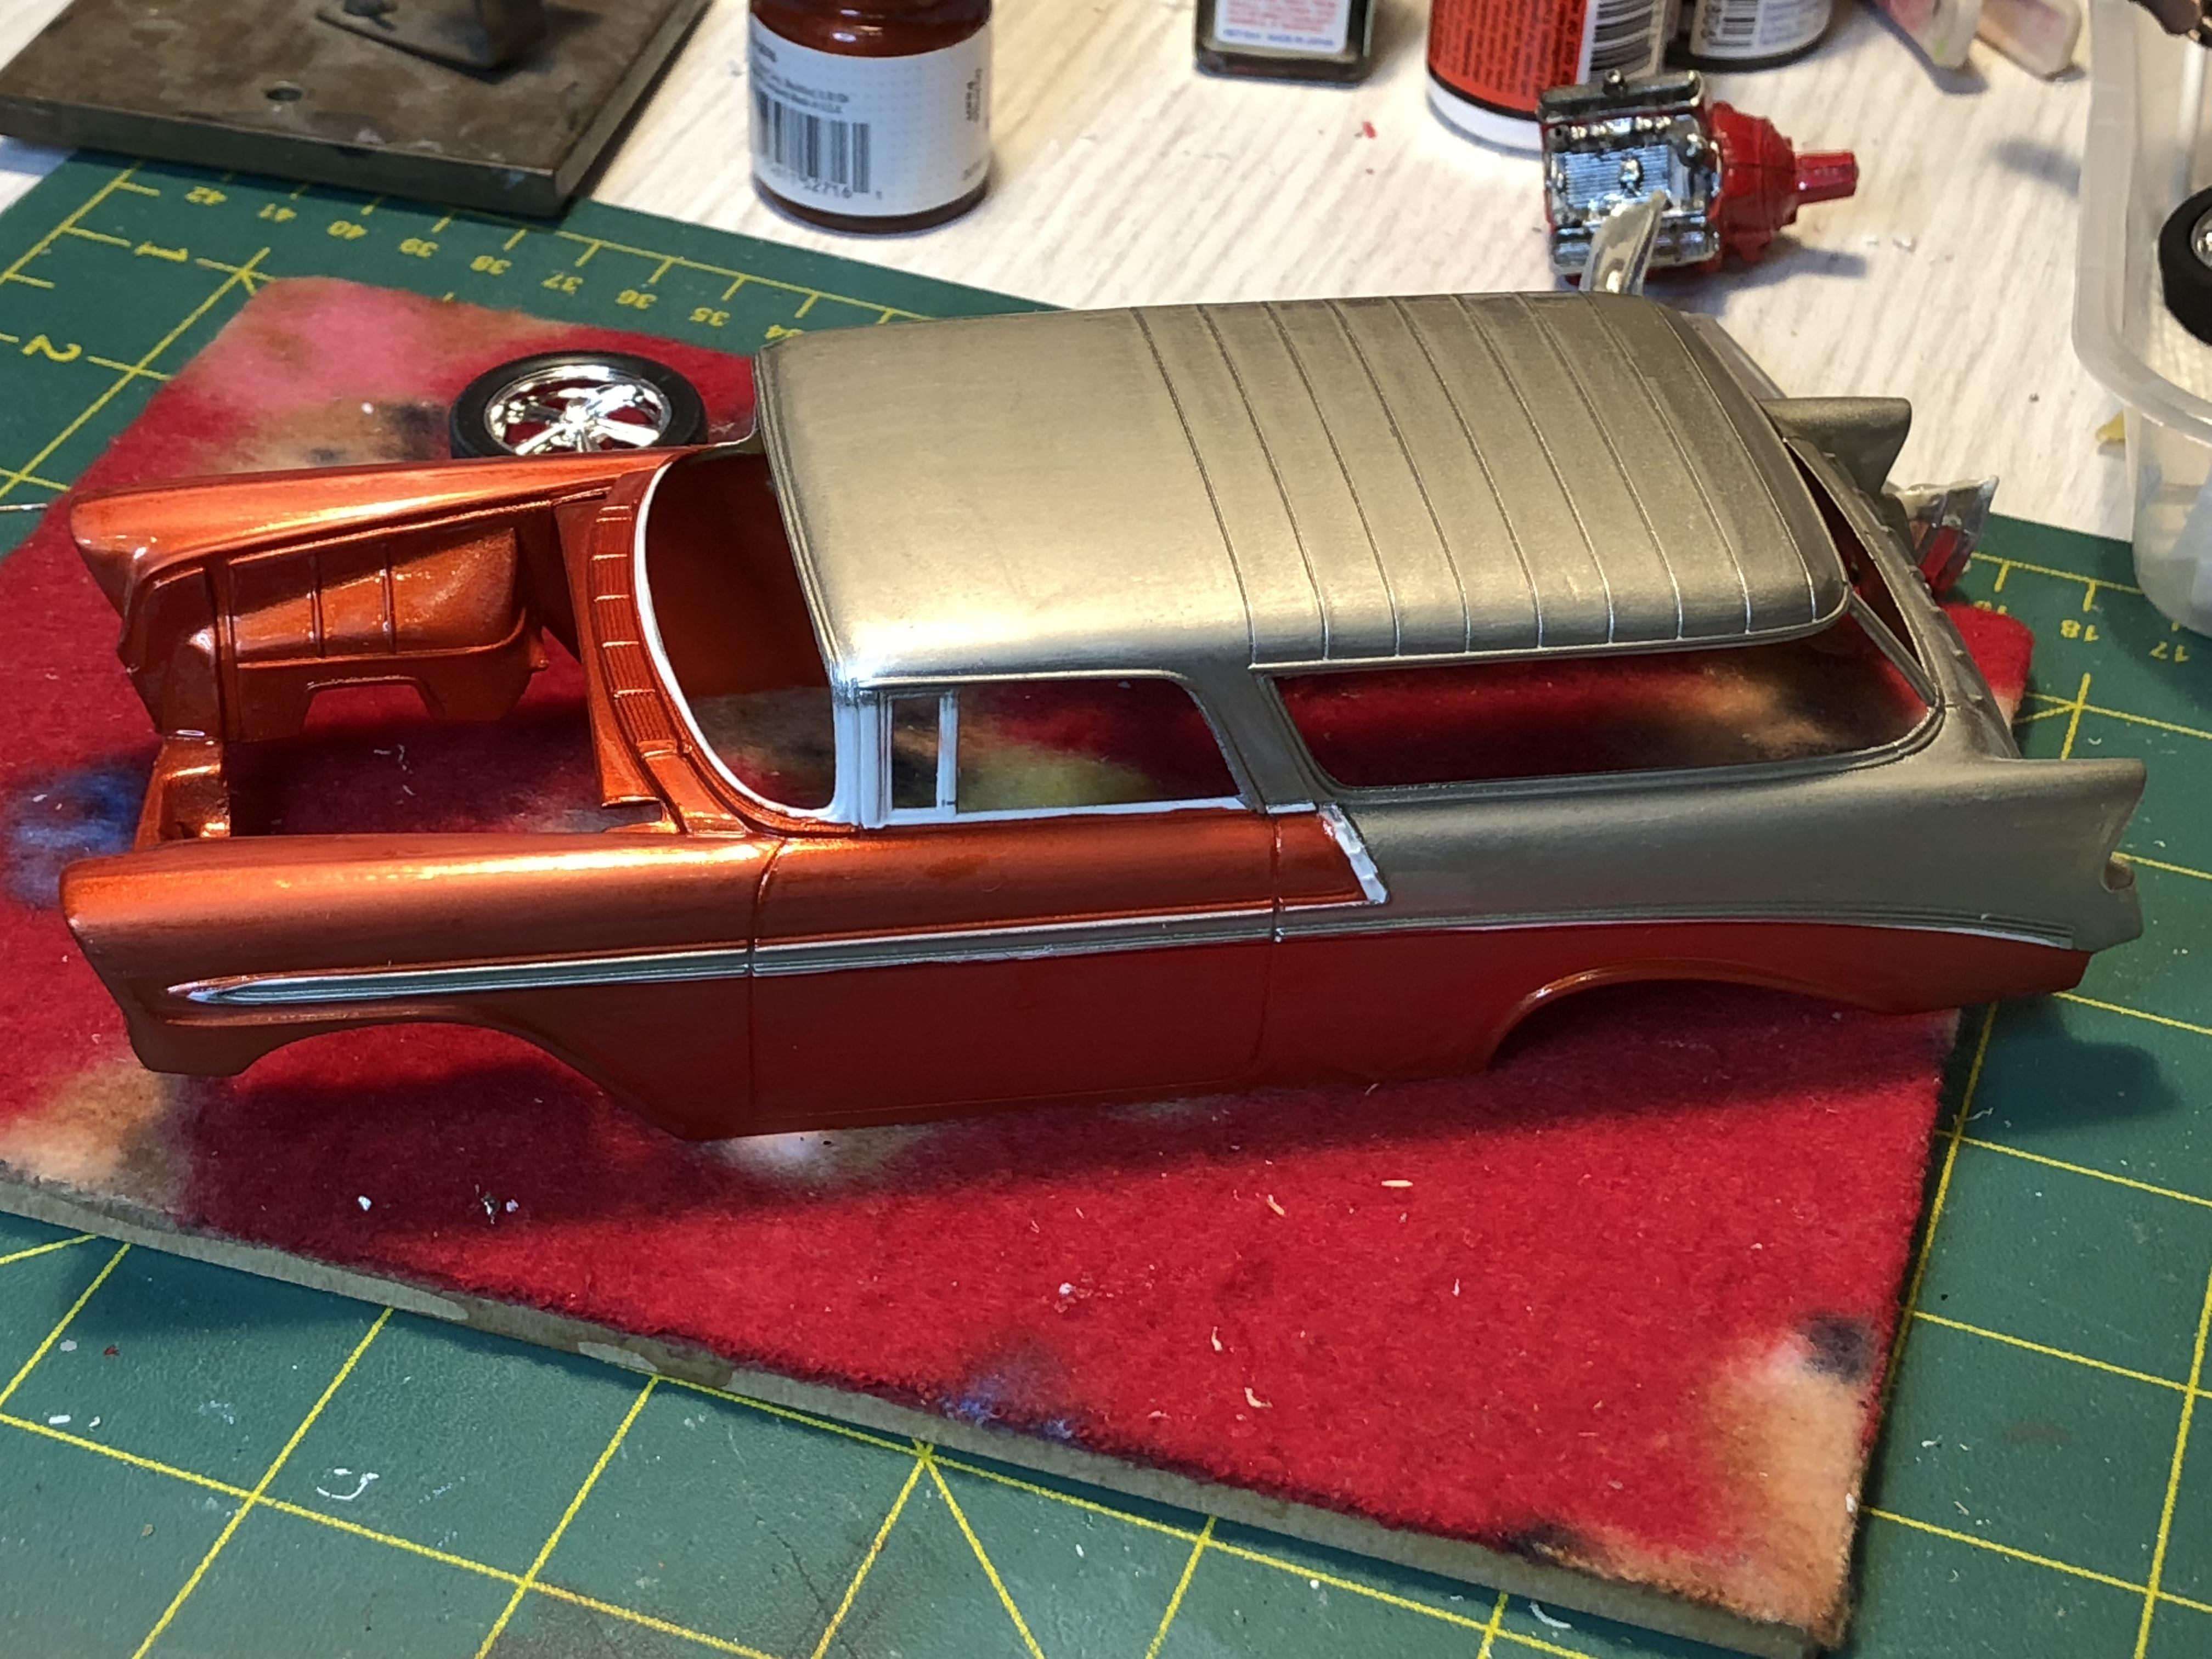
@Kit Karson. I used the same colour combo of Titanium Silver and Metallic orange on a 56 Nomad I built a little while ago - It is a great combination. Silver was on top
-
Looks like I wont make the cut off deadline. I have too much to do and no time left before we head off on holiday from Monday till the middle of October. Coming to US for a family holiday. Disneyland, Vegas, Longbeach for the swapmeet and more slum time around LA. It is the shitty 11hr flight NZ to LA that I am not looking forward. Hope to have some fun time with the grandsnots and their parents. I know LA and California is not all of the US but it is accessible to us from NZ although now there are direct flights NZ to Detroit - 16hr flights
-
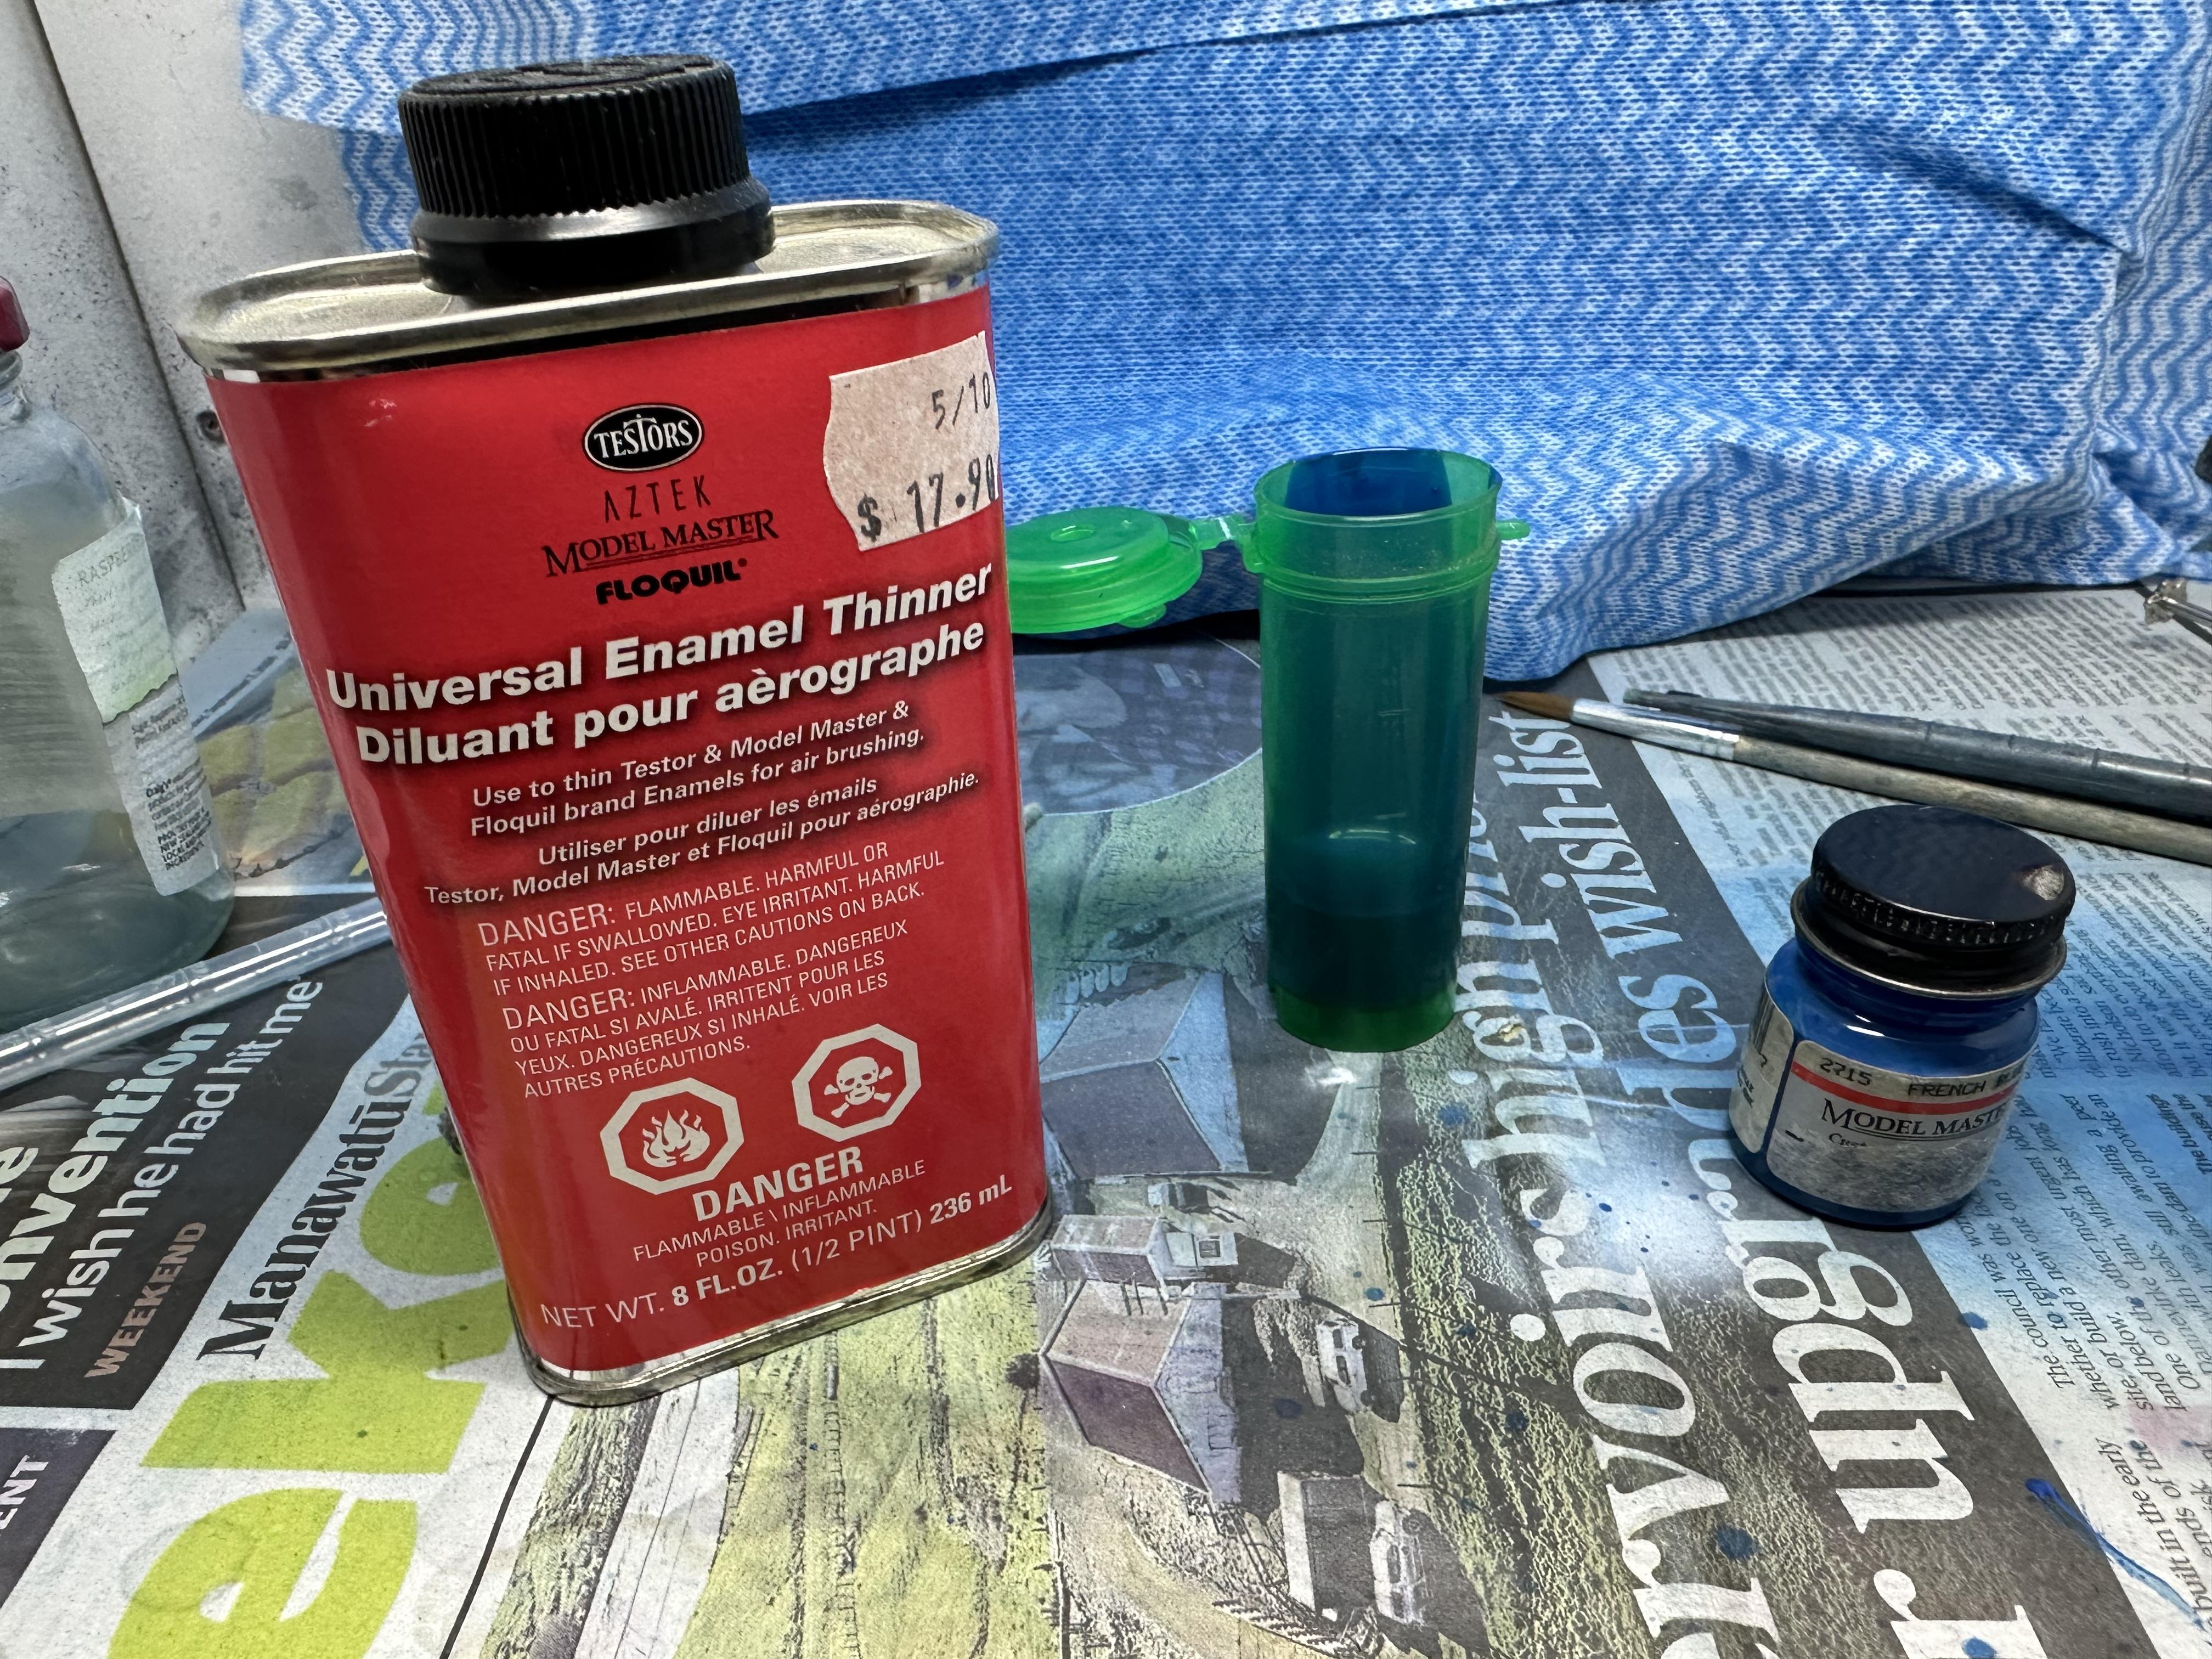
Sanded body down and mixed up a new batch of paint using a brand new bottle from my stash. Last one of this colour. This time thinned with Testors air brush thinners. laid down 4 flash coats and one heavy coat and it is looking good except for a couple of boogers on the roof. Will sand those back and recoat but happy with way things are looking Its great using old style Testors paints even with all the slow drying hassles and sticky paint residue. Like meeting up with a good mate you have not seen for a few years and your conversation just seems to carry on from the last time you saw him(her).

-
It is a neat kit. Just looked on line and $85 on Fleabay for a partly assembled kit and Model Roundup has one for $149 that looks mint boxed?? They certainly are a bit pricey. I dont feel so bad starting with a glue bomb but would think twice about laying out lots of readies for a mint one
-
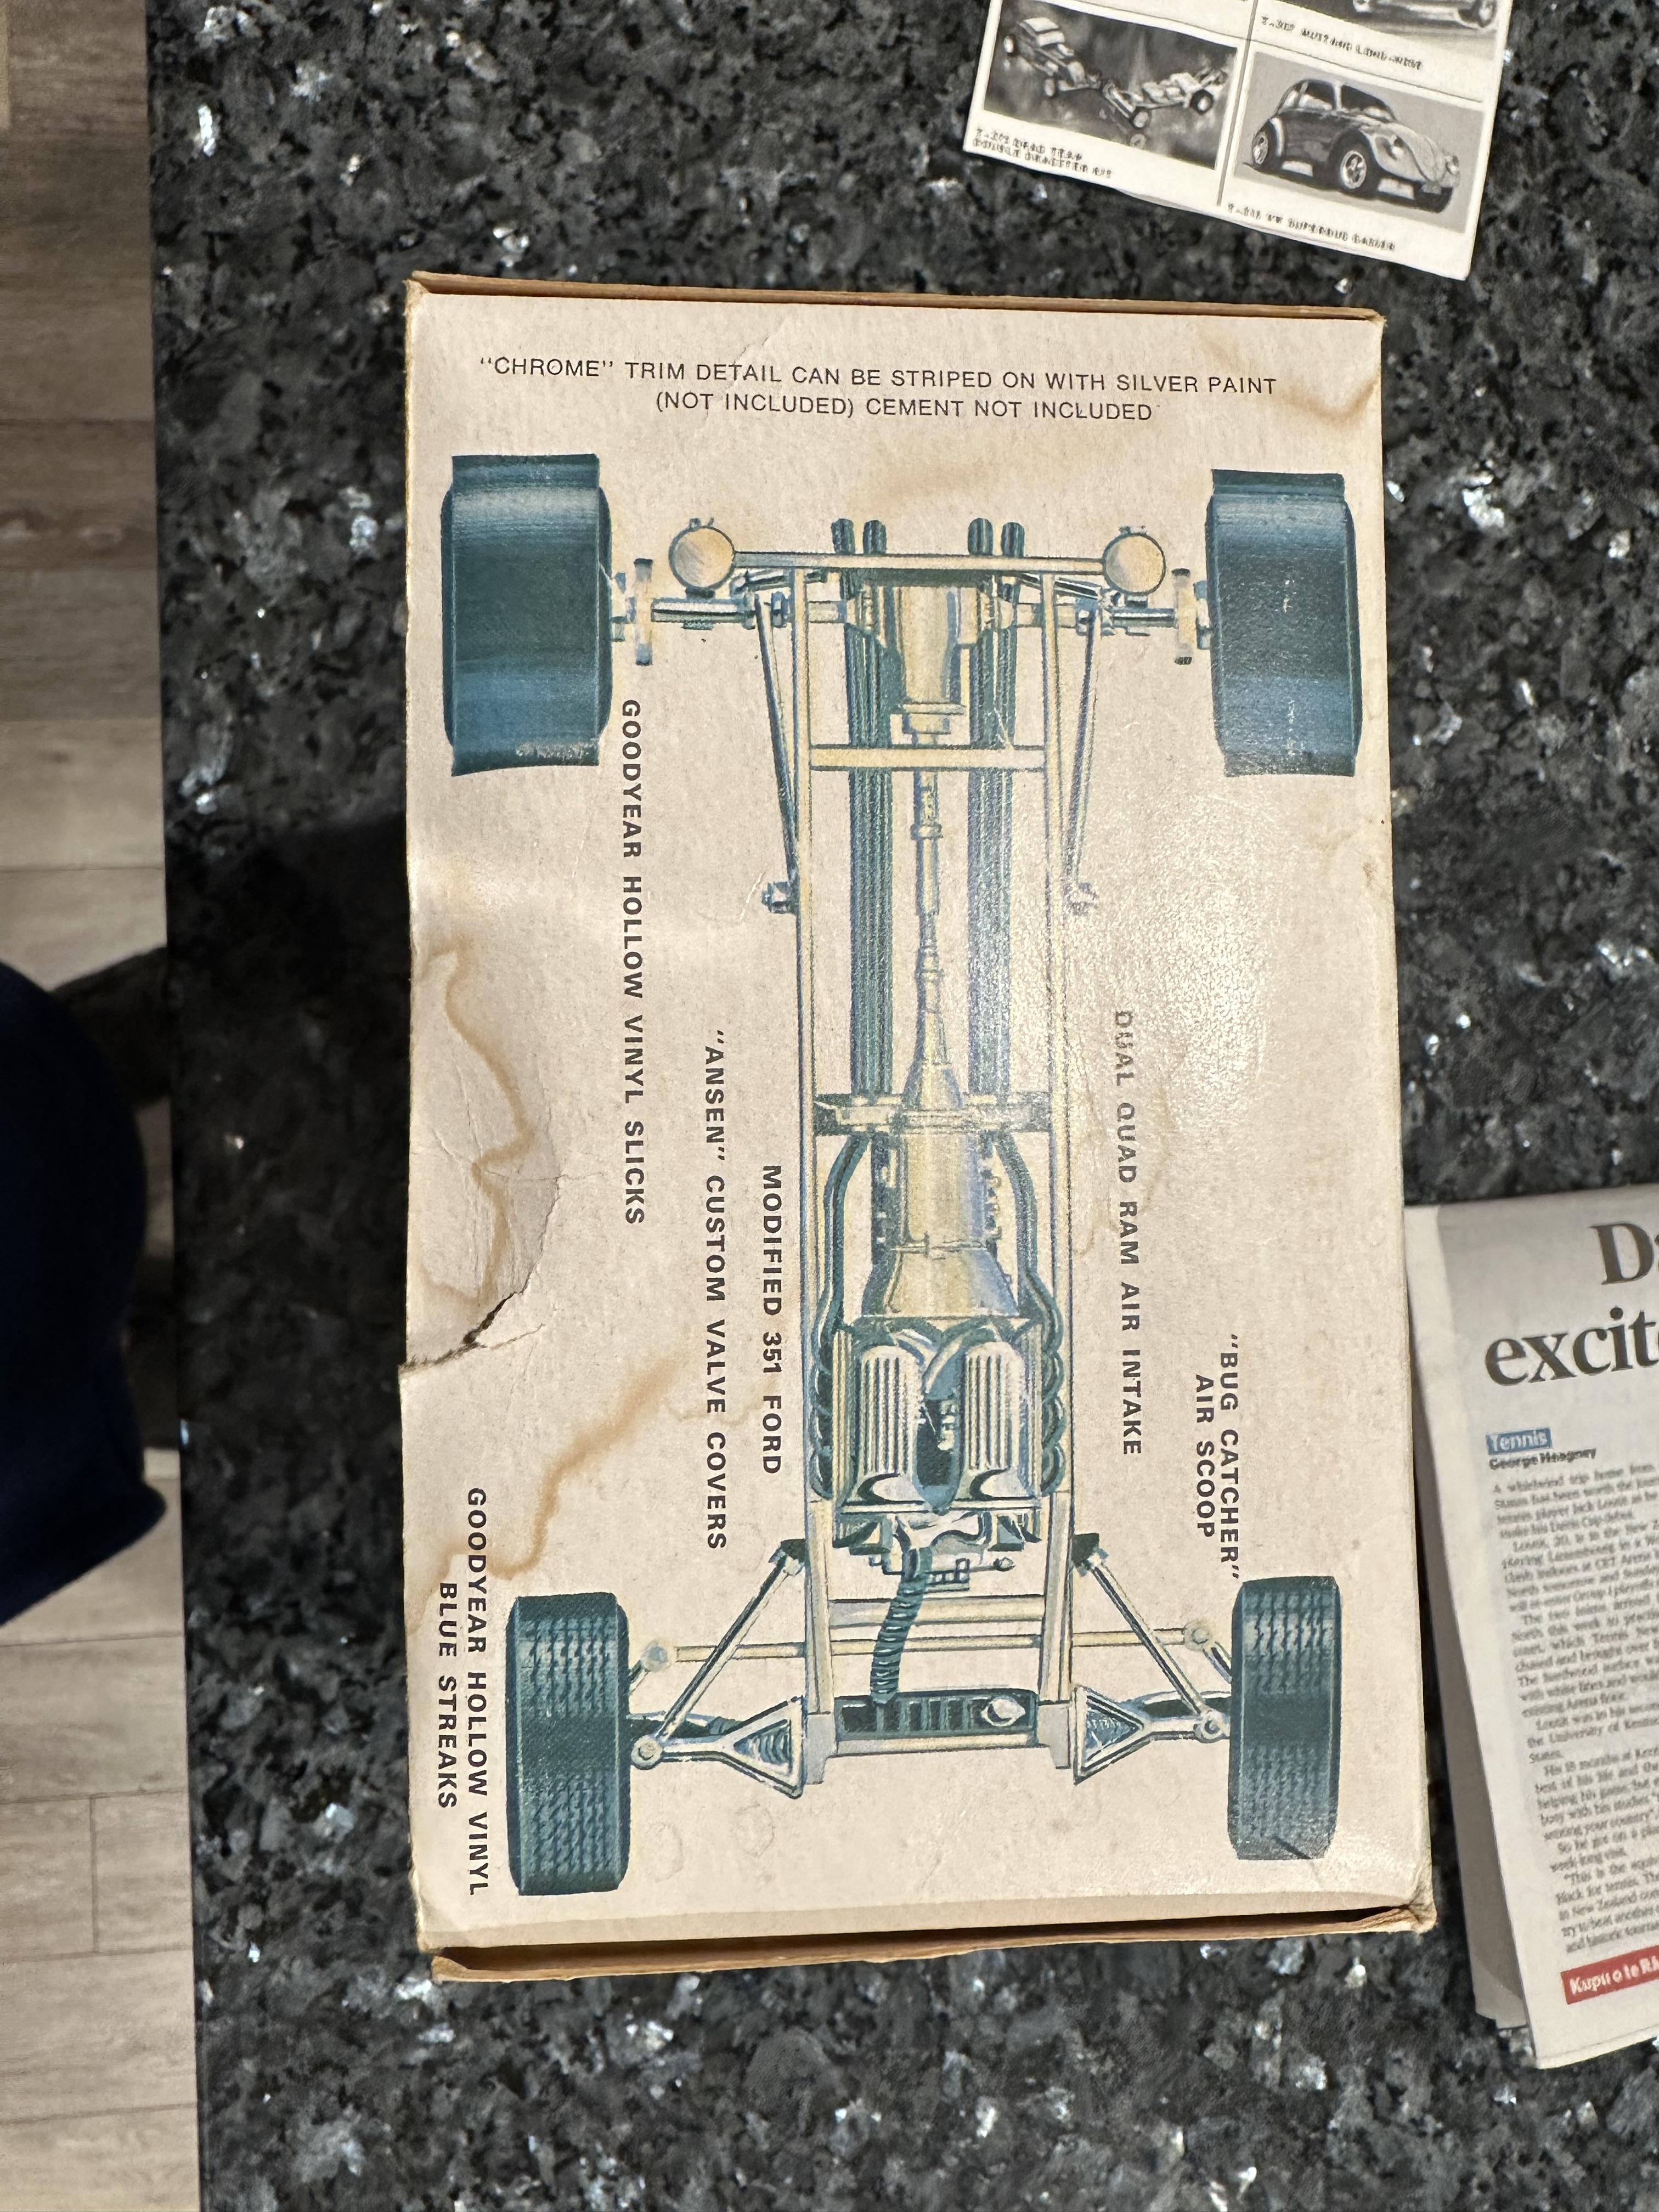
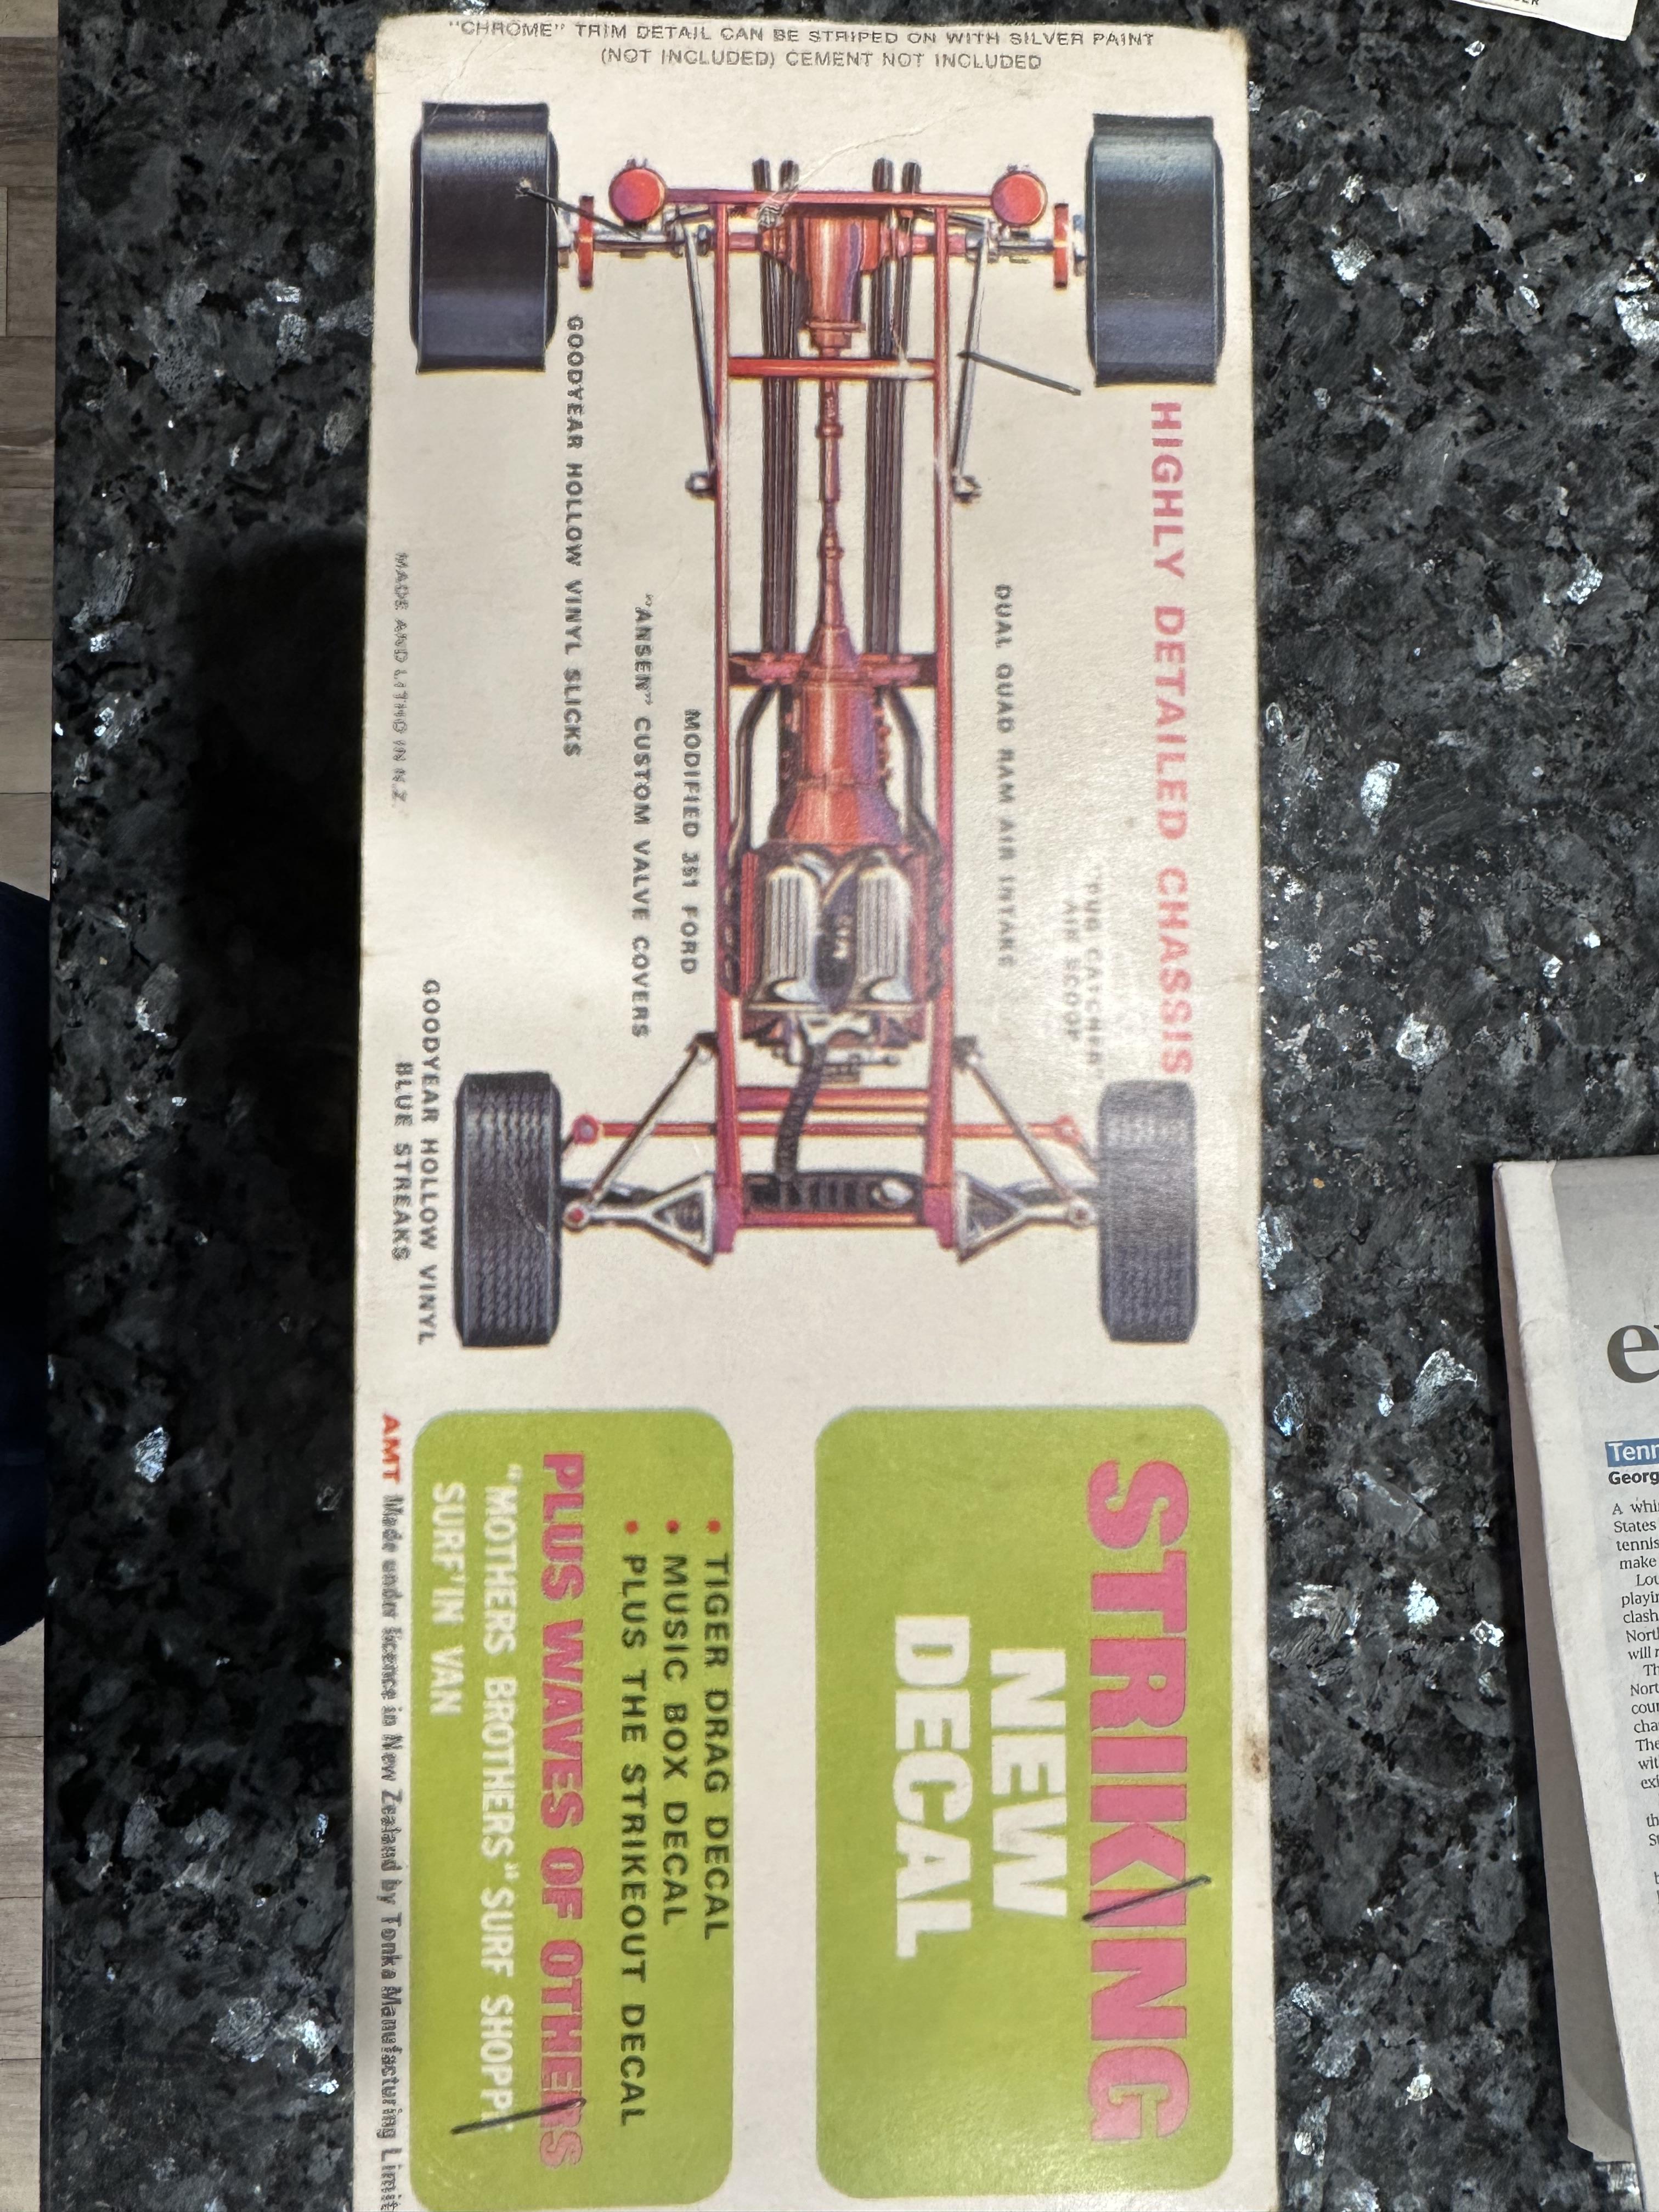
Not a news paper add - a give away in each model you opened. A cool way to prompt you into deciding what the next model will be. Choices, choices On the paint front - I sanded the body out and now trying with some more paint and some old Testors thinners. Will update when I see how it goes
-
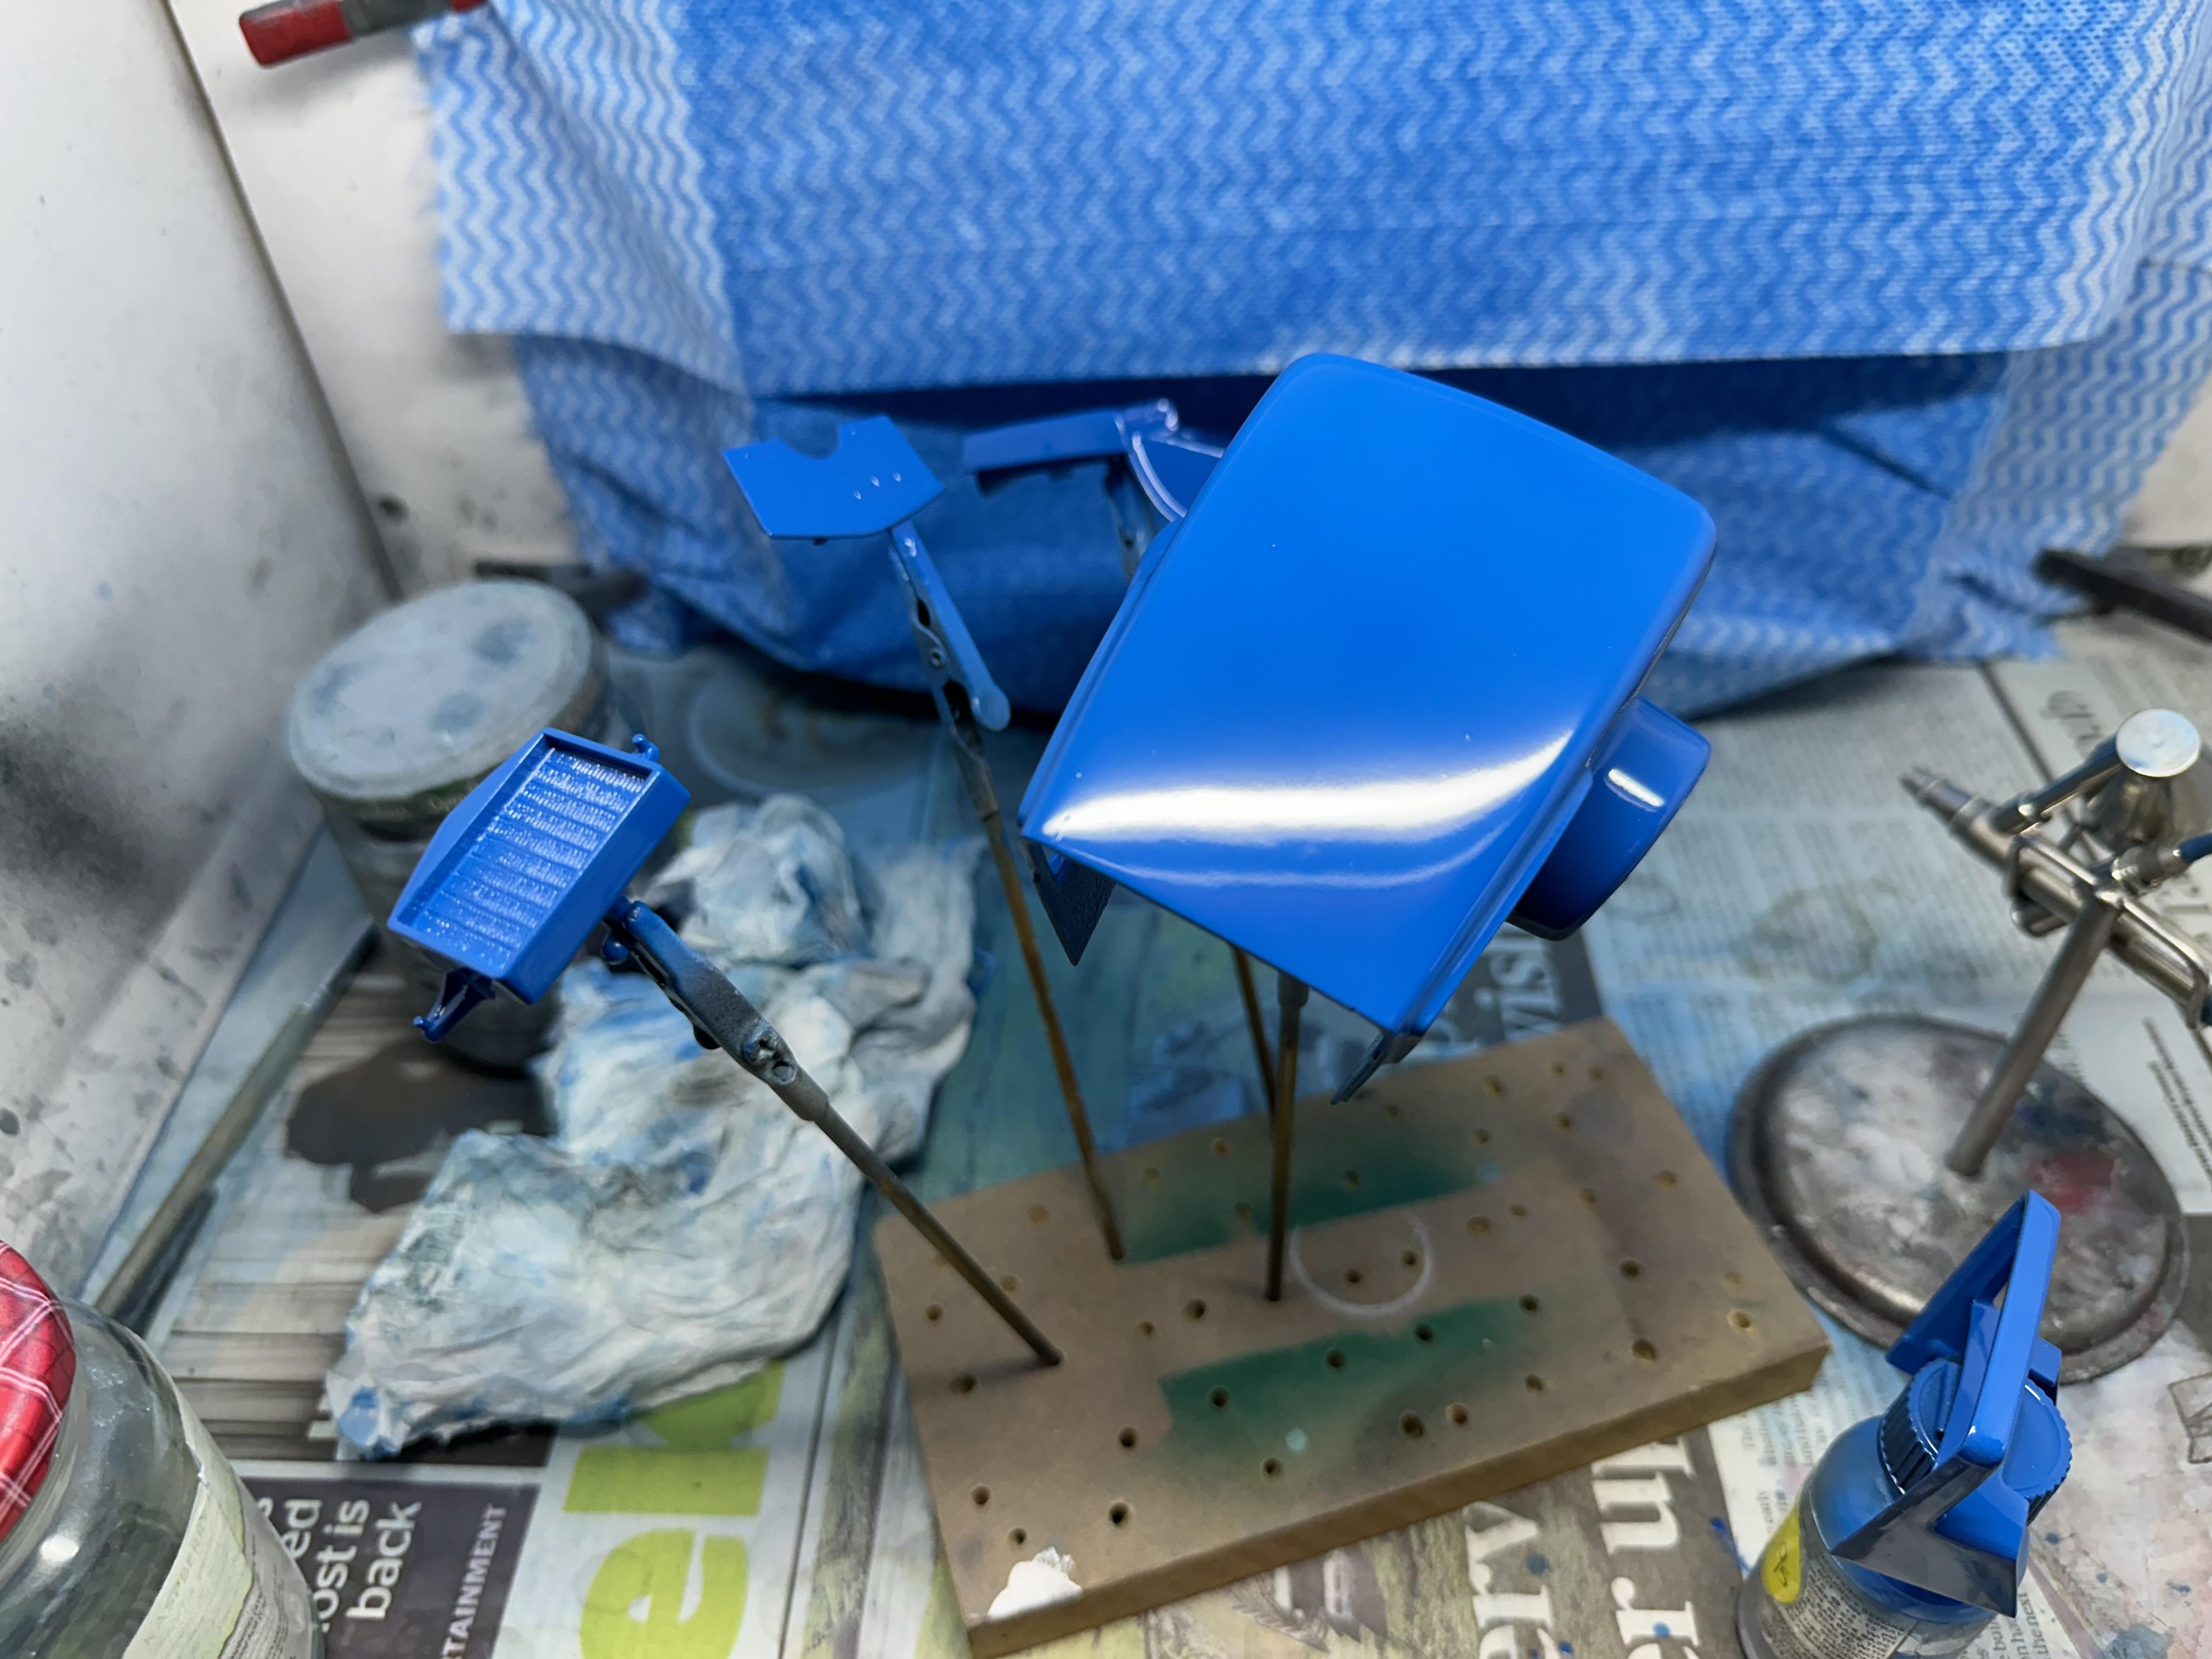
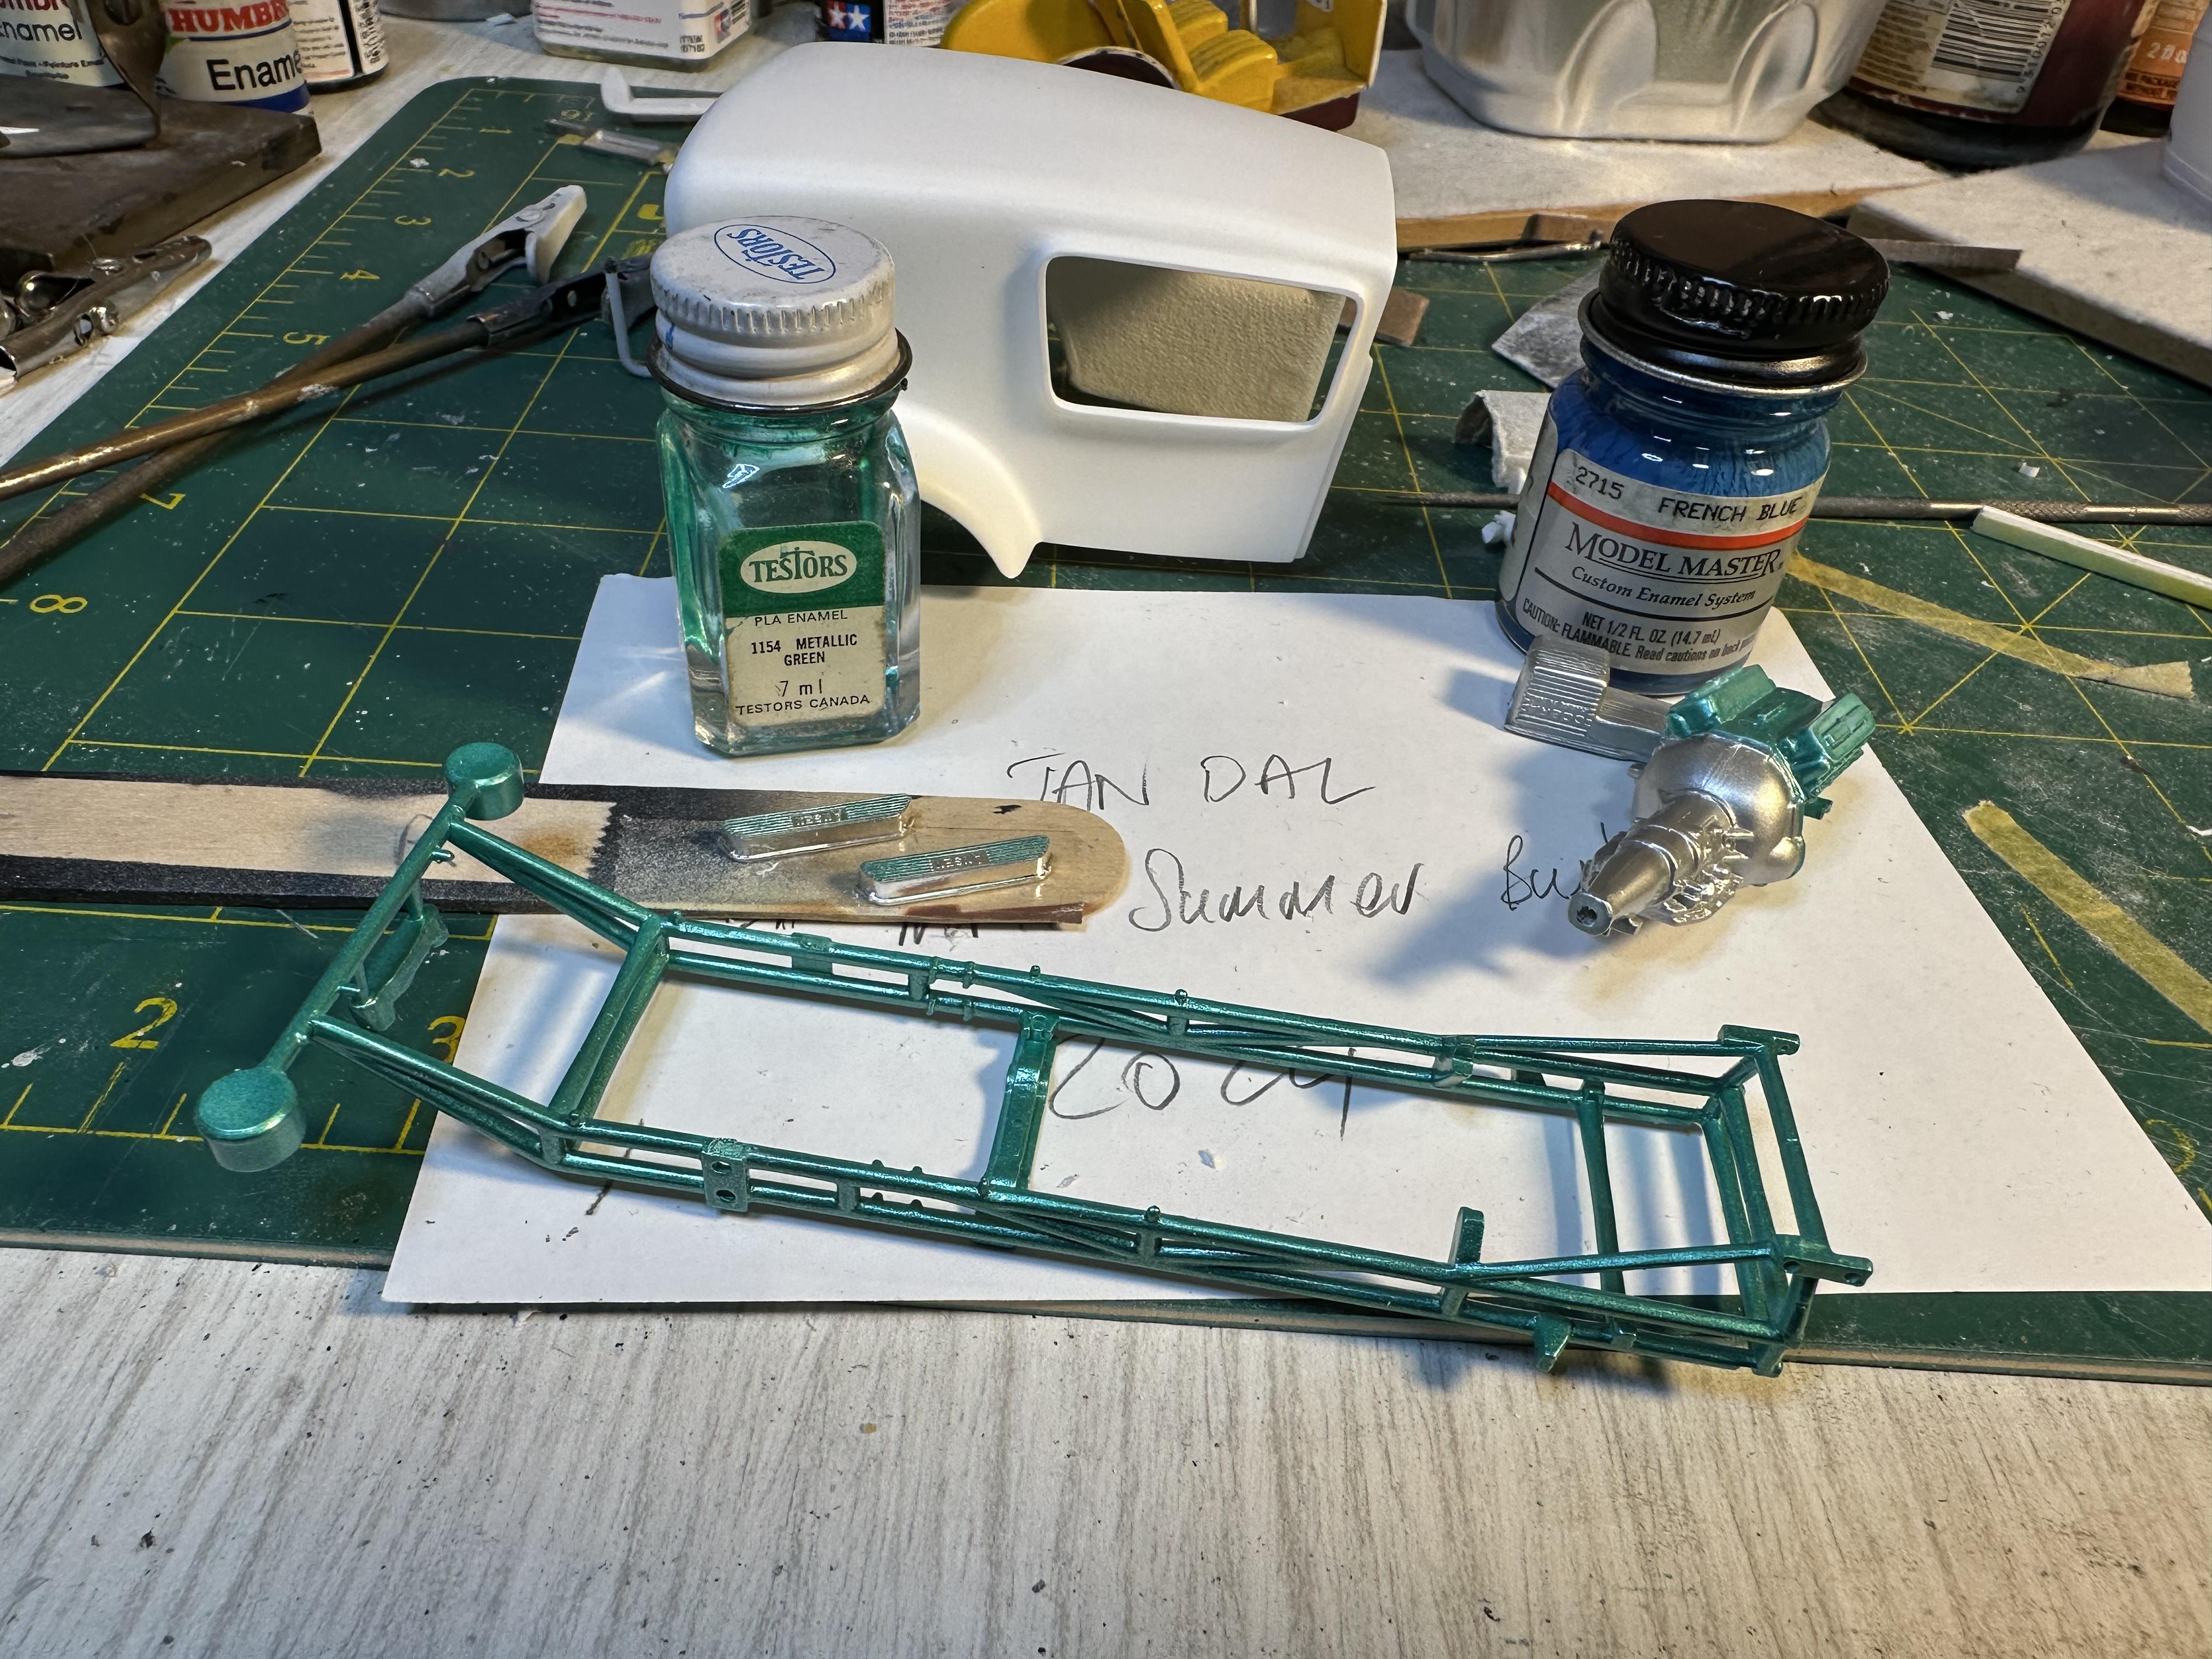
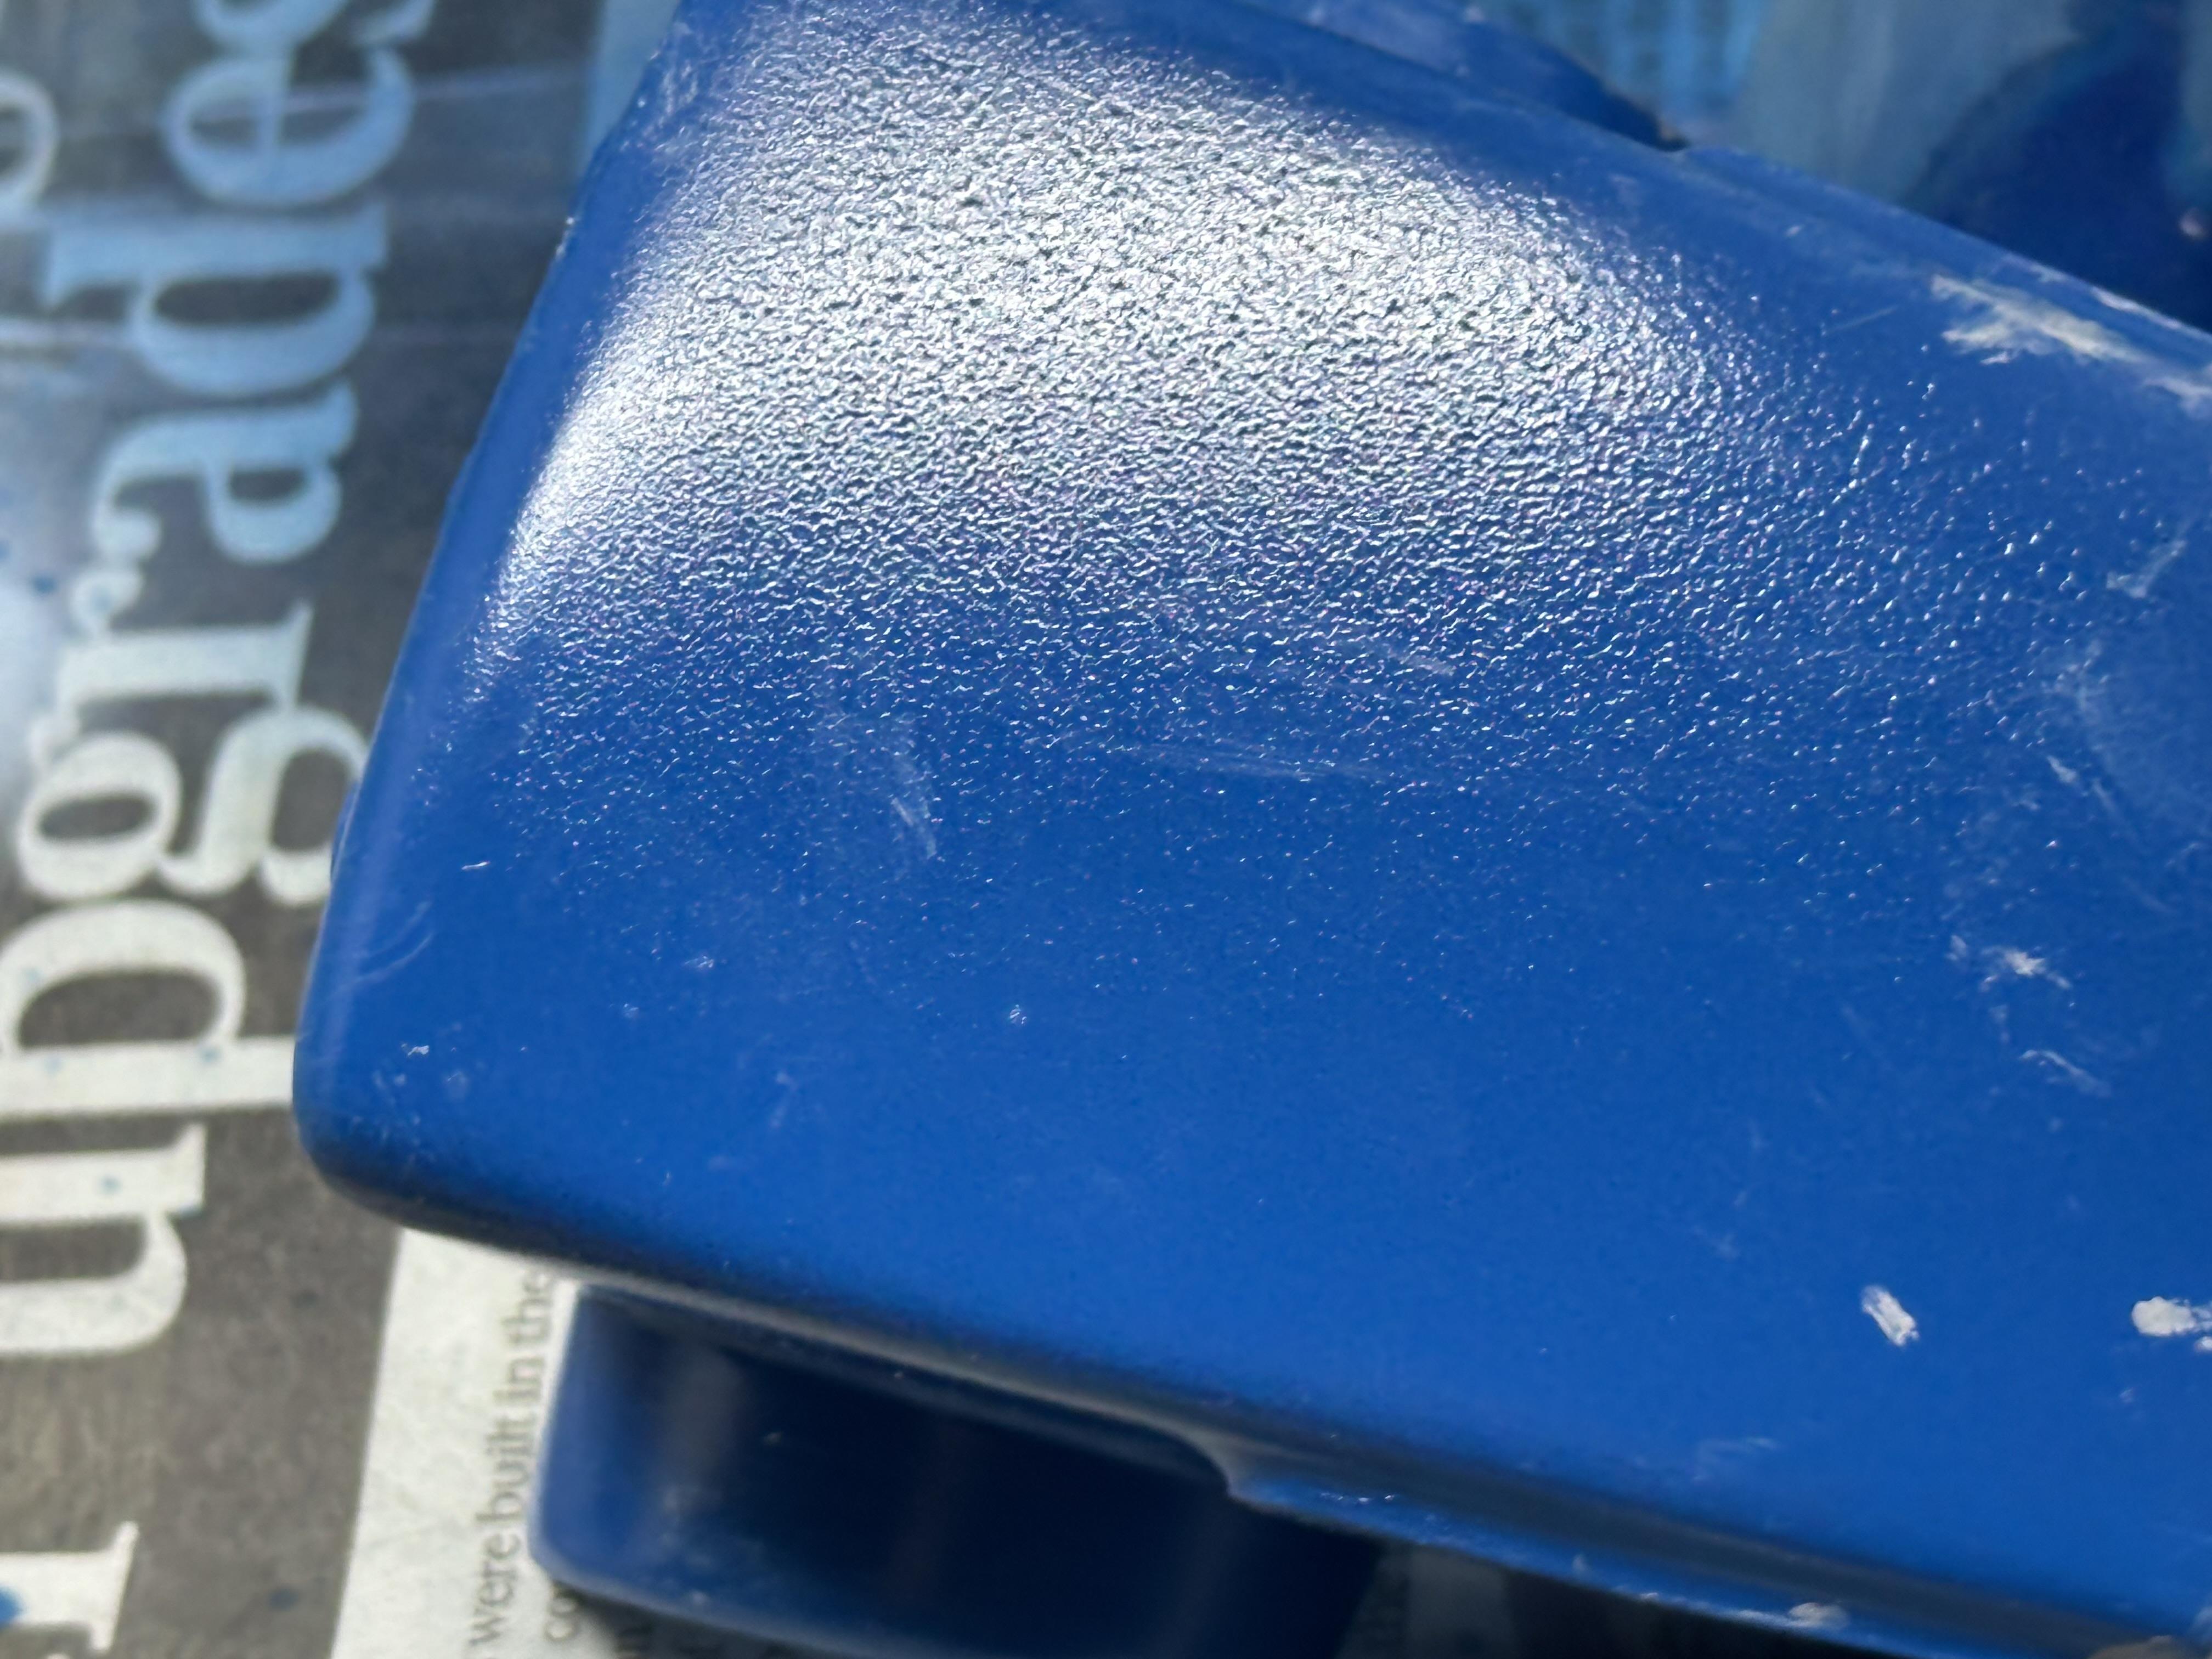
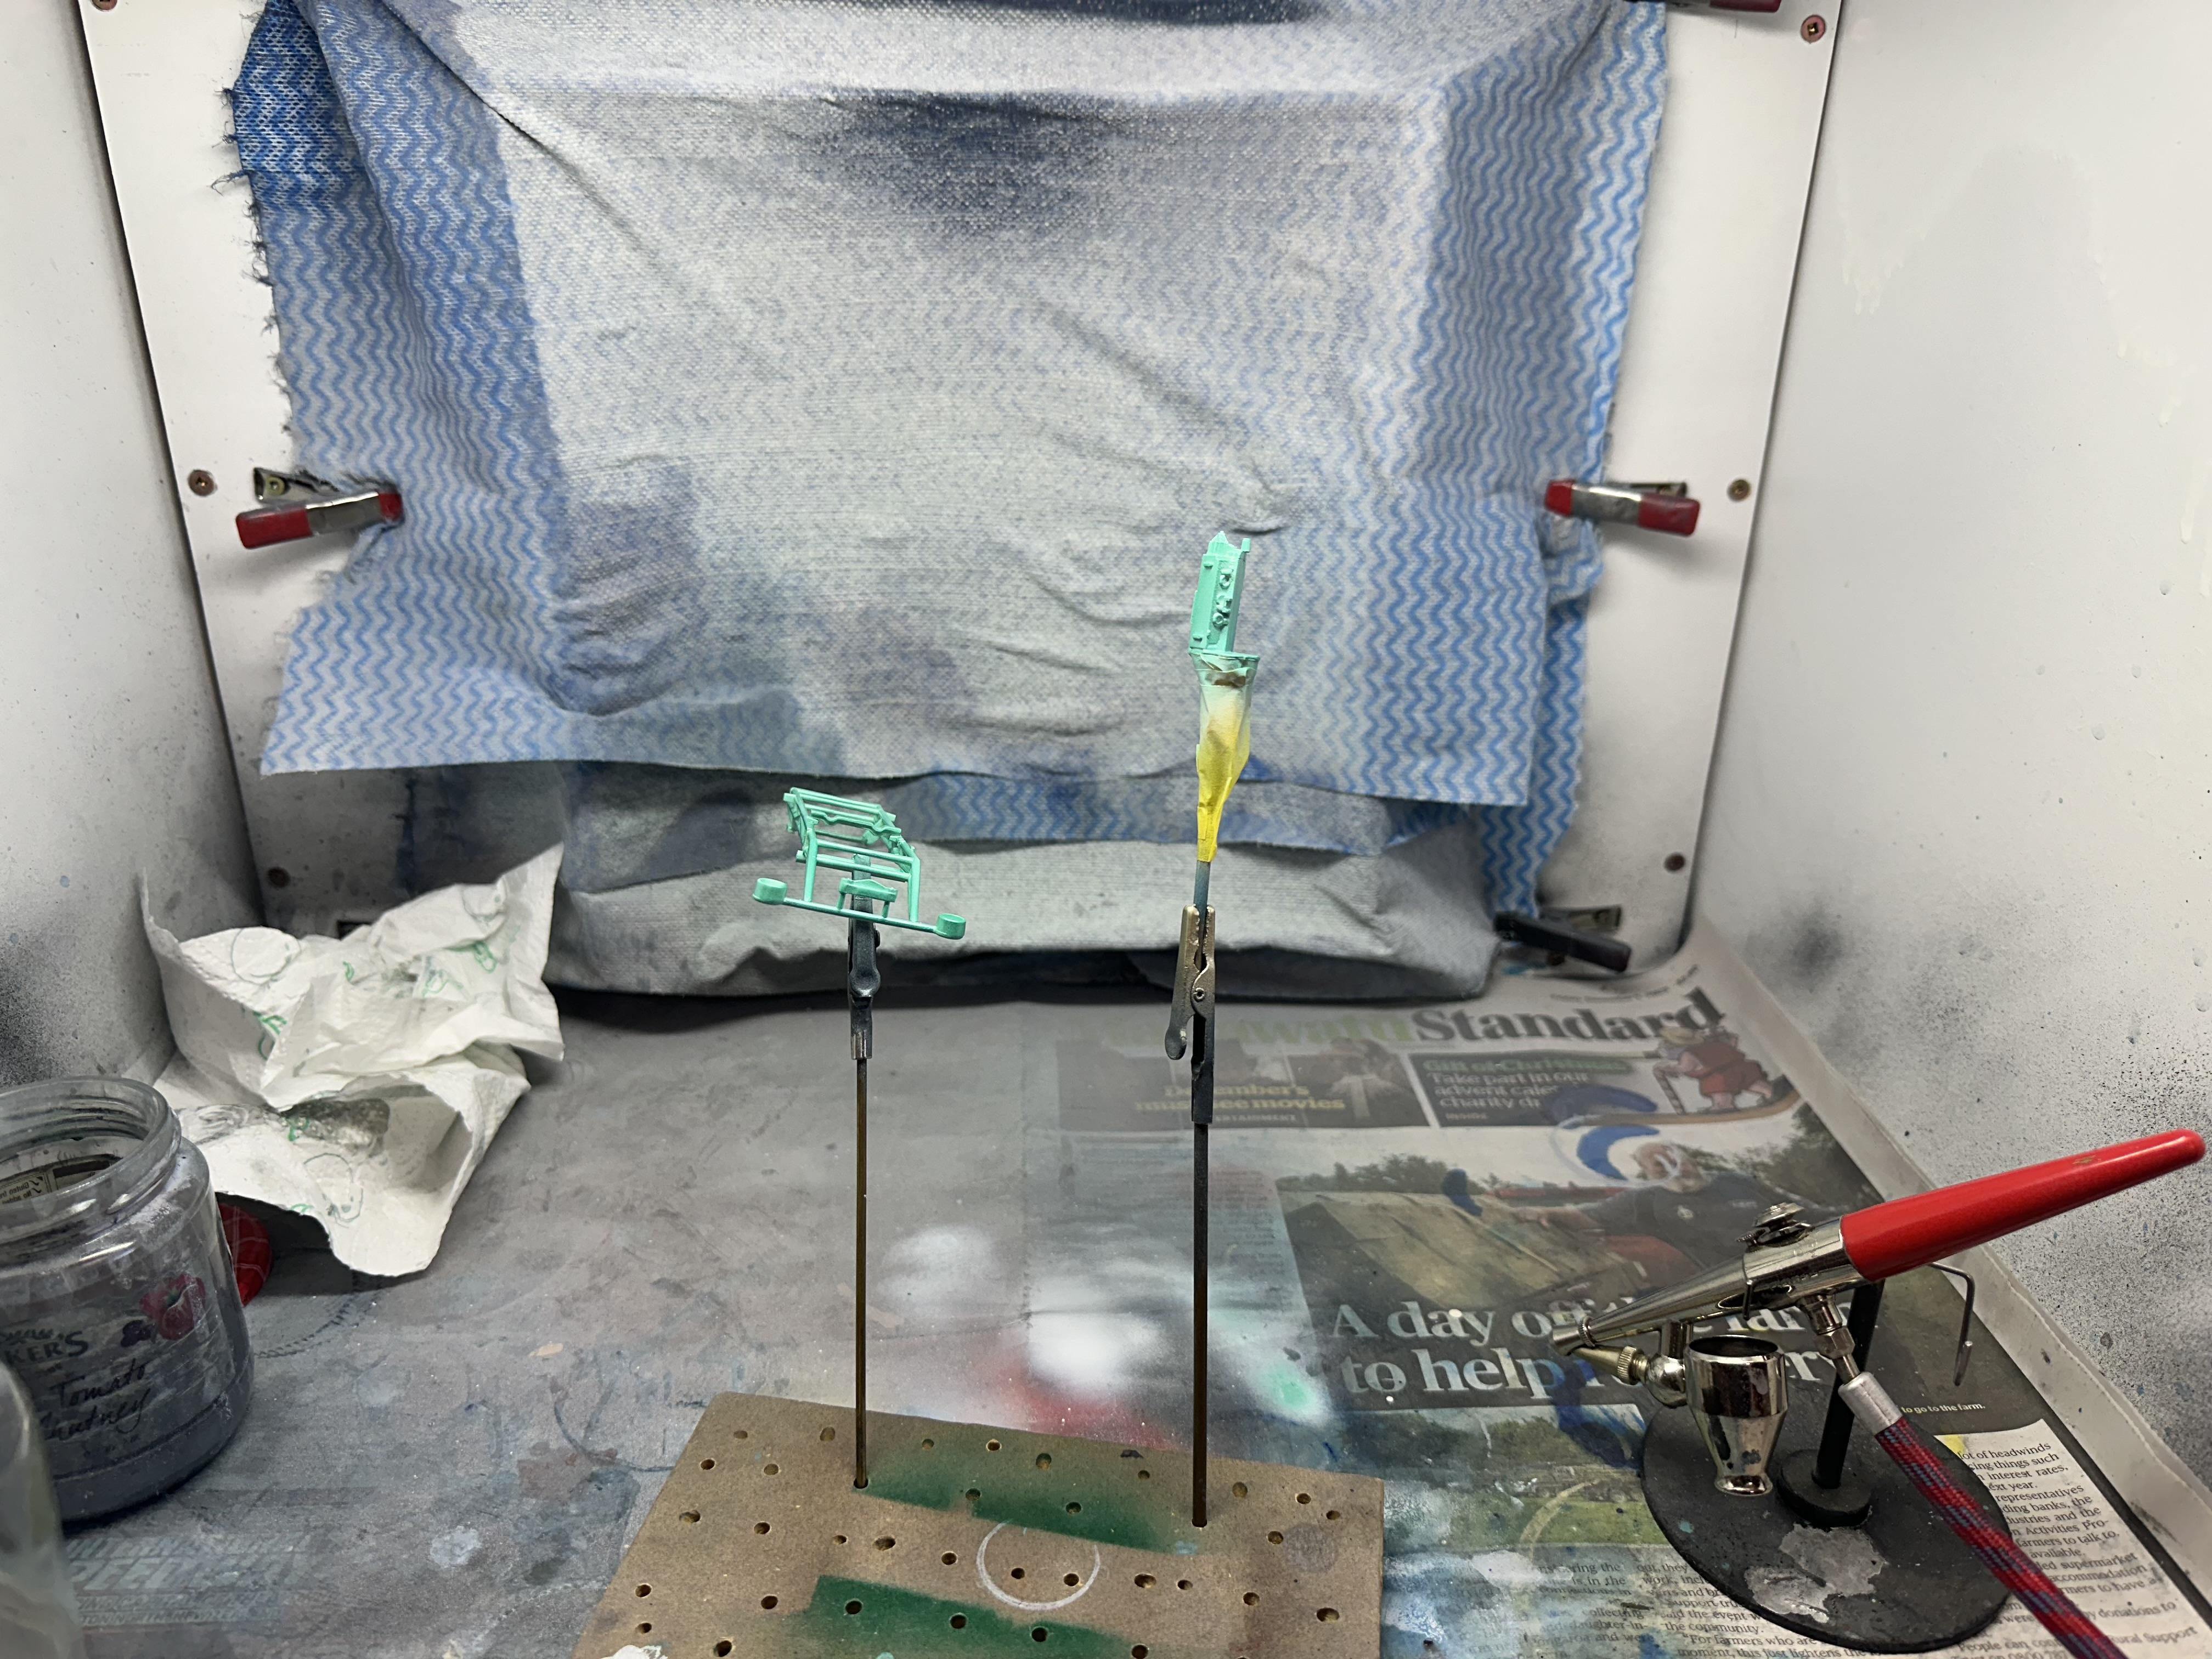
What impressed me was the complexity of the frame and for the time good quality moulding. The frame was advanced for the late 60's with independant front and rear suspensions with coil over shocks. Even the motor is impressive and I have used one in a 29 Roadster build a number of years ago. Well times have changed and I now see it as twee and a bit clunky. At least the motor does not have axle holes through the block like a lot of the kits from that period. On with the build - A vintage kit deserves vintage paint. Used Testors small square jar metallic green for the chassis and motor. All good Intention is to use Testors French Blue for the body as per the box art. First lots of prep with filling and priming. The clear top insert was glue damaged so I thought I would just paint it all body colour. To prep the body all of the vinyl like engraving was smoothed off and the rest of the body prepped with sink holes filled and all sanded. First primer was with SMS primer. Man this stuff has coarse finish but sands back nicely. More prep and a final prime with Tamiya primer. I use the square bottles thinned down to shoot though the air brush. Final sand and ready for colour Mixed up the Testors with some lacquer thinners and shot a few coats. Some greeblies got in there so sanded back with 1500 and shot some more colour. Well it aint pretty. This is the worst - the top of the body. Some other areas have been affected too. Very disappointed. It looks like a paint reaction between the hot primers and the enamel paint or the use of too hot thinners in the paint reacting with the freshly sanded colour coats from the earlier session. Not too sure what from here. I will try to sand back and let it sit to gas out and have another go. All else fails into the tank it goes. Should know better Oh well I can work on the chassis while the paint cures So much for a quick build
-
That is a nice build. For some reason a lot of the SSII model were refrigerator white. I used to own a 1:1 one and it was racer red. You have added a lot of extra detail to a good base kit to make a very good rep stock model
-
Can someone give me a painting tip, please?
bill-e-boy replied to dazzed's topic in Model Building Questions and Answers
I have found SMS primer is quite coarse straight off the gun. I think the primer has soaked up the colour and left you with a coarse finish. It needs sanding with 1500-2000 grit sand paper to take away the coarseness. The other is one of paint and it may have been sprayed from too far away. SMS is ready to use paint but it always helps to thin the top coats down a little more to help the paint settle and give a good finish. Then clear coat it the same way -
When two toning obviously the separation lines will be based around the body trim. Sometimes they dont quite reach to create a full break. I know on my 1:1 56 dodge there is a paint break at the rear. As I said above sometimes you can create an artificial break by adding some Phantom trim like the separation between vinyl tops and the rest of the body. The good thing with using trim lines for colour breaks is you are not left with a ragged edge with a paint to paint break For the Ranchero you could add a trim line all around the base of the roof under the windows and have the whole greenhouse one colour and a second below that. Or even add in a third colour as you would then have two body break lines. Red, white n blue LOL Pix below is a 56 Nomad I did this a while back and the usual 56 paint breaks are quite different. The break is just behind the door which is a bit of trim I made up out of half round and foiled. This shot is before foil
-
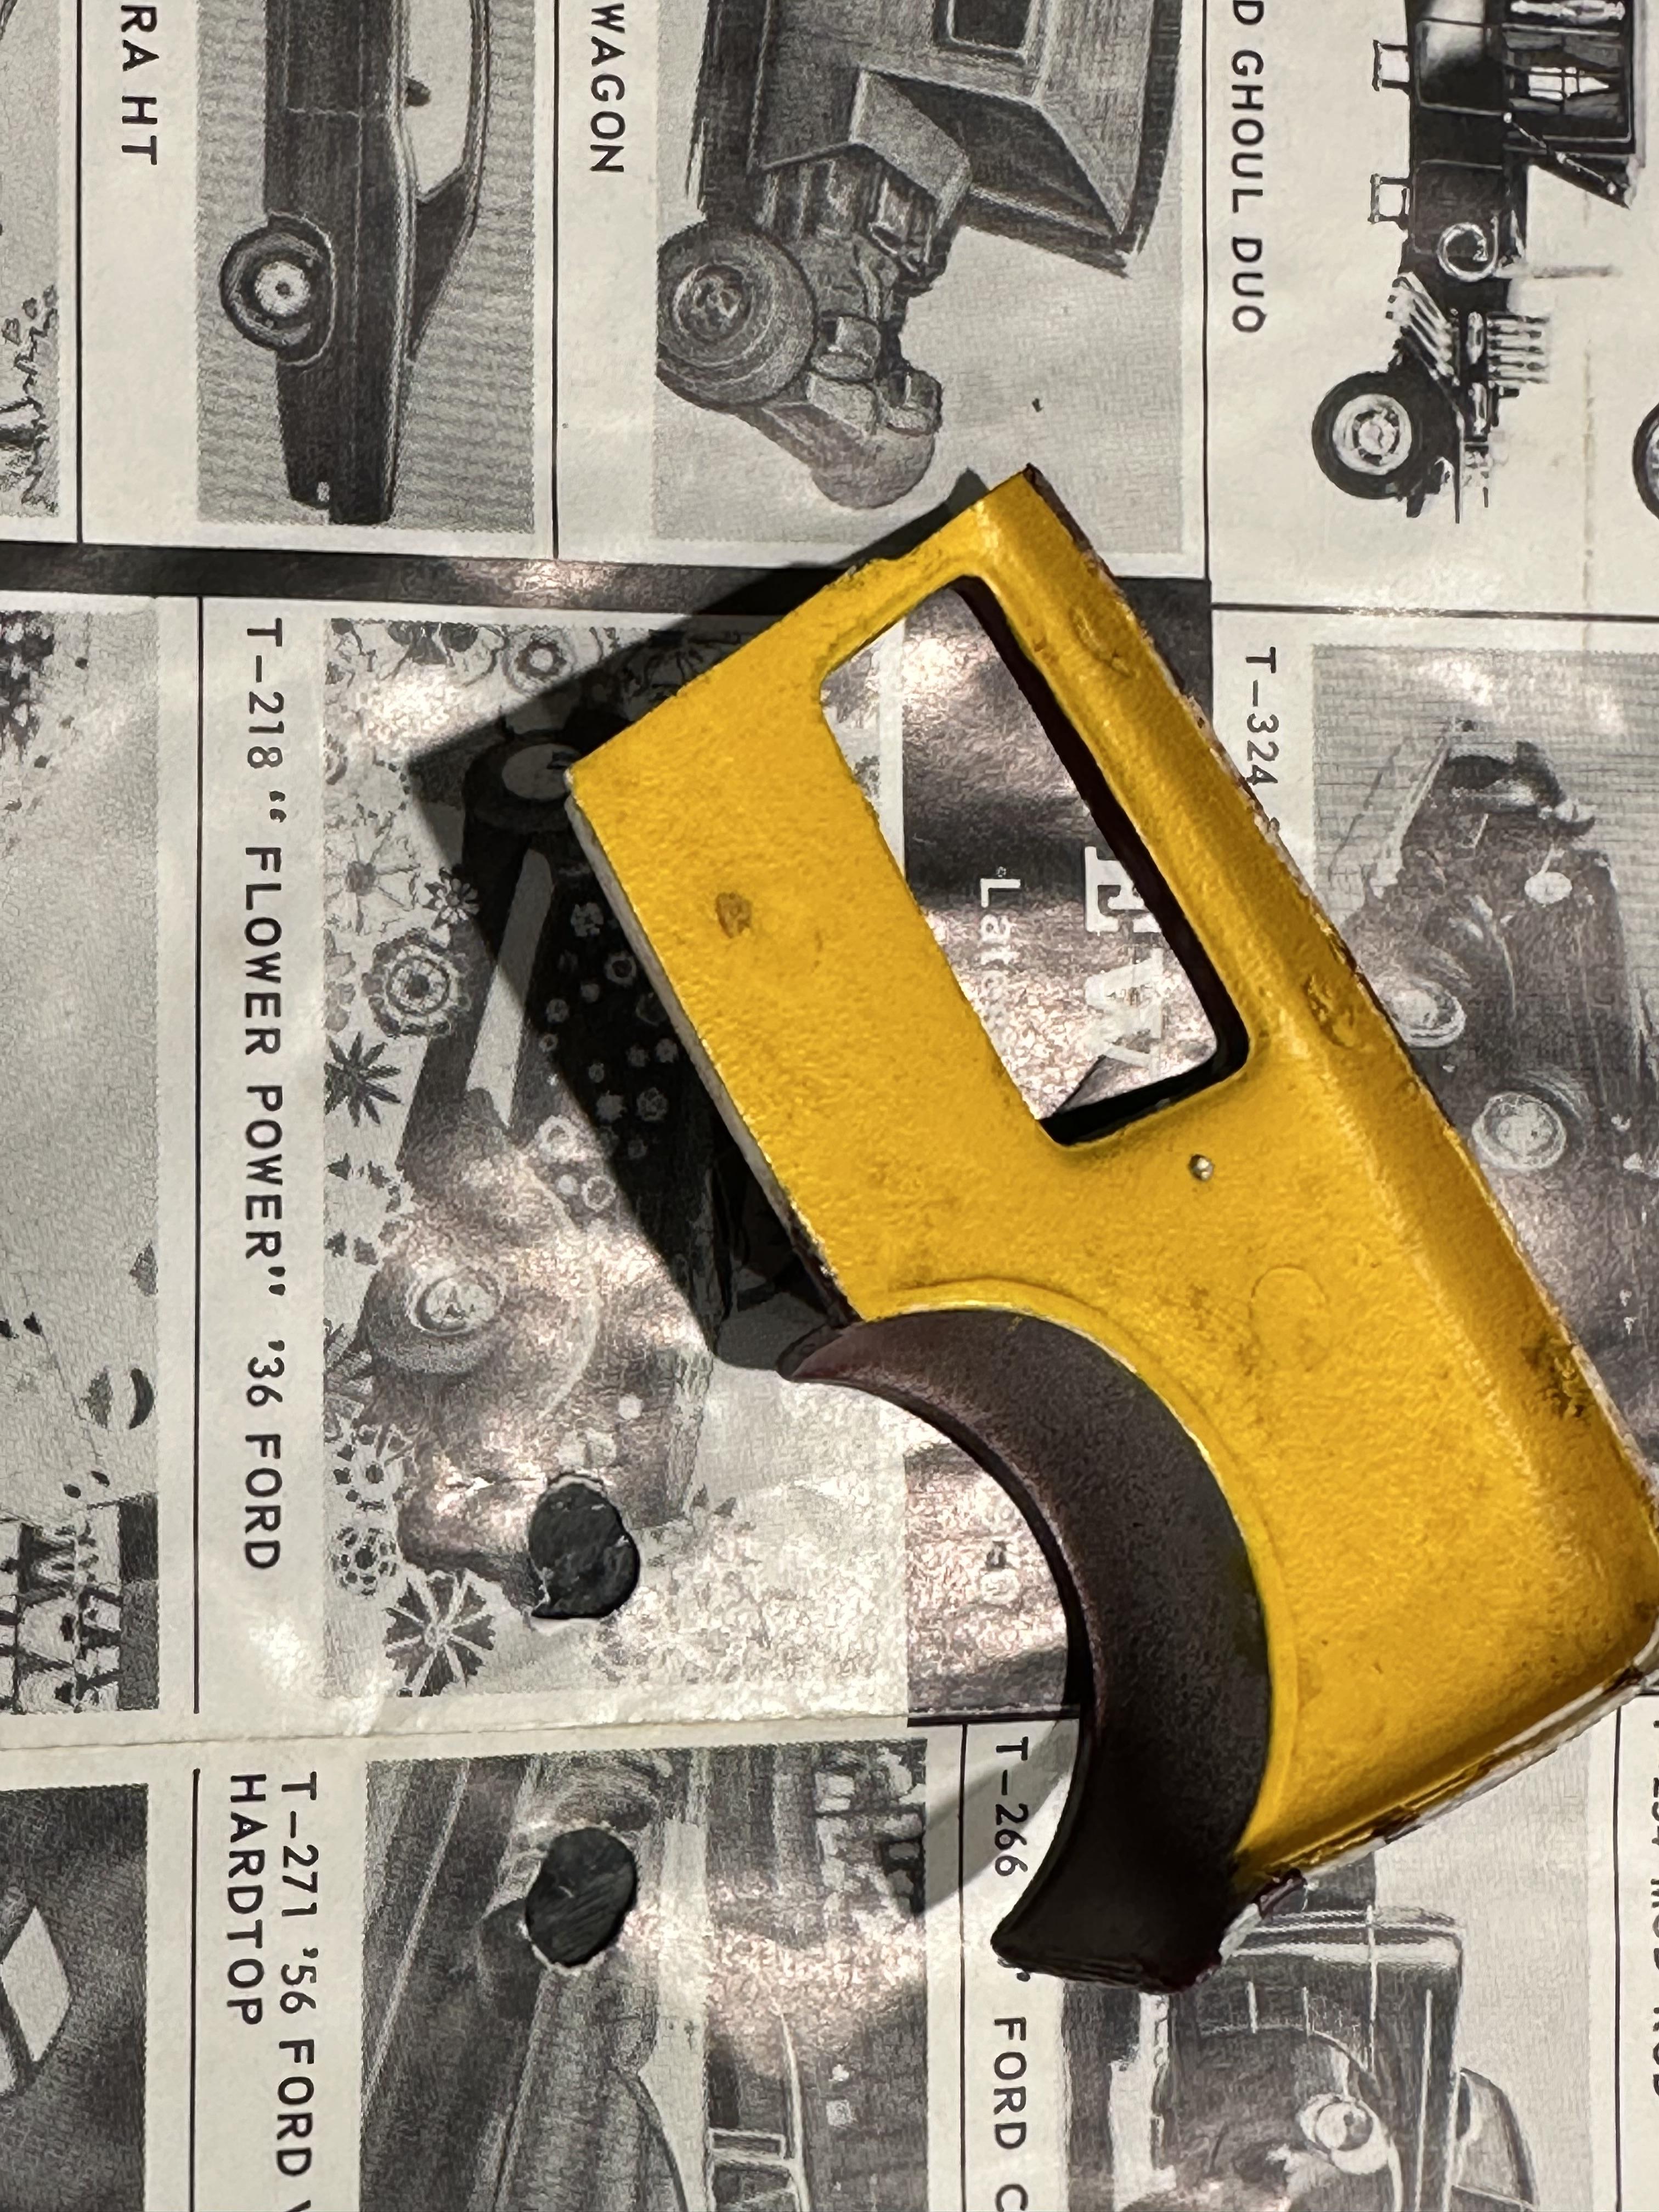
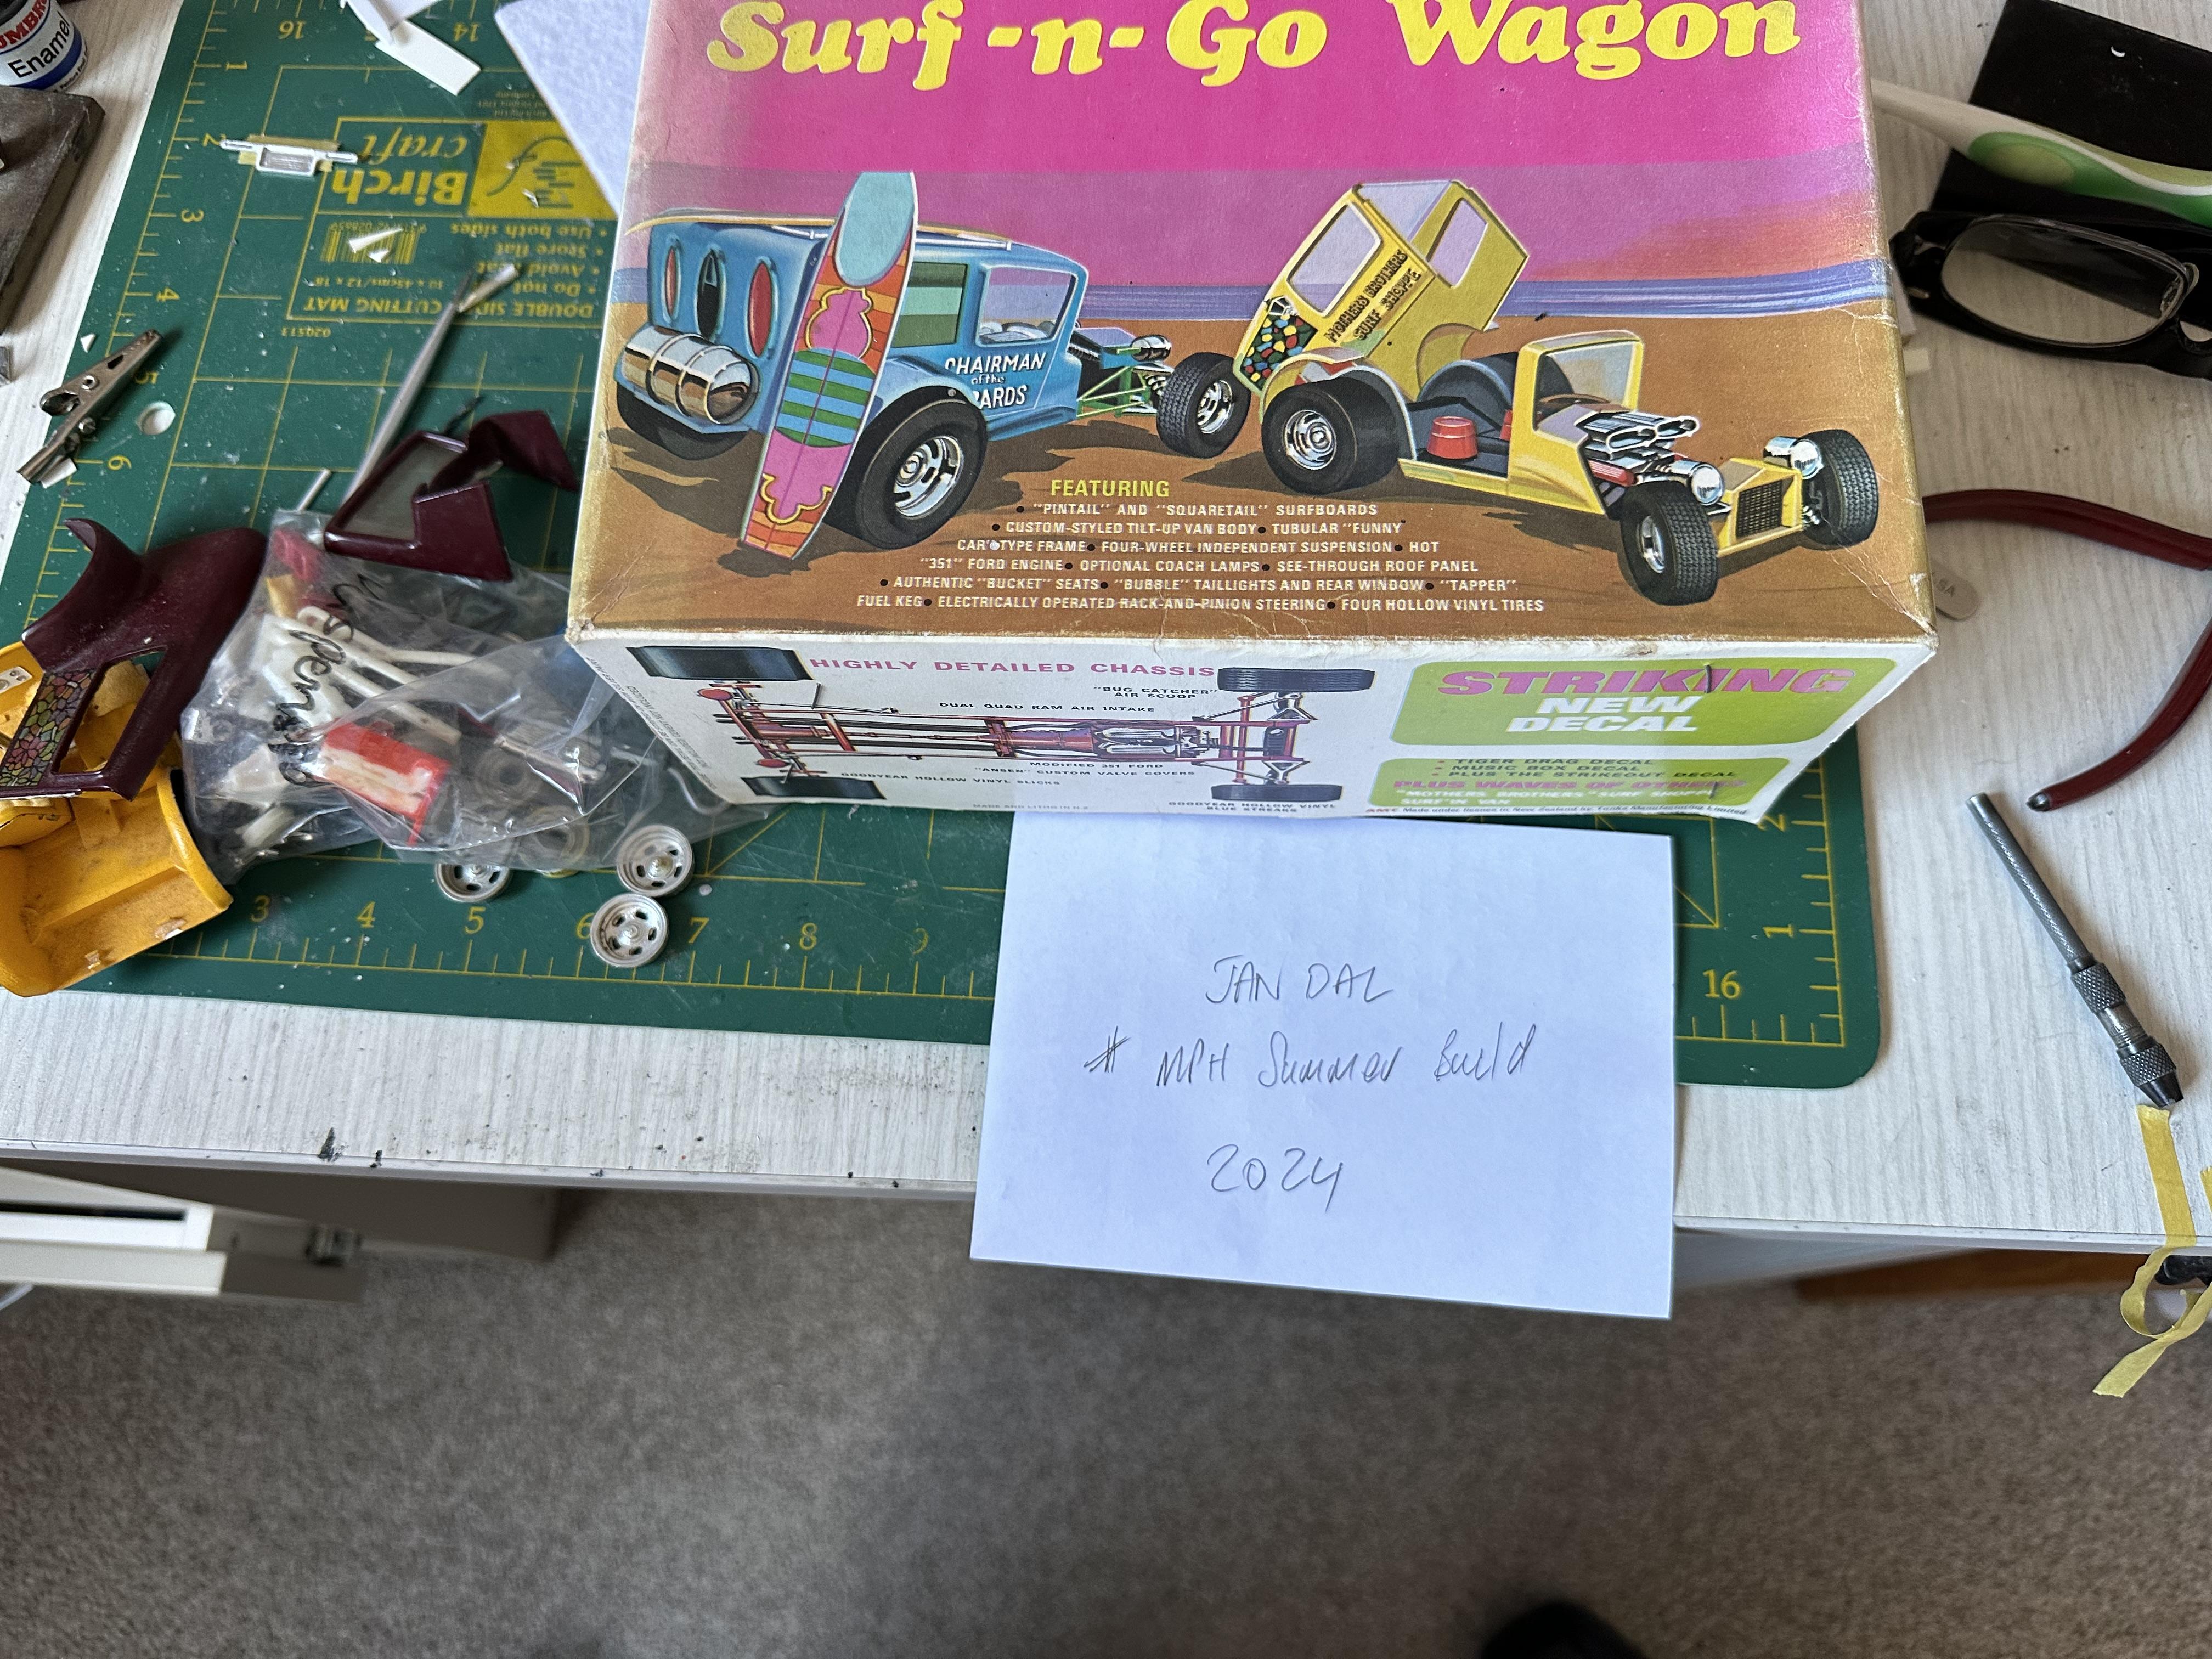
Over with the name calling - nip it before it gets out of hand I dug out the NZAMT catalogue for 1970. These were available towards the end of 1969 as I assembled the 32 Phaeton instead of studying for our big High School exams - what was then known as School "C". AMT kits were being "Made under Licence" Tonka Manufacturing. Was there a tie between AMT and Tonka at the time - did AMT make the plastic parts for Tonka. IIRC there was a little jar of paint inside every box. It was shite - you could not brush paint it easily. It was like a lacquer paint - most probably the same formula as AMT rattle cans The following is the box art. The top is repeated on the side and both ends are the same The top and the sides are as @Can-Con posted above I have a few of the boxed kits in the catalogue and have built the following - Surf-n-Go, 32 Phaeton, 37 Chev, Mod Rod, 56 Vickie, 57 Ford HT, 69 Cobra (convert), 27 T Hillbillry HR and one of the drag team. Some have survived and most not Here is the body side of the Surf-n-Go I built. Quite posh in the day as it had a rattle can paint job. An interesting note is the interior is painted yellow - the same colour that the chassis I am using was painted in so that means my kit has some parts from my original build from 1970. It has lots of boogers in it and has been waxed. May have been rubbed out with tooth paste which was the choice of rubbing compound of the day.
-
Thanks or coming to the rescue @Can-Con. Yup, referring to a Kiwi as an Ocker is like calling a Canadian a Yank..... I did a bit of google search for Surf-n-Go and Surf Woody came up a lot - it has the option of dual slicks. Otherwise it looks identical. I did not find the Horse Hide Hauler and there may have been some packaging changes due to local difference as hardly anyone in NZ would have heard of Denny Mclain. There was little or no coverage of American Baseball circ 1970 in the media down here. We are only likely to see it these days via Pay TV in the middle of the night.
-
Good to see you and those builds look good Man those uncut sedans look tall. If ever there is a car that could do with a top chop it is the 32 Fords IMO. Same with 49 Mercs. I know we all do not have the desire or the skill levels to whack some inches out of the top of a car but 32's just scream cut me, cut me.......
-
Yup and has a low parts count Did some work over the weekend. Body got some primer laid down and now in the body shop for more work. The chassis was previously painted and then stripped so some effort went into the clean up and now is in the paint shop along with the motor. Paint is Testor metallic green in the little square jars. Ancient paint for an ancient model
-
The local FB group has a summer build going on so I thought I would play along. I have this incomplete AMT Surf-n-Go in the stash. I remember building this kit as a teenager way back when. The kit is what we refer to as NZAMT. AMT leased out the moulds to a local plastics company here in New Zealand in the late 60's and early 70's as we had at the time very restrictive import rules. If the manufactured item was seen to have some NZ input then that was OK. At the time our roads were teeming with English and Australian cars and they all had some amount of local content. American cars were few and far between. Luckily pre WWII there was less import restrictions and there were a number of American cars imported in that period. Hot Rodders delight Any on opening the box I found that there was no motor but all of the body and chassis parts are there. The motor dress up parts were there too. It had been started and is a bit of a glue bomb. The chassis had been painted and the paint (poorly) stripped off. The body had been poorly glued together as well. A search through my parts boxes netted some bits from 2 other builds and a SBF from a 32