Hotrod 97
-
Posts
804 -
Joined
-
Last visited
Content Type
Profiles
Forums
Events
Gallery
Everything posted by Hotrod 97
-
Thanks, Ray!
-
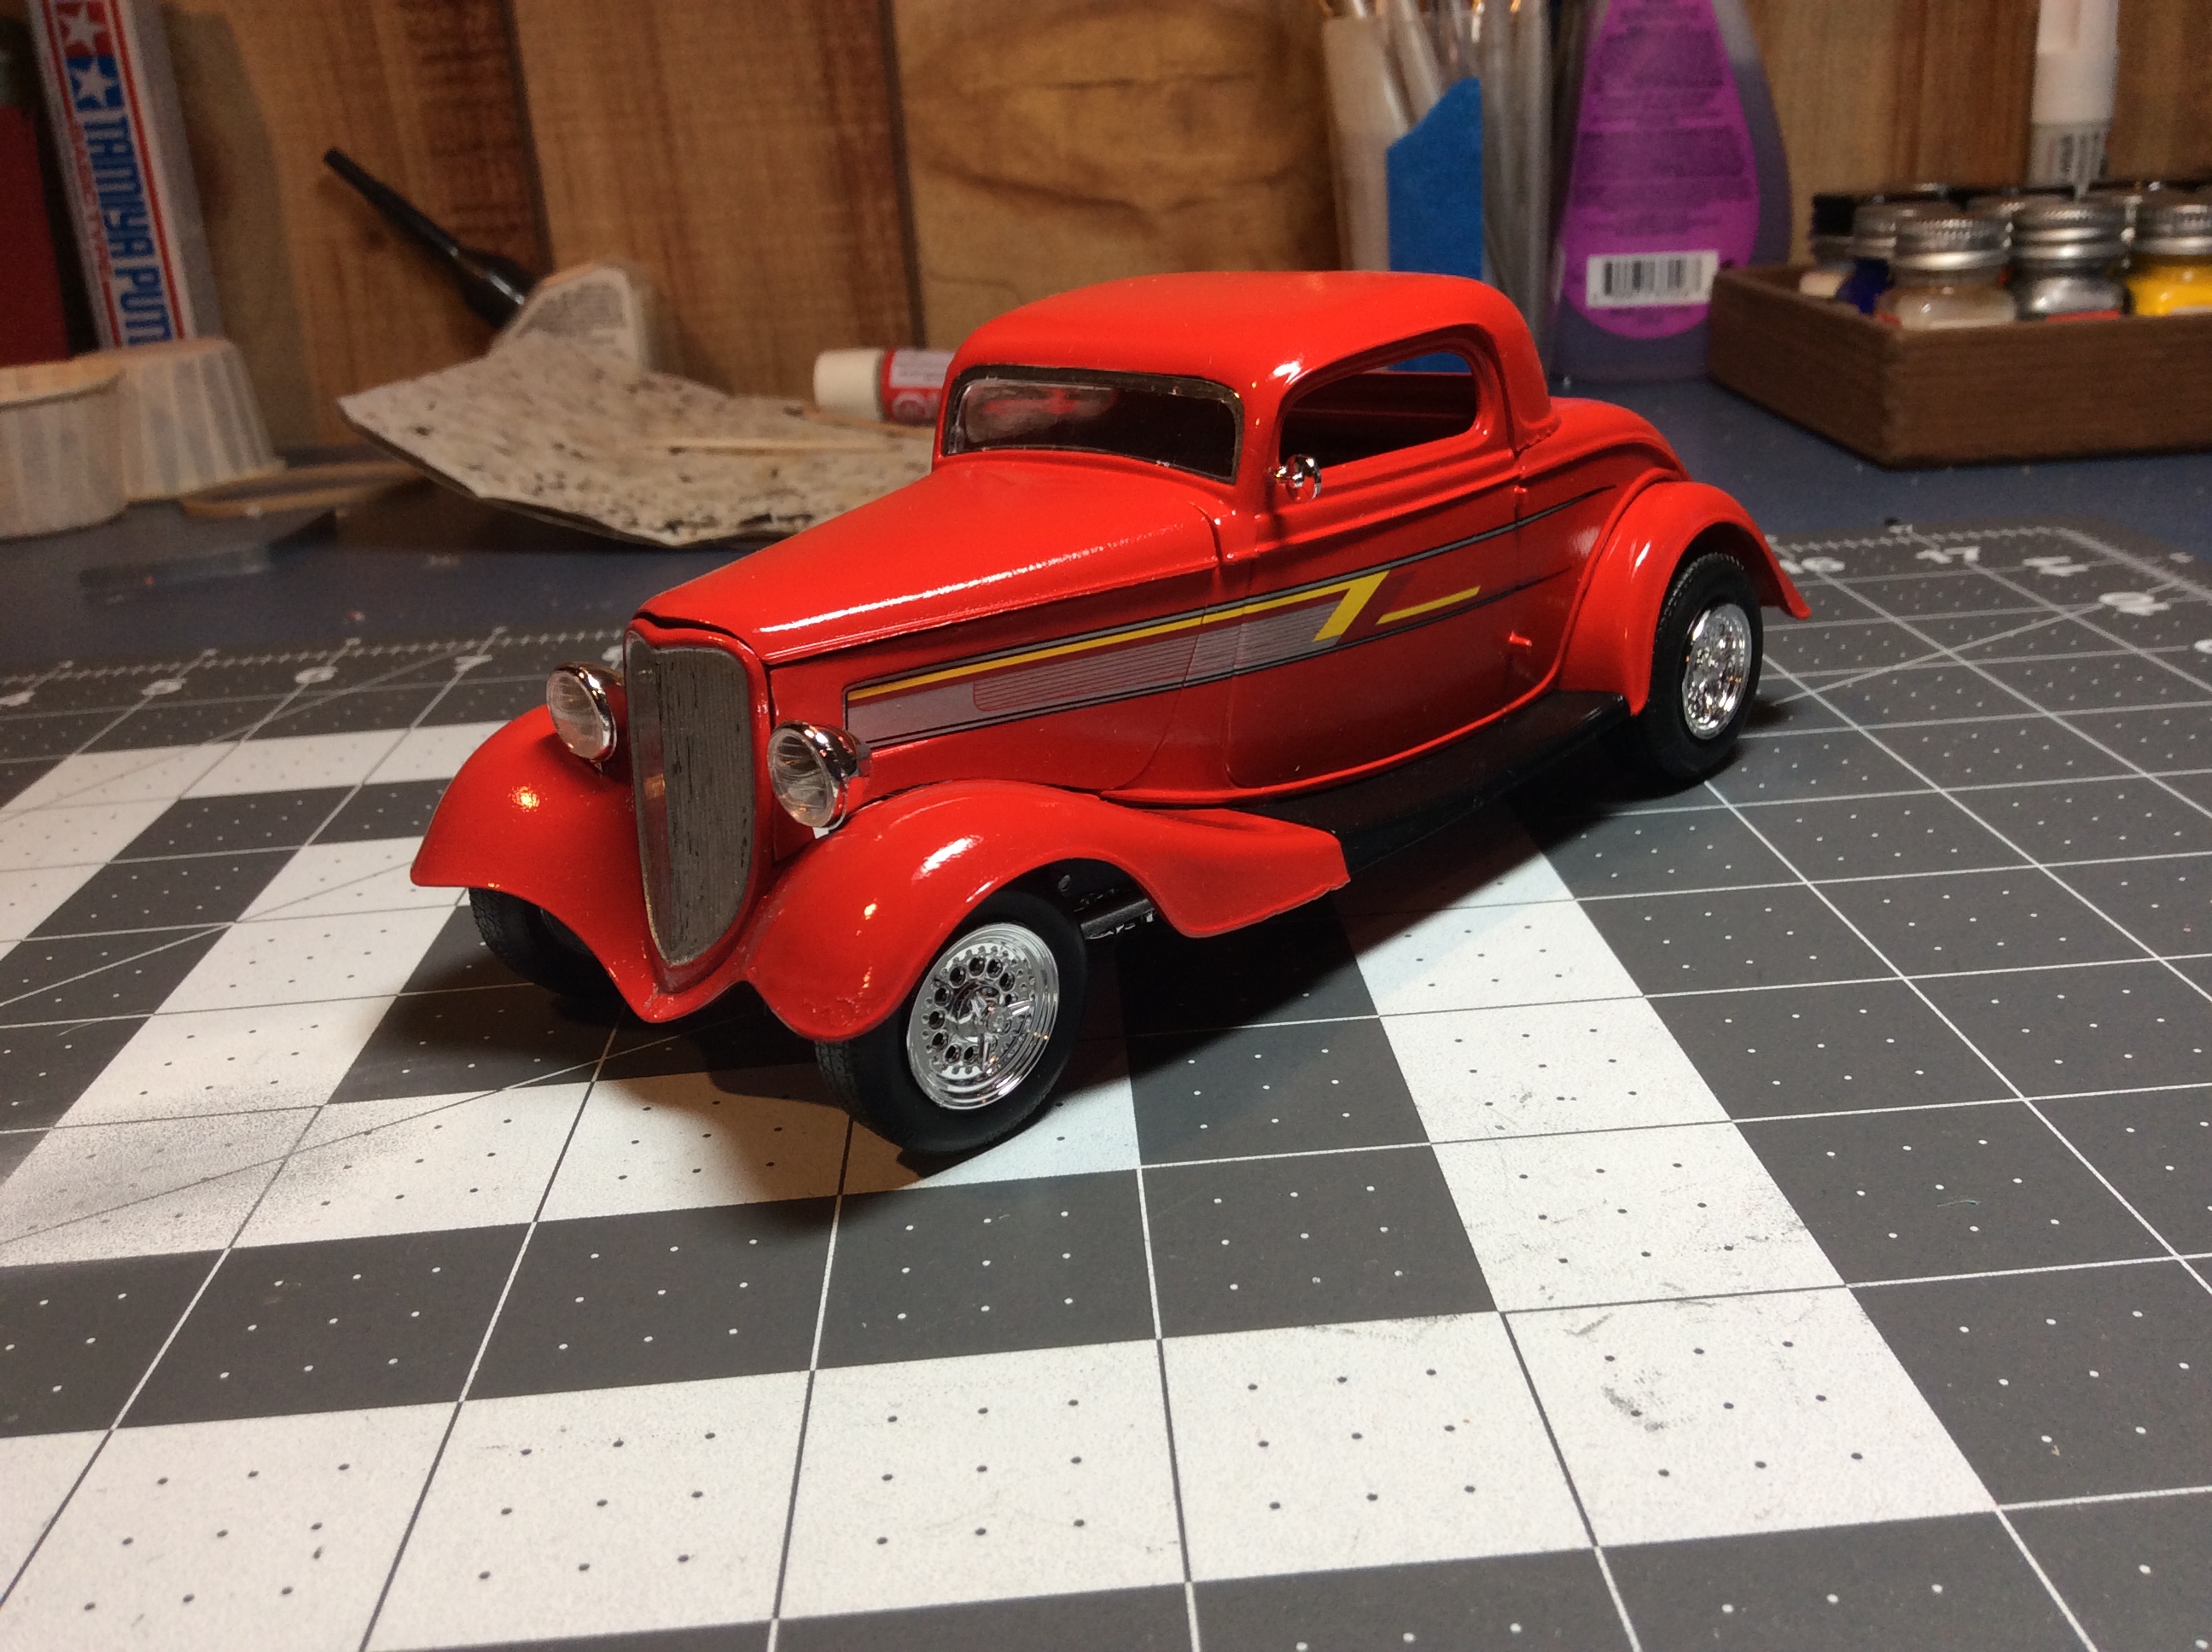
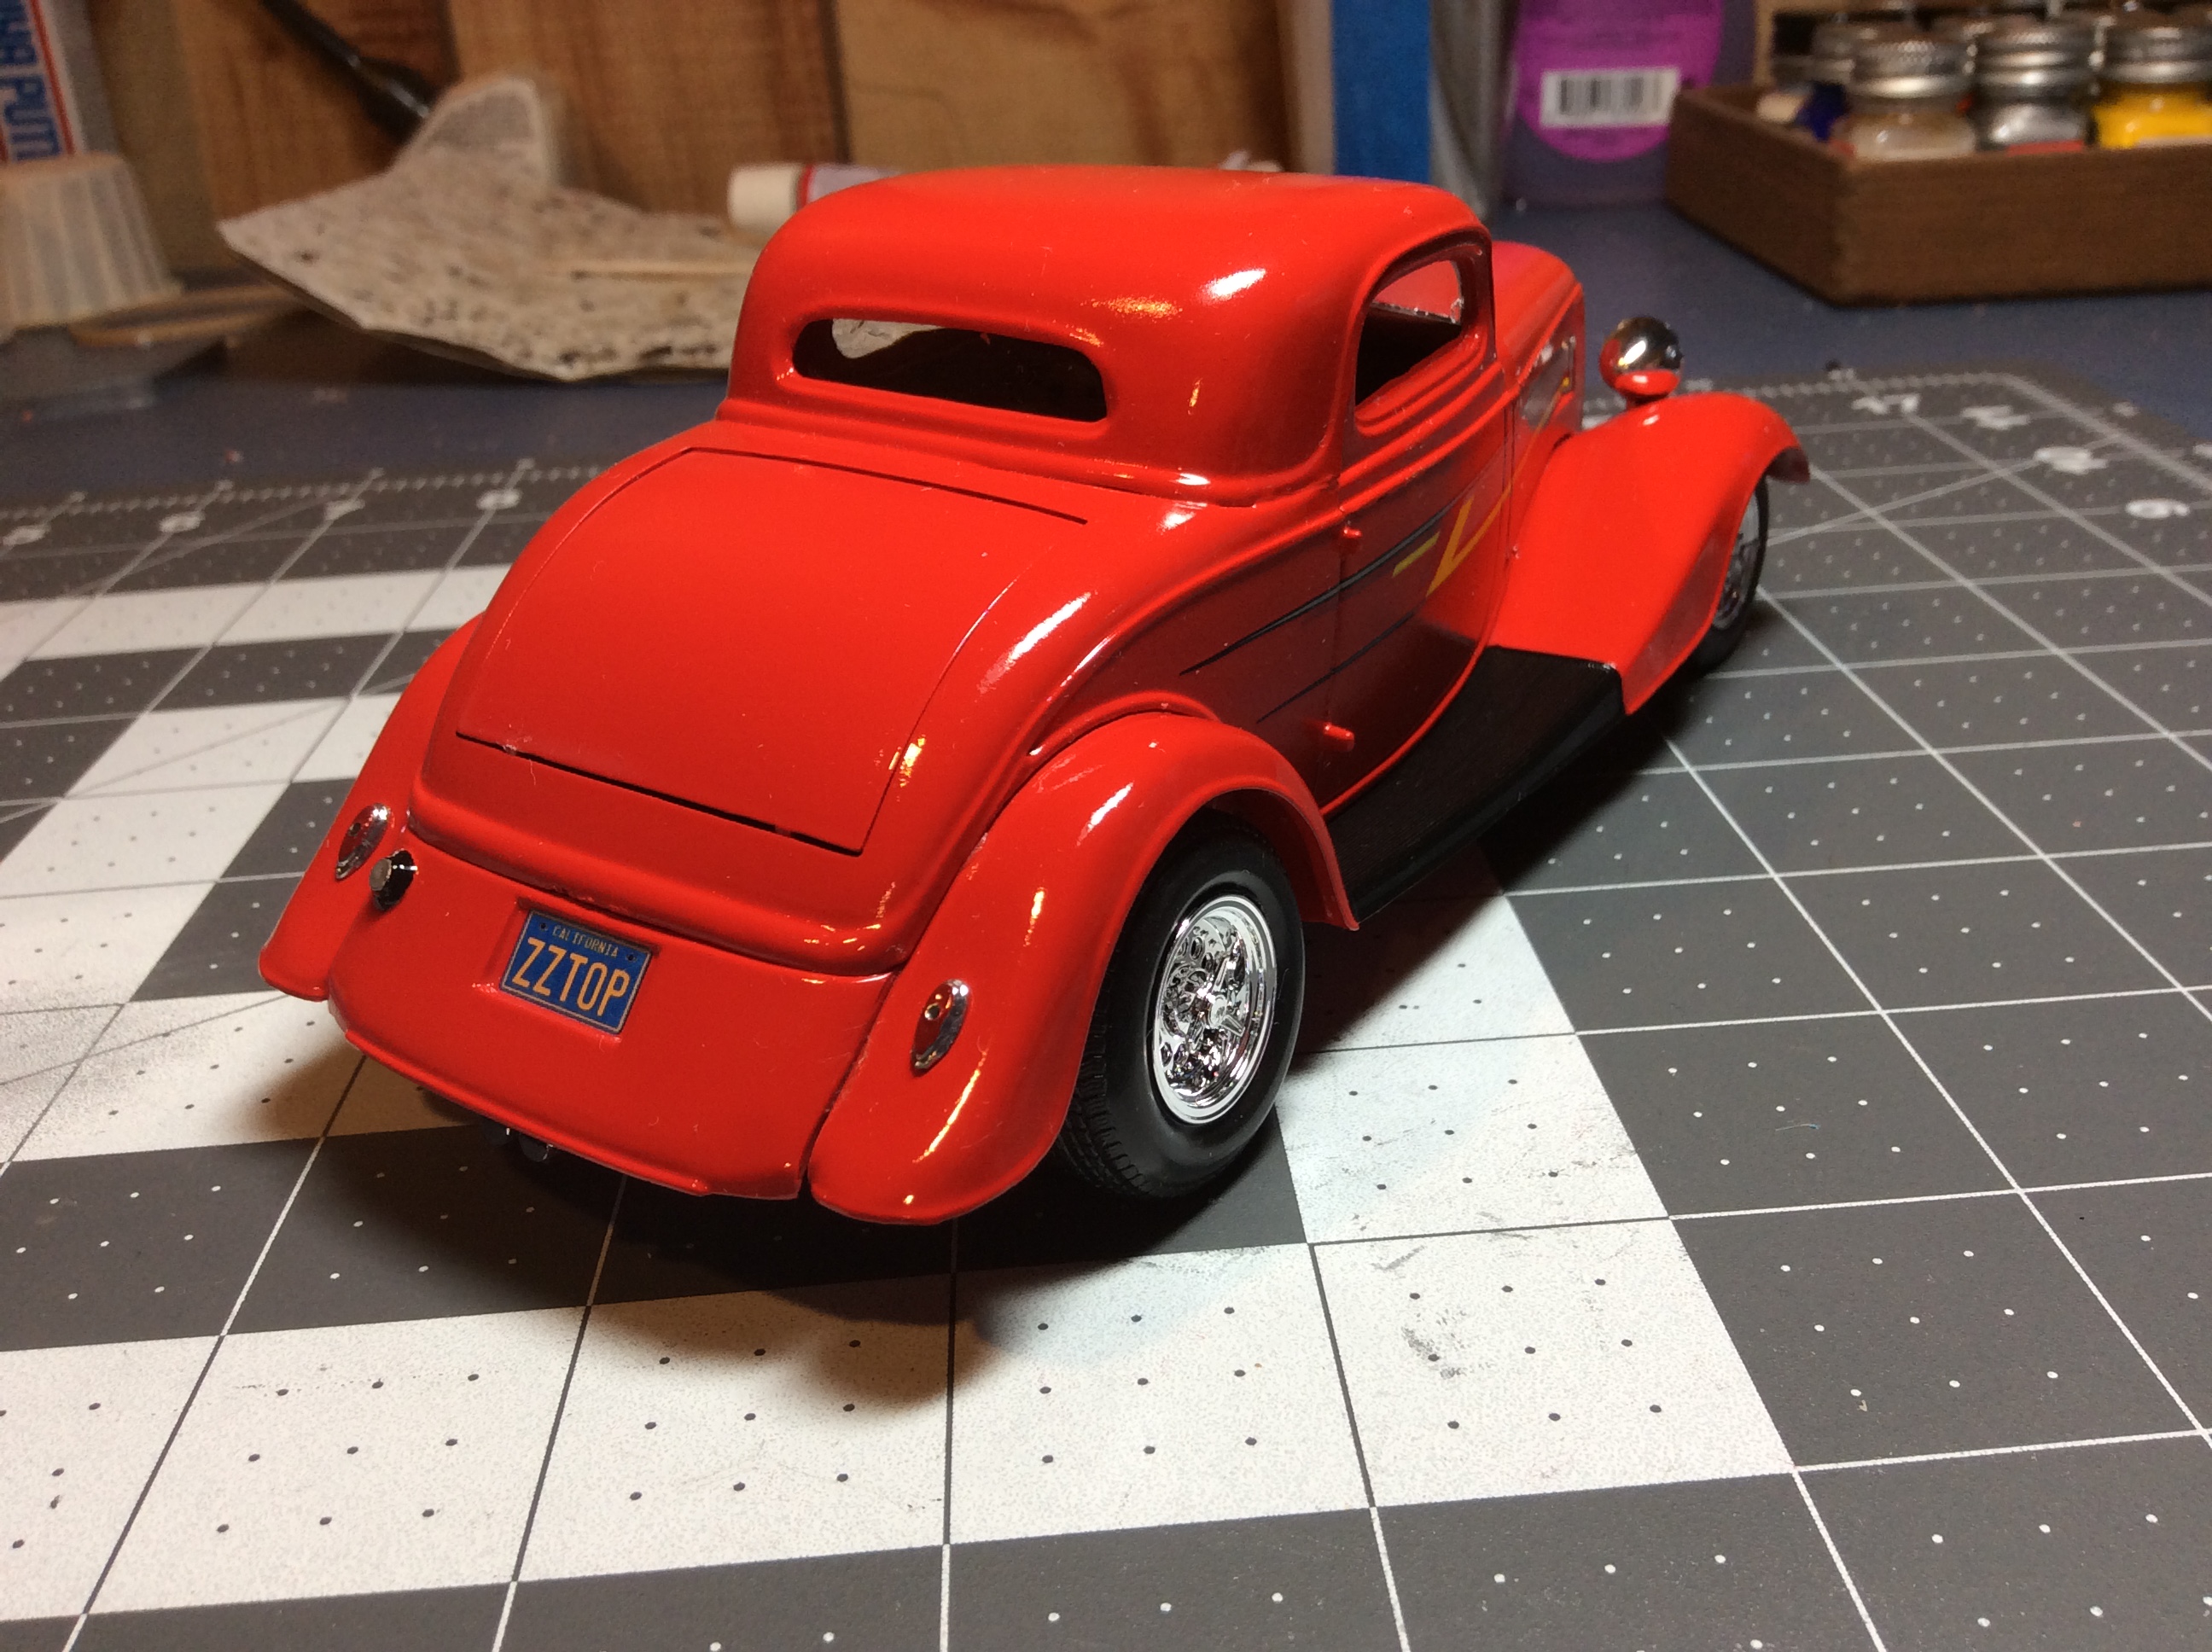
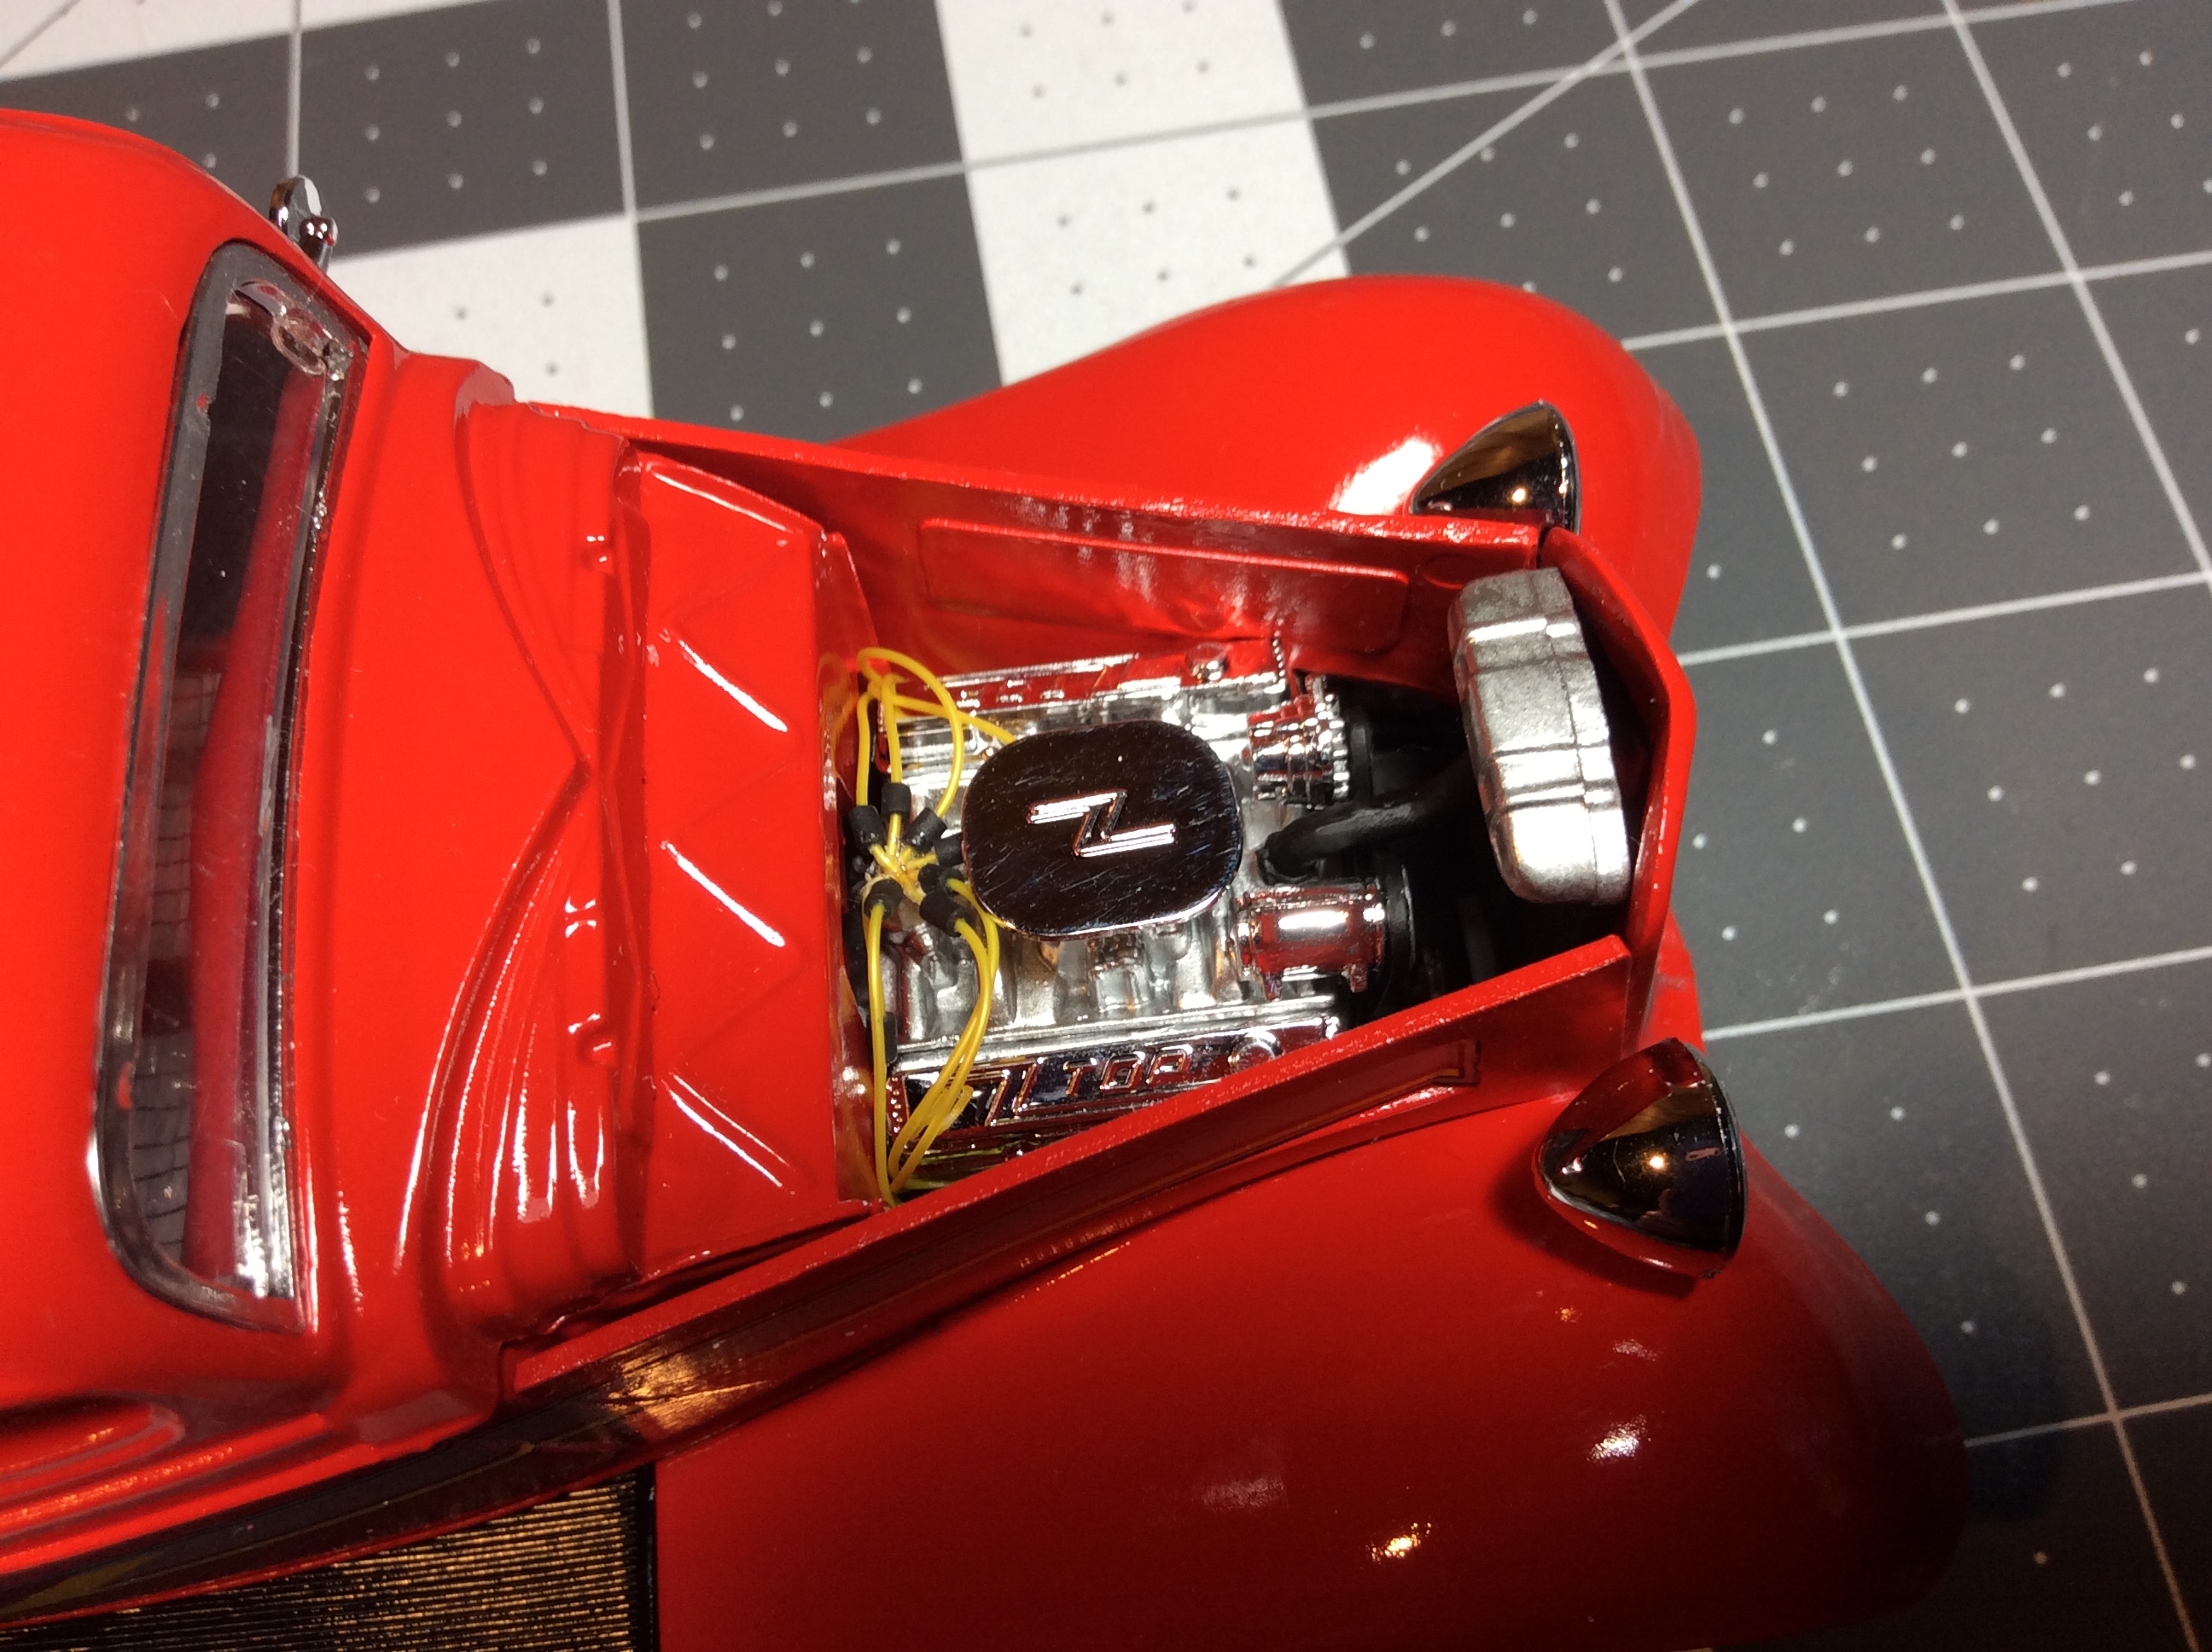
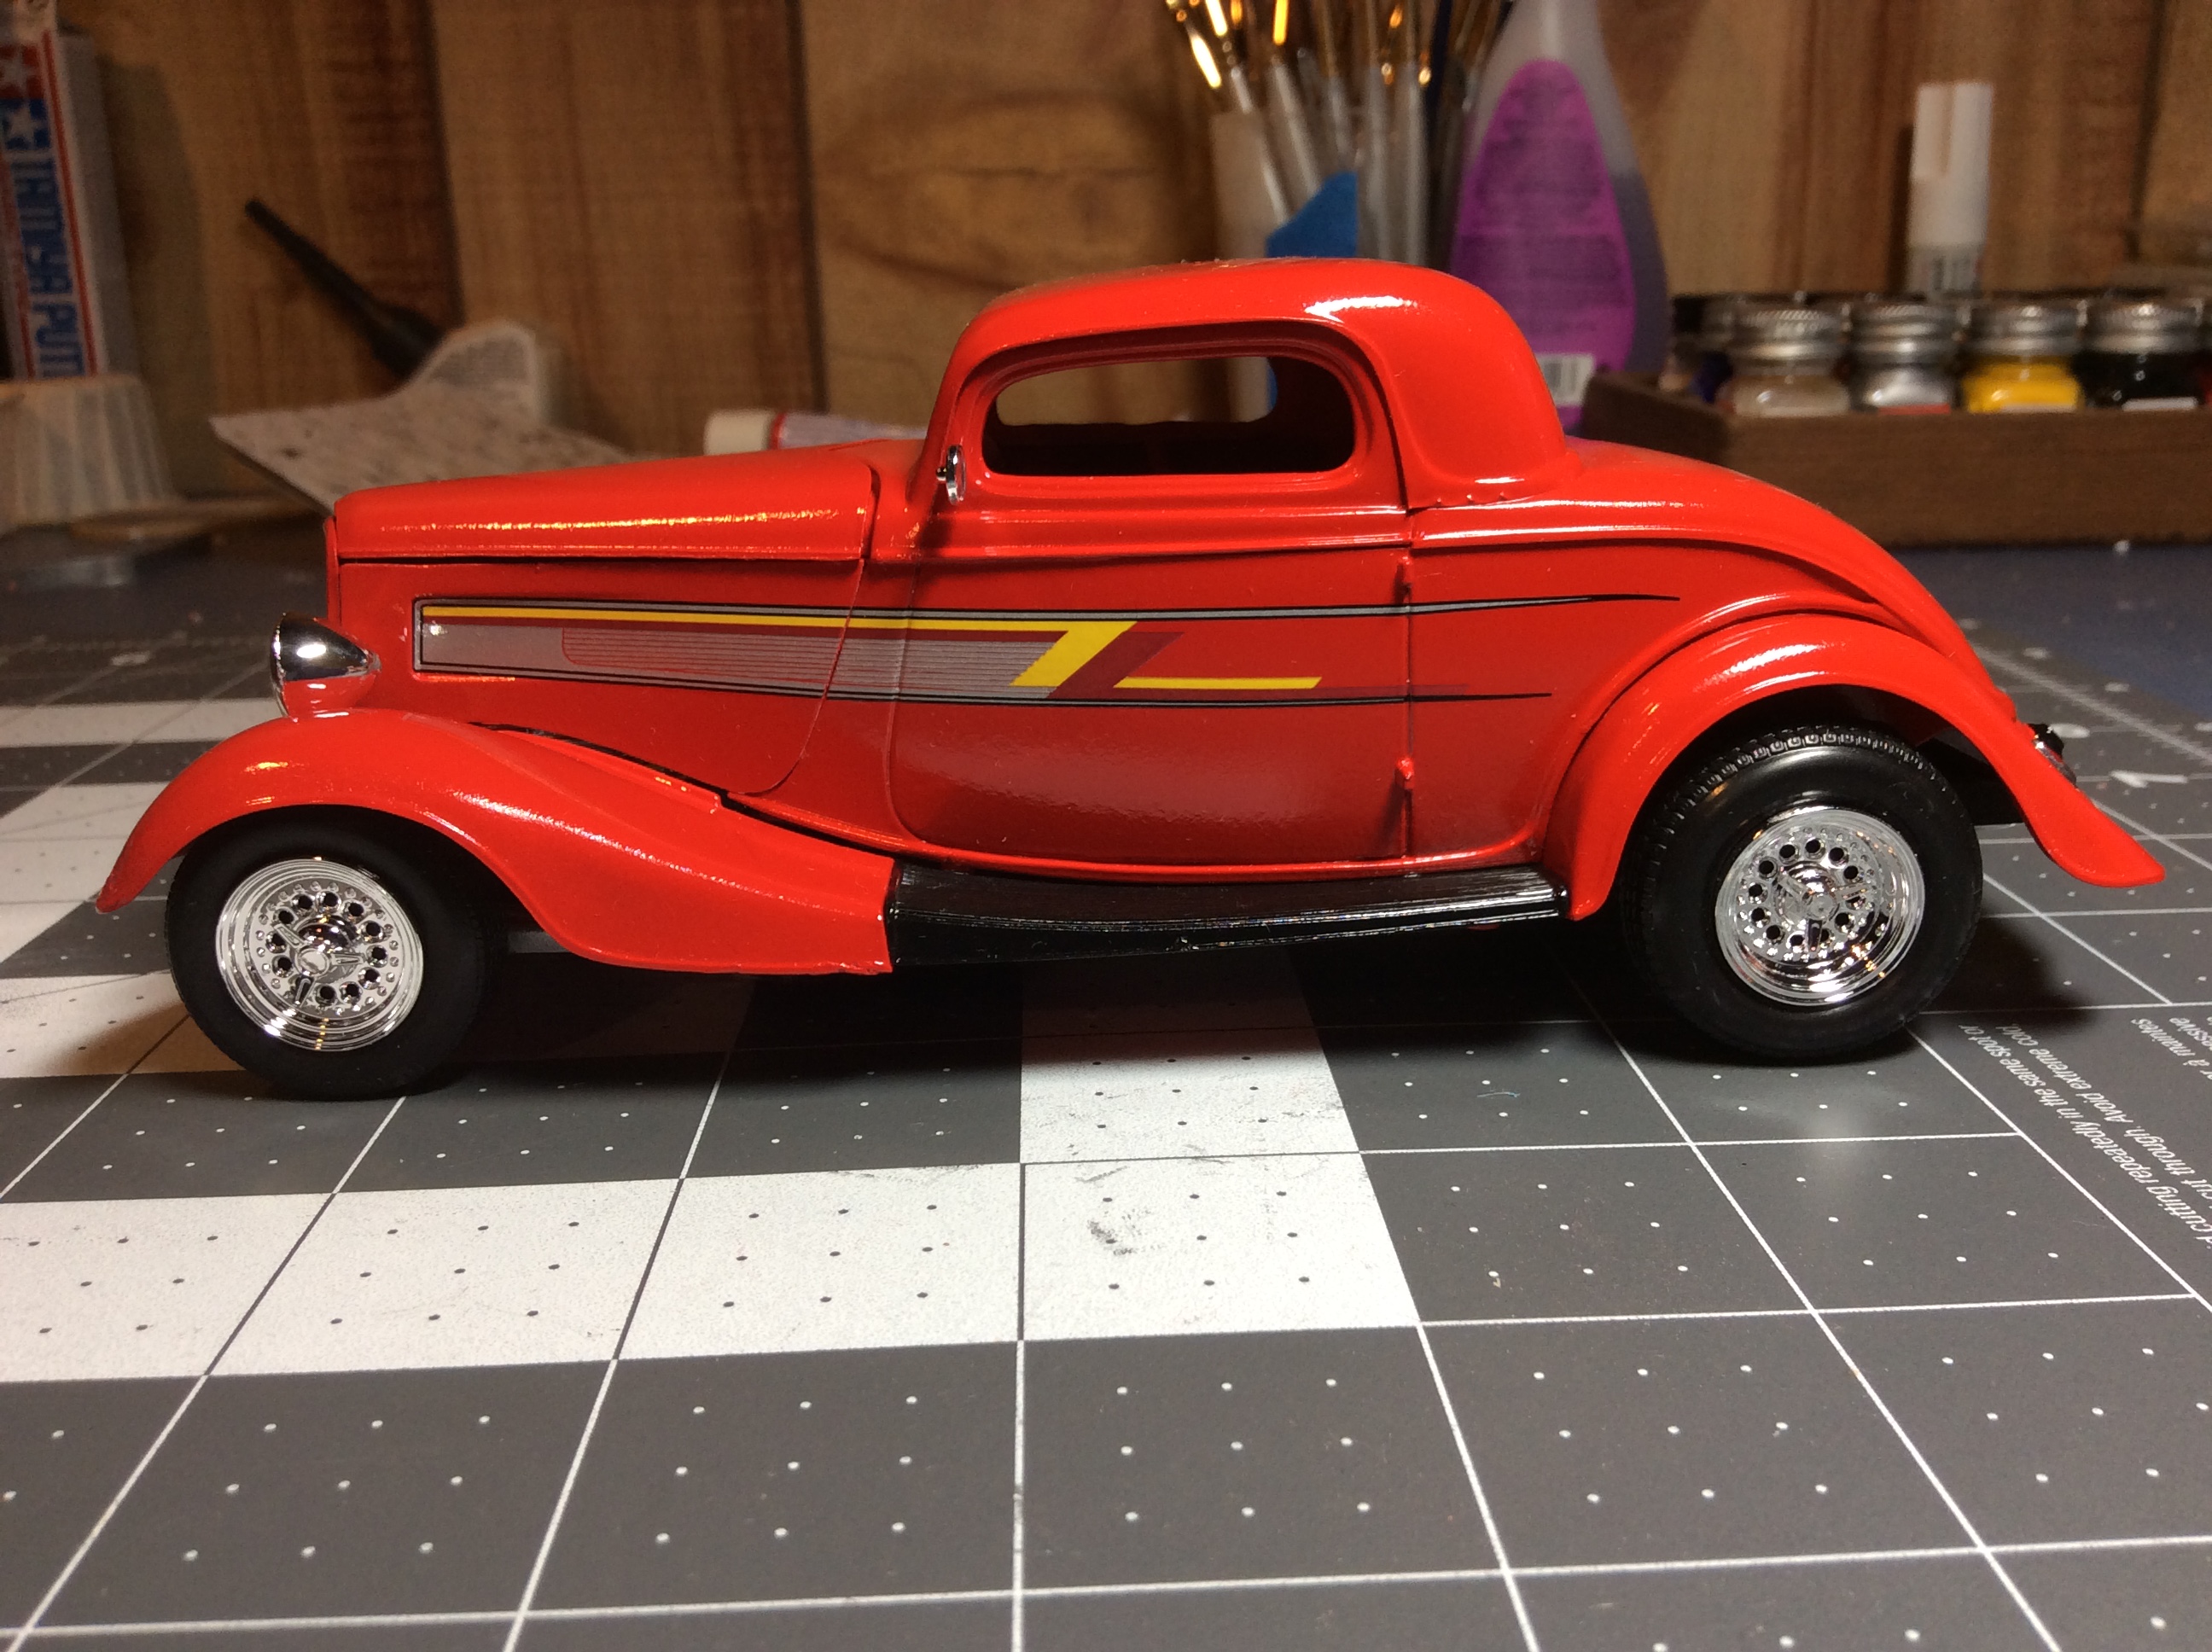
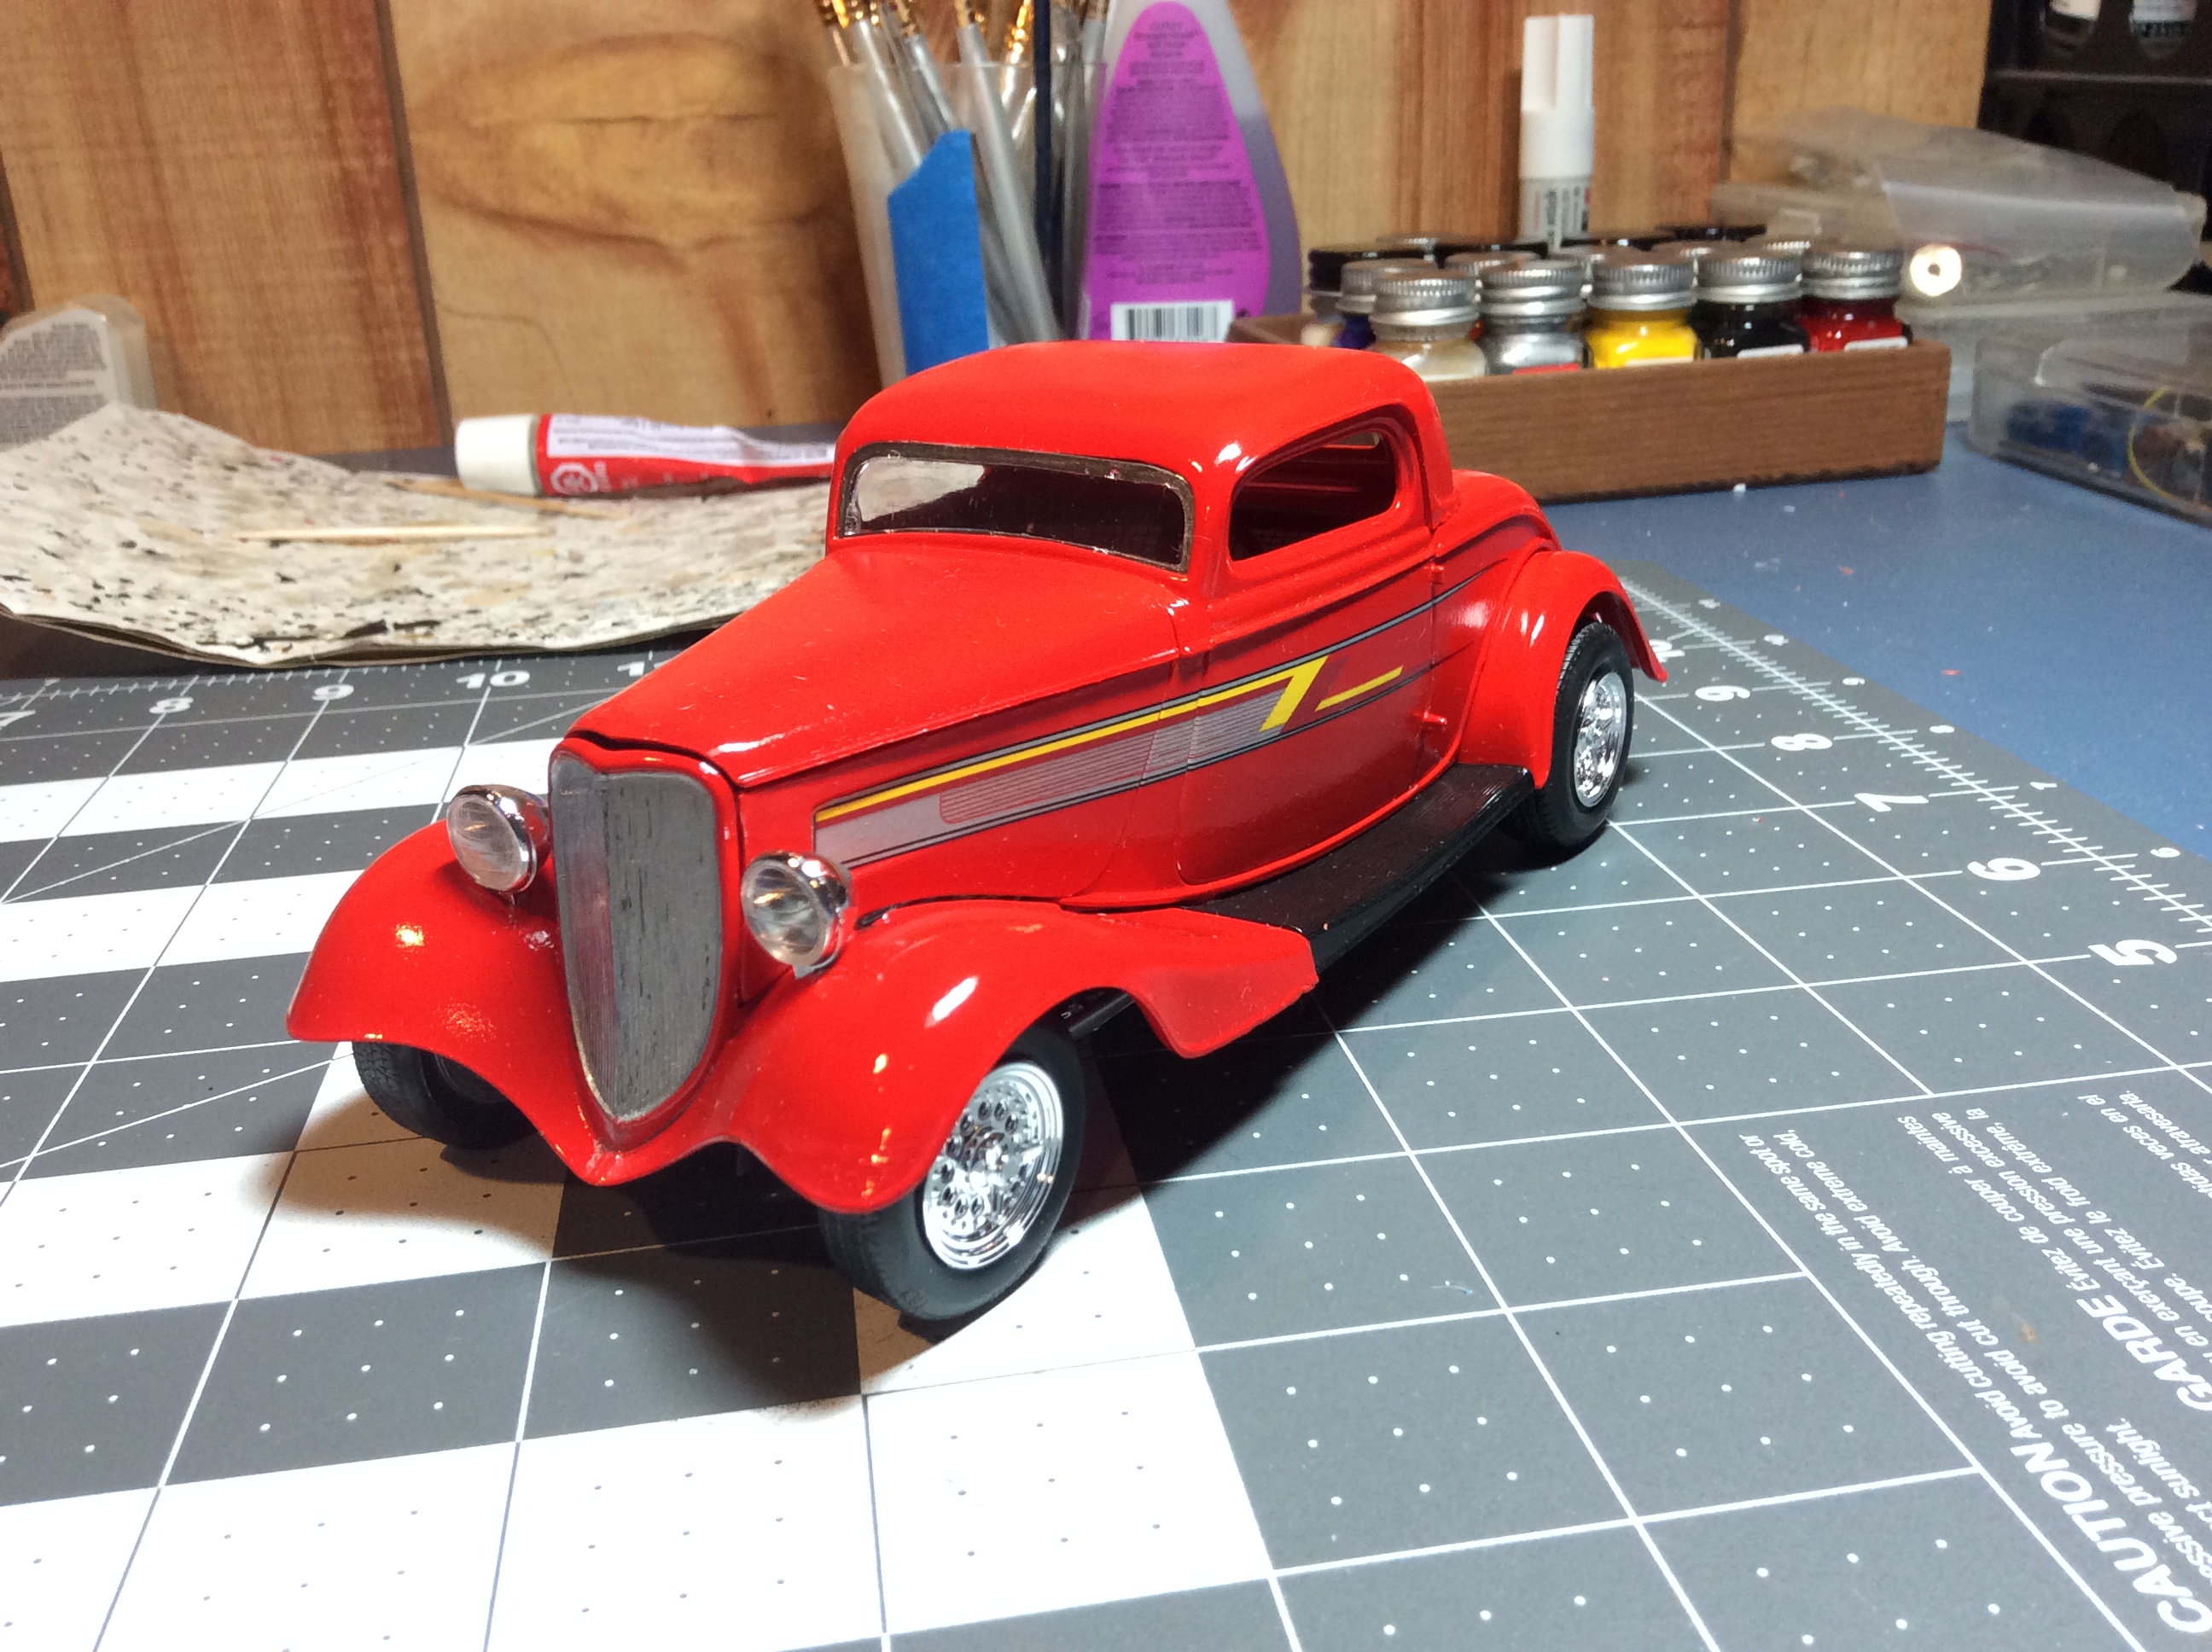
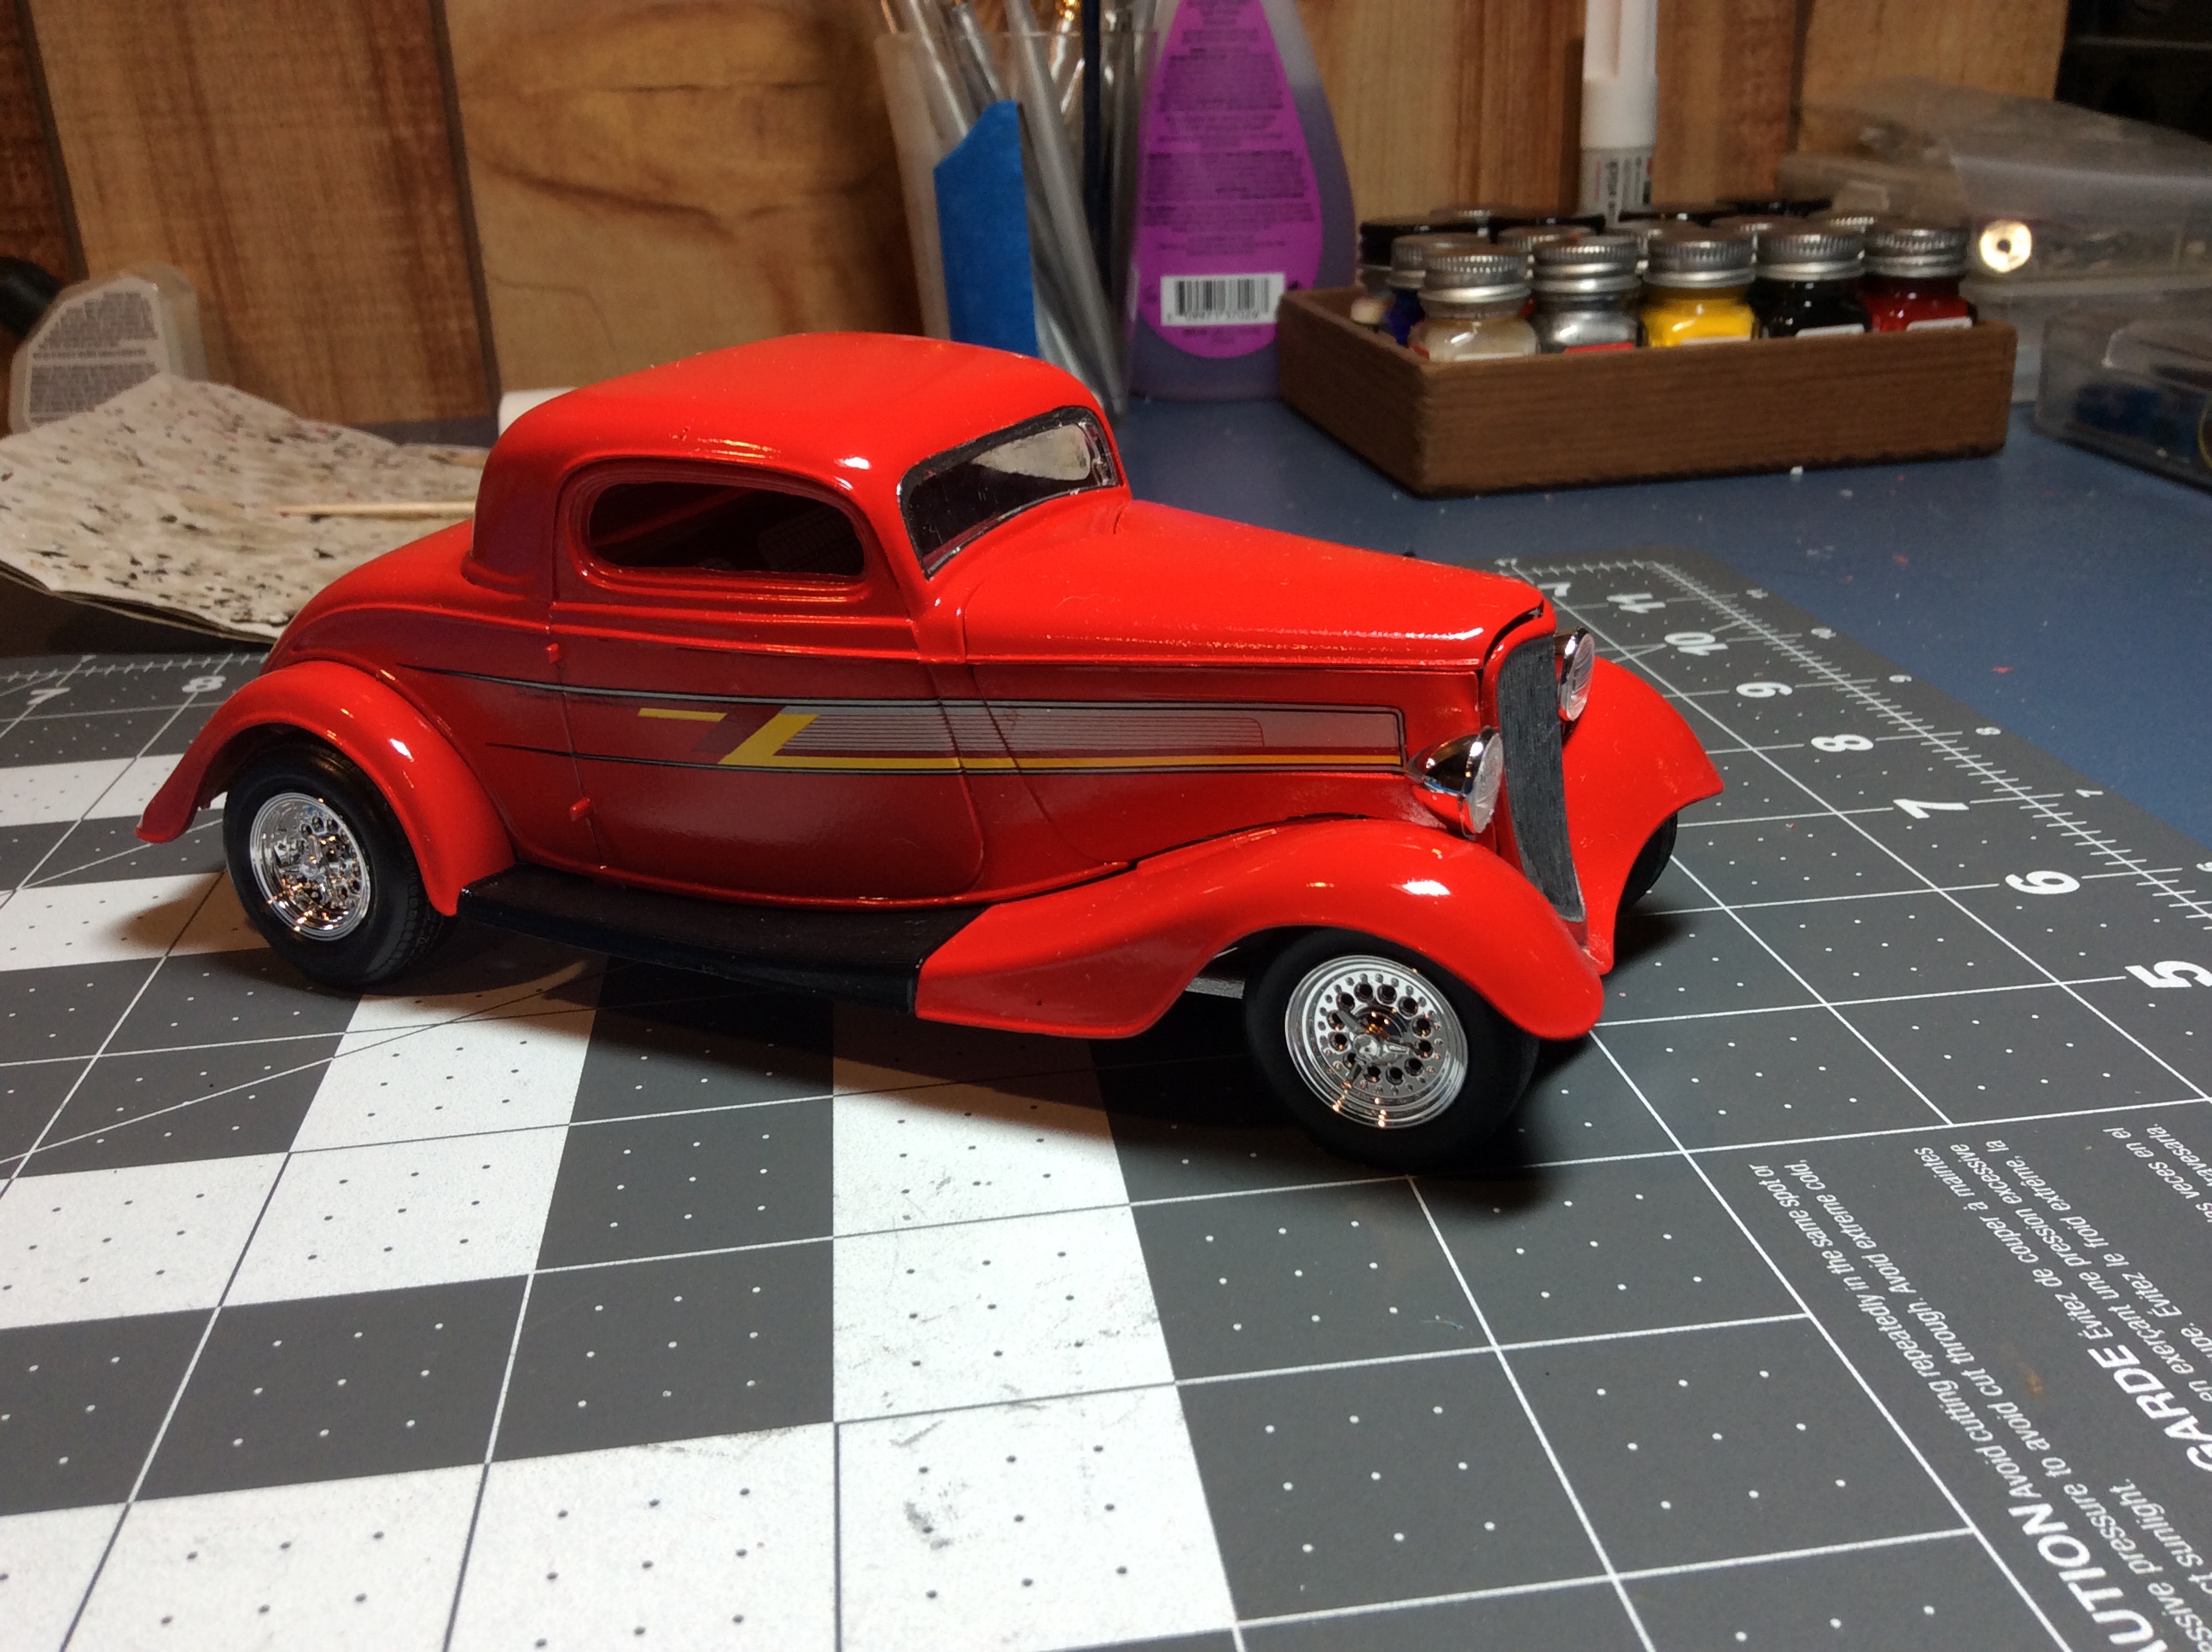
Well, here it is all completed! The paint is Rustoleum Apple Red under testors clearcote. I couldn’t get a good picture of the interior, but I painted it satin burgundy and coated it with dullcote after I applied the seat decals. For those who are interested, here is the build thread

-
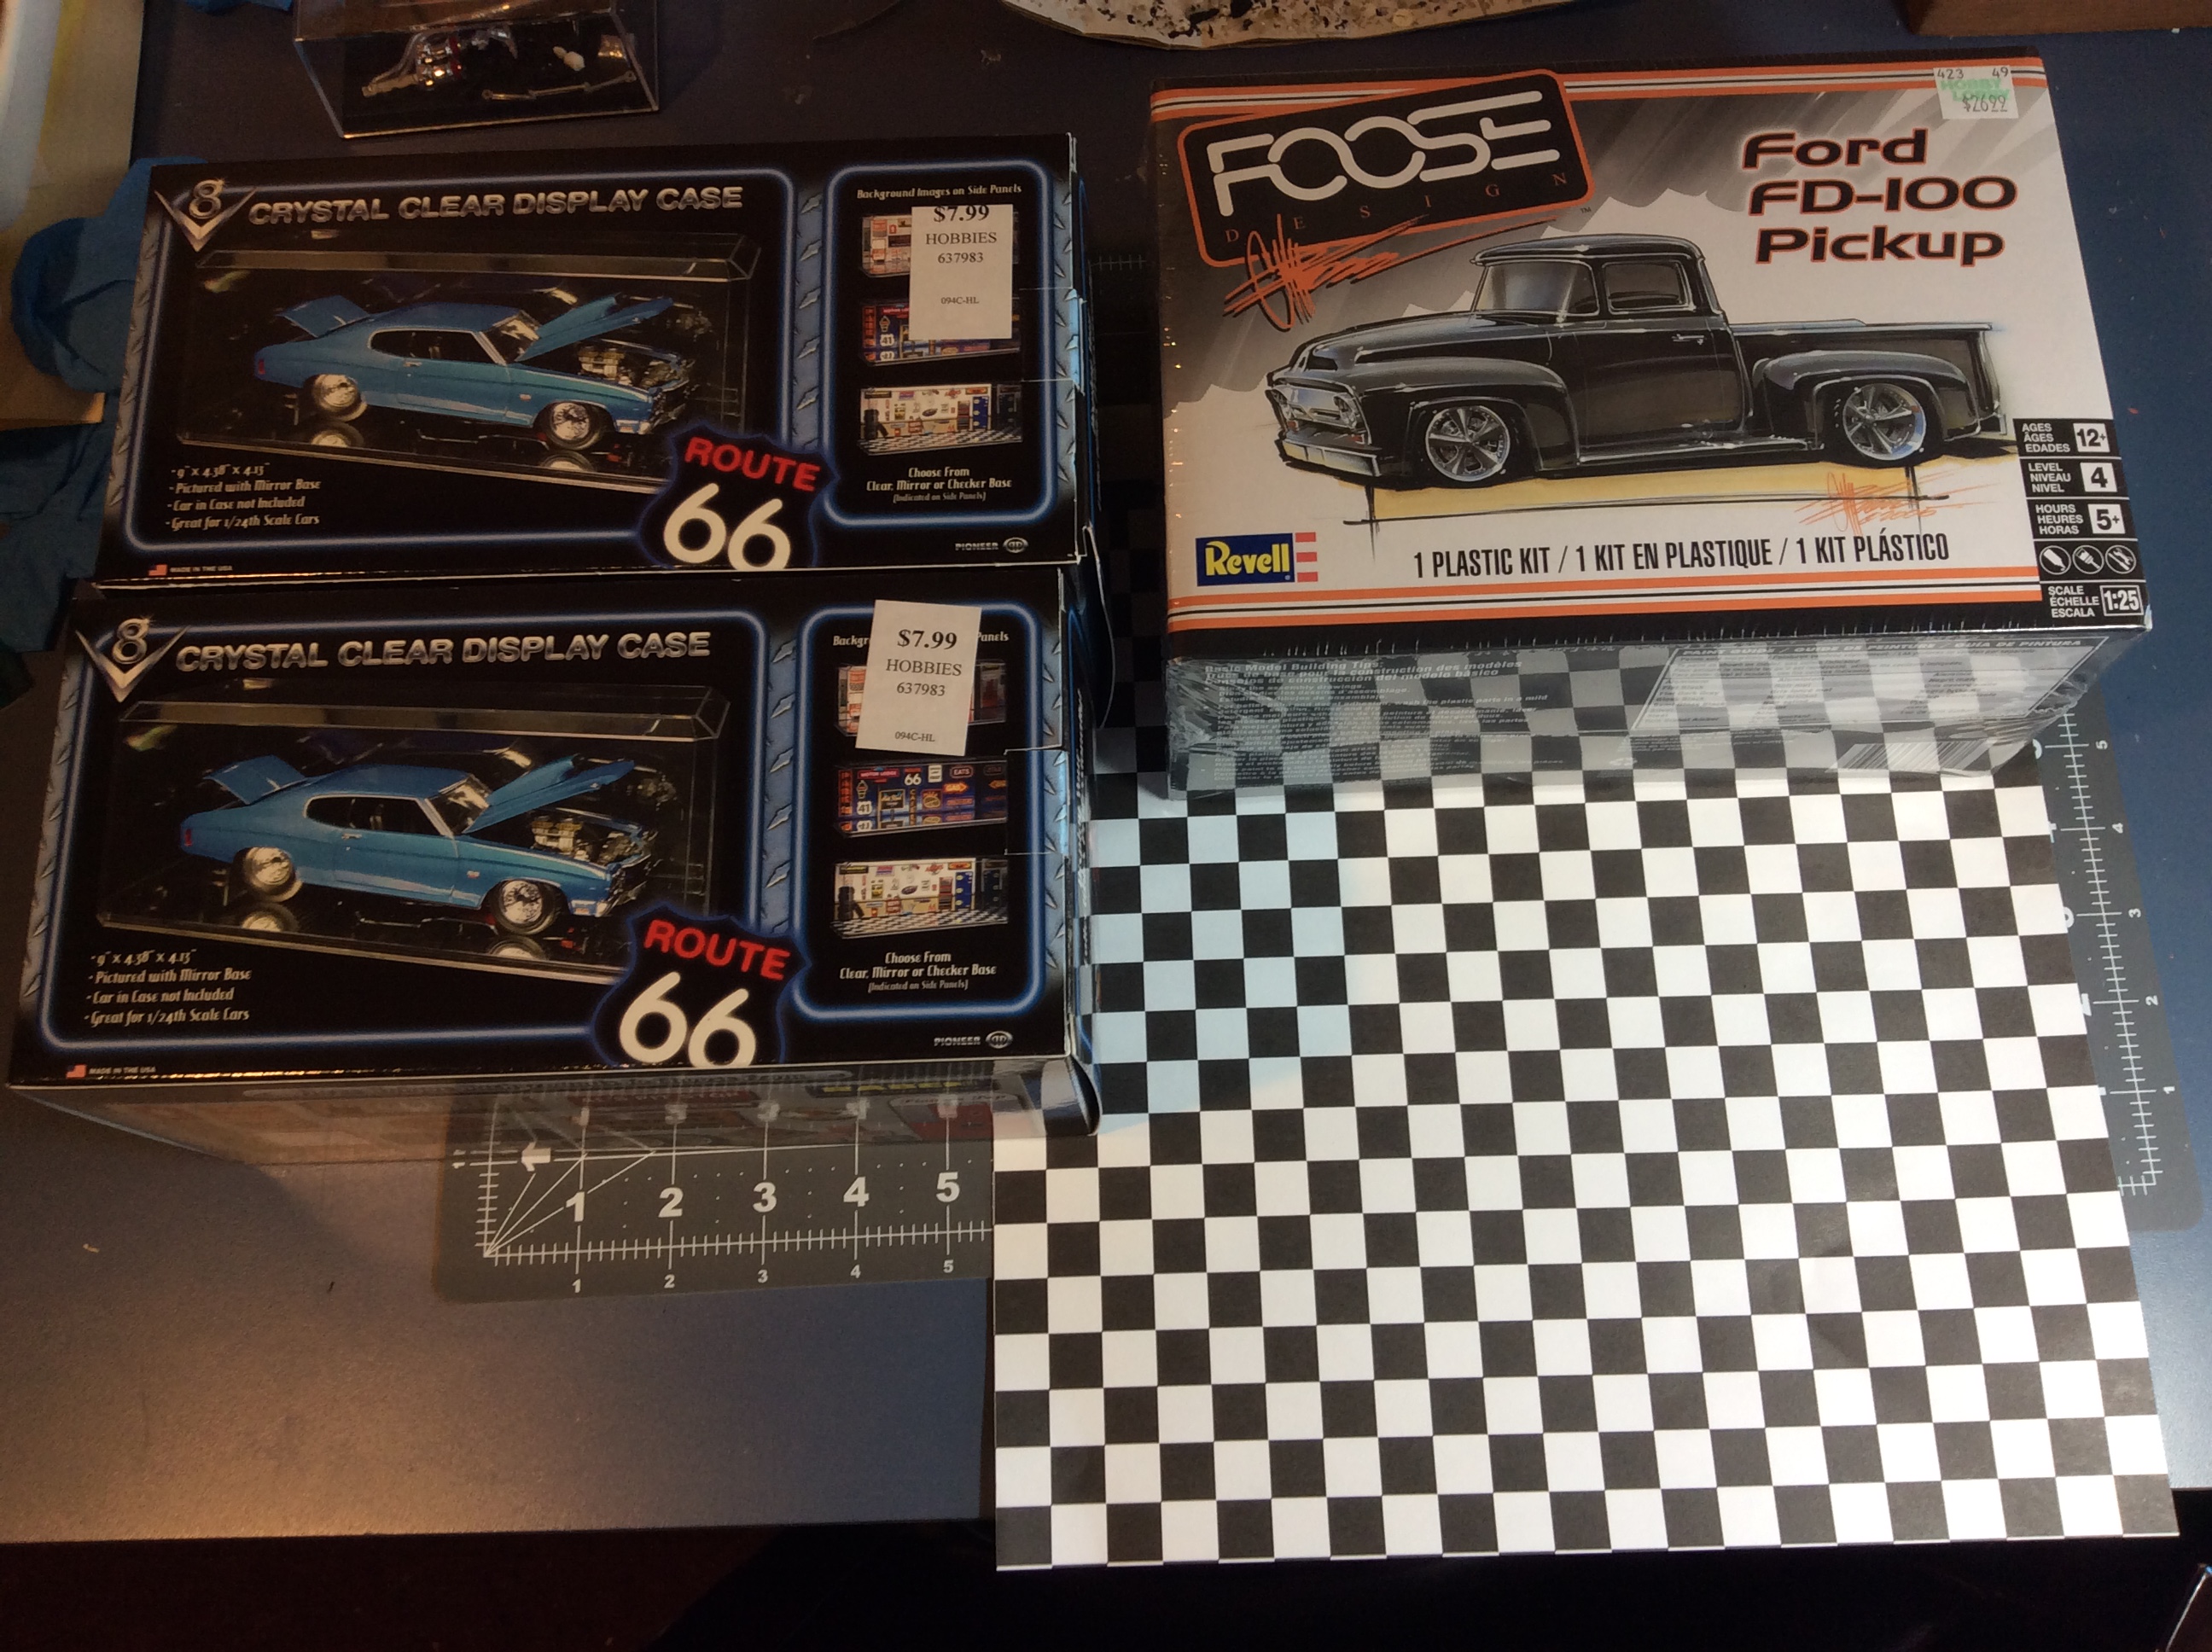
 Got some stuff at HL today. The Foose FD-100, some display cases for the Eliminator and the Chevelle, and some checkered paper to put on the base of said display cases.
-
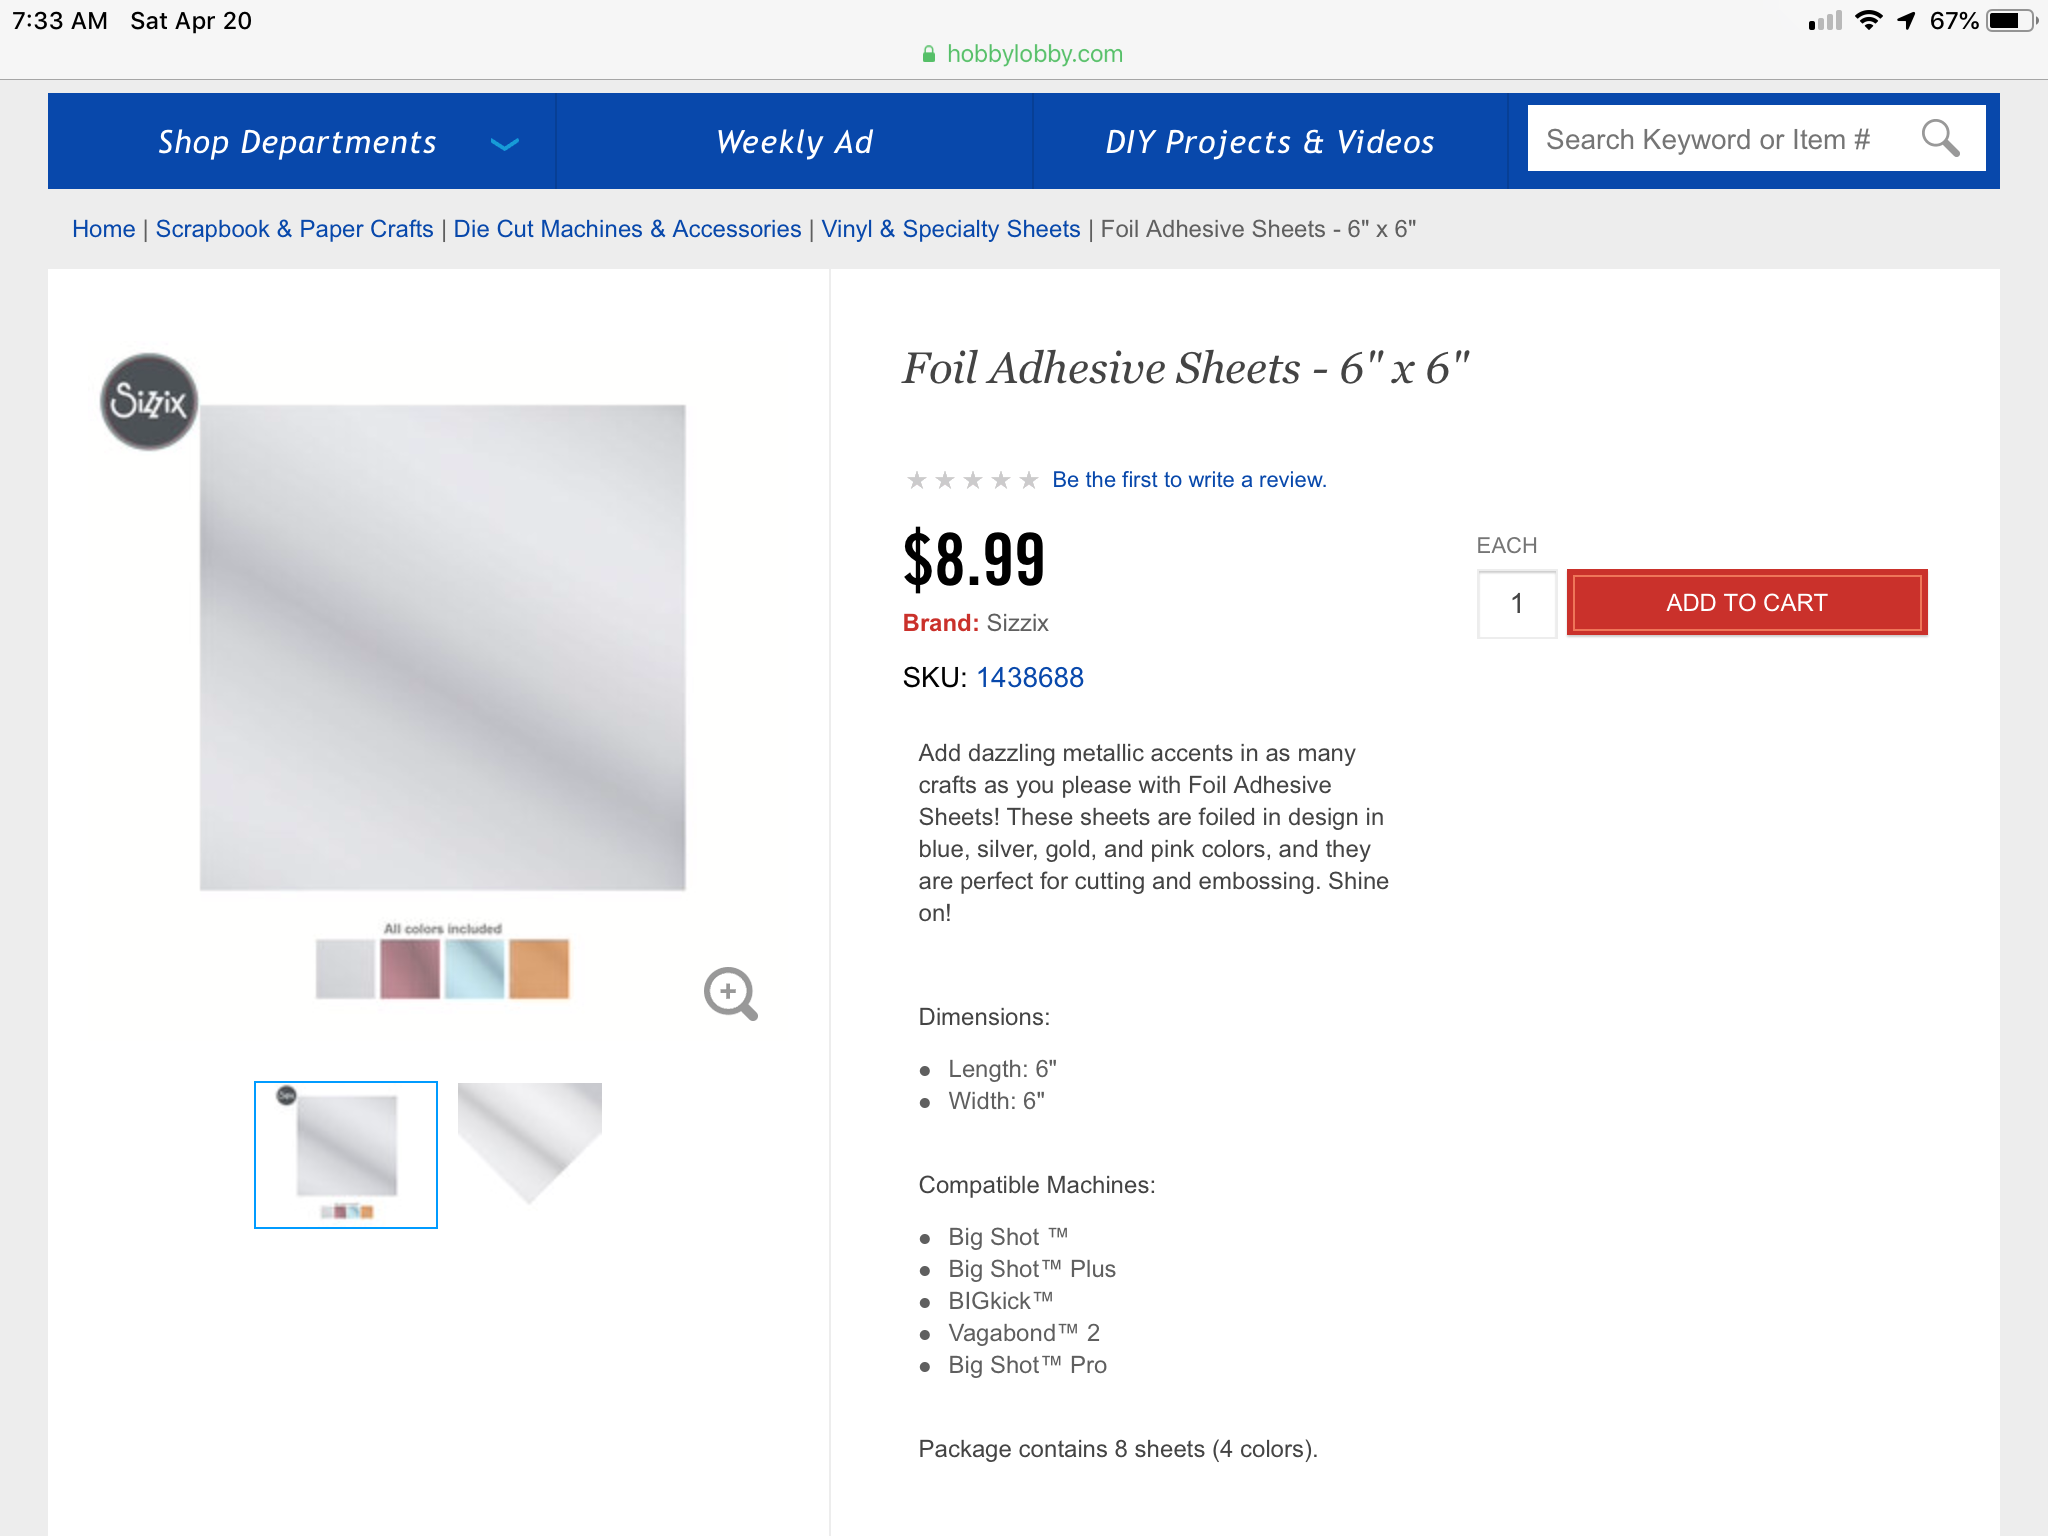
Would this work for foiling trim?
Hotrod 97 replied to Hotrod 97's topic in Model Building Questions and Answers
Thanks, Karl, David, and Jim! I shall stick to the real BMF. -
Thank you, Jim.
-
You have very good taste! Best wishes on finding one - I think Hobby Lobby still carries them.
-
I’d like to start using the foil method for chrome trim. Would this work? Also, what tool(s) would I use to contour the foil to the trim?
-
Thank you, Vince!
-
Thanks much, Geno! That’ll be a fun change of pace after the truck builds, which, by the way, are looking awesome!
-
Thank you very much!
-
Just needs taillights and the mirror and it’ll be done.
-
Thank you, Tom. I heard those were the good ol days...
-
Thank you, Steve. I agree - that is slightly bothersome.
-
Thank you, Randy.
-
Hehehe Thanks, Geno!
-
Agreed! Thank you.
-
Now it’s starting to look like a hot rod.
-
Thank you, Jacob. That is very touching that you’re building one in memory of your friend - such a wonderful sentiment. I really appreciate your post. The paint is 4 light coats of Rust-oleum American Accents Apple red over white primer.
-
Thanks, Bruce!
-
Thank you, Vince.
-
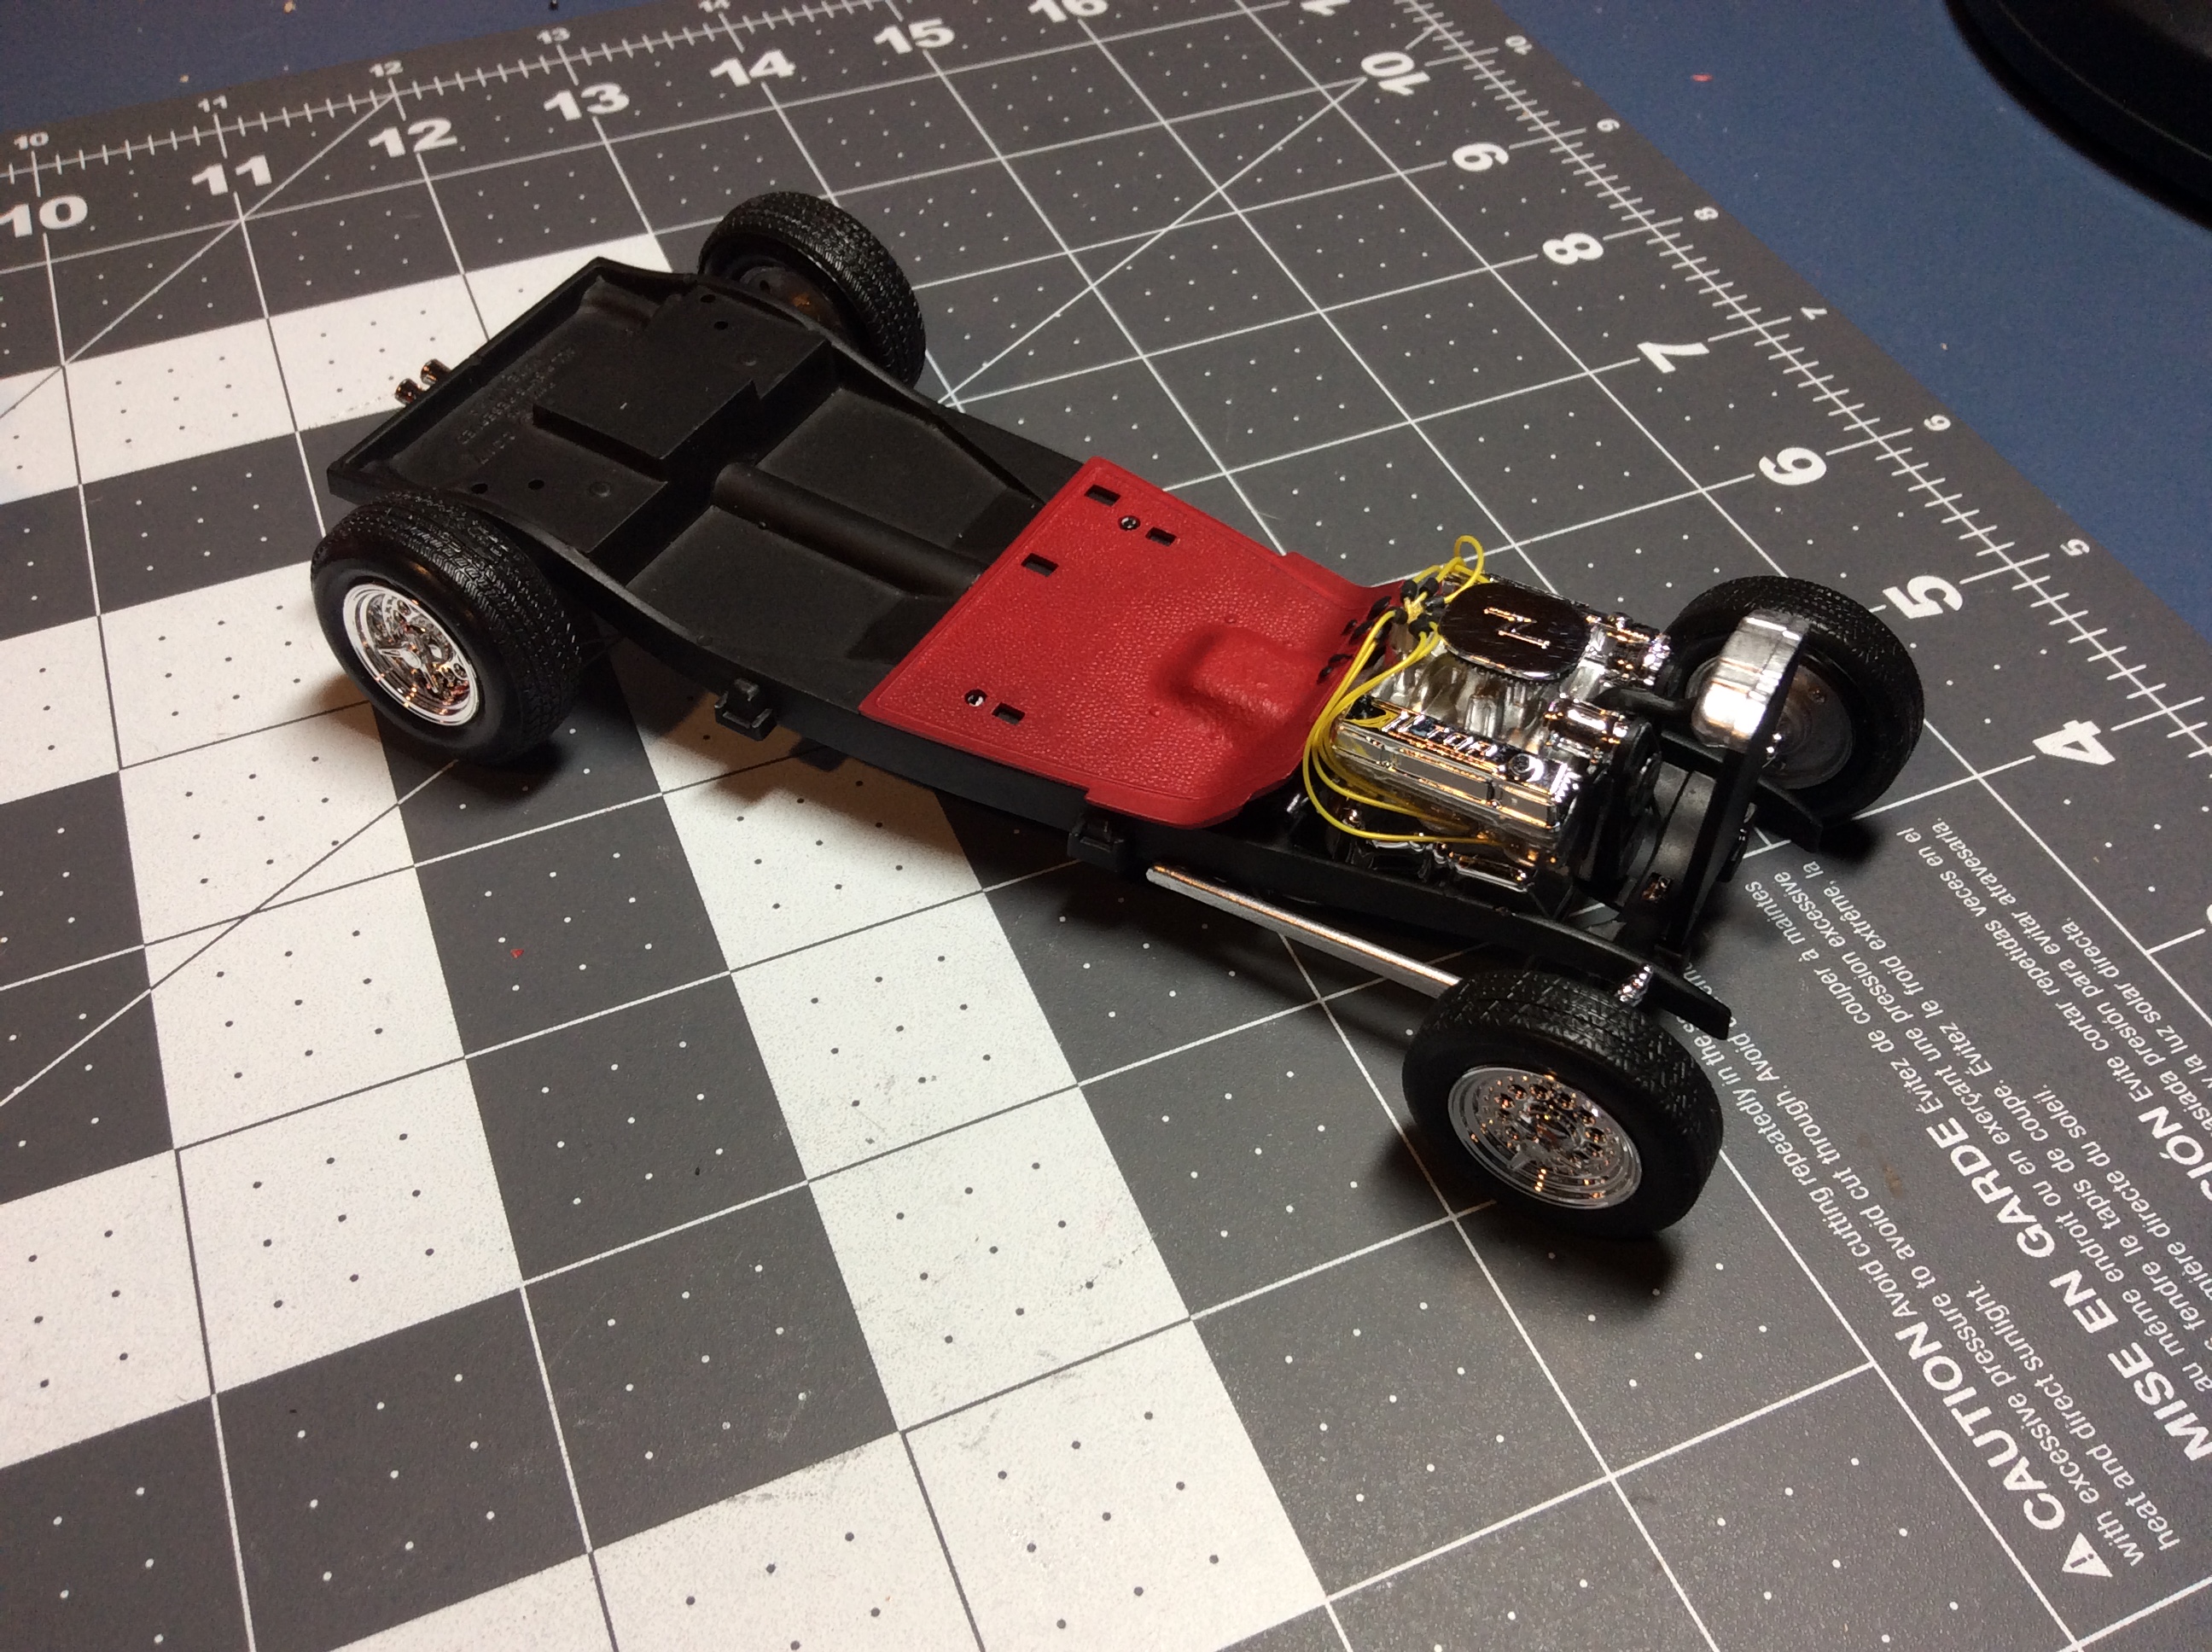
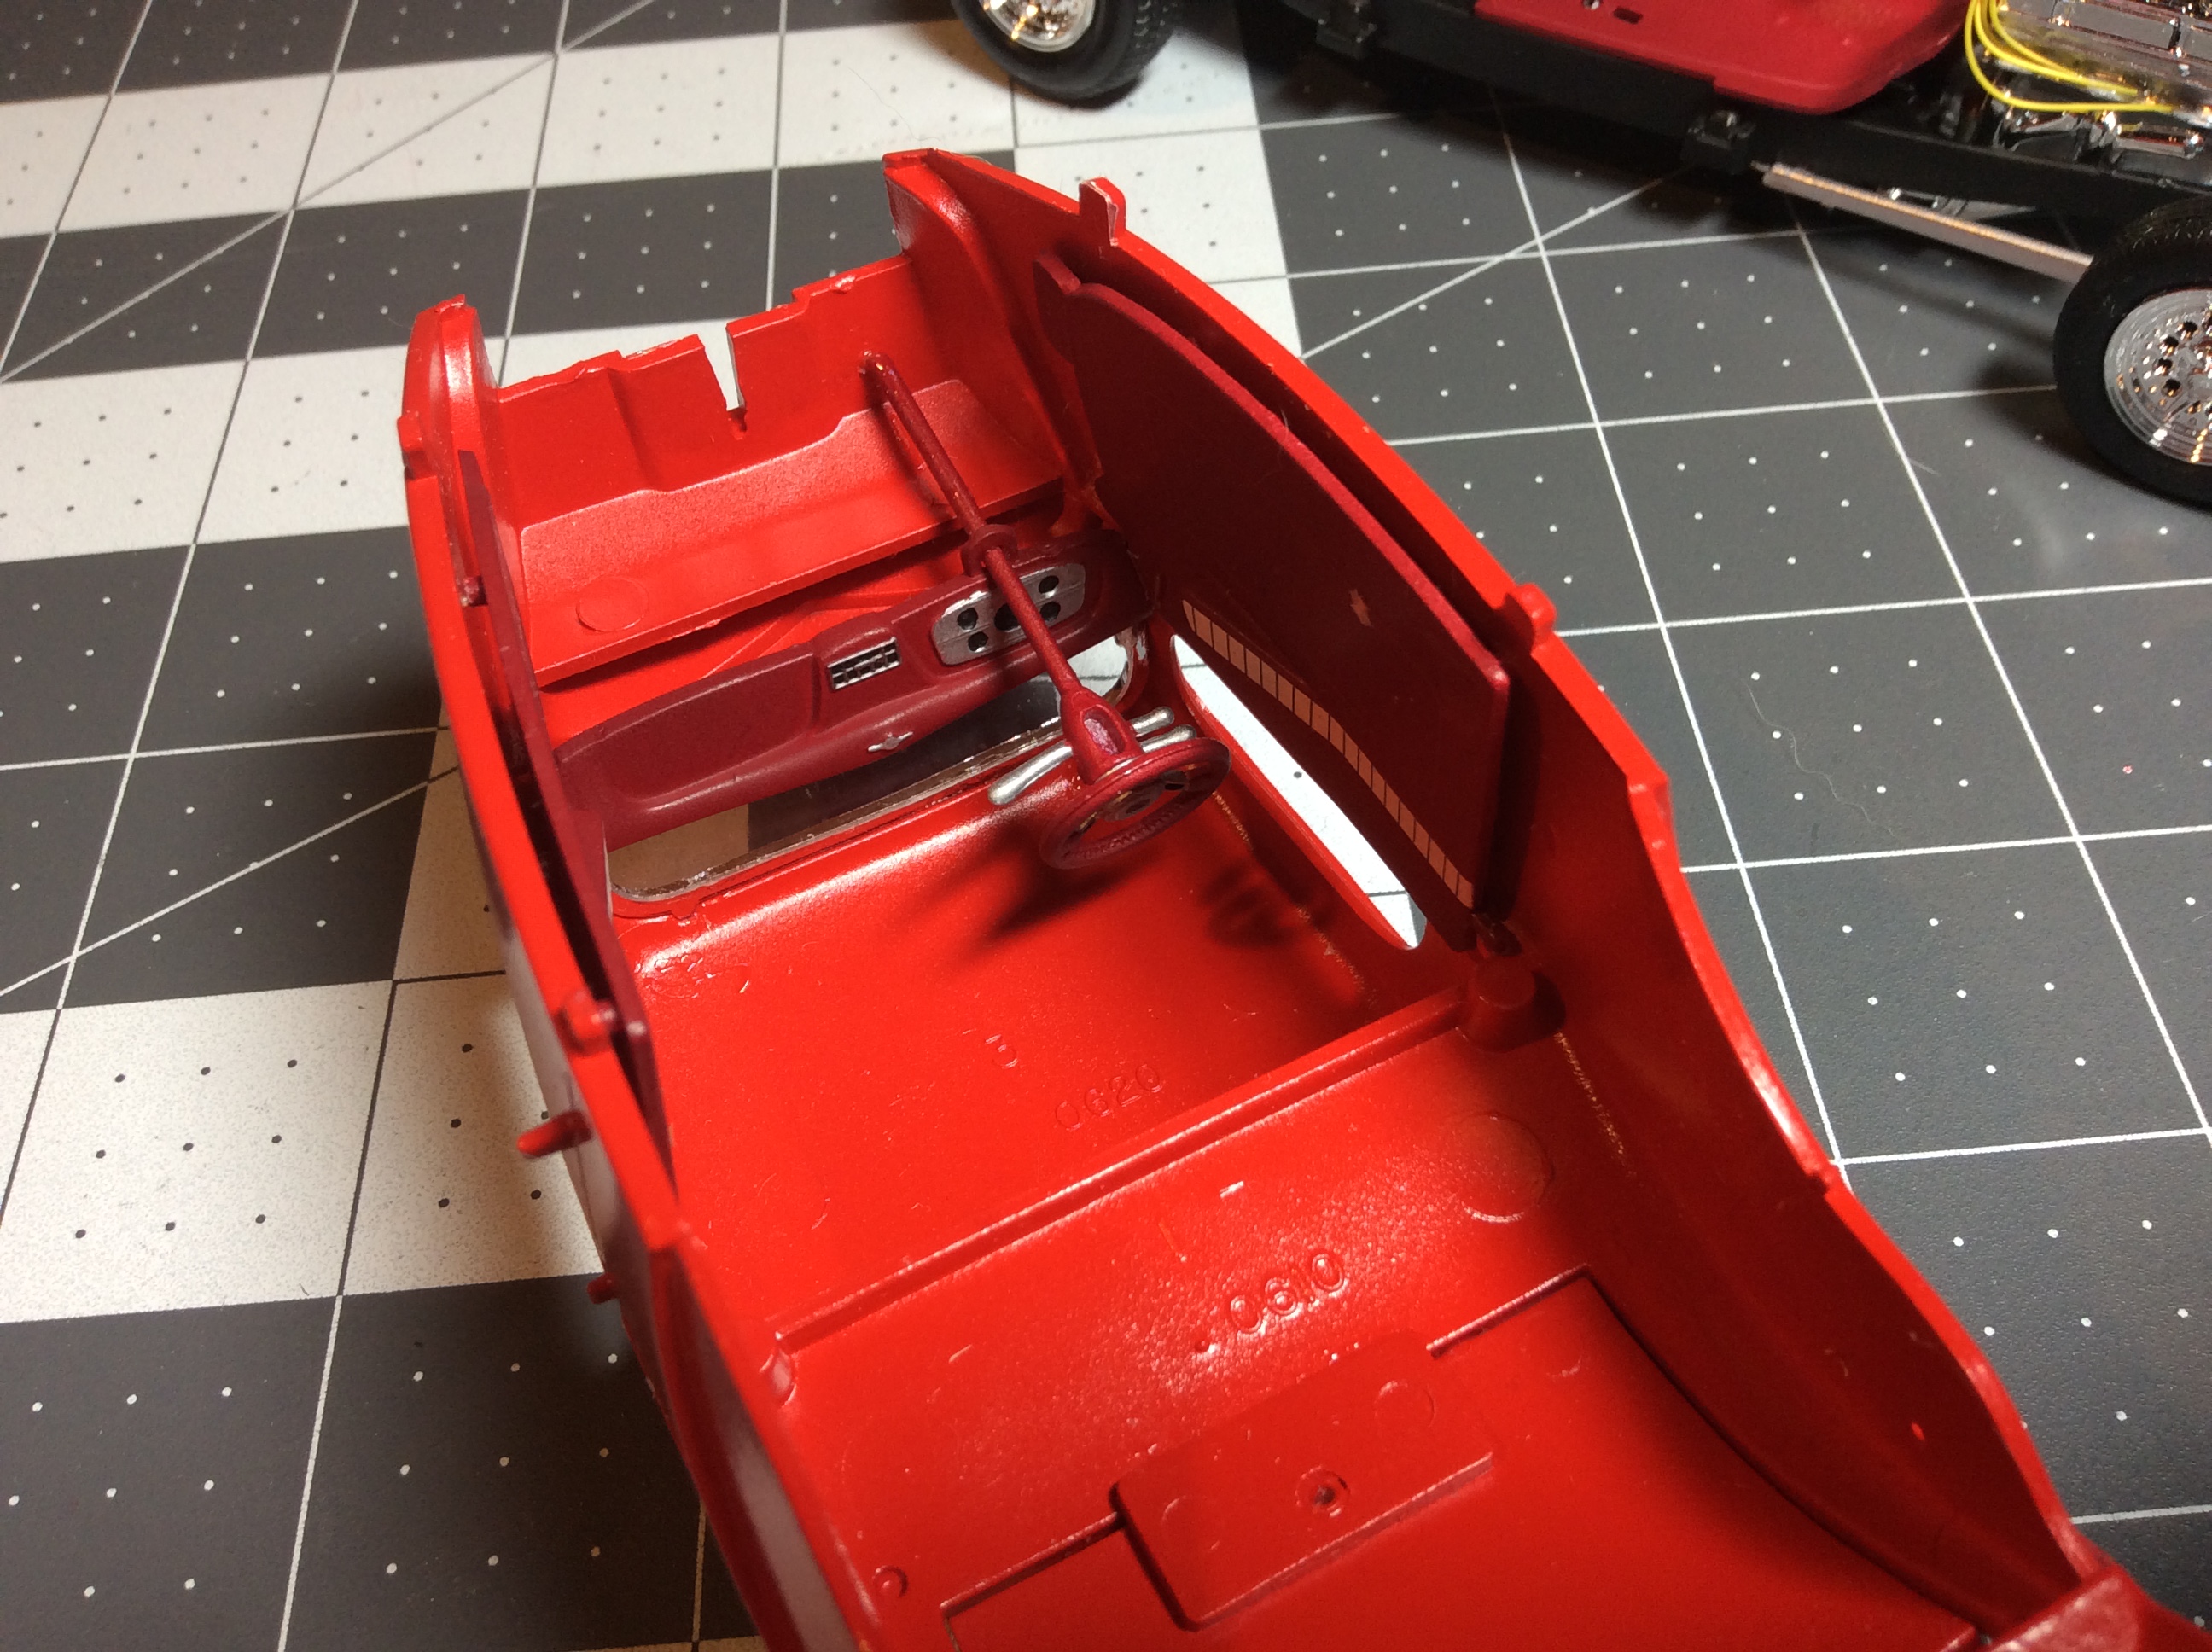
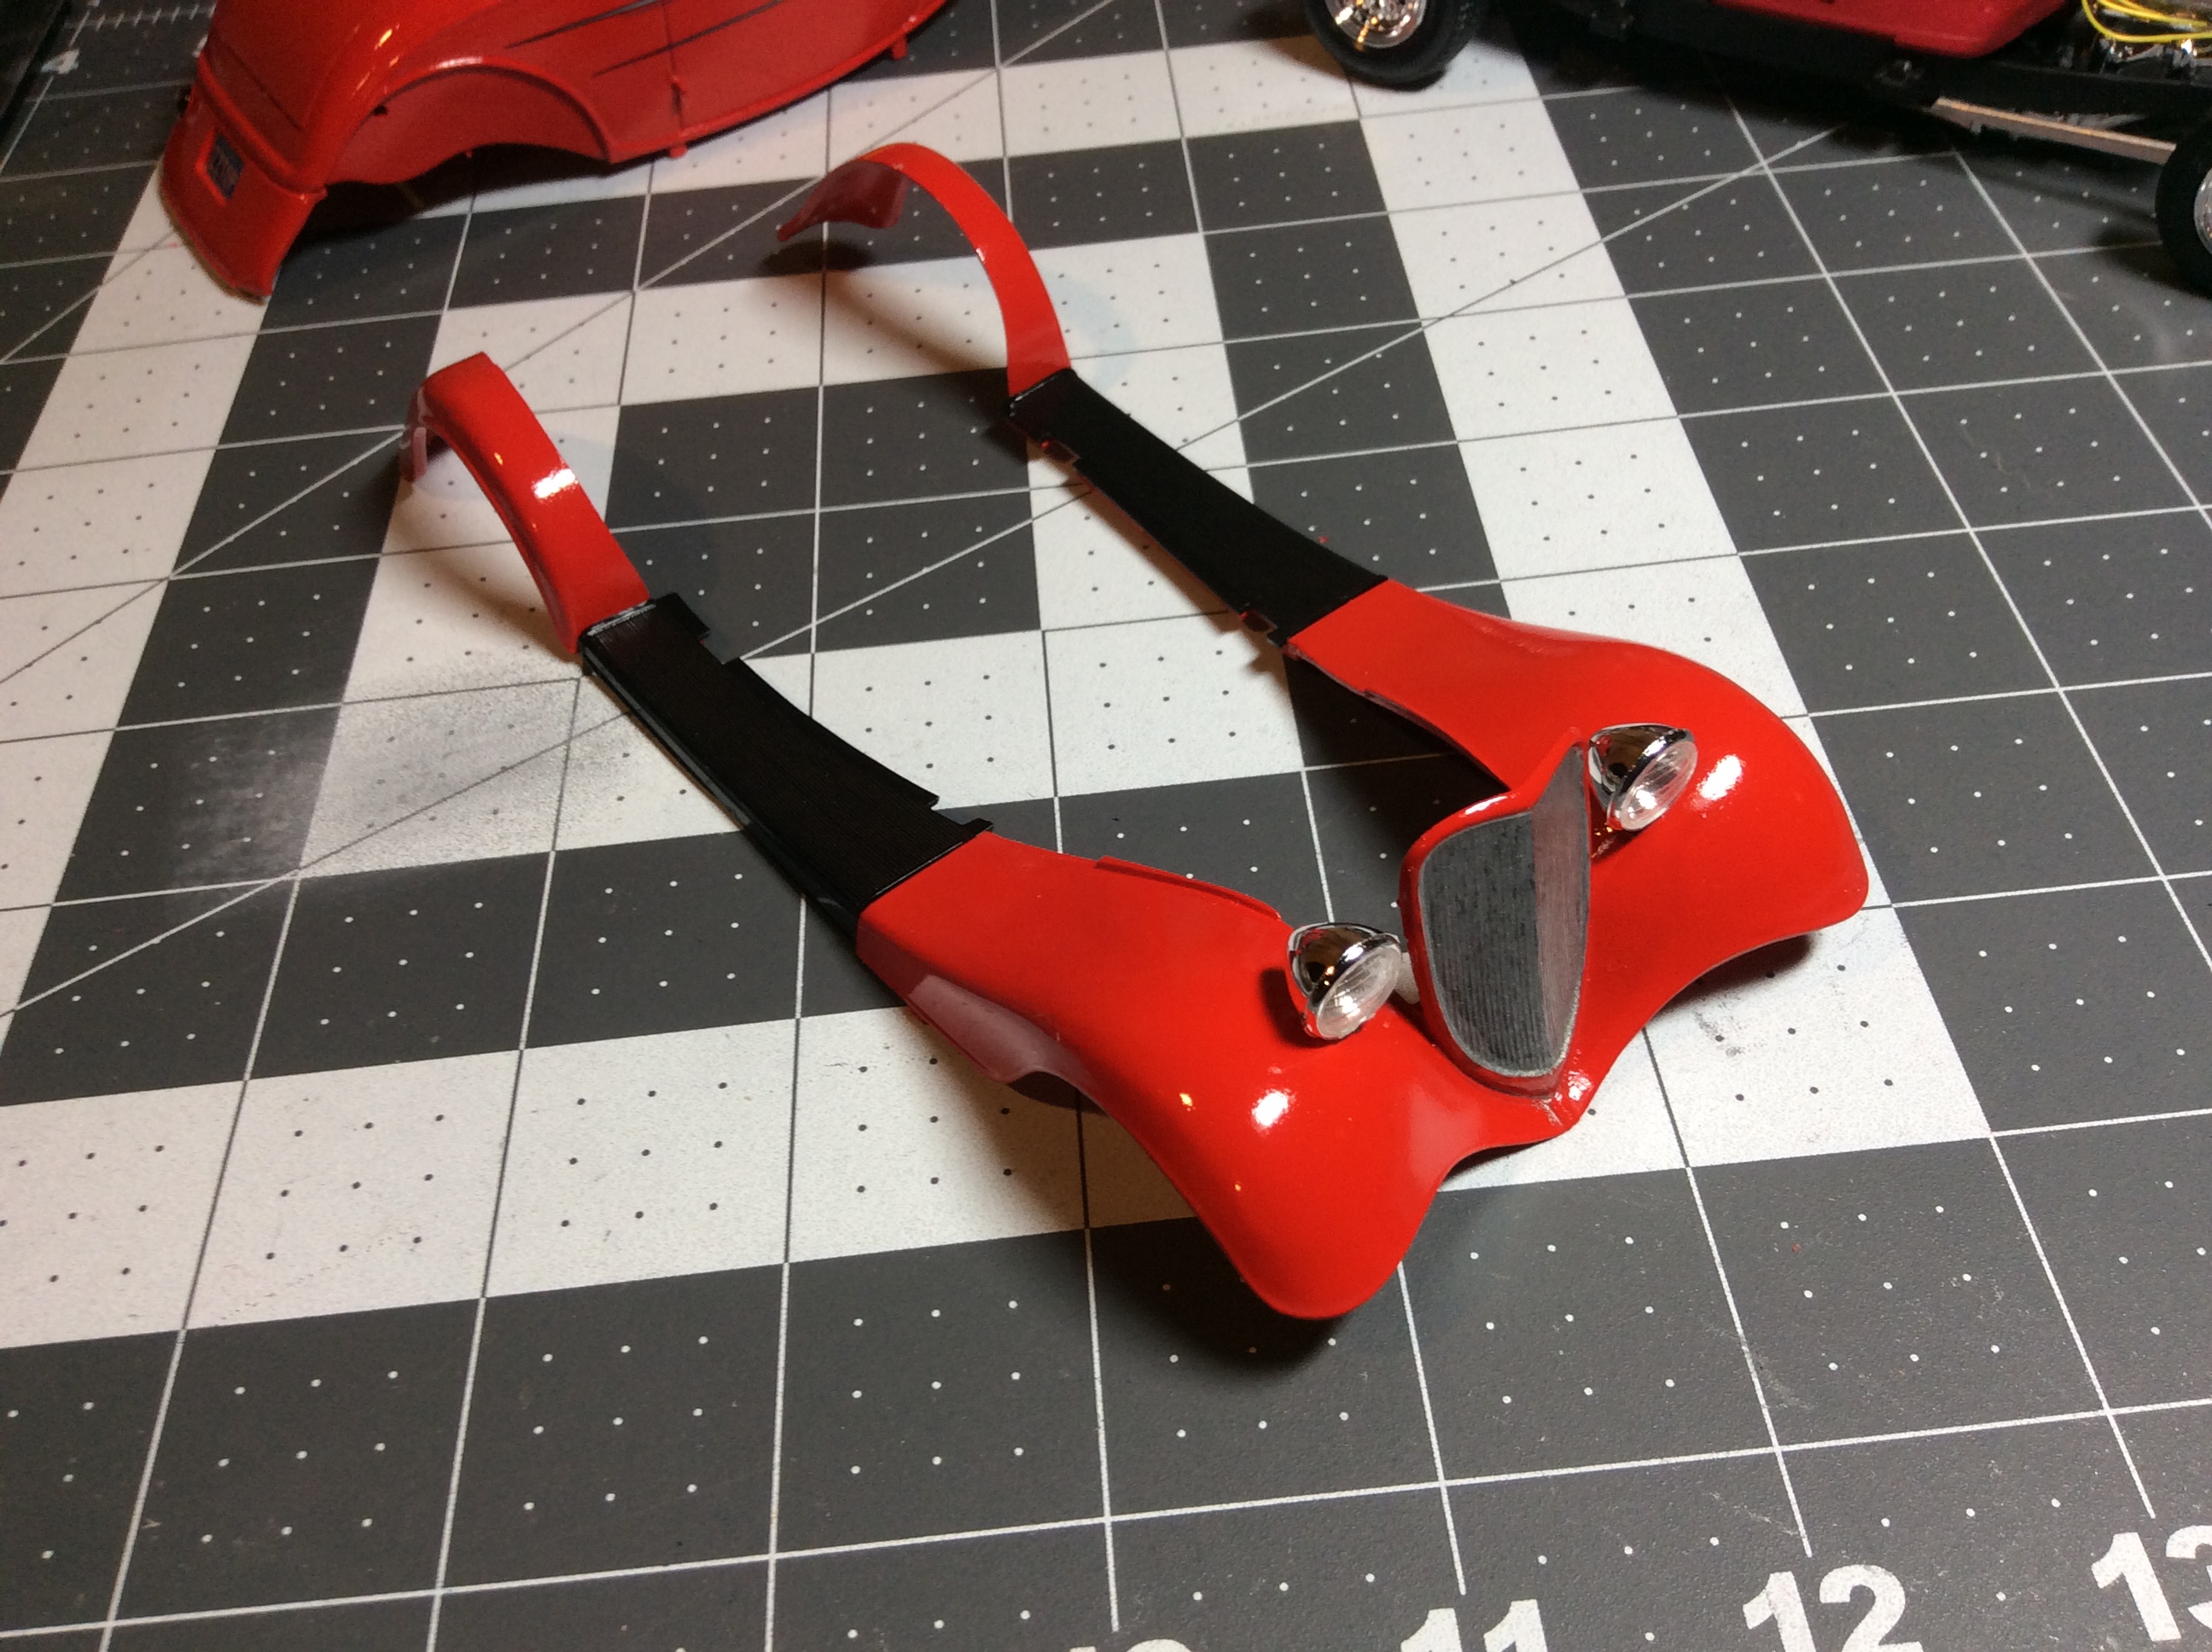
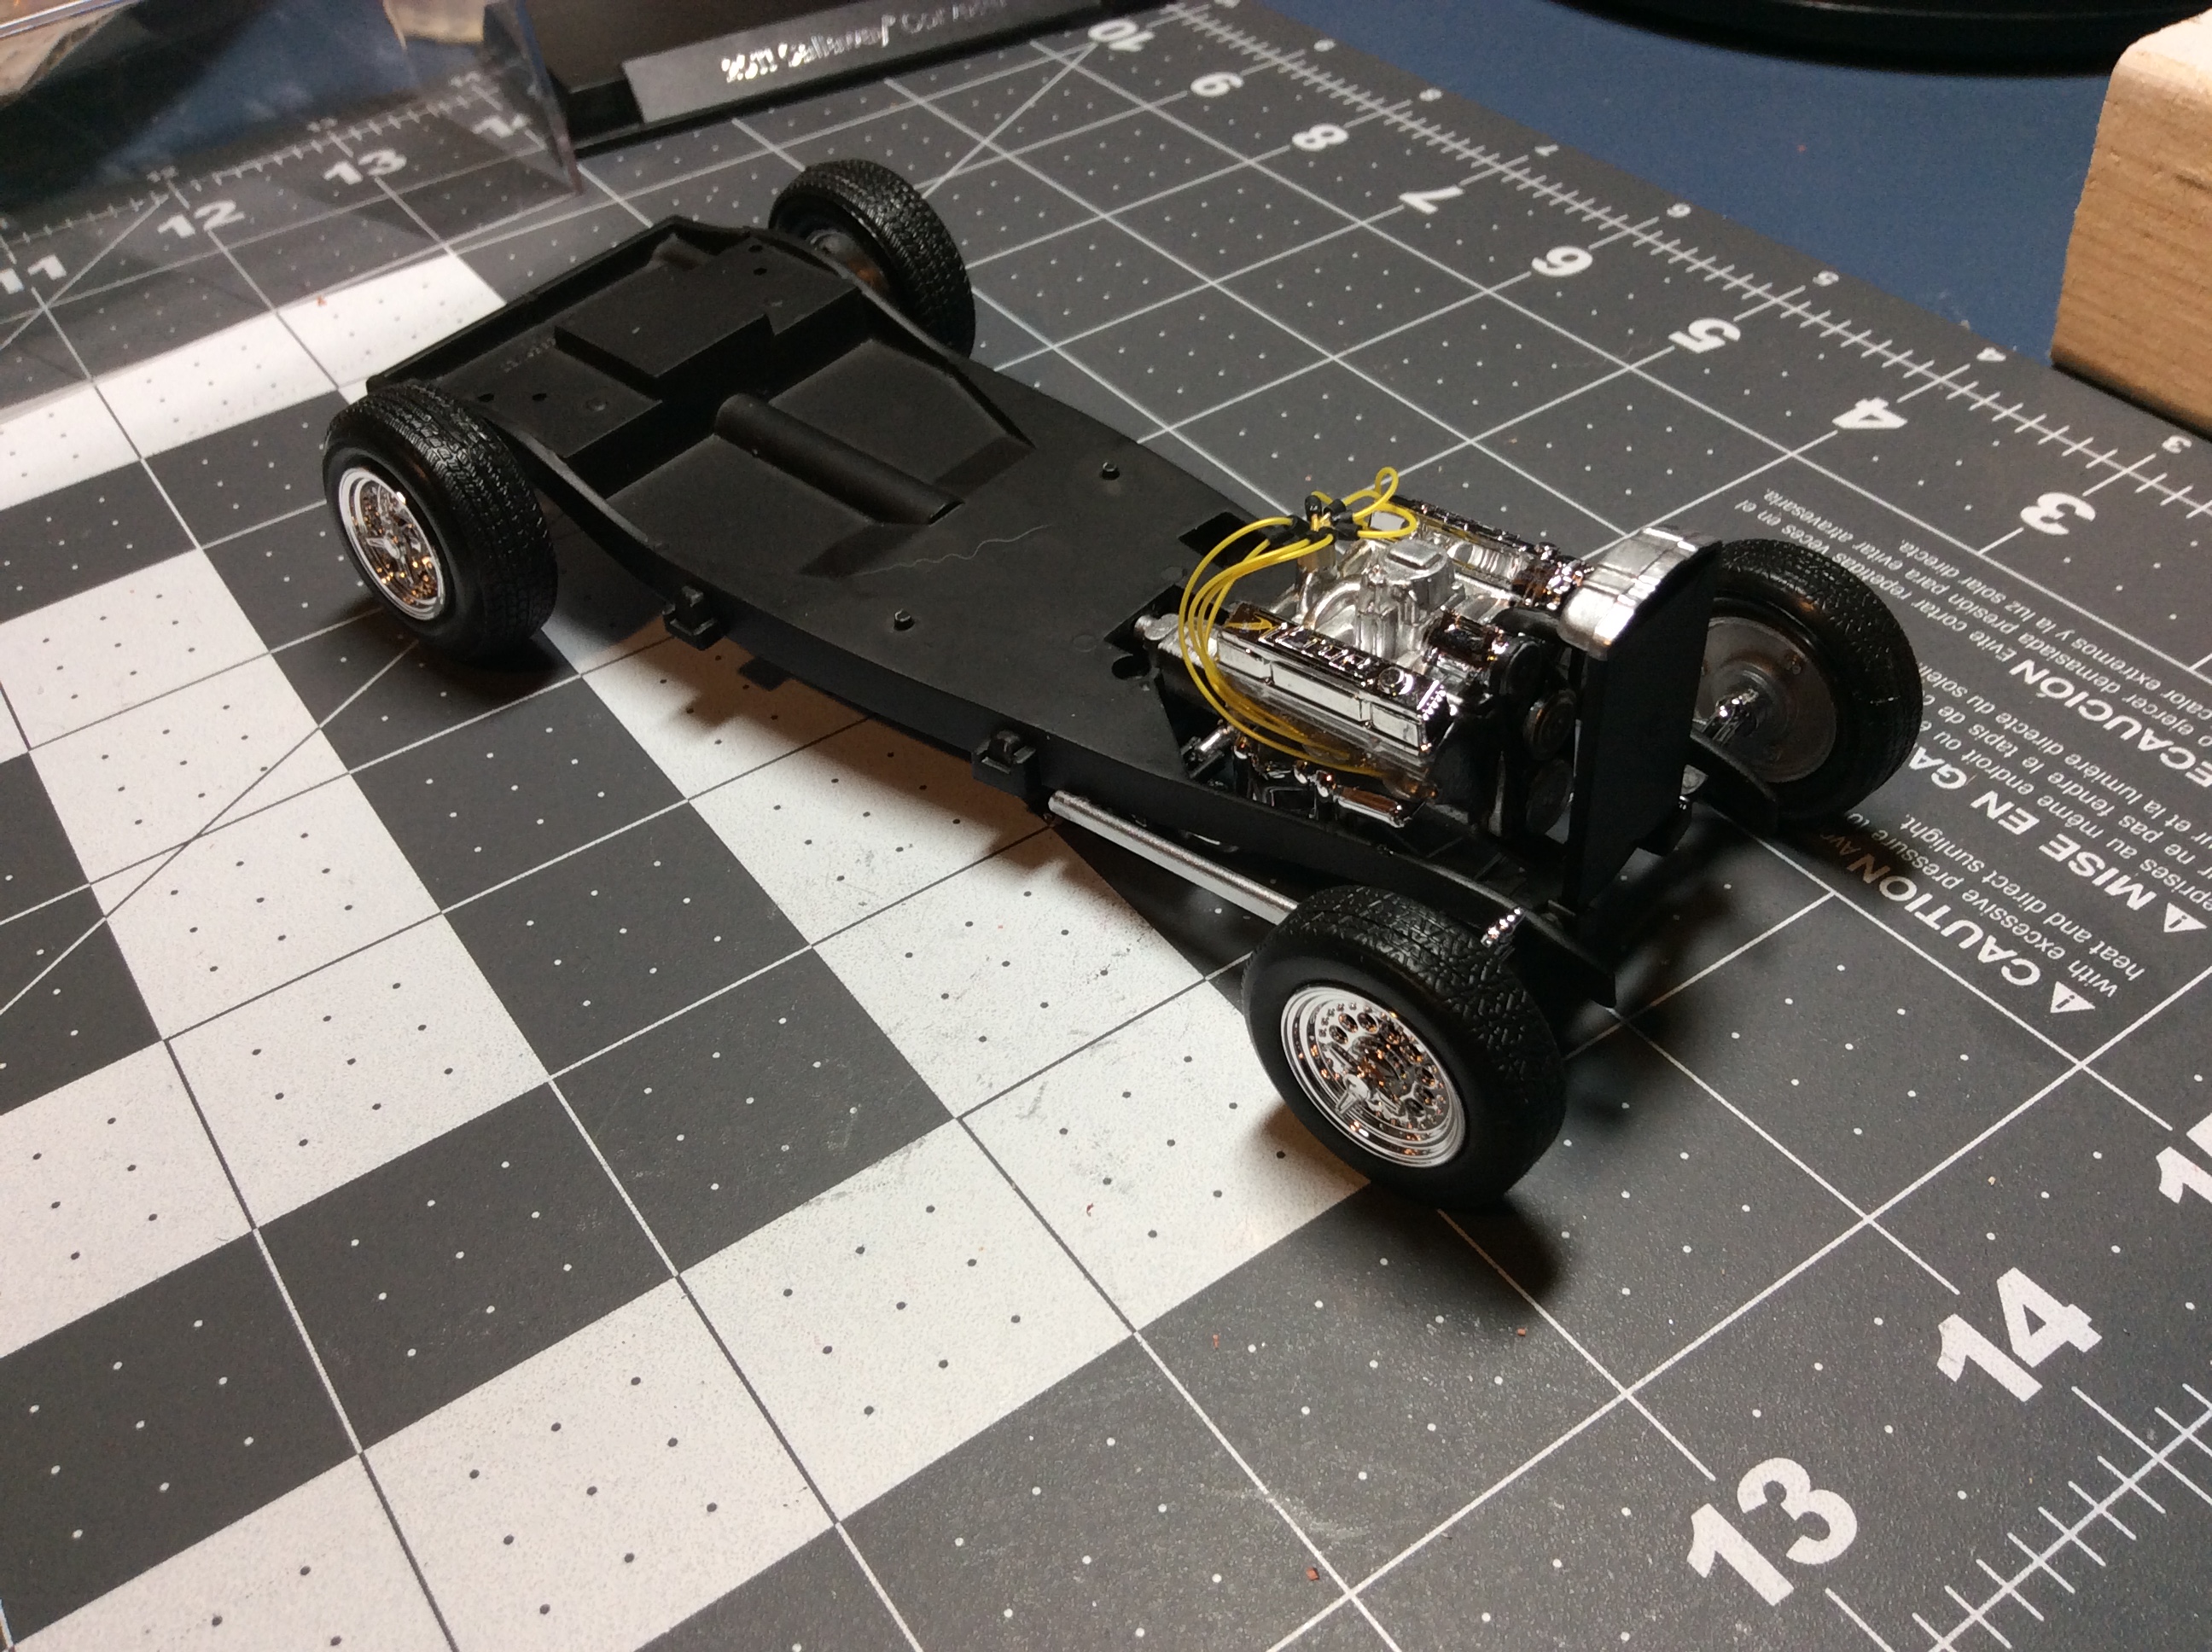
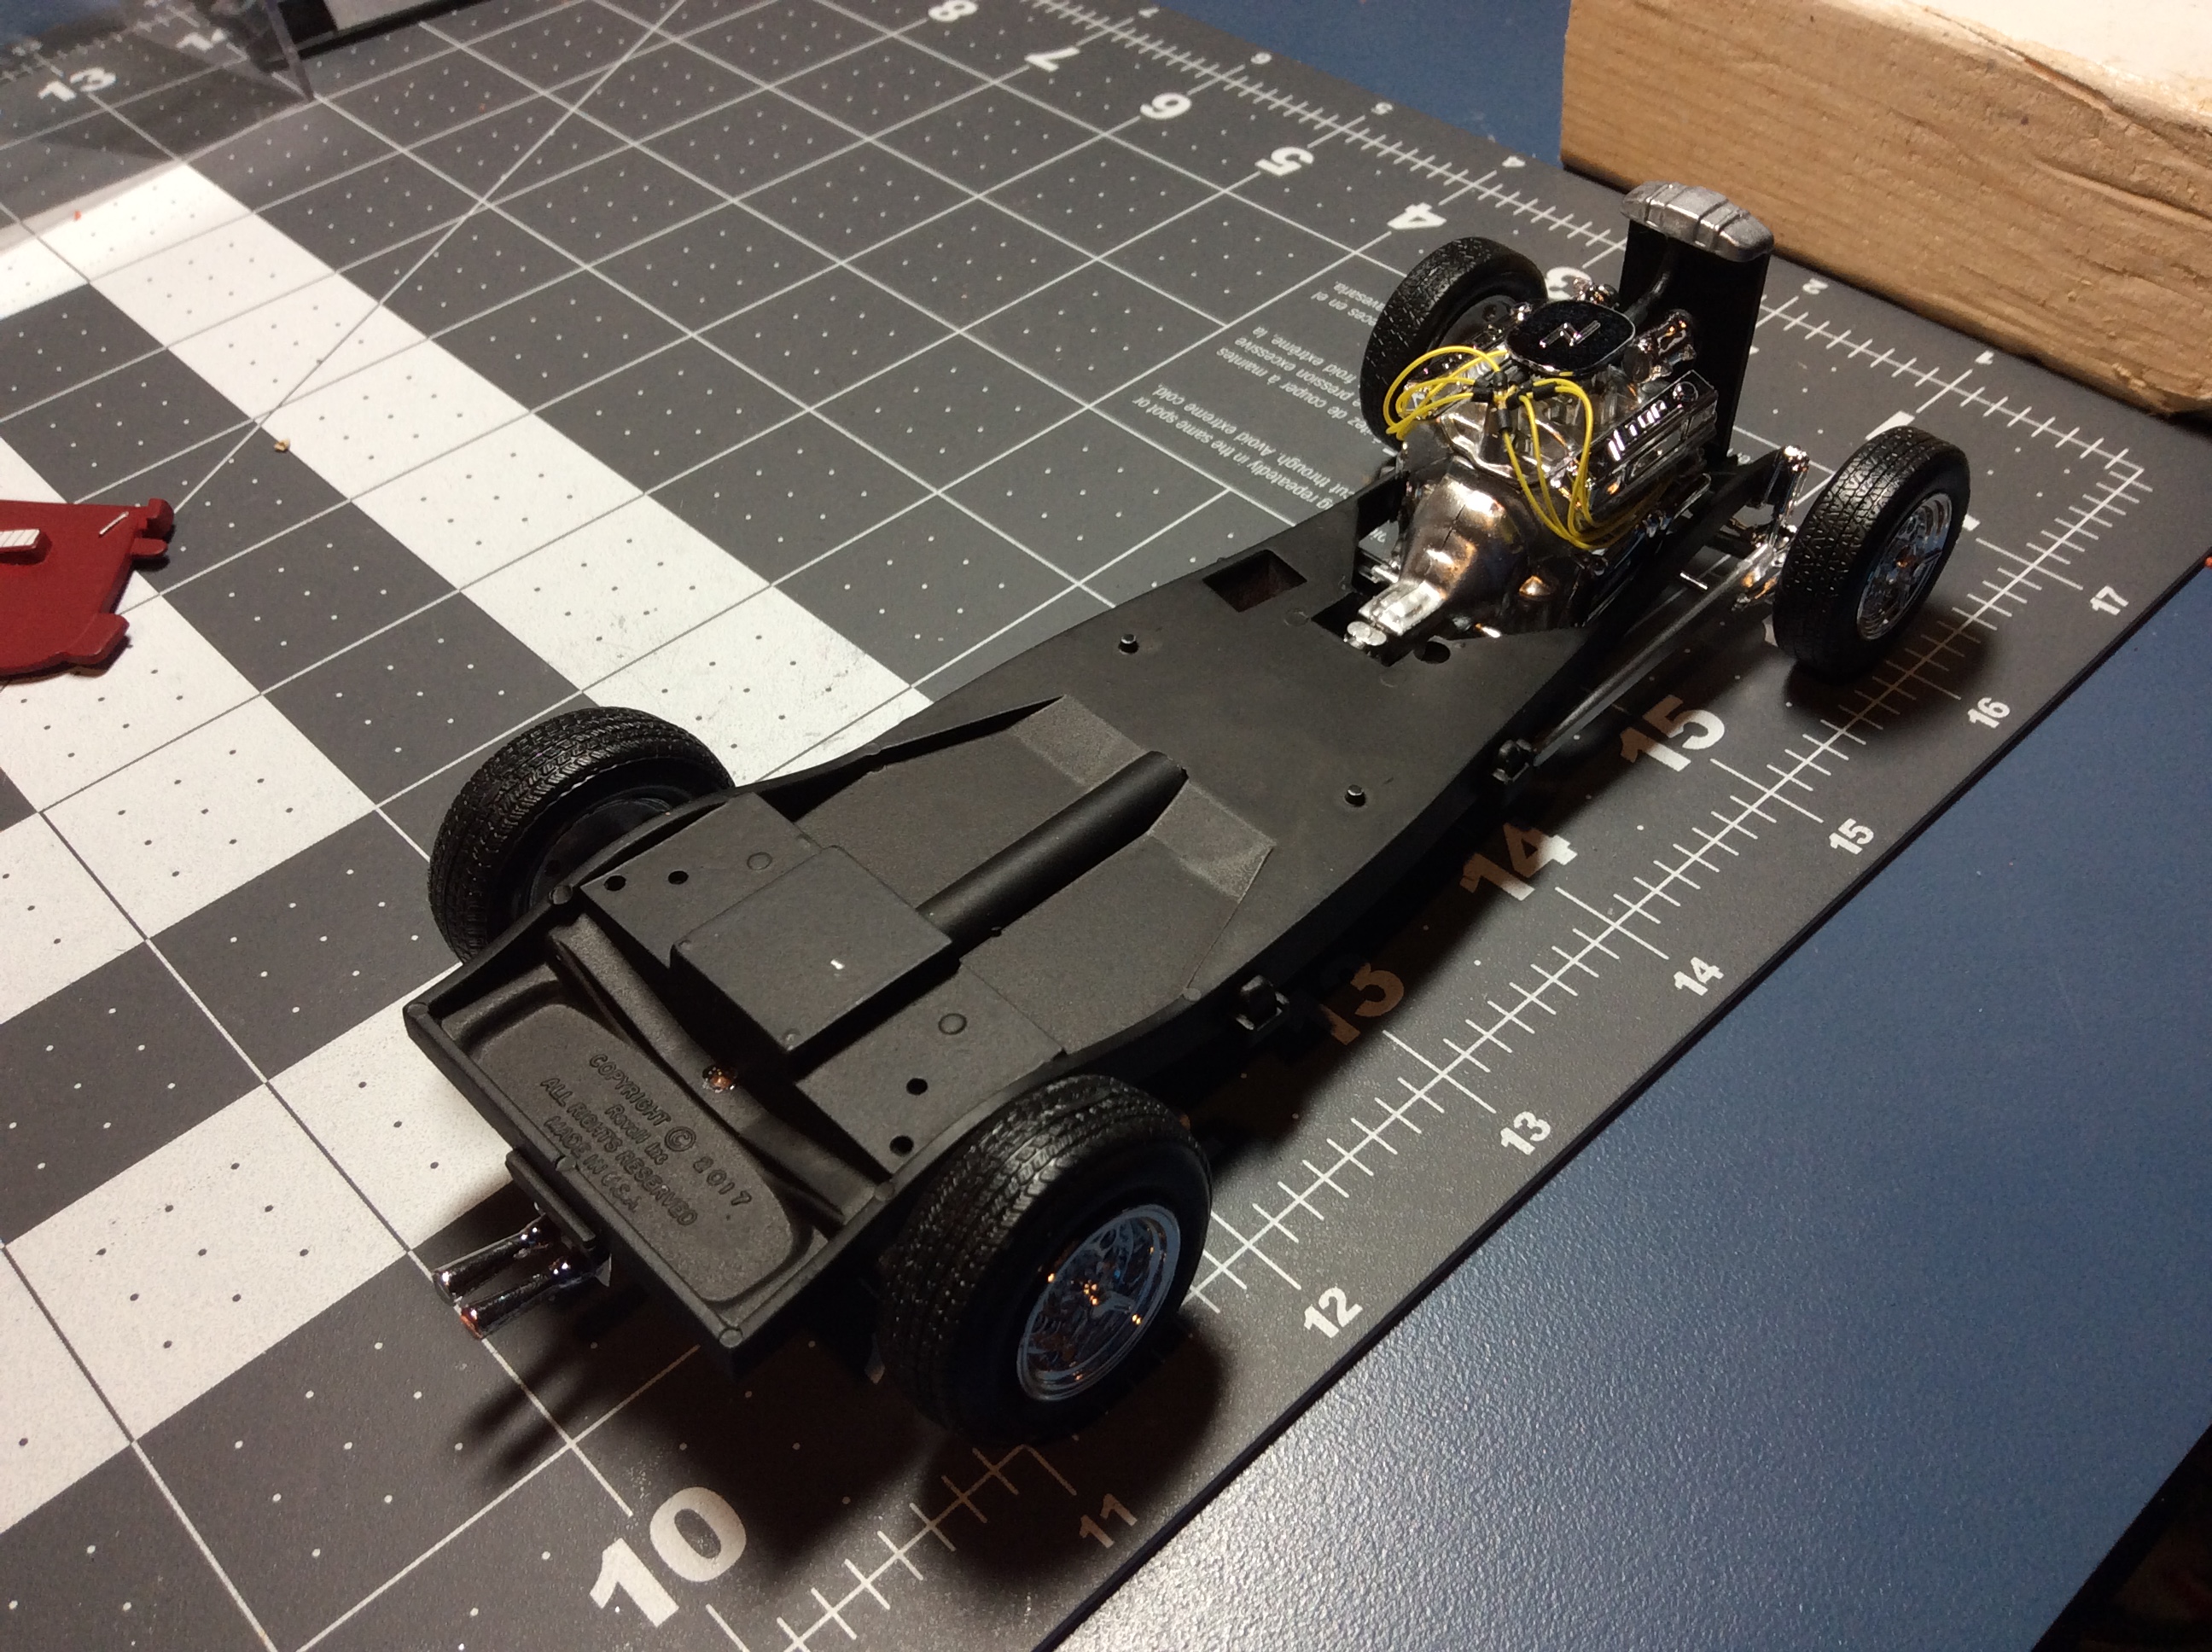
Getting closer to final assembly. The chassis is complete, windows and interior are glued into the cab, headlights and running boards are glued to the fender assembly, and the taillights are painted.
-
My method to making a mud effect
Hotrod 97 replied to Hotrod 97's topic in Tips, Tricks, and Tutorials
Very interesting. I look forward to trying your technique sometime. -
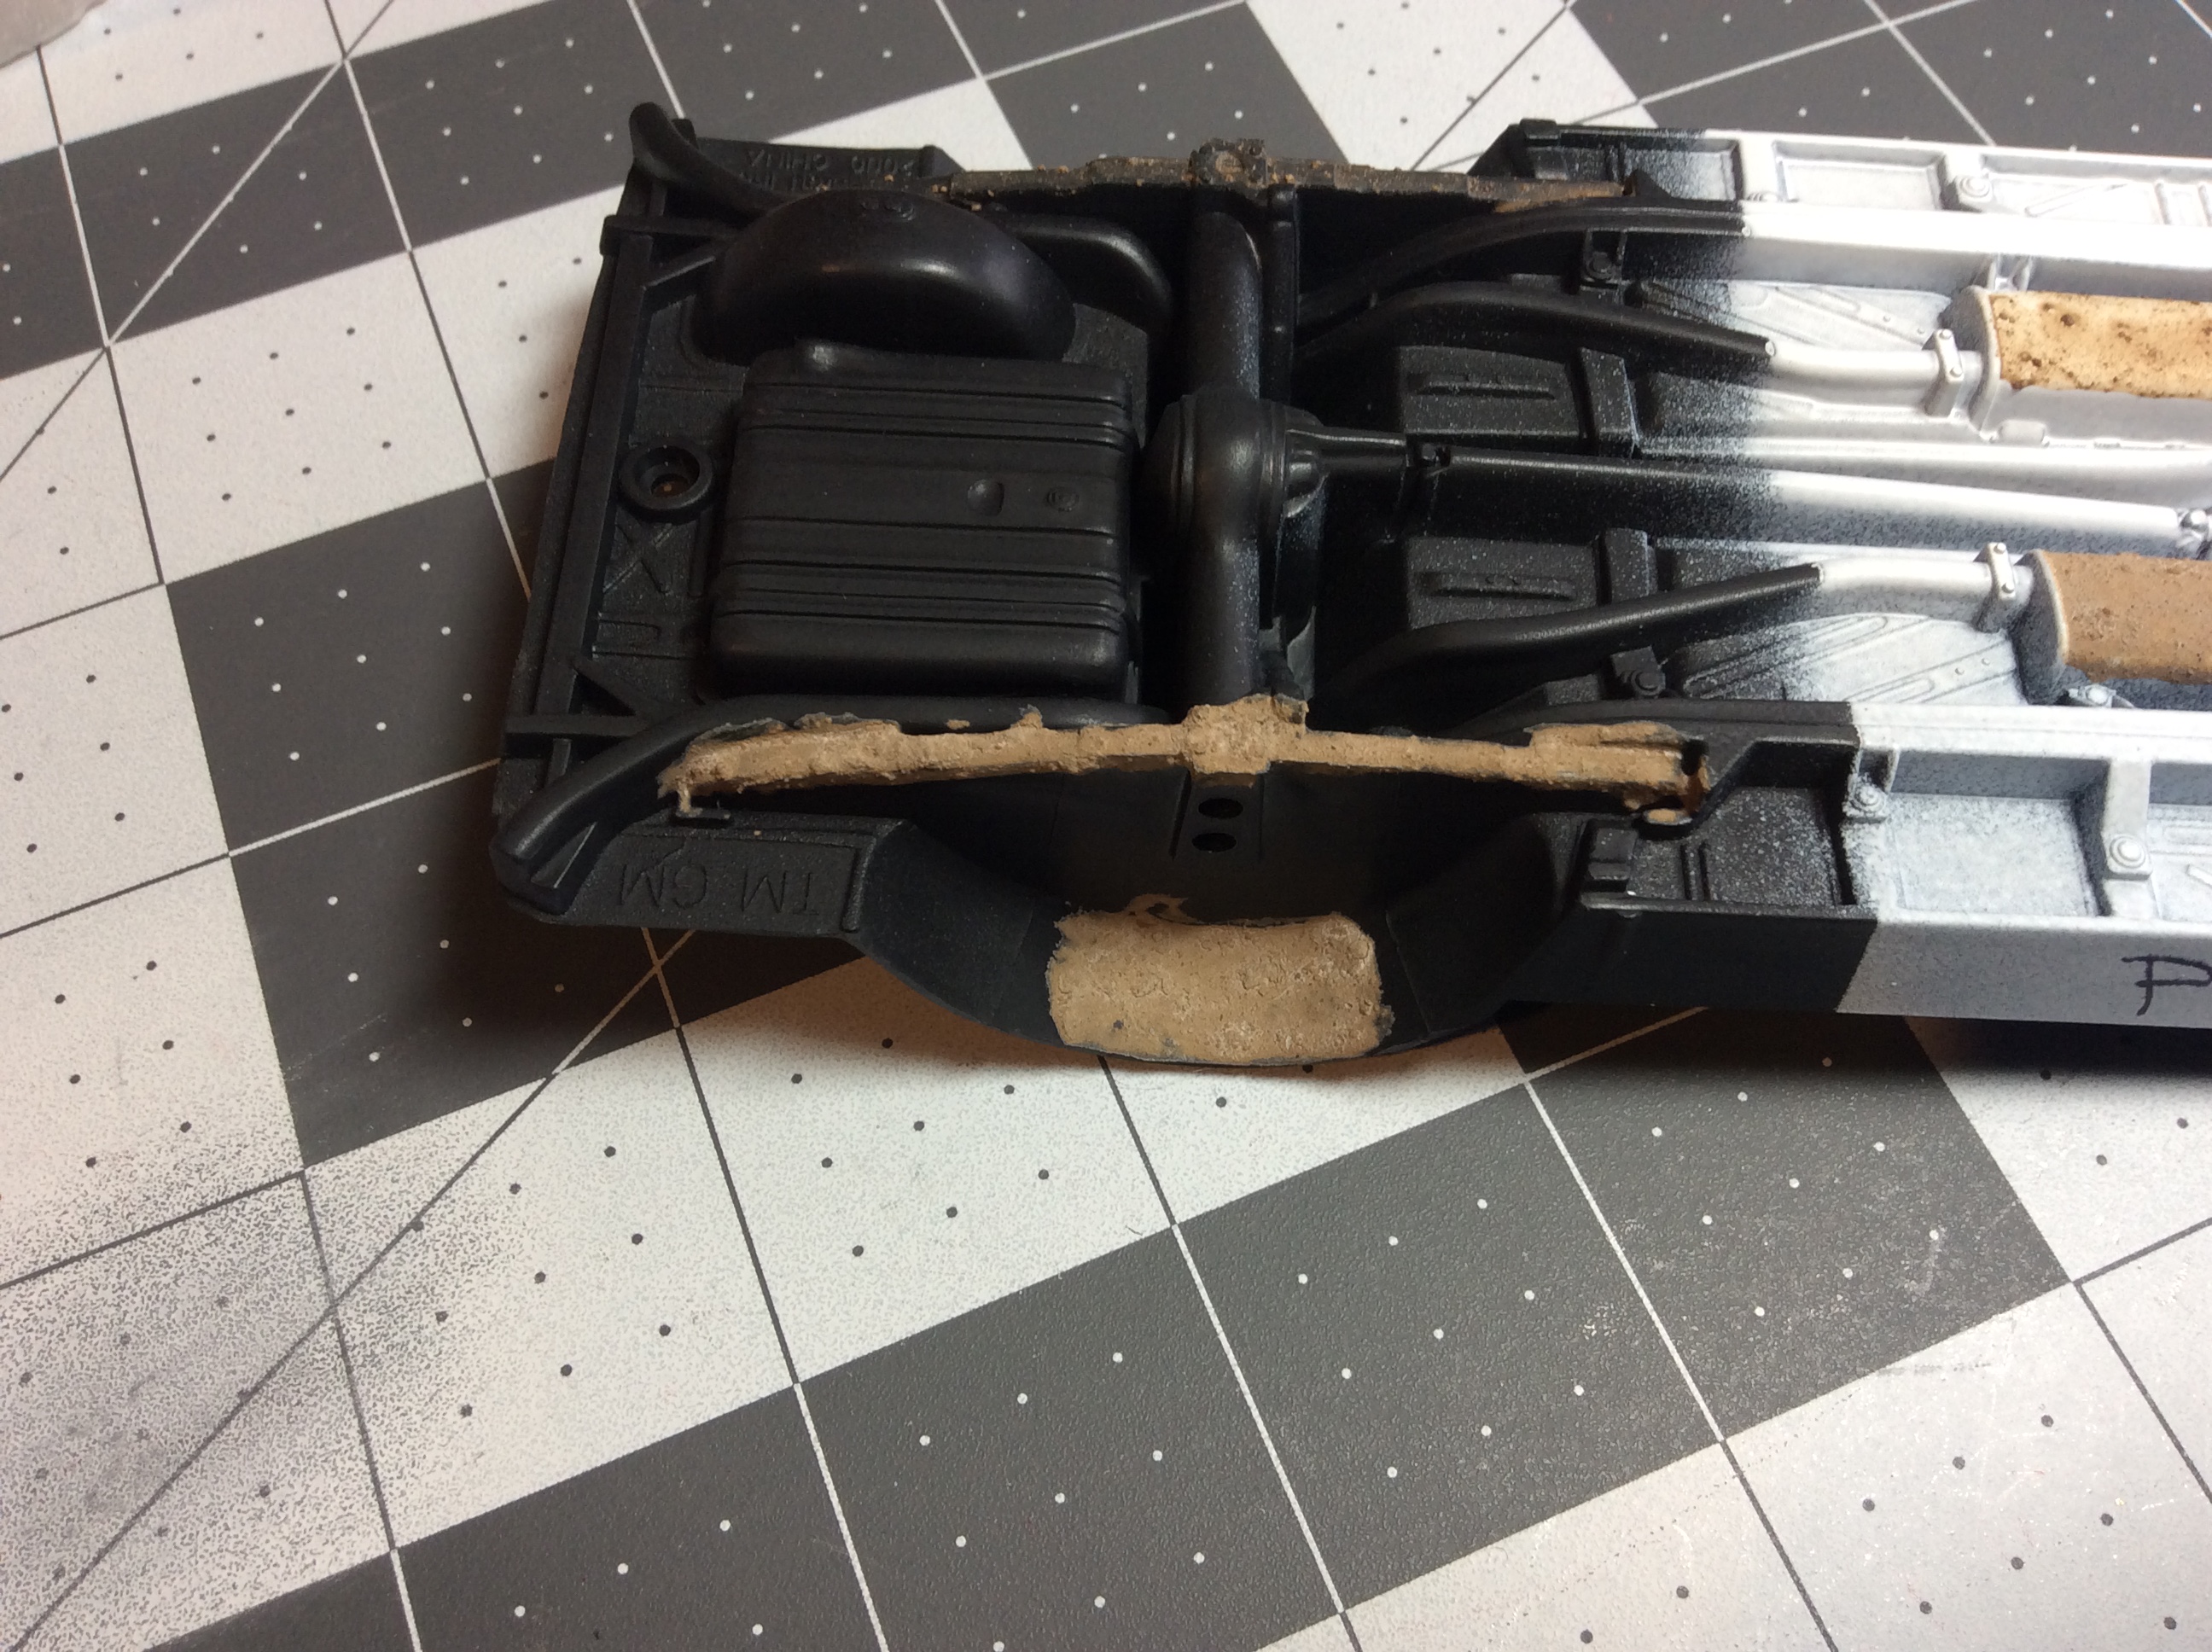
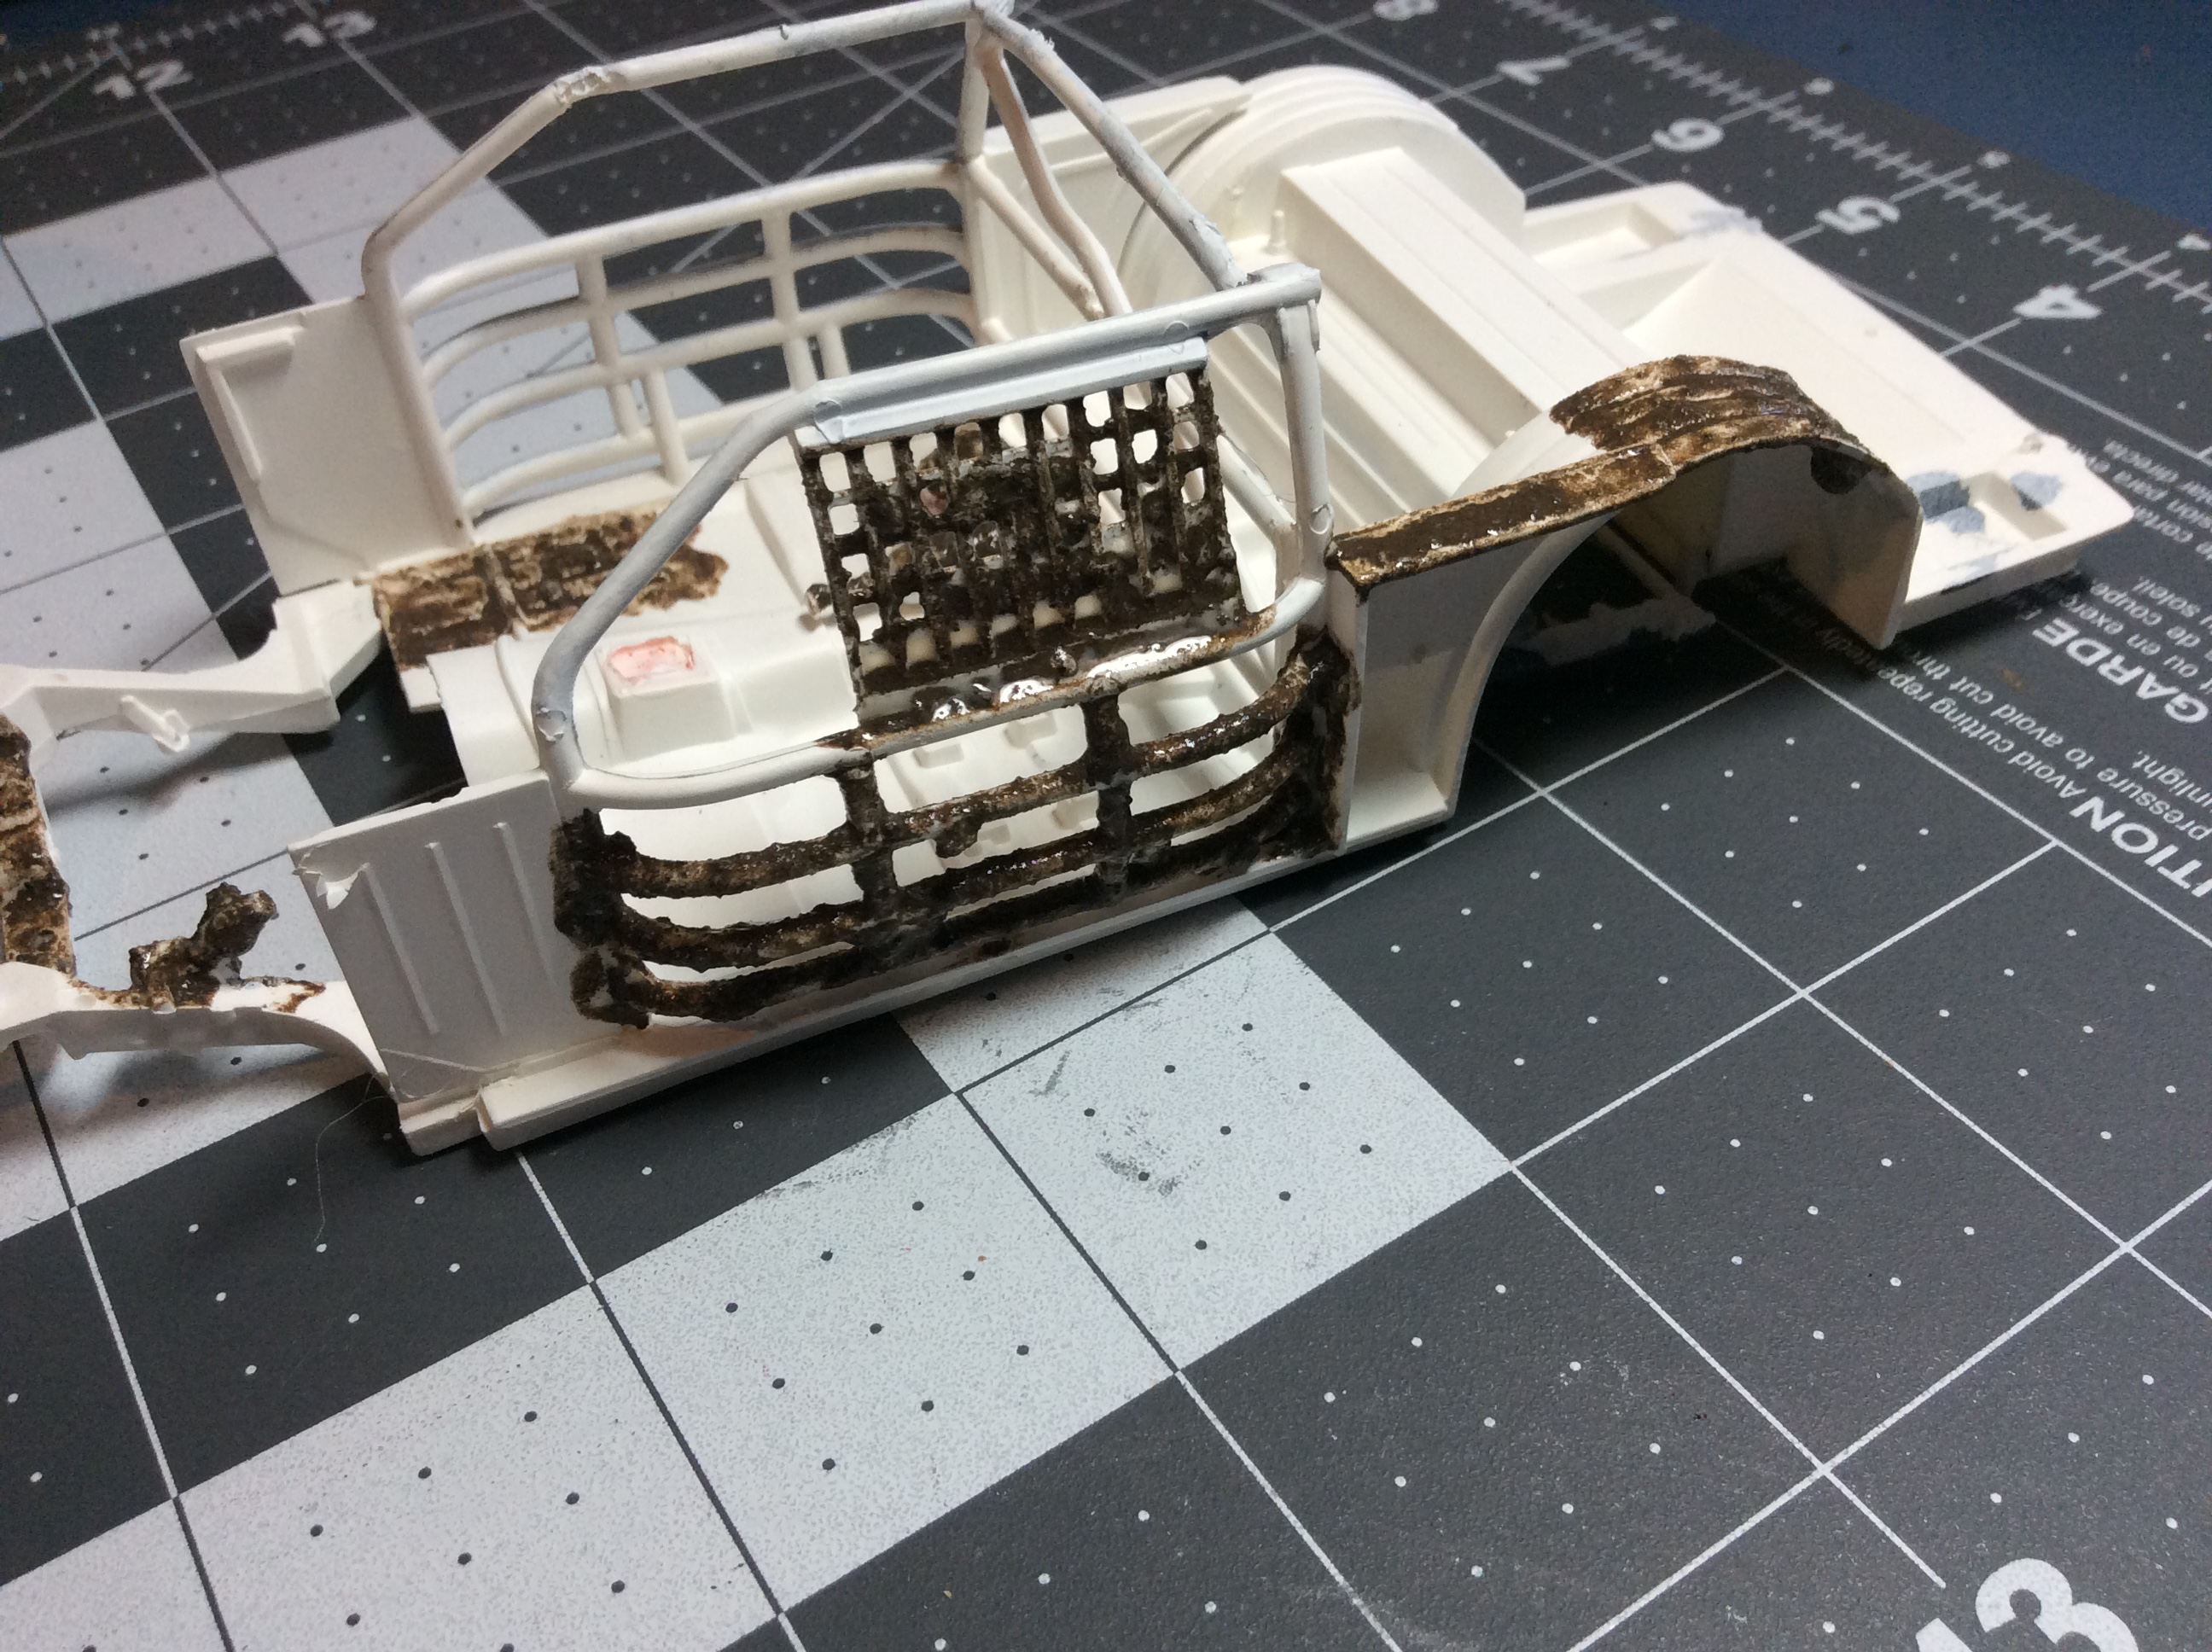
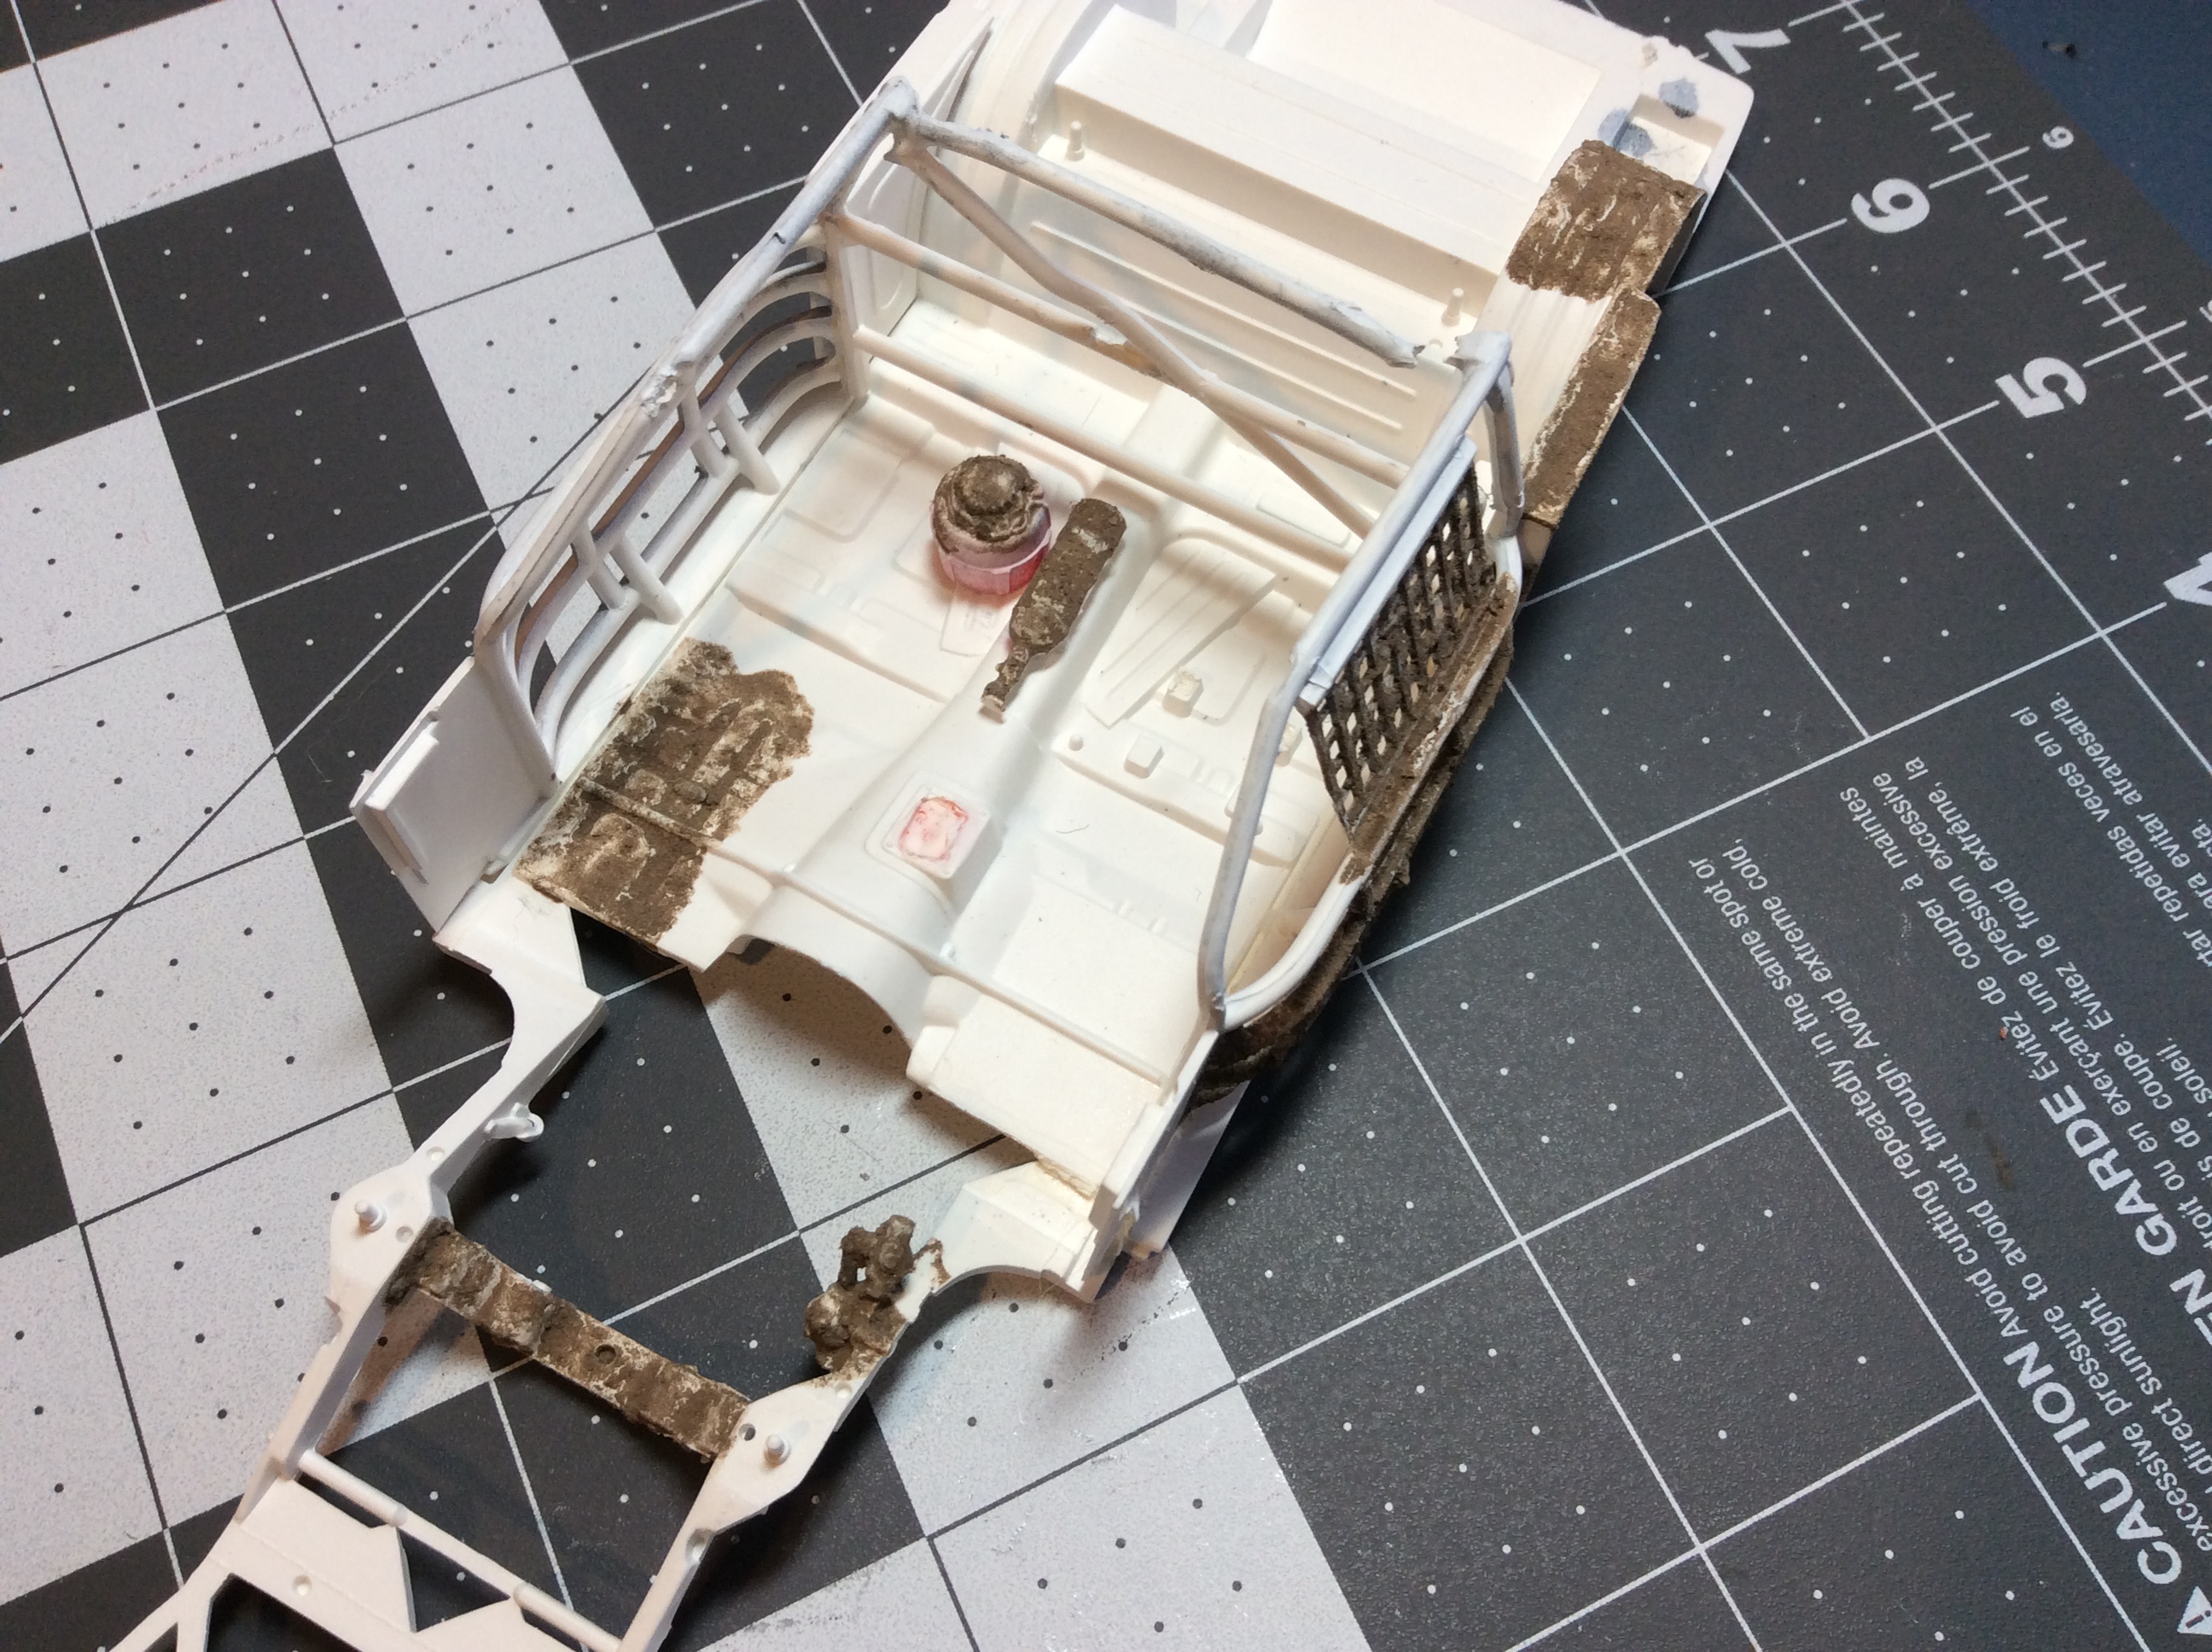
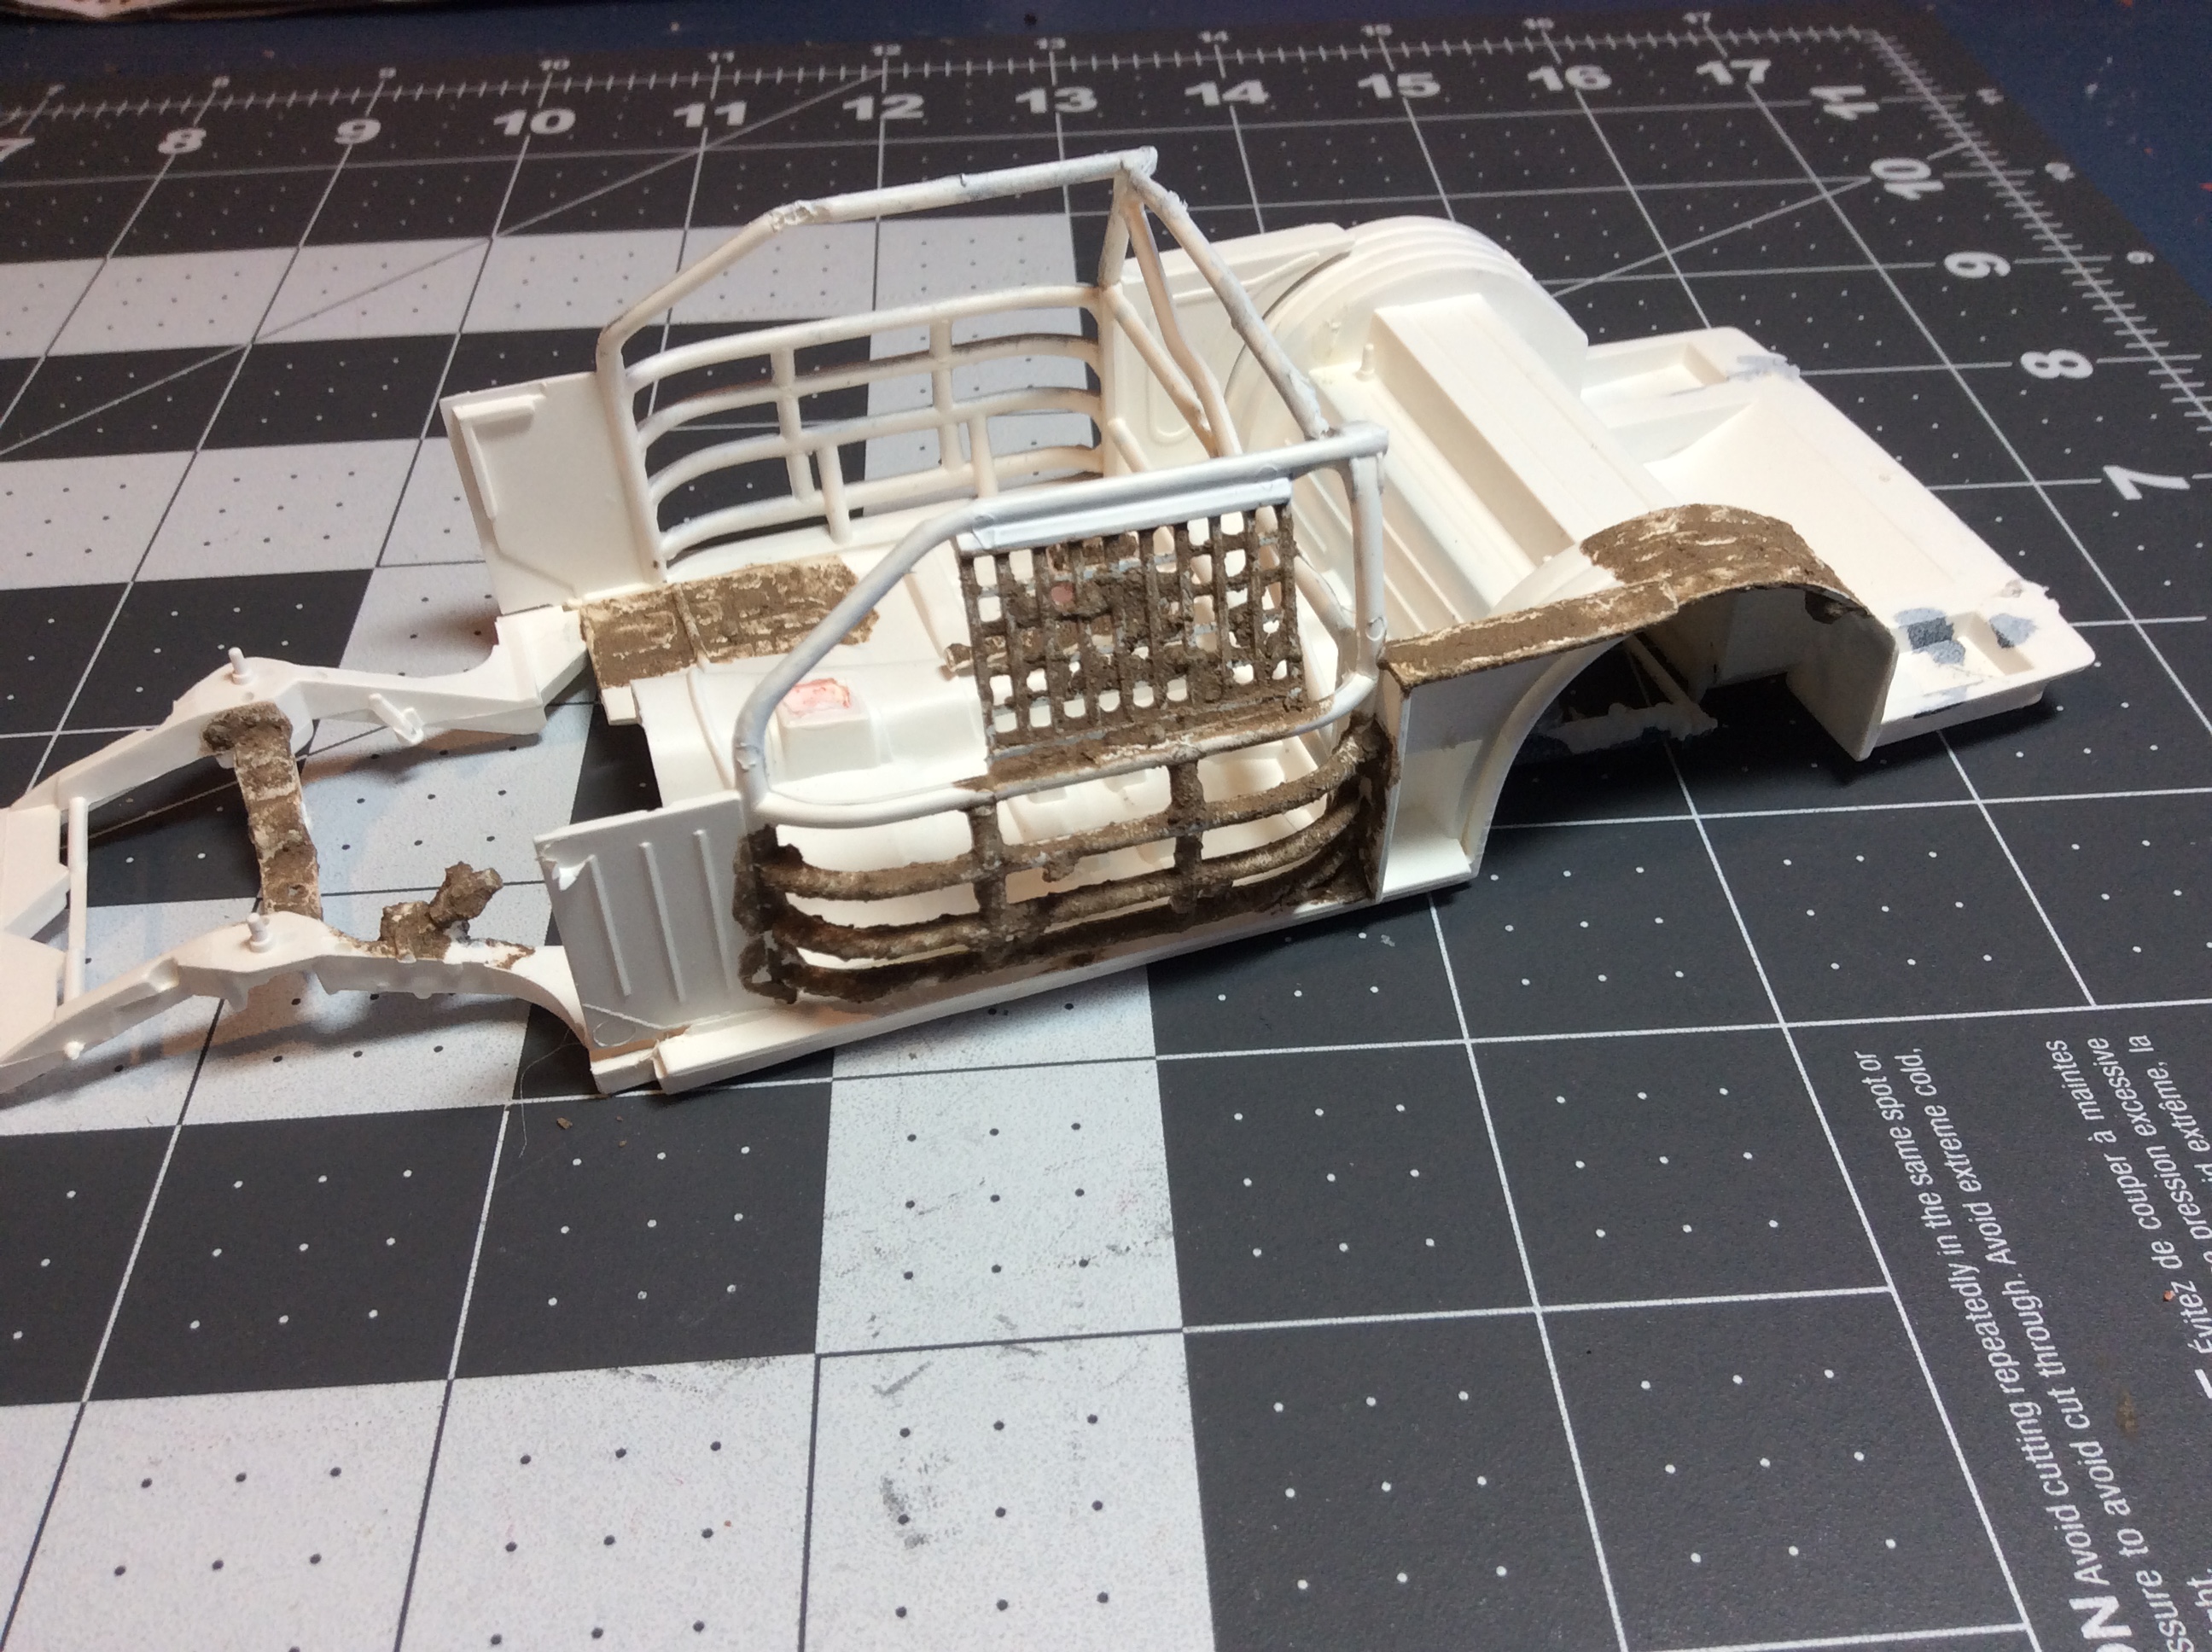
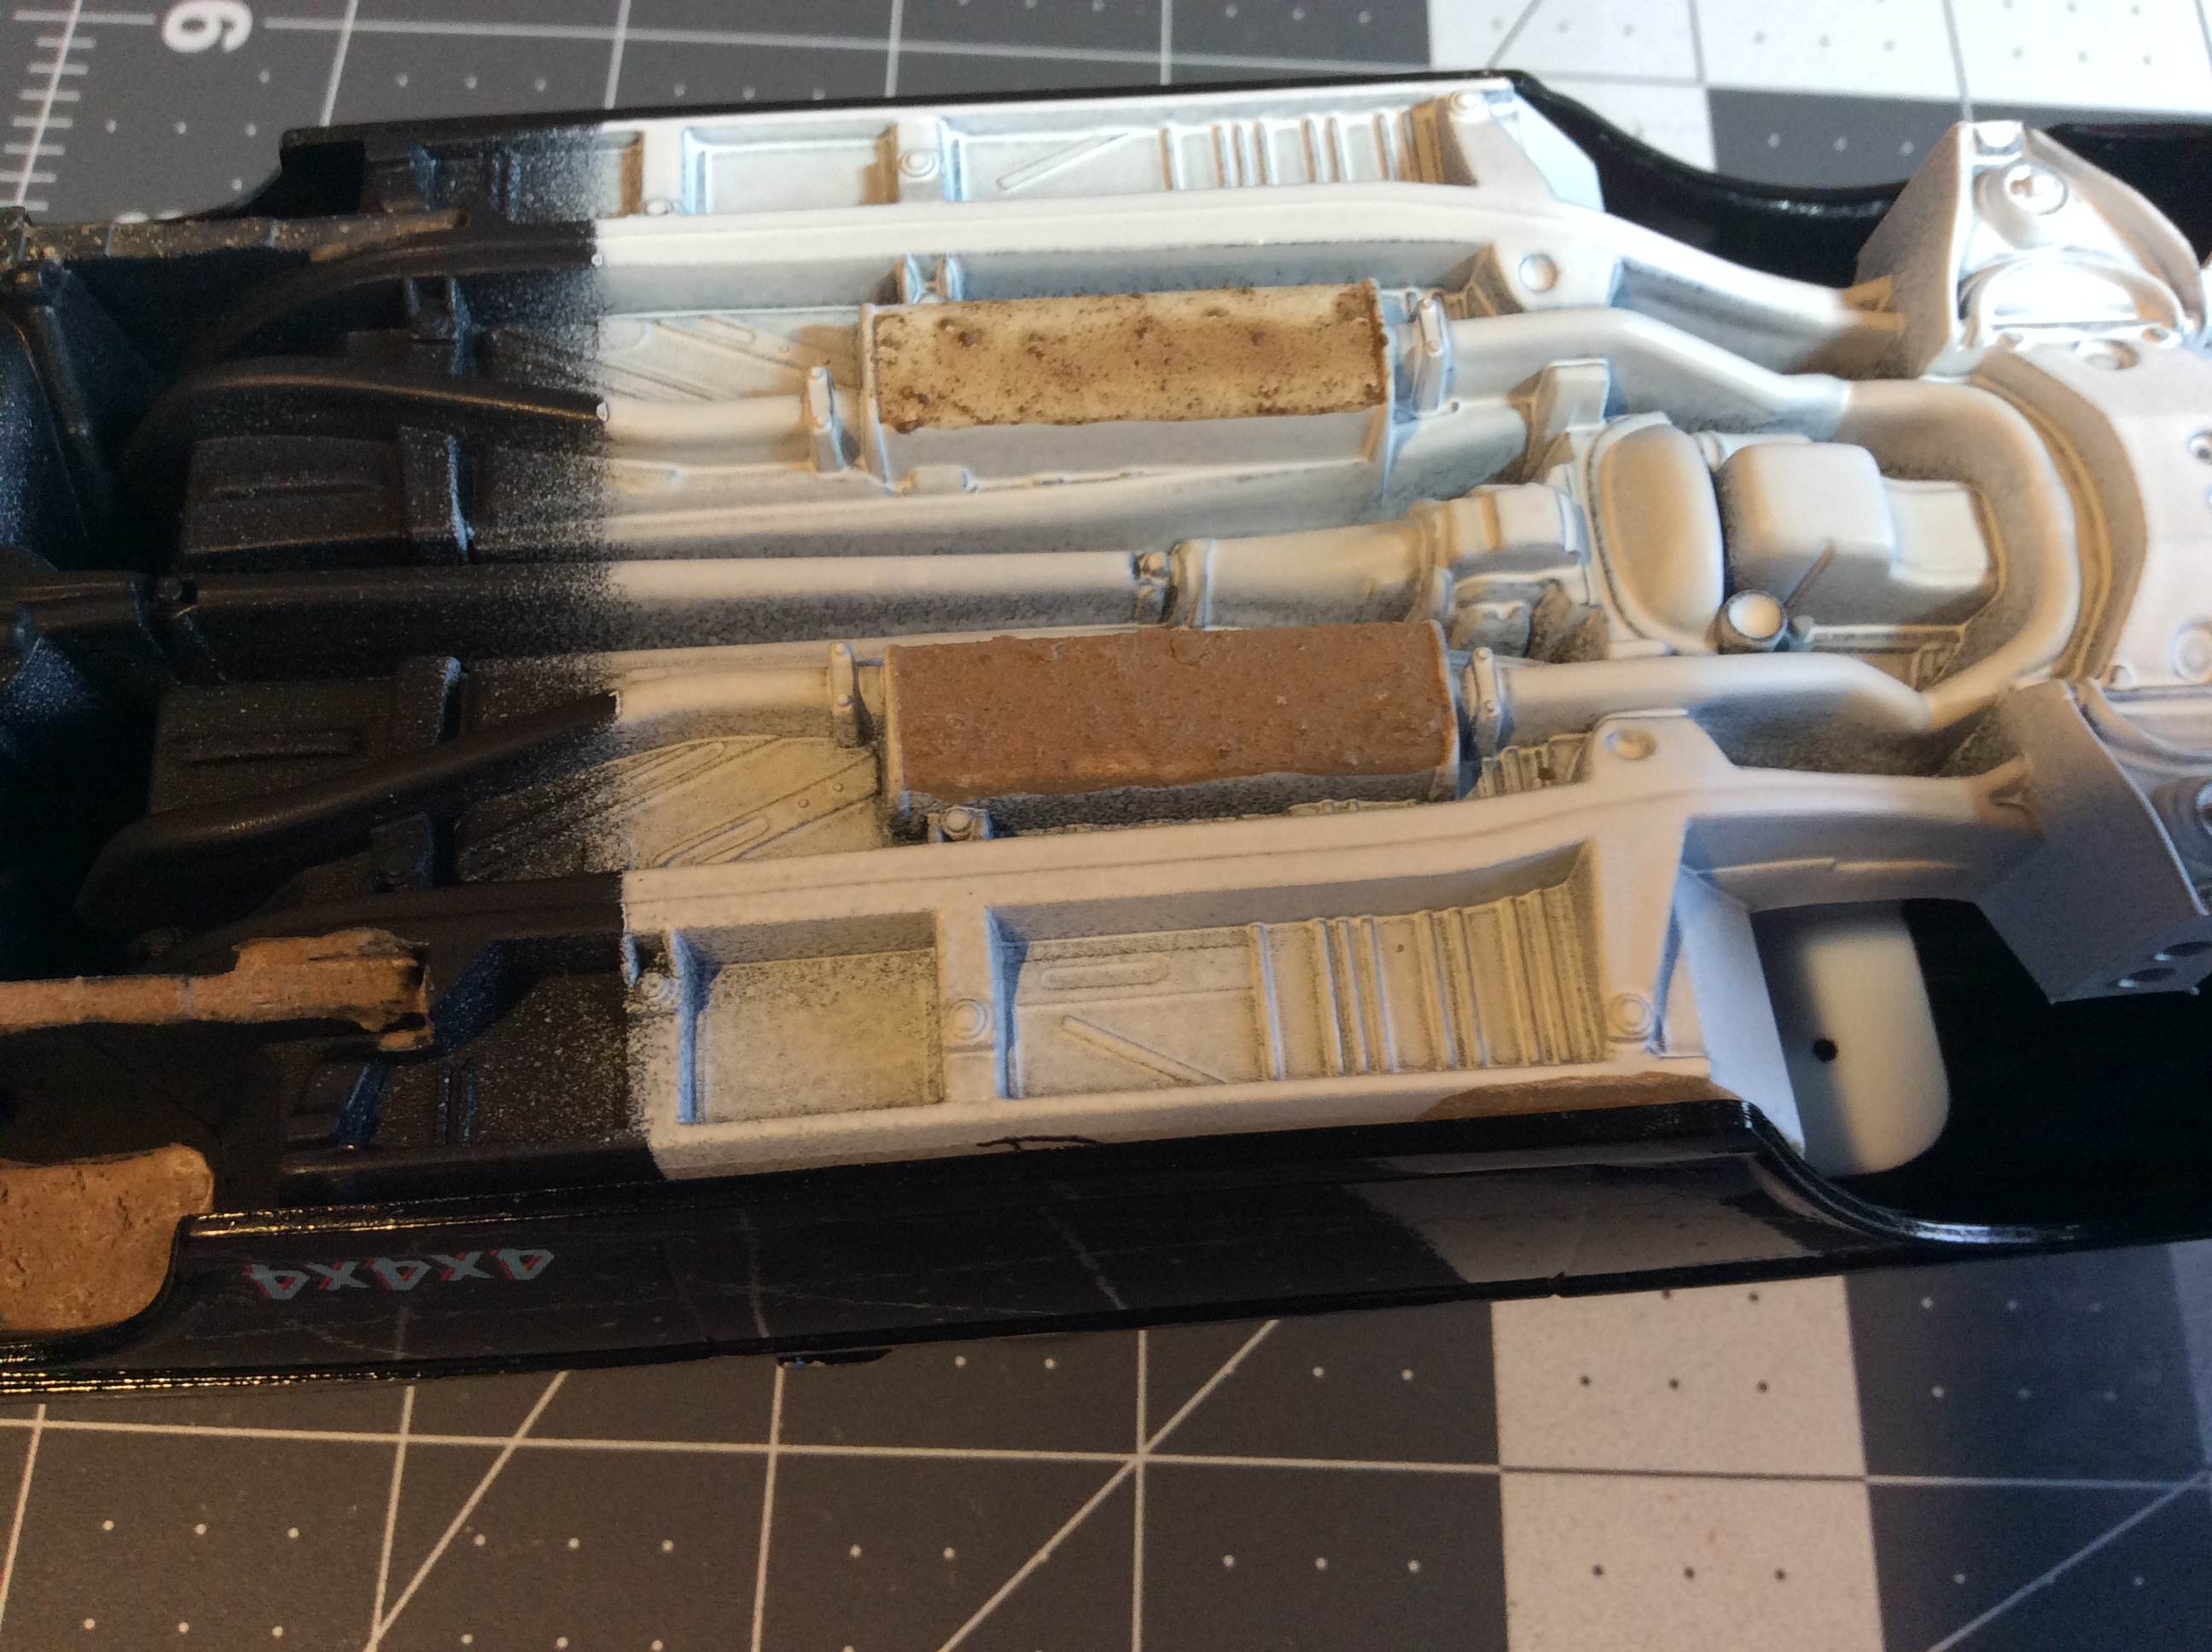
This is a walkthrough with pictures of how I make a mud effect. It sticks to the vehicle, but will flake off (obviously) if one is trying to rub it off. You will need: Dirt, Tamiya body putty, flat tan paint (optional), water, a small container (to mix the mud concoction in), and a paintbrush (use one that’s ok to get body putty in the bristles). I first sprayed a decent layer of primer on the part(s) that are getting muddy. I used white primer to show the difference between the two effects, but I recommend using tan or brown primer. Then: mix the body putty, water, dirt, and paint (if desired) together. It should look something like this. Here is about how it’ll look when applied. To get a thick, dry mud effect as seen in the first two pictures below, I mixed about a dime-sized blob of body putty, a little less water than putty, an amount of dirt equal to the body putty and water, and about 5 drops of tan paint. To get a thinner, dirt-like effect as seen in the last two pictures below, I added more water, less dirt, and less paint. To seal the applied mud, and help preserve it, I recommend spraying a light coat of dullcote over it. There are many different ways to create a mud effect on a model vehicle, this is just my method. I hope that this made sense, and I hope it helps!
-
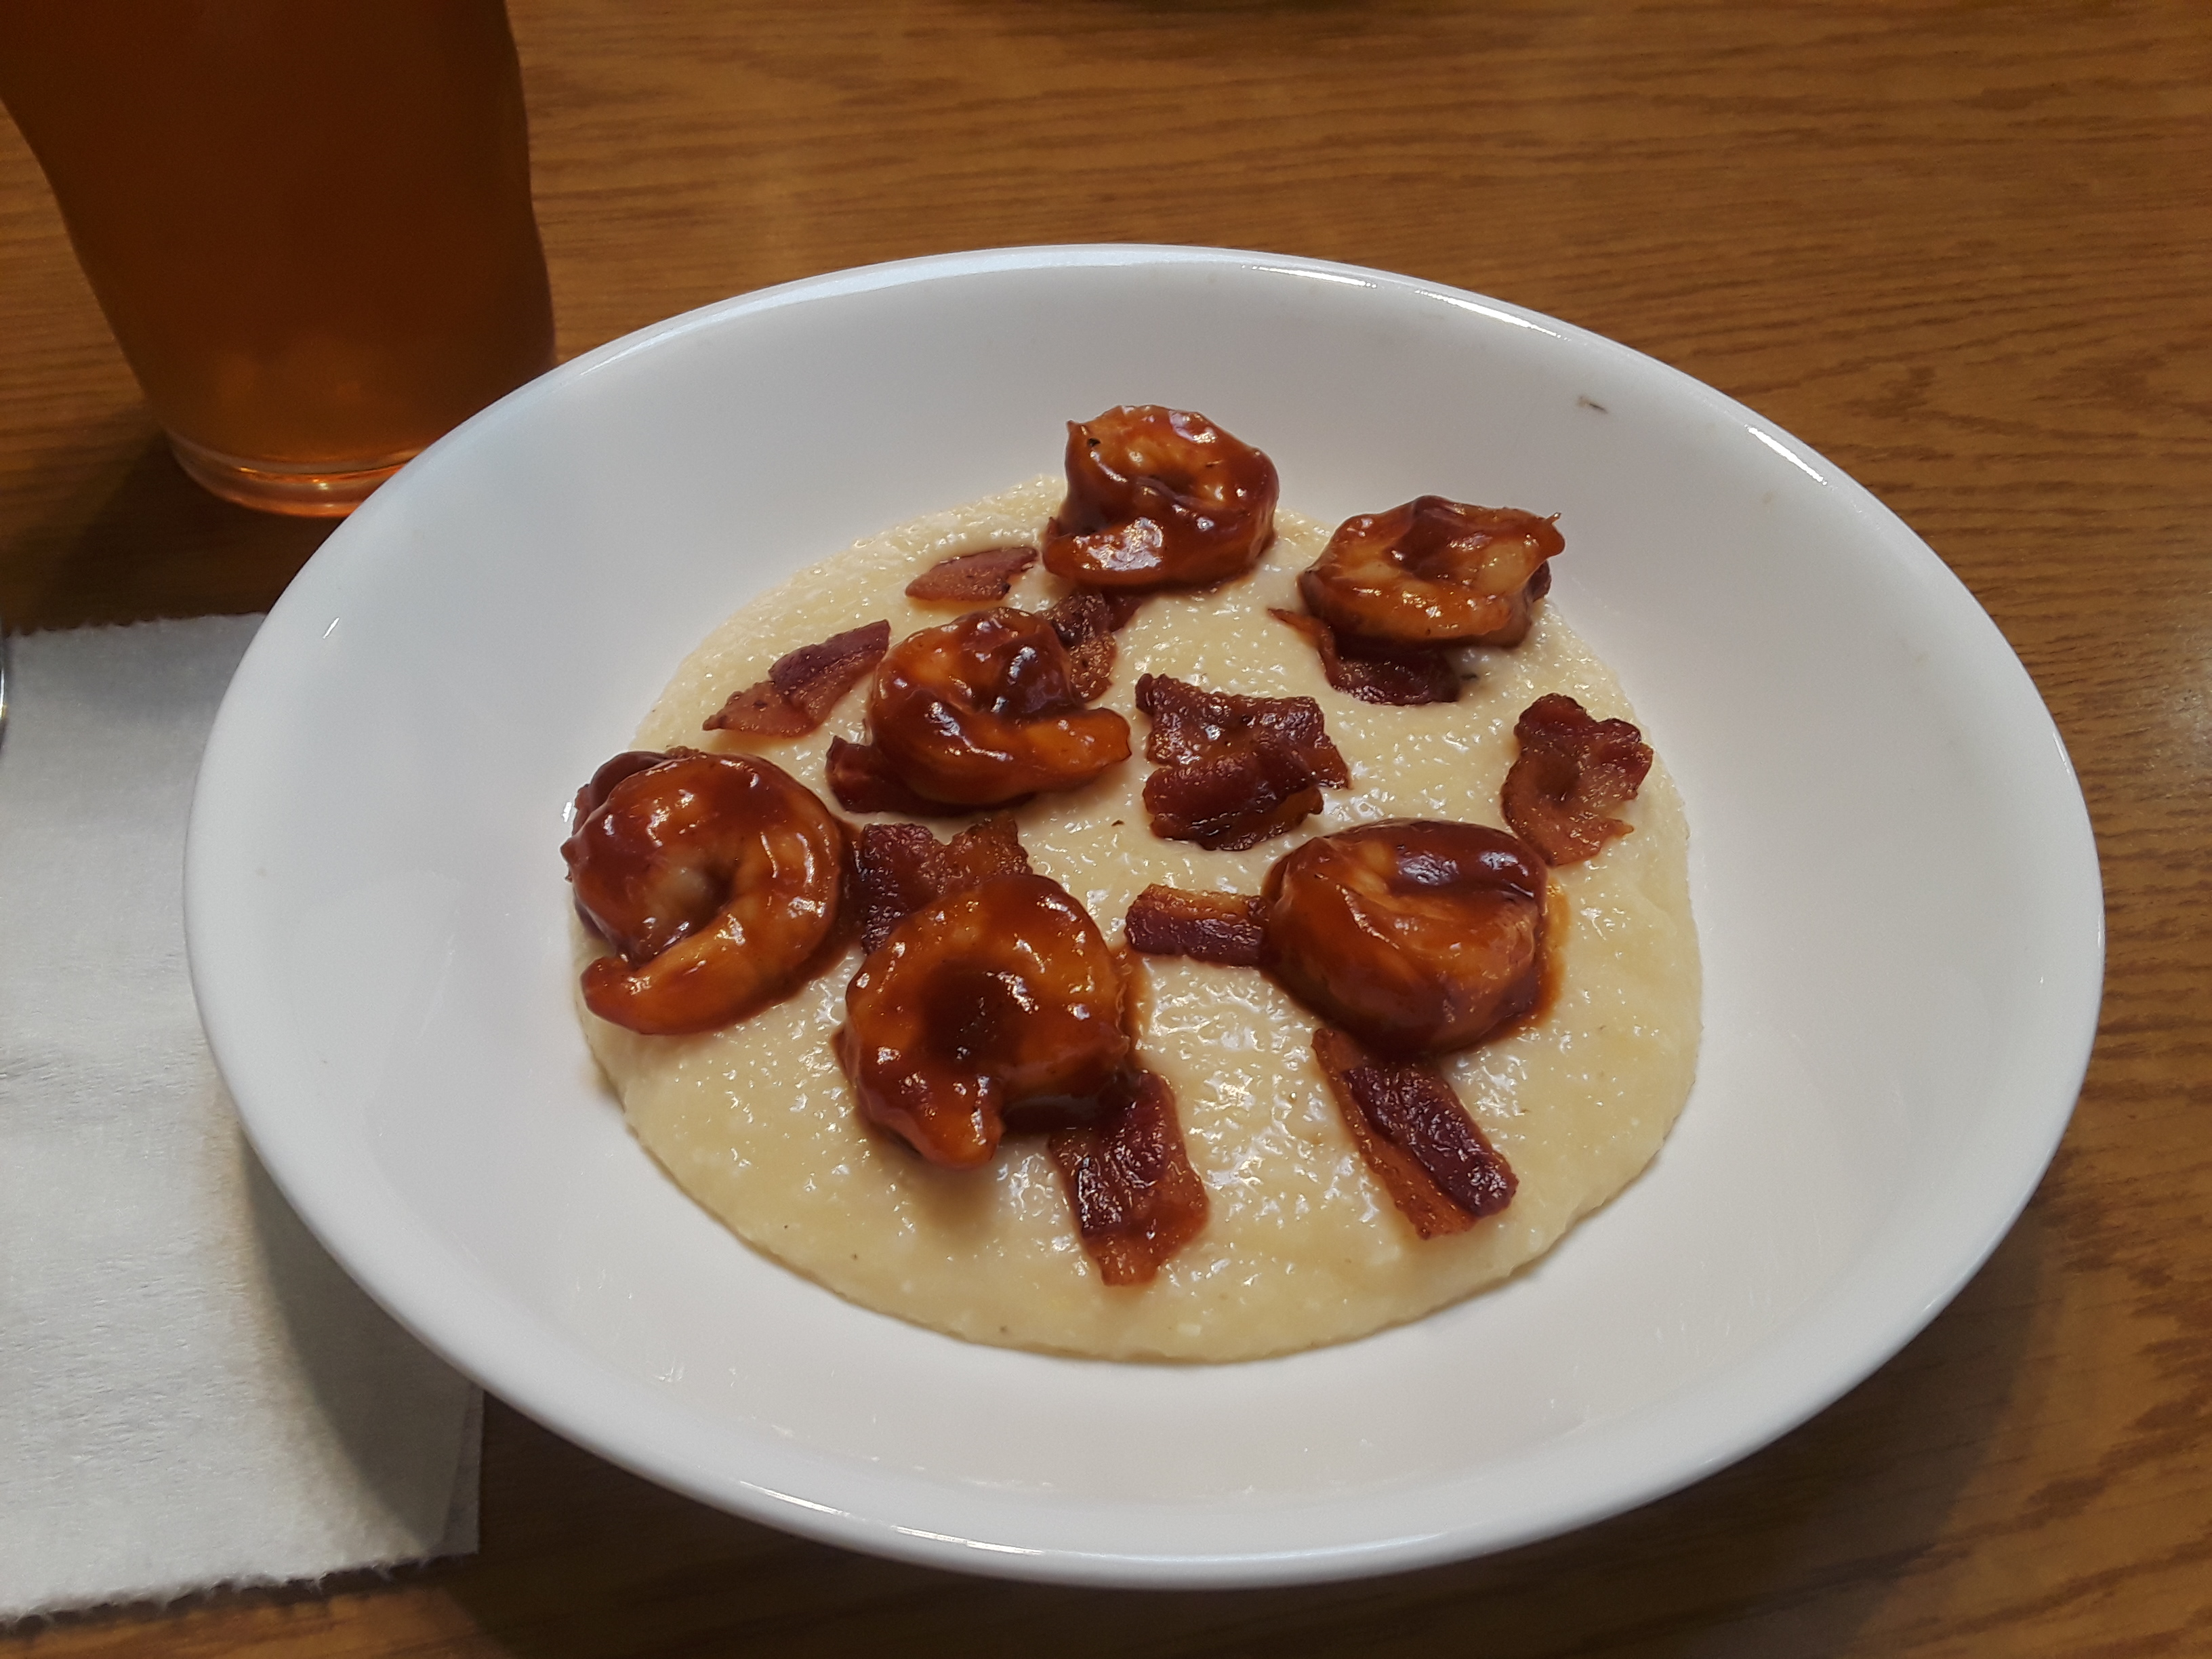
BBQ glazed shrimp over cheese grits.
-
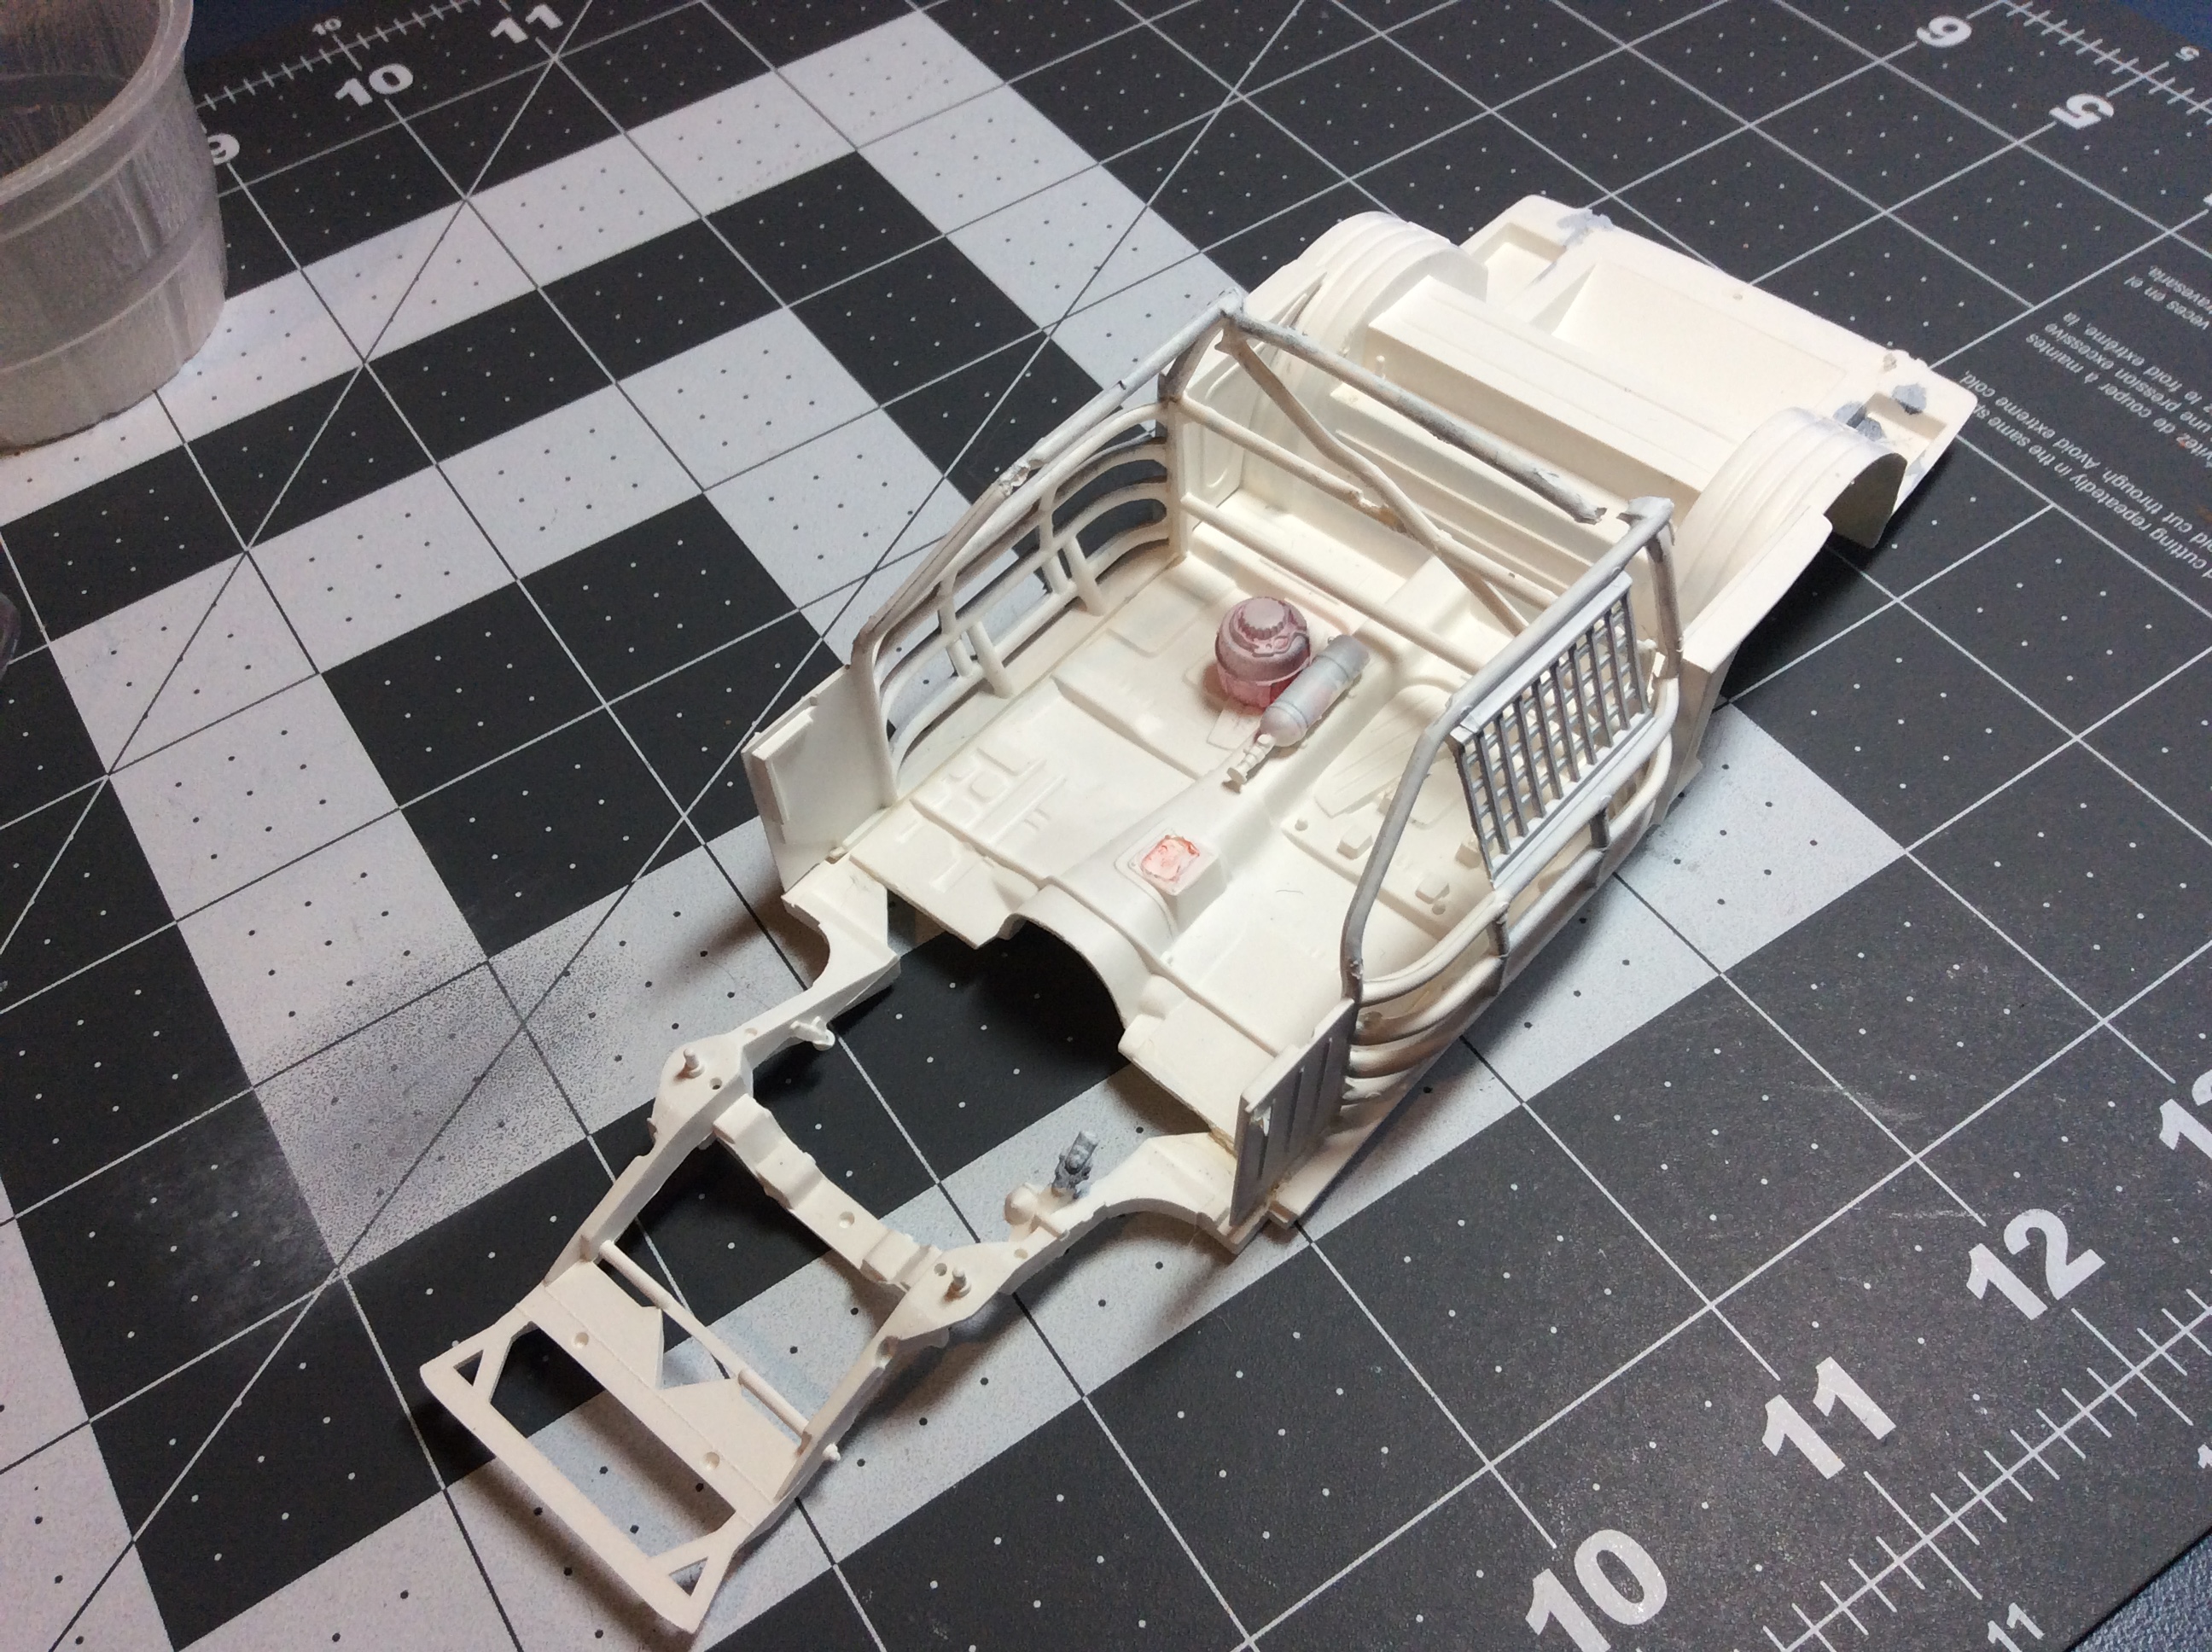
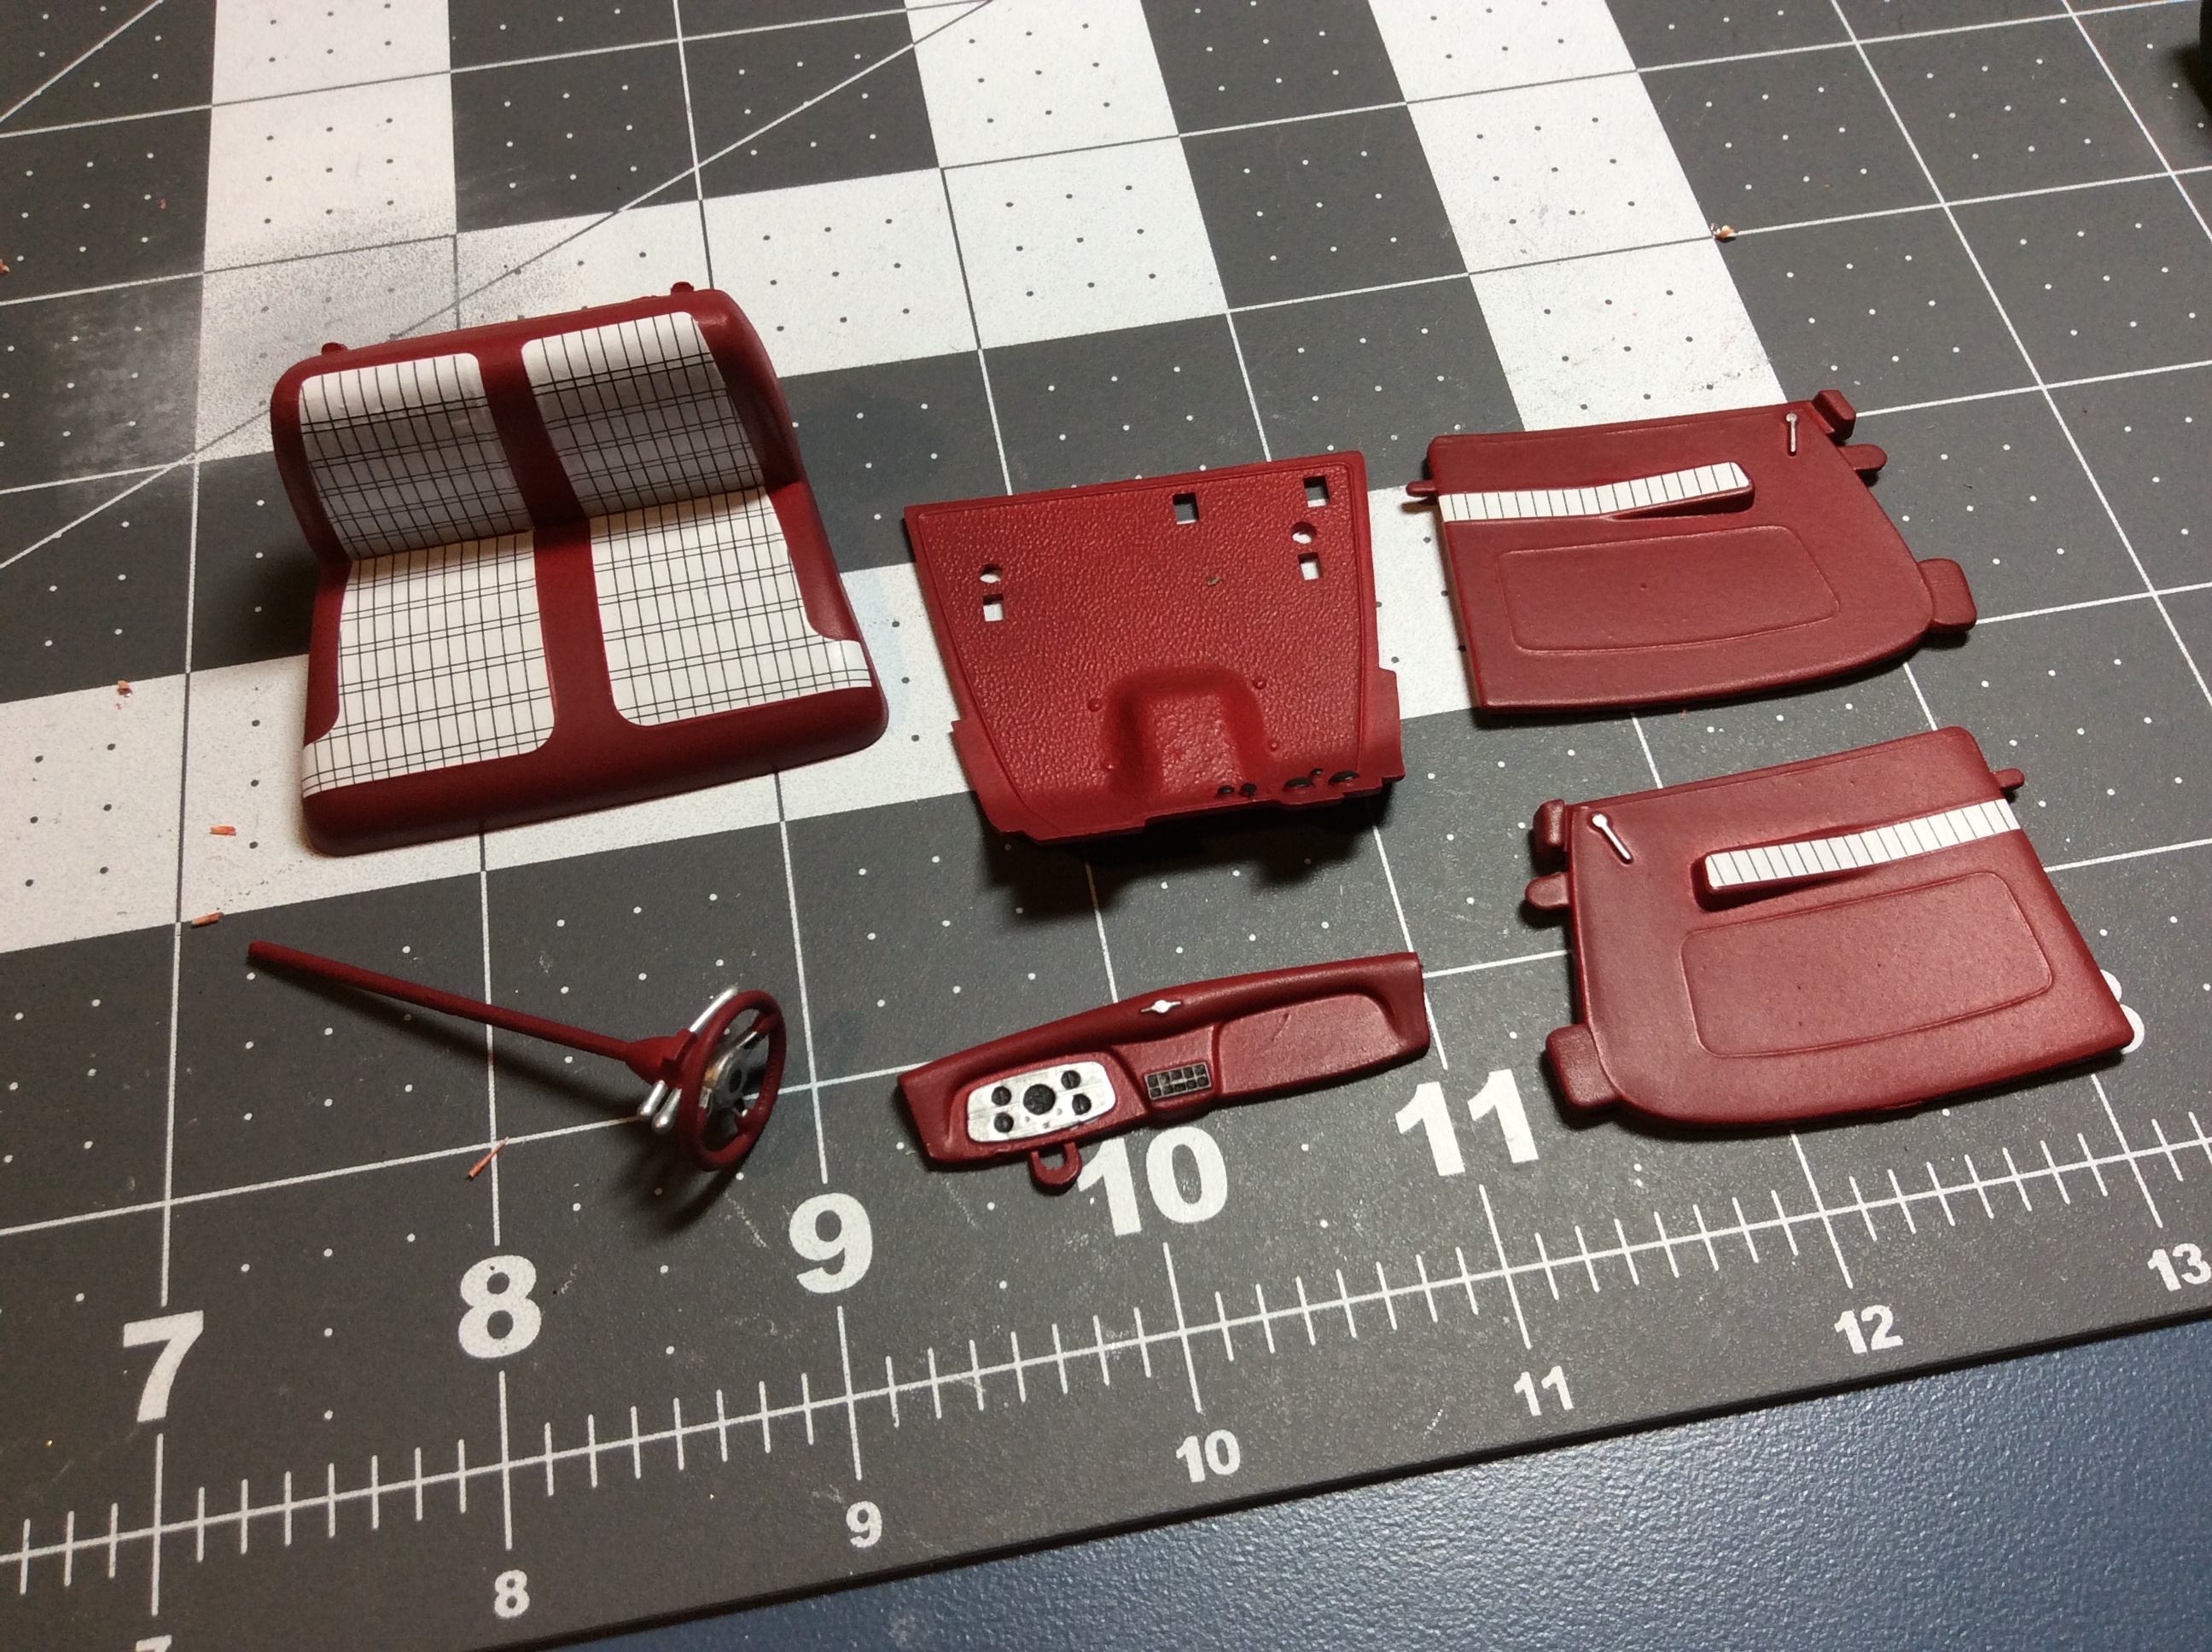
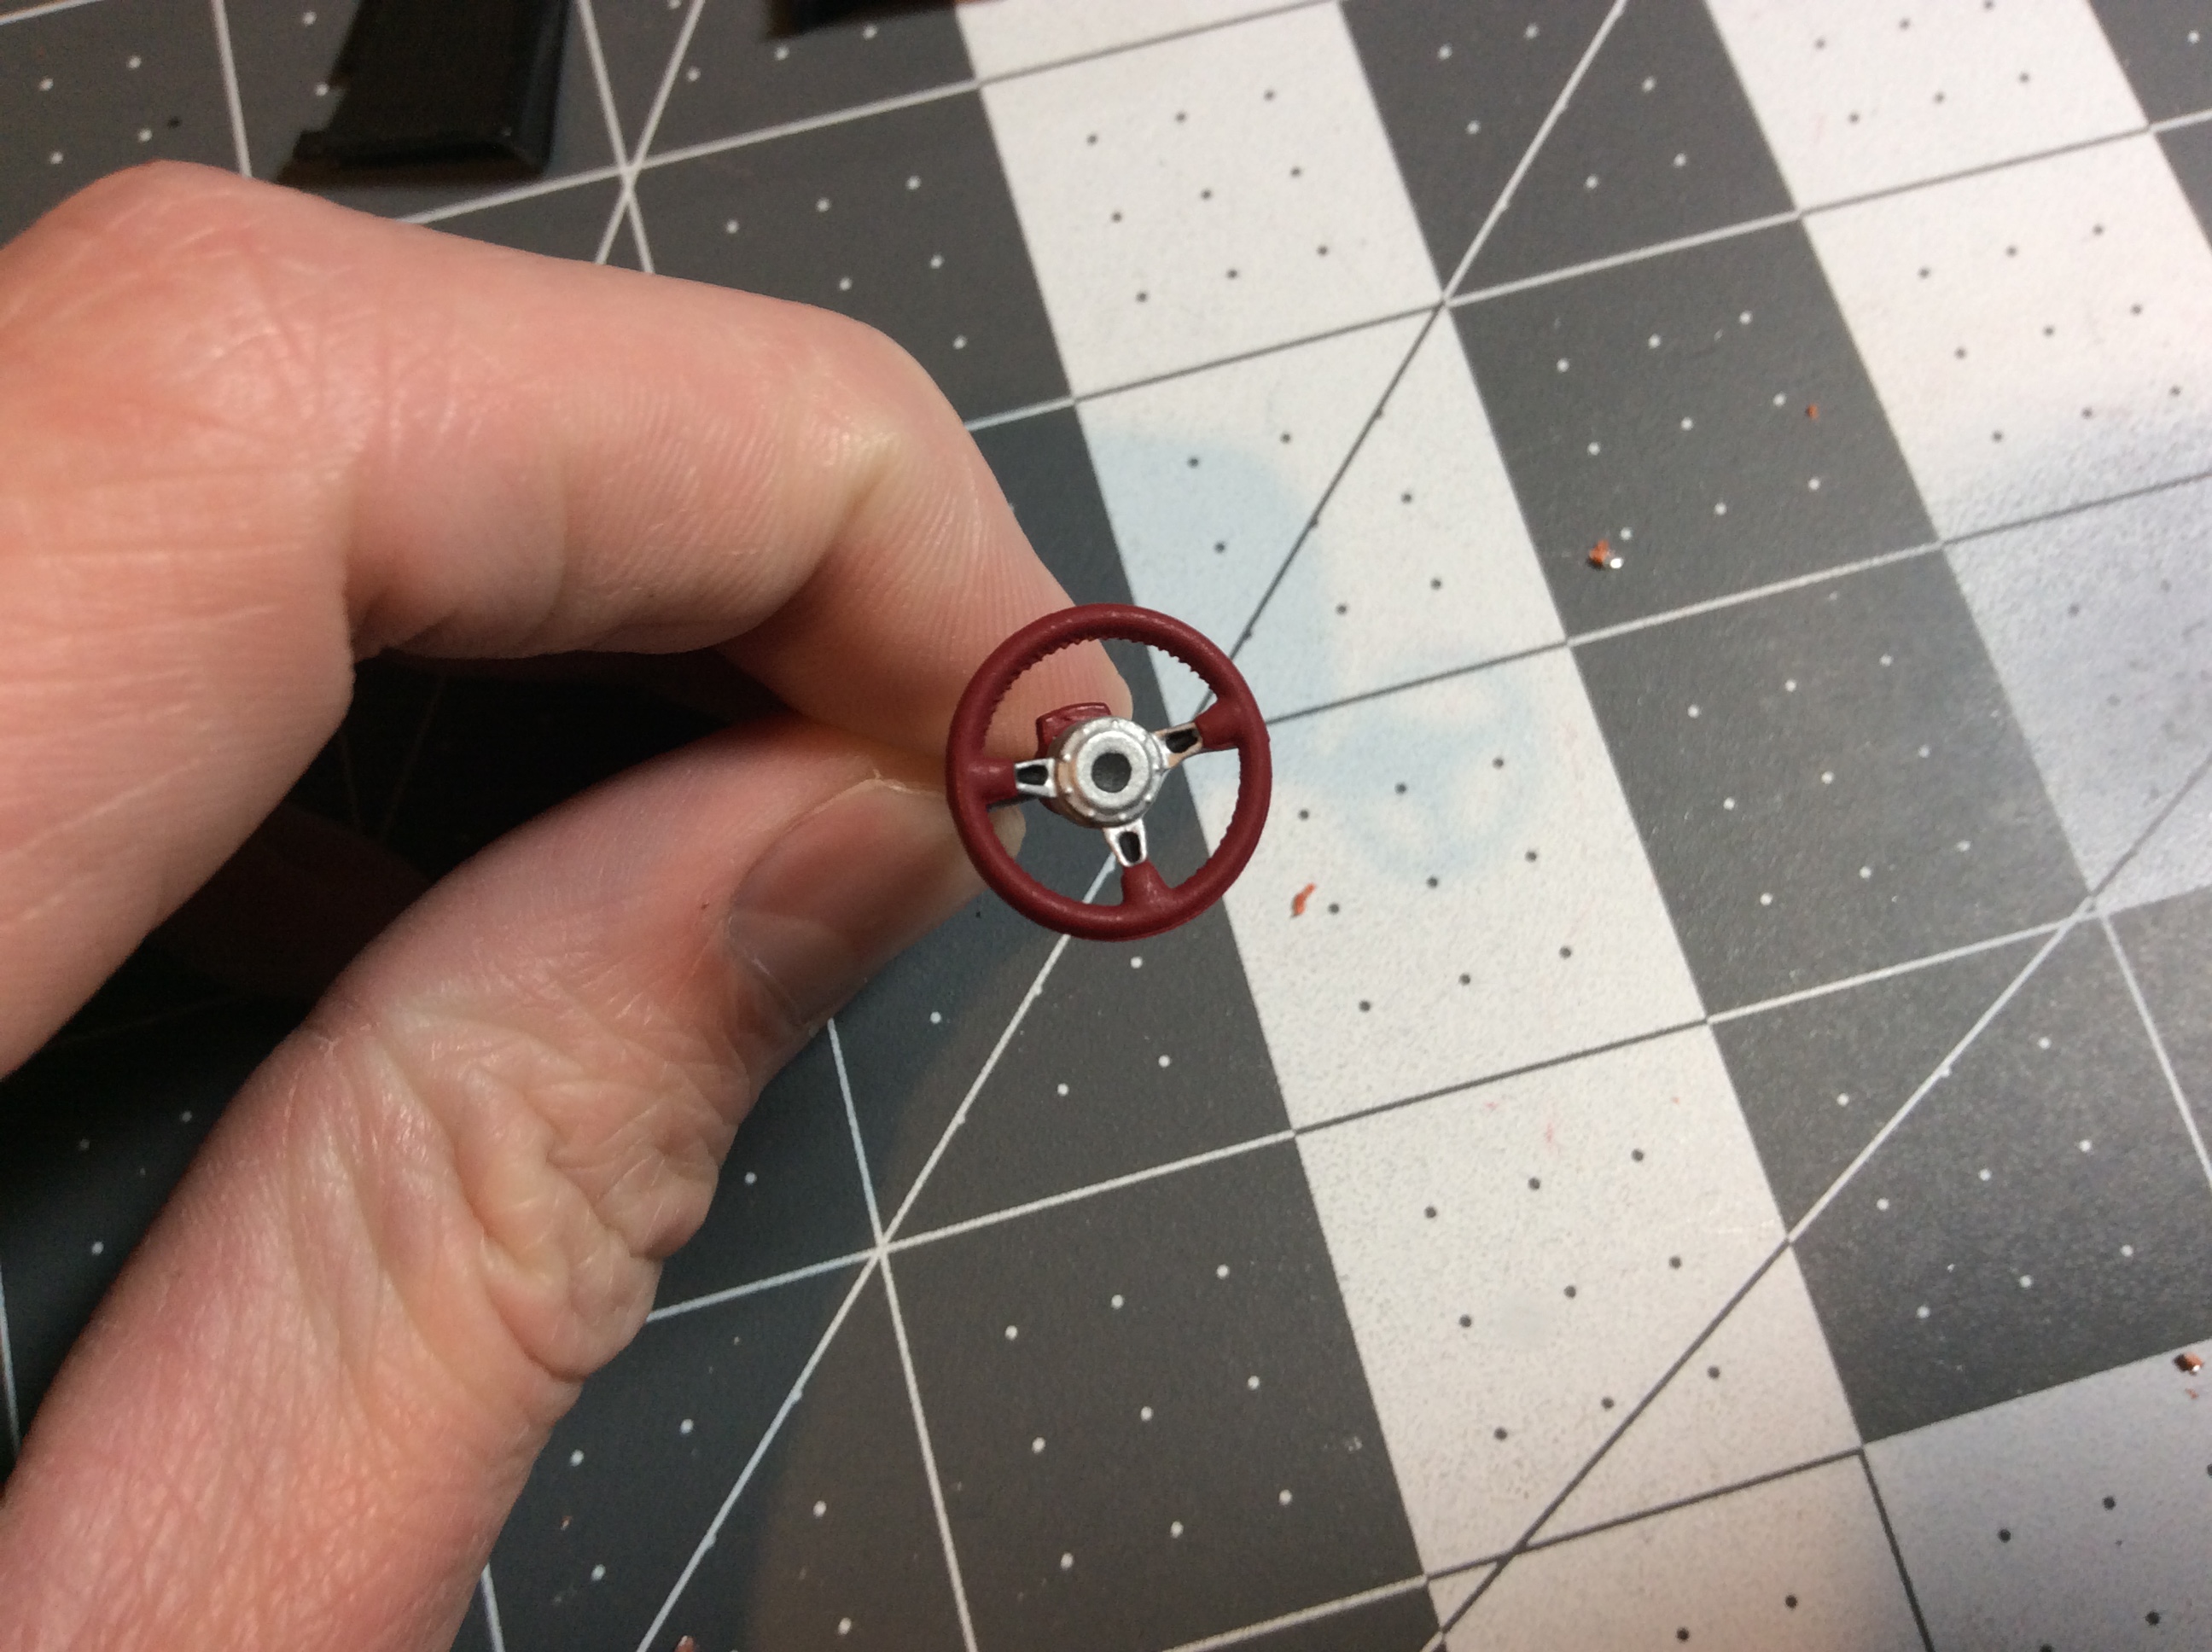
The chassis assembly is complete, now onto the body and finishing touches. I also included some more pics of the interior before I set the door panels and dash in the body.