RCprofile.JPG.6b95b19b856bf00a3becd6aeaaa48f3b.JPG)
Ian McLaren
-
Posts
1,360 -
Joined
-
Last visited
Content Type
Profiles
Forums
Events
Gallery
Everything posted by Ian McLaren
-
RCprofile.thumb.JPG.1691ea753d0f0897fdc1b2510cf06775.JPG) Ready for the belts, have to create Logos as there are no commercially available for Elite Safety Belts ( owned by a friend who is also a long time campainger of a nitrous Pro Mod).
Ready for the belts, have to create Logos as there are no commercially available for Elite Safety Belts ( owned by a friend who is also a long time campainger of a nitrous Pro Mod).
- 352 replies
-
- 1
-

-
- brass
- tube chassis
- (and 2 more)
-
Upgrading the seat, but going to use the scratch built mounting brackets from the prior seat.
- 352 replies
-
- 2
-
-
- brass
- tube chassis
- (and 2 more)
-
Just finished my first 3D resin printed attempt and it worked, the file from Ron Olson of 3D Model Specialties, printed well except for a couple of rookie mistakes by myself. I now have a steering wheel, two fuel pumps two fire bottles, shifter, Racepak style dash displays, and multiple electronic boxes. More interiour parts to come shortly. MVI_0007.MOV
- 352 replies
-
- 2
-
-
- brass
- tube chassis
- (and 2 more)
-
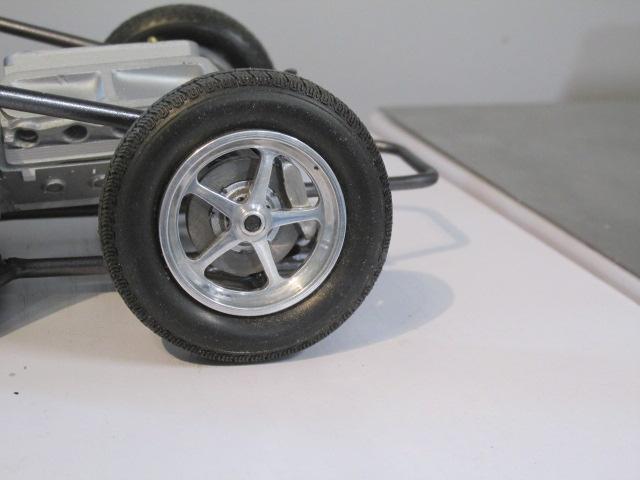
Thank you Steve, I can't take any credit on these (except for drilling the valve stem holes) They were made by Jeff Faris, who also did the rear wheels, and all I knew about them was a five spoke pin drive aluminum wheel and I have to say I am extremely happy with how they turned out.
-
Thanks for the kind words Donato, they certainly help the motivation on one of these long term projects. Truly appreciated.
-
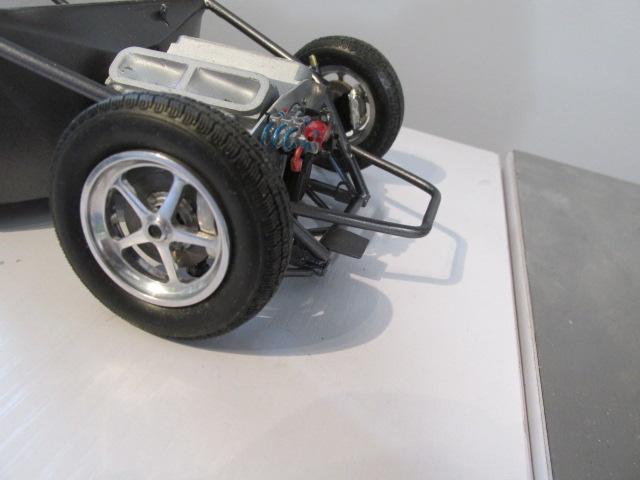
So about 11:30 last night I was looking at this thing trying to figure out what didn't look right. Took a bunch of pictures and started compairing it to some real cars, then I remeasured everything and by 12:30 had most of the frame ahead of the firewall desoldered and back in the jig. Rebuilt both lower control arms, adjusted the front rails, cut both front struts apart and lowered the engine some. Net result the front struts now bolt in, caster and camber are more correct, front wheels are now more centered in the wheel opening, ride height is adjustable, roll cage is closer to the roof, and to my eyes the car now has the stance and feel of the real cars. By the numbers, the car can now sit 2 inches lower and the wheel base is down 2 inches as well, but still at 110. I've kind of been dragging my feet on this one for a while as the look kept nagging on me but now this thing is going together.
- 352 replies
-
- 3
-
-
- brass
- tube chassis
- (and 2 more)
-
Nostalgia Fuel Dragster--Blower Manifold (01/28/23)
Ian McLaren replied to Straightliner59's topic in WIP: Drag Racing Models
Great progress and as always a tip on how to do something a bit better, I love your approach to the valve cover hold down holes and the flange itself. That will definately appear in my future models, using the tube spacer/drilling guide is inspired if not easy to photograph. -
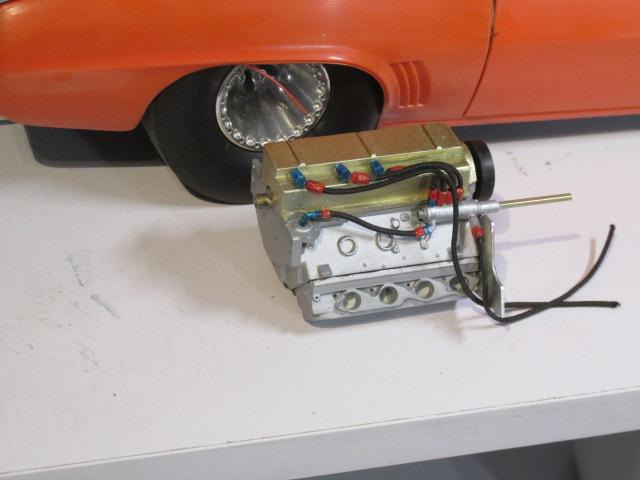
A bit more progress on the engine, Dry sump system in progress and added Racepac V-Net oil pressure sensor
- 352 replies
-
- 2
-
-
- brass
- tube chassis
- (and 2 more)
-
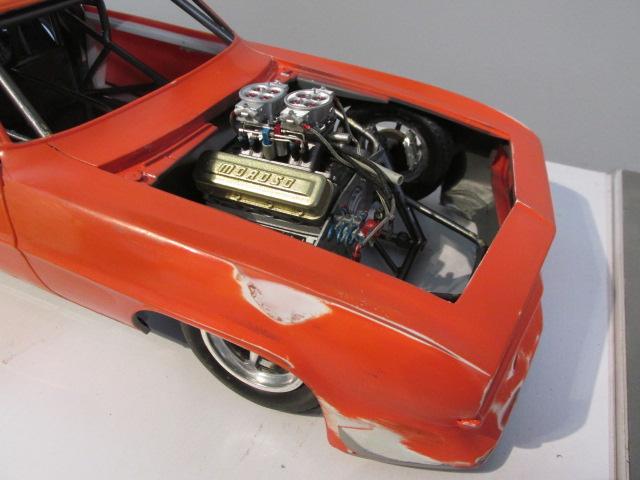
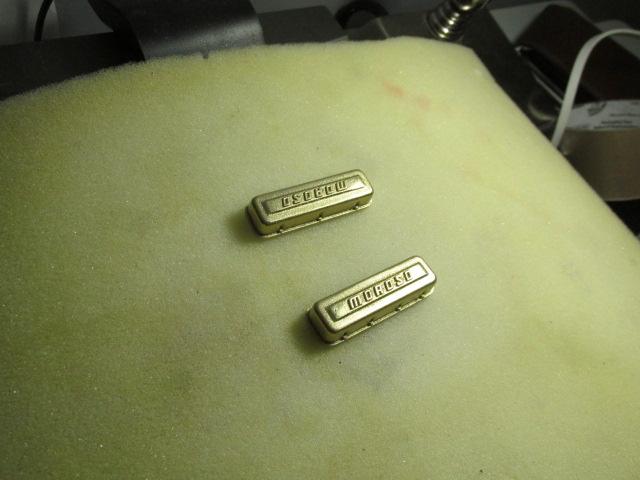
Thanks Bob, yes I am happy with the Moroso covers, got lucky on the rear end and wheelie bars. The paint scheme at the moment is Wicked Colors Candy Orange over Tamiya Mica Silver and perhaps some gold fading on the silver under the orange for highlights (but no test p-anels have been shot as of yet and it may not turn out as I hope it will). Black RS hood and deck lid stripe with the scoop Candy orange. I may use the hockey stripes on the sides, Black as well with photo etched "632" engne call outs in the stock location
-
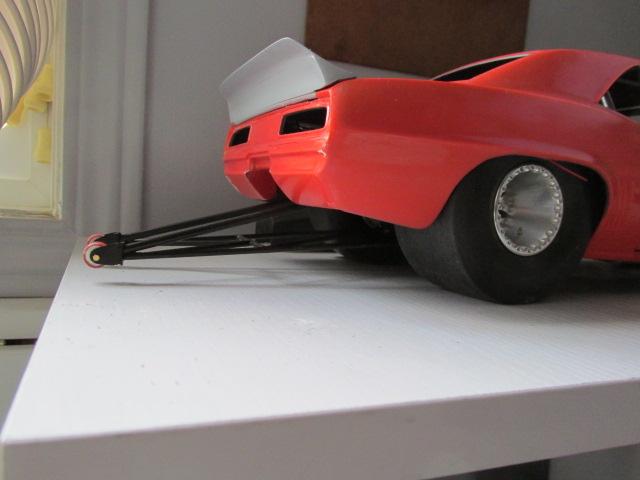
Bolted the four link into the chassis last night, and to my complete amazement the ride height, pinion angle and wheelie bar height were all exactly where they are supposed to be without adjusting any of the bars. Some days you just get lucky.
- 352 replies
-
- 1
-
-
- brass
- tube chassis
- (and 2 more)
-
Actually I mixed it with the clear and sprayed it many very light coats, If I still had my old compressor and used higher pressure it would have gone much better. My rechargeable airbrush just does not have the capacity for anything but thin paint and that's OK for most jobs.
- 352 replies
-
- 1
-
-
- brass
- tube chassis
- (and 2 more)
-
Not cast but Ron Olsen 3D Specialties has a file you can print and it allows you to pick your style for most Enderlie hat's. The price for the print is quite reasonable, and once you own it you can print more for just the cost of the resin
-
Not sure how I missed the second half of this post, the car looks great, and I have been where you are with the paint and had the same reaction. The reality is that you now have a terrific guide coat for the final prep of the body. This how I looked at it and it put into prespective how far the model has come and how close it is to being finished. It worked for me on a thirteen month build. Your closer than you thiink.
-
Yes this looks just about perfect, and is actually closer to where the bulk of these cars were built. Great start so far!
-
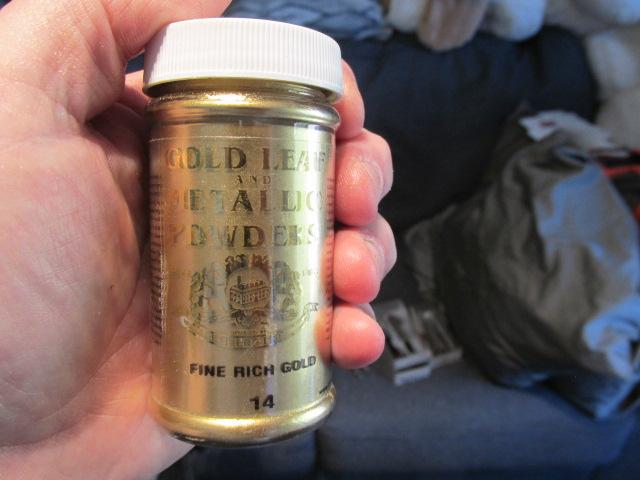
It took all morning to get it right but the Valve covers are now the correct gold, it's a hard color to replicate and a similar finish, the first photo is the closest but it's a much richer gold in person, very hard to photograph.
- 352 replies
-
- 1
-
-
- brass
- tube chassis
- (and 2 more)
-
’72 Dodge Demon Drag Racer 1/25 scale
Ian McLaren replied to AmericanMuscleFan's topic in WIP: Drag Racing Models
Thanks Claude, I was wondering also,but hesitate to bother people in case there is some kind of issue. -
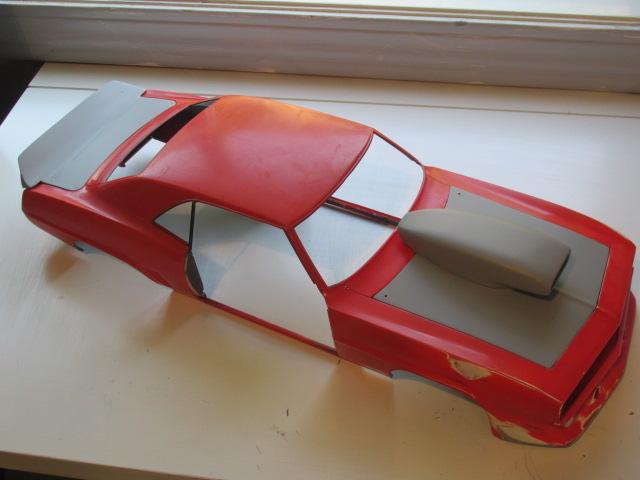
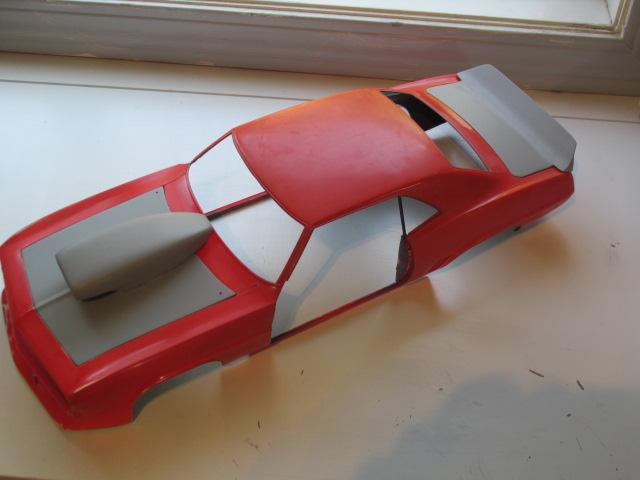
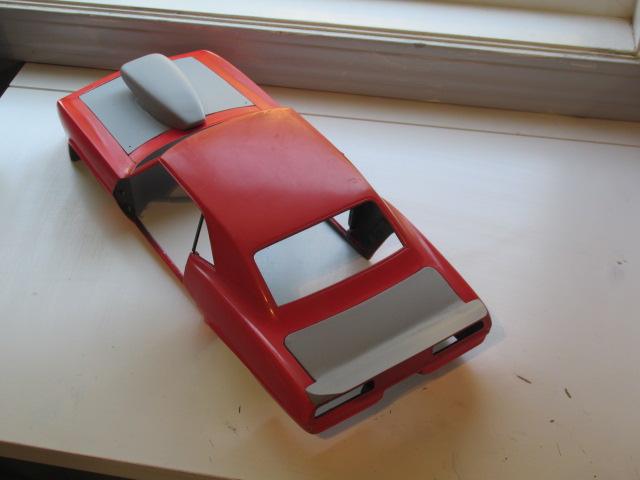
Taking a day off from the chassis and motor , started final bodywork today. Lots of little stuff to attend to but nothing major.
-
A nice clean well executed model and as Daniel said , something a little different. The detail work on the chassis and in particular the engine is great. I'll be watching for your next project.
-
Some progress today,front brakes now clear the wheel spokes and are installed on the front struts which are also installed on the chassis. steering gear and tie rods next up.
- 352 replies
-
- 1
-
-
- brass
- tube chassis
- (and 2 more)
-
Nostalgia Fuel Dragster--Blower Manifold (01/28/23)
Ian McLaren replied to Straightliner59's topic in WIP: Drag Racing Models
Daniel, I'm running out of superlatives to describe what you are accomplishing here,. but I don't think I've used next level yet. Truly a great effort! -
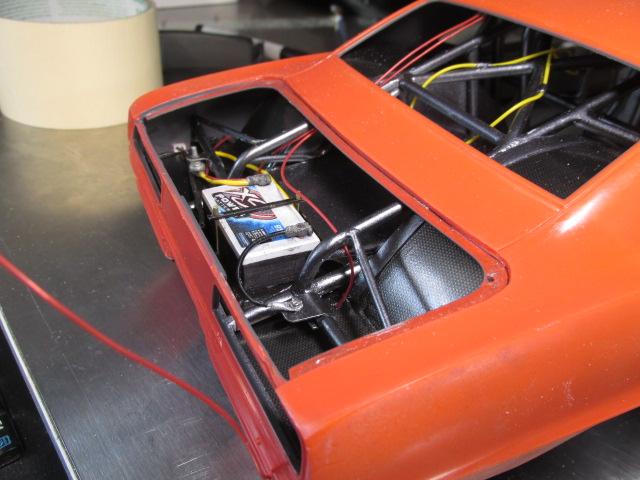
Continuing the detailing in the trunk area, battery permanently mounted, grounding post, cut-off switch and external charging plug mounted in the rear quarter panel. Working as well on the front doors. Inner door panels will be Carbon fiber with bead rolls molded in to reflect back on the older styling. The bead rolls follow the design of the original 69 Camaro door panels. the Send
-
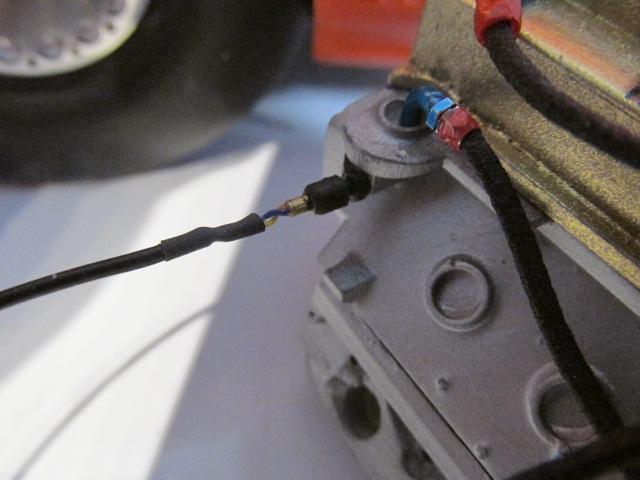
Starting to plumb and wire the chassis. Parachute release and fire bottle cables first up, preliminary routing
- 352 replies
-
- 1
-
-
- brass
- tube chassis
- (and 2 more)
-
Thank you Steve, this model kind of took on a life of its own and became a bigger project than was first intended but that being said it's been a fun experience and has allowed me to catch up on the current state of development of these cars. It has been a real eye opener for sure and with the addition of a 3D resin printer to the shop the learning will continue.
- 352 replies
-
- 1
-
-
- brass
- tube chassis
- (and 2 more)
.JPG.d3764beafd27e1ab4e1fb29d91a9523d.JPG)


.JPG.973f8a1f7dc1012e53d726fc124152f4.JPG)
.JPG.ecb59e4afd48b3ca9b9515c2963cfb03.JPG)