Bills72sj
-
Posts
4,583 -
Joined
-
Last visited
Content Type
Profiles
Forums
Events
Gallery
Everything posted by Bills72sj
-
 Thank you for sharing this with those of us who not in the hobby that far back.
 -
Does every 65 Riv have these parts? Specifically this one?

-
Oooooooh! That's purty! Nice paint details AND photography.
-
Well done to all the creators making this build happen. I looks like something the Ring Brothers would build. Now only we could get 3D printers to make glossy carbon fiber...
-
1977 Olds Cutlass from 3D print from Too Many Projects
Bills72sj replied to carl63_99's topic in WIP: Model Cars
I like the progress you are making. I need to get back some motivation on my 74 H/O. http://www.modelcarsmag.com/forums/topic/170183-1974-hurstolds-indy-pace-car/ -
Can anyone confirm this? I try to avoid opening sealed kits until I am ready to build them. How many spokes does the wheel have?
-
Thanks for the input. You are correct that the license plate makes it look like two. While I have successfully opened the slots on both sides, I do not want to hack on the license plate to make it one big slot. I am going to quit while I am ahead. It appears however, I am going to need to open up the slots of the GP bumper too.
-
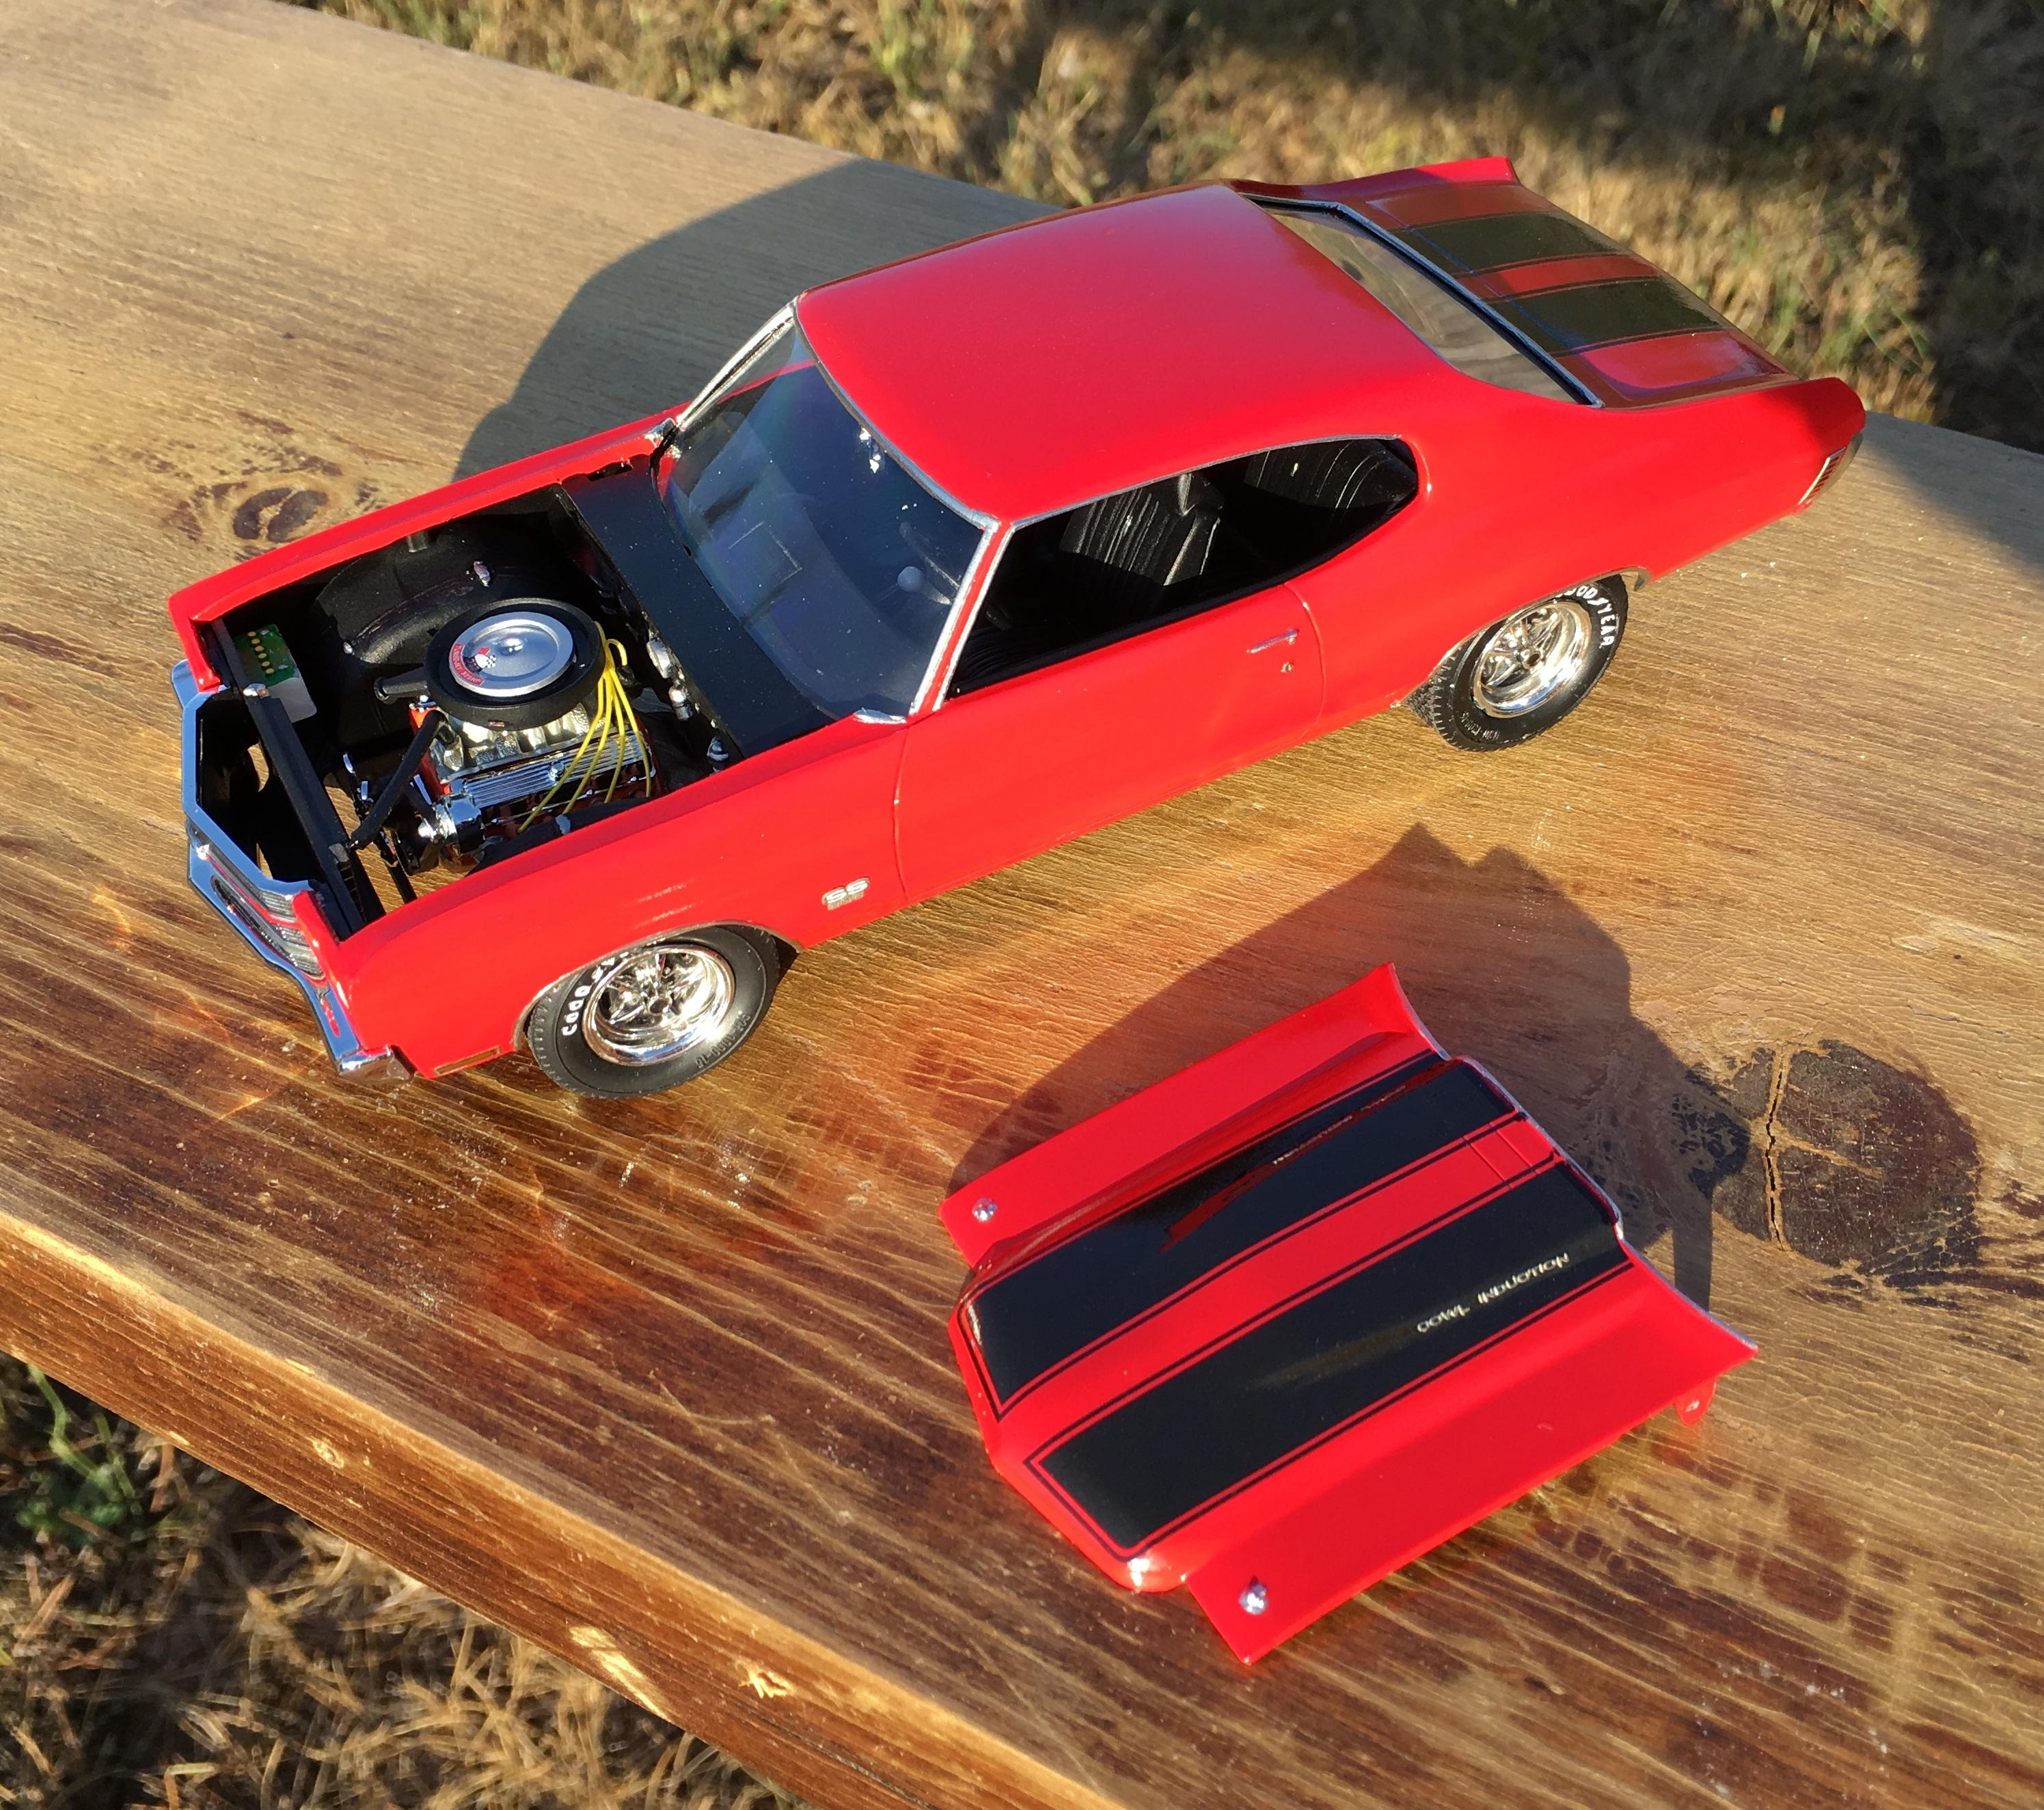
Very nice. I built one of those a couple of years ago with a red interior.
-
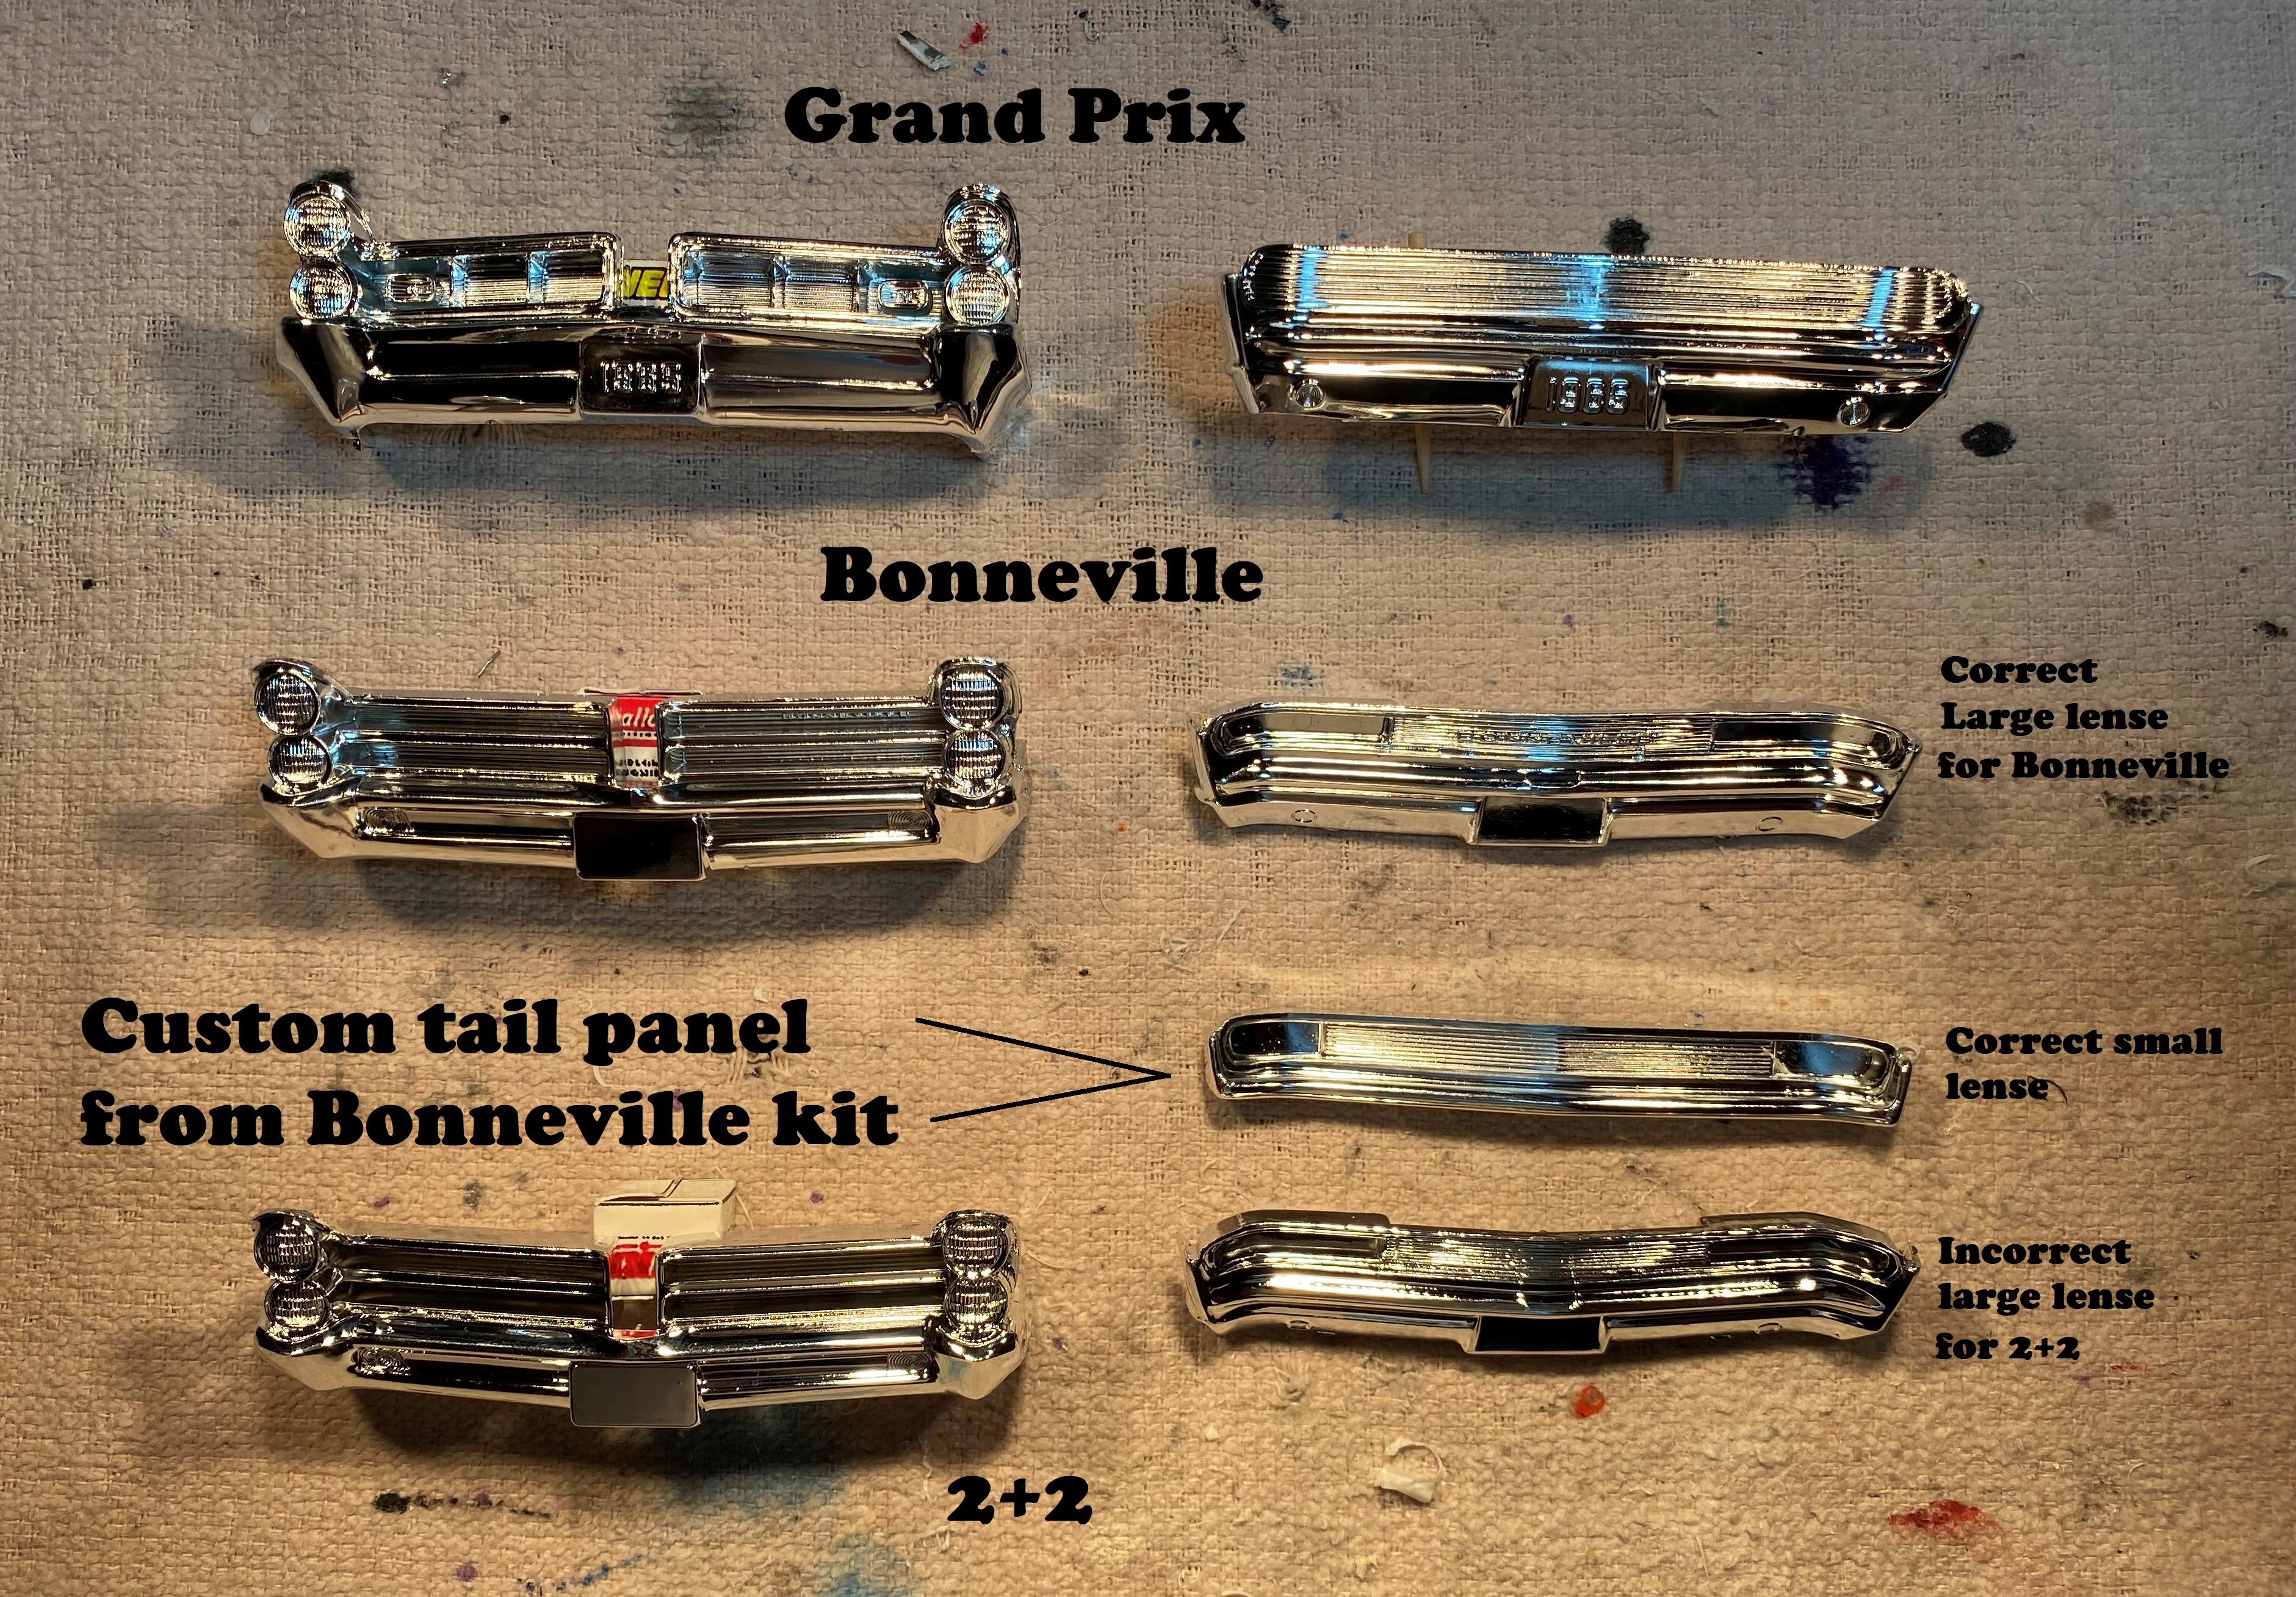
Thanks, I spent this afternoon working a little on all of them. The cut out hood for the 66 Bonneville got the pin marks underneath filled in and a parts box under hood frame to give it more detail. I did some research and found out there is supposed to be two openings in both of the Bonneville and 2+2 front bumpers. I bravely used my Dremel on the back side of each and opened them up. They turned out nice. I checked the interior patterns with Ames Performance 1:1 catalog and all 3 '65 upholstery patterns are correct. Good job AMT. I found better front seats for the '66 Bonneville. (MPC 72 Chevelle) My parts box had one lonely firewall I can use for the '66 but I may try to find a better one. I am going to try to get some bench time in tomorrow in spite of being on call at work AND having a darn cold.
-
Need help, what to do? Paint related.
Bills72sj replied to Mattilacken's topic in Model Building Questions and Answers
Try household ammonia and a cotton swab as a test. It will take off acrylics such as Future. It will not bother solvent based paint. I had to redo the roof of my Chevelle 3 times before I was happy with it.
-
Thanks Steve, I just robbed it out my one kit. Just 2 more to go.
-
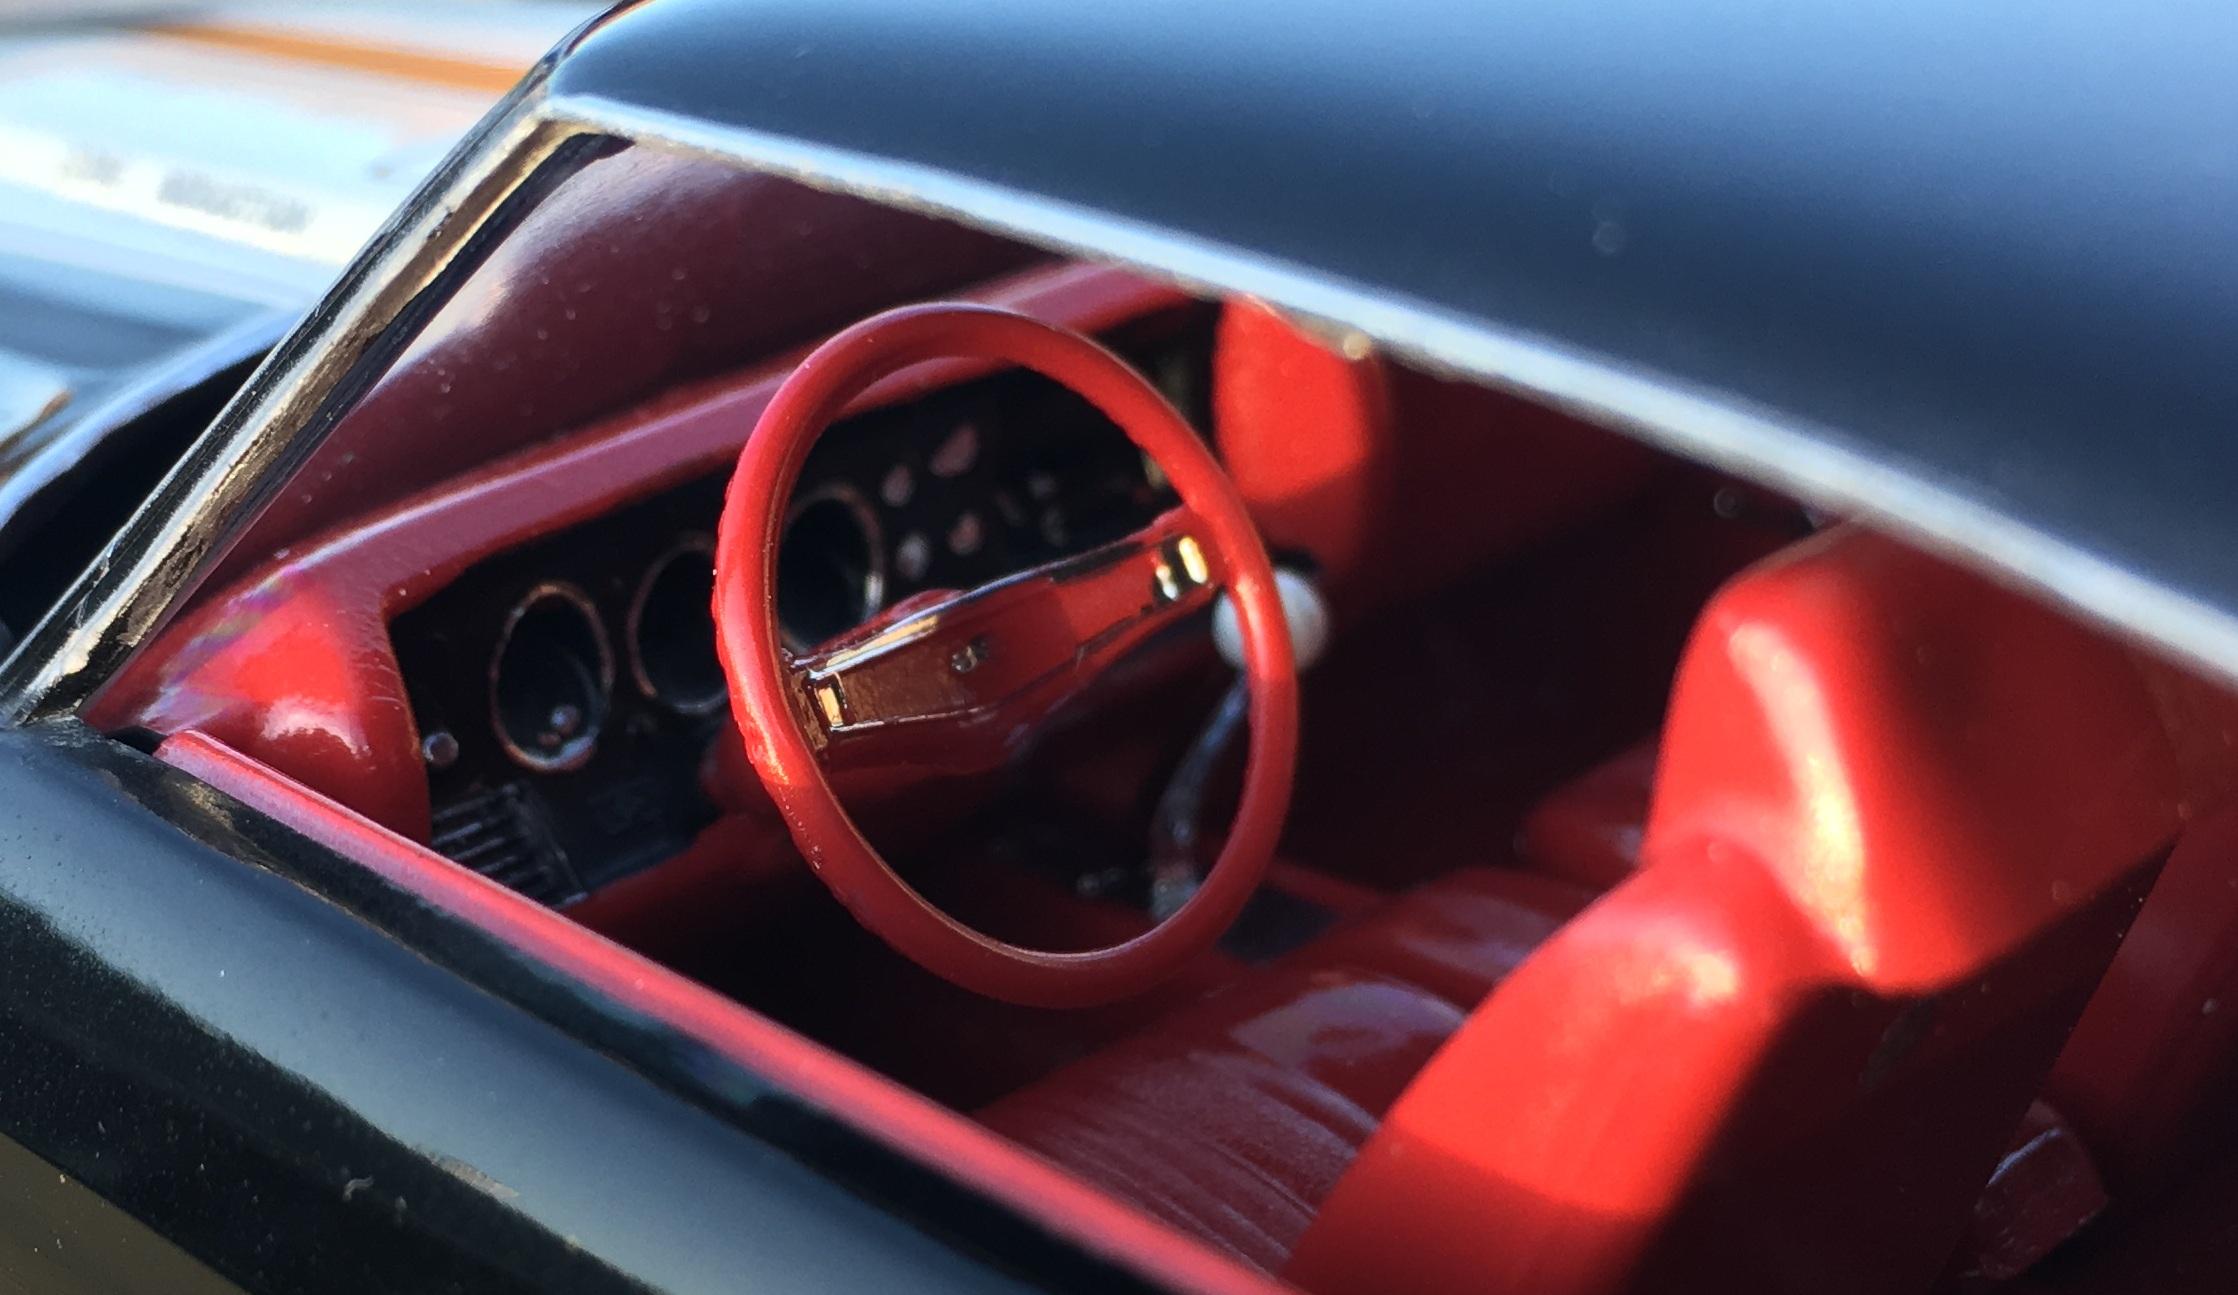
I have learned that some 1965 Pontiacs had clear Lucite steering wheels. I would like to incorporate them into my Big Girls builds.
-
The Goat Wagon Update 12/30/22 Body In Paint!
Bills72sj replied to Plowboy's topic in WIP: Model Cars
If you say so. Once you get some fantastic results from an airbrush, you may never be satisfied with spitty rattle cans. As an aside, here is a can piercing tool I made to release the pressure without making a mess.
-
Since these Pontiacs are all different models, each one has its own grille and tail panel treatment. However, the tail panel in the 2+2 has the wrong, larger Bonneville tail lights. Fortunately the new reissue of the Bonneville has a custom tail panel (sans bumper) that has the smaller 2+2/Catalina tail lights. Spent some time whittling them to fit each other.
-
AMT western star and gravel trailer
Bills72sj replied to tbill's topic in Model Trucks: Big Rigs and Heavy Equipment
Great build. You should be proud. -
The Goat Wagon Update 12/30/22 Body In Paint!
Bills72sj replied to Plowboy's topic in WIP: Model Cars
Your efforts on the wheels and and tail lights are showing great results. Here is my favorite airbrush after trying a few others. Big cup, easy to clean fan pattern and standard pattern tips. https://www.amazon.com/GSI-Creos-Procon-Trigger-Airbrush/dp/B0007U92MU/ref=sr_1_1?crid=3HMAUQ0LXFL55&keywords=gsi+creos+mr.+airbrush+procon+boy+ps-290&qid=1667532496&qu=eyJxc2MiOiIxLjM2IiwicXNhIjoiMS4yMyIsInFzcCI6IjAuOTcifQ%3D%3D&sprefix=ps-290+airbrush+procon%2Caps%2C139&sr=8-1 With the handle accessory: https://www.amazon.com/Iwata-Medea-K-200-Custom-Handle/dp/B002KQJSFA/ref=sr_1_1?crid=1J9CFV8RE5YWD&keywords=iwata+media+handle&qid=1667532590&sprefix=iawata+media+handle%2Caps%2C165&sr=8-1 -
Blue tape for large areas, BMF for some detail work, Tamiya tape for curves, but my favorite is Para-Film. Especially over bumpy or grooved surfaces. It provides excellent bleed under protection.
- 13 replies
-
- 3
-

-
- masking tape
- masking
- (and 2 more)
-
1964 Pontiac Bonneville Convertible.
Bills72sj replied to StevenGuthmiller's topic in WIP: Model Cars
Since you are so good at this, do you alter your panel lining technique with lighter or darker colors? Or is simply deep scribing all you ever do? -
Your biggest blunder
Bills72sj replied to LL3 Model Worx's topic in General Automotive Talk (Trucks and Cars)
Surprisingly, While I get the occasional cat hair on my work bench, I have yet to get one in my paint jobs. (I hope I did not just jinx myself) -
Just start building. As you progress and enjoy it, you will want to try more challenging tasks. At that time you can add more items to your tool kit. I resisted getting an air brush for quite some time. When my 20 year old rattle cans started giving me trouble, it was time. You will see craftsmanship on this forum that is amazing. Everyone here will be happily to share how they did it. Note: there are a lot of opinions regarding clearcoat. Find a method that works from you and roll with it. As your parts box grows, you will have plenty of fodder to try new things.
-
Your biggest blunder
Bills72sj replied to LL3 Model Worx's topic in General Automotive Talk (Trucks and Cars)
I have the opposite issue. My wife requires the cat be locked in my model room at night because it won't behave roaming free in the rest of the house. Parts disappear, cotton balls, q-tips find their way elsewhere and for some reason. Items on high shelves are not safe either. Closed drawers and doors are the only thing that keeps her at bay. -
Your biggest blunder
Bills72sj replied to LL3 Model Worx's topic in General Automotive Talk (Trucks and Cars)
I am sorry for your loss. That is why I like wall plaques for trophies. The do not take up valuable shelf space and fill in gaps in the walls. -
The other day, I hacked the fake engine insert out of the '66 Bonne chassis. I am going to use one of my Parts Pack Pontiac 421s in its place after dechroming. I now have all 4 basic engines assembled. I am debating filling in the axle access holes as I never use metal axles in the front, like, ever. I scrounged enough parts to make all 4 of the engines 421 Tri-Powers. Some will get more chrome bits than others. I will do ignition wires but not much else. I am trying to resist the urge to overly detail the engines due to the time required. I figure I can cross that bridge on each of them depending how well the paint jobs go. Speaking of paint, after a little internet research, the '65 engines should be a light turquoise leaning towards blue. I mixed some up by tinting a bottle of Testors turquoise with 20 or so drops of Testors dark blue. It looks pretty close. The '66s changed color to the very silvery Pontiac engine blue which also have. Whether I brush paint them or air brush them will depend how my schedule goes. My paint booth takes about 20-30 minutes to set up.