LL3 Model Worx
-
Posts
1,081 -
Joined
-
Last visited
Content Type
Profiles
Forums
Events
Gallery
Everything posted by LL3 Model Worx
-

"Bring Out Your Dead" Completion Build--ROUND 2 Is On!
LL3 Model Worx replied to Snake45's topic in WIP: Model Cars
Lookin real good! -
Help ID-ing this car...
LL3 Model Worx replied to LouO's topic in General Automotive Talk (Trucks and Cars)
This one gets my vote out of all mentioned.. but man it takes some head scratching to see much in that "picture". -
Biggest pet peeves on builds.
LL3 Model Worx replied to LL3 Model Worx's topic in General Automotive Talk (Trucks and Cars)
I the molded oil pans drive me nuts also... I really like "locator" pins that are placed on block halves that completely miss align the halves when joined. And I'd agree some of the placement for chrome is downright suspect. I've had some of the small bottles leak, wich led to them drying out. But I've never had them go bad when they were sealed up well. Here's to hoping I never do. Try some lacquer thinner... I use a little badger electric stirrer to mix my jars up, even the small ones... works great. -
Biggest pet peeves on builds.
LL3 Model Worx replied to LL3 Model Worx's topic in General Automotive Talk (Trucks and Cars)
I've got an MPC 72 GTO and that Line Is pretty bad. Maybe the older releases not so much but mine is the most recent and it's a dog. That mold definitely has some mialage on it. -
Biggest pet peeves on builds.
LL3 Model Worx replied to LL3 Model Worx's topic in General Automotive Talk (Trucks and Cars)
I've got thousands of jars of model master enamel... and over a thousand "little bottles" of testors enamel... Never had any off them spoil... -
Biggest pet peeves on builds.
LL3 Model Worx replied to LL3 Model Worx's topic in General Automotive Talk (Trucks and Cars)
Wonder if they have added xylene or "more" xylene to the mix? That would certainly accelerate the evaporation and gooification process. Do they reconstitute when you add a little mineral spirits or lacquer thinner? Haven't really had it happen, so I'm curious lol. -
55 cameo colors
LL3 Model Worx replied to glue fumes's topic in Model Building Questions and Answers
I know it's not the brands you mentioned but I know that Duplicolor "perfect match" lacquer has Wimbledon white and a few shades of non Metallic red that will get you darn close!! I bet if you have a local automotive paint store in town they would mix you up some of each... most places cant mix less than a half pint though... but they might. You just need the base coat anyway... then use clear of your choosing. -
Hurts shifter decals???
LL3 Model Worx replied to 2zwudz's topic in Model Building Questions and Answers
In kit form maybe the Hemi under glass? Seems like they may work? Otherwise maybe someone could print you up some? -
Help ID-ing this car...
LL3 Model Worx replied to LouO's topic in General Automotive Talk (Trucks and Cars)
Man I don't even know how you saw a car in that pic to be perfectly honest... What am I looking at? -
Biggest pet peeves on builds.
LL3 Model Worx replied to LL3 Model Worx's topic in General Automotive Talk (Trucks and Cars)
You must be referring to the Acrylics.... the enamels may separate but with a little mixing they are good as new. I've got some jars I know for certain are over 30yrs old that work fantastic. Now the acrylics on the other hand do all the skinning over and drying out... funny enough out of the literal thousands of jars I have, I only have 2 acrylics... a black and a silver, that I bought by mistake because they were on the enamel rack! I wasn't happy when I got home. -
Biggest pet peeves on builds.
LL3 Model Worx replied to LL3 Model Worx's topic in General Automotive Talk (Trucks and Cars)
Man I have literally thousands of Jars and spray cans of testors enamels... (love them also) For big work, such as bodys I usually just decant spray cans into a glass bottle with a good lid. If you ever need a color just PM me... I've got tons of paint that is no longer in production... including Pactra and "Racing Colors" Another one for me is not filing heads/intake manifolds to mate up and not leave a grand canyon size gap between the intake and head!! That one drives me insane! -
Biggest pet peeves on builds.
LL3 Model Worx replied to LL3 Model Worx's topic in General Automotive Talk (Trucks and Cars)
Haha, I try and put the side views on... but I honestly do not think I have ever included a rearview in any of my builds... because until just now, I NEVER even thought about it. Whoa. And yea the "box stock" description with all the extra stuff is pretty frustrating. The mold lines on tires is also grinds my gears... I think I could just chalk it up to all those lol. -
Input on a kit (72 Torino)
LL3 Model Worx replied to SCRWDRVR's topic in General Automotive Talk (Trucks and Cars)
That's a very nice model... Until I read your description I honestly thought it was a 1:1 at first glance! That reflection is what really had me fooled! Very well done! -
The General is looking the business! That interior and the wheel tire combo really set it off! Stellar work.
-
Disclaimer: This is just for laughs! What is your biggest pet peeve on builds you've seen? Mine, is when a build is otherwise stunning but they forget or neglect to remove the mold line on the top of the radiator... goes double when there's a bunch of money in aftermarket parts under the hood. it's like "oh that's a nice set of billet valve cover's but what about that radiator seem?" So, let's hear'em...
-
Challenge accepted! ?
-
Yea, didnt know that, very interesting... I assumed it was rather "used" from what I've saw so far. Some of the body Dimensions are just plain wrong when compared to the 1:1... but I'm sure if it's been worked like you say that would explain alot. I decided to go this "custom" route because otherwise it's not really worth building to represent an accurate Daytona when I know there are other kits that would make a much better foundation to start with. Still, hoping this turns out ok... a simple completion would be good enough for me.
-
Thanks. You and me both...she is evil. Like on a whole different level than "garden variety" evil. Really wish I would have molded those carbs though... they were the only 2 I had! But they were technically his, so I sent them "home".
-
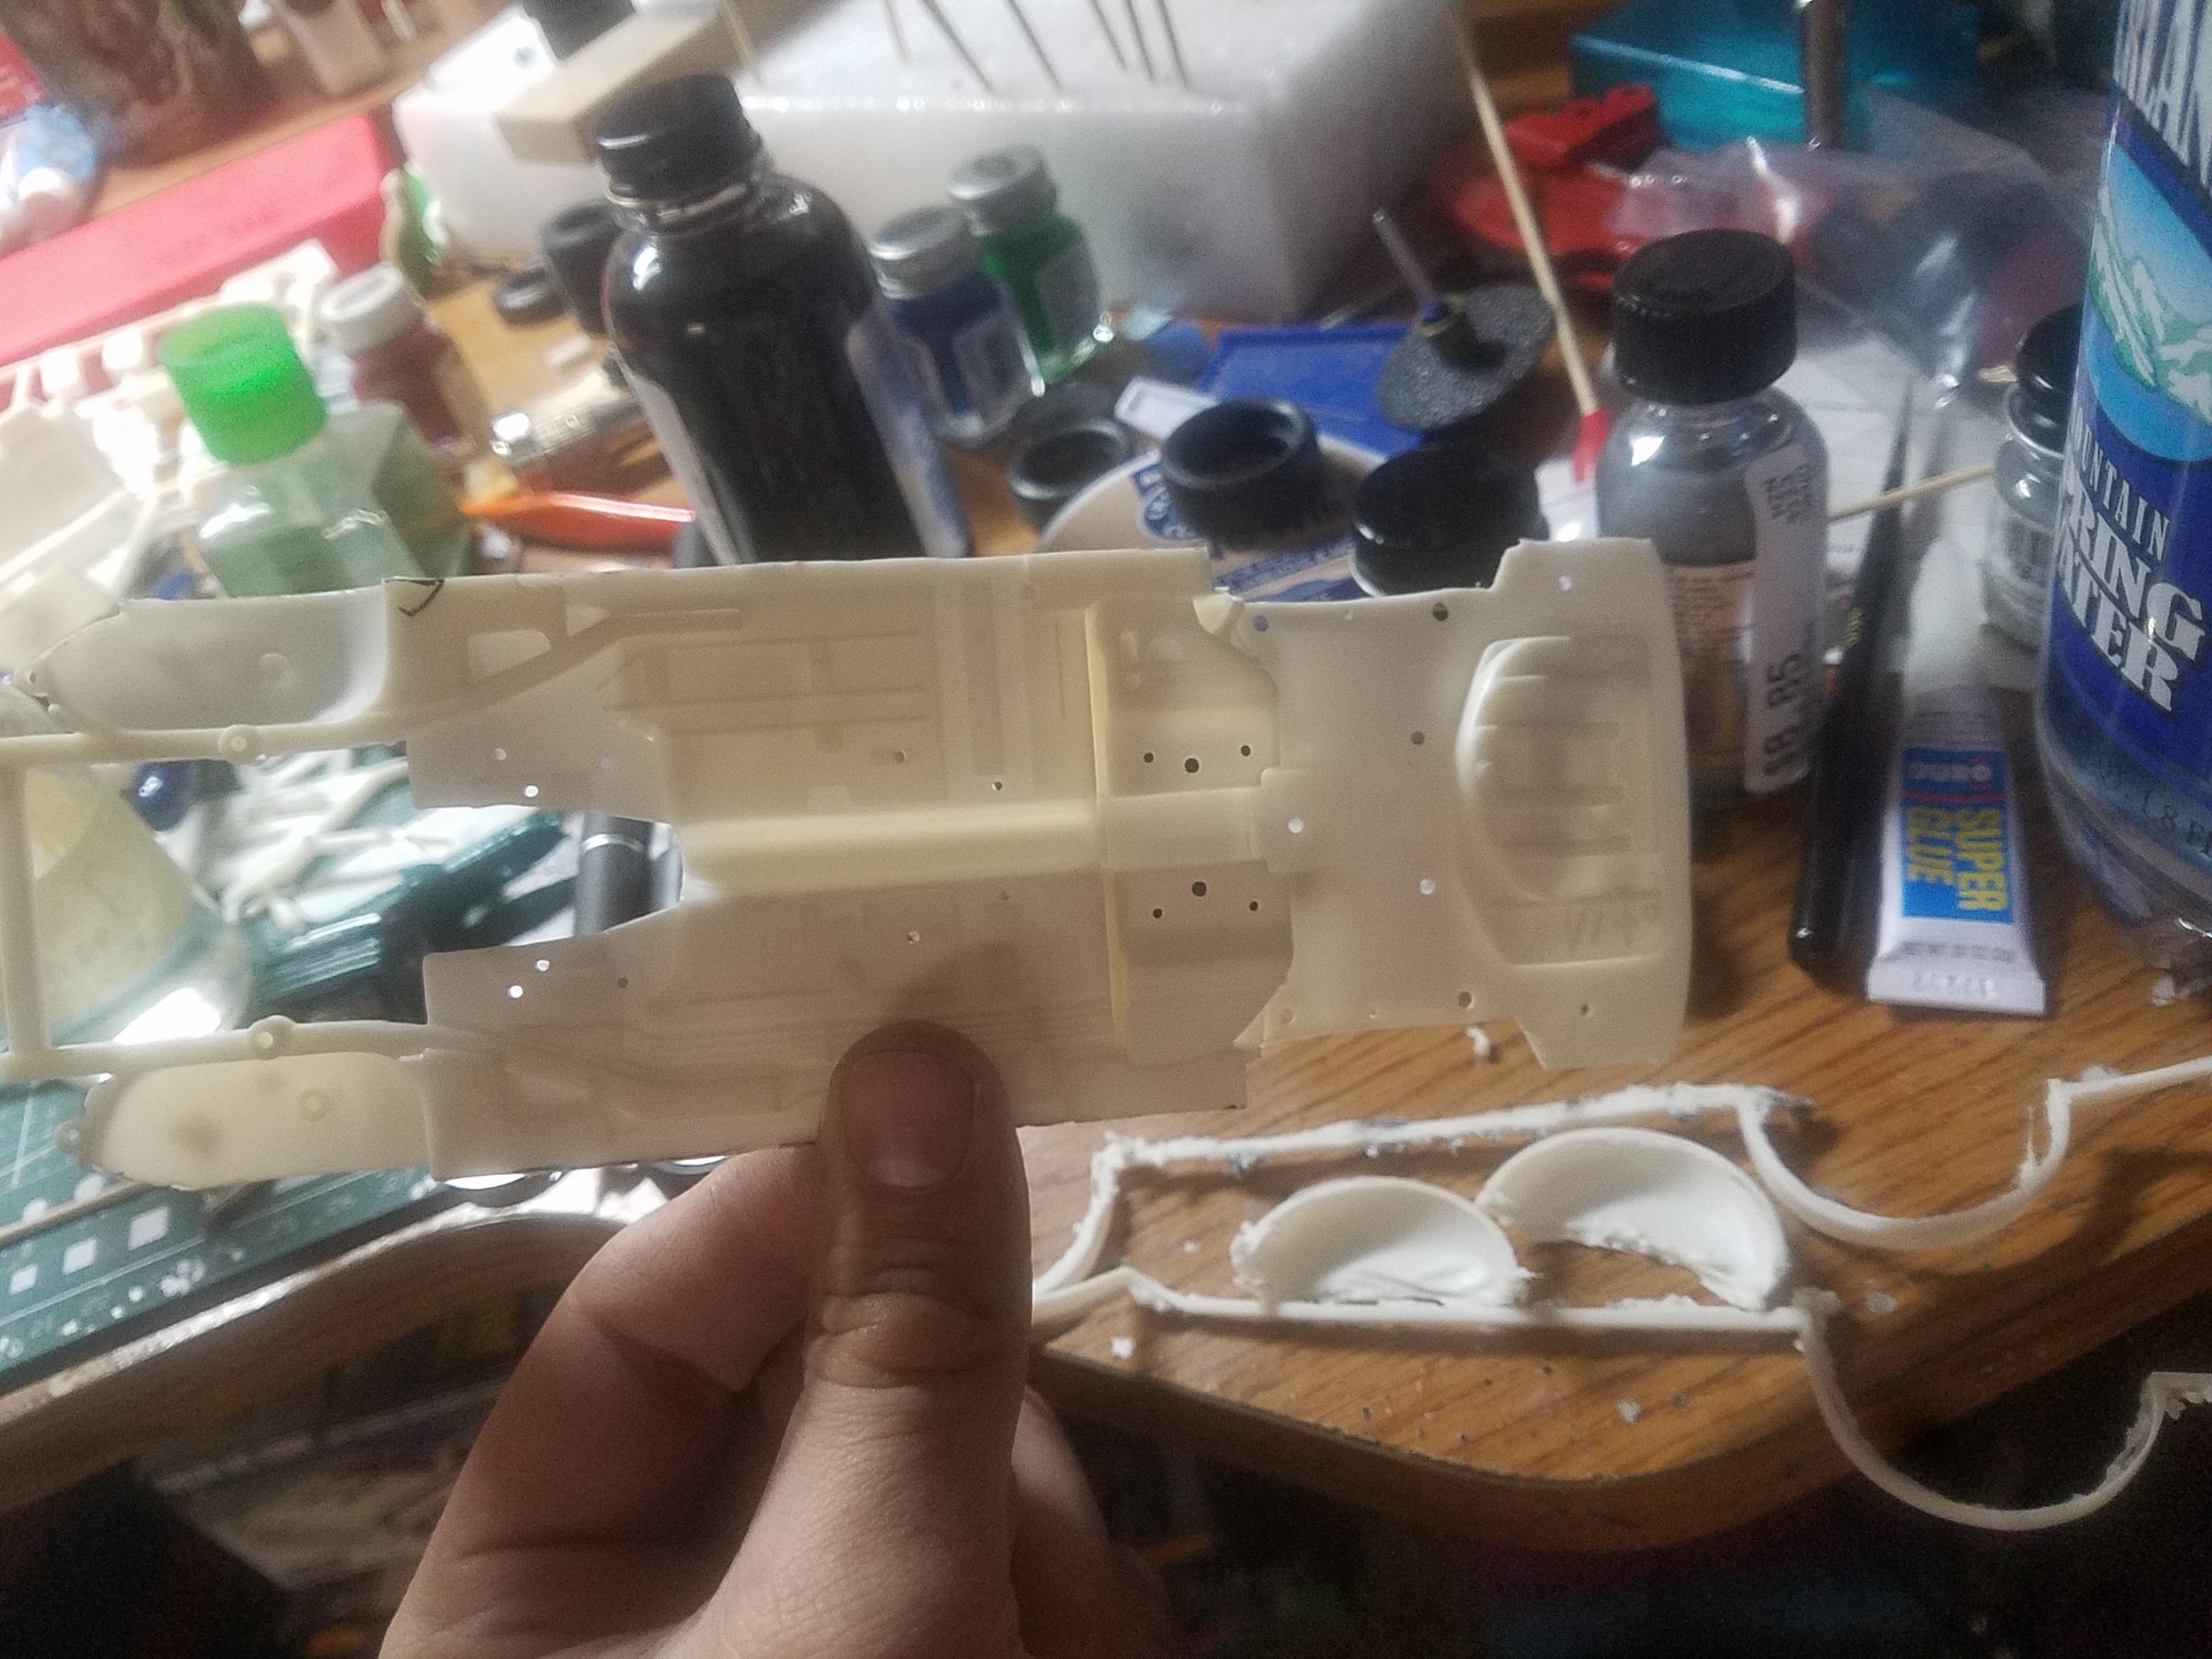
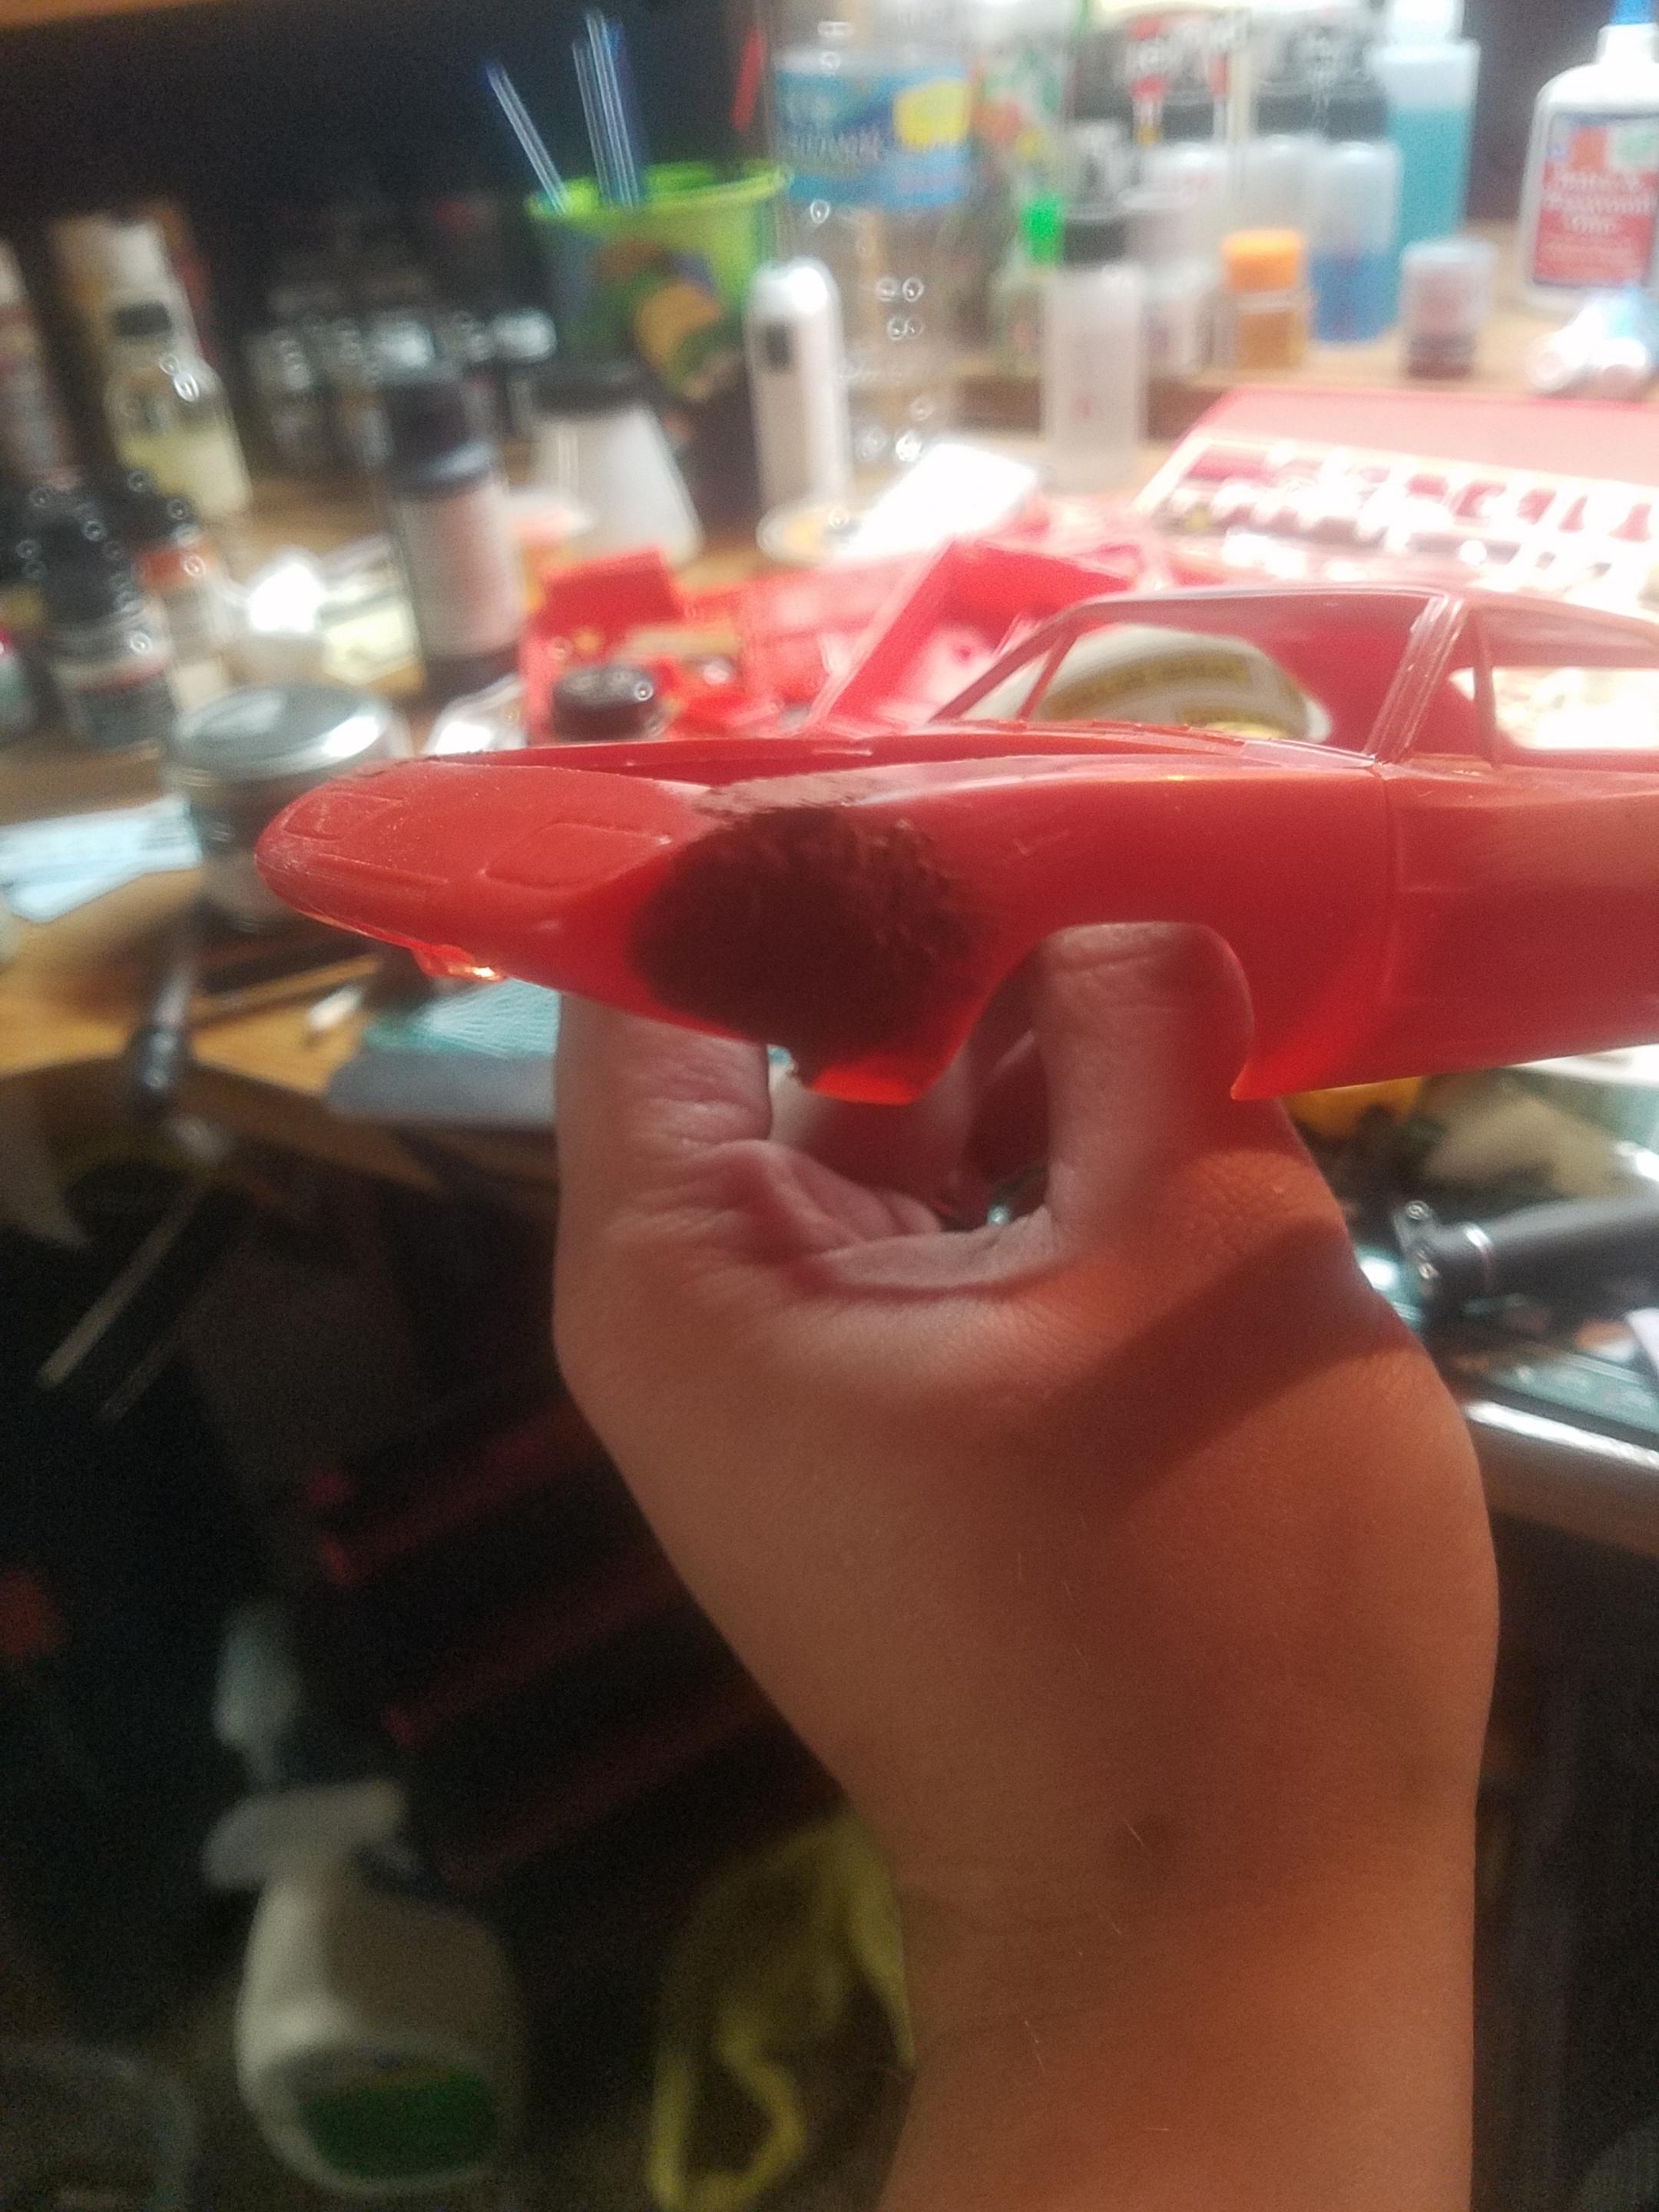
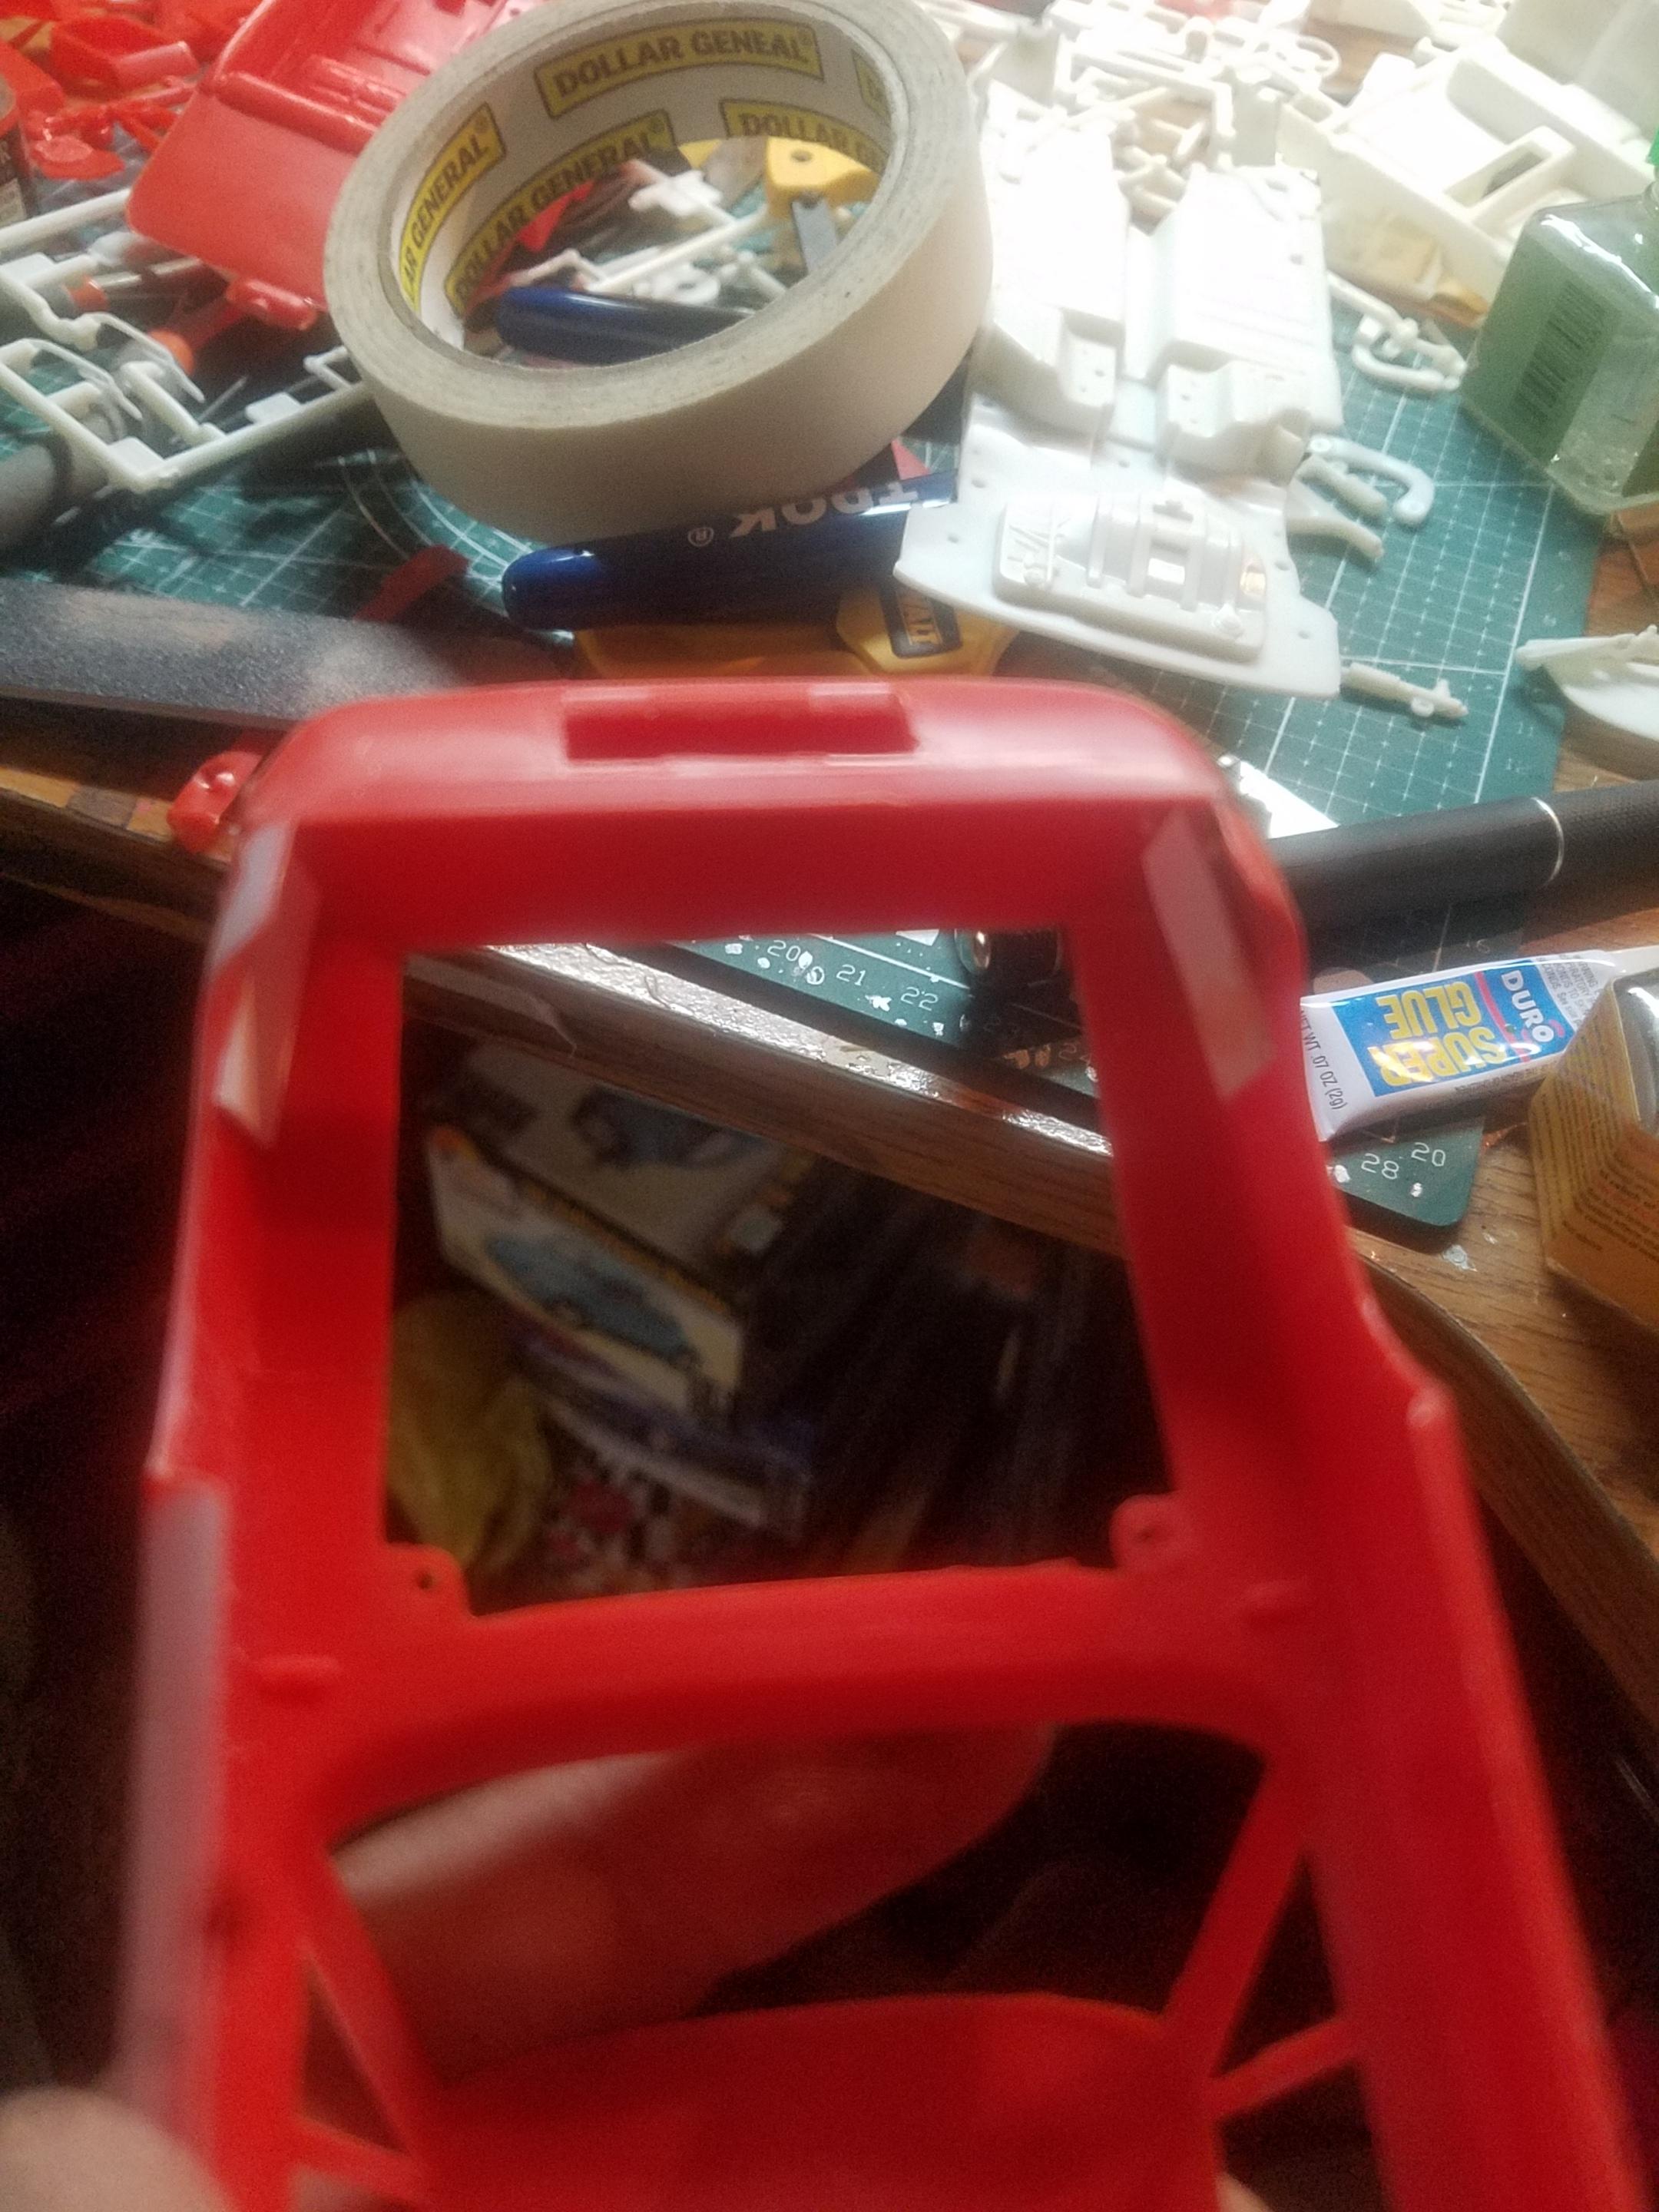
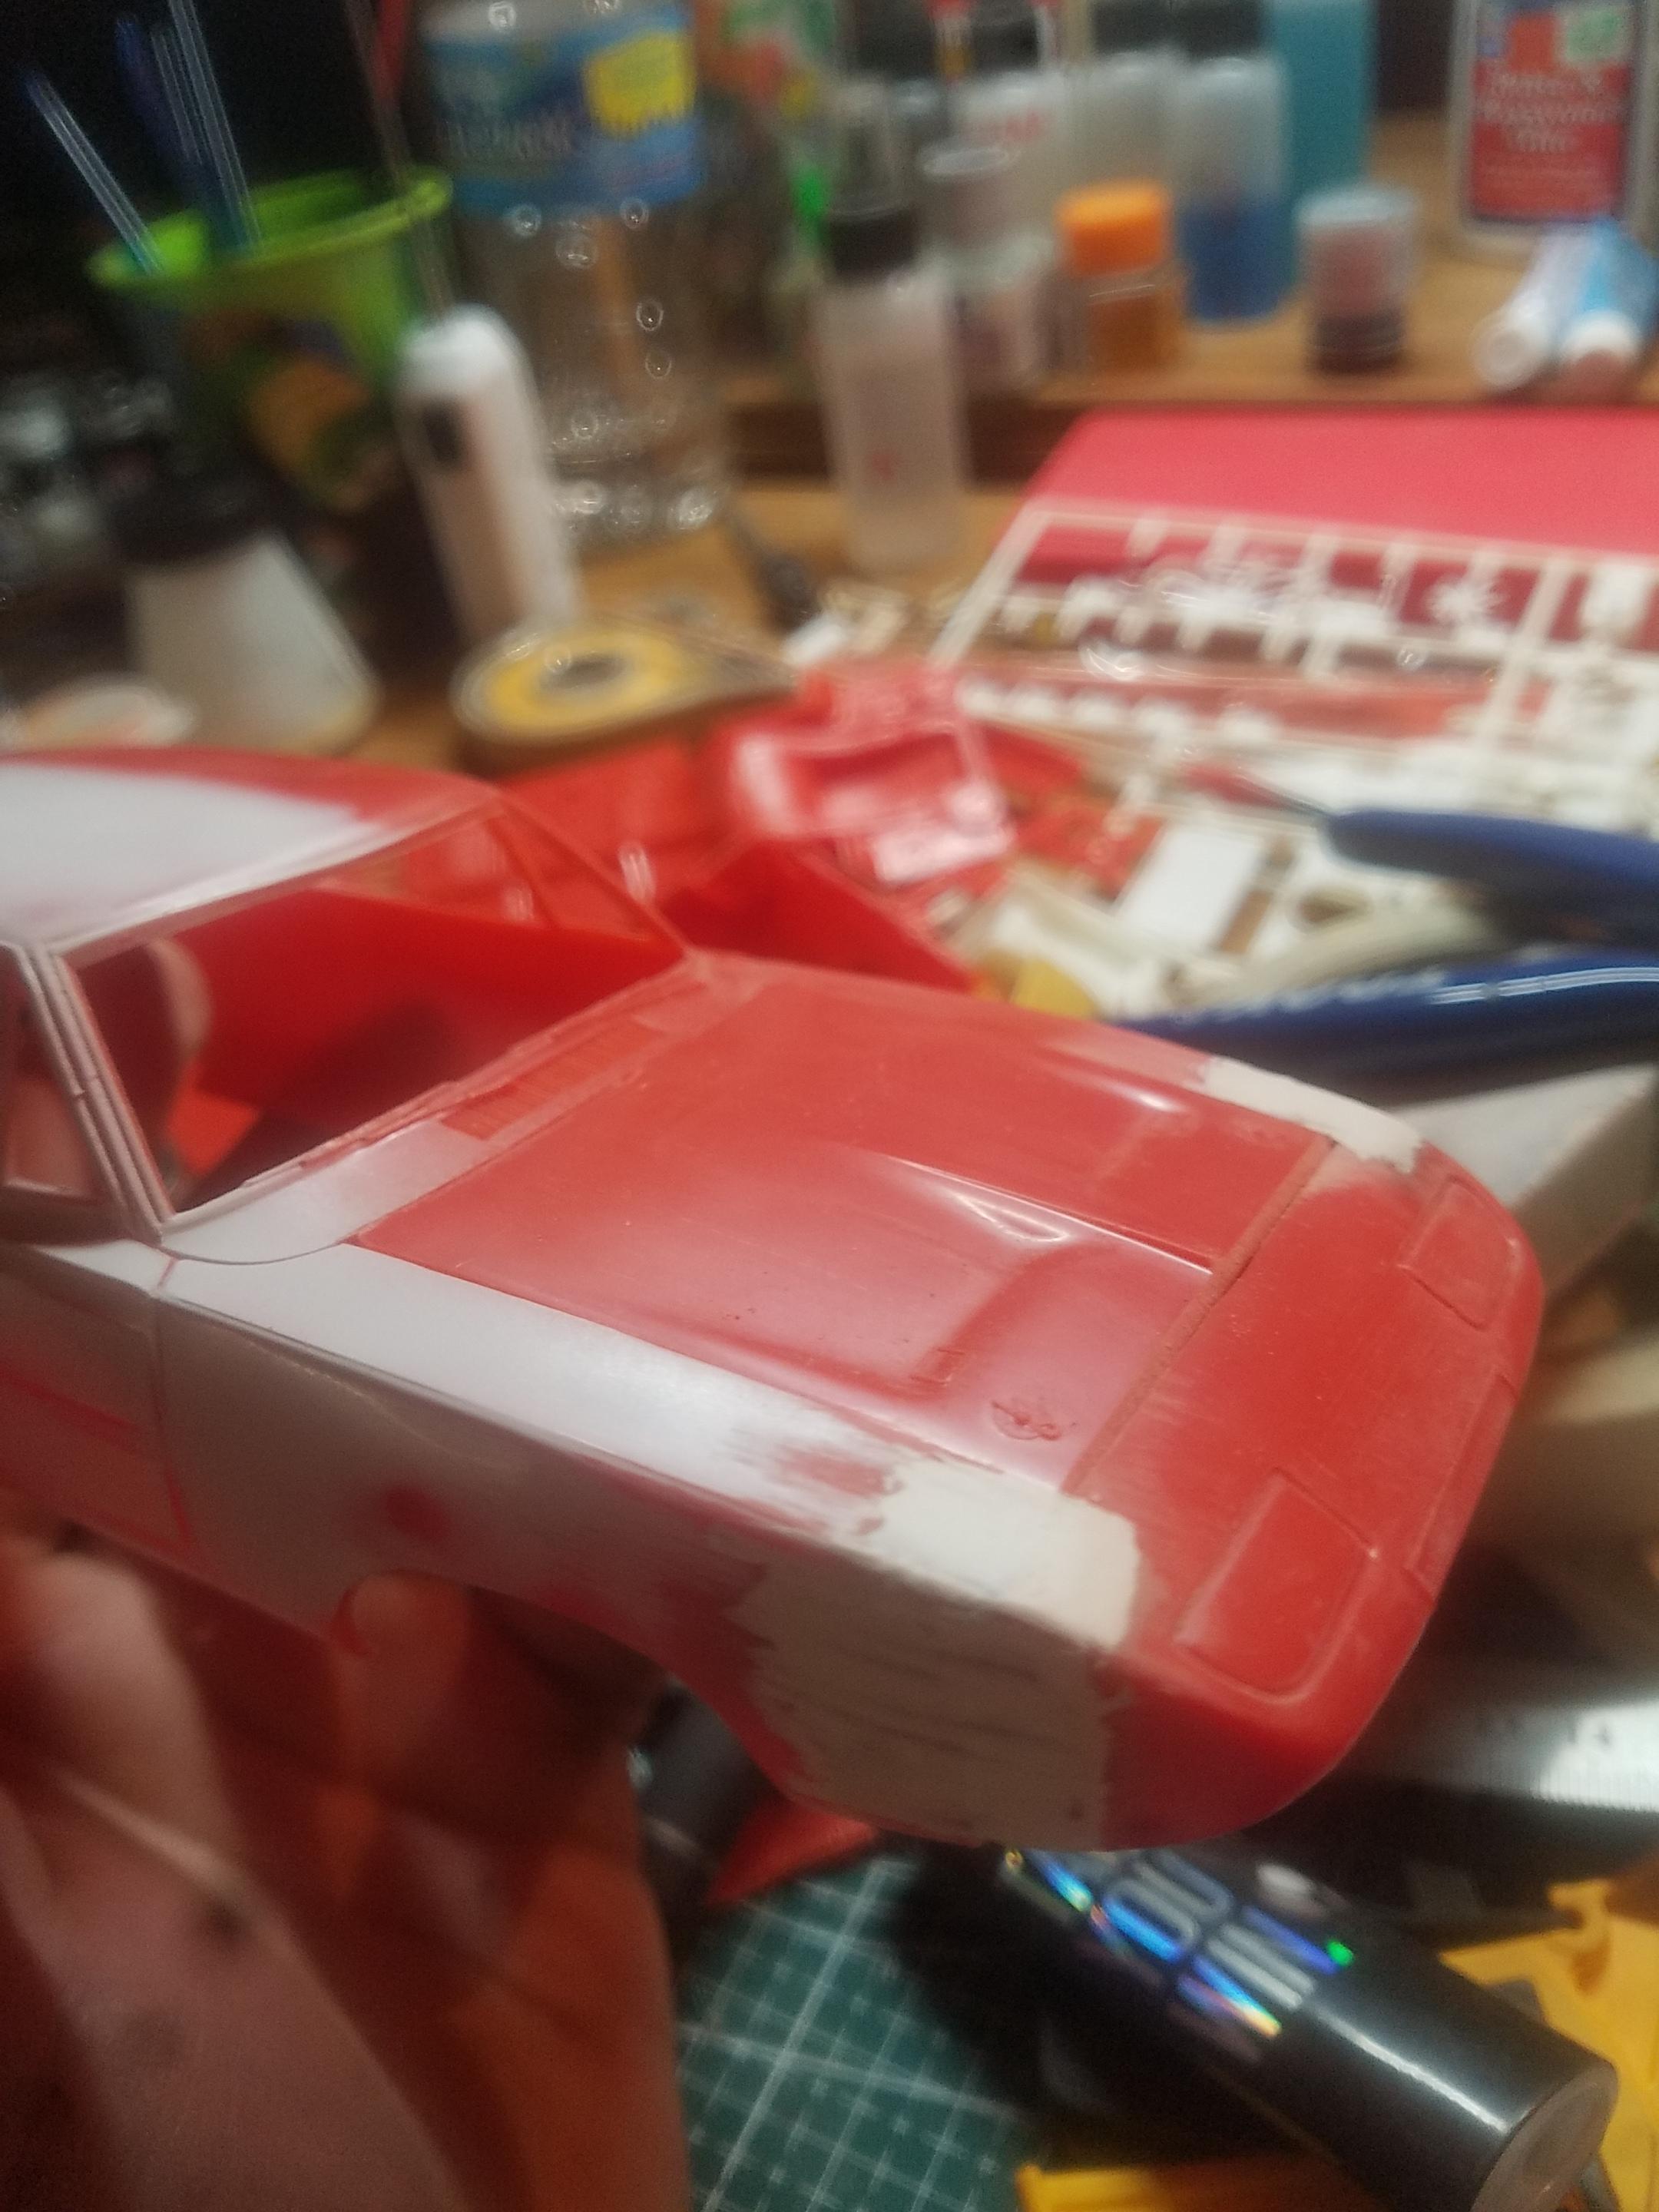
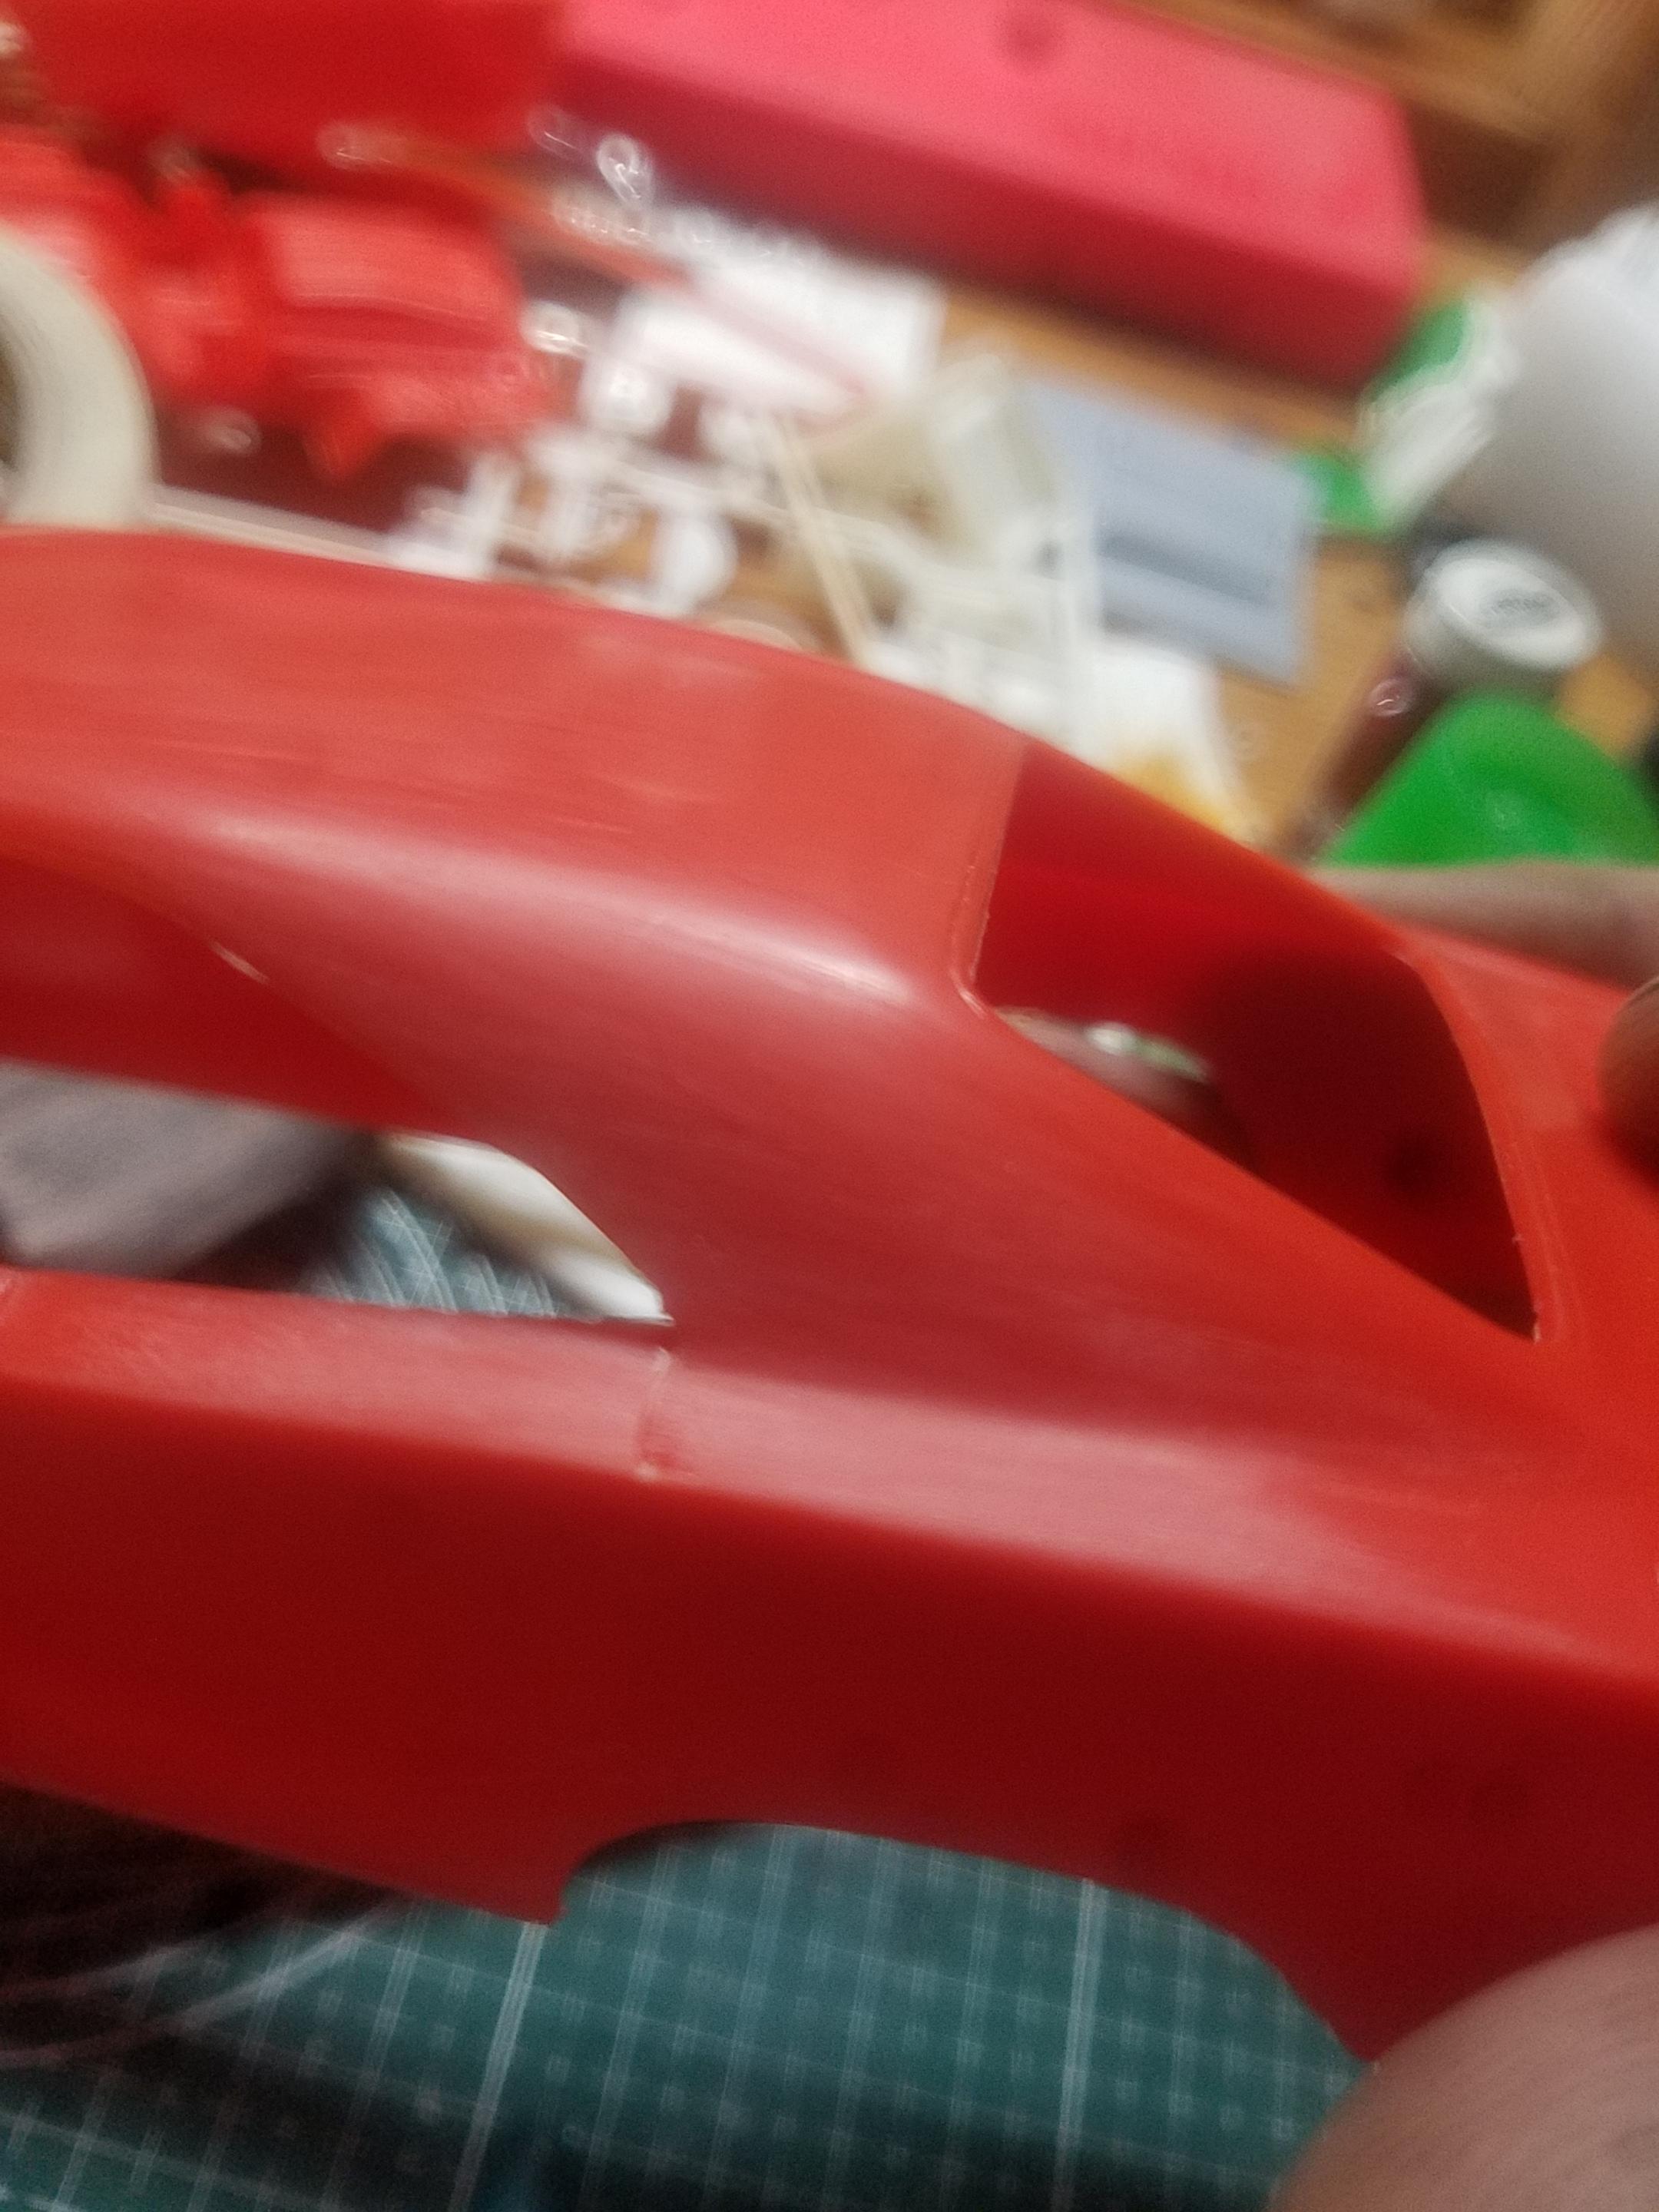
Another update... I worked all morning to get the front end and hood cut down. And do some more general body work. I typically work on 1 side at a time. So I done some filling/sanding and then a coat of Alclad white primer and some block sanding. I had to cut the chassis pan from the 300 to fit correctly in the Daytona body.. and have it line up properly as I want to retain the 300s suspension and drivetrain. I solved my real wheels back spacing issues and made them deeper by using the wheel backs from these very wheels and just reversed everything so the wheel back is on the front and the rim is facing the outside... neat little trick I figured out by fooling around with them. Still have strip them and get the alclad on the outer "rings" I managed to get the nose cone on and the gaps filled with some Evercoat spot putty I had in the 1:1 shop... it's a bit more durable and rigid vs the Hobby stuff. I had to cut some styrene strips (evergreen) to make some "locators/ supported for the nose cone. I also opened the lower part or the cone, as I'm going to make a custom intake/airbox. After sanding/shaping the spot putty, I spread a layer of Tamiya white putty, as it's much finer... kinda like "dolphin glaze" for 1:1. Also got the hood cut to fit, but still need to remove the hoodpins. And this is about what I want the overall stance to be like. the interior is gonna be a BEAR! I'll update again once I have more completed. Thanks for looking.

-
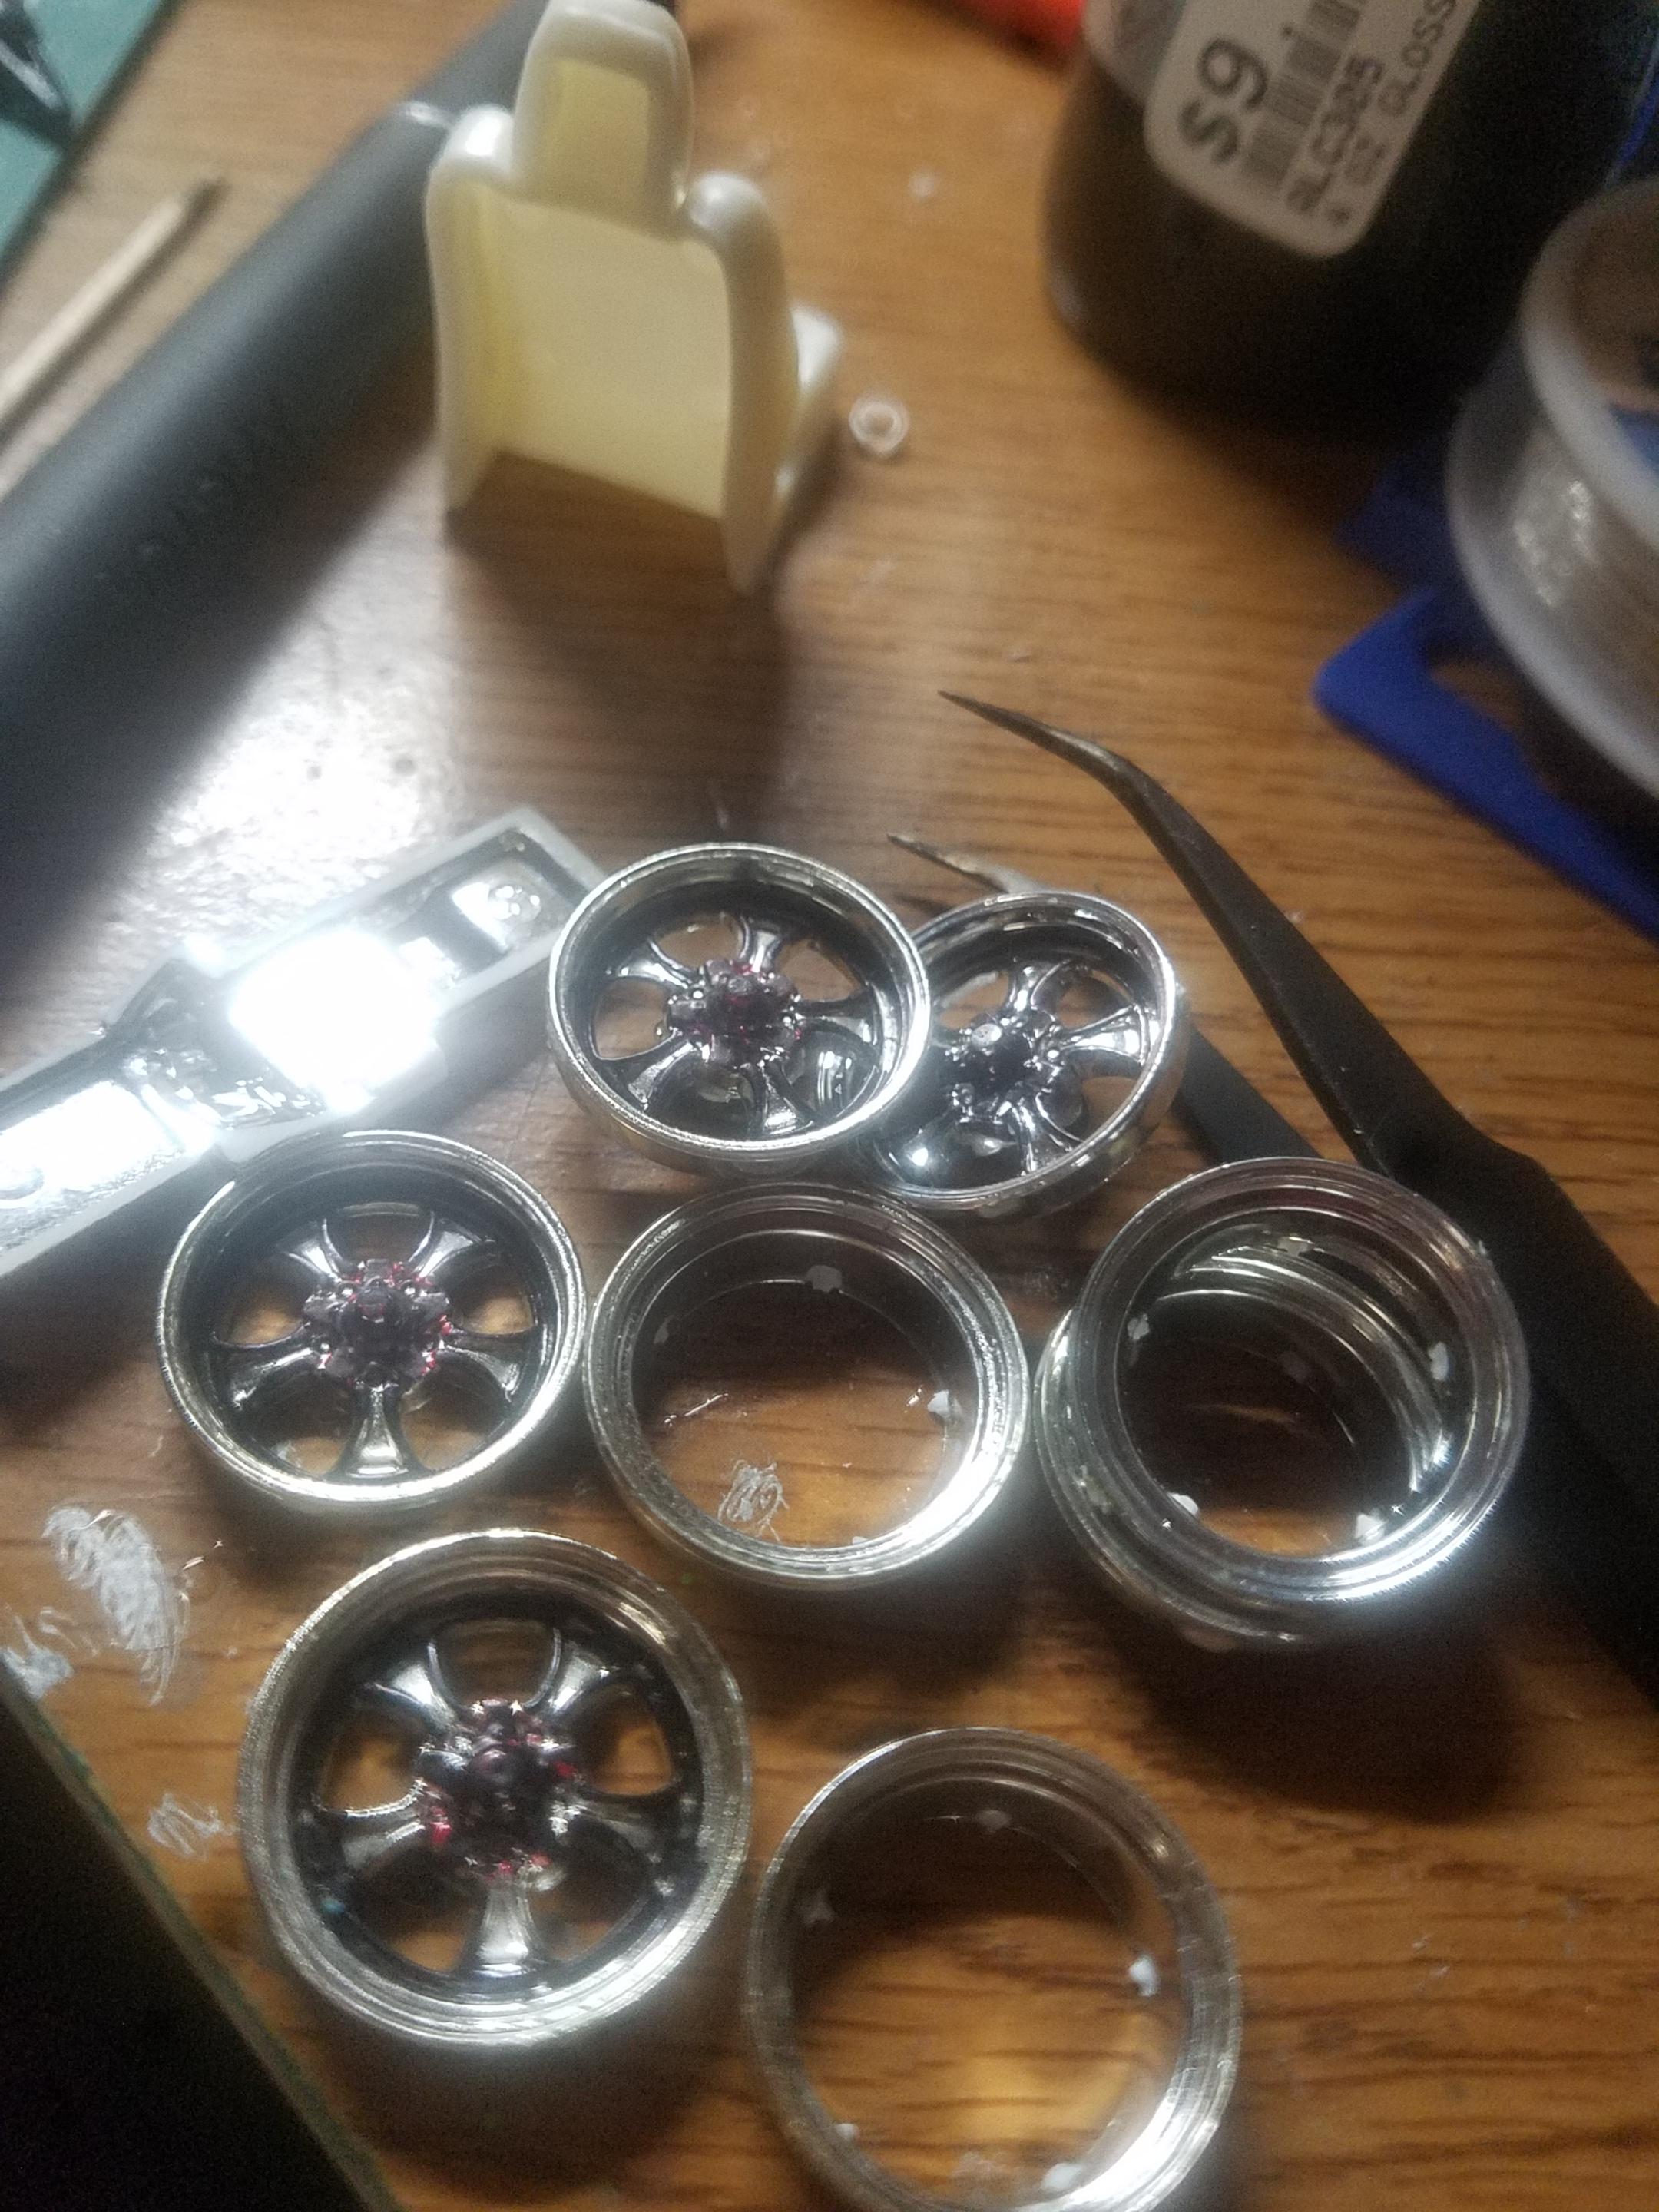
I have have the rubber for these wheels here, I was just wanting a bit wider pair for the rear... but no worries I think I have a workaround.
-
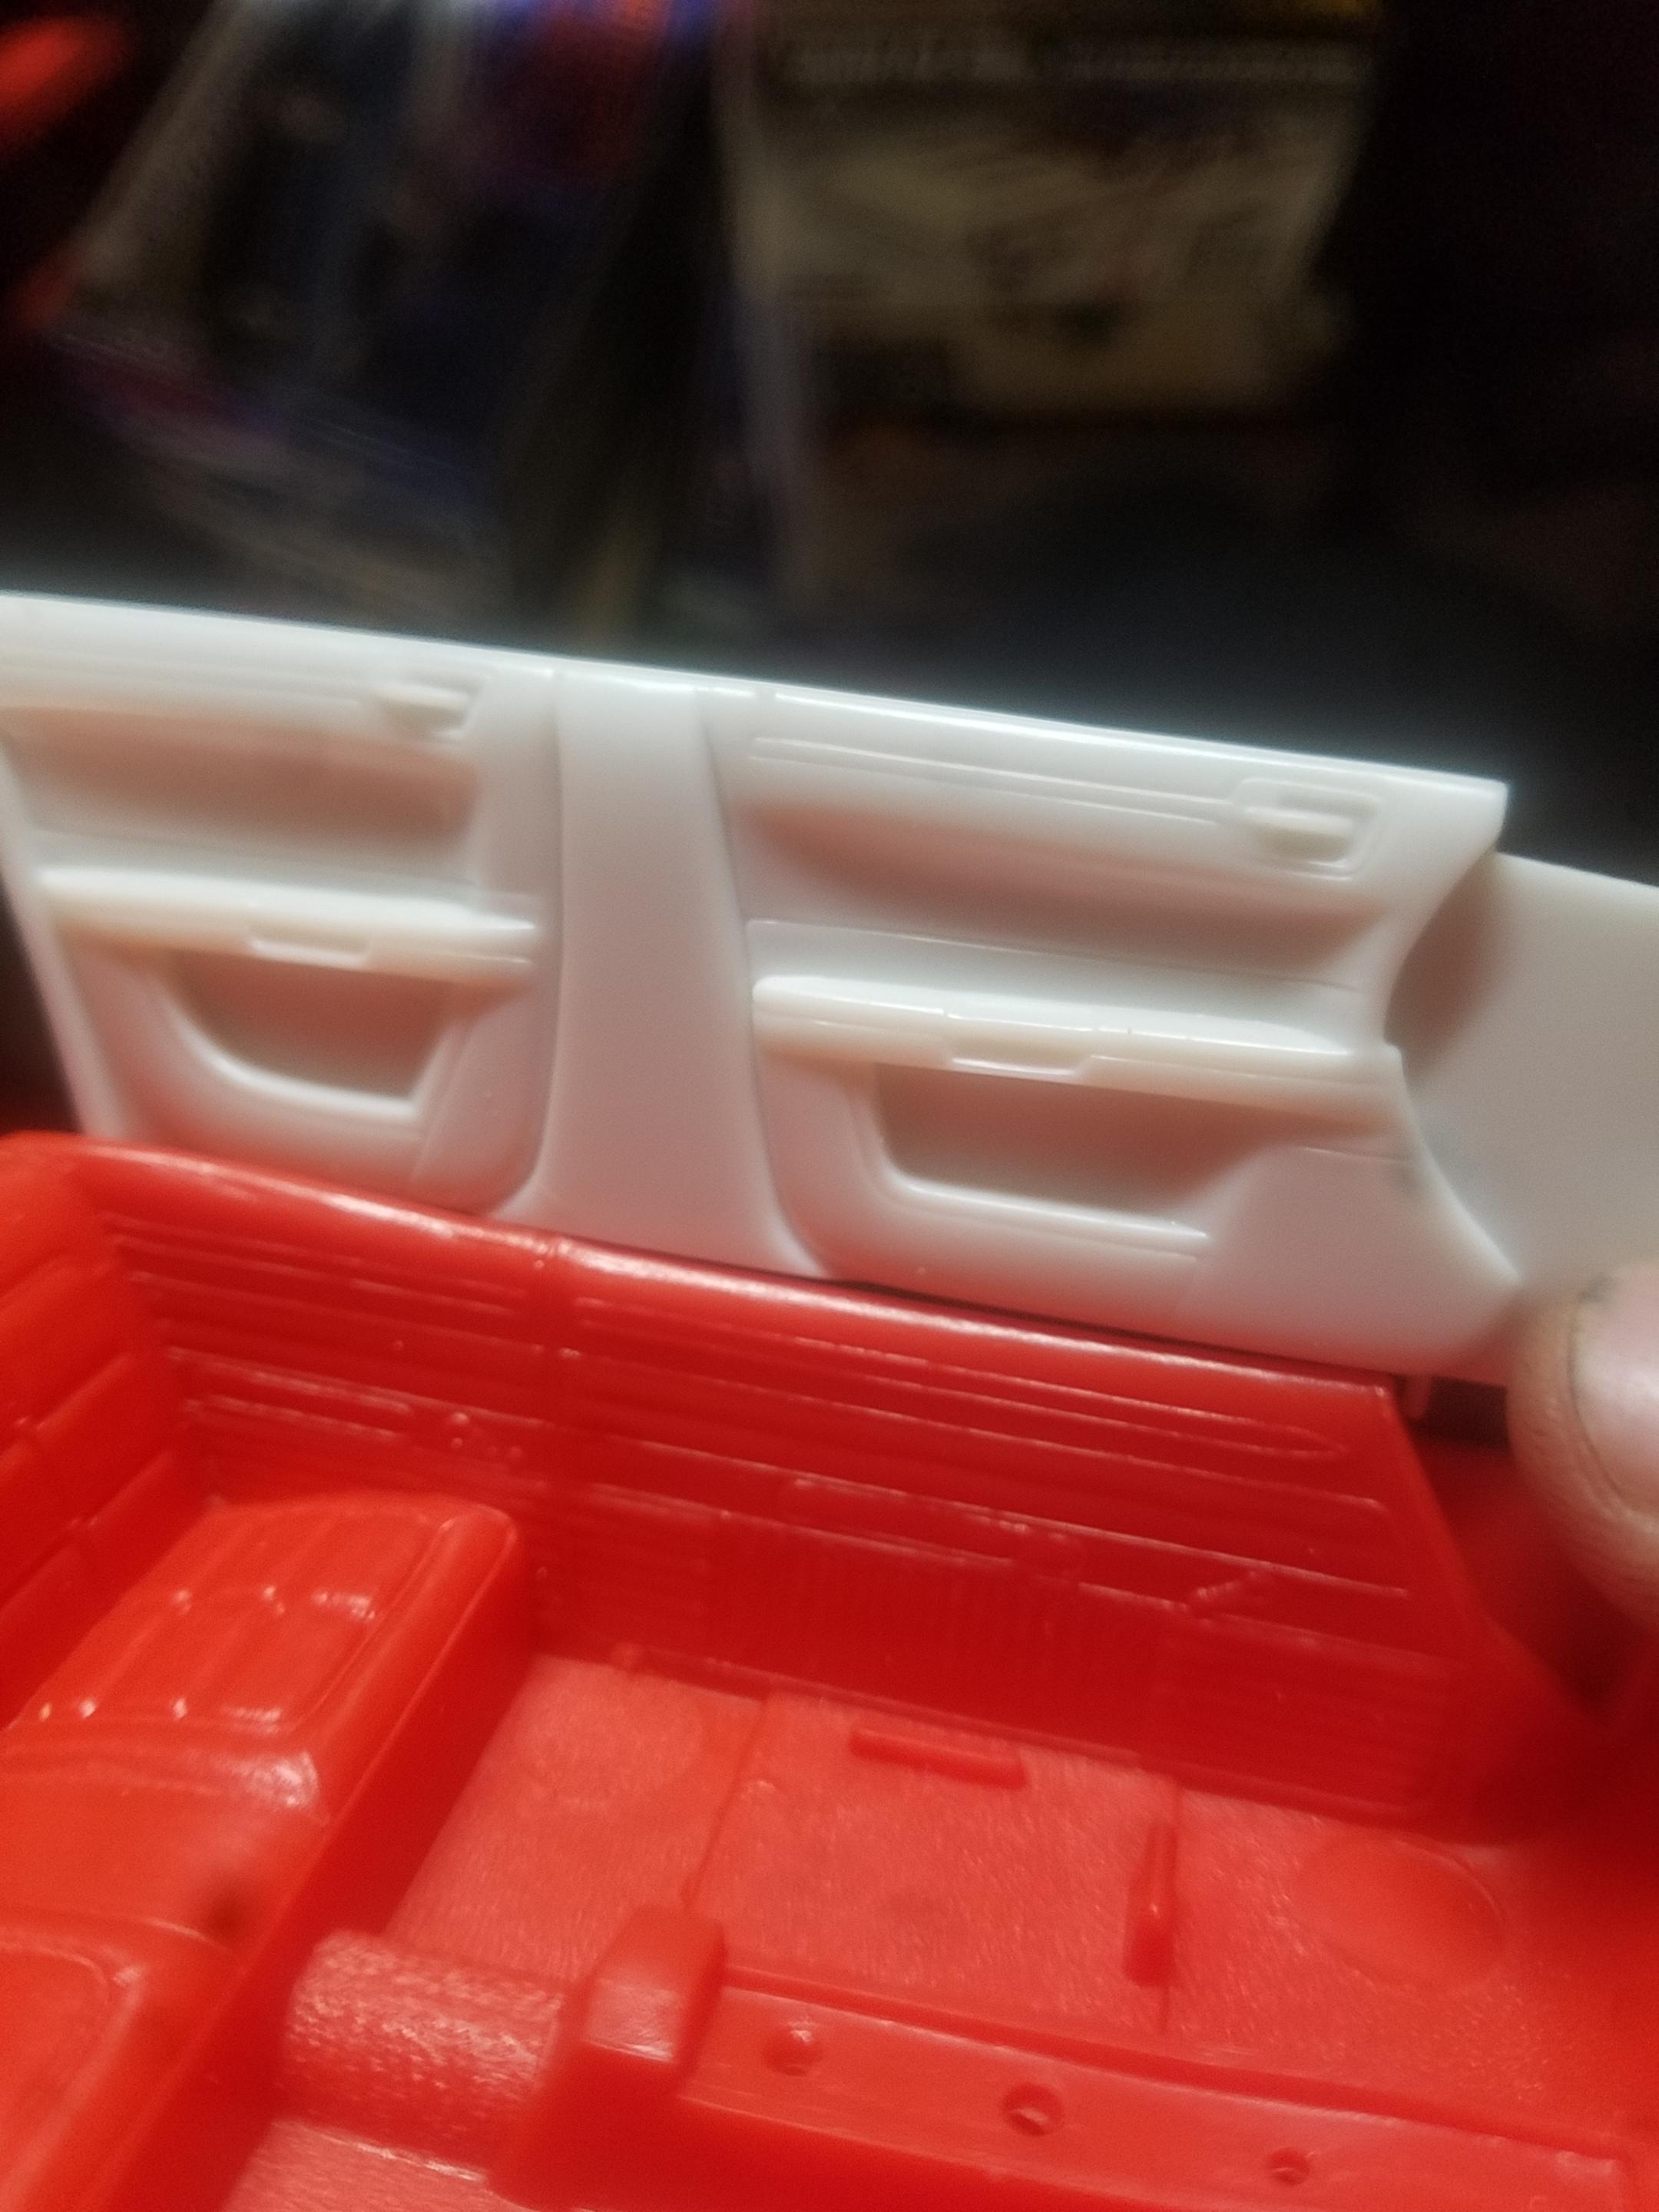
Ok, so here I've got the front fenders scribed for where I want to cut to shorten the front end. The black is just there for it to show in the photo. Here is where I have shaved the "door handles" (blobs that were crooked and uneven on both sides). This is a sink mark that's right on a mold line...(gonna be fun to correct) I got the engine pretty close to done, still have a few more parts to add and some detail painting to do on it, the engine color is a mix of blue, green, and Pontiac engine blue metallic. The manifolds are Alclad Chrome. And I put a hand grenade decal on the intake cover. Have to modify these door panels to fit the dimensions of the interior tub. Salvaged these wheels from the parts box, I think they came from some station wagon kit when I was a kid? Gonna throw them in some stripper I was going go use the factory 300 wheels and tires but felt I needed less back spacing in the rear... unfortunately I do not have any wide rear tires for a rim this size (and no clue where to get any) I've also contemplated making this a convertible... as I think that would look pretty awsome!
-
Jim, I really like what you have done here, this car is so cohesive, looks like I could jump in and fire it up. My only issue is the rear panel still needs the black or body color on it, but that's just me... I think it would make the rear view really pop.
-
1972 Chevelle SS 454 (Star Spangled Blue Lacquer)
LL3 Model Worx replied to Bills72sj's topic in Model Cars
Nice looking Chevelle, the paint work and color look the business...way to go! -
Looks nice Mike. I have a 65 Rivera body from when I was around 10 that that the rest of the kit has long since disappeared for so I am building a "post apocalyptic" car out of it. I've had it in the worx for about a yr now... guess I need fo get it finished. Maybe we could splice photo of our builds together to show "before and after" the apocalypse?
-
If you want some good easy to use liquid cement, either make the hour pilgrimage to Hobby Lobby or get that prime account ready. My entire building experience changed exponentially when I stumbled upon Tamiya extra thin in my local Hobby Lobby. It goes a very long way and is very easy to work with as it has a tiny brush built into the cap. Also, for clear glue I like to use Crystal FX. Also bought at hobby lobby, it comes in a syringe with a fine needle point and a few different viscosities. Both of these adhesives have changed my building and my overall experience by leaps and bounds. As far as other stuff, I frequent the Dollar stores for super glues. The only place I seem to be able to get the orange bottle of Tamiya (thick liquid, with a broader nail polish sorta brush) is ordering from Japan. But its excellent stuff in certain circumstances. Other glues I keep on hand. Elmer's, Tight bond, Loctite 5min epoxy, Aleenes Tacky glue, and the trusty Testors red/blue tubes.(I have quite the collection from childhood that has somehow remained viable) The red is slow setting and strong once dry but also harder to work with. The blue is just on my bench for decoration, as that stuff is beyond useless other than smelling like chemically Lemon.