LL3 Model Worx
-
Posts
1,081 -
Joined
-
Last visited
Content Type
Profiles
Forums
Events
Gallery
Everything posted by LL3 Model Worx
-

48 Ford Minnesota Highway Patrol, Boss 429
LL3 Model Worx replied to stevehansen's topic in Model Cars
Beautiful model, love that color on that car. Very nice work indeed! -
One of the best 1:1 satin paints I have ever used or seen is pretty hilarious as it is Valspar tractor and implement paint bought at Lowe's... We used it on ALOT of 1:1's as not only tough, it has the right sheen with no need for any topcoat of any kind. It beat any of the top "automotive" stuff we used (Duplicolor, Dimensions, PPG, etc...) at a fraction of the price. So, if you ever need satin black on 1:1... get some Valspar at Lowe's. Forgot to mention that is very nice work Snake, glad you got rid of the Skull n Bones...
-
Looks like it's taking shape. If you need any parts I've got several of the lindberg 64 330 kits... Watch out for that ignition coil, the carpet monster LOVES those!
-
"Bring Out Your Dead" Completion Build--ROUND 2 Is On!
LL3 Model Worx replied to Snake45's topic in WIP: Model Cars
Yea, acetone isn't lacquer thinner hot in most cases. Problem is I painted this thing 100% acrylic. Now, it has had well over 16 months to cure lol, but I'm still uncertain the acetone or even Lacquer thinner wouldn't somehow lift or eat the paint. Guess I'm gonna have to try something either way. Worst case I strip and try and duplicate the paint job. I've kicked myself ever since the "incident". But I have multiples of this kit, so I can just retry if all else fails. Come to think of it, if it fails I'll just shoot it gloss black and make it the "returns car" and then try the 89 Car on another kit. -
I snagged 4 of these are Ollie's over the past few weeks... I think they averaged out to about $8 a peice... If nothing else its well worth it for the wheels tires/ drivetrain.
-
"Bring Out Your Dead" Completion Build--ROUND 2 Is On!
LL3 Model Worx replied to Snake45's topic in WIP: Model Cars
Yea, it's a real pain... I do remember it was a long drawn out process, had to paint in extremely thin (think overspray) coats to achieve the right color/sheen effect. You wouldn't think "black" would be that difficult, but this was/is one difficult cookie to crumble... especially in scale. It took me days worth of research/reading and testing to come up with the right approach... and now I do not know what that was. All for 1 spot of super glue! Oh well, I'll try for an update with pics here soon, in the meantime this was it in the initial build phase.. Disregard those bronze colored wheels, that is definitely not the final result.
-
"Bring Out Your Dead" Completion Build--ROUND 2 Is On!
LL3 Model Worx replied to Snake45's topic in WIP: Model Cars
I guess I'm gonna resurrect the "Blundermobile" (amt 89 batmobile) out of its box next and try and fix my fail... Anyone know how to get CA glue off a paint job without ruining the paint, I'm all ears! If I have to strip and repaint I'm gonna be a very unhappy camper, as it was a very difficult color/sequence to obtain, and me (like a dummy) didnt write any of it down!! -
"Bring Out Your Dead" Completion Build--ROUND 2 Is On!
LL3 Model Worx replied to Snake45's topic in WIP: Model Cars
I got it done today before work! Excuse the bad lighting, I'll have to make myself a "photo box" for future posts. Little bit of a cruddy tan interior.... I made the "carpet" from card stock, that I got damp and scrubbed with a wire brush. Then a few washes of tan paint and done. About as "done" as I'm prepared to make it. I may eventually attach some mirrors and some other small stuff like an antenna, but other than that, its finally a wrap after about a year in the box.
-
"Bring Out Your Dead" Completion Build--ROUND 2 Is On!
LL3 Model Worx replied to Snake45's topic in WIP: Model Cars
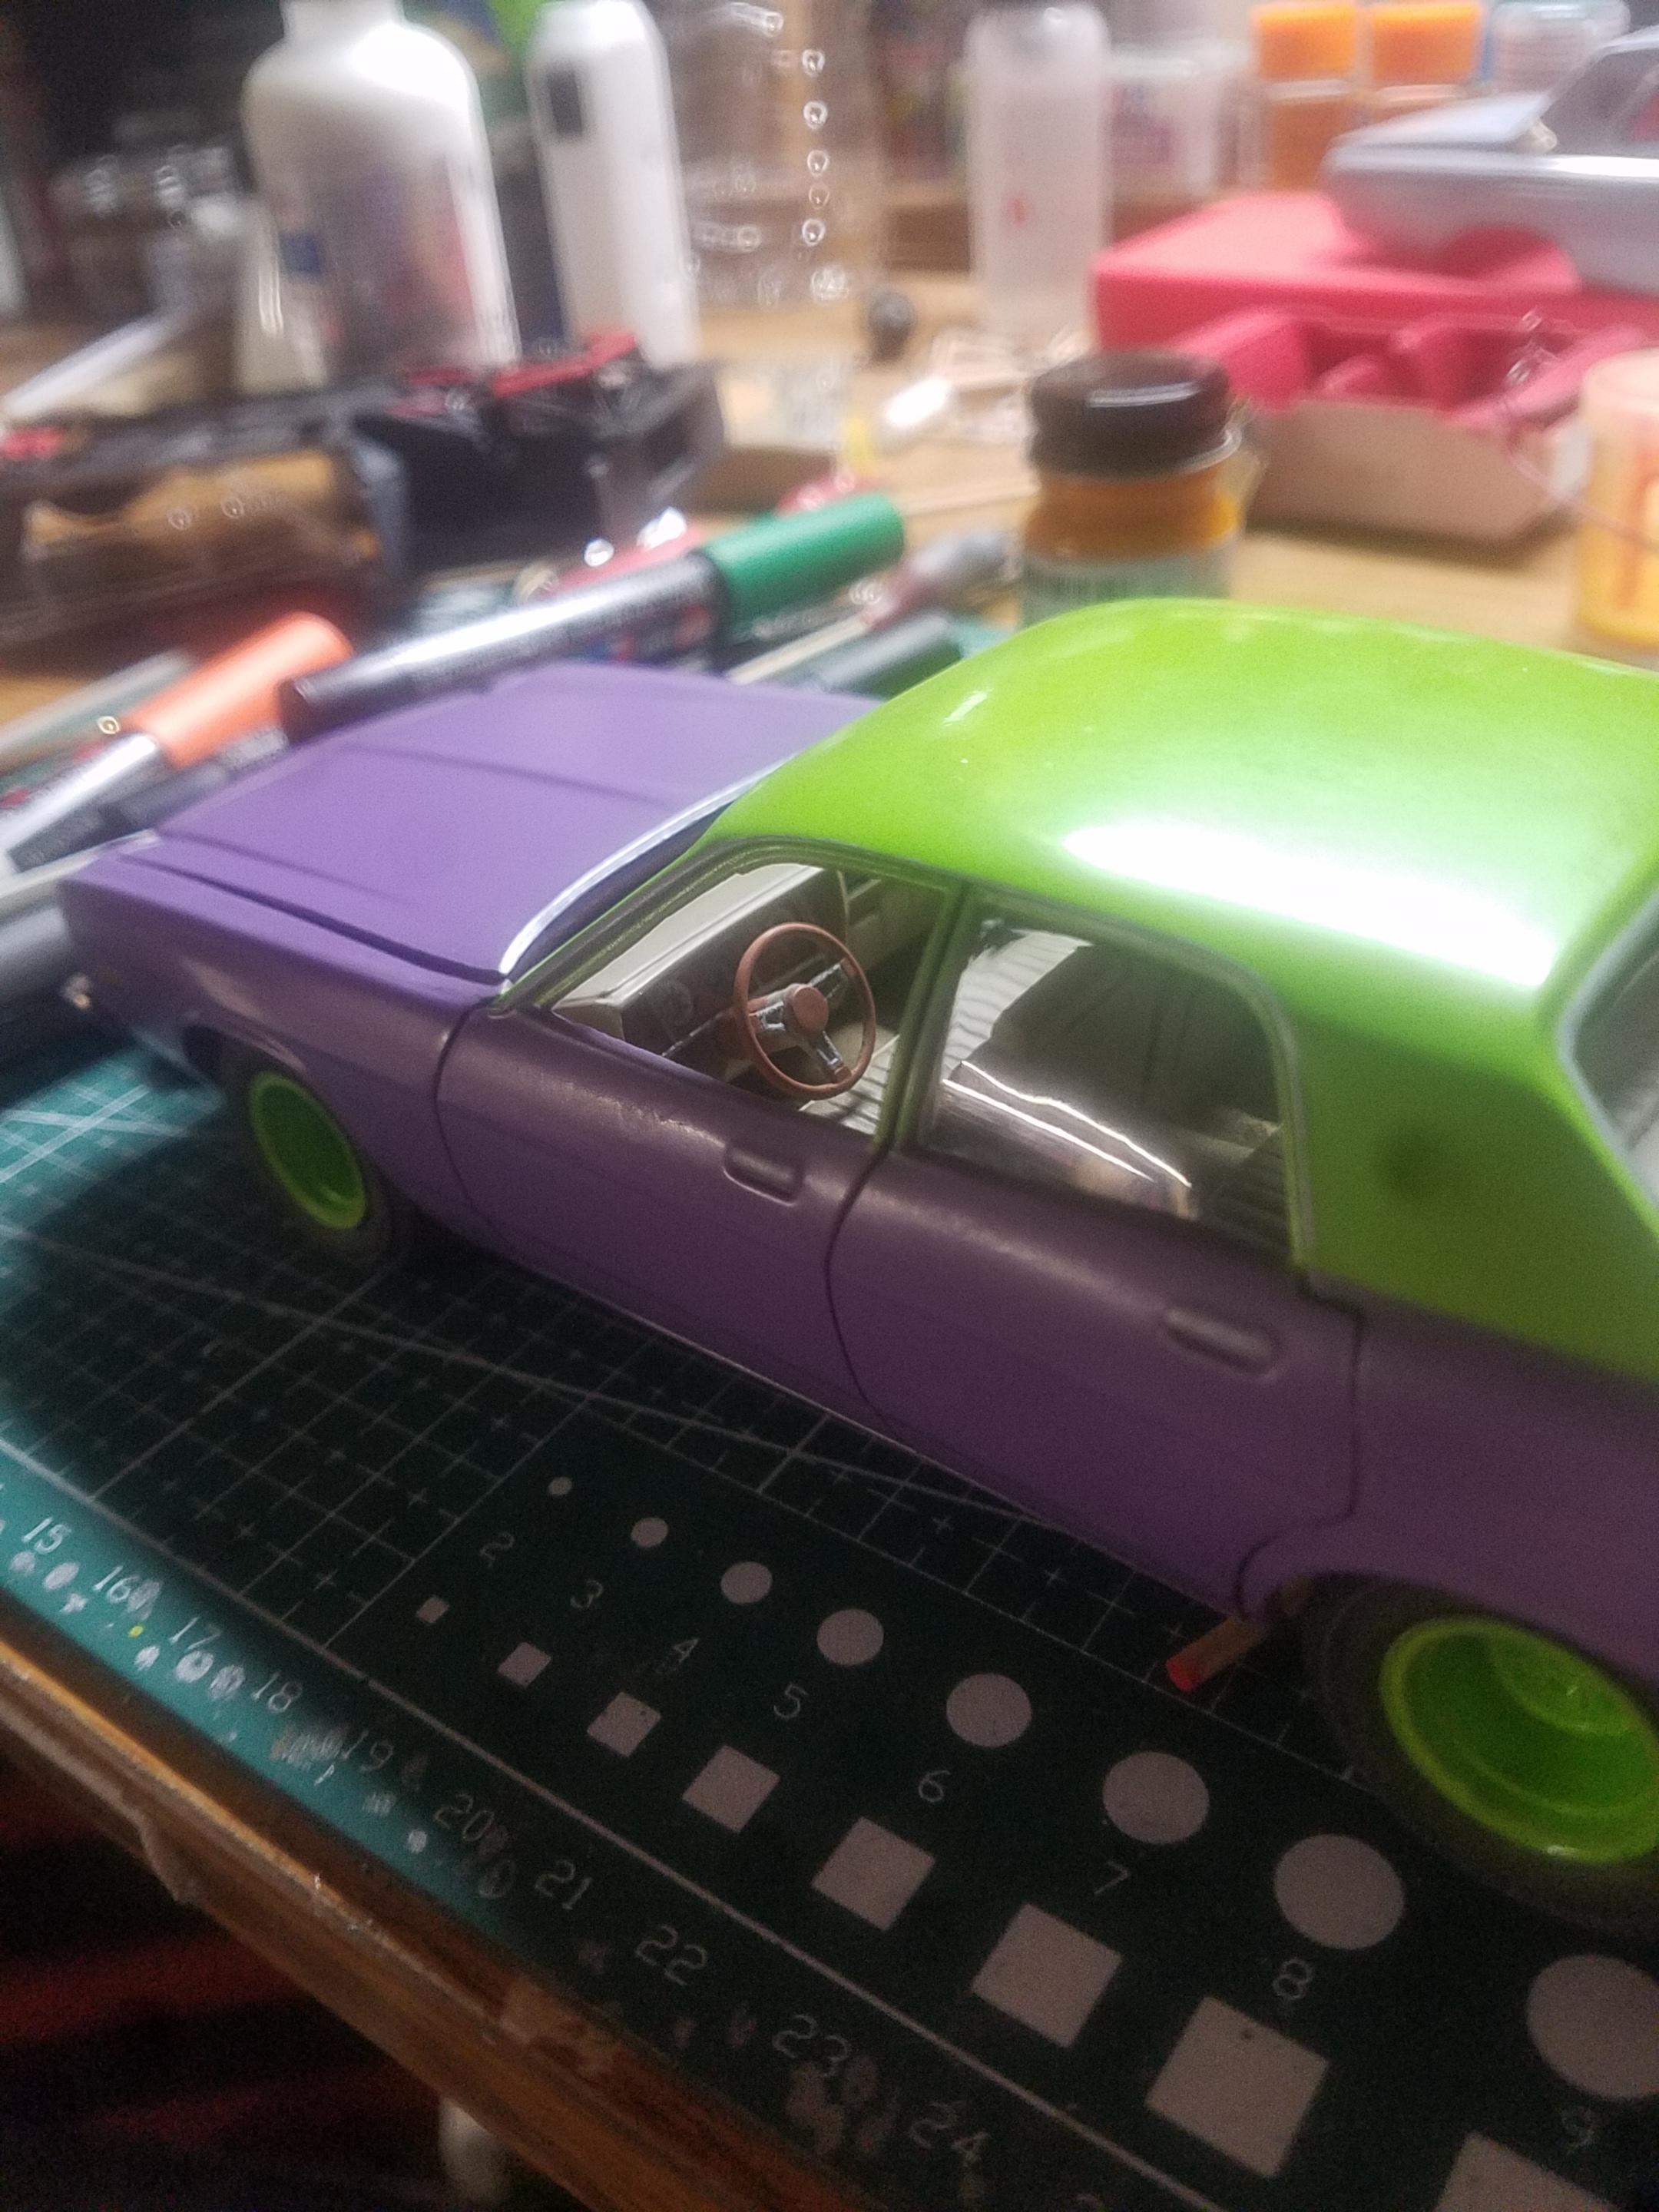
Ok, I've been motivated to make "another go" at it... The Joker "Goon Car" has been in the box since last year, after 3 unsatisfactory paint jobs. Round 1: Since this is meant to represent a quickly/badly painted getaway car I tried doing the body with a can of rustoleum 2x "lavender" over a black primer base to darken up the purple... well the paint went on excellent, it actually looked too good, but the color was way off. Still far too creamy and not enough purple. Round: 2 (this is where it gets hairy) I decided I need a darker purple... so, I go into the ridiculously large stash of nos model master spray cans and pull out some candy grape metallic (what was I thinking) so, being impatient and wanting this thing over and done, I decide to shoot from the can instead of decanting... (rookie mistake) the no pressure can (and the idiot operator) commenced to hose the body with a transluscent globby mess reminiscent of grape jelly until the car looked like it belonged between two peices of white bread with the crusts cut off. So, instead of stripping (keep in mind its supposed to be a "junker") I sand the majority of the smuckers off. Round 3: I mix up some purple enamel for the AB and I selected Napolionic violet and with a shot of plum crazy, and commenced to shooting the body, it turned out pretty decent, except I failed to realize Napoleonic violet is a FLAT color, and I didn't really want to put a clear on it. So,I just went ahead and taped off and shot the roof with sublime green, which turned out great. But by this point I was burned out, and still unhappy with the body, and then realized in my frustration and haste I had forgotten to paint the hood. I'll unveiled the body a little later but here is the engine/chassis I've that I've gotten nearly complete. So, turns out I only have this one pic, ill post more tonight after work.
-
I made it halfway through the driver side drip rail on a Nova and mine quit... it was new and the first time I had used it with the exception of the guage bezels and glove box knob... Since then it has been finicky at best. By storing upright, do you mean tip down or tip up? I've been storing tip down with the cap on tight.
-
When the project dies. Or does it?
LL3 Model Worx replied to Jantrix's topic in Model Building Questions and Answers
I may just do that! Either gonna be the blundermobile, or perhaps the "Joker Goon car" as it is neatly finished, I just lost interest after being unhappy with the paint... went through 3 different paint jobs and never did turn out like I wanted, so back to its box it went. But, now I'm inspired so I'm gonna finish it. -
I've got a 68 hood that will work if you need it.
-
Source for Number 11 Blades
LL3 Model Worx replied to Tom Geiger's topic in Model Building Questions and Answers
I've used the Z series, and I cant really tell the difference in them honestly. I bought some off brand #11s from Amazon, pack of 100 for like $6 and they aren't too bad. They came in a plastic pack and were wrapped in brown wax paper coated in oil...so I'm assuming they have a decent carbon content. They do not seem quite as sharp as my real x-acto blades, but they make great blades for general use/utility I use the real deal where it counts and the cheapies where it don't. -
When the project dies. Or does it?
LL3 Model Worx replied to Jantrix's topic in Model Building Questions and Answers
I currently have 3 kits that are in "seclusion".... One of those is the 89 Batmobile...that I got 99% done, really took my time and done MAJOR research and work to get the paint and other colors right, went through the trouble to run fiber optics all through the model, and the only thing that rekt it all was those stupid little round peephole windows on the rear bulkhead behind the cockpit... I was putting them in and got a smudge of CA glue on the body.. BOOM! Back to the batcave!! Luckily I have a few of these kits so I can try agian later when the smilex wears off. The thing was a real beauty. The other two I dare not speak their names. I will eventually build every kit in my current stash (hopefully) wich is modest compared to some at just shy of 100 kits. Even the ones that get shelved, I always eventually pull them back out and "finish" them, in one way or another... otherwise it will drive me nuts knowing I have boxed up some of my own failure. If I don't plan out the entire build I find I get bogged down in the details and eventually start losing my direction. This thread has inspired me to finish a kit! Thanks for that. -
Thanks, I'll try that out. I've been storing them tip down, thinking that may keep the fluid in the right direction, but that alone is a bust. I have honestly came close to a quick dip in lacquer thinner... at worst I lose $5 bucks and future frustrations.
-
I bought some at Hobby Lobby with the %40 off coupon... Really love the liquid inside.... but I can't get anything to come out most of the time!! If anyone knows how to keep the paint or ink or whatever it is flowing I'm ALL ears. Nothing more frustrating than getting half way across a piece then poof! no more paint... and the tip is dry and will not give up the goods no matter how much shaking, pumping, gyrating of the hips that I do. The only reason I haven't thrown mine out in frustration is because they are new and I know they can give good results... just not for me.
-
Getting Started - Help Please
LL3 Model Worx replied to DBModels's topic in Model Building Questions and Answers
I'll start by saying, any advice I give is all from personal experience and hard learned lessons, your mialage may vary. Plasmo does do some really fine work, and does even better photography. I think the best advice I could give is this. Before considering your painting, maybe consider focusing on your basic modeling skills first. Make sure you can get the general fitment and "cleanliness" in your actual building first or the model itself is going to suffer despite the paint job. Now, break the modelers code and get out your chosen kits instruction manual and study them while establishing a plan for the build. I like to write down my plan on a notepad, or in my memo pad in my phone, so the build doesn't "go off the rails"... wich can lead to either costly mistakes or wasting time and becoming burned out on the build. Then, setup whatever area you plan build in, so that you have all your tools/ supplies handy. The idea is to have good work flow which goes back to the same principle as having the "plan". As far as actually painting, I'm sure you have heard it a million times.... PREP and then when you are done prepping, prep some more. Nothing will help or hurt a paint job more than your prep work. Also the materials you choose to use will also help determine the kind and ammount of prep required for a desired finish. I personally have used sveral different products over the years, and haven't been let down by any of them really... any mistakes I have had were my own fault for either failing to properly prep or failing to use the product correctly, and in some cases using the wrong products entirely. I will advise you to stay away from testors spray cans, as they can lead to a very bad time and likely will. They have very low pressure most of the time and the spray nozzle is the real disaster they either spit sputter and spatter or it looks like you just poured the paint on... even the occasional "run away" can will show itself from time to time. Make no mistake, the paint inside those little cans is great stuff, but that delivery method is HORRIBLE. Lastly, CONTROL your painting environment! I can't stress that enough! Make sure that wherever you plan to lay down paint, is free from dust and airbourne contaminates, if in a garage hose the floor down with water to suppress dust. Old school tip: If you have a length of big steel chain handy, drag it around in some gravel for a few minutes and lay it lengthwise where you intend to paint. The chain will be charged with static electricity and will draw alot of particles to it and away from your paint! Sorry if this is hard to read or too long winded, I just know the feeling of wanting to produce a good model and not really knowing where to start. -
Wheel/tire combo question
LL3 Model Worx replied to LL3 Model Worx's topic in Model Building Questions and Answers
That's a good color on that car for sure! I bought a bulk lot of Testors (model master) paints... like a TON of it... for a good price. So, I usually just decant when needed if I do not have a bottled color. I haven't used tamiya much because its not readily available unless I drive to the next county. That's cool, I've had 2 less than good experiences in the past but then again tracking down certain items in our hobby can be a real challenge sometimes. -
Wheel/tire combo question
LL3 Model Worx replied to LL3 Model Worx's topic in Model Building Questions and Answers
Oh, ok. I didnt realize that haha... I thought you were saying you were about to tear into that kit lol... I'll have to check it out, those escorts are too cool! They give that thing a pretty menacing stance... Here's to hoping that fireball actually emails me back, unlike a few others that never have. I'll probably just order 2 sets just to get the tires. The set I found yesterday, only the rear tires will work, so i still need fronts... so may as well just get 2 whole sets. Btw what is the blue paint on that Cuda? Looks like this That was a MANY year old can of testors enamel "Racing Blue" IIr? Didn't wanna drag my airbrush to the garage at that time, so decided to gamble.... No pressure and Orange peel city as you can see! Never another testors rattle can, even though I literally have over a thousand unused cans of the stuff!! But it cut/buffed out pretty nicely in the end.
-
Anything New at Hobby Lobby?
LL3 Model Worx replied to Snake45's topic in General Automotive Talk (Trucks and Cars)
My local Hobby Lobby is right between my house and my job, so I stop by frequently to check the kit selection and to exploit the 40% off coupon... The selection rarely changes, but now and again I find some "new" things... its always a joy when that happens. Of course you can't bring the bags inside while the wife is still awake! -
What Kits were molded in RED ?
LL3 Model Worx replied to Greg Myers's topic in General Automotive Talk (Trucks and Cars)
I picked one of these up at Ollie's today for $8 It's also molded in red
-
Ollie's strike again
LL3 Model Worx replied to GLMFAA1's topic in General Automotive Talk (Trucks and Cars)
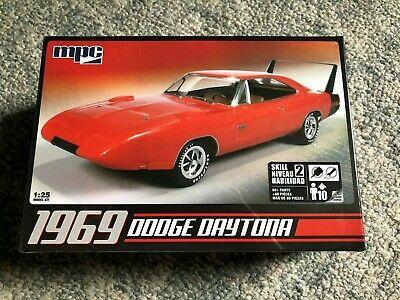
Stopped by my Ollie's today before work and picked up ×1 MPC 72 GTO (need the body only) ×2 lindberg 32 ford roadsters (good wheels and engine ×1 AMT Datsun 280zx ×2 MPC Dodge Daytona (awsome deep dish torque thrusts with TERRIBLE chrome) ×1 MPC 49 Merc snap kit (looked cool) All for about $50... I love Ollies!! Last time they had a big batch of the lindberg dodge B-bodys the color me gone and the Maverick 330's. I didn't give anyone much of a chance on those, as I think I bought nearly everyone they had. For less than $150 I think I bought around 16 of them. -
I had a pretty good haul today... When the wife was out doing some shopping, I decided to leave for work early and I stopped by the local Ollies... I'm sure many of you already know that Ollie's sometimes gets some decent kits at prices that will nearly make you pass out trying to get your wallet out... Today's haul consisted of ×1 MPC 49' Merc Snap kit $5 ×2 MPC Charger Daytona (Super deep dish torque thrust wheels that will have to be stripped because the chrome has serious issues) $8ea. ×1 AMT Datsun 280zx $8 ×1 MPC 1972 GTO (not a great kit, but has a decent donor body) $8 ×2 Lindberg 32 ford roadsters (decent wheels and great engine!) $8ea. So, for around $50 I scored 7 kits! Some that will be built and some for the parts box. Then, I swung by Michael's and took advantage of their weekly coupon and got a Revell 69 Camaro Z28 RS for $10.28! But wait... theres more!!! So after that I stopped by Popeyes had a tasty chicken sandwich, then proceeded to Hobby Lobby, where I exploited there coupon for a Revell 69 Boss 302 mustang for like $16 I finished the day off with a trip to Hobby town, where I resupplied my Alclad stash (turns out the stuff is produced locally) So for around $100 (not including lunch) I got 9 new kits and a fresh supply of Alclad primer, base coat, and chrome. Fantastic day!!
-
That'll be the the day... and unfortunately (not to be a cynic) I do not think that day is coming. On a positive note, I hope to get some stuff up in the "on the bench" area here pretty soon.
-
Wheel/tire combo question
LL3 Model Worx replied to LL3 Model Worx's topic in Model Building Questions and Answers
The only ones I saw were 1/24 and they did come with tires. On a 1/25 car they still should look pretty good.