AmericanMuscleFan
-
Posts
3,058 -
Joined
-
Last visited
Content Type
Profiles
Forums
Events
Gallery
Everything posted by AmericanMuscleFan
-
 It's always exciting to have a new toy in our arsenal for making custom parts and a 3D printer will certainly add a lot of possibilities. Despite my experience in computer graphics and my knowledge of vector software, I have not yet made the leap into the world of 3D but I salivate in imagining all that it can bring to this hobby. I'm still old school and will try to continue making my parts the old fashioned way as long as I'm able, but I'm sure the 3D world could add many years to my favorite hobby when my hands start to shake. I hope you get better and are back to full health soon my friend, the chutes and brakes are top quality! ?
 -
48 Ford Ranchero
AmericanMuscleFan replied to Butter 1's topic in WIP: Model Trucks: Pickups, Vans, SUVs, Light Commercial
WOW, that's a quick build considering all the modifications you made to it. You have talent Ron and good taste for sure!!! ? -
’72 Dodge Demon Drag Racer 1/25 scale
AmericanMuscleFan replied to AmericanMuscleFan's topic in WIP: Drag Racing Models
Hello everyone, I again come to a time of year when there is a lot of work to be done around the house with the spring slowly setting in. My time available for the hobby is decreasing week by week but I will try to keep moving forward when possible. Over the weekend, I made the panel that closes the opening between the passenger compartment and the trunk. I had already made one for my '70 Plymouth GTX and chose to do a bit of the same for the Demon, it's quite common for drag cars. I used thin aluminum sheet and rubbed it with a Scotch Brite pad to remove most of the shine and create a more realistic scale effect. To avoid wasting material, I made a cardboard template like the professional modified car makers do (I may have watched too many TV series on the subject...), it saves time and makes it easier to get the desired result. Another piece of aluminum in this ocean of white plastic doesn't hurt either! ? See you soon I hope, Francis I saved you the filing and sanding steps, here is the panel once cut. After minor adjustments, the panel fits pretty well in its intended place. Seen from a different angle, I will make openings for the roll bars later in the build. I decided to add the Pentastar logo to it. It would have taken a long time to make an embossing die, so I cut out the shape and glued them to the panel with 2 part epoxy. You can see the cardboard template I made to cut out the panel. I made angles on each side of the triangles to simulate the embossing effect. I like the effect produced and the general fit of the panel. The finished panel (almost) after a little rubbing with a Scotch Brite pad to reduce the gloss of the raw material.
-
’72 Dodge Demon Drag Racer 1/25 scale
AmericanMuscleFan replied to AmericanMuscleFan's topic in WIP: Drag Racing Models
Thanks Ron! Obviously the post needs to be thinner, it is currently as thick as the rail of a frame.? I'm thinking of making the post out of thin aluminum and gluing it to the side window with two-part epoxy. Thank you for your suggestion, there are several ways to do it and it is good to know how others would choose to proceed with this type of surgery. I'll come back to this a little later, I have a lot of other structural stuff to make before that. Francis -
It's crazy sometimes how many hours you can spend on such a small piece but for me it's just a proof of total dedication to a project and obviously there is no lack of it here. Well done Daniel, the transformer is a great replica of the real thing! ?
-
’72 Dodge Demon Drag Racer 1/25 scale
AmericanMuscleFan replied to AmericanMuscleFan's topic in WIP: Drag Racing Models
Thanks Bob! I am currently working on what I call the "necessary but not exciting" components. I hope to be able to offer you more interesting fabrications in the near future so I appreciate you still being along for the ride! Francis -
’72 Dodge Demon Drag Racer 1/25 scale
AmericanMuscleFan replied to AmericanMuscleFan's topic in WIP: Drag Racing Models
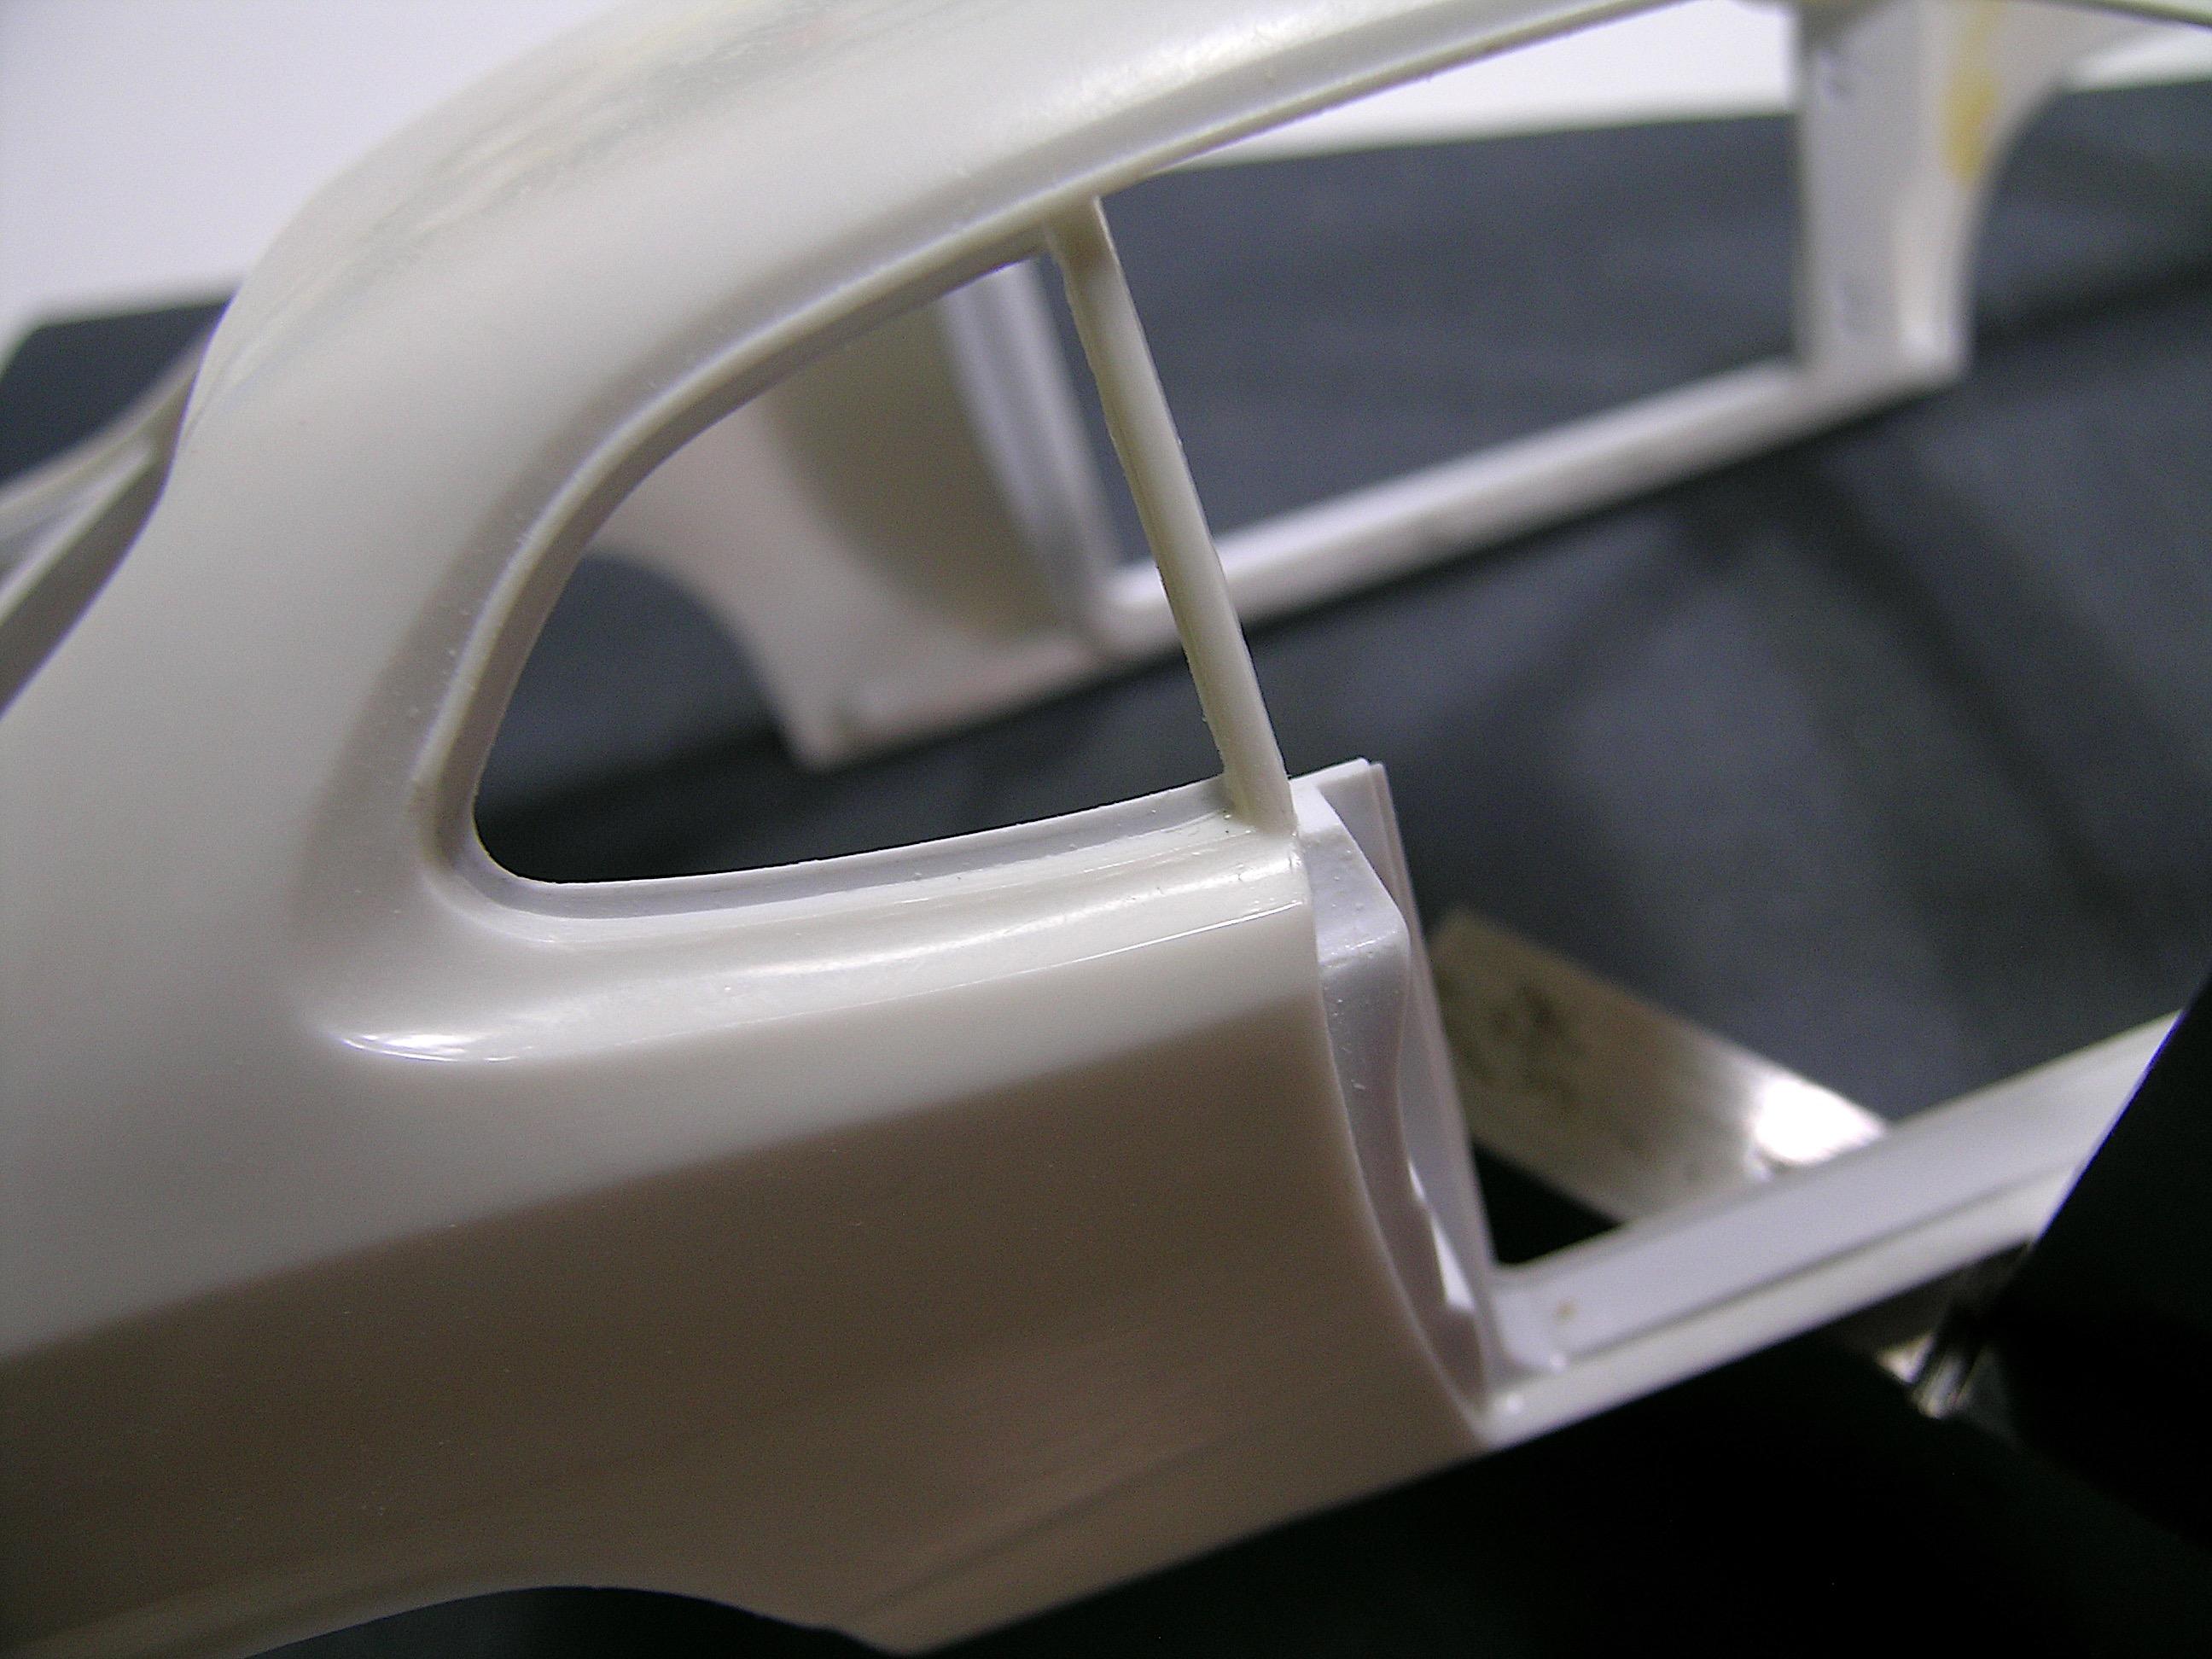
Hello everyone, This is my smallest update to date! I didn't have much time on the bench as I was forced to make an unexpected purchase that took up most of my weekend. Basically, I've started making the interior rear panels now that the door structure is complete. These will be glued to the body, the floor pan and the rear fender tubes (which are glued together) will fit together in the final assembly. Since I'm into this kind of fabrication, I intend to make the roof reinforcements to give continuity to the whole. The inside of the body was a bit damaged by the glue that held the windows, so this will be a good way to hide some of the scars left behind. I won't do all the details of these but I want to create a light car look with a partially emptied interior. Anyway, this will be a first for me and I will improvise as I go along in the making of the components, photos of this kind of detail are rather rare as you can imagine. Comments and suggestions are welcome. Francis I copied the radius of the rear wheel tubs onto a sheet of .020" styrene. I then cut and sanded them until they fit perfectly. I glued a strip of styrene to give them rigidity, these were sanded to fit inside the body before gluing them in place. This is what it looked like before I glued them in place for good. Of course, I used the floor pan to get the right position to glue them to their final location. Before I couldn't do it anymore, I had planned a seat for the rear windows but I had omitted to show you this because I found it rather simplistic. The hardest part was engraving a seat so that the syrene piece I added would fit into the roof. Seen from the outside, I'm thinking of moving and redoing the rear window support which should be closer to the side windows. Obviously they must be thinner than that, I am thinking of a solution... ?
-
’72 Dodge Demon Drag Racer 1/25 scale
AmericanMuscleFan replied to AmericanMuscleFan's topic in WIP: Drag Racing Models
Thank you for your kind comments Andy! These cars were not known for their build quality, but rather for their body style and performance. It is certain that mine will not show rust any time soon! ? As for the educational aspect, I would like to be able to show more pictures but I think the construction would never end. I am glad to see that what I do is of interest to some who like this kind of build. Francis -
’72 Dodge Demon Drag Racer 1/25 scale
AmericanMuscleFan replied to AmericanMuscleFan's topic in WIP: Drag Racing Models
Thanks Ian! Let's say that these are just doors but they open the "door" to even more details to make bad a pun! ? Francis -
Congratulations Daniel ! ? I agree, it's well deserved and it's nice to see that this category exists to allow us to see and appreciate all the work invested in such a project. This award while waiting for the "Best of Show" when it will be completed! ?
-
’72 Dodge Demon Drag Racer 1/25 scale
AmericanMuscleFan replied to AmericanMuscleFan's topic in WIP: Drag Racing Models
Thanks for the kind words Bob! This is just a drop in an ocean of things to do for this build and I think the rest of the details to add to them will make a big difference. We end up being caught in a spiral when we want to make details and it forces a little to continue so that what follows is consistent. I'm starting to discover unknown territories and I like it, it takes me out of my comfort zone and it makes me feel good! ? Francis -
Very beautiful Thunderbird, we can't argue that the new headdress you grafted on it suits it perfectly! I love the color and I know (from seeing all of your models) that this shade is one of your favorites, It's a classy color like the builder who presents it to us! I just noticed that you used a Dana differential, it's not a reproach but we know how famous Ford is for its 9 inch which are a reference in the field. There's no harm in interchanging the parts, anyway they can't be found these days and I could tell you about it... ?
-
’72 Dodge Demon Drag Racer 1/25 scale
AmericanMuscleFan replied to AmericanMuscleFan's topic in WIP: Drag Racing Models
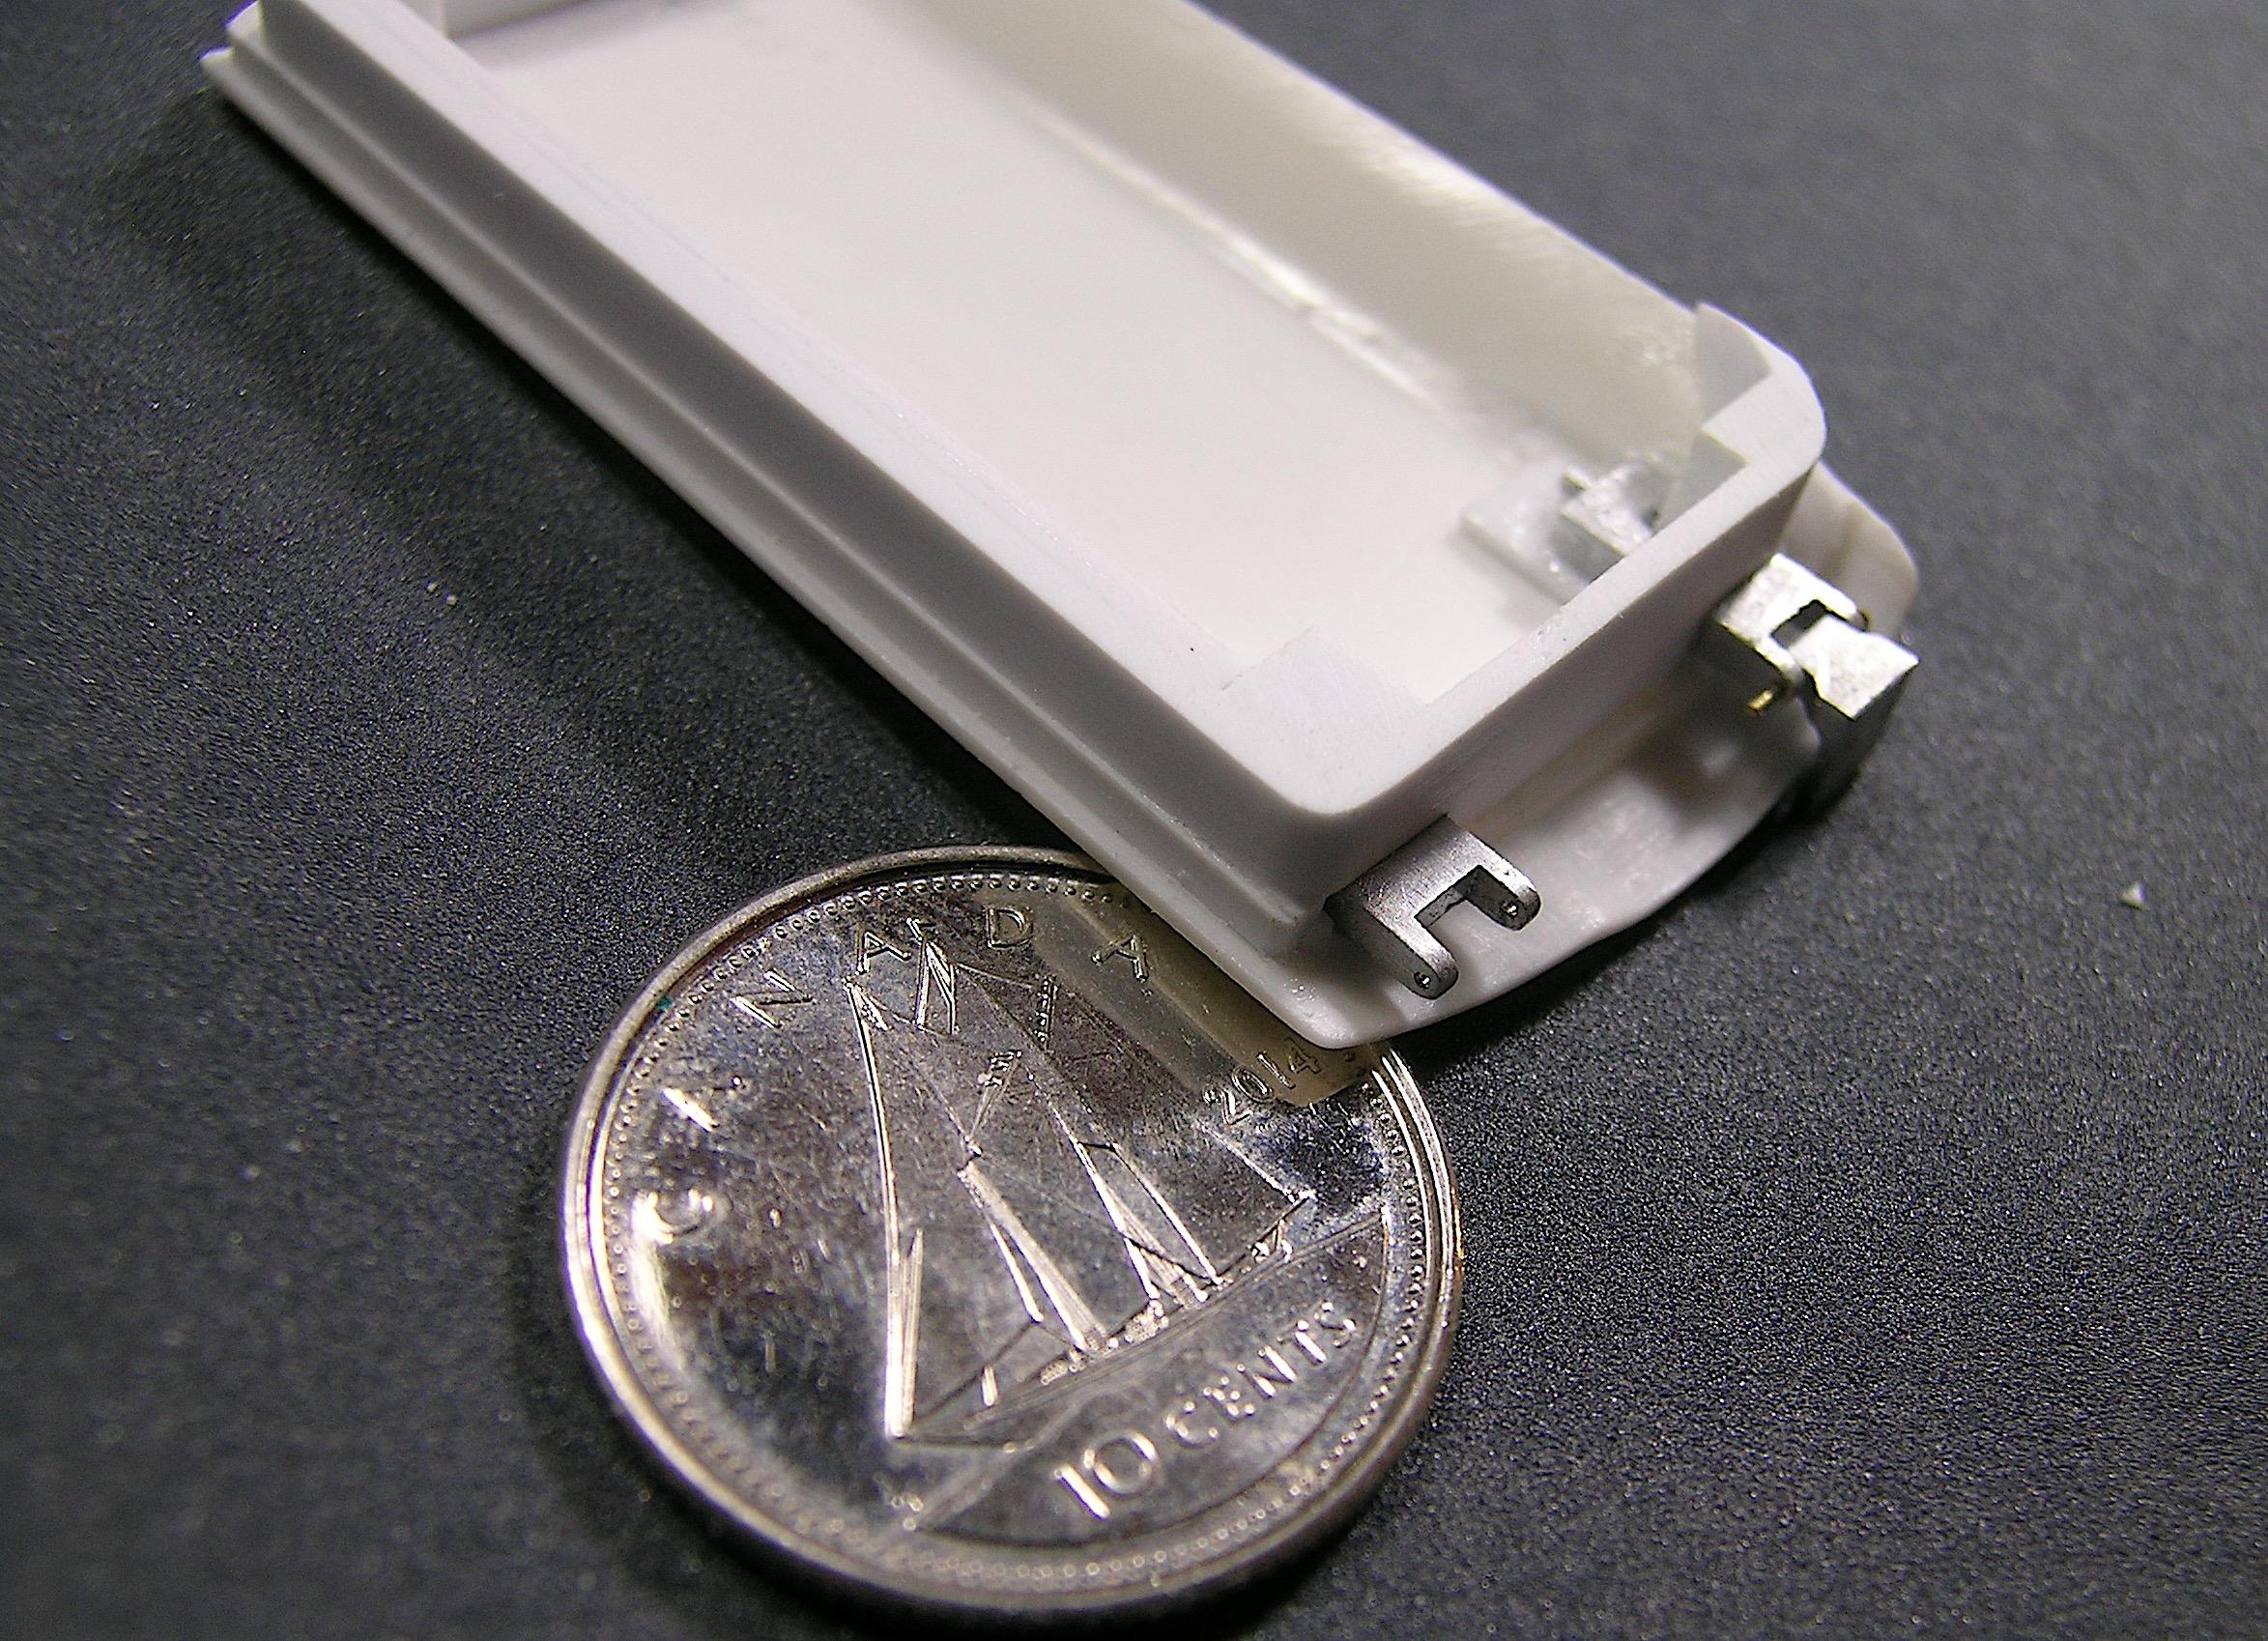
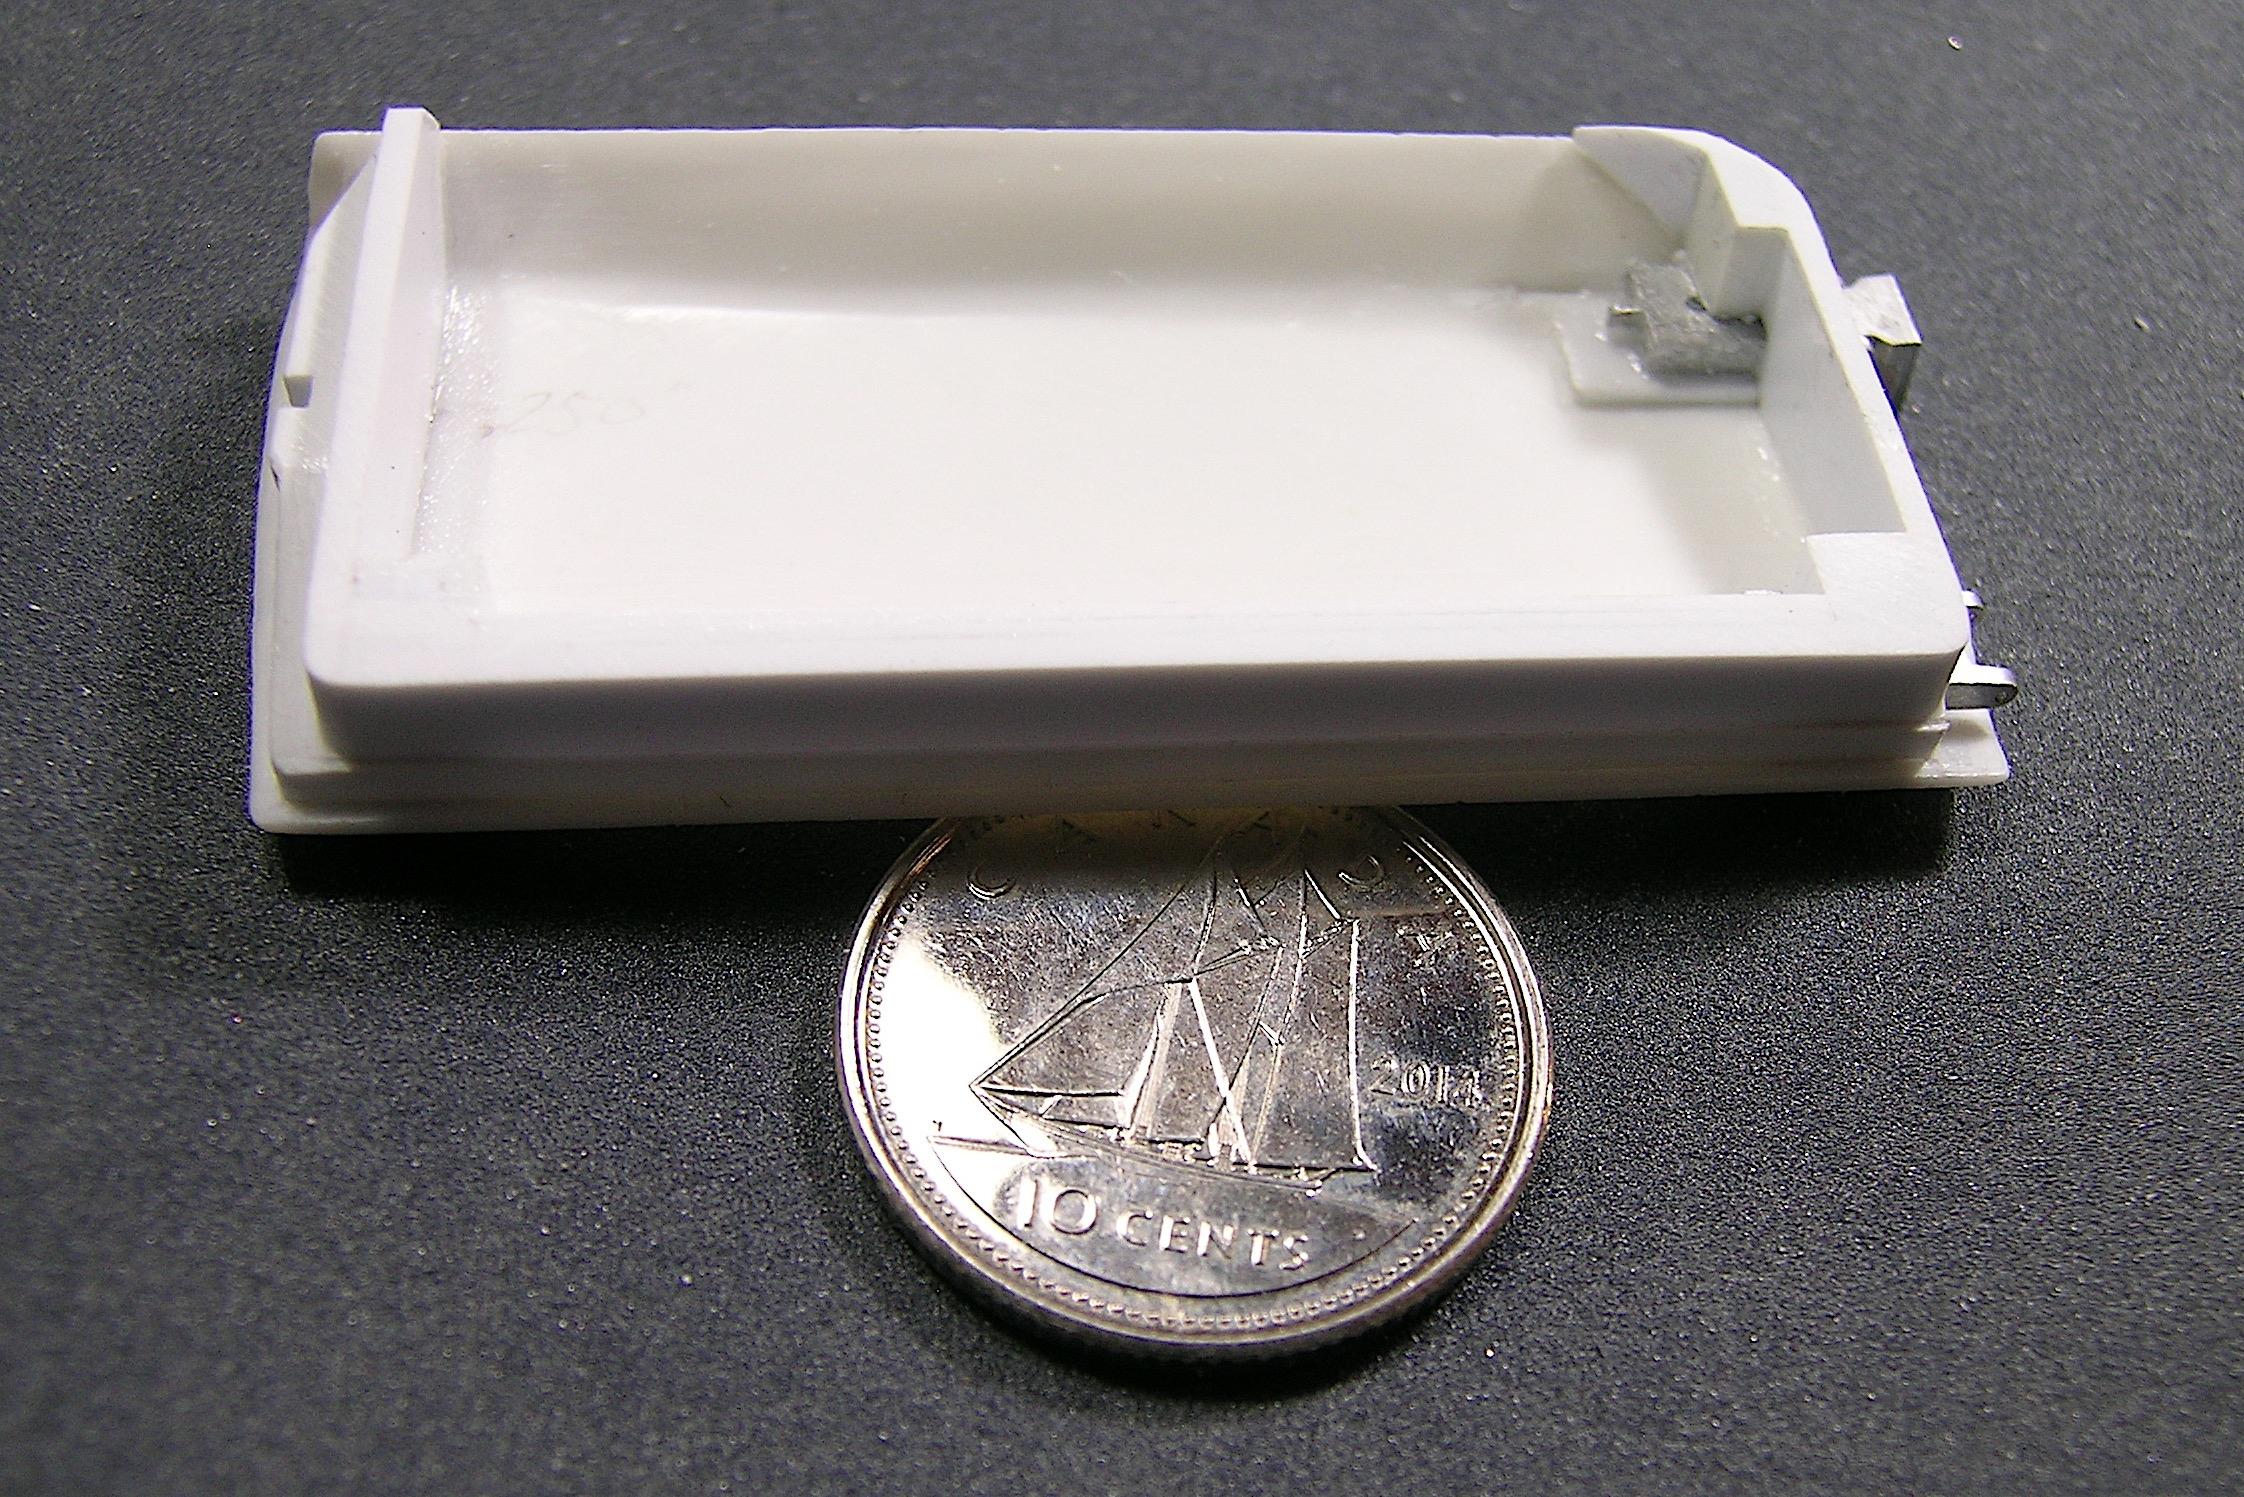
I don't know about their availability on Amazon but I advise you to look in your little change, sometimes we can find the American version on our side of the border. To be reusable, I think so because I intend to do so! ? The only thing is that the Canadian currency is losing value but luckily the format of the coin seems to keep its size! ? -
’72 Dodge Demon Drag Racer 1/25 scale
AmericanMuscleFan replied to AmericanMuscleFan's topic in WIP: Drag Racing Models
Thanks Daniel, I also think the aluminum skins will take the doors to the next level and I'm considering doing an aluminum sheet to close the opening between the cabin and the trunk. This will give continuity and a "drag racing" look to the project! ? Francis -
I know that certain issues can make us juggle the idea of stopping a project at certain times, but your perseverance pays off and you will appreciate it even more once it is finished. Each part is perfectly executed and thought out, all you have to do is cross the finish line which is looming on the horizon. The painting however is one of the most stressful parts of the build (at least for me) and I hope everything goes well. The pattern and the colors chosen are very beautiful and will give it a look that sticks with the time when these superb dragsters ruled the drag strips! ? By the way, I'll have to buy one of these ring clamp, it might save my fingers! ?
-
’72 Dodge Demon Drag Racer 1/25 scale
AmericanMuscleFan replied to AmericanMuscleFan's topic in WIP: Drag Racing Models
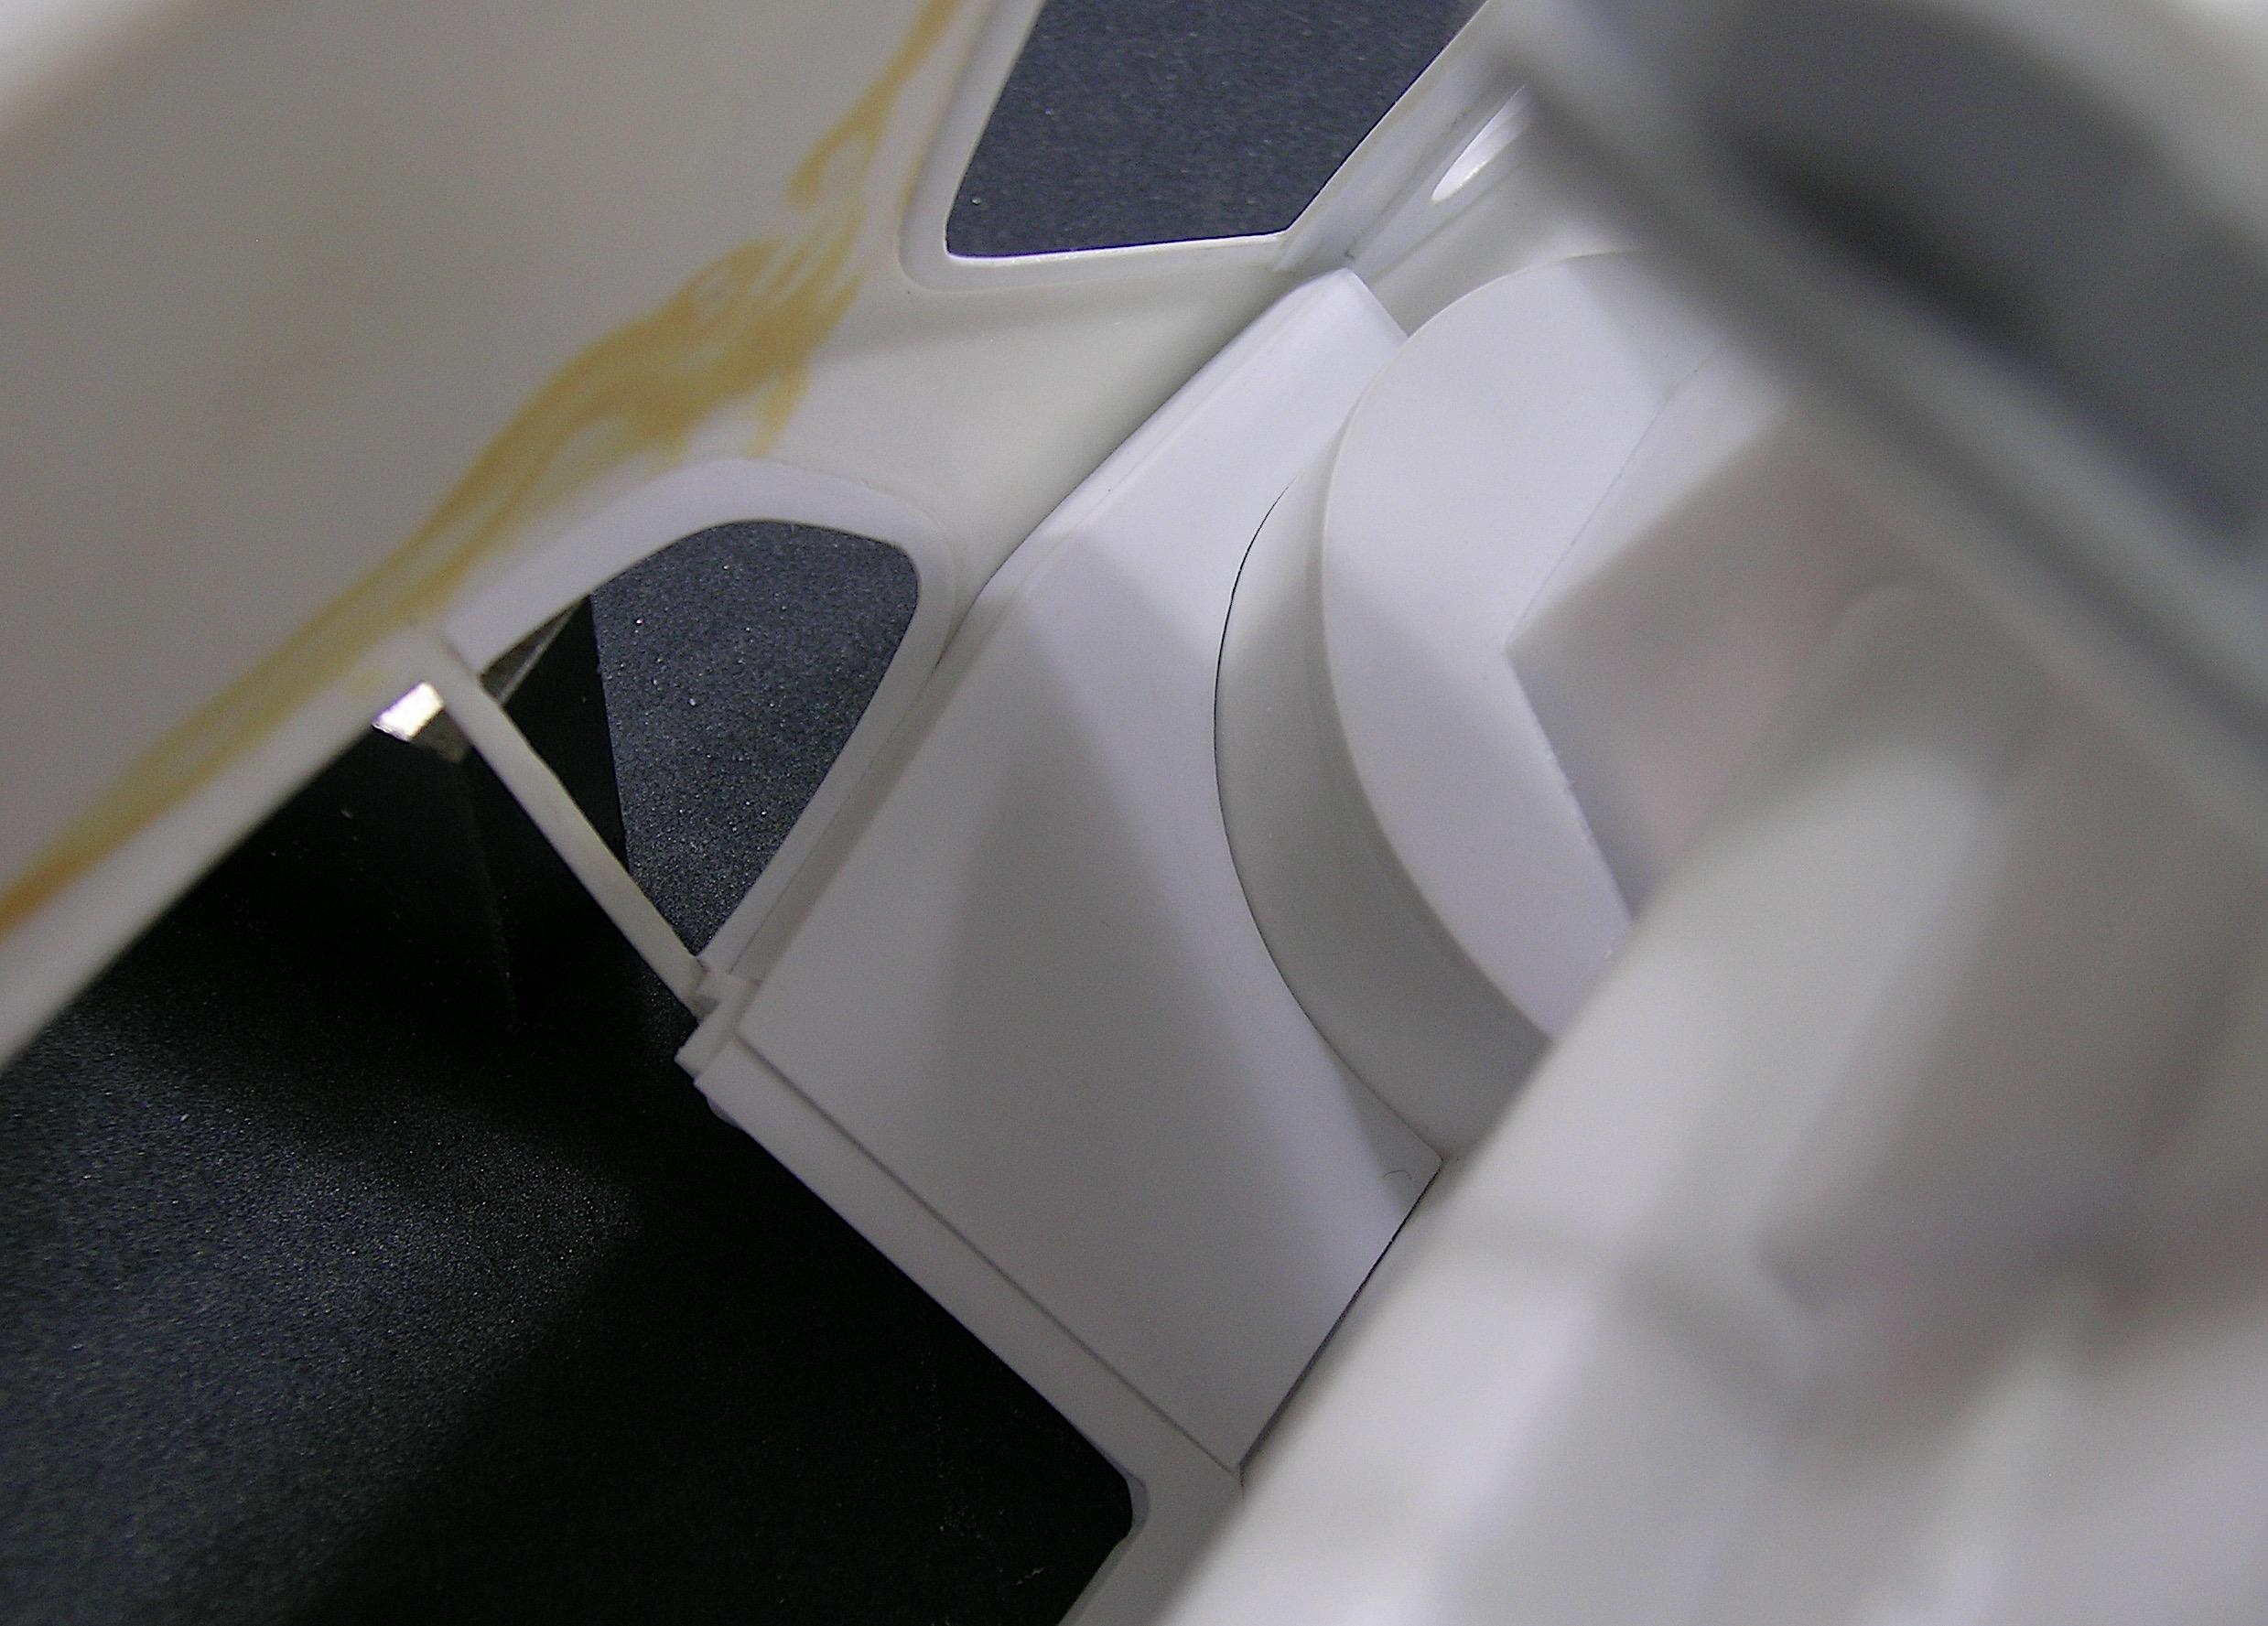
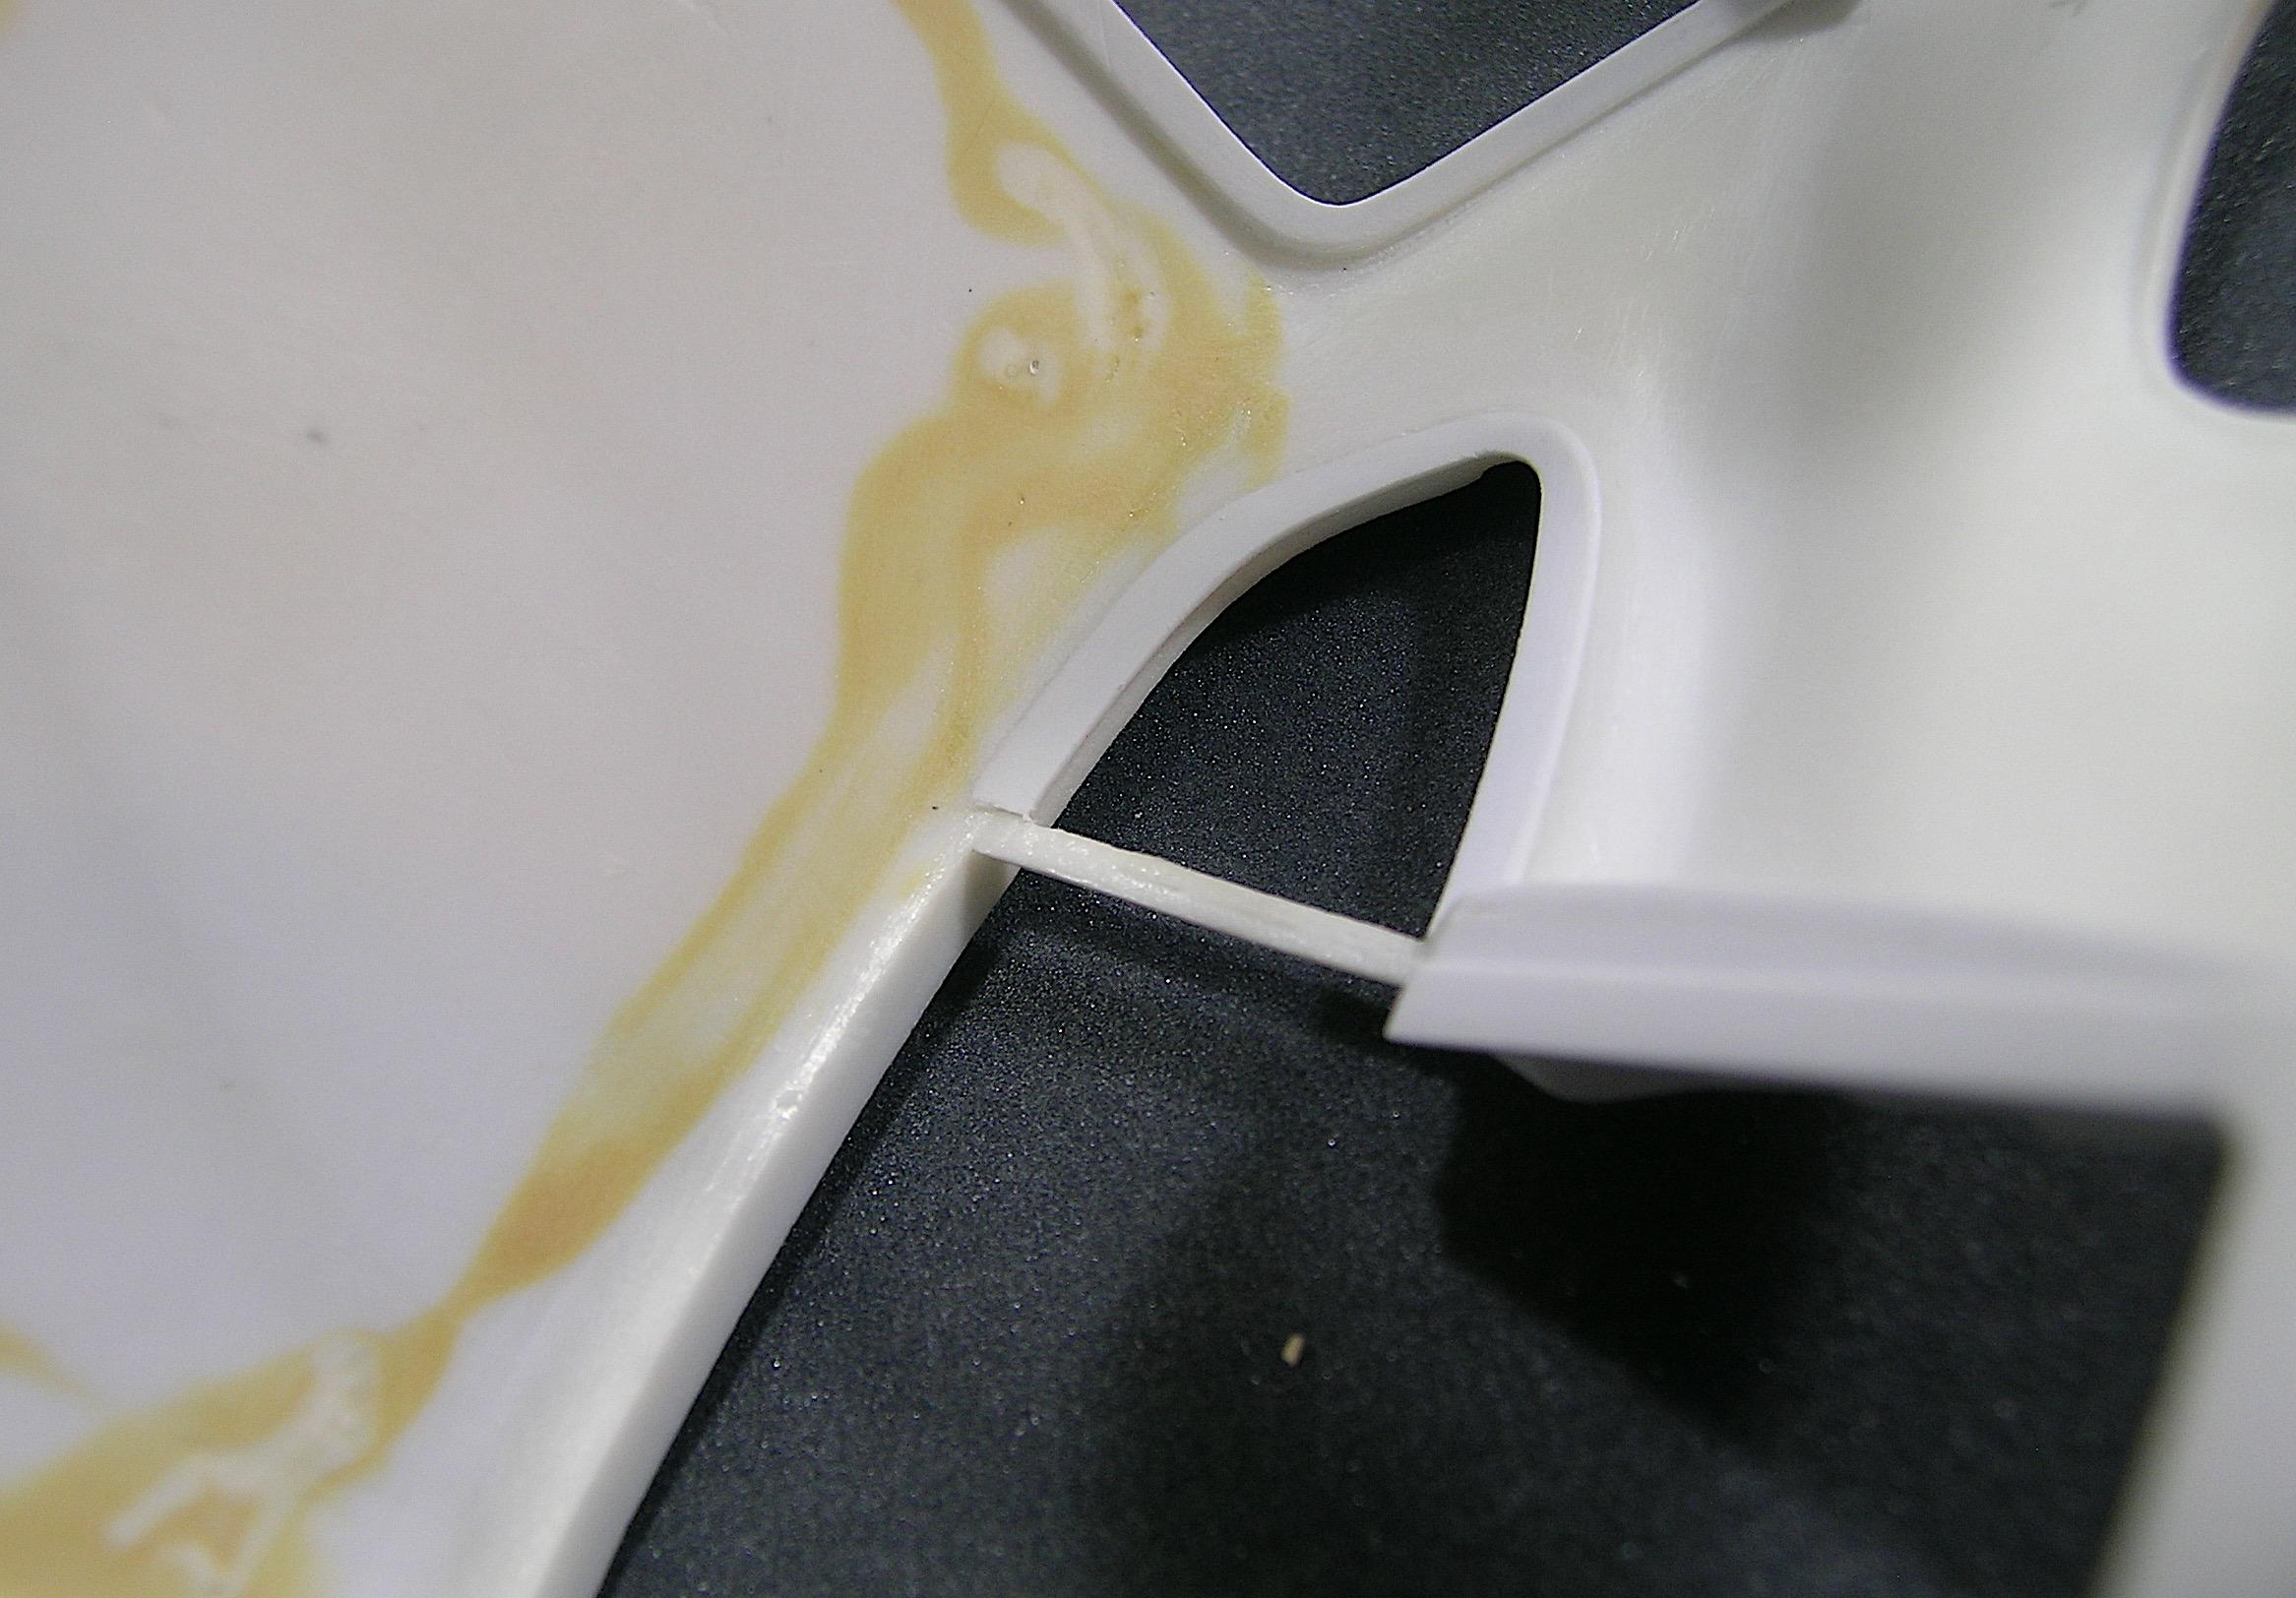
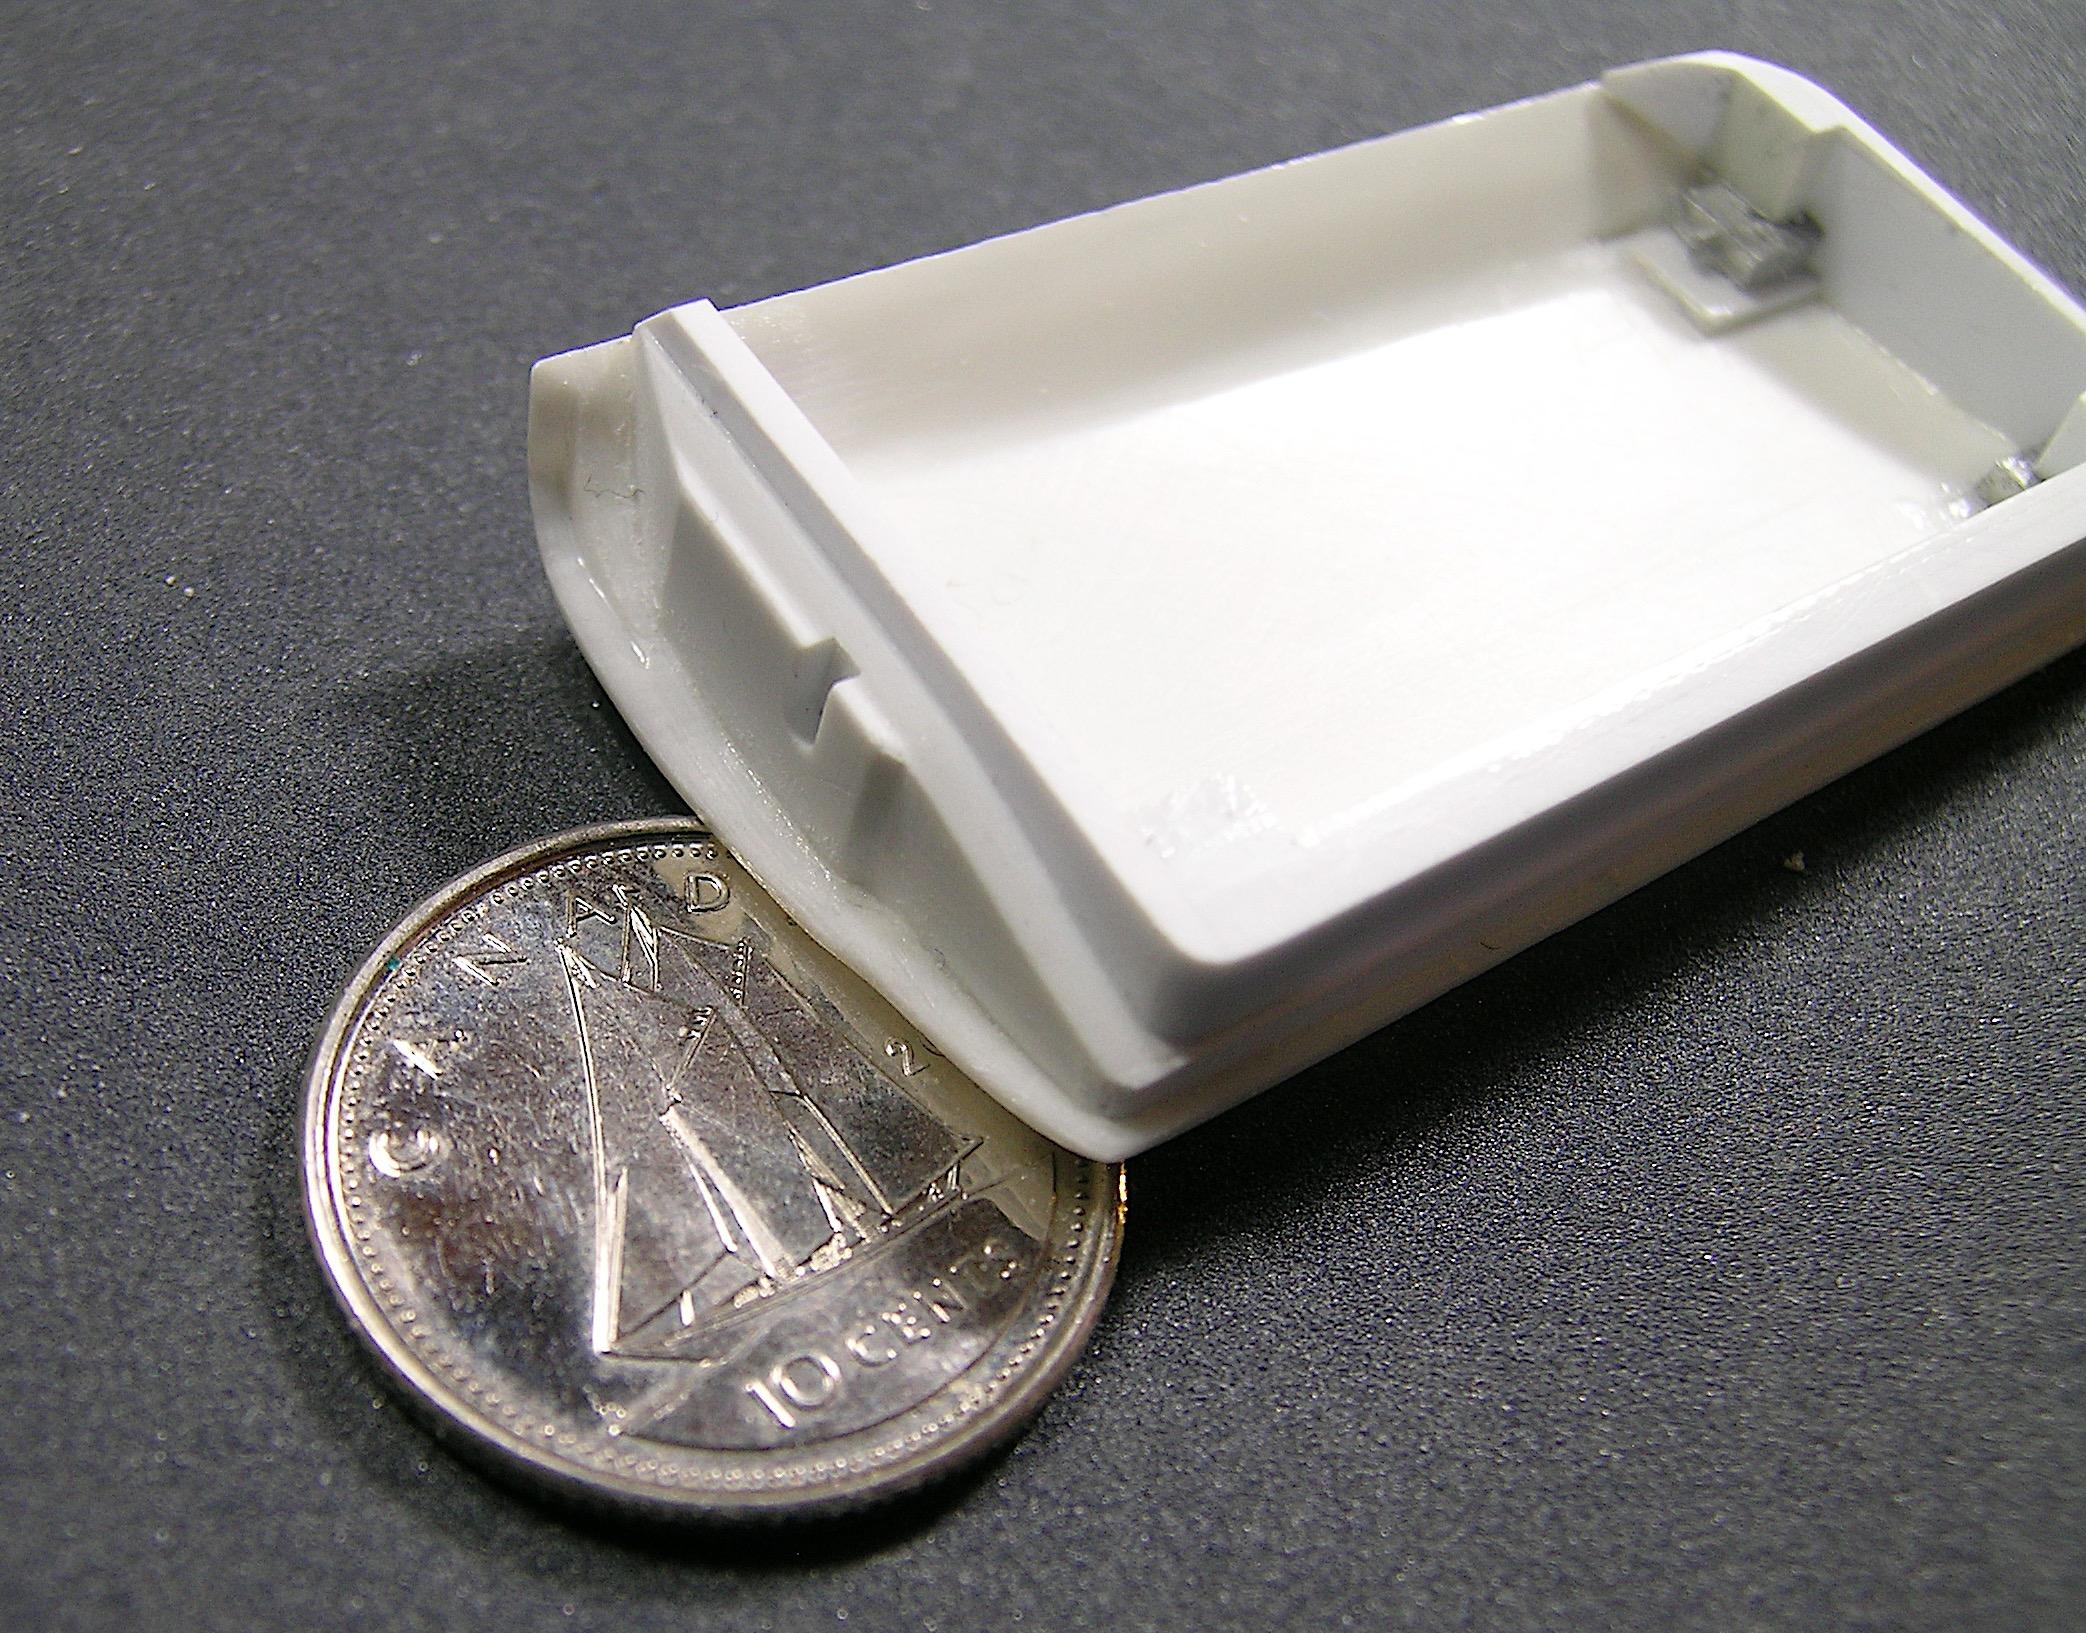
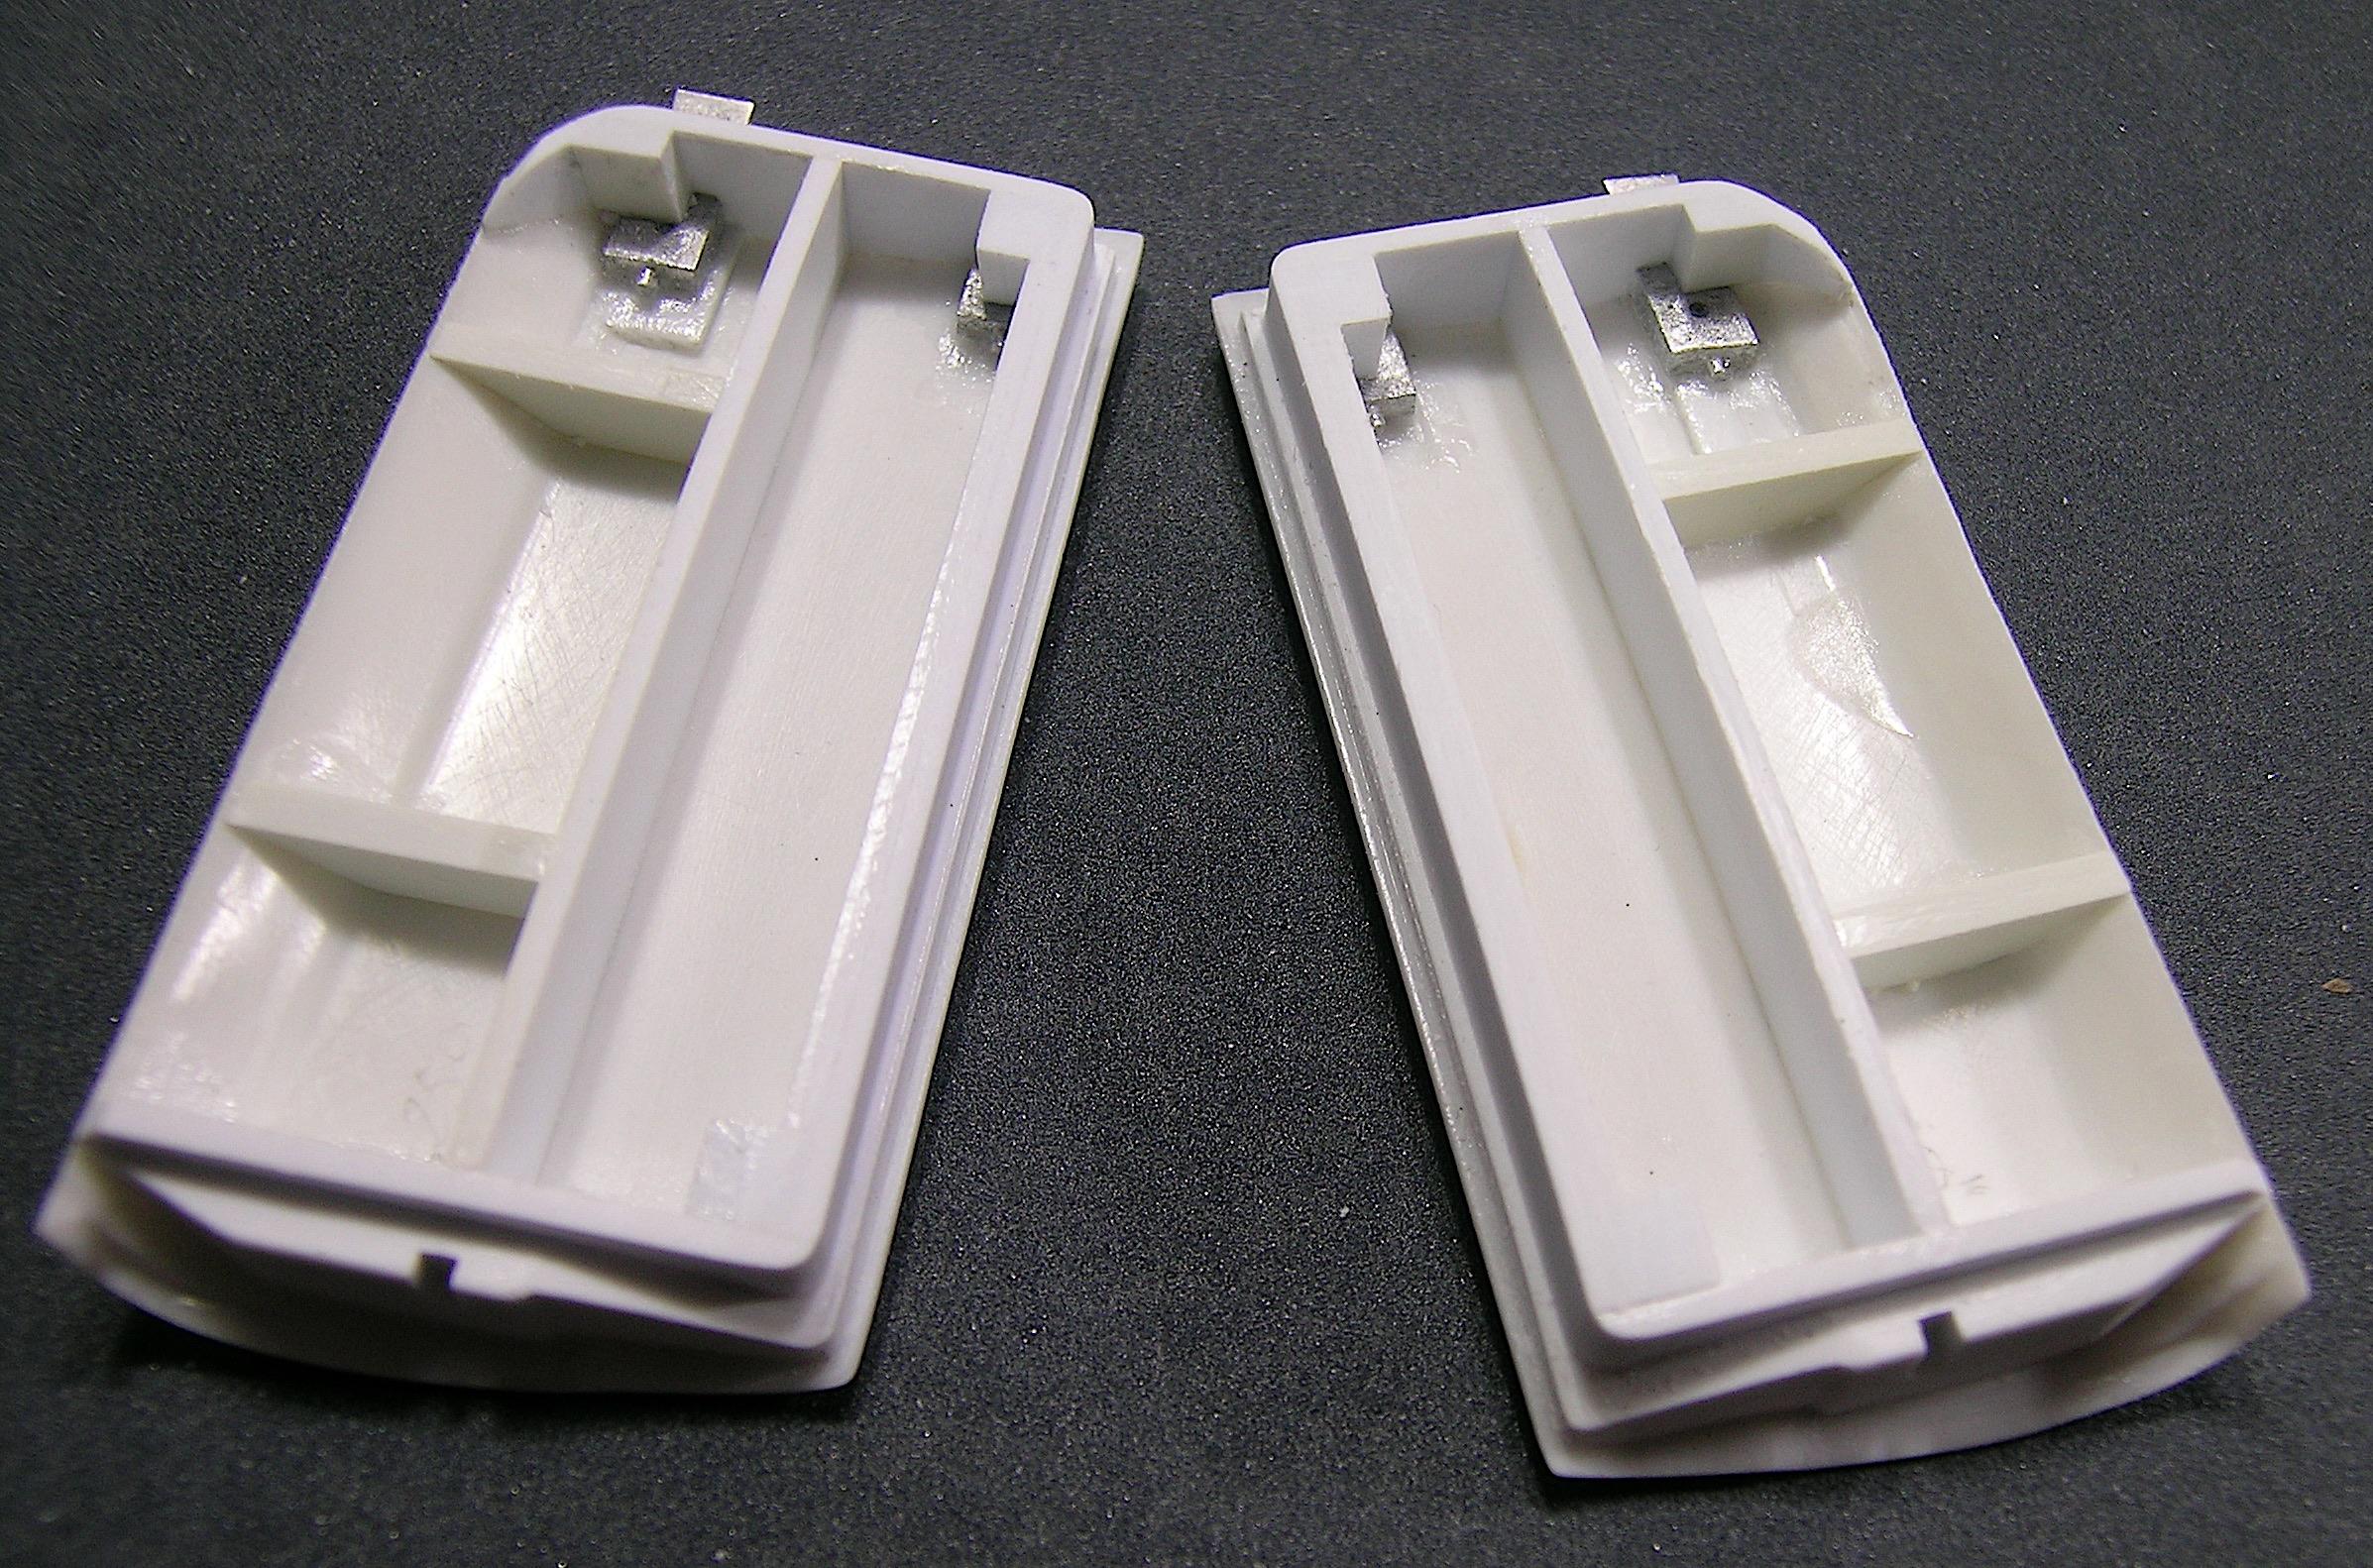
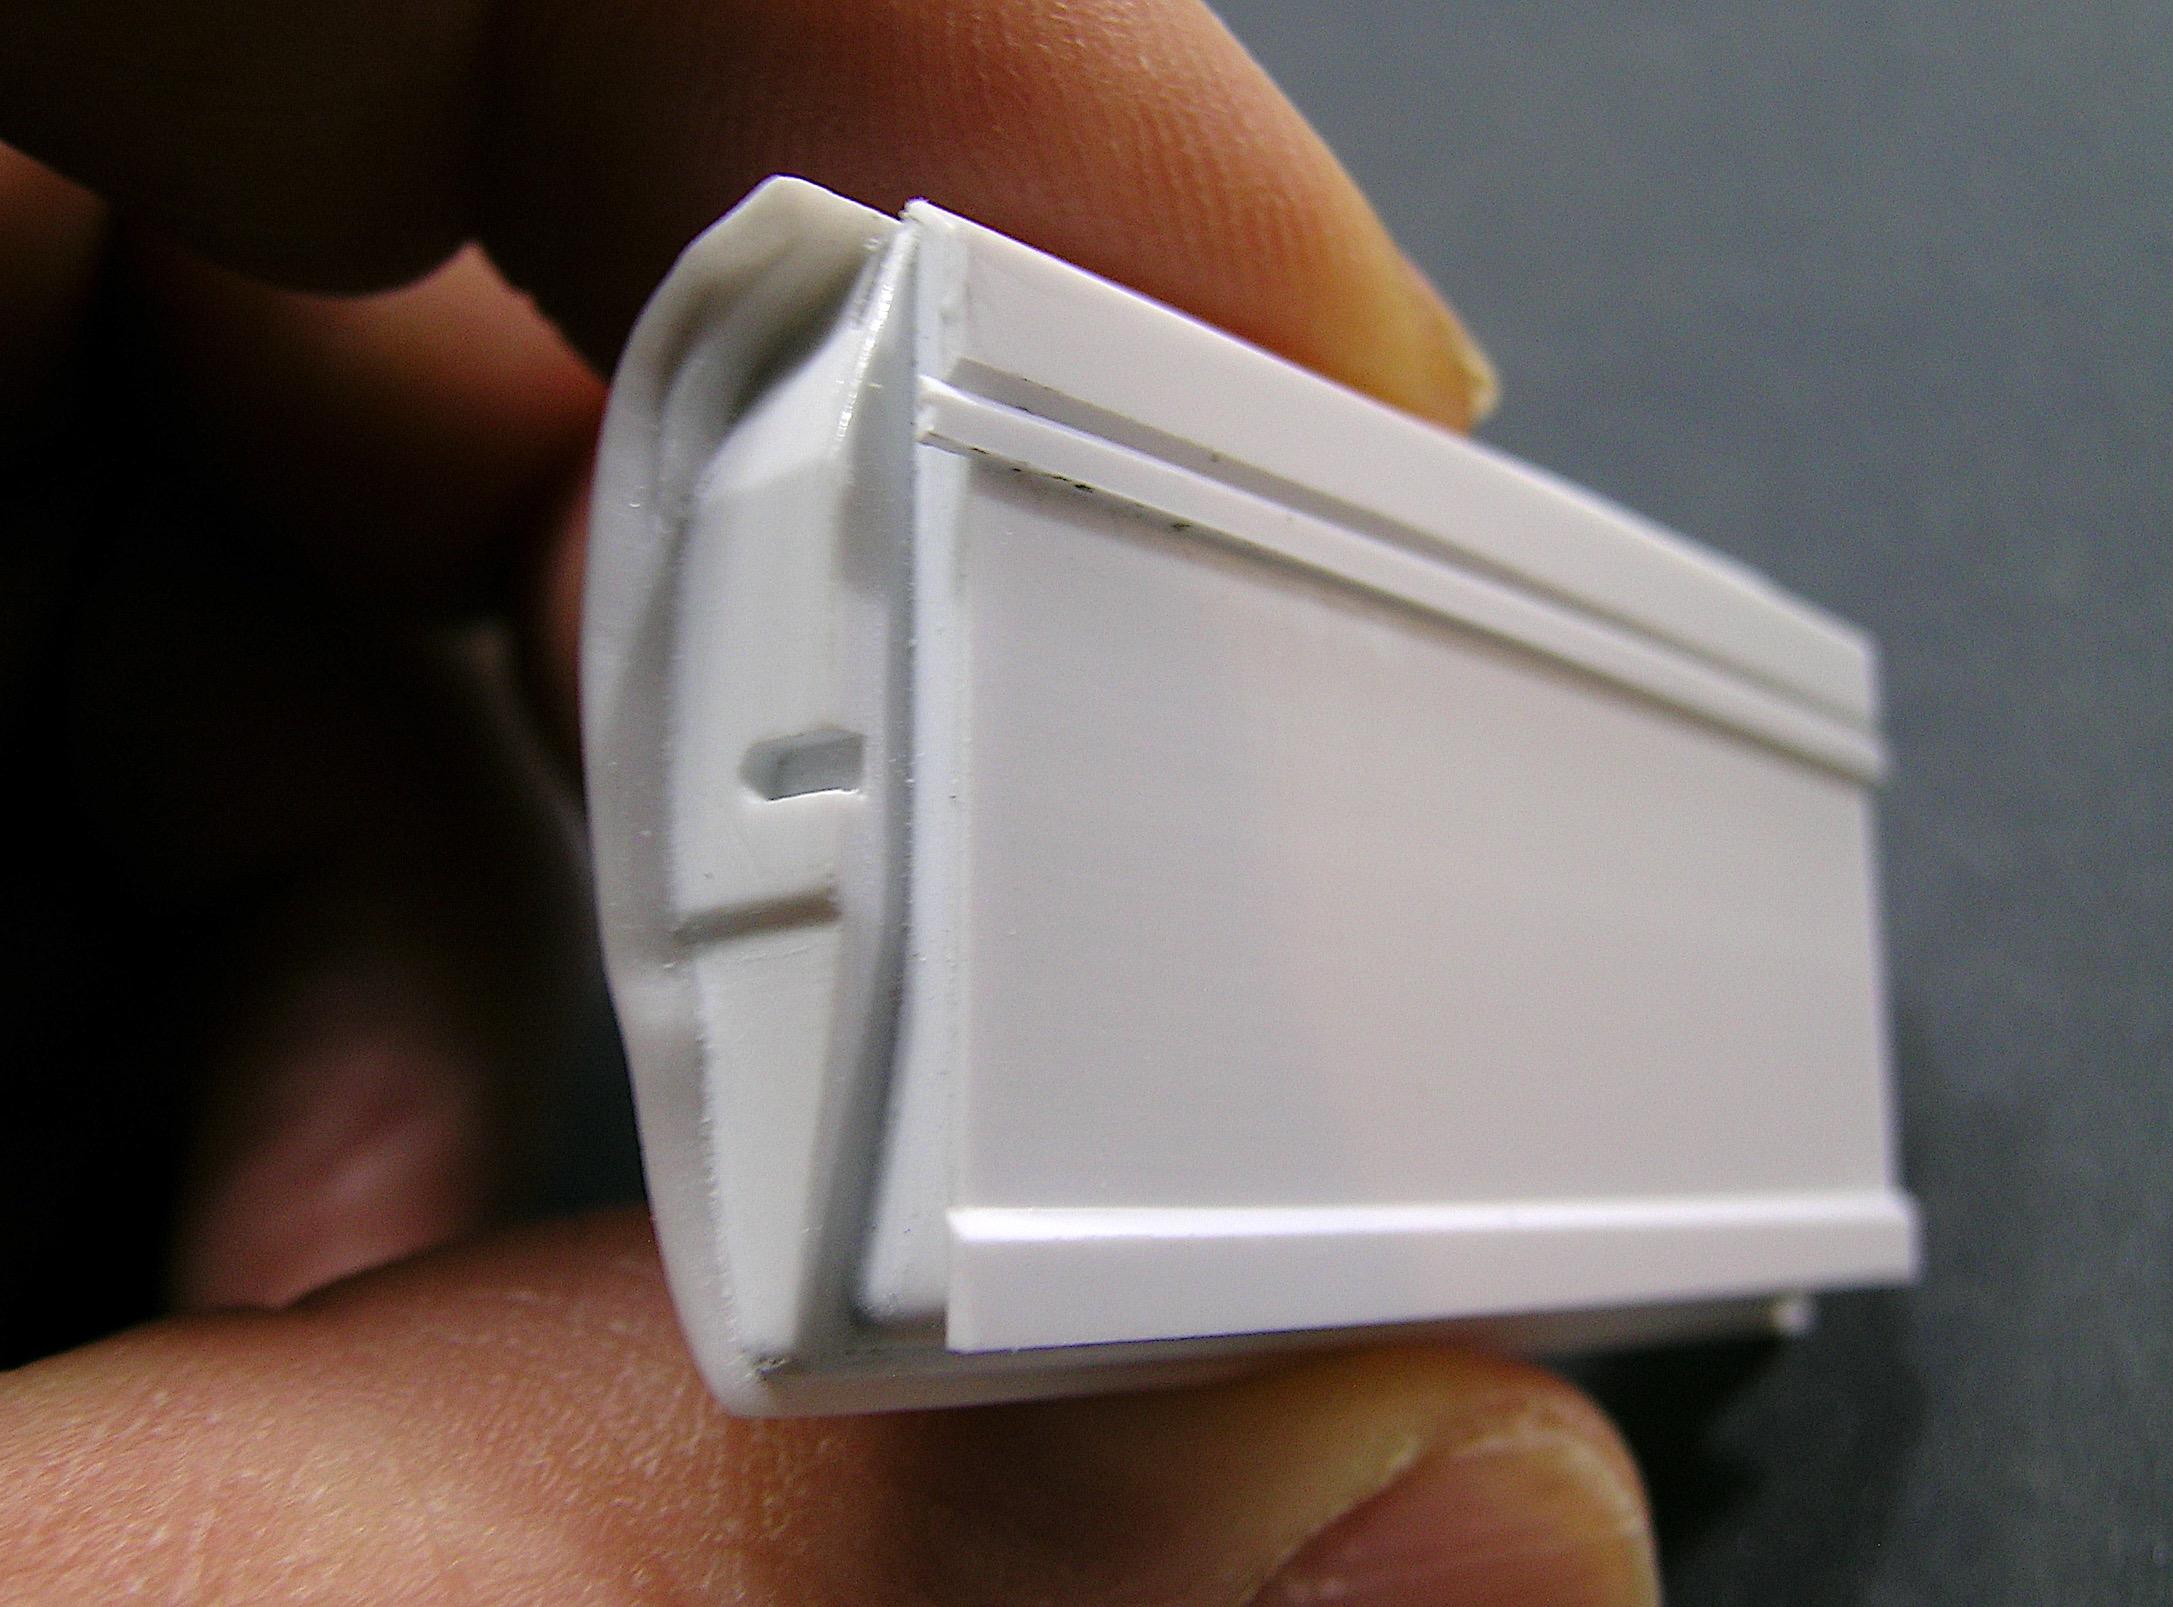
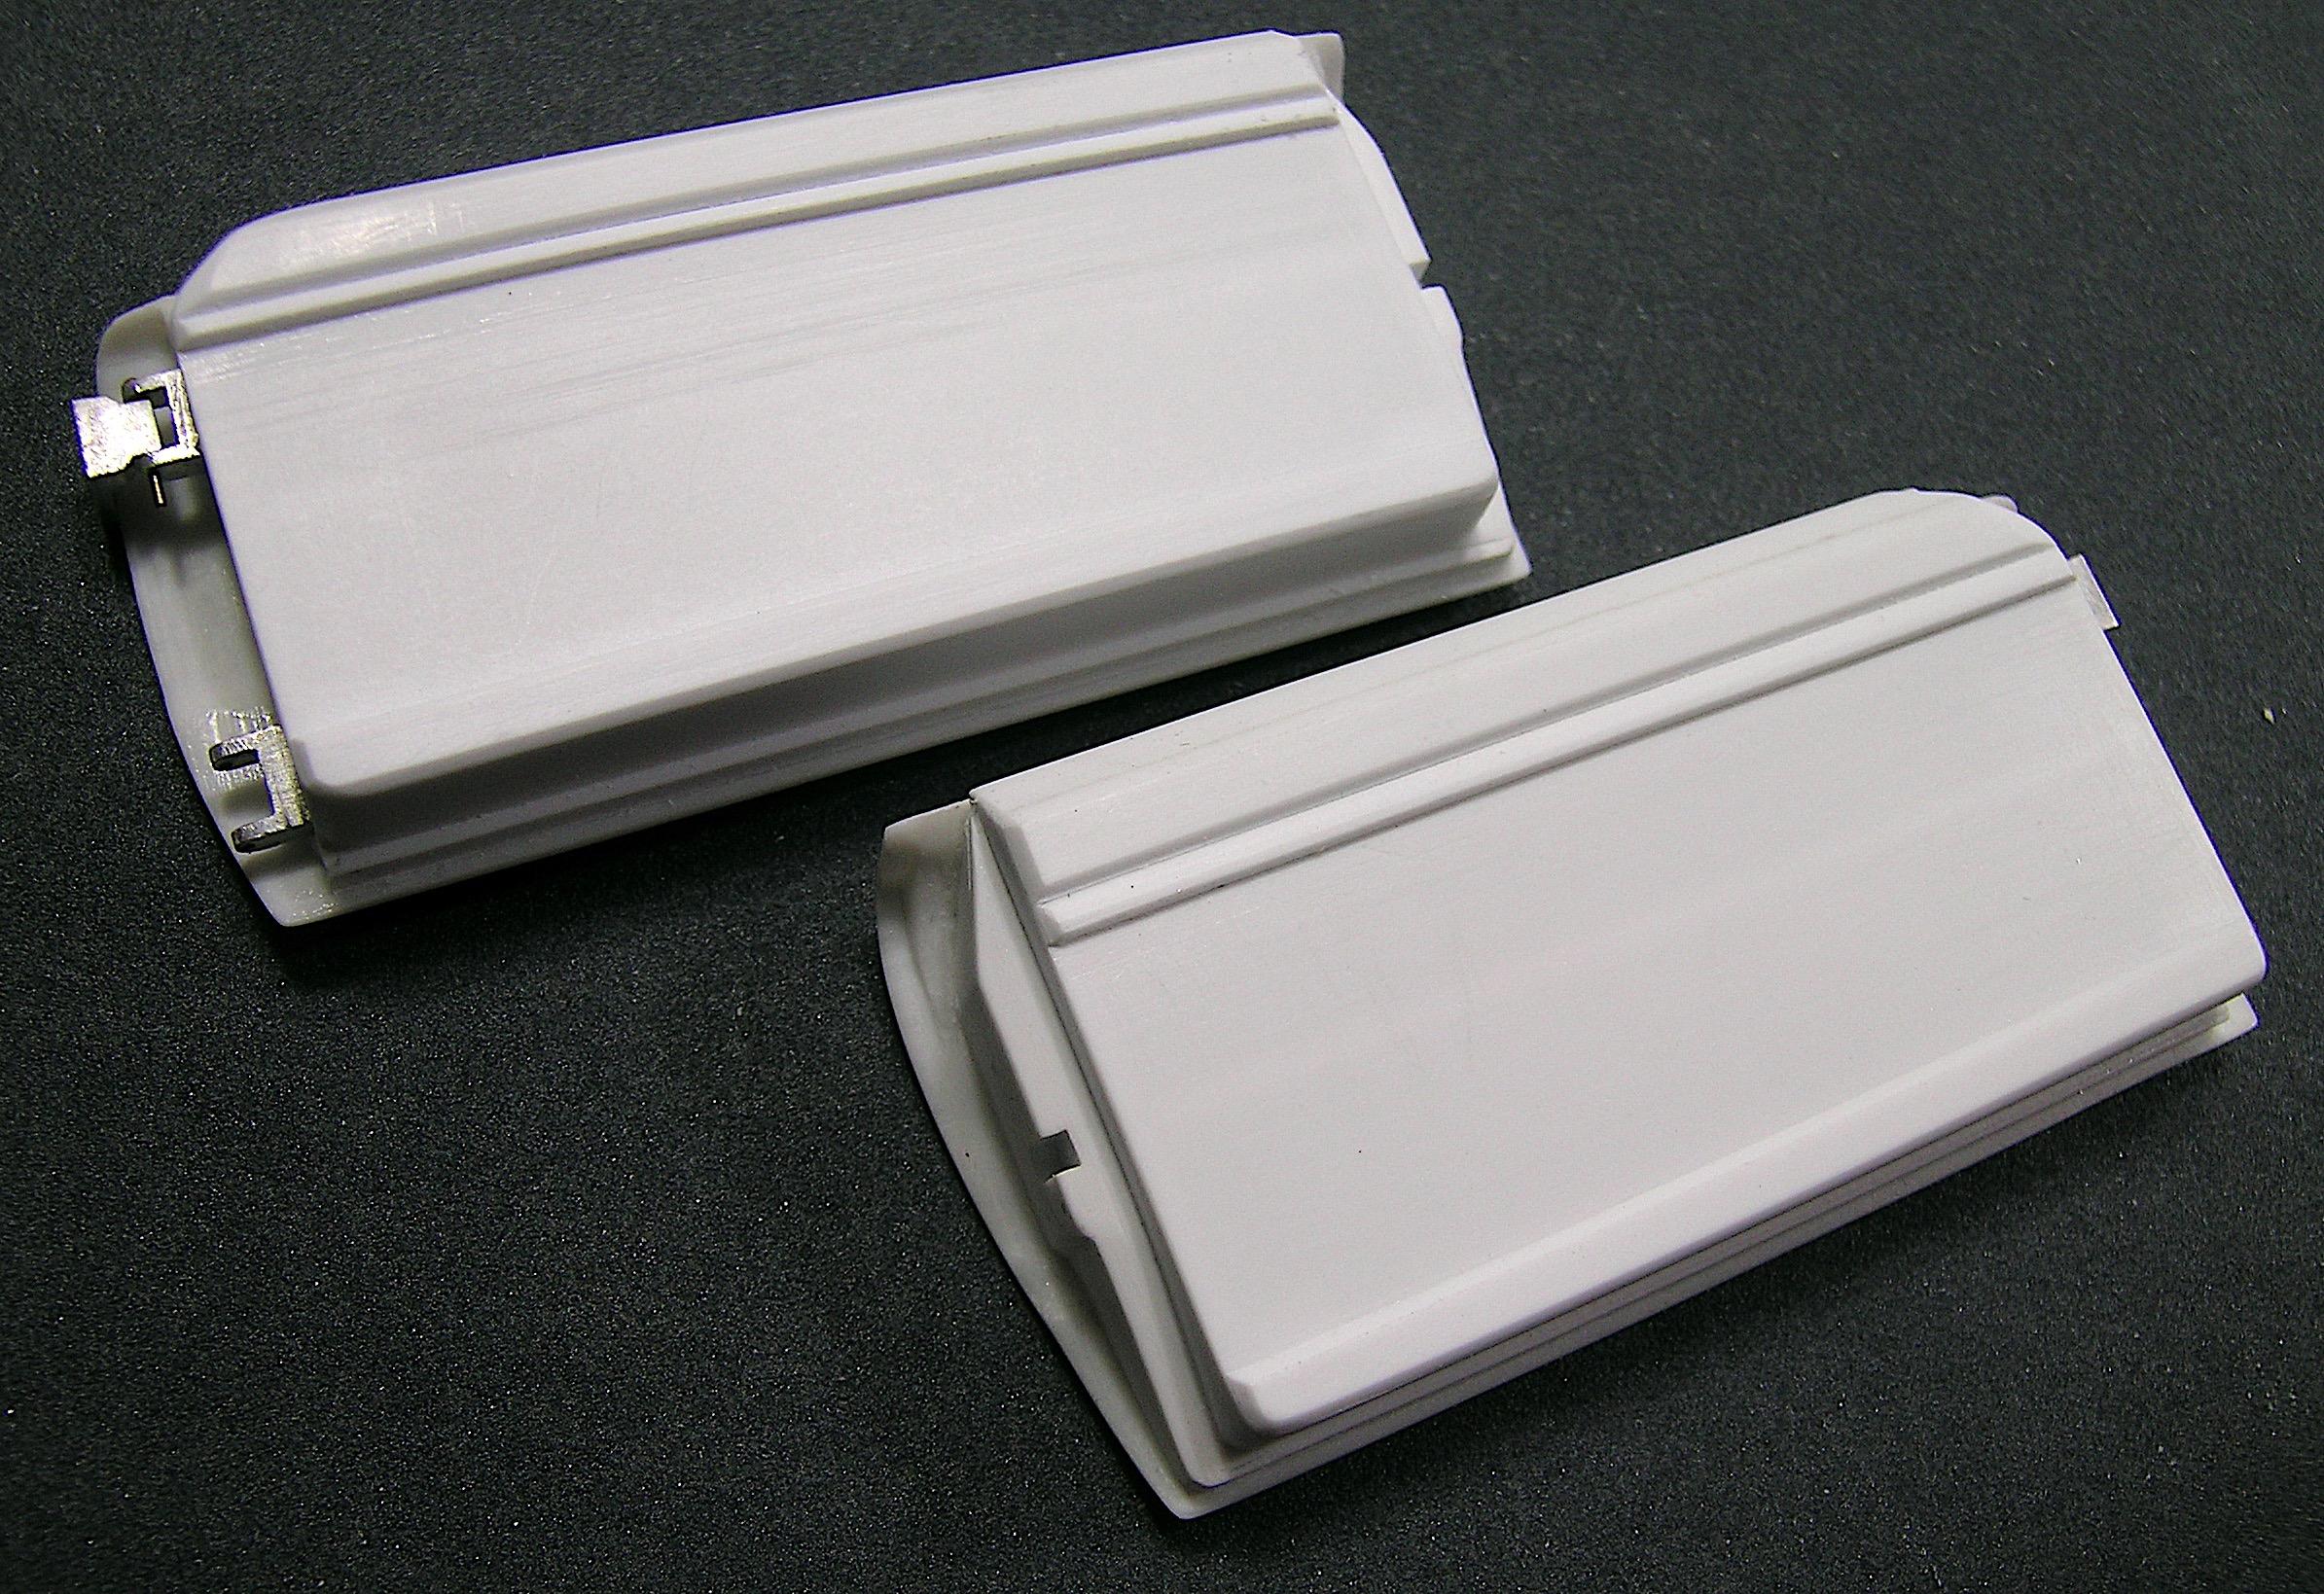
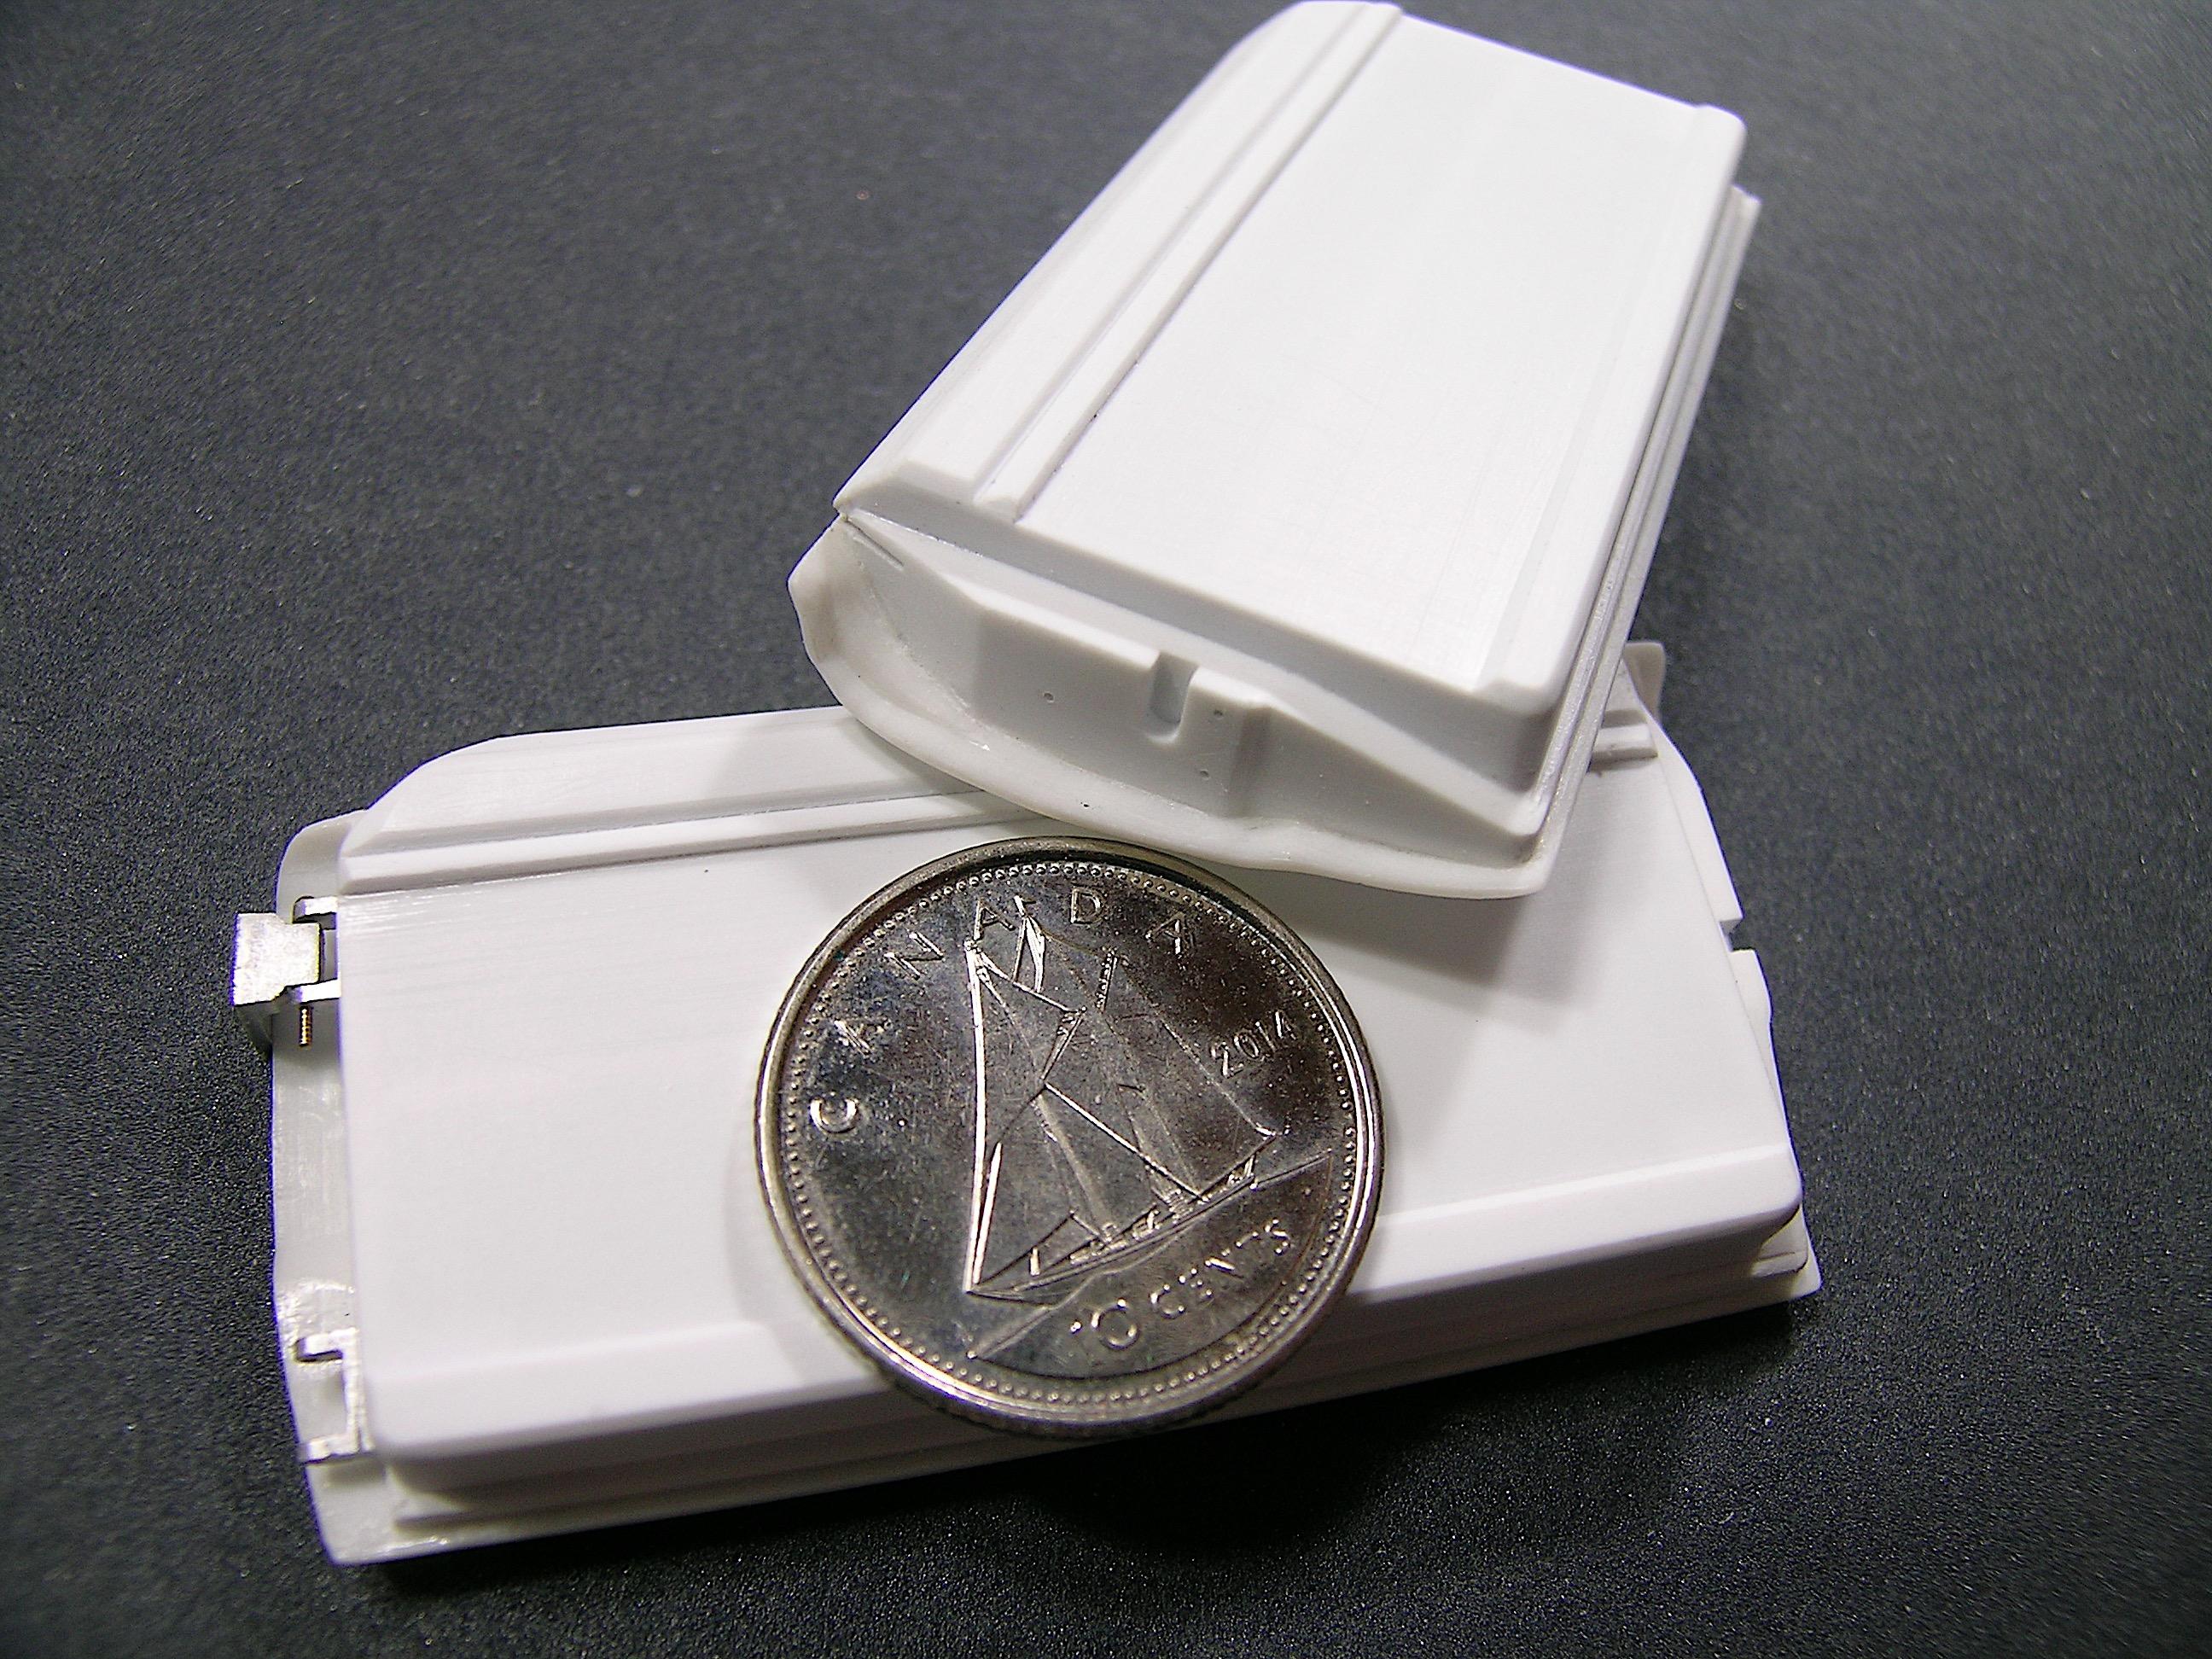
Hello everyone, I've had a lot of reason not to move forward lately because there's been a lot of action in my life. It would take a long time to explain to you but this site is not made for that so I will limit myself to saying that I hope that everything returns to normal soon! On the scale model side, I have almost finished the details of the doors and I will have to add an aluminum panel as interior trim, make the handles and the window cranks. For the latter, I will probably proceed later because I have to concentrate on finishing the structural components. The photos are in order of construction progress so it speaks for itself. I planned openings to insert side windows but it is not yet certain at this stage that I will put them in, at least the slots are there, that adds a little to the details anyway. I added a lot of bracing that will help support the panels on the interior side of the cabin. I hope you like them, I think they are my best so far although I haven't done many before. ? See you next time with more progress. Francis I used styrene strips to try to recreate the shapes of the doors on the interior side of the cabin. After a bit of sanding. I will add a thin aluminum panel as trim. Again, the dime is not to promote the Canadian currency, but to get a good focal point, this is the best trick I've found so far! ?
-
’72 Dodge Demon Drag Racer 1/25 scale
AmericanMuscleFan replied to AmericanMuscleFan's topic in WIP: Drag Racing Models
Thanks Jerry! Now I just have to bury them behind styrene... at least the part of the hinges mounted inside the door panels. ? Francis -
’72 Dodge Demon Drag Racer 1/25 scale
AmericanMuscleFan replied to AmericanMuscleFan's topic in WIP: Drag Racing Models
Thanks Andrew, You have to pay the price when you decide to make only 1/25 scale models. Francis Thanks Daniel, I didn't take the easiest route but I'm pretty satisfied considering the complexity of the operation. It adds hours to the project but it's something I really wanted to do! ? Francis -
’72 Dodge Demon Drag Racer 1/25 scale
AmericanMuscleFan replied to AmericanMuscleFan's topic in WIP: Drag Racing Models
Thank you Ian, I call these small victories and it will take many to deliver a finished product as I envision it! Francis Thanks Edgar! The current state of the project is probably not the most interesting, but it is one of the "musts" that I have to go through before I can have fun with the machining part. It will come one of these days but thanks for continuing to follow me! We were rather spared here by the freezing rain unlike the Montreal area which once again received the worst of the precipitation. Francis -
There is no harm in moving slowly at this point, it's all in the details and you are doing a great job Daniel ! ?
-
I agree with Daniel, I also really like the gold Moroso valve covers, it looks so drag racing! ?
-
Johan ‘70 Cadillac ElDorado pro touring (low and aggressive)
AmericanMuscleFan replied to Steve H's topic in WIP: Model Cars
Super job on the grille Steve, nothing is achieved without effort and your good work is rewarded. A good blackening would also have given a good result, but it is difficult to do better than the look of an open grille where you can see the radiator! ? -
’72 Dodge Demon Drag Racer 1/25 scale
AmericanMuscleFan replied to AmericanMuscleFan's topic in WIP: Drag Racing Models
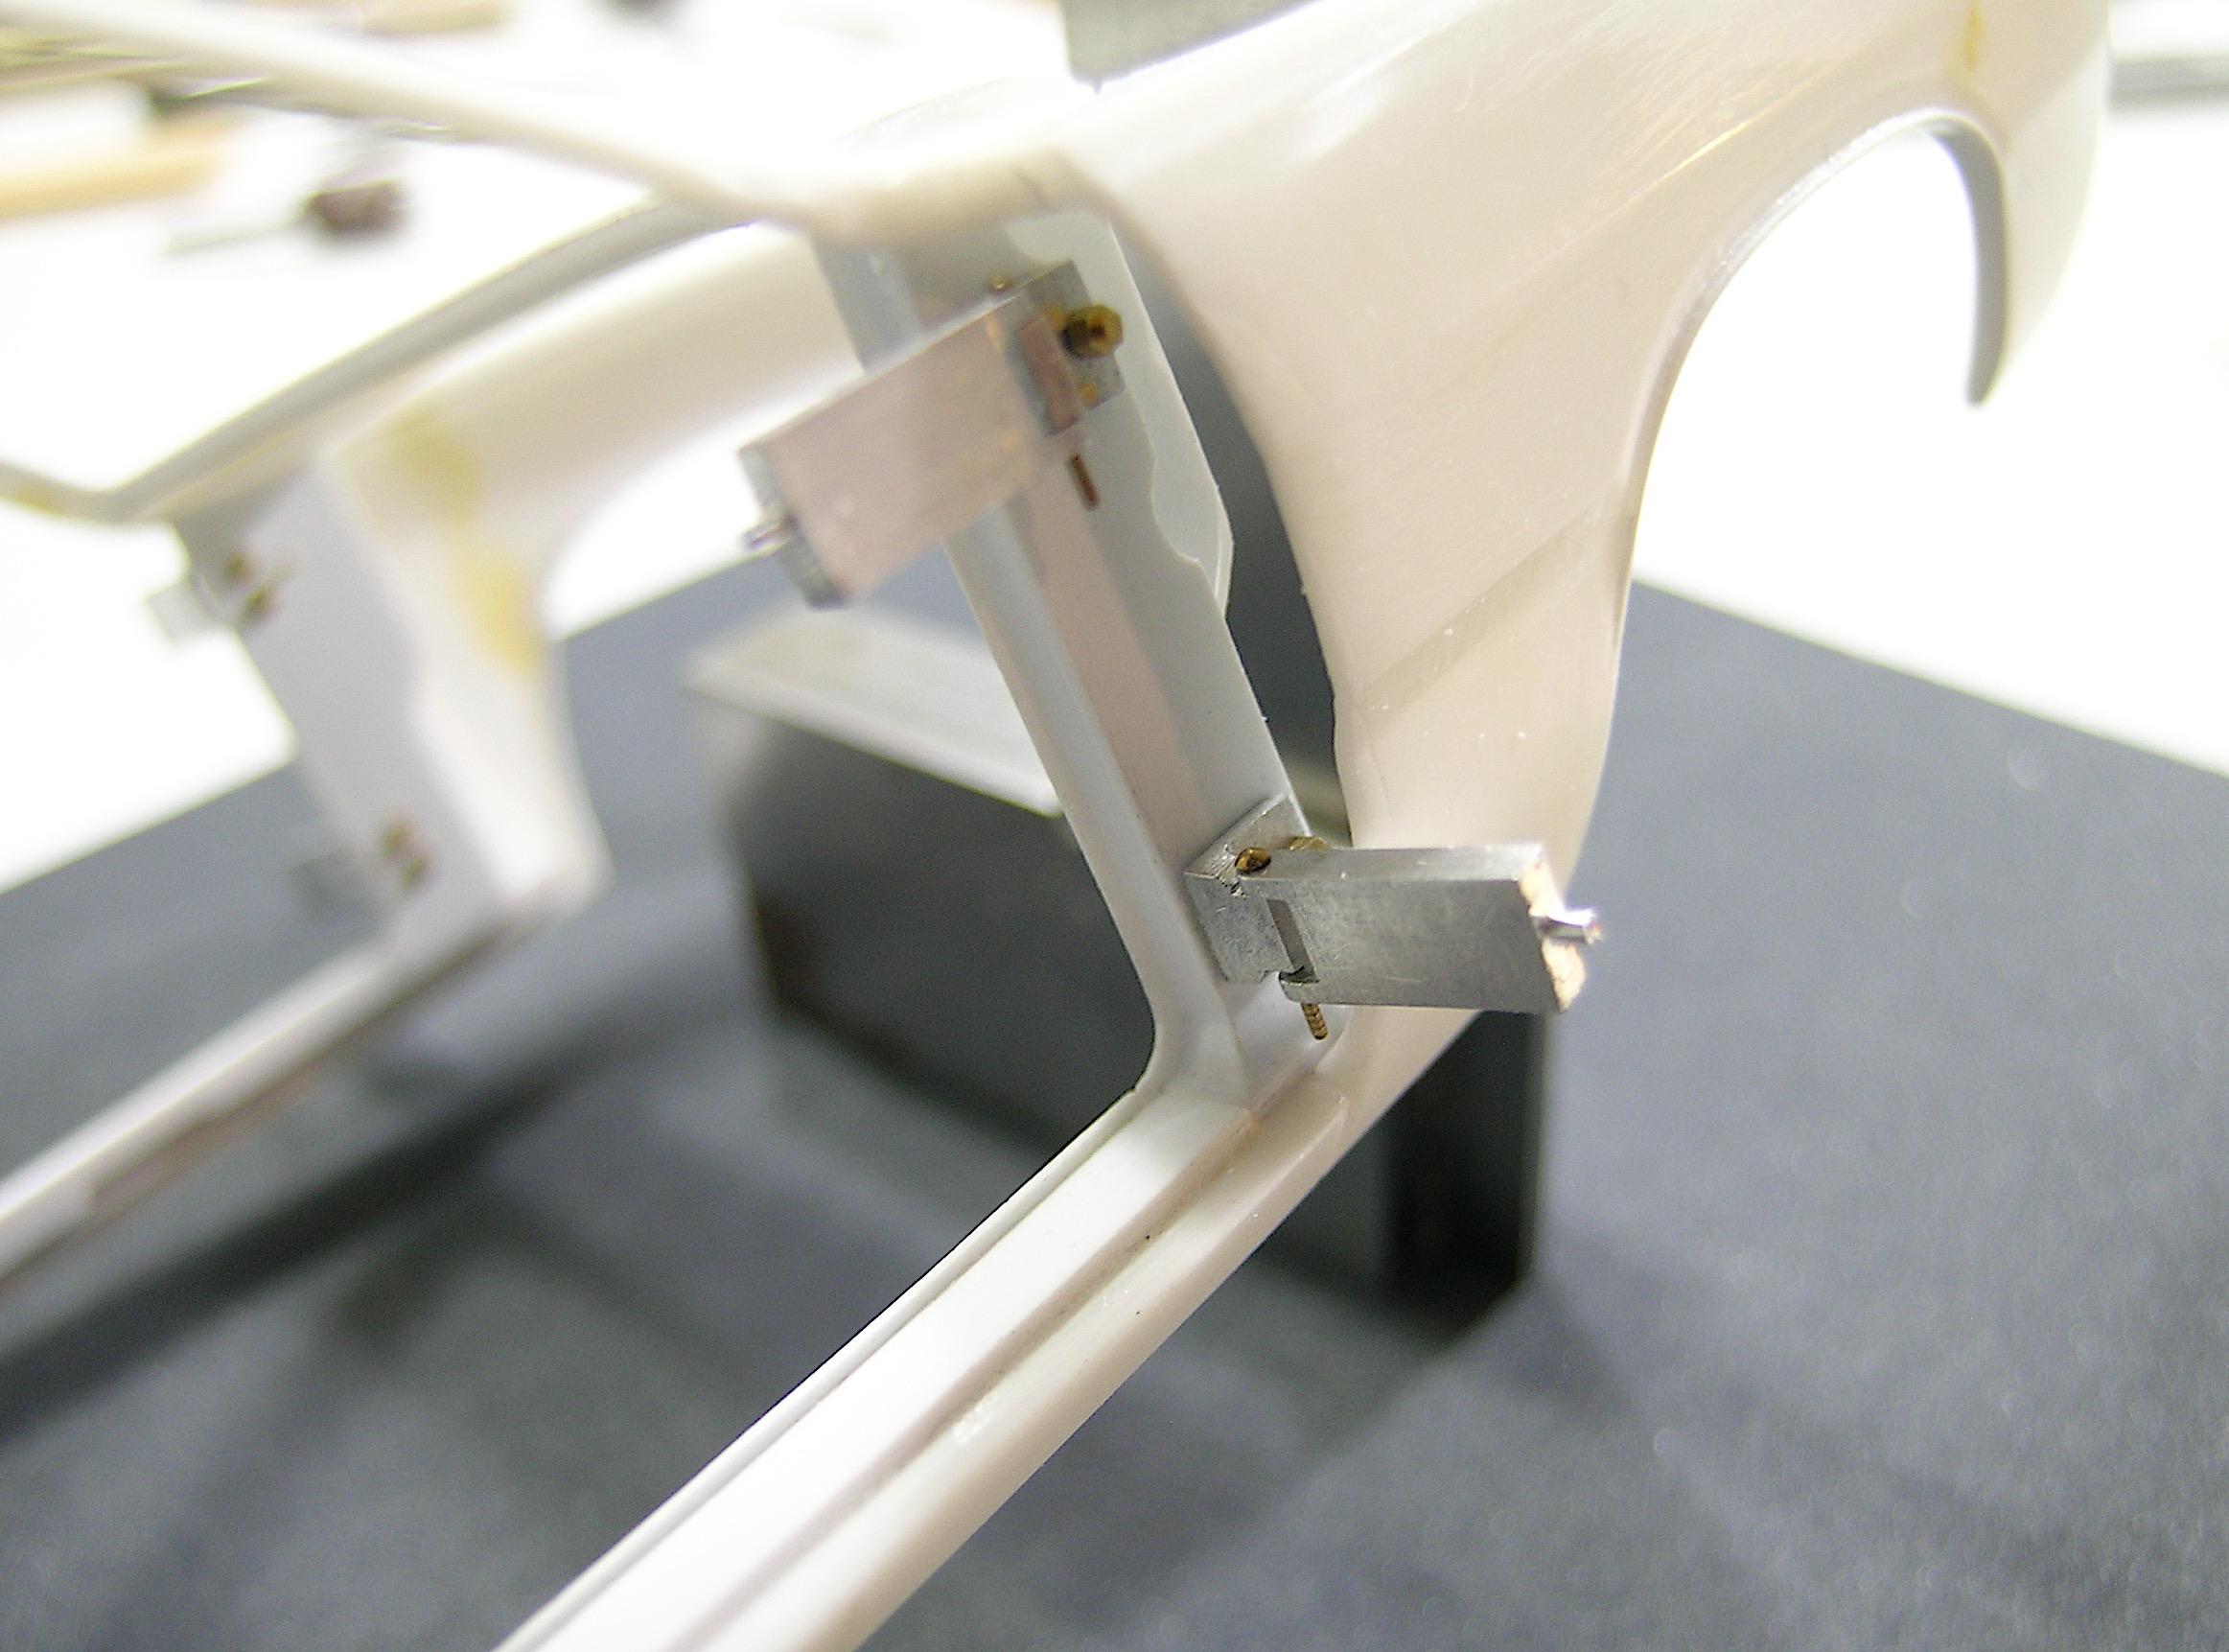
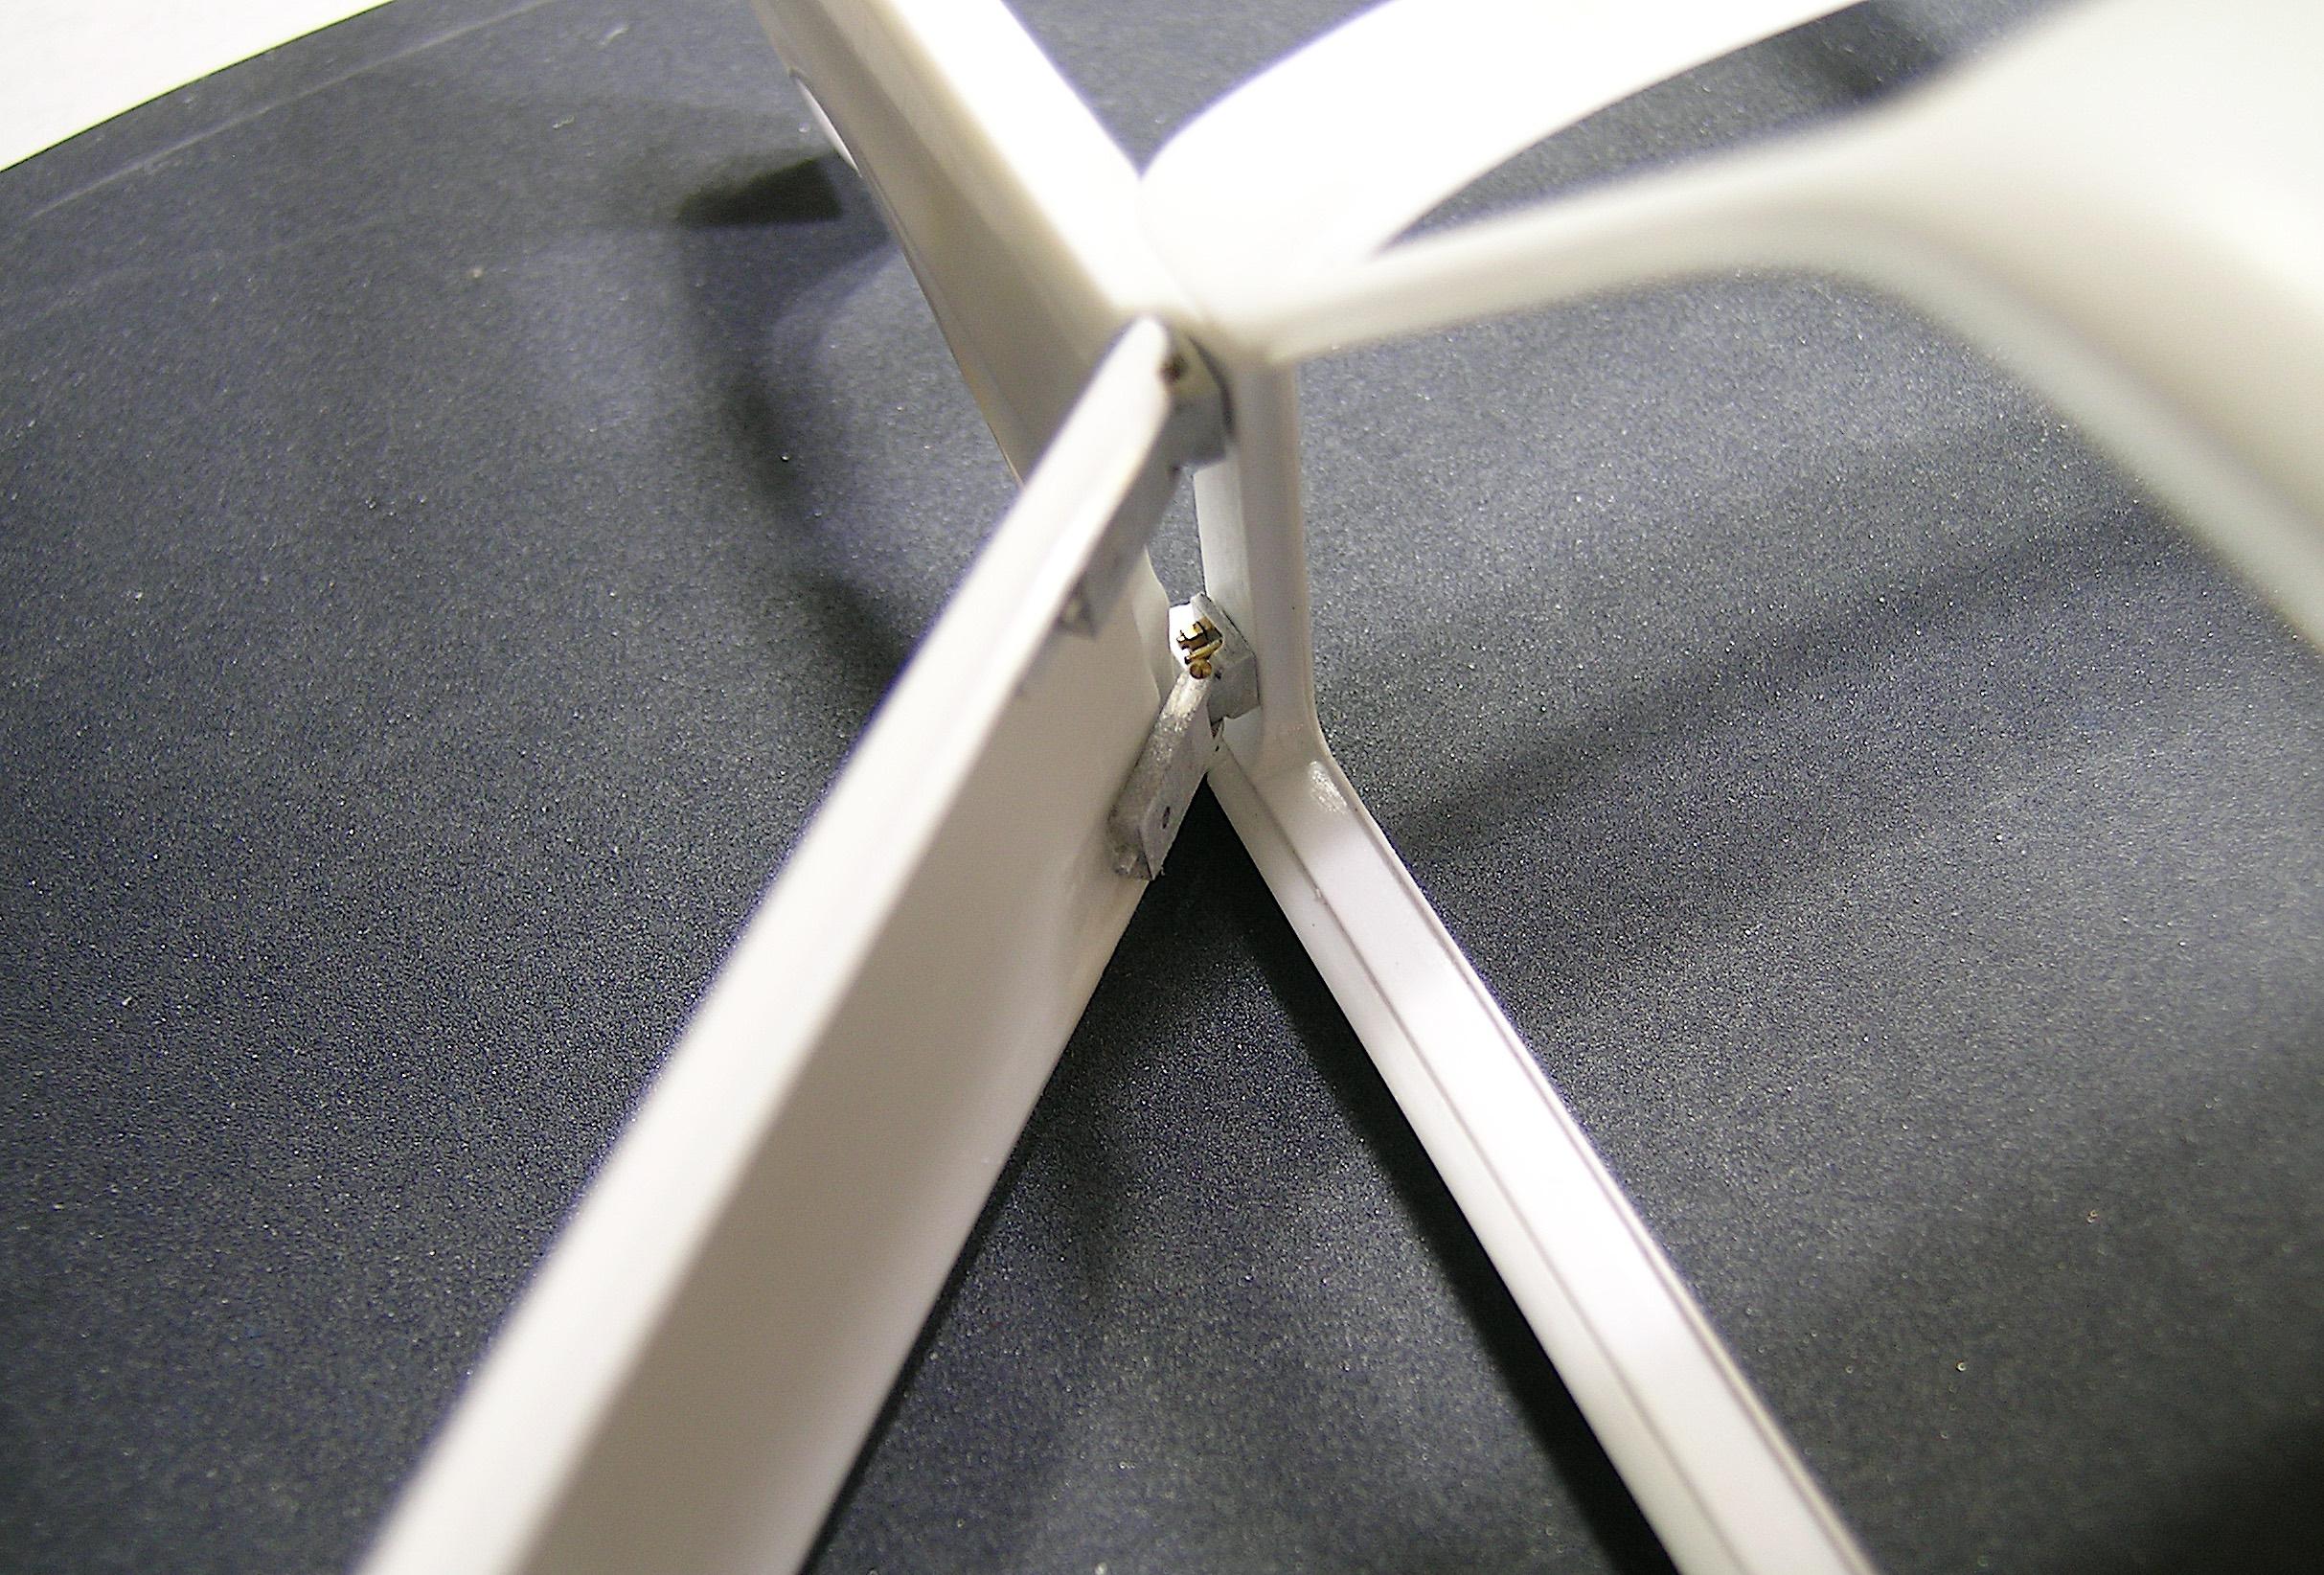
Hello guys, I finished the second part of the hinges and did a test to see if they will work as I planned. It should be fine but I have to admit that there is not much space left and the thickness of the front fenders must be as thin as possible not to interfere. When the details of the doors are finished, only the end of the hinges will protrude and will be visible, the rest will be used to glue them inside the door. It's not easy to adjust the hinges on a real car so I chose this easier way of doing it because I couldn't see myself trying to mount the second part on the walls of the doors, the adjustment would have been nightmarish. Now I can finish the door details and continue with more work inside the cabin. I'll be back soon with more updates. Francis Second parts of the hinges being machined in the rotary table. Temporarily installed with brass bolts to verify proper operation, I will use smaller bolt heads of course. The hinges can open 90 degrees but the door will limit the opening once in place. It's pretty simple, but it works... It's not over yet but it looks promising! ? To give you an idea of how they are fixed inside the doors. I will take better shots when I do the fabrication of the door walls.
-
’72 Dodge Demon Drag Racer 1/25 scale
AmericanMuscleFan replied to AmericanMuscleFan's topic in WIP: Drag Racing Models
Thanks Steve! You don't have to worry, we are all silent visitors from time to time and it is not possible and necessary to comment every time. I'm having a lot of fun with this project and I'm trying to share as much as possible by trying to show what is relevant. I will try to hide my disasters as much as possible and share only my good shots. ?? -
The kind of detail I love! ?