PHPaul
-
Posts
491 -
Joined
-
Last visited
Content Type
Profiles
Forums
Events
Gallery
Everything posted by PHPaul
-
Nicely done!
-
Hadn't thought of that David. I was envisioning having the switches mounted external to the model with a "wiring harness" going into the structure.
-
David, I don't know if availability would be a problem for you, but if I were doing a similar wiring project, I'd use micro toggle switches. Micro sized toggle switches on Amazon
-
Nice job on the furnishings! It's really coming together.
-
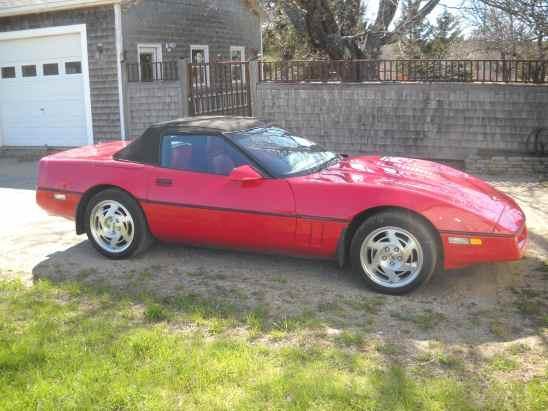
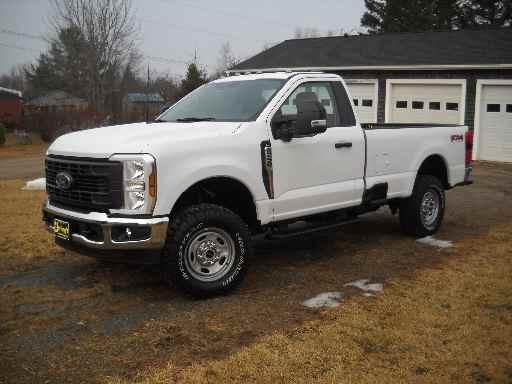
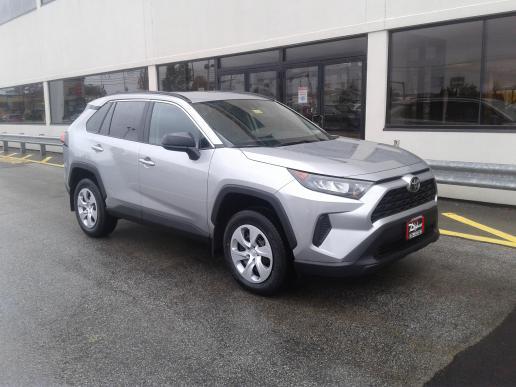
Toy: 1990 ZR1, 6 speed manual. Not a rocket, but plenty of fun. (Yes, I fixed the wheels. PO had tires rotated without regard to the directional wheels) Work: 2024 F250XL. Thirsty, but a towing beast! 6.8L "minizilla" engine. Grocery Getter: 2020 RAV4. Upgrade from 2012 Corolla that I gave to my daughter to replace her clapped out/unsafe Pontiac G6

-
I agree, the gable trim looks much better thinned down . Are you going to landscape around the foundation at some point?
-

Rally Corvette
PHPaul replied to 89AKurt's topic in 1:1 Reference Photos: Auto Shows, Personal vehicles (Cars and Trucks)
That's pretty cool! -
Nicely done! Fit-up on the roof looks great. Looking forward to seeing it with the ridges and valleys (gullies) finished.
-
Coming together nicely! Fussy work getting things lined up properly.
-
Sorry to hear about your printer! I'm in the market for a new one myself. The Creality is still working fine and produces nice prints, but sufferin' succotash (from Sylvester the Cat cartoons for those of you across the Pond that may not recognize it) that thing is s...l...o...w... I've got some stuff I want to print that would take over 12 hours! The intended replacement is 3x to 5x as fast and has the capability to print multiple colors (if I spring for the attachment) and is still fairly reasonably priced. Like most things, technology has improved over the last 5 years.
-
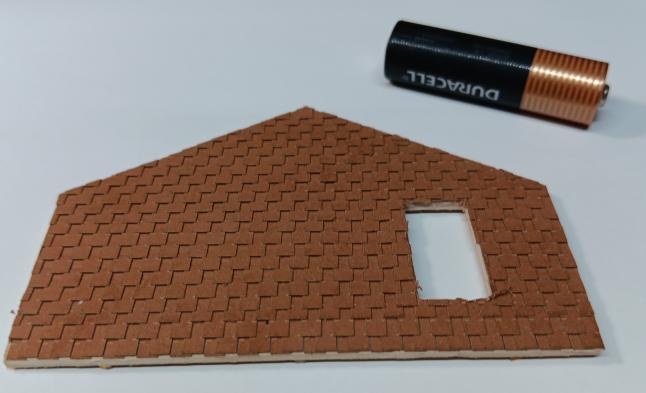
Very nice work Sir! Fussy work like that requires a certain frame of mind with which I am only rarely blessed, and then for short periods! I've used those peel-and-stick shingles in 1:64 scale for cedar shingle siding. Excellent product.
-
1-2-3 blocks are normal/common. Glass bottles are "creative"...
-
Great progress, David. I like the creative use of bracing...
-
Excellent progress, Sir. And I've been there and done that with glue and 1-2-3 blocks...
-
VERY nice, David! Initially I had some doubts about the realism of the foamboard construction, but your detailing has proven that it works very well indeed.
-
I like it, but I'd be forced to resurrect most of those models! That black and white '56 for instance...
-
AMC Cars
PHPaul replied to Kenmojr's topic in 1:1 Reference Photos: Auto Shows, Personal vehicles (Cars and Trucks)
The AMX, Javelin and Rebels were pretty sharp cars and under appreciated. The rest of AMC's styling isn't my cup of tea. -
Looking good, David!
-
Just traded my '13 Tundra in on A leftover 2024 F250. Do a bit of towing and Toyota no longer offers a V8, so went with the Ford.
-
Yikes! I bet that WAS challenging! Very nice execution however. Well Done!
-
I added a rail speeder to the abandoned track in the corner by the trestle. A guy on another board that has an actual full-sized speeder was kind enough to provide pictures and dimensions. \ The remaining undeveloped area was set up as a rifle range. More detailing needed but the basic scene is in place.
-
34 ford
PHPaul replied to johnyrotten's topic in WIP: Model Trucks: Pickups, Vans, SUVs, Light Commercial
My farm diorama is here. Don't know if the truck shows up in that thread so here's a couple of pictures. Thanks for your interest!
-
34 ford
PHPaul replied to johnyrotten's topic in WIP: Model Trucks: Pickups, Vans, SUVs, Light Commercial
I love it! Great job. I did something similar on my 1:64 farm diorama using a hotwheels truck. -
I like where you're going with this!
-
Which is precisely why I haven't jumped on them yet. At the moment, my PLA printer is down waiting on a part. I have some stuff I want to print but nothing critical and I have other things to occupy my time while I'm waiting on the part.