.jpg.b9265433dc8c3b550370b1d0e4e4d2fc.jpg)
MarkJ
-
Posts
4,702 -
Joined
-
Last visited
Content Type
Profiles
Forums
Events
Gallery
Everything posted by MarkJ
-
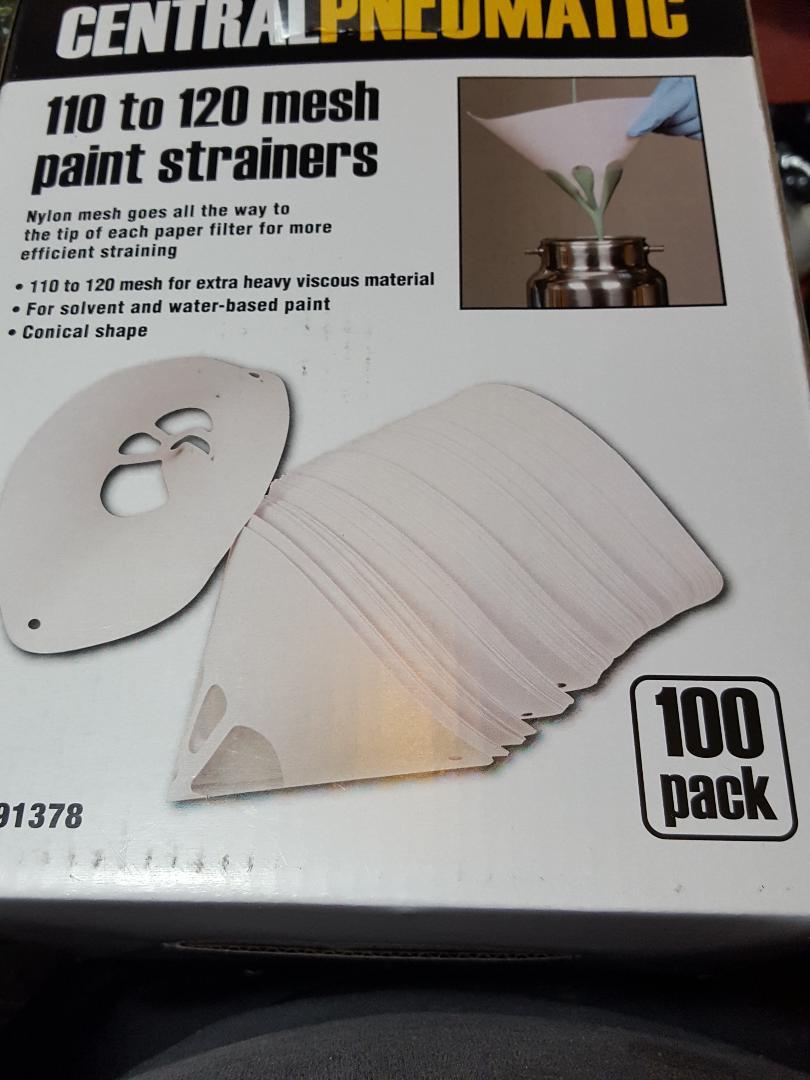
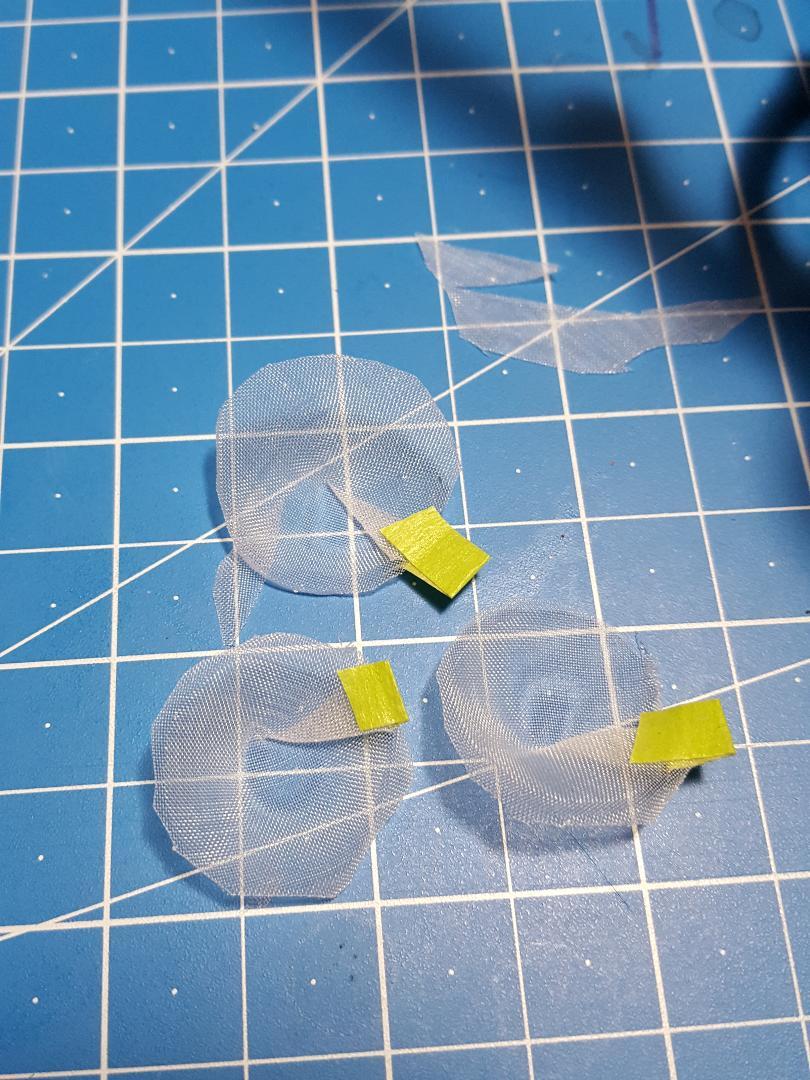
I bought these huge gravity cup strainers at harbor freight, but they were way too big to use on an air brush. I decided to cut the strainer parts out and make 2 little ones from each big one. Haven't tried them yet but I think they should work just fine. The little piece of green tape is to secure them to the cup while pouring the paint into it. also make a nice little handle to discard them when finished.

-
Thanks for stopping by Andrew. I agree.
-
Thanks, Bruce. i'm hoping for better results with the clear when I get some more good weather.
-
Did the final touch up for the black items so next comes the clear. I'm hoping I will not have to polish it. Just future after the decals are applied, I will have to sand the headlight covers a little before the clear. probably use a 4000-grit pad.
-
Thanks, Helmut, for stopping by and commenting. In a way I'm kind of glad I messed up the finish I had. I believe when all is said and done this airbrushed body will look a lot better in the end. I just don't have the talent to pull of what Pierre does with a bristle brush. I get the paint way to thick even eliminating the door and trunk separation lines. Thats not a good look for a model car.
-
Thanks, Mike for dropping by. Yes, it has been a long journey, but I am finally feeling like the end is near. Just need to lightly sand the body with 6000 pad and wash it with soap and water and then when the conditions allow shoot the clear. If it comes out glossy enough, I will go ahead and put on the glass and decals and finish it with future and she will really be finally done.
-
Pierre, thanks for dropping by. Yes, very close to decal day. Just hope there are no issues with them. I made them a year and a half ago and still haven't sealed them. They have been pretty sealed up though in a zip lock bag so they should be fine. Some are laser printed white decals, and the others are ink jet printed color decals.
-
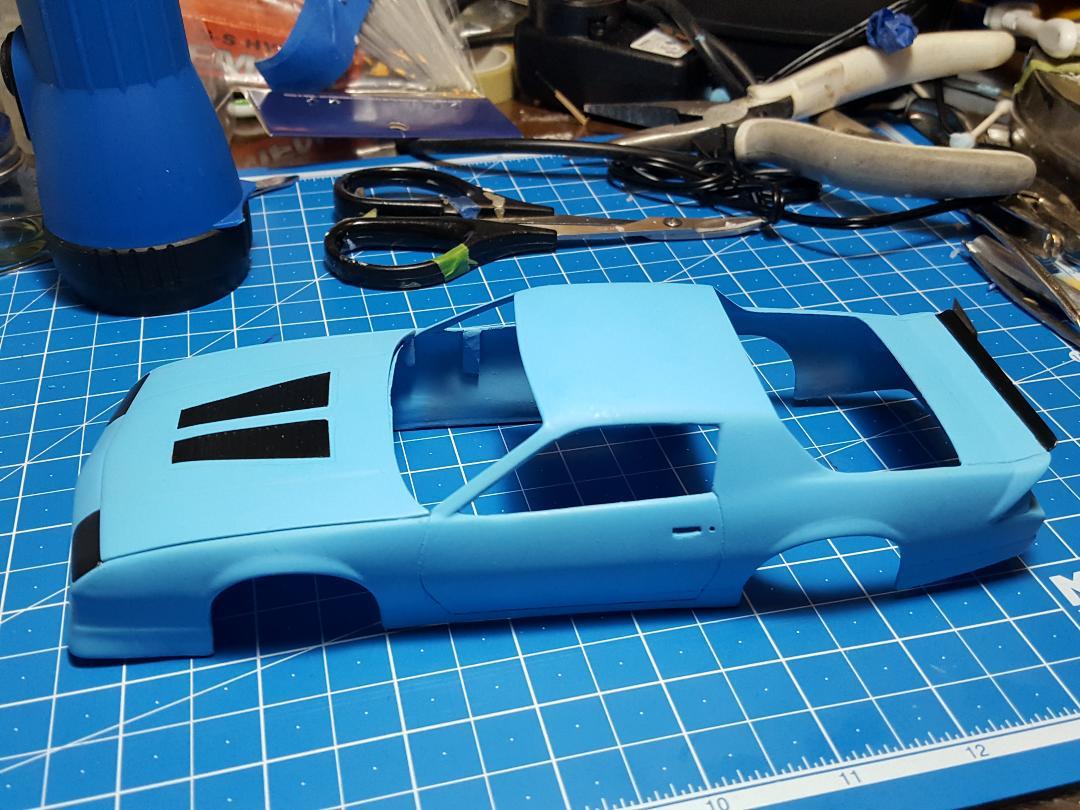
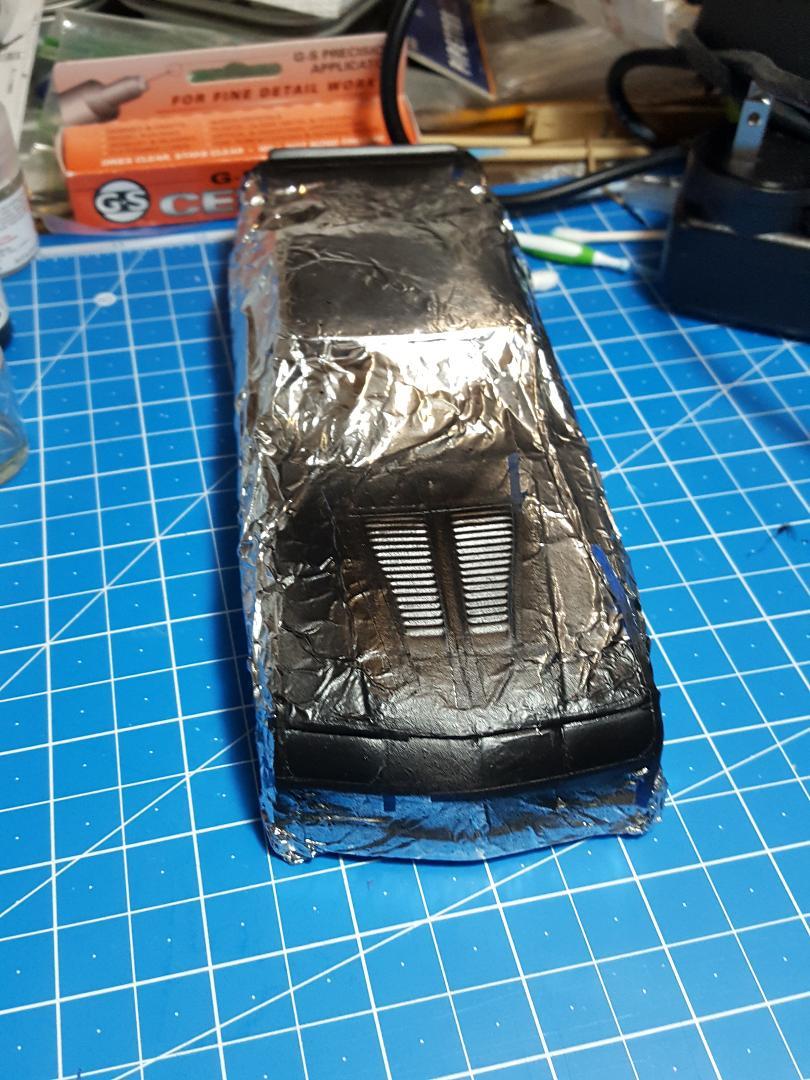
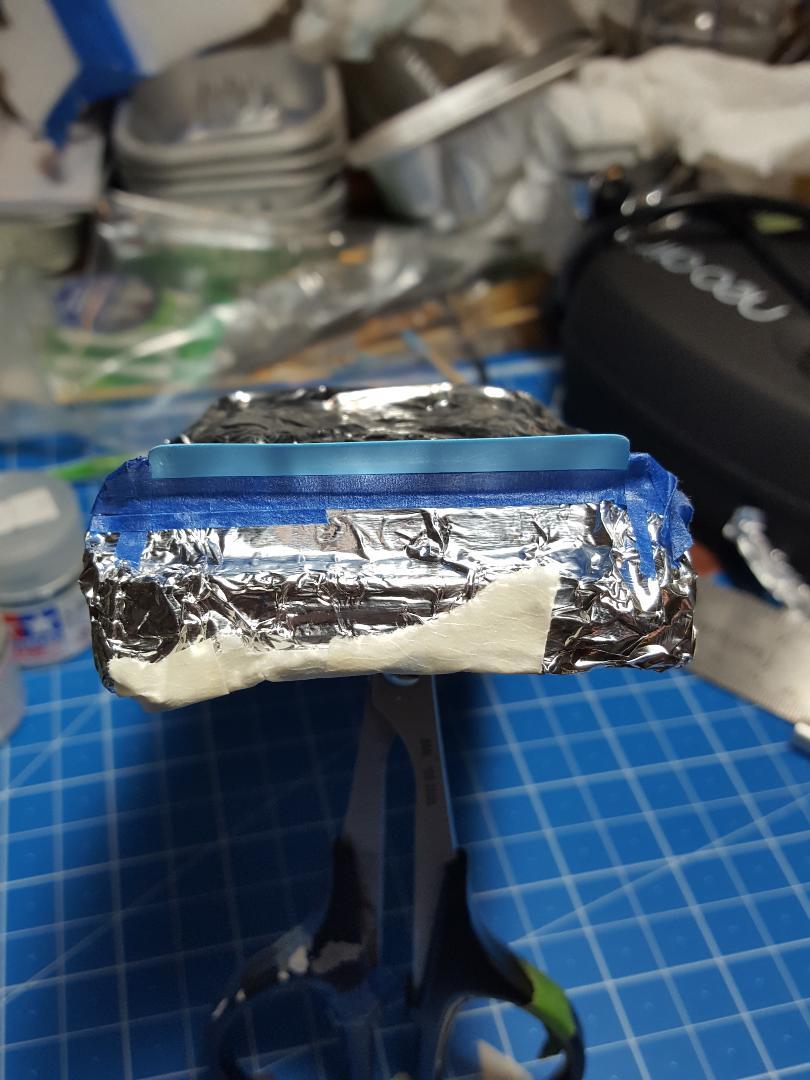
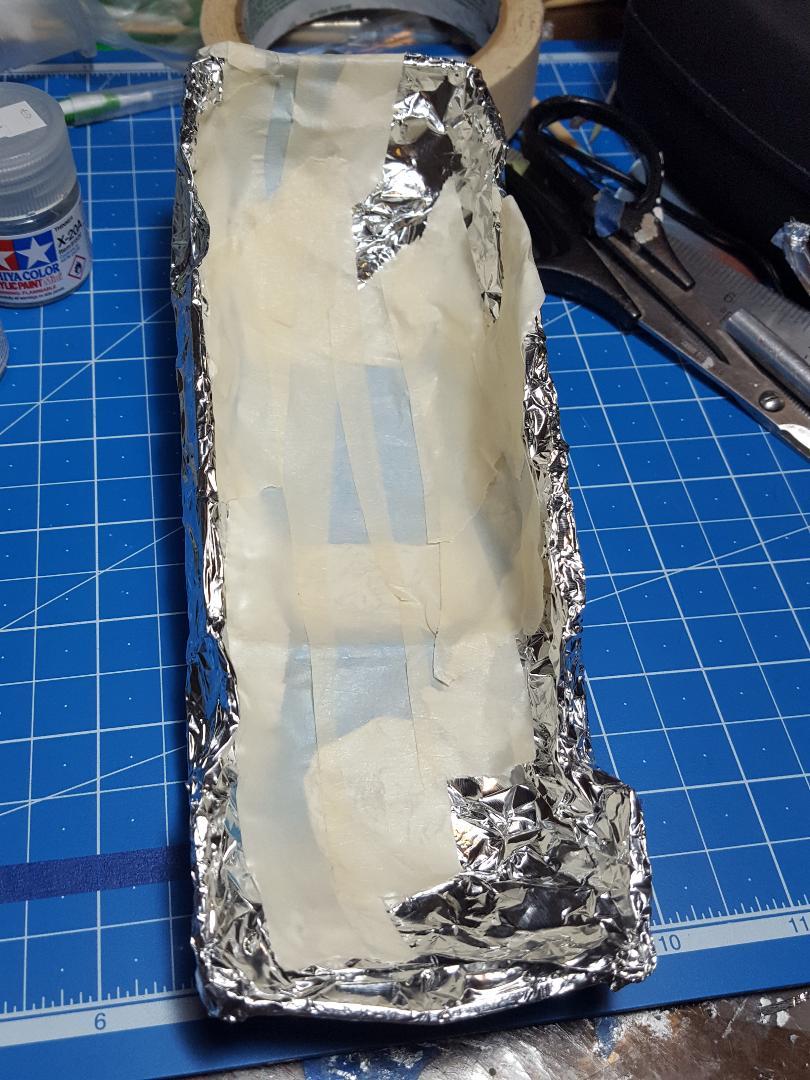
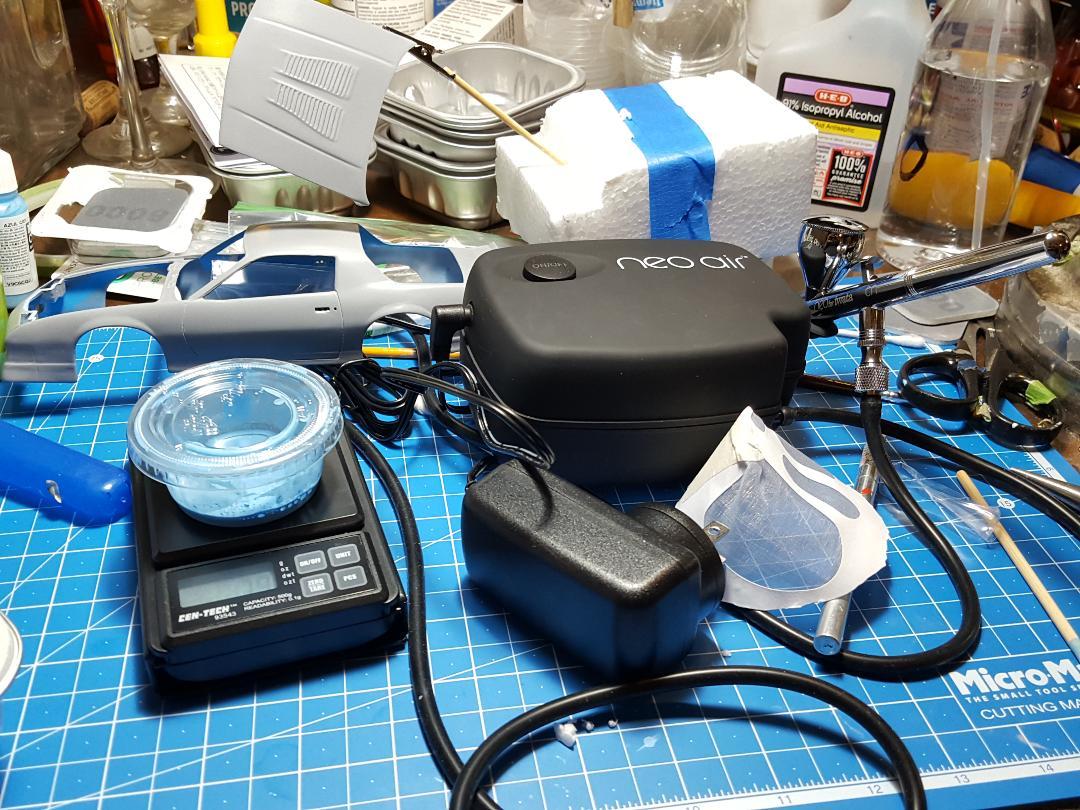
I cleaned the air brush, and I really like using acrylic paint because I can clean it with 91% alcohol spray bottle right where I build the models. When I used lacquer and enamels, I had to go out in the garage to clean my old airbrush that went bye, bye. It's weird, when I mixed up the black paint 50/50 it was more viscous than the blue was. It must have been an old bottle of black and had dried up a little. It almost would not come out of the brush, but it was enough to do the small items I had to do. Now that I can get Tamiya acrylics, I think all my airbrushing will be with Tamiya. I can still use the Vallejo for bristle brush painting. The aluminum foil worked good as a mask, but I still need to do a touch up on the black areas I did and use a bristle brush to touch them up. Next step will be shooting the clear so I can polish without going through the paint to the primer.
-
.jpg.b9265433dc8c3b550370b1d0e4e4d2fc.thumb.jpg.915f5b46e3c9402eeaa6972073121c87.jpg) Whatever works. Thats always my motto. Engine is looking quite awesome.
Whatever works. Thats always my motto. Engine is looking quite awesome. -
Dan Gurney's '61 Impala 1:25
MarkJ replied to Belugawrx's topic in WIP: Other Racing: Road Racing, Land Speed Racers
Looking good, Bruce. Engine bay looks awesome. She's real fine, that 409. -
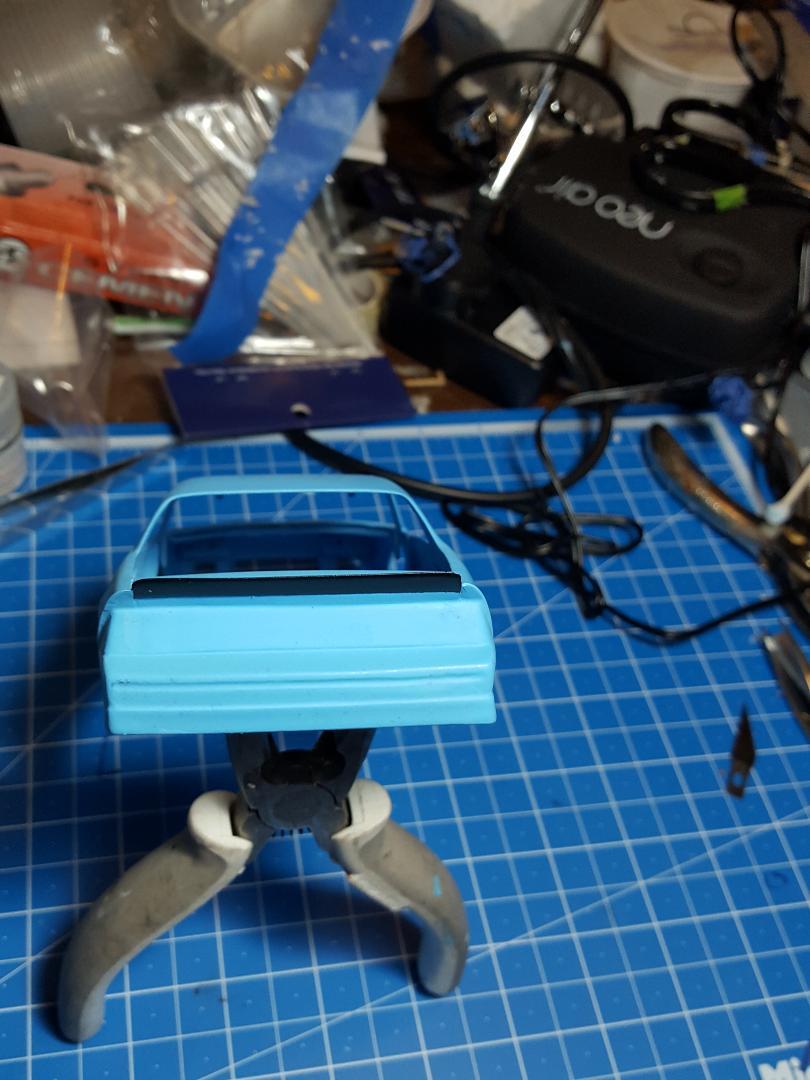
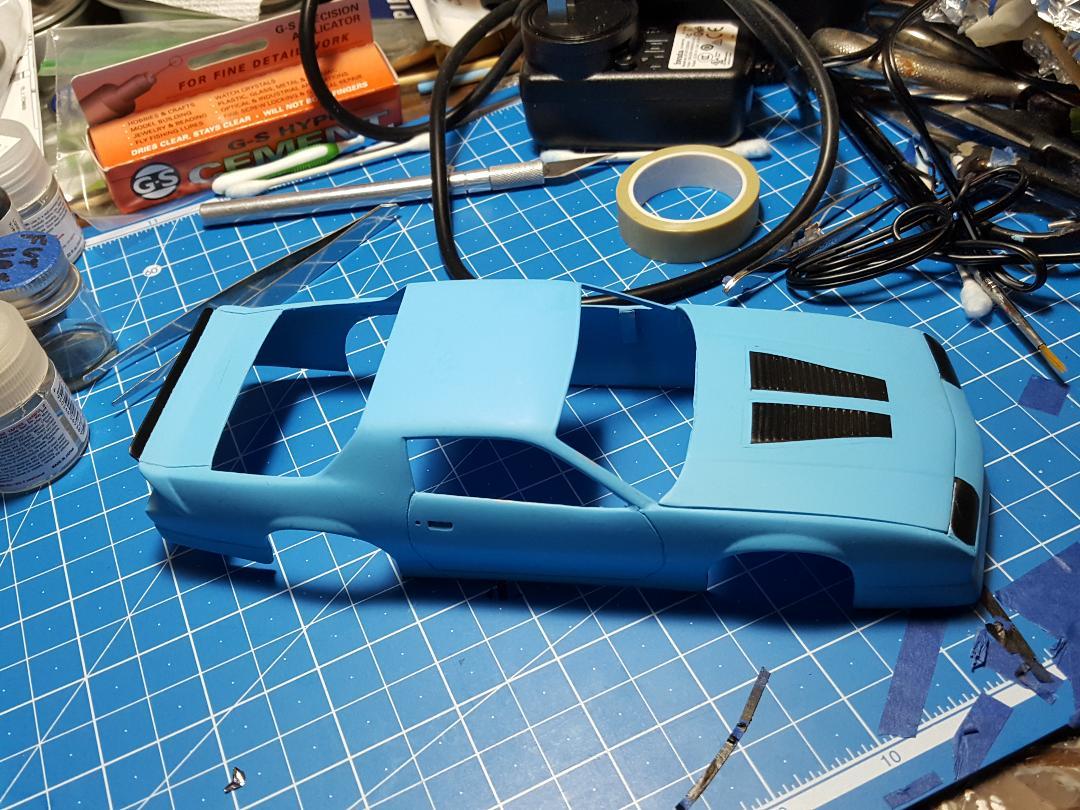
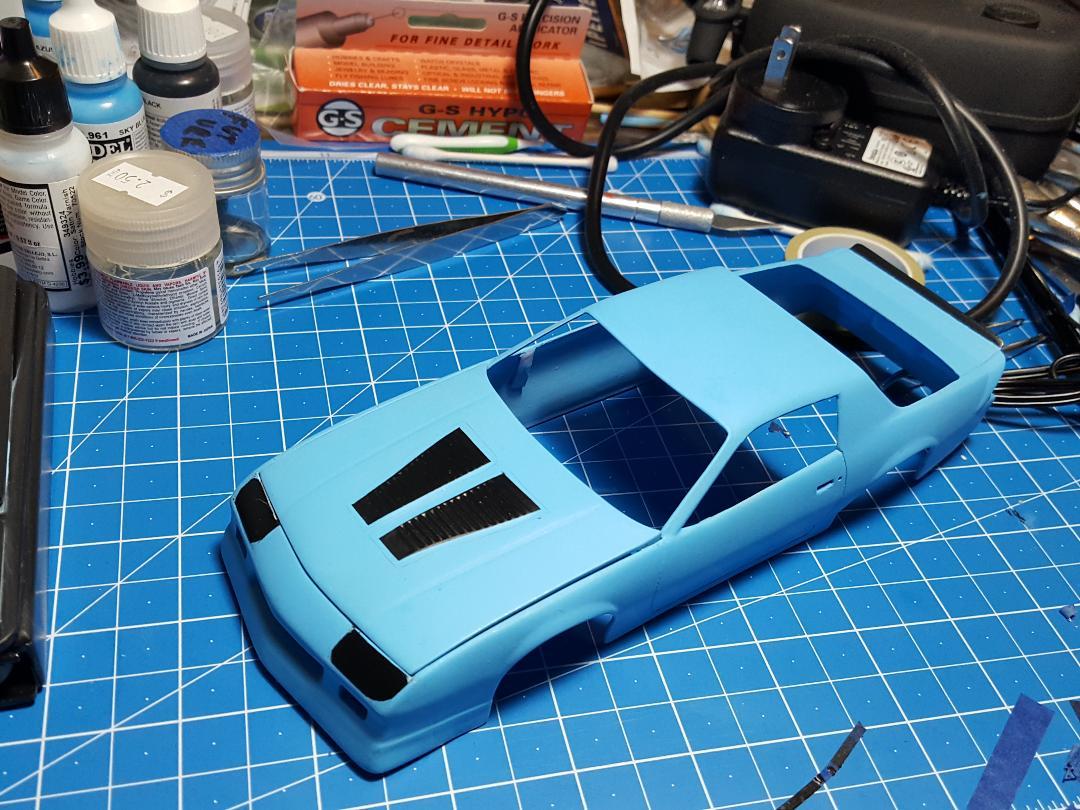
Thanks Bruce. It really works fast and better than having to cover it with paper and tape. I used some tape underneath to finish it off. You would be surprised how sprayed paint can find its way to any uncovered surface. Even acrylic latex that dries pretty fast. I just used a little tape around the areas that will be shot black. I still need to cover the corners of the headlight covers because they are rounded corners not square, but I will use a hole punch for that. That new cutting board I got from micro mark worked great for making the thin strips of tape I needed. I will use x-22 clear next and then polish and install decals. Turns out my local hobby shop, Samano's is being run by a different guy, and he is an affiliate of Horizon Hobbies, and he is trying to turn it into a real hobby shop. He has a full supply of Tamiya paint products and stocks a lot of Evergreen styrene. Looks like he has some interesting plastic models to see but I did not have time to peruse them the other day.
-
-
-
-
Let's hope so, Bruce. I haven't got the paint on it yet.
-
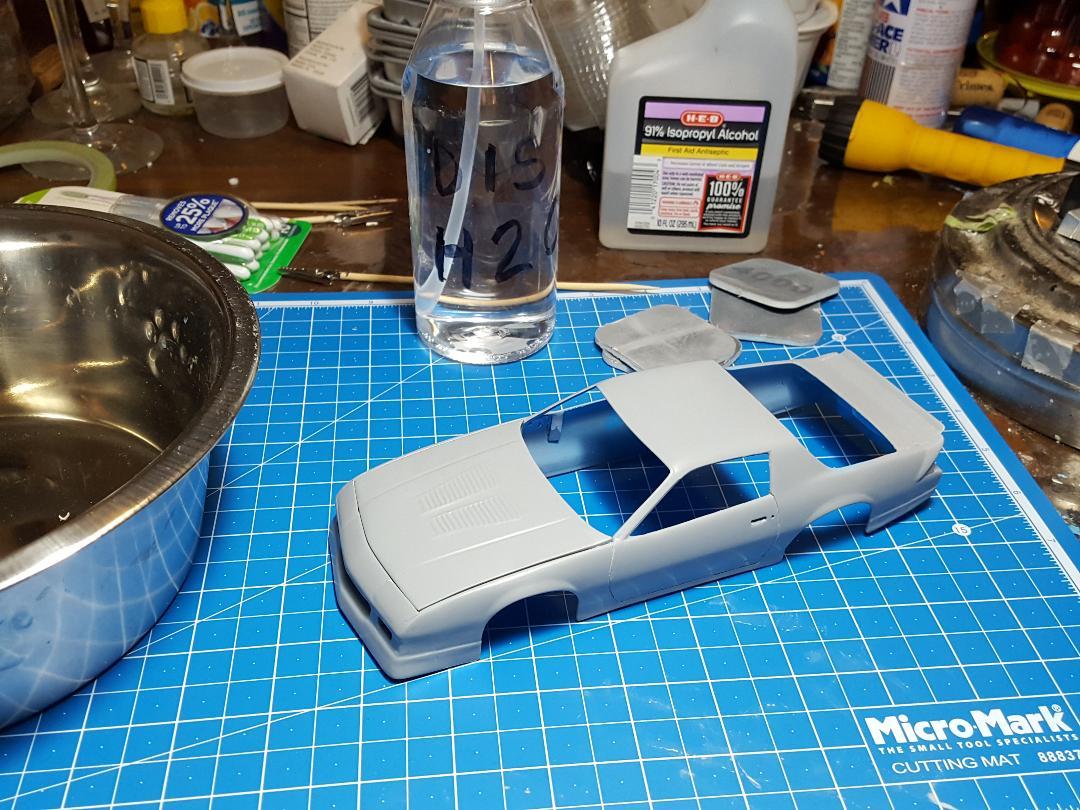
Got the body wet sanded and ready for paint. Friday is looking like good conditions for painting.
-
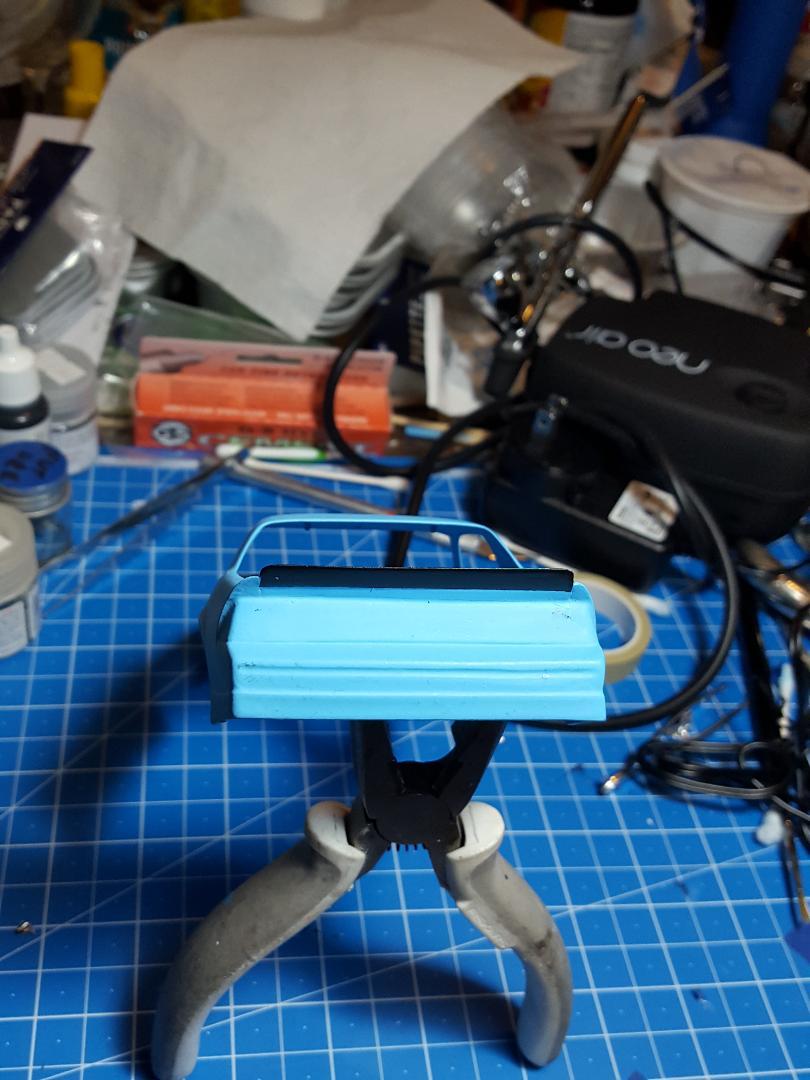
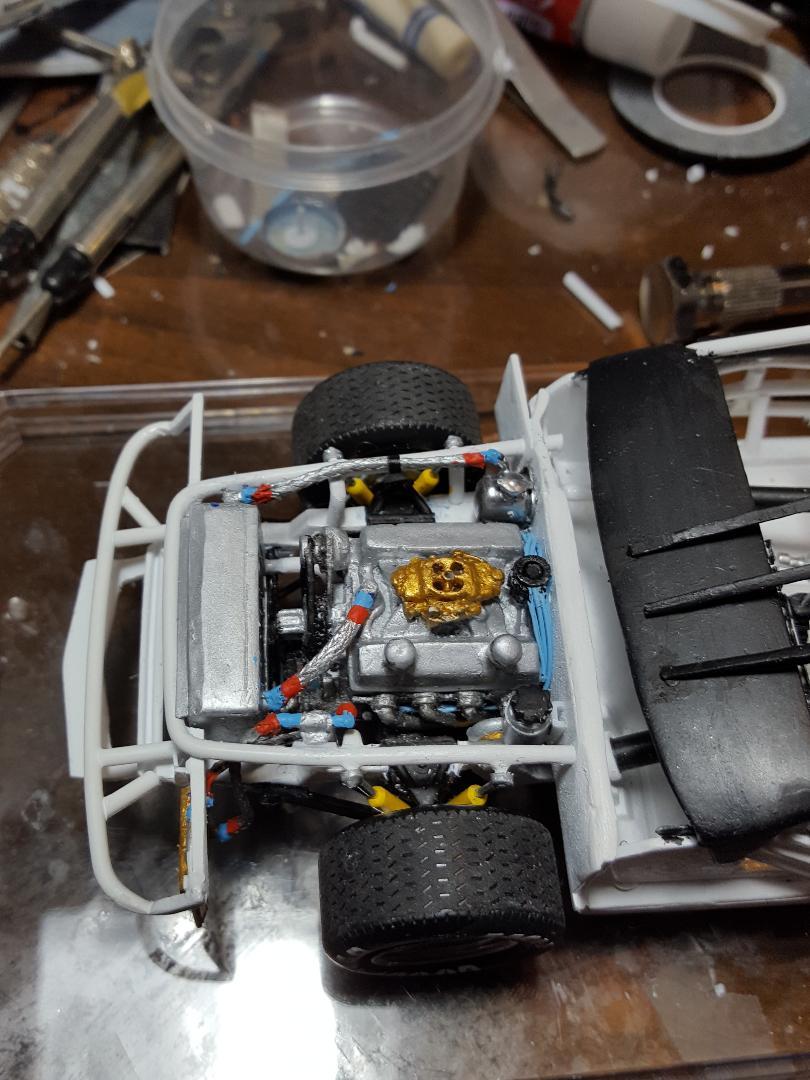
Thanks, Bruce. I believe its .10 black elastic thread painted with sky blue vallejo acrylic paint. People use it to make necklaces and bracelets. you dull it with 2000 grit paper so the paint will stick and hold.
-
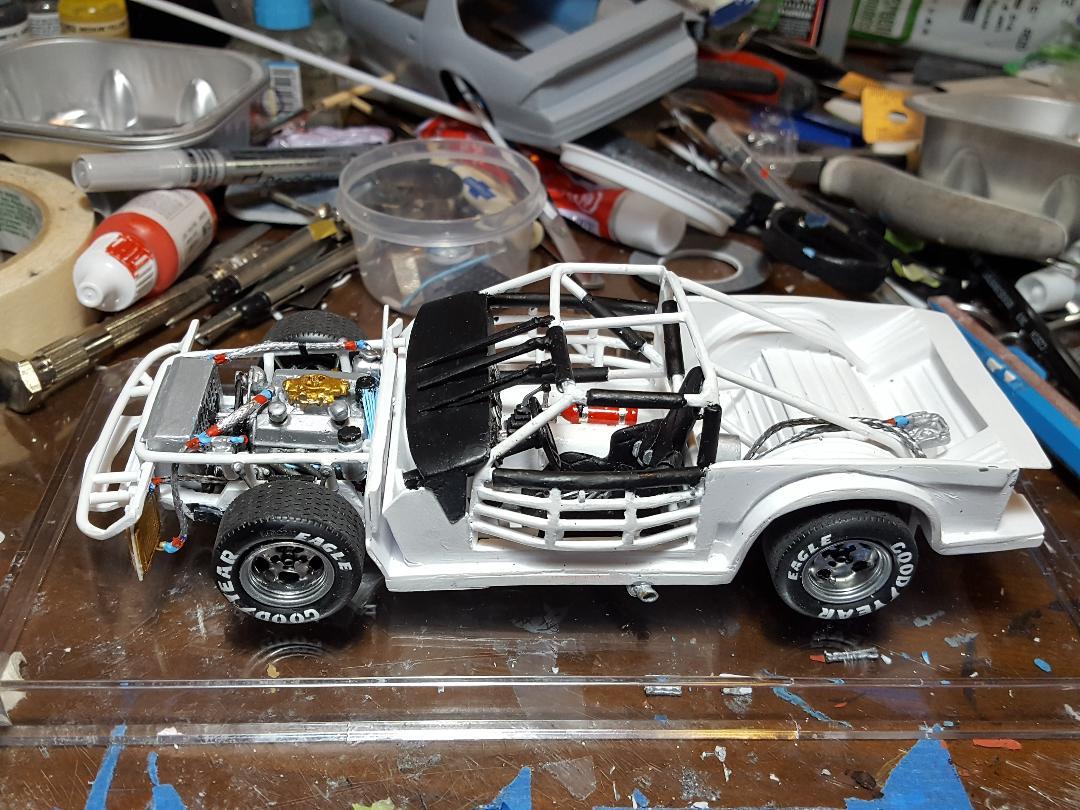
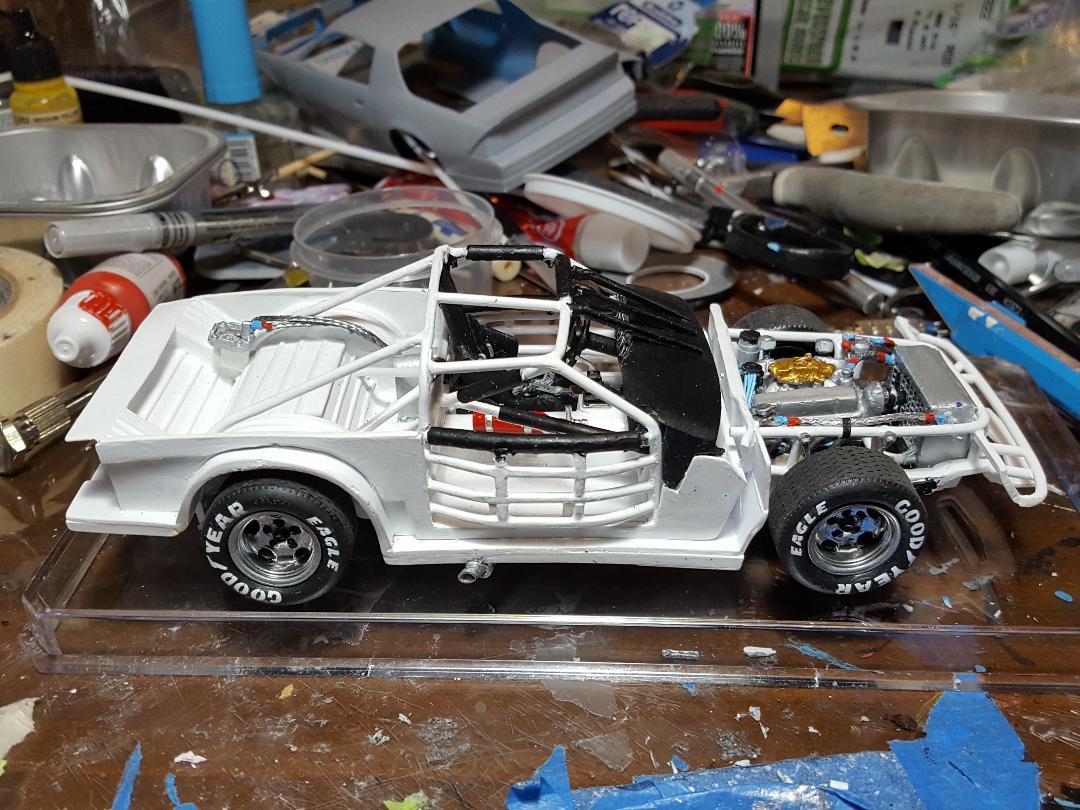
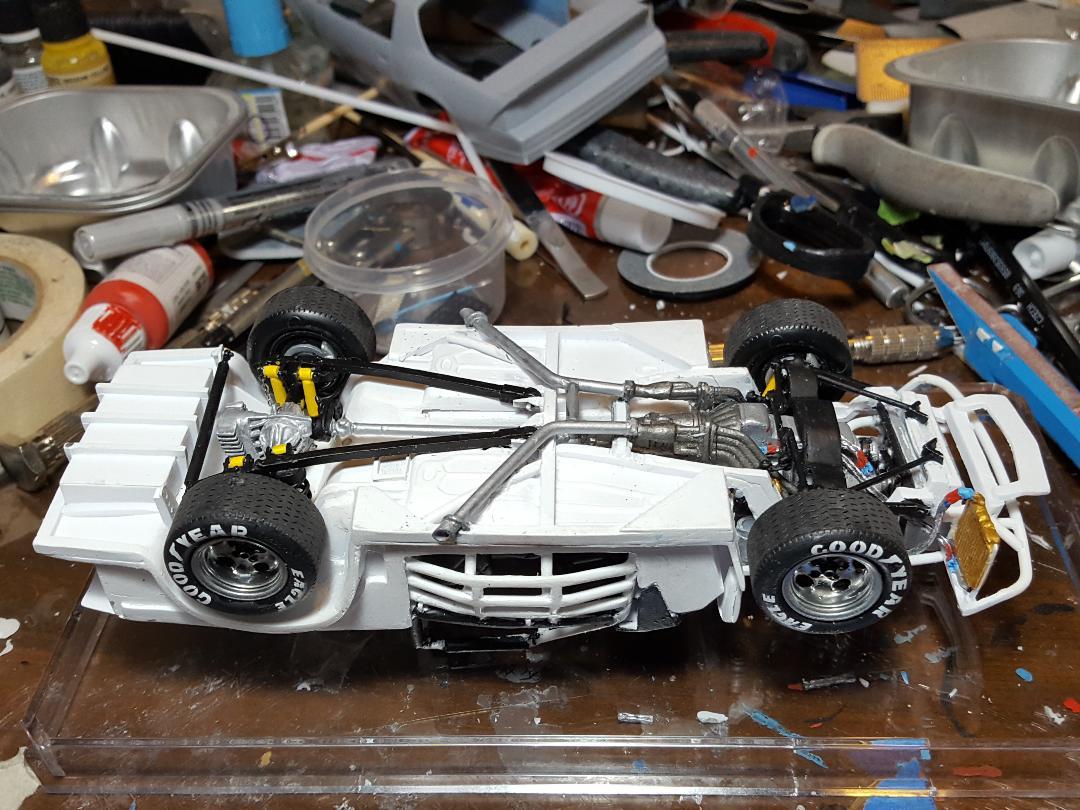
I finally have the chassis complete so I will put it in the display case until I get the body completely done. The only thing I missed was painting the lower radiator hose which I noticed after looking at these pictures. Also spotted some more touch up spots here and there but no rush on them. I have to get on the body while the weather stays dry for a while.
-
Alfa Romeo 158/59
MarkJ replied to Chris Smith's topic in WIP: Other Racing: Road Racing, Land Speed Racers
How did I miss this for so long? When I first started looking at the post this morning I was wondering if you were building a model or a real automobile. Simply Amazing. -
I haven't done anything yet so maybe I'm good to go. My email address has never changed. I never log out.
-
Looks like some great reference material you have there. Looking forward to more wip entry's.
-
Dan Gurney's '61 Impala 1:25
MarkJ replied to Belugawrx's topic in WIP: Other Racing: Road Racing, Land Speed Racers
See there, Bruce. You fooled me. I just assumed that was your build. I was wondering how you got that floor to look so real. Has that car been in a museum some where to look so good. That's a 64-year-old car. My dad had the 4 door sedan Bel Air version of that car that had a 283 and a powerglide transmission. My mom drove it from Virginia to Texas in 1962 and I was her copilot at 10 years old watching the map in case we got separated from my dad who was pulling his 15 foot mfg boat behind his 1954 Cadillac Sedan Deville. It got kind of dicey when we went through New Orléans at quitting time. Thats when we lost touch with him. Somehow, we got back together again. Nasa transferred him from Langley a.f.b to Houston where MSC was going to be built. -
Dan Gurney's '61 Impala 1:25
MarkJ replied to Belugawrx's topic in WIP: Other Racing: Road Racing, Land Speed Racers
Thanks, Bruce. Wow, didn't even require a roll bar. But I bet that Impala was safer than the f1 cars back then, so no sweat for Dan to drive that car. Your build turned out most excellent as always and I learned a lot too. -
Dave, have you any reference photos of the target? I'm totally tuned in but aching for more knowledge about the build.
-
Dan Gurney's '61 Impala 1:25
MarkJ replied to Belugawrx's topic in WIP: Other Racing: Road Racing, Land Speed Racers
Do you have any more reference photos? I had no idea Dan ever drove a Chevy. Is this Nascar, or USAC, or did he drive it overseas? Inquiring minds need to know.