.jpg.b9265433dc8c3b550370b1d0e4e4d2fc.jpg)
MarkJ
-
Posts
4,702 -
Joined
-
Last visited
Content Type
Profiles
Forums
Events
Gallery
Everything posted by MarkJ
-
.jpg.b9265433dc8c3b550370b1d0e4e4d2fc.thumb.jpg.915f5b46e3c9402eeaa6972073121c87.jpg) You are welcome, Mark. And thank you for the kind words about the build. It is much appreciated.
You are welcome, Mark. And thank you for the kind words about the build. It is much appreciated. -
Thanks, Mike. Pretty happy so far with the flow of the project. Learning a lot about the new airbrush using the test body. Shooting on a white spoon or piece of white paper doesn't show the actual results that I would be looking for to learn how to use it.
-
Got my brush cleaned using the black sharpie system on paper towel I thought of for not getting the parts mixed up or not knowing where the part was from in the airbrush. This thing has so many parts and springs I needed extra help. But I got it cleaned and the wicked gold metallic on white primer looks so much better than the wicked pearl gold on gray primer, so I will go with it on the real build body when I get the body ready for paint. I also liked the wicked red and think it will look really good with clear on it as well as the metallic gold. So, I'm all set for starting the build on the Monte Carlo. But I will clean the airbrush before I do that, so I don't forget like last time.

-
I like to clean my brush where I work in the house so that leaves out using lacquer thinner. I only use acryics so i don't need something that hot to clean my brush.
-
Dan Gurney's '61 Impala 1:25
MarkJ replied to Belugawrx's topic in WIP: Other Racing: Road Racing, Land Speed Racers
Good luck with the bmf. It's not as good as it used to be. -
Sauber Mercedes C9
MarkJ replied to kensar's topic in WIP: Other Racing: Road Racing, Land Speed Racers
Wow . It looks like you already added the clear coat. Magnificent paint job. What kind of clear will you use? -
Well, I went out on a glorious afternoon to paint my test body and low and behold I found that I had forgot to clean my new airbrush from the last time I use it. I tried to just run 91% alcohol through it and it finally started working but not good enough to actually paint with it. I'm going to have to clean it today and hope for good weather again this afternoon. One thing about this new brush is, it's got a lot of pieces to clean and it's hard to remember how to put it all back together. I'm going to lay out a piece of paper towel down on my work area and put all the pieces in the way they look when they are back together in exploded view of course and mark a little spot with magic marker on the paper and after I clean each part put it back on the spot. hopefully this will help.
-
sounds like good advice, Alan. I think you will like it. One little 2x2 inch pad will probably last forever. Sounds good, Bob. Whatever works is what I always say
-
Thats true, Bob. It will be a learning process for me. Some things will still need sandpaper. I mostly will use it for raw bodies and primer. I'm hoping not to use it at all on color coats and clears. I did not need anything on my Camaro for those two items except floor finish at the end to seal the decals.
-
Got the sides ready for paint tomorrow if the weather allows it. Buffed off the sides with a Hercules fine sanding pad I saw a guy use with great results on a YouTube video. it seems to smooth out the surface without leaving sanding scratches that can show through the paint sometimes. Also mixed up the paint to be ready if I have a go. Will paint one side red and the other side metallic gold instead of the pearl gold I used the first time, just to see if the met gold looks better. Plus, it will be on a white base instead of gray. The one shown below is a medium pad which would be way to rough for a model car. I used the fine version, but they look the same except the fine is a lighter color. You cut a small square out of the pad you get, and it looks like it will last a long time. not like sandpaper, and you can use it dry which makes for a cleaner work area.
-
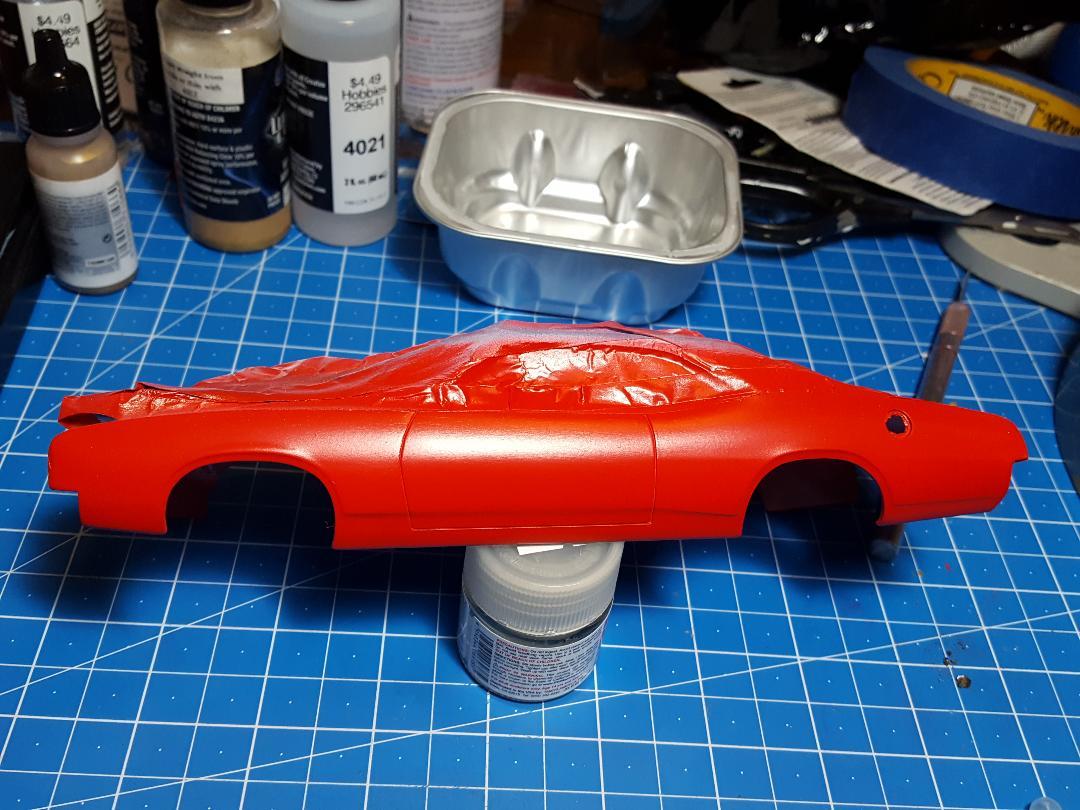
Got the body ready to paint the sides. Had to reshoot the sides with white primer. Will shoot one side with red and the other side with metallic gold .
-
Donnie Allison's '74 Monte
MarkJ replied to Belugawrx's topic in WIP: Stock Cars (NASCAR, Super Stock, Late Model, etc.)
Yours is Much better, Bruce. -
Thank you, Bruce. Like you said, even though it's a reproduction, it might actually be a former Junior Johnson/ Bobby Allison car as well that the guy updated. I doubt if the intake and carb are the same or the way the air cleaner looks but other things under the hood I could use as a guide. It's a double snorkel air cleaner but it's probably a round stock air cleaner that snorkels were added to. Not that plastic one.
-
Thanks, Bruce I'm going to check out that link as soon as I get this answer sent back to you.
-
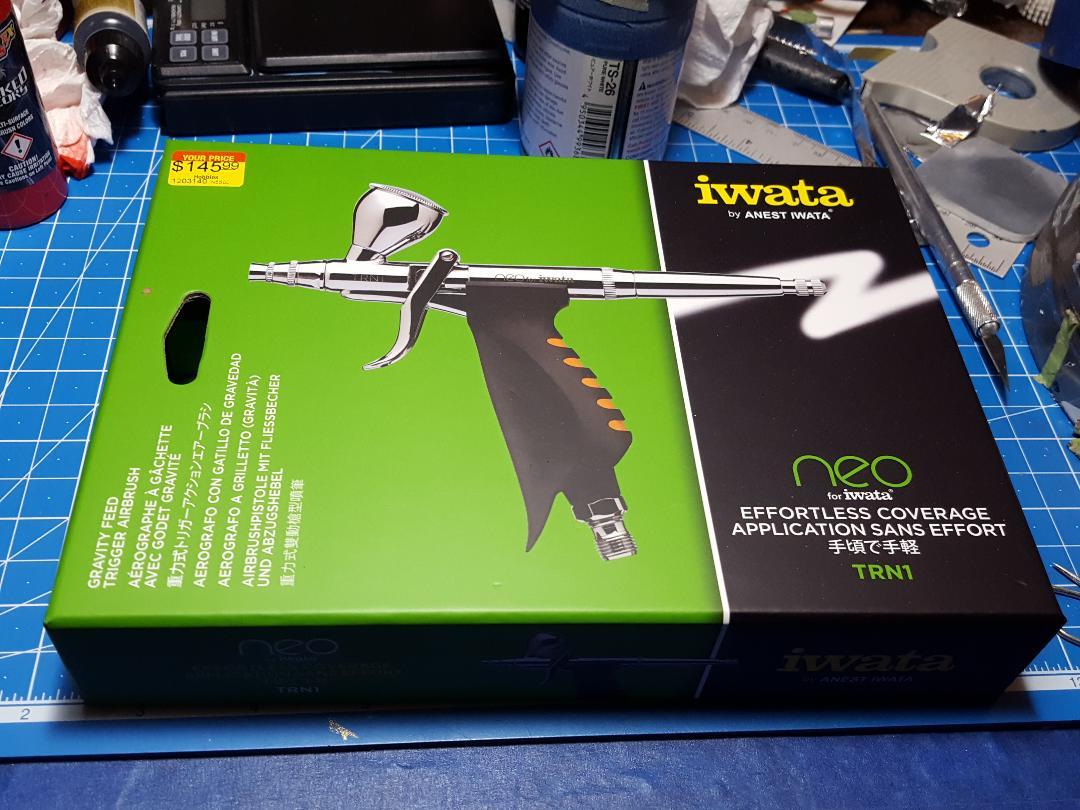
Bob, Hobby Lobby had the one I got. I dropped my present airbrush on its nose without the nozzle guard, so I knew it was shot so I went to Hobby Lobby and saw the trigger version and did not know exactly what I was looking at, so I went home and did some research on it. (watched somebody on a YouTube video). Went back the next day and bought it. Now I'm glad I dropped that other one. Never knew how easy airbrushing could be. It's like a rattle can but you can mix the paint so it won't orange peel on you unless you get ridiculously far away from the model when you're painting it. And Acrylics are so much more health friendly to use. You can't get acrylic rattle can paint that I know of.
-
I painted the sides of the test body with Tamiya white primer and will shoot Createx Wicked red on one side and plain old Createx wicked gold on the other side. Luckily, I found a bottle of it in my stash that had not separated out from age. It appears to be more metallic than the pearl gold I used the first time. If it looks good, I will start preparing the Monte Carlo body for paint. Below is the YouTube video images of the real car. You will notice the bumpers were painted red with just a little chrome showing on the front bumper. Quote Quick Edit More...
-
Fujimi Fina McLaren F1 GTR Long Tail
MarkJ replied to Nacho Z's topic in WIP: Other Racing: Road Racing, Land Speed Racers
What are the Gravity colors? Enamel, lacquer or acrylic. Looks beautiful so far. -
1/25 Chevy Nova Salt Rat
MarkJ replied to Pierre Rivard's topic in Other Racing: Road Racing, Salt Flat Racers
This car is so beyond cool it would freeze your hand off if you touched it. Like everybody else has said the photos of it actually at the salt flats are just the most excellent way to pose this build. Felicitations, Pierre and now go enjoy Paris and eat some of that wonderful food they have over there. I can only dream of doing that. -
Donnie Allison's '74 Monte
MarkJ replied to Belugawrx's topic in WIP: Stock Cars (NASCAR, Super Stock, Late Model, etc.)
Looking very awesome, Bruce. -
Thanks Chuck. It would be cool if one of the model company's like Salvino Jr. would do an IROC Camaro kit. and a decal maker could do all of the options available for that year so if a person had a favorite IIROC car they could do it. The gen 3 IROC Camaro was used from 1985 through 1990 and the basic car never changed through all those years just the livery changed. Quite a lot of options could be made available so people could build their favorite drivers' car. I bet a lot of Earnhardt fans would love to do one of his cars. Like this one.
-
Thank you, Carl, I appreciate the kind words.
-
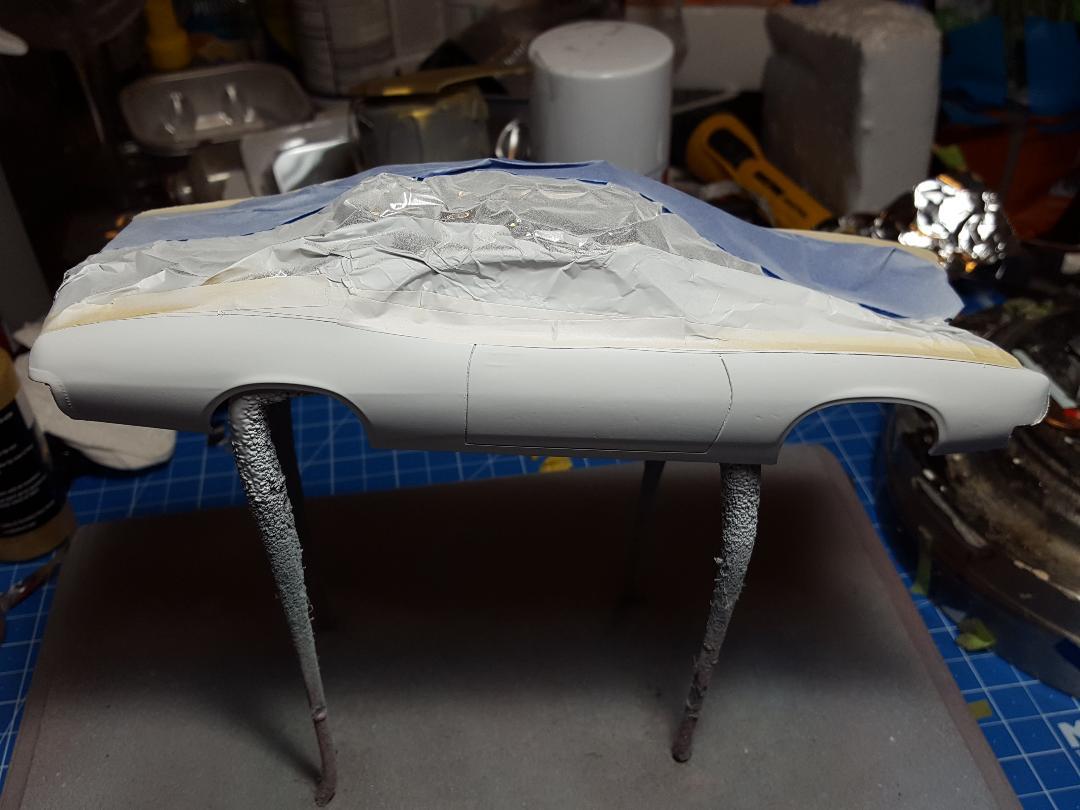
Masked the test body and shot the gold. I used Createx paint because they have many options for mixing up paint that you can make extra metallic or other affects you might want to try. I learned that gray primer makes the gold look too dark so I will prime the monte body with white. I might also try to add more metallic bits in the mix just for grins. I used my new airbrush and was ecstatic with the results and ease of operation. This brush takes all the guess work out of painting with an airbrush. Air brush purists probably scoff at it but to me it's a dream come true.
-
Nova Salt Flat Racer
MarkJ replied to Pierre Rivard's topic in WIP: Other Racing: Road Racing, Land Speed Racers
Totally awesome build, Pierre. Love the big moon wheel covers and the parachute and basically everything else about the build. Can't wait to see the under glass photos when you get them finished. One more thing. if Rex White and his crew from the early sixty's built this car it has to be a winner. -
Mike, it's this one in the photo below. It makes airbrushing so easy I believe anybody could use it with great results. As long as you mix the paint properly and strain it to get the debris out of it, all you have to do is adjust the knob at the very end of the brush to get the right amount of paint by testing on a piece of paper and just pull the trigger the same way every time. Not like a plunger type that you have to figure out how far down and how far back to actuate the plunger. Makes for a much more cohesive paint job.
-
Thank you so much, Mike. Like the others, I want to thank you for your support during the never ending wip. I am very glad to have finally finished it but learned a lot in the process. I'm already working on a new build and the wip is over in the Nascar wip forum. Its Bobby Allisons 1971 Monte Carlo that won the 1972 Southern 500. I didn't learn till lately that it's not a 1972 Monte Carlo so the wip is misnamed. I finished painting the gold on a test body and learned that on the real build to use white primer. The gray primer makes the gold look too dark. My new airbrush works like a dream so I'm very happy about that. Thanks again.