Pierre Rivard
-
Posts
2,579 -
Joined
-
Last visited
Content Type
Profiles
Forums
Events
Gallery
Everything posted by Pierre Rivard
-
1963 Super Torque Ford
Pierre Rivard replied to MarkJ's topic in WIP: Stock Cars (NASCAR, Super Stock, Late Model, etc.)
This looks very good Mark. Photo of the hood shows the pearl finish quite well and it appears to have brushed on quite successfully. I'm still looking for a silver that will work, so I should see what Createx has. -
Just curious Bill, why self-etching primer on a styrene body. Not critiquing in any way, just trying to understand the reason.
-
Vallejo surface primer Pure Red 70.624 and the color coat is Vallejo Model Air Ferrari Red 71.085
-
As good as gold!
-
Neither am I Gary but right or wrong I was looking to achieve the color "rosso corsa" which is a warm but slightly darker tone compared to the often seen "rosso scuderia" Not sure if I got it perfect but I am satisfied with the result.
-
Paint proved to be a challenge for this project but it was all self inflicted. I mixed a red tone that I believed would work and painted the car. It looked a bit off...and I thought that a coat of clear would move it a bit darker and warmer as it usually does fro reds. Did not! Genius idea, I decided at add some Tamiya clear red to my Tamiya X22 clear and give it another layer. Nope...no genius here. I stripped the clear and headed to Jac Hobby looking for the right color and bought 4 that showed potential. Third time is a charm. The best fit (to my eye) was a color from the Vallejo Air line called...hum... Ferrari Red! Only one coat of clear to do a photo test. 2nd coat of clear and some polishing will improve things.

-
Camaro Late Model
Pierre Rivard replied to raisin27's topic in Stock Cars (NASCAR, Super Stock, Late Model, etc.)
Congrats Mike, your build is outstanding. Beautiful detailing, especially around the engine, and the paint finishes look so good. The gen 2 Camaro is too often forgotten but I believe the styling was fresh and beautiful. I love your photo setting, it makes your model look so life like. -
Nice to see this one back on the bench Bill. You've improved the kit wheels quite a bit, they look nice.
-
1963 Super Torque Ford
Pierre Rivard replied to MarkJ's topic in WIP: Stock Cars (NASCAR, Super Stock, Late Model, etc.)
Look forward to this new experiment, I can see a similarity with my silver brush painting experiments, so high learning potential for me. Going straight to the Ford or testing with spare body first? -
In communication with Jason at Jack_Modelling about 3D printing in-laced wheels. Got him a set of pics of Borrani wheels on 250GTO in 6x15, 6.5 and 7.5. Waiting for his feedback.
-
Ferrari 250 GTO / Pontiac GTO-powered
Pierre Rivard replied to Ace-Garageguy's topic in WIP: Model Cars
So boring when everything fits on the first try. I suspect this one will be a bit more interesting. ? -
There's a rumor all four of them will be done the same way on a lathe...
- 406 replies
-
- 1
-

-
- harry miller
- indy
- (and 1 more)
-
Superb build and I too love this car.
-
Purchased through E-bay typing: jantes pour maquette voiture 1/24 You can also go to his site https://www.jackmodelling.com
-
The two you just made on the lathe look so so good Andy. You'll hate to hear this but... nothing looks more like metal than...metal? I'd turn two more and leave them unpainted...
-
Salvinos JR 1971 Petty Plymouth
Pierre Rivard replied to TooOld's topic in Stock Cars (NASCAR, Super Stock, Late Model, etc.)
Bob, I am a huge fan of your work. Your w.i.p. was a pure delight to follow and what you have done pushes the realism through the ceiling. The ultimate lesson in scale model building, period. -
Sanding help
Pierre Rivard replied to Sidney Schwartz's topic in Model Building Questions and Answers
This is a very interesting discussion about surface preparation migrating to what the paint should look like. I don't think there is only one answer here but there is one key question we should ask ourselves. What is the topic and what should the paint look like to reflect that. Period correct off the factory paint job, meticulously restored car, new race car with vinyl wrap look? Answer that question first, then strive to achieve the paint to reflect that. Measurement of the paint finish has two key elements : gloss and DOI (distinctness of image). Gloss is the measurement of the amount of light reflected, DOI measures the sharpness of the reflected image. Good surface preparation and expertise in paint spraying of Ace's green hood have netted him the high DOI combined with semi gloss look reflecting a great period paint job he wants to replicate. The extensive and meticulous steps used by Steven are key for him to achieve the high gloss and high DOI he would want to replicate a high level paint restoration. Personally I like a period look of well prepared race cars from the sixties, typically polished lacquer jobs with relative high DOI but medium gloss and I adjust the preparation and material choices to reflect that as best as I am capable of. Not one answer for all, it's about what look you want to replicate.
-
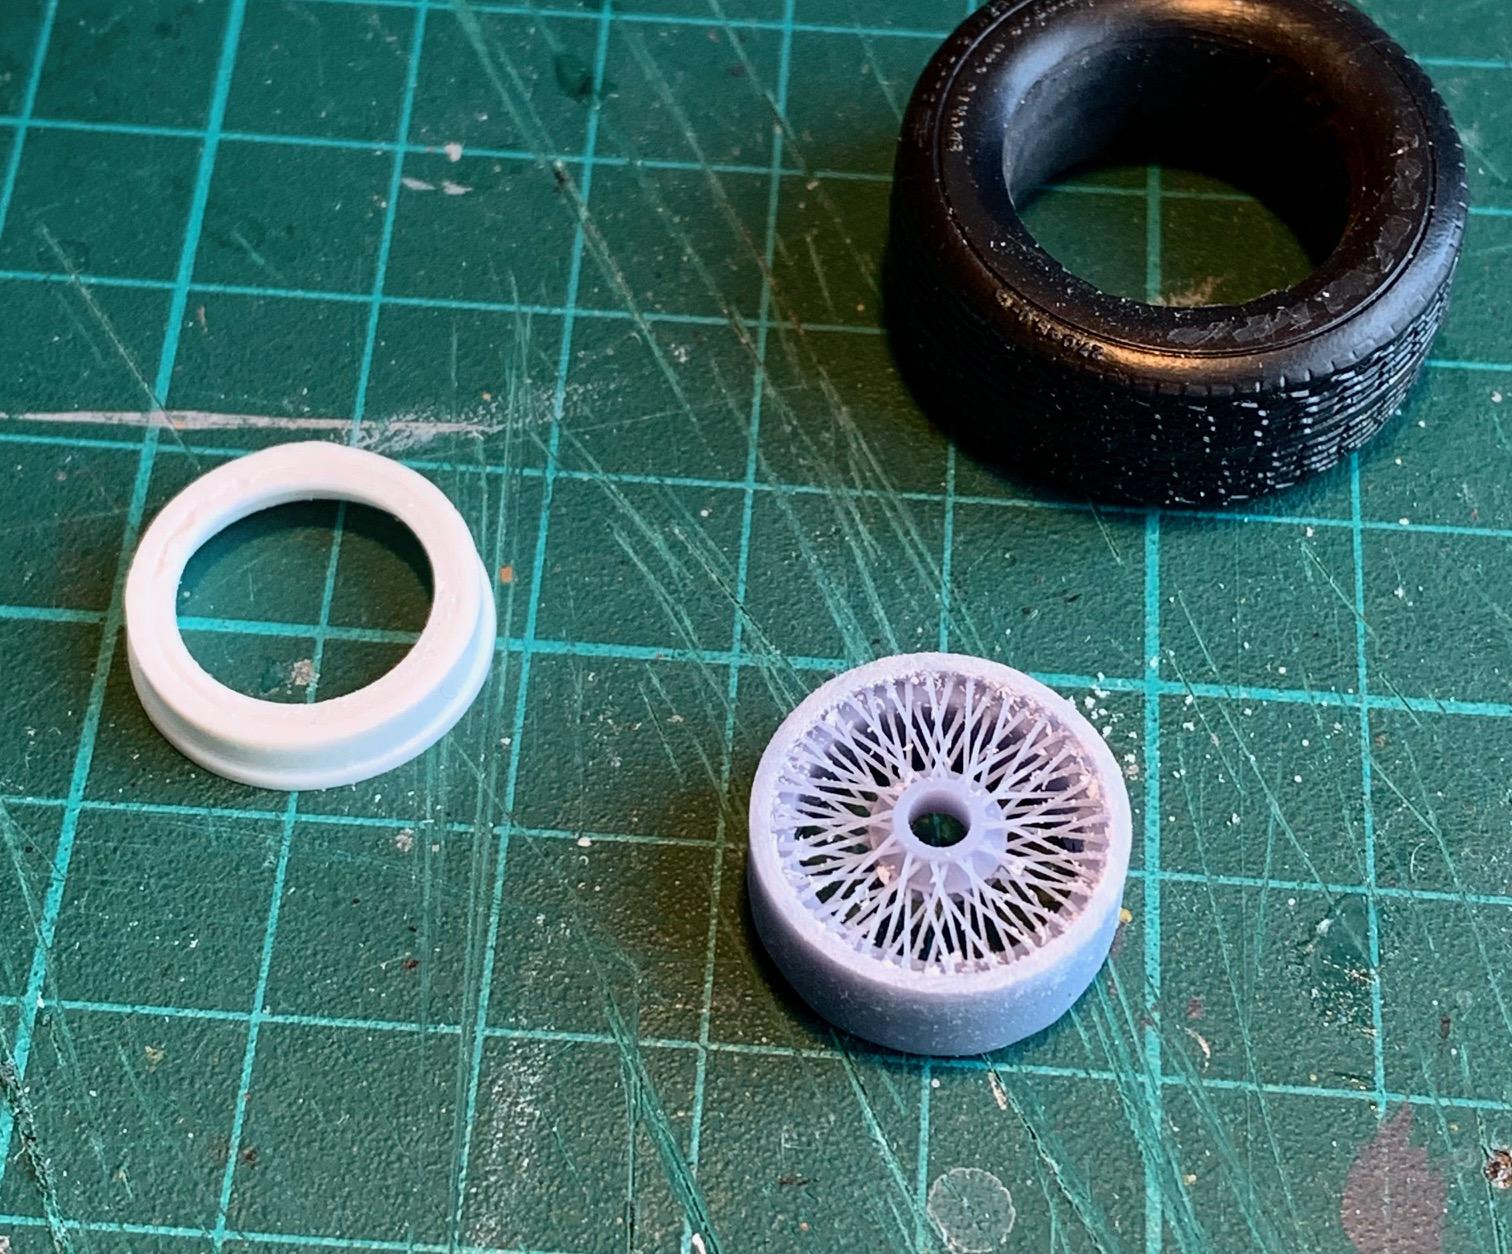
Thanks guys. I finished the wheel/tire set today. I only have the kit tires that I can make work for this build so I cut off the embossed Good Year. Better a no name than the wrong one as this car ran on Dunlops. A lot of sanding, flat clear and Tamiya "soot" weathering master to make them presentable. Painting the wheels was done with a brush. Paint used is Vallejo Metal Color and it works well for this application. Very little paint used, almost a dry brushing delicately done with a soft bristle. Flat aluminium for the wheels and Chrome for the spinners. I did not use the spinners supplied with the wheels, preferring a better shaped set from HRM.
-
1963 Super Torque Ford
Pierre Rivard replied to MarkJ's topic in WIP: Stock Cars (NASCAR, Super Stock, Late Model, etc.)
Looking at period pictures the car looks.... white? But if you want do do a bit of a pearl effect, then maybe a 3/1 or 3/2 mix of off-white and metal medium. Just an idea... -
Thanks Helmut, it was your discovery of these wheels that make this possible. I don't mind reworking these but it is not optimal. I sent an e-mail to Jack Modeling suggesting they develop an in-laced Borrani style wheel. I'd buy a bunch of them and so would others.
-
The wheels on the 275P (as well as the 250LM) were a bit of a unique arrangement. The front are slim looking out-laced configuration and the rears a more classic Borrani style, inlaced with a deeper offset. The reference picture shows that well. Scratching my head (again...) looking for a solution I chose to try something similar to the setup on the Chaparral project (deepening the rear wheels) Starting point is with Jack Modeling Jaguar style wire wheels. They came in from France exactly one week after ordering. I received 2 sets, including 2 extra wheels (total of 10) with a bag full of spinners for 13 euros, shipping included! I plan to use the wheel unchanged for the front and modified for the rear. The idea is to use another wheel to mimic the offset and size the opening to cover the end of the out-laced spokes. I used HRM leftover parts for this but I can see doing something similar with other types of wheels. After some work to open up the HRM to the diameter I was looking for and delicately shaving off the front edge of the Jack wire wheels came up with this result. Still some finessing needed and the real test will be how it all looks after paint and working the tires a bit. I'll report back when that is done.
-
Nunu Audi R8 Red Bull
Pierre Rivard replied to Paul Waymouth's topic in Other Racing: Road Racing, Salt Flat Racers
Beautifully done Paul. The Red Bull livery has become an all time classic. Well done sir! -
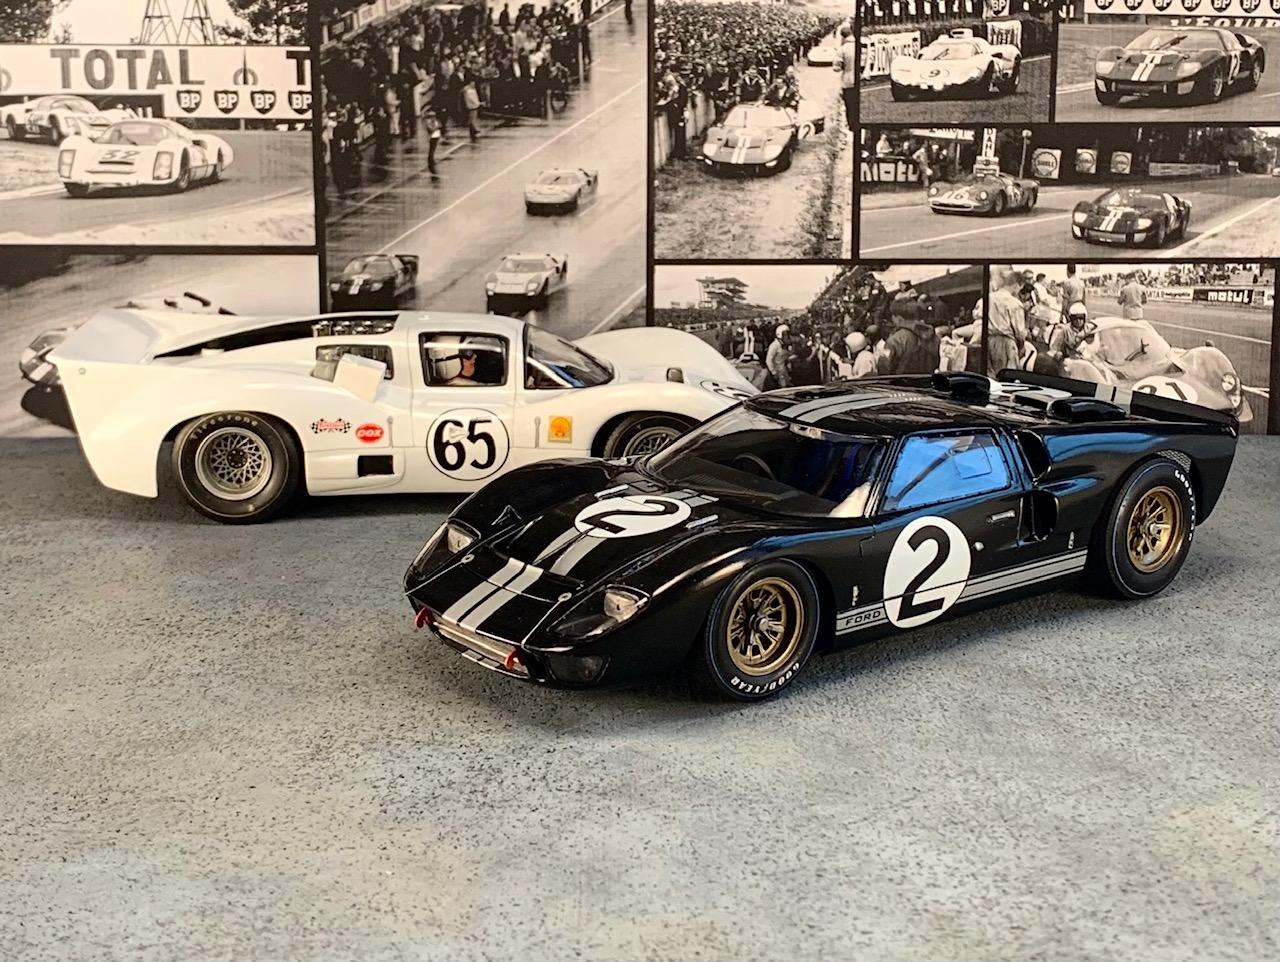
1966 Ford GT40 MK1 P1038
Pierre Rivard replied to Gramps46's topic in Other Racing: Road Racing, Salt Flat Racers
This is really nice and great to see a less common livery. I totally agree with your vision of the model reflecting reality as much as possible. Your model looks like a period race car and I love that. -
Thanks fellas. You know how it goes, we start with a basic kit thinking will go quick but as we study period pictures and ideas start bubbling up we see all the needed add on features. I primed the girl this afternoon (first try of a true red Vallejo primer) and all the added features have blended in well.
-
Looks wonderful, scratch building extraordinaire!